The market for goods continues to conquer products made from natural raw materials. In particular, natural wood products are more popular among consumers than ever. Nowadays, everything that one can imagine is made of wood.
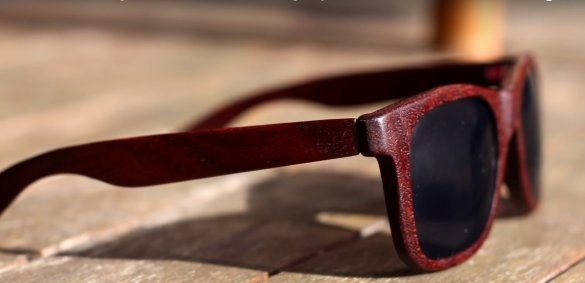
Of course, against the background of this, sunglasses in a wooden frame are not such a curiosity. However, few people realize that such glasses can be made not only using industrial stamping, but also made do it yourself. What the author of this master class will tell about.
In order to make wooden sunglasses yourself, you will need:
Materials:
- Durable wood suitable in structure: a board with the width of glasses and planks for wooden arches;
- epoxy adhesive;
- old glasses with a mechanism for attaching the arms;
- a plastic prototype with a point, according to which you will make a wooden frame;
- mineral oil or oil stain, if you do not use decorative wood;
- sun glasses - new or used;
- stationery glue for fixing paper patterns;
- paper and printer for making patterns.
Instruments:
- grinder;
- grinding machines for grinding heads;
- jigsaw machine and manual jigsaw;
- drill;
- screwdriver;
- sanding paper for intermediate and finishing grinding;
- a round file for processing hard-to-reach spots;
- a small reciprocating saw;
- a disk mill for milling holes for glass;
- thin-nose pliers;
- Foam for mineral oil and lint-free fabric.
Manufacturing process:
Step One: Choosing Materials
The key to success is the right choice of wood. It must be strong, have a viscous structure and flexibility. It should not be pricked by analogy with linden, but should be relatively solid, such as pine. More often for such purposes I use decorative wood with a beautiful texture. If you are not satisfied with the tone of the tree, you can tint the finished frame with an oil stain and thus imitate the desired type of wood.
Step Two: Making Patterns
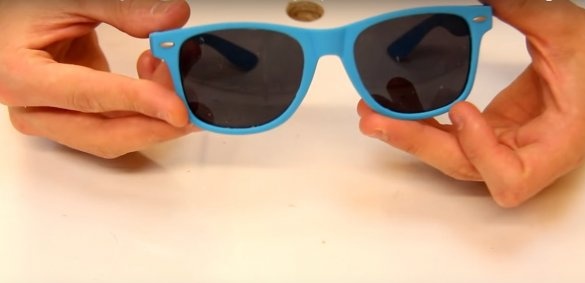
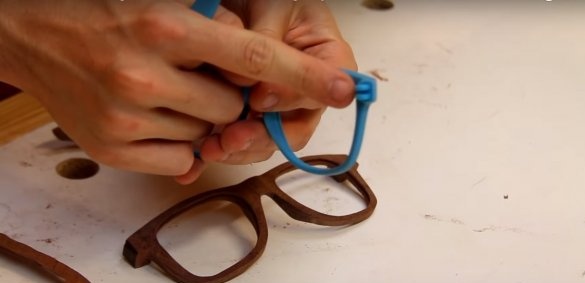
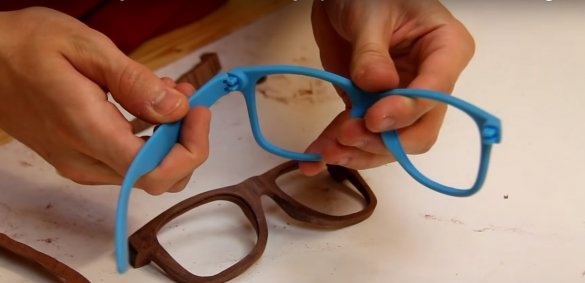
As a prototype for his glasses in a wooden frame, the author chose sunglasses made of ordinary plastic. They are bent in an arc in profile and have protrusions for fastening the arches and the nose bridge profile. This complicates the task a little, and the author will tell you how to do it all correctly and simply.
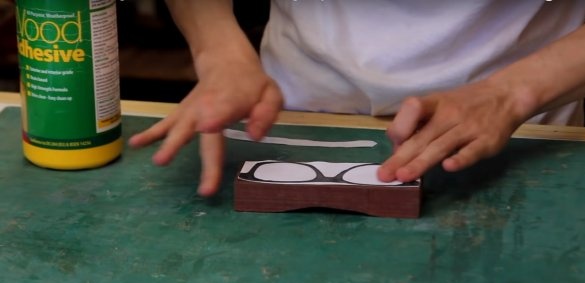
To build patterns, you can disassemble the old glasses and circle the parts along the contour on a piece of thick paper.You can also find ready-made patterns on the Internet, for example, in Interest. All that remains for you is to print them on the scale you want.
Keep in mind that you will need frontal and profile projections of each part.
Step three: making frames and arms
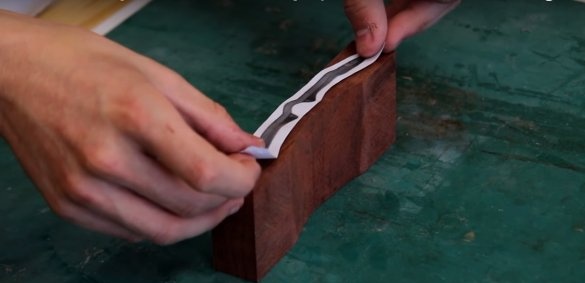
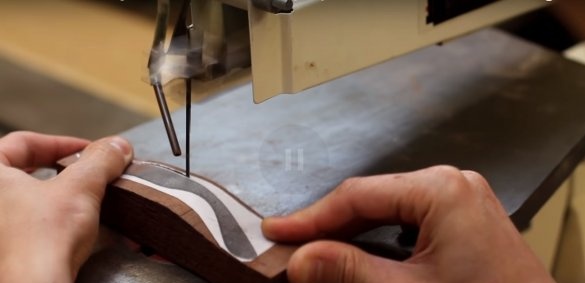
Cutting parts start in profile. This is necessary in order to get the correct bending of the rim and arms. Stick the piece on the edge of the workpiece using clerical glue. Allow it to solidify well, otherwise the pattern may shift during the cutting process.
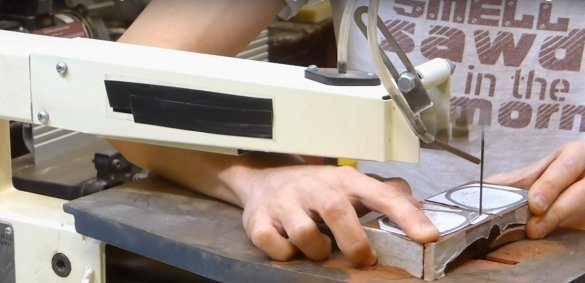
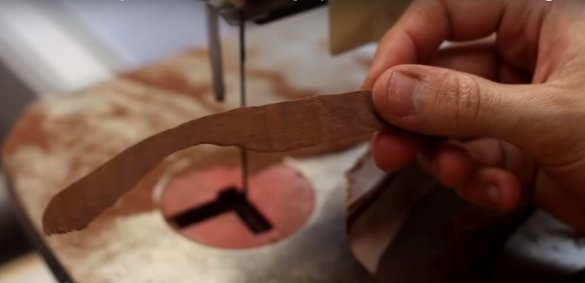
Cut a part of the frame and two parts of the arches in a profile projection on a jigsaw machine or with a hand jigsaw.
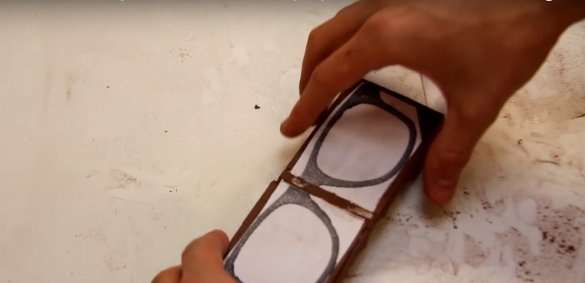
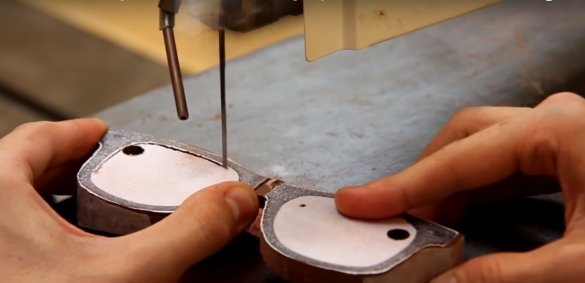
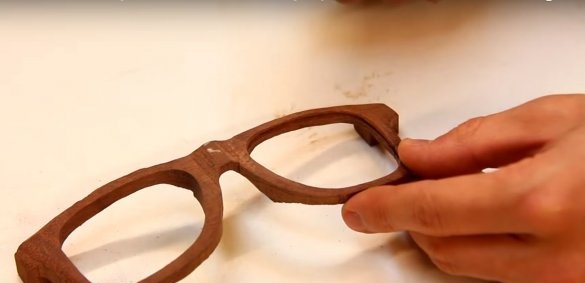
Glue the prepared frontal patterns and cut the parts along the contour as shown in the photo.
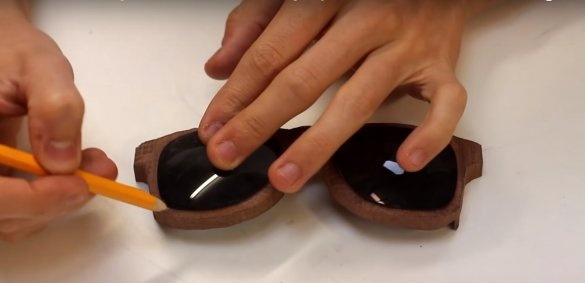
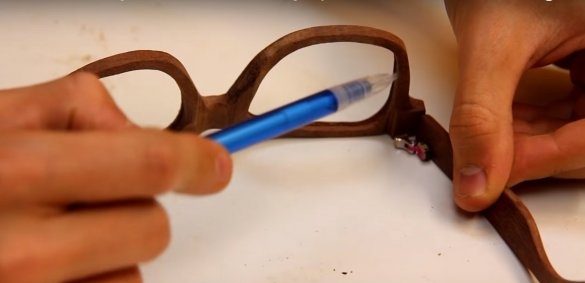
Place the sun glasses on top, carefully lay them and draw a thin pencil around the outline. Drill a hole for the jigsaw file, thread it and fix it in the mount. Cut openings under the glass, not reaching the line 1-1.5 mm.
Step Four: Make the Frame The Desired Shape
By the example of plastic glasses, you can make sure that the frame is wide at the top and tapers to the bottom. To the rum of this, there is a recess under the bridge of the nose, which is also displayed on the outside.
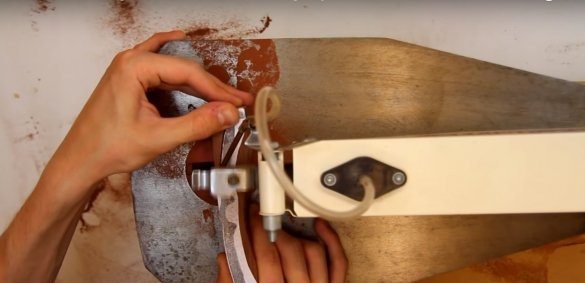
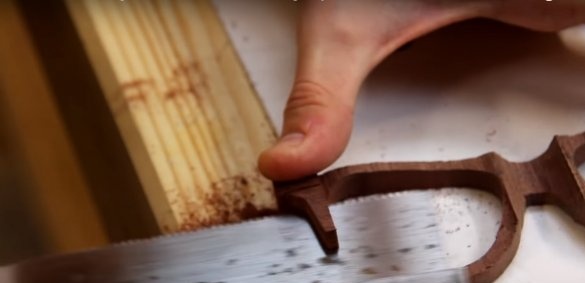
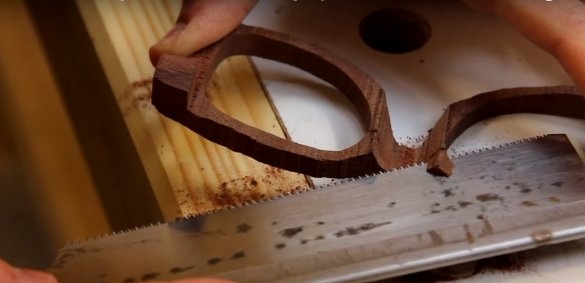
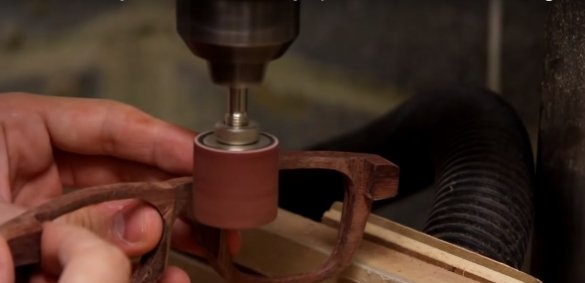
Mark up all the above elements and remove the excess sections of the tree. The author uses a small reciprocating saw for these purposes. The round nose for the nose is made using a grinding head on the machine.
Step Five: Milling Glass Holes
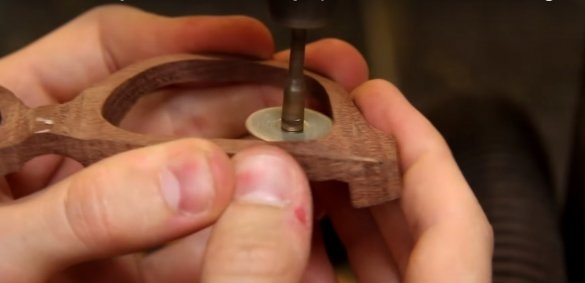
The hole for the glass is conditionally located somewhere in the middle of the thickness of the frame. Draw a line inside each hole. For milling, the author uses the disk on his grinding machine. The depth of the groove depends on how large the holes you cut under the glass. However, remember that too small a hole and a deep groove can lead to the fact that you simply cannot refill the glass in the frame.
Step Six: Intermediate Grinding
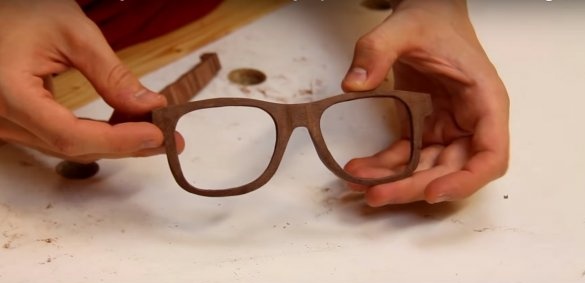
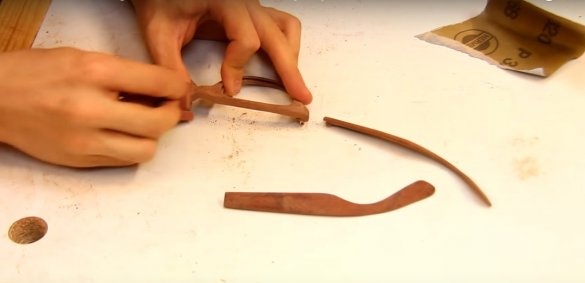
The frame at this stage is rather roughly processed, and it's time to conduct intermediate grinding and give it the final shape. The same goes for the arms.
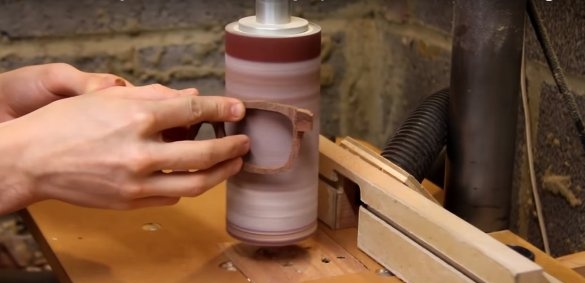
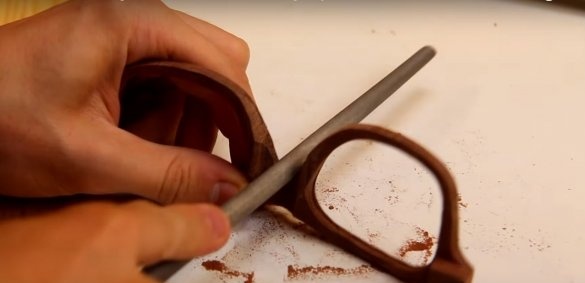
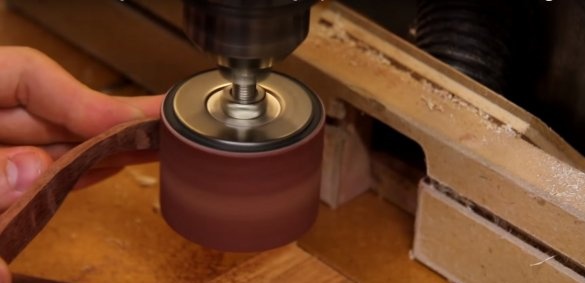
For this you can use grinding heads and a belt grinder. But for the processing of hard-to-reach spots it is necessary to use a round file.
Seventh step: preparation and installation of temple mounts
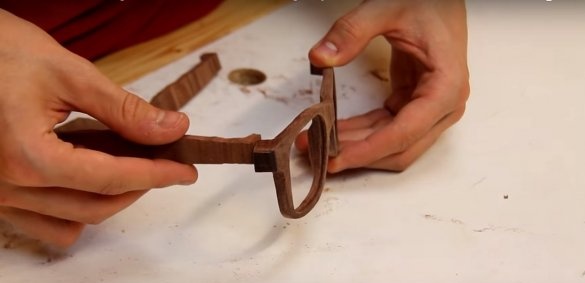
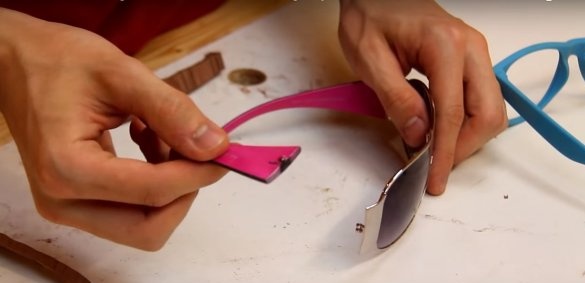
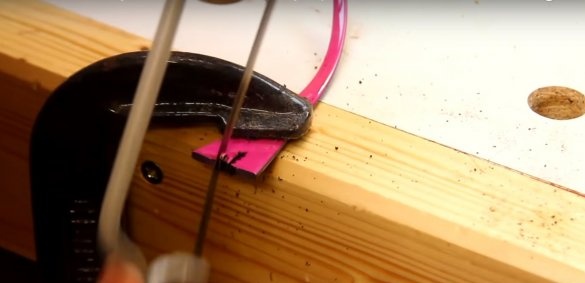
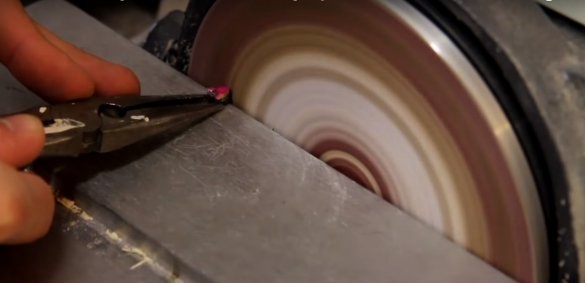
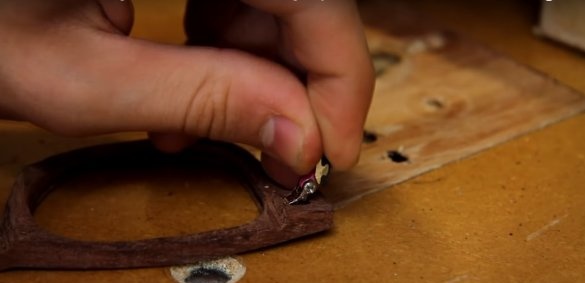
The prototype of glasses made of plastic has a rather complicated fastening system, which is almost impossible to repeat on a tree. Therefore, the author uses ready-made plastic mounts from old sunglasses. They must be cut and polished.
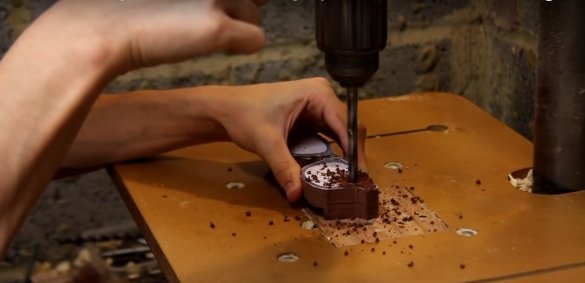
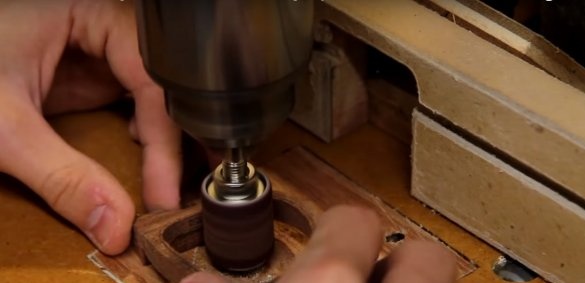
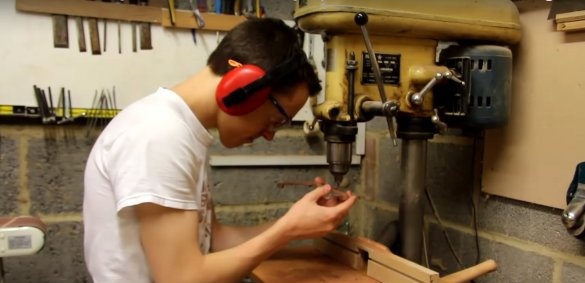
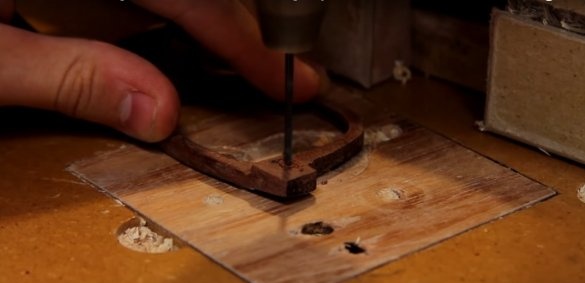
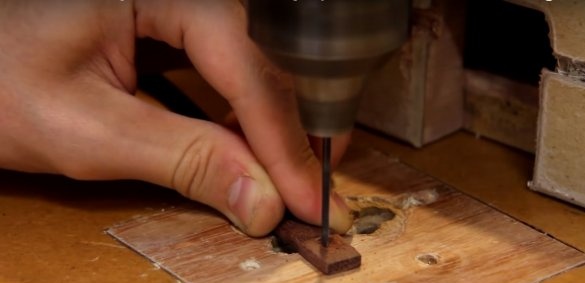
You also need to prepare a seat for mounting on the arms and on the frame. For this, the author used a drilling machine. A small but sharp drill in this case will replace the cutter, and the drilling machine will replace the milling cutter.
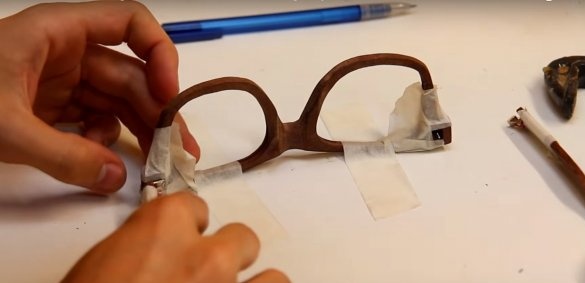
Fasteners are glued using epoxy. Fix the glasses with the masking tape in a stationary state until the epoxy solidifies completely.
Step Eight: Finishing
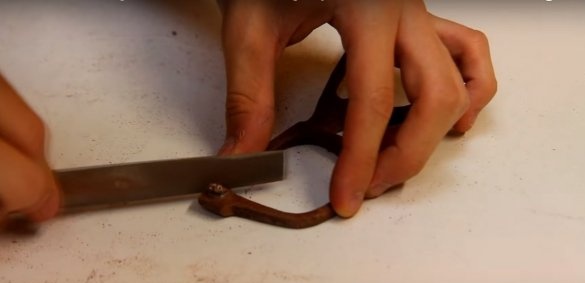
Grind the bonding points of the mountings on the frame and arms with a file to remove epoxy and smooth the surface. Sand the entire surface with fine sandpaper.
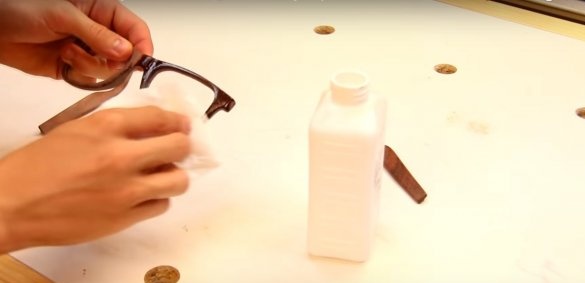
For wood processing, the author uses mineral oil. For these purposes, any quick-drying oil, for example, Danish, is suitable. You can also use an oil stain if you want to tint wood and thus mimic the desired wood species.
All these oil-based coatings are absorbed into the thickness of the tree and protect it from moisture. To work with oils and stains, use a kitchen sponge or a piece of foam. Excess oil must be removed with a cloth.
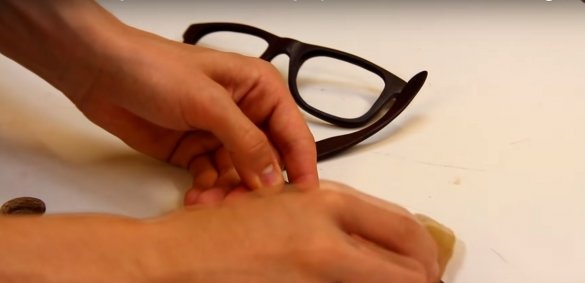
After the oil has dried, sand the tree again with very fine sandpaper.This will give it almost plastic smoothness and is equated to polishing.
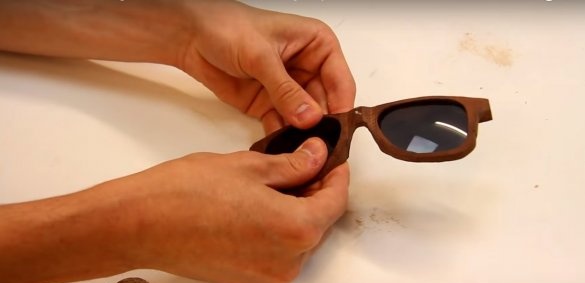
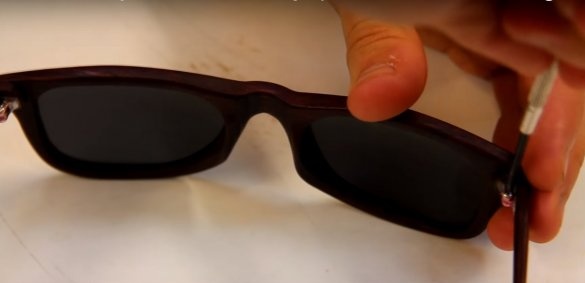
All that remains for you is to insert the sun glasses into the frame and enjoy the result of hard work!

