
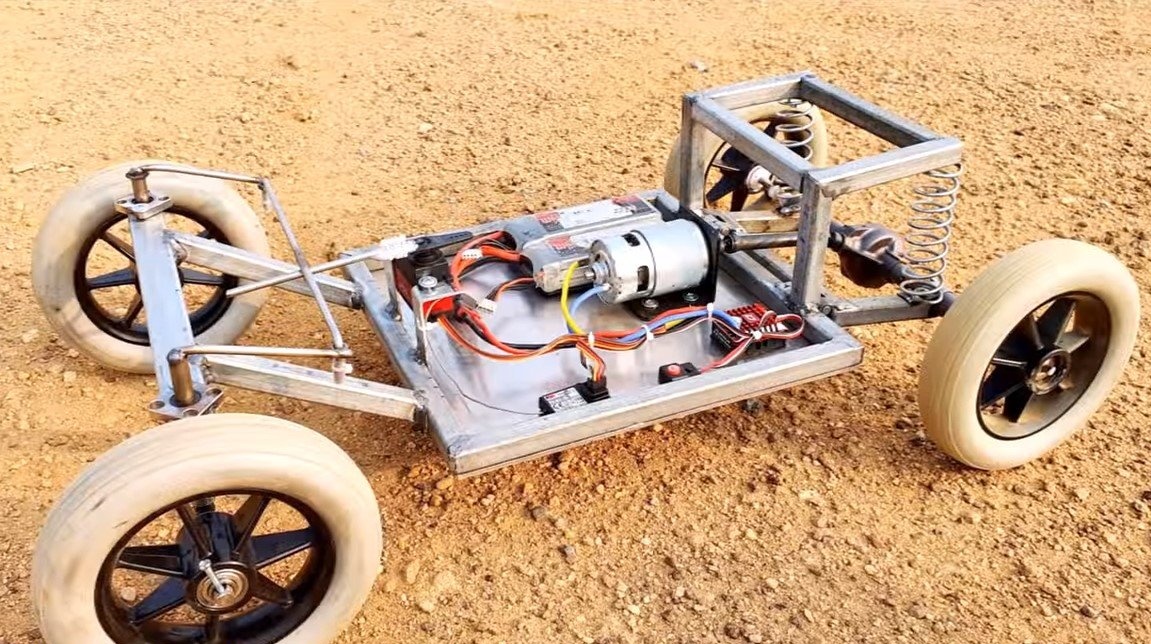
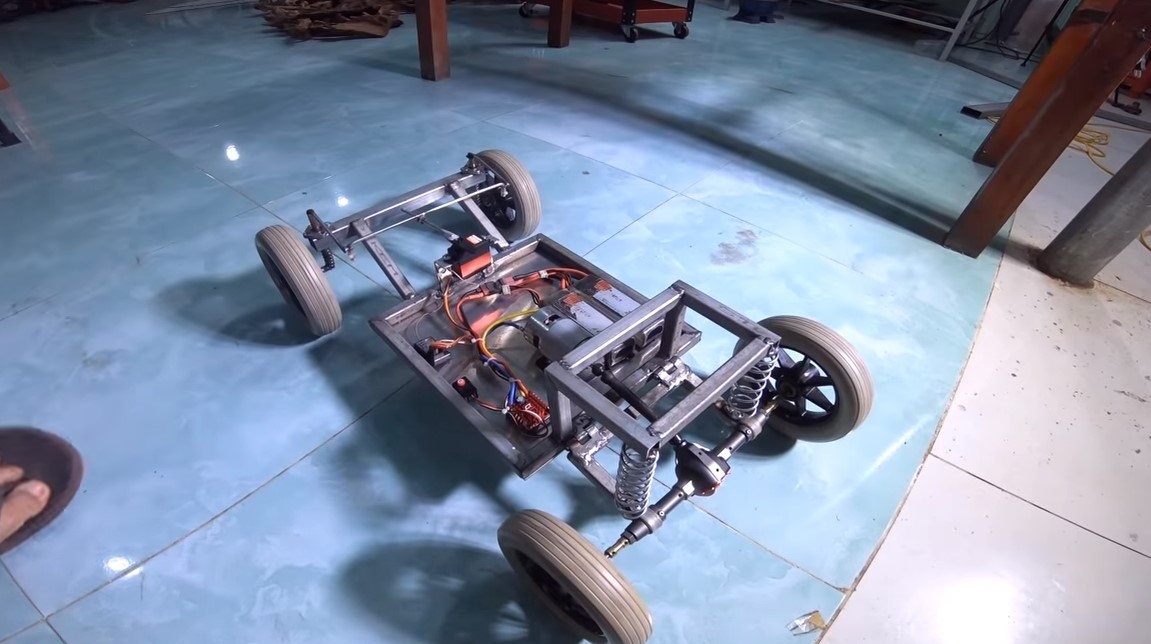
I welcome fans to craft, in this article we will consider how to make a powerful machine on the control panel. The undercarriage has a spring suspension, which allows it to overcome bumps on the road at high speed. Also interesting is the fact that the machine is equipped with a full rear axle with a differential, which makes it quite maneuverable and improves cross-country ability on corners. The author assembled the front suspension on linear bearings, as a result, a kind of fork was obtained. The machine rides fast, despite the fact that it has a rather heavy frame from profile pipes. It remains only to make a light and interesting body for the car and you can arrange a "battle of robots." If you are interested in the project, I propose to study it in more detail!
Materials and tools used by the author:
Material List:
- profile pipes (square and rectangle);
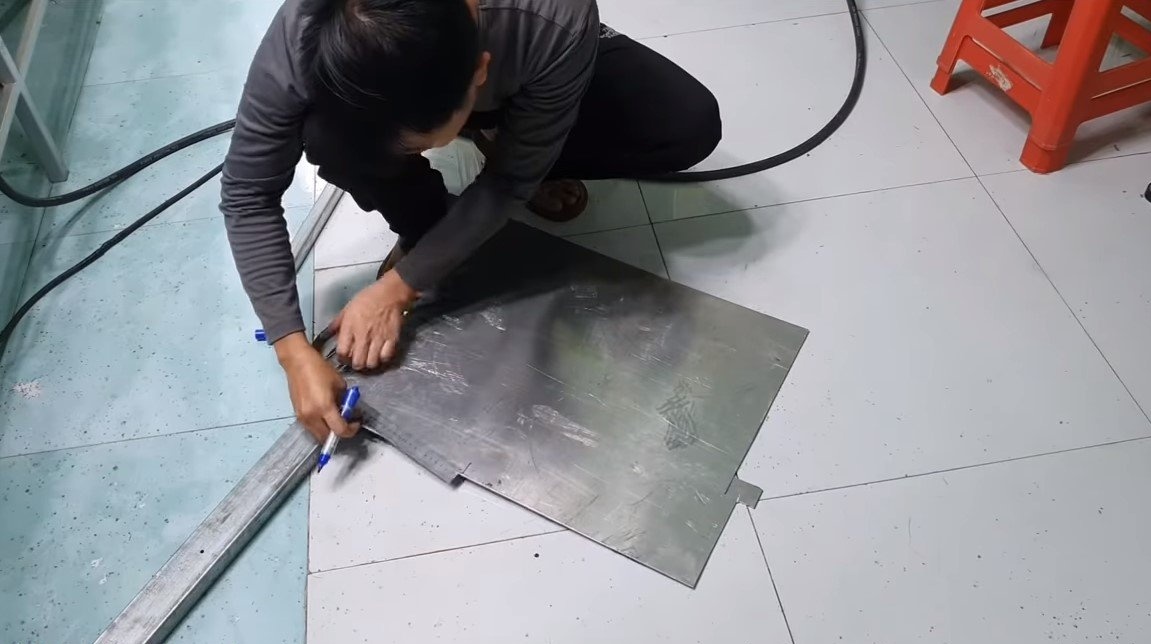
- sheet metal for the bottom;
-;
- springs;
- steel rods;
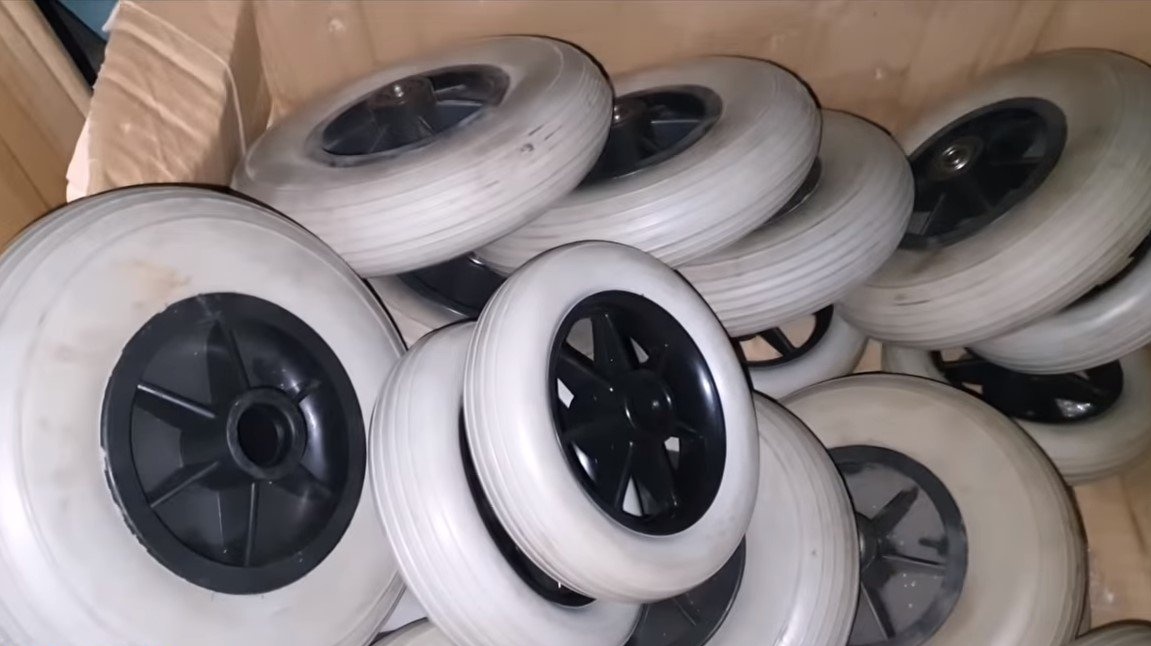
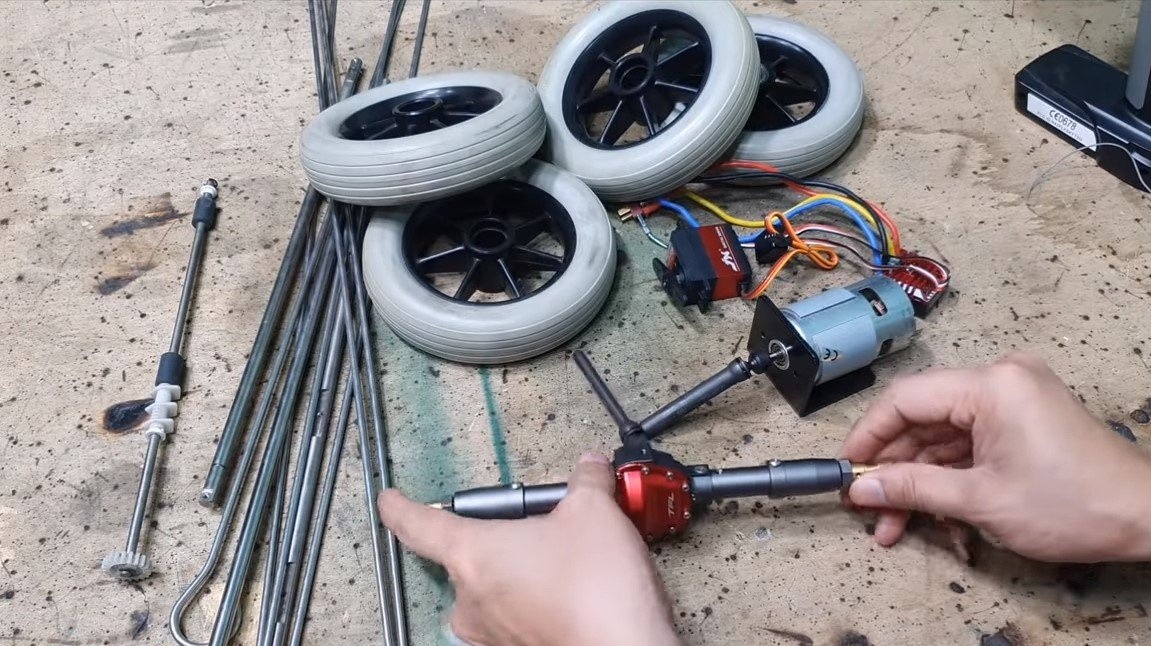
- wheels from a stroller or the like;
- springs for suspension;
- linear bearings;
-
- ;
- ;
- ;
- ;
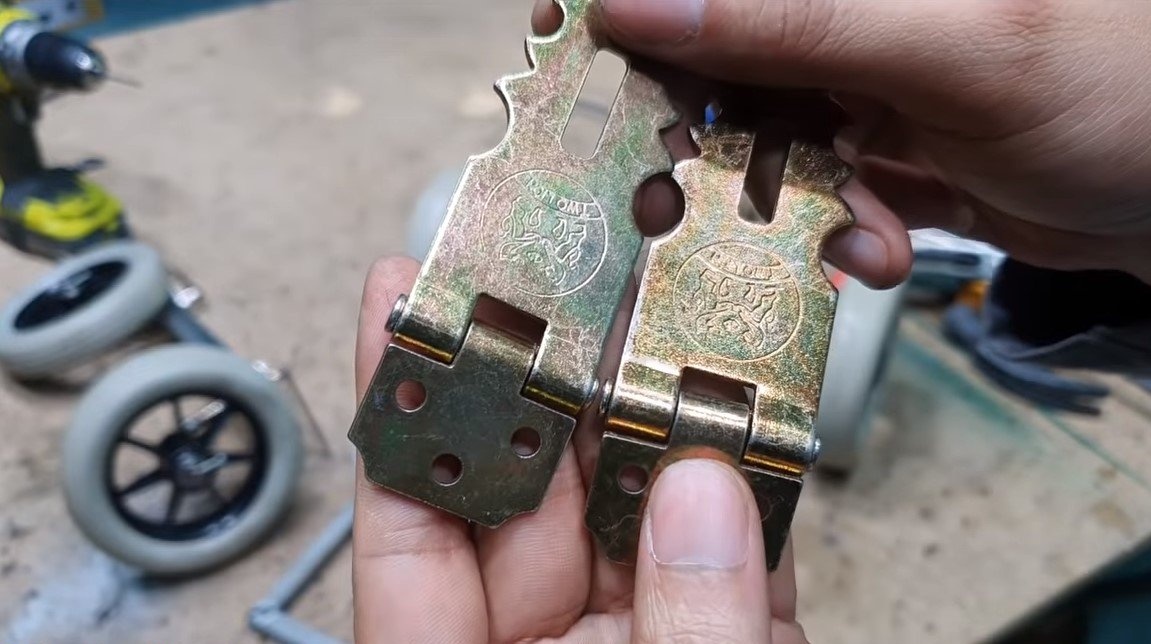
- door hinges;
- bolts, nuts and other little things.
Tool List:
- drilling machine;
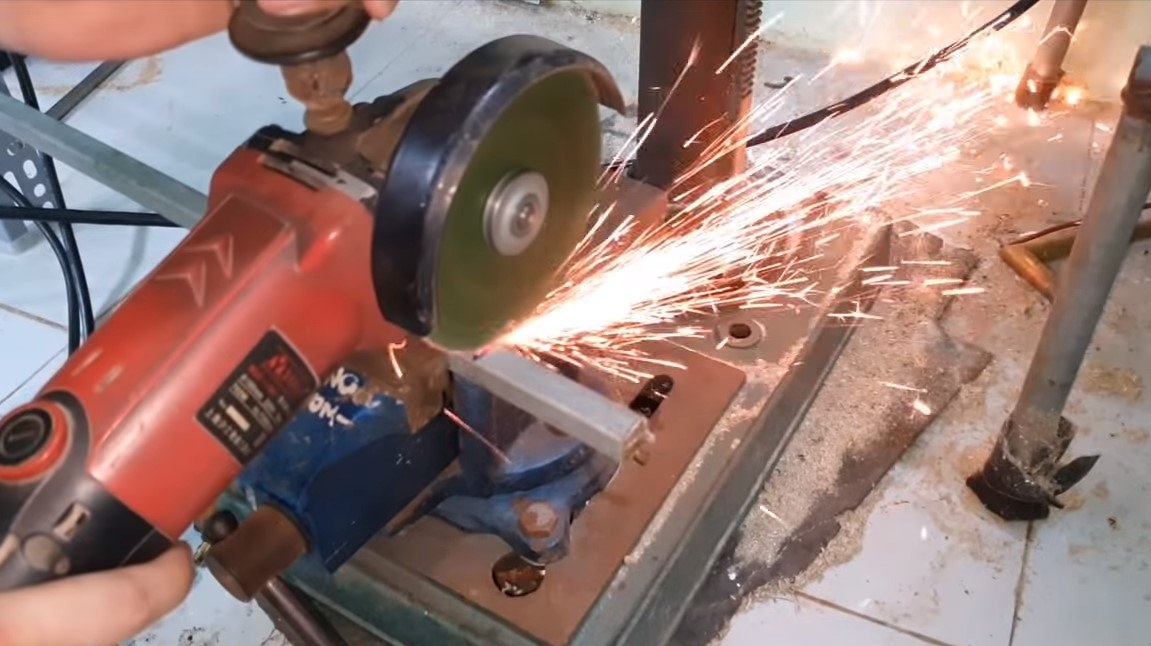
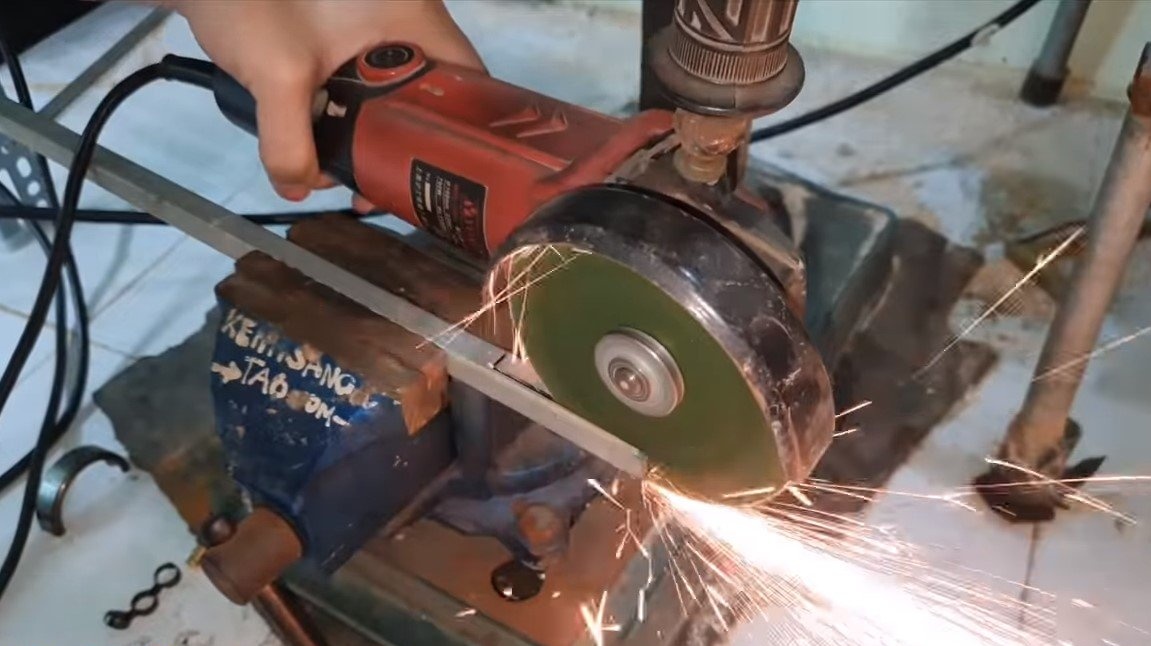
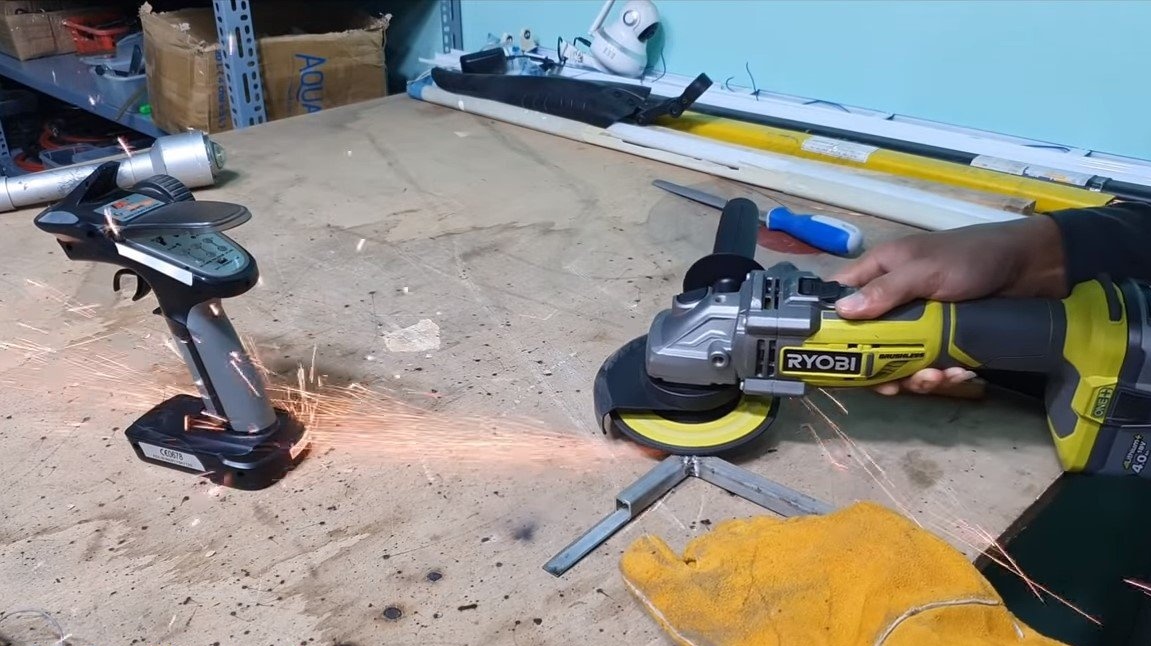
- grinder;
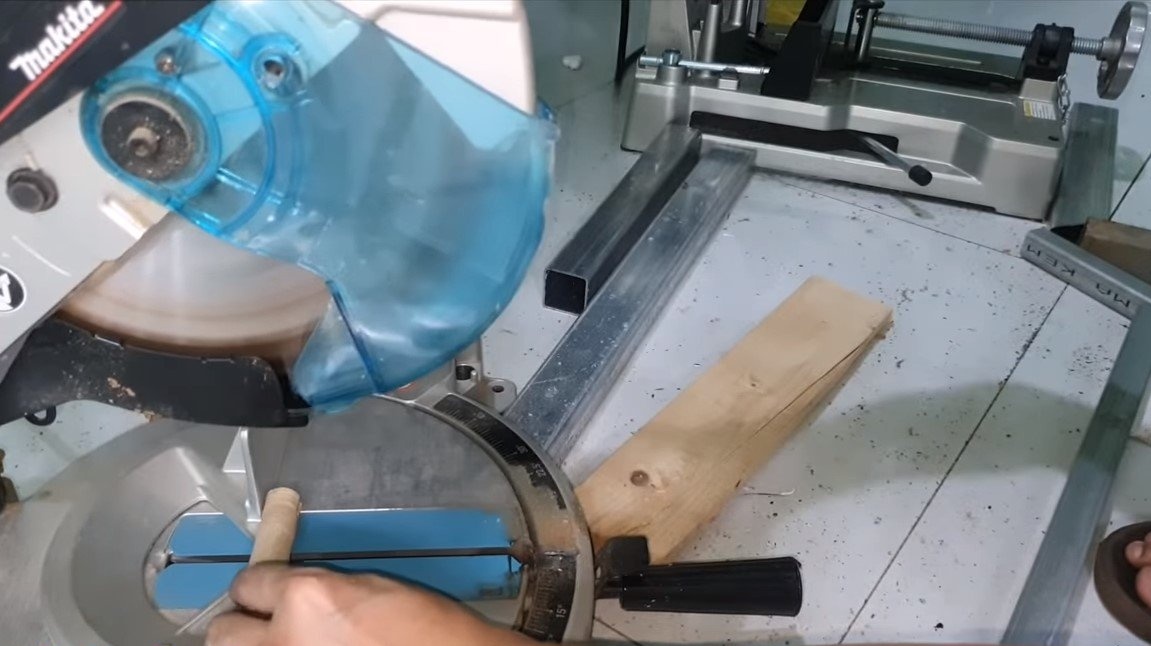
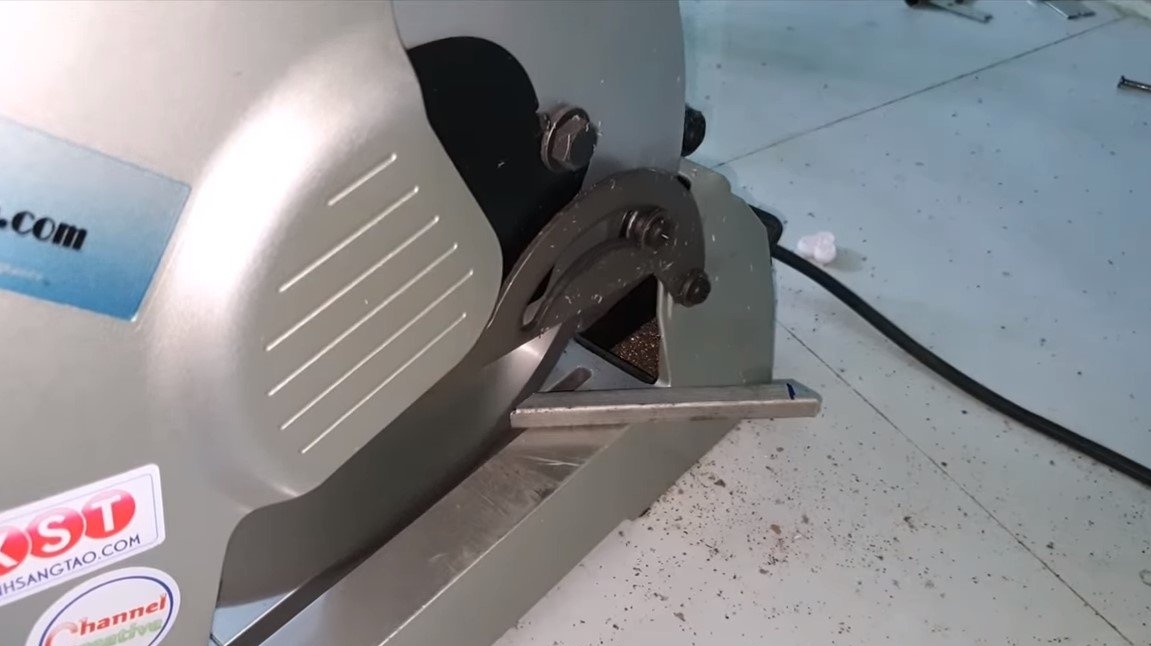
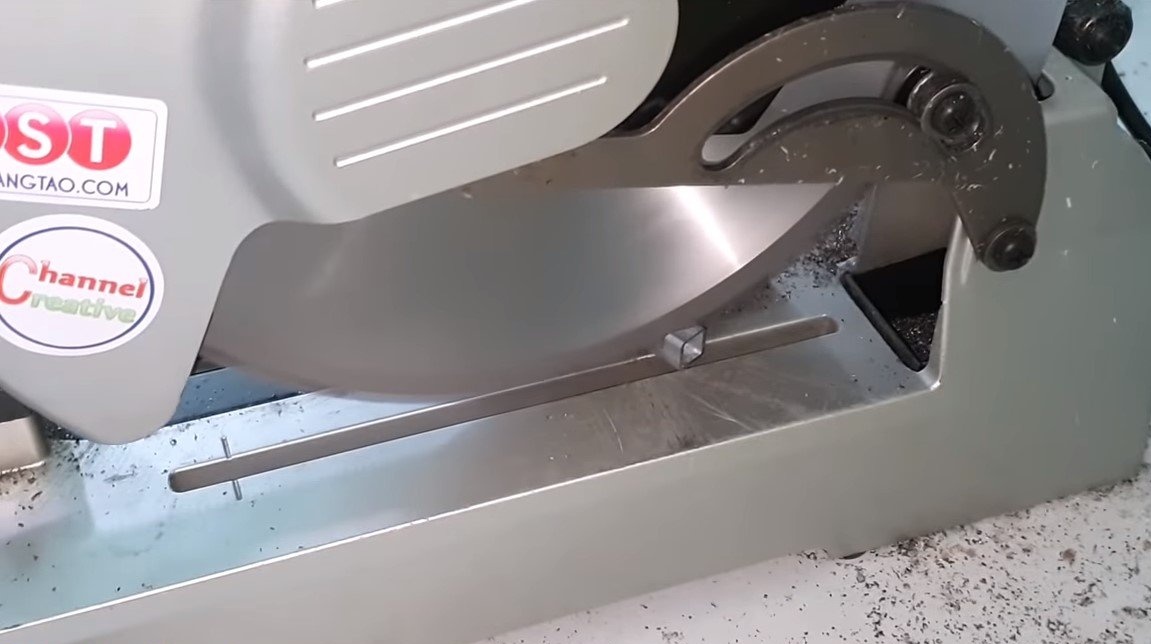
- Miter saw;
- vise;
- welding machine;
- hammer, wrenches, screwdrivers;
- tape measure, marker.
Manufacturing process homemade:
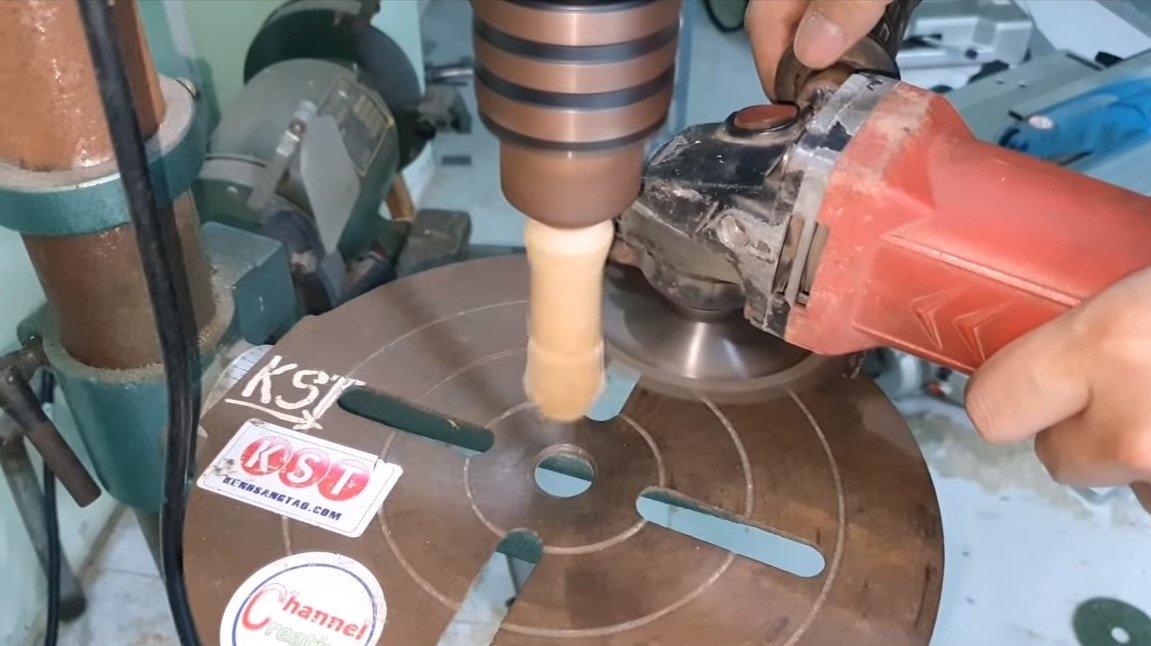
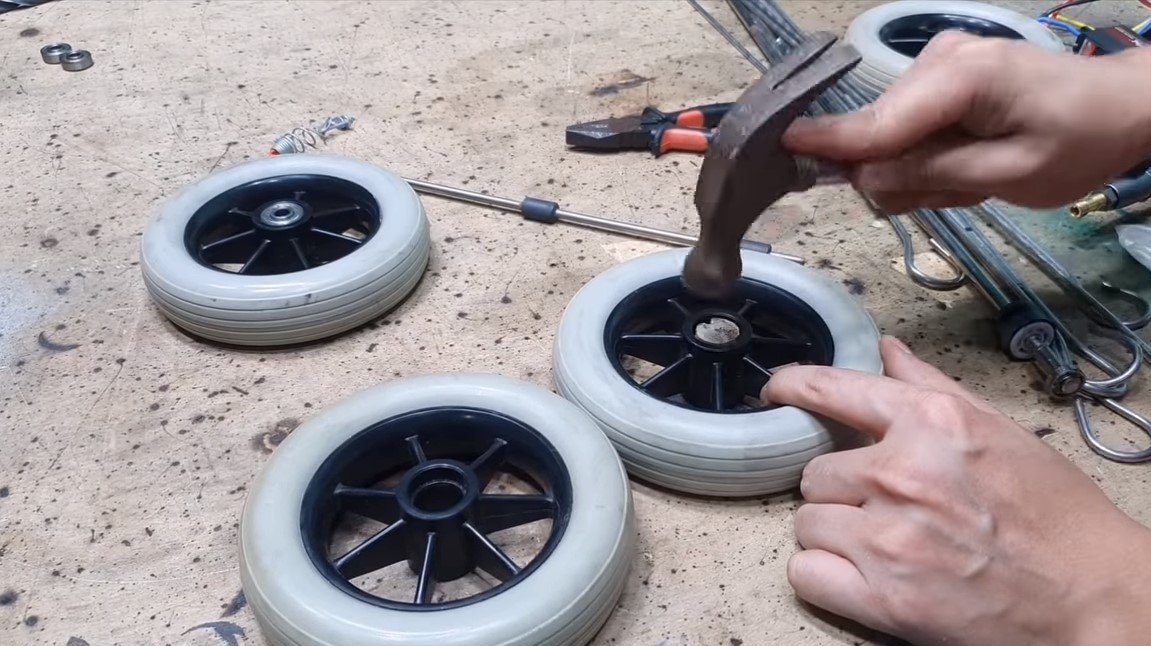
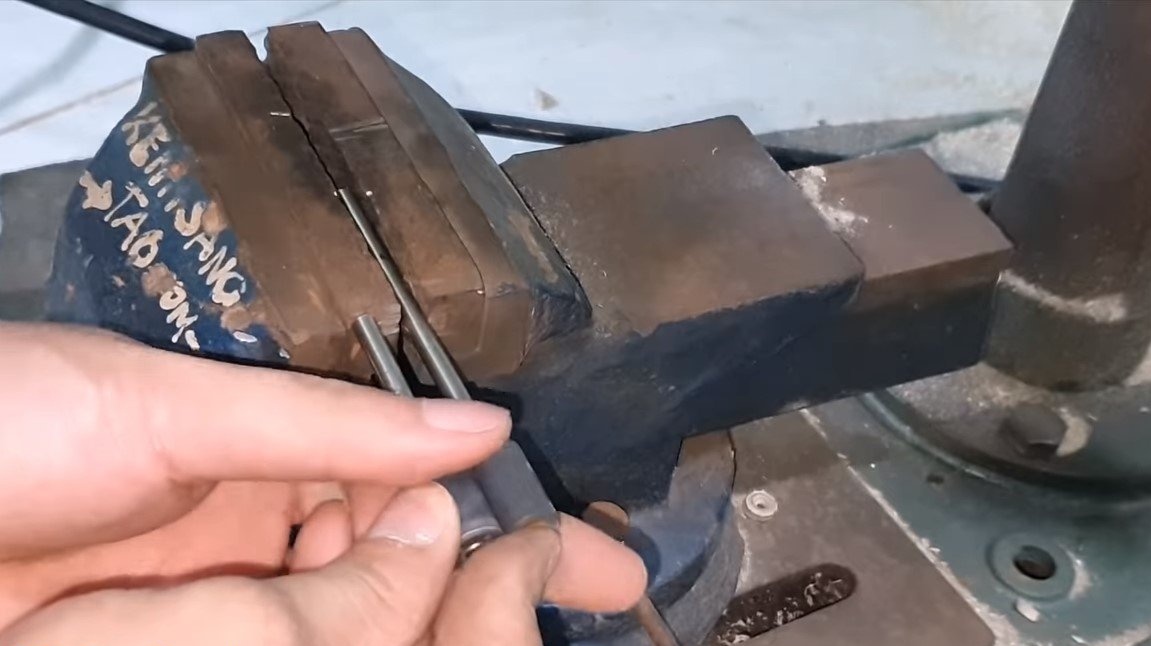
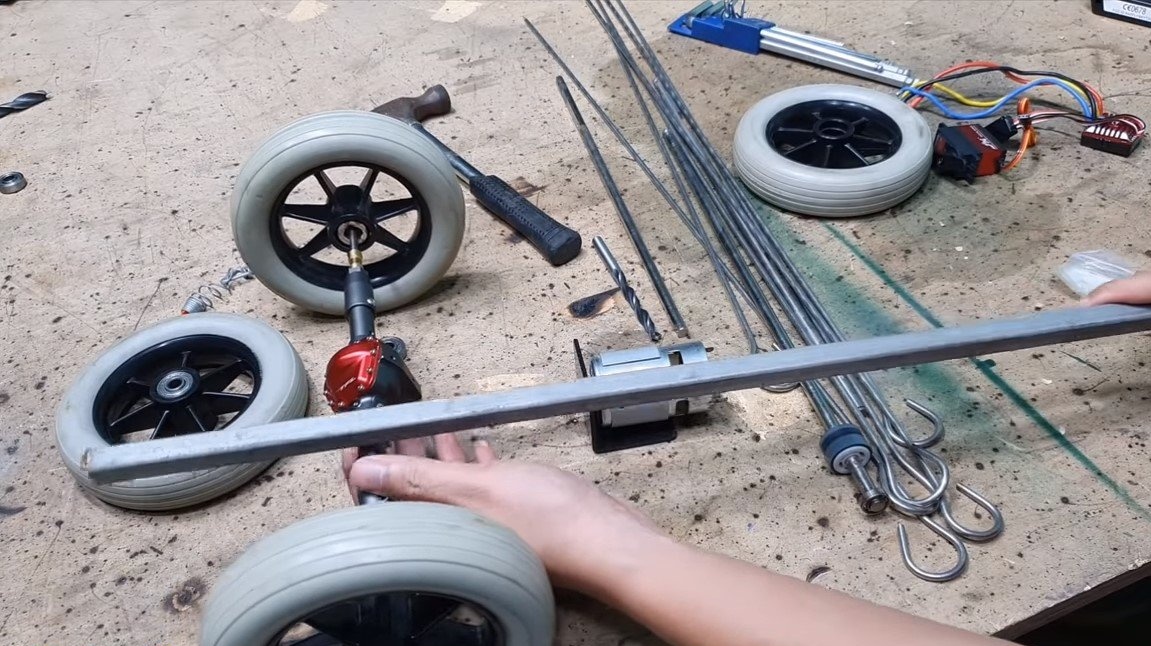
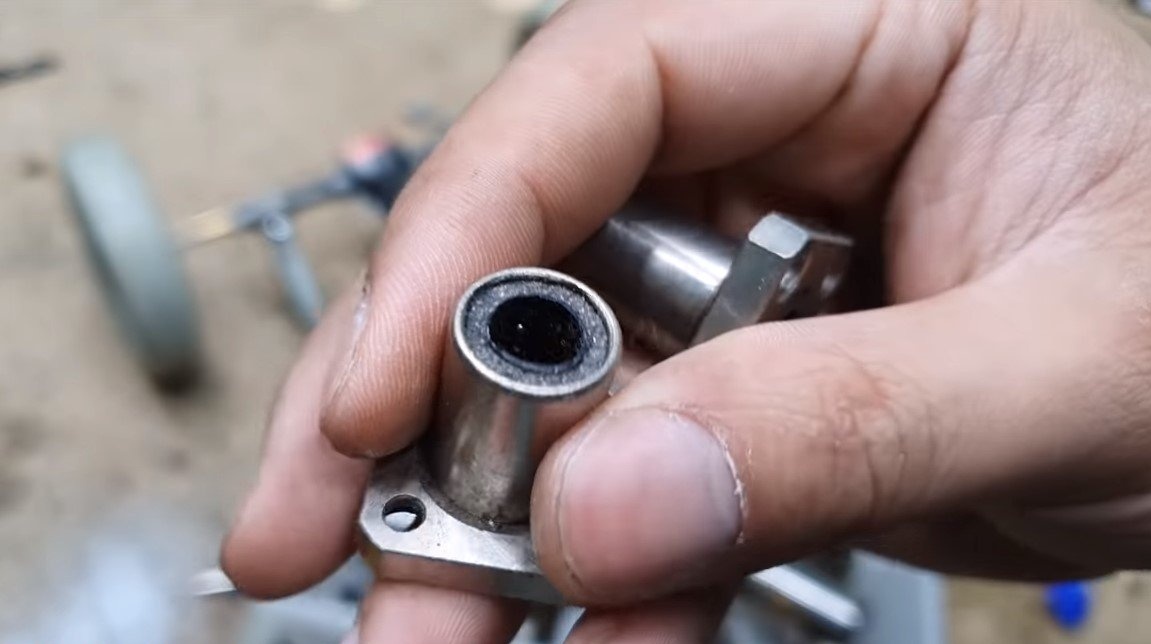
Step one. Finalization of driving wheels
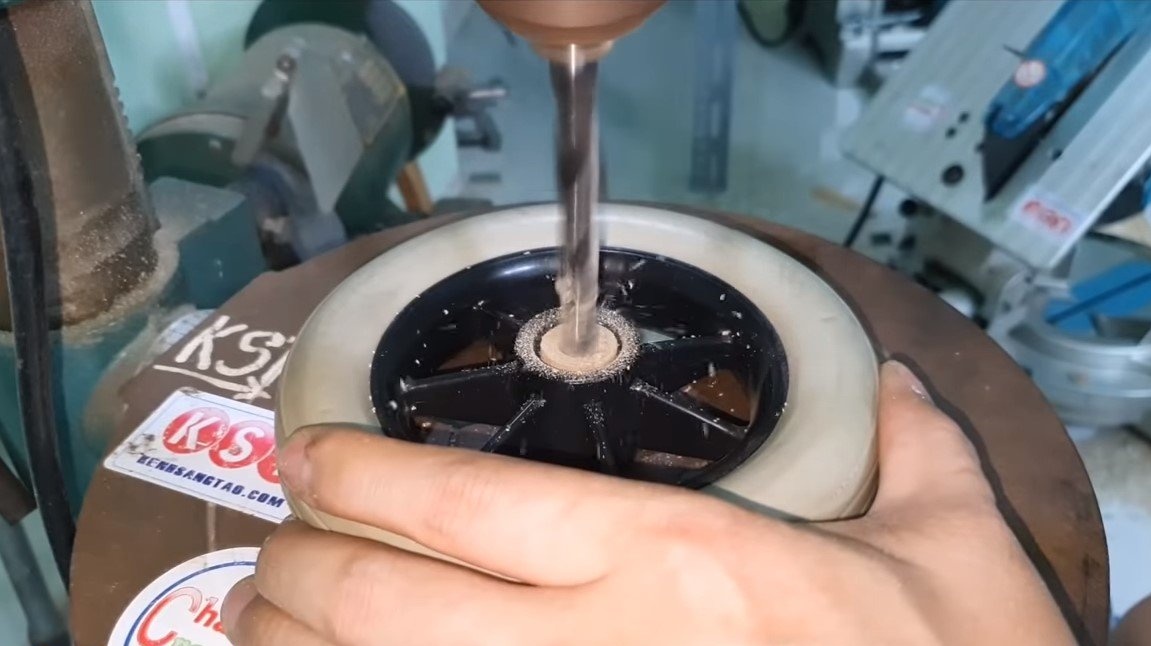
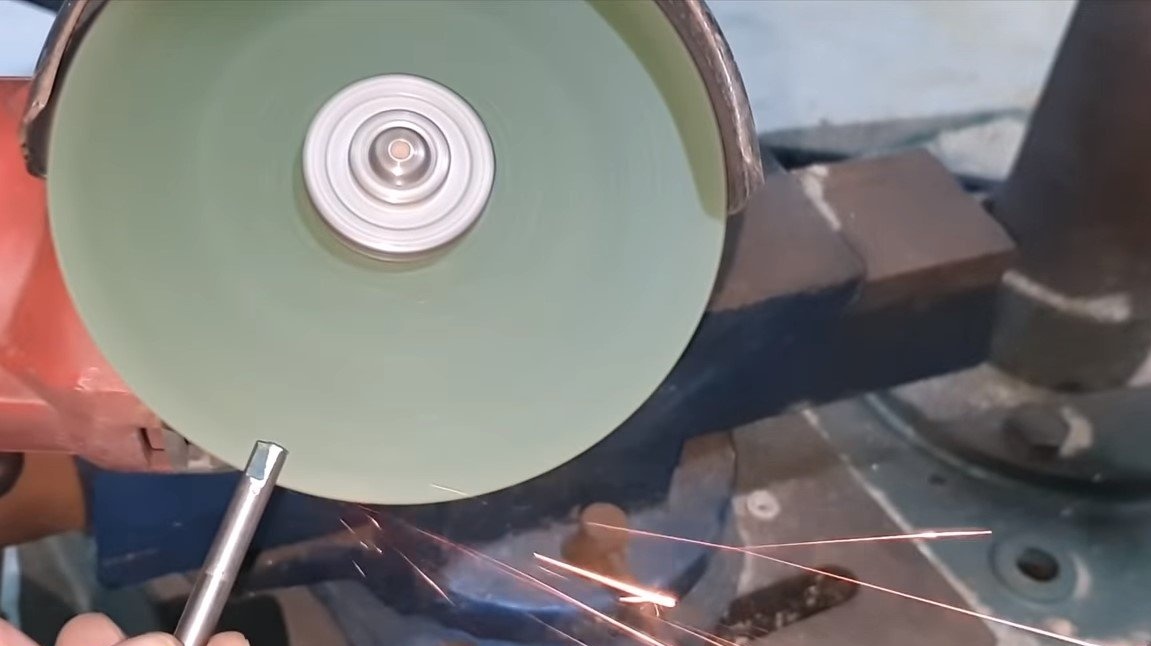
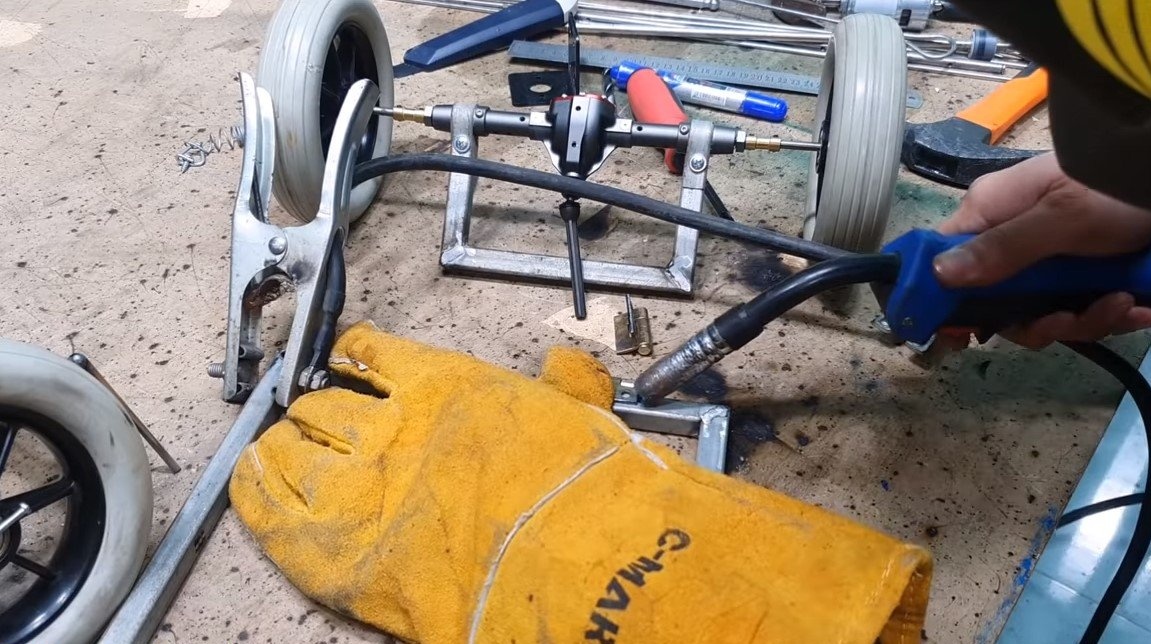
We have wheels from the cart or the like, we need to somehow install them on the axis of the rear axle. The author has carved the inserts into the holes of the wheels with the help of a grinder and a drilling machine, and then we insert the inserts into the wheels with glue. As a result, we drill holes in wooden inserts and paste steel axes there. To prevent the axles from turning, with the help of a grinder we make primitive splines on them, and we glue everything onto epoxy glue.
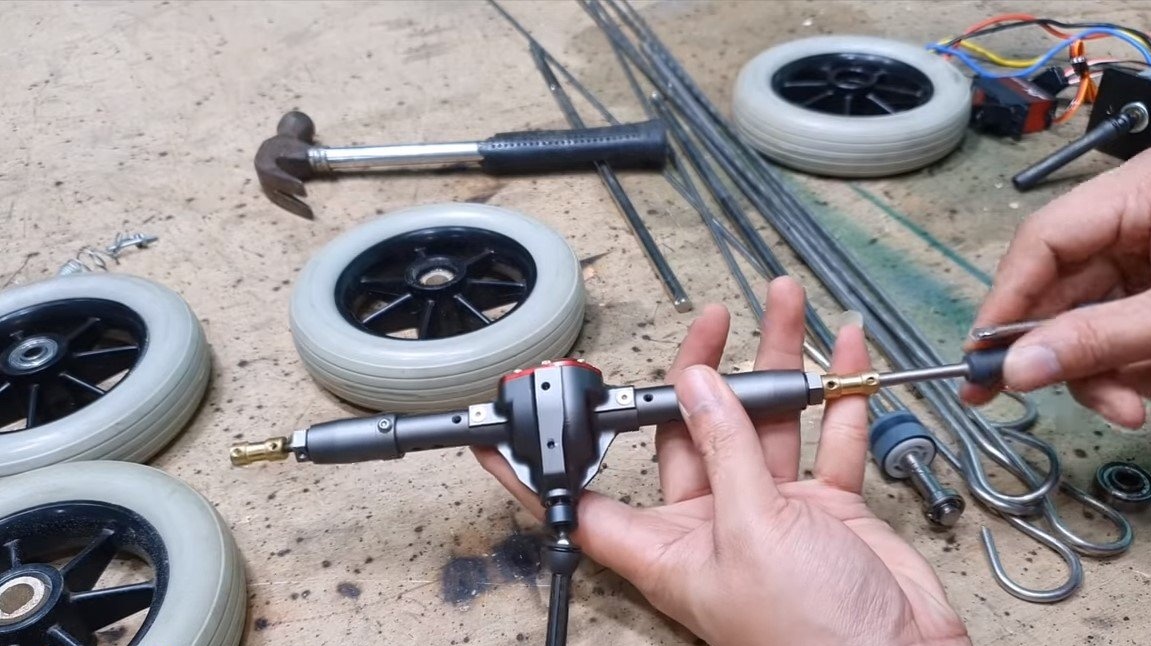
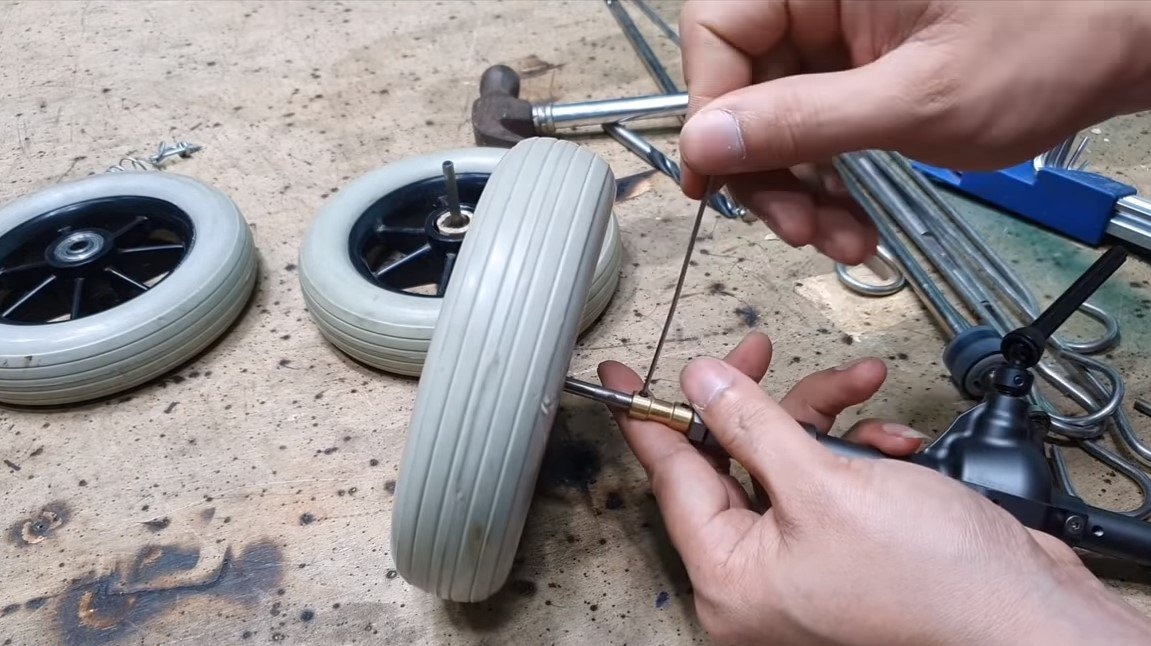
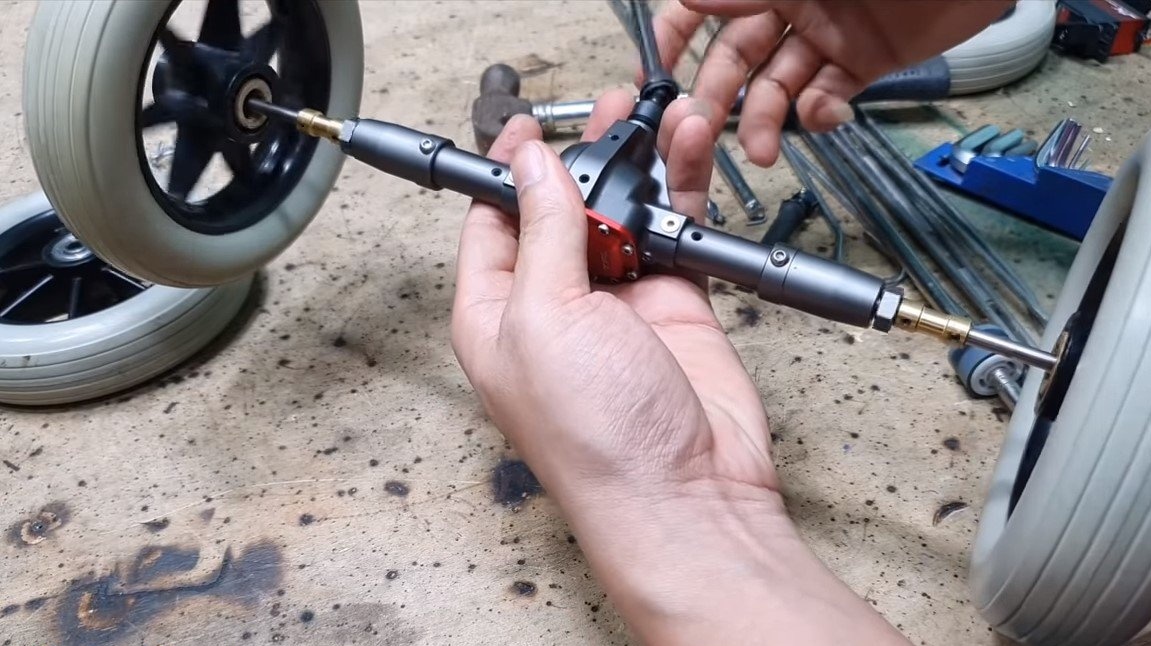
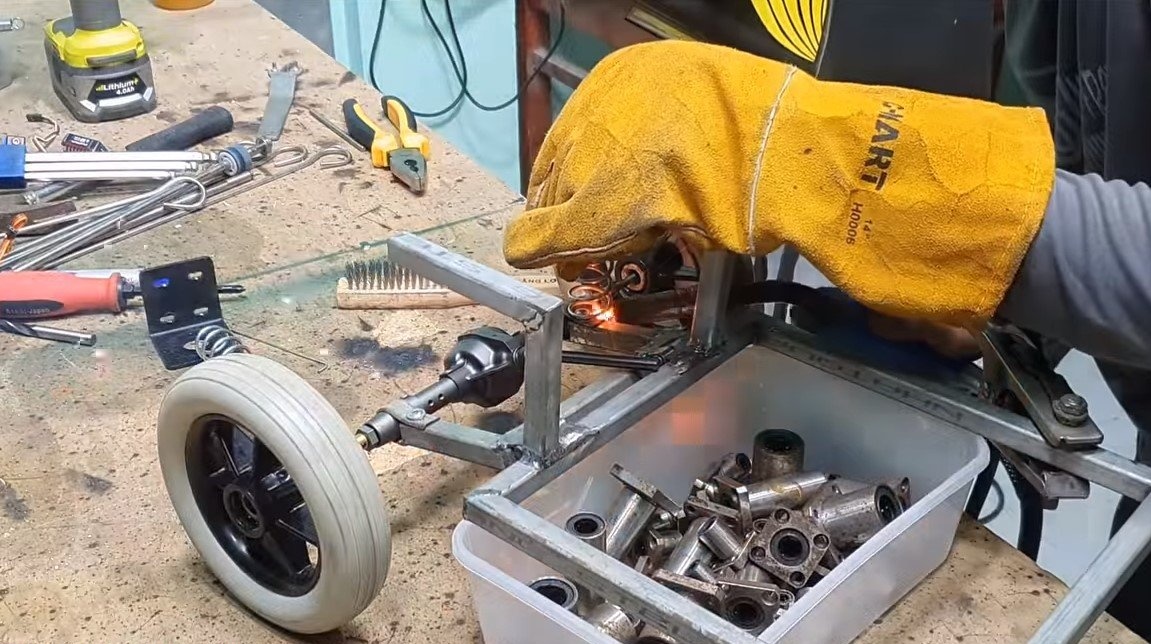
Then the wheels can be put on the bridge, the author connected them through brass couplings. As a result, we expanded the rear axle, which will positively affect the stability of the machine.
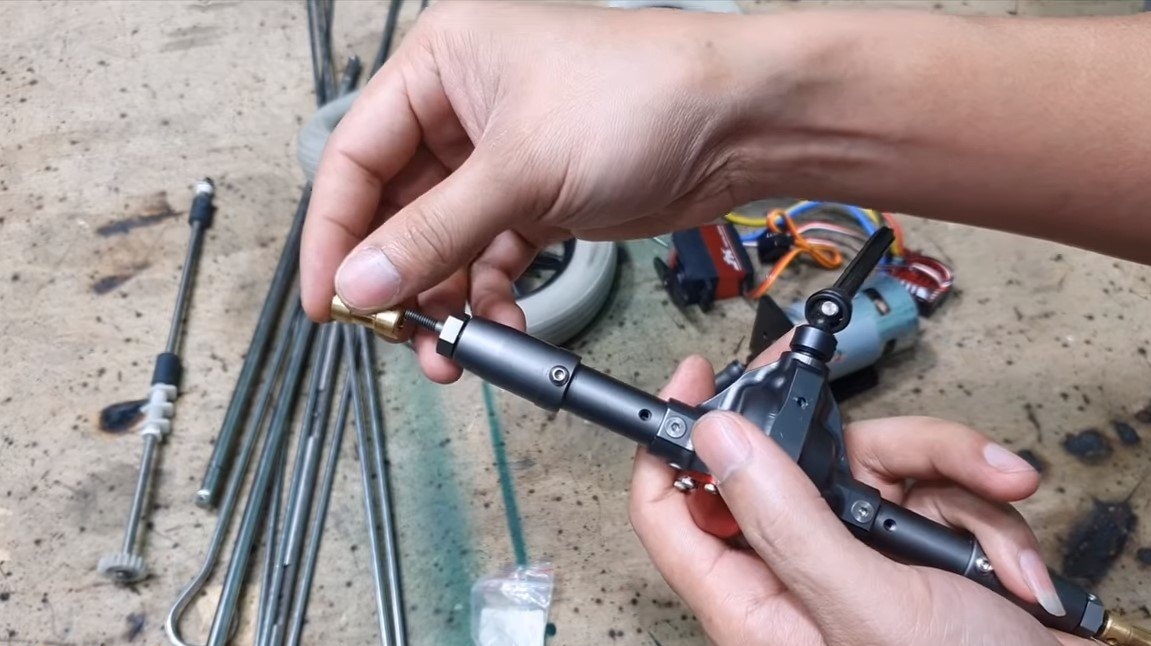


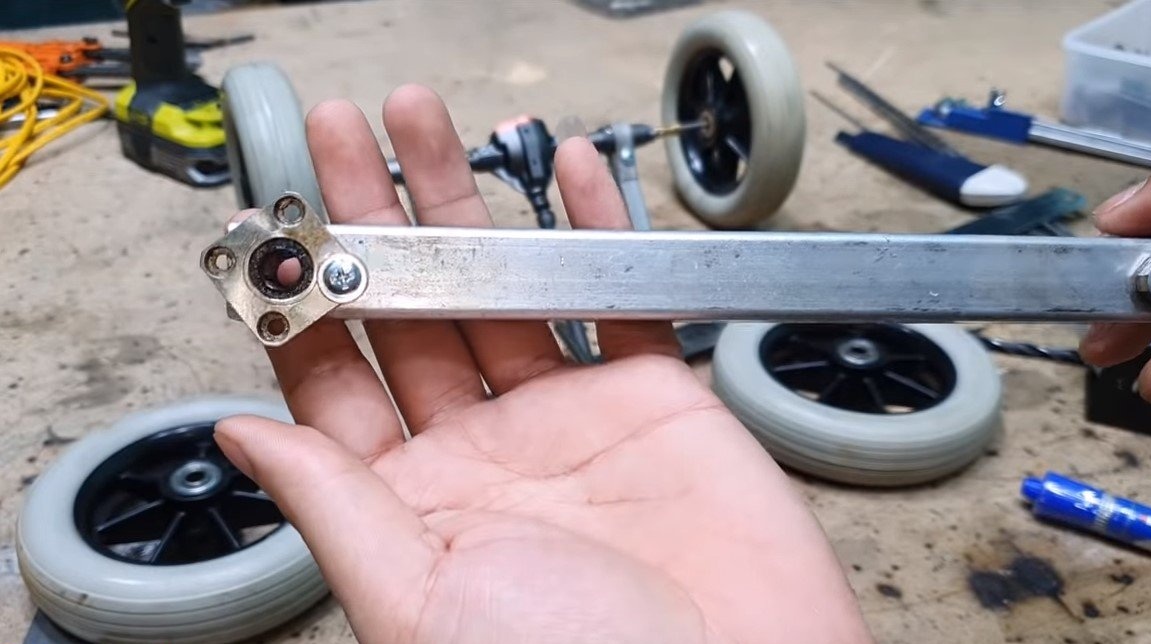
Step Two Rear end
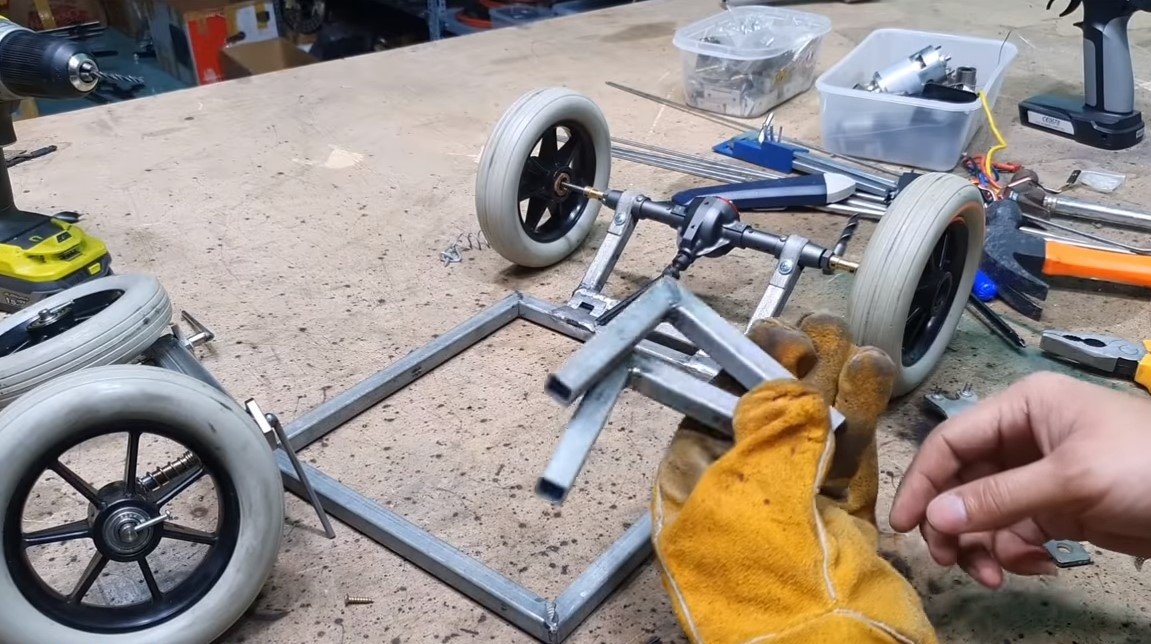
We assemble from the profile pipes the back of the frame on which the rear axle will be installed. As a material, the author used a square profile pipe. To attach the frame to the bridge, the author made special clamps, cutting out excess parts from the pipe to make plates. This part will be hinged to the main frame.

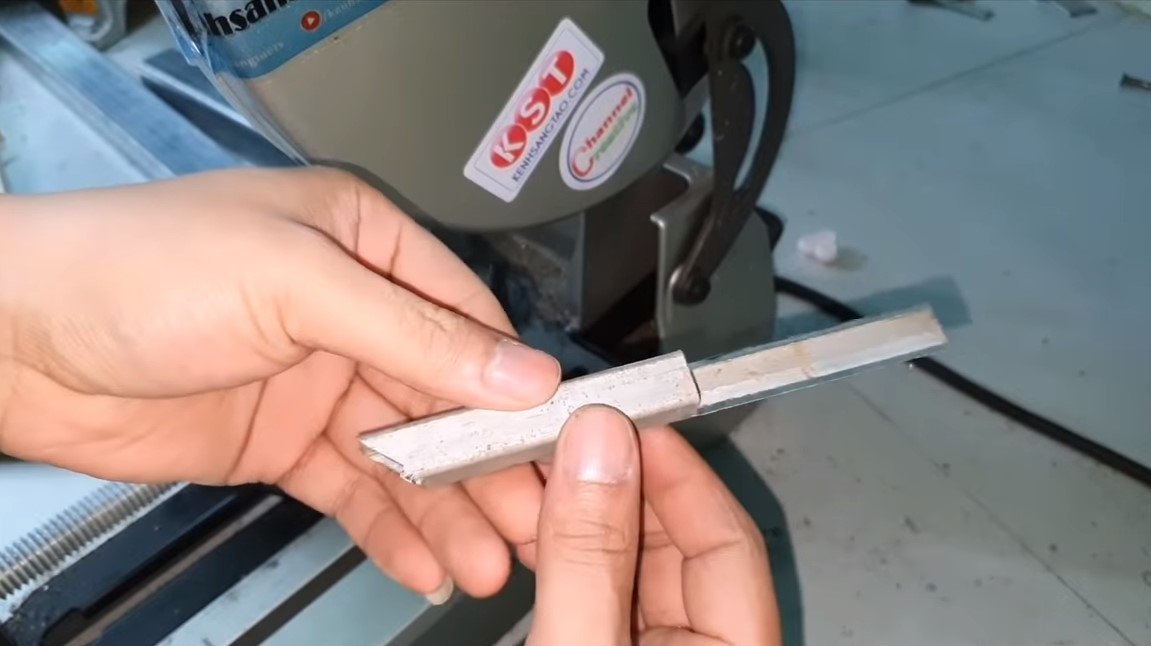


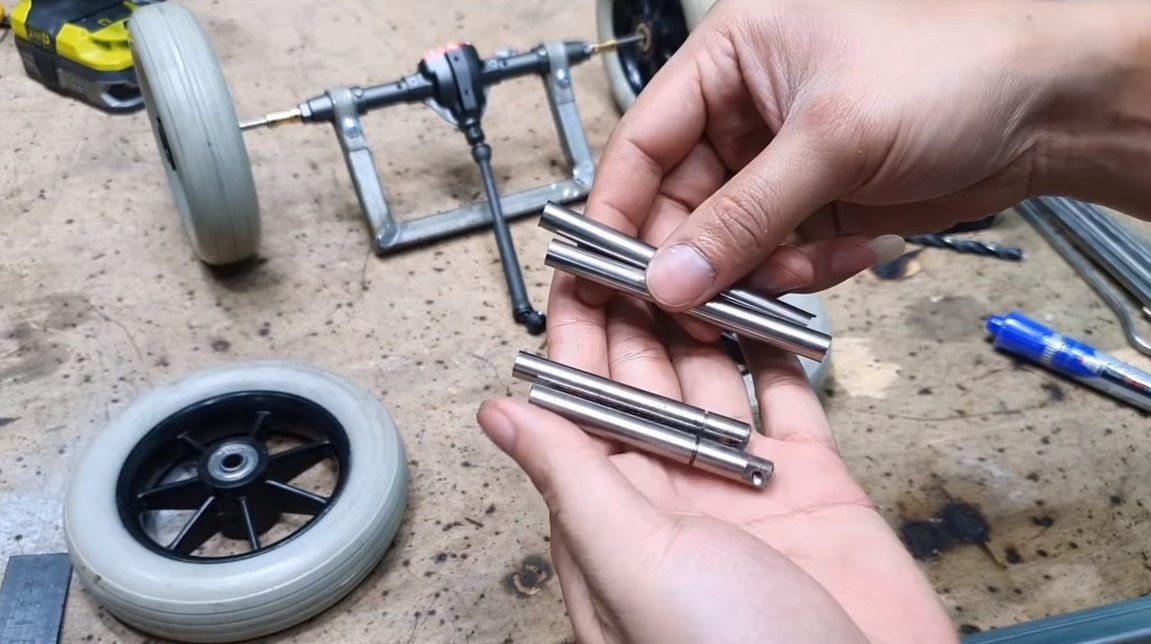
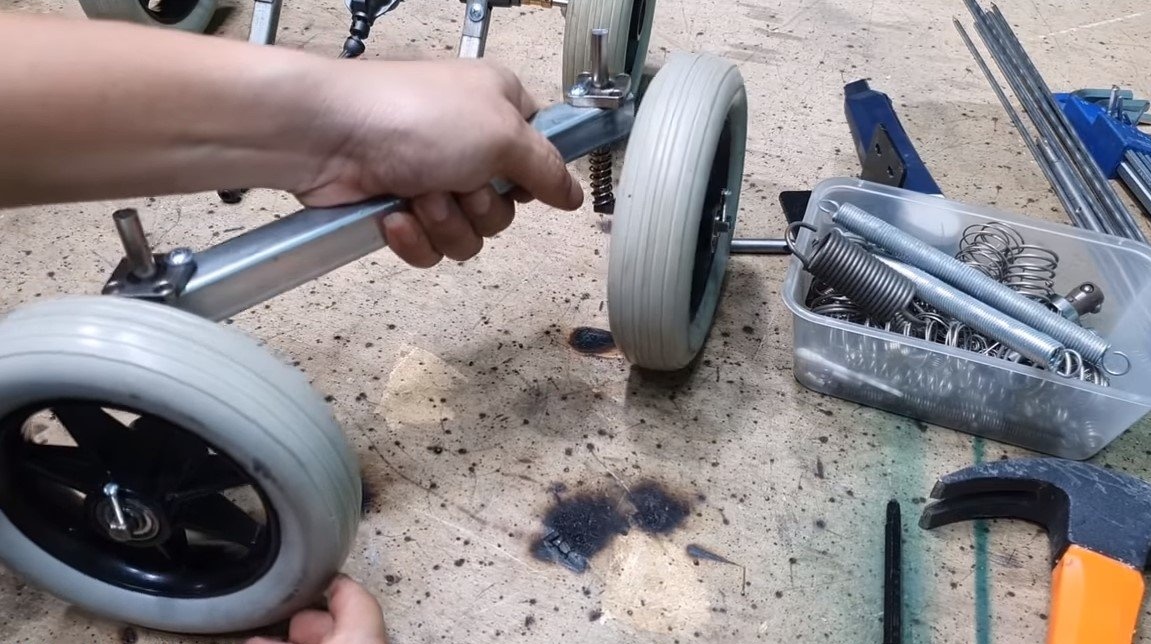
Step Three Front beam
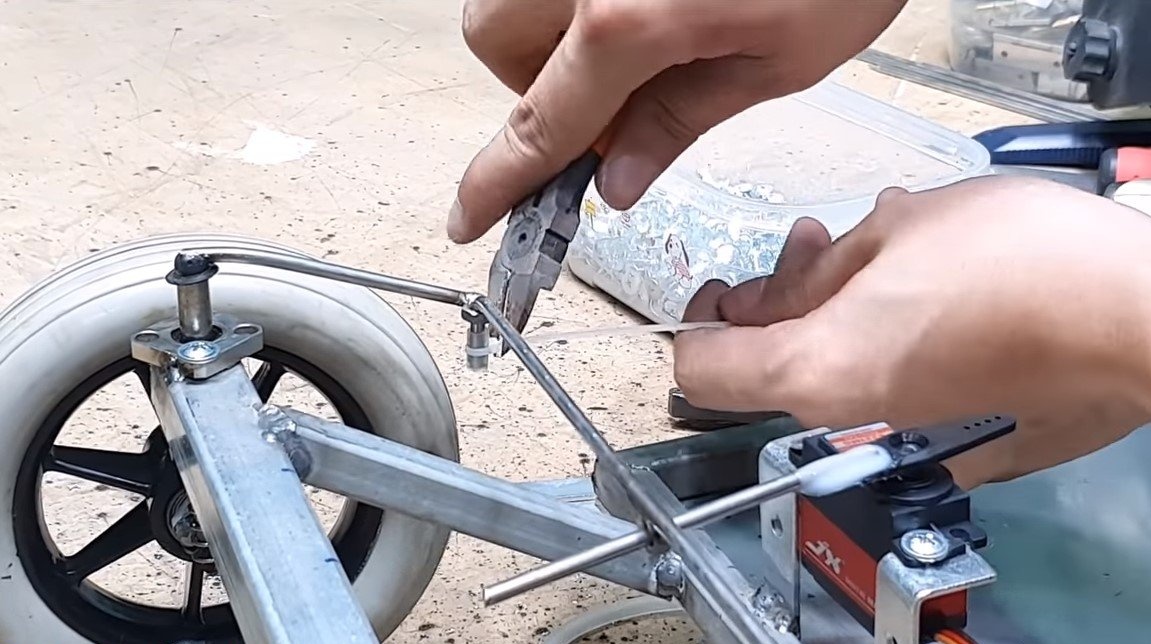
We make the front beam from a piece of the profile pipe, put linear bearings on the ends of the beam.We weld steel axles perpendicular to the axles of the wheels and put springs on them, insert the axles into linear bearings. It remains to weld the tie rods to the ends of the eyes.


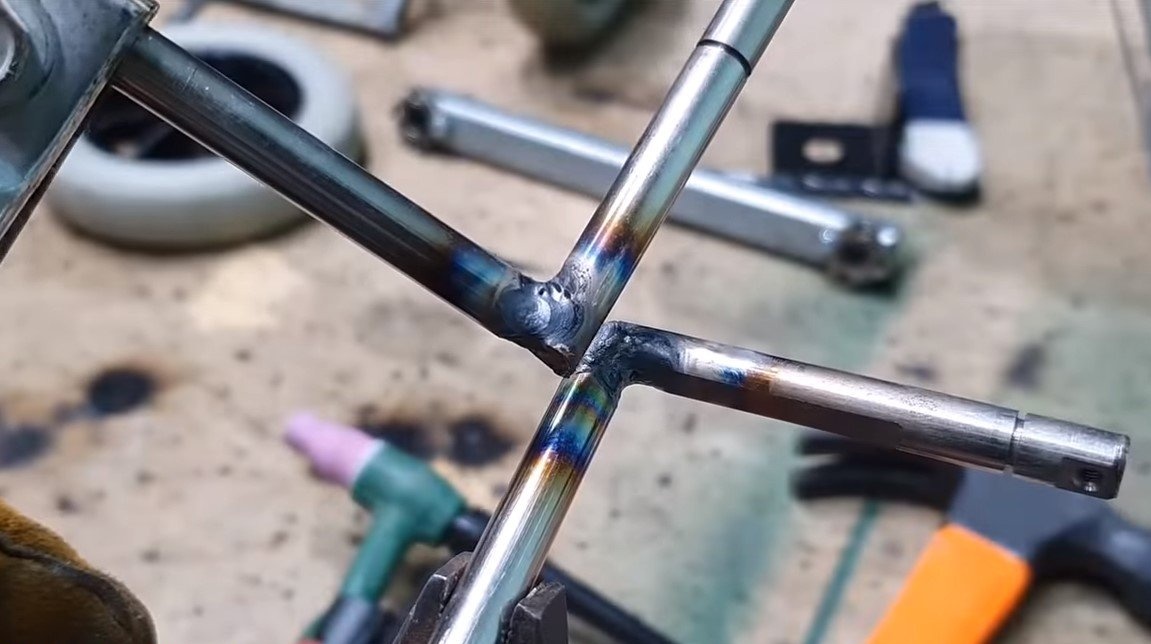

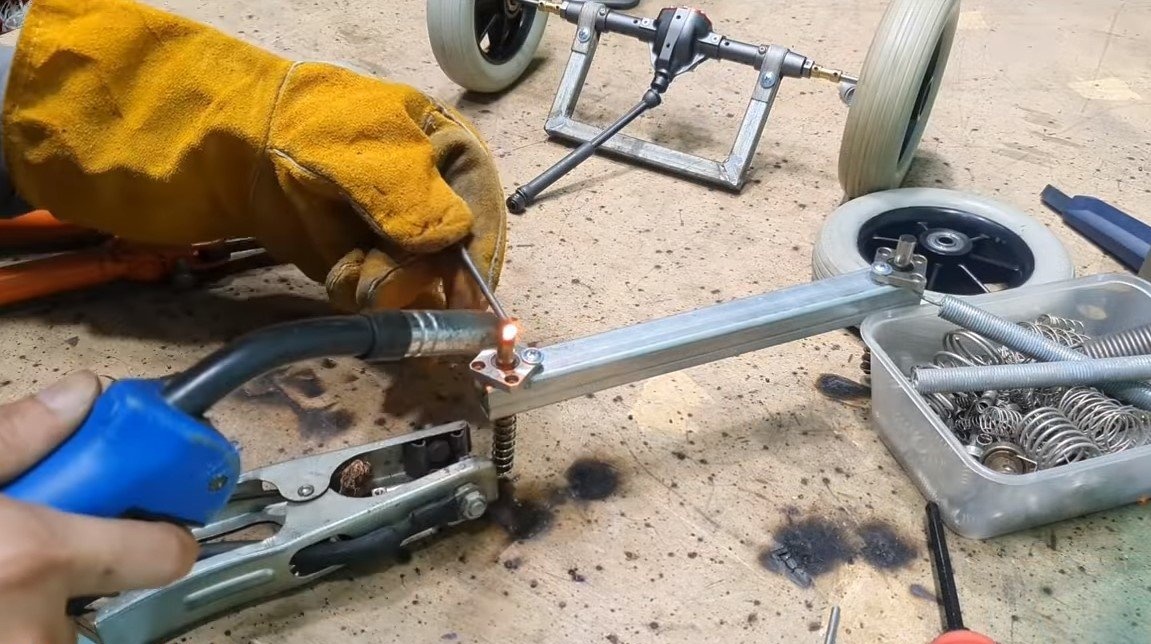
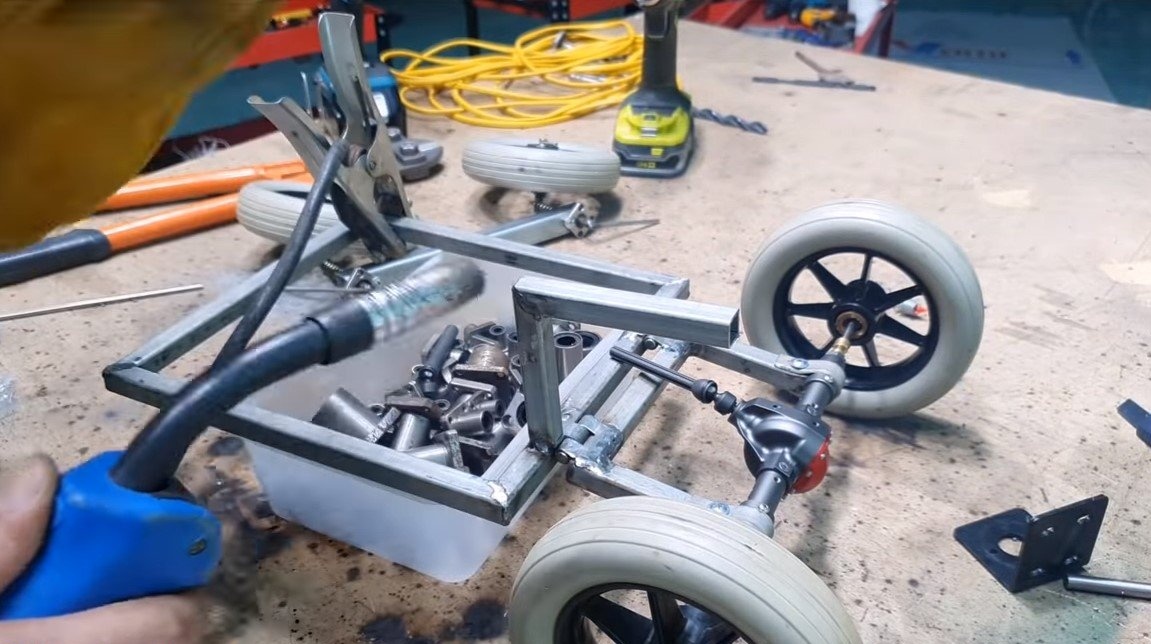
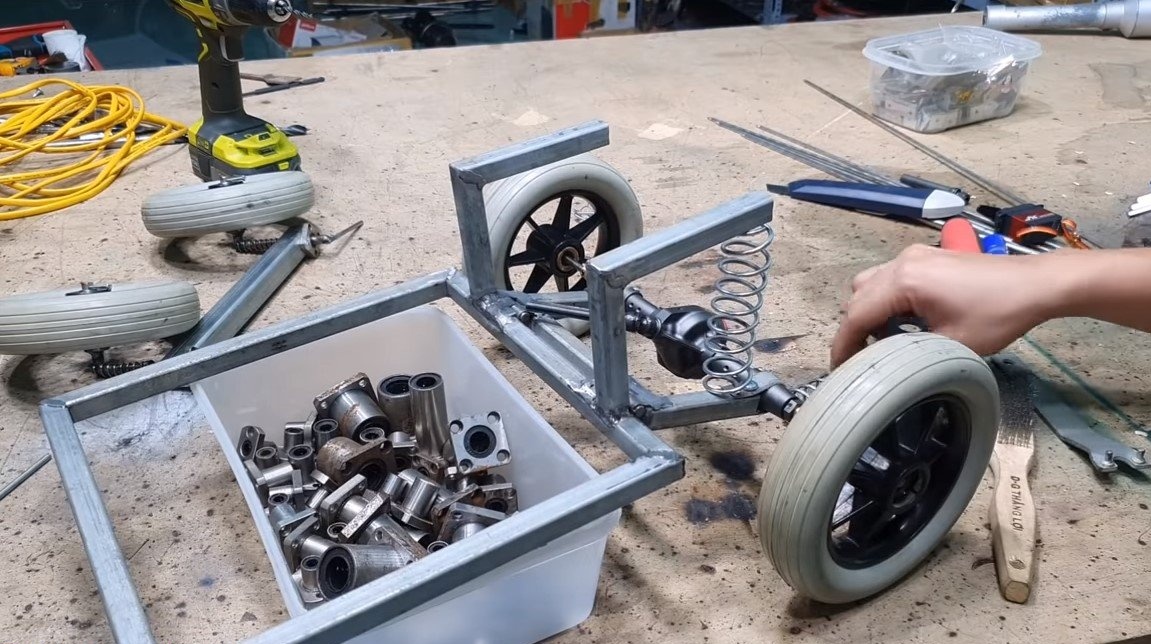
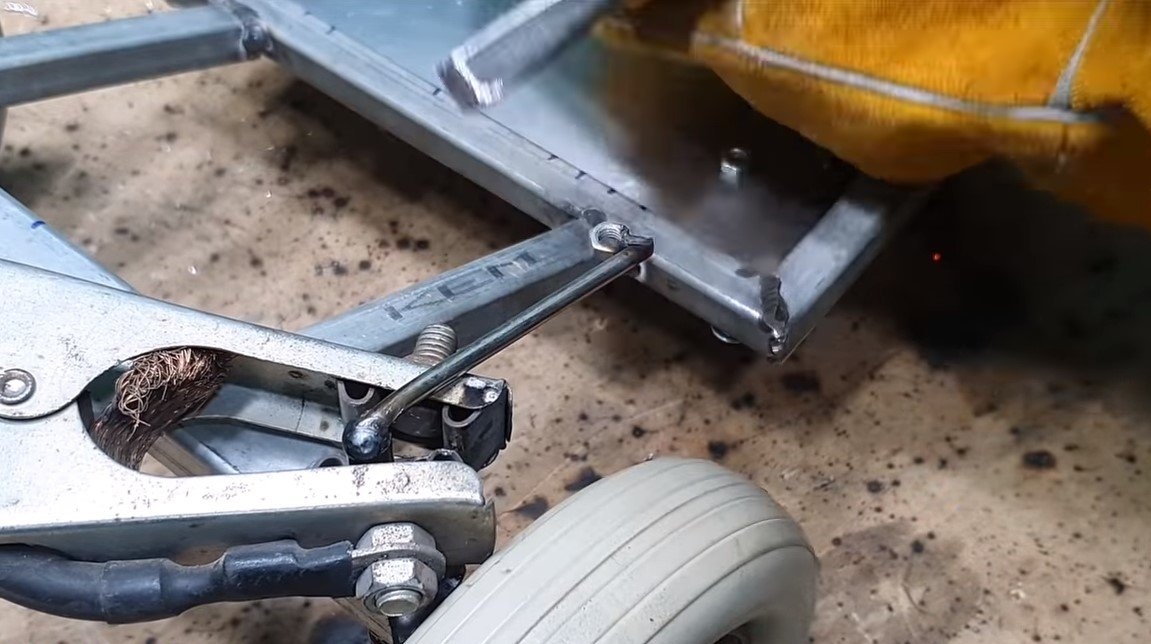
Step Four Frame and suspension assembly
We weld the rest of the frame from profile pipes. We attach the rear “fork” with the bridge hinged to the main frame. You can use door hinges as a hinge. We weld the spring support in the back and install the rear suspension springs. The author simply welded the ends of the springs to the frame.
At the end, we fasten with screws or weld the bottom of thin sheet metal.


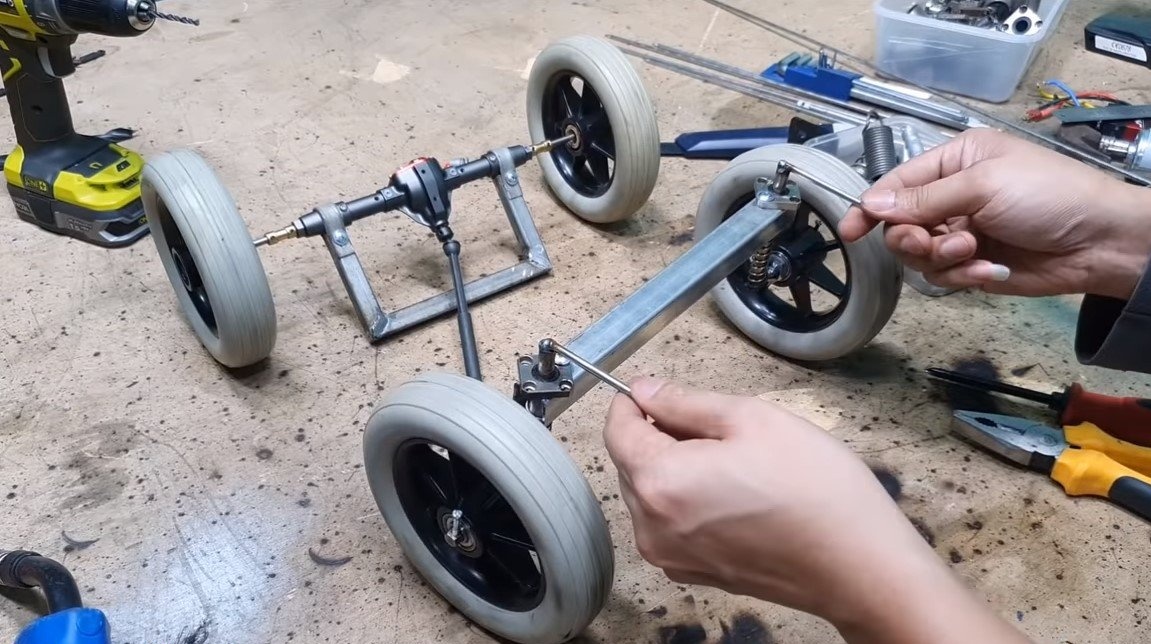
Step Five Equipment installation
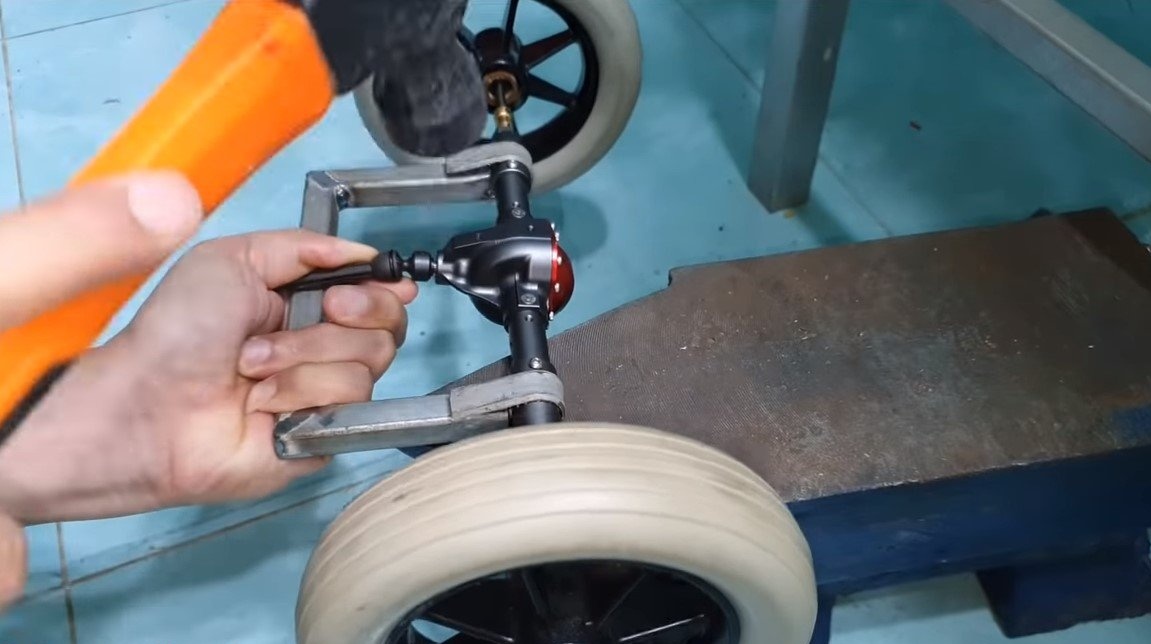
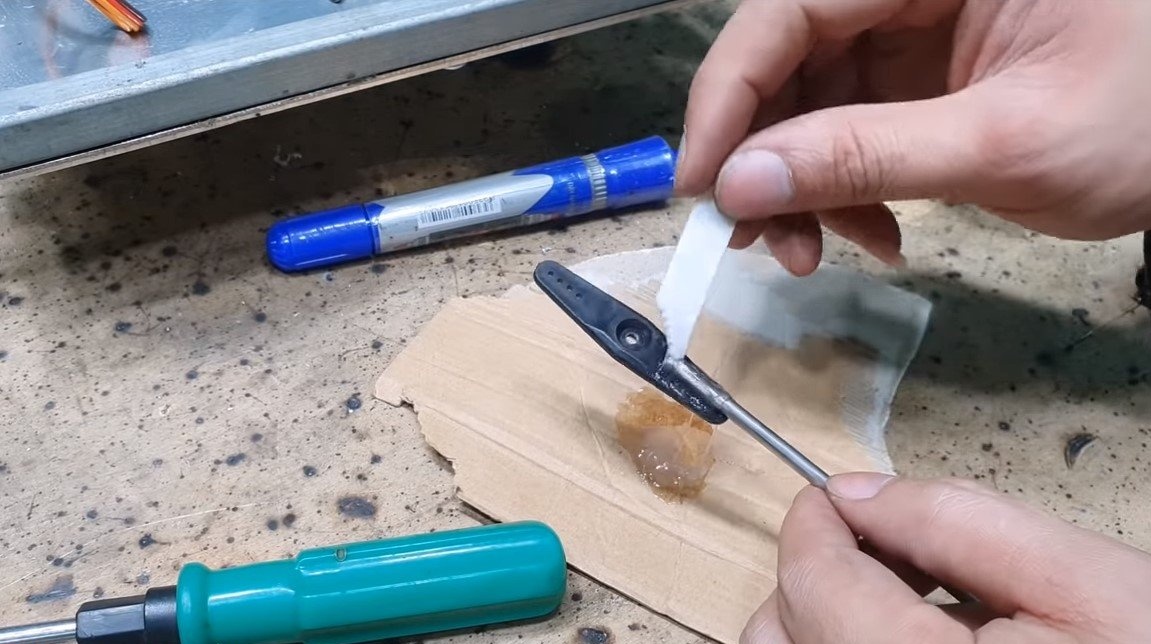
We put the steering lever, which is pivotally connected to the steering rods of the wheels. The author used nuts as hinges. Next, a servo motor drive can be connected to the steering lever. The axis from the servo also goes through the hinge to the steering lever. Servo motor itself auto screwed to two welded mounting corners.

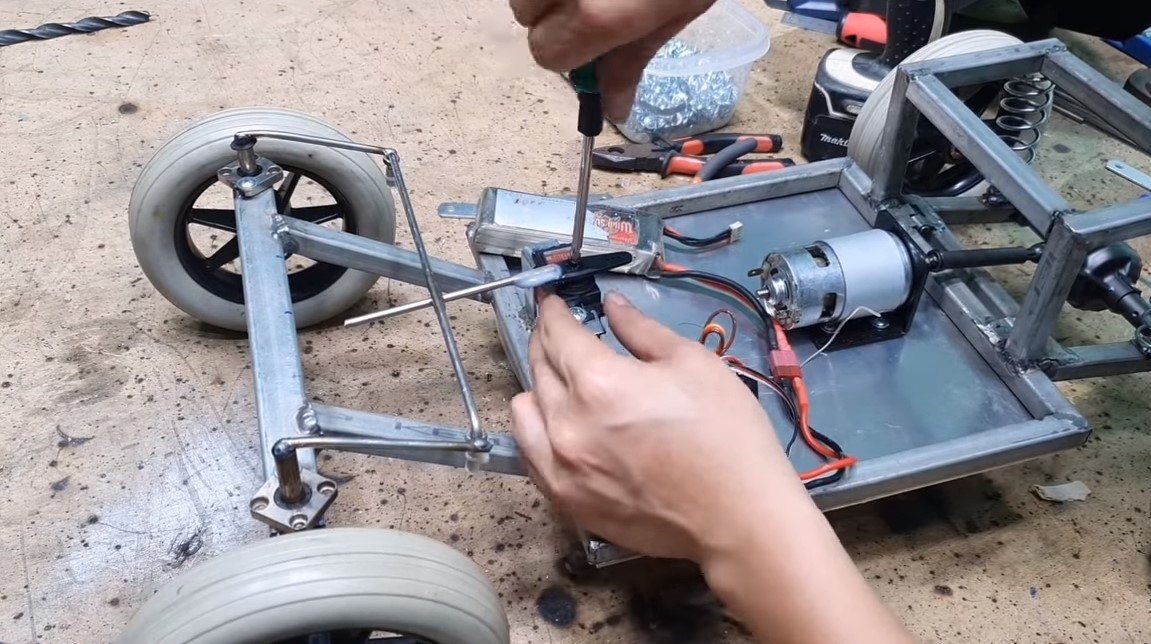
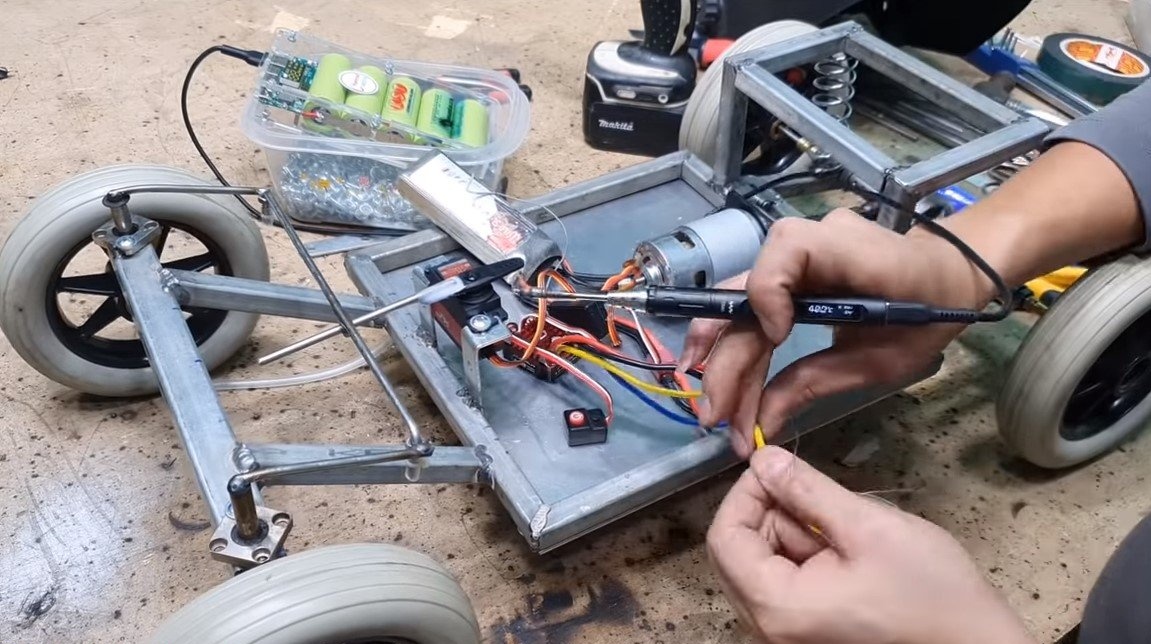
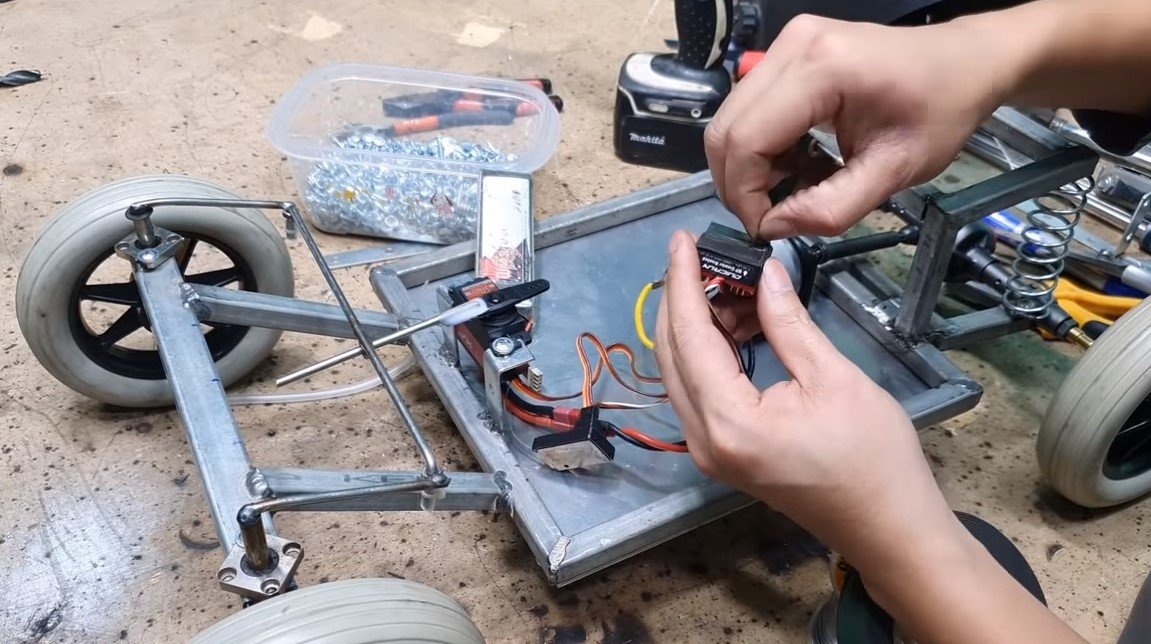
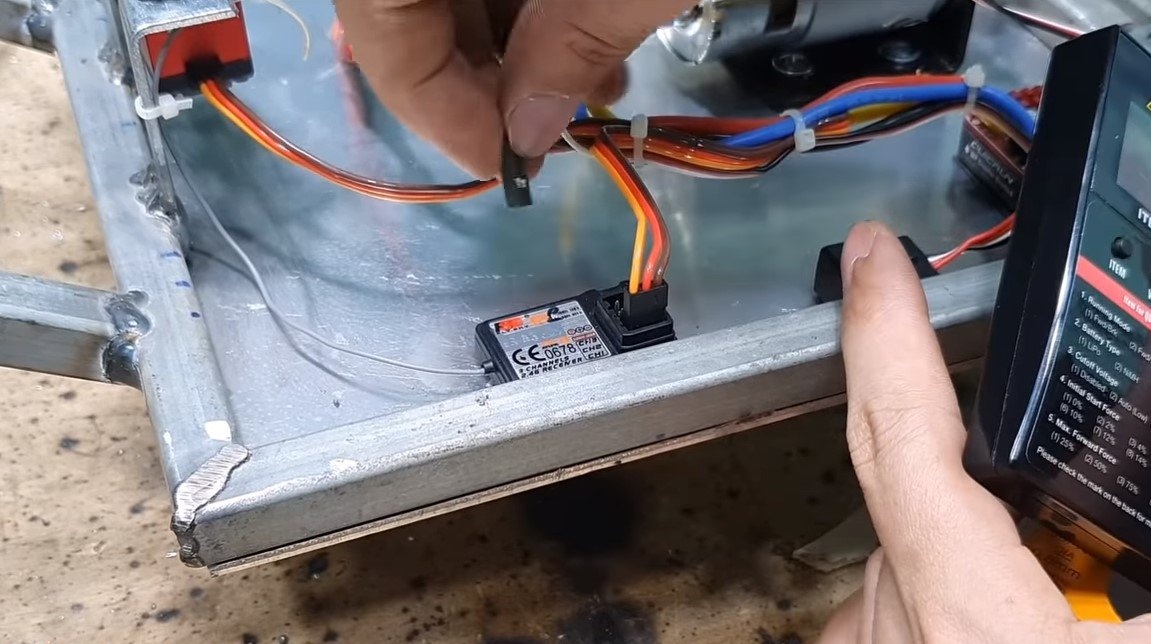
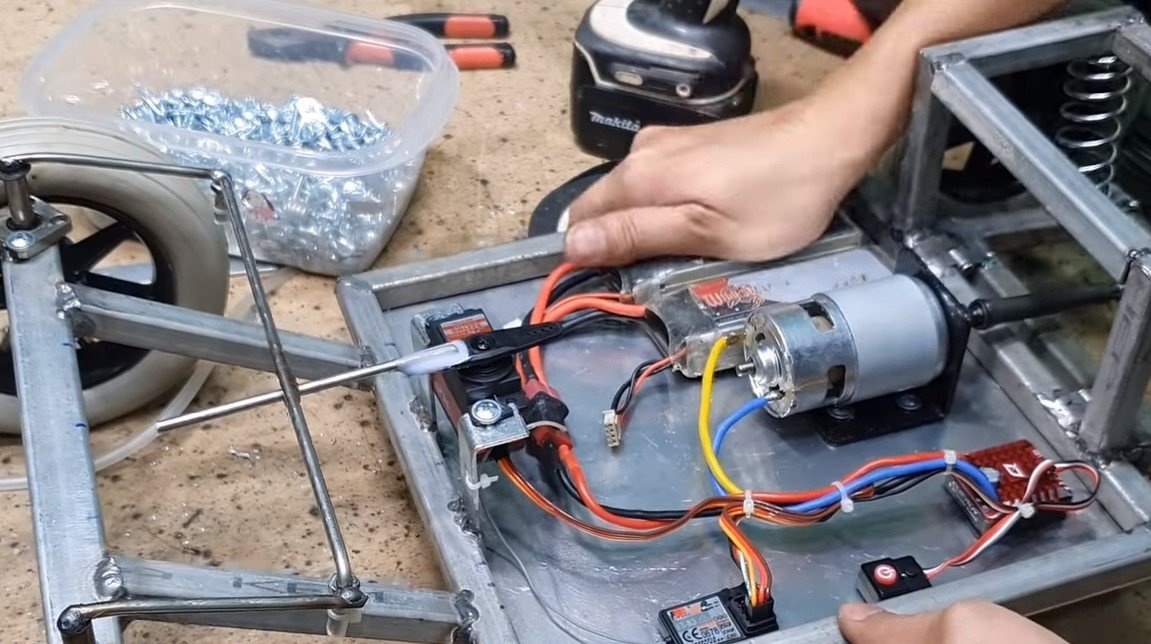

We also install the 775 motor, it is better to choose model more powerful. A metal bracket in the form of a corner was used for fastening. The drive to the rear axle from the motor axis is carried out through the cardan. In the end it will remain to install on the bottom all the necessary electronics and lithium batteries.
Homemade ready. We center the steering wheel, adjust the angles of the servomotor and can be tested. The machine rides quite briskly, it turns perfectly and behaves perfectly on the roads. In the end, it remains only to make an interesting case for the car, it will protect the electronics from dirt and rain. The project is completed on this, I hope you liked the homemade work, and you found useful thoughts for yourself. Good luck and creative inspiration, if you decide to repeat this. Do not forget to share your ideas and homemade things with us!
