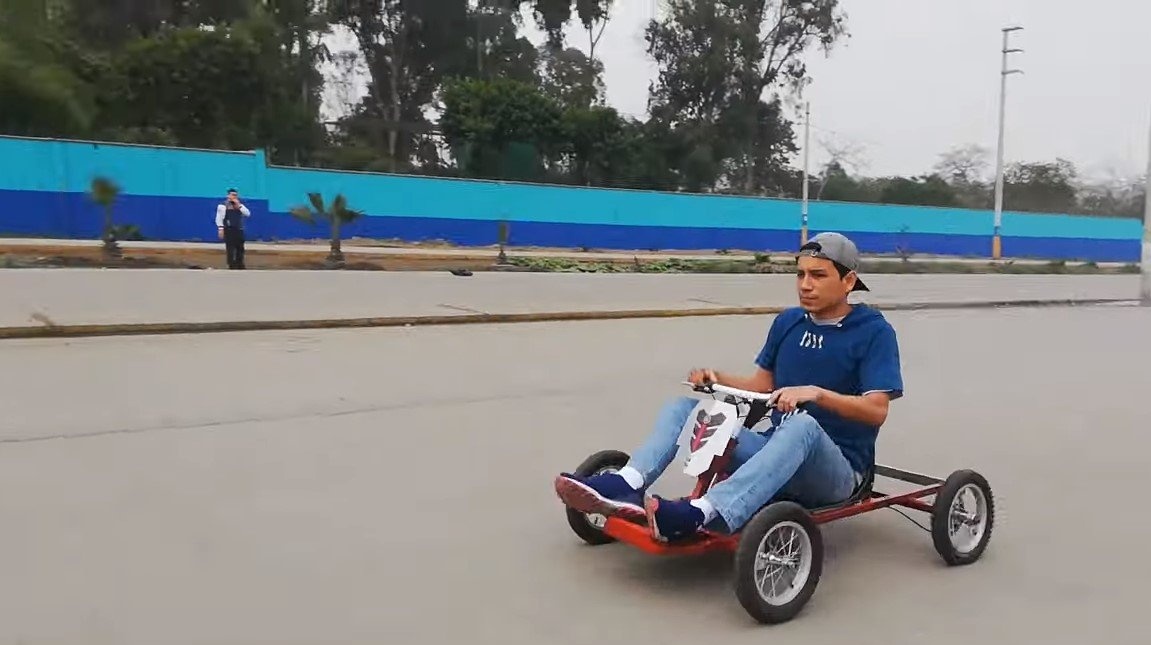
I welcome fans to craft, in this instruction we will look at how to assemble a simple card with a gasoline engine. The drive is carried out on one wheel, the transmission is used chain, bicycle. Such a card will be very interesting for a child, just remember to think about good brakes and child safety. The author welded the frame from profile pipes, in general, the project is not complicated, but has a lot of nuances. If you homemade interested, I propose to read it in more detail!
Materials and tools used by the author:
Material List:
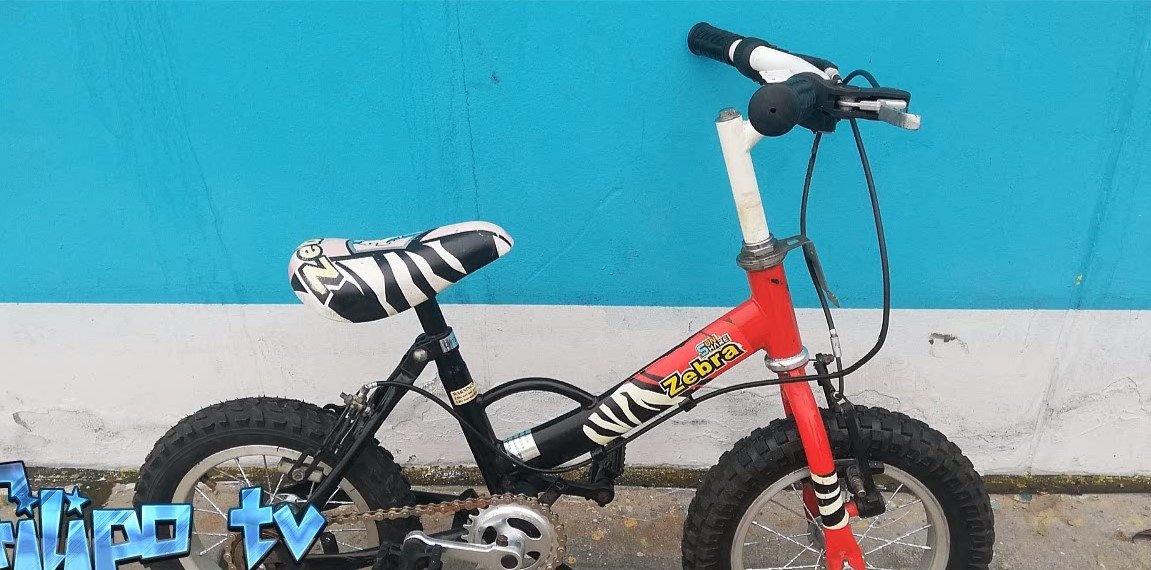
- unnecessary children bike;
- ;
- Sheet steel;
- steering tips or thrusts of suitable length;
- bolts and nuts;
- profile pipes;
- galvanized sheet steel;
- corner;
- round pipes;
- paint and primer for metal;
- throttle handle, wires, etc.
Tool List:
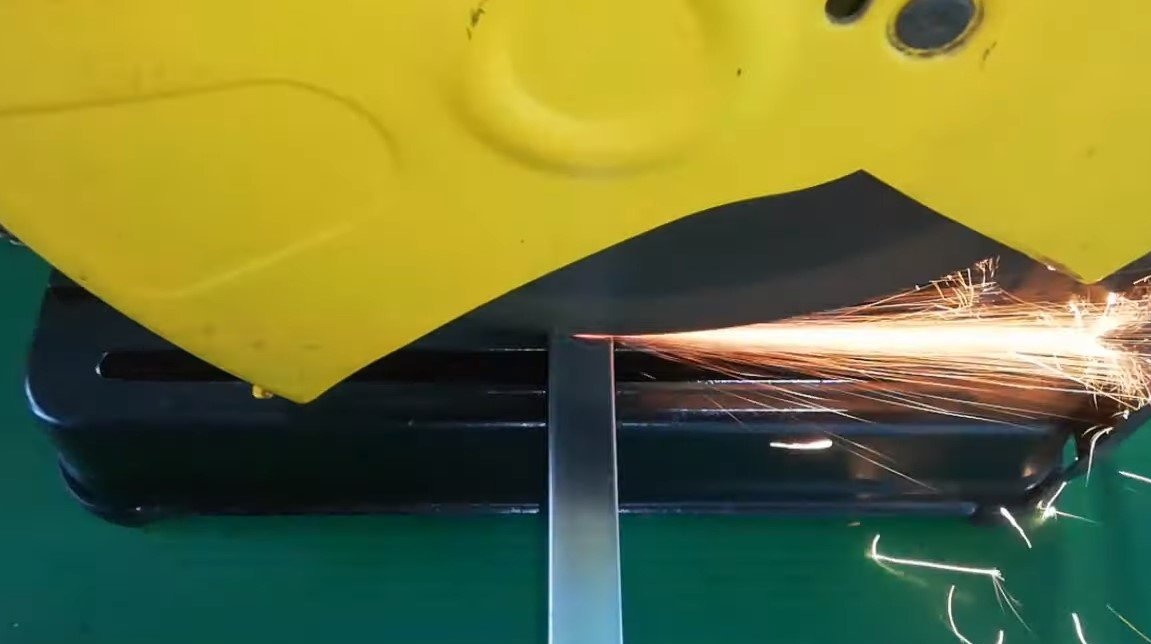
- Miter saw;
- welding machine;
- grinder;
- drilling machine;
- marker, tape measure.
Homemade manufacturing process:
Step one. Frame
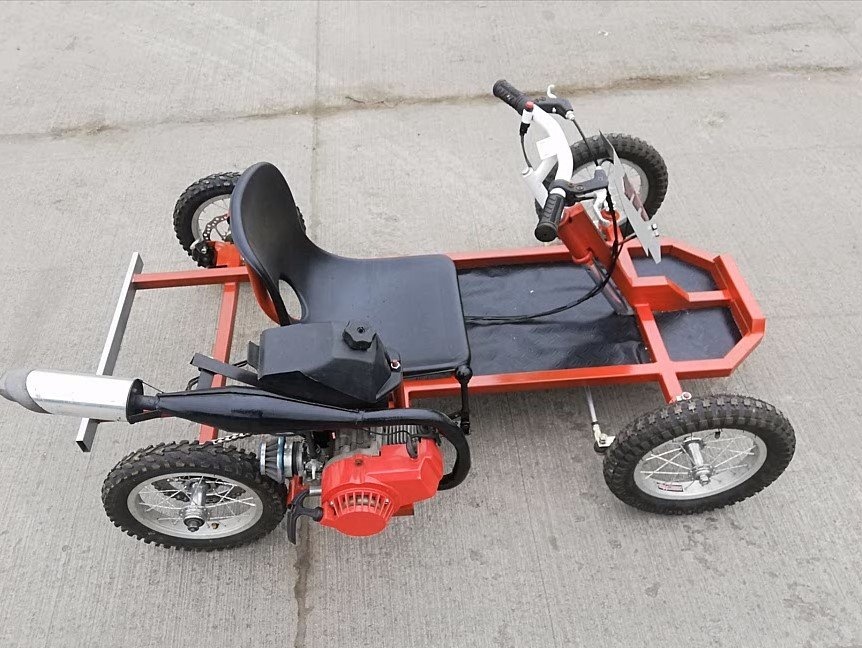
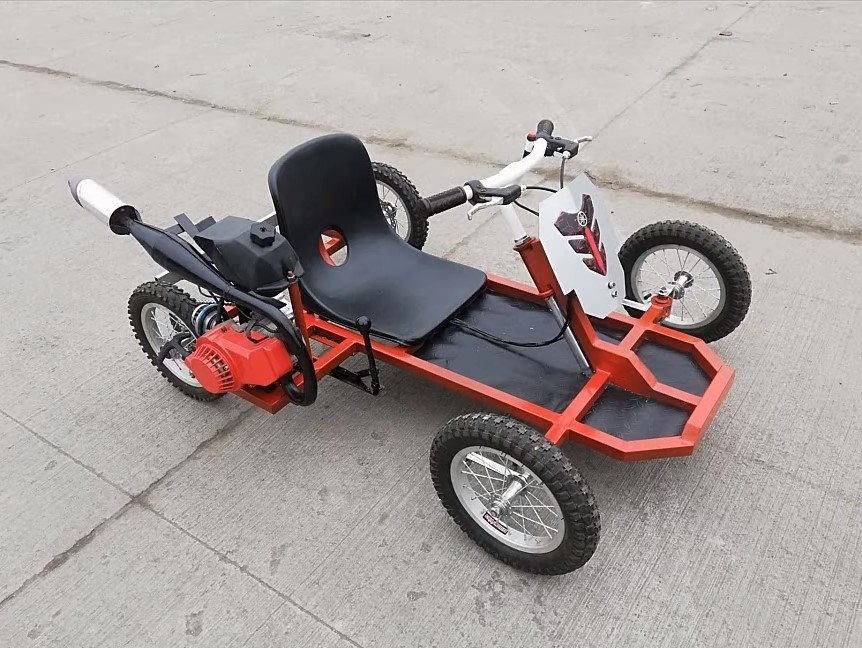
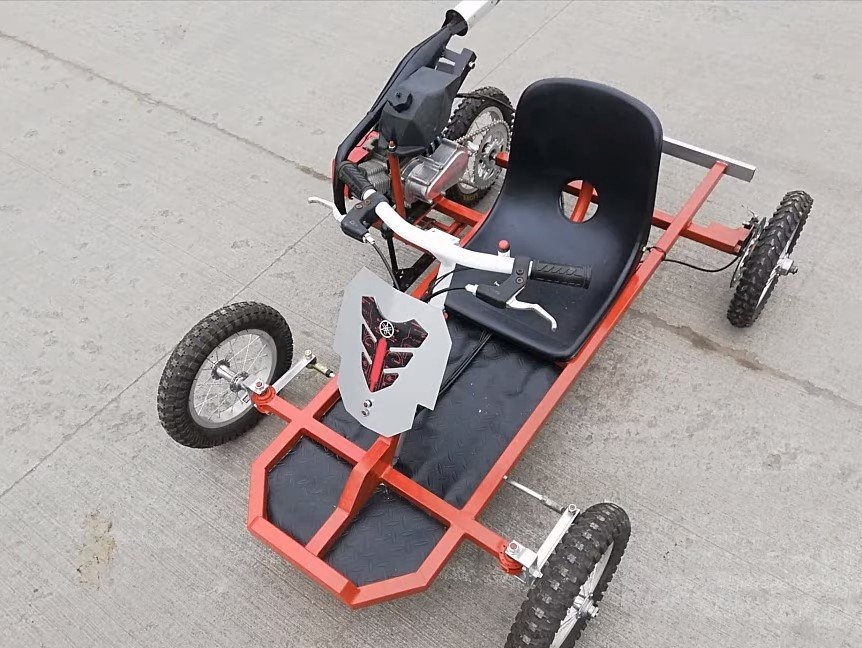
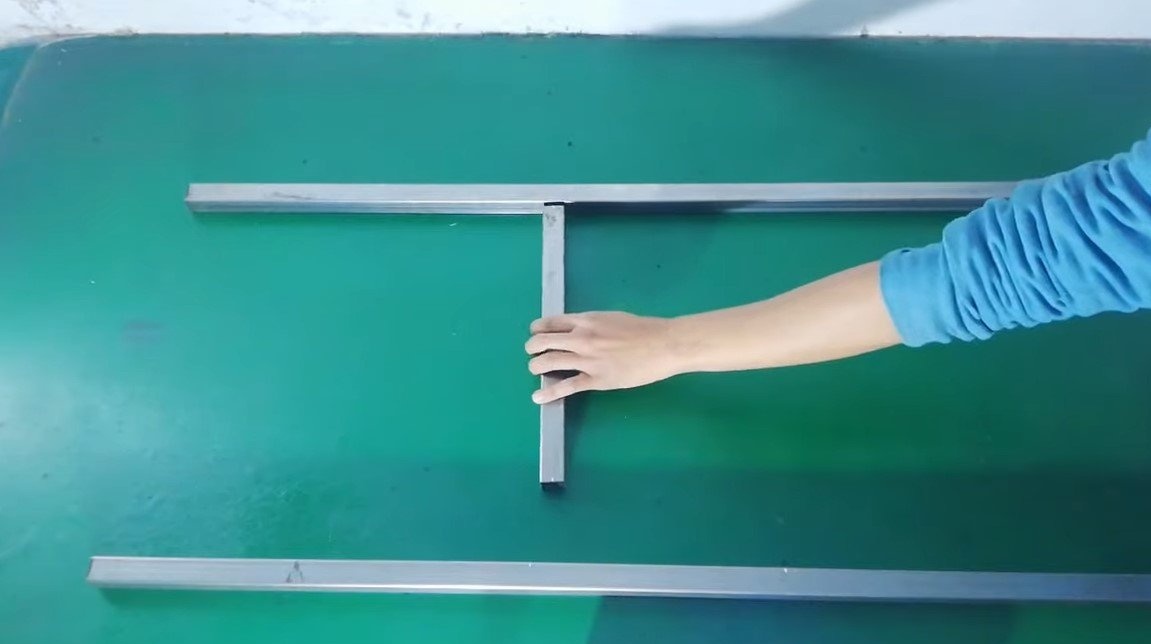
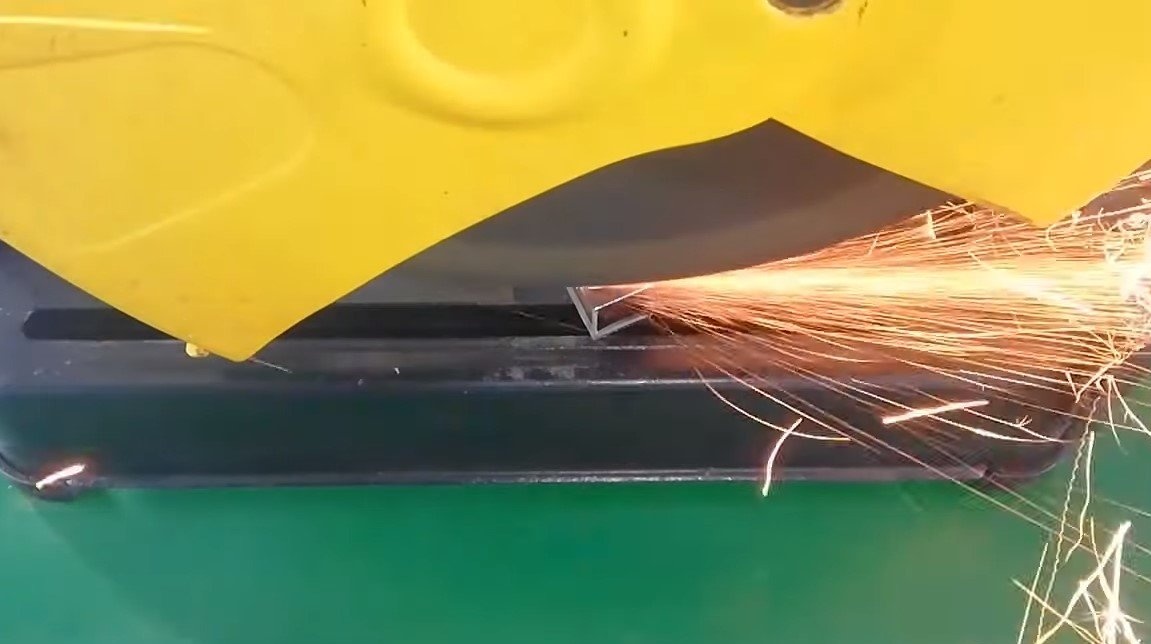
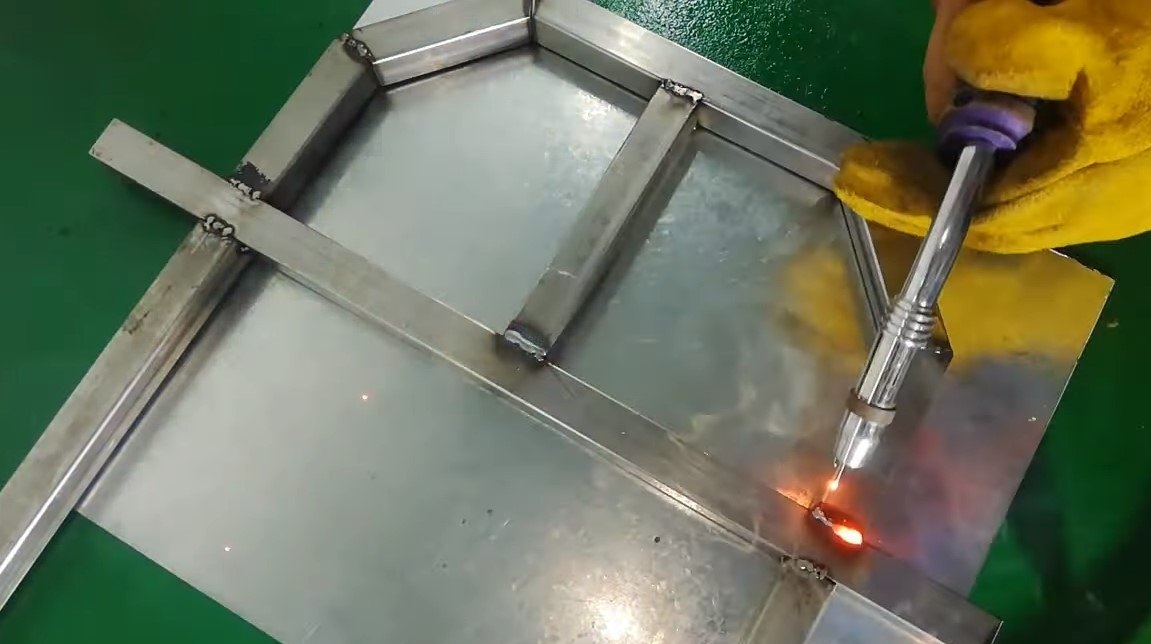
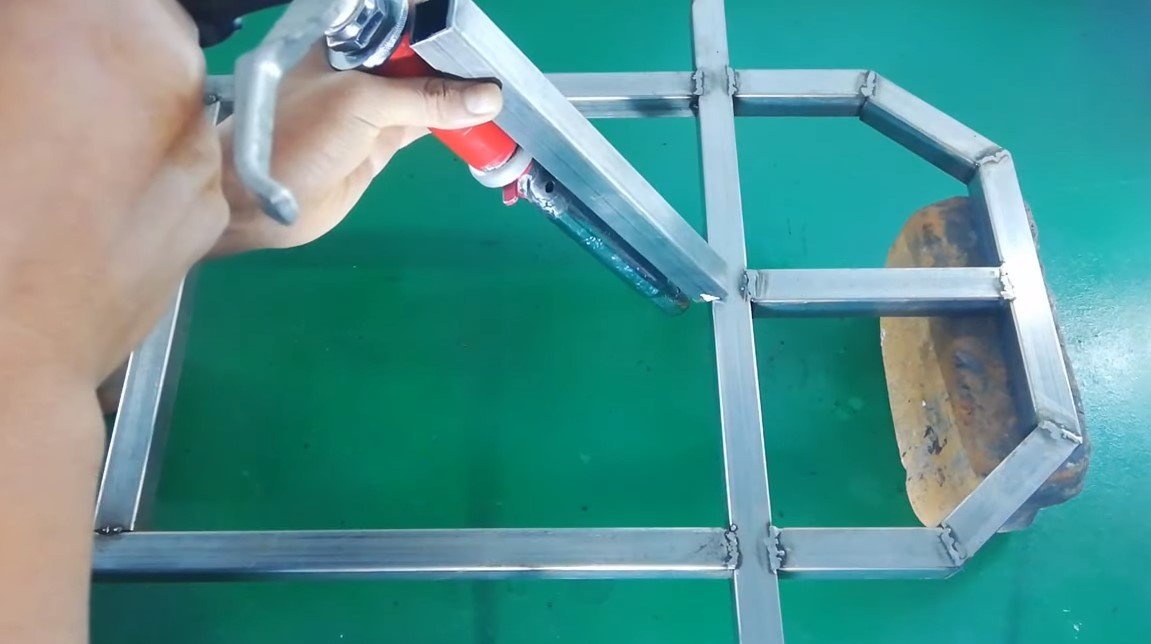
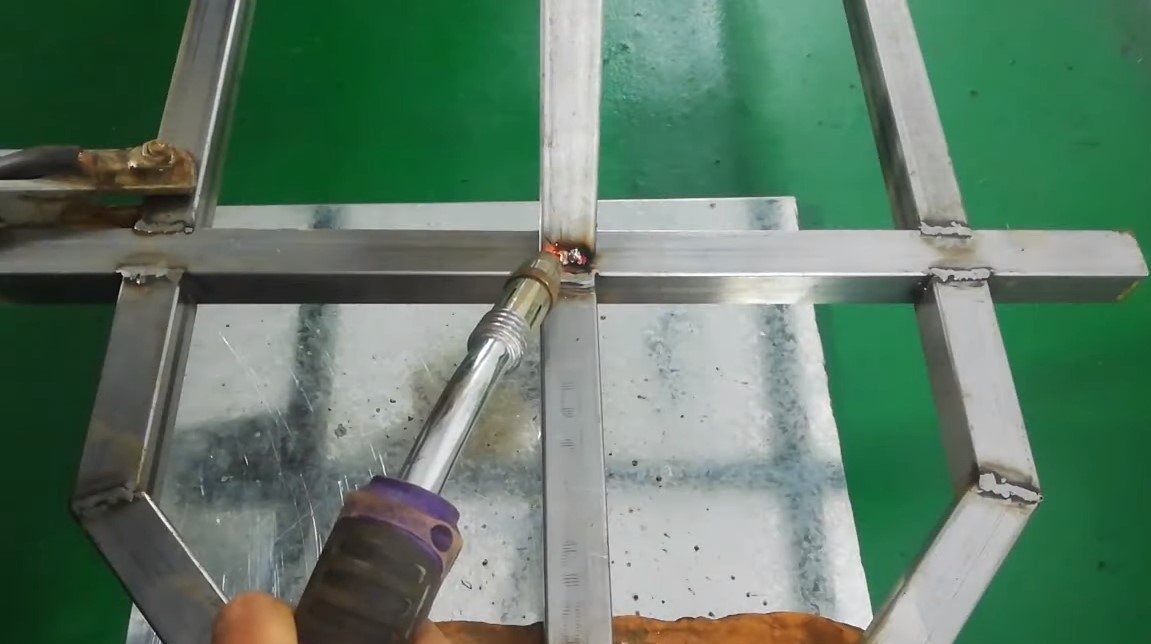
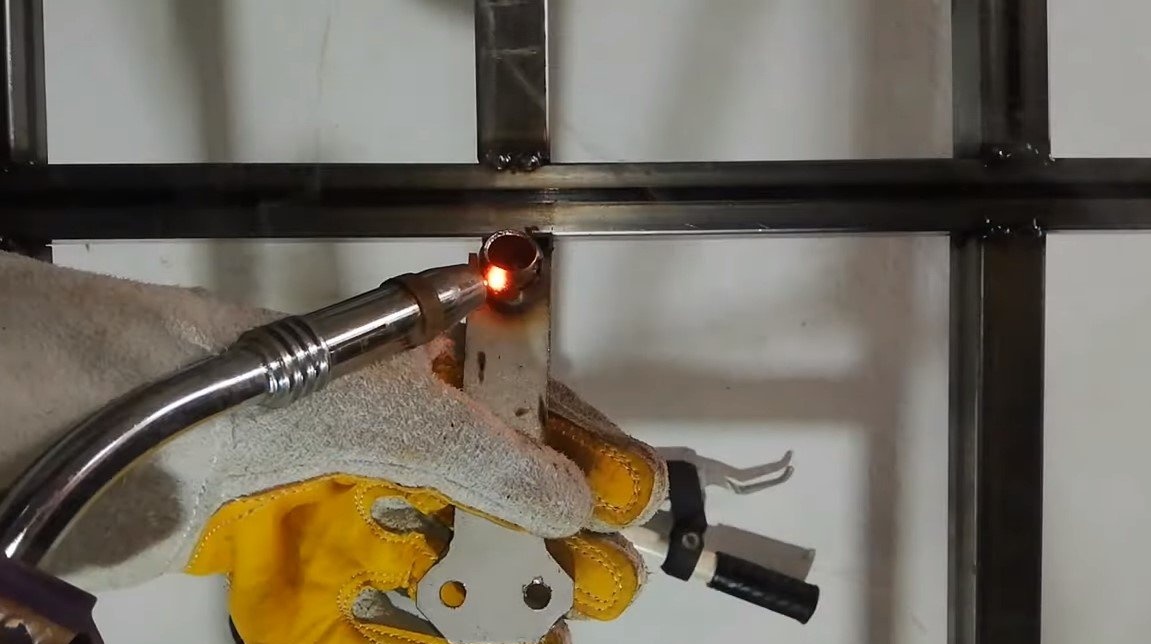
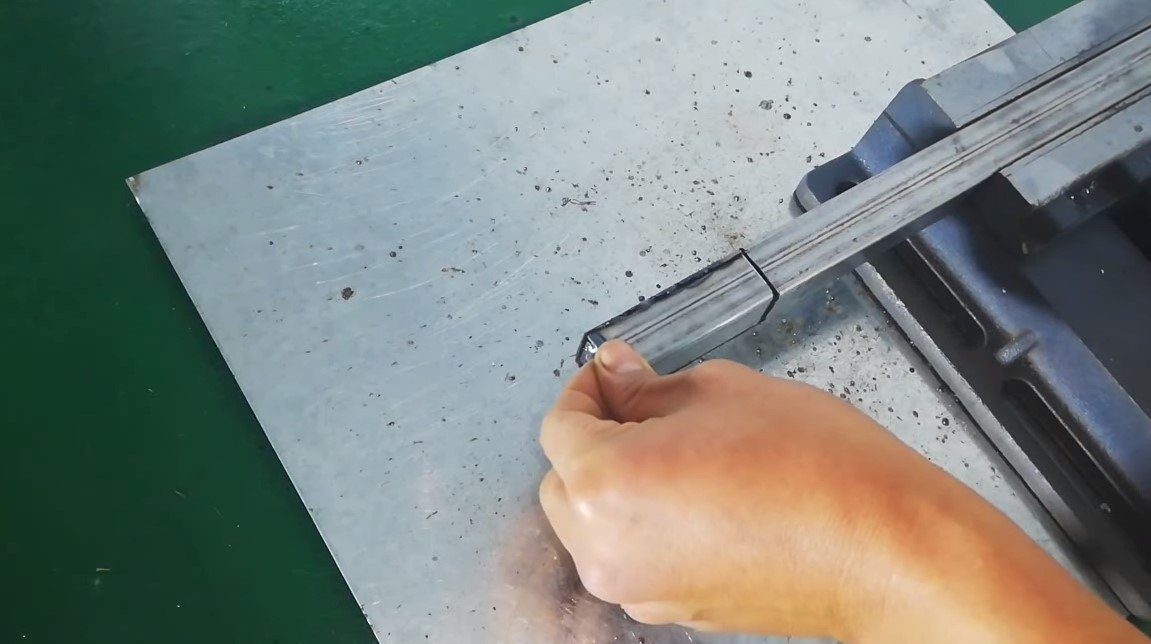
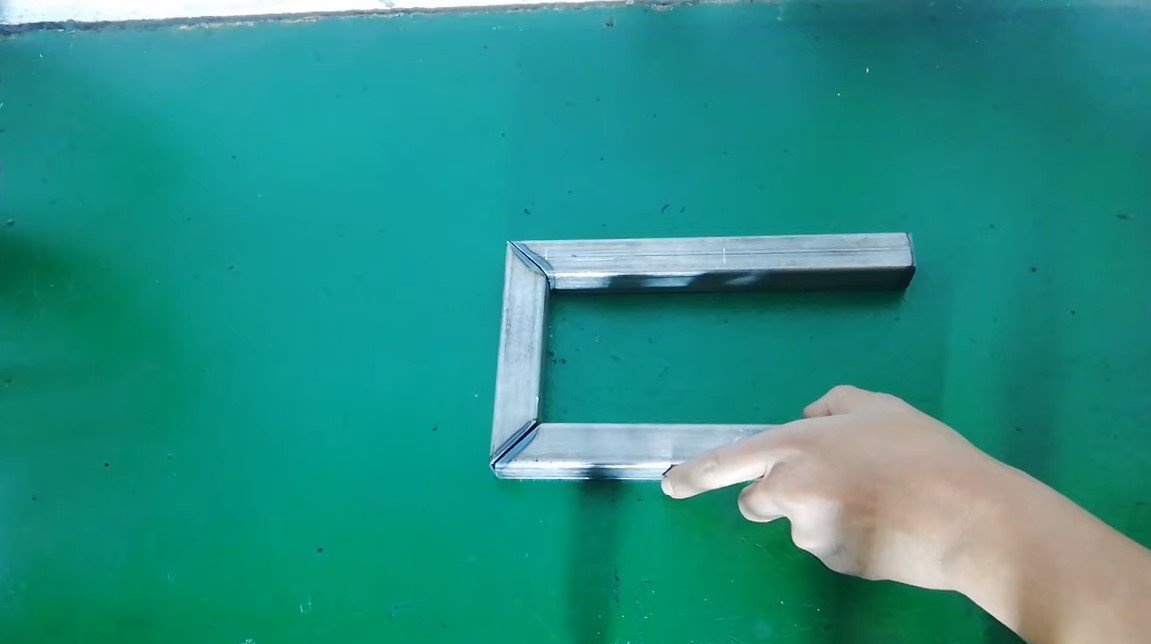
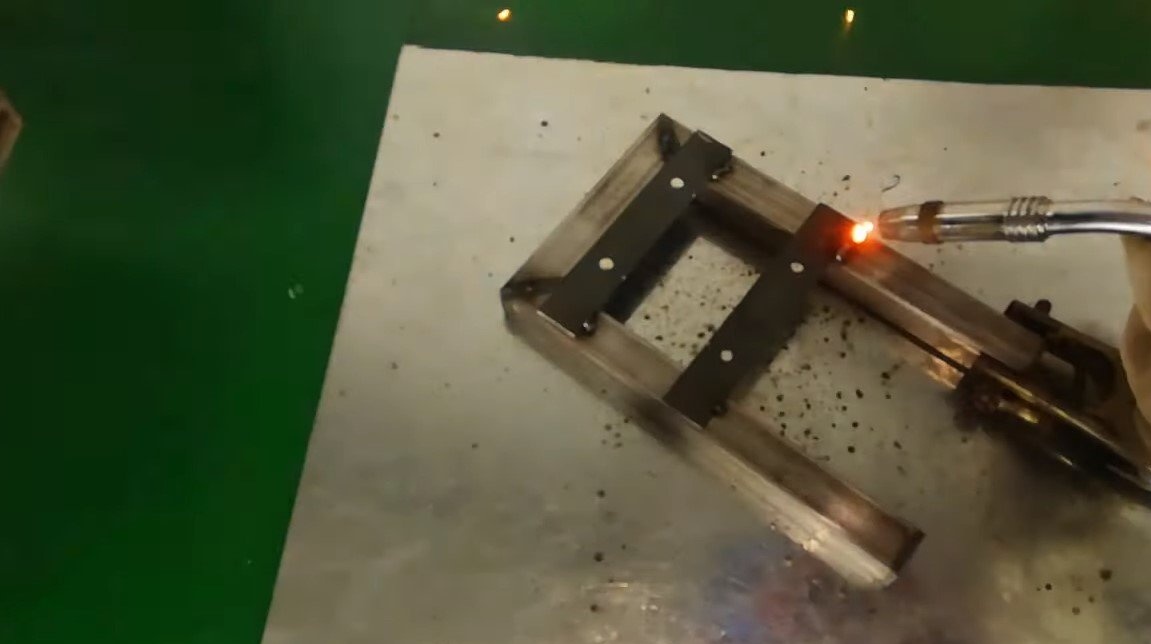
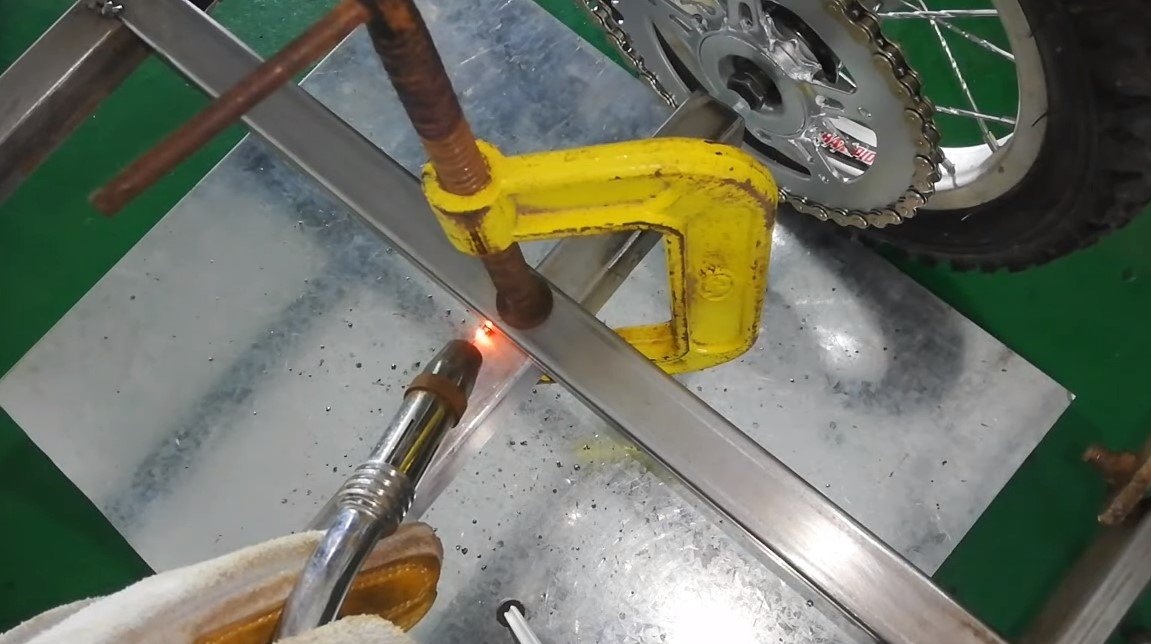
First of all, we weld the frame for the card, the author used profile pipes. Of course, for cutting pipes it is best to use a miter saw, otherwise when cutting with a grinder, each pipe will have to be marked and cut clearly along the lines. For welding, welding magnetic squares will not be superfluous, which will also allow fixing pipes for welding at a given angle. As a result, we get an excellent and quite durable frame.
Step Two Steering
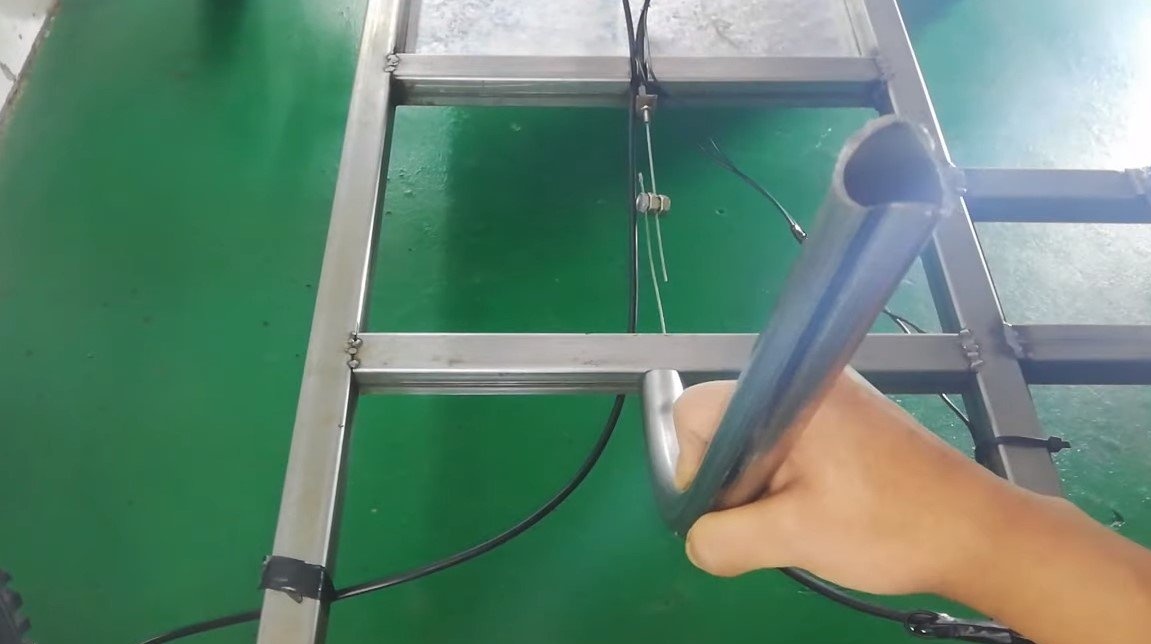
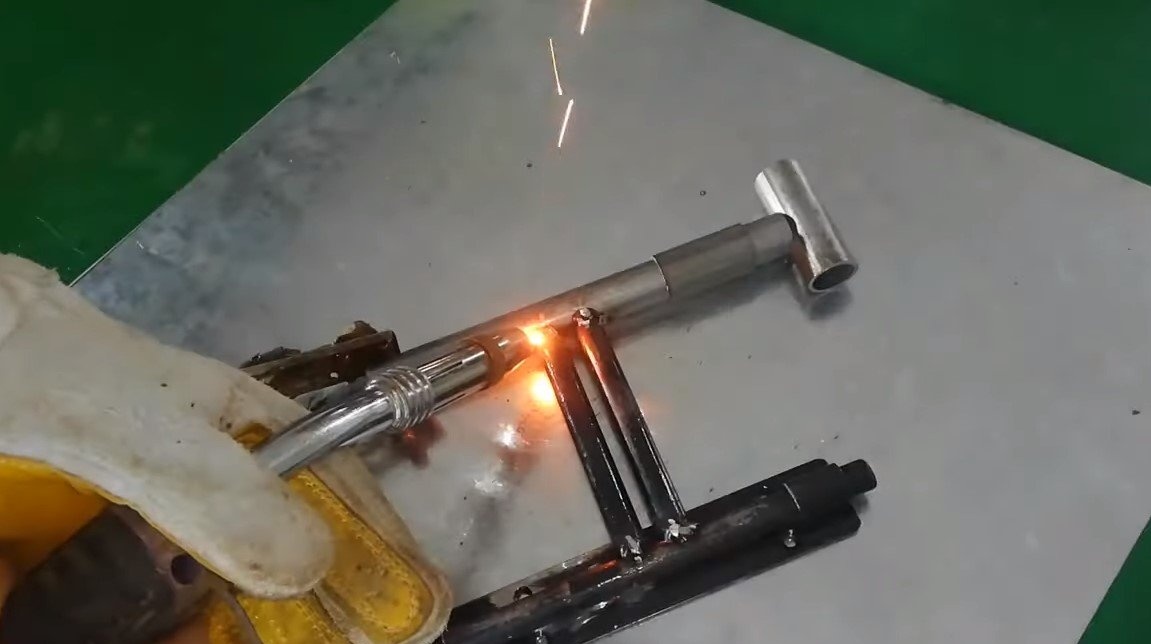
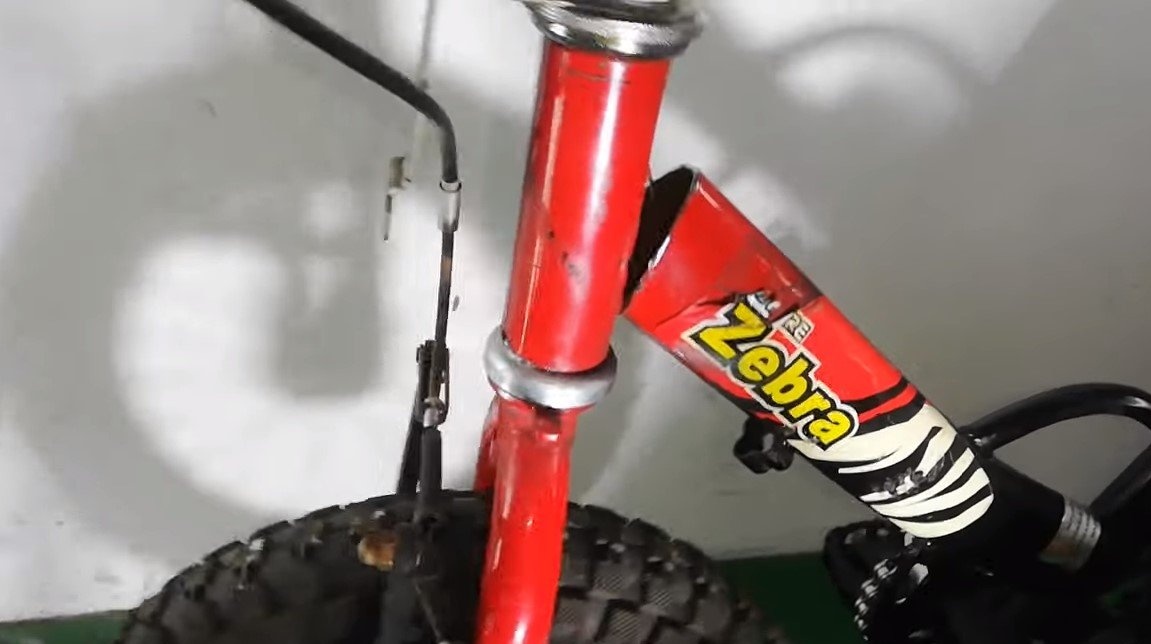
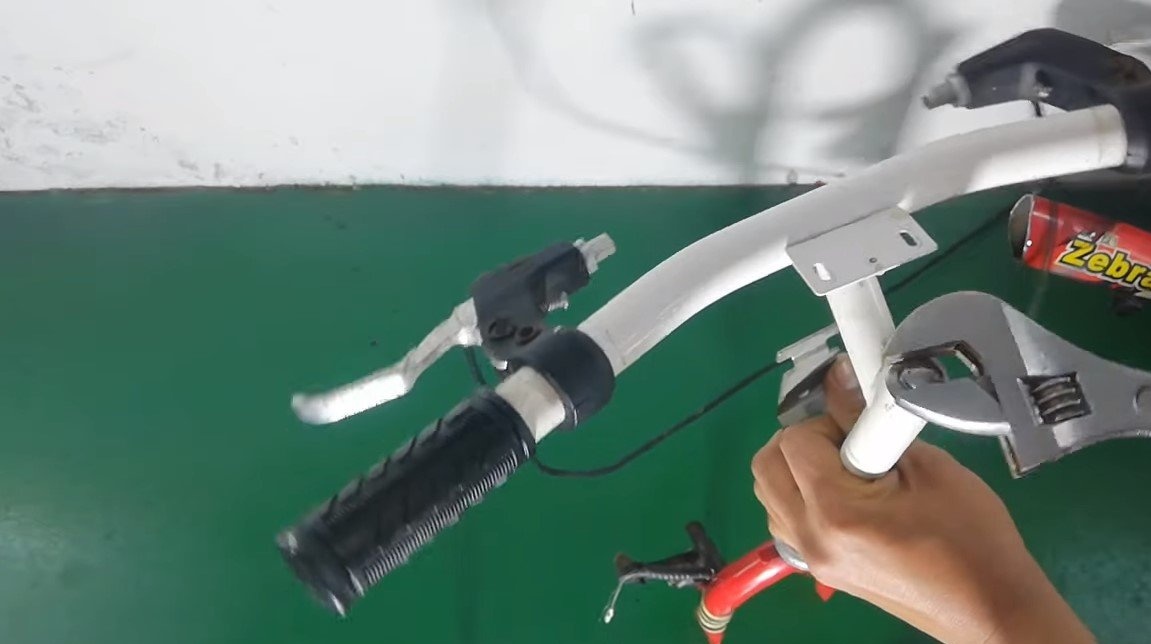
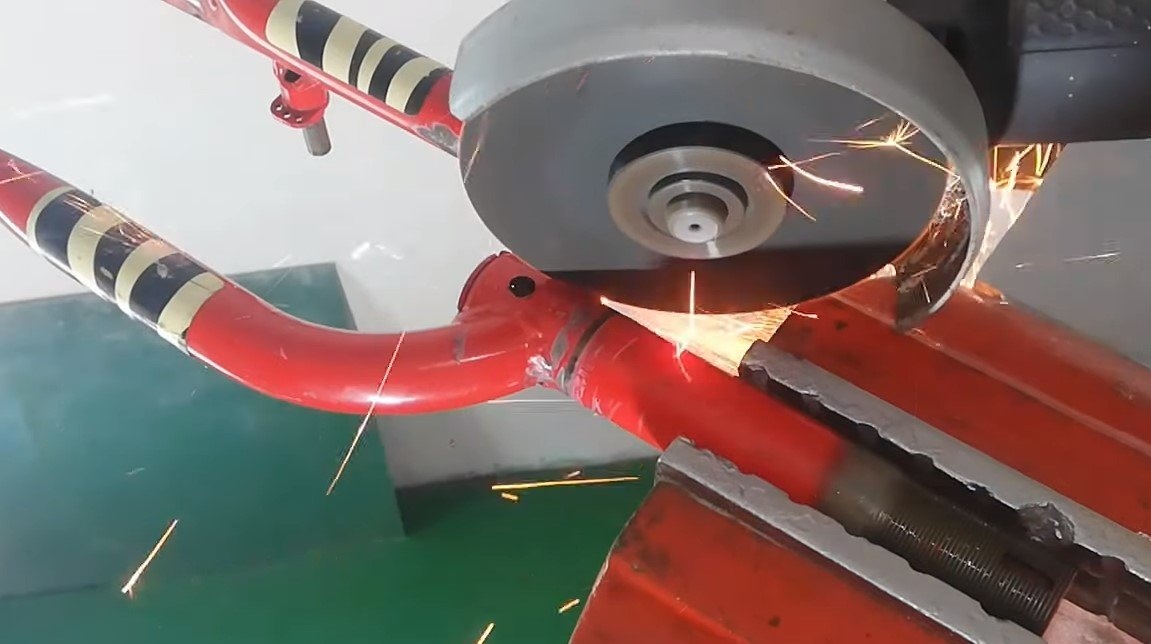
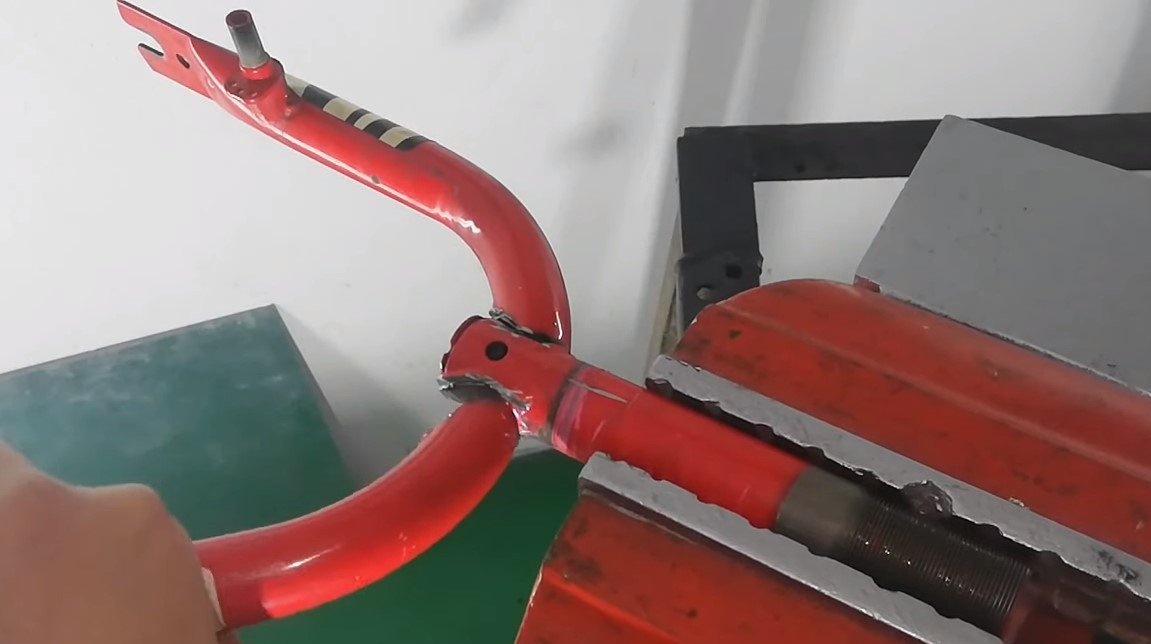
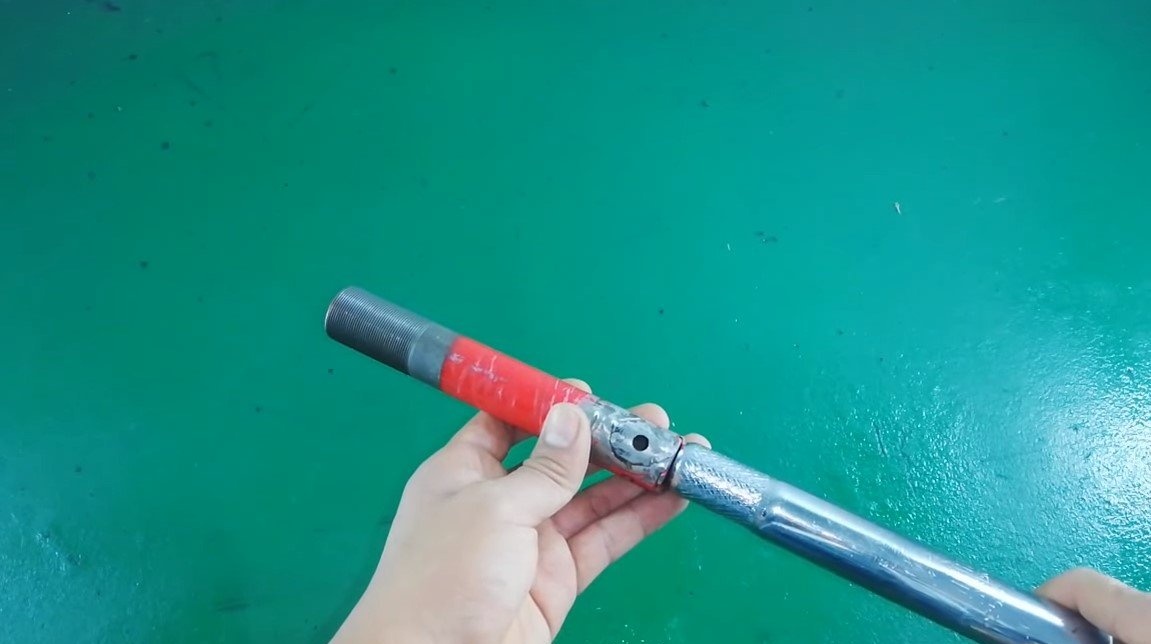
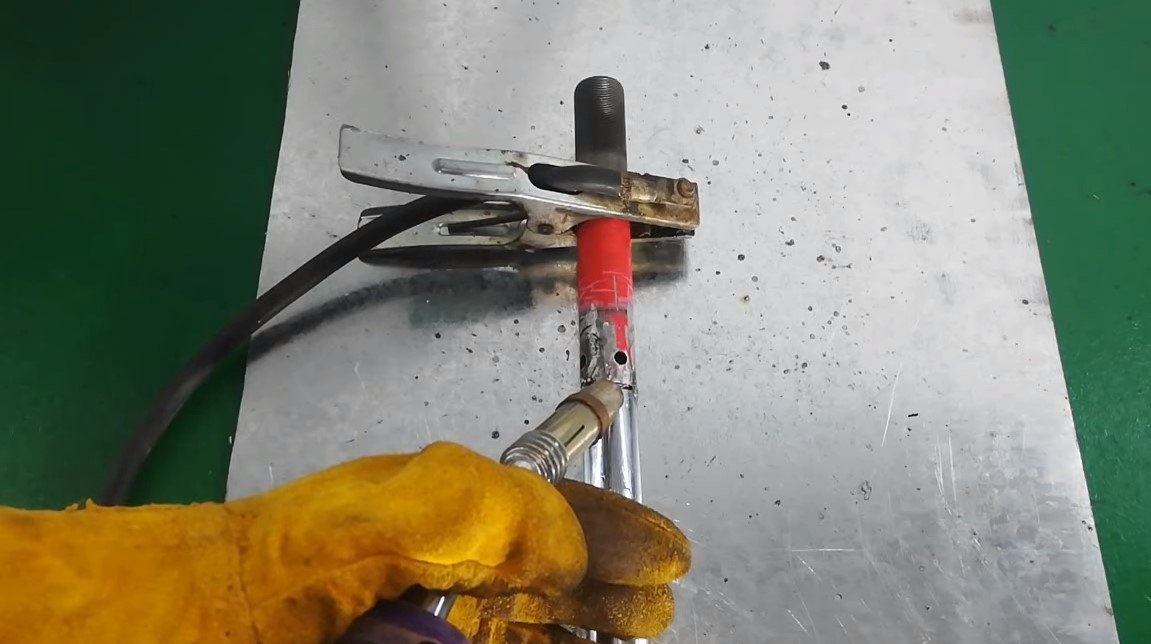
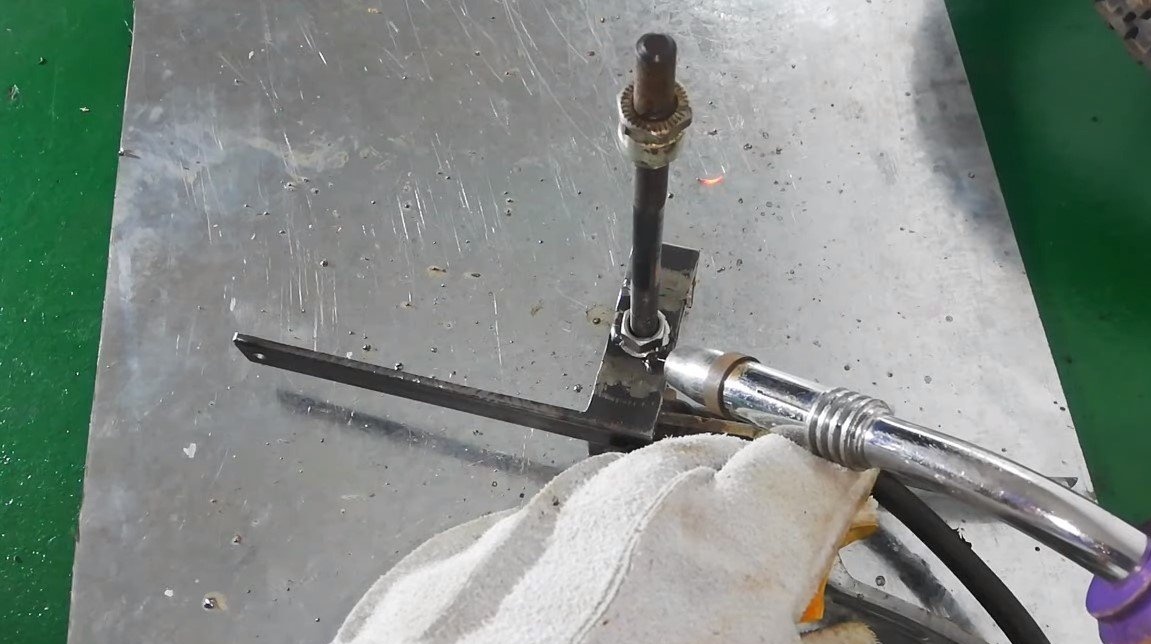
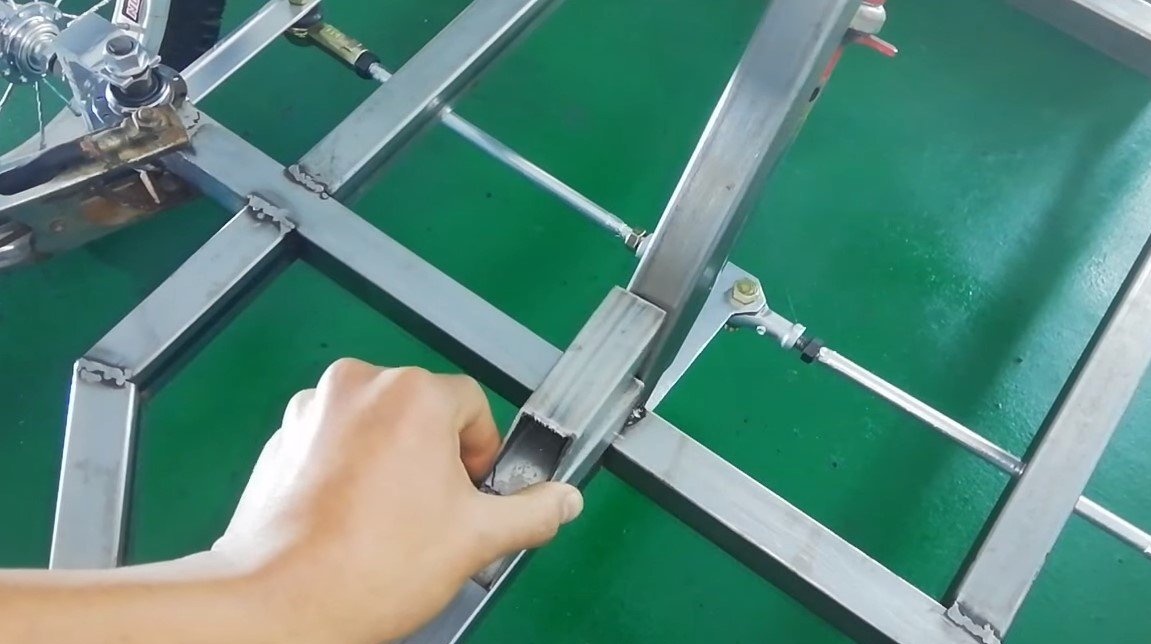
We take the steering from the bicycle, just cut off the front of the frame. We cut the plug, we do not need it. If necessary, you need to extend the steering shaft, for this you can use a piece of pipe. To fix the steering to the frame, we weld a piece of the profile pipe at the right angle to the frame. Well, then we weld the carriage with bearings to the welded pipe.
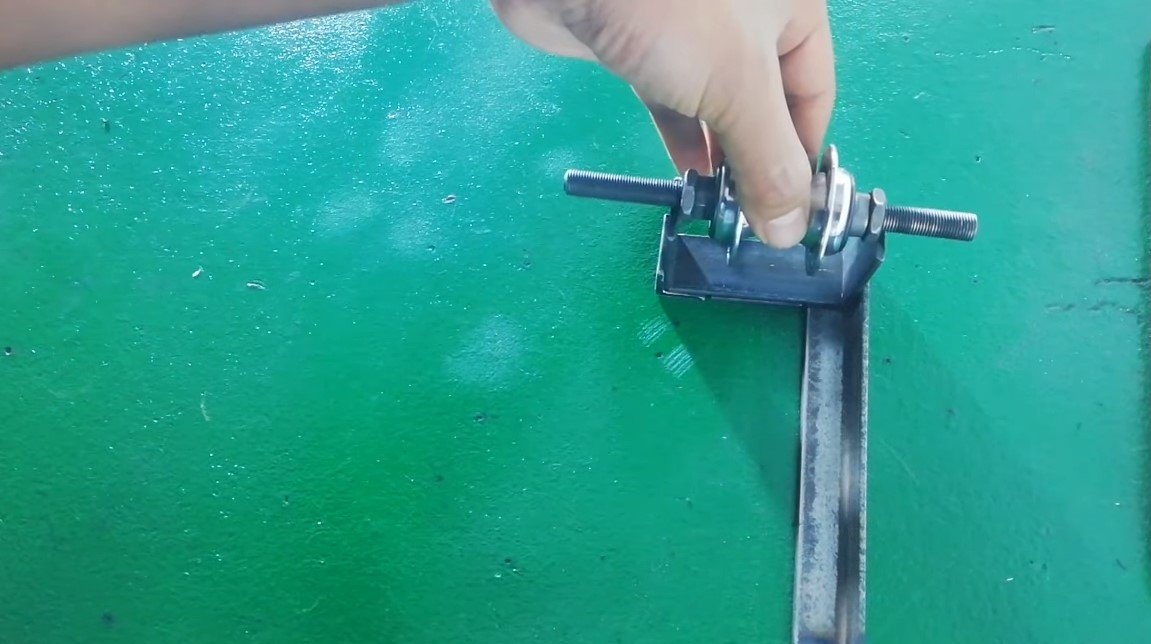
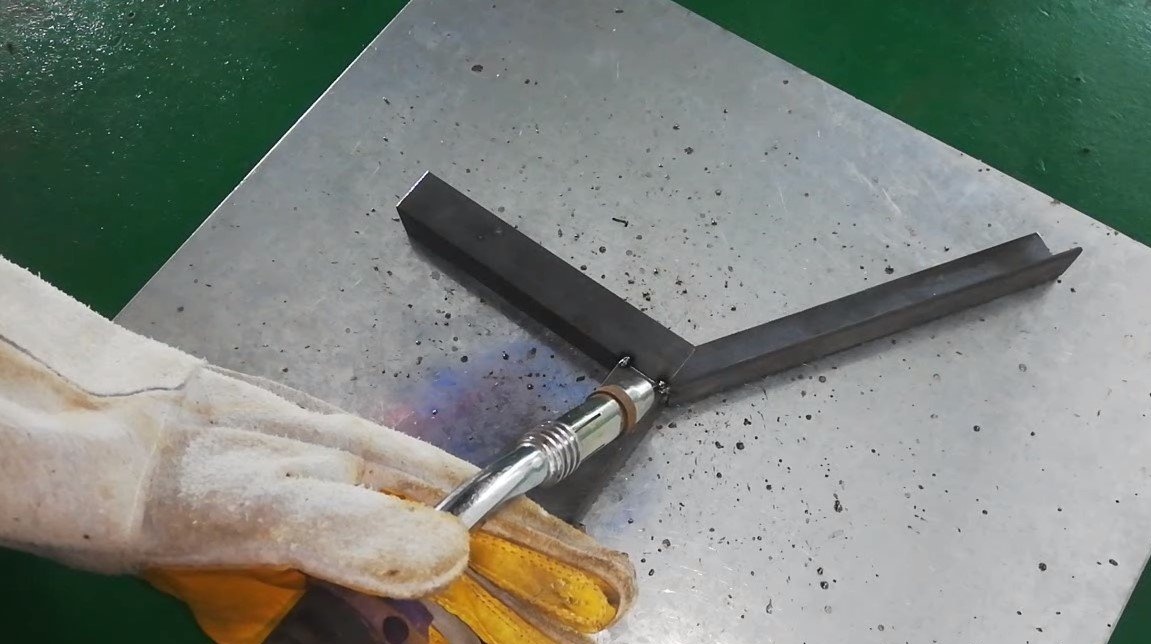
Step Three Swivel joints
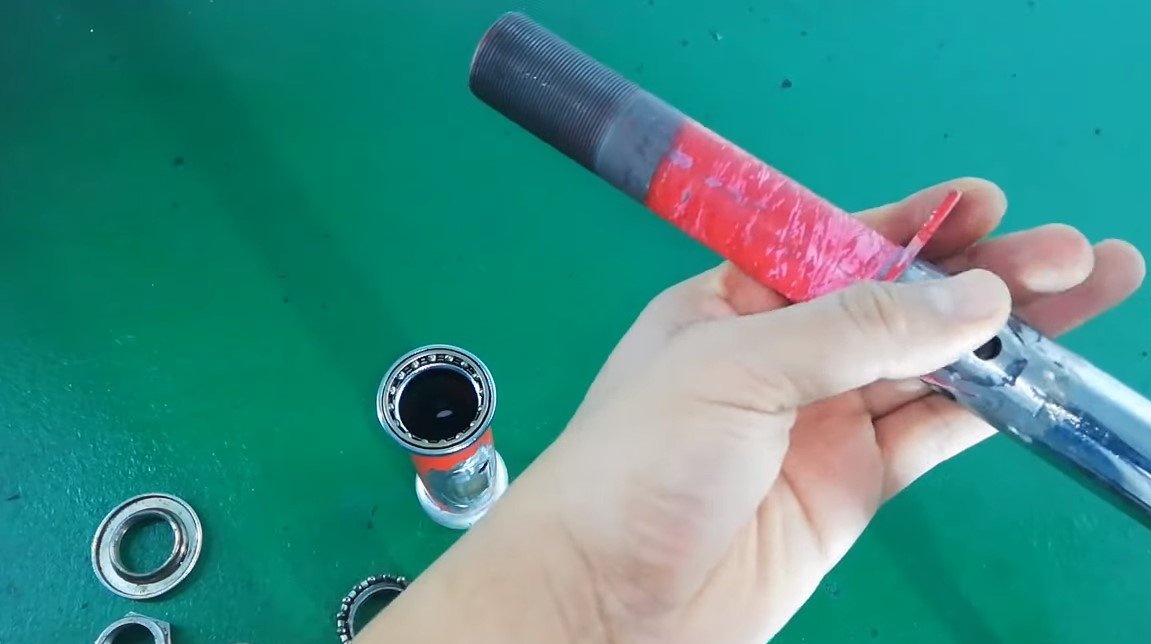
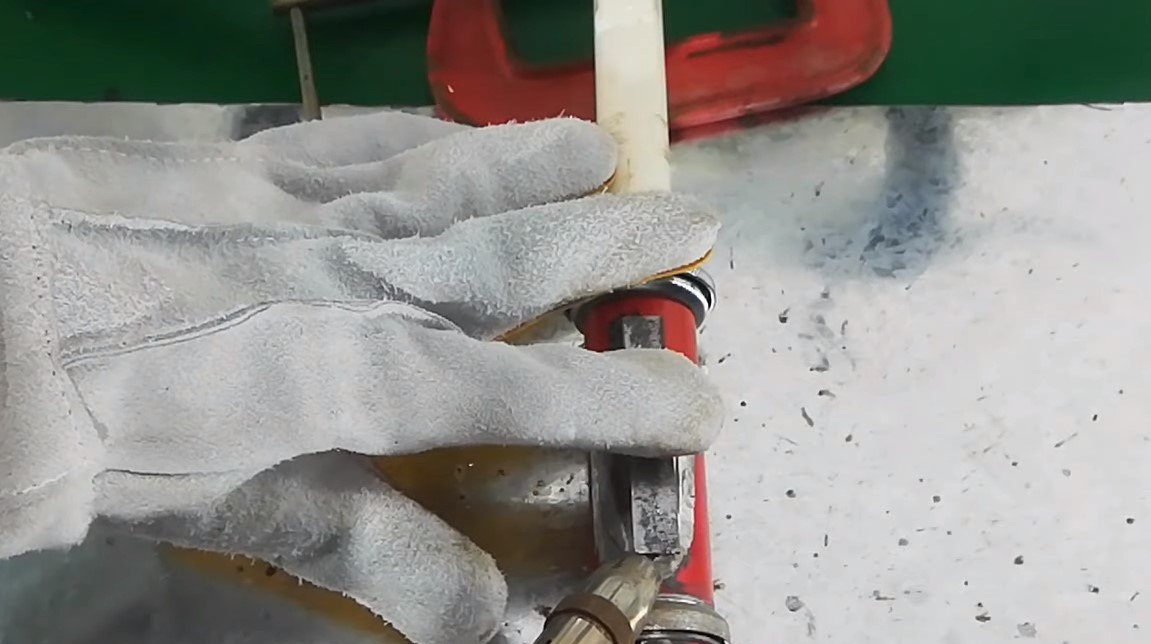
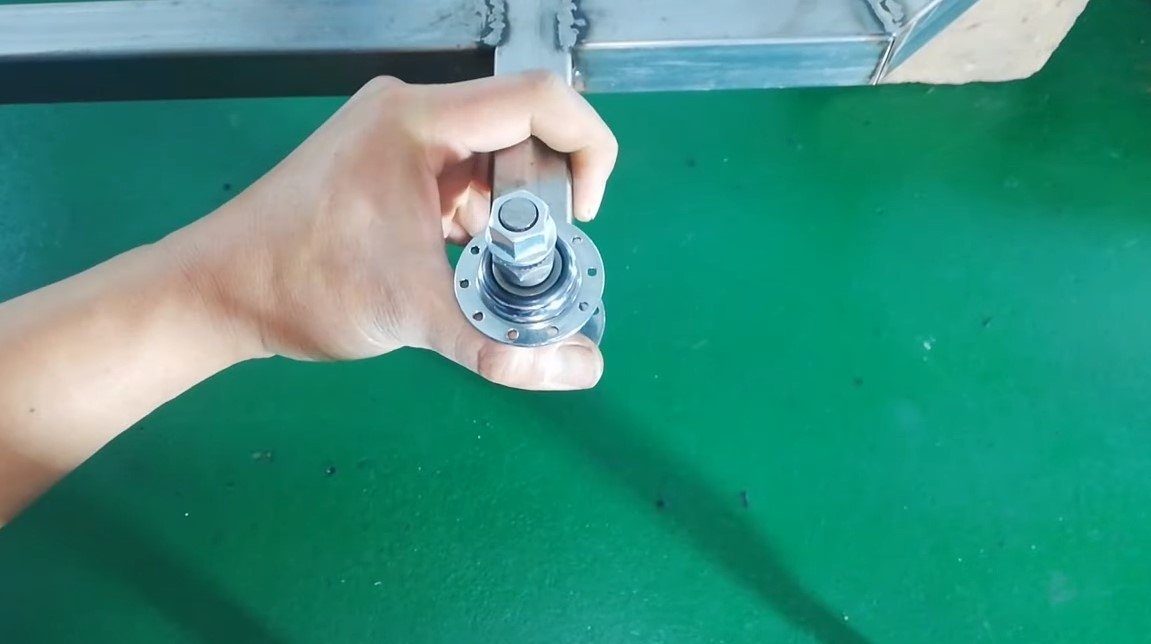
We make swivel joints for the front wheels, the author used bushings from the front wheels of the bicycle.The undeniable advantage of such bushings is that there will be no backlash in the steering, the machine will keep its course in a straight line, and you can always replace bearings in case of wear.
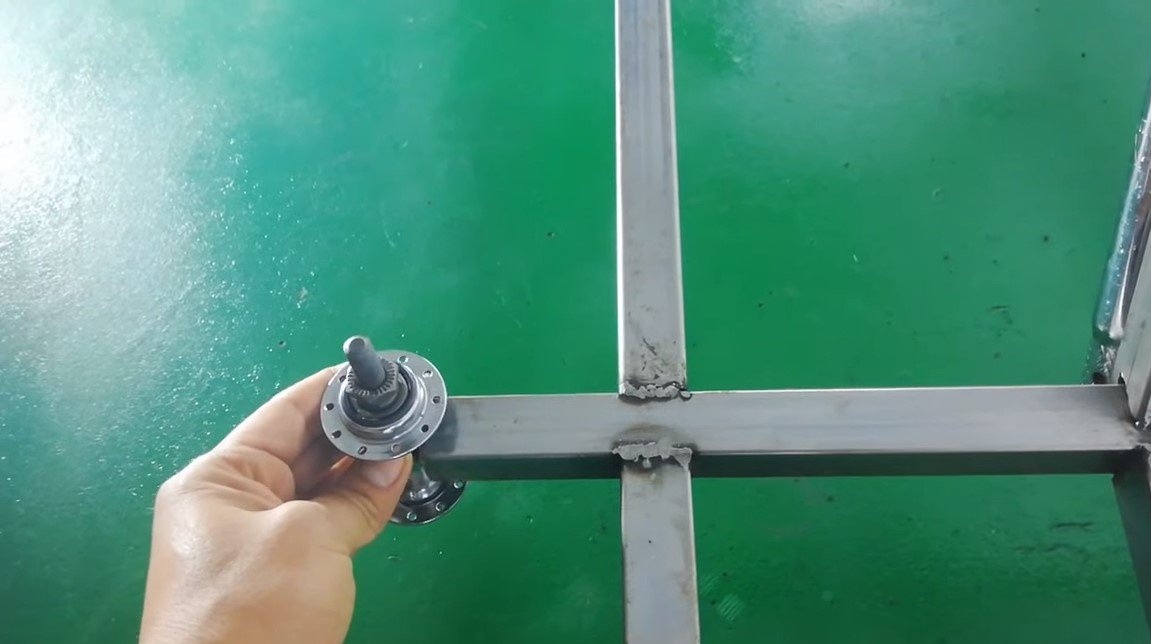
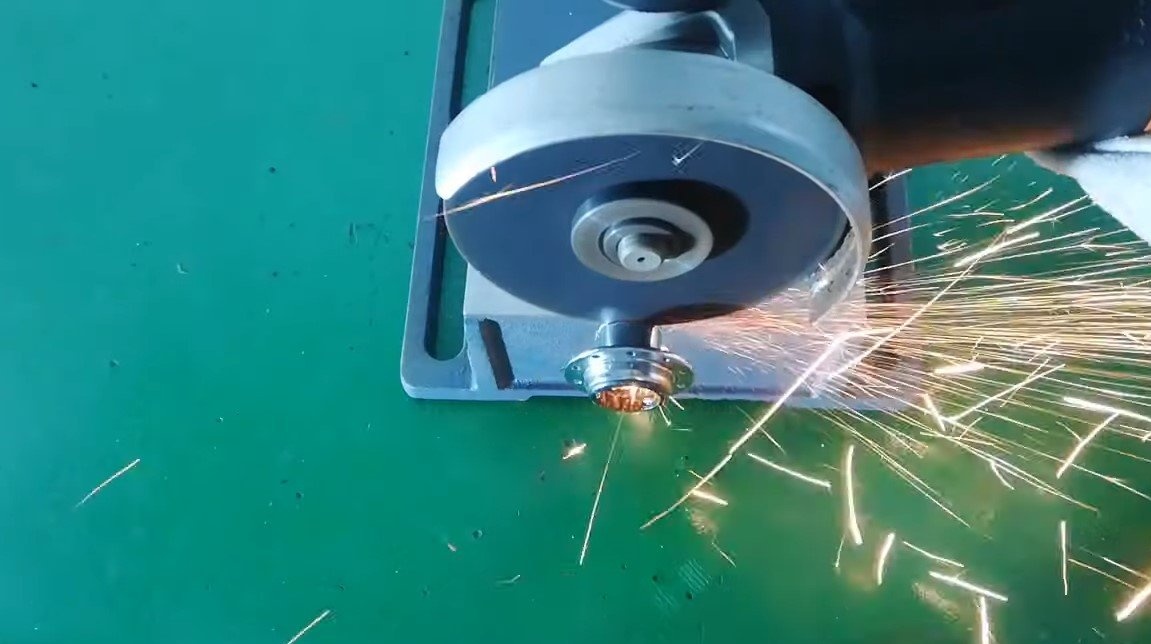
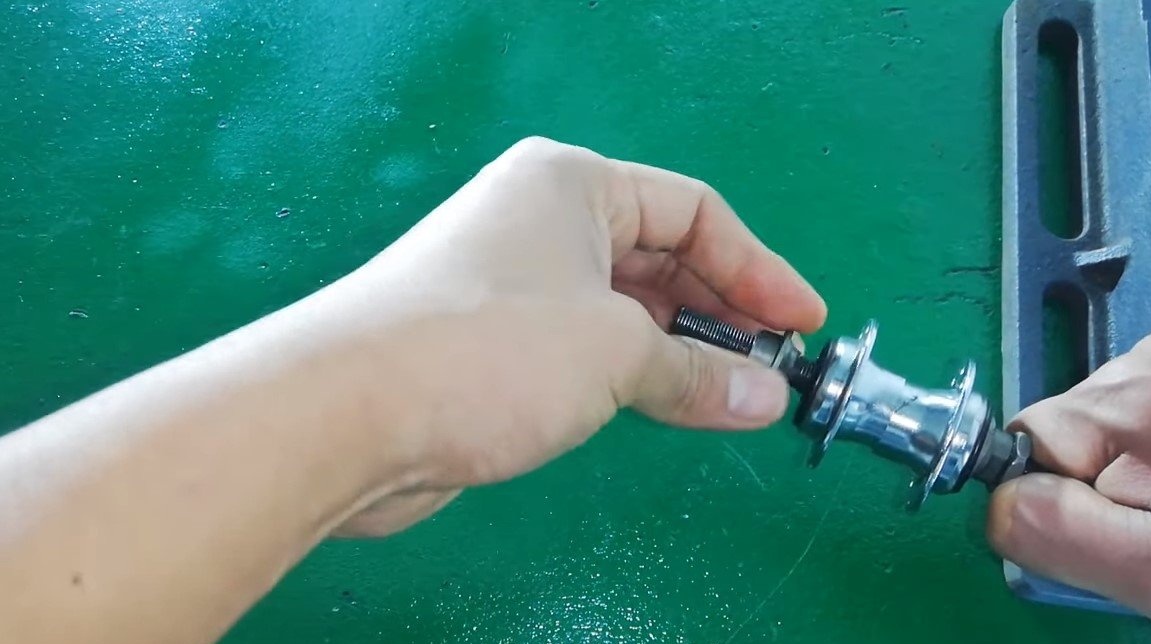
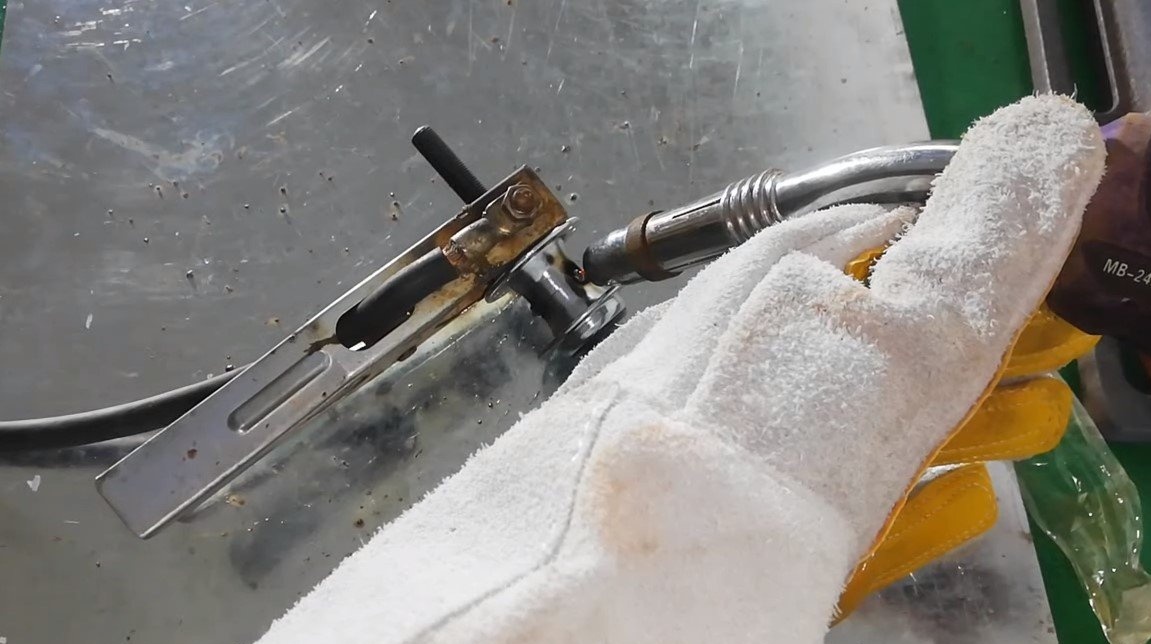
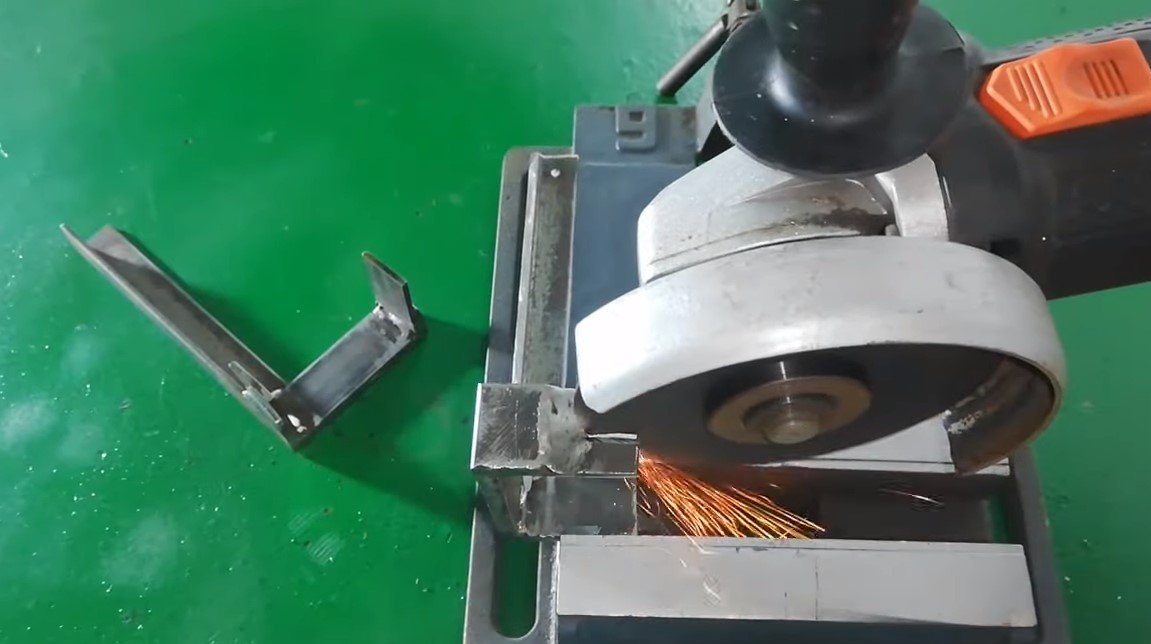
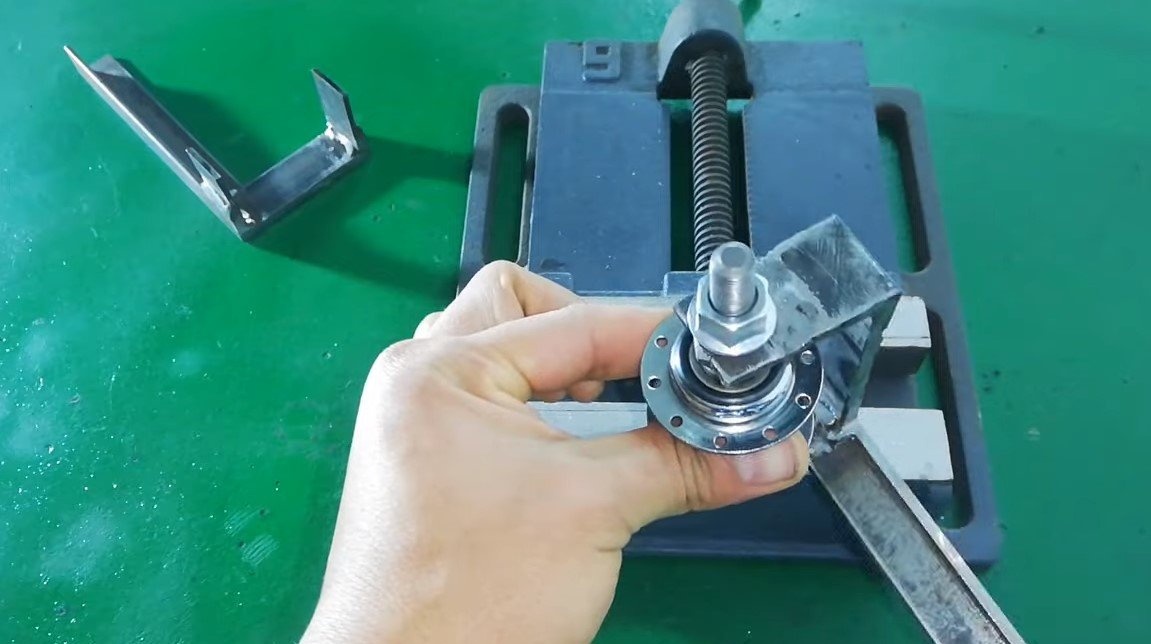
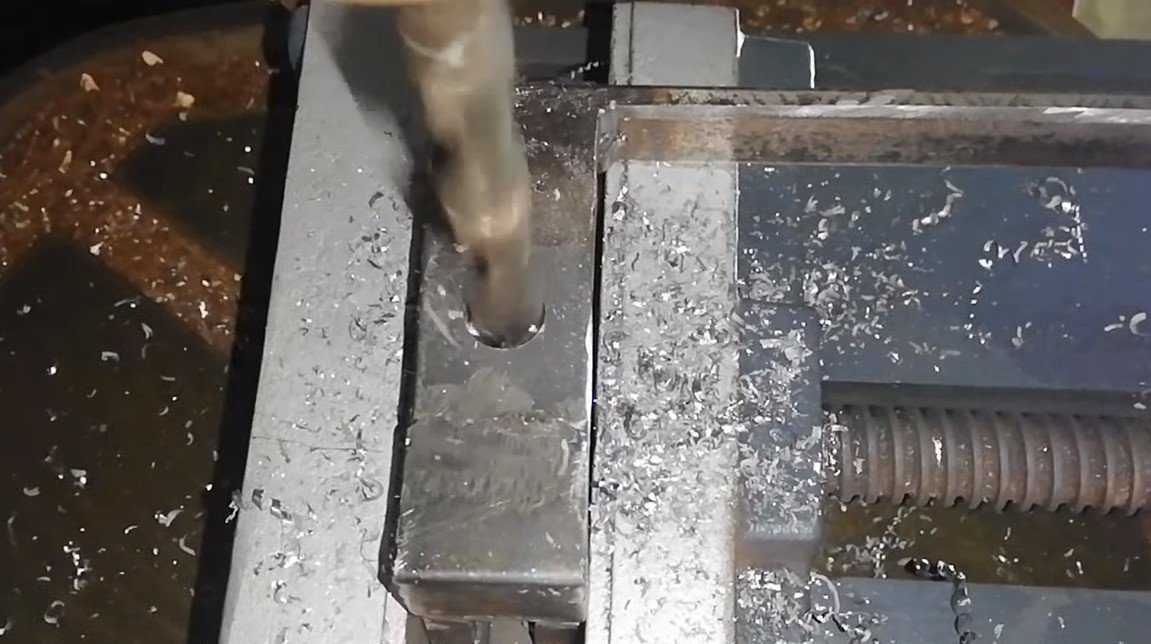
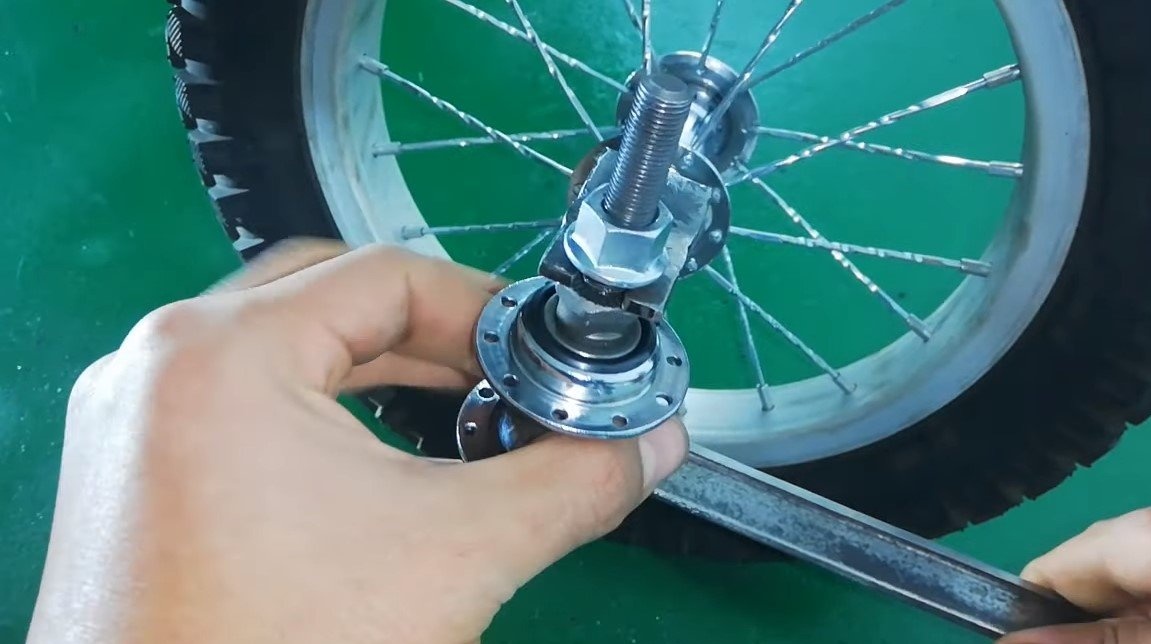

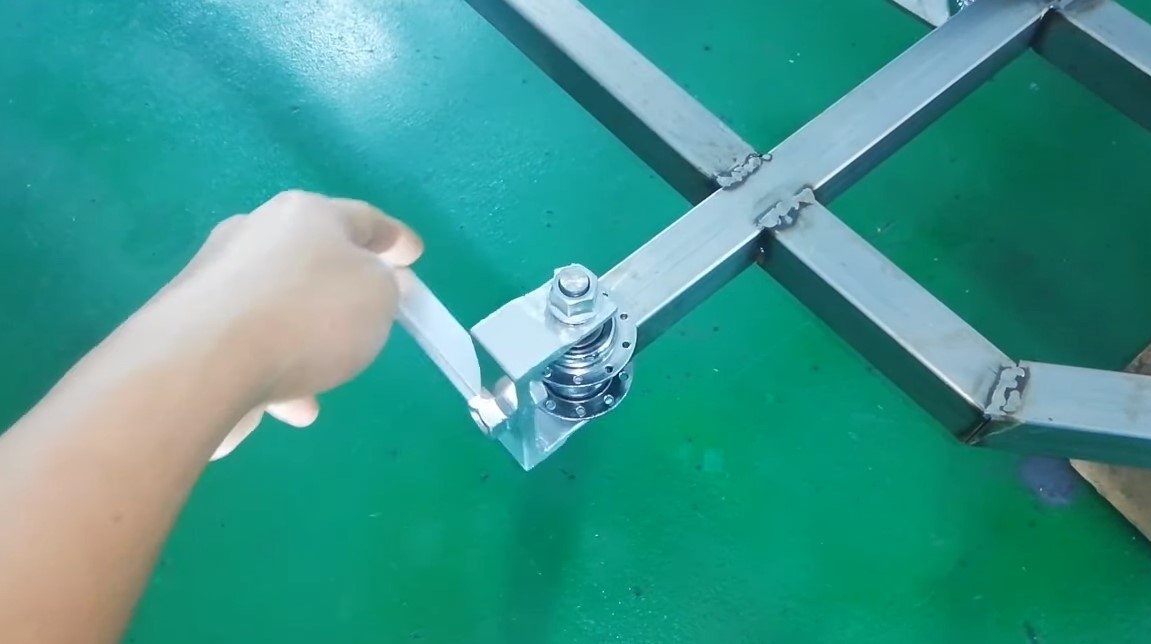
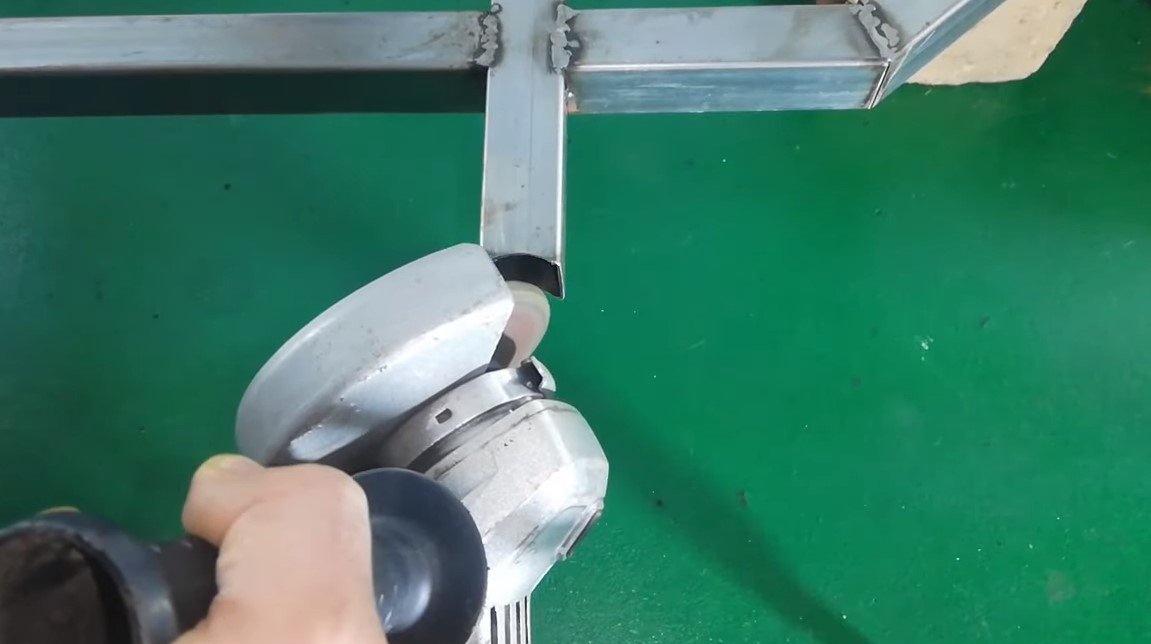
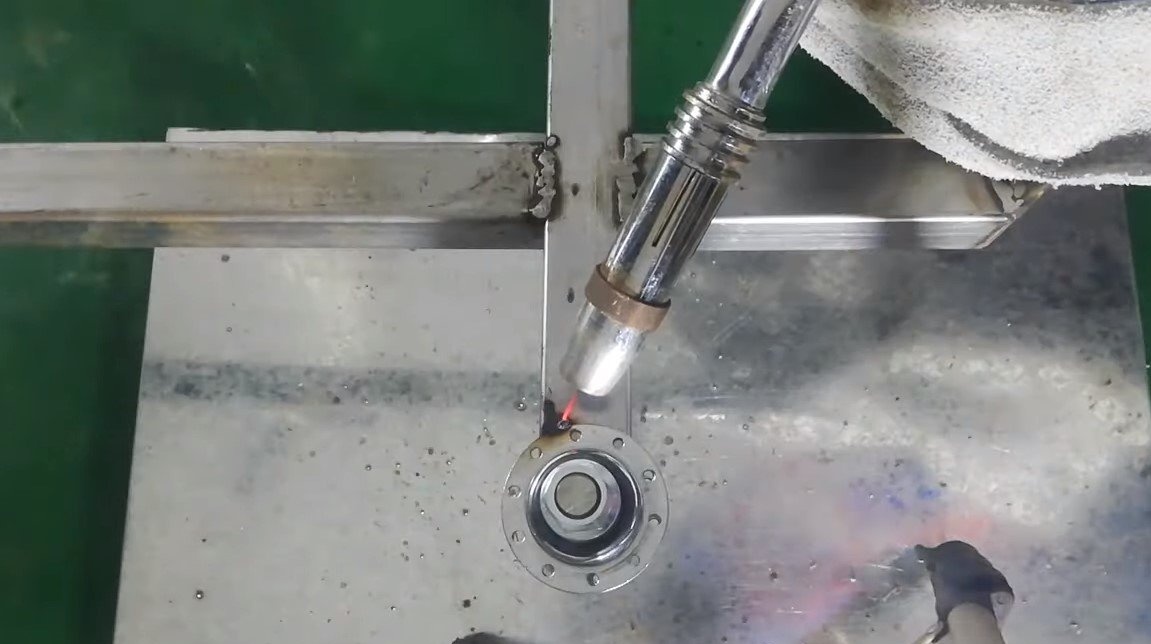
In order to weld the bushings well to the profile pipes, the author shortened them. Just cut the sleeve in the center, and then insert the axis, center and weld. Also, using a grinder and a thick grinding disc, we make recesses in the profile pipes into which the bushings will go.
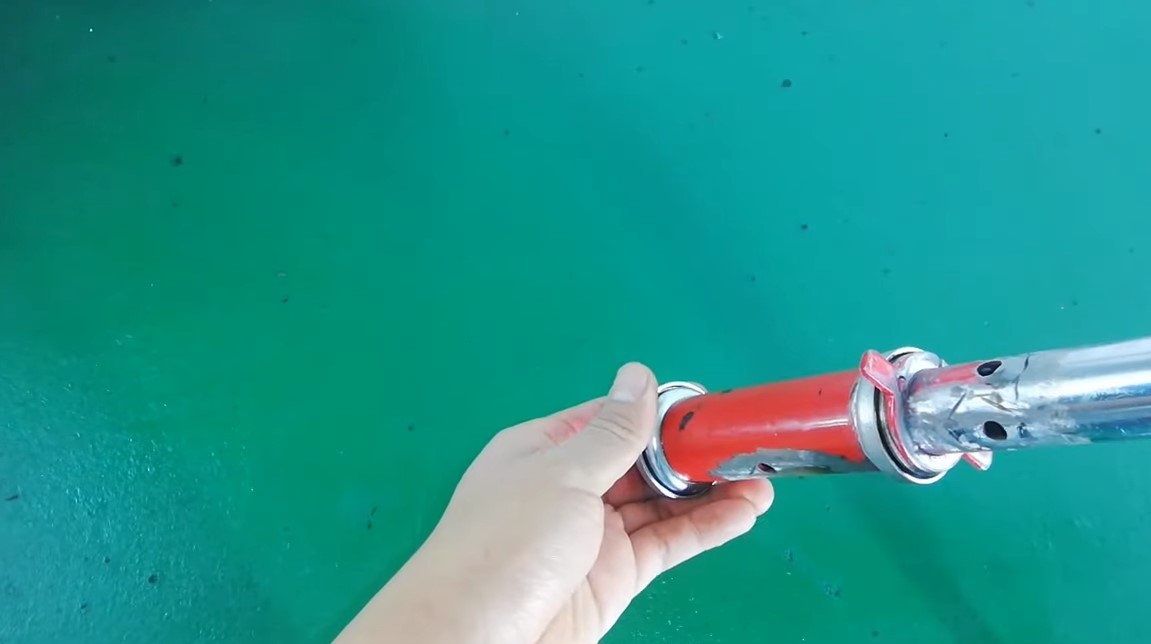
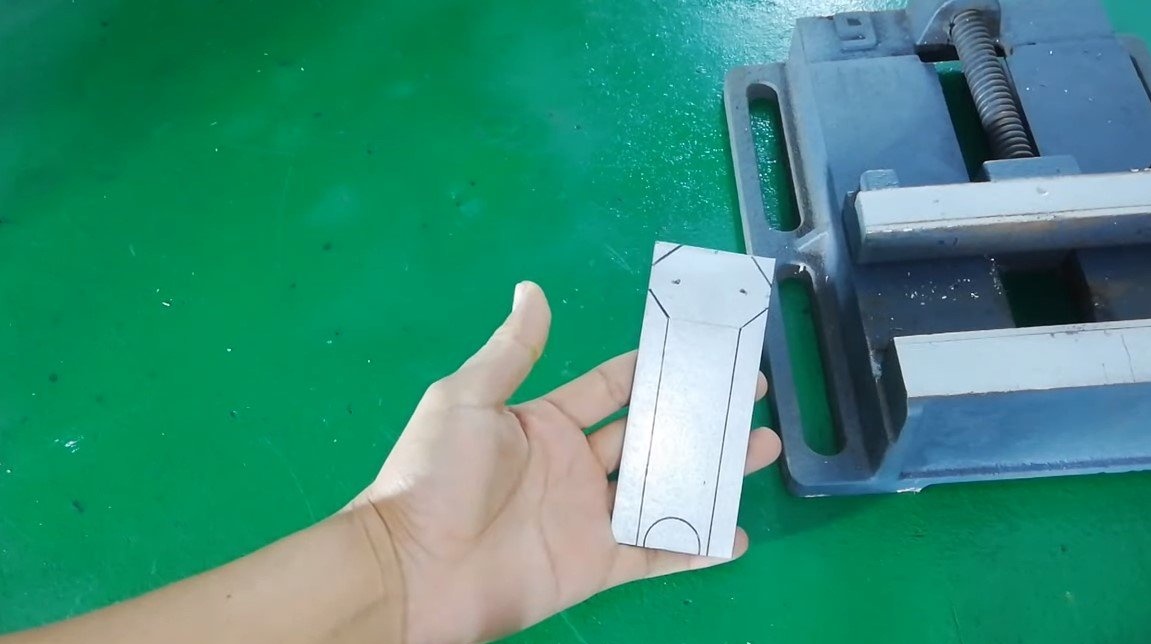
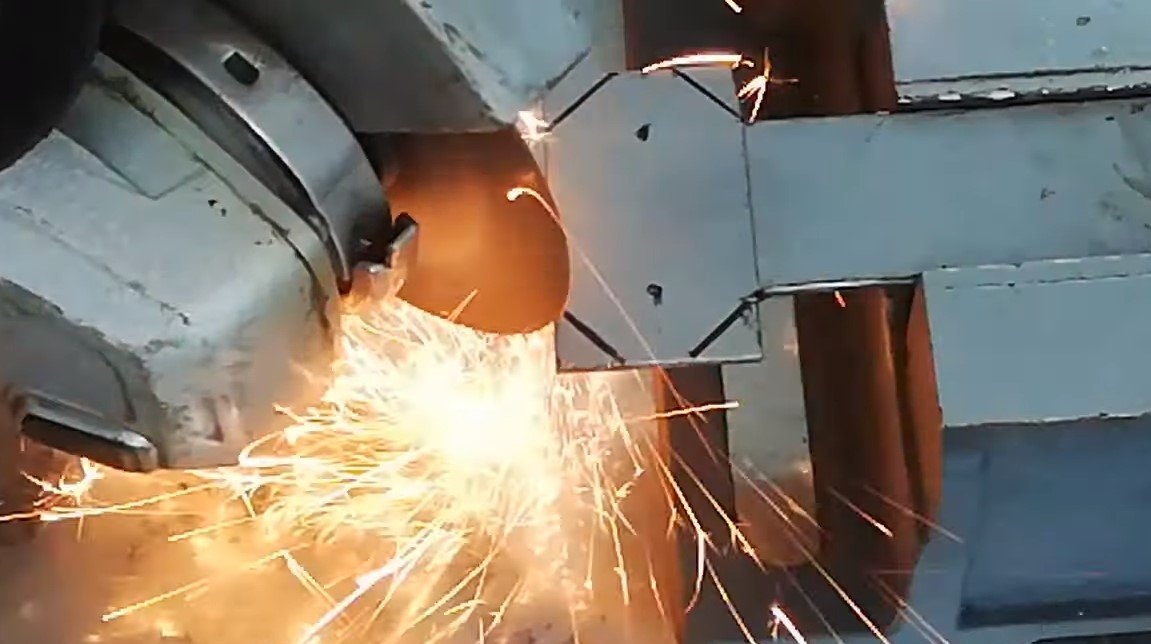
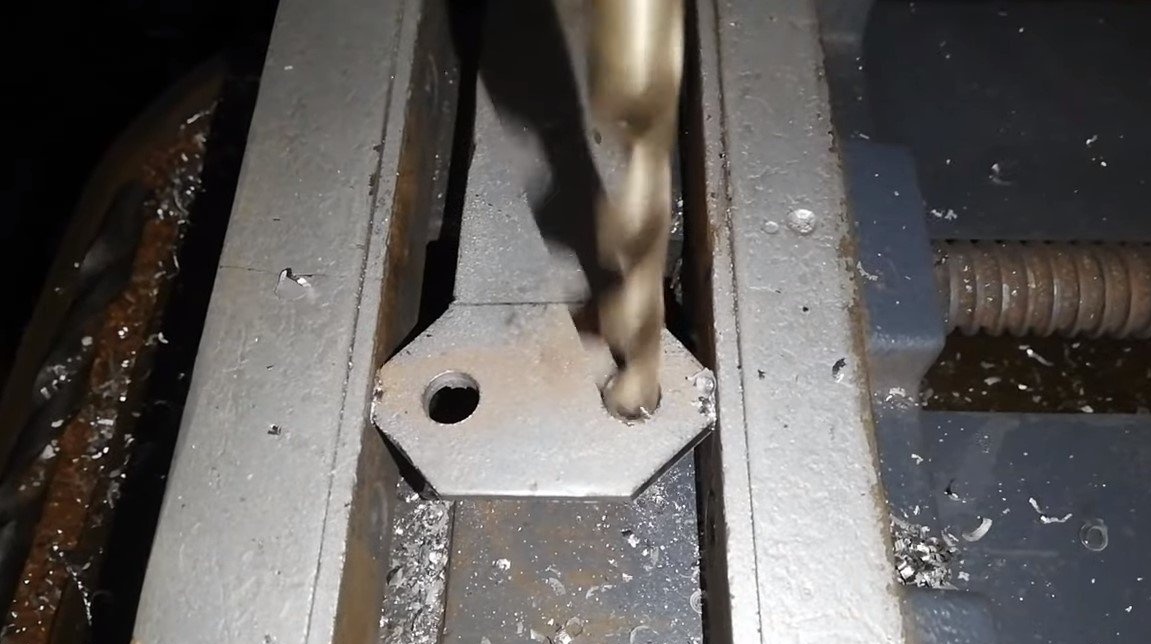
At the end of the steel plates we weld the knuckles, to which we will attach the wheels.
At the same step, the author made a lever for the steering lever, to which the tie rods are attached.
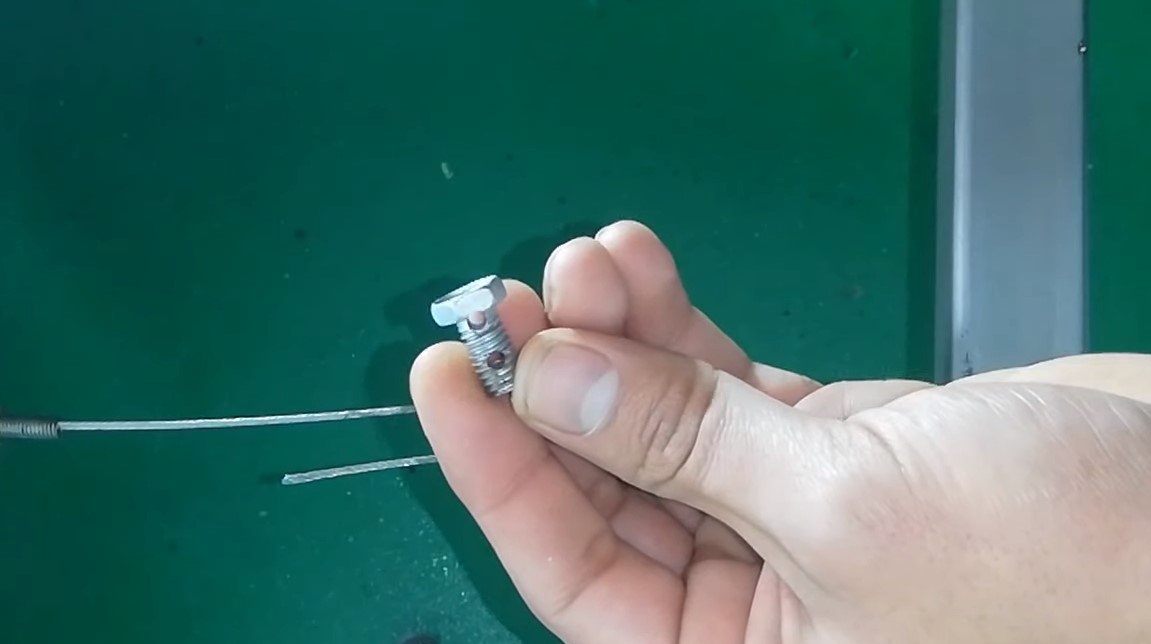
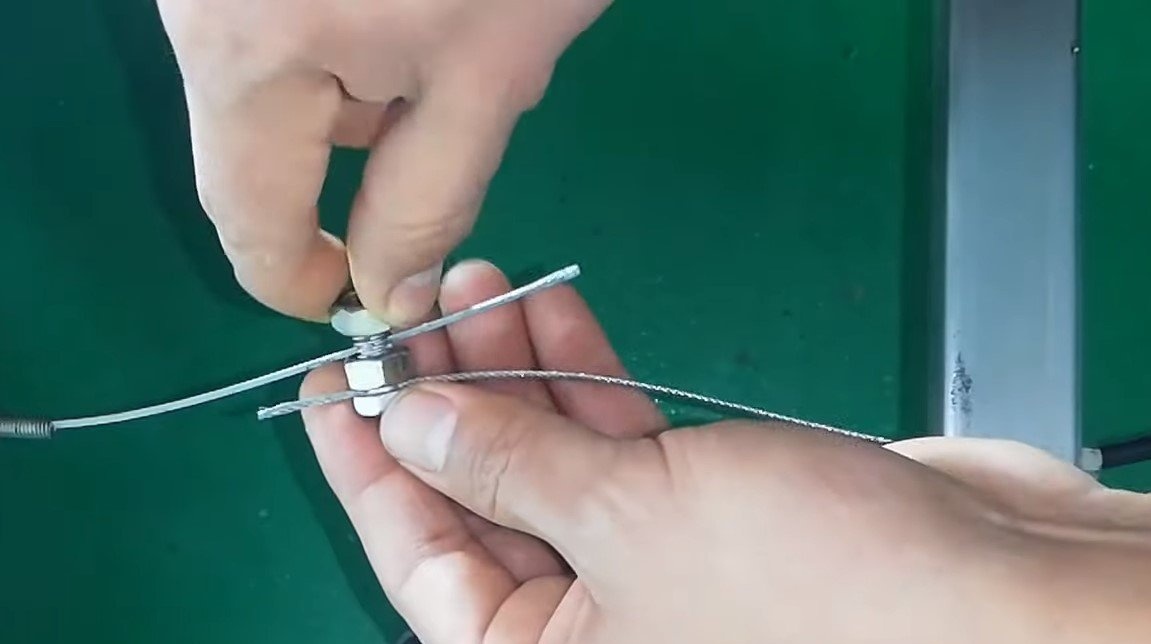
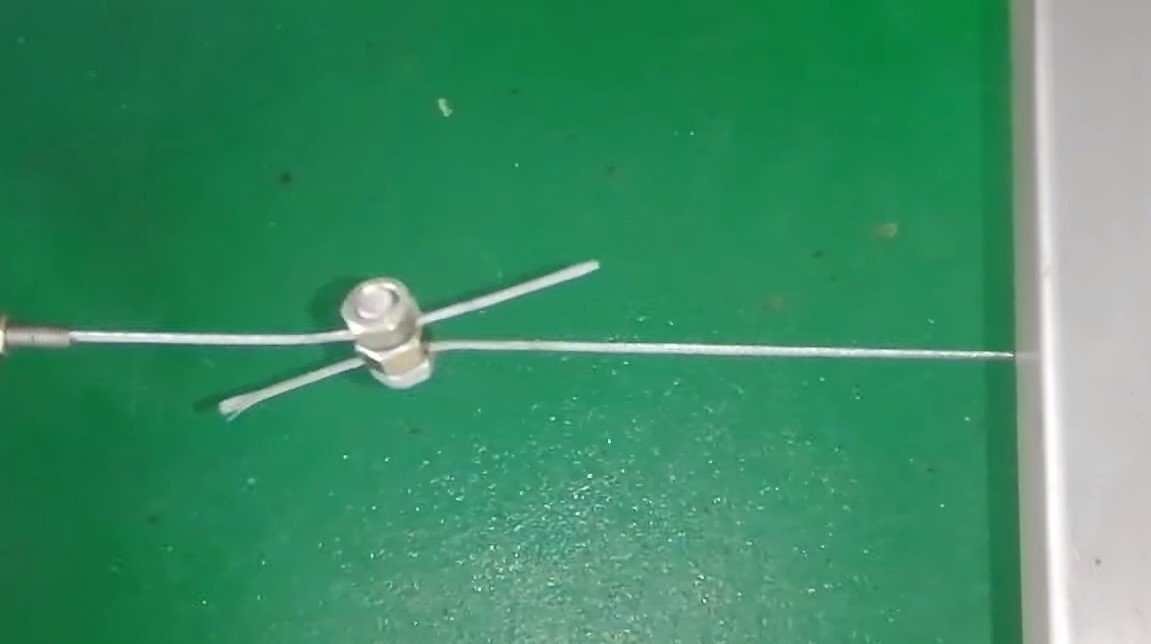
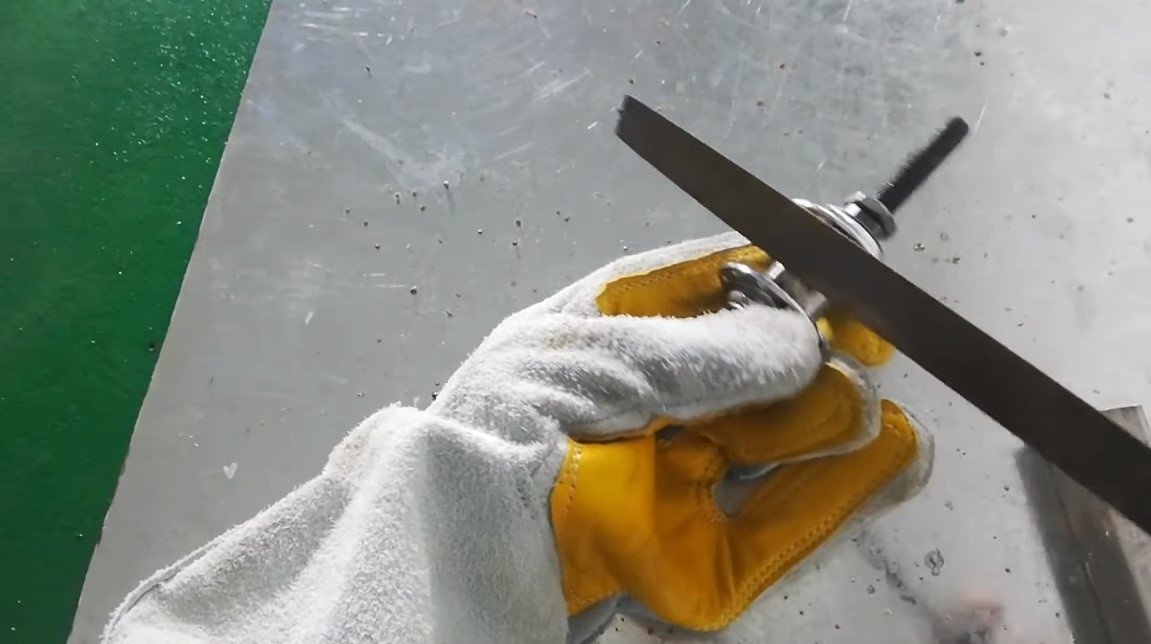
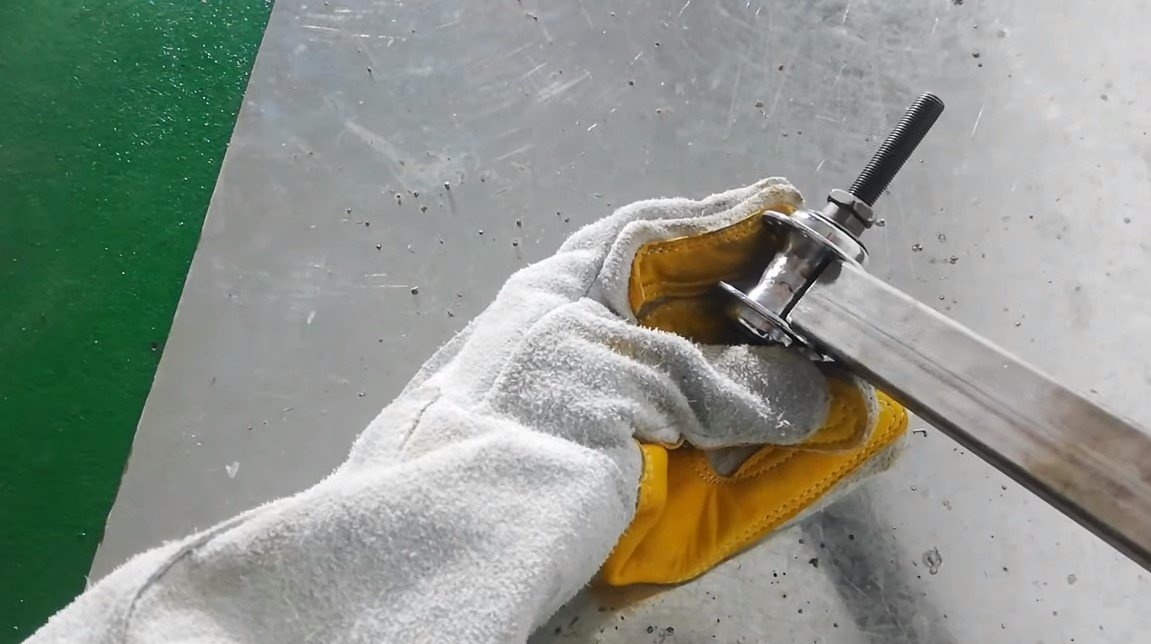
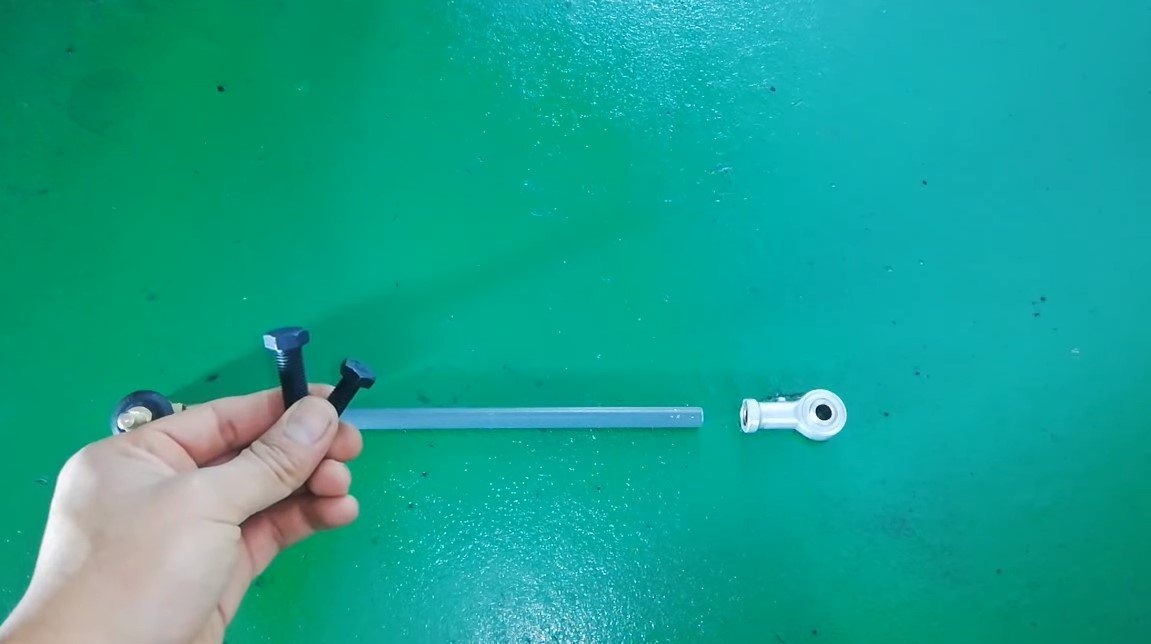
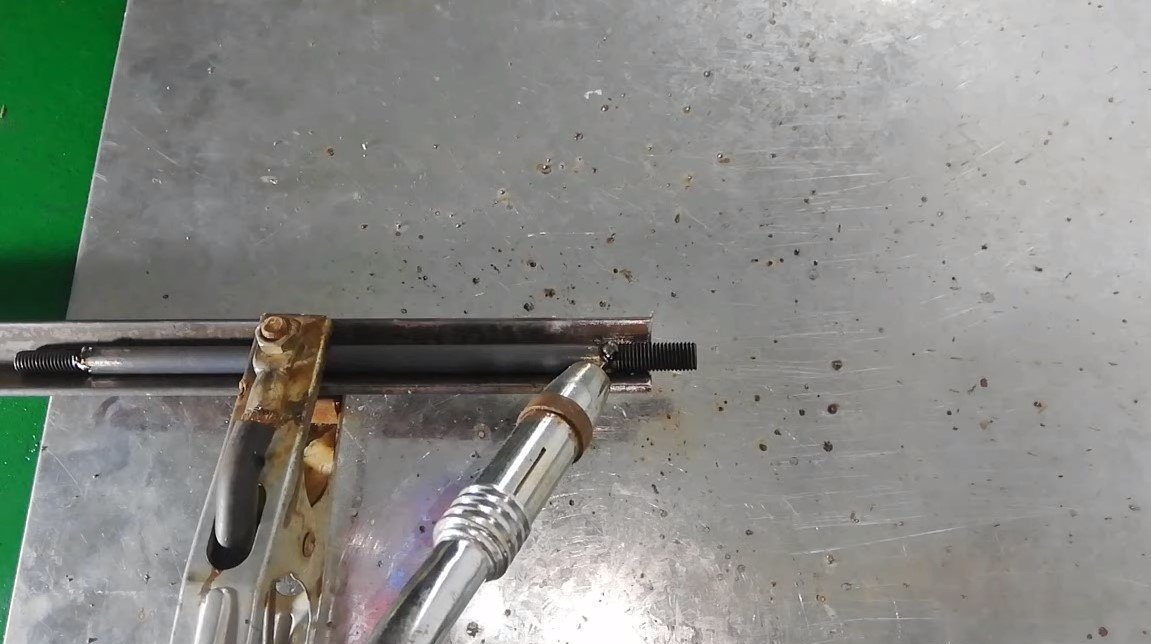
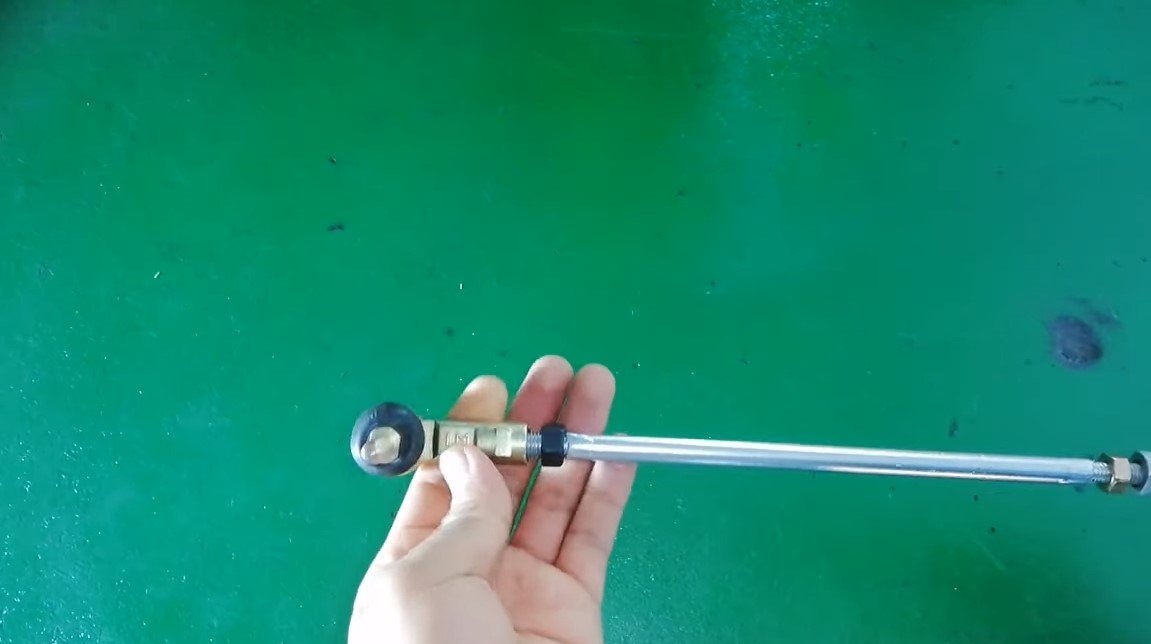
Step Four Tie rods
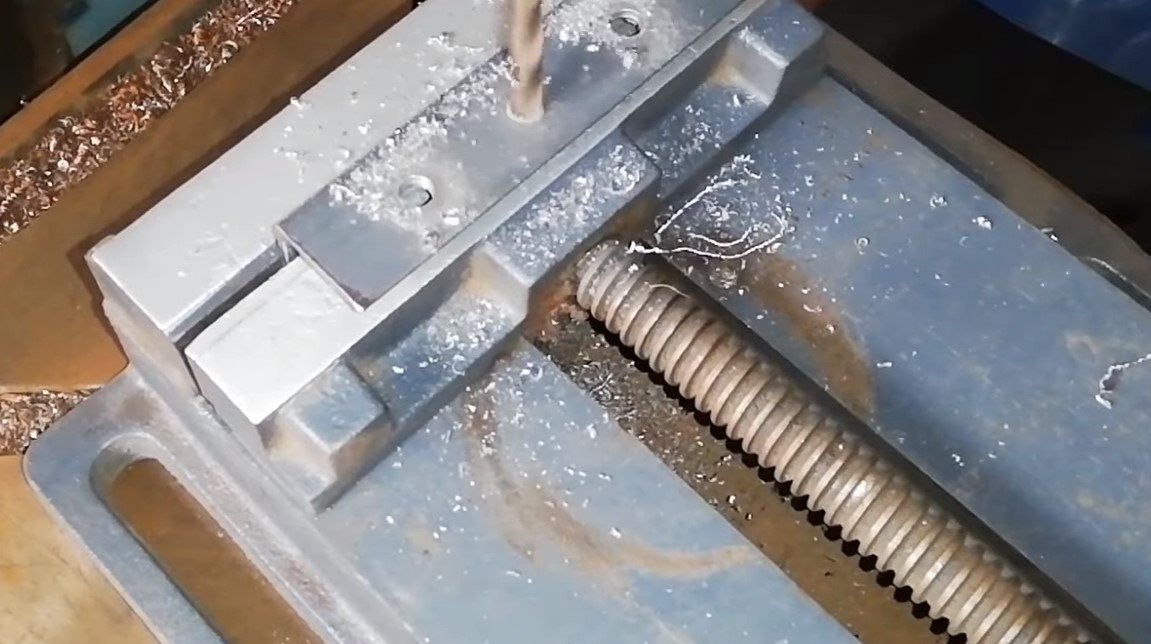
The author did not find suitable steering rods and decided to buy only steering tips. We make the rods ourselves, from steel pipes and bolts or threaded rods. We weld the rods along the length and do not forget that there must be a stroke to adjust the toe.
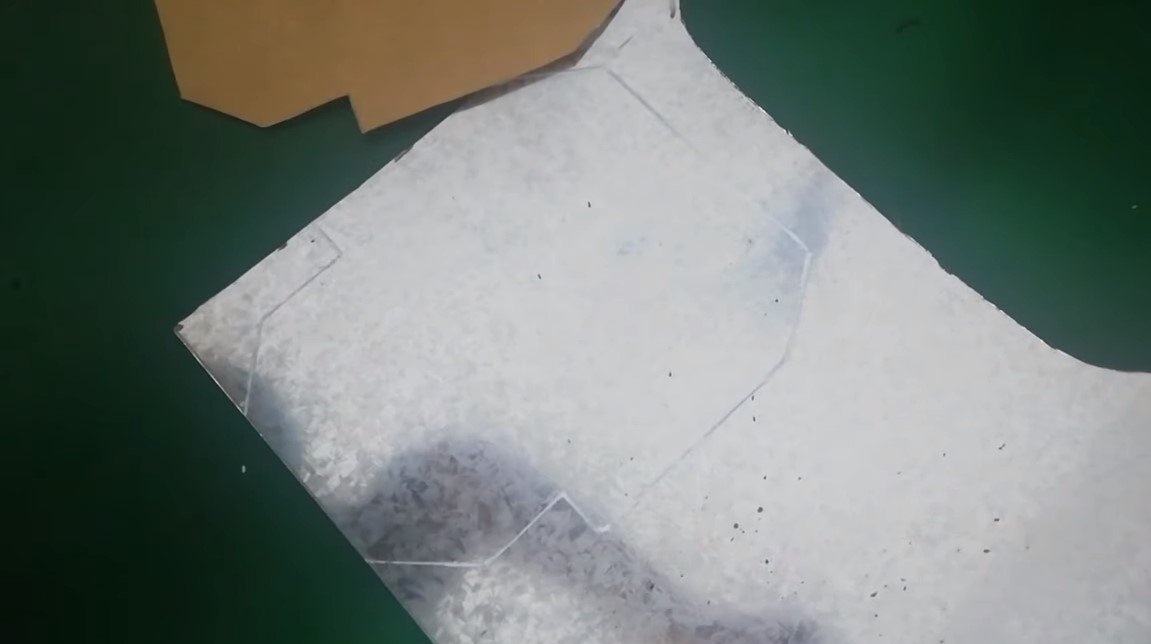
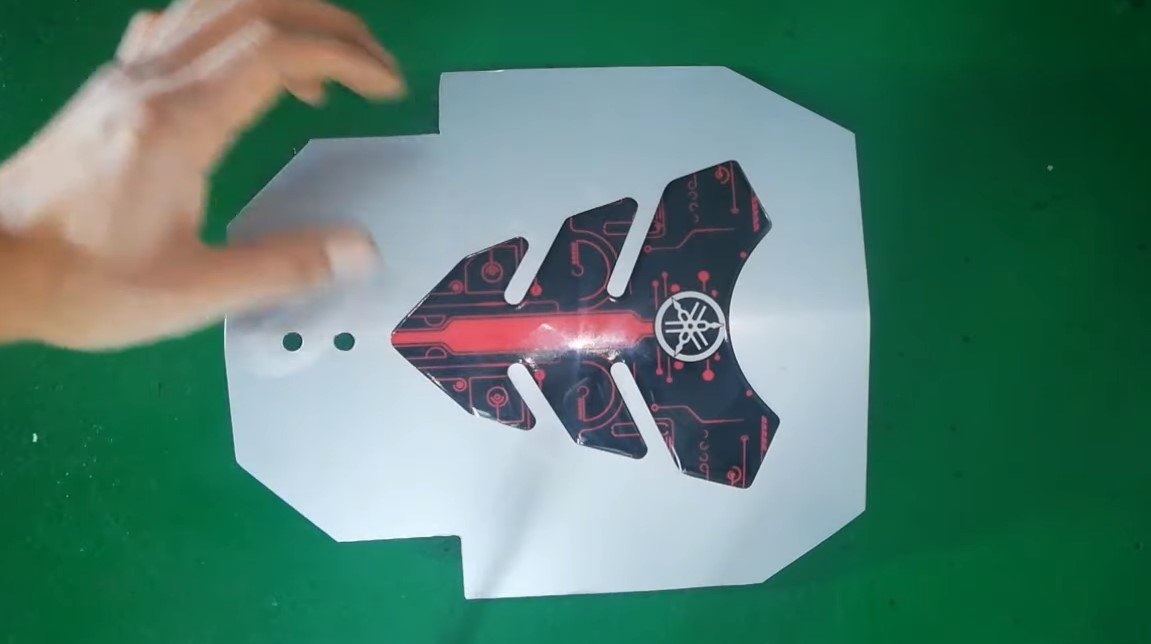
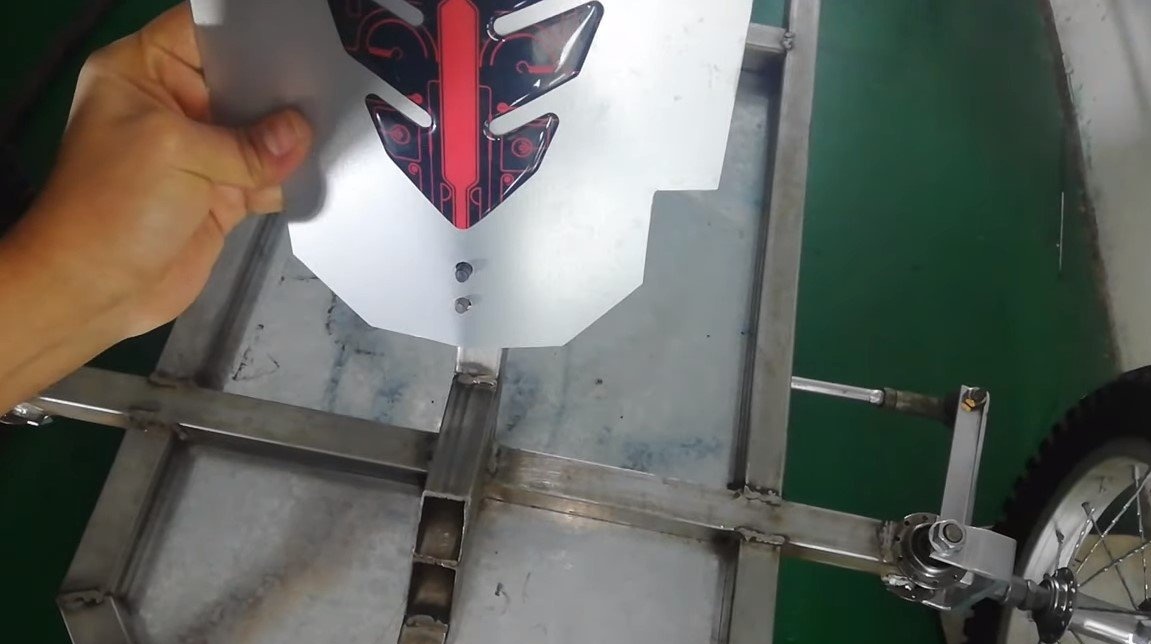
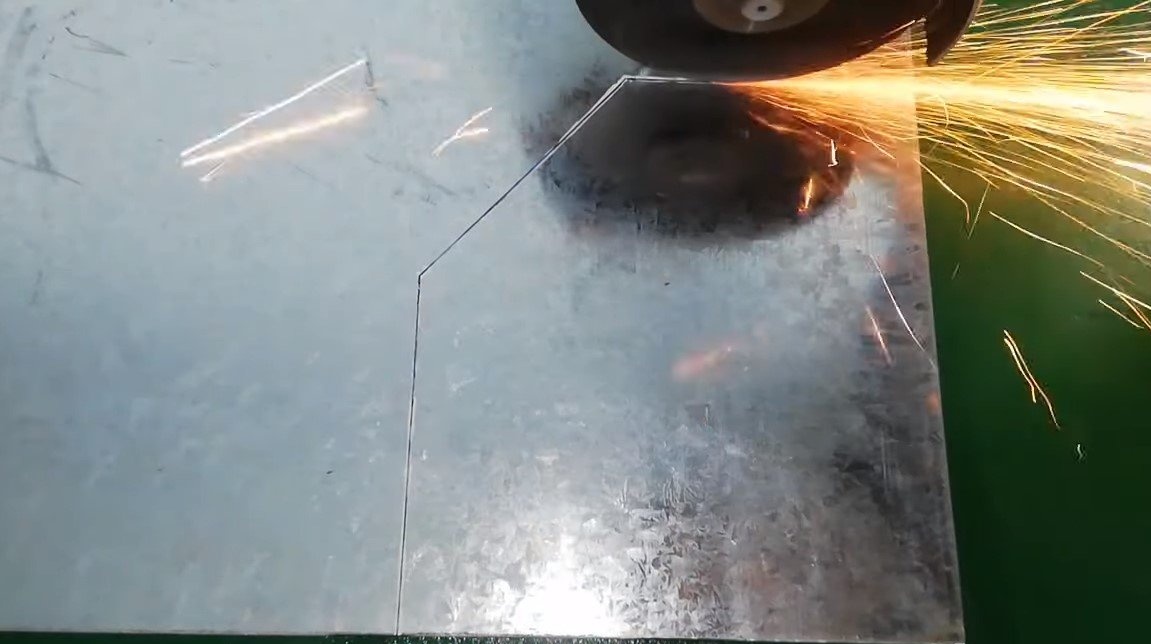
Step Five Sheathing
We frame the frame, galvanized steel is suitable as a material. Such material can be screwed even with self-tapping screws. You can also make full use of plywood.
Step Six Rear wheels
We install the rear wheels on the rear axle, which is a piece of the profile pipe. Inside the pipe, we need to install the nuts in which we will turn the axles of the wheel. To embed the nuts, cut out a piece of metal from the pipe, weld the nuts, and then bend the piece of pipe back and weld everything well. At the end, we screw the axles and counter them with nuts.
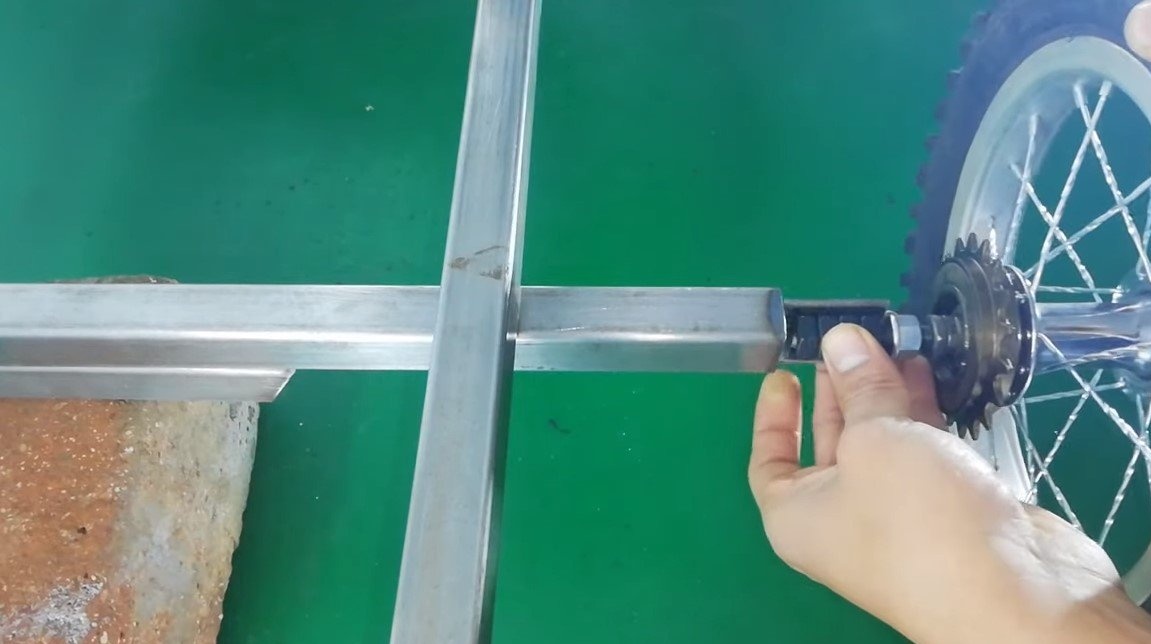
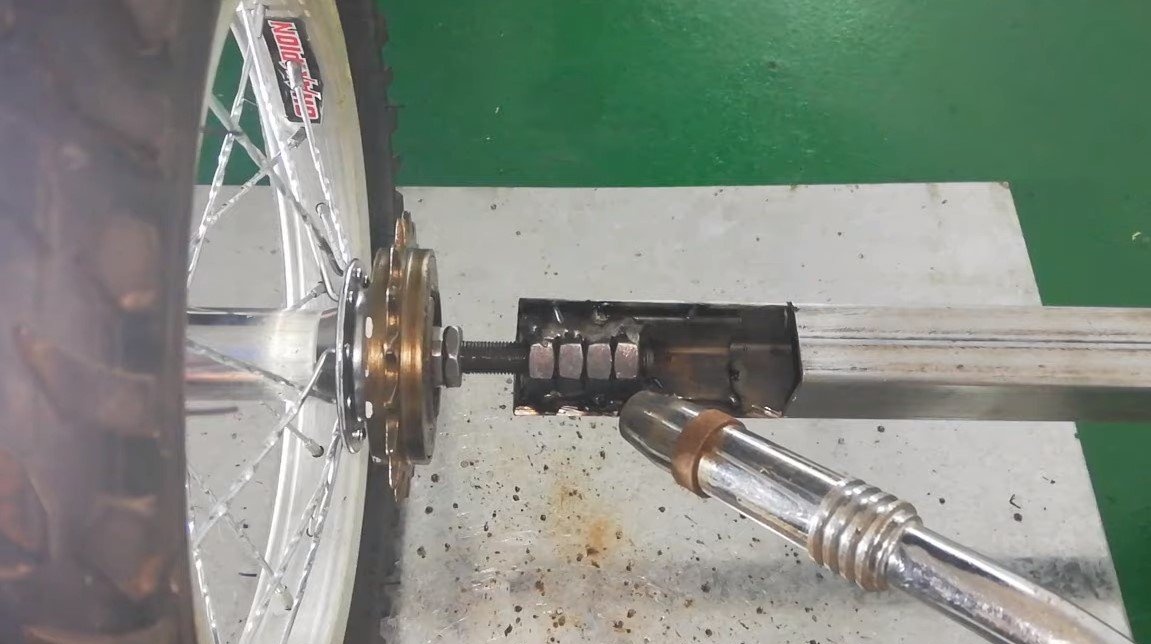
Seventh step. Driven sprocket and brake
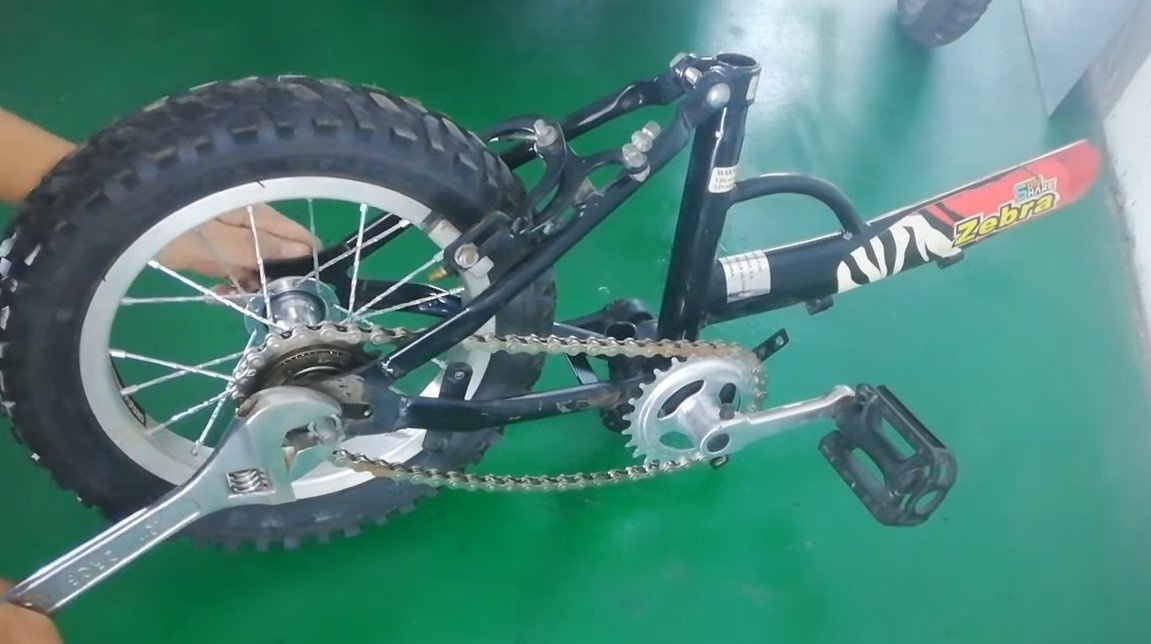
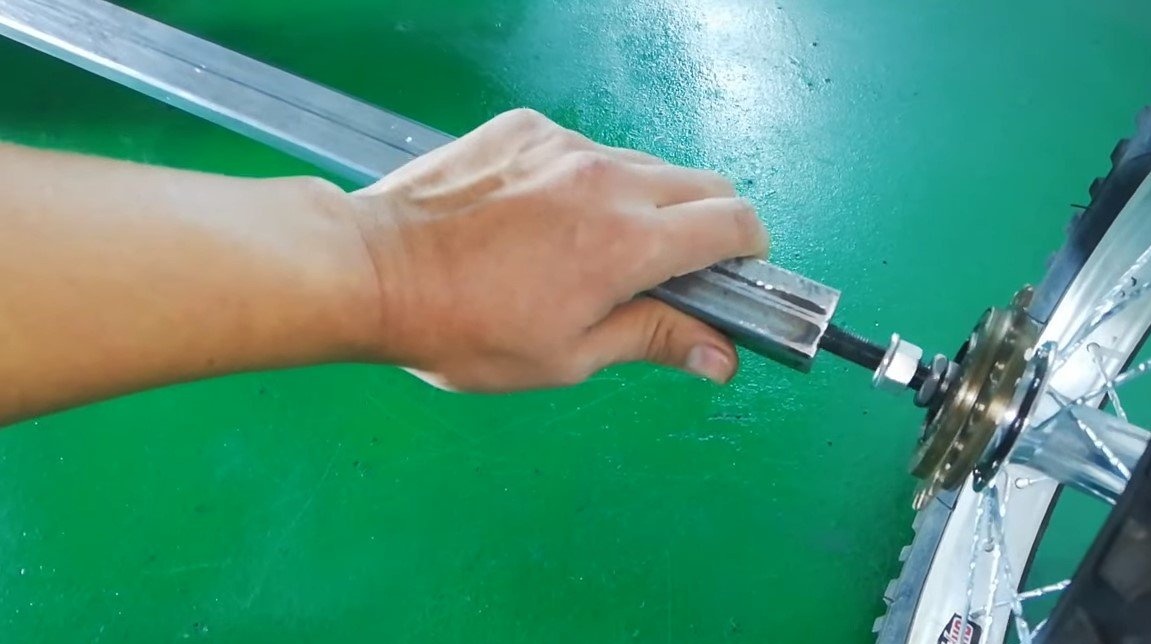
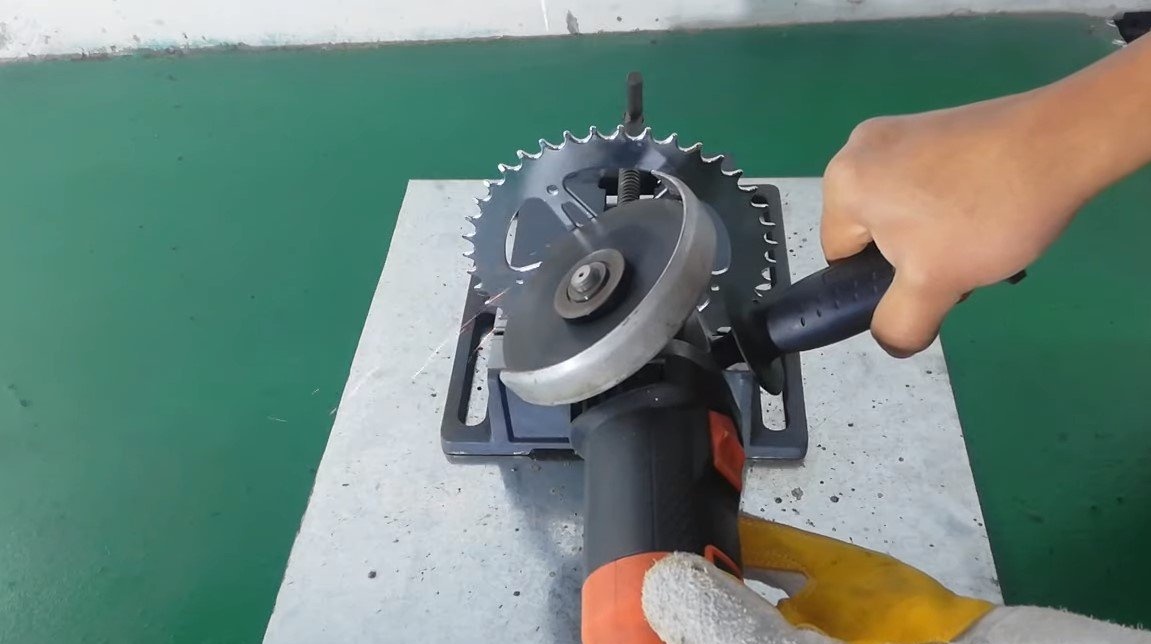
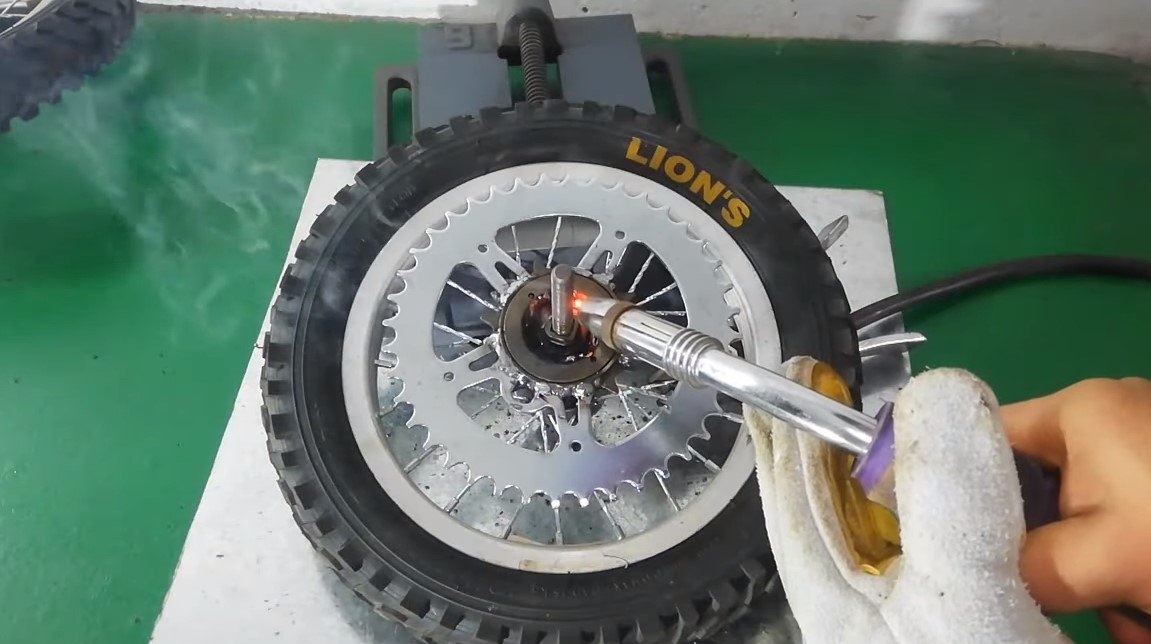
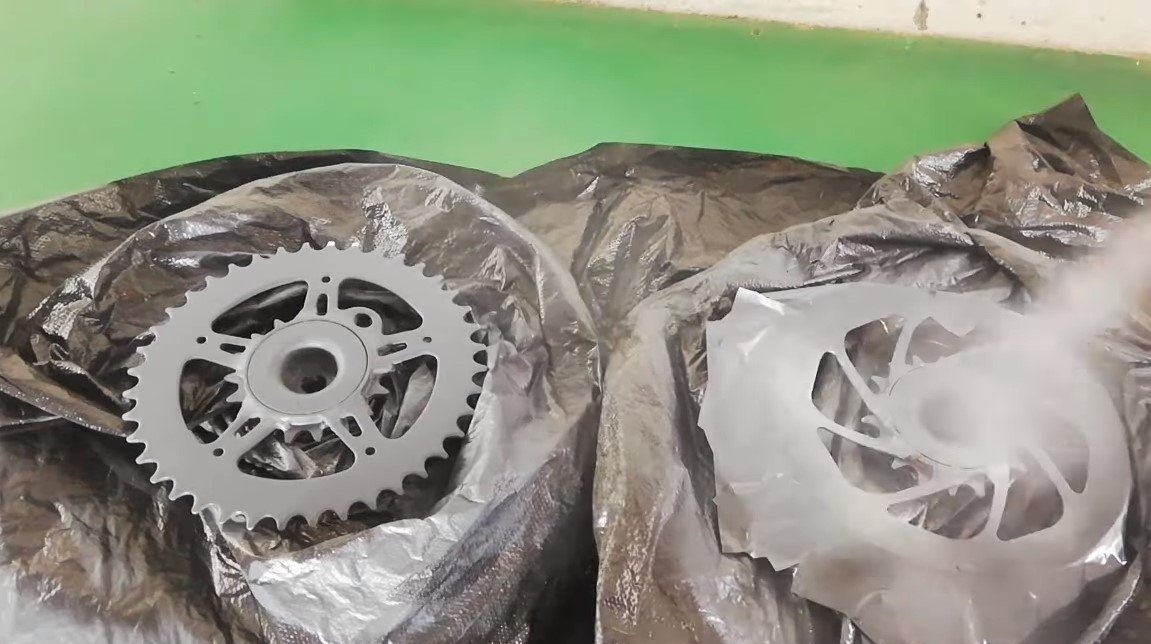
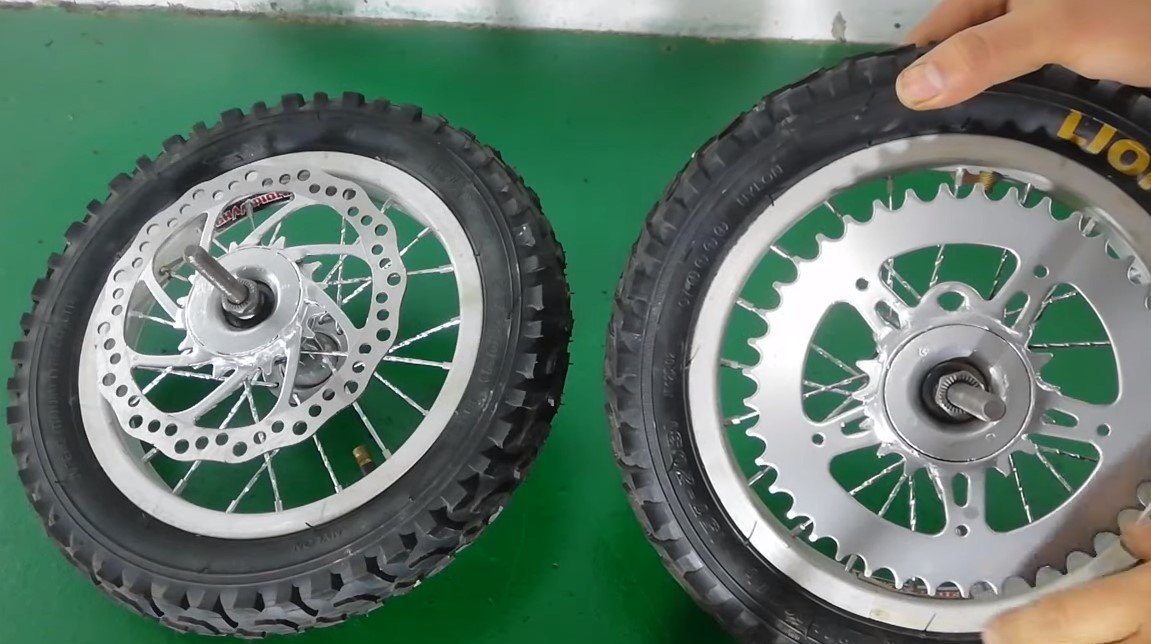
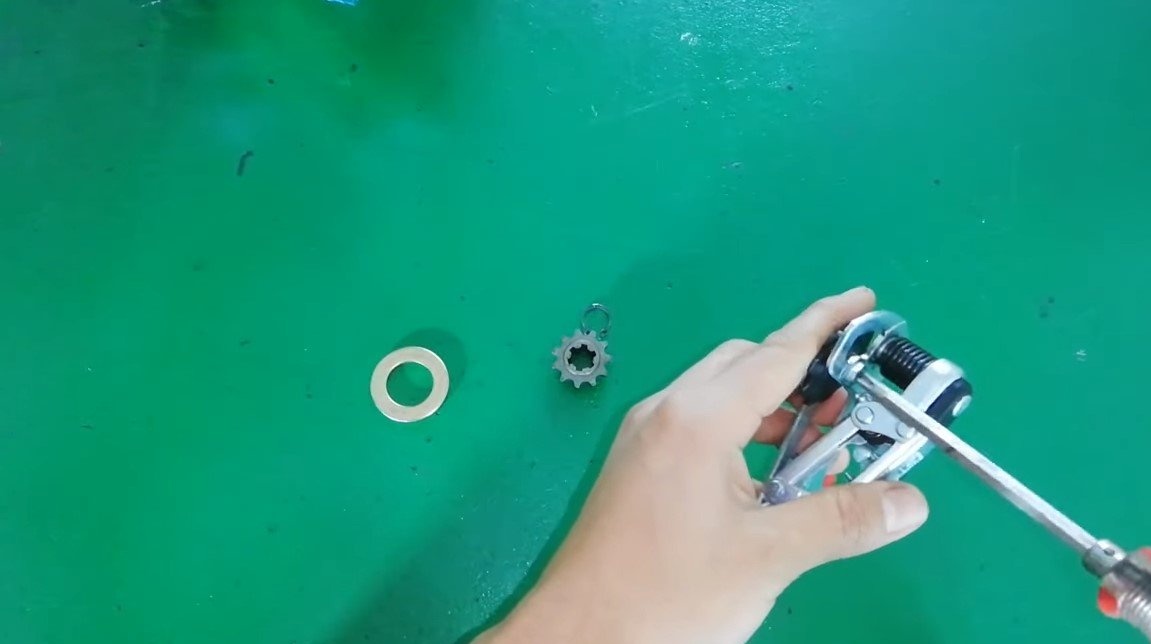
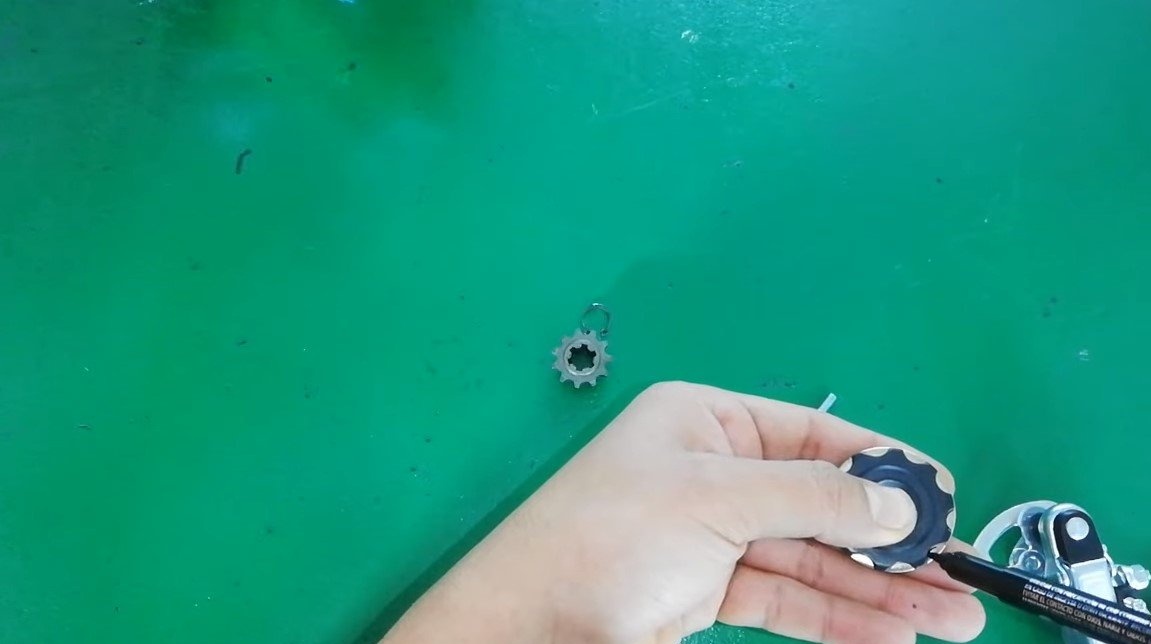
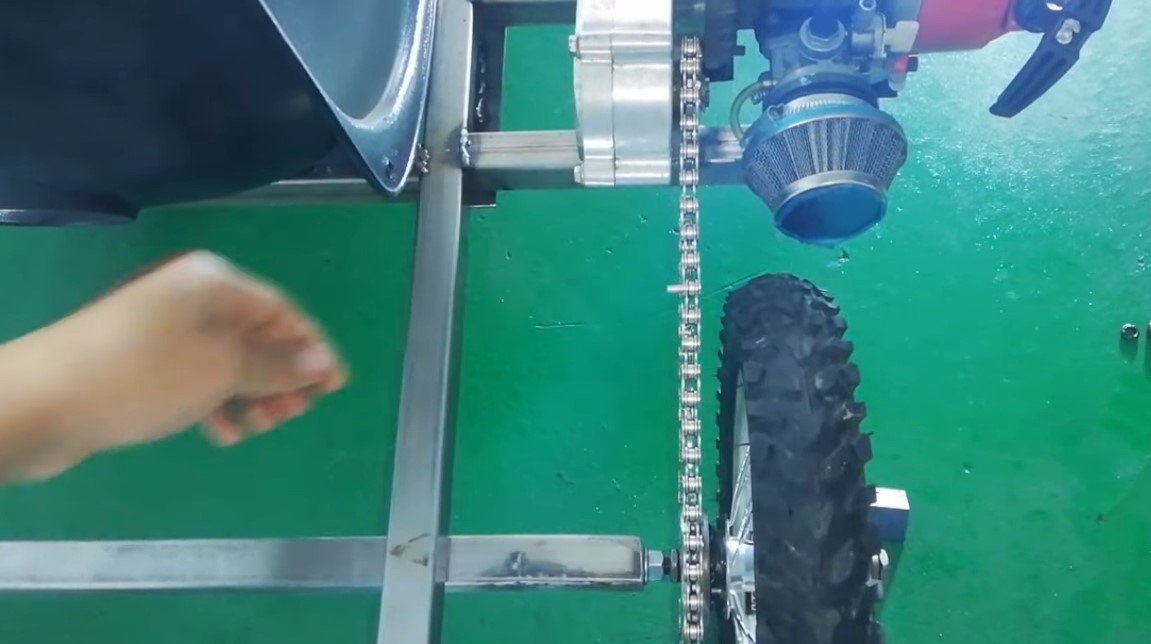
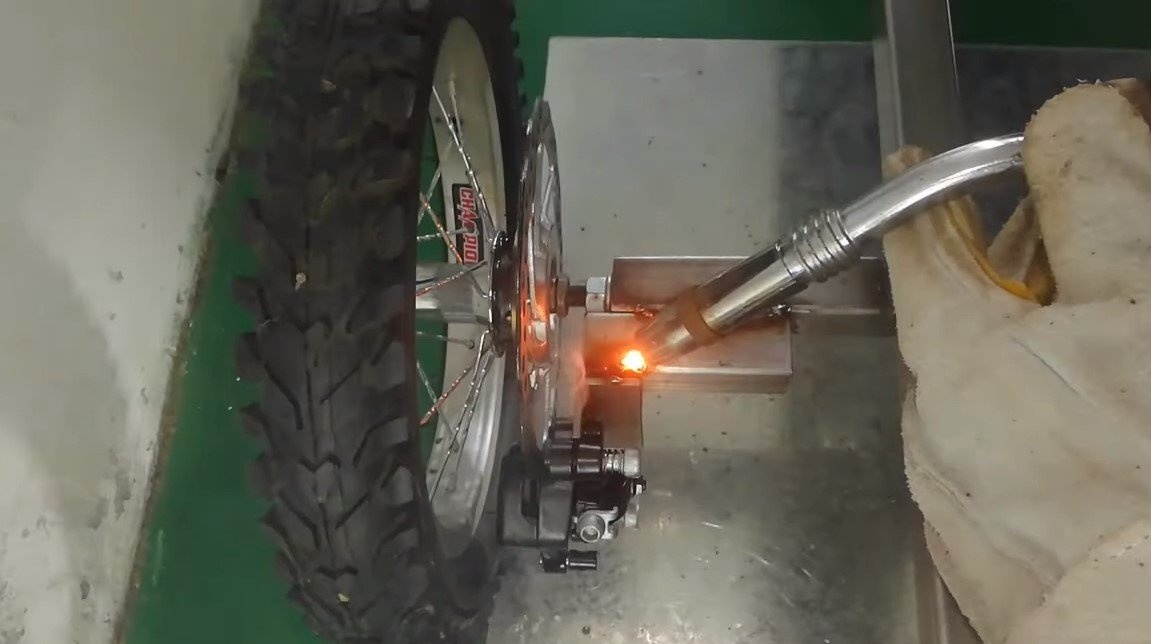
We need two rear wheels of a bicycle, a brake disk is installed on one wheel and a driven sprocket on the other. The ratchet gears of the sprockets need to be brewed, especially for the brake wheel. As for the drive wheel, the author turned the star over with a ratchet in the right direction, and grabbed the thread by welding to the sleeve so that the block would not unscrew. As a result, the car will be able to move forward, it is less safe, but more convenient.
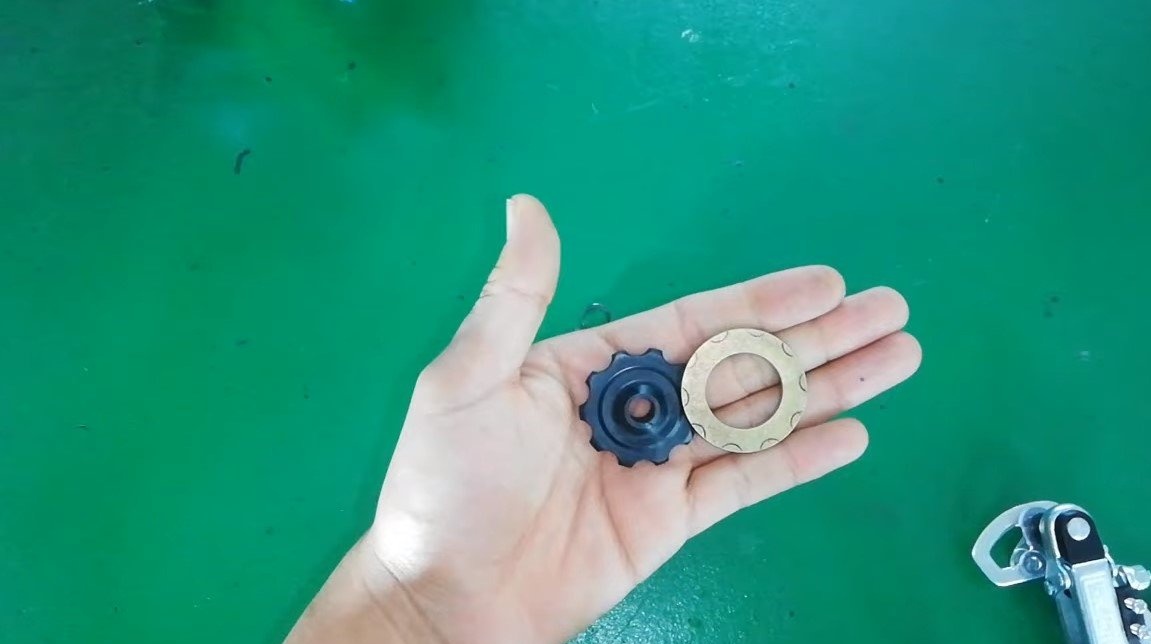
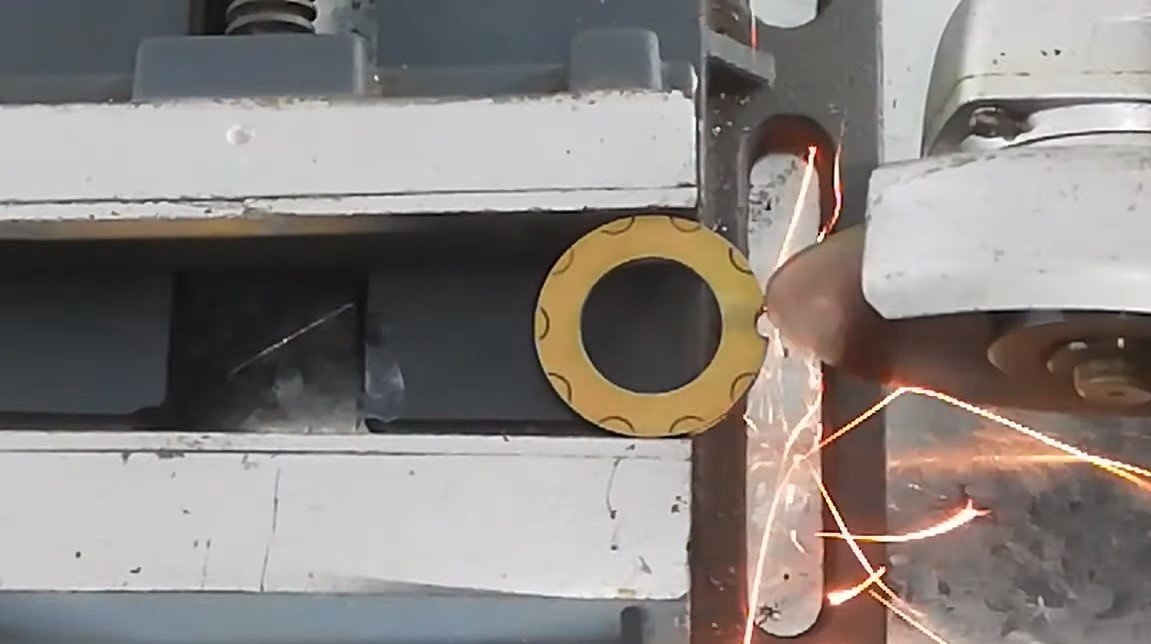
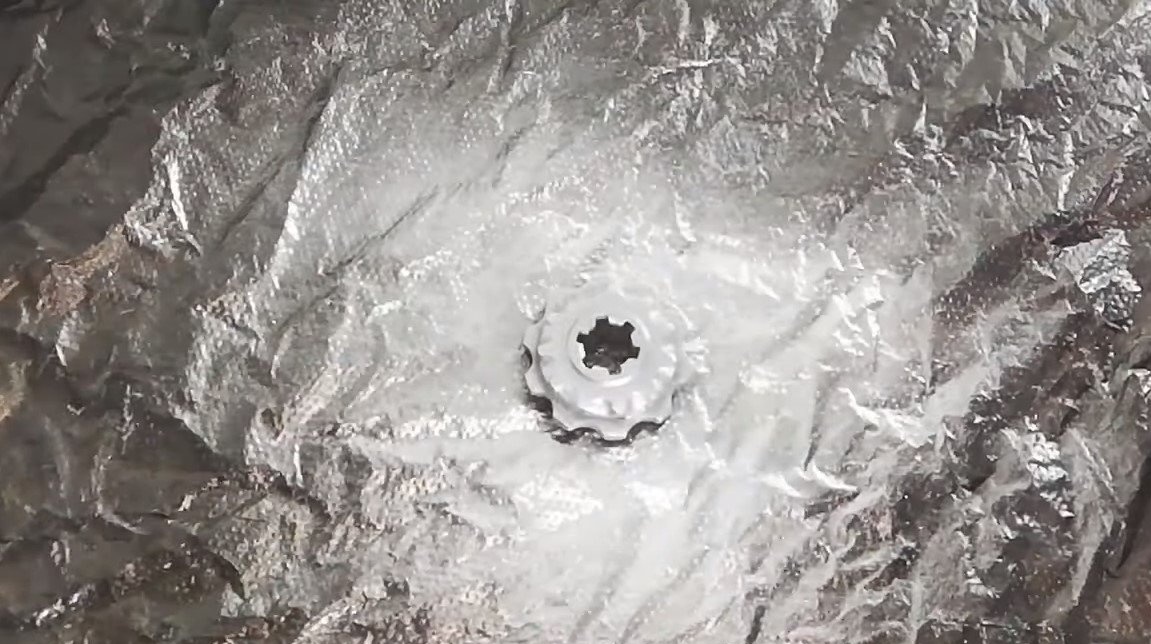
We take the driven sprocket from the bicycle, cut off the excess and weld it to the ratchet sprocket on the wheel.
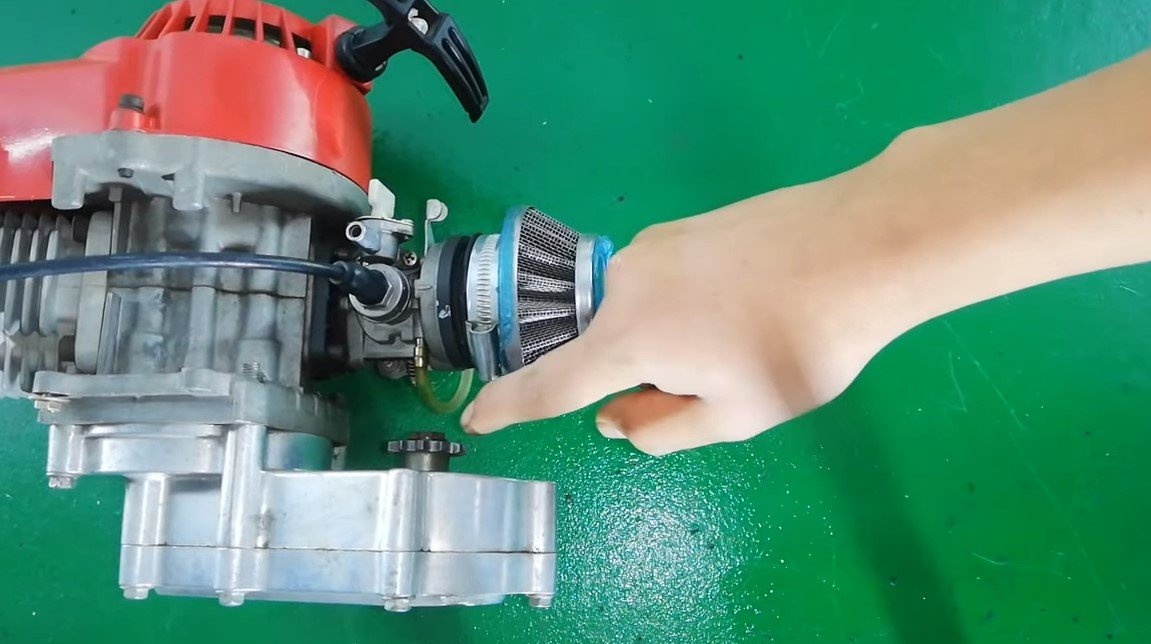
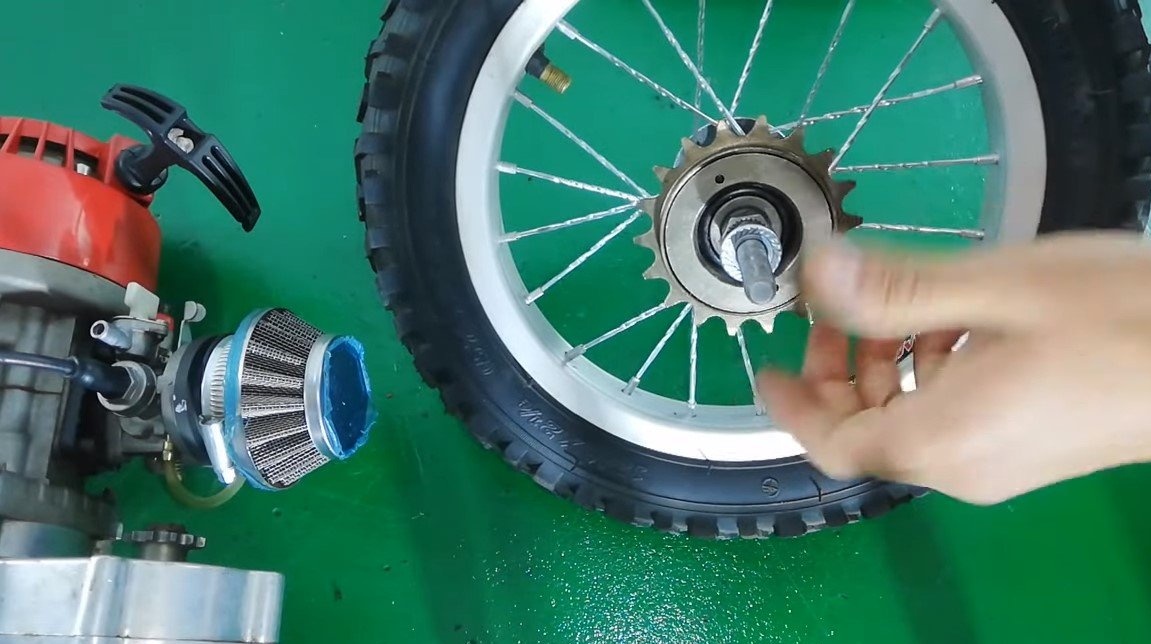
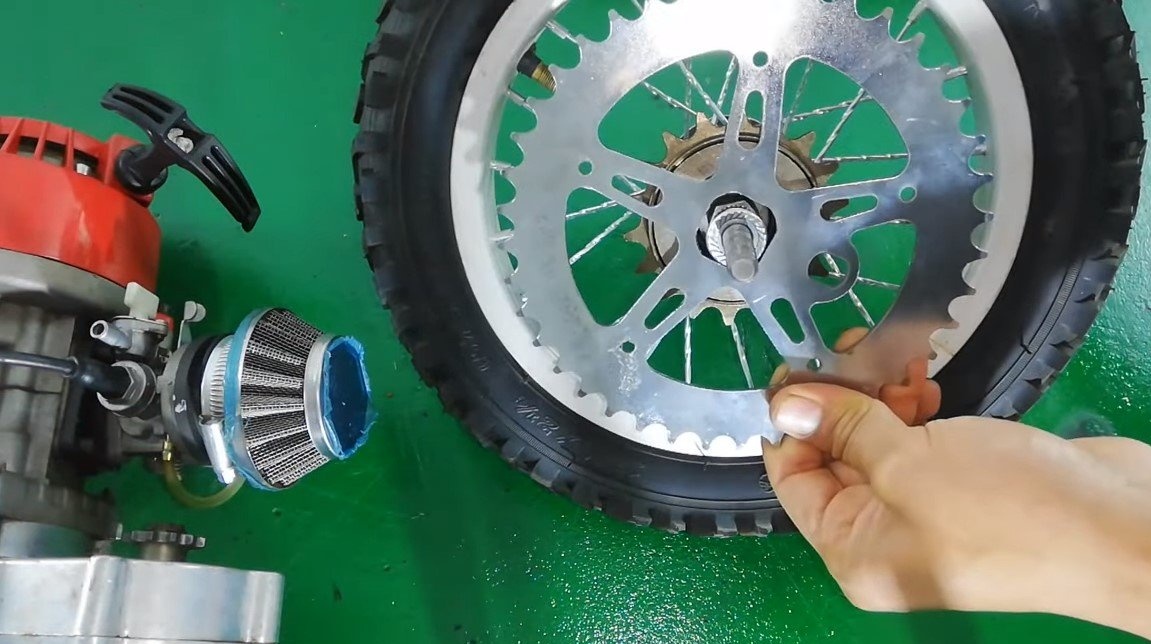

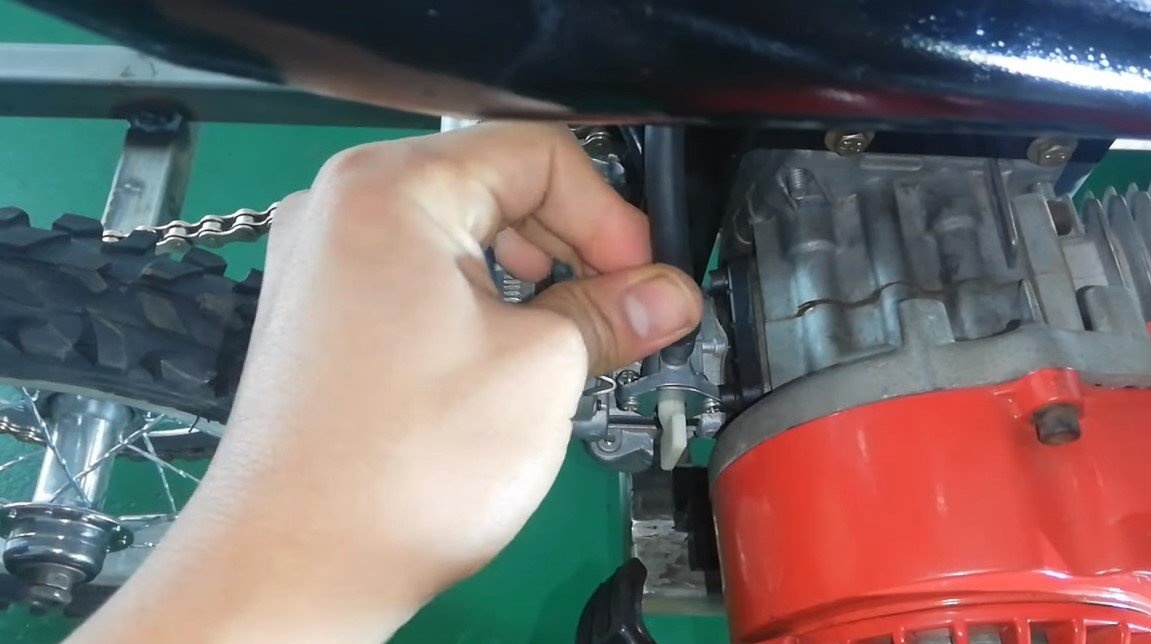
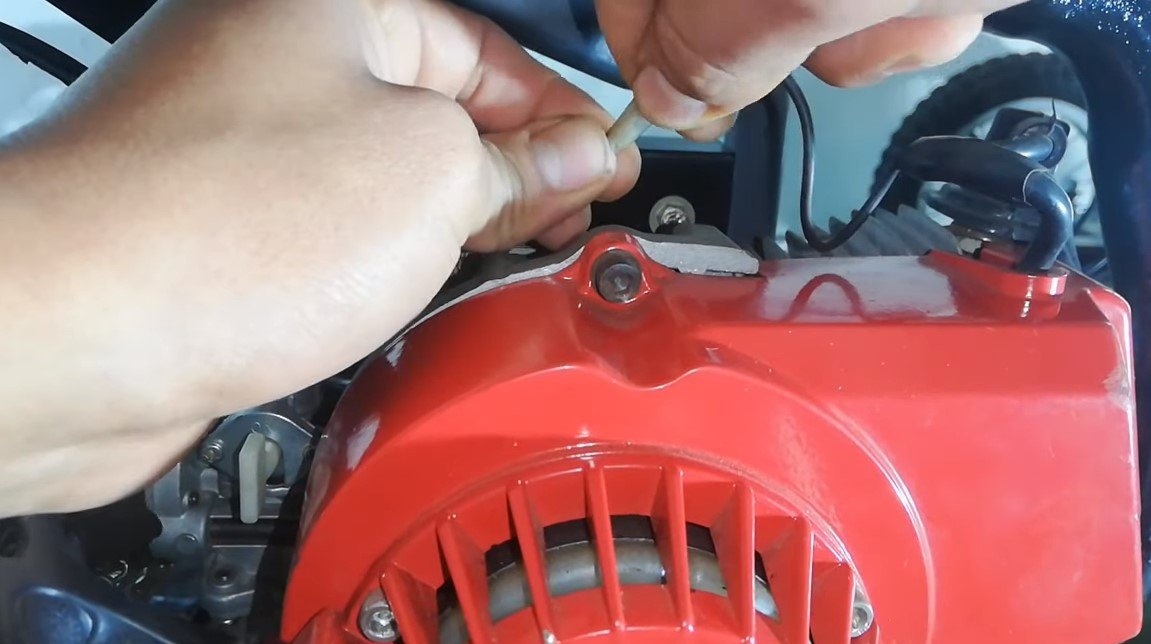
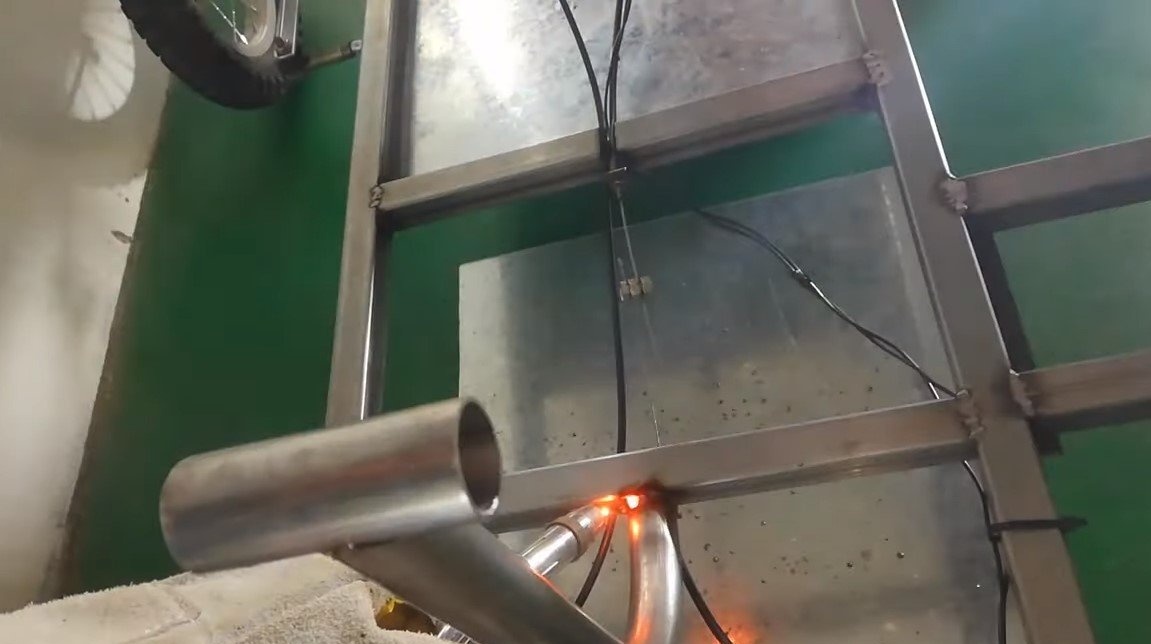
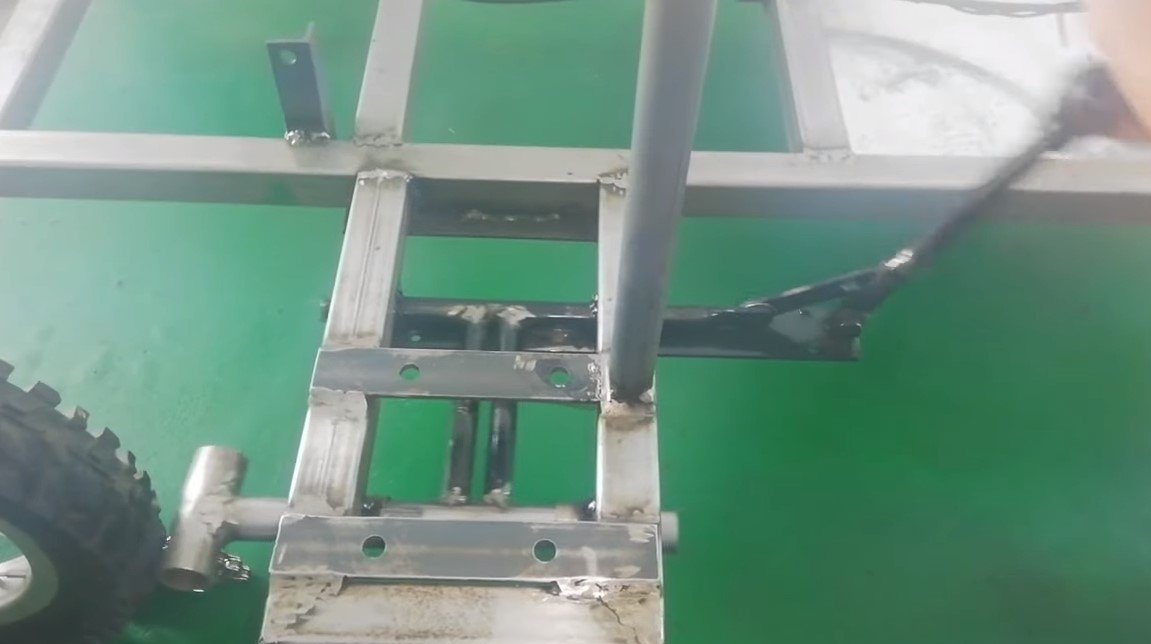
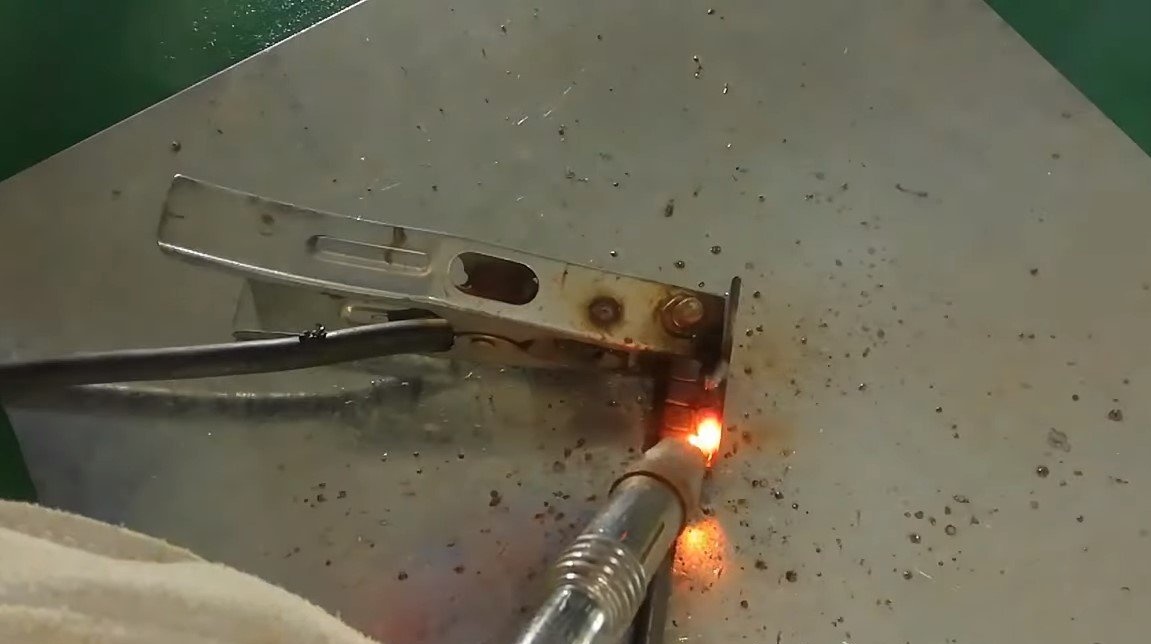
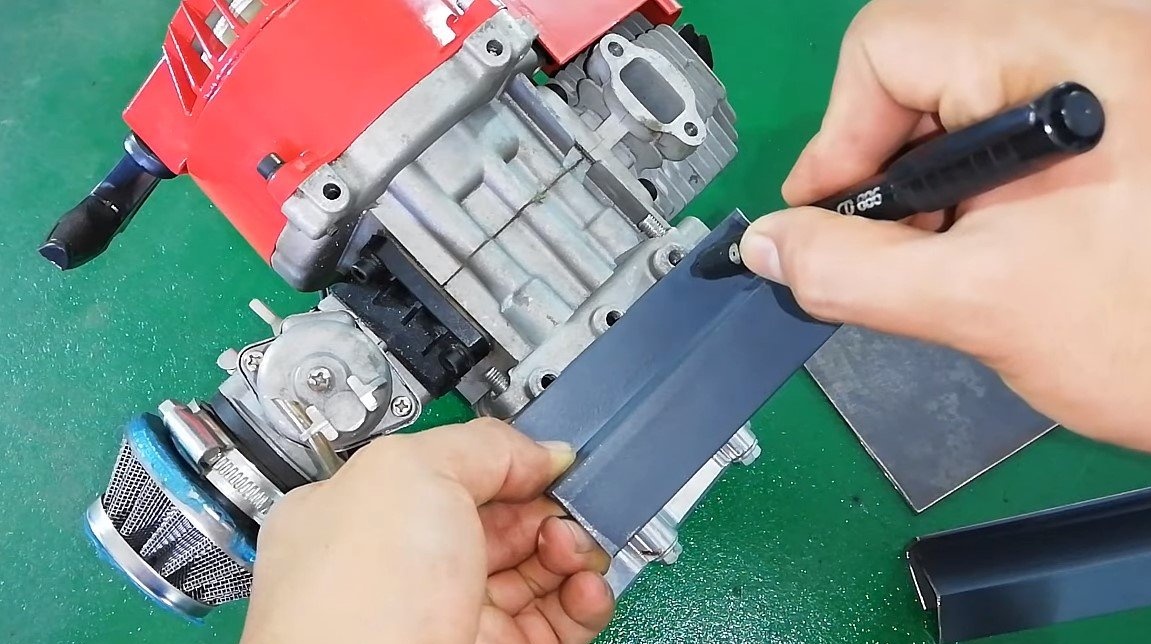
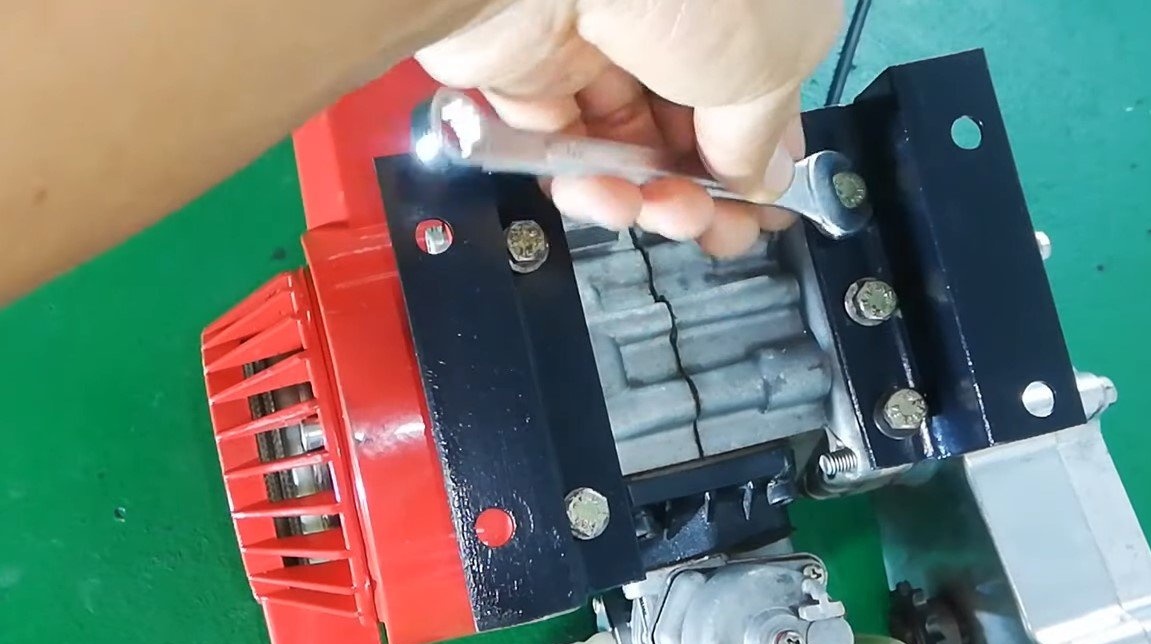
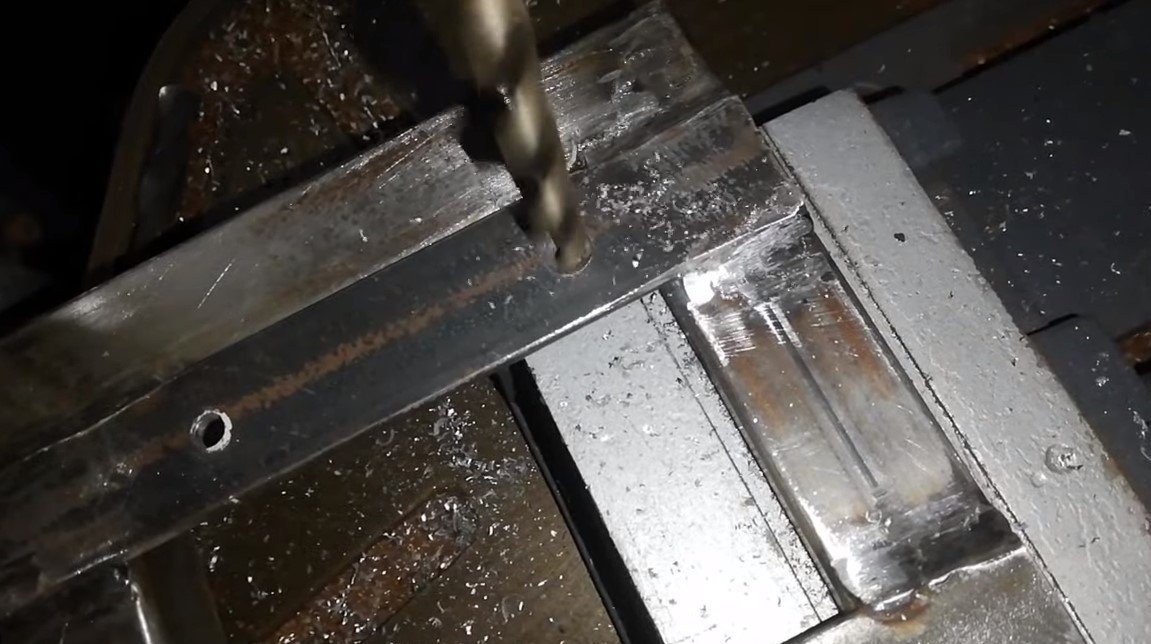
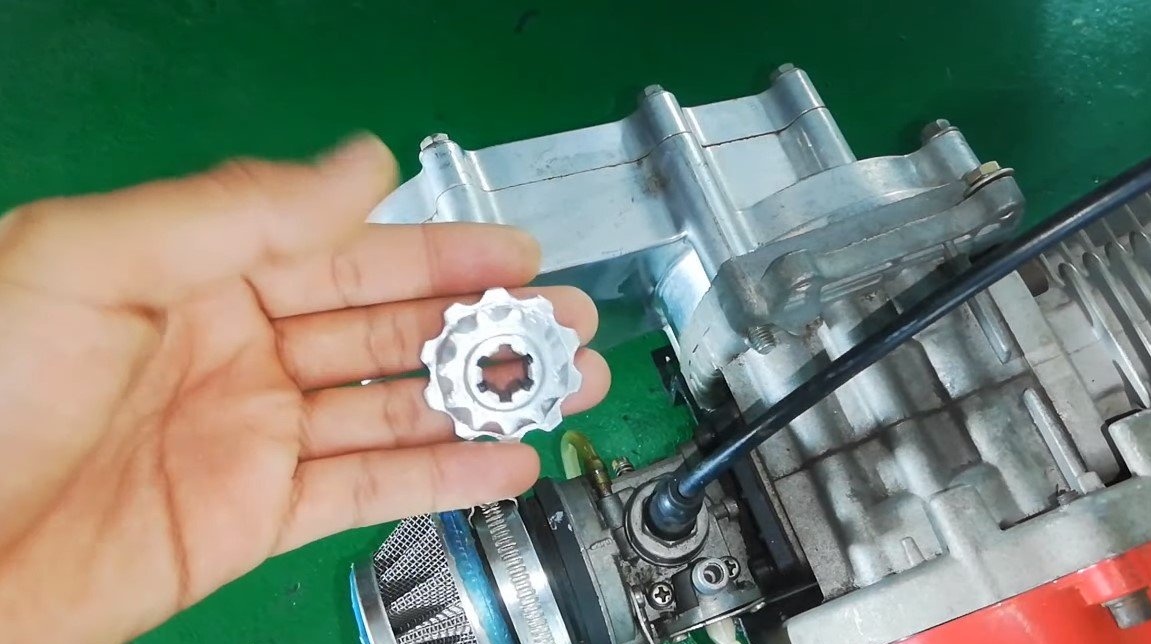
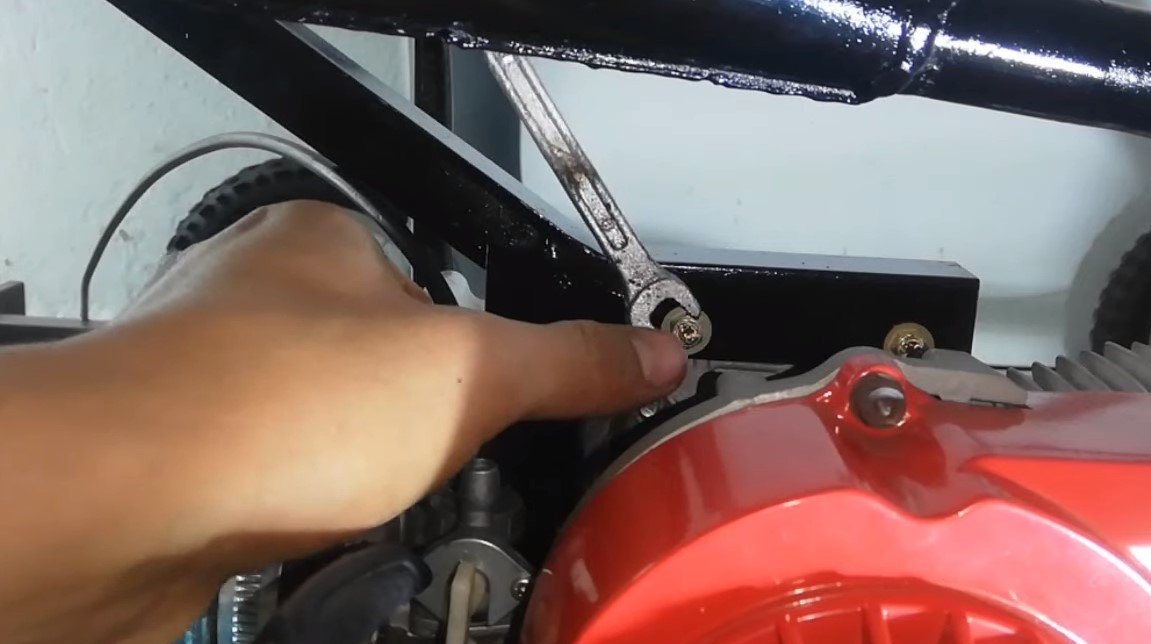
Step Eight. Installing the engine and finalizing the drive sprocket
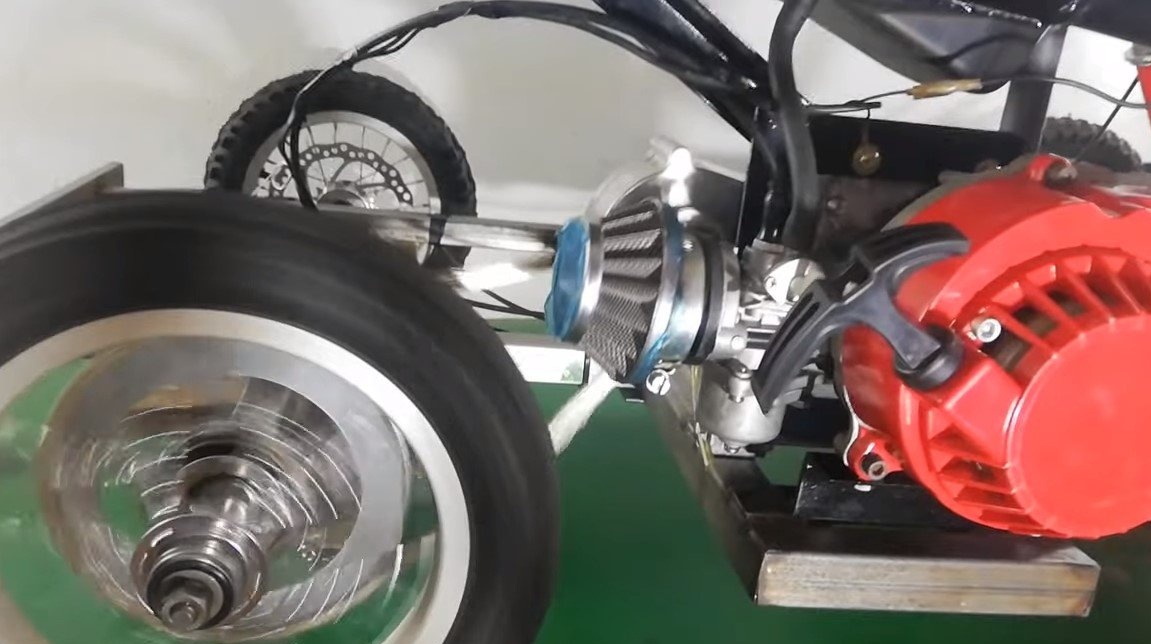
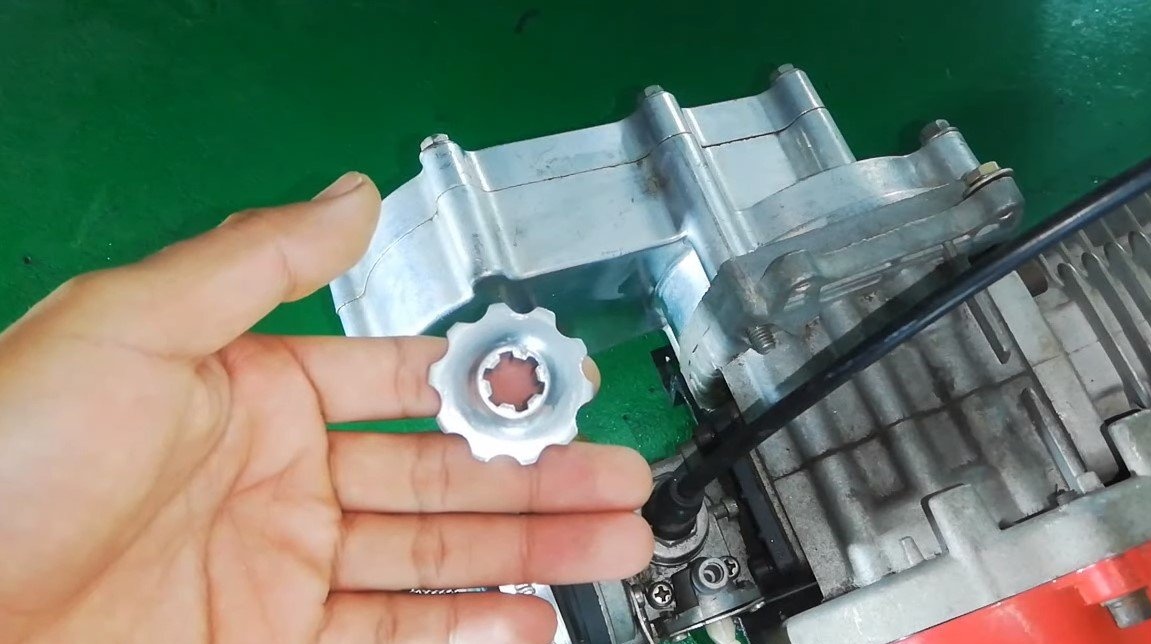
Under the engine we weld a good frame of sheet steel and profile pipes. The asterisk on the motor shaft was under the motorcycle chain, as a result, the author machined the leading sprocket itself and welded it to the existing one.
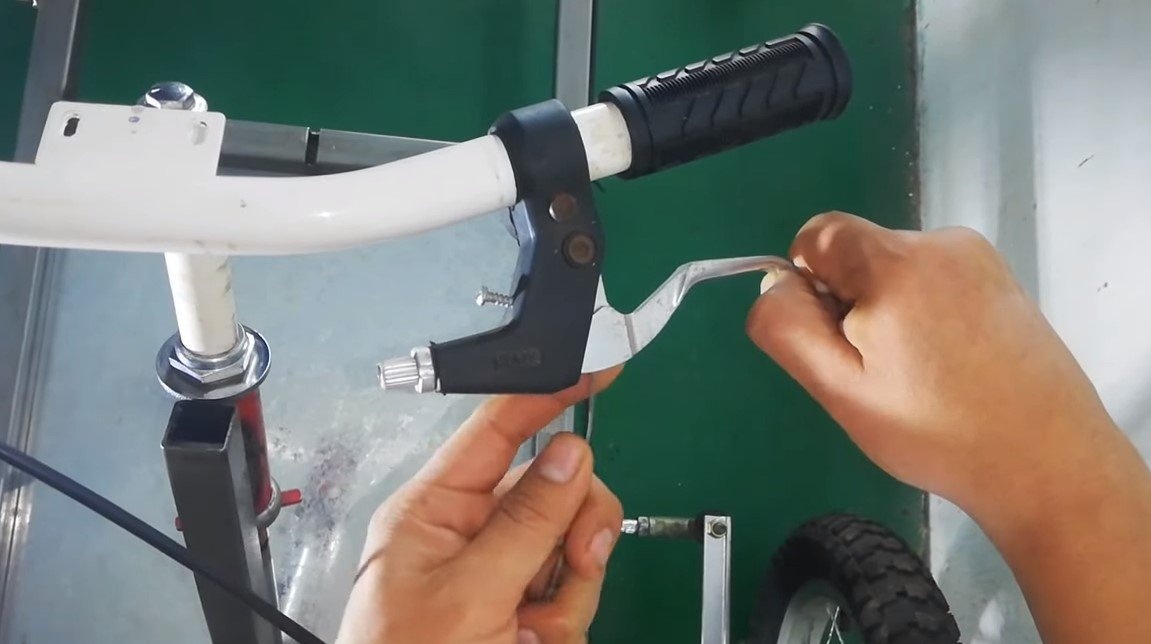
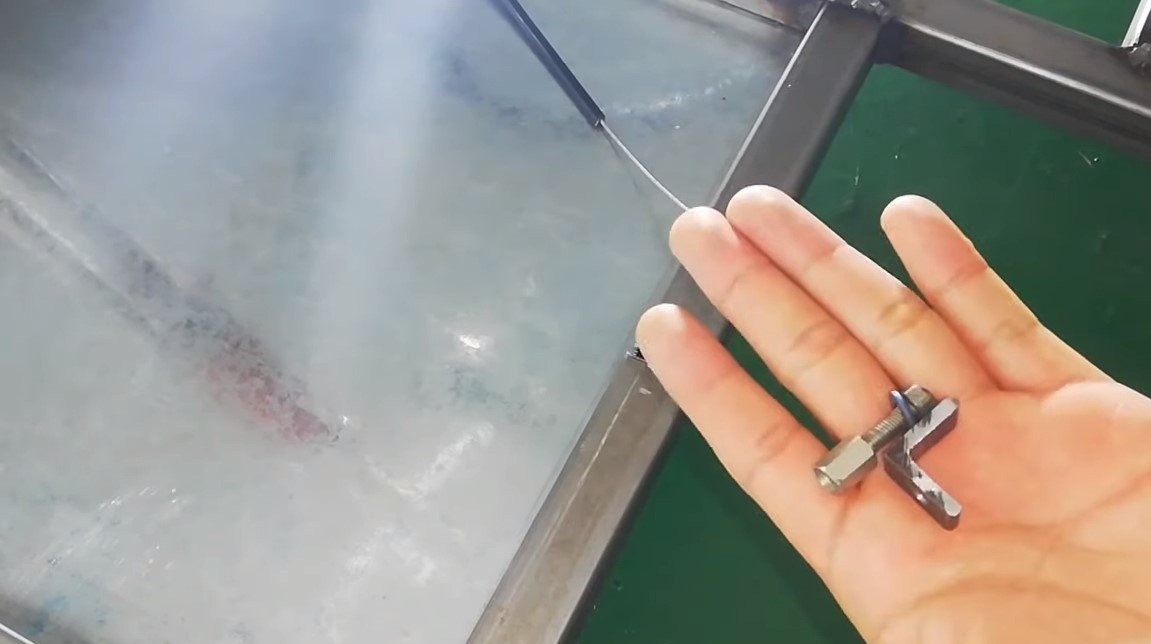
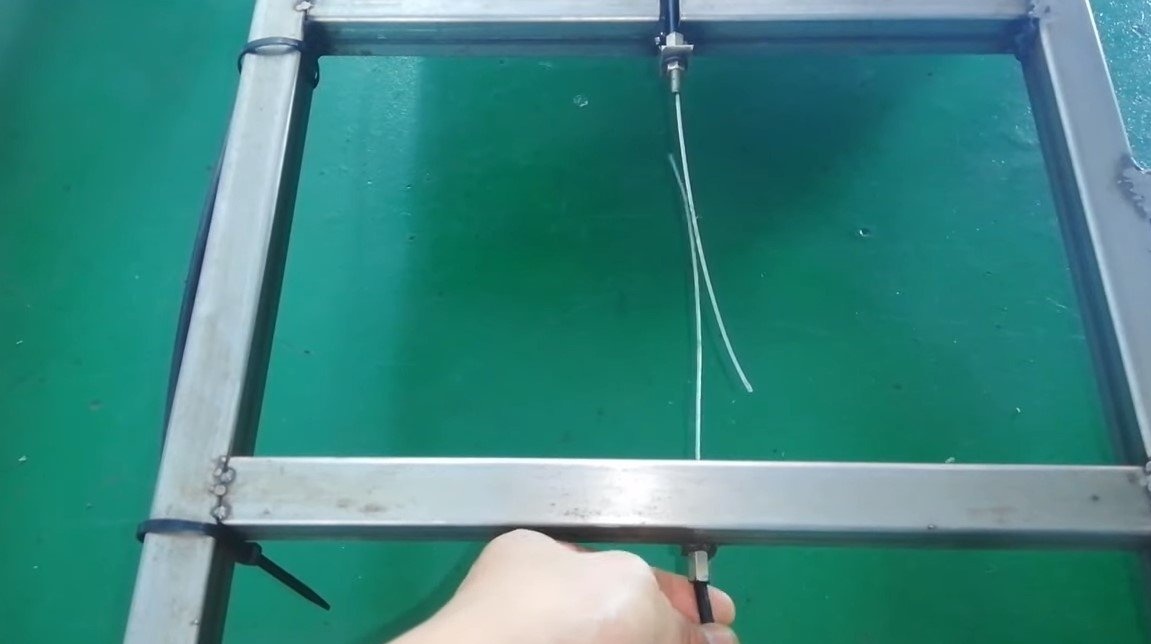
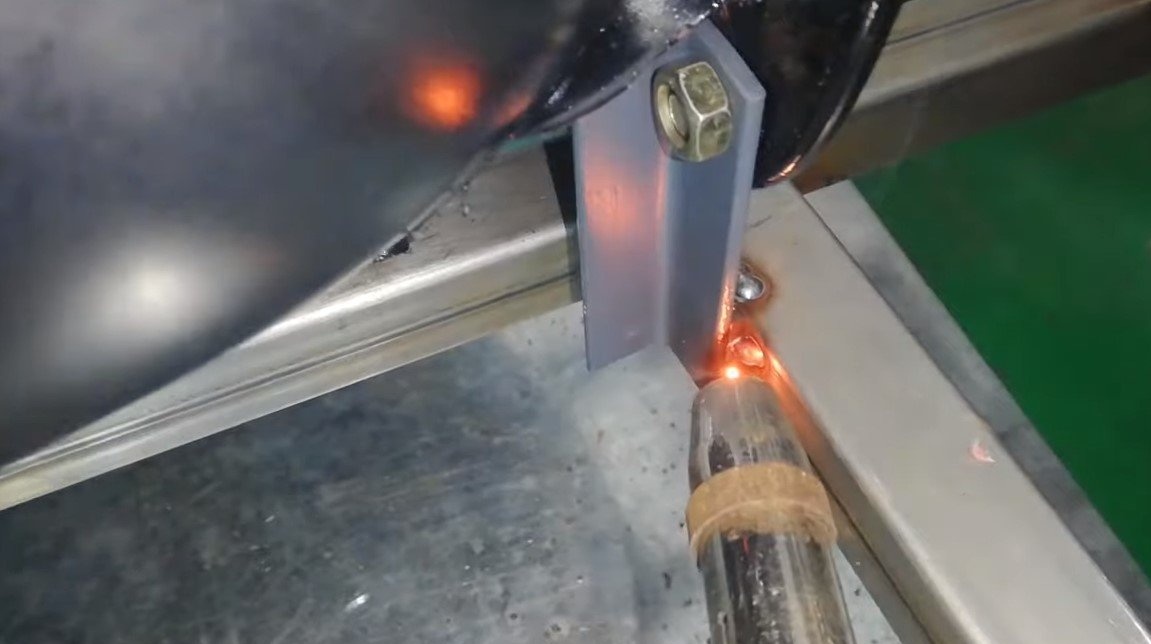
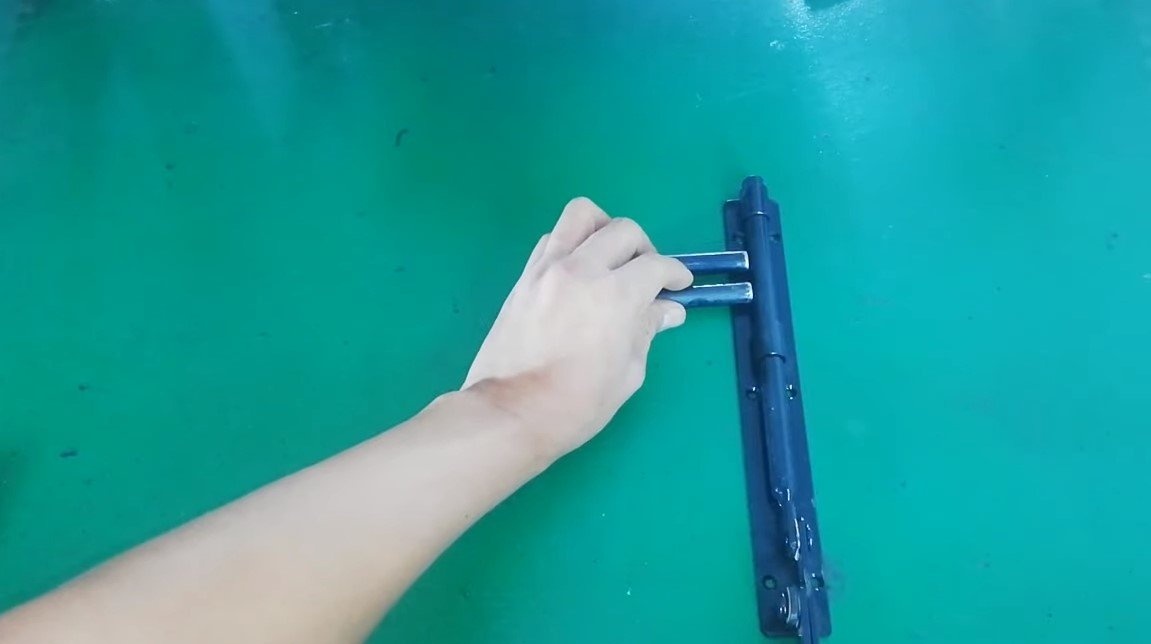
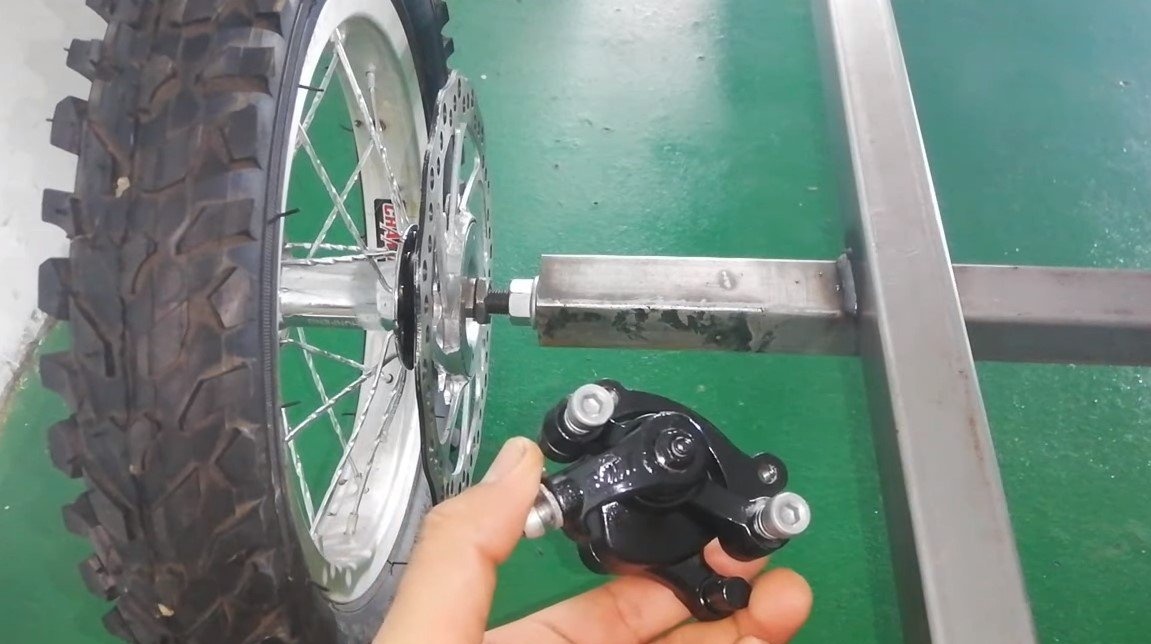
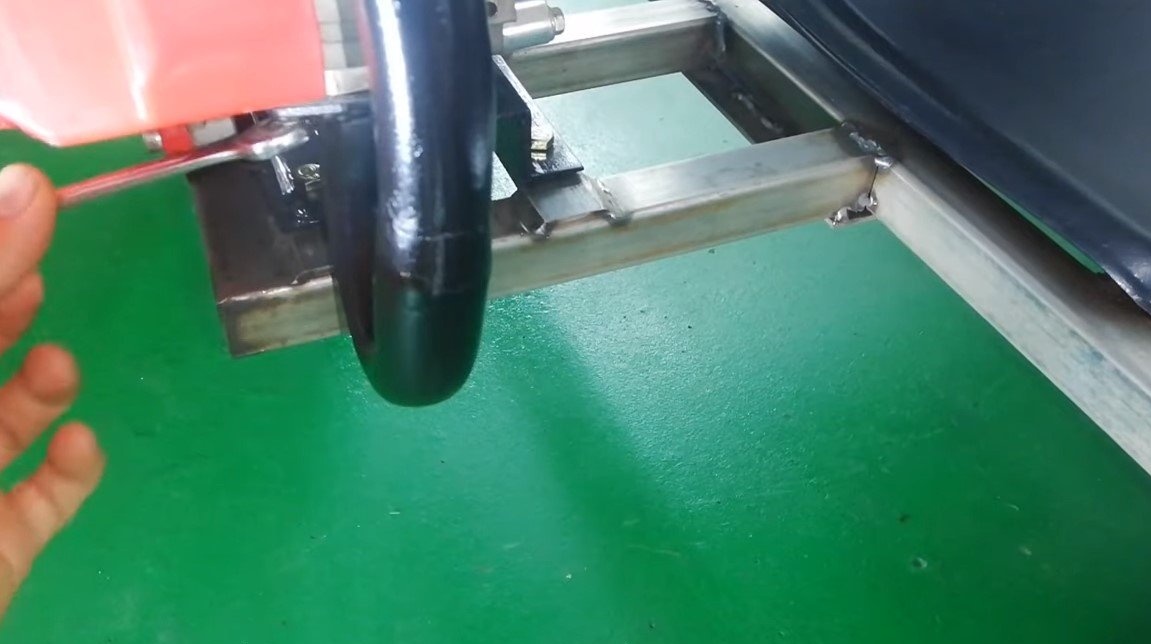
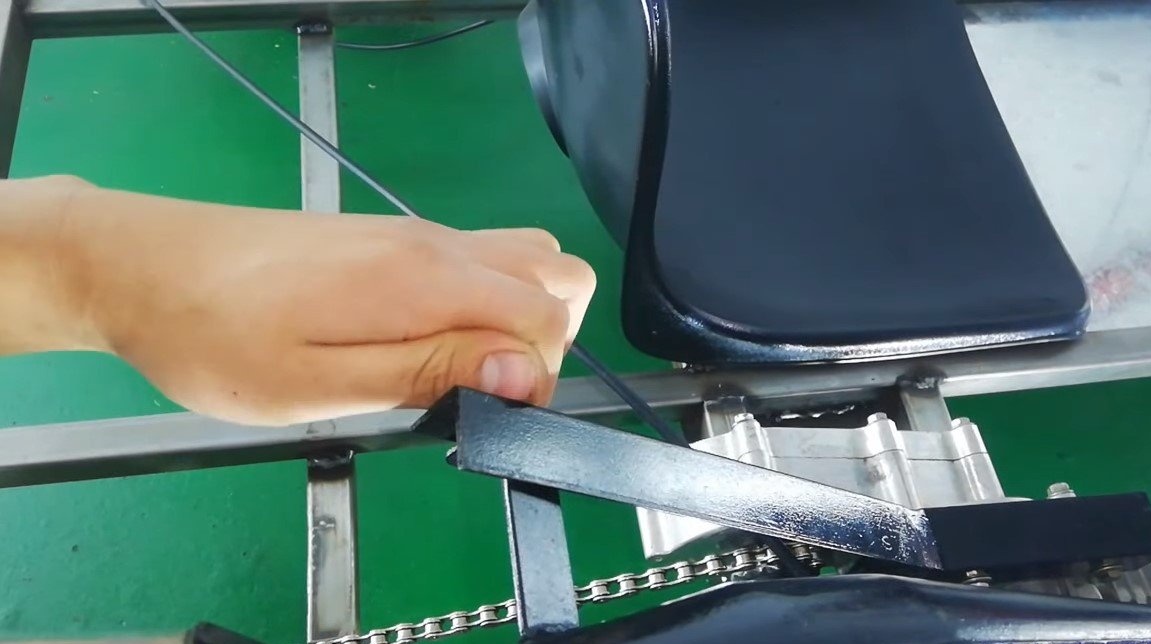
Step Nine. Brakes and exhaust
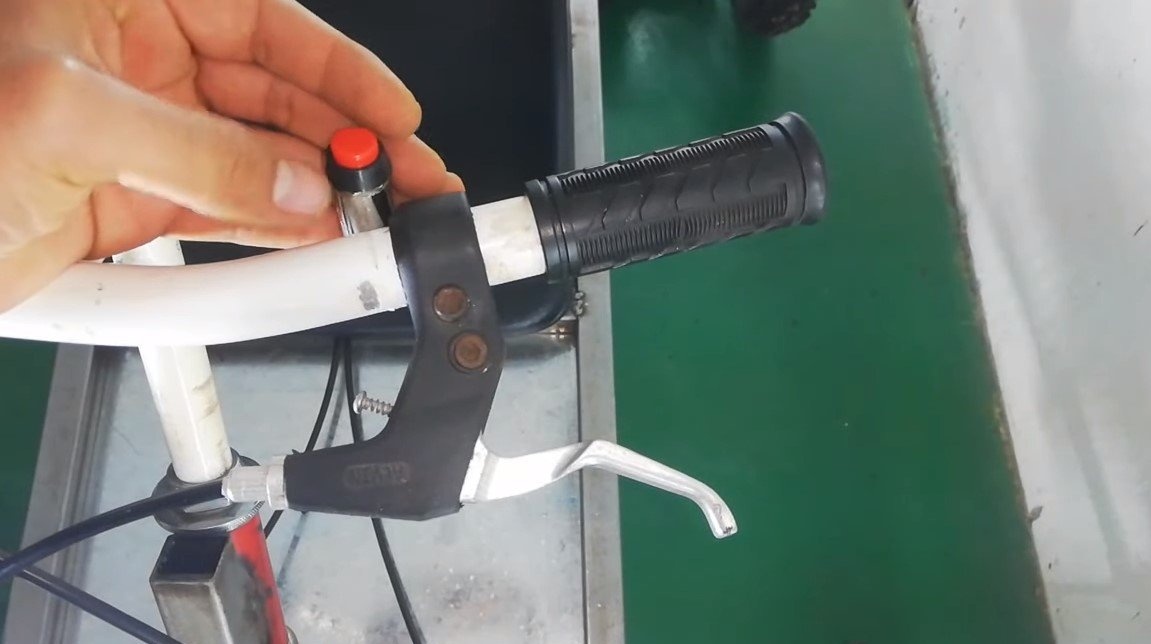
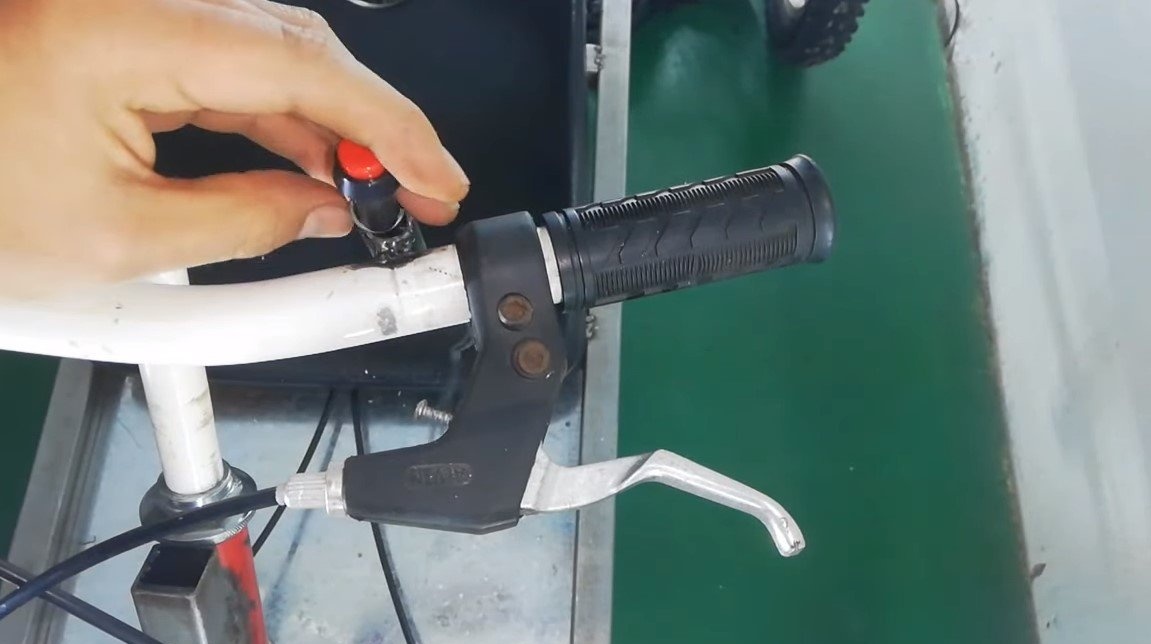
Install the rear disc brake, hold the cables and install the brake handle on the steering wheel.
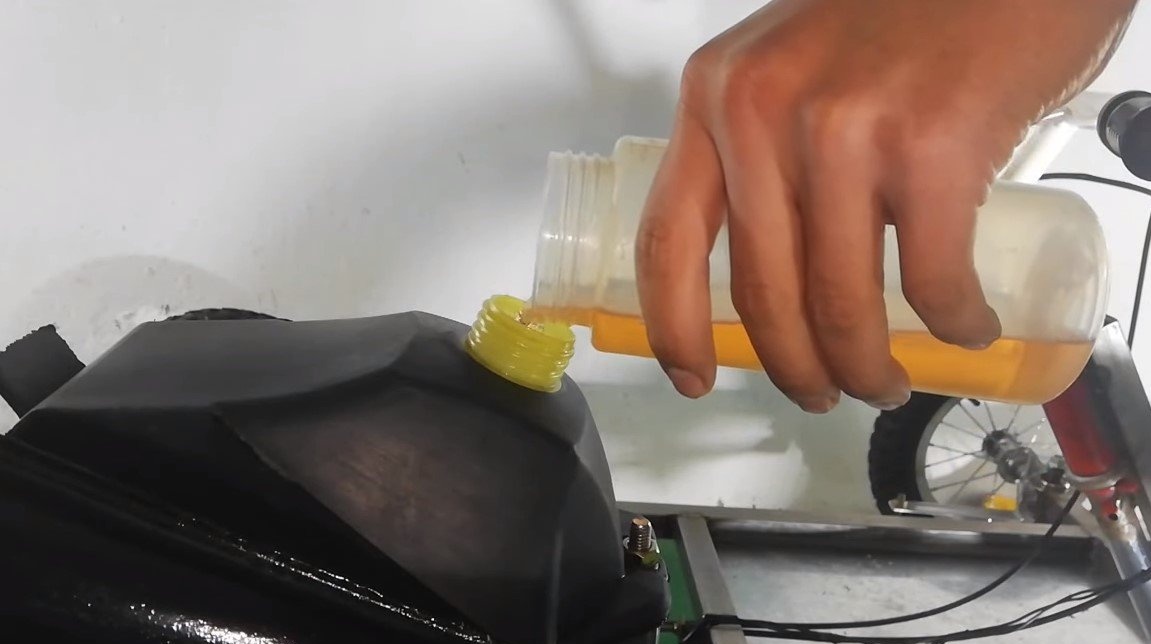
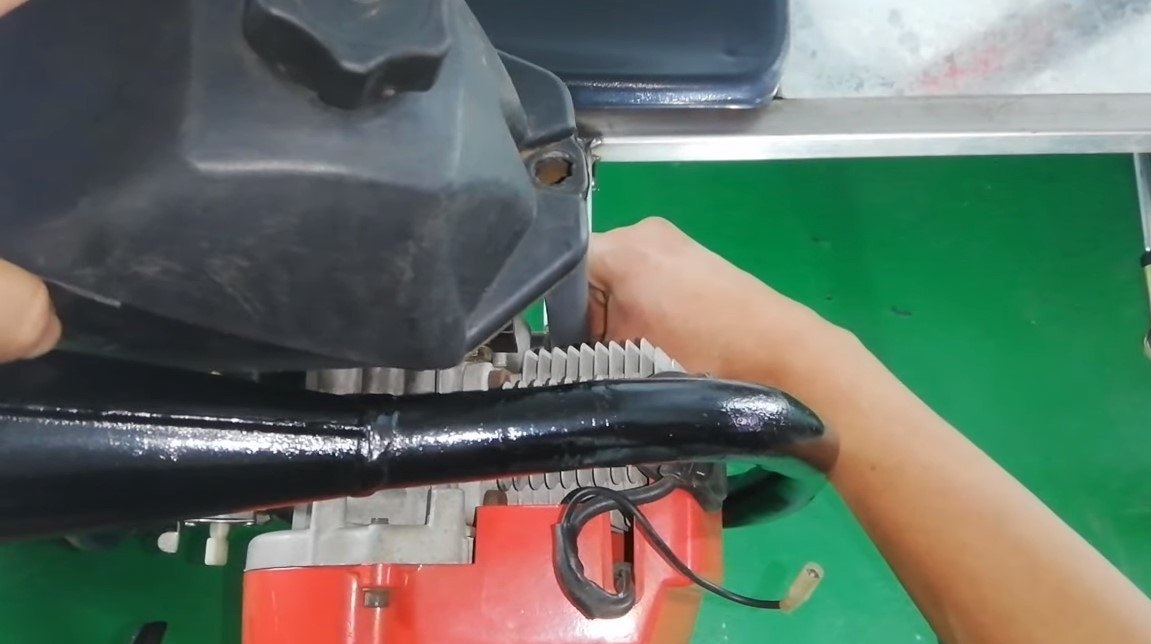
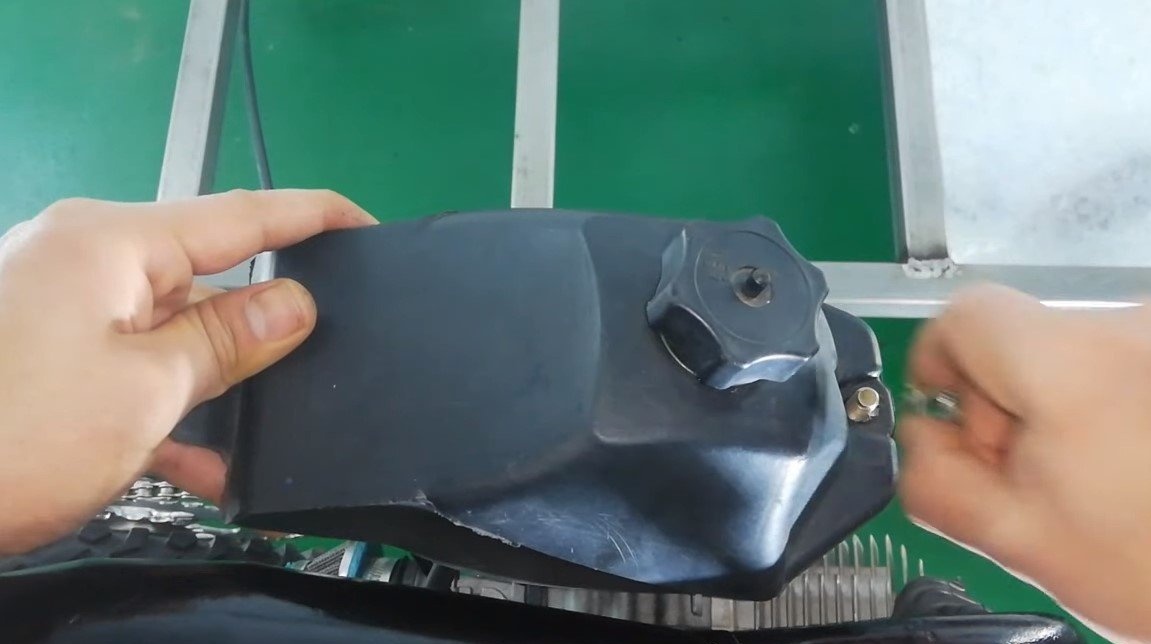
We also install a silencer, the author made a special frame from a profile pipe for its fastening. The author installed a plastic gas tank near the muffler, which is not very good and safe, since the tank can melt, and gasoline will actively evaporate due to heating.
Step Ten Further assembly
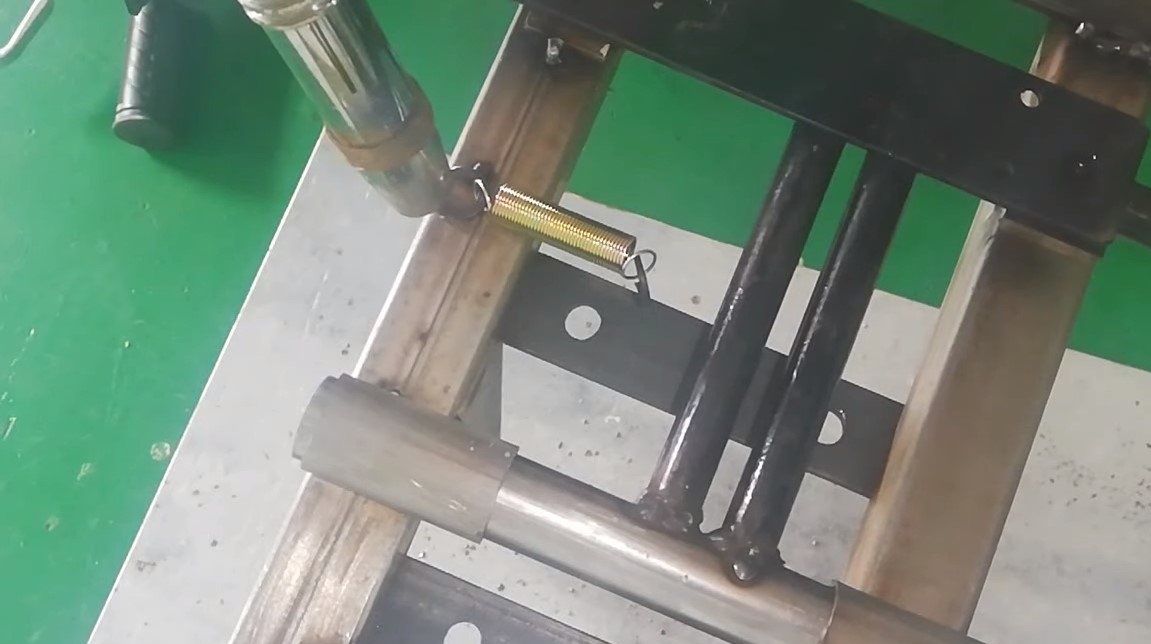
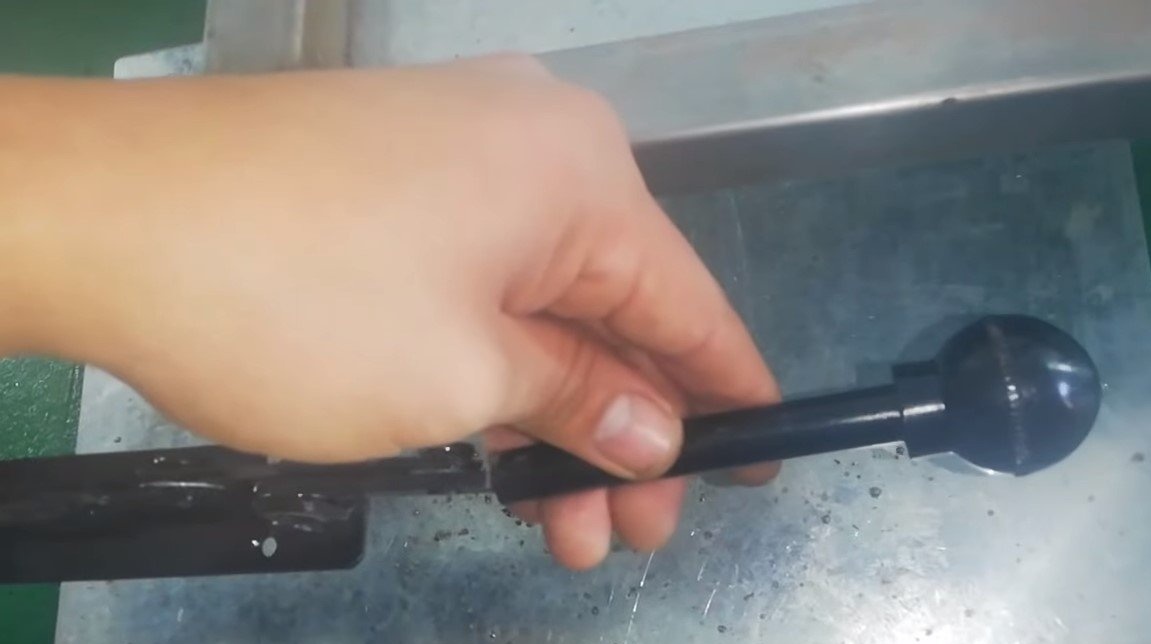
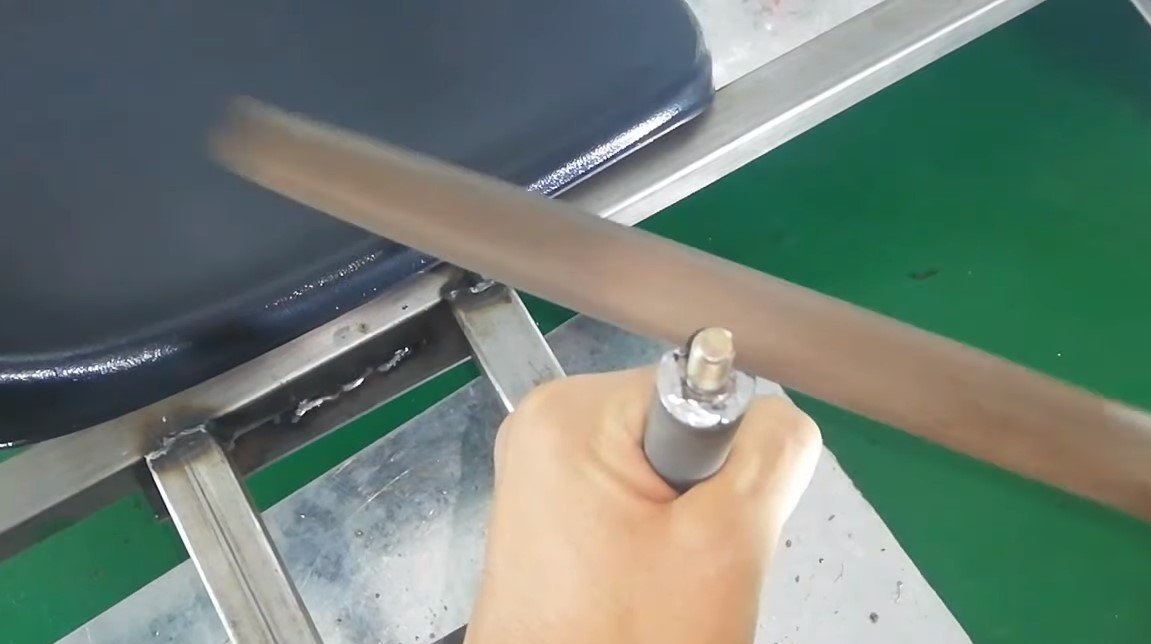
The author also welded a piece of pipe to the frame, which serves as a stop for the backrest. A hand brake was also made, which will never fail and will allow you to confidently brake in case of failure of the hand brake. The hand brake mechanically locks the wheel directly.
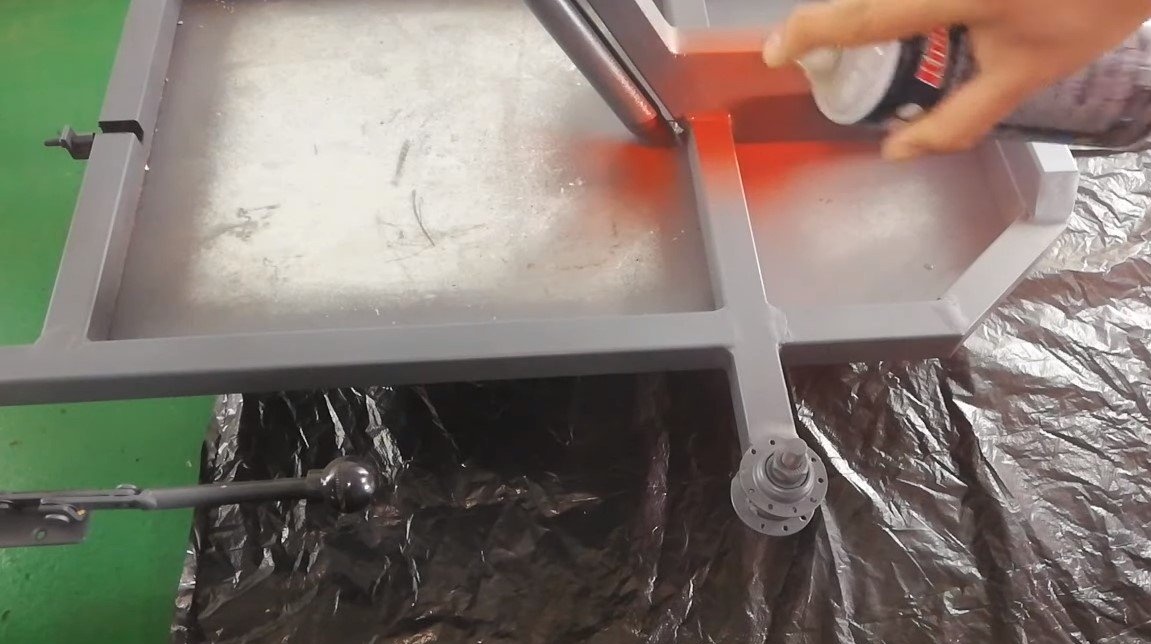
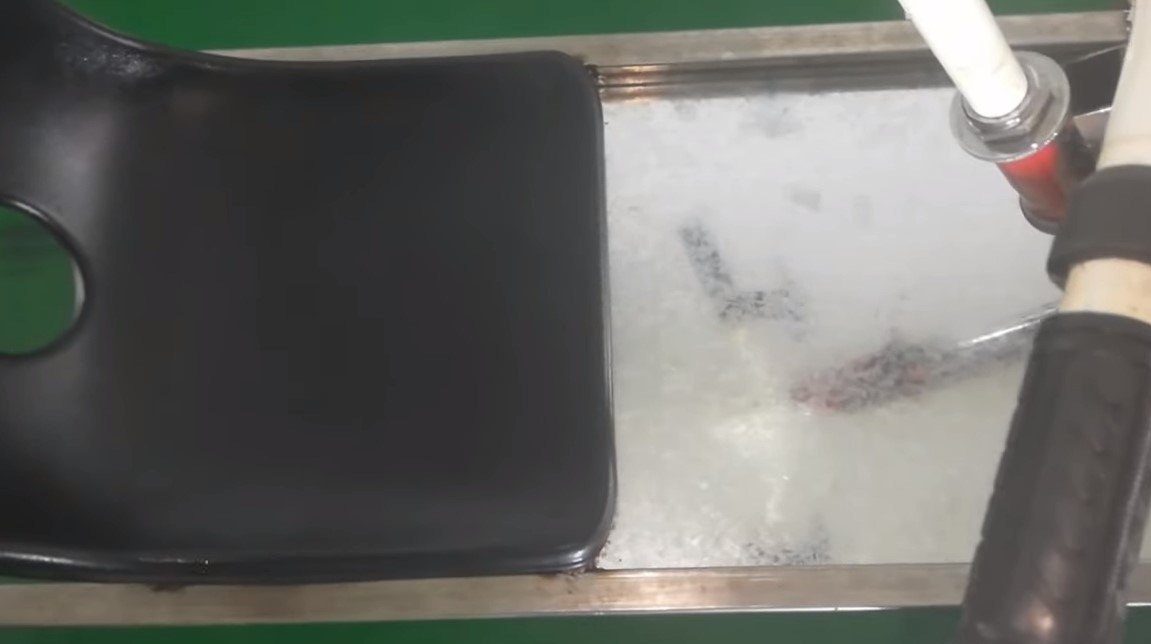
At the end we put a plastic chair, tint the car, install the front shield and other equipment. We put a toggle switch or button on the steering wheel, which will turn off the engine.
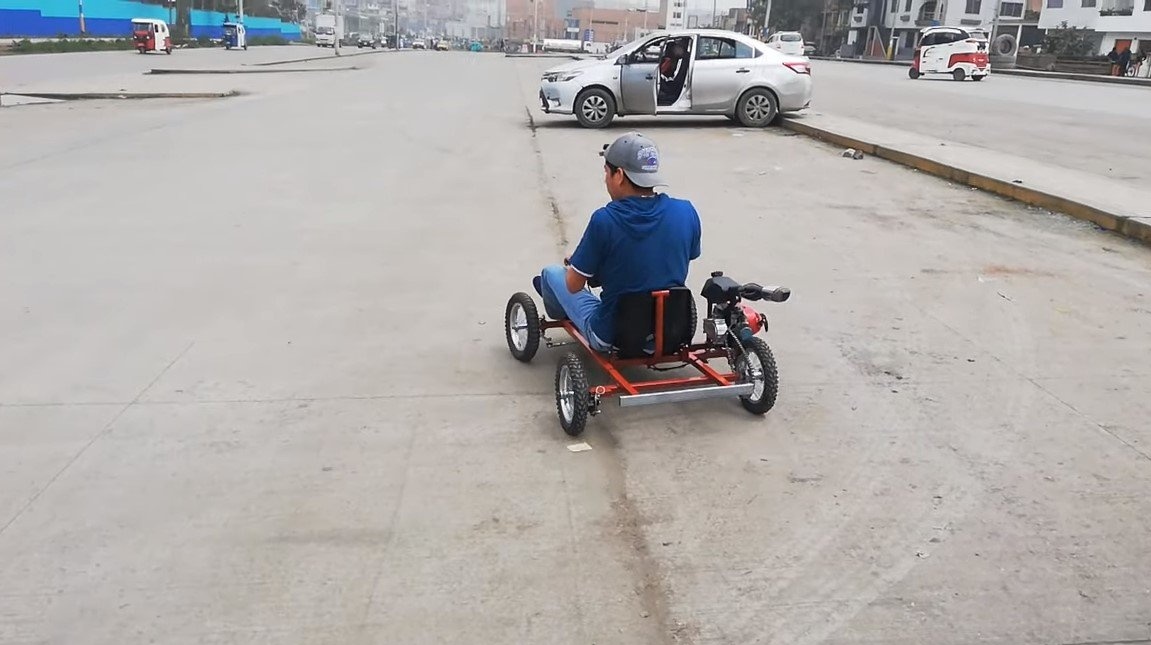
The homemade product is ready, the author travels on the map without problems. This is the end of the project, I hope you liked the homemade work, and you found useful thoughts for yourself!