
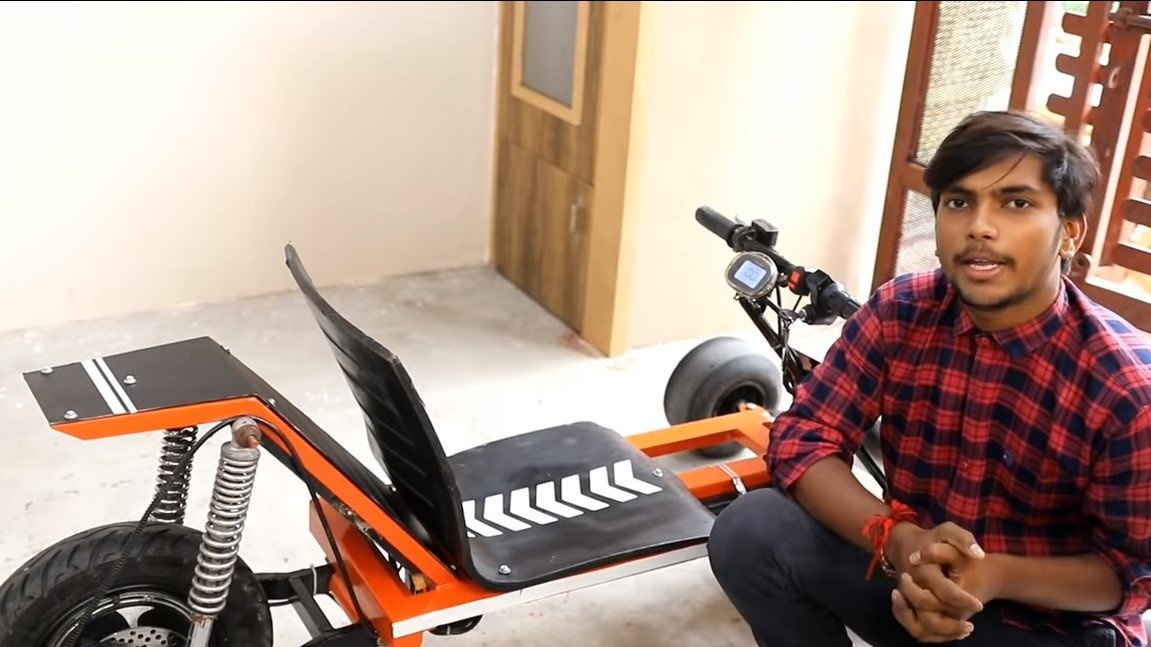
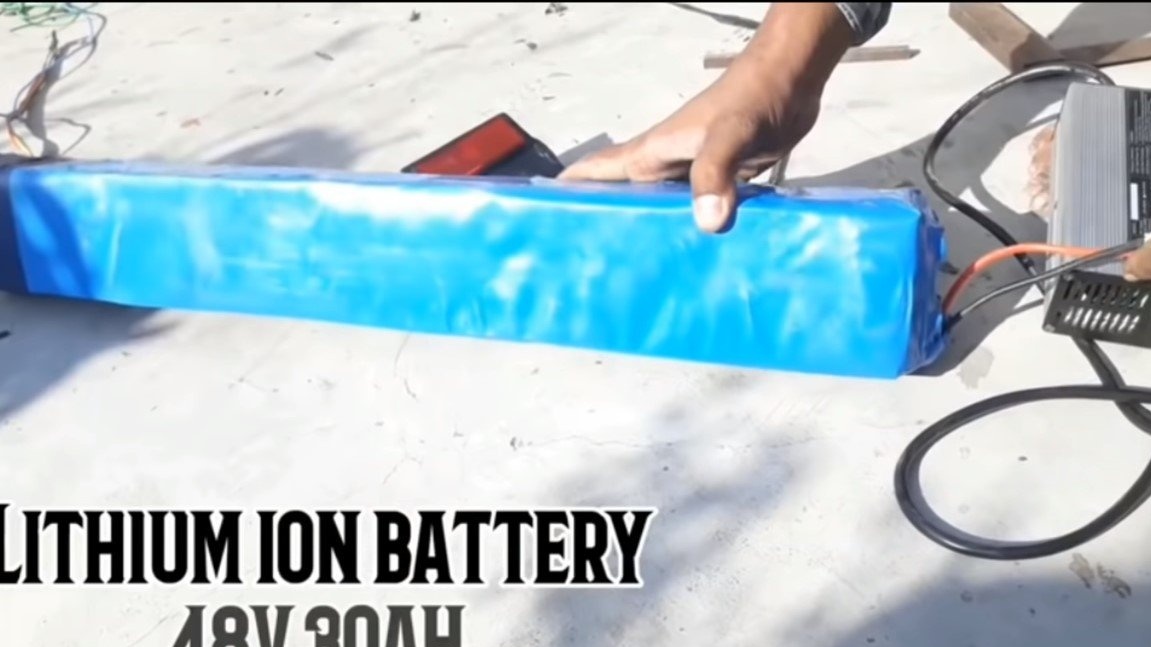
Hello everyone, electric vehicles are being introduced more and more deeply today, and many craftsmen began to make them do it yourself. Today we will look at how to make simple cards on a motor wheel. Eats homemade from a 48V lithium battery and a 30Ah capacity. The motor power is enough to drag the cards itself and at least two more passengers. The homemade frame is welded from profile pipes, the author used the tie rods ready. To control the battery, a digital voltmeter is installed on the steering wheel, and there is also a digital speedometer. Unfortunately, the technical characteristics of the homemade product remain unknown. If you are interested in the project, I propose to study it in more detail!
Materials and tools used by the author:
Material List:
- ;
- profile pipes;
- and speedometer;
- shock absorbers from a moped;
- round timber;
- round pipes;
- tie rods;
- Sheet steel;
- plastic sheet or similar material;
- two wheels (can be adapted from carts).
Tool List:
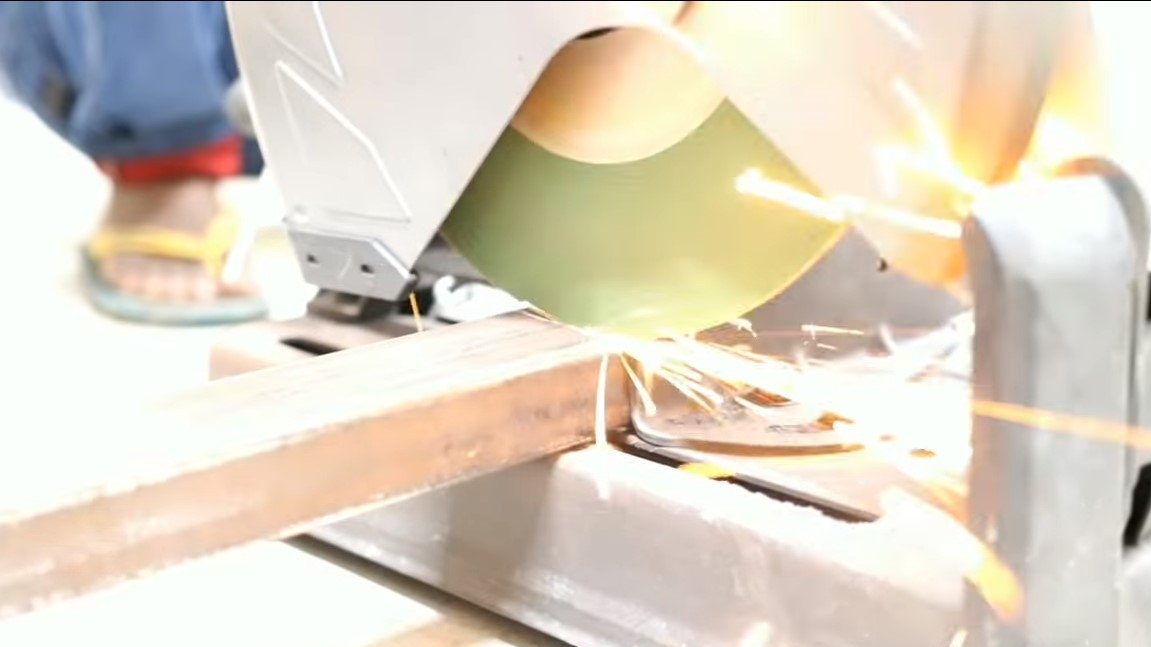
- Miter saw;
- welding machine;
- grinder;
- wrenches, screwdrivers;
- roulette.
Homemade manufacturing process:
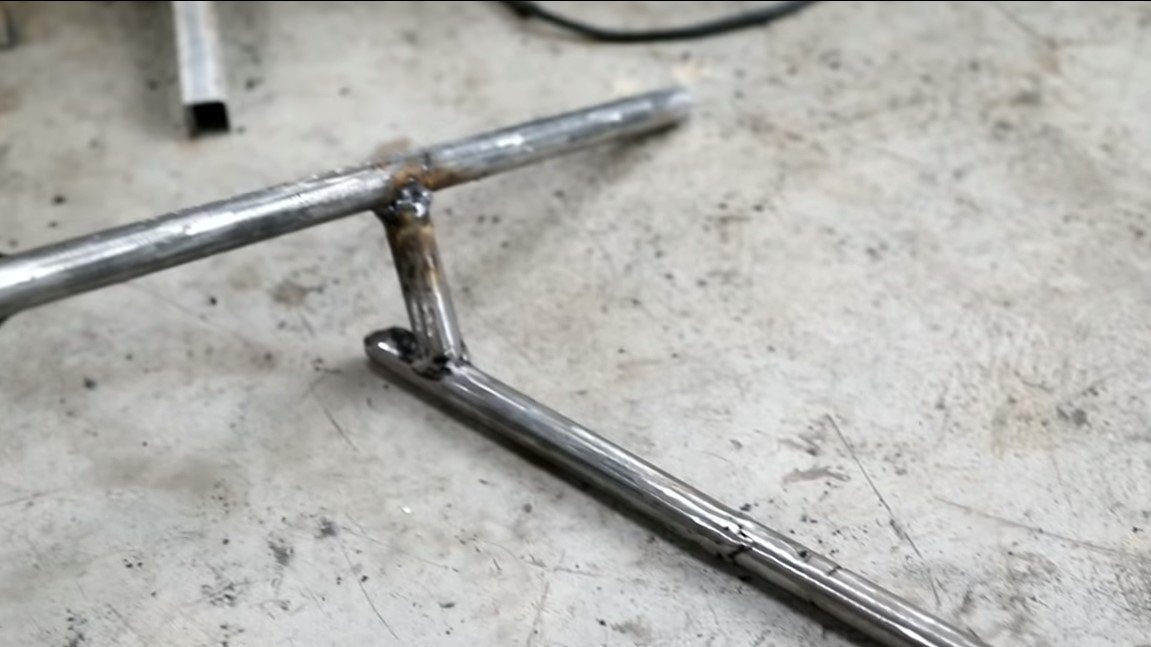
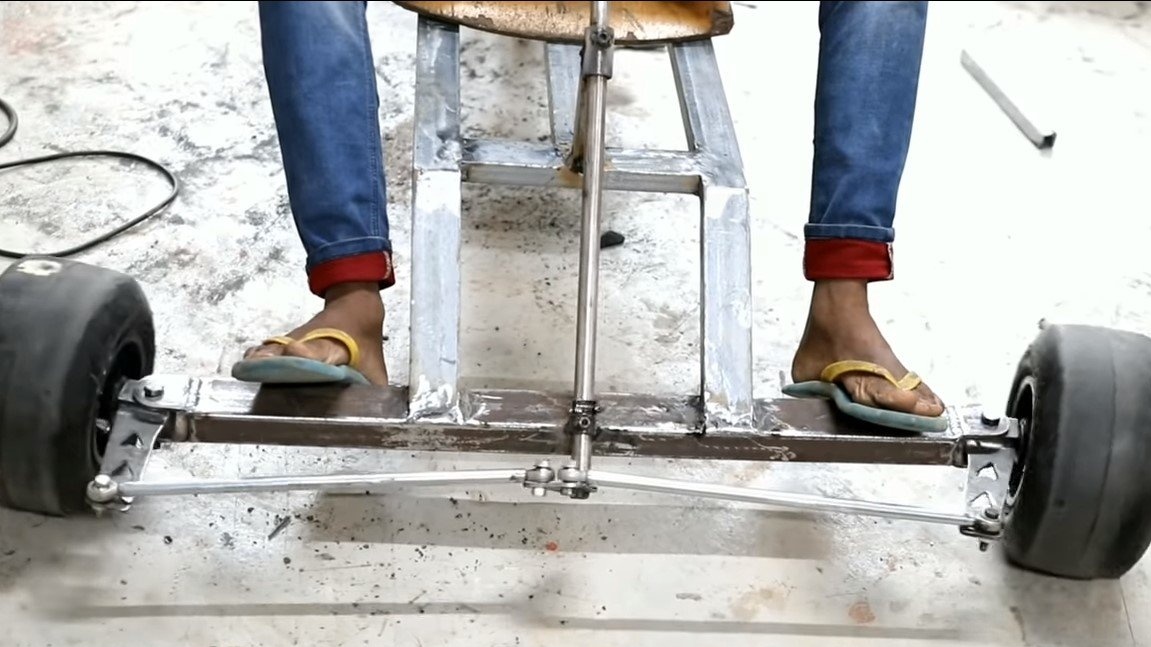
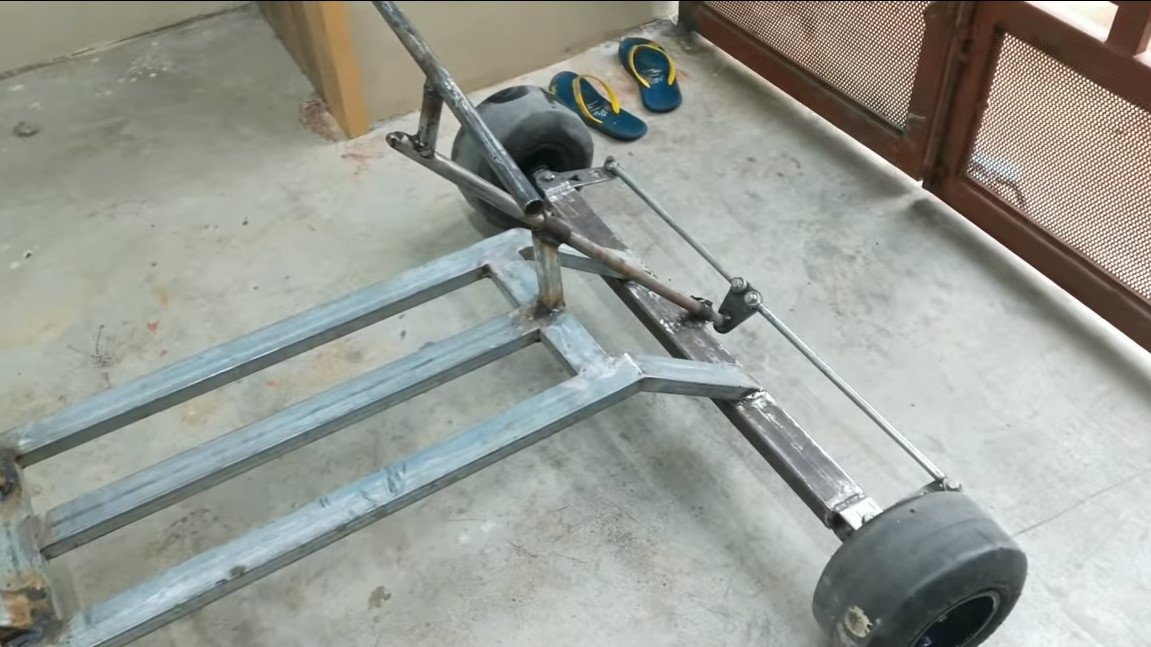
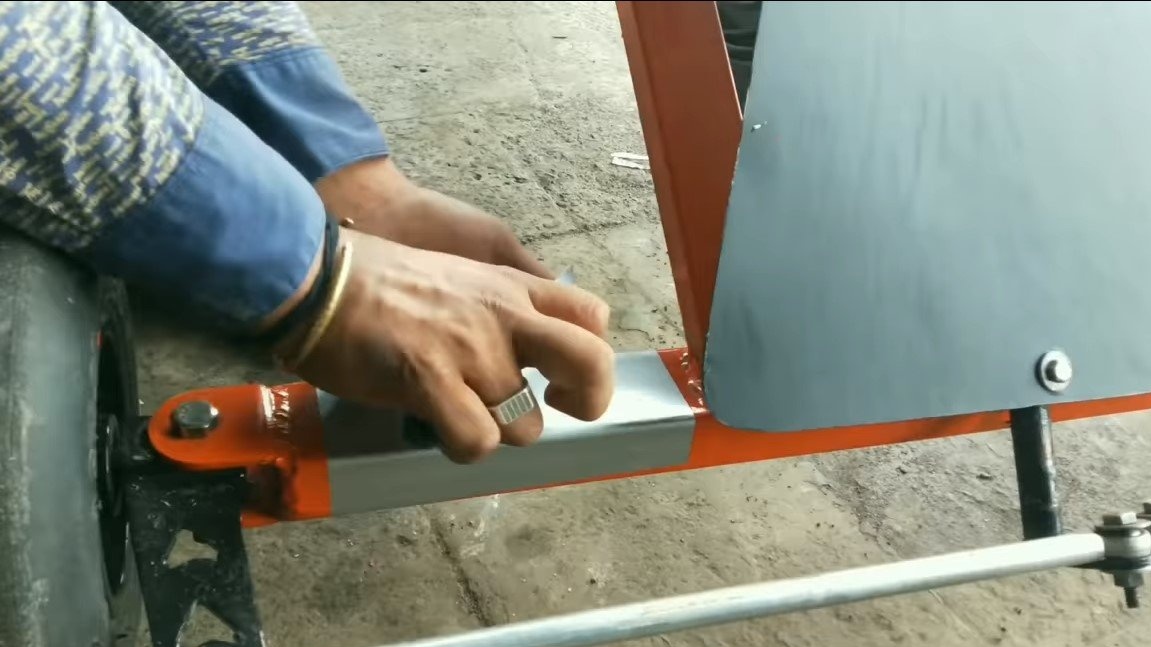
Step one. Front axle manufacturing
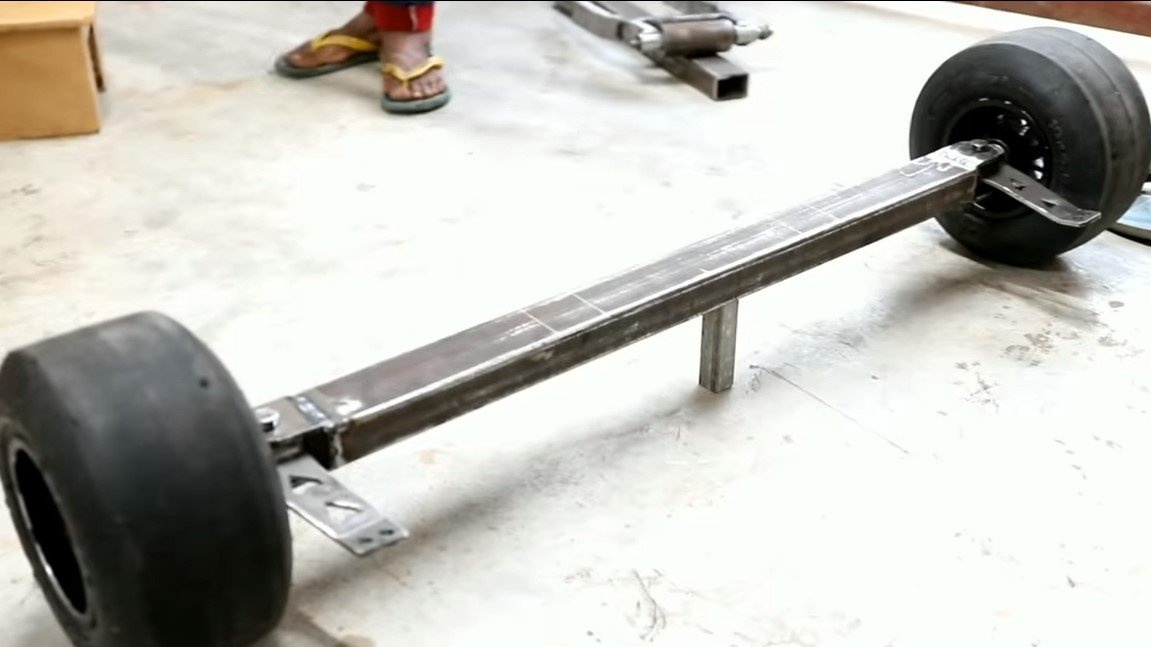
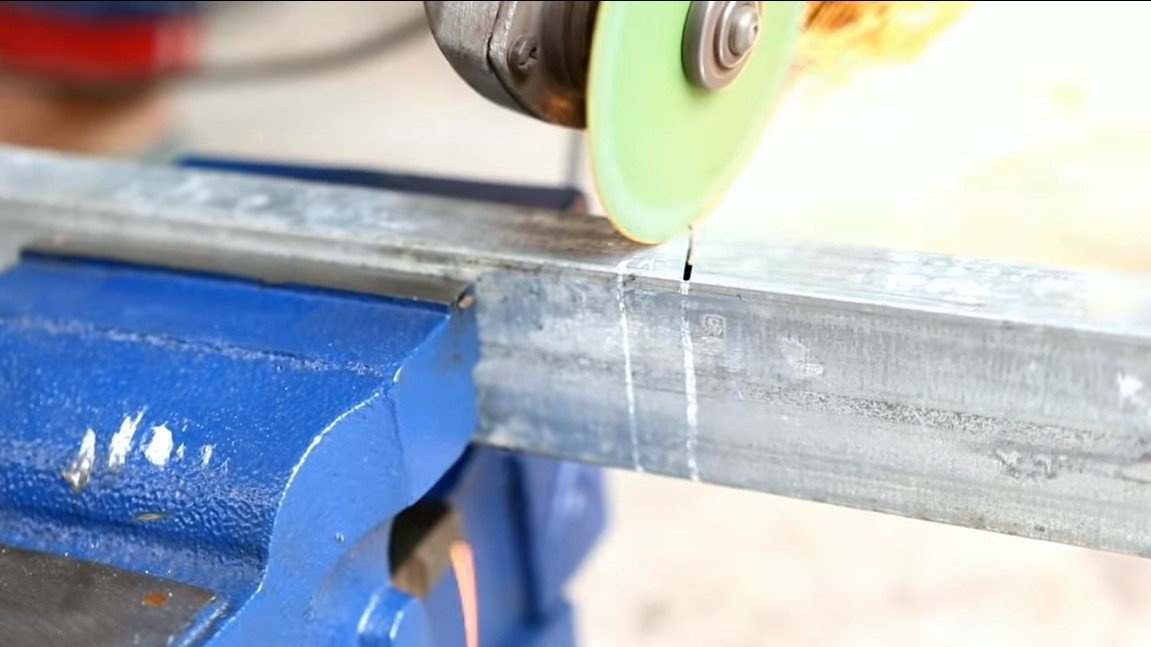
Let's make the front axle, on it will be the front steering wheels. As a material, a piece of a profile pipe is suitable, the pipe must be taken thicker so that it can withstand a large load.
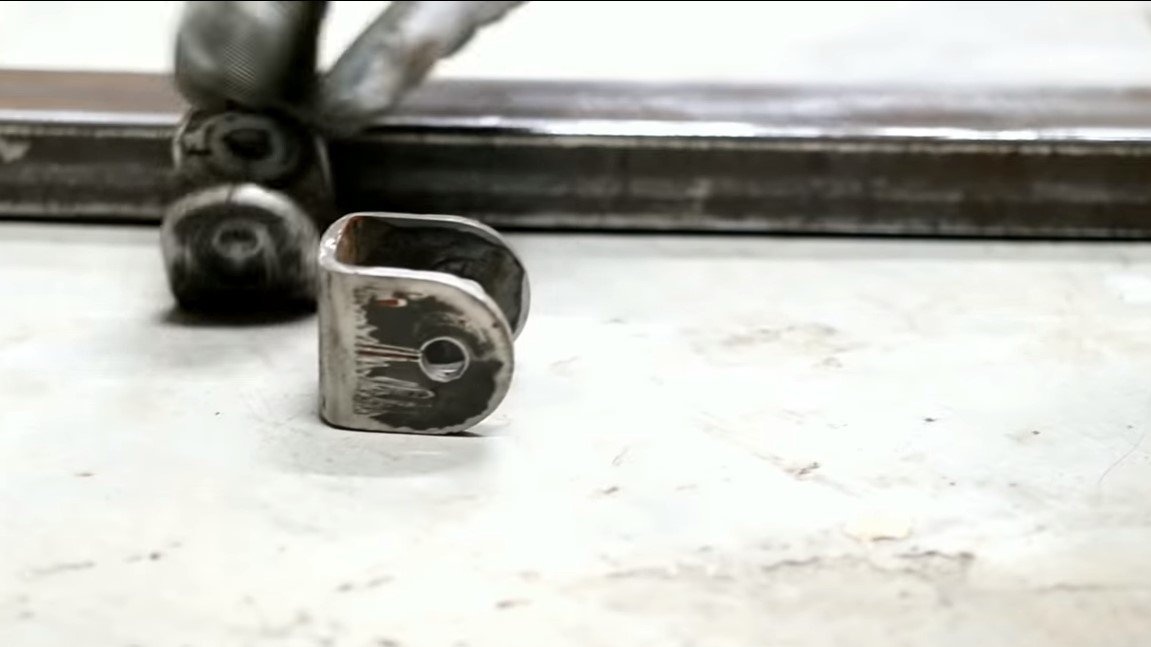
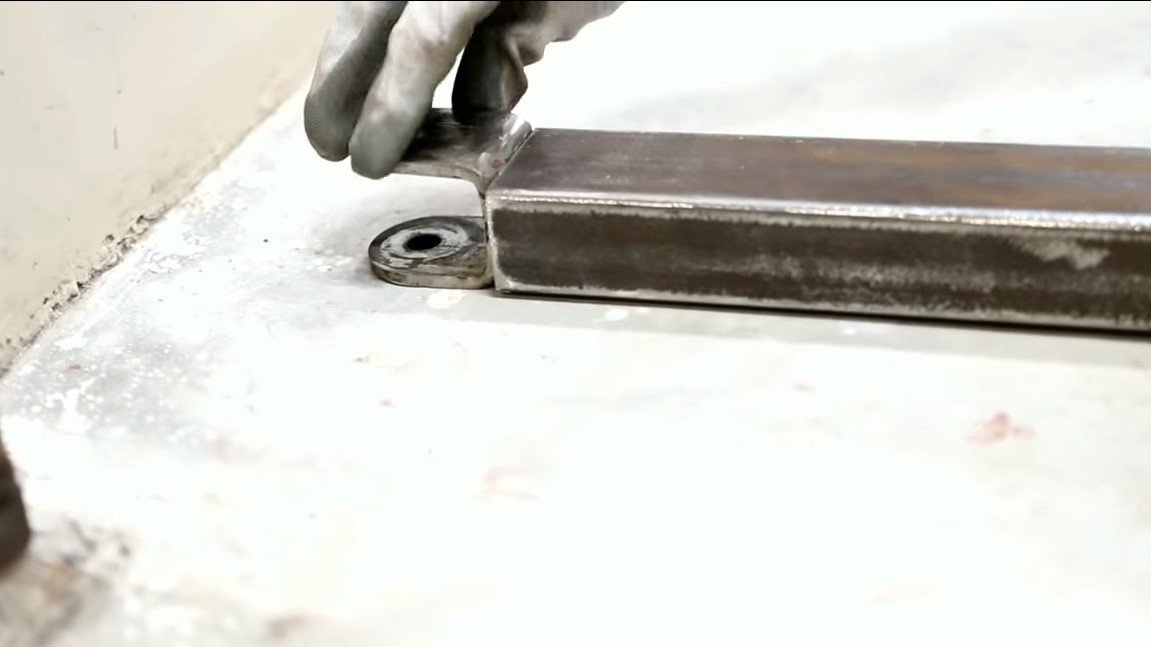
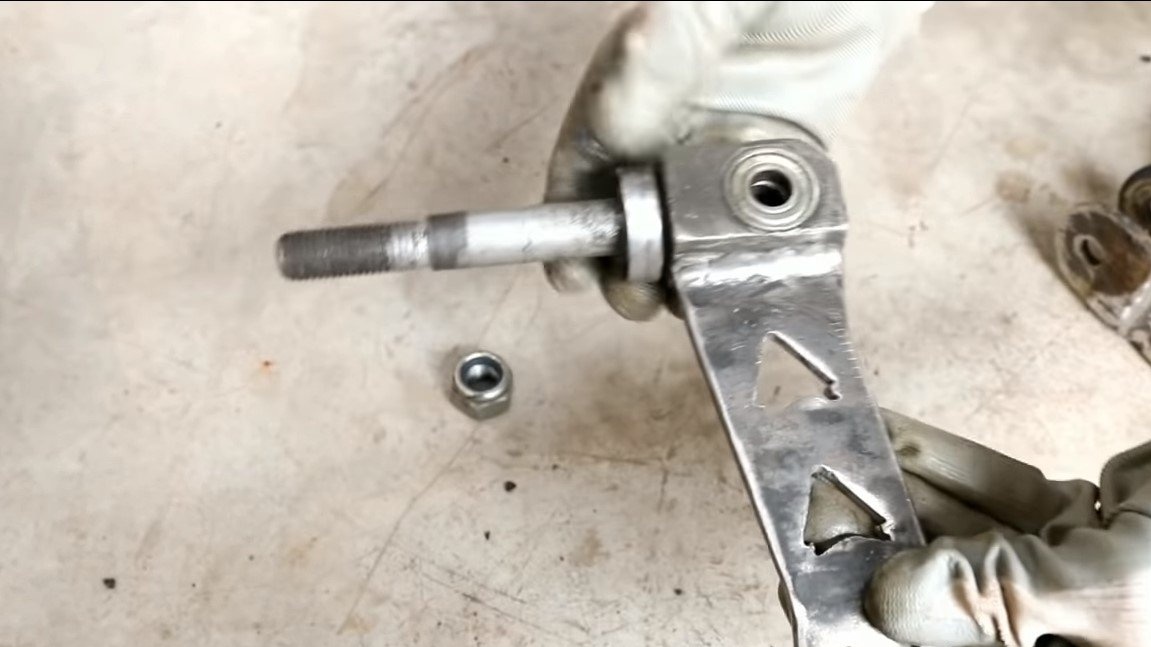
At the ends of the pipe you need to weld the ears, they can be welded from pieces of the corner. Axles with wheels are pivotally attached to these ears. Of course, it is highly desirable that the hinges be on bearings, then driving on the map will be much more pleasant and safer.

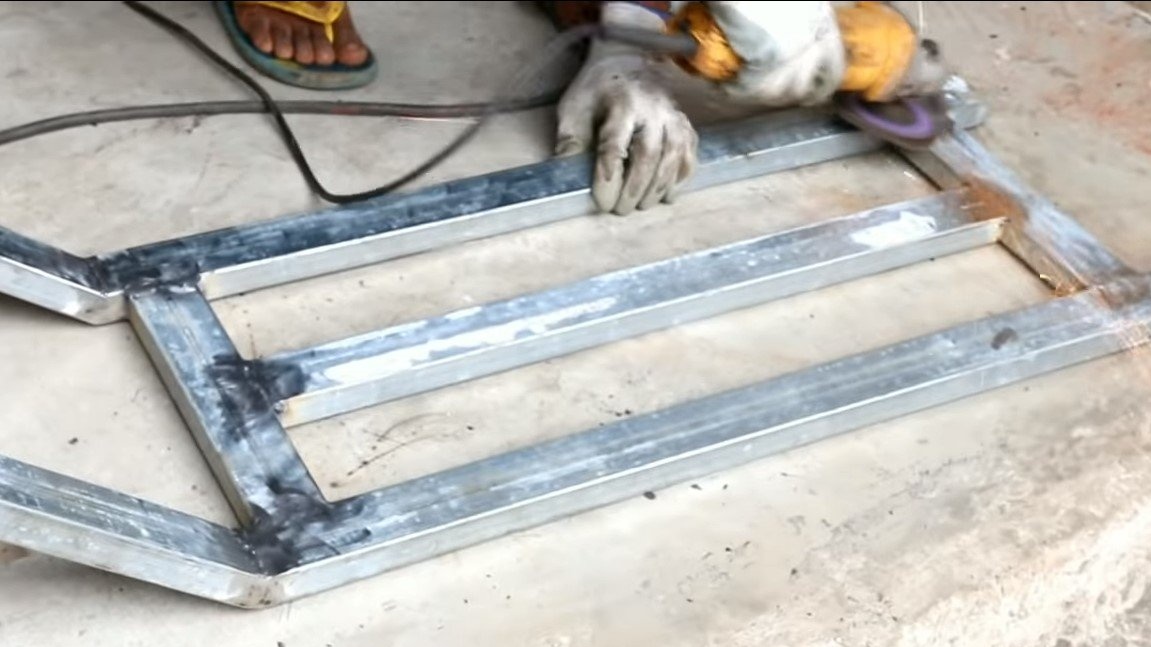
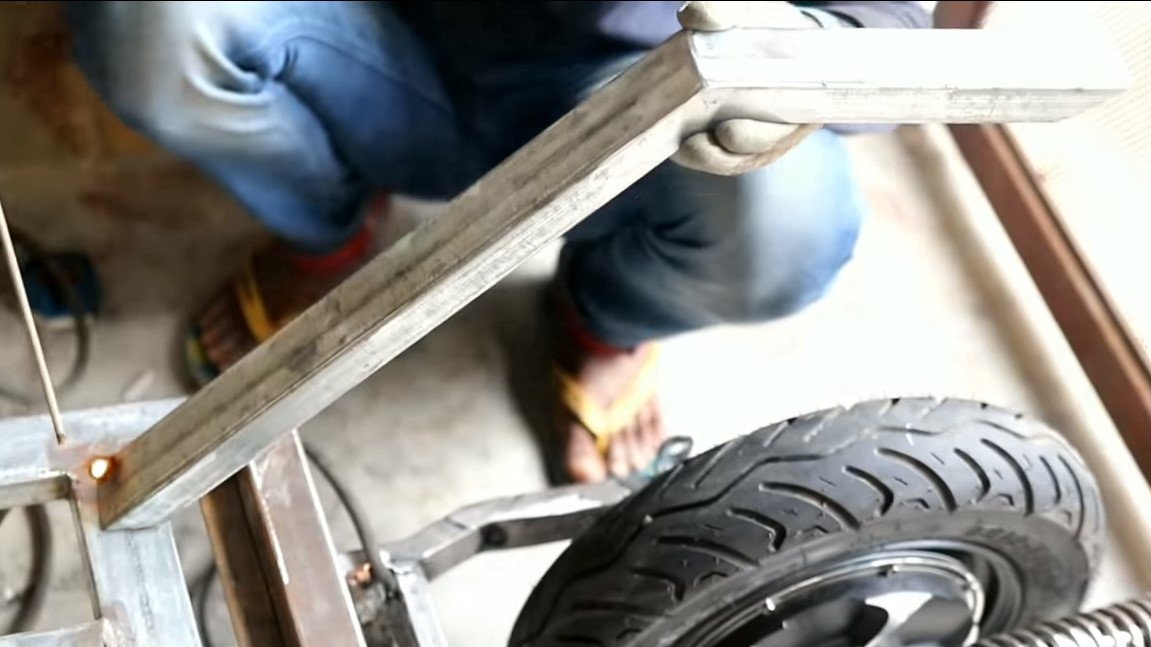
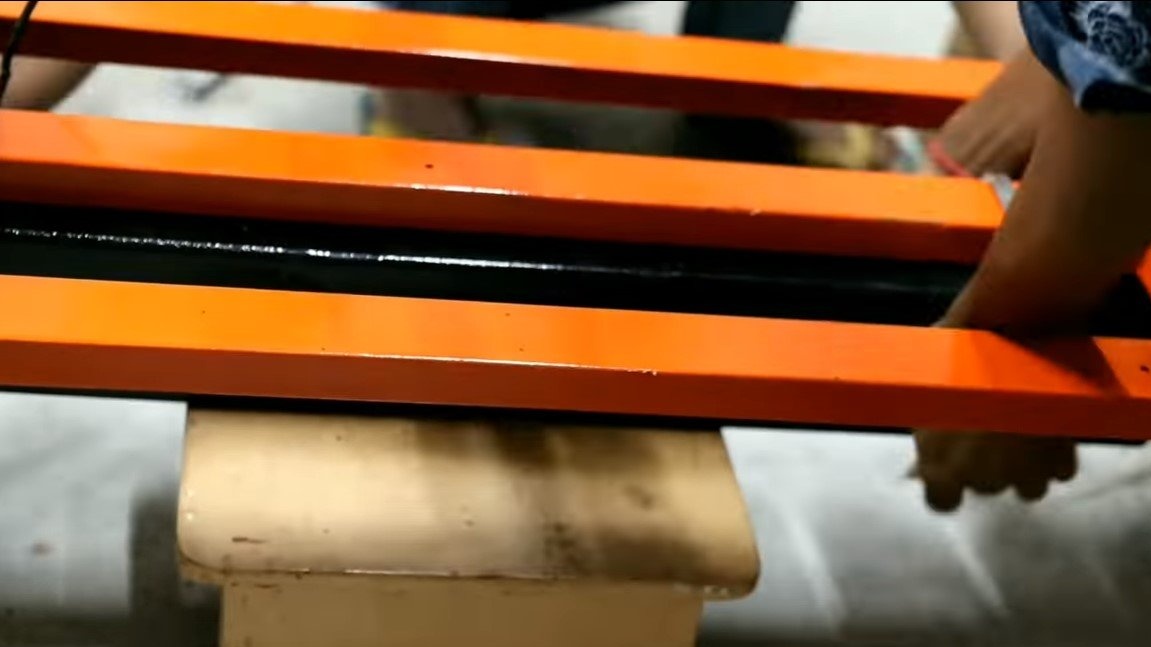
Step Two The main part of the frame
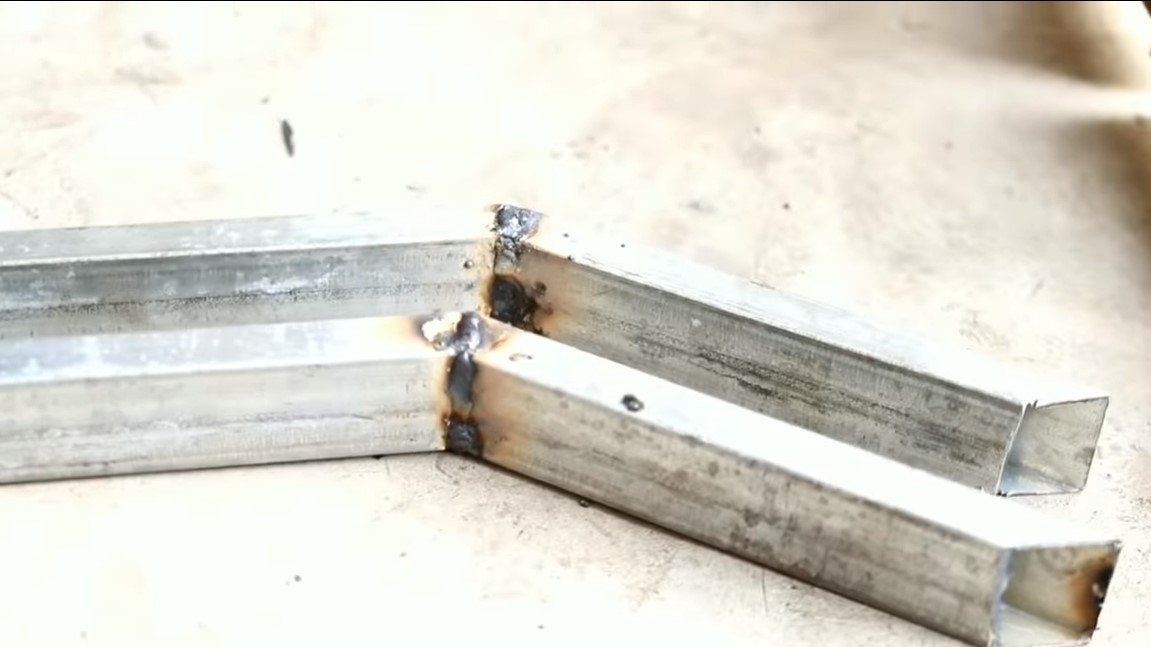
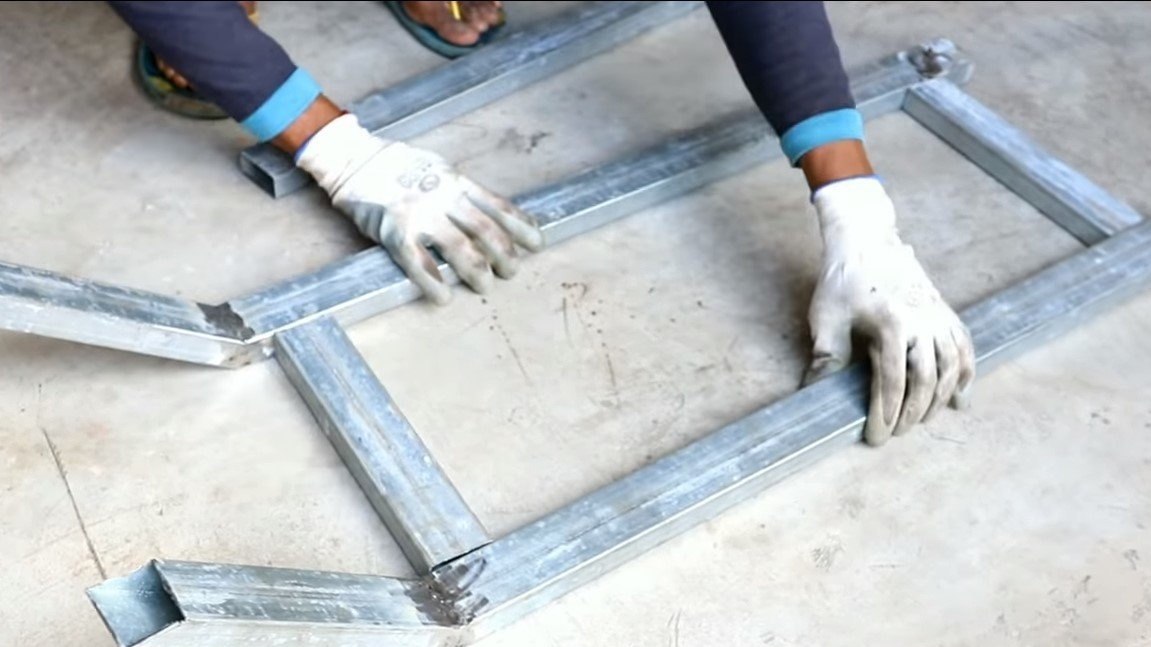
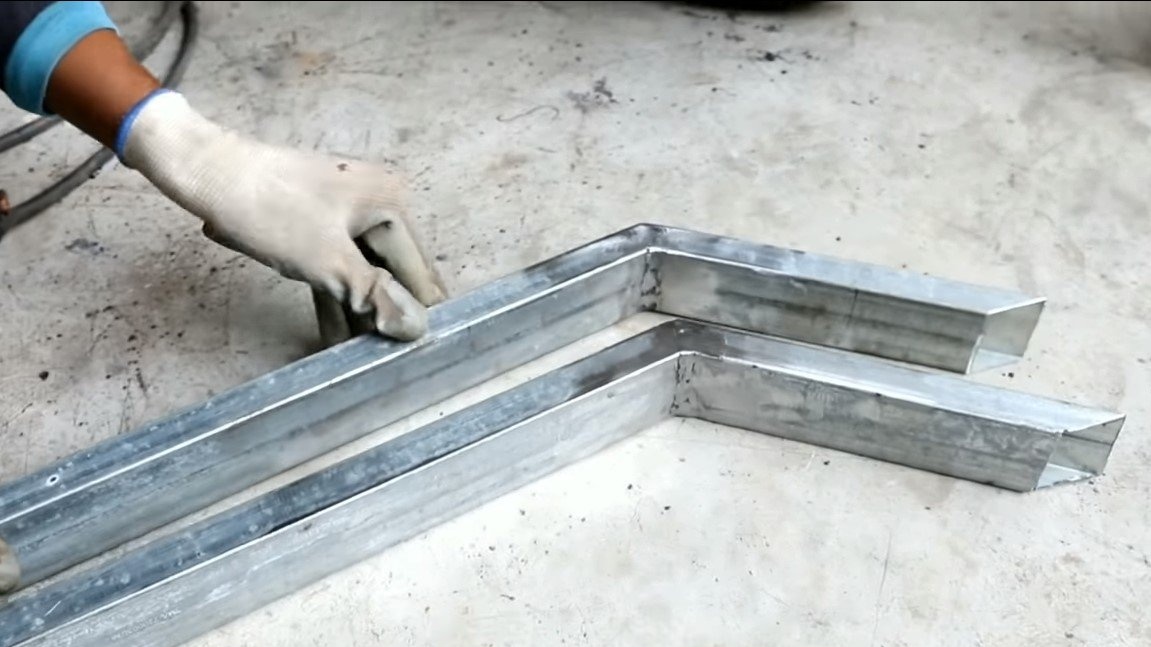
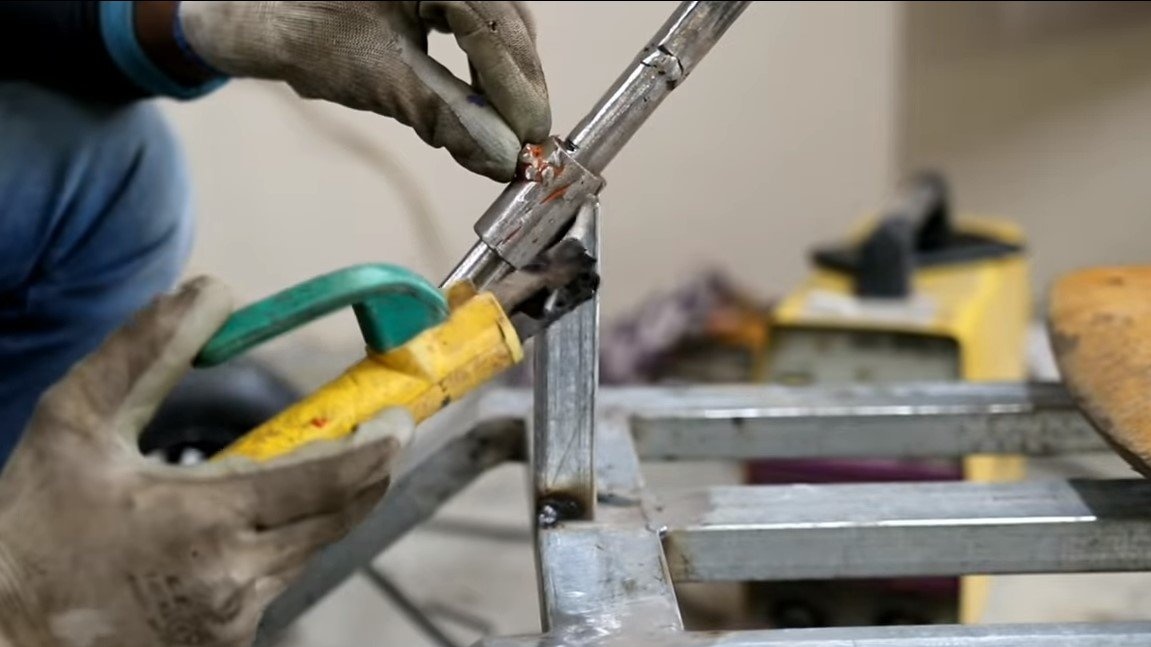
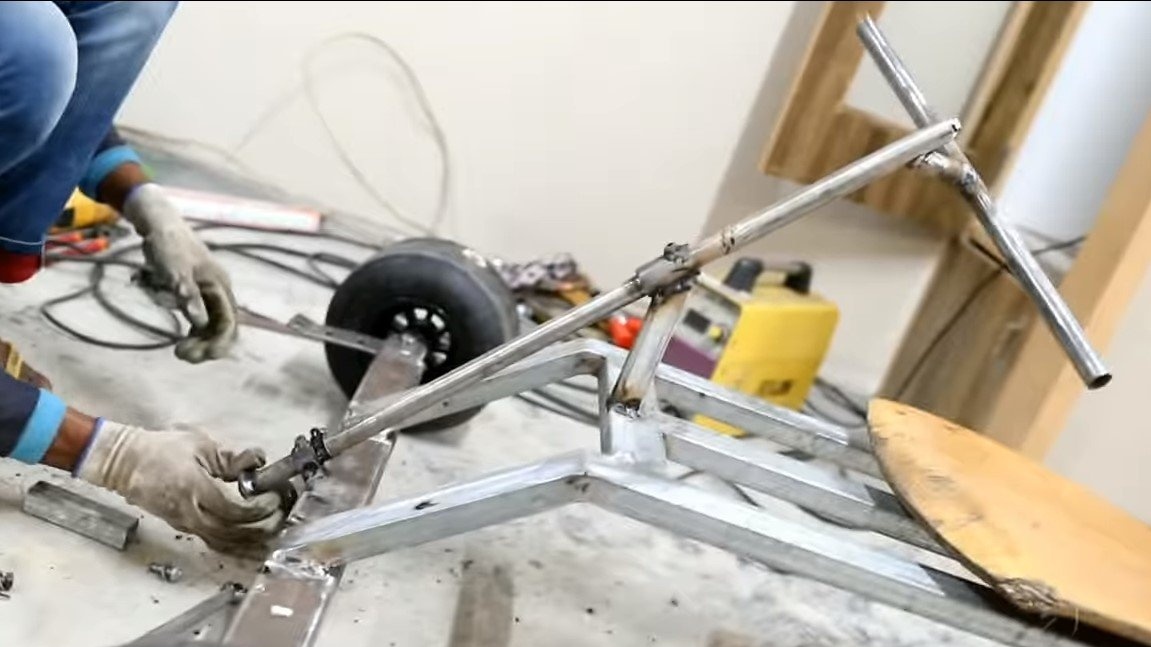
Next, we weld the main part of the frame from profile pipes. To make bends, just cut out pieces of metal from the pipe and bend the pipe, and then weld. Thanks to this frame design, excellent ground clearance is obtained, and the cards will not cling to the bumps with their belly.

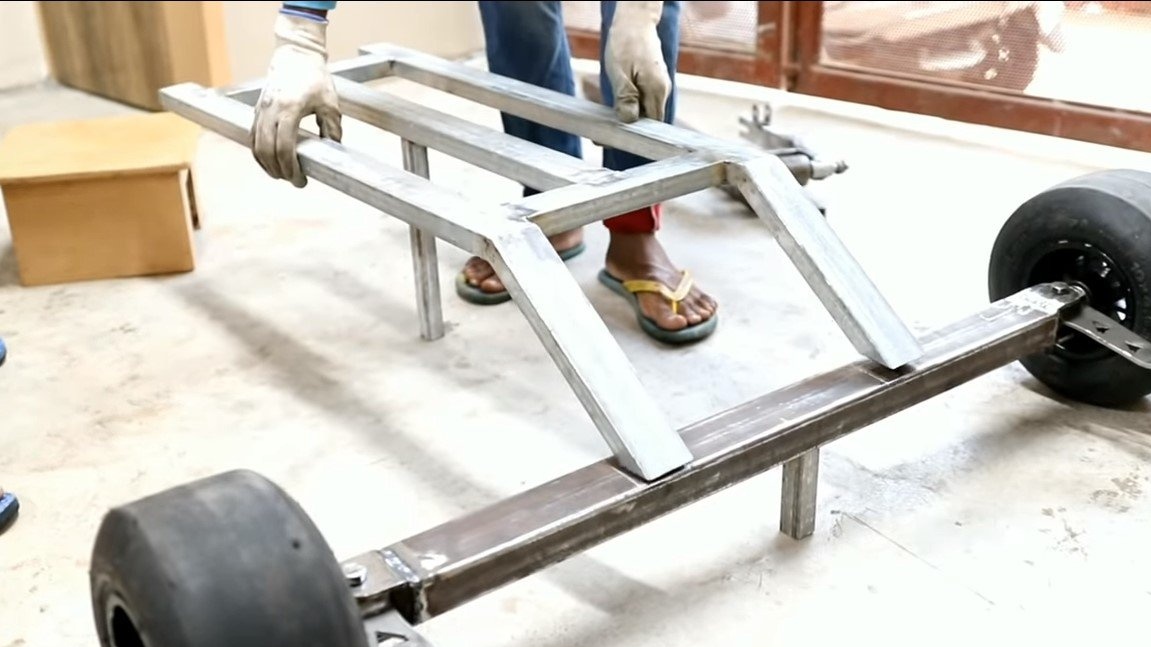
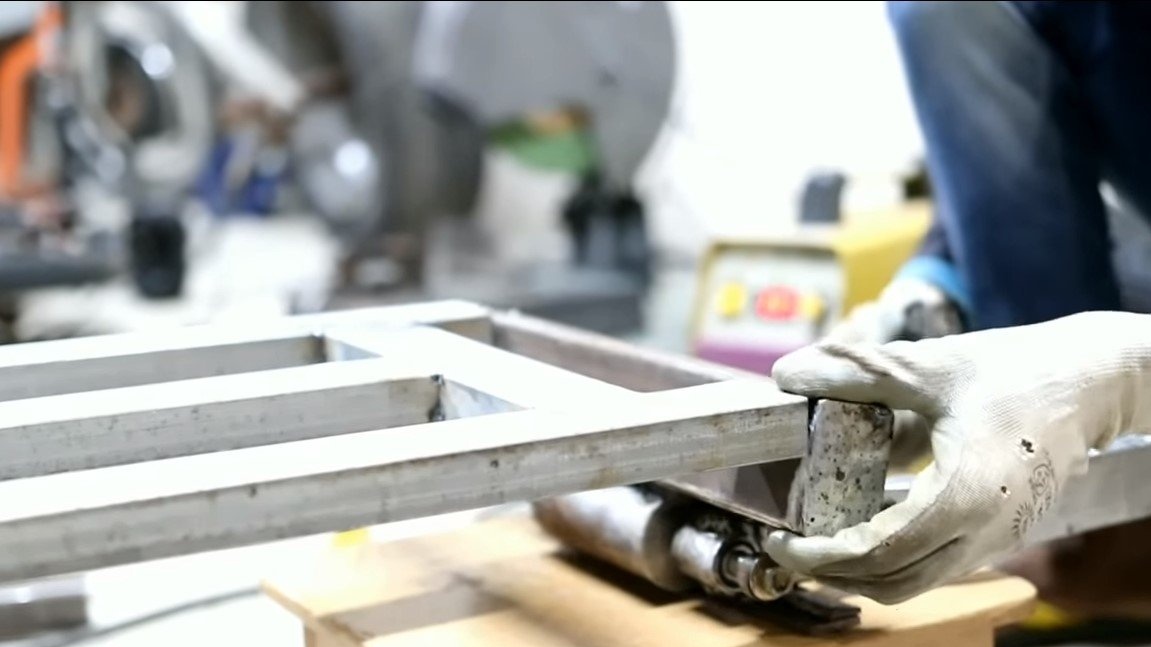
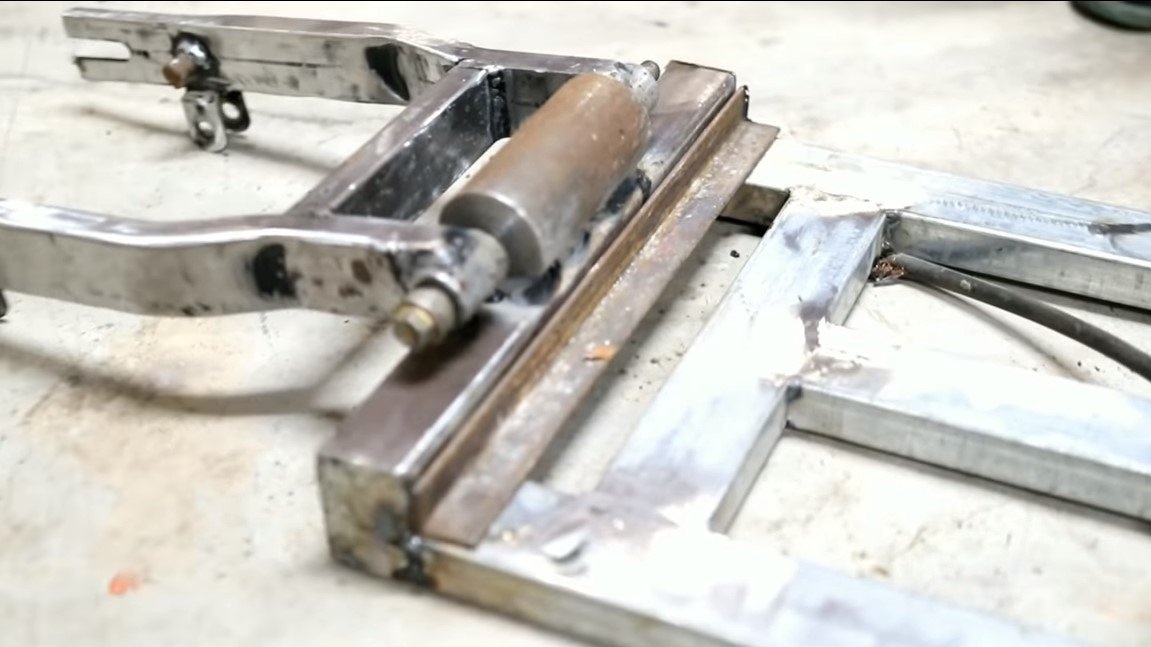
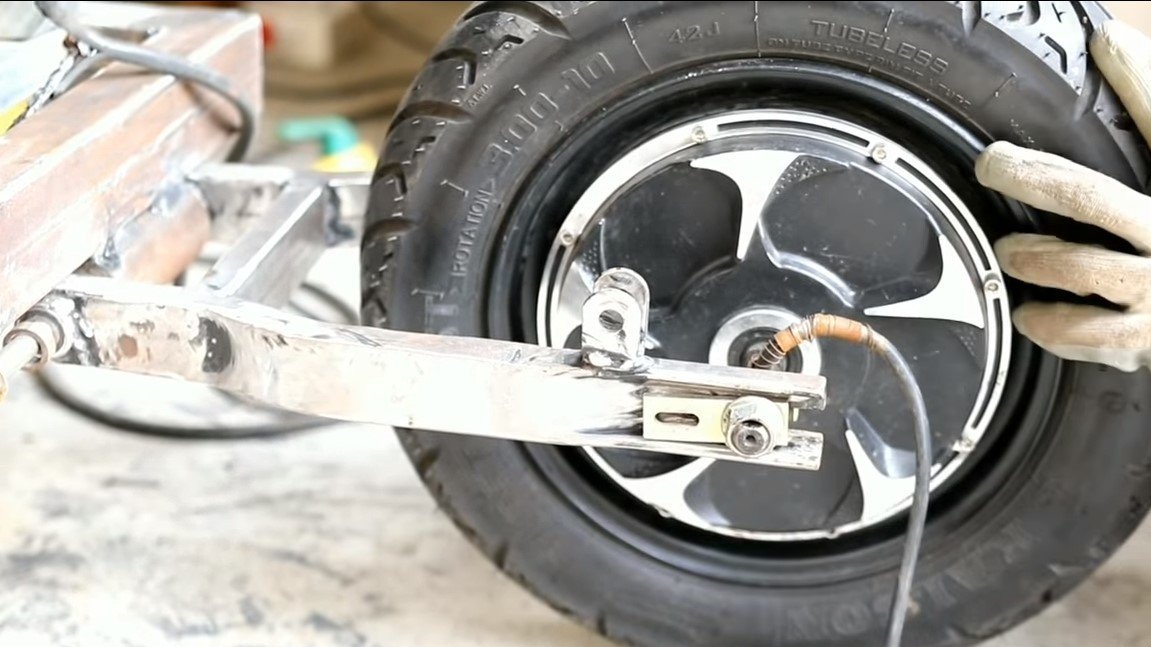
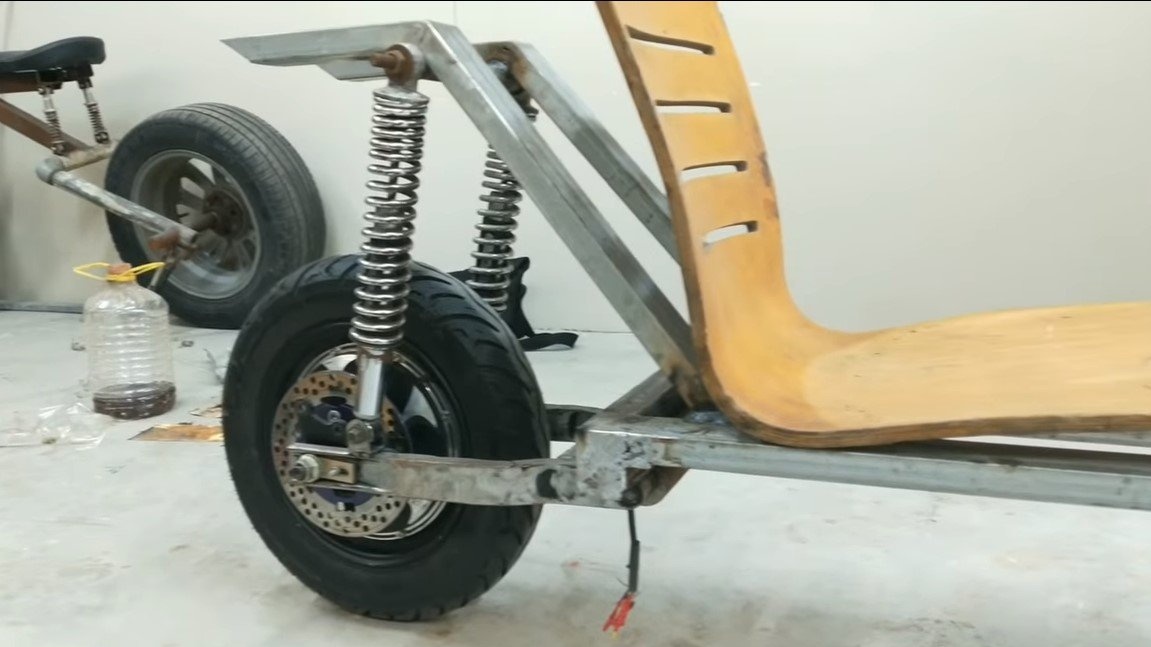
Similarly, we weld the rear fork from the profile pipes, we weld the ears to it for mounting the motor wheel, as well as fasteners for shock absorbers. The fork is attached to the main frame articulated. The author made a hinge out of a rather massive piece of round timber, through which a hole for a hairpin was drilled. A piece of profile pipe is welded to the round timber, which is then welded to the frame.

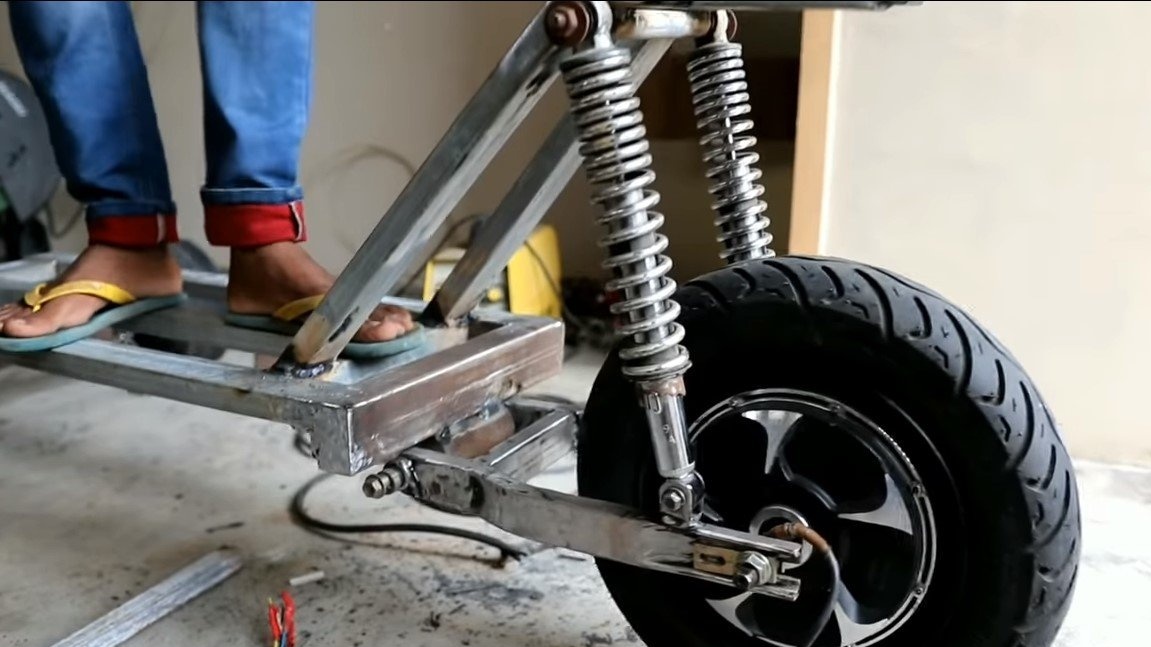
Step Three Shock absorbers
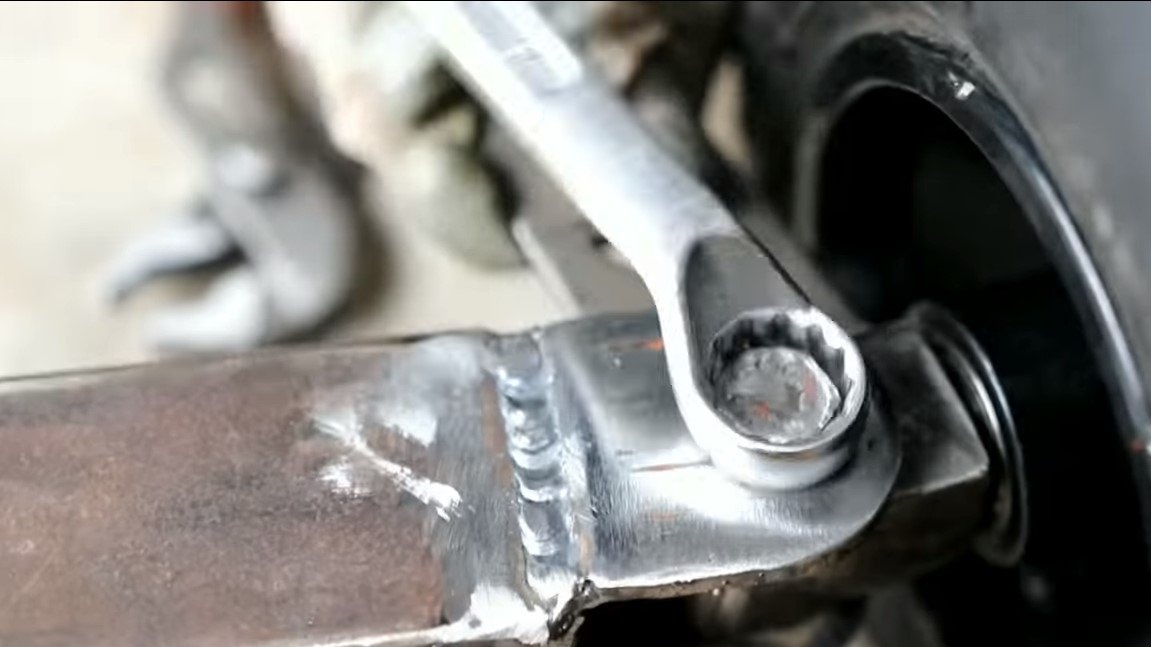
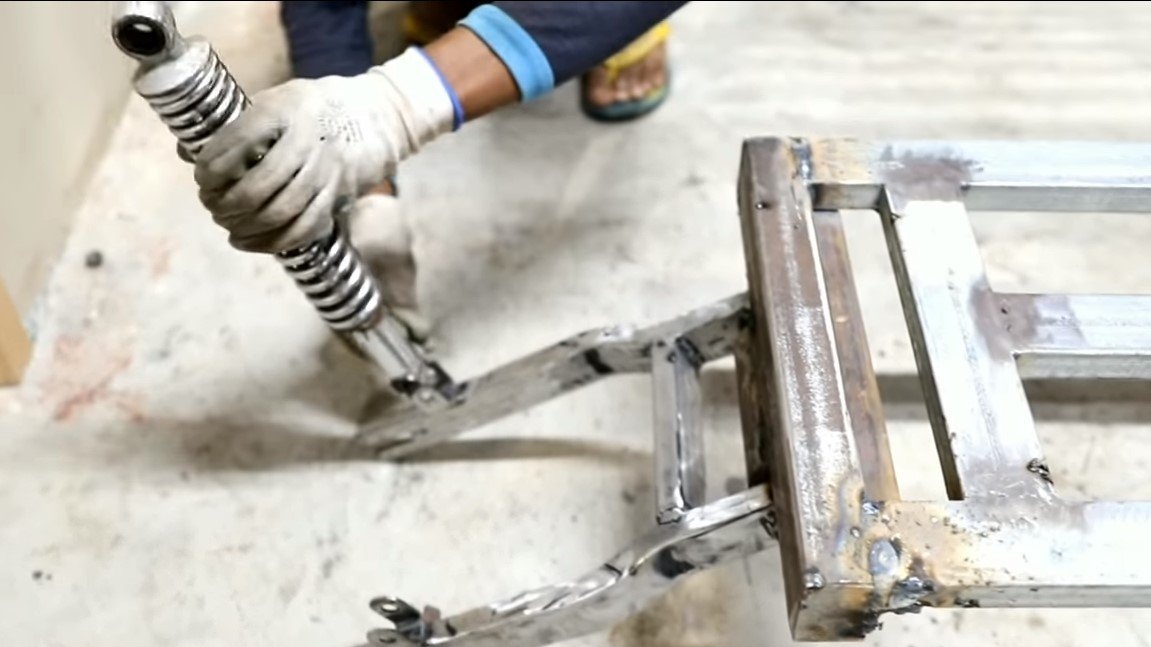
The rear fork on the shock absorbers, as a result, the map is much more comfortable to drive, and the motor-wheel bearings will not collapse so quickly. We attach shock absorbers to the fork with screws and nuts, and for the upper part we weld an emphasis from profile pipes to the frame, a stud is welded to this emphasis. Instead of a stud, bolts or threaded rods can be welded to the ends of the pipe. As a result, the rear suspension works fine, but it is better that the shock absorbers have the ability to adjust stiffness.


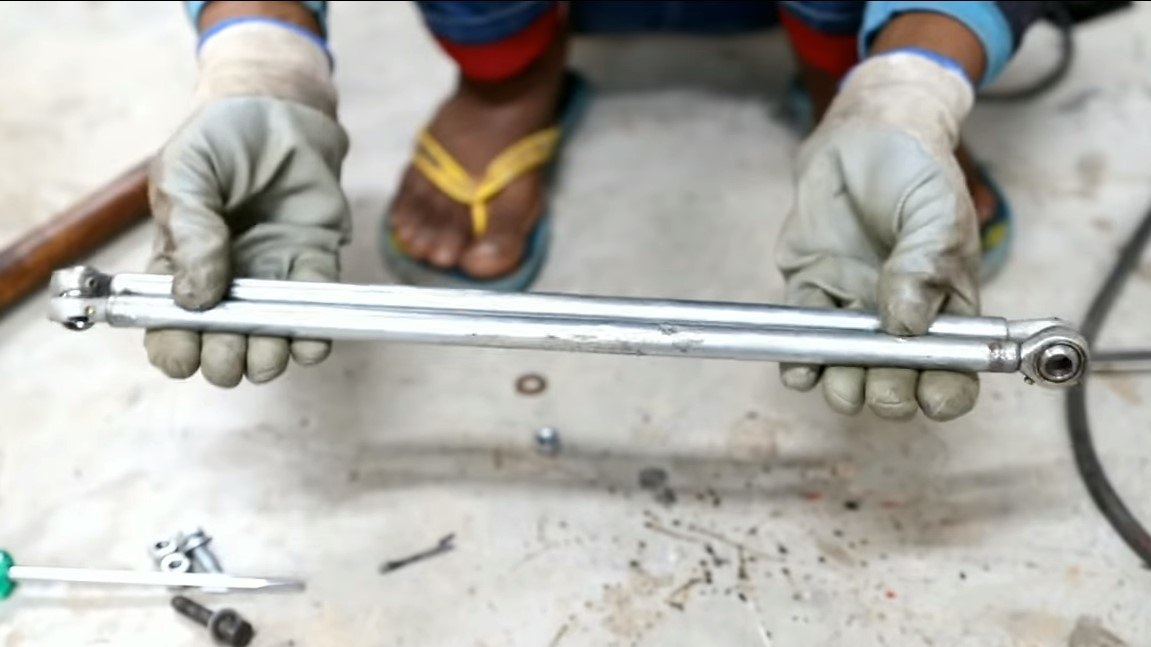
Step Four Steering
We do the steering, as the steering shaft, the author used a piece of the profile pipe. We select for this pipe a piece of pipe of a larger diameter to make bushings (plain bearings). If desired, if the pipe is too big, then its diameter can be reduced by cutting and welding, as a result, minimal backlash should be obtained. Of course, on the steering shaft you need to install stops.
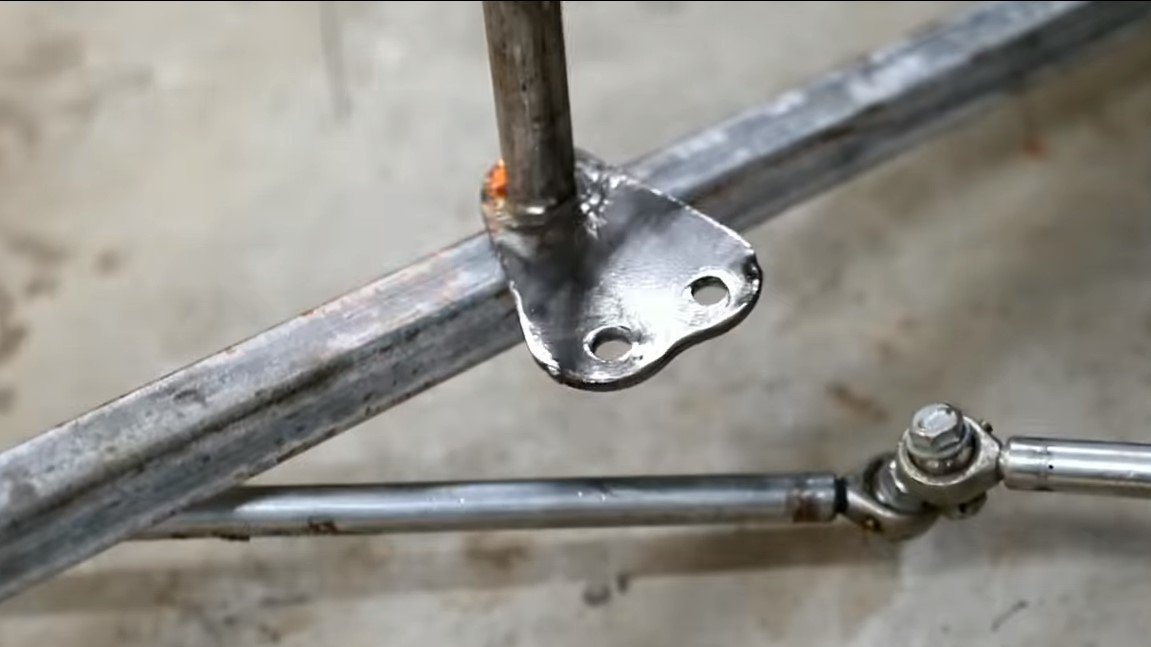
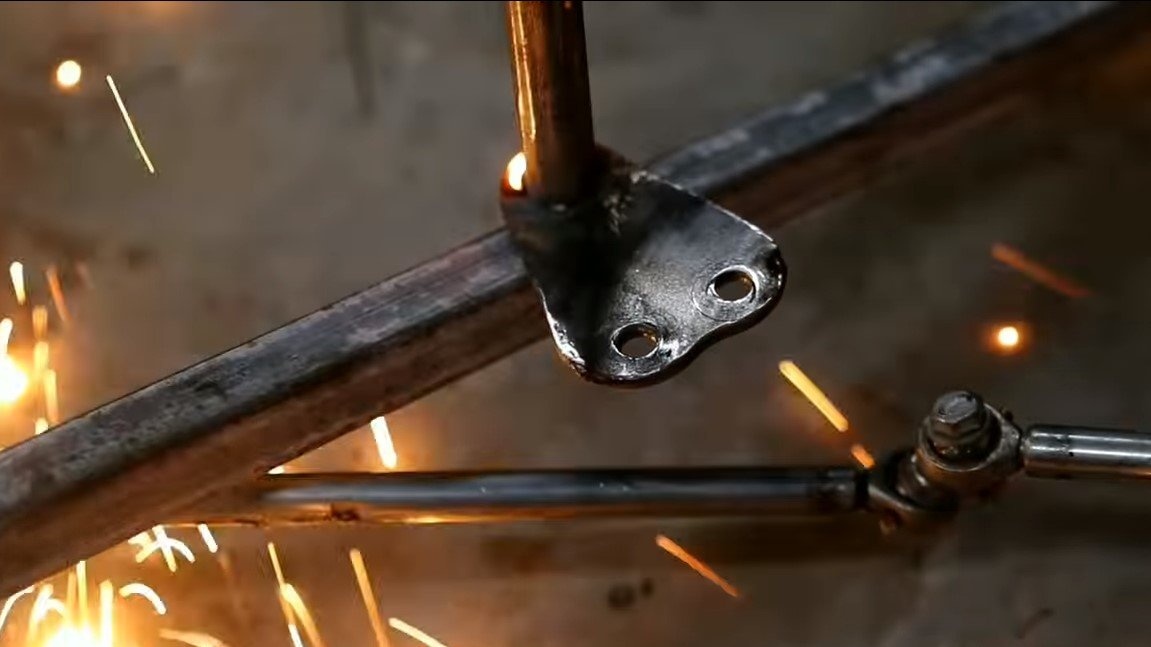
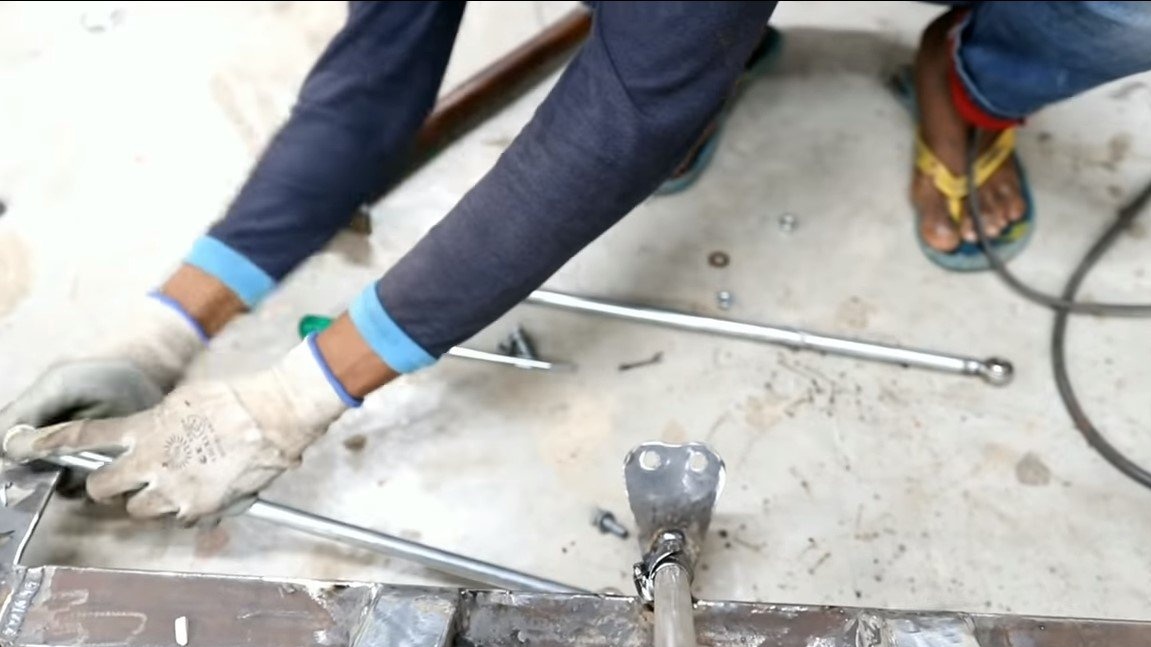
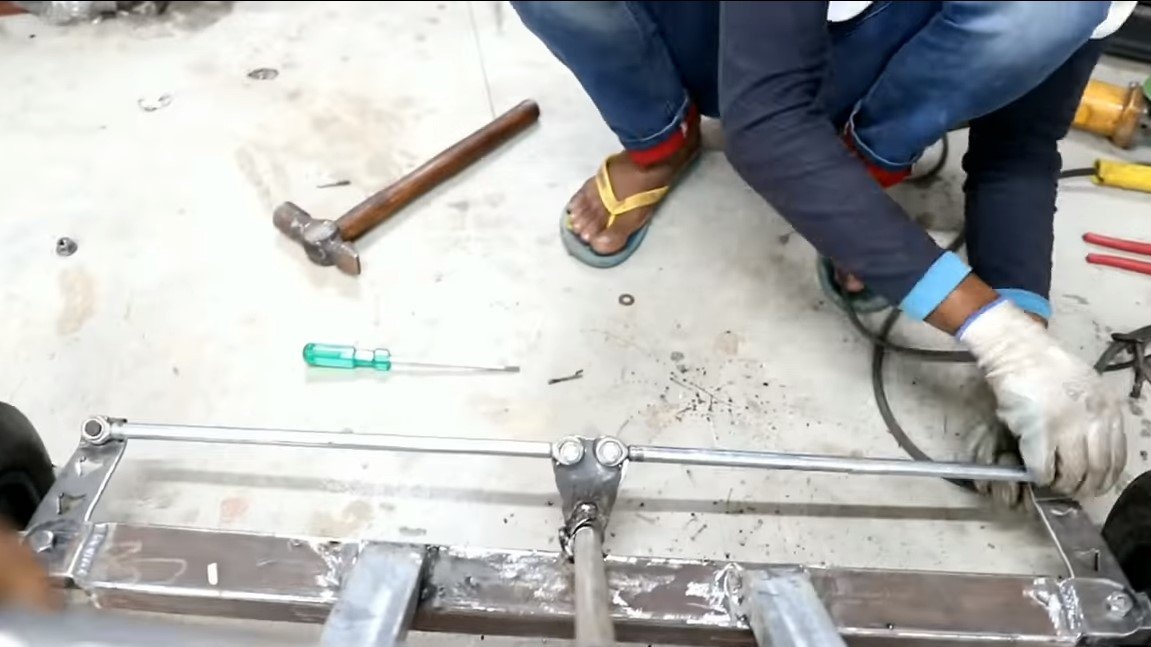
At the end of the steering shaft, we weld a bracket made of sheet steel and through it we connect steering rods to the wheels. As a result, it remains to make a steering wheel for homemade work, it reminds the author bicycle. If desired, the steering wheel can be made round, but the bicycle will be easier, and the turning radius at the shaft will be small.
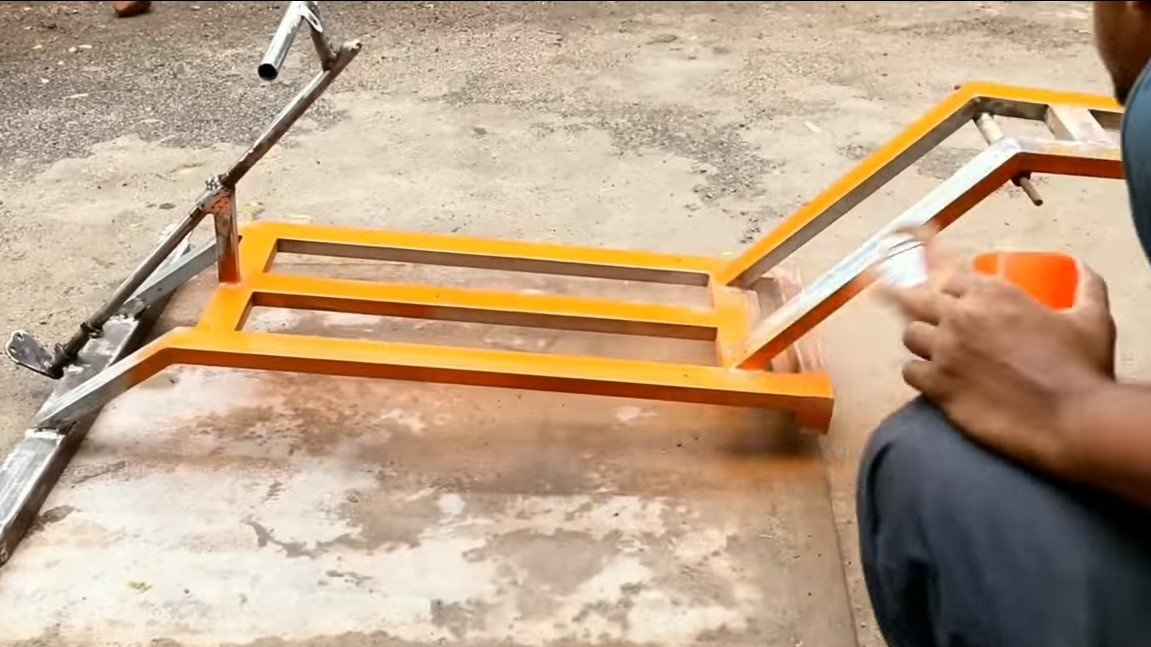
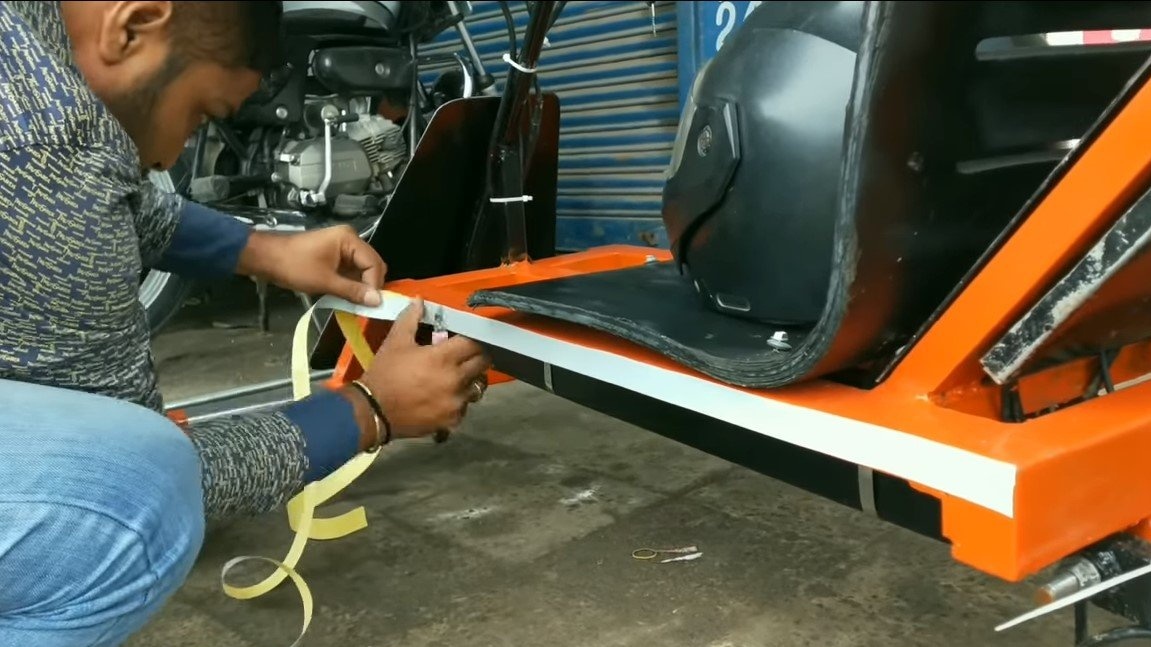
Step Five Assembly
We paint all parts of the frame so that the homemade product pleases the eye and does not rust. As a decor, you can also use a variety of self-adhesive film. We install a seat on the cards, you can adapt the part from the plastic chair by cutting off the legs from it.
The author installed the battery pack in the polycom, the battery is in a metal case. We also install the engine controller in a safe place so that it does not get wet and become dirty.
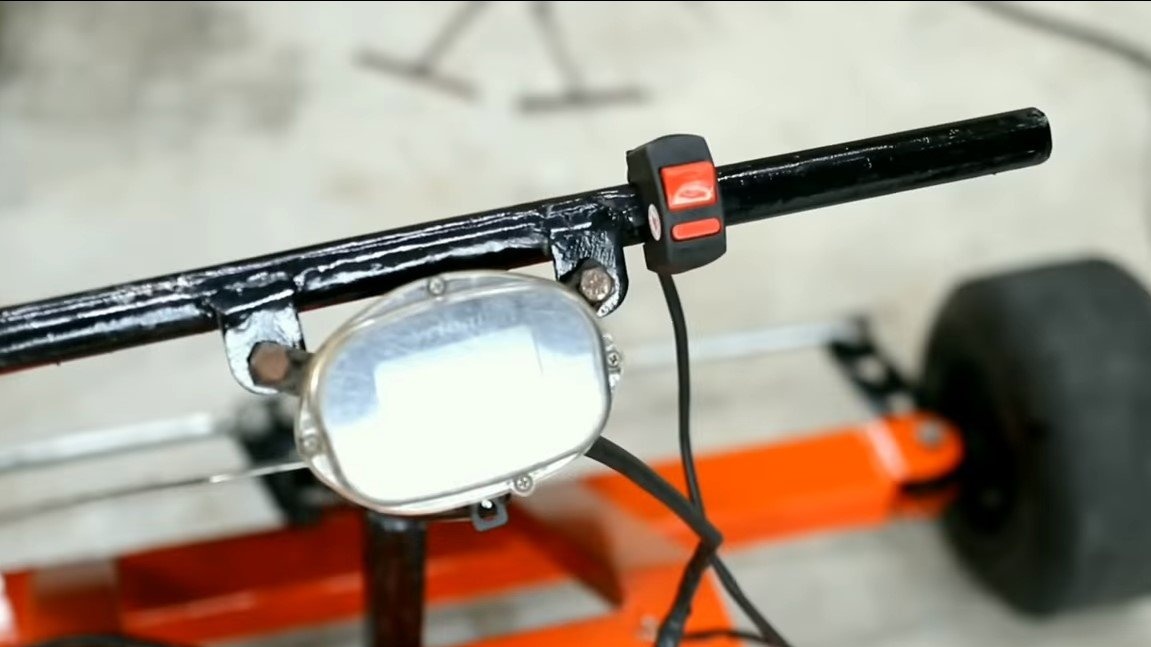


At the end, it remains to install the front shield and controls. On a wheel it is established electronic throttle knob, digital voltmeter, speedometer, ignition key, and, if desired, headlights. We also connect the hand brake, in our case it is hydraulic. After that, you can already test the cards. The author pulls away quite easily, also the car pulls easily and two passengers.
The maximum speed and range of the machine remains unknown. On this project can be considered completed, I hope you liked the homemade product, and you found useful thoughts for yourself. Good luck and creative inspiration, if you decide to repeat this. Do not forget to share your ideas and homemade things with us!