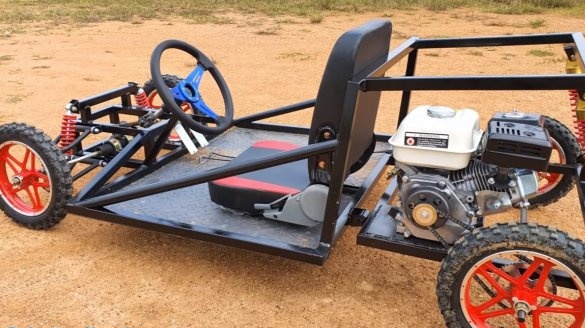
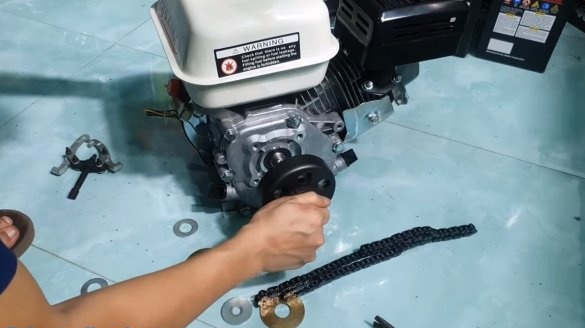
I welcome fans to craft, today we will consider how to make gasoline cards with an engine of 250 cubic meters. Most parts for homemade the author used ready-made ones, but the frame was assembled from scratch. If you have no problems with money, this is a great way to collect cards to fit your needs. The author used the motor specifically for karts or similar home-made products; it is equipped with a centrifugal clutch. The drive is carried out on only one wheel, the car turned out to be nimble, you can easily transport equipment on it or go to the village for fishing in a country countryside. If the project interests you, I propose to study it in more detail!
Materials and tools used by the author:
Material List:
- engine for karts for 250 cubic meters;
- parts for front suspension and steering;
- 4 wheels;
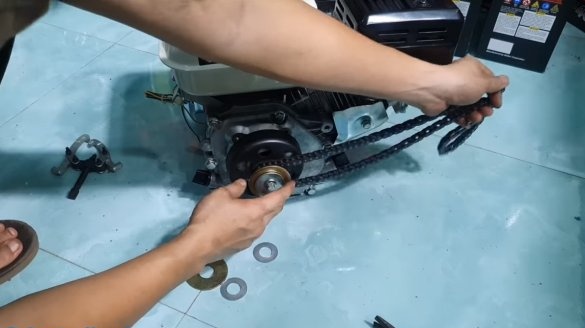
- chain transmission;
- steering wheel;
- spring shock absorbers;
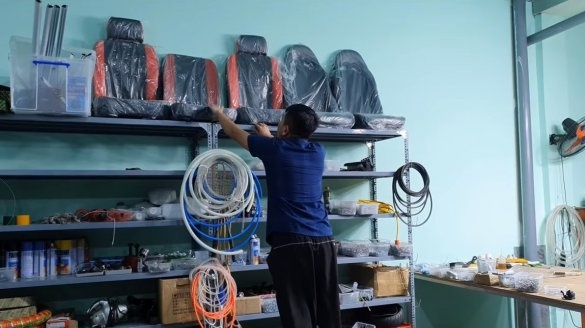
- a small chair;
- profile pipes;
- Sheet steel;
- paint.
Tool List:
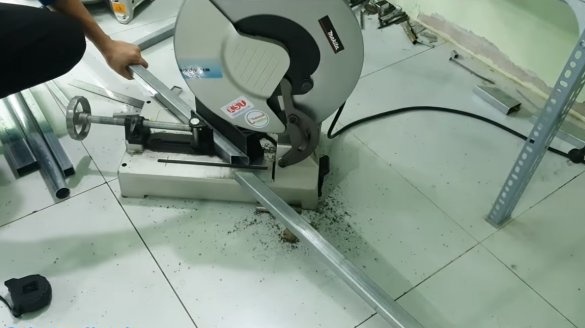
- Miter saw;
- welding machine;
- drill;
- marker;
- roulette.
Homemade manufacturing process:
Step one. Front suspension
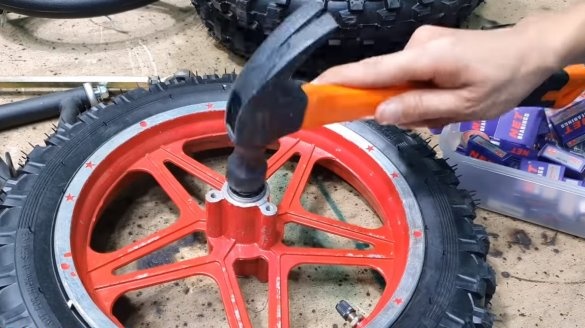
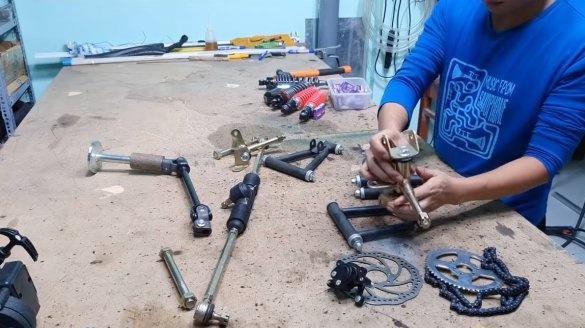
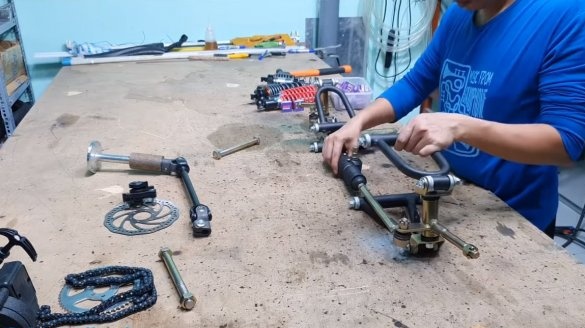
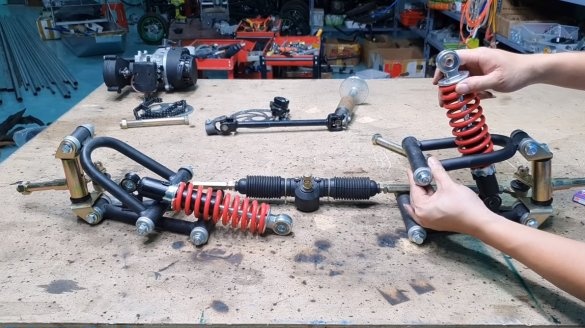
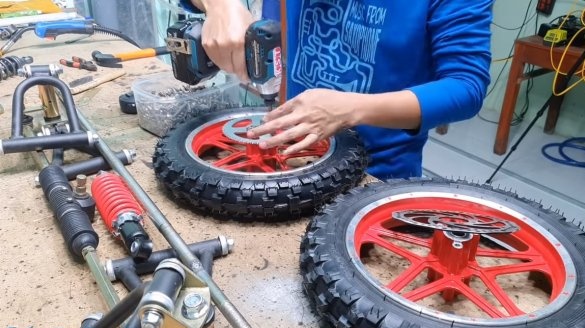
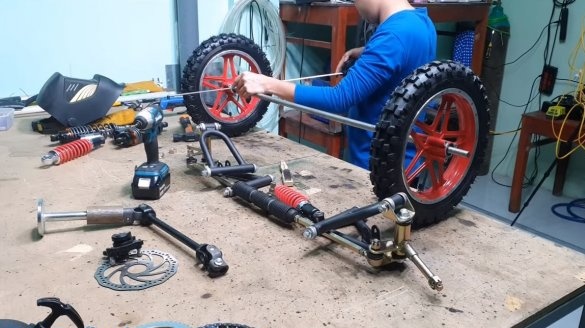
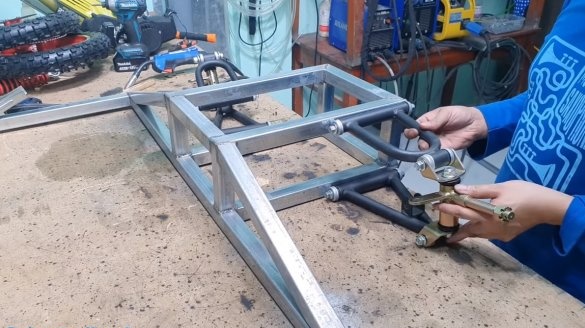
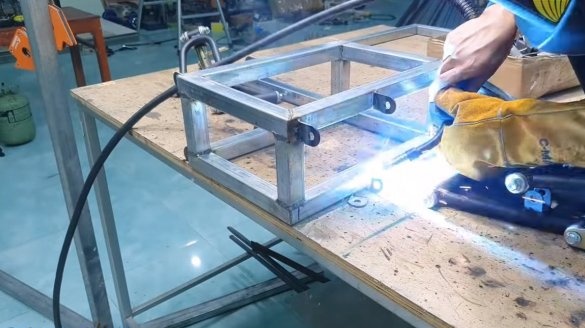
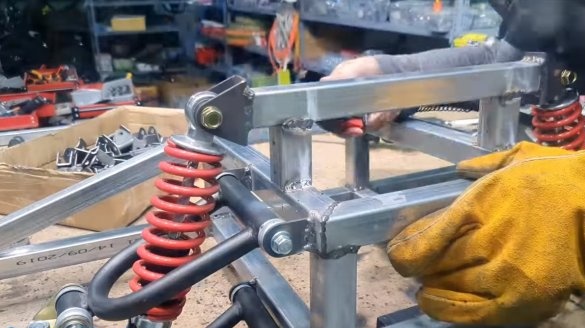
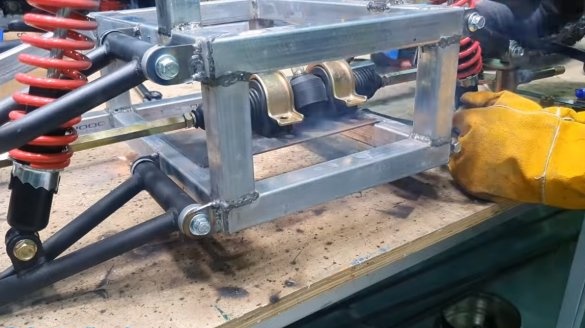
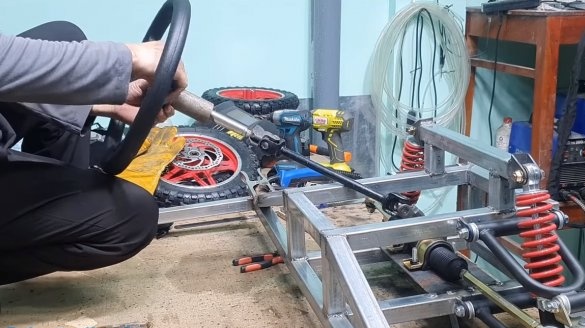
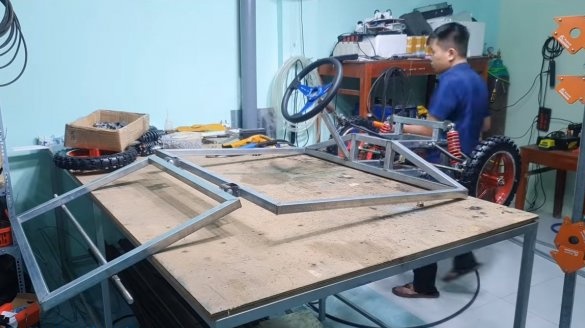
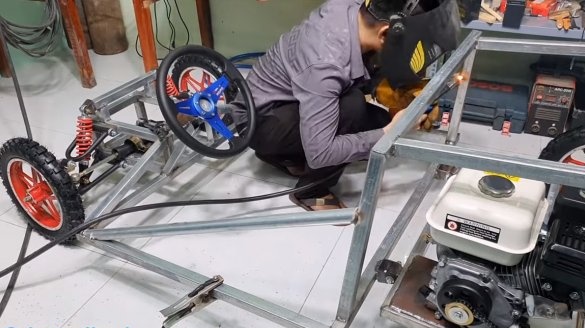
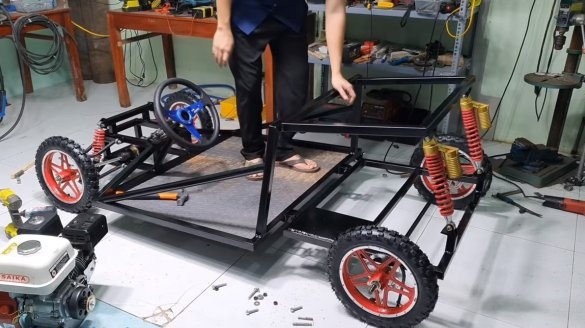
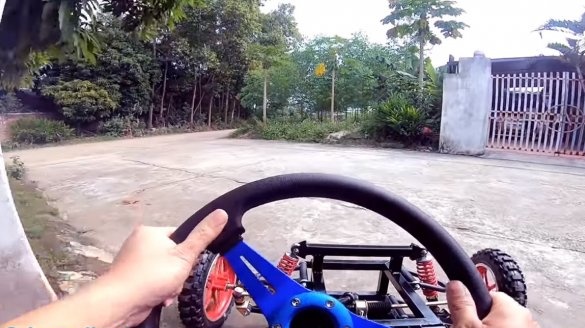
The author assembled the front suspension from ready-made purchased parts, these are shock absorbers, steering rods, axles for wheels, as well as other components. The author chose a rather reliable steering system, the driveshaft acts as a steering shaft. The author only needed to weld the front of the frame from profile pipes and sheet steel, and also install all the nodes on it.
Step Two Main frame
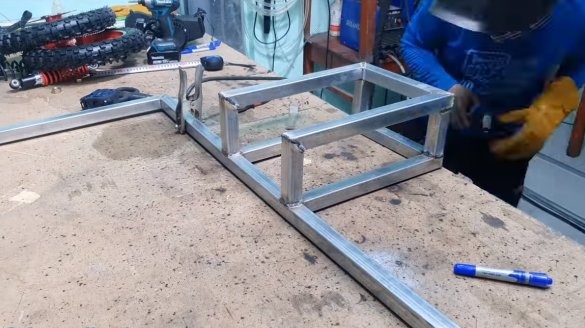
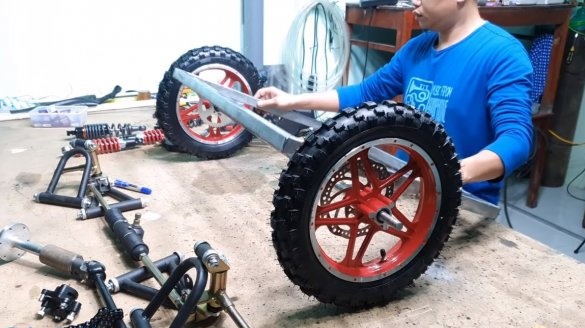
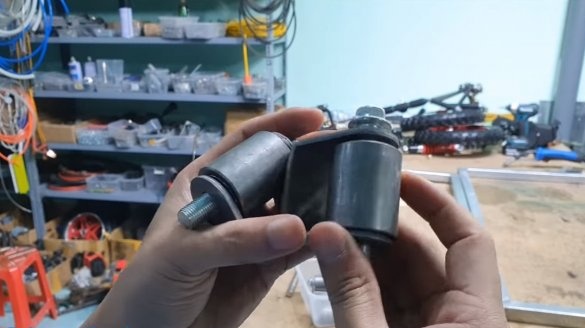
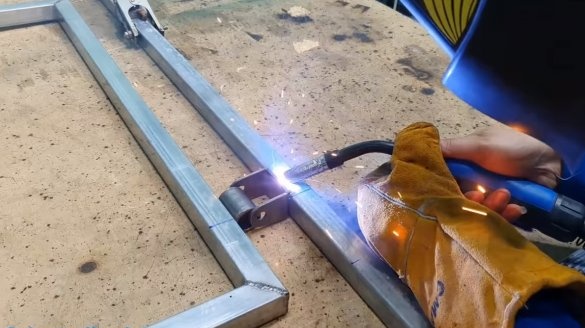
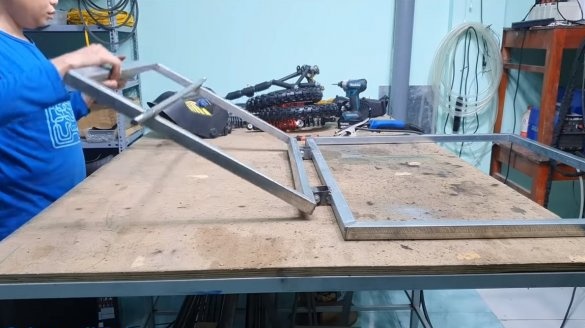
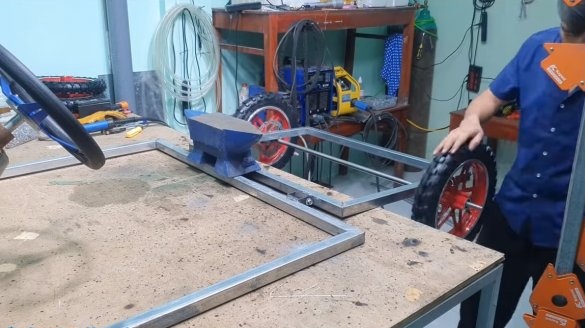
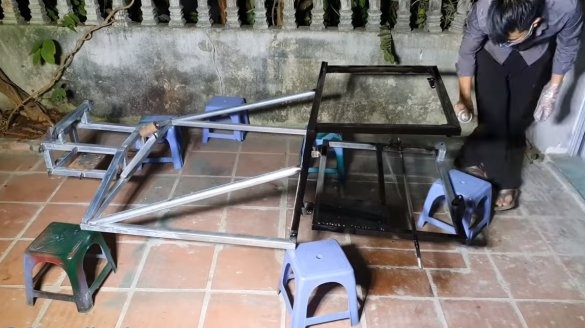
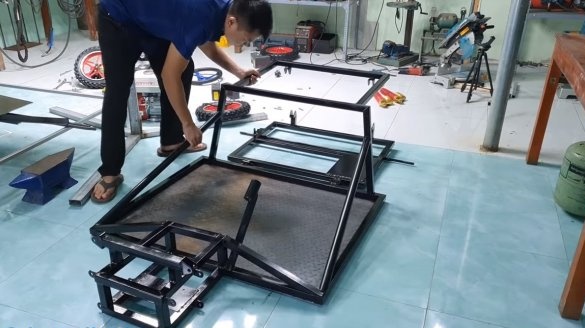
We weld the main frame for the card, the author welded it from profile pipes. Since the rear suspension is on shock absorbers, we attach the rear of the frame through hinges to the main frame. As hinges, steel hinges for gates or the like are perfect.
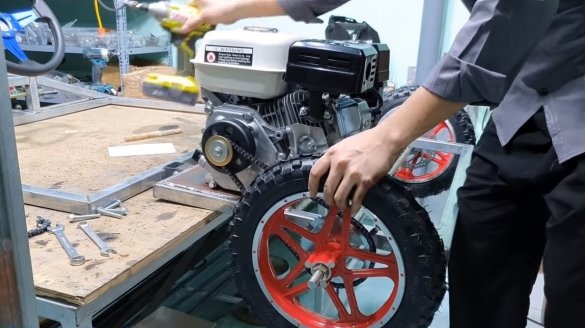
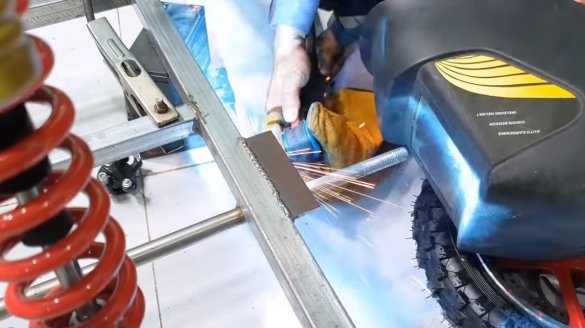
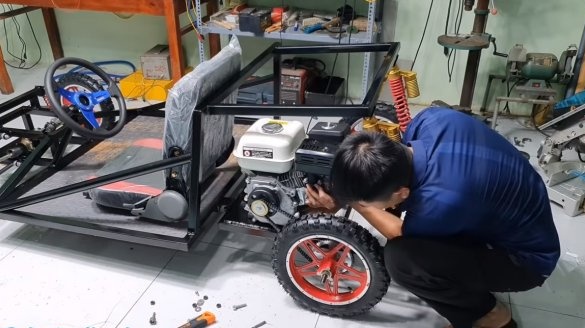
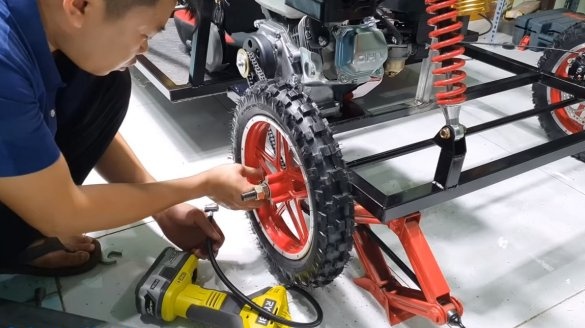
Install the rear axle, the author simply welded it to the frame. We also weld a piece of sheet steel, which will be used as a bracket for the engine. We install on the wheel axle, there are bearings inside the wheel hubs.
The drive from the engine is carried out on one wheel, this is not a good option, since the card's handling and patency are deteriorating. The author also decided to put the brake on one of the wheels, which is dangerous, since when braking the cards it will be demolished to the side.
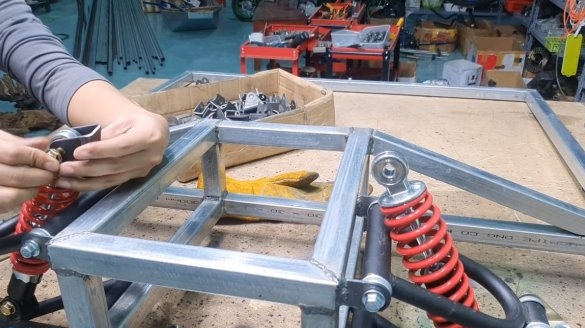
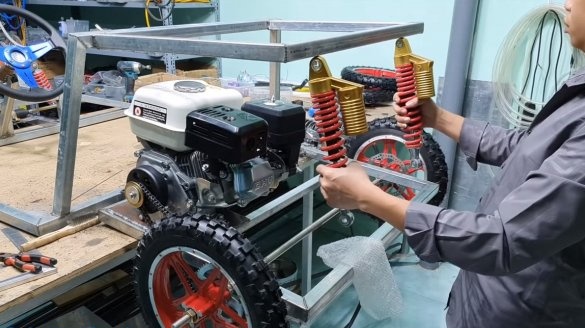
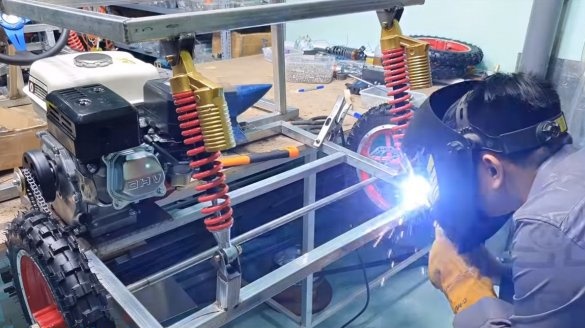
At the end, you can weld the stops and put the rear shock absorbers in their place.
Step Four Brake
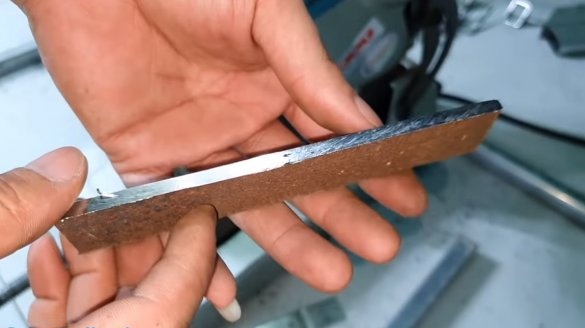
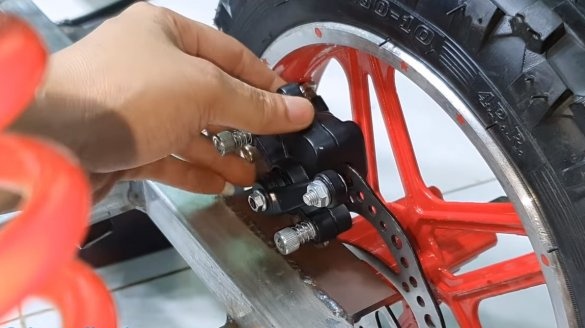
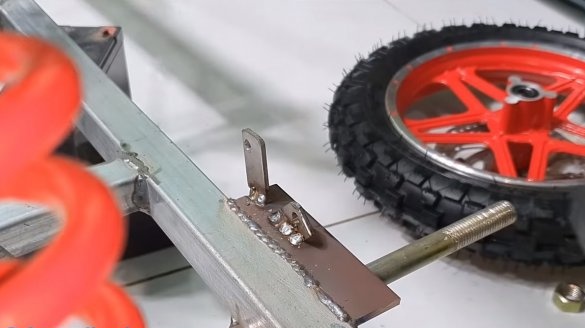
We make fasteners for the brake; the author used thick sheet steel as a material. We weld the fasteners and put the disc brake in its place.
Step Five Painting and bottom
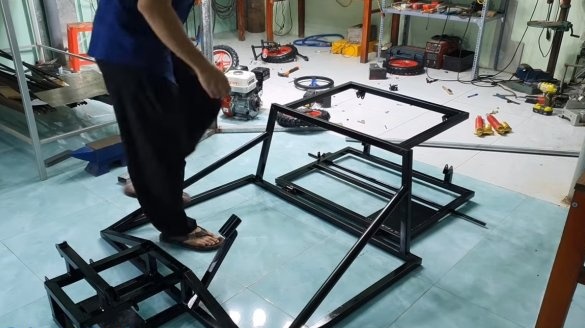
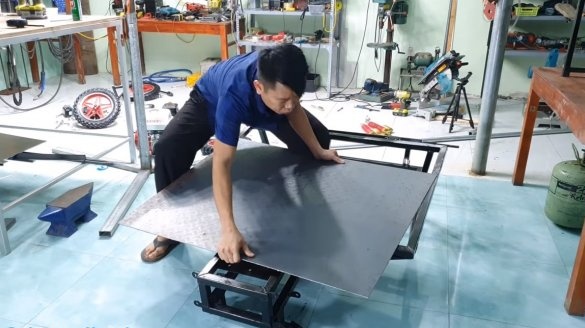
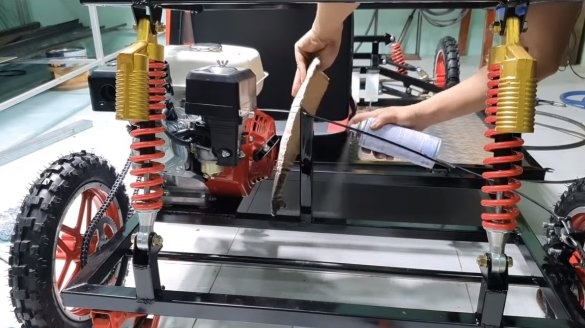
We remove all the equipment and paint the frame well so that it does not rust. At the end, the author installed a bottom on the frame. To increase the strength of the frame, the author used thick sheet steel as the bottom. Of course, such material would be nice to weld to the frame, but the author used rivets.
Step Six Assembly and testing
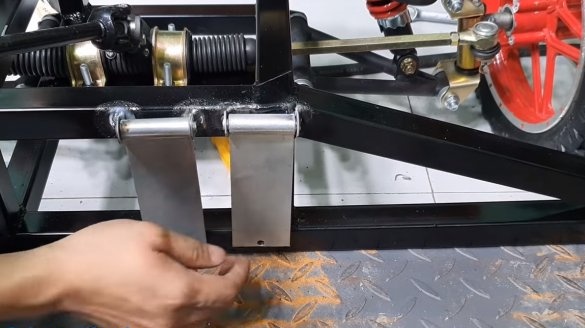
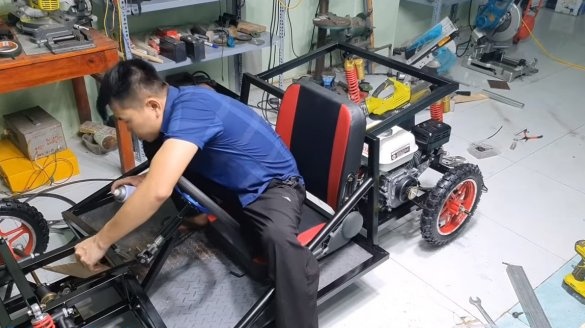
We collect cards, put all the equipment, and also make pedals. As pedals, two steel plates were used, which are pivotally mounted to the frame. We connect the cable from the throttle to the pedals, as well as the cable from the brake. Of course, for safety reasons, it would be nice to put the ignition switch in an accessible place so that you can quickly stop the engine in case of something.
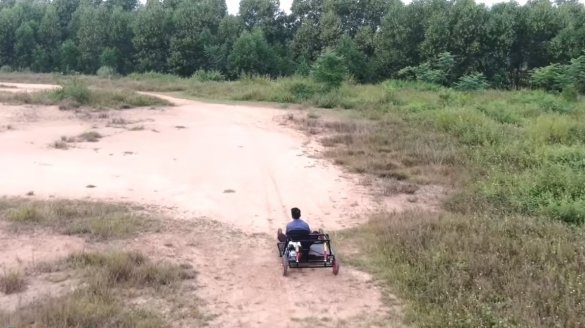
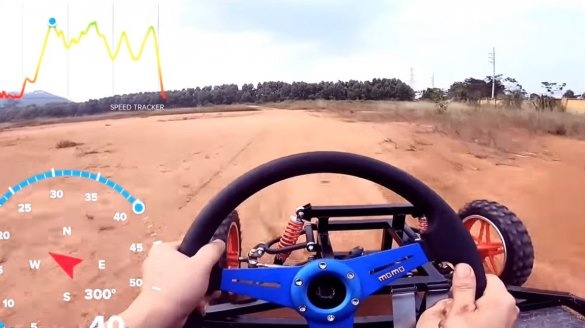
Finally, the author collected his maps, uploaded the equipment for photographing into it, and hit the road. The map rides excellently, the motor pulls perfectly "on the bottoms", the author managed to accelerate to 40 km / h, which is more than enough for such a small and light map. On this project can be considered completed, I hope you liked the homemade product, and you found useful thoughts for yourself. Good luck and creative inspiration, if you decide to repeat this, do not forget to share your ideas and homemade things with us!

