As usual, almost all craftsmen with a workshop always have a desire to expand their fleet of machines. But not always, and not everyone has the corresponding financial opportunities for this.
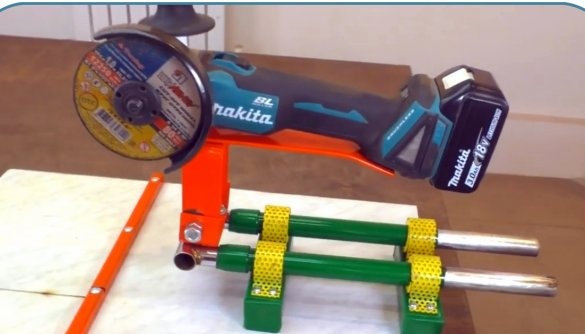
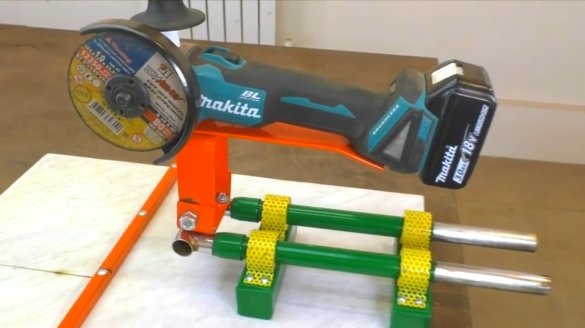
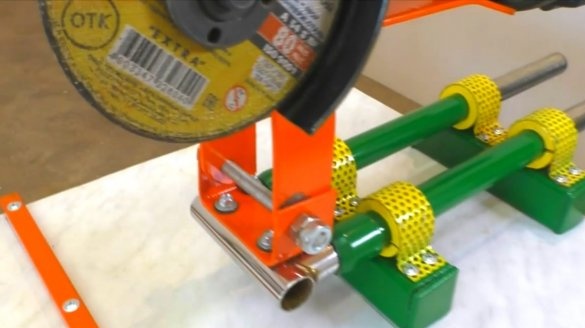
In this article, the author of the YouTube channel "Workshop Diy" will tell you how he made a very high quality miter saw from trash. By and large, you will need only a grinder and some steel parts.
This homemade product is quite simple to manufacture, and does not require welding and turning. A similar machine was described in one of articles previously, but it is very difficult to repeat, and requires welding.
Materials
- The handle of a children's bike
- Cut-off countertops
- Profile pipe
- steel strip
- Perforated steel sheet
- PVC pipe
- Machine oil
- Spray paints
- Self-tapping screws, screws, nuts, washers.
Instruments, used by the author.
-, cutting disc
—
—
- , wrench
- Vise, hammer, screwdriver
- Marker, square, roulette, ruler, core.
Manufacturing process.
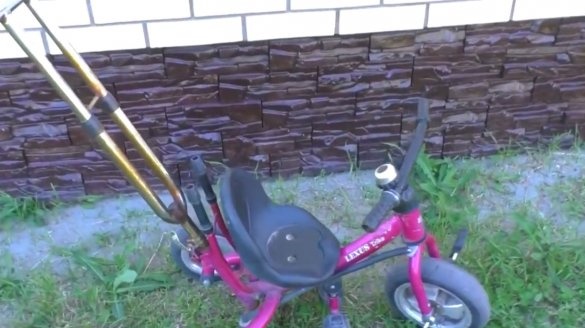
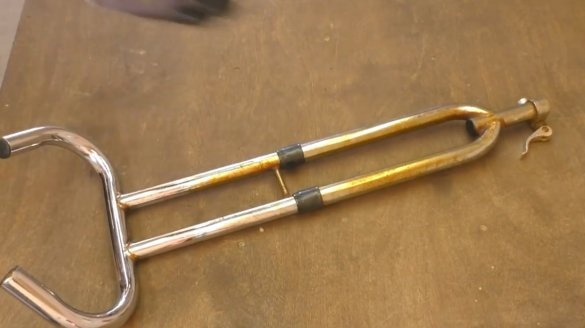
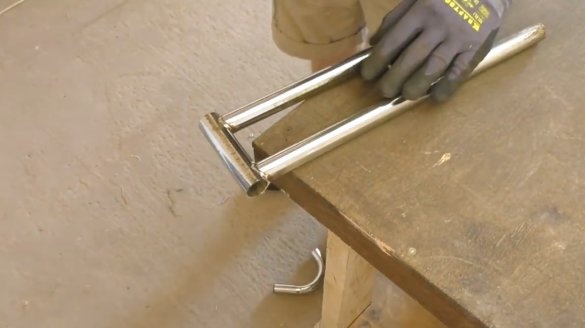
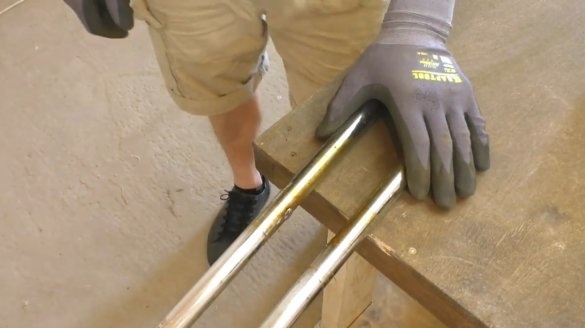
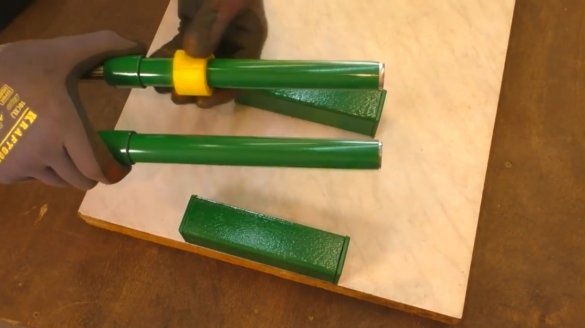
So, the children of the author grew up, and from the children's bicycle it was necessary to remove the adjustable handle. At this moment, he had the idea to create a good thing out of her.
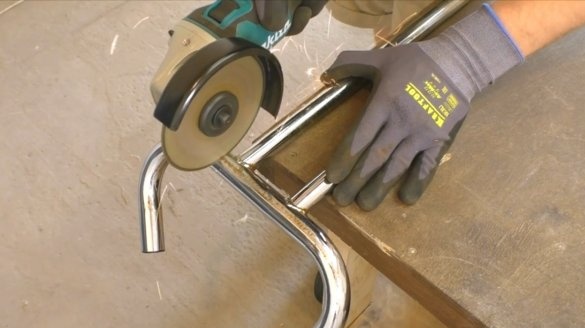
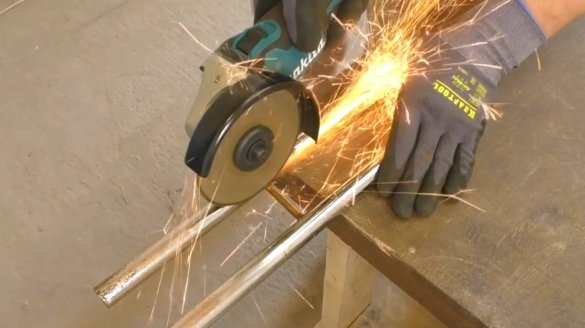
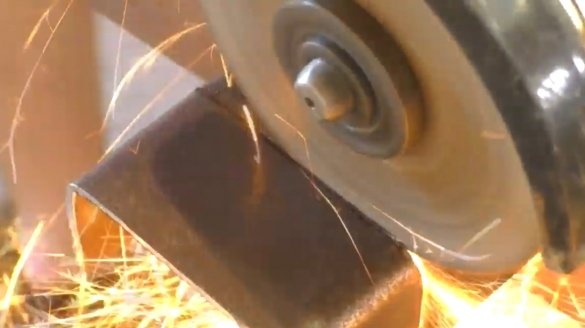
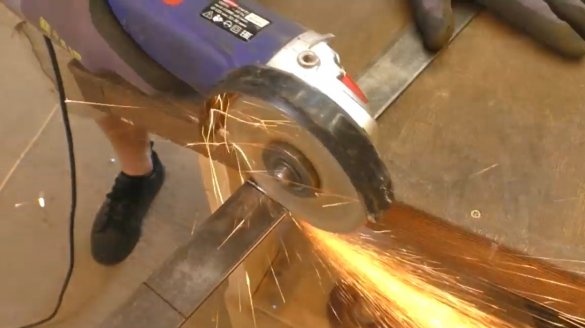
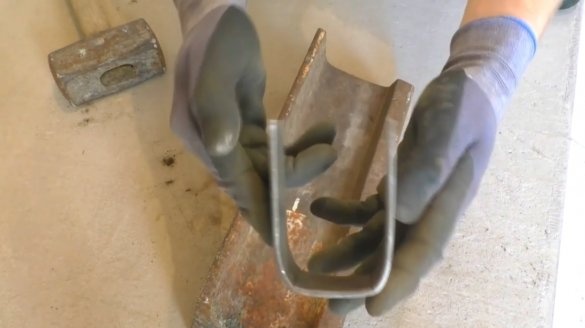
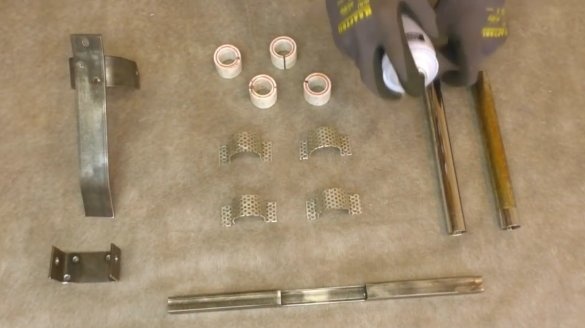
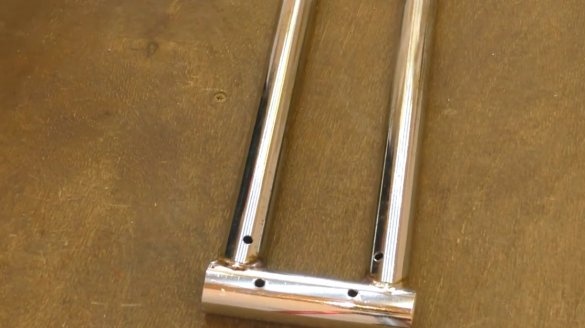
The upper handles are sawn off by a grinder, the jumper is also removed. The attachment point of the jumper is cleaned with a flap disc.
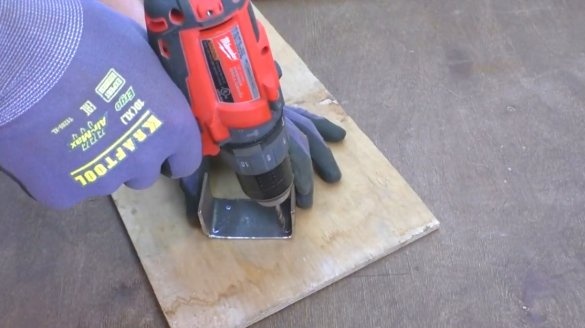
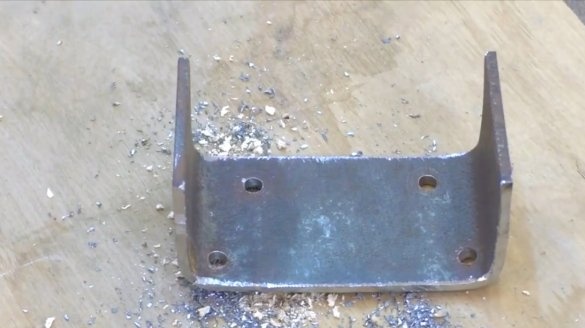
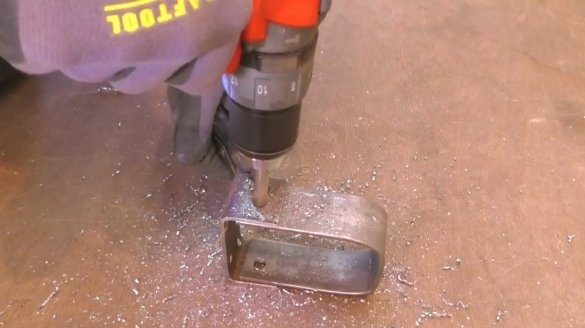
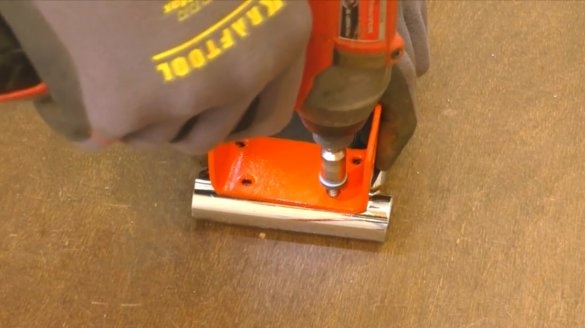
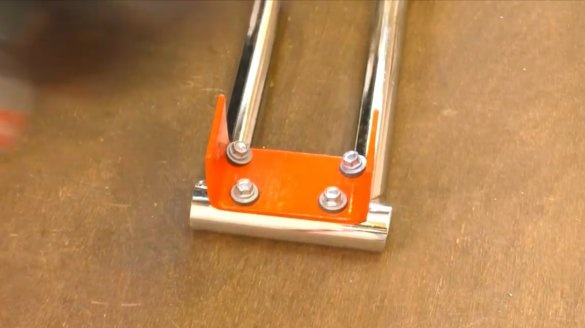
The first part of the hinge joint is made from the U-shaped profile, and holes for fastening are drilled in it.
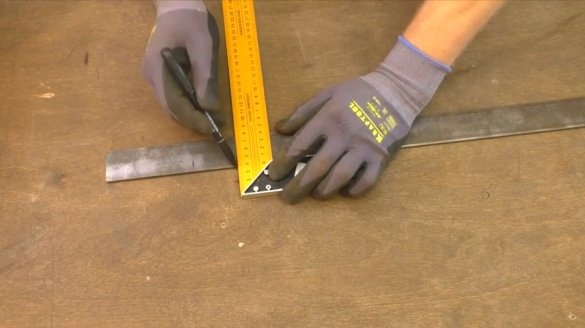
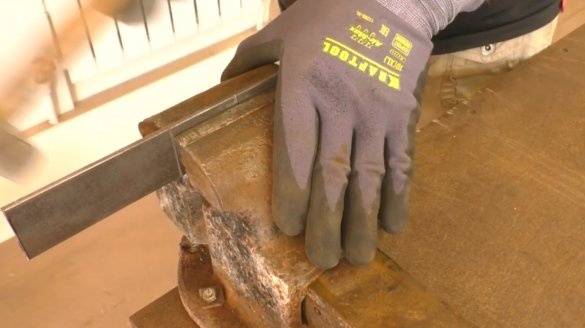
Then the master marks out a steel strip for the counterpart of the hinge. Makes shallow marks on the marking.
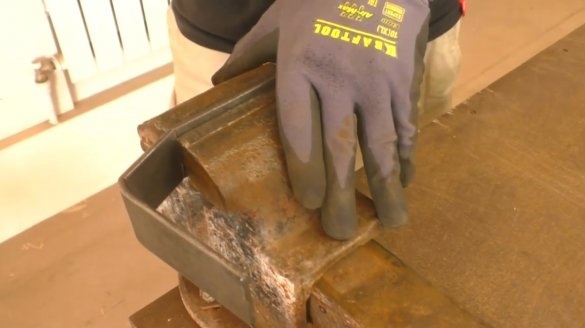
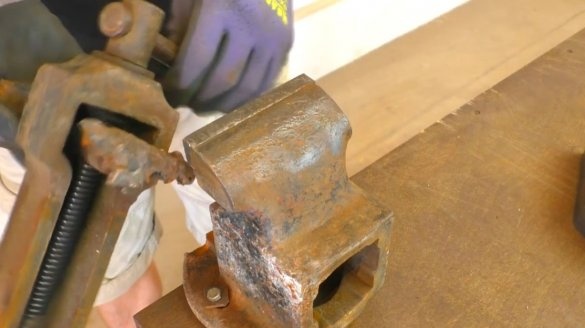
Fixes a strip in a vice, and begins to bend. But the vise broke.
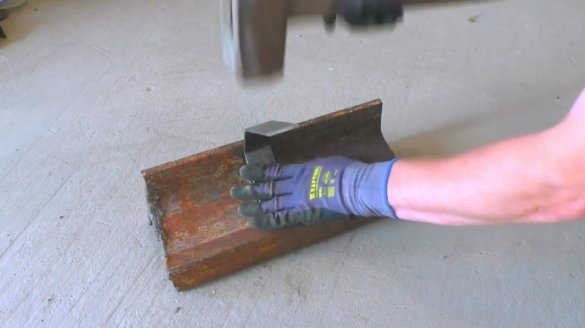
For this reason, the master continued processing the workpiece on the rail.
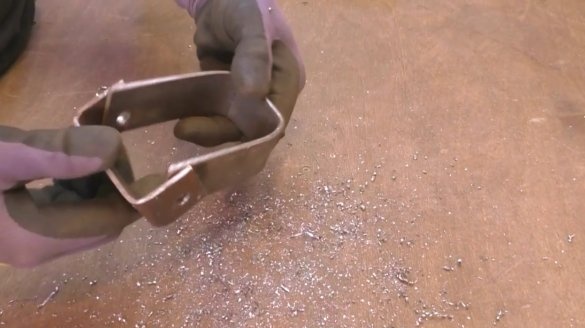
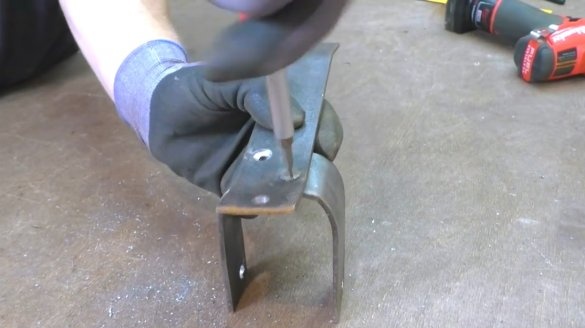
The two obtained billet blanks are fixed between themselves by a geyser grip, and drilled a hole for the axis.
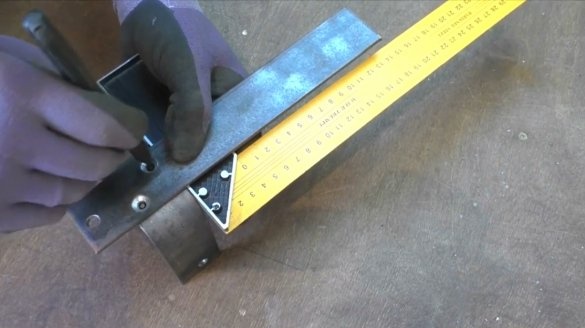
Then he made such a detail, the grinder itself will be attached to it. The marking of its holes transfers to a U-shaped blank.
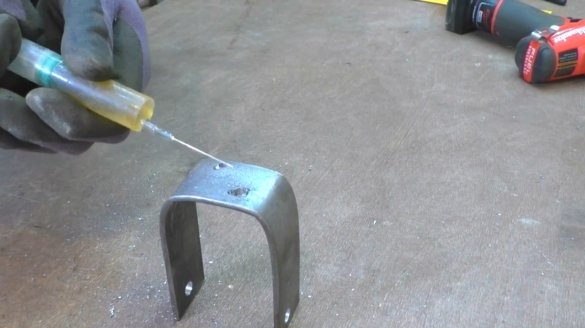
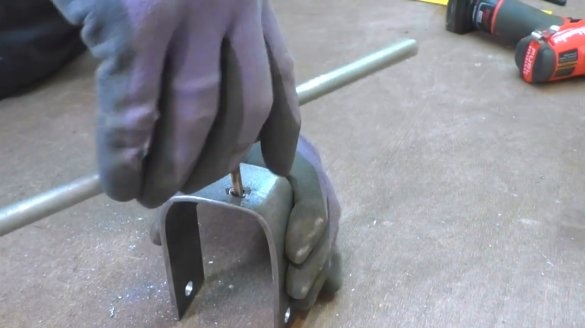
Drills holes, lubricates them with machine oil, and cuts threads in them.
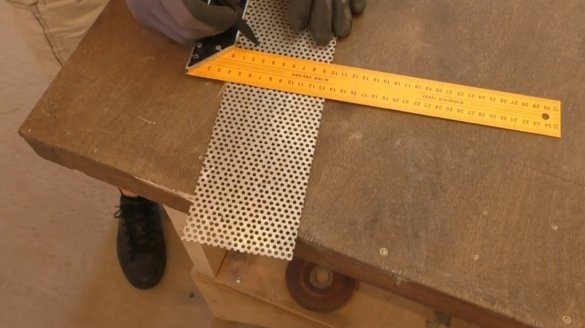
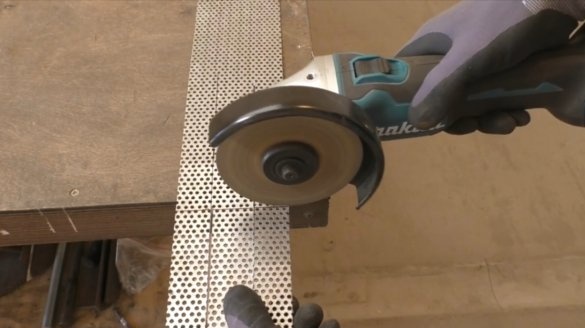
Four strips are made of perforated steel sheet.
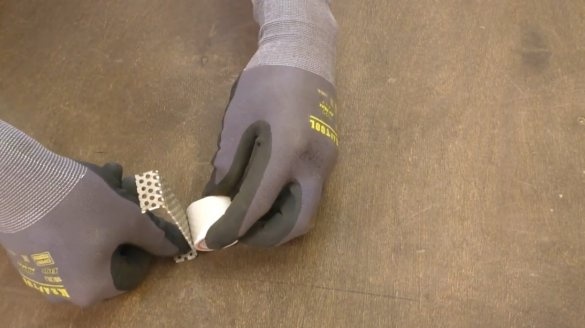
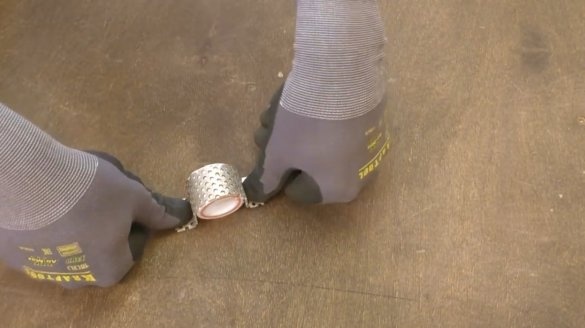
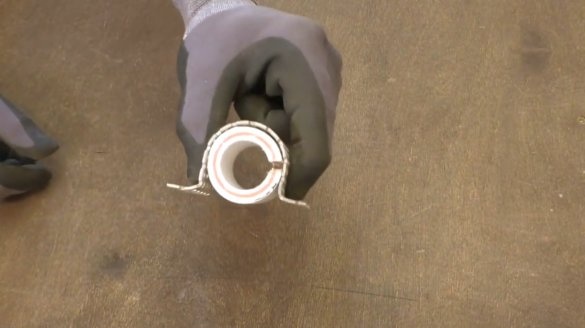
I cut four bushings from a PVC water pipe. He made longitudinal slits in them, and bent steel strips like clamping clamps.
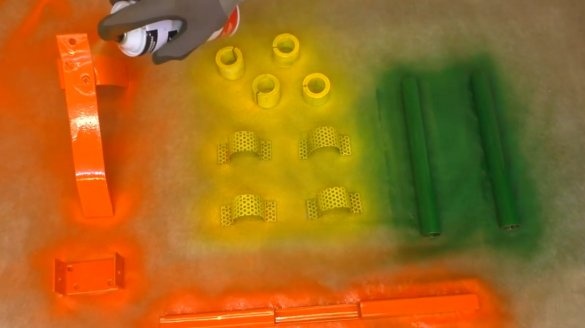
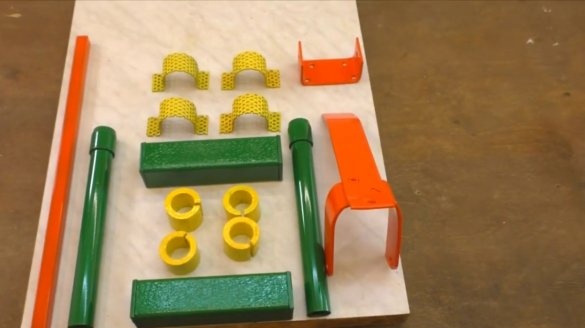
So, almost all the main parts are prepared and cleaned, they can be painted with spray paint.
As the basis for the machine, the author will use a trimmed countertop. All the necessary details are ready.
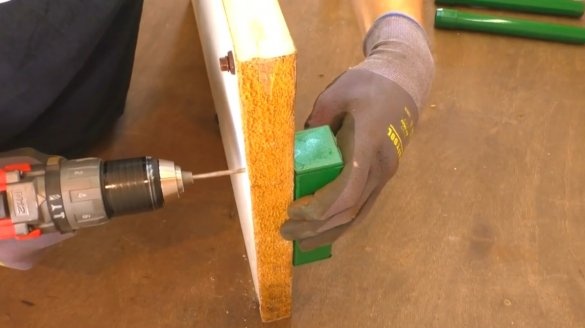
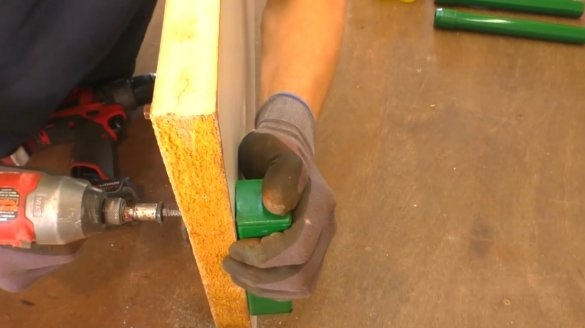
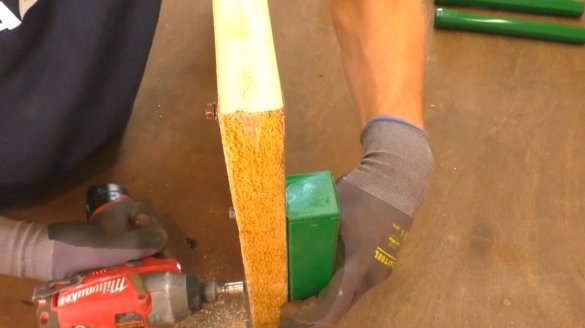
He made two simple supports for the machine from a profile pipe. Now screw them to the table on the reverse side.
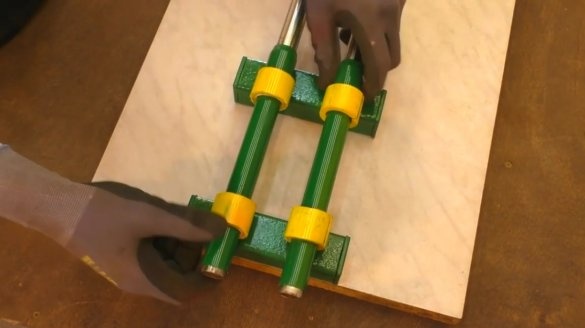
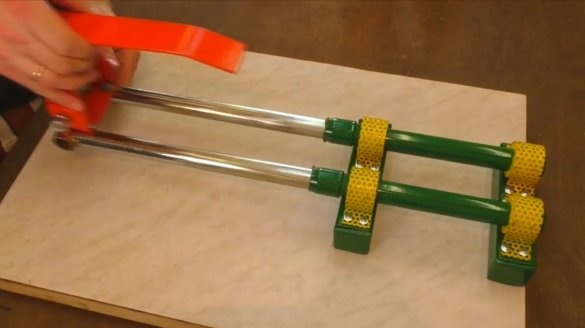
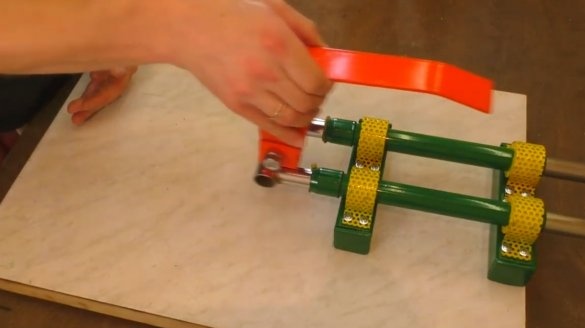
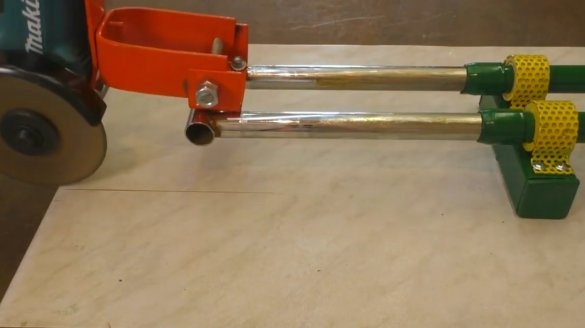
Further collects the elements of the movable frame.
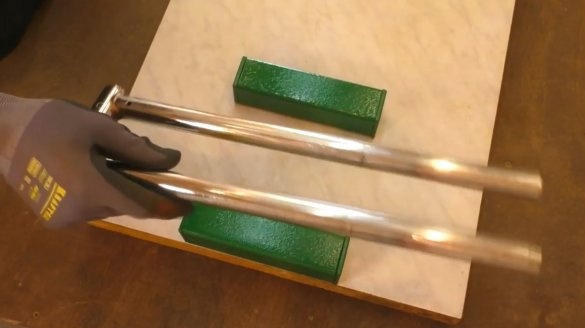
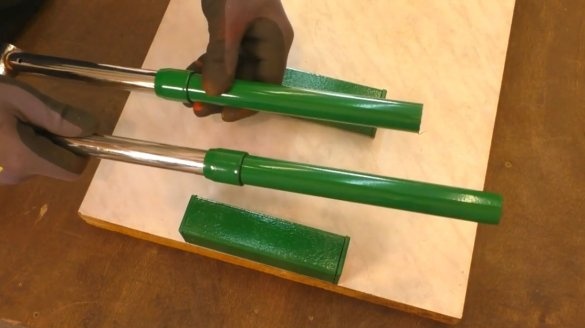
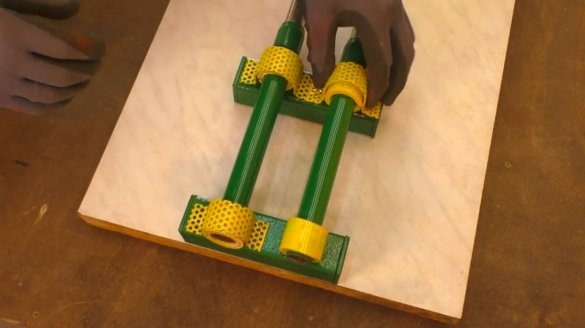
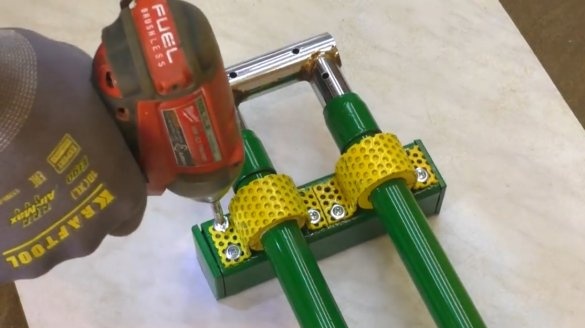
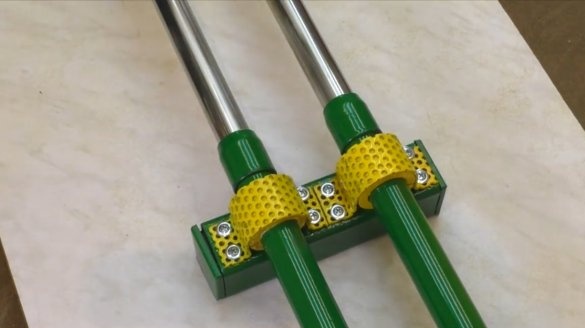
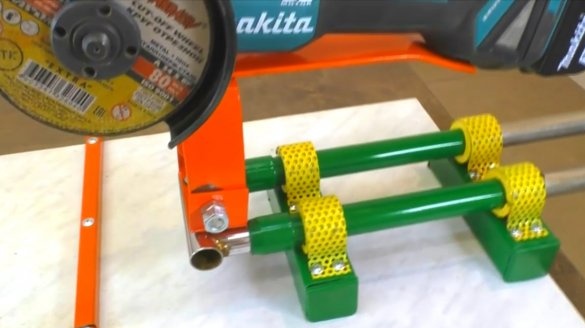
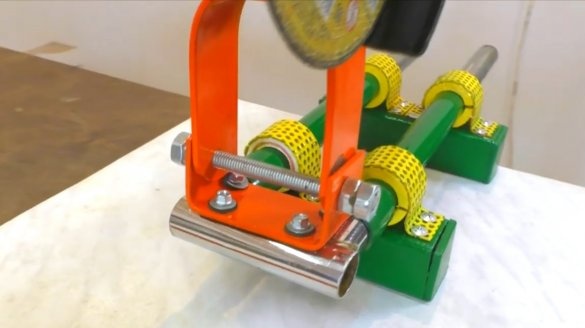
Plastic sleeves are put on fixed tubes, clamps are installed on top.
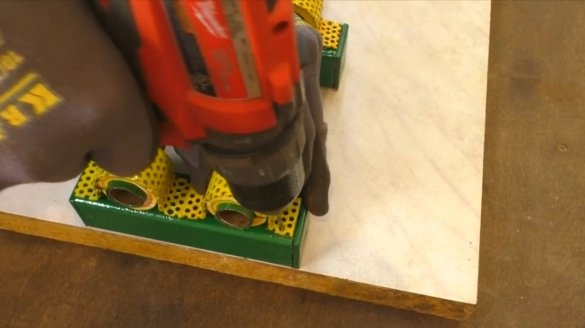
The clamps are simply screwed to the supports with self-tapping screws with a press washer.
In the front of the frame, the master drilled holes, and screwed the hinge support with roofing screws.
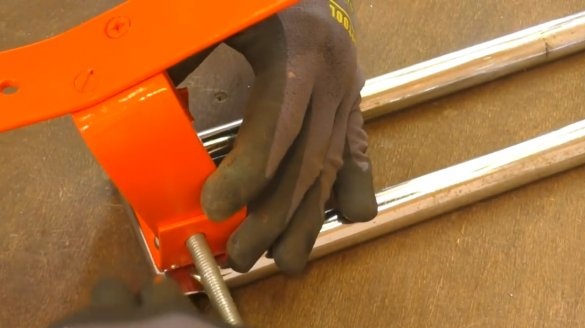
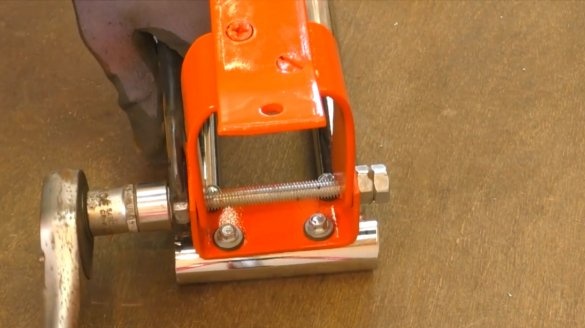
The counterpart of the hinge is fixed in the support, a long bolt is threaded into them, and clamped with nuts. It acts as an axis, so the connection should be sufficiently movable.
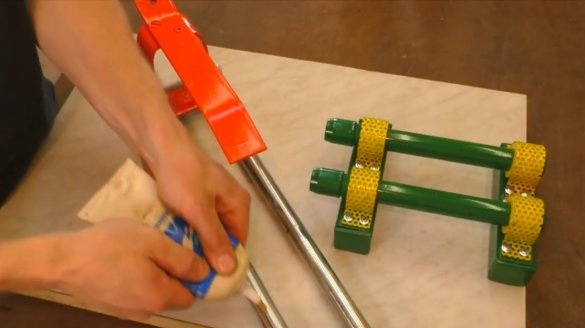
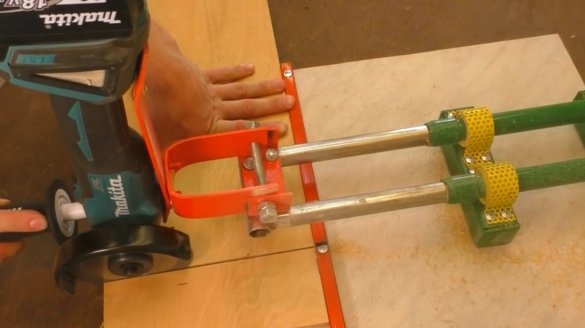
The guides are lubricated with solid oil, and slide into place.
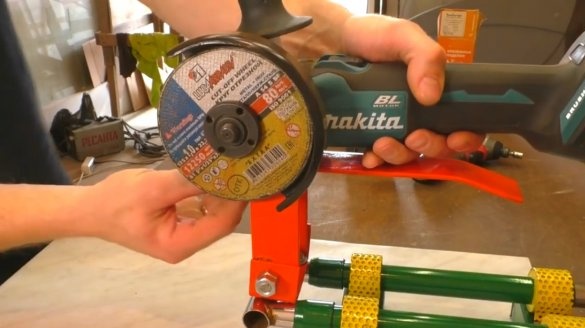
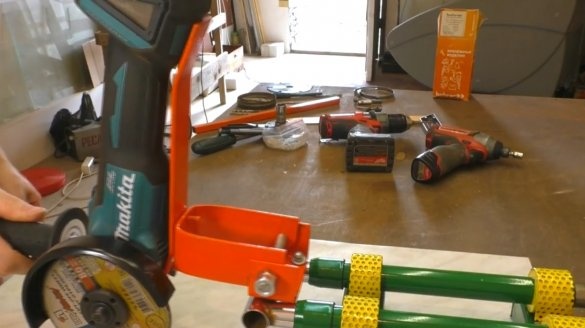
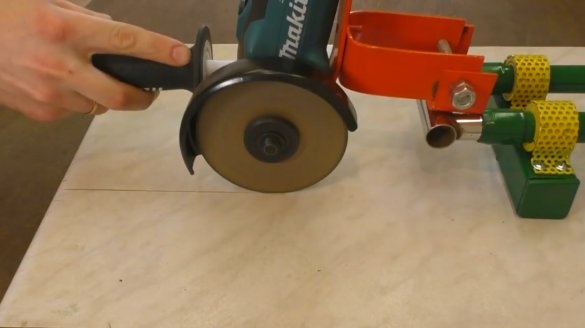
The grinder is fixed on a hinge.
Now in the table you need to make a working slot for the disk.
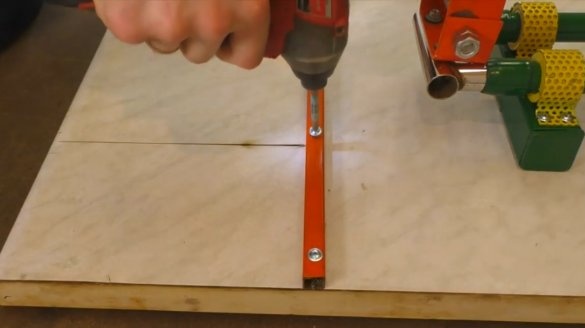
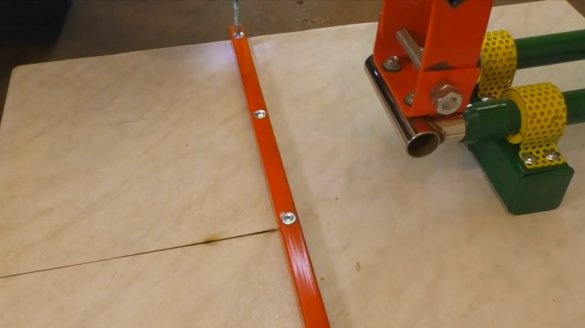
Perpendicular to the slot, the master tightens the stop from the profile pipe.
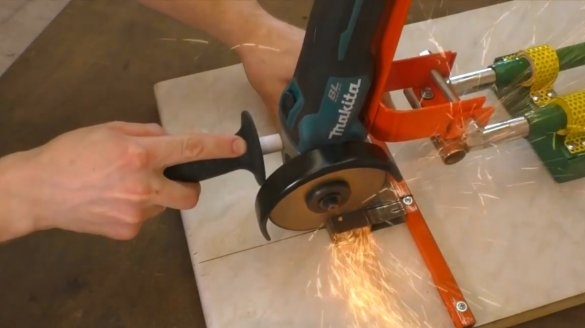
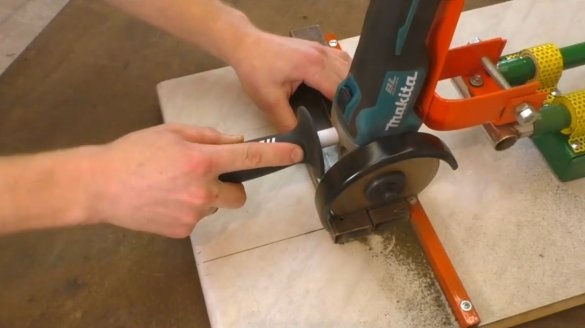
This is how convenient and easy two steel billets are cut at right angles.
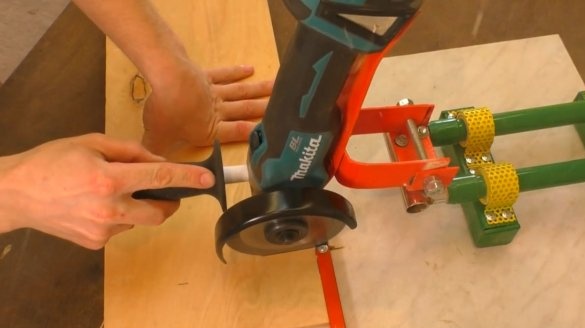
You can also precisely cut wide sheets of plywood, or boards.
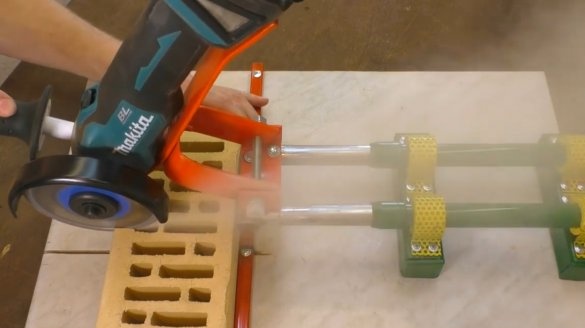
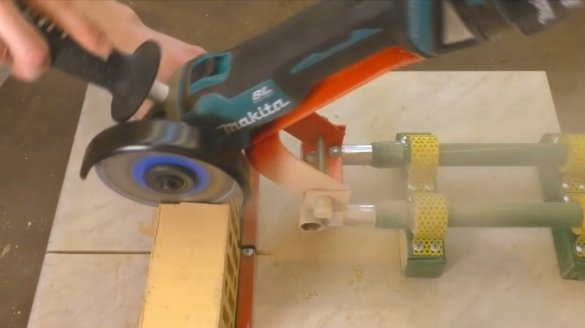
Even with large-sized blanks, this machine can handle without problems. The author shows this on the example of a conventional brick.
Here is a simple, functional, and aesthetic machine turned out by the master. In terms of improvements - only the addition of an adjustable emphasis on the table itself. Then with the help of this machine it will be possible to cut parts at any angles. If the machine will be used often enough, and not understood, then you can install two stoppers on the rear edges of the movable frame.
I thank the author for the simple idea of a miter saw for the workshop!
All good mood, good luck, and interesting ideas!
Author video can be found here.

