Surely many of you have your own workshop or garage. And you constantly add various machines to facilitate the work.
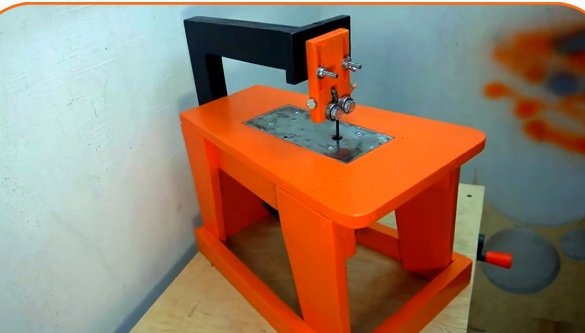
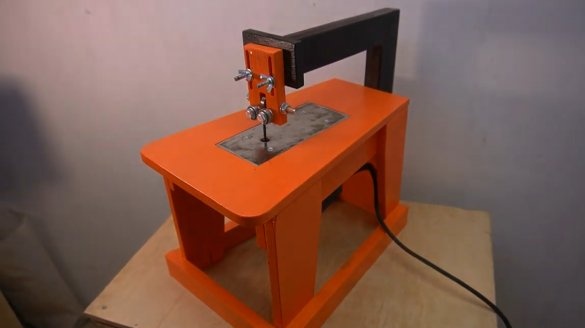
In this article, the creator of the Men’s Craft YouTube channel will tell you how he made a small sawing machine from plywood and an electric jigsaw.
This homemade product is quite simple to manufacture, and will not take you much time.
Materials
- sheet plywood
- steel plate
- bearings
- Screws, washers, wing nuts
- Sandpaper
- masking tape
- PVA glue
- Spray paints.
Instruments, used by the author.
—
—
—
- Drills for metal, countersink
- Chisels
- A pencil, a square, a ruler.
Manufacturing process.
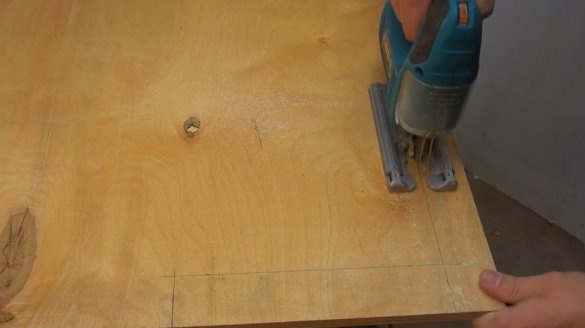
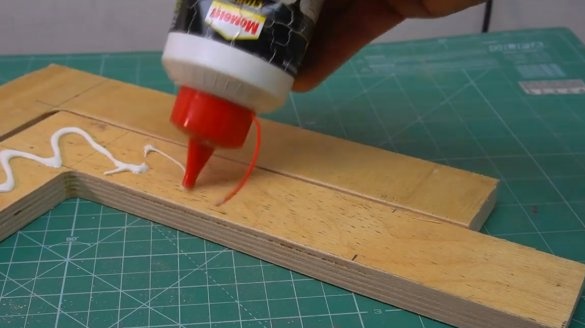
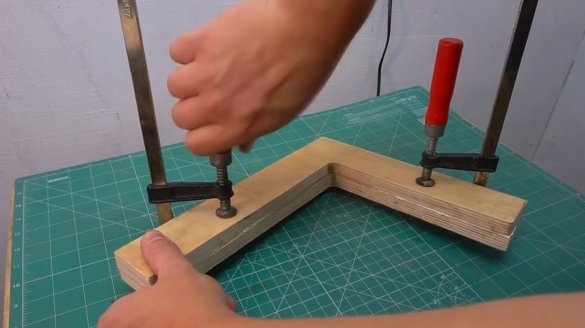
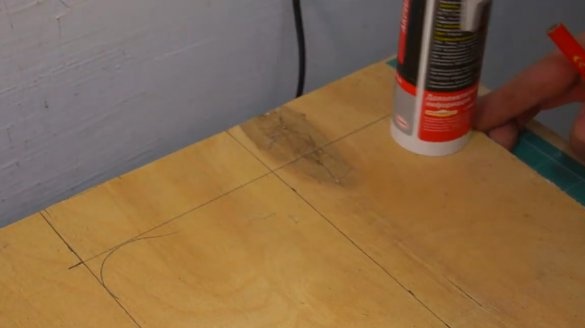
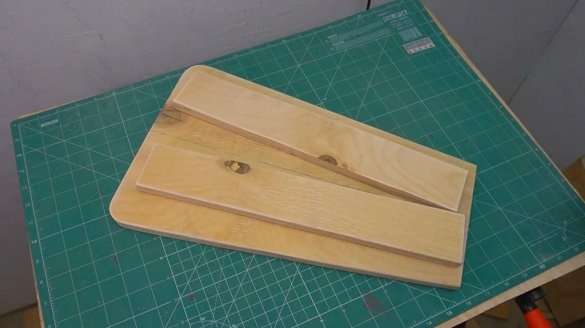
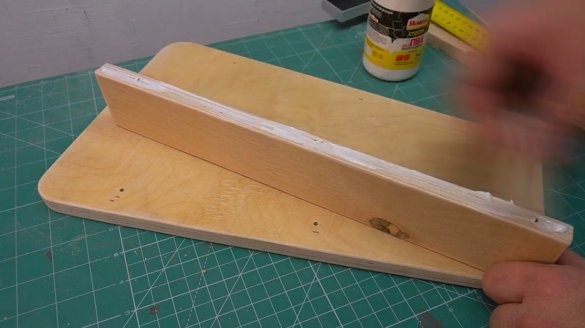
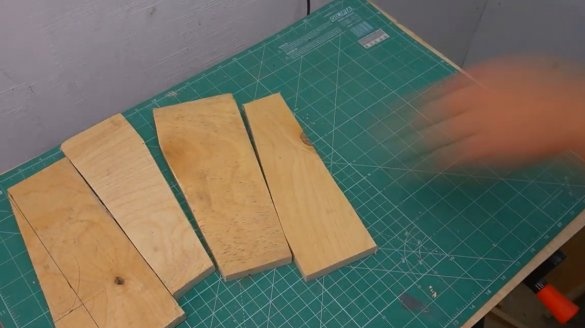
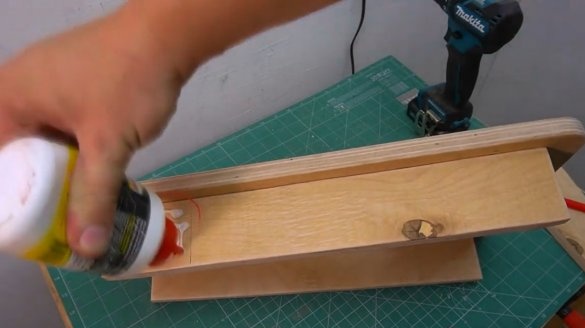
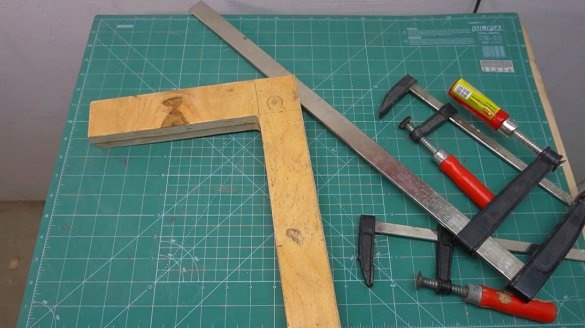
To begin with, the master cuts an L-shaped bar from sheet plywood. Then glues both blanks, and tightens them with clamps.
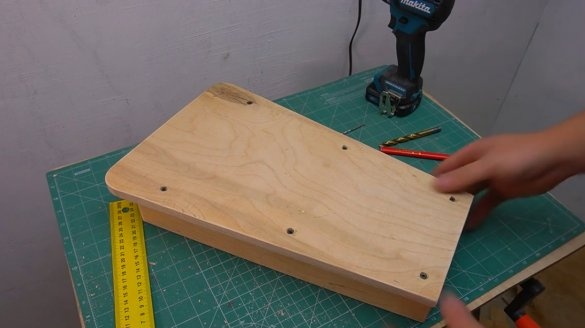
Then he cuts the blanks for the table, and processes the edges with sandpaper.
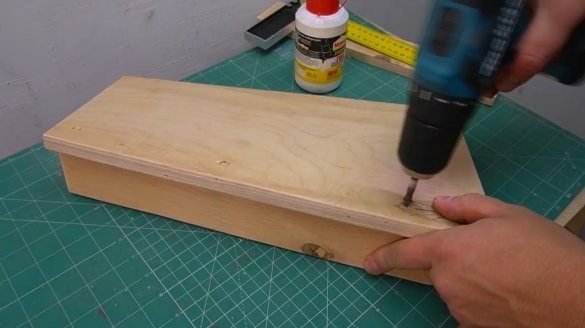
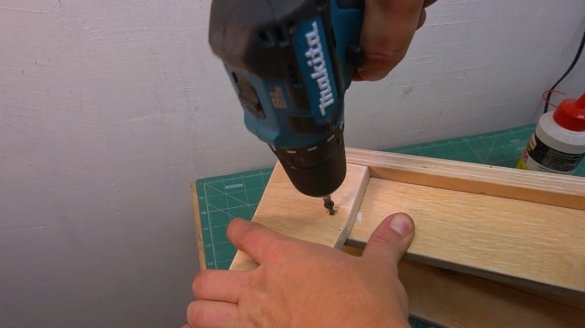
Two stiffeners are glued to the bottom of the table, and are fixed with screws.
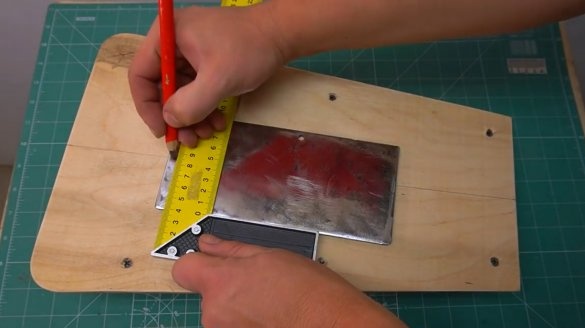
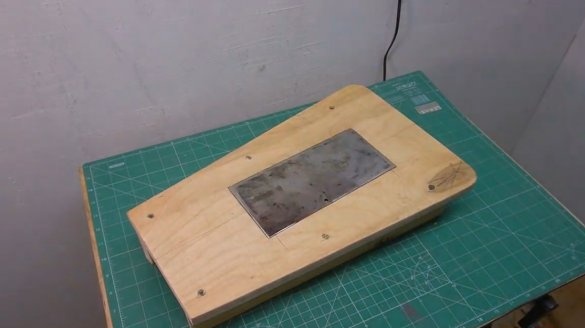
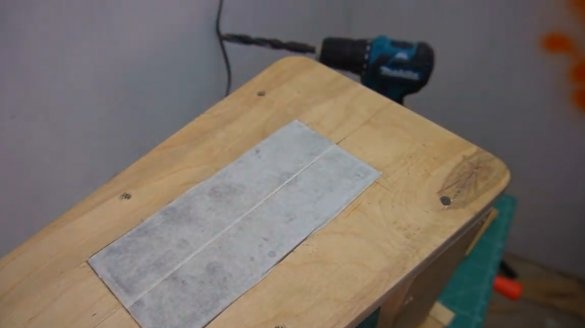
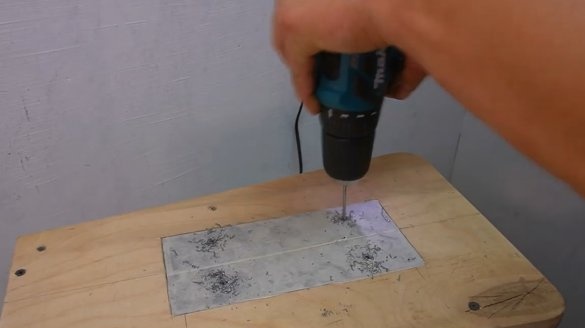
Now you need to prepare a replacement for the sole of the electric jigsaw. It is made of steel plate. First, the master transfers its contours to the surface of the table.
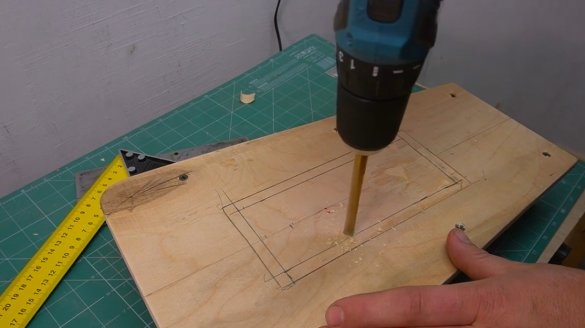
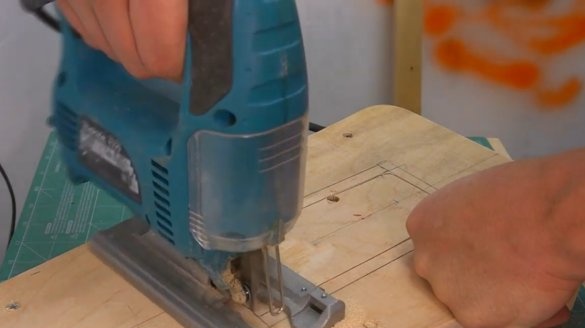
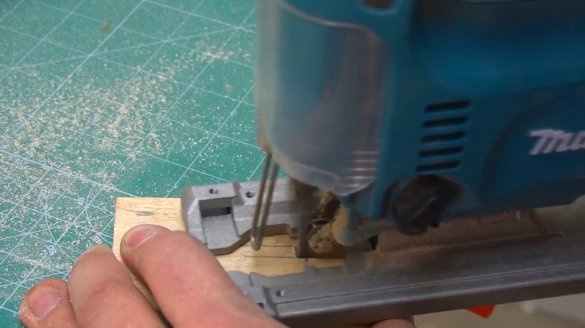
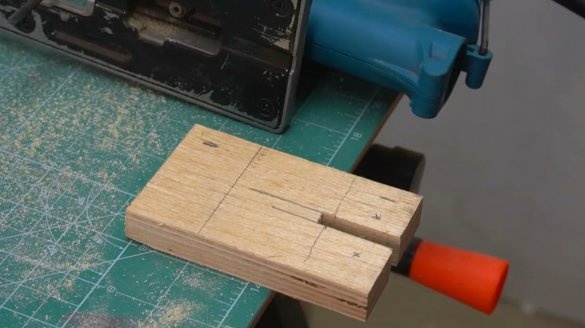
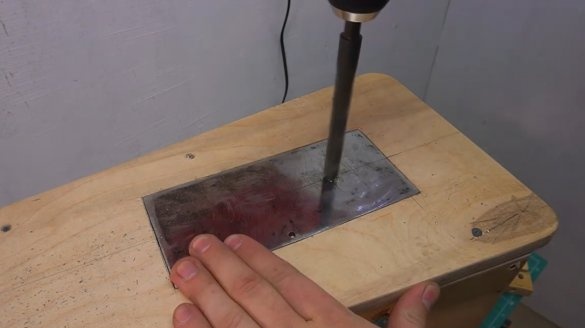
It departs from the edges by 10 mm, drills a hole for the entrance of the jigsaw blade, and cuts a recess.
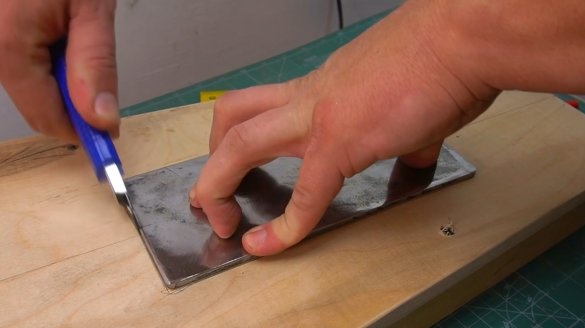
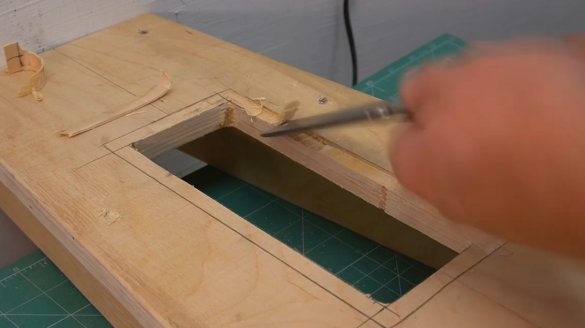
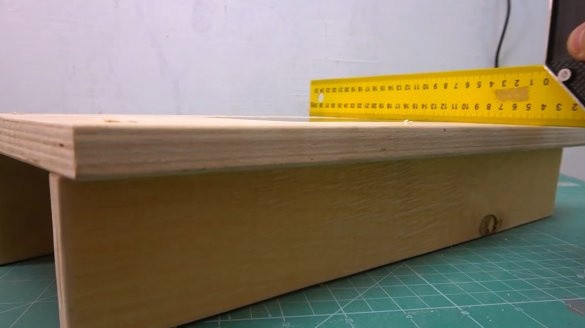
Along the perimeter removes the material to the depth of the plate with a chisel. Checks the quality of laying the plate with a square.
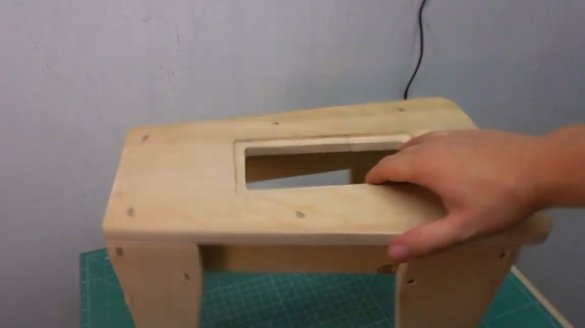
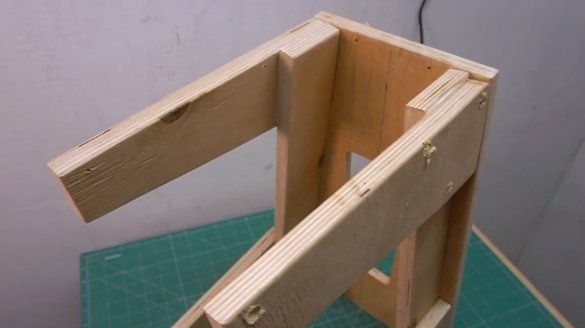
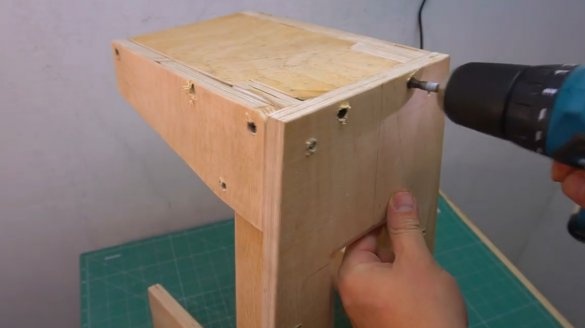
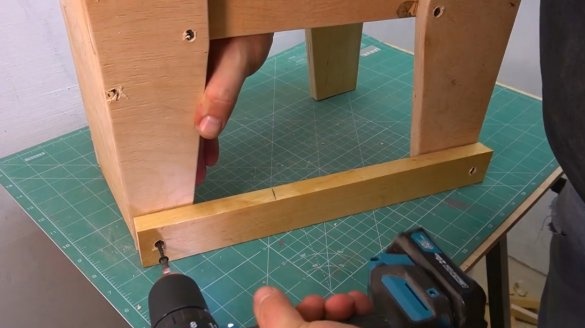
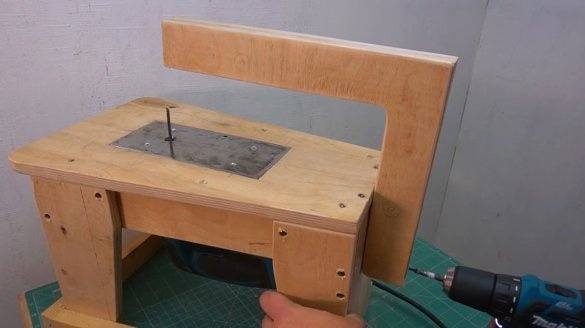
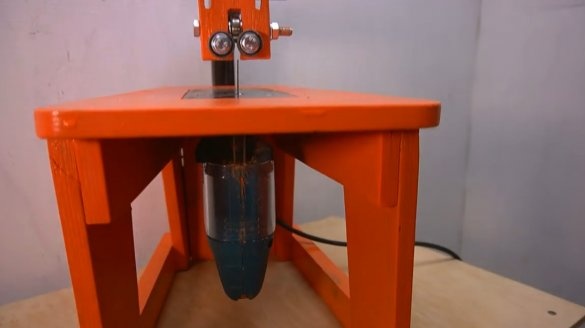
I cut the blanks for the legs, glued them and screwed them to the table.
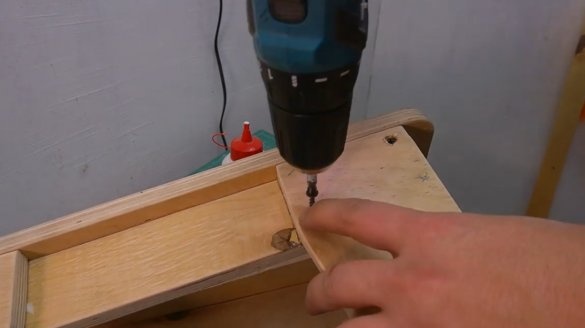
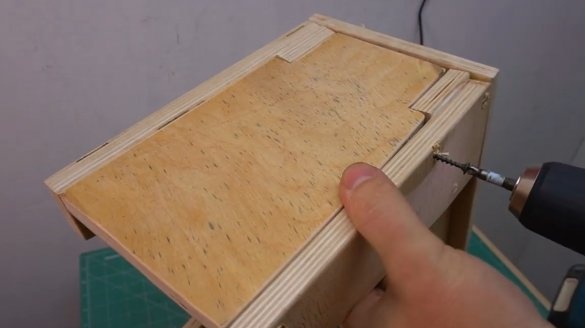
A panel of plywood is screwed onto the back of the table. A rod will be attached to it.
The bottom of the table is also reinforced.
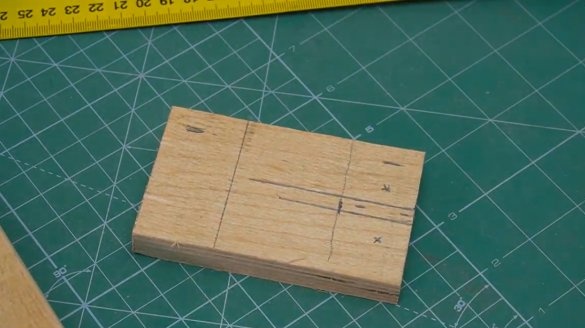
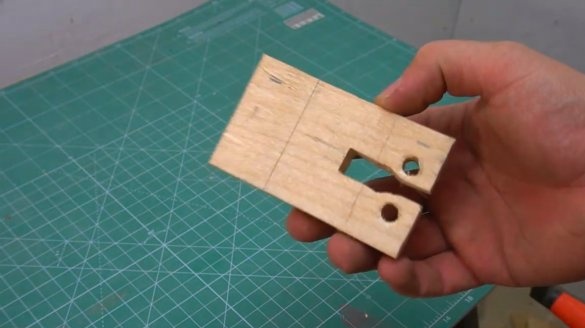
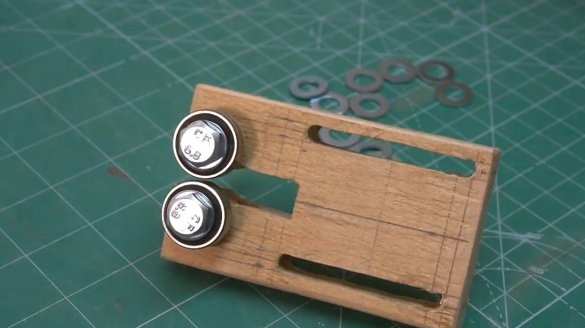
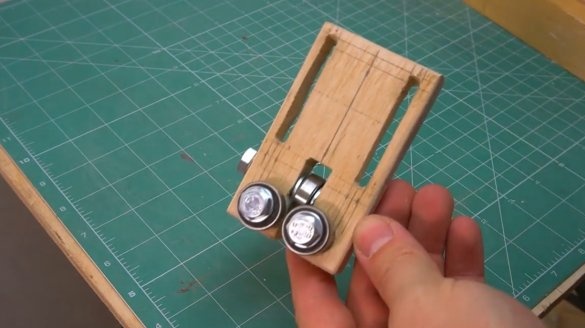
From a rectangular piece of plywood, the master cuts a workpiece for the holder of clamping bearings.
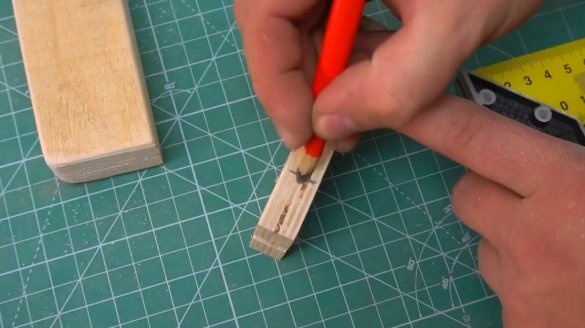
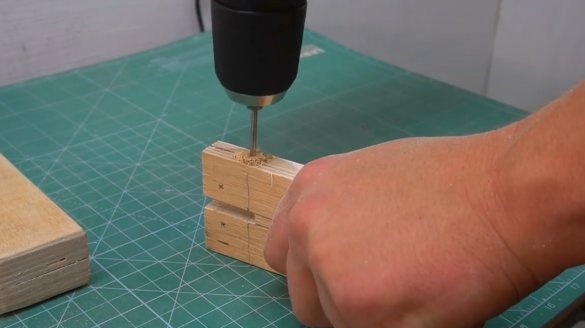
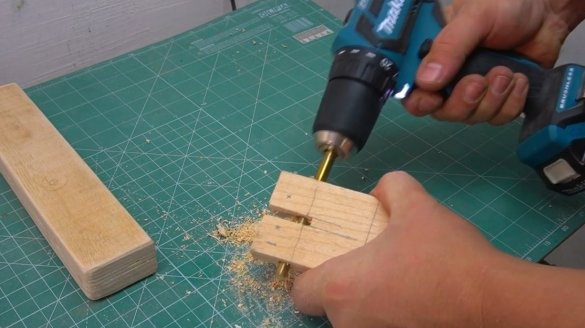
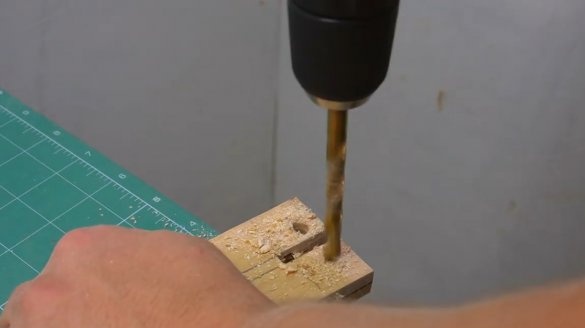
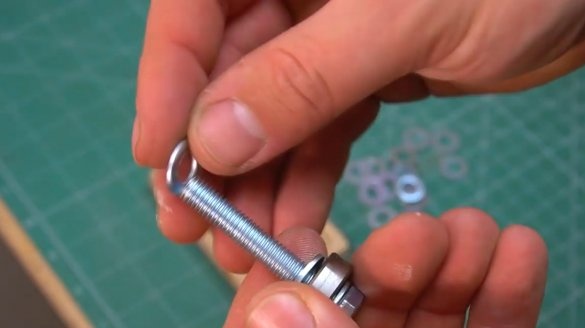
Marks and drills a hole for the central bolt and bearing.
Then holes for the side bolts are made.
In the plate, the master drilled a hole for the jigsaw blade.
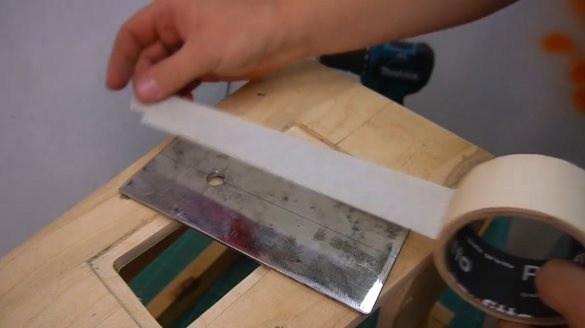
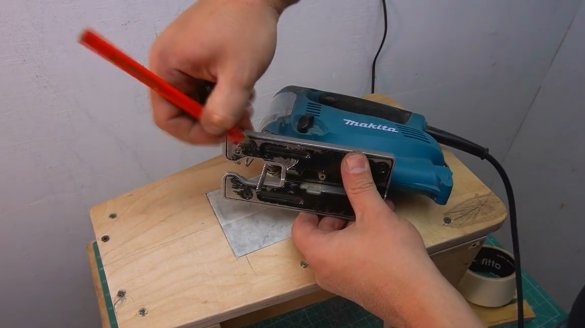
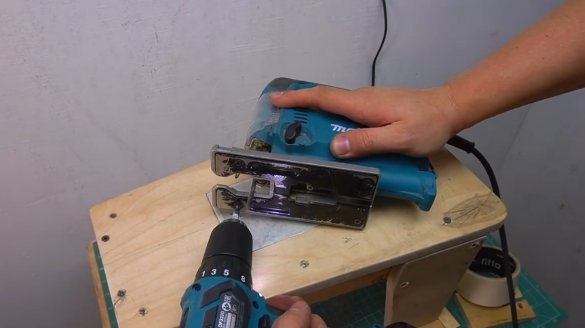
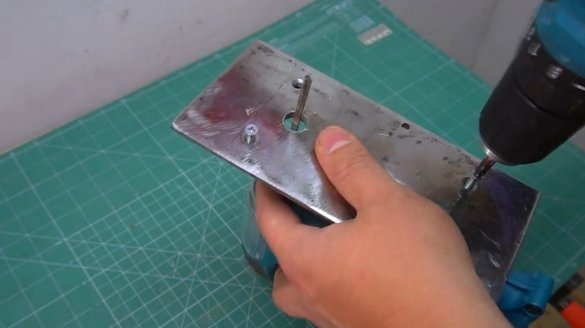
He pasted masking tape on the front surface of the plate. He marked the heads of the jigsaw screws with a pencil, slightly unscrewed them from the sole, and pressed them to the surface of the plate. So he got a fairly accurate markup.
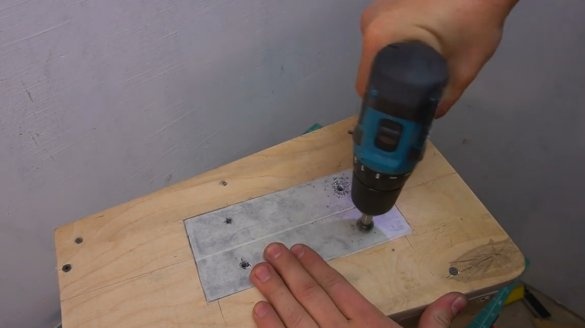
Drills holes in the plate, and countersinks them.
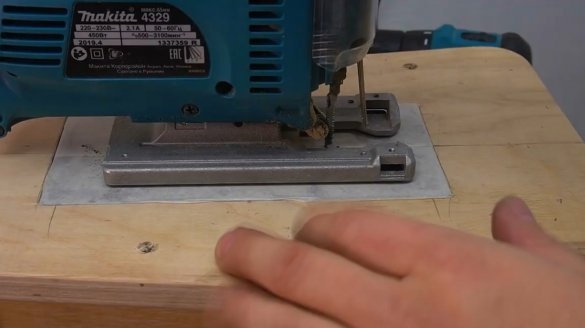
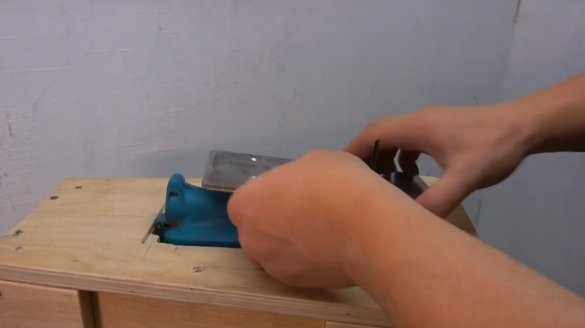
The plate is screwed to the jigsaw, and it is installed in its place.
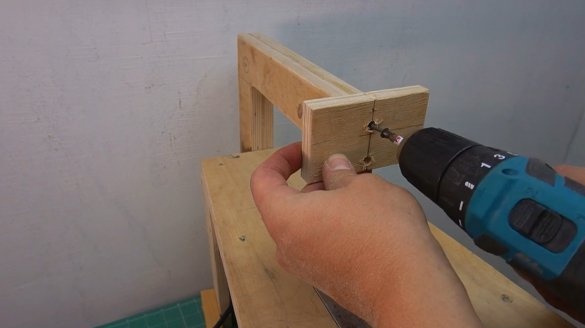
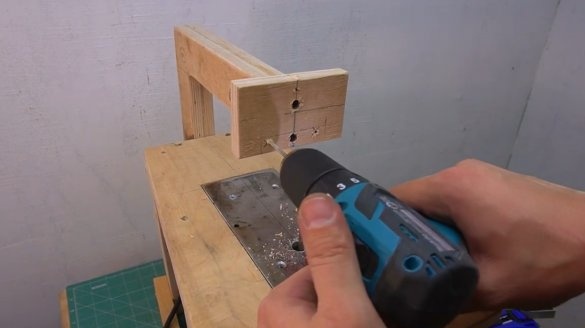
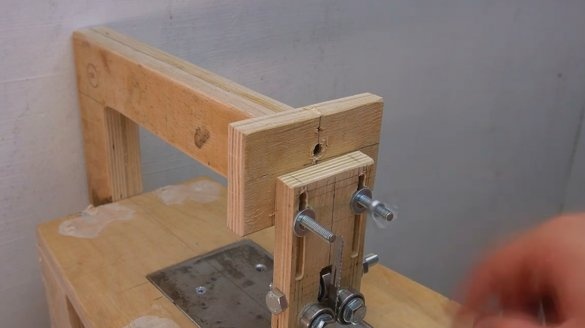
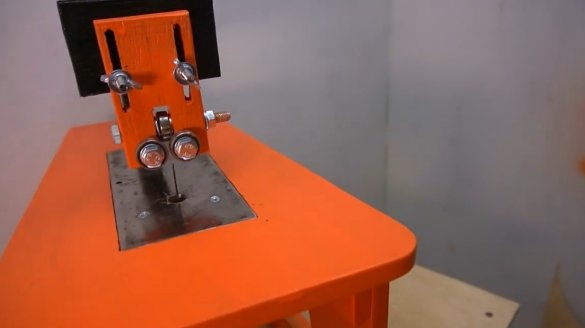
To the rear of the machine, the master bolts the bar. A rectangle of plywood is attached to its front. It drills holes for clamping screws.
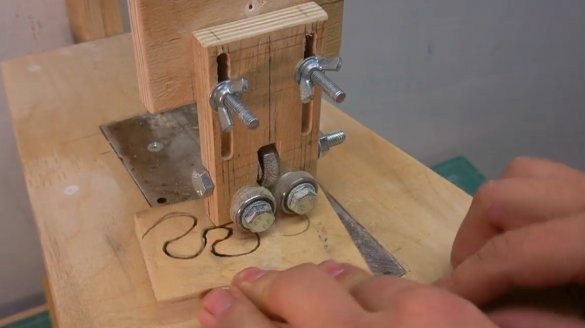
Sets the pressure bearings in place.
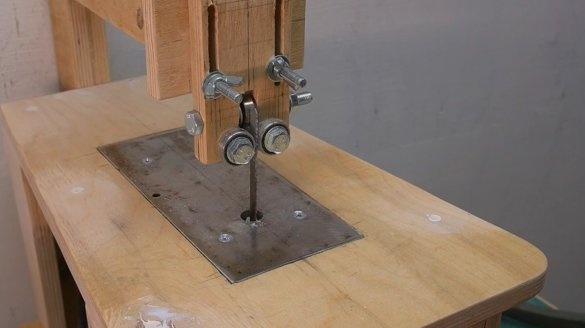
Now the adjustable plate is attached to the rod, and pressed with wing nuts.
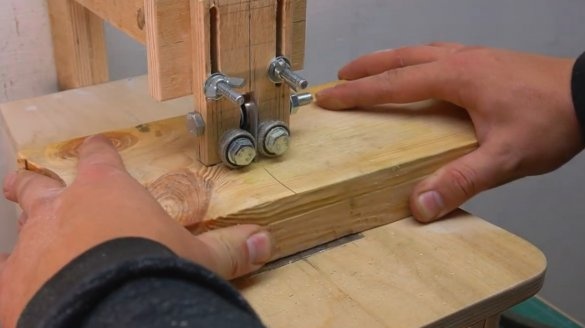
By adjusting the height of the plate according to the thickness of the workpiece, you can begin to work.
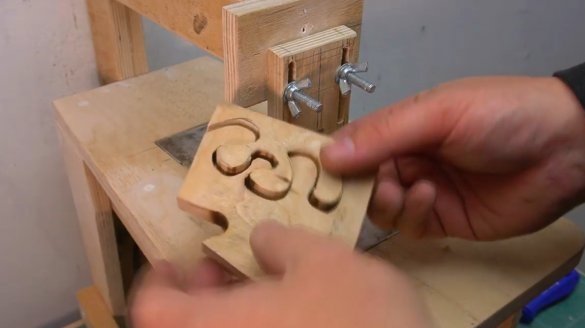
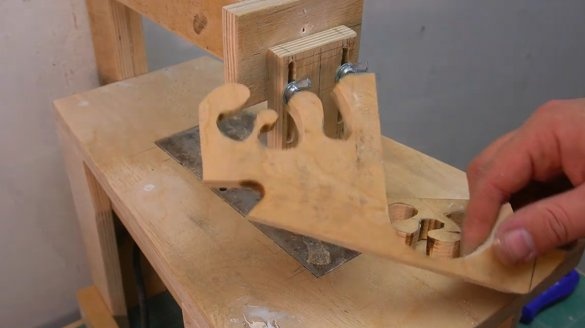
Such a stanochka easily copes even with a very complex curly cut.
It remains only to cover all the wooden surfaces with spray paint. The machine is very easy to disassemble, and the jigsaw does not lose its main purpose.
I thank the author for the simple idea of a saw machine for a small workshop!
All good mood, good luck, and interesting ideas!
Author video can be found here.

