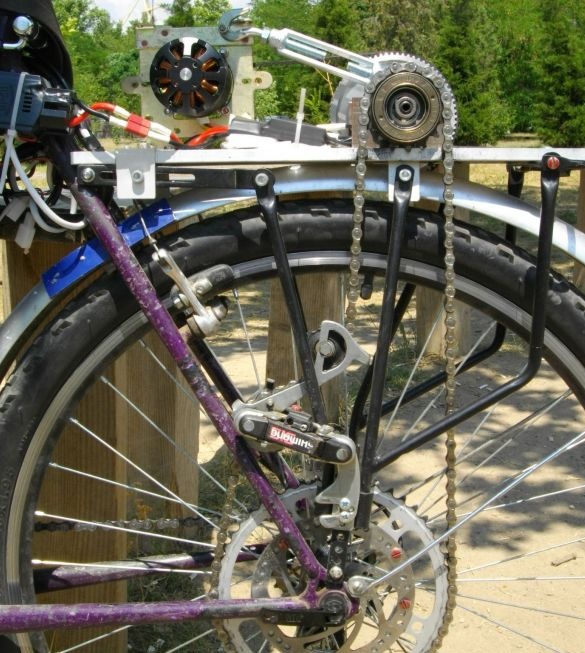
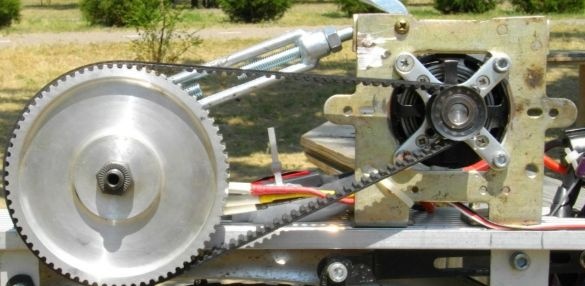
According to the author, the homemade product has fully met its expectations. Since the engine is not used too powerful here, the bike cannot start, it must first be kicked to a speed of 10-15 km / h, which is not so difficult. Well, then an electric motor is included in the action, which supports the movement of the bicycle and pedals no longer need to be twisted. The electric motor accelerates the bike to 34 km / h when driving in a straight line.
Consumes a bicycle when driving on a straight road 100-300 watts. When driving downhill, consumption increases to 600-800 watts, to save money, you can help with your feet.
Peak current consumption of the motor was 1200 watts.
Materials and tools for assembling homemade products:
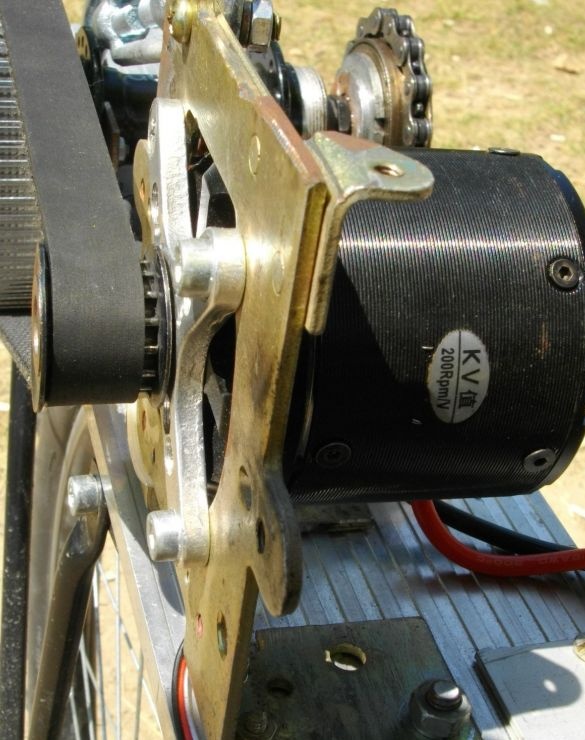
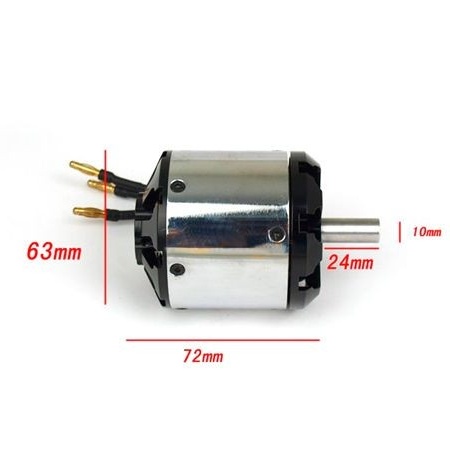
- electric motor type 6354 kv200
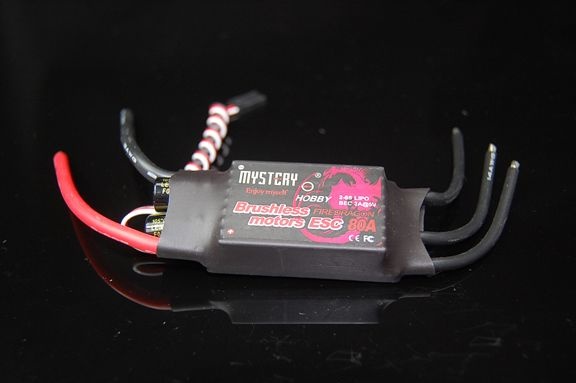
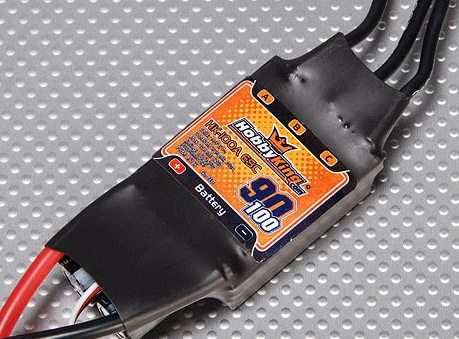
- ESC speed controller
- wattmeter (copy Turnigy 130A);
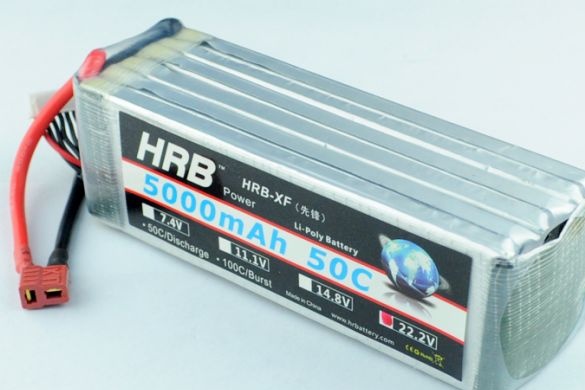
- battery type LiPO 6S 22.2V 5a-h;
- gas handle from a bicycle (controlled by thumb);
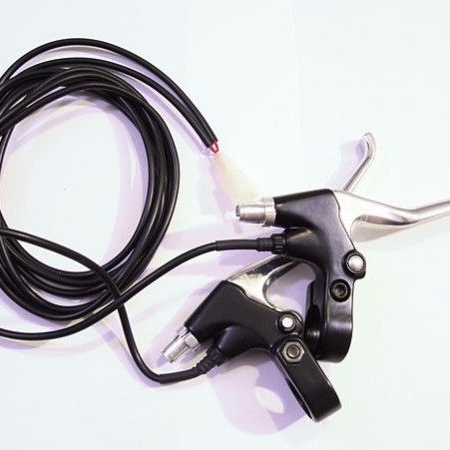
- brake handles (they have a pressure sensor);
- rear trunk (used as a structural element);

- ratchet for 16 teeth;
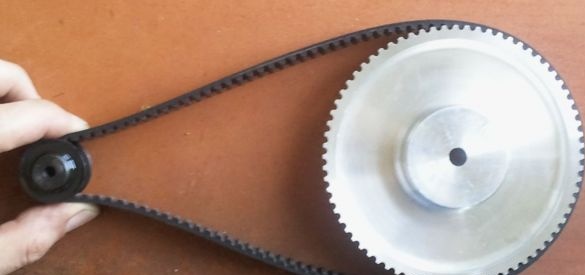
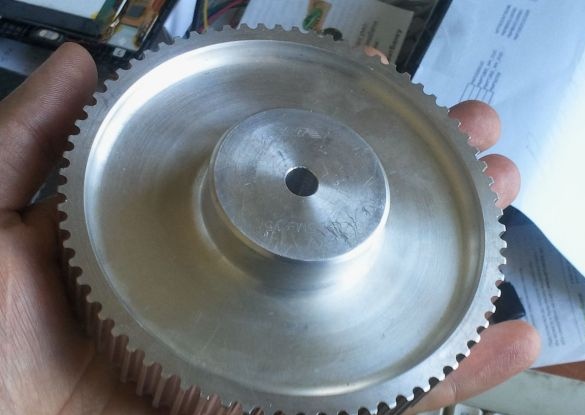
- gears and belt (already finished).
Bicycle Upgrade Process:
Step one. Sprocket setting
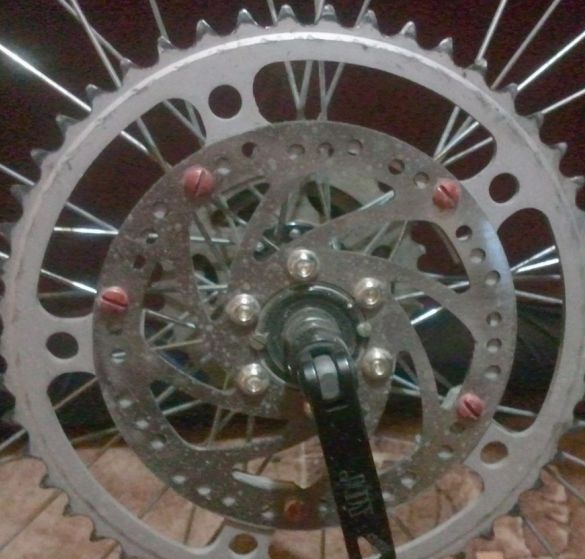
In most cases, the sprocket is attached to the spokes, but the author decided to abandon this design. As a result, the sprocket was bolted to the brake disc. Still on the disc, you can see six screws in a circle and two closer to the center of the brake disc. These screws lock the thread so that the drive does not loosen when driving.
Step Two Set ratchet
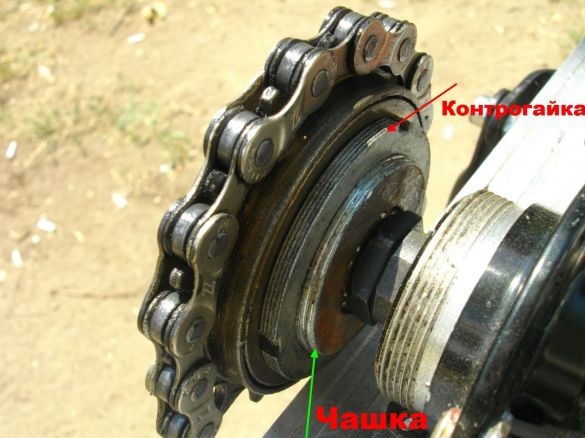
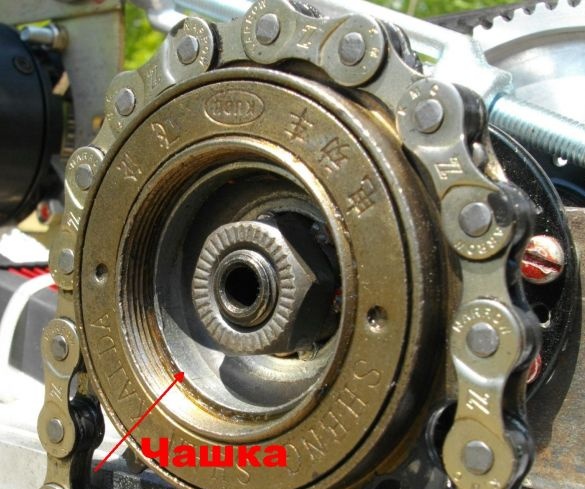
The ratchet is mounted on the cup from the carriage, a ring from the native cup is used to fix it.
Step Three Rear hub
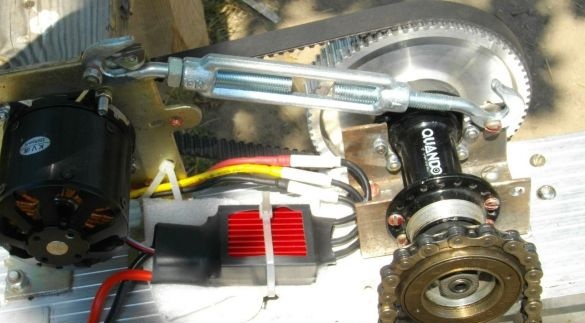
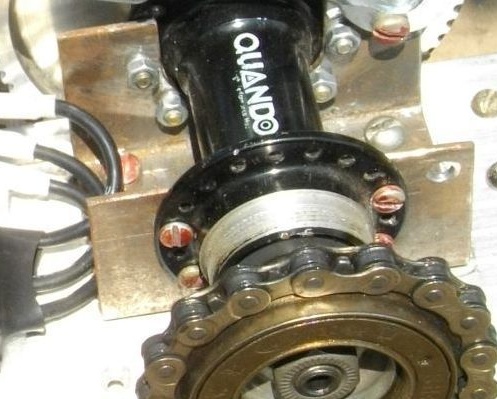
The rear hub acts as an intermediate shaft. It is installed in a piece of a U-shaped pipe.
Step Four Installation of a large gear wheel
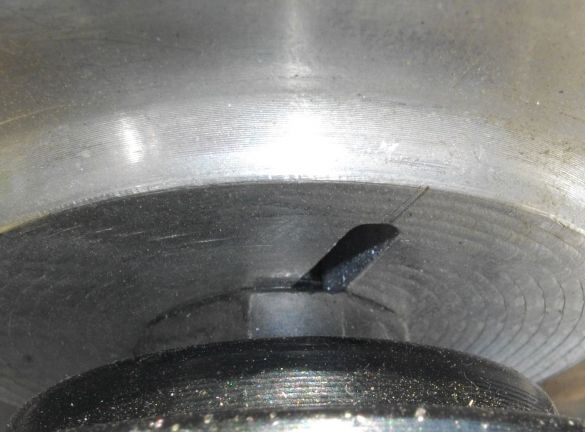
A pin is used to fix the gear. Otherwise, the sleeve will clamp itself with cones. There is a groove in the gear wheel, and the pin is inserted into the hole that is in the shaft. As a result, the pin rests in the groove of the wheel.
Step Five Small gear
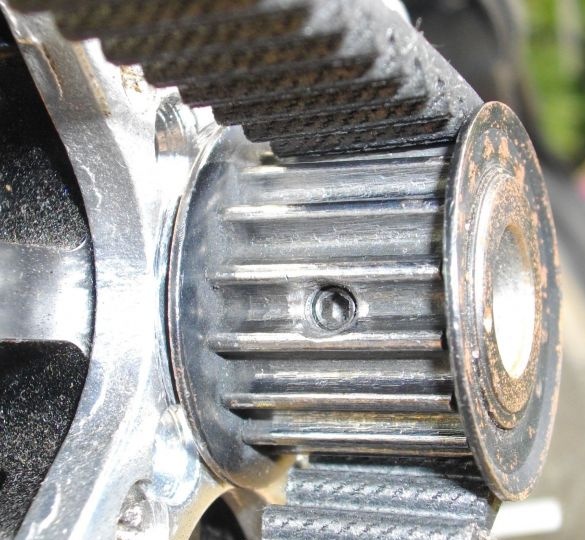
To fix a small gear wheel, two gujons are used.
Step Six Engine installation
To mount the engine, a standard crosspiece to the L-shaped structure, which was found by the author in the bins, is used.
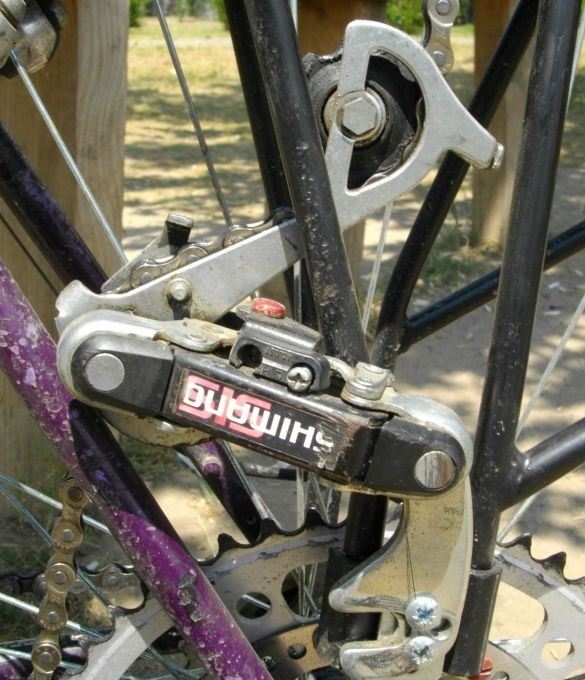
Seventh step. We fasten the chain tensioner
The chain tensioner is attached to the side of the trunk. Everything is mounted on a structured plate made of a thick sheet of aluminum.
General view of the bike
Step Eight. Homemade electrical circuit
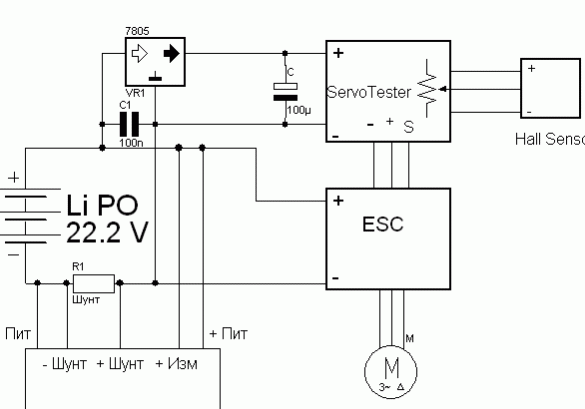
How the circuit works, you can see in the picture. It was slightly modified in comparison with the original. So, for example, a variable resistor was removed in the servo tester, a hall sensor from the gas control knob was put in its place. In the button circuit, the author installed a back-up resistor of 1 kOhm, without spontaneously switching modes, probably due to interference.
Another nuance of the electrical part is that the author carried the plus power and measuring plus. Also in the future it makes sense to put an isolated 5V to 9V converter, due to the fact that there are underestimated power readings.
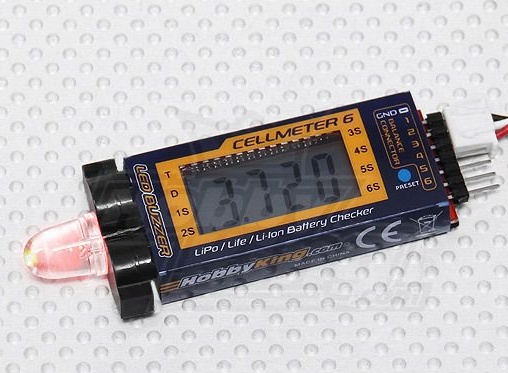
As for the battery, it works without BMS. To prevent overdischarge, the author used a battery monitor, which was set to 3.3 V. When the voltage becomes too low, the device starts to make a sound.
The battery is charged with the IMAX B6 clone, the Li-Io mode with balancing is used.
Conclusions and ideas for finalizing the bike
First of all, the author plans to install a larger engine on the bike so that you can ride longer. In addition, the idea of energy recovery is considered. That is, instead of braking the brakes, you can brake the engine and at the same time charge the batteries, thereby replenishing the energy expended. But how to implement this, the question is rather complicated. After all, if you remove the ratchet, then the bike will be quite uncomfortable to ride with the pedals. In addition, you will need to refine electronic part, add new nodes, and this also requires thinking.
Another disadvantage of the recovery is that too much current is generated to charge the battery, this will lead to its rapid failure. In this regard, an additional circuit for charging will be needed.
On this assembly of the electric bike can be considered complete so far. In any case, homemade work is worth the cost, since it will save a lot when compared with buying a new electric bike.

