

Greetings to all lovers of crafting something from nothing. Several times, during the manufacturing of another crafts the question arose of the need to have a grinder in your arsenal. The thing is certainly convenient, but since there is no need for the constant use of this device, we decided to make something similar from those spare parts that were in the workshop.
Tools needed and fixtures.
1. Welding inverter.
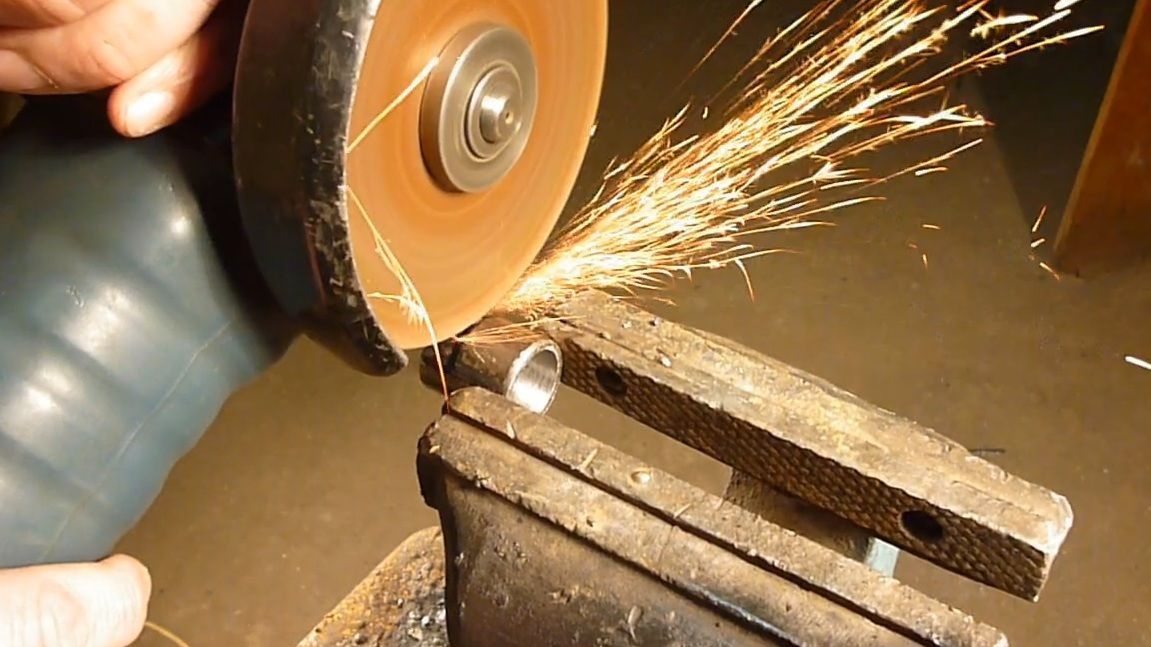
2. Angle grinder.
3. A drill on a rack.
4. Drills.
5. Tap.
6. Vise.
7. Wrenches.
8. The hammer.
9. Screwdrivers.
Donors and consumables.
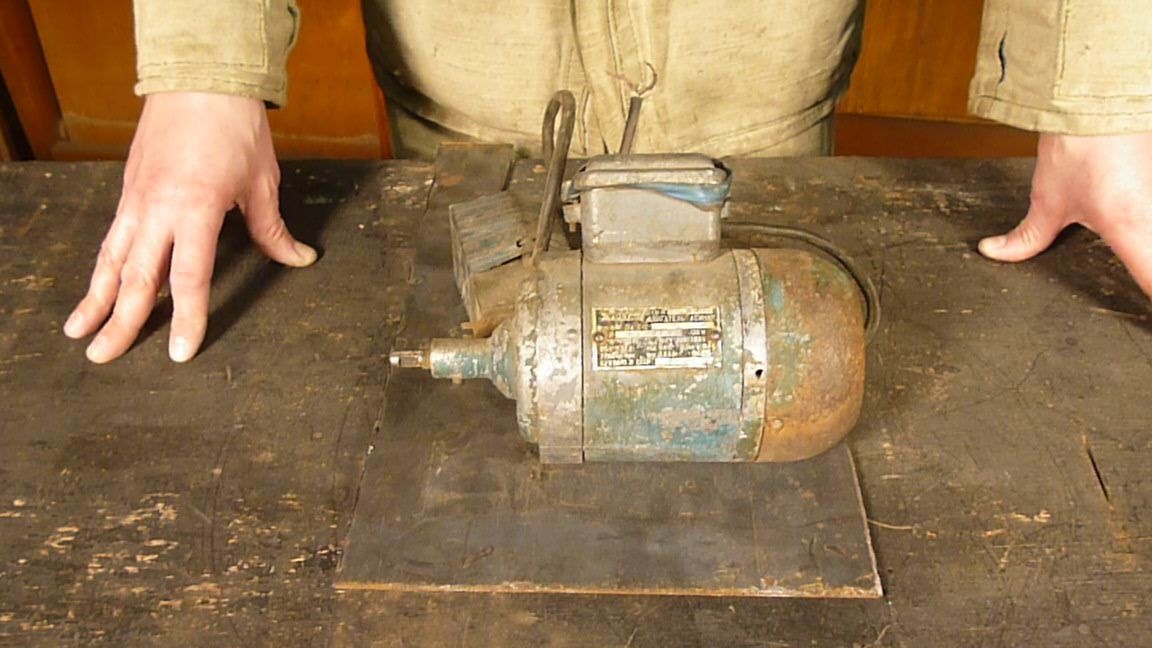
1. The electric motor.
2. The sole of a broken belt sander.
3. Broken roller skates.
4. Sheet metal 5 mm thick.
5. Sheet metal 1 mm thick.
6. Corners with shelves 40 by 40 and 50 by 50 mm.
7. Water pipe with a diameter of 20 and 25 mm.
8. A metal square rod of 10 by 10 mm.
9. Textolite with a thickness of 10 mm.
10. Bolts and nuts.
11. Welding electrodes.
12. Cutting and grinding wheels for angle grinders.
13. Metal square tube 10 by 10 mm.
14. Sandpaper.
15. A metal strip 3 mm thick.
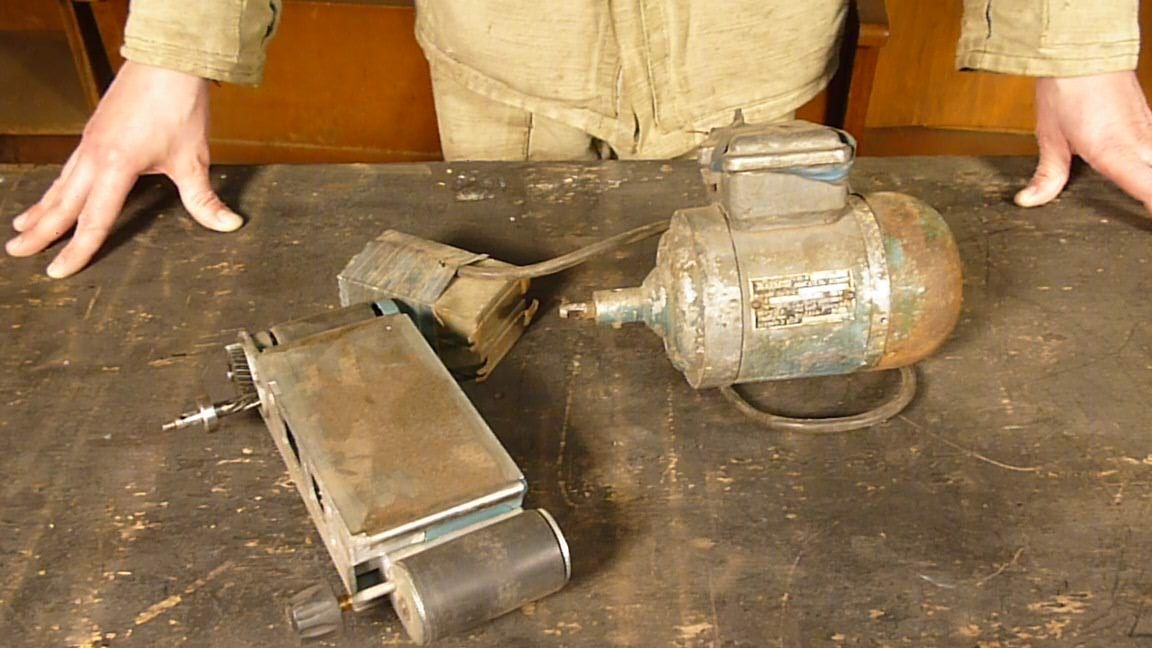
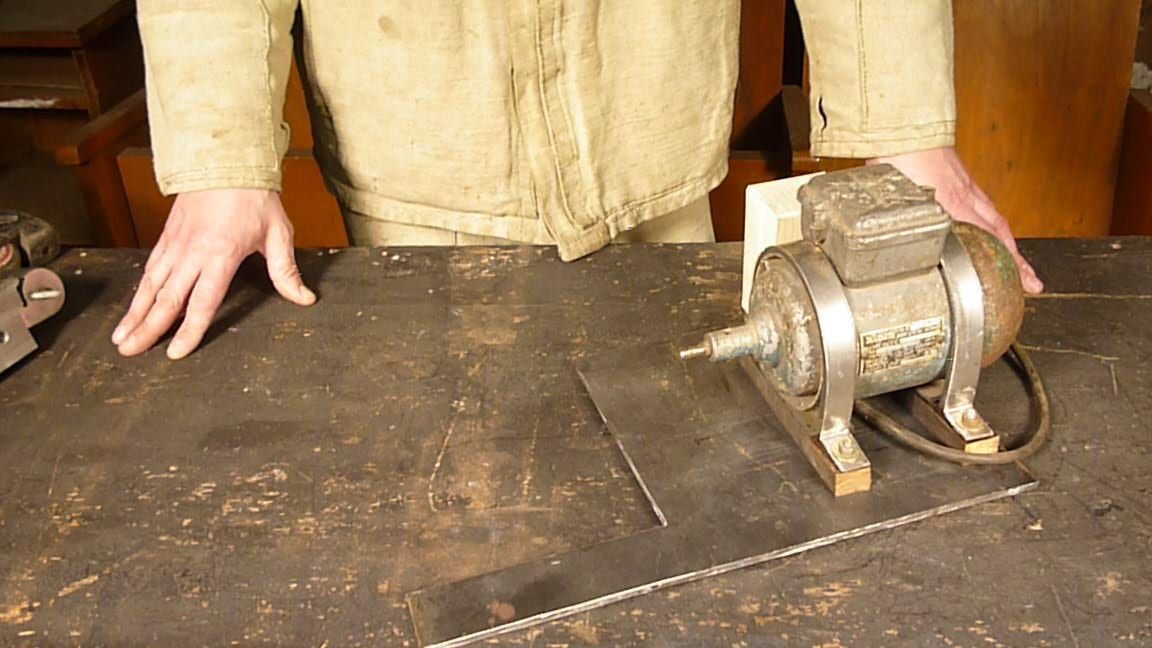
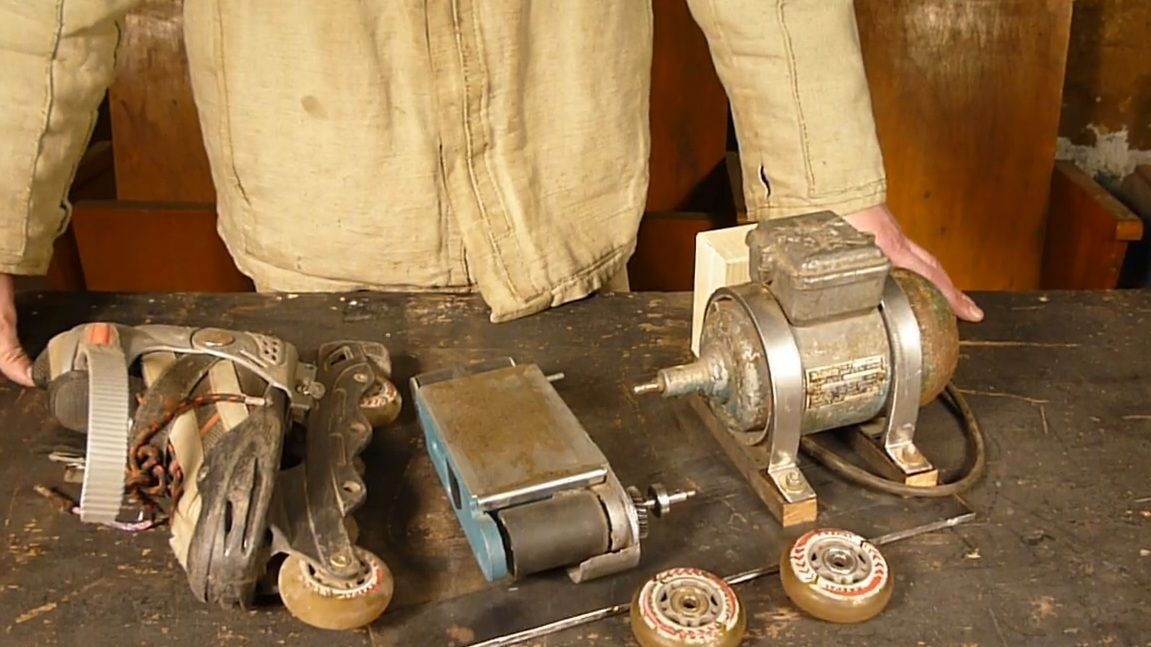
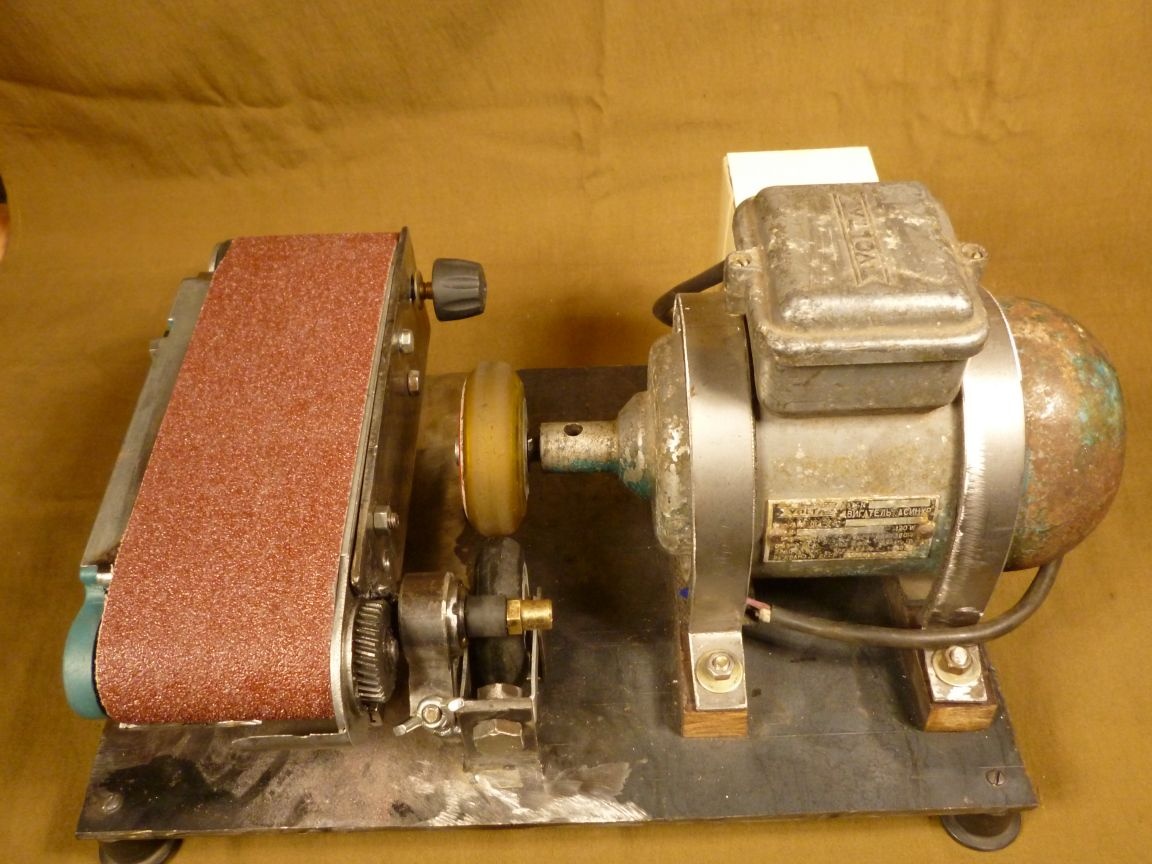
Having rummaged in the bins of the workshop, we found an old, but working electric motor of the Soviet era and the sole from the belt grinder. The thought came to connect them together.
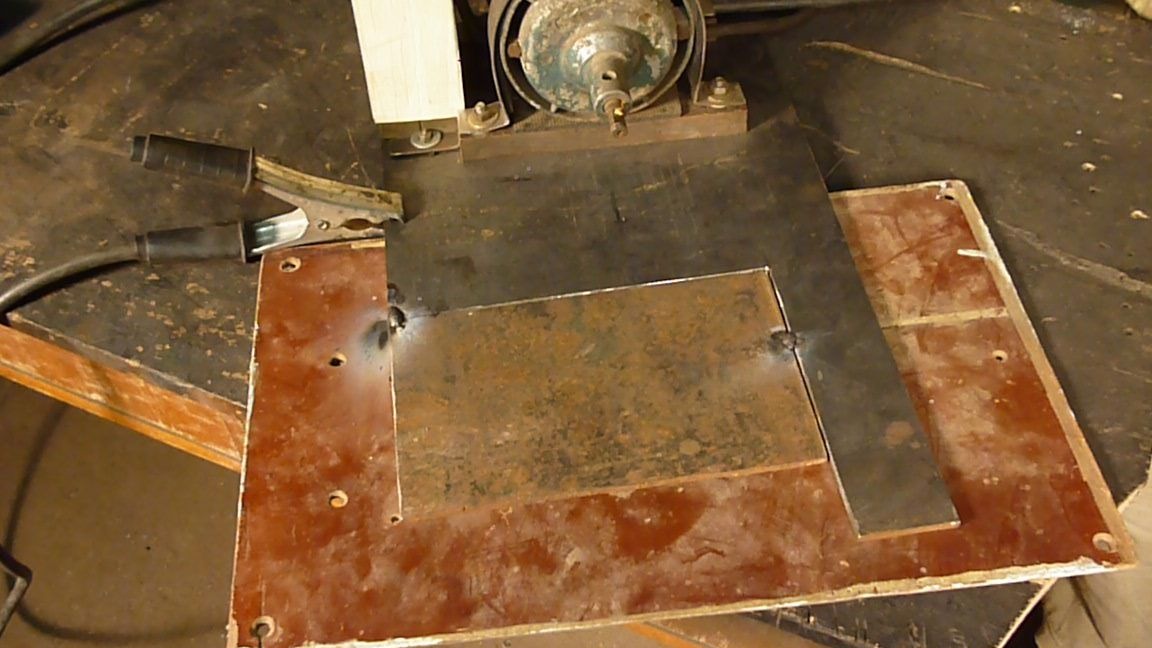
To begin with, we will make a bed and fix the engine on it.
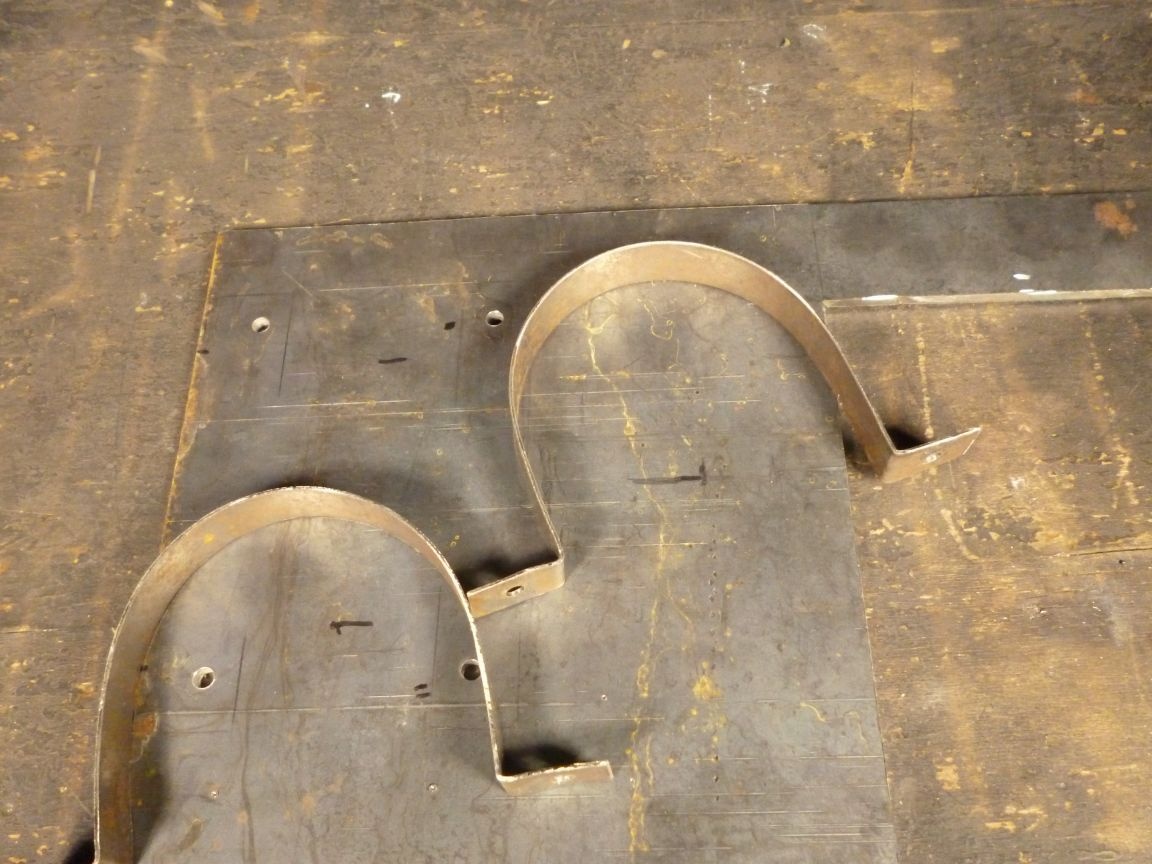
The bed will be a sheet of metal 5 mm thick. For fastening, two clamps were made of 1 mm metal.
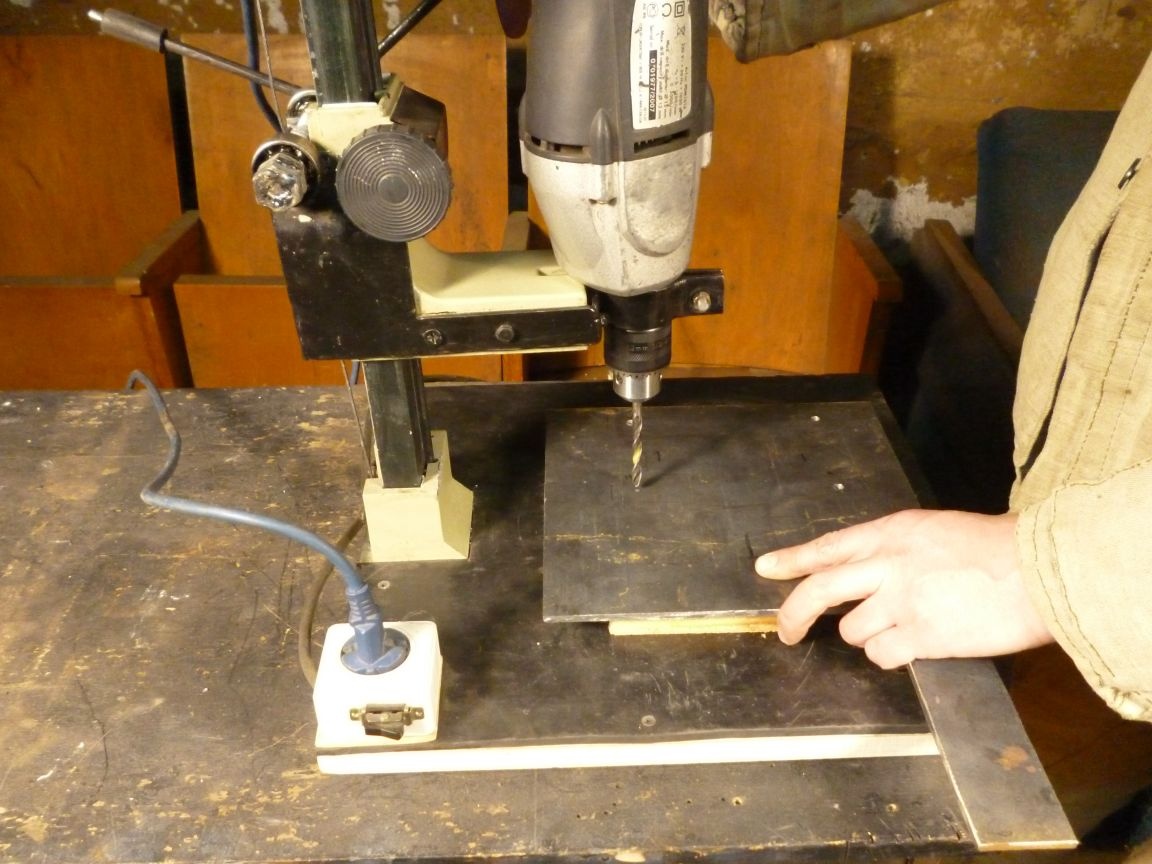
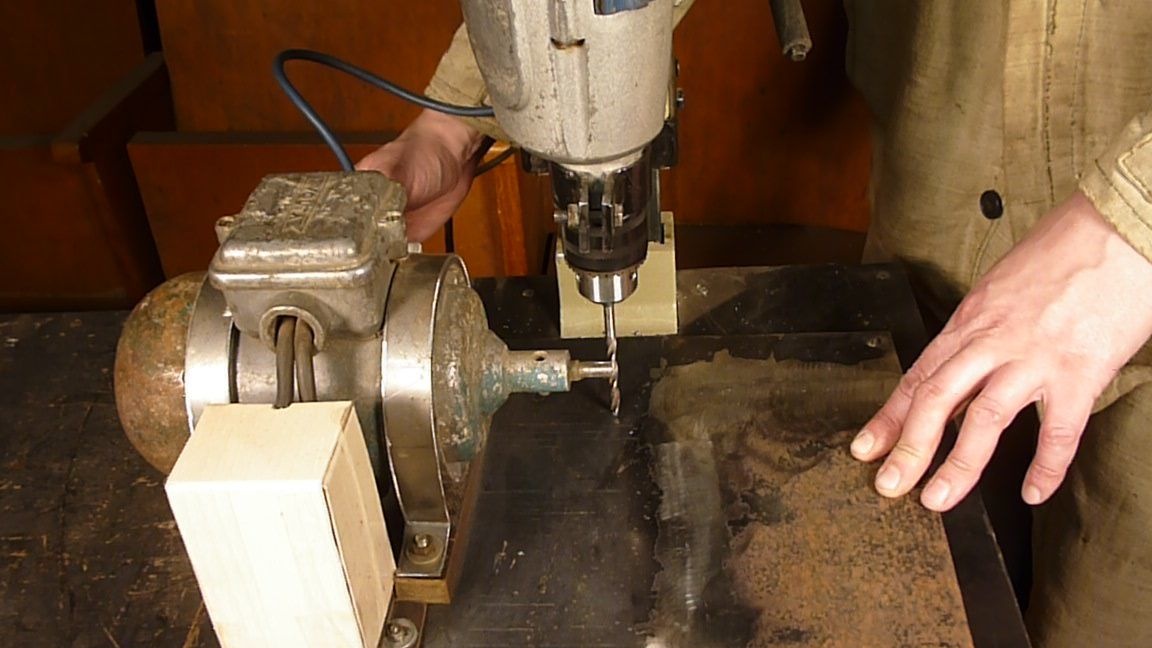
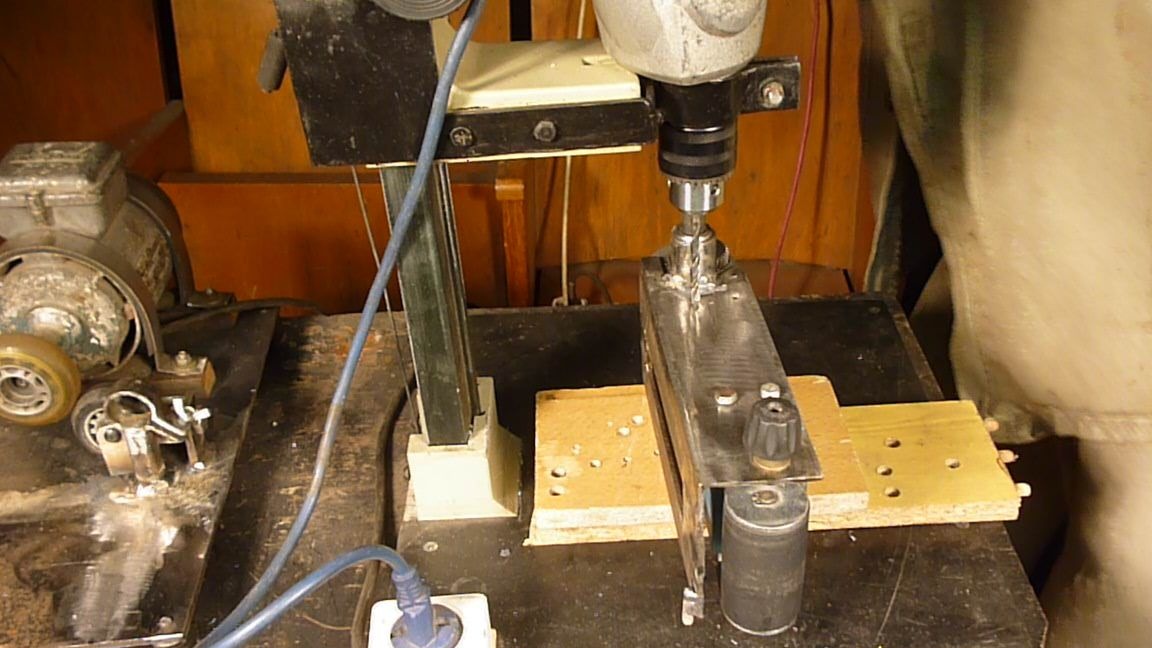
In the bed, holes were drilled for these clamps.
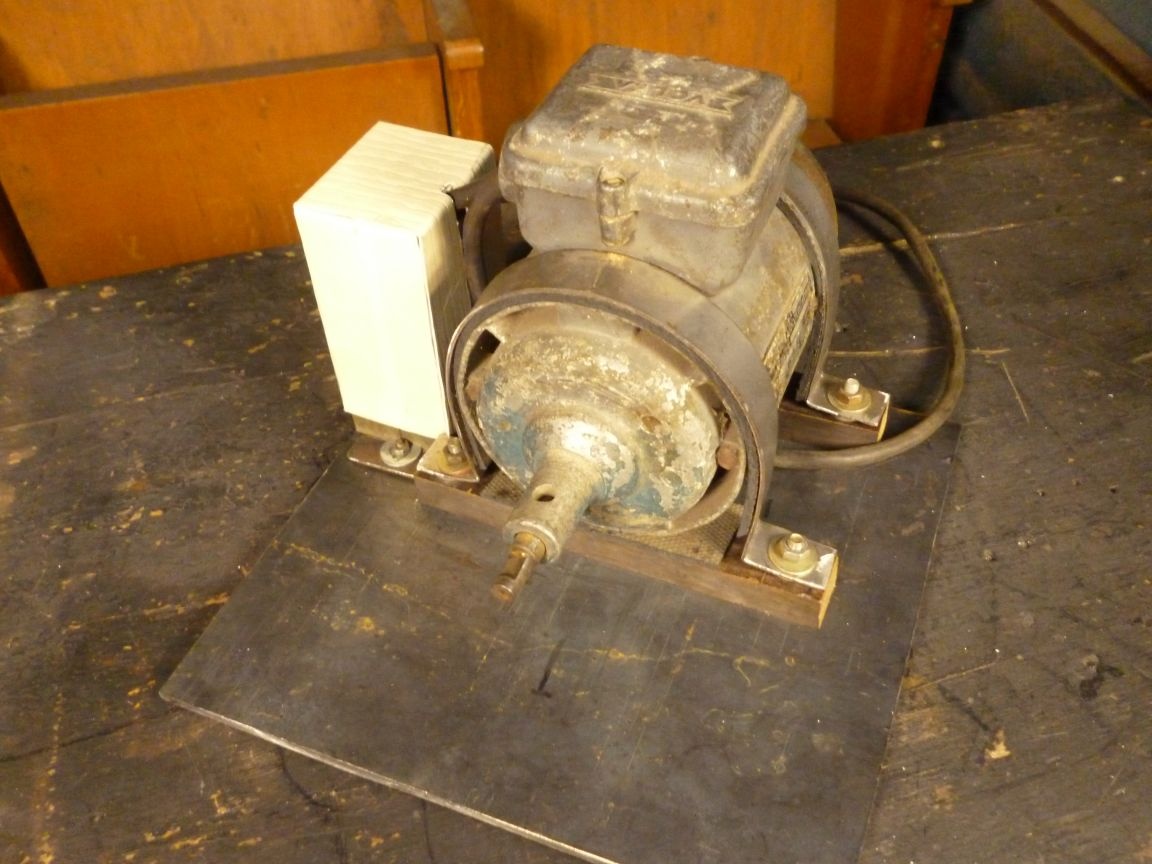
They pulled the engine with clamps to the bed. In order to reduce noise and vibration, we used gaskets made of PCB and thick rubber.
Now you need to attach the sole from the grinder to the engine. Unfortunately, no belt or gears remained from the grinder. Having rummaged still in a workshop found the broken roller skates. We will combine.
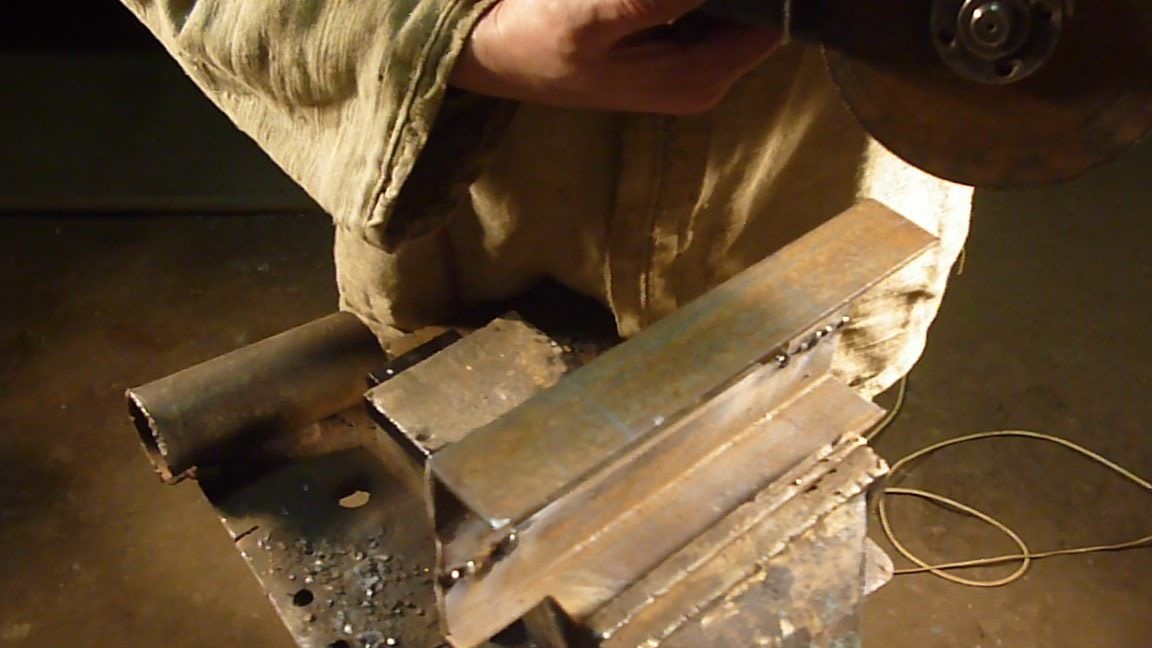
We make a metal casing for attaching the sole. We used a corner with a 50 mm shelf. Two pieces were welded through small inserts from the strip.
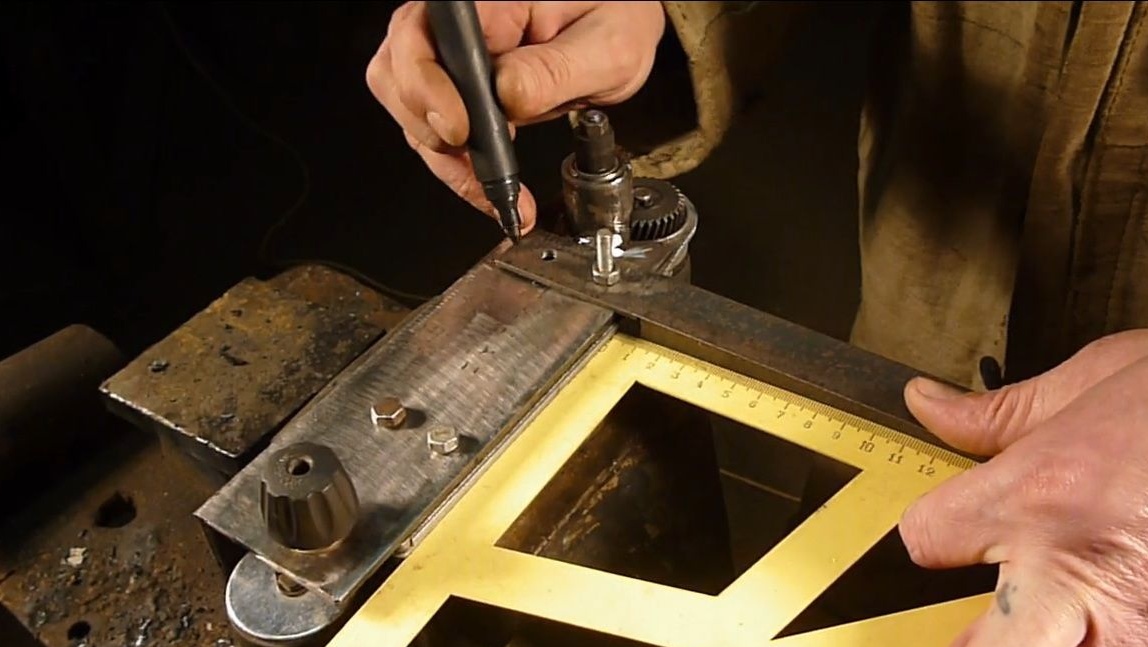
One shelf of the corner must be cut off so that the tape can be refilled. In another shelf we make a cutout for gears.
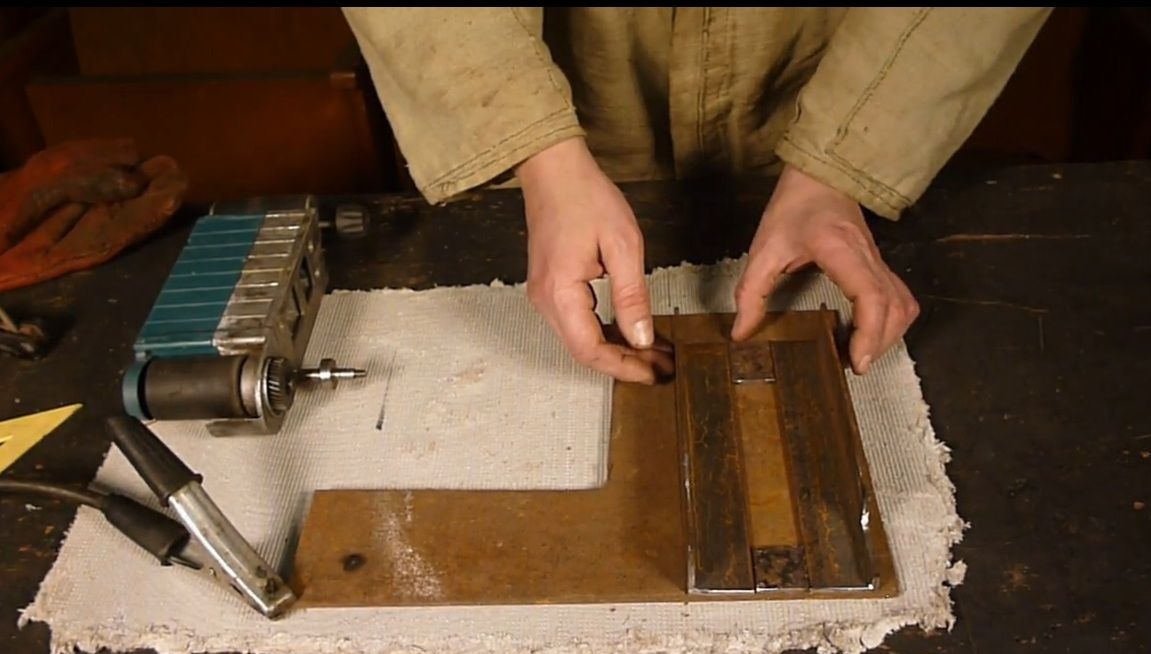
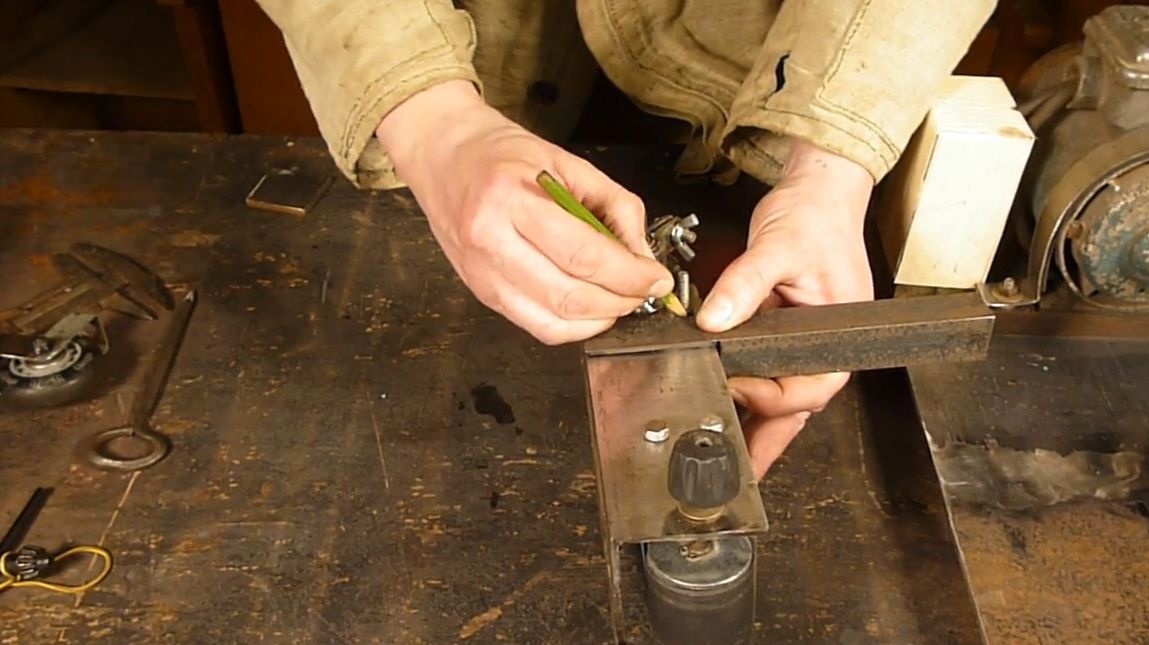
We mark and drill holes in the corner shelf for the already existing holes in the sole of the grinder. These holes are deaf, so they must be drilled through. After that we attract the sole to the casing with long bolts.

We make the node for attaching the sole to the bed.
We cut 3 cm from the water pipe and make a cutout for the gear.
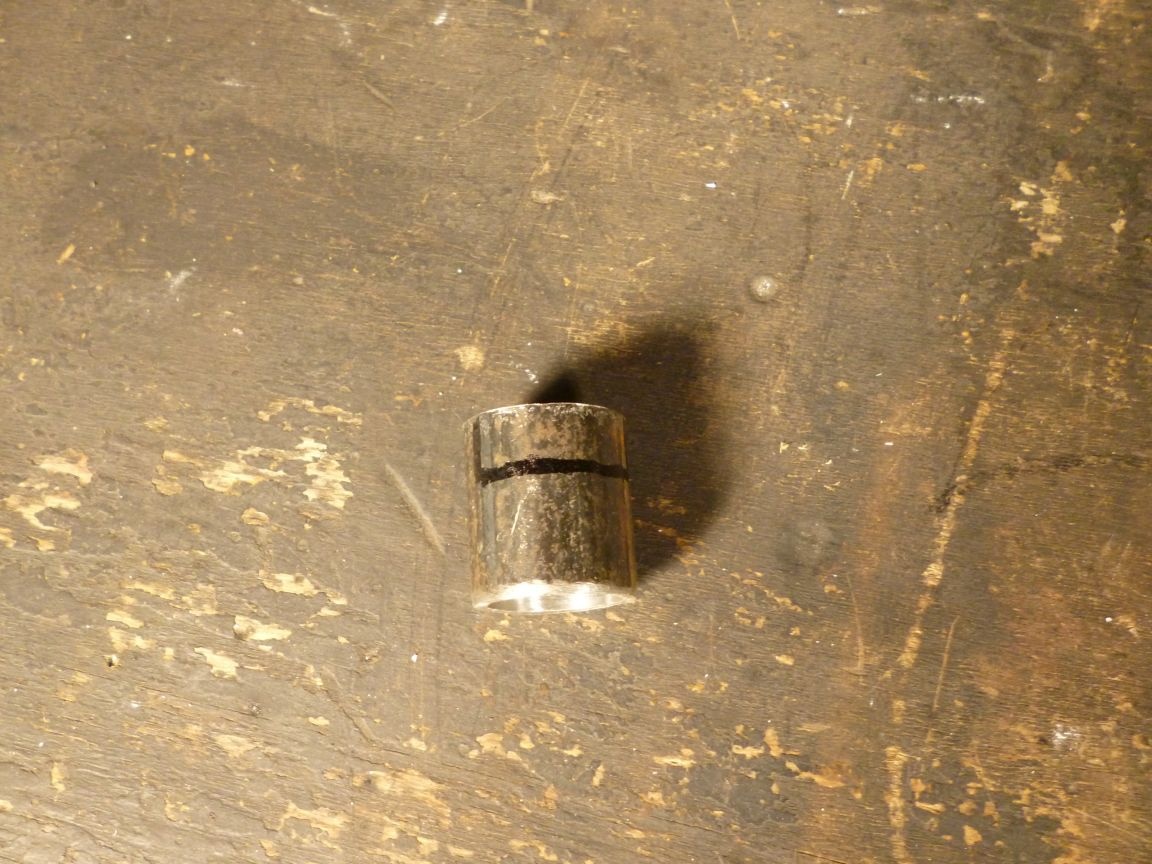
We customize the inner diameter of the pipe with sandpaper to the diameter of the bearing on the shaft.

We put the resulting part on the bearing and weld to the housing.

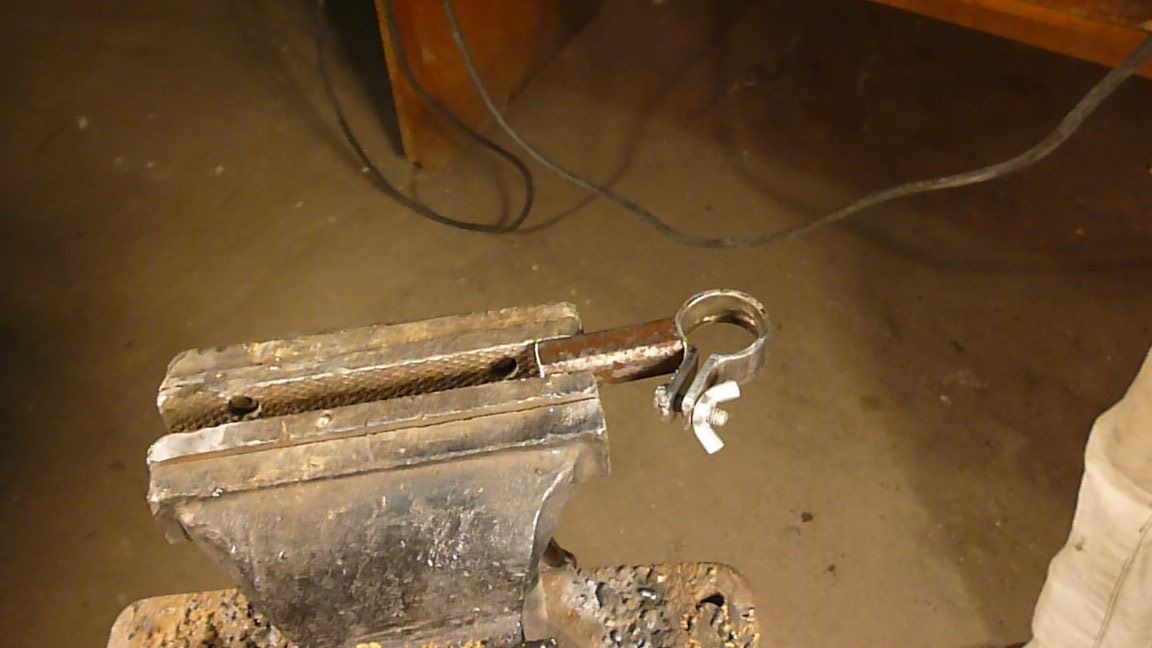
To attach this entire structure to the bed, we make a clamp on the rack. To a cut length of a water pipe with a diameter of 25 mm. weld the ears drilled under the bolt.
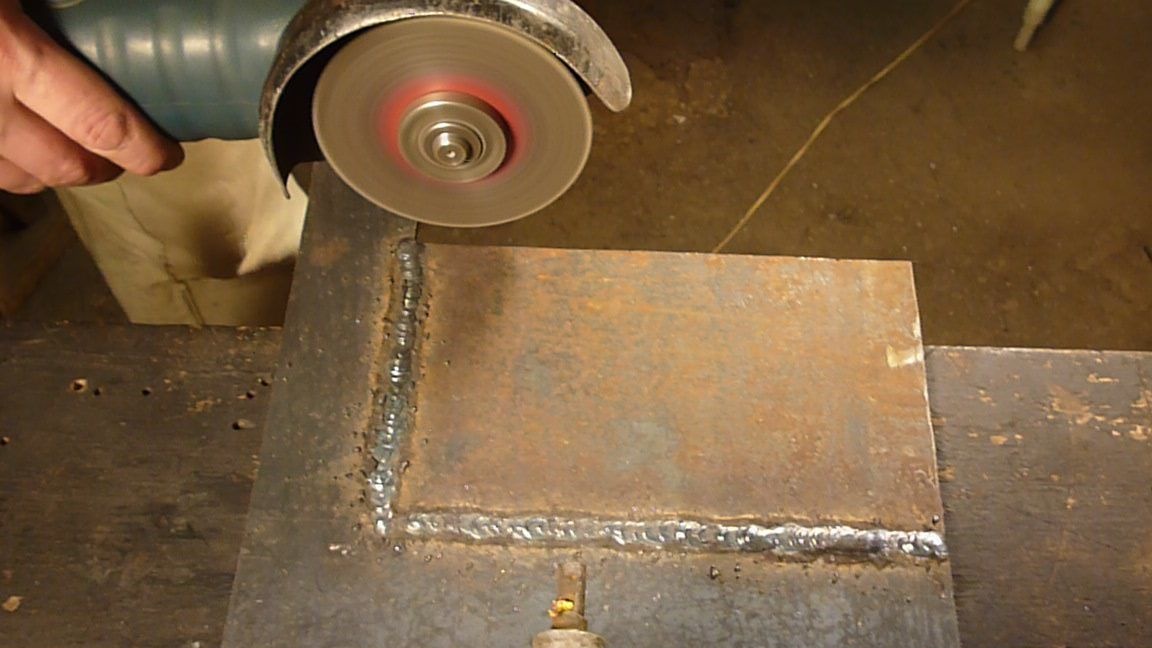
There was a cutout in the sheet of metal that we used on the bed. At first they thought that it would not hurt, but had to brew.
After welding, trim and clean the weld. They also installed legs, from which it is not known.

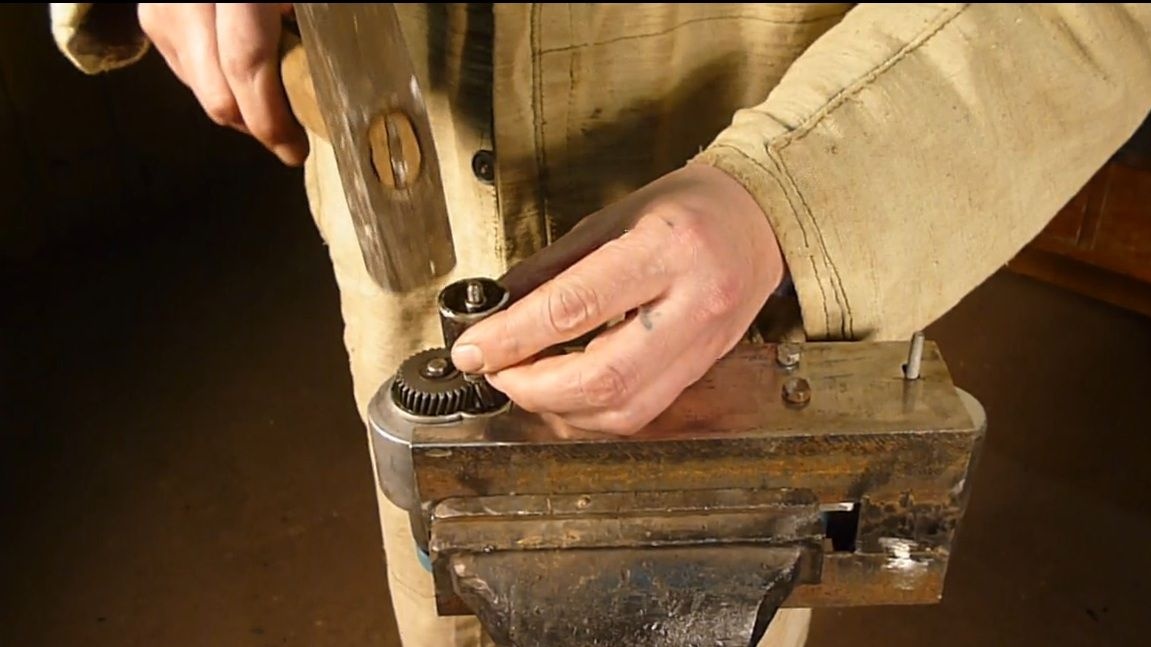
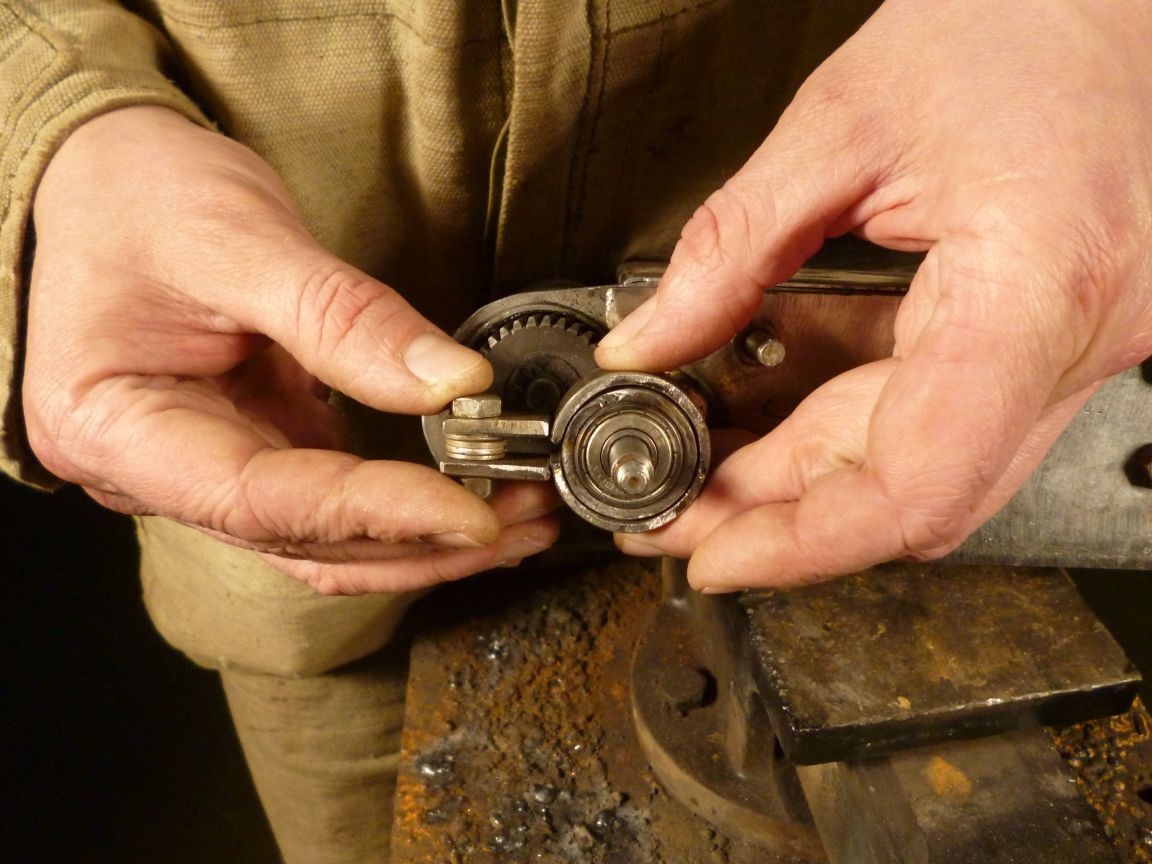
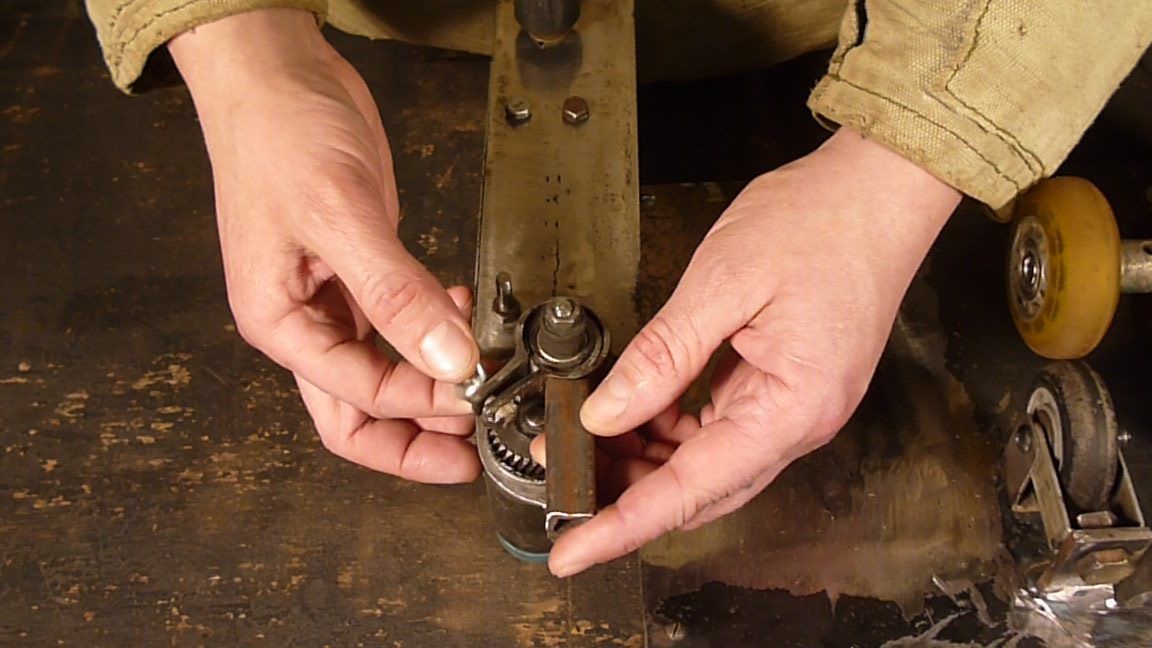
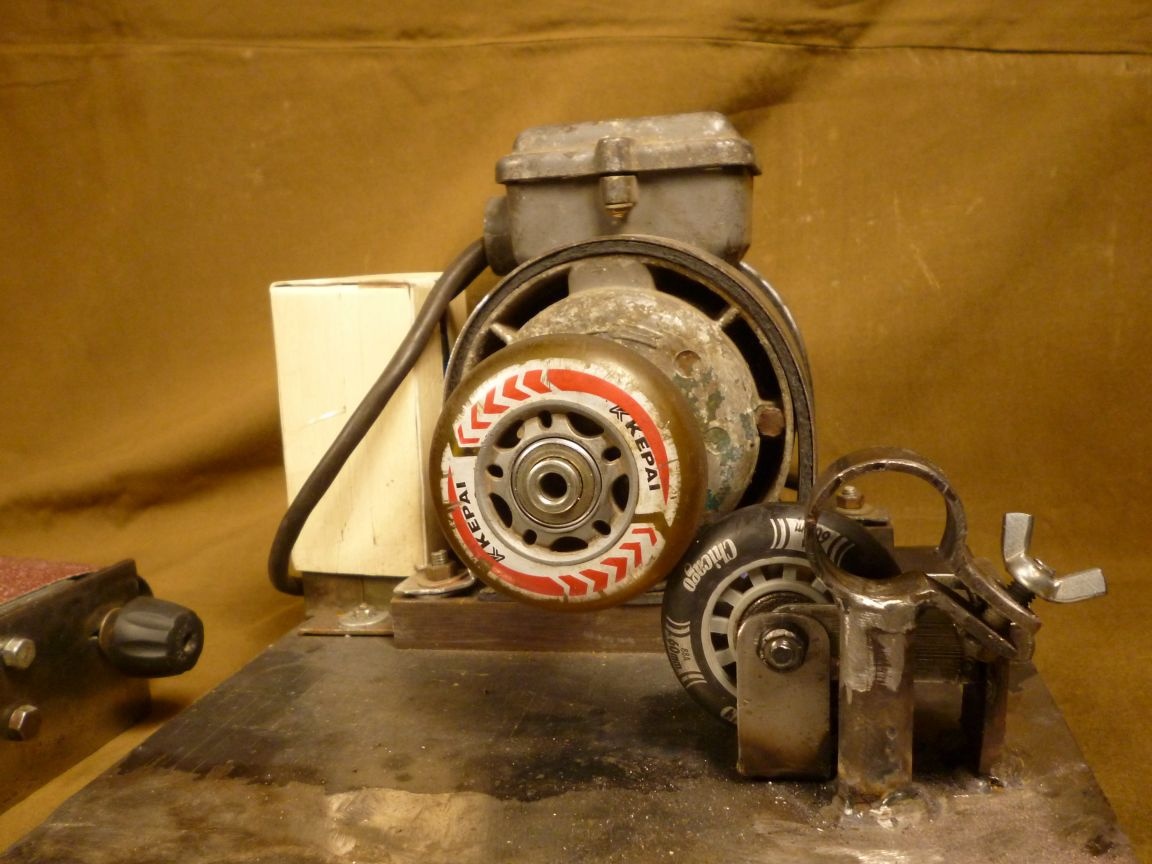
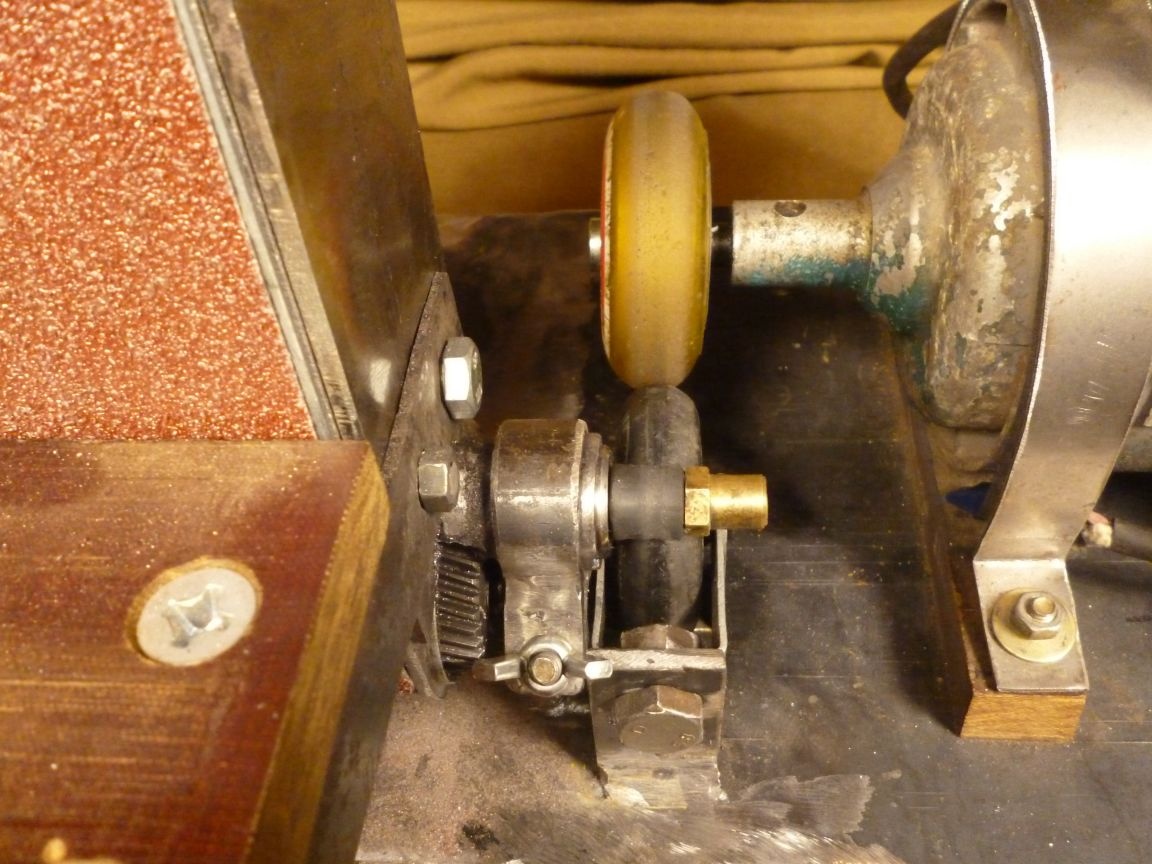
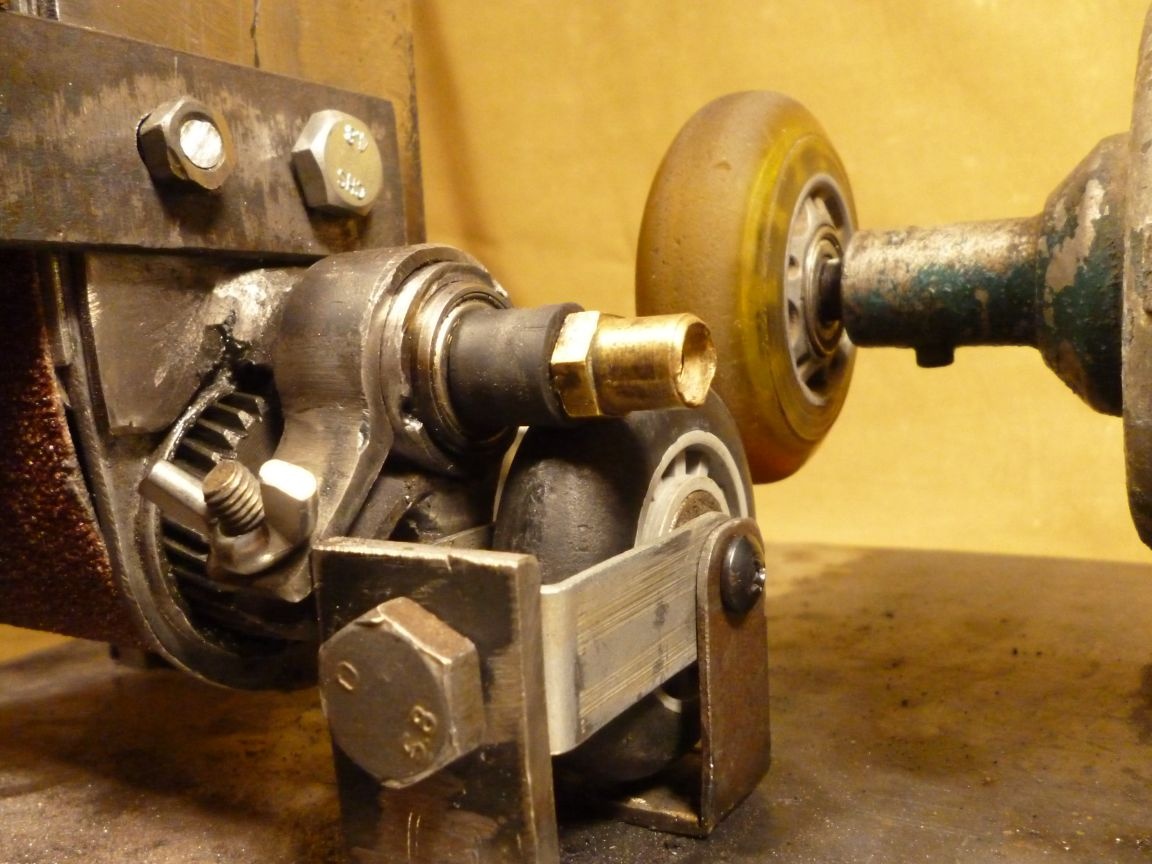
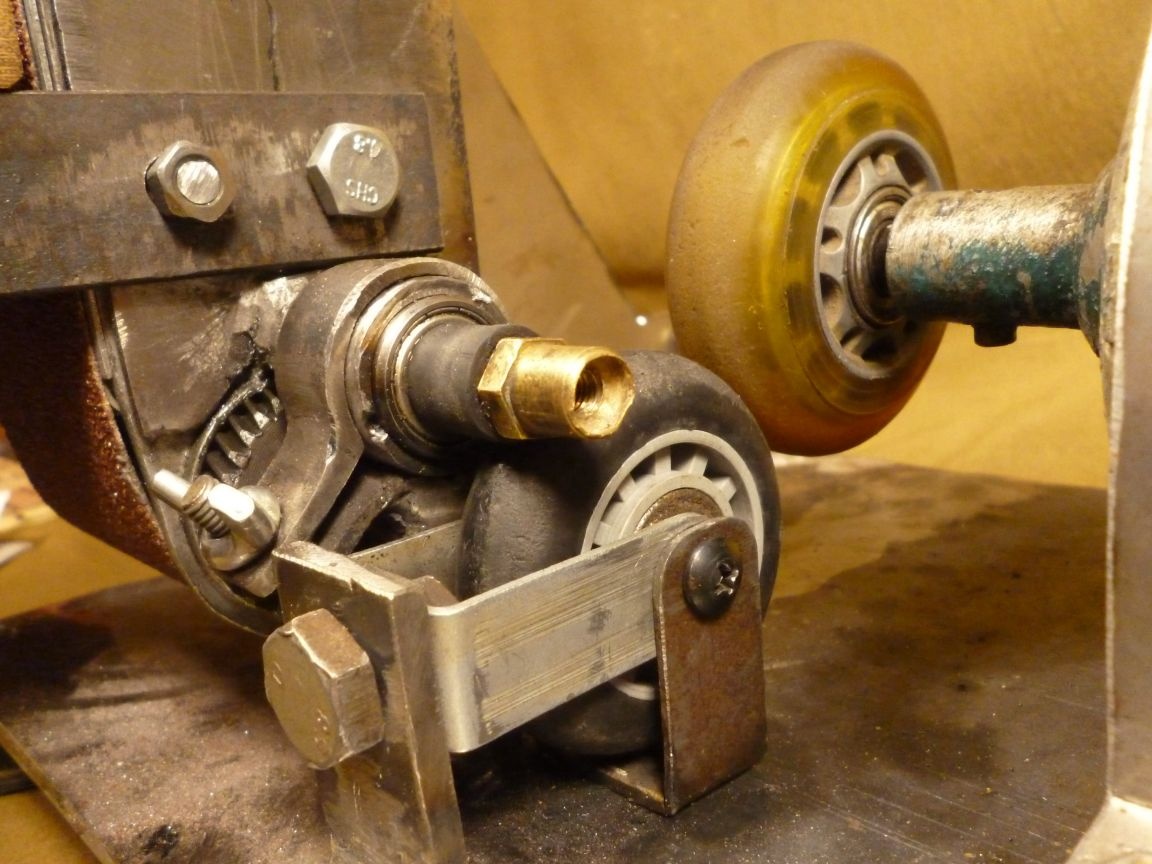
It's time for skates. We jam one roller on the motor shaft, for the other we mount in the form of two letters P, fastened together by the axis of the roller. In one of the parts we drill a hole for the bolt.
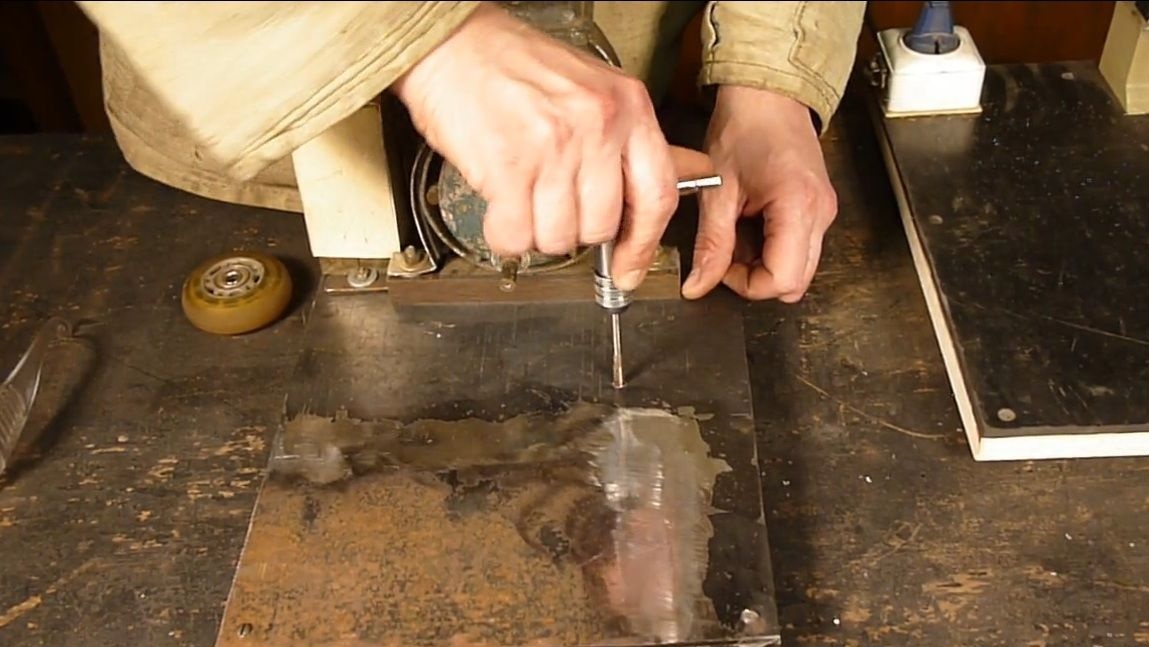
Mark the location of the roller and drill a hole in the bed.

We cut the thread in the drilled hole.

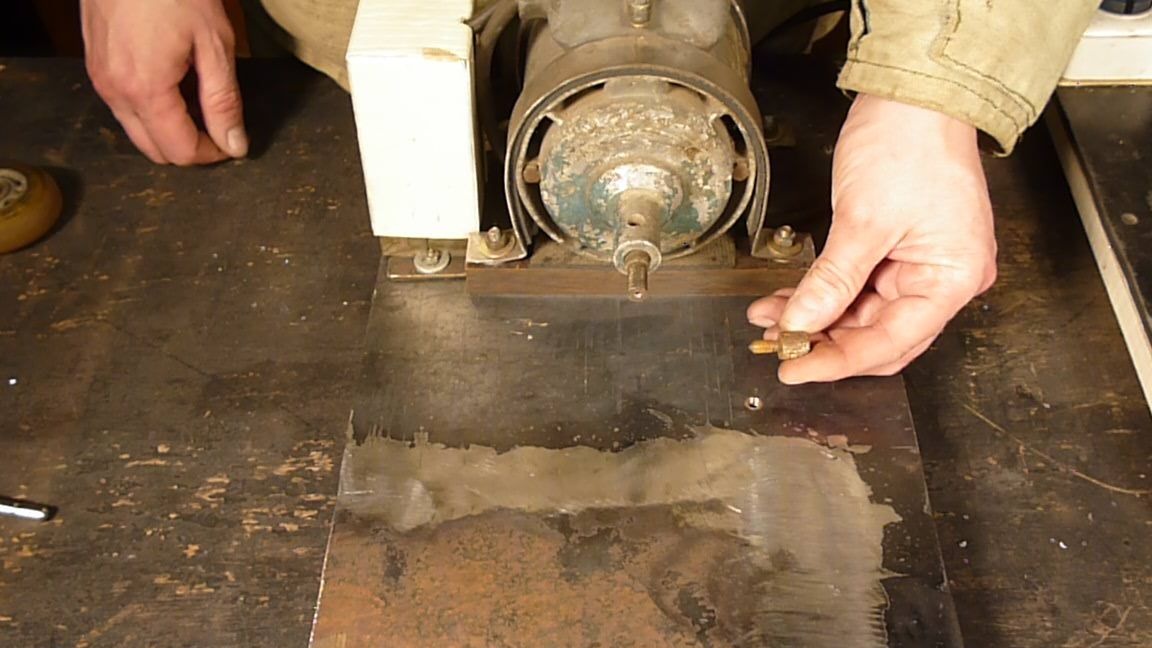
We screw a bolt into the bed from below. With this bolt we will regulate the force of the pressure of the rollers to each other.

We fix the construction with the roller to the bed. To do this, weld the stand with a hole for the bolt. With this bolt, it will be possible to further adjust the roller horizontally, adding washers if necessary.

Now we calculate the height of the rack, cut it from a square pipe, fit it under the clamp and weld.
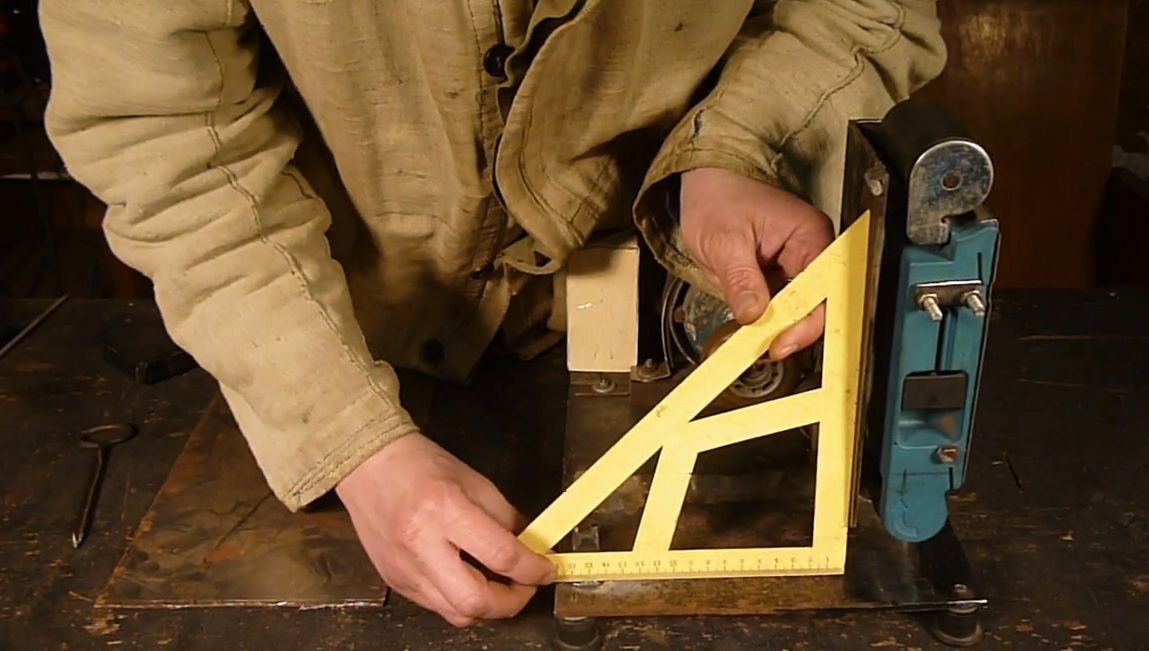
We weld the stand to the bed strictly vertically.

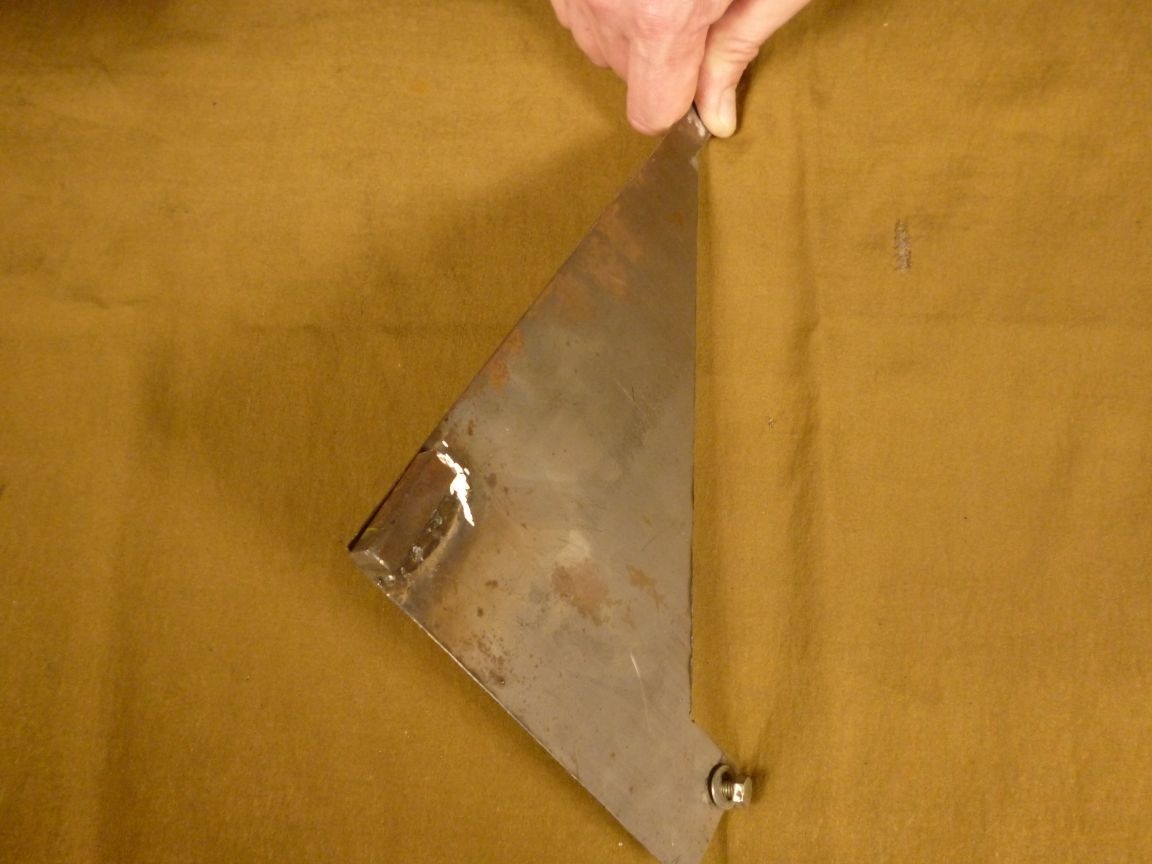
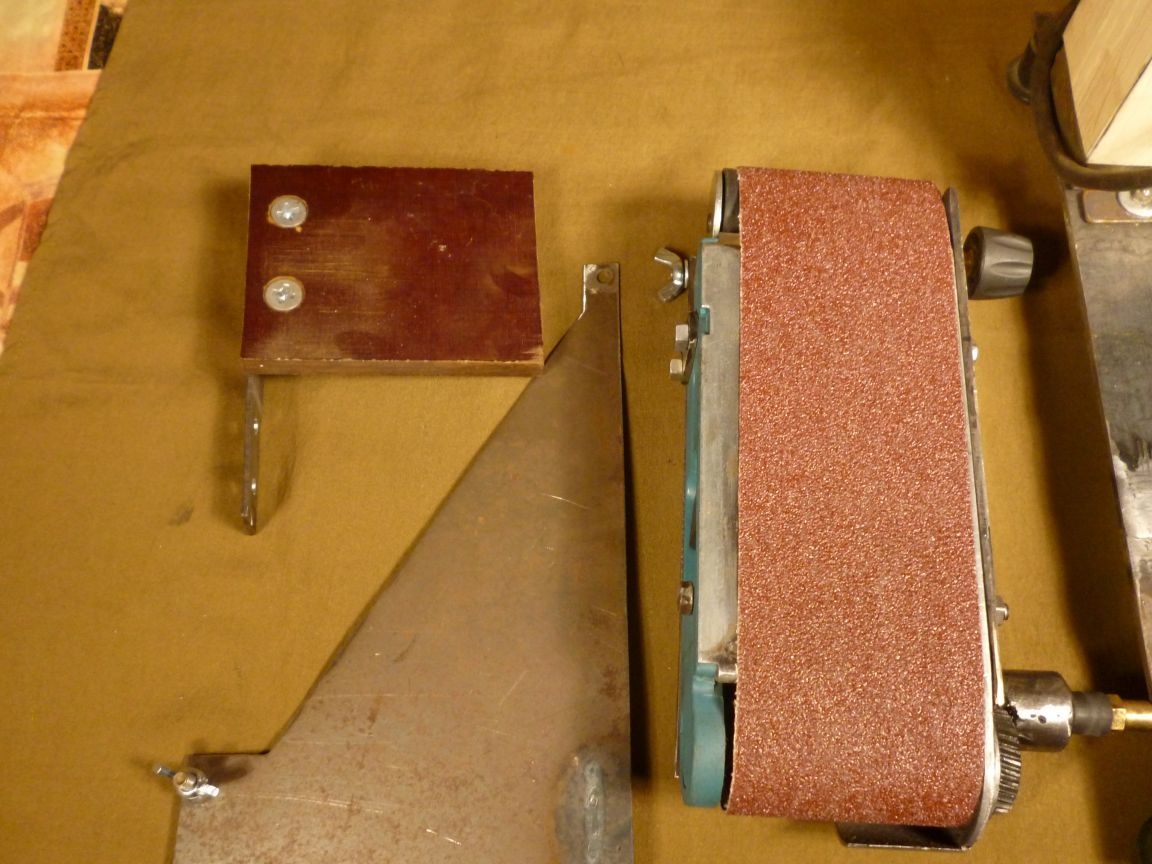
To fix the opposite side of the sole, made of sheet metal with a thickness of 1 mm. we cut out such a detail.

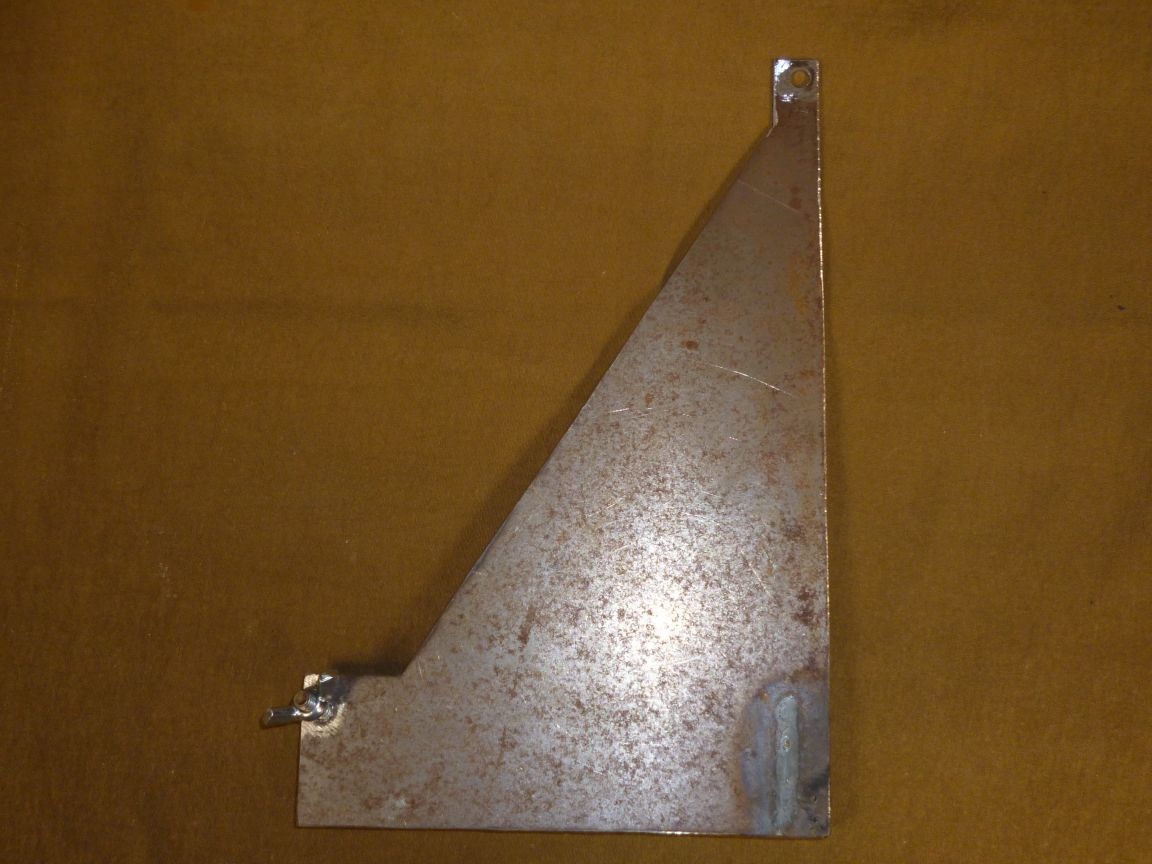
For fastening, two holes were drilled in the corners, a small stand with a bolt cut was welded to the bed. A bolt with a cut off head was welded to the casing of the sole. A segment of a square rod is also welded from below, and the sole casing in an upright position rests on it.
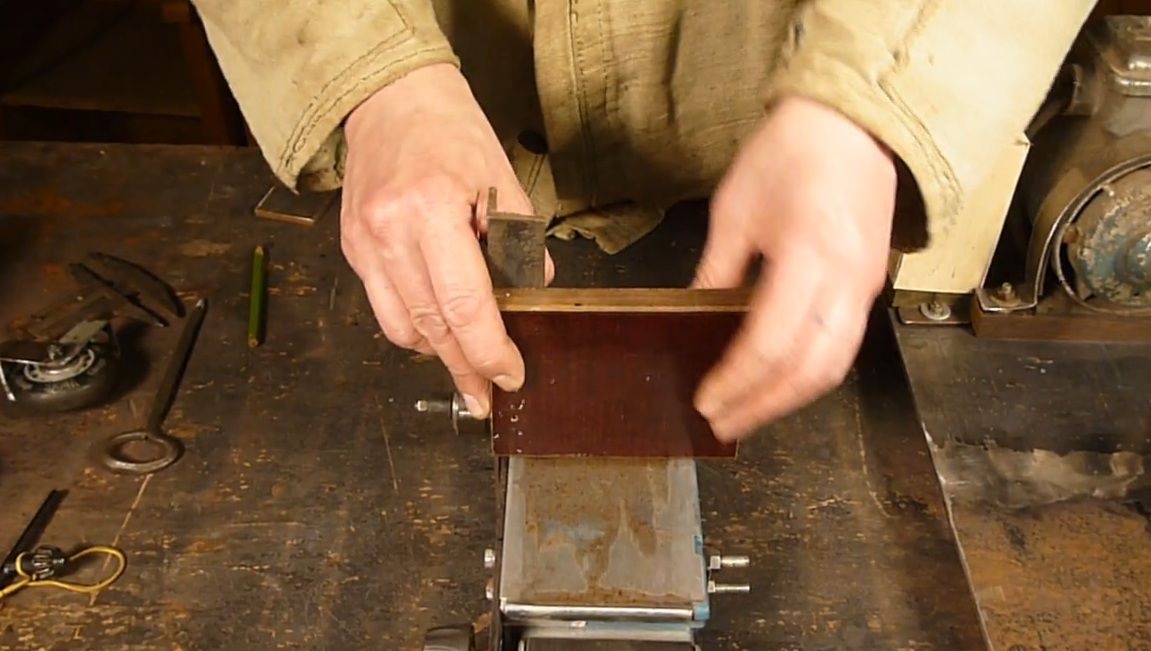
Now we make a persistent table. At the corner 40 to 40 in one of the shelves we make a cutout.

We mark and drill holes, for the table top we use textolite 1 mm thick.
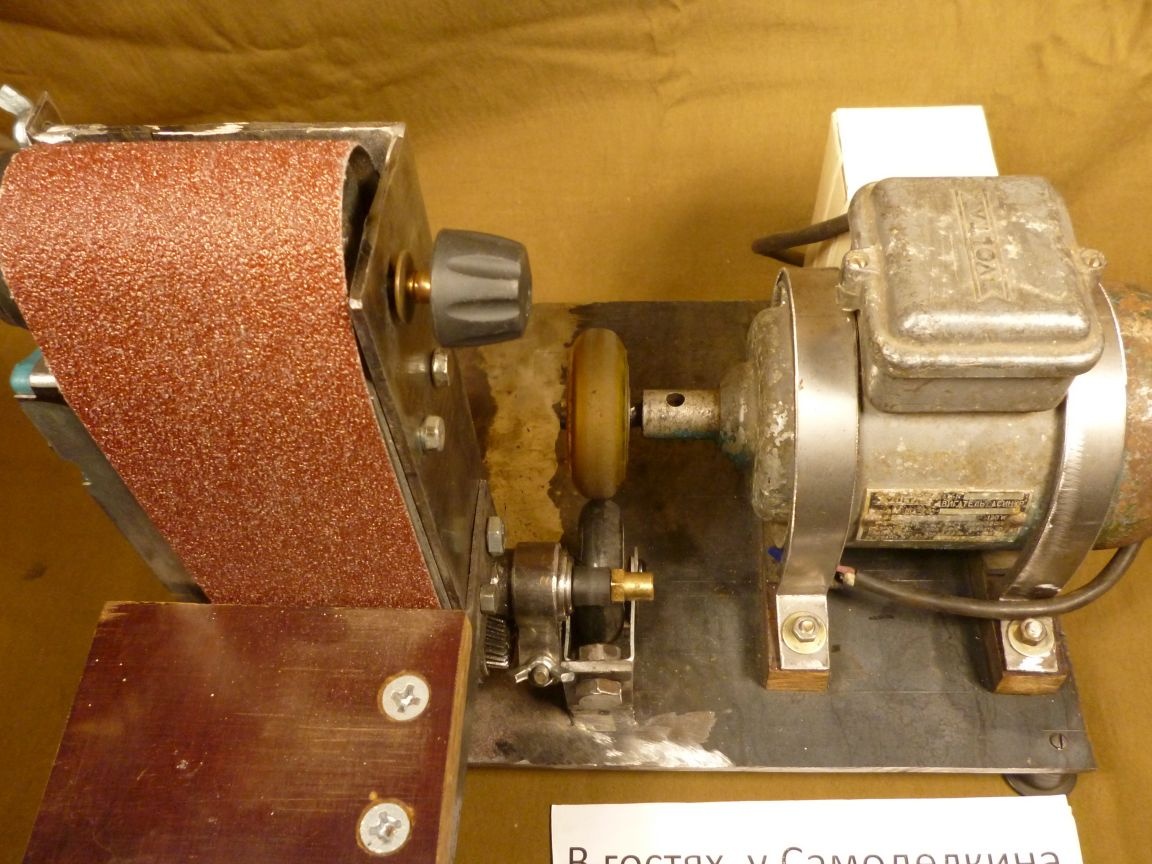
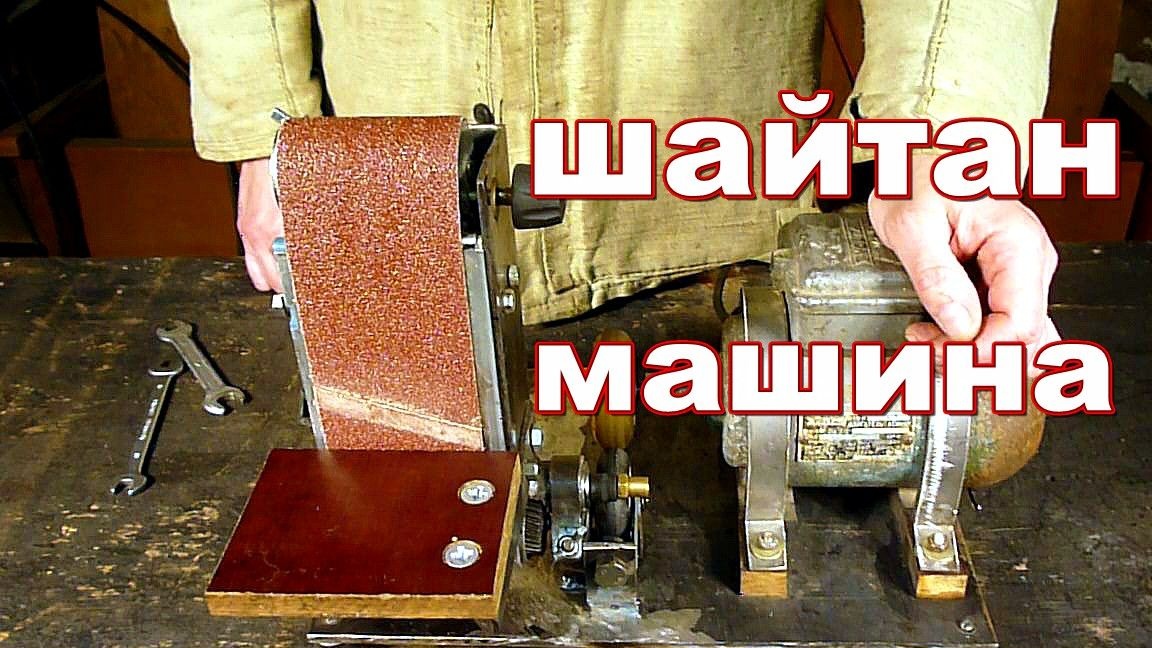
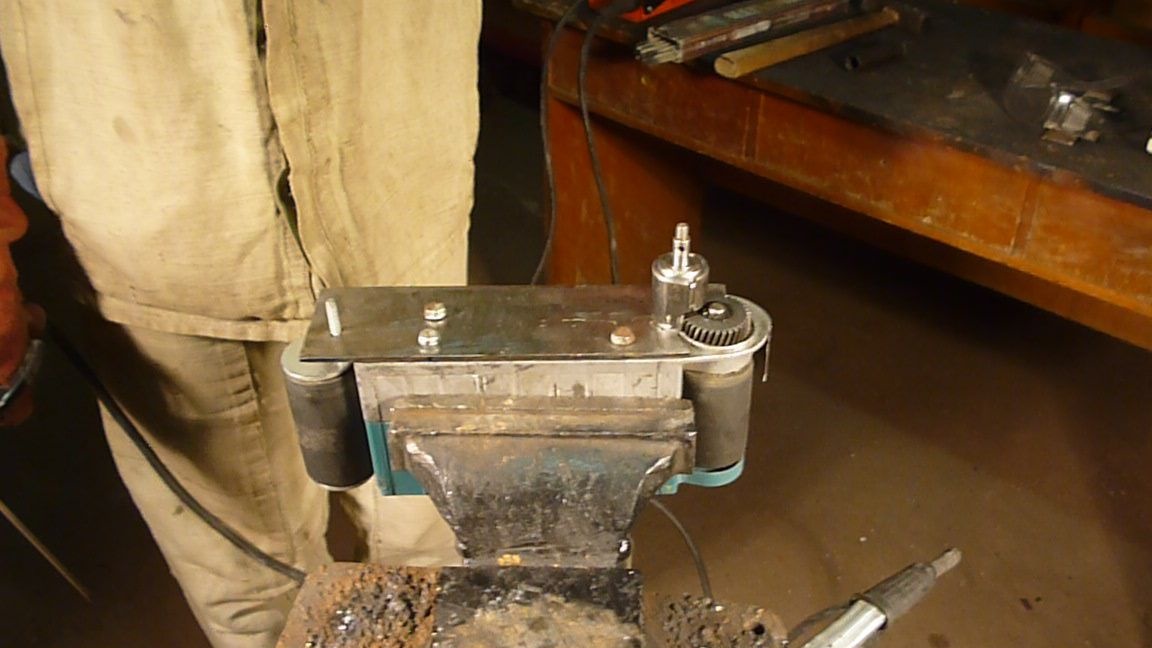
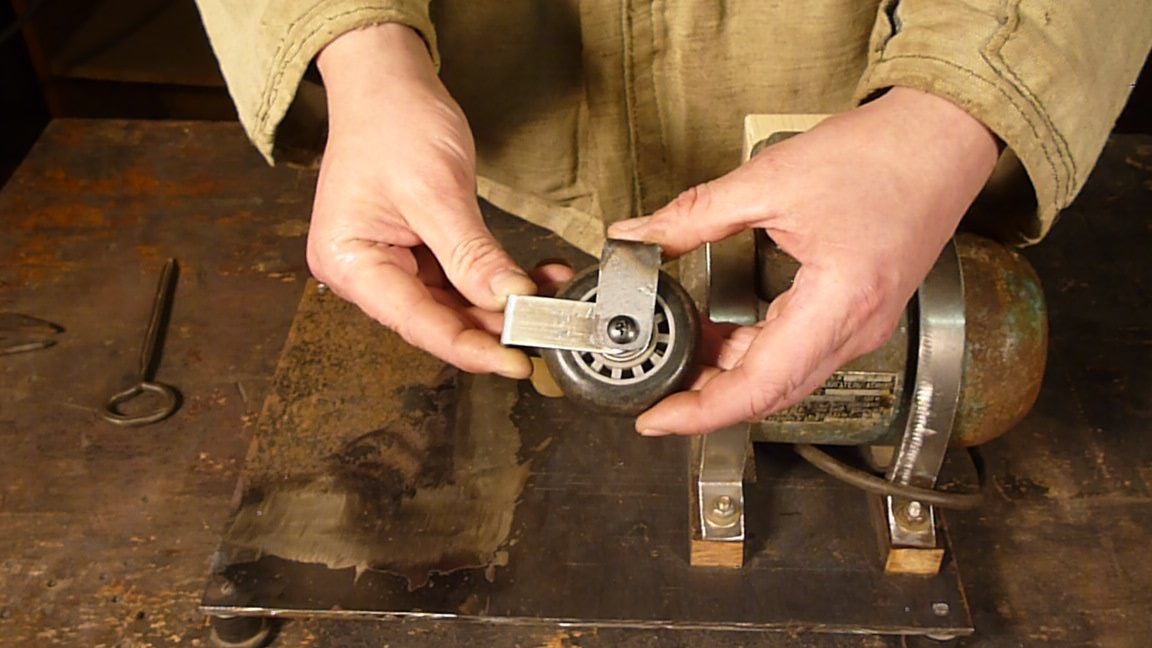
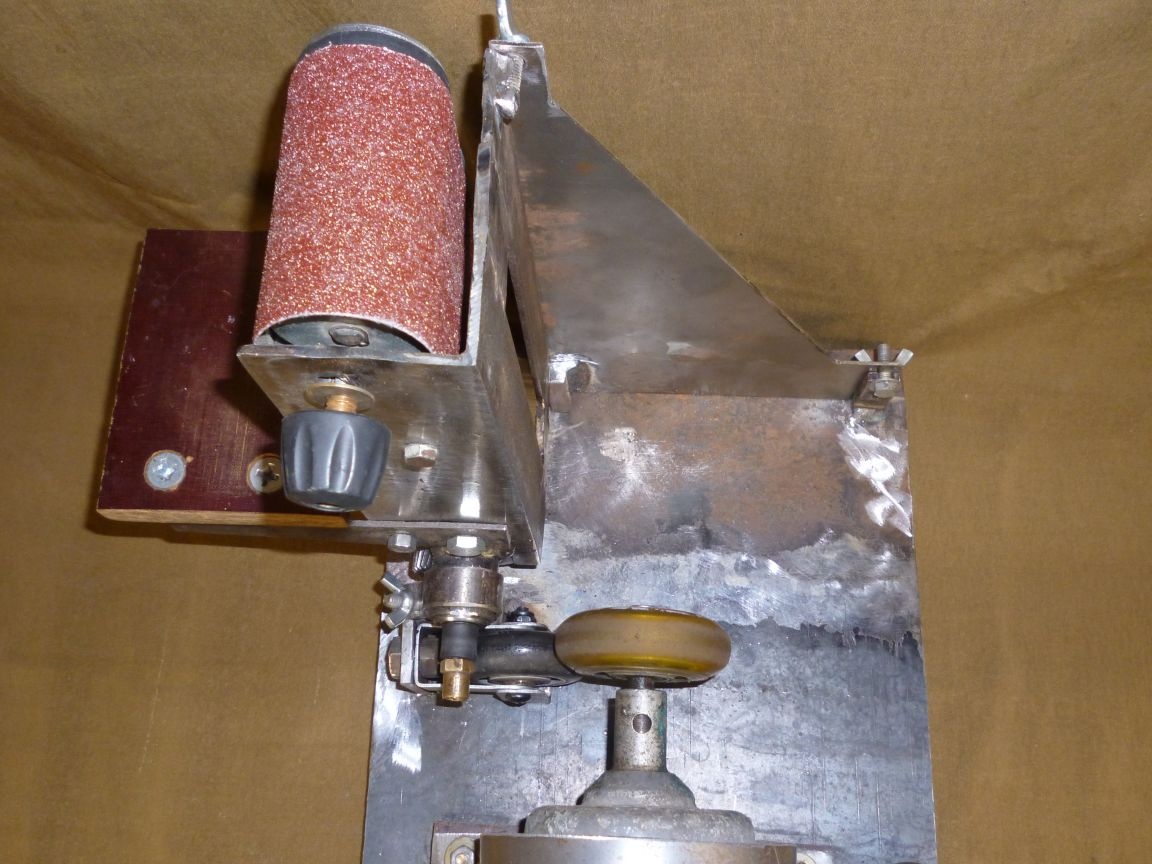
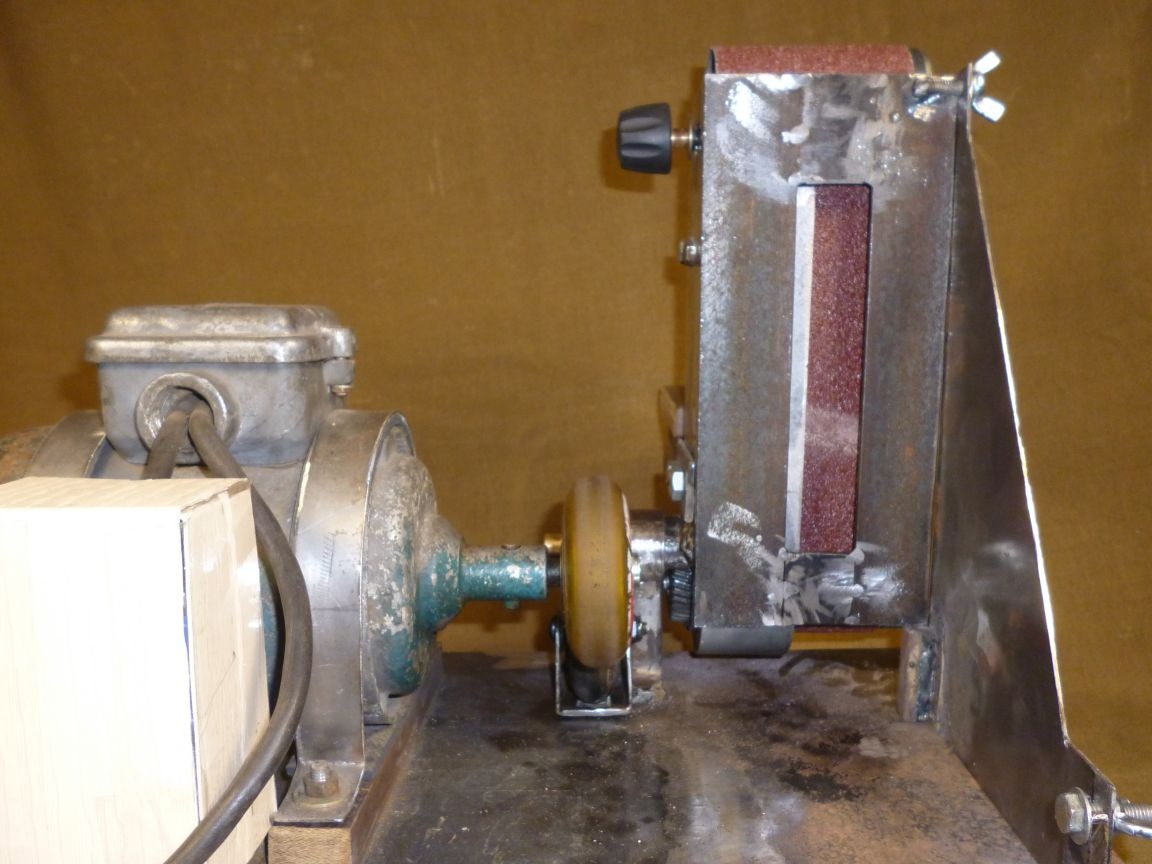
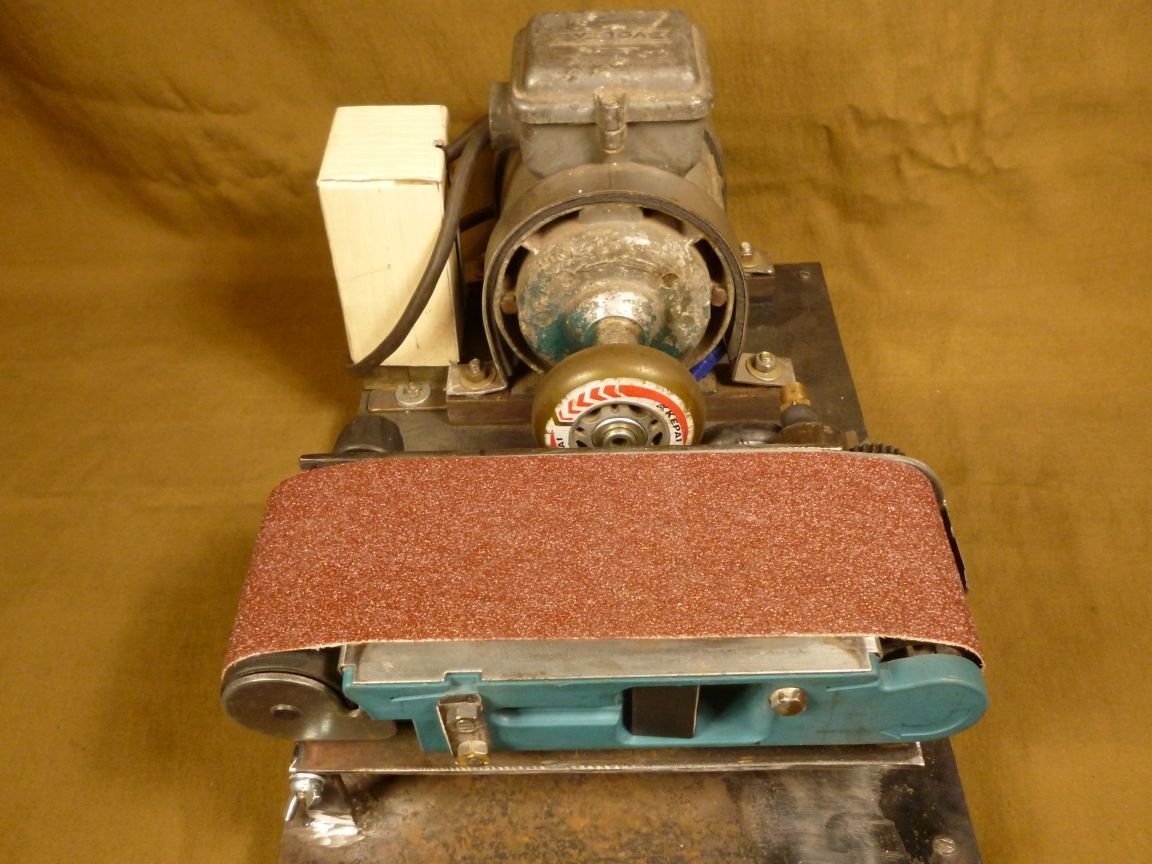
Putting all the details together. It turned out, of course, not a full-fledged grinder, but for small jobs it works.

The motor, unfortunately, was rather weak, but this is a fixable business, we will find it more powerful.
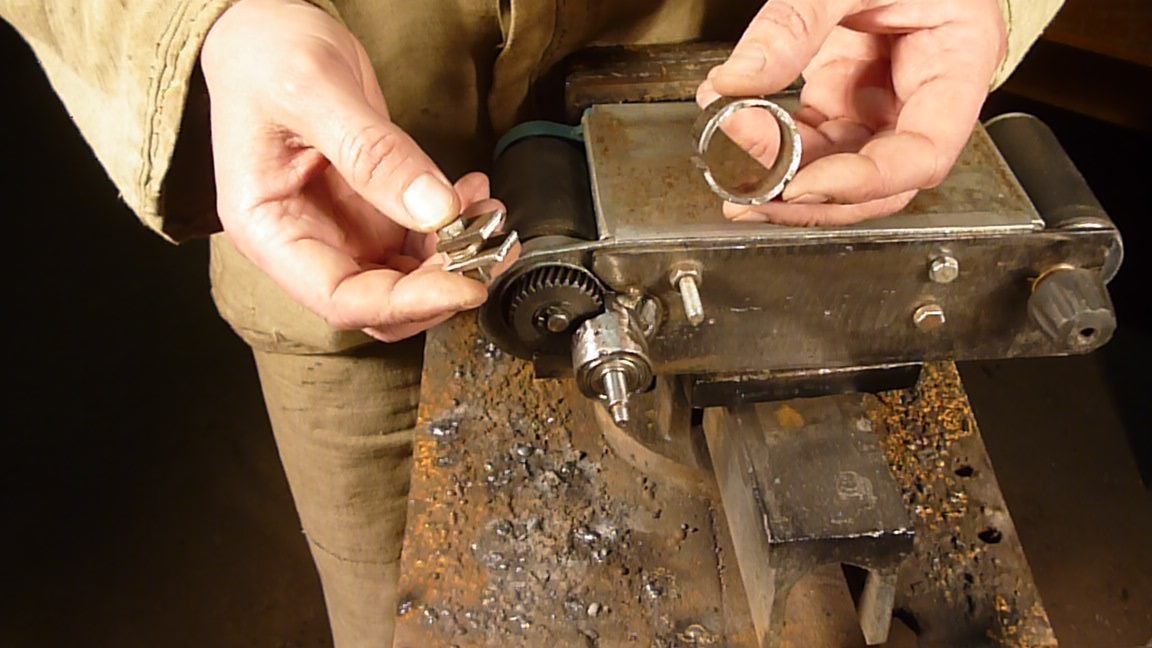
The advantages of this design include the fact that it can be operated both vertically and horizontally. In order to install the sole in a horizontal position, it is necessary to remove the side stand, release the clamp, rotate the sole and fix it on a small stand, hold the clamp back.
It will also not be amiss to make a protective casing for rotating parts.
The nodes are larger.


Good luck to everyone in their work.
You can watch the video about making the grinder here.