
This homemade It will be very useful for those involved in the manufacture of various small things, in particular, is fond of modeling and so on. The assembled small machine includes two functions, this is a detachable machine and a drill. Cutting disc author made do it yourself from sheet metal, the saw easily cuts not thick pieces of soft wood, polystyrene, plastic and other similar material. The machine is also equipped with a drill chuck, which will allow you to install small drills. The engine here is used quite powerful, which works on a voltage of 12-24V that allows you to power the machine even from a battery.
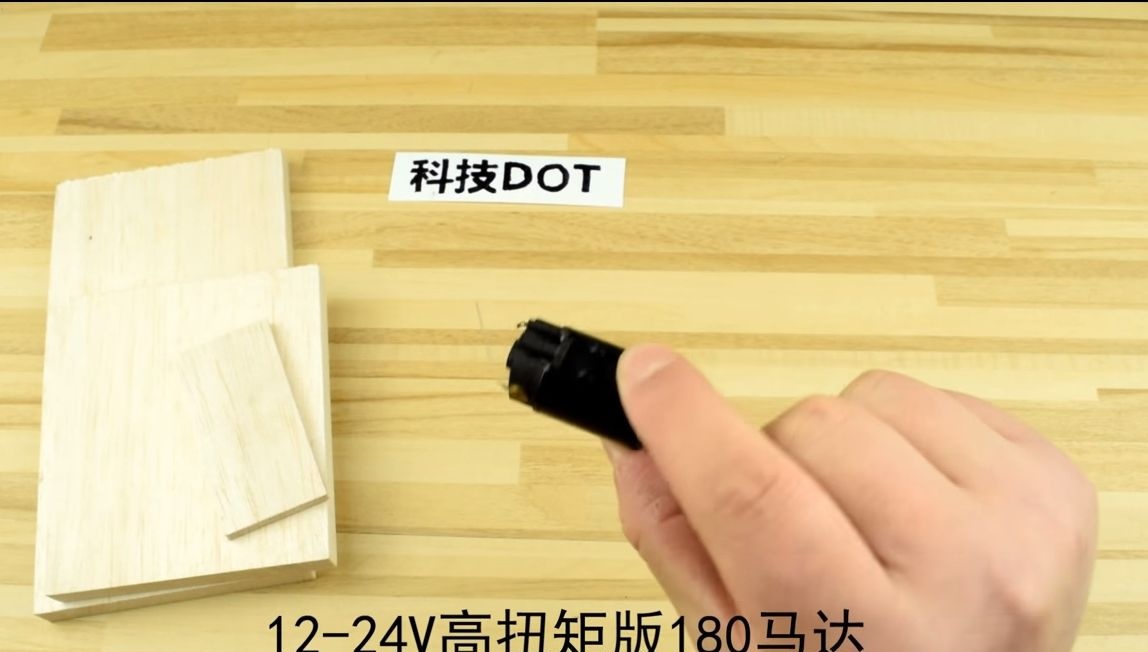
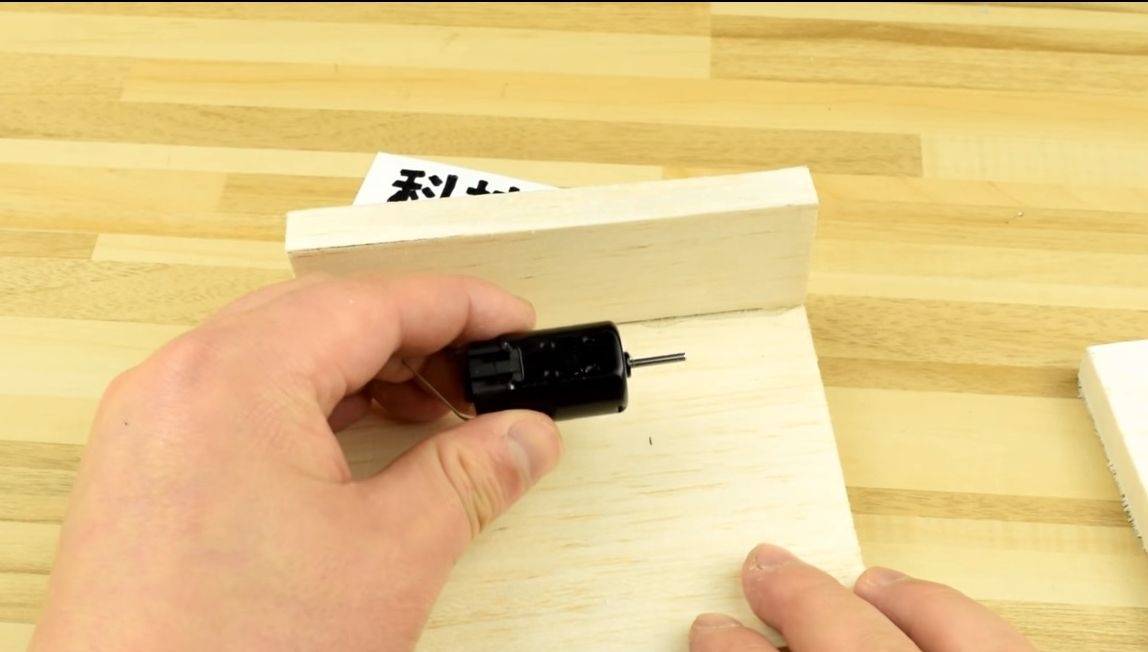
I'll tell you a little about the engine used. It is called the 180th, and is most often used in the manufacture of quadrocopters, aircraft, and so on. The main feature of this engine is monstrous revolutions, with a 12V power supply the engine can accelerate to 30,000 revolutions per minute. Thanks to this high speed, our miniature circular saw with a not very high-quality disc cuts material without any problems. For a drill, such revolutions are also good. Such engines can be found in many equipment, and you can also order an engine from China, it will cost no more than 100 rubles. So, we will consider in more detail how to make such a stanochka.
Materials and tools used by the author:
Material List:
-;
- supplies from balsa or plywood;
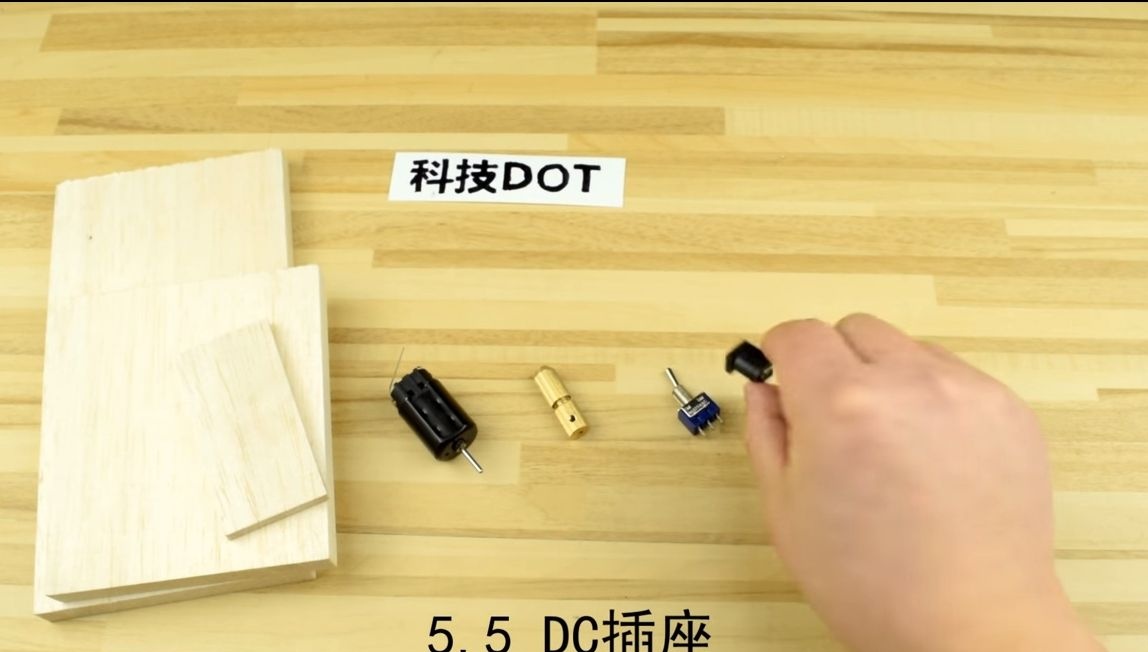
- connector for connecting the power supply;
- switch;
- wires;
- sheet steel (for a cutting disc);
- ;
- power supply 12-24V DC.
Tool List:
- glue gun;
- pen or marker;
- a hacksaw for metal;
- drill;
- soldering iron;
- ruler.
The process of manufacturing the machine:
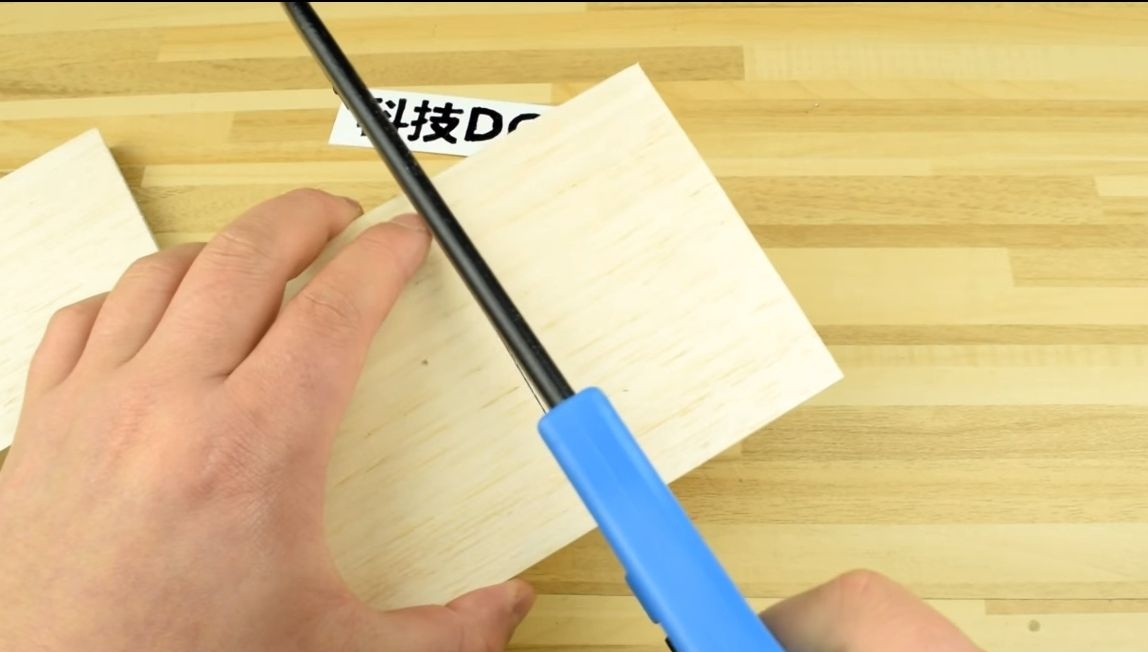
Step one. Workpiece for the manufacture of housing
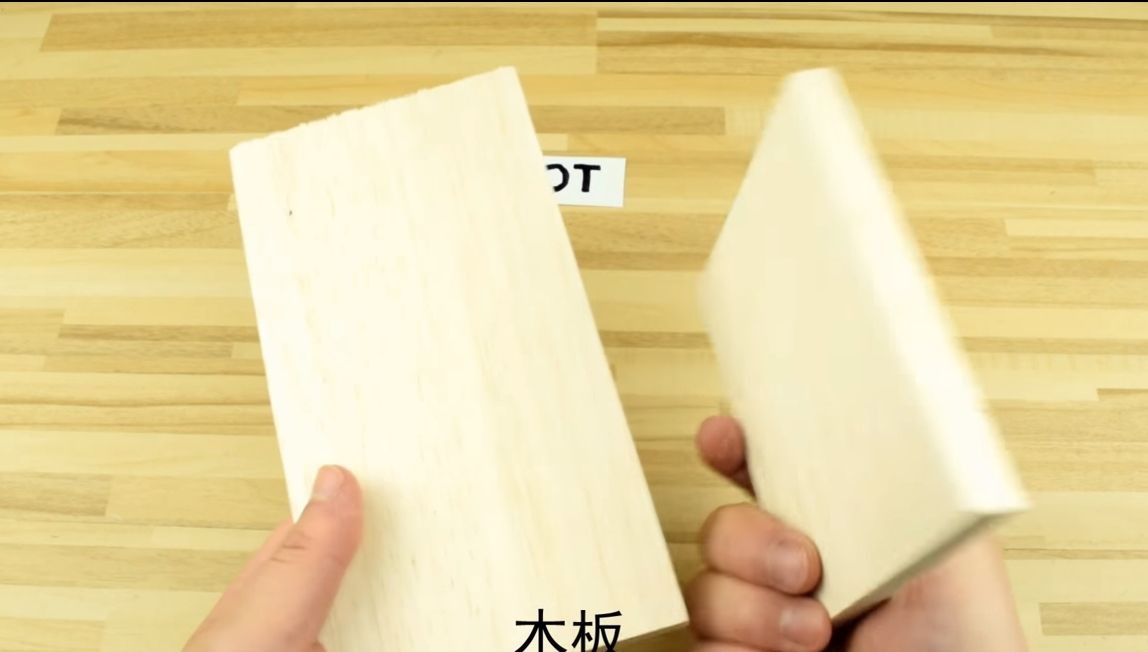
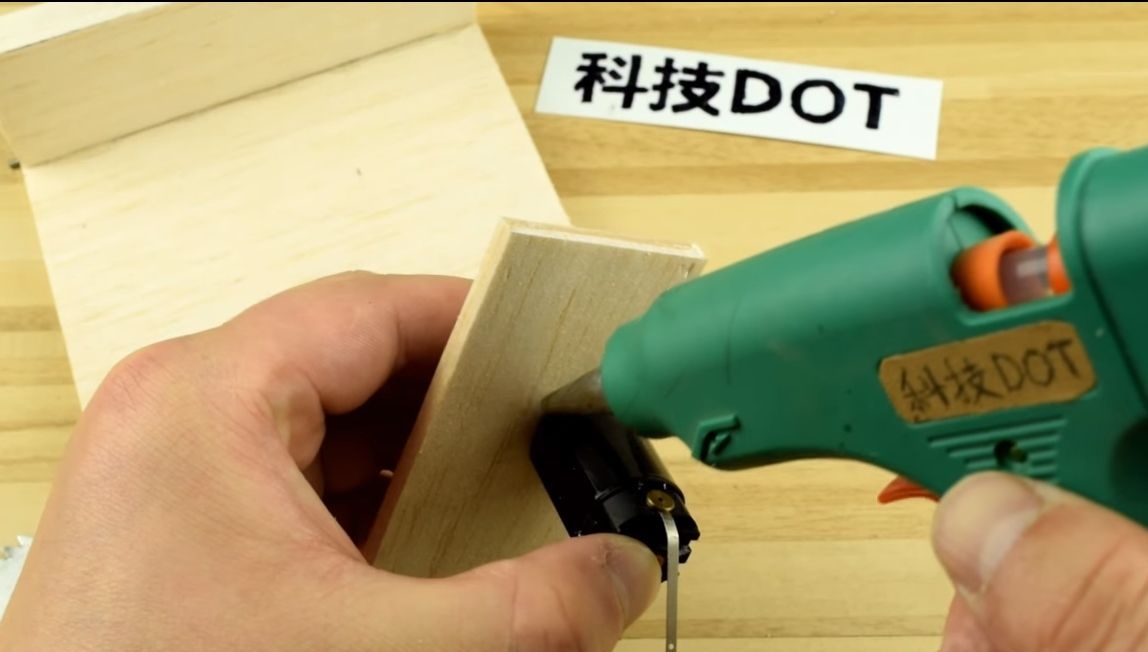
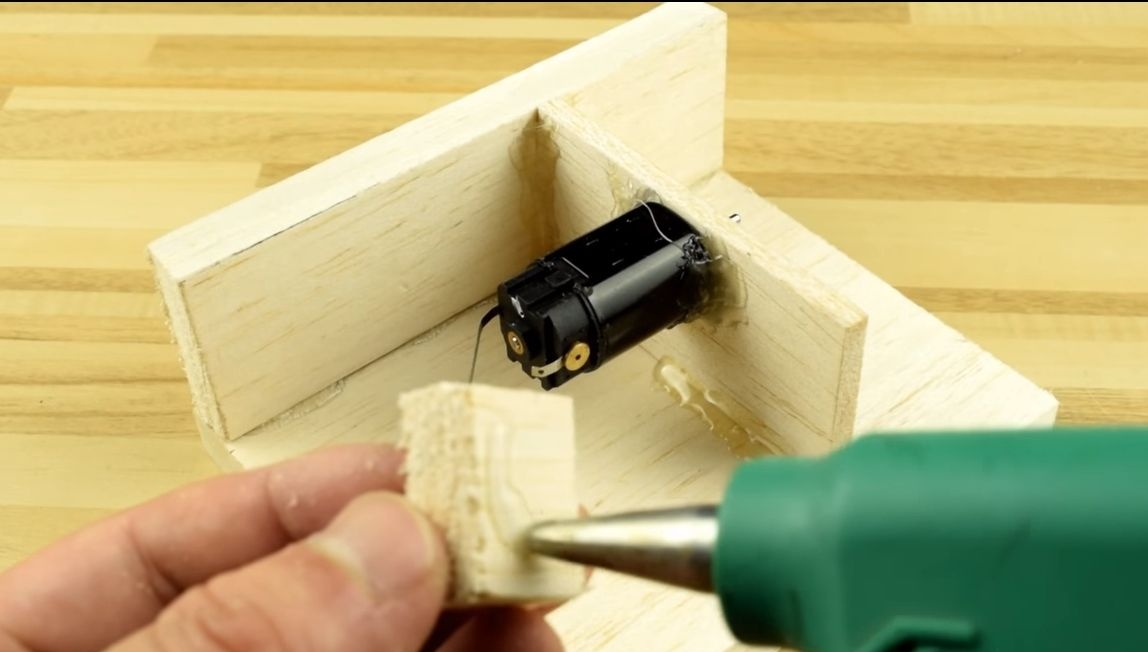
The machine case is made very simply, in fact it is a box with a partition installed, to which the motor is attached. As a material, balsa boards are well suited, this material is light, and most importantly, the wood is soft and very easy to cut. As a last resort, you can use plywood.
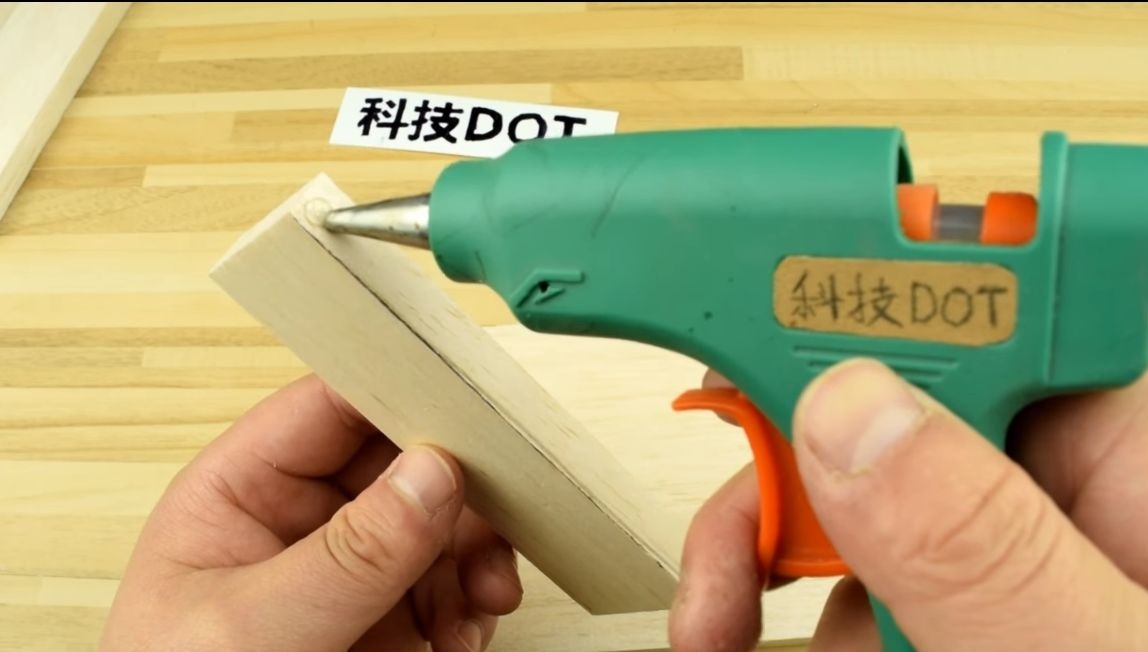
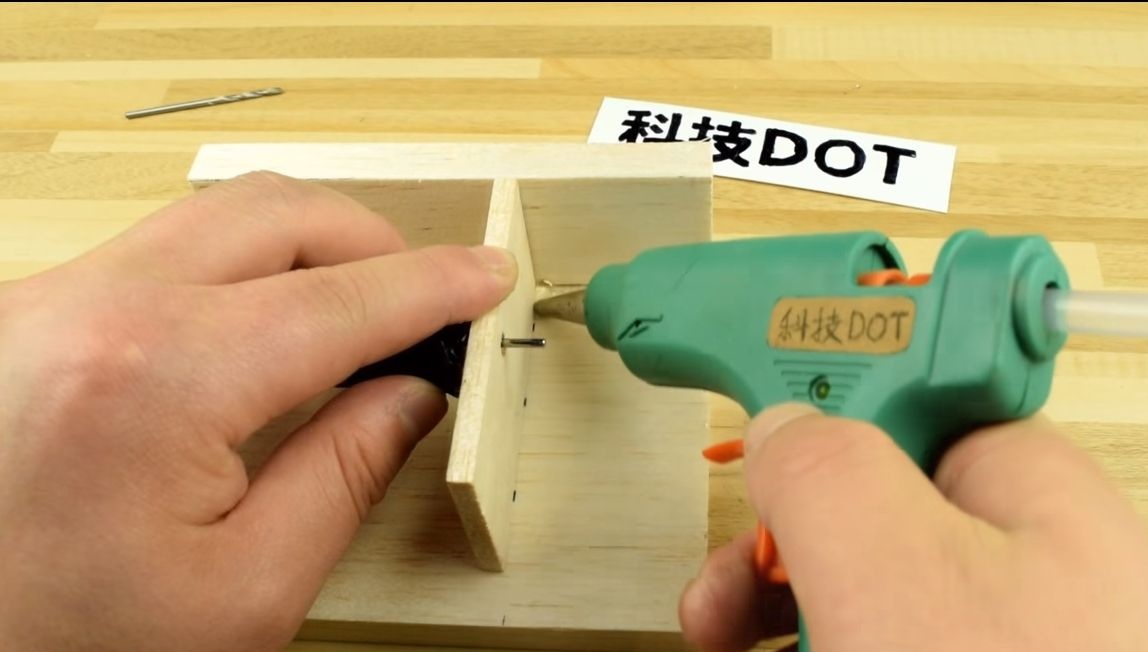
Glue the side wall to the base, and to it the partition to which the engine is attached. We pre-drill a hole in the partition so that the motor shaft enters. The author used hot glue as glue, it is fast, simple and reliable. We apply glue on the joined surfaces and press the parts tightly.To strengthen, you can then apply glue over the joint.
Step Two Making a cutting disc
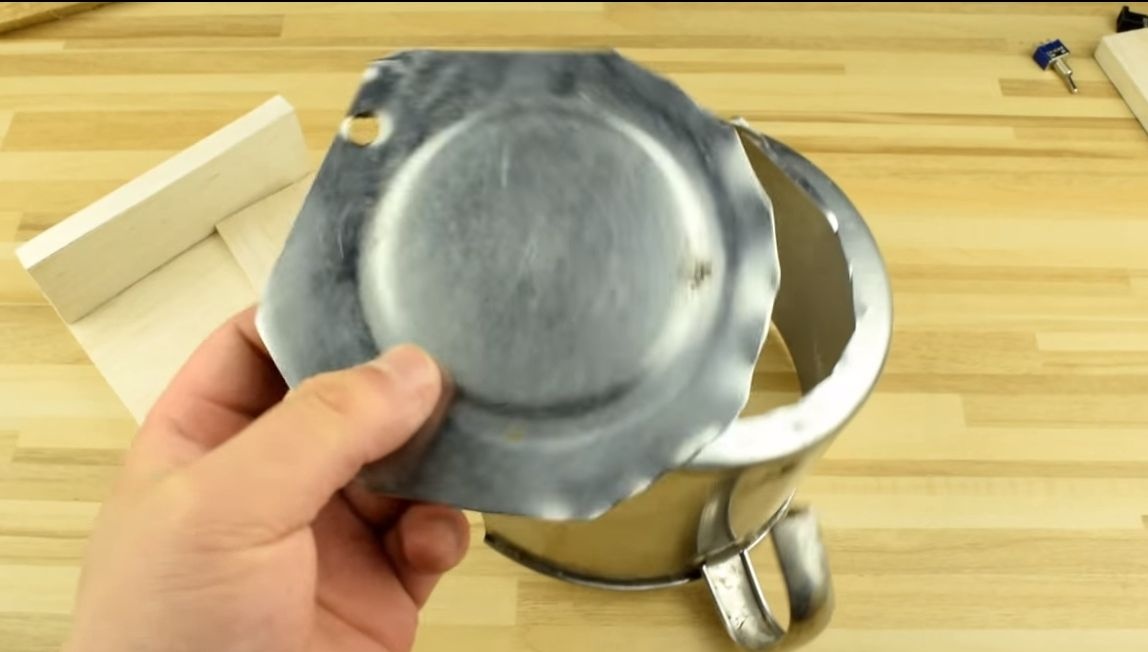
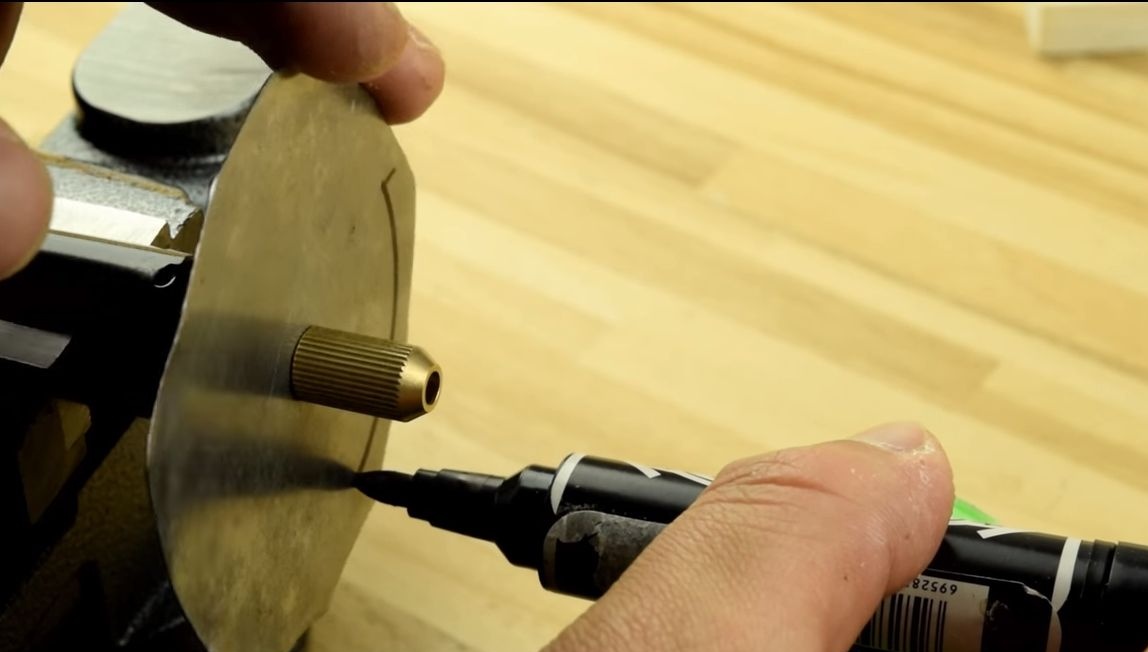
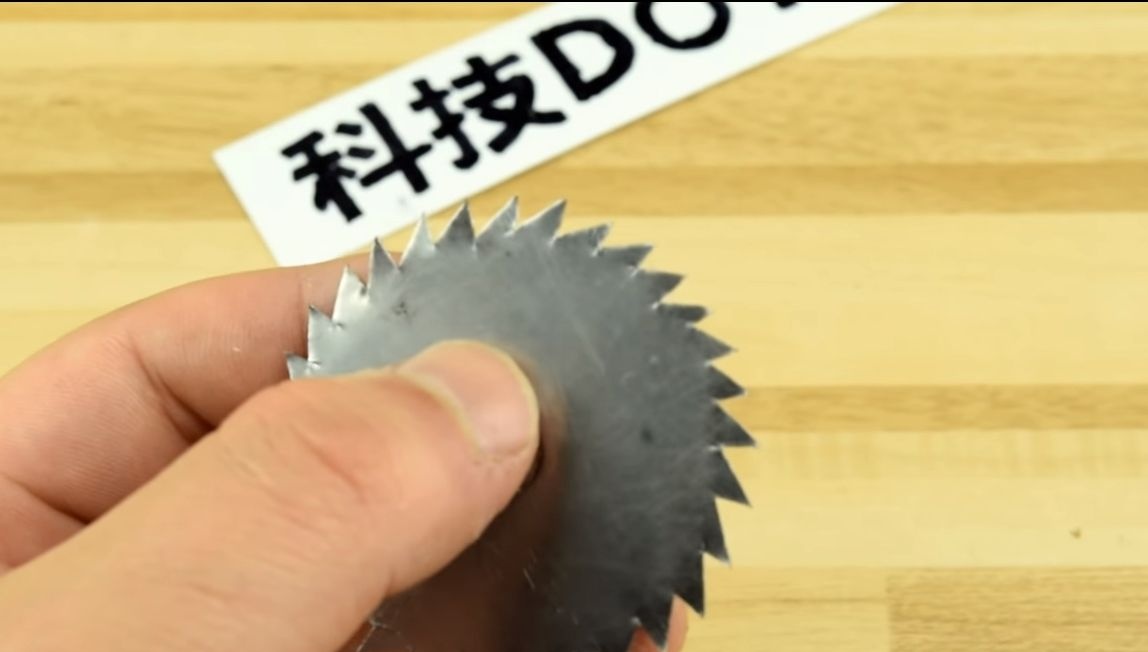
To make a cutting disc, you will need sheet steel. Steel from a tin can is quite suitable for this, metal is thicker to choose, so the cutting disc will last longer and will not bend.
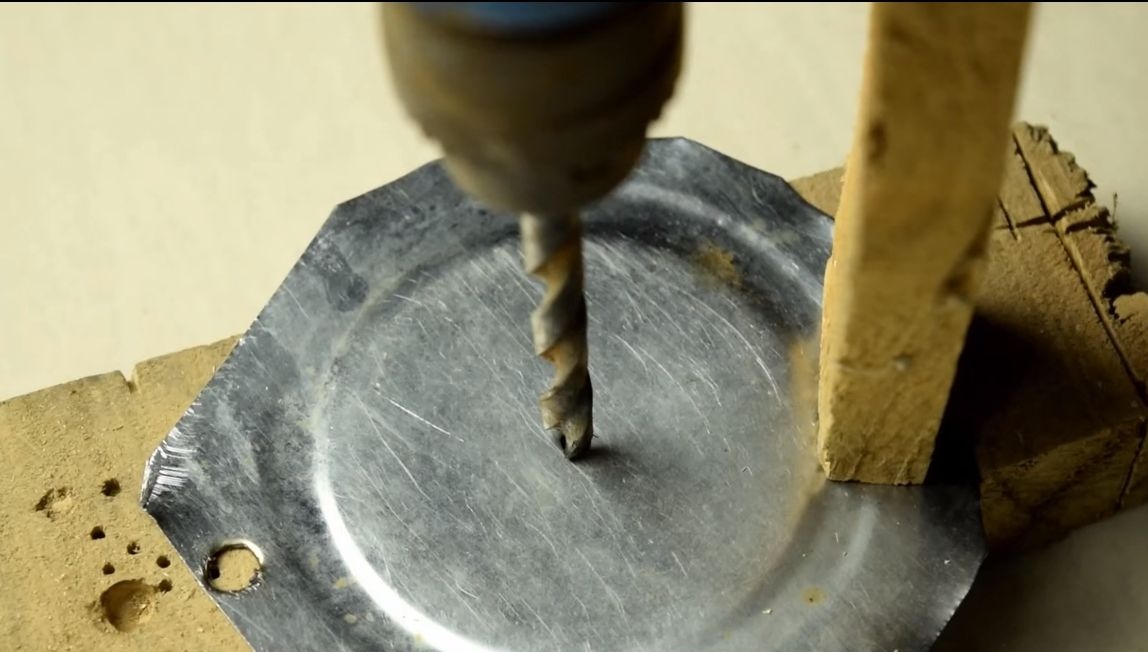
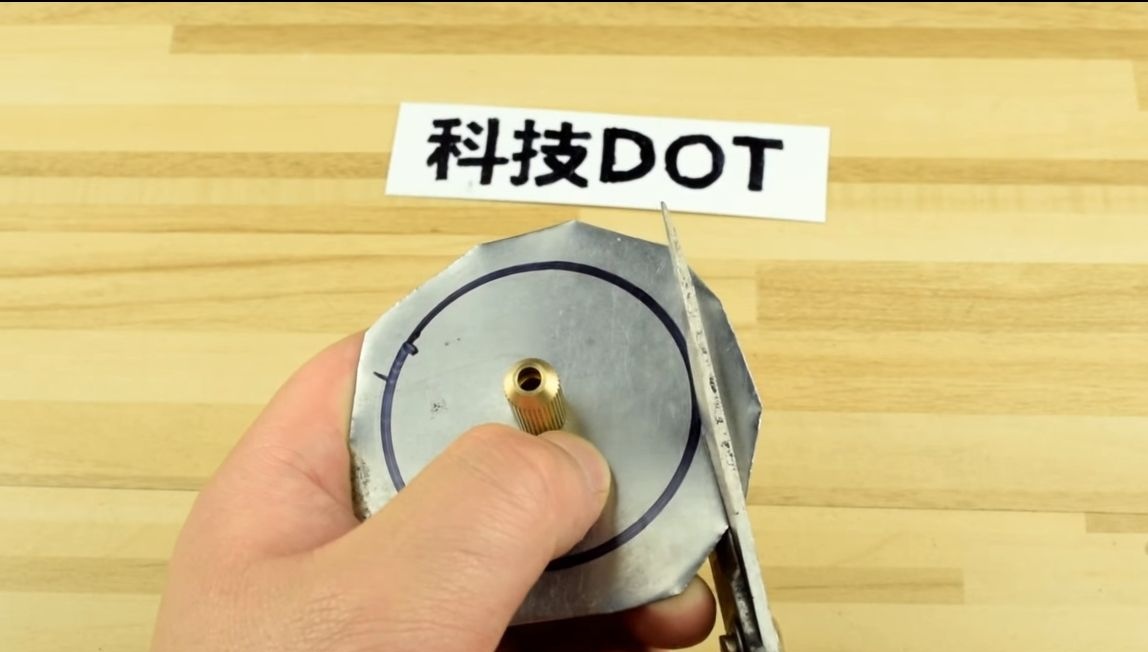
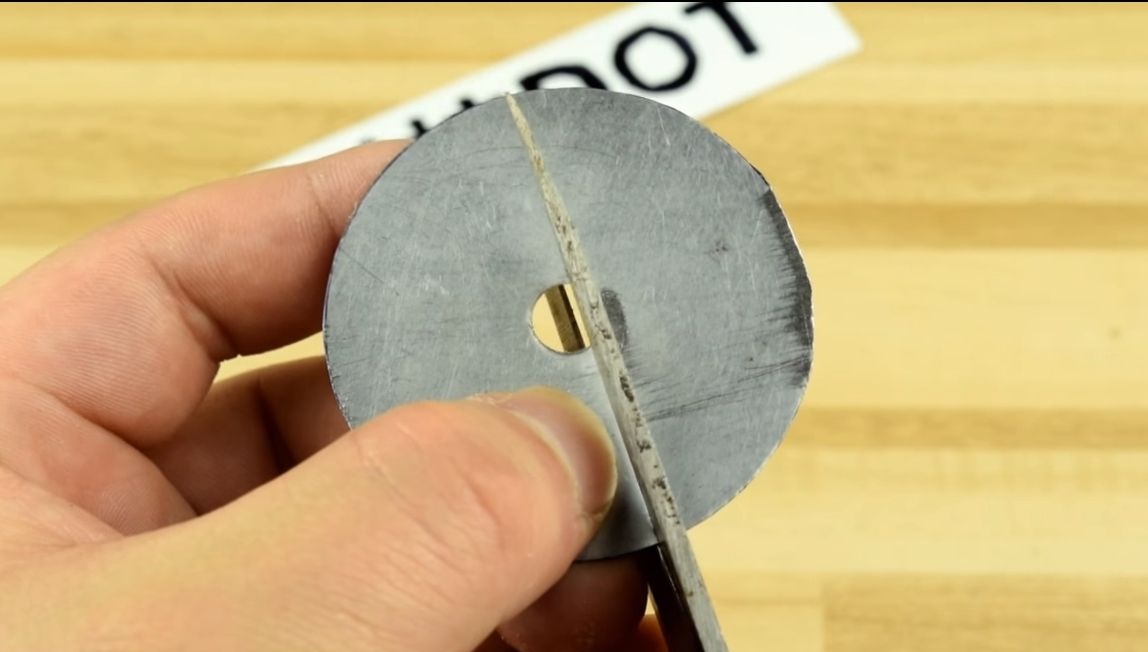
Using a compass, draw a circle of the desired diameter. In the center of the disc we drill a hole. Its diameter must be such that the disc can be mounted on a drill chuck. Well, then we take scissors and cut out the disk.
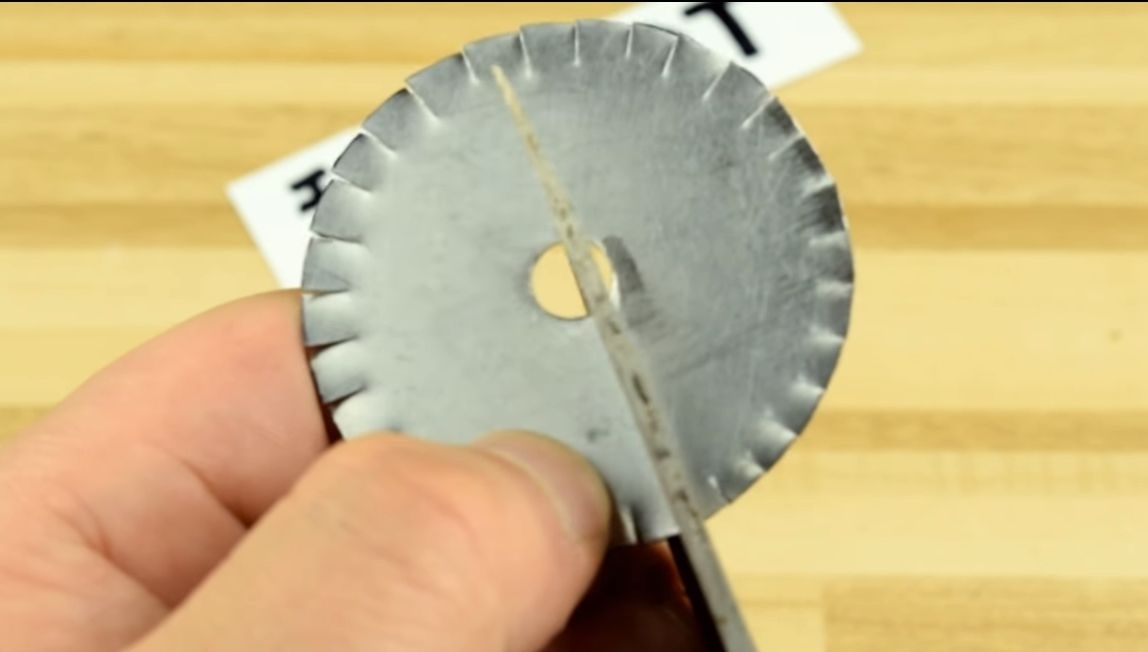
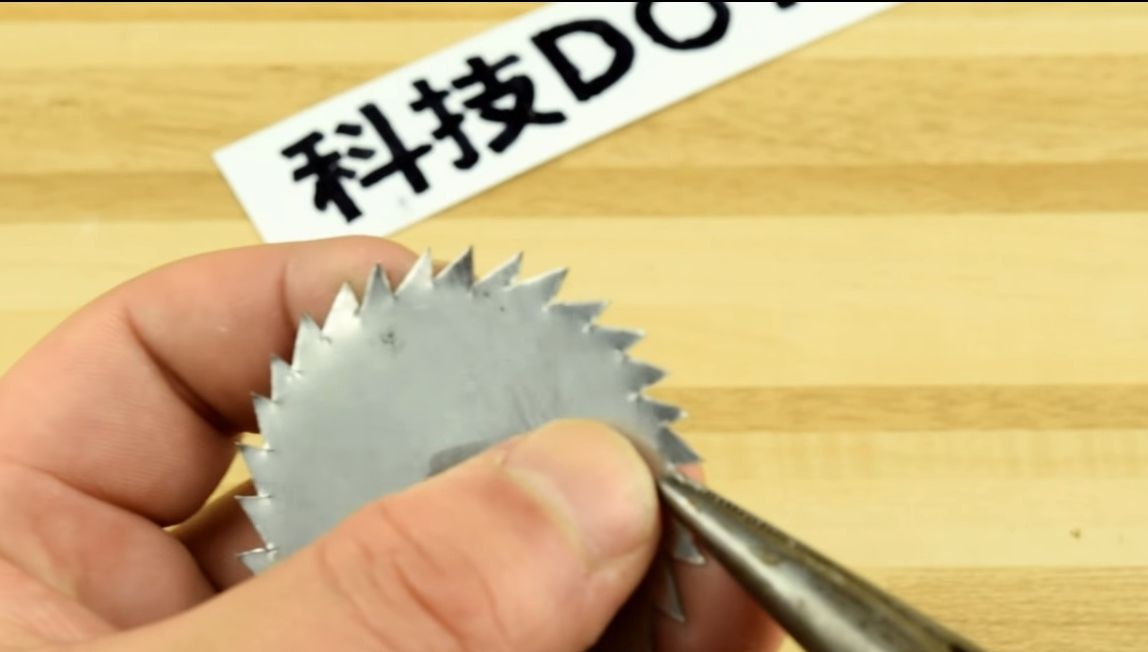
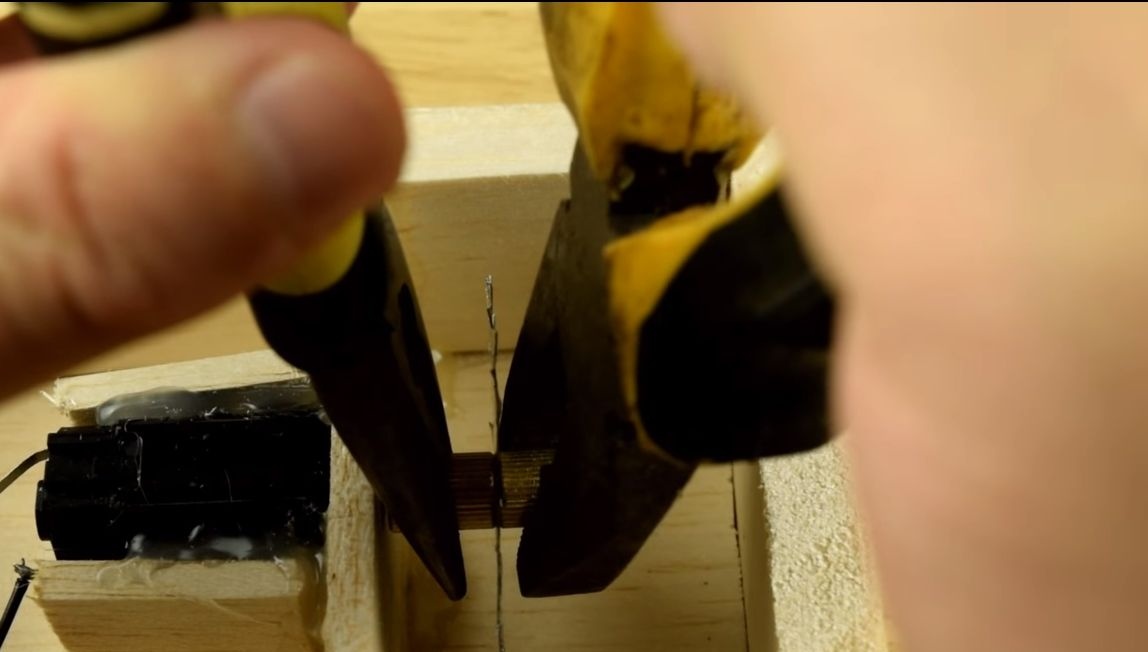
Now we form the teeth, first we make cuts in a circle at an equal distance from each other, as a result, something like an impeller should turn out. Next, cut the segments so that the teeth are obtained. That's all, now with the help of pliers we bend the teeth in different directions to get a "divorce". If present, the saw blade will not wedge during cutting.

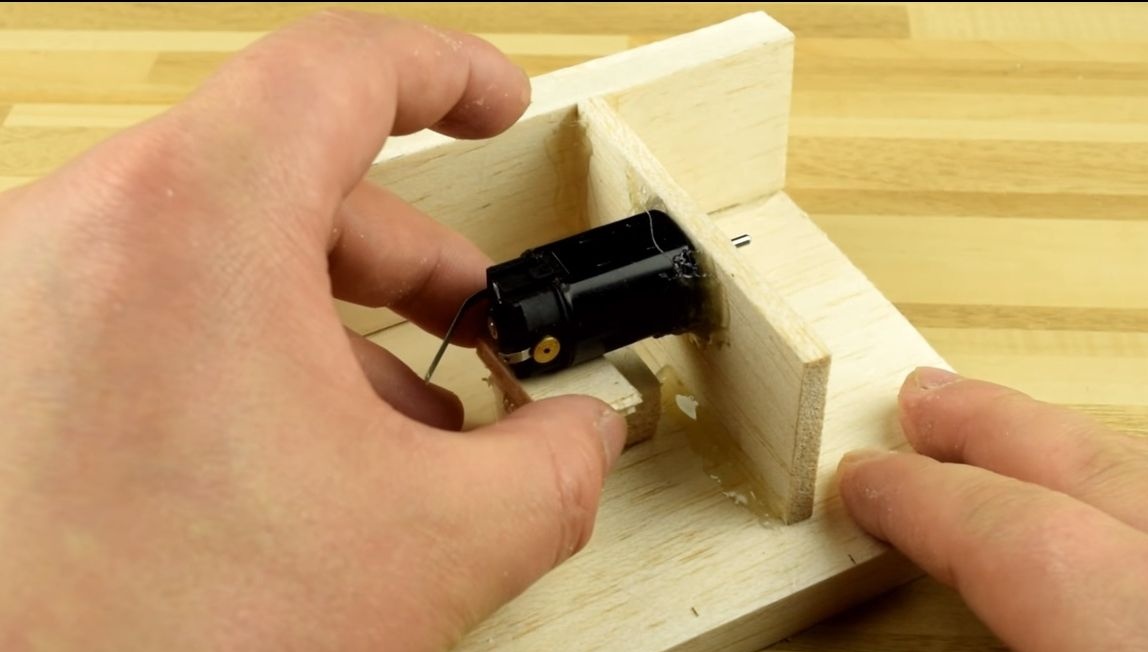
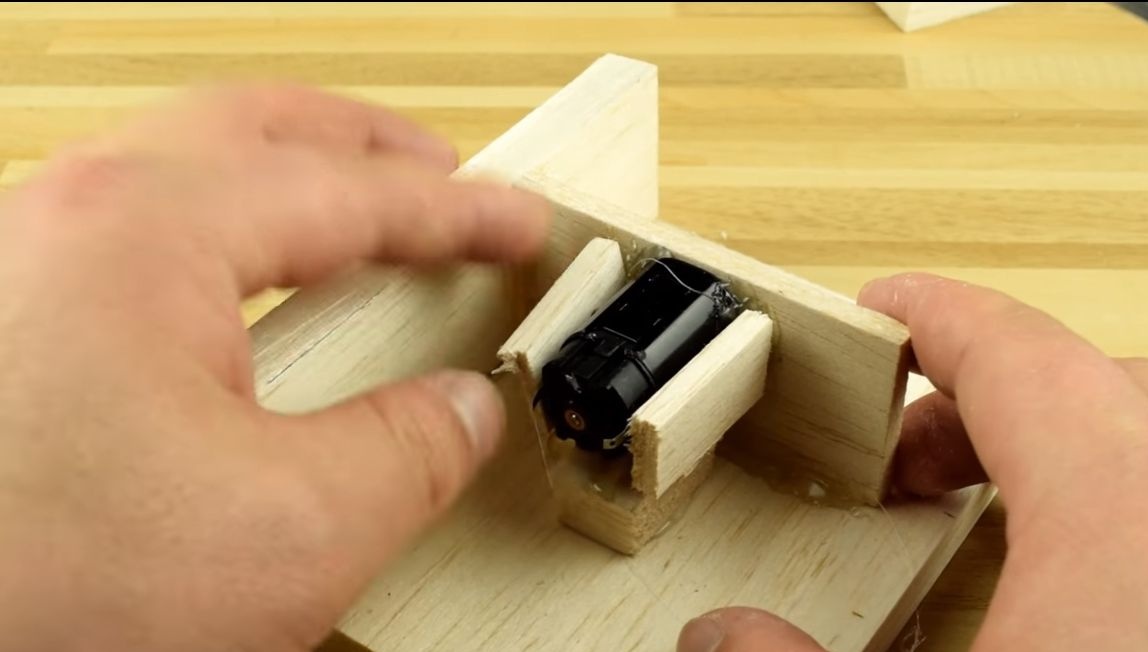
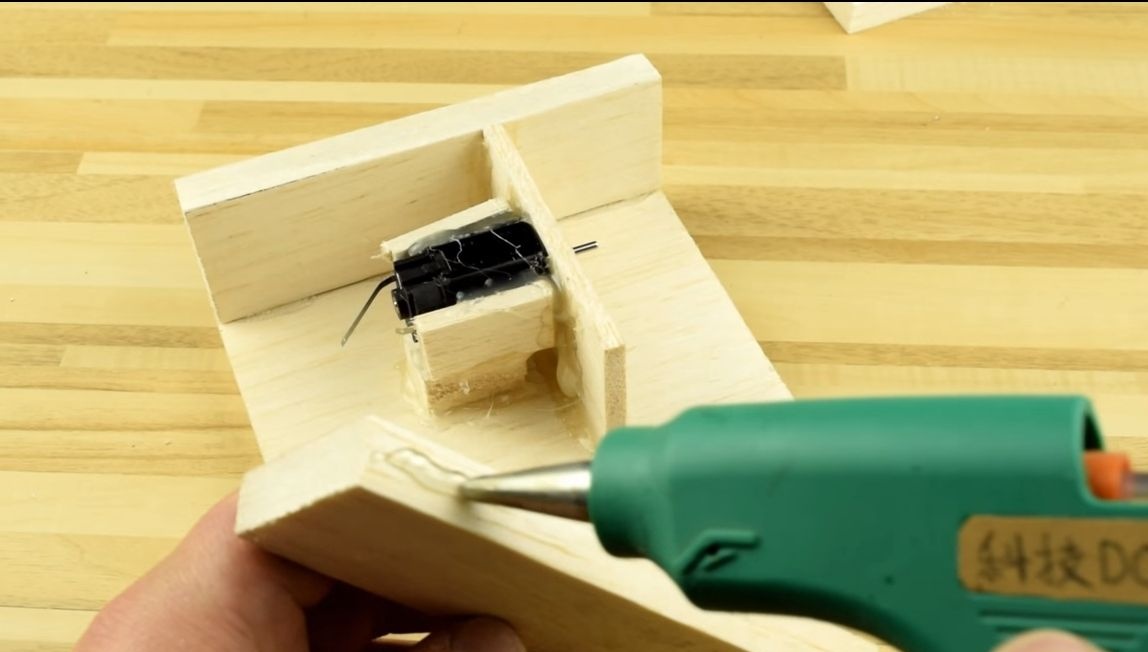
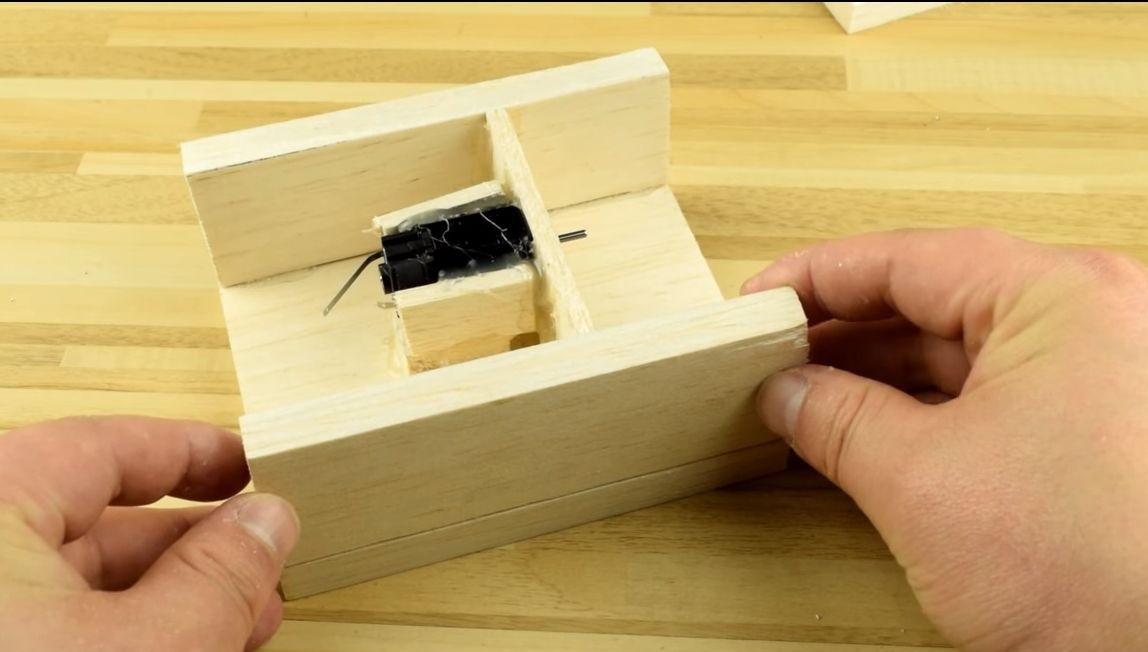
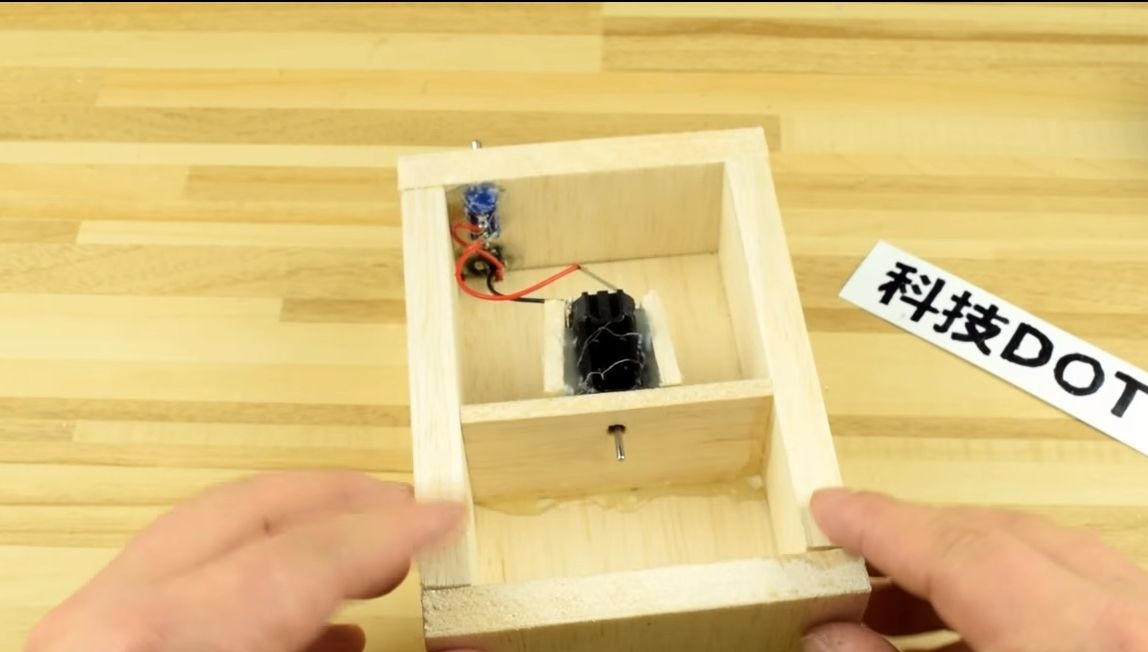
Step Three Install the motor
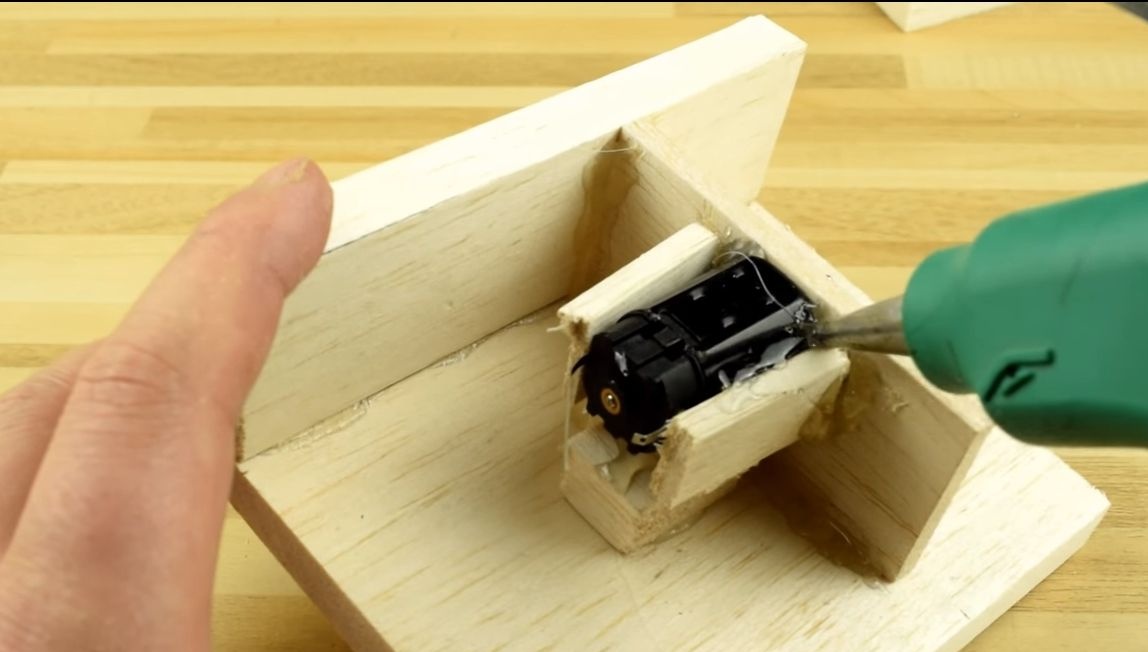
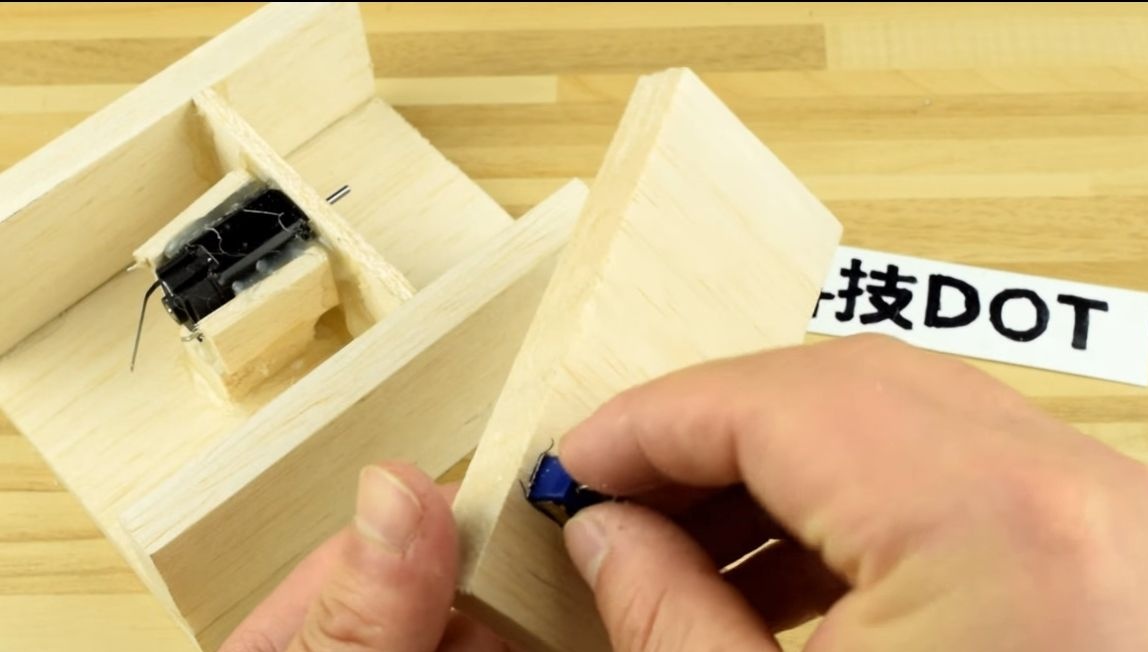
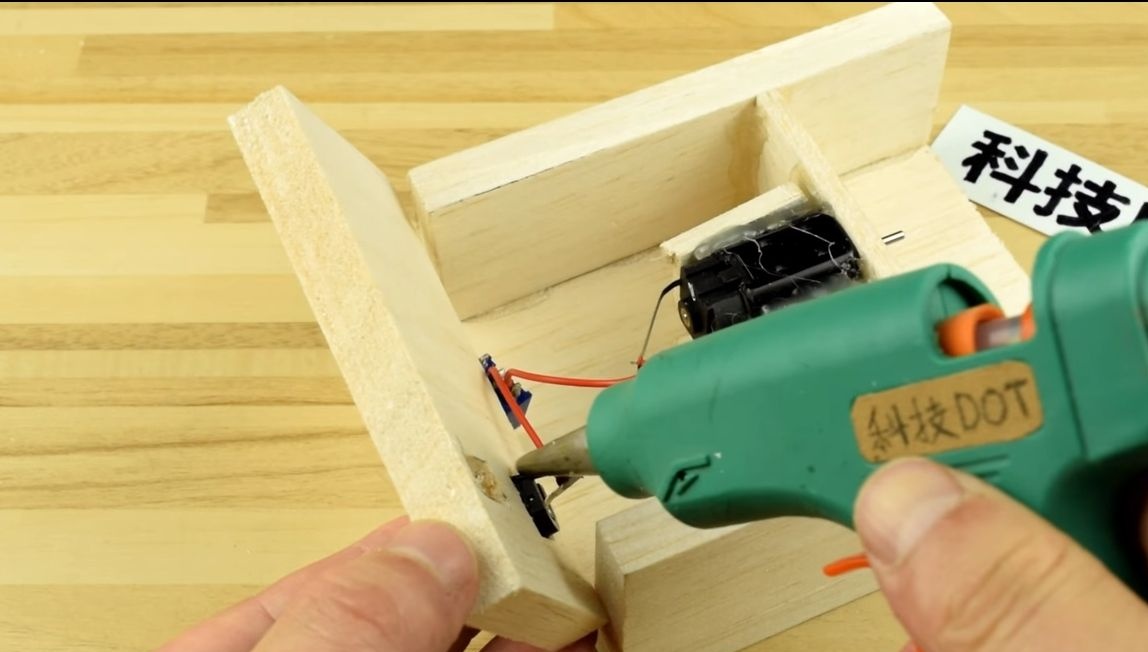
Install the engine in the housing, fix it with hot glue. But this is not enough, the motor must be fixed securely! To do this, we cut the boards into pieces and create a support for the engine and an additional mounting place. Fill the whole thing with hot glue. Note that if you use hot glue, you must not allow the motor to heat up. Otherwise, the glue will melt and the engine may come off. After that, you can glue the second side wall.
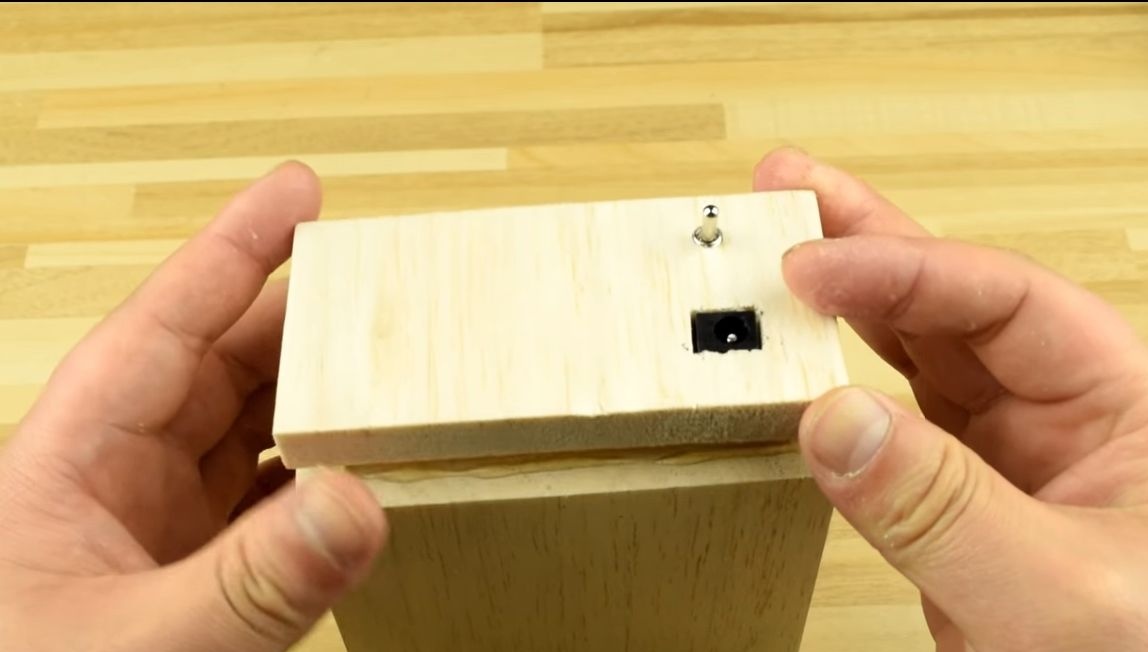
Step Four Making the back wall
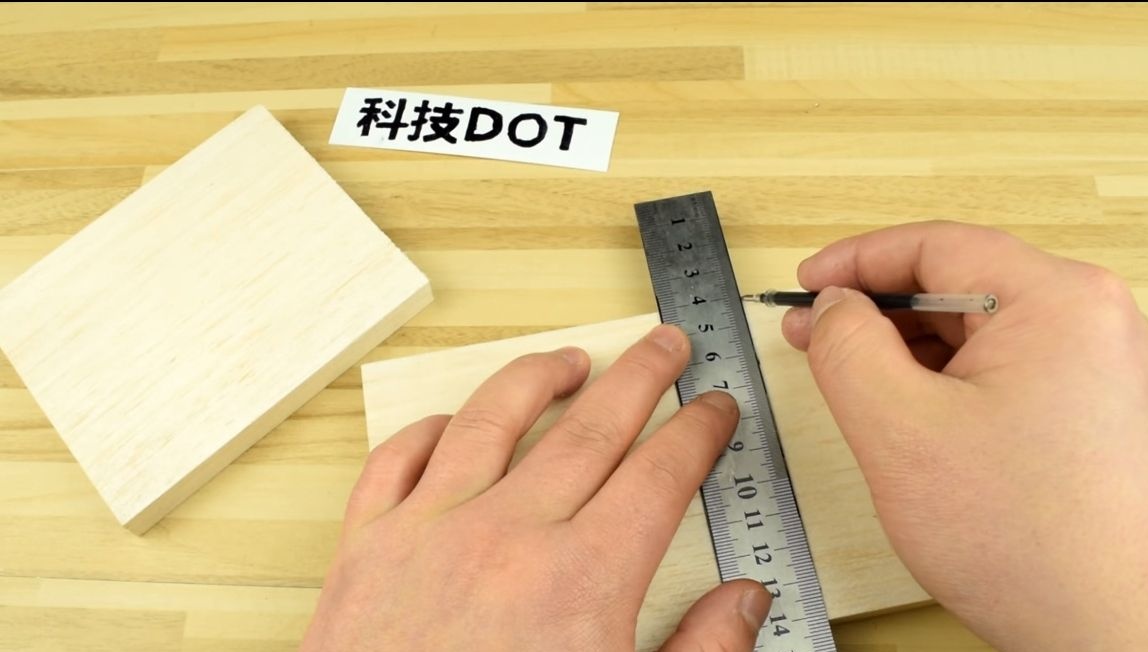
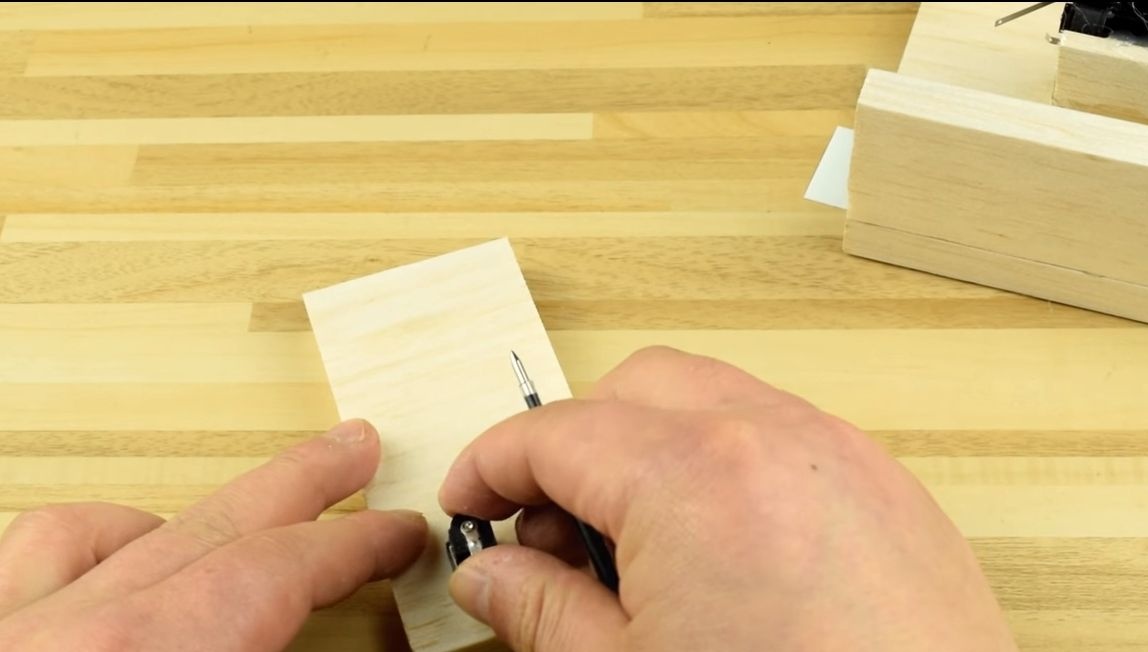
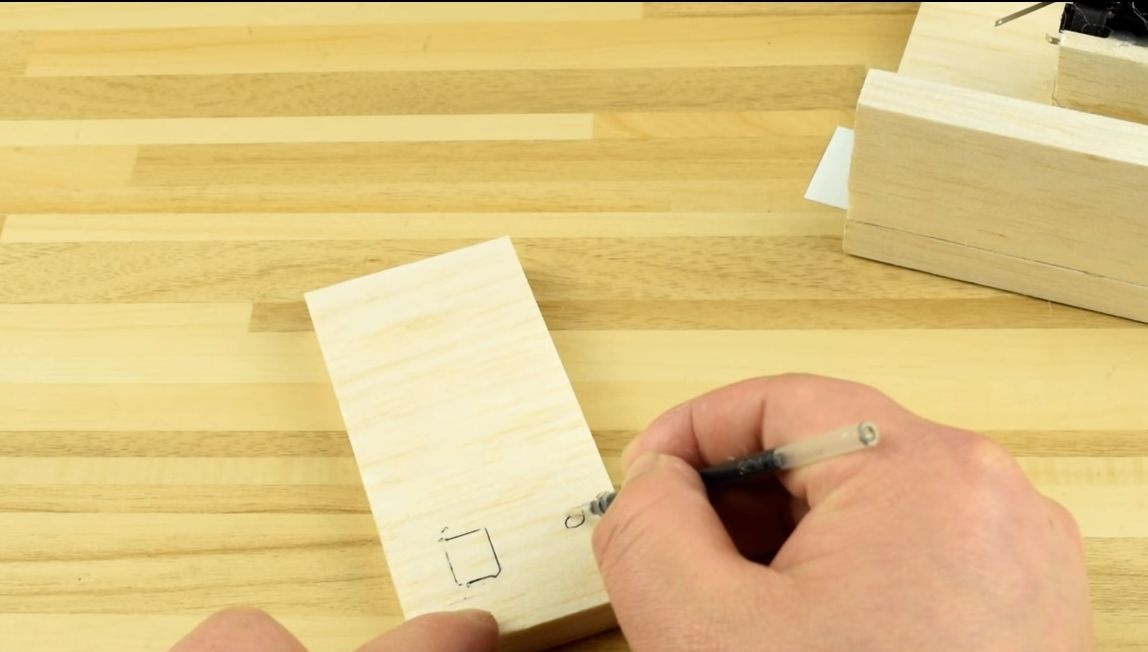
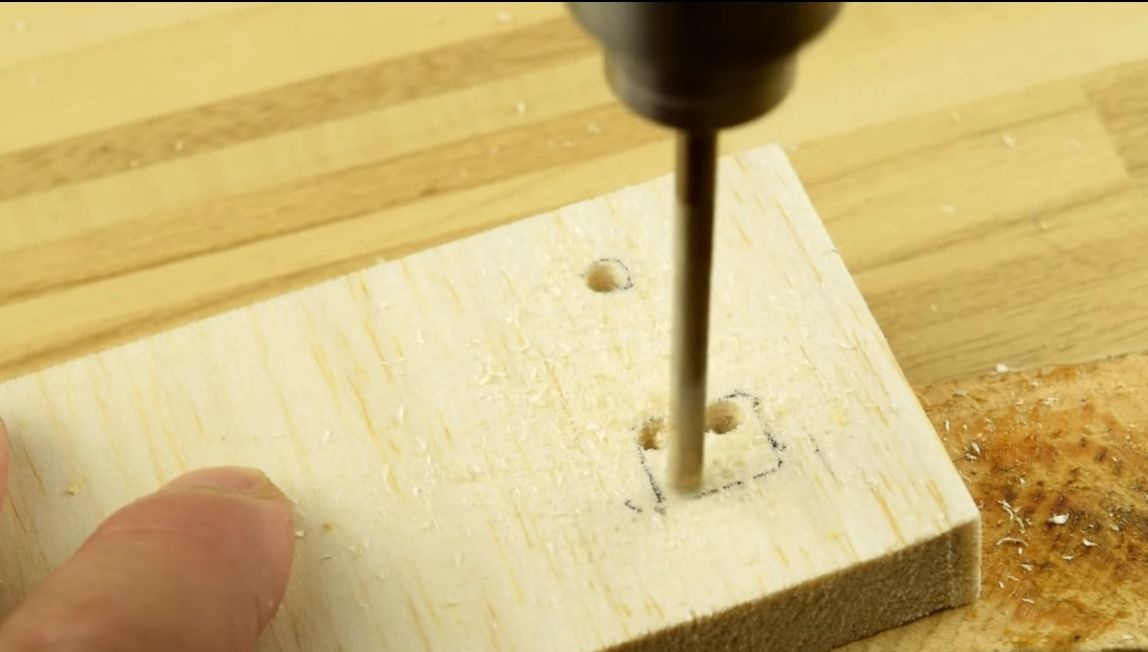
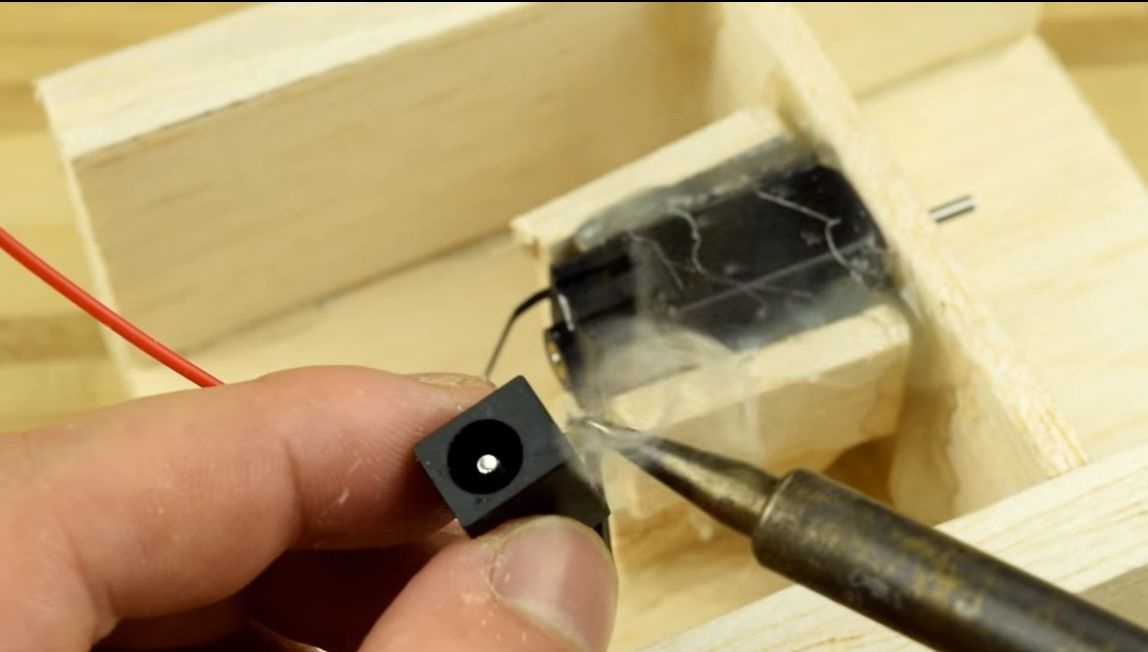
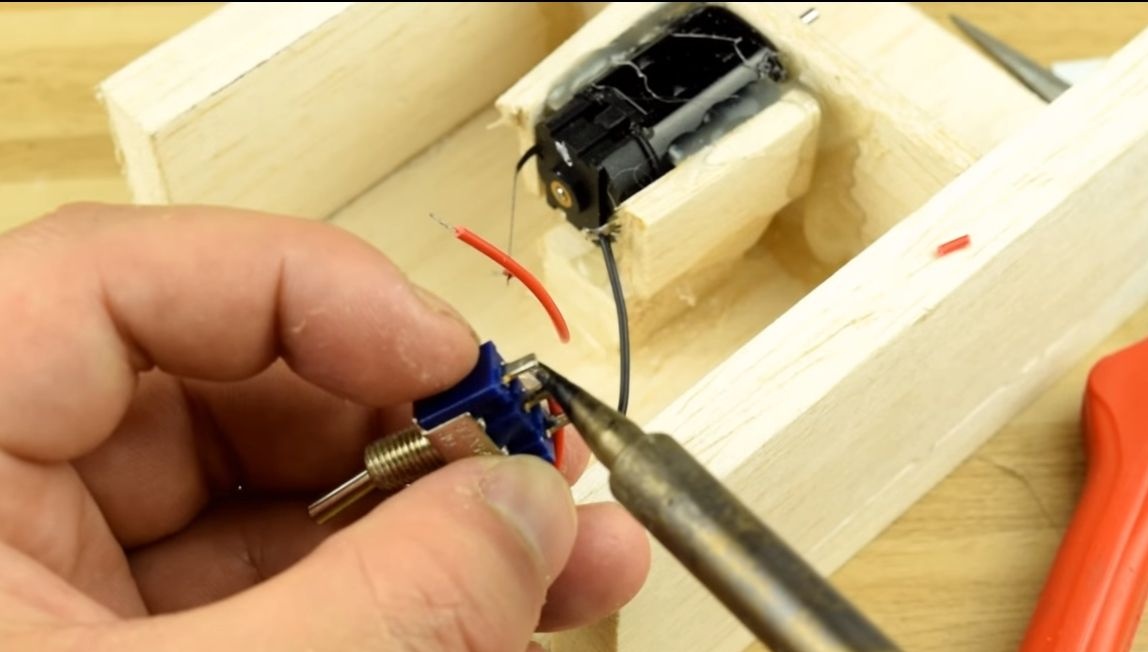
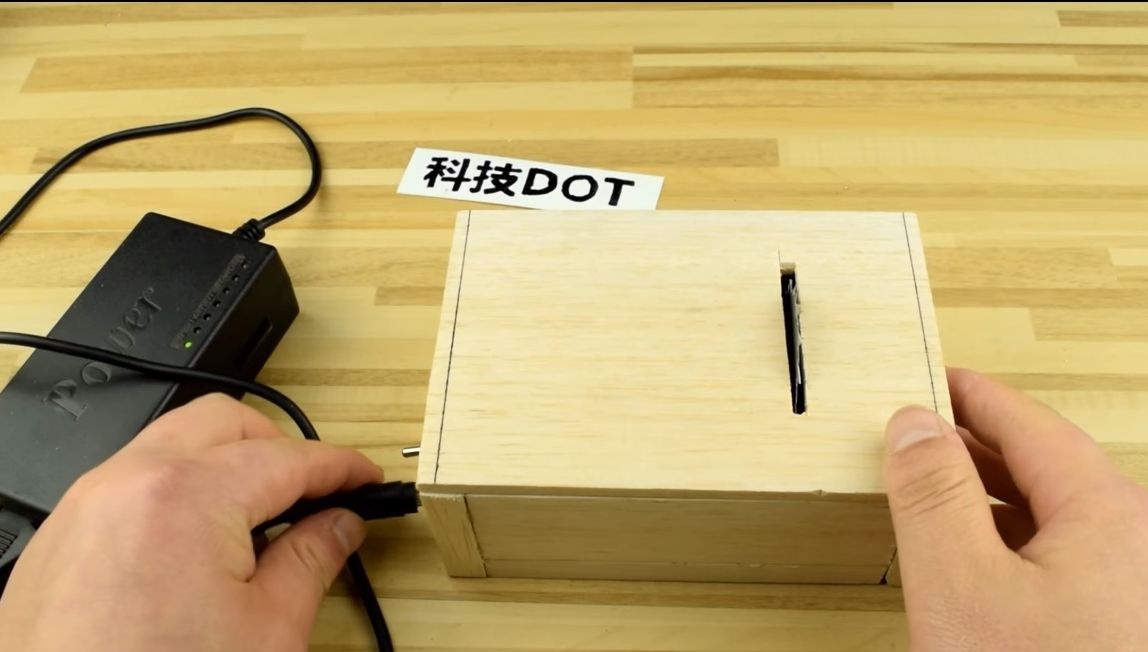
Our back wall is of strategic importance. Here you have to install a switch and a socket for connecting the power supply. We mark the places with a pen, and then we arm ourselves with a drill and drill holes. We fix the charging socket and the switch using hot glue. Do not spare glue, everything should hold tight.
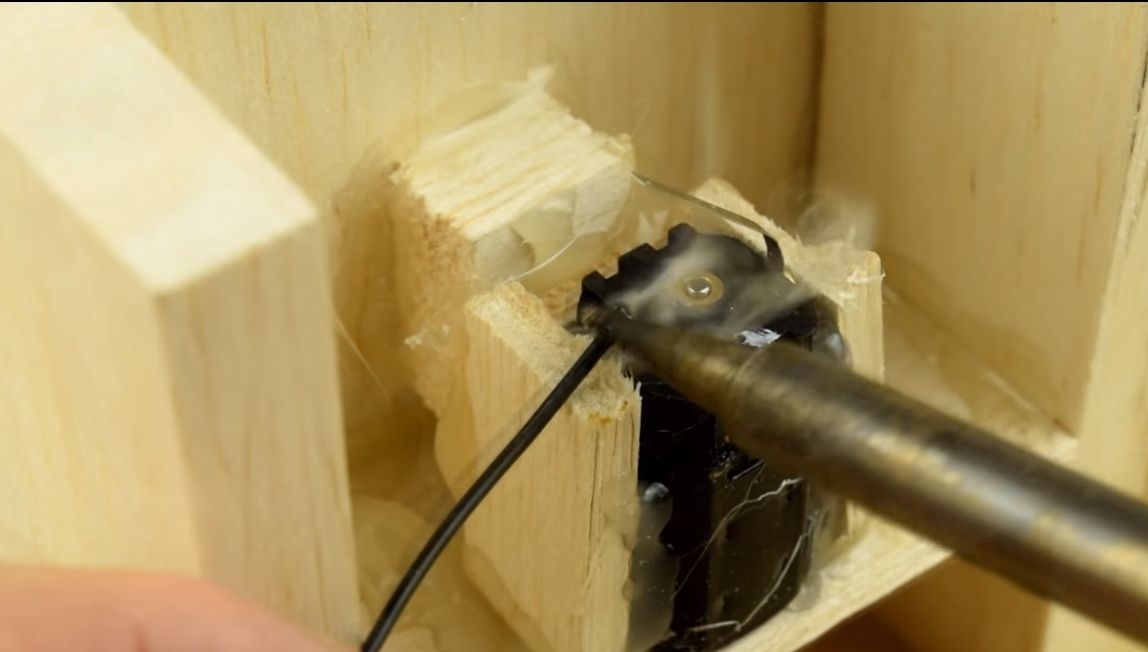
Solder the wires to the motor, and try to turn it on. If everything works, fine, move on.
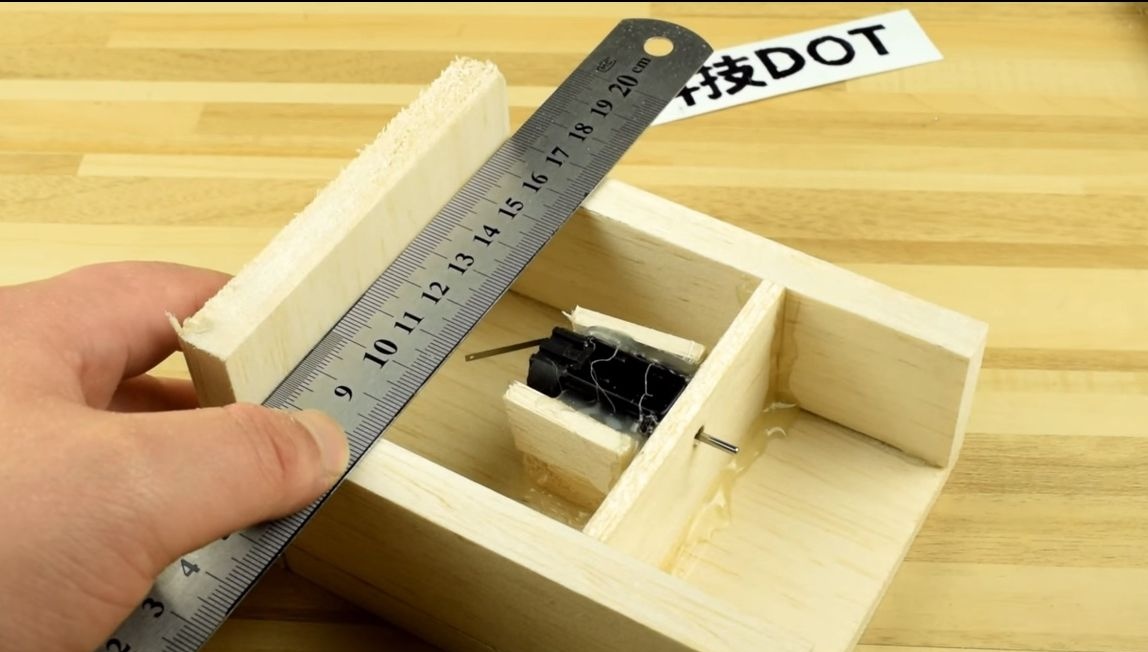

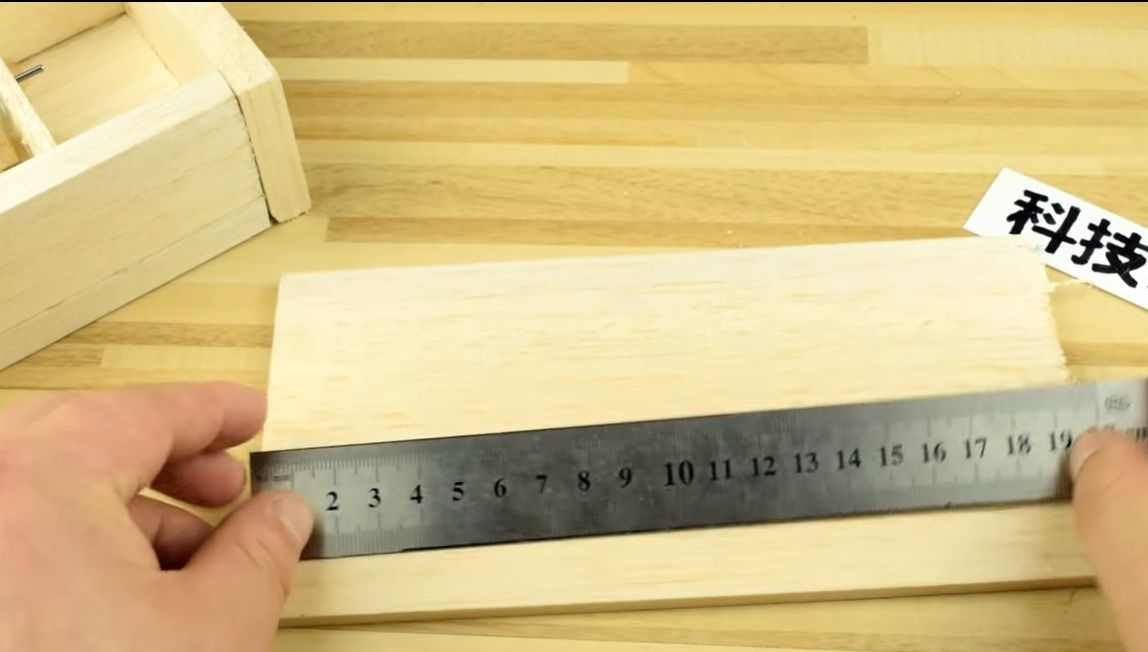
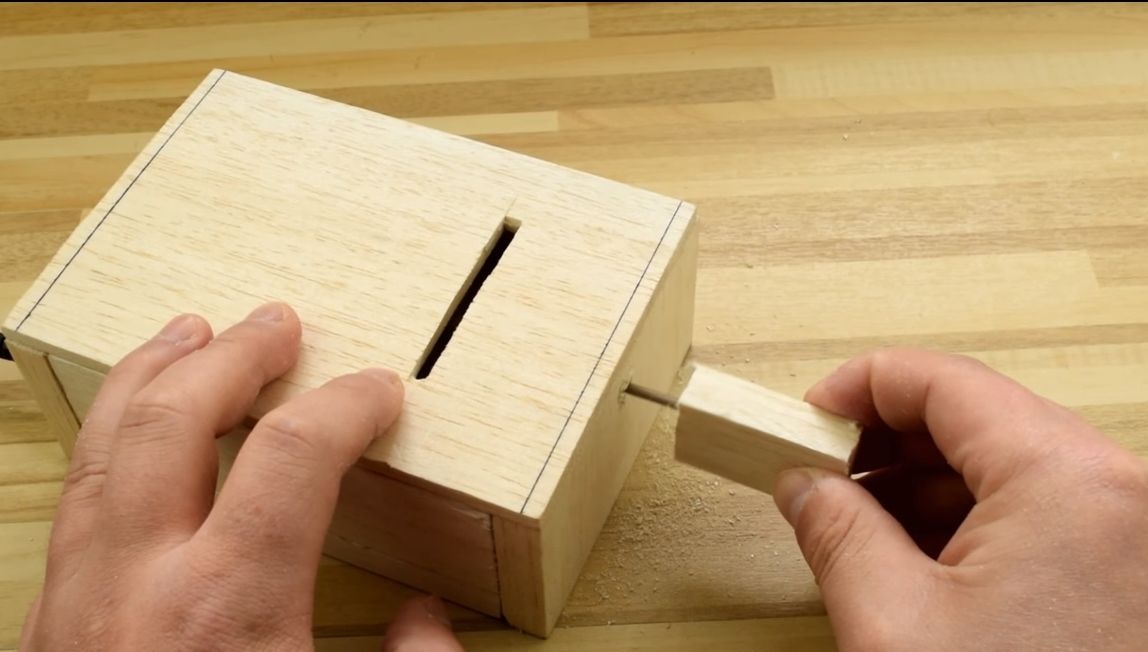
Step Five Cap
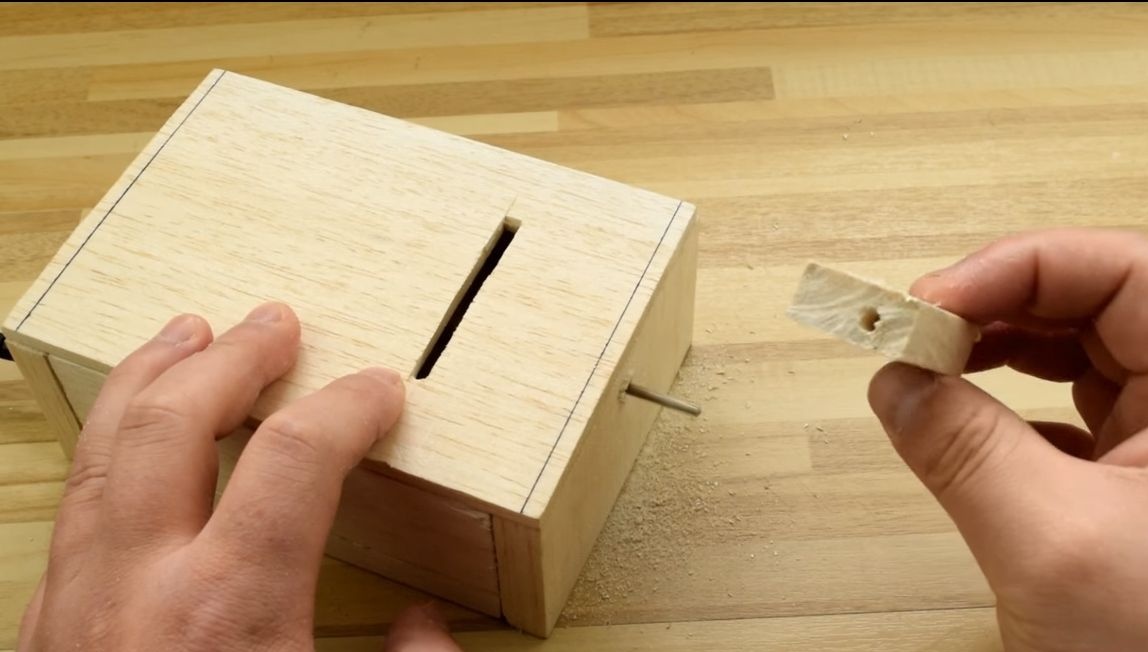
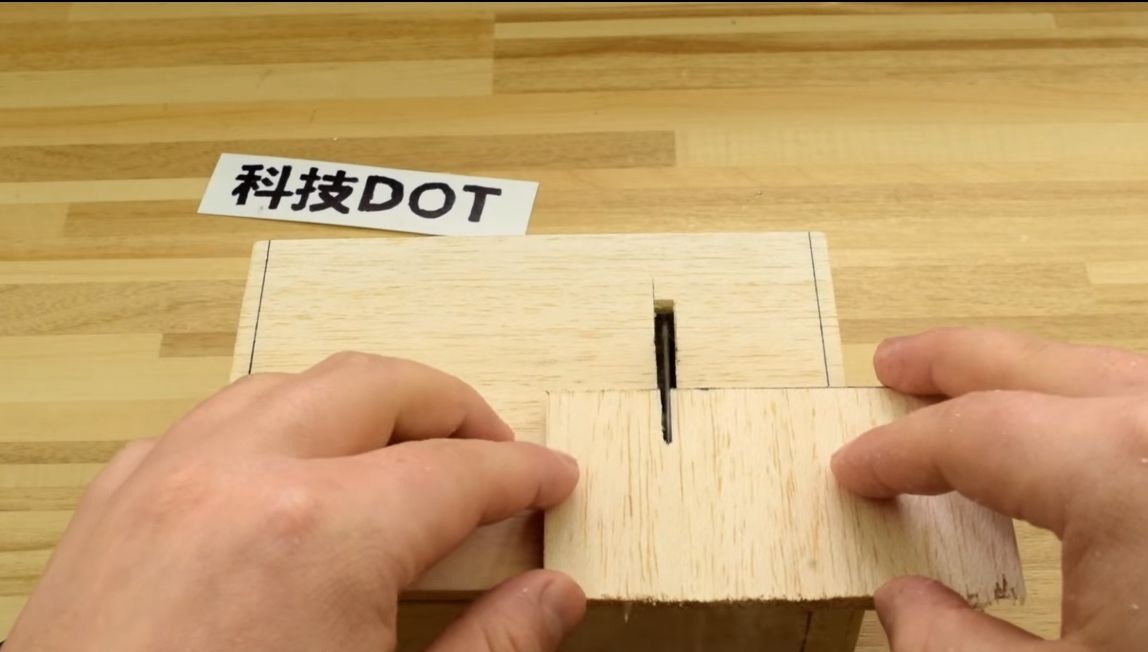
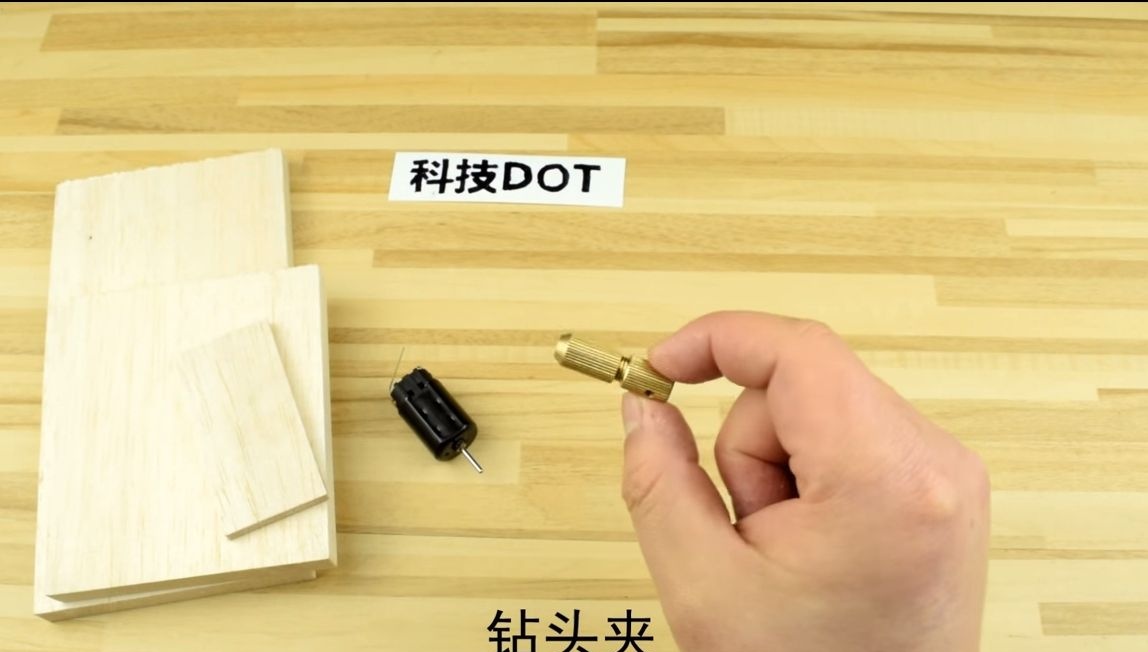
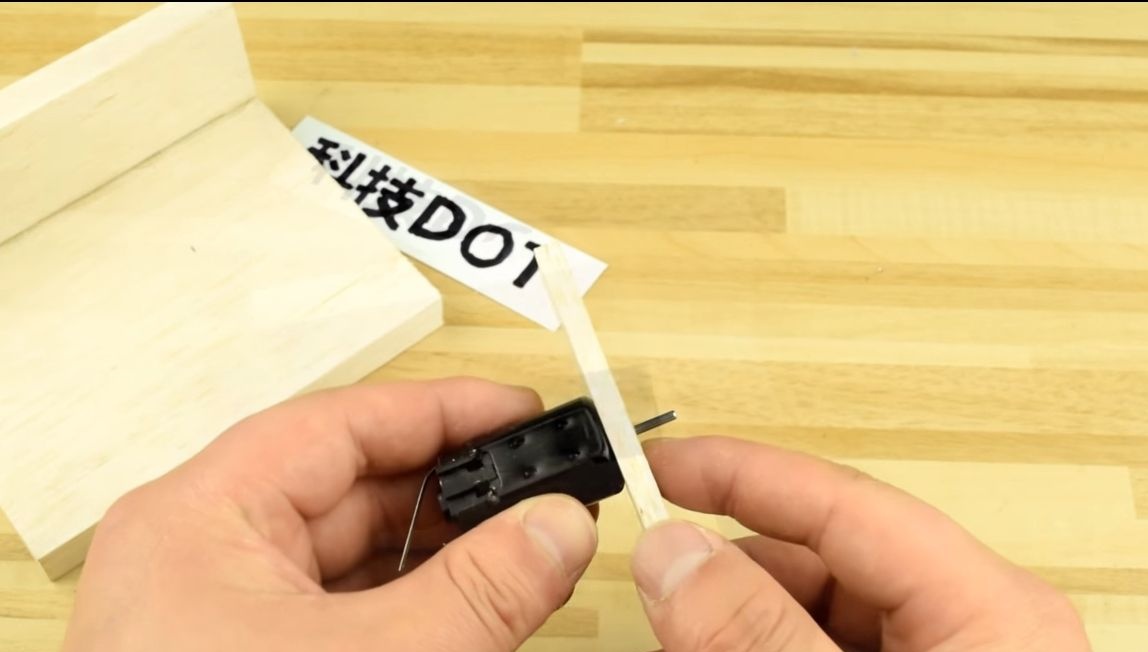
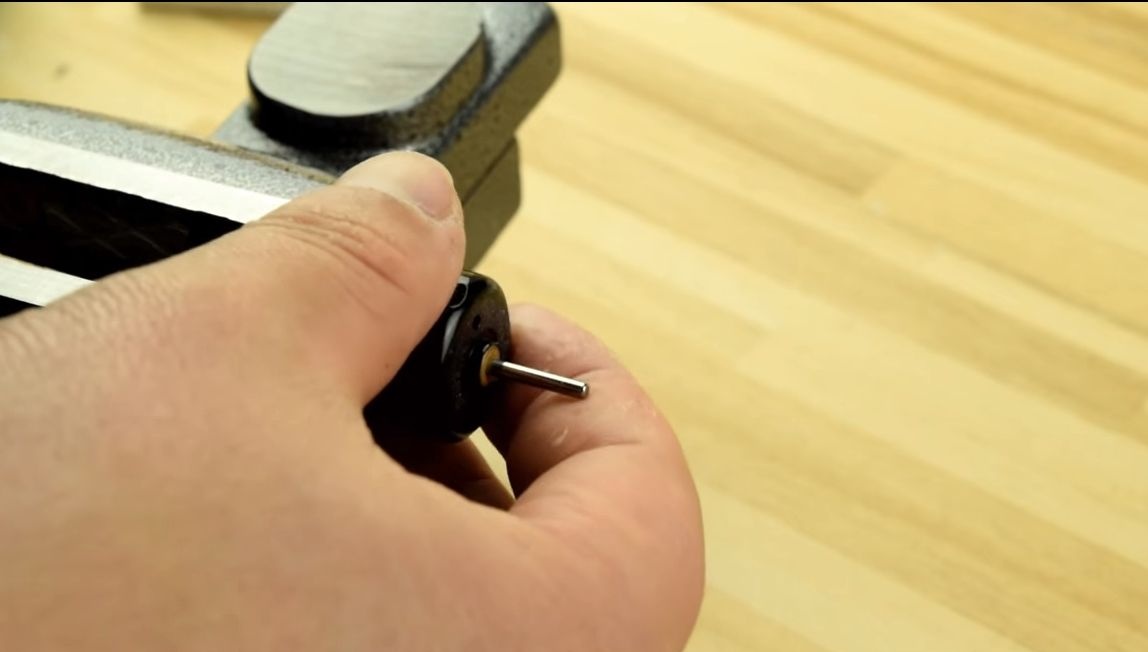
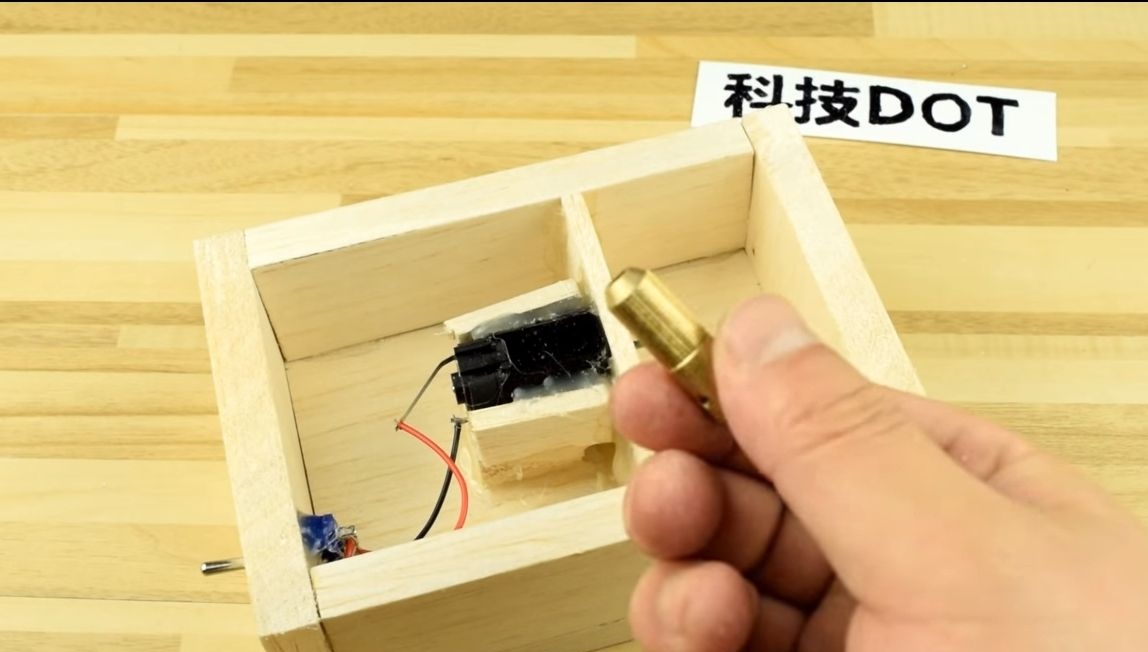
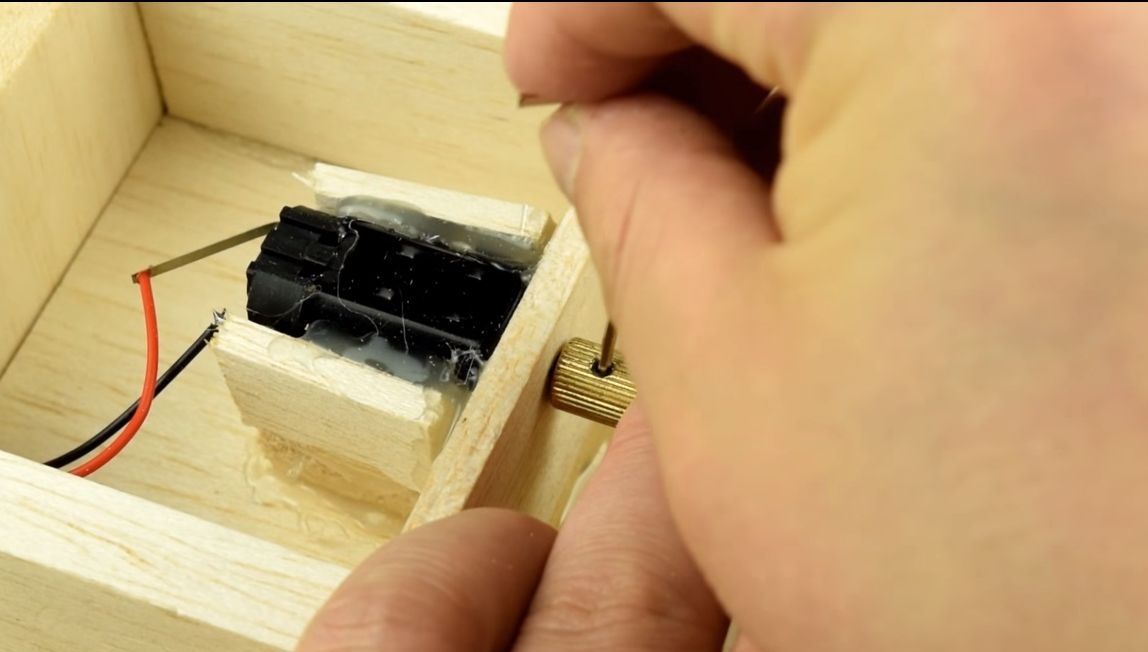
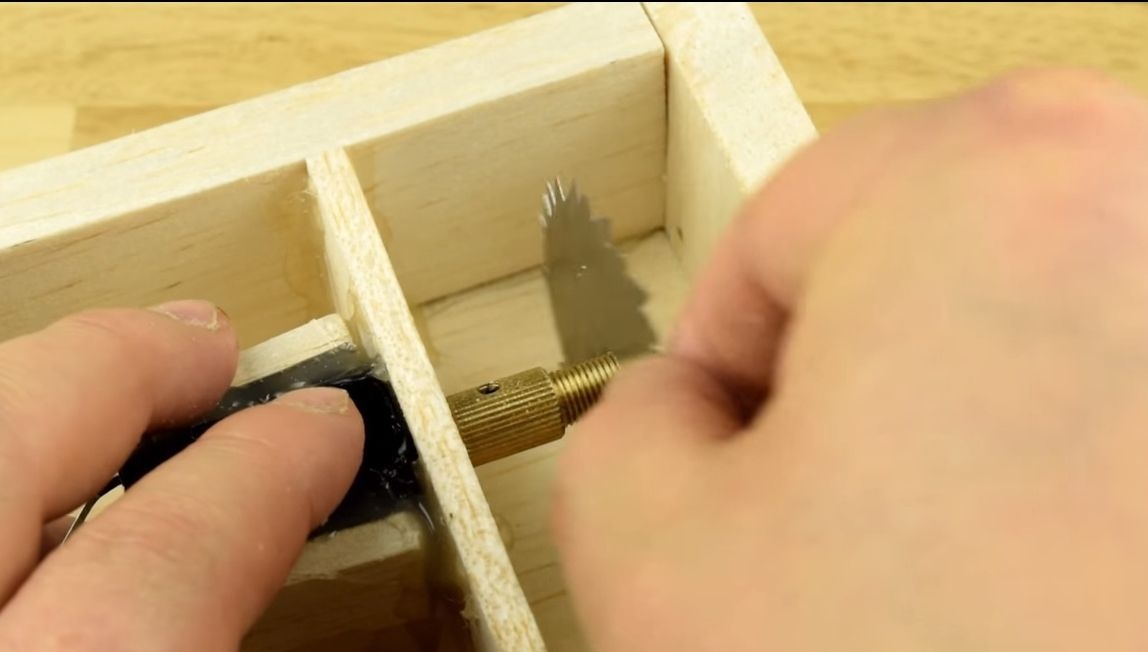
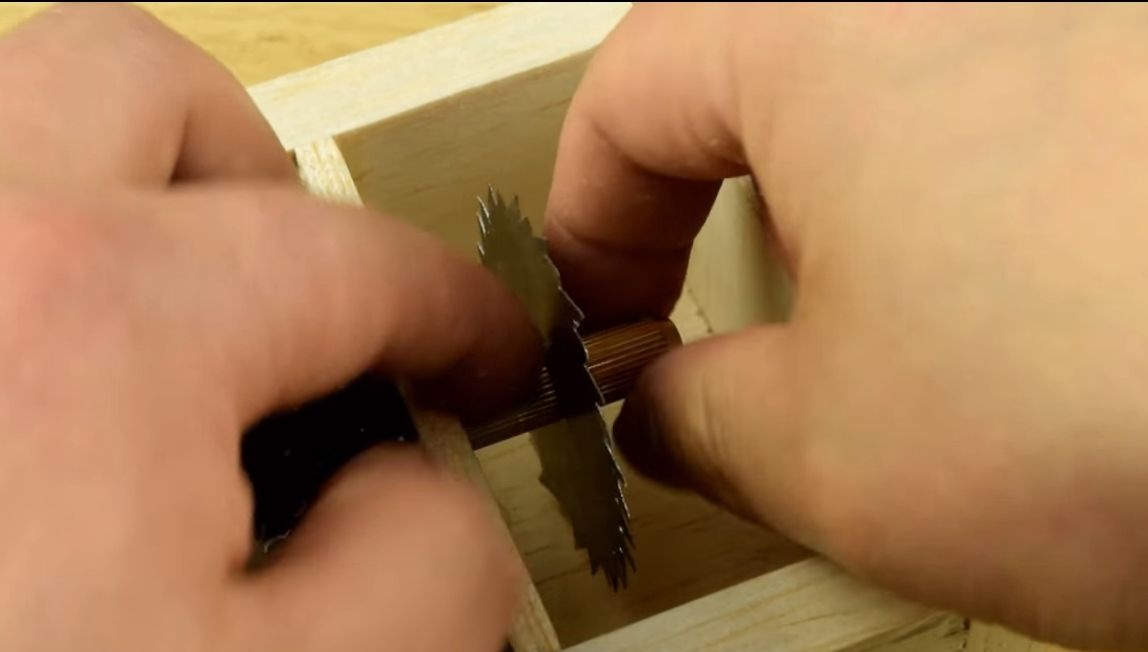
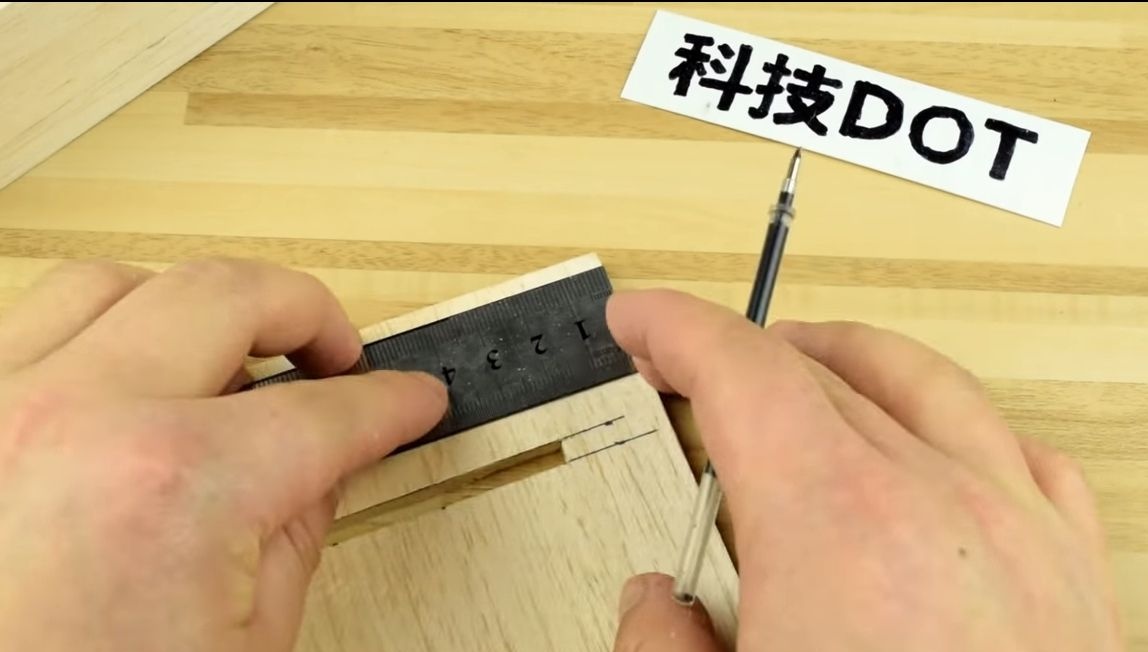
From a suitable board we cut out the cover for the device. This cover will be a table for a circular saw. In the cover you will have to cut a slot hole for the cutting disc. To understand where to do it and what sizes, we install a cutting disc on the motor shaft. To do this, we first install a drill chuck, but do not use the central part that clamps the drill. The cartridge itself can be mounted with one or two screws. Well, then we install a cutting disc on the cartridge and tighten the nut well with two pliers. That's all, now make the necessary measurements and cut a slotted hole under the cutting disc. If you use balm, this task can be dealt with with the help of a clerical knife.
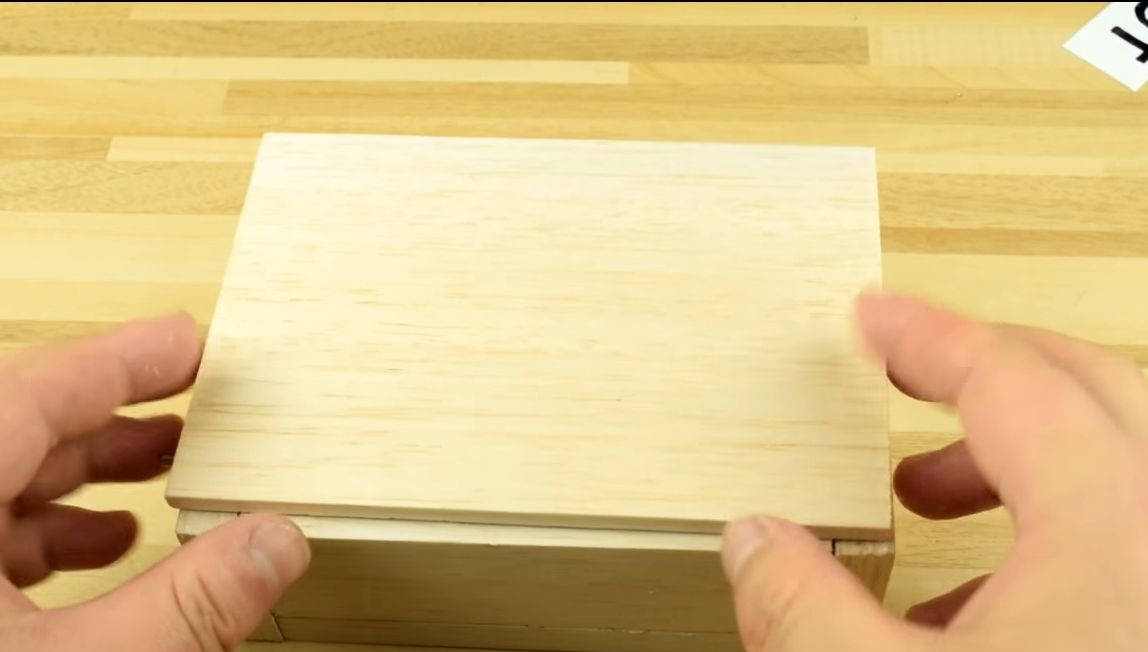

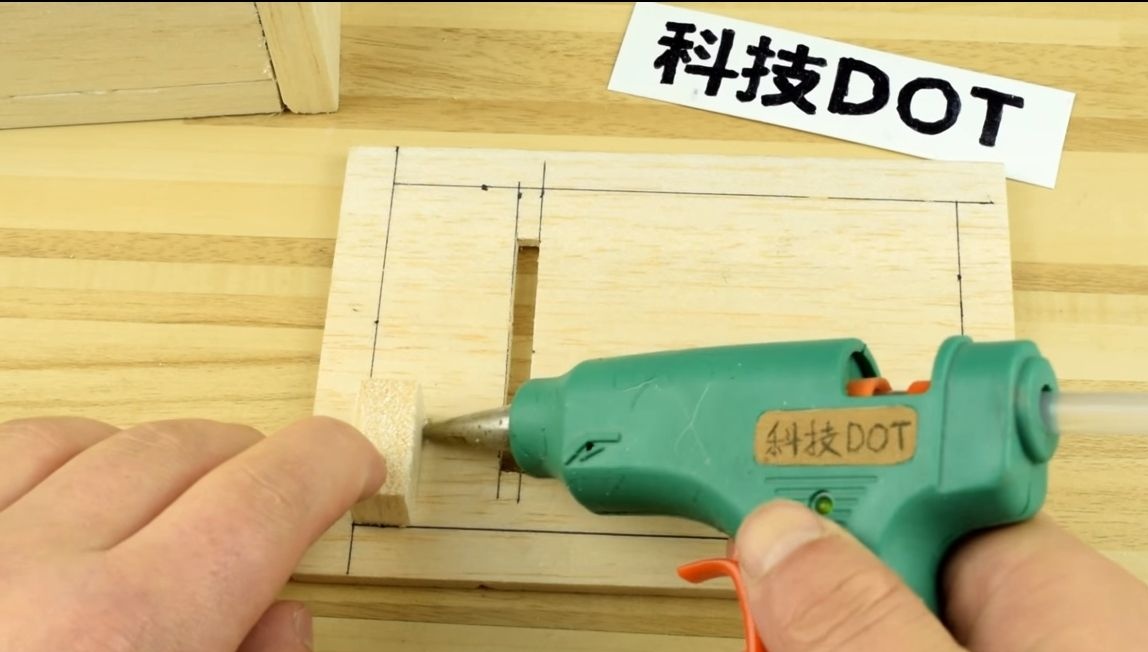

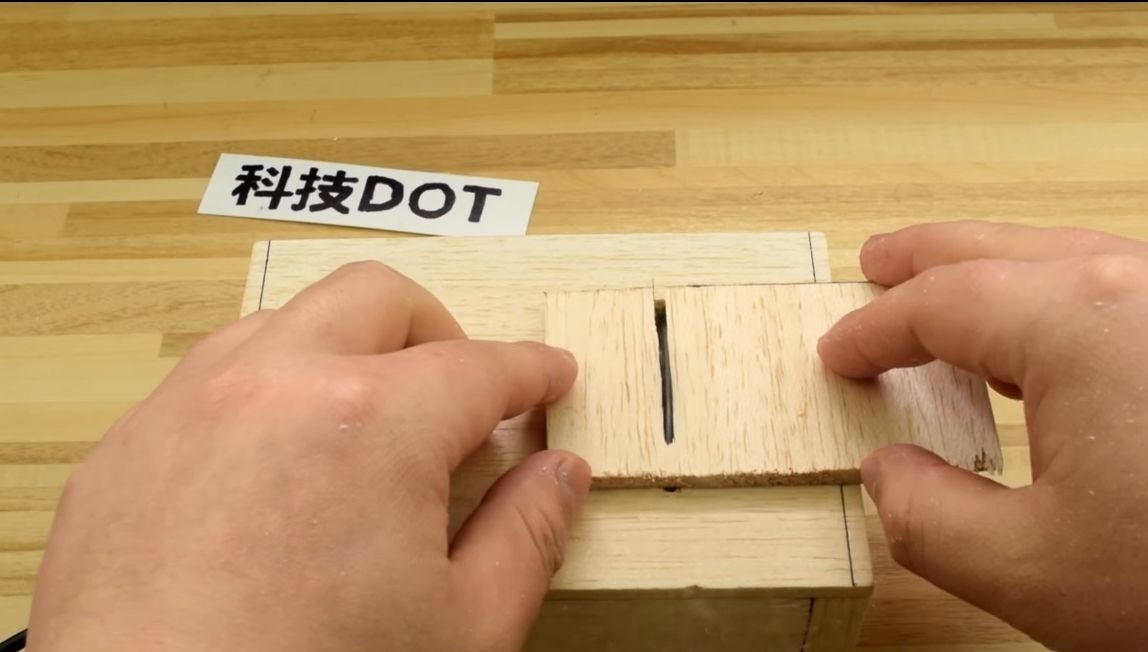
In the end, you need to make and stick to the inside of the lid stops. They are needed so that the lid does not go from side to side. That's all, now the machine is almost ready, we are conducting the first tests!
While a separate cutting disc is used as a nozzle, we start the machine and test it in practice. At startup, see if the disk rotates in the right direction. In the author’s video, the machine perfectly cuts balsa spice.
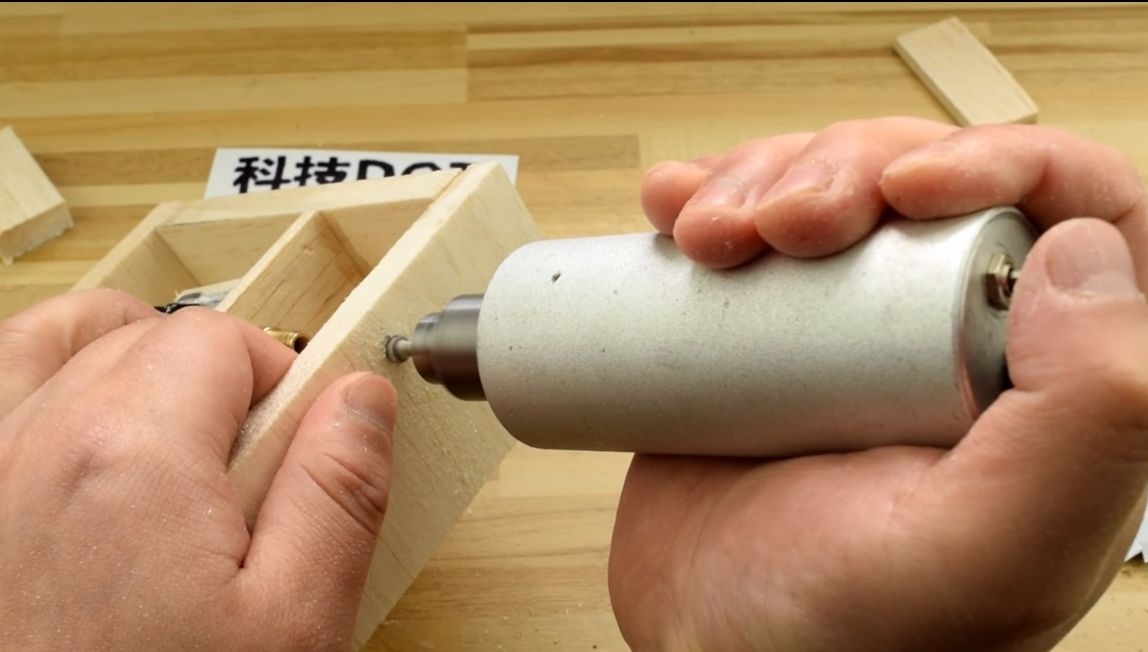
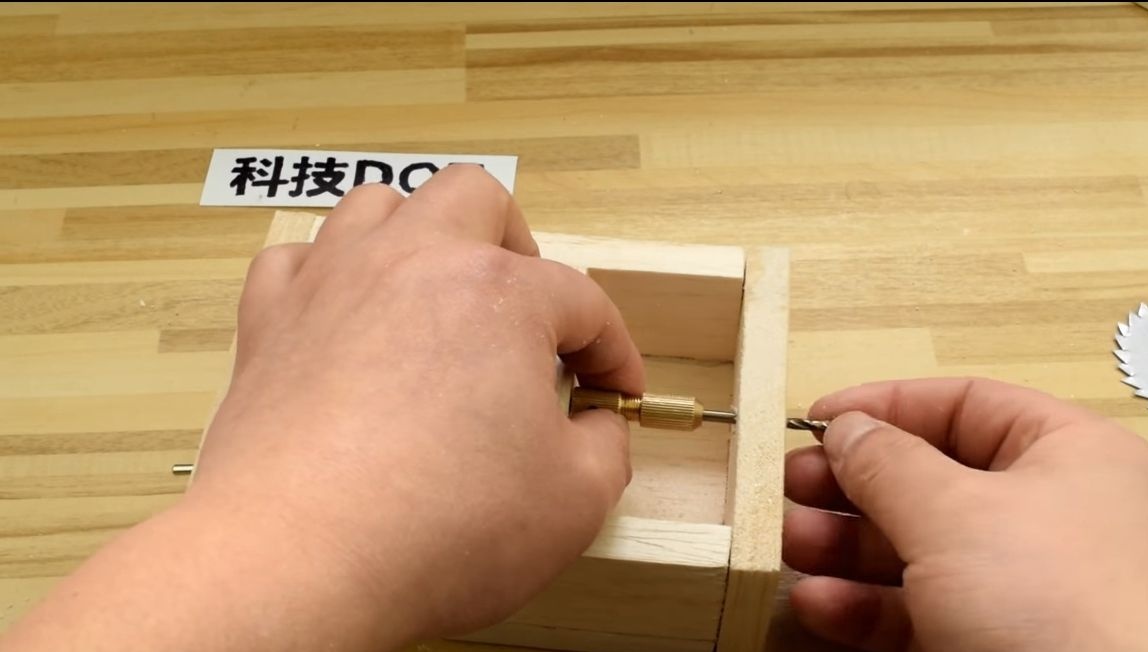
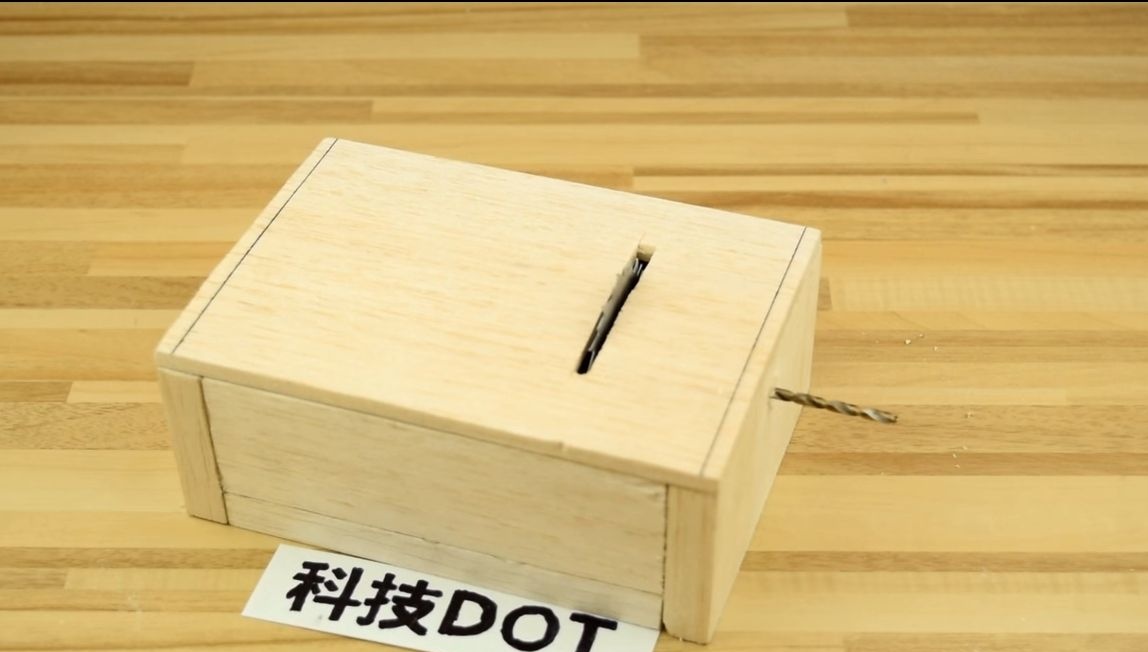
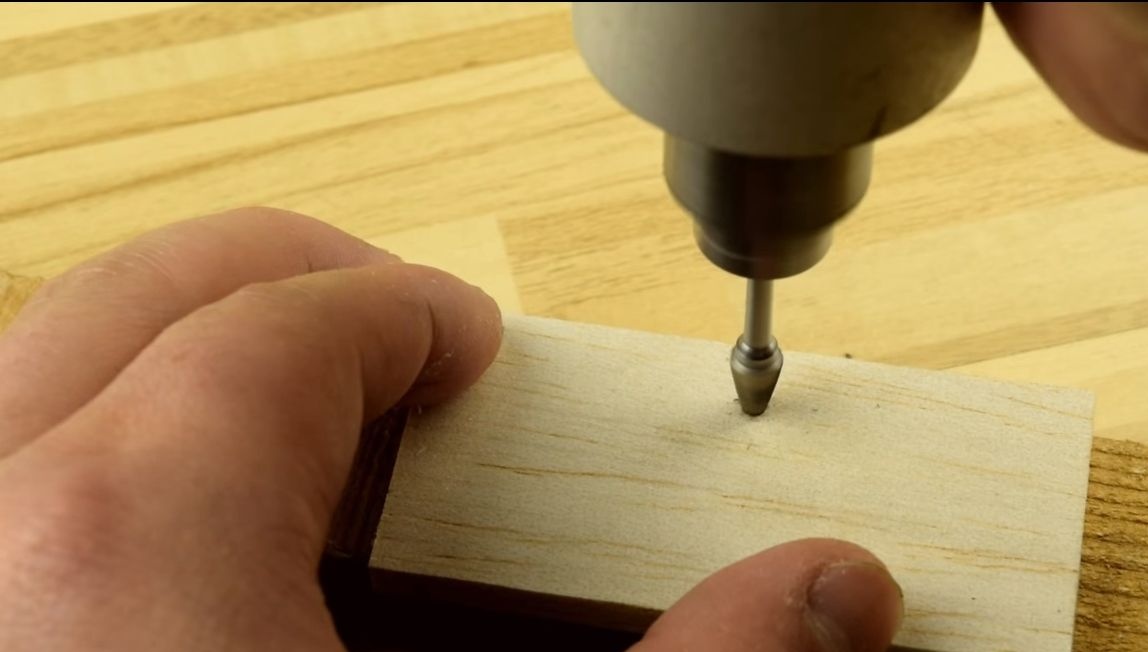
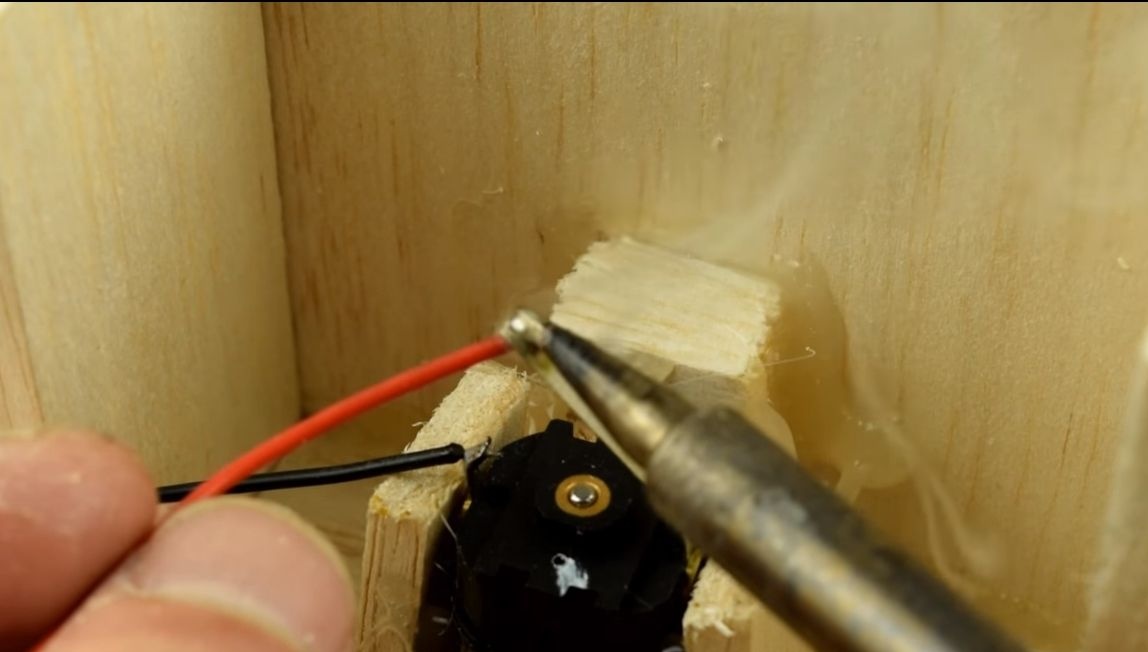
Now you can try the drill machine! We drill a hole opposite the cartridge and install a drill in the cartridge. The author easily drills wood blocks with a machine.
That's all, the homemade product is ready! I hope you enjoyed the project, and you found something new for yourself. Good luck and inspiration in the manufacture of homemade products. Do not forget to share your best practices with us!