
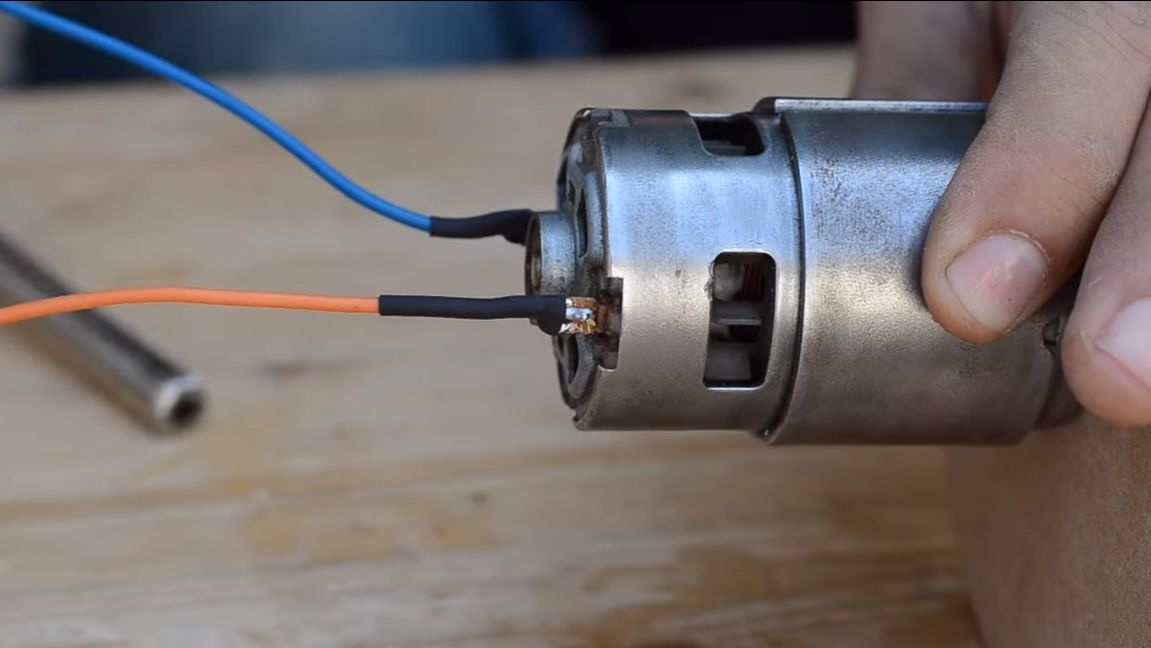
If you are engaged in modeling or in general dealing with the processing of a small size of materials, you can create yourself a workshop with small convenient machines for these purposes. Using or similar analogues, you can make yourself a drill, a drilling machine, a grinder, a cutting machine and much more. Such motors are very hardy and they have enough voltage of 12V, which means that they can be powered by a battery. A propeller is installed inside the 775th, thanks to which the engine does not overheat during prolonged operation. And the rotor of the engine rotates on bearings, which increases the service life.
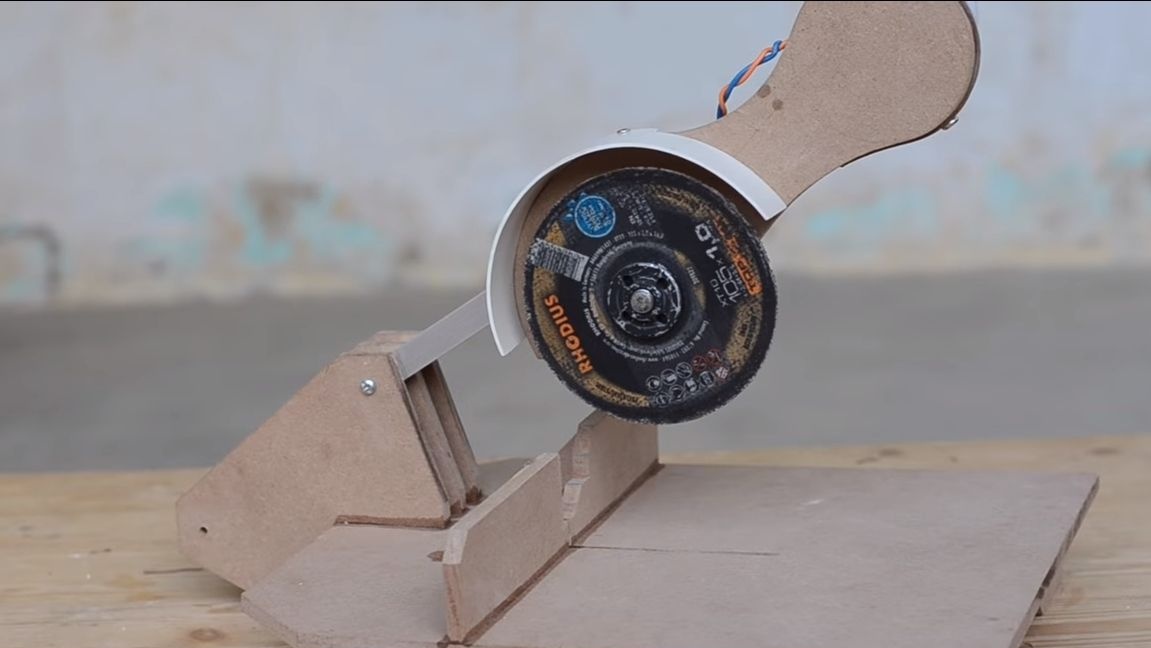
In this manual, we will look at how to make an excellent cutting saw using the 775 engine, as well as plywood. On the machine you can install all those nozzles that go to a small grinder. That is, if you install a cutting disc, the machine can easily cut steel objects. You can also install a disk for a circular machine on the machine and successfully cut wood and more. It is not difficult to assemble such a machine, many parts are attached with superglue. So, we will consider in more detail how to make such a machine.
Materials and tools used by the author:
Material List:
- ;
- plywood;
- ;
- spring;
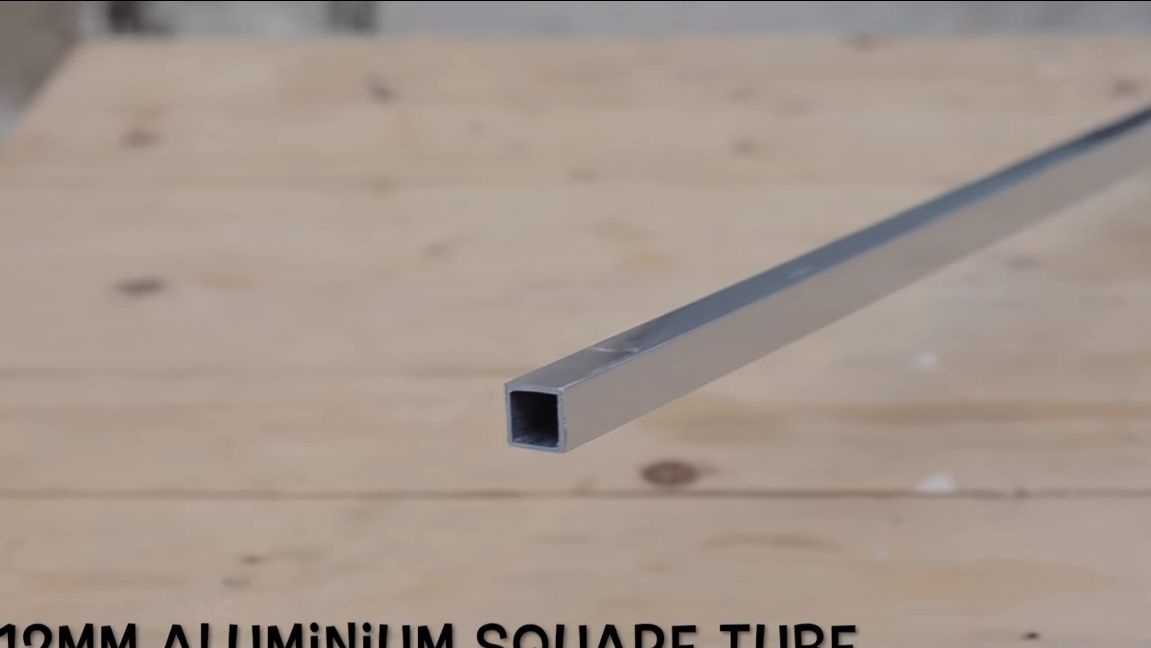
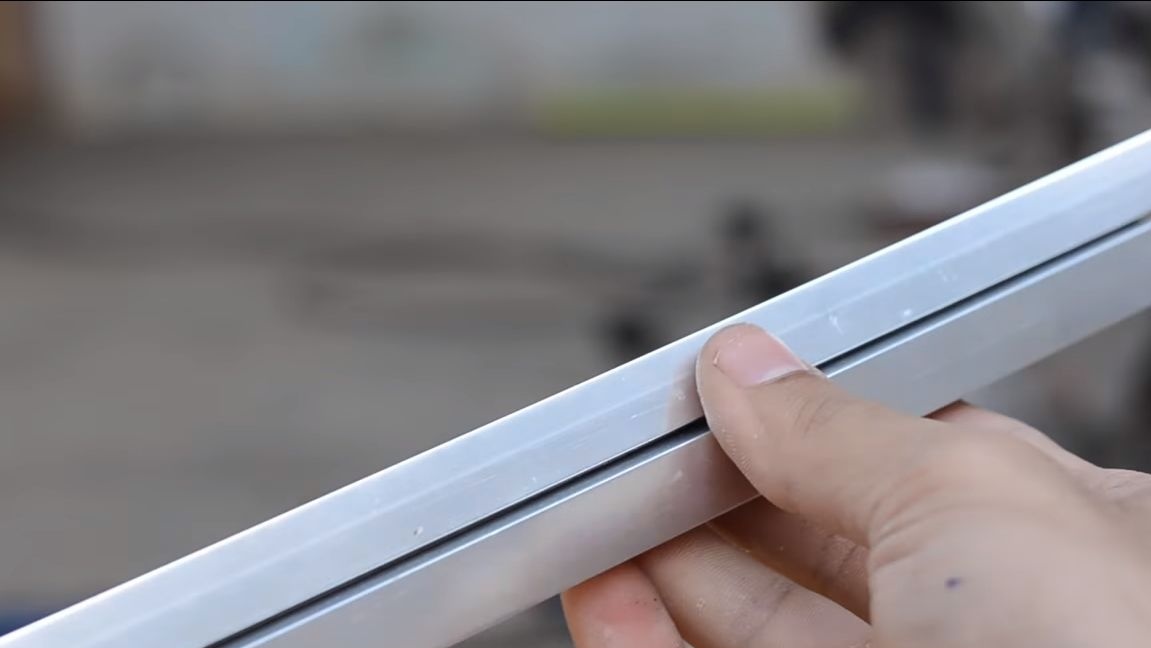
- square aluminum pipes;
- Super glue;
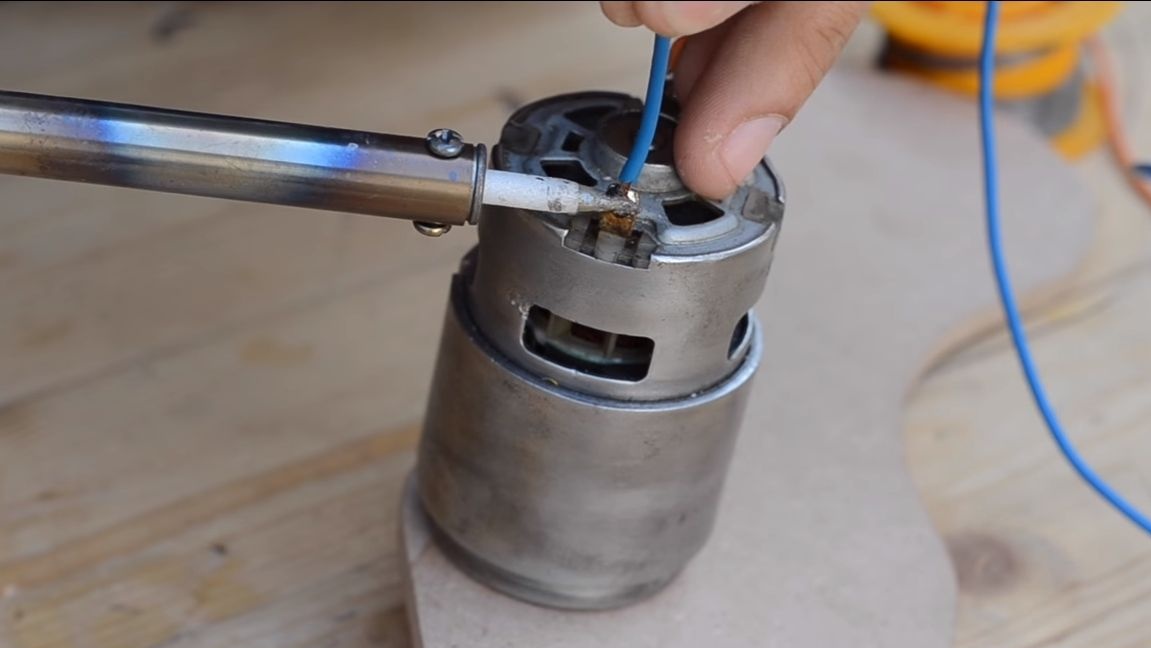
- wires;
- PVC pipe;
- a controller for controlling the speed (optional);
- “trigger” from a drill for speed control;
- cogs and other little things.
Tool List:
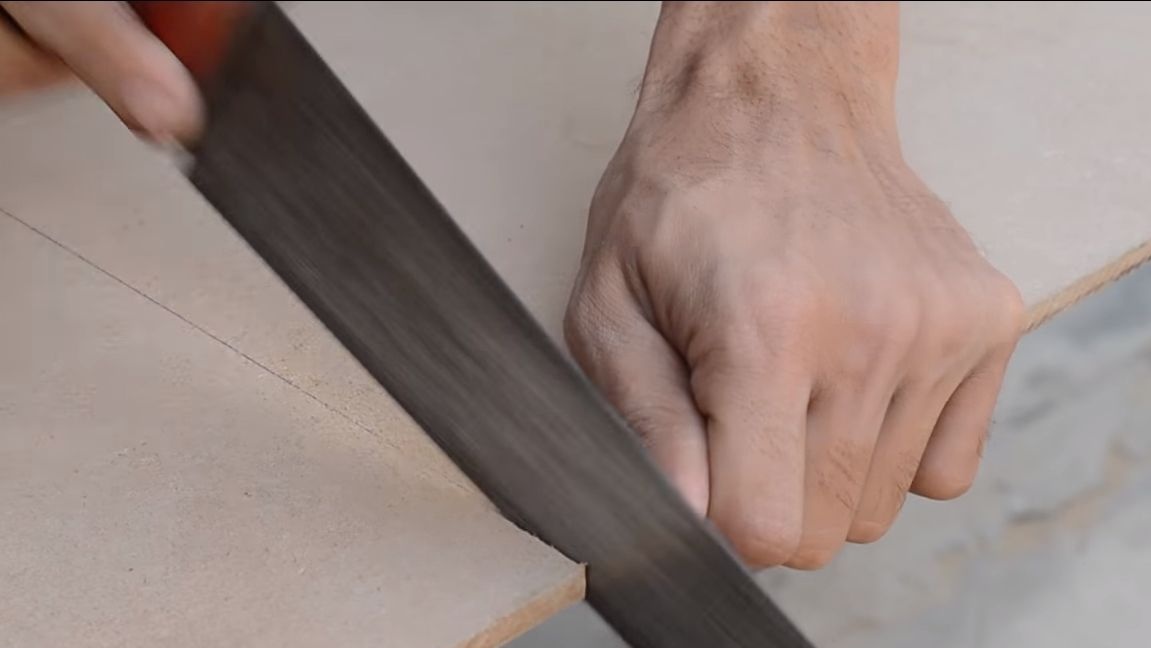
- a hacksaw for metal;
- jigsaw;
- drill;
- ruler;
- glue gun;
- clamps;
- pliers;
- circular and mitral saw (preferably);
- screwdrivers and stuff.
The manufacturing process of the cutting machine:
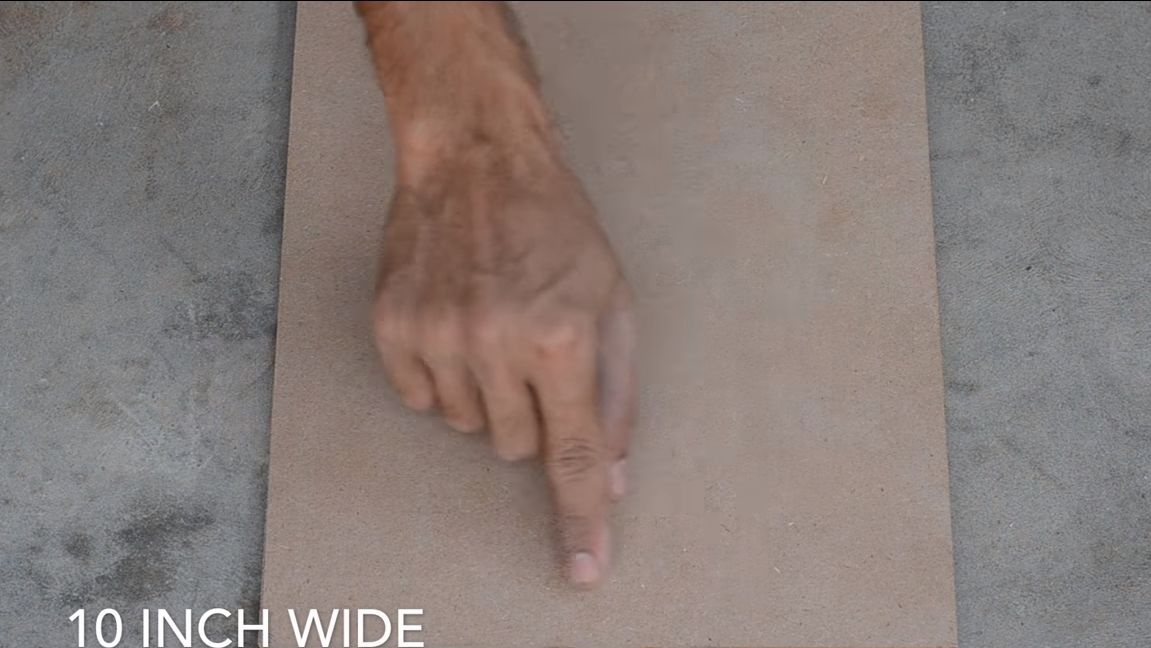
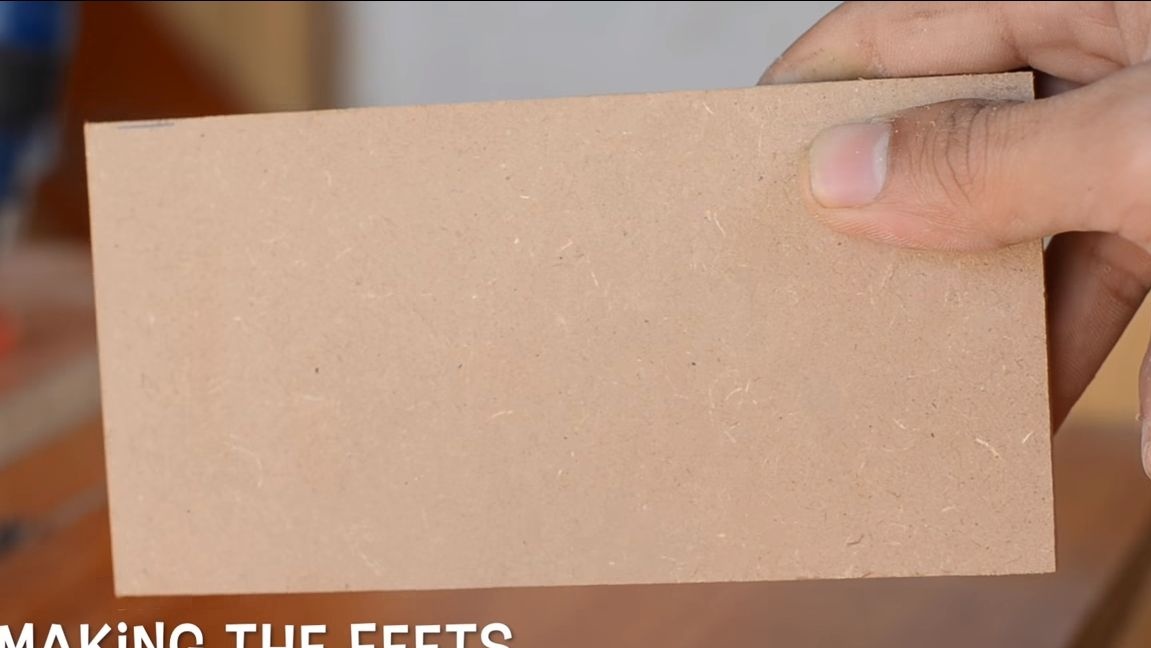
Step one. Base manufacture
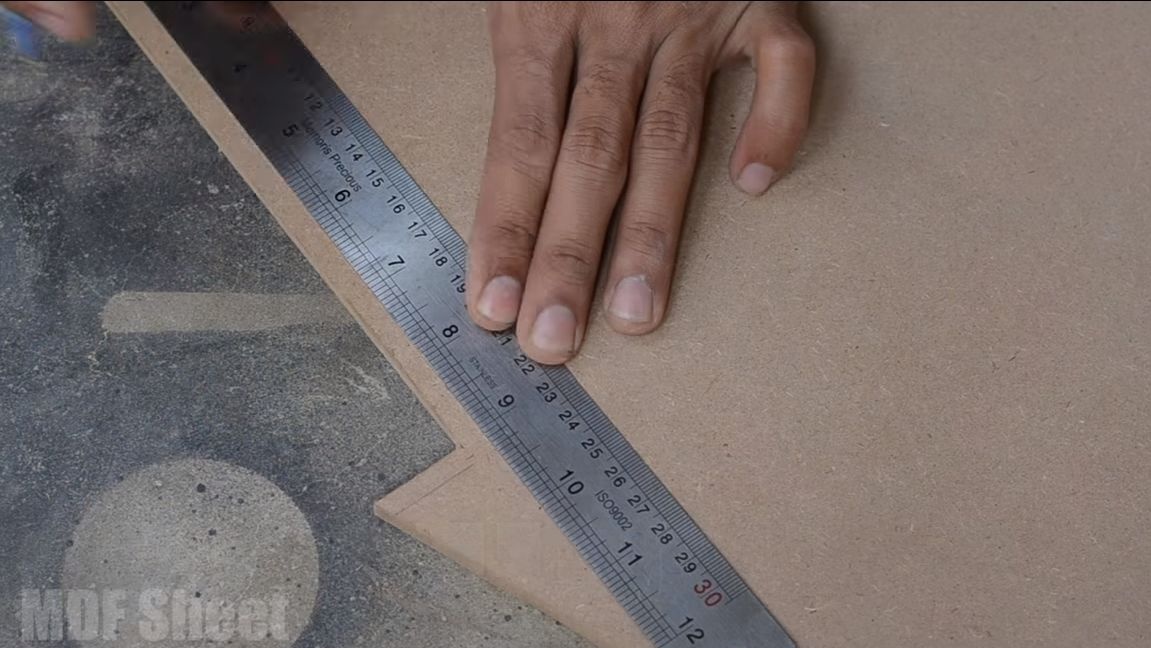
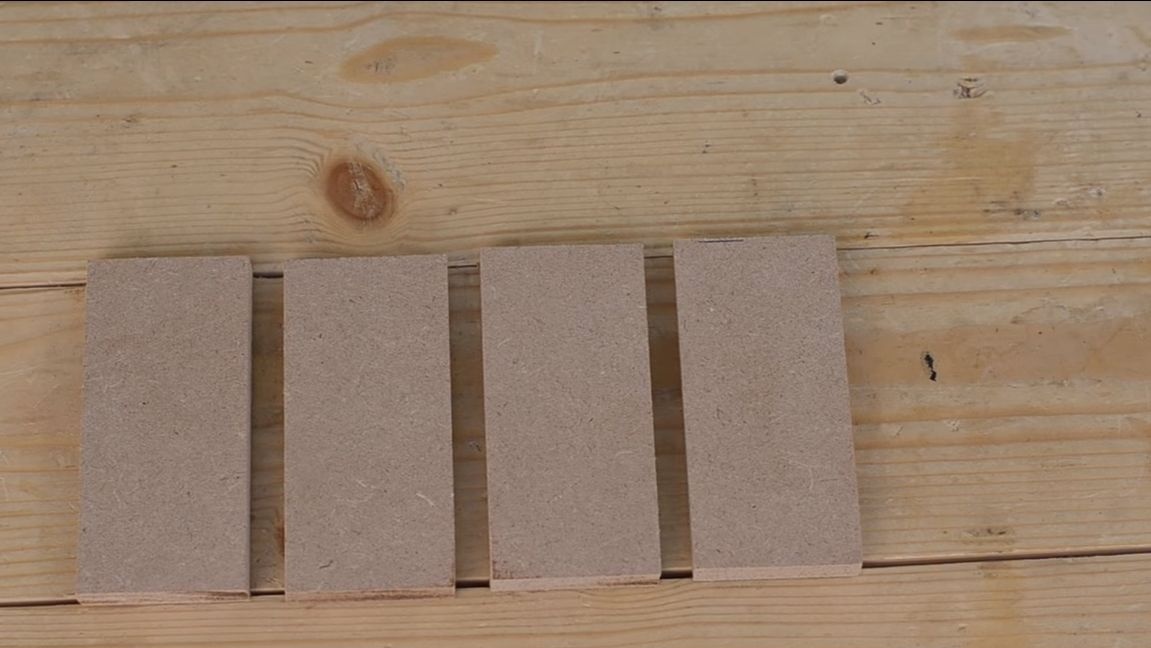
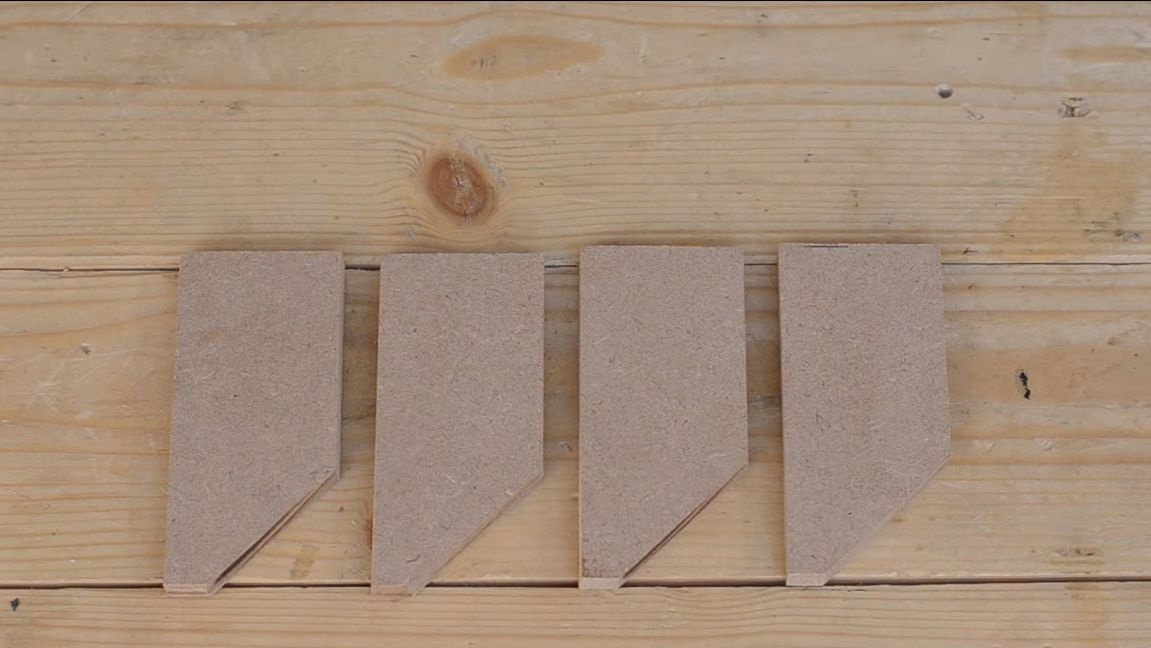
To make the base, you need a sheet of plywood. We crop it as the author in the photo, so that it is convenient to use the machine. For the base you need to make legs, they are also made of plywood. Cut off equal 4 pieces and cut off the corners, as the author in the photo. Well, then glue the legs using superglue.

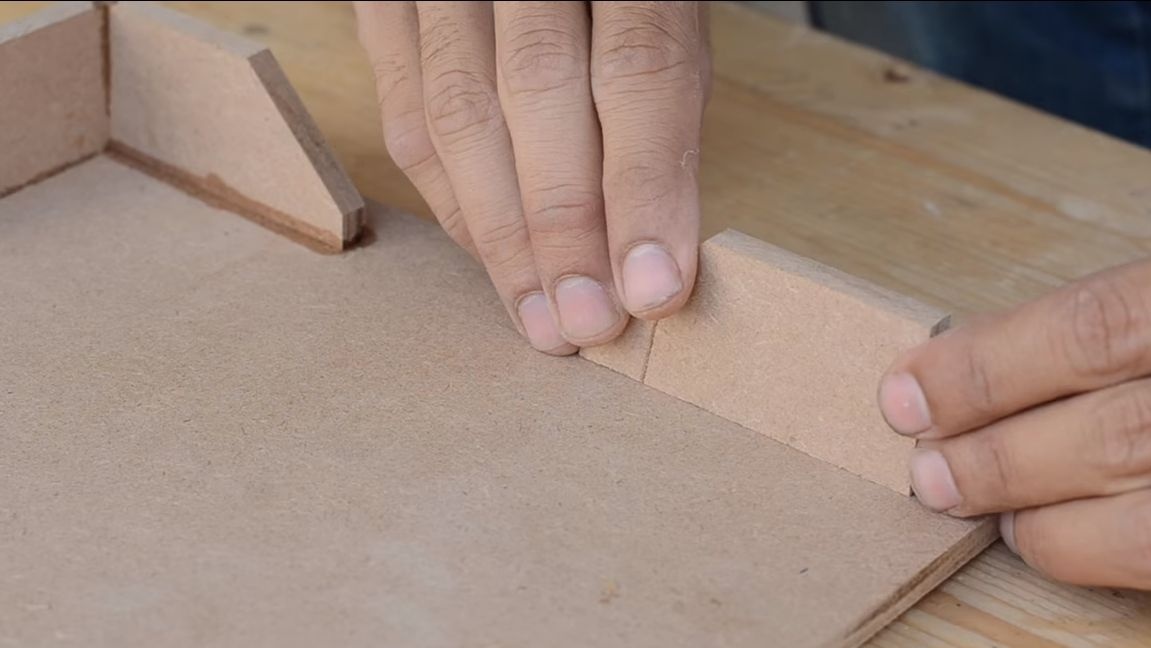

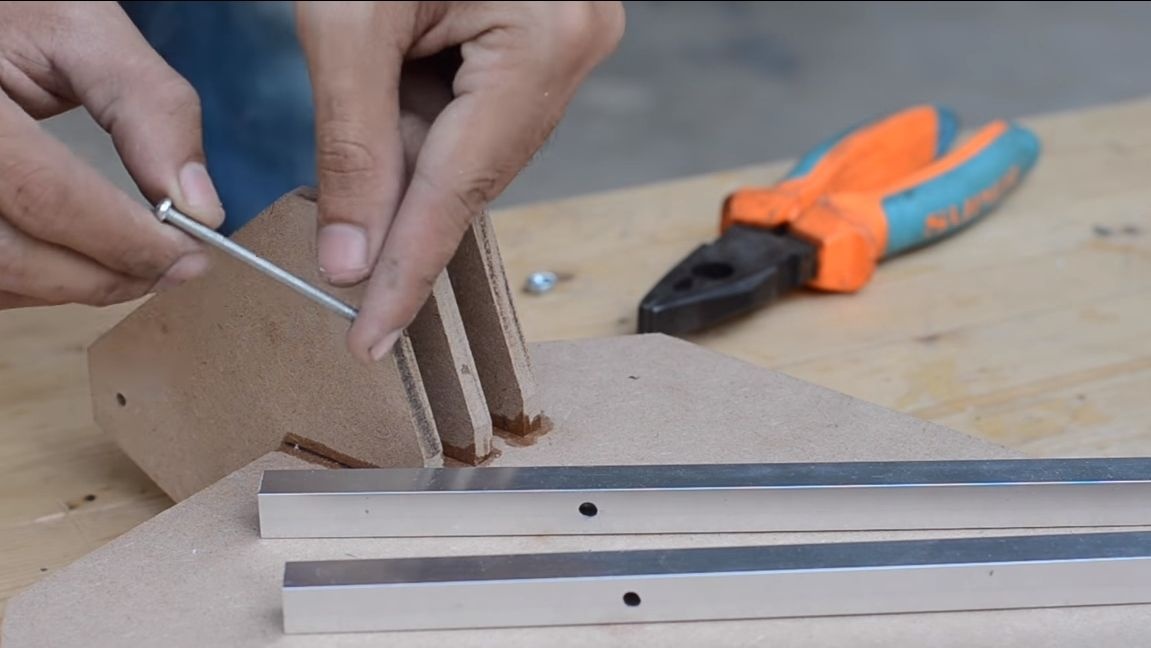
Step Two Fasteners
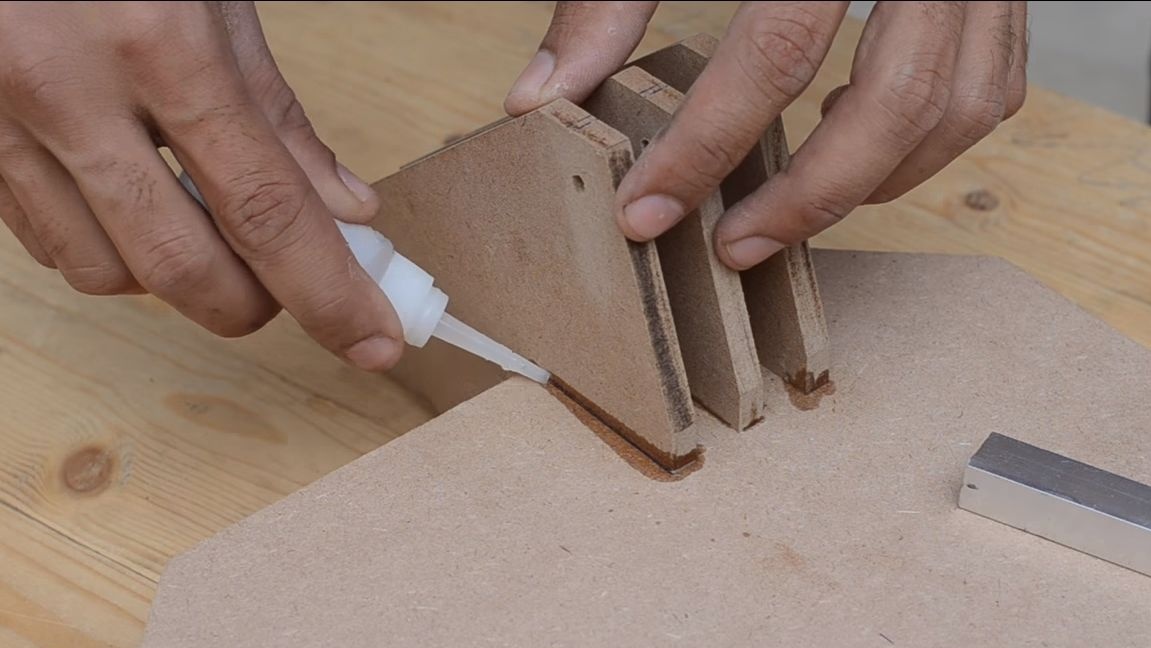
We will need to make three parts, with which we will then attach the levers. To do this, take a sheet of plywood and make markings. Glue three sheets at once with superglue and cut, as a result, you get three identical parts. At the end, drill holes for fastening into them.
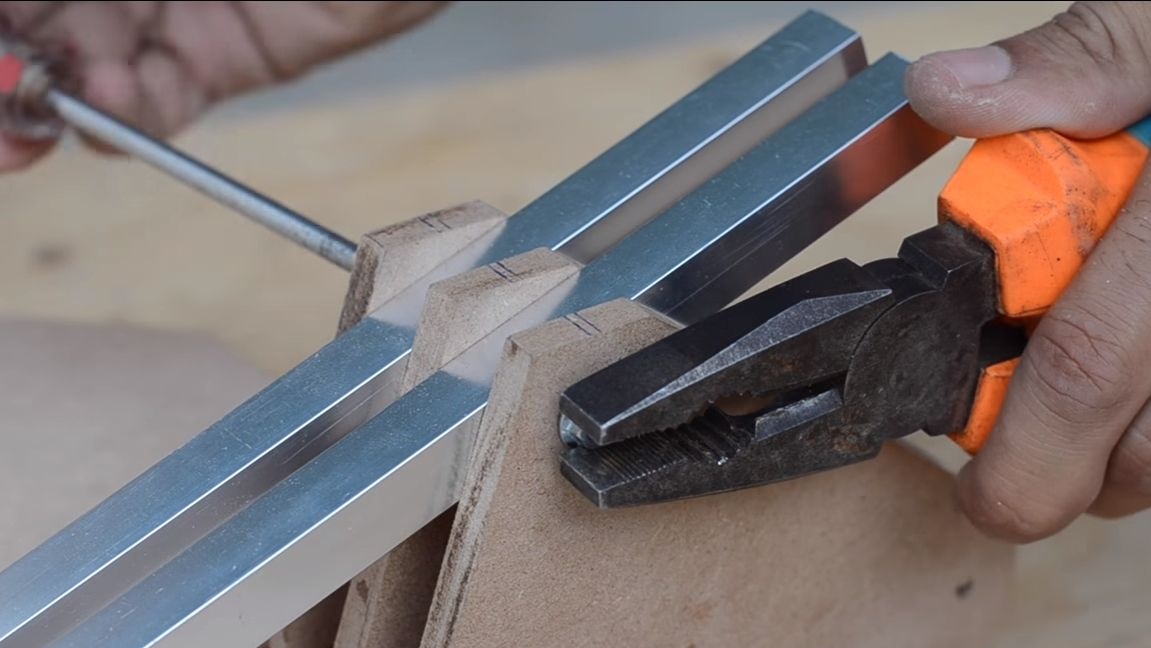
Glue the manufactured parts to the base. The gap between them is selected depending on the width of the levers, which are used as square pipes. They should be between the racks with a minimum clearance so that the machine cuts accurately. For bonding, the author uses superglue. Wood glue is also good for this.

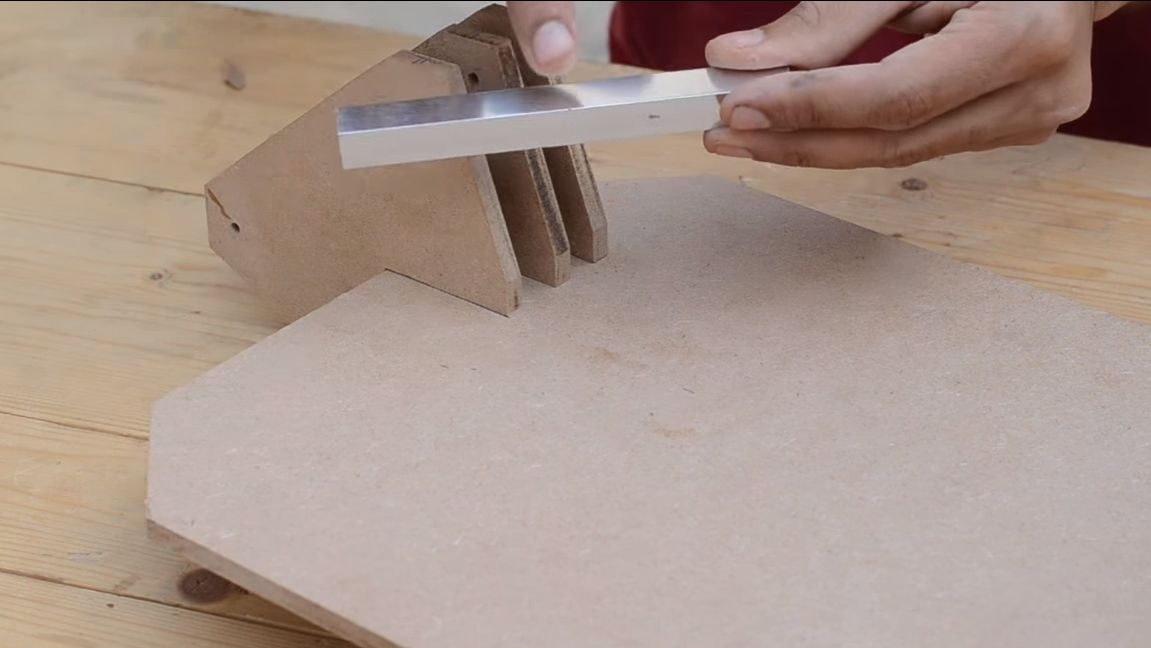
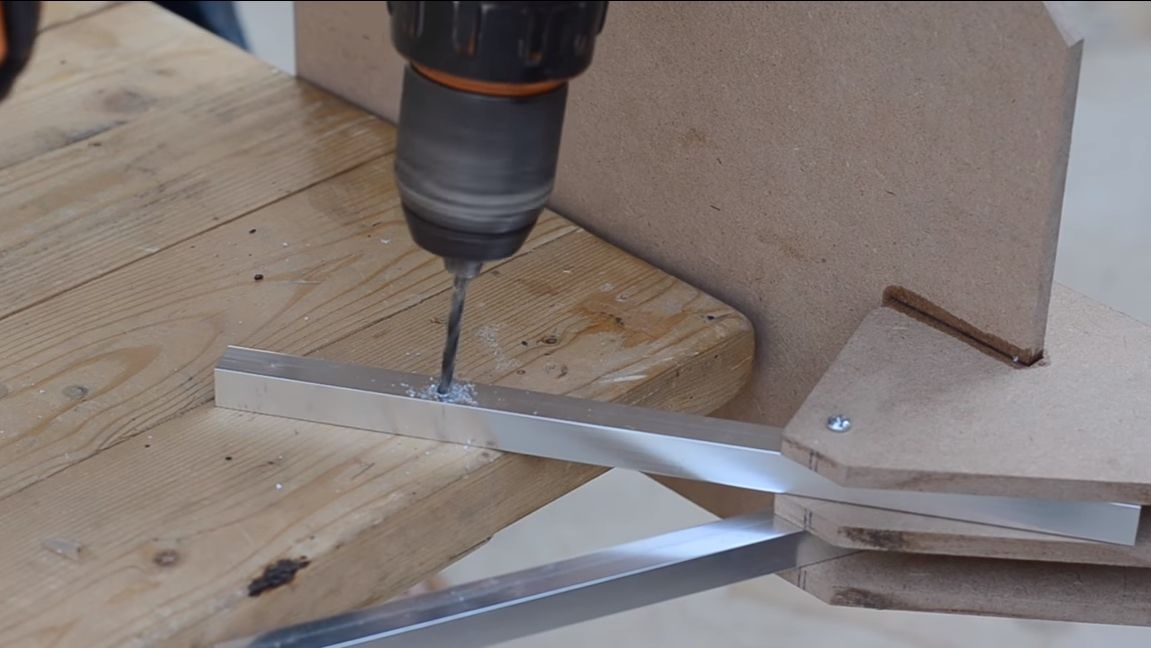
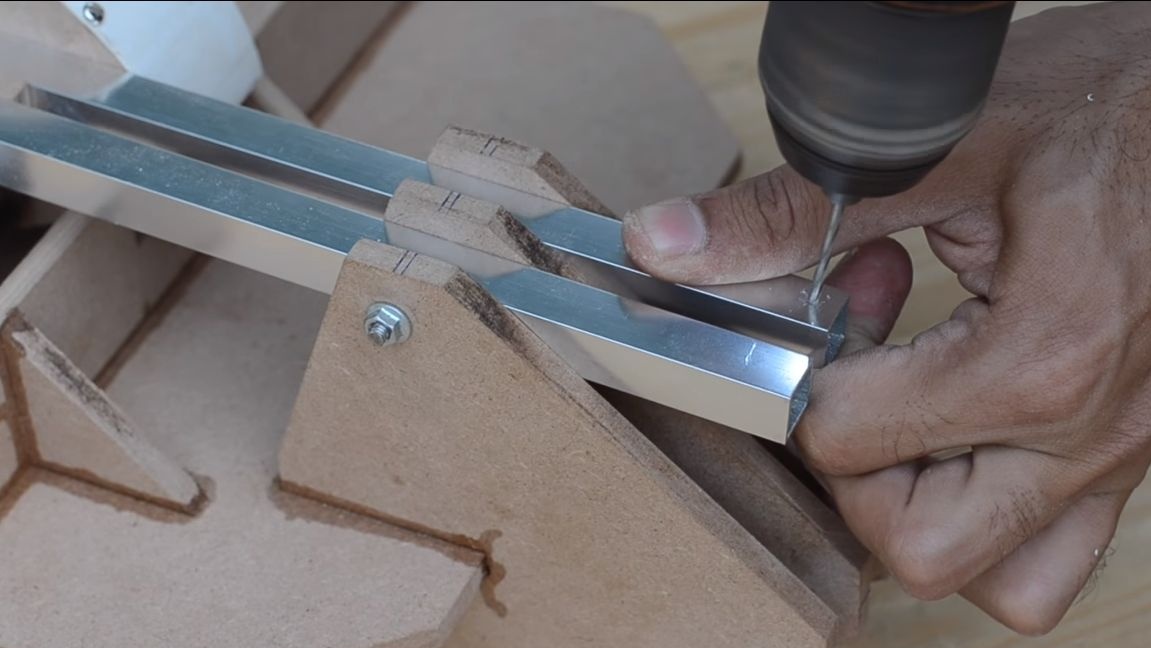
Step Three Production and installation of levers
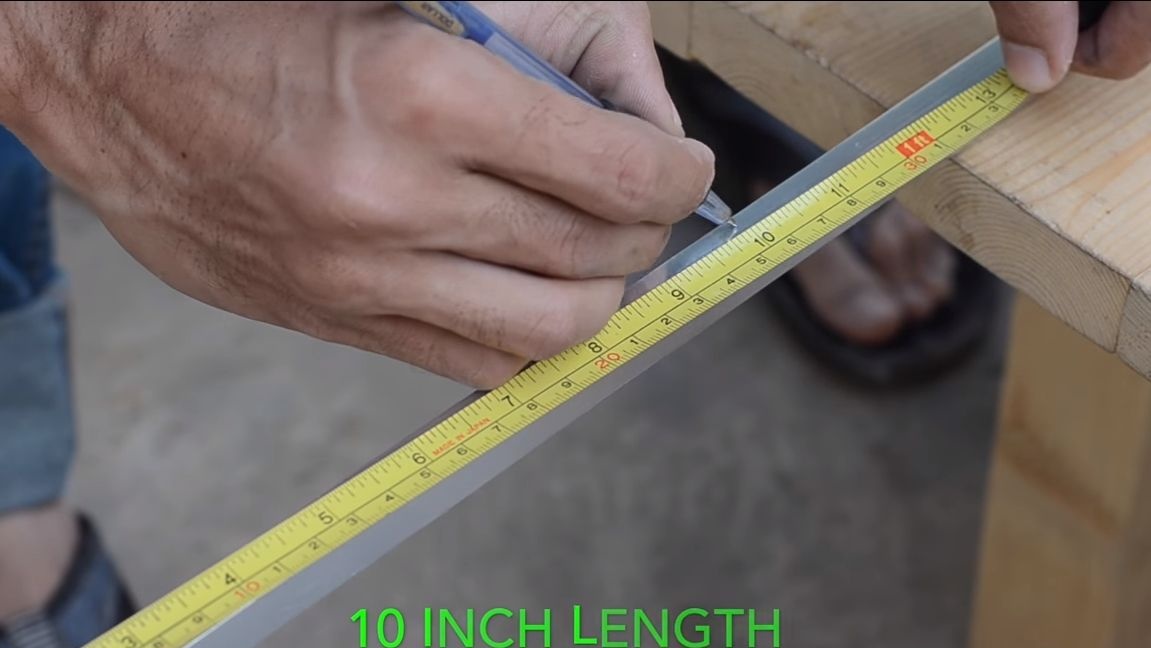
The engine is mounted on two levers, which are square tubes. We cut them to the desired length and drill holes. Now secure the levers to the uprights using a long screw with nut. Do not tighten the nut too much, as the levers may jam.

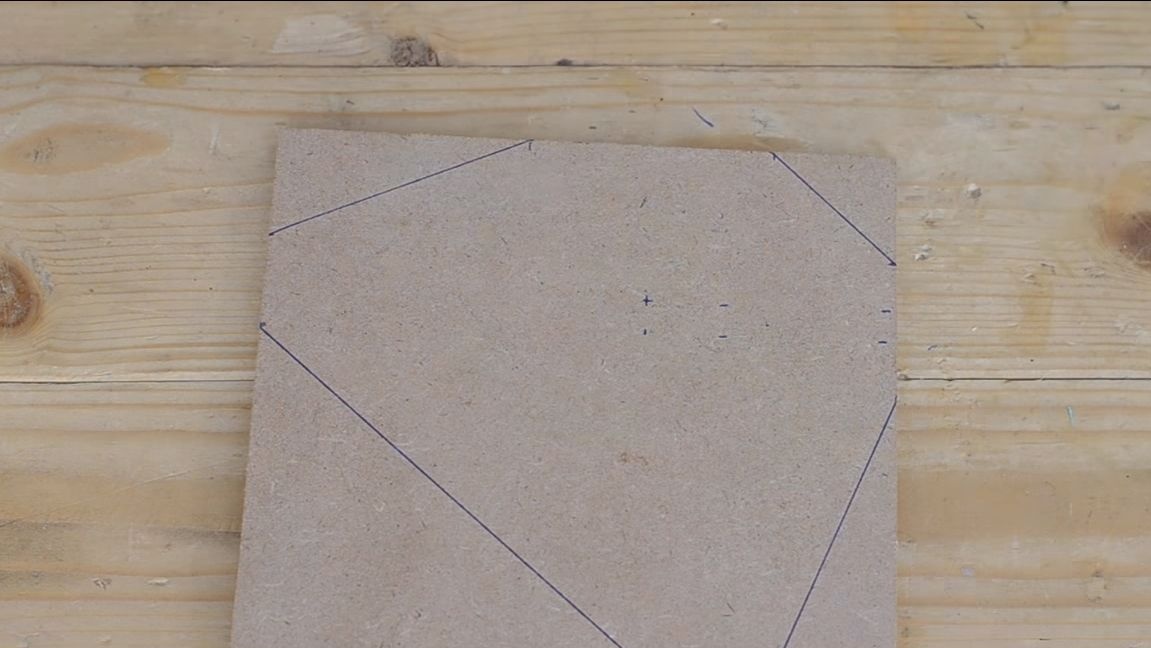
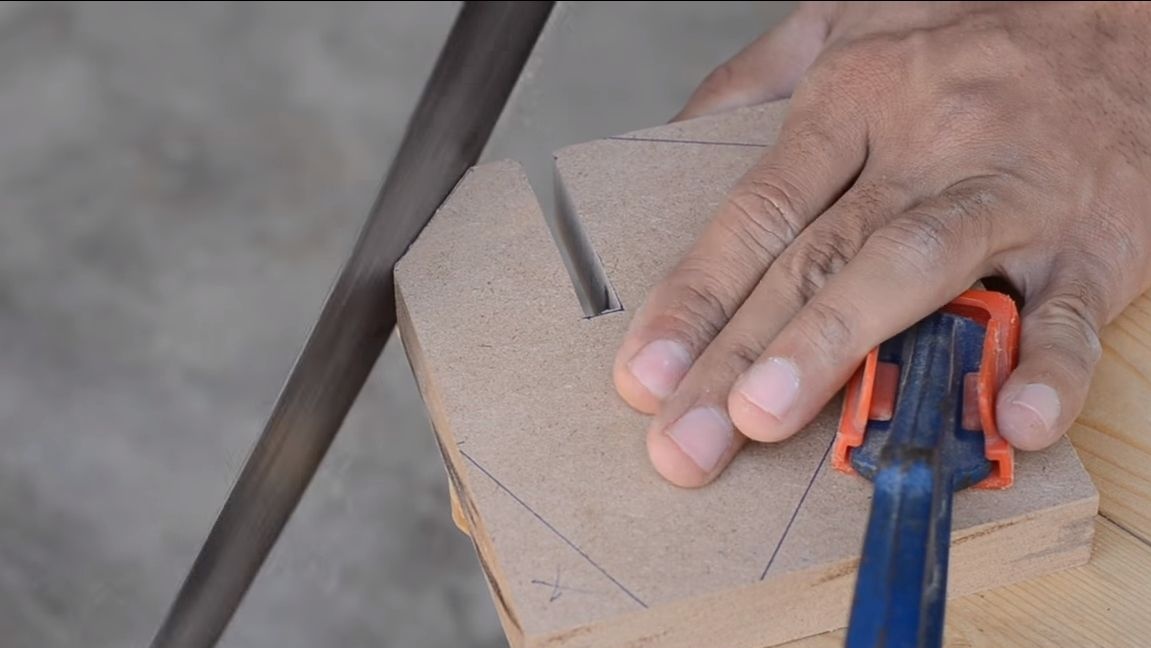
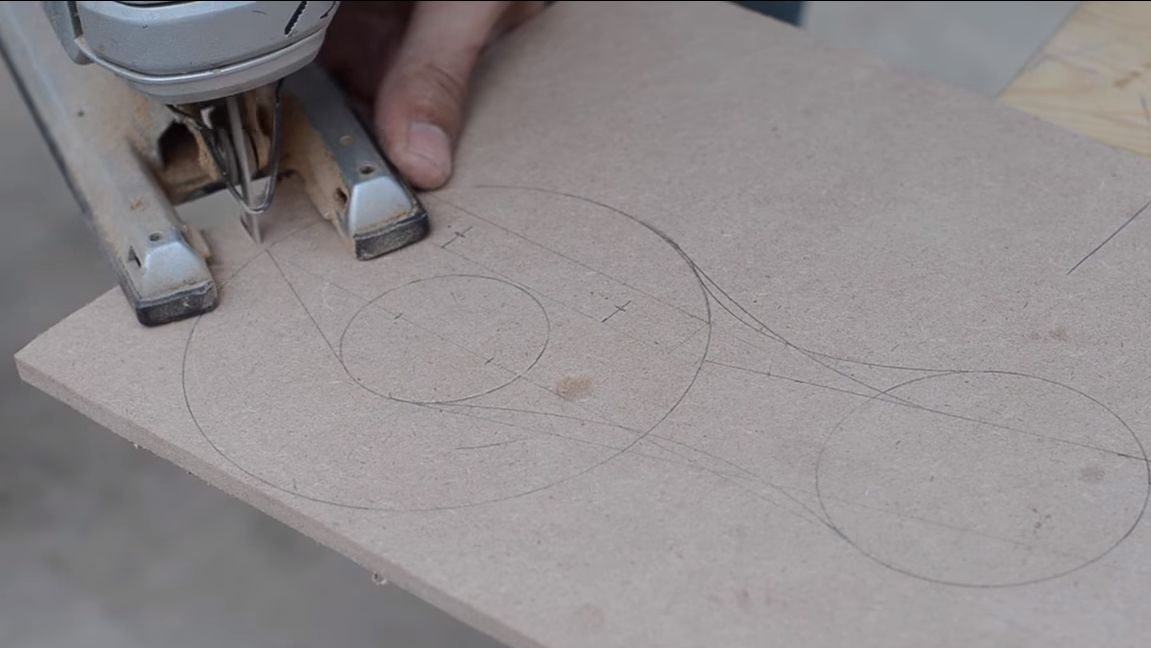
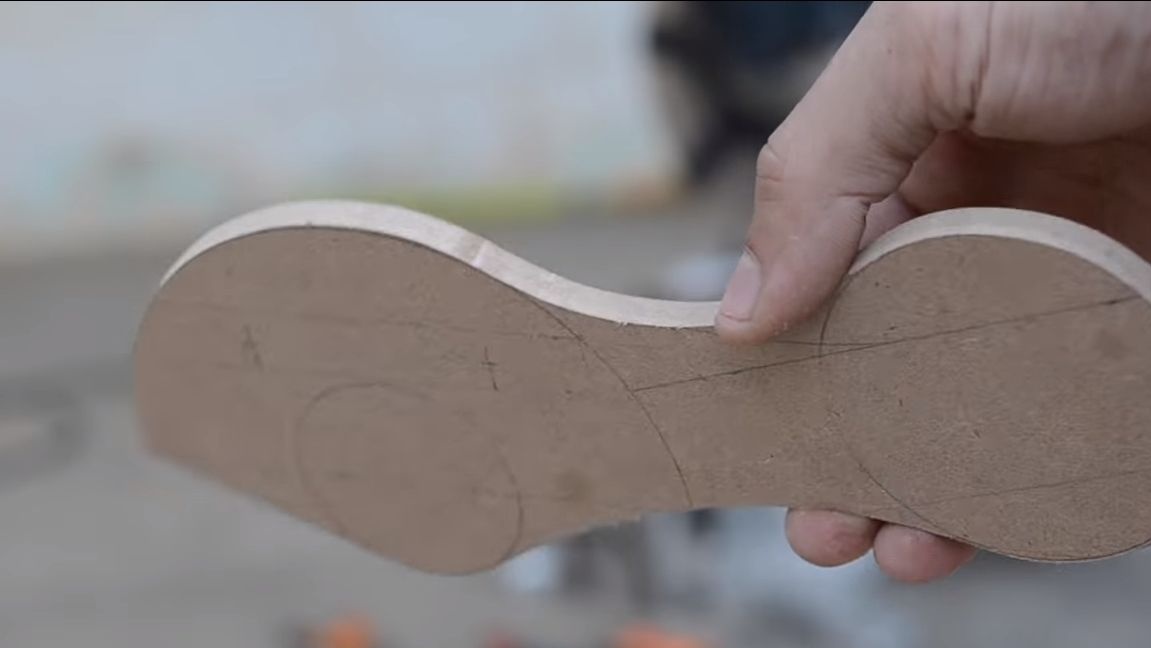
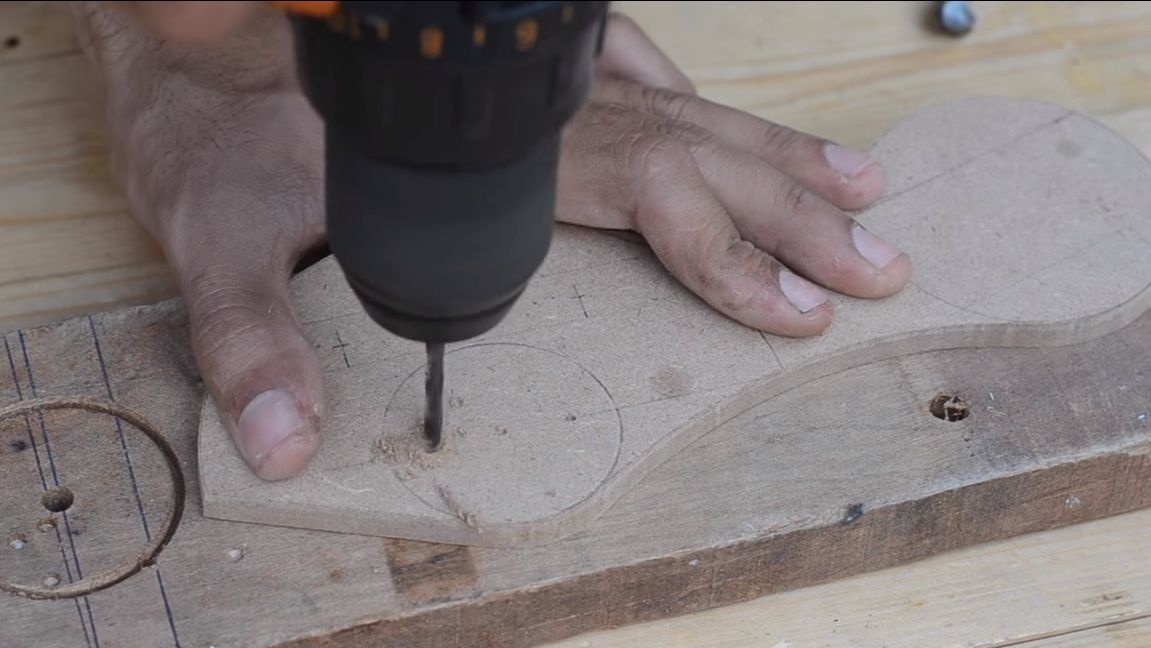
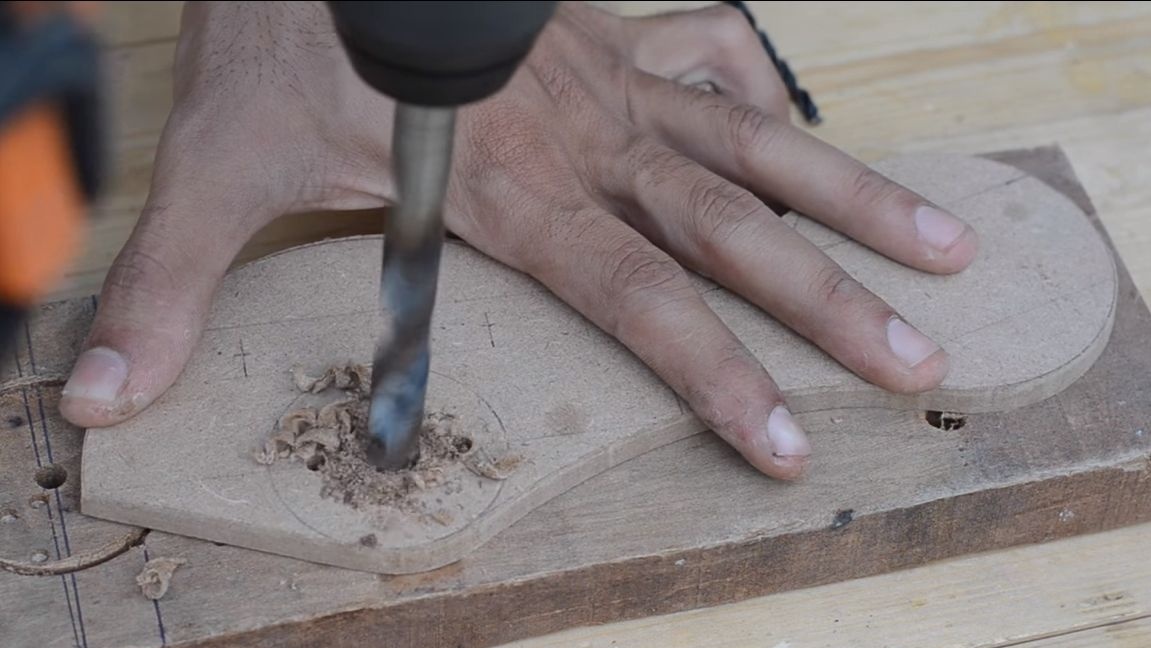
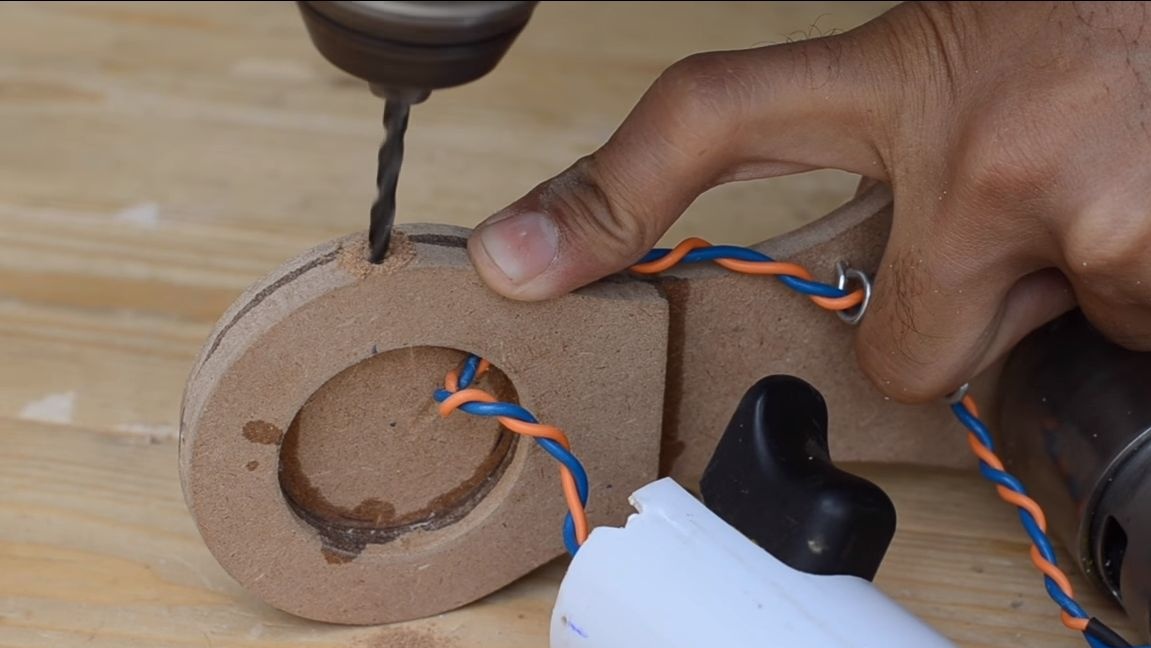
Step Four Making the basis for mounting the engine
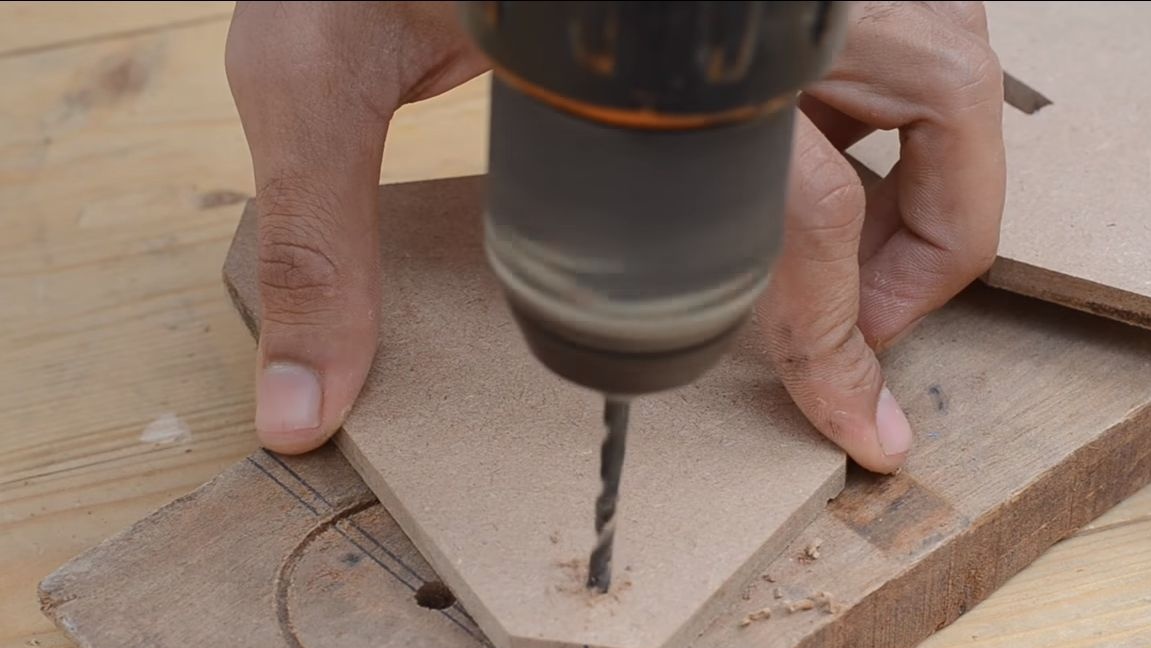
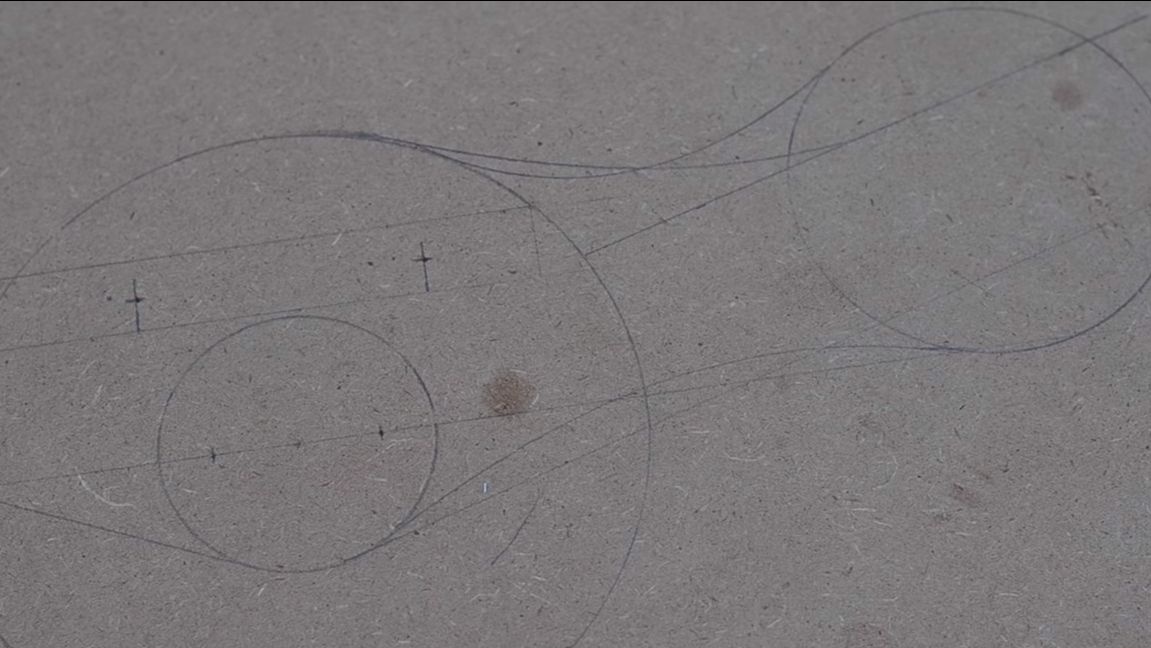
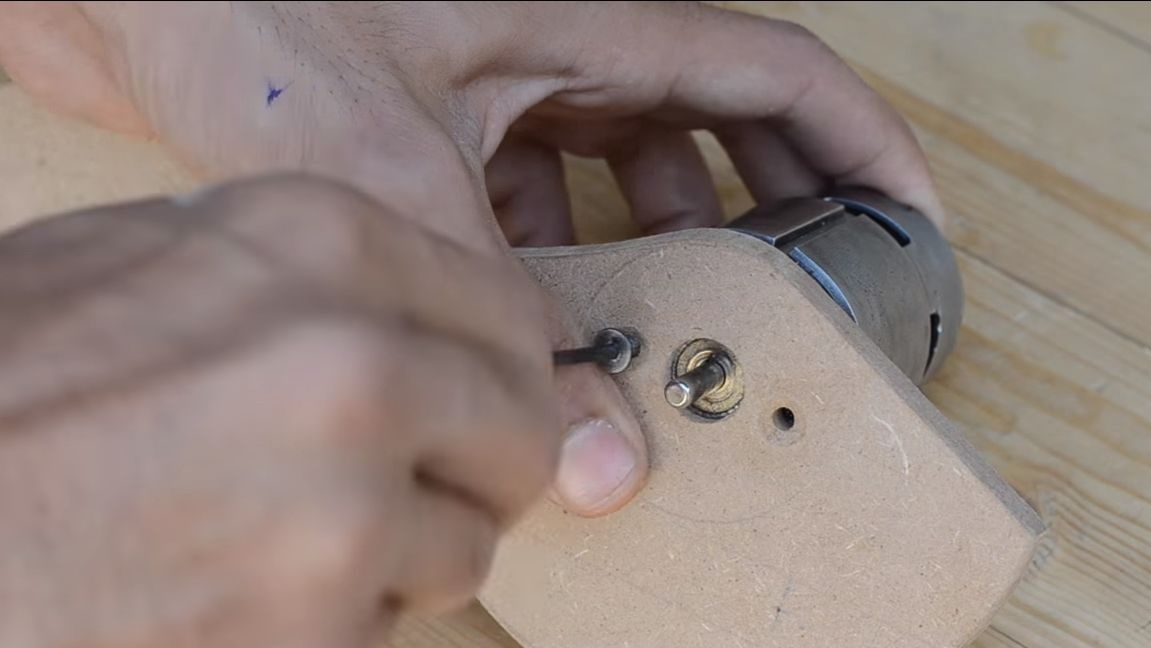
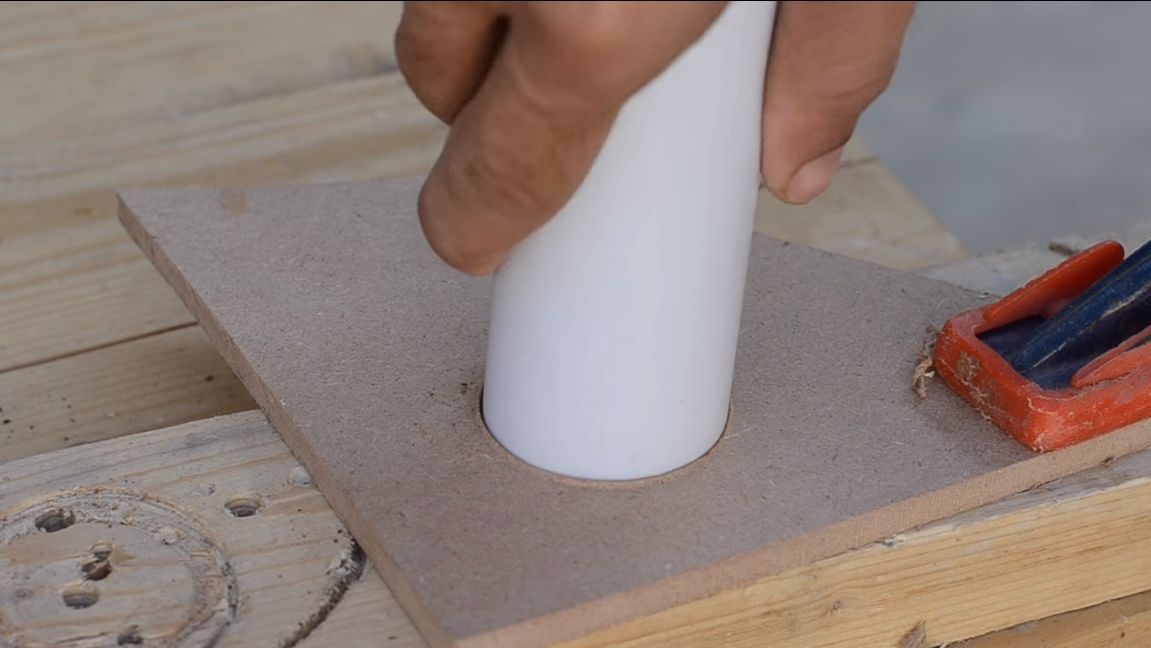
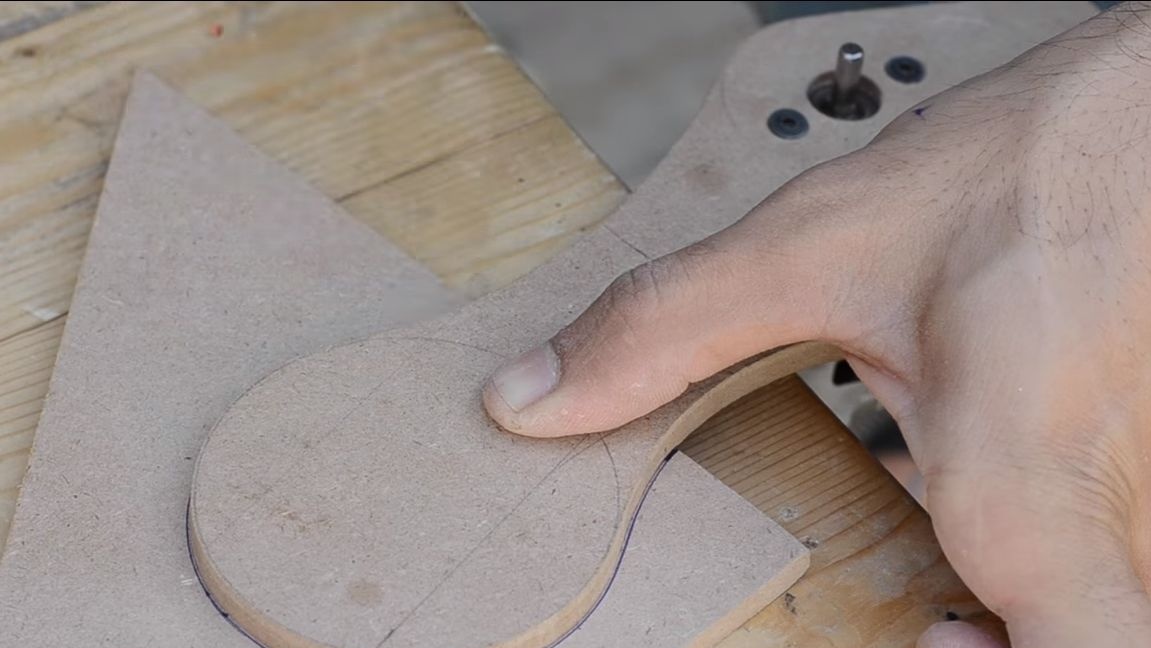
To fix the engine, we make the basis for it. To do this, take plywood and cut out the figure in the form of the number "8". There will be an engine on one side, and a handle with a switch on the other. Drill three holes for the engine, two small holes for the screws and one large one for the tide on the body. To install the handle in the form of a pipe, we take another sheet of plywood and cut a circle in it along the diameter of the pipe. Glue this part to the base. Now you can install the handle.


Step Five Speed controller
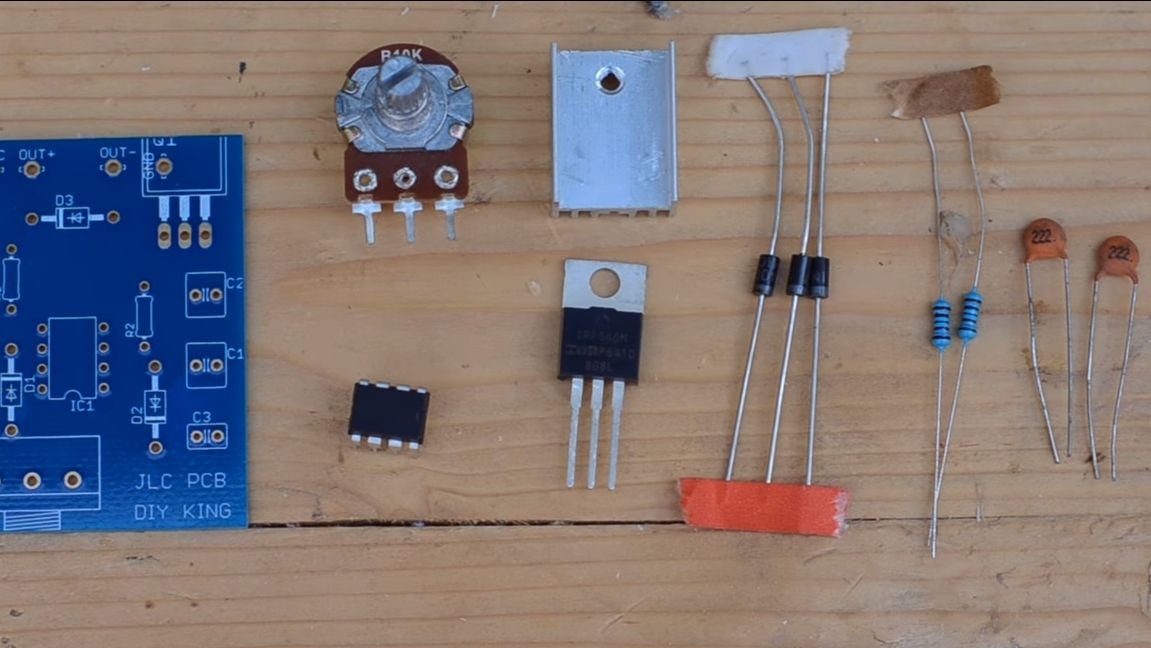
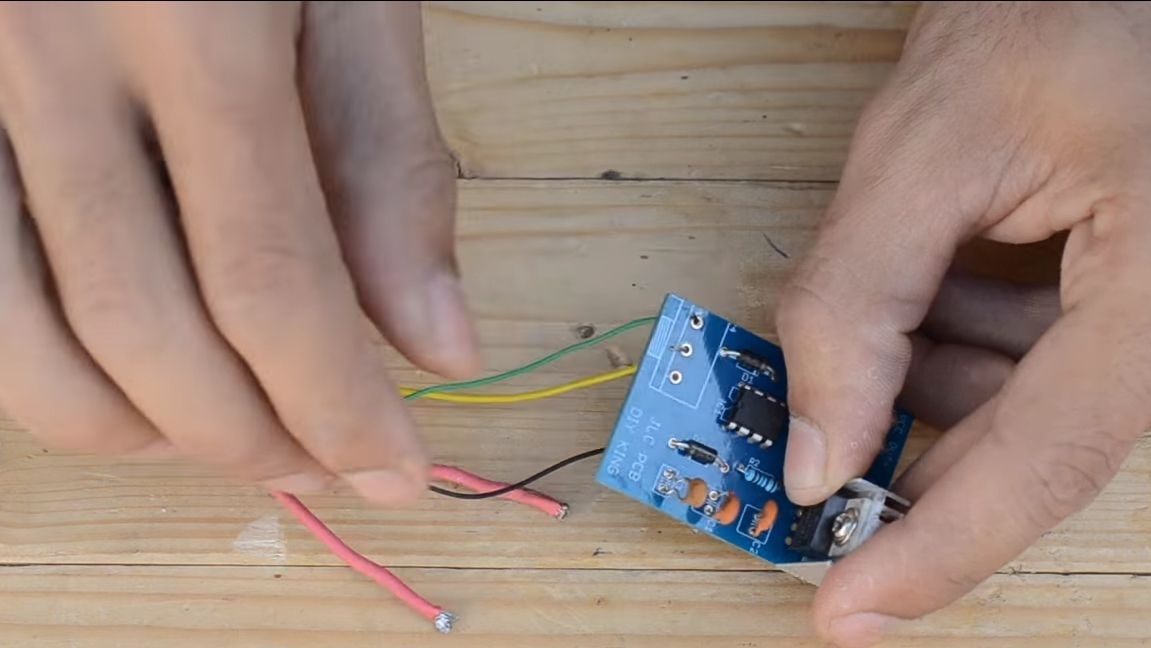
If you wish, you can assemble and install a controller with which you can control the speed. In principle, this is not necessary for such a machine, since the speed is most important here, the higher they are, the better. The speed of rotation is pretty much limited by engine capabilities. The author decided to solder the controller himself, this was done on the jlcpcb board.
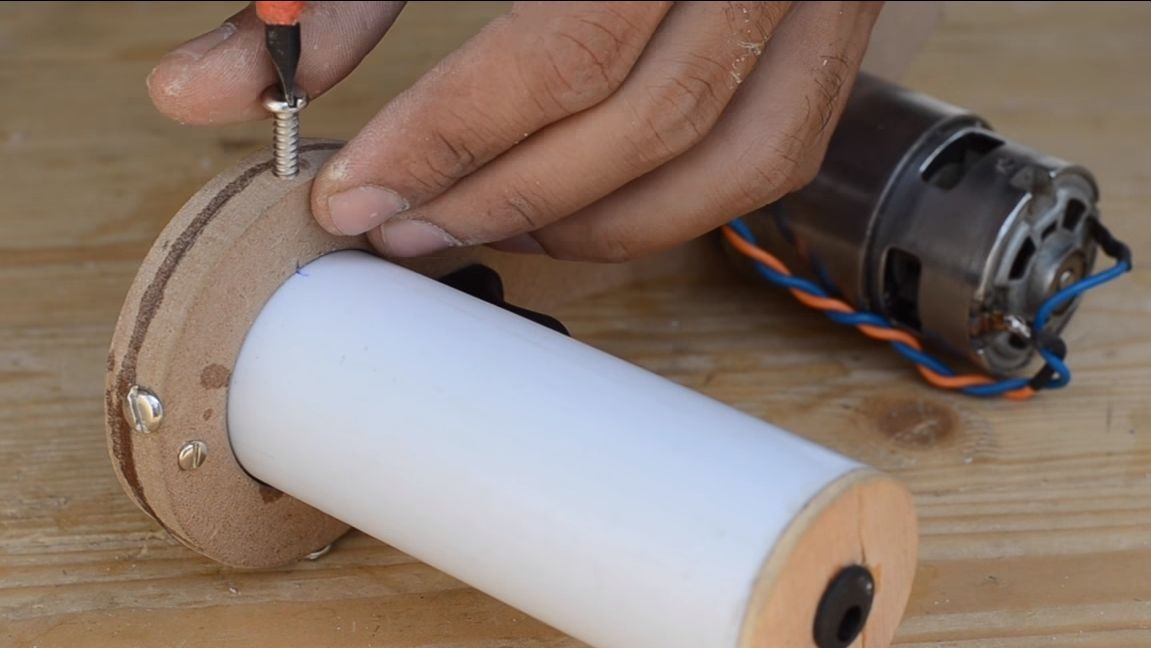
Step Six Handle manufacture and installation
The handle is made of a piece of PVC pipe, cut off the desired piece and jam one side with plywood. In plywood, drill a hole and install a socket for connecting the power supply. Another hole in the handle has to be made for installing the switch. We fix the switch using hot glue.
We fix the handle with screws, having previously drilled holes.


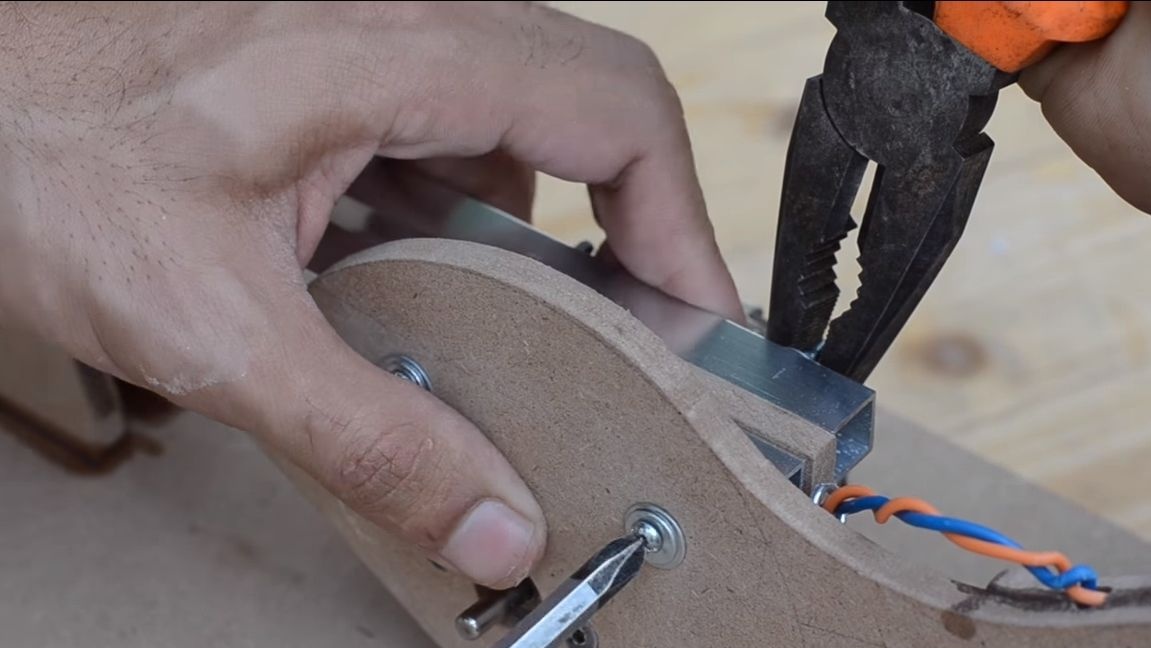
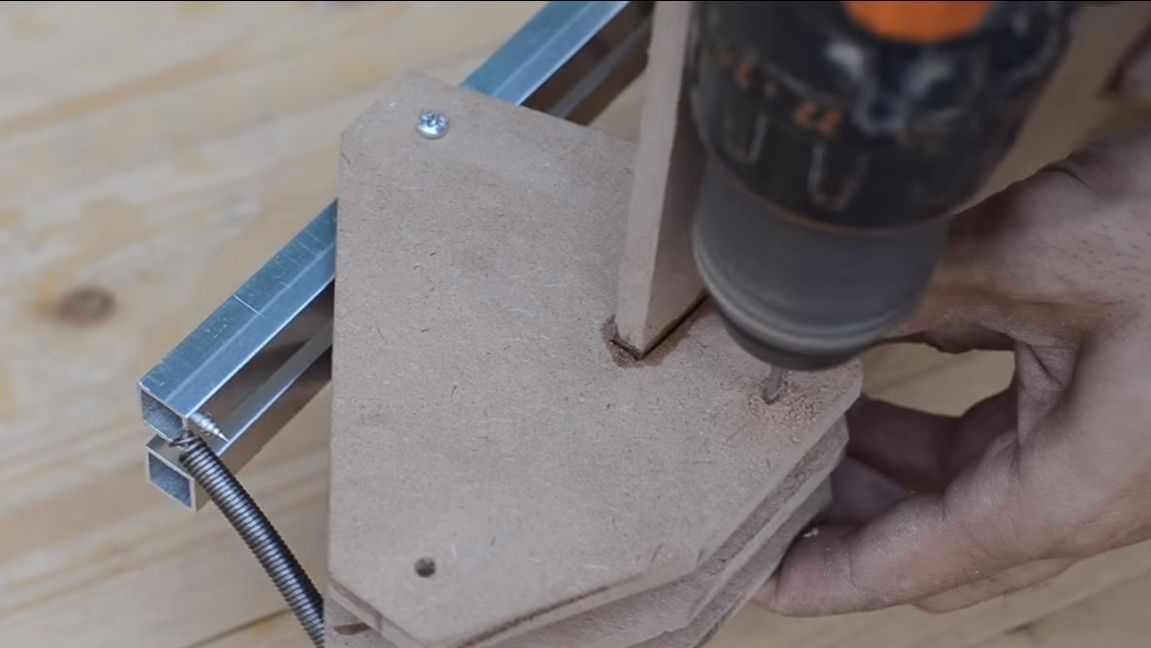
Seventh step. Mounting the engine to the levers
We install all this platform with a motor on levers. In them and the basis of plywood we drill holes. The platform is fastened with screws and nuts. We install a plywood spacer between the levers so that they do not warp when tightening the nut.
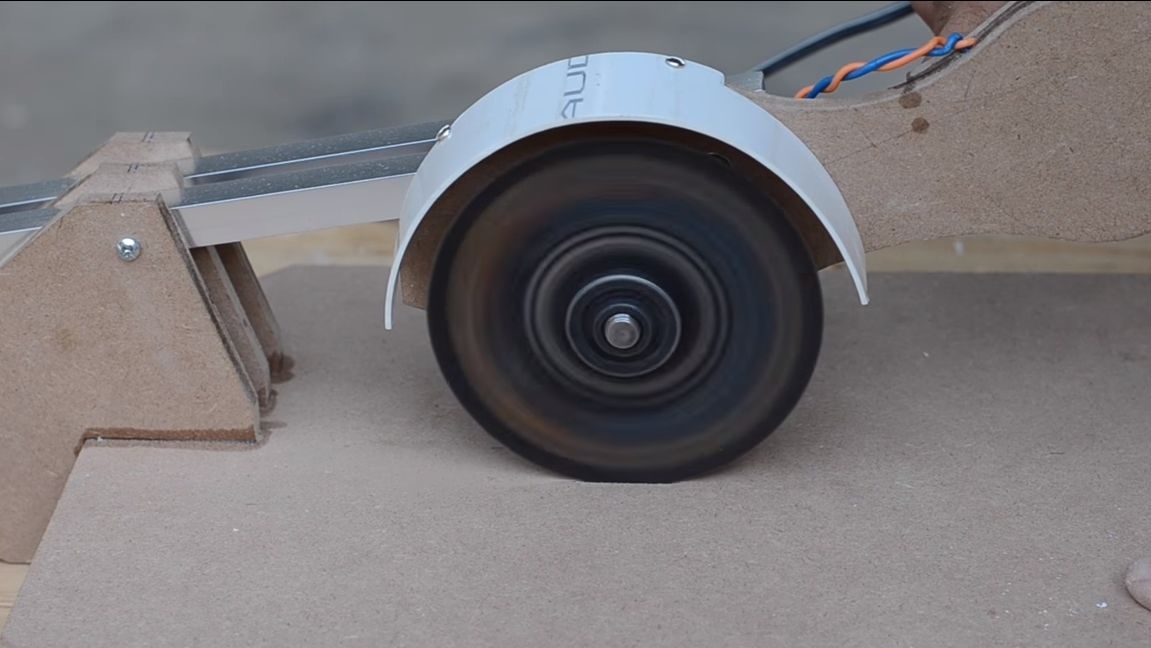
Step Eight. Disk installation
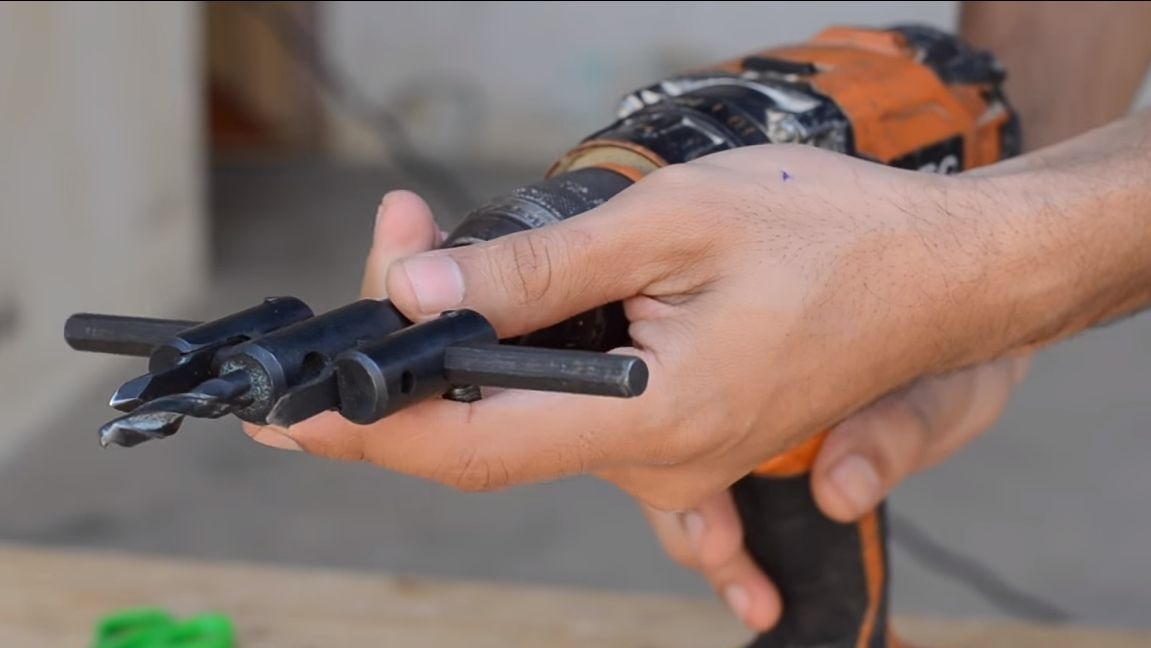
We install an adapter on the motor shaft, such in large quantities can be found on Aliexpress. Usually the adapter is fixed with two screws. Well, that’s all, now it remains to install the disk from the grinder or the circular machine.

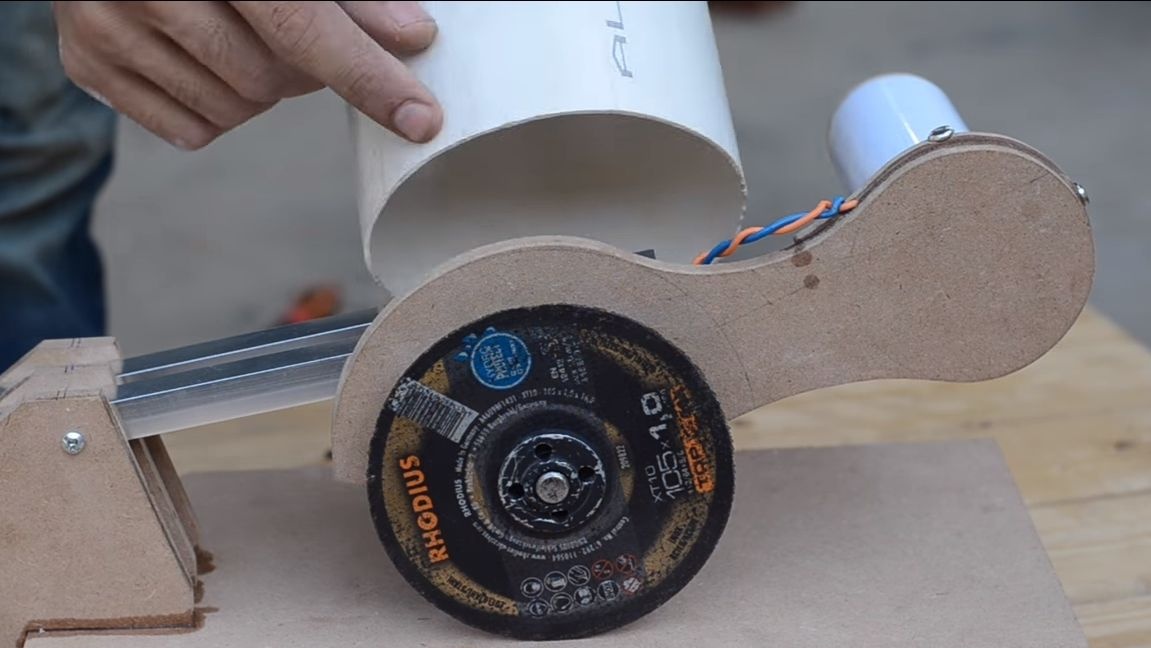
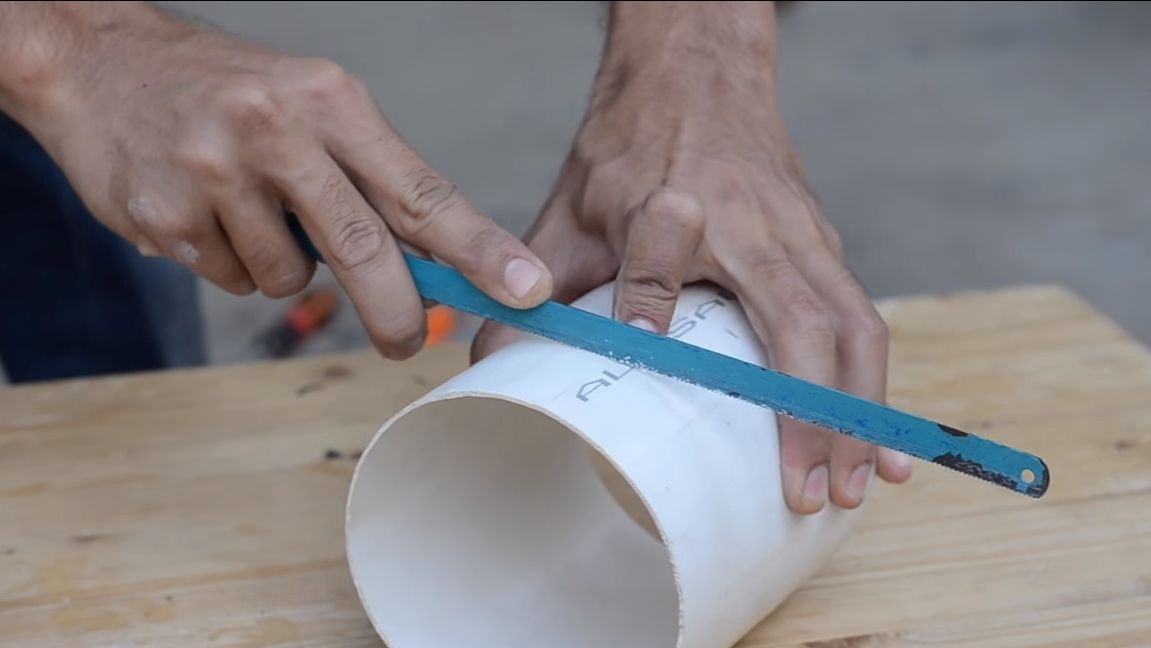
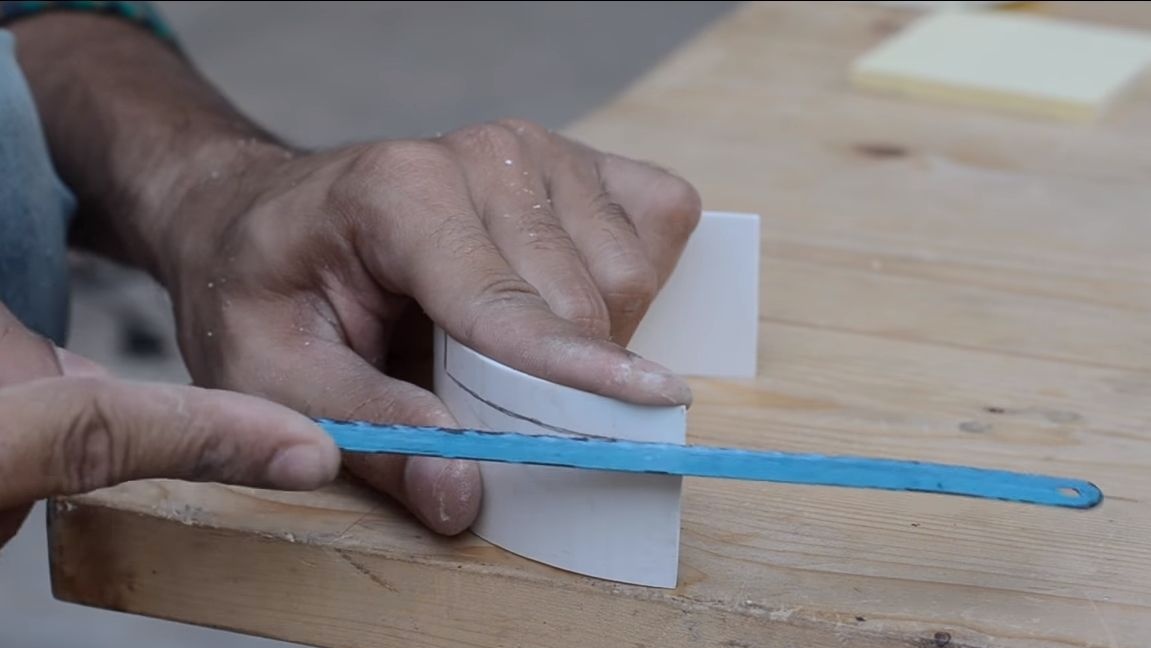
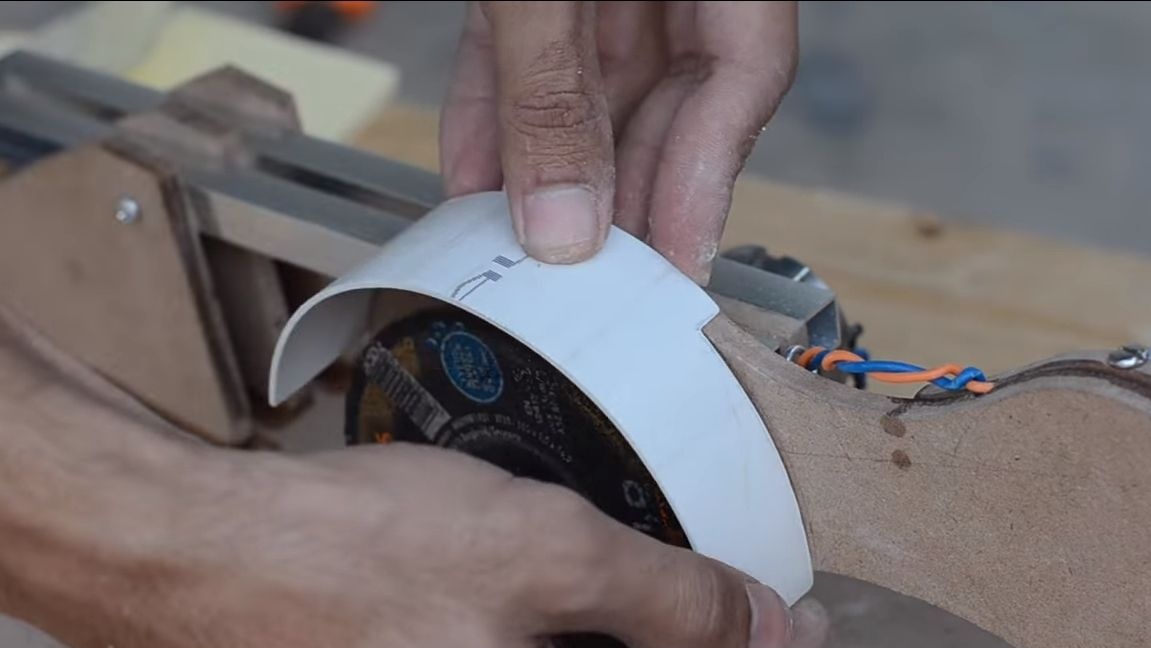
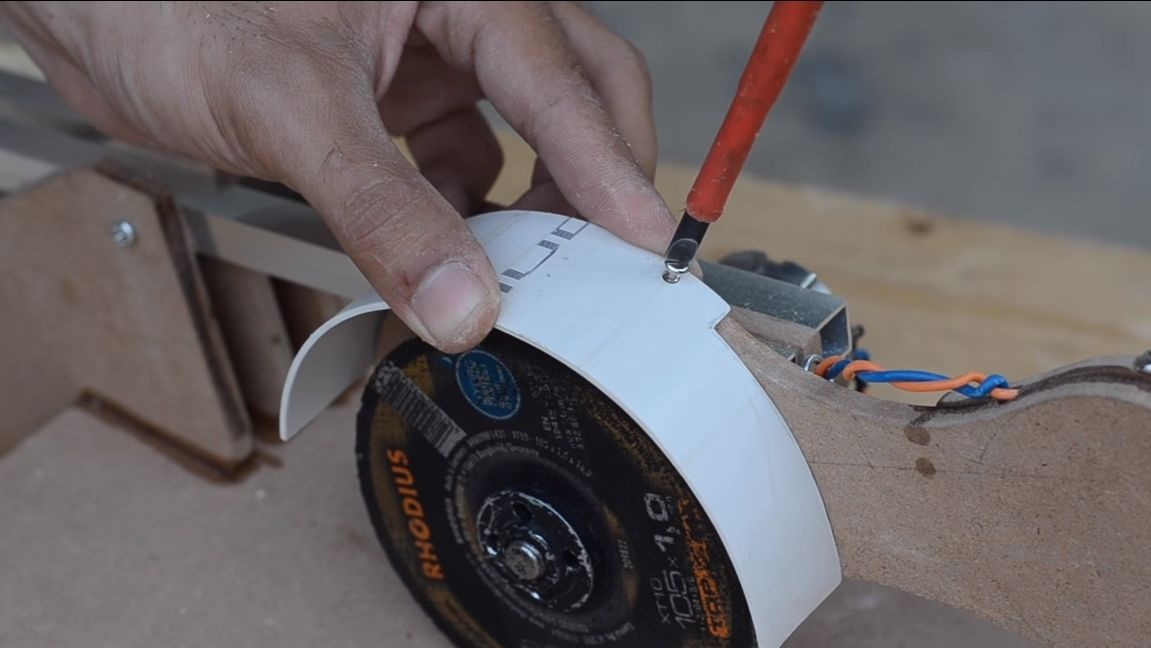
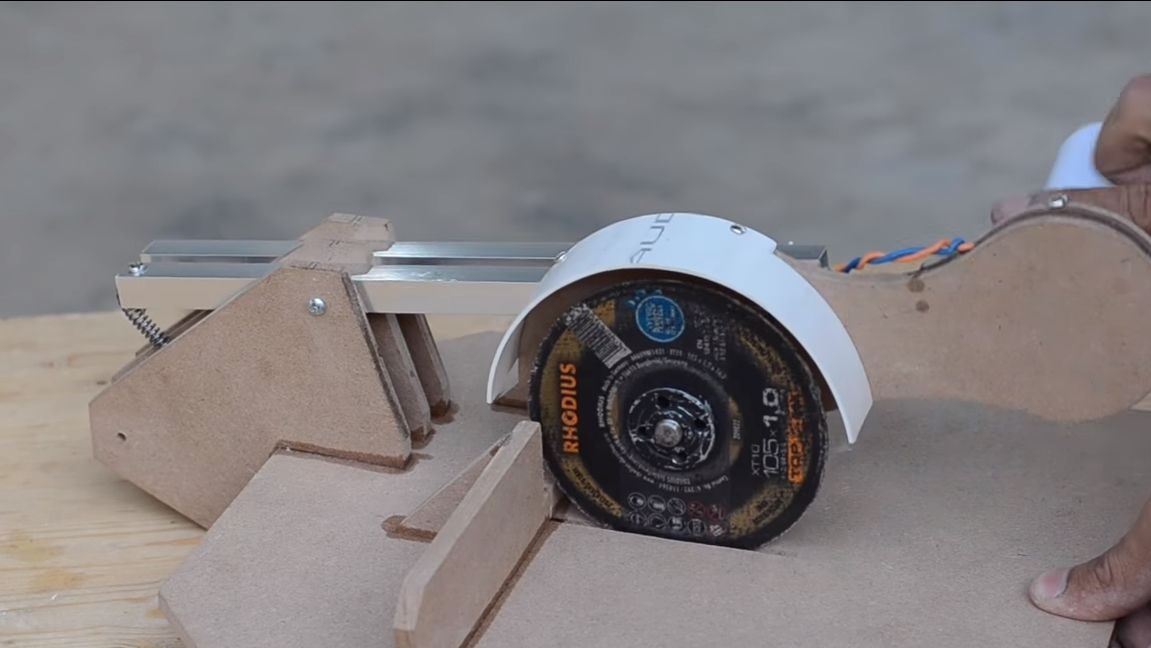
Step nine Production and installation of a protective shield
For such a machine, it is very important to make a protective shield. Otherwise, all the chips will fly at you, and this is especially dangerous if caught in the eyes. We make a shield from a piece of PVC pipe. Just cut the desired semicircle, cut out the excess, and then drill holes and screw the shield with screws to the plywood.

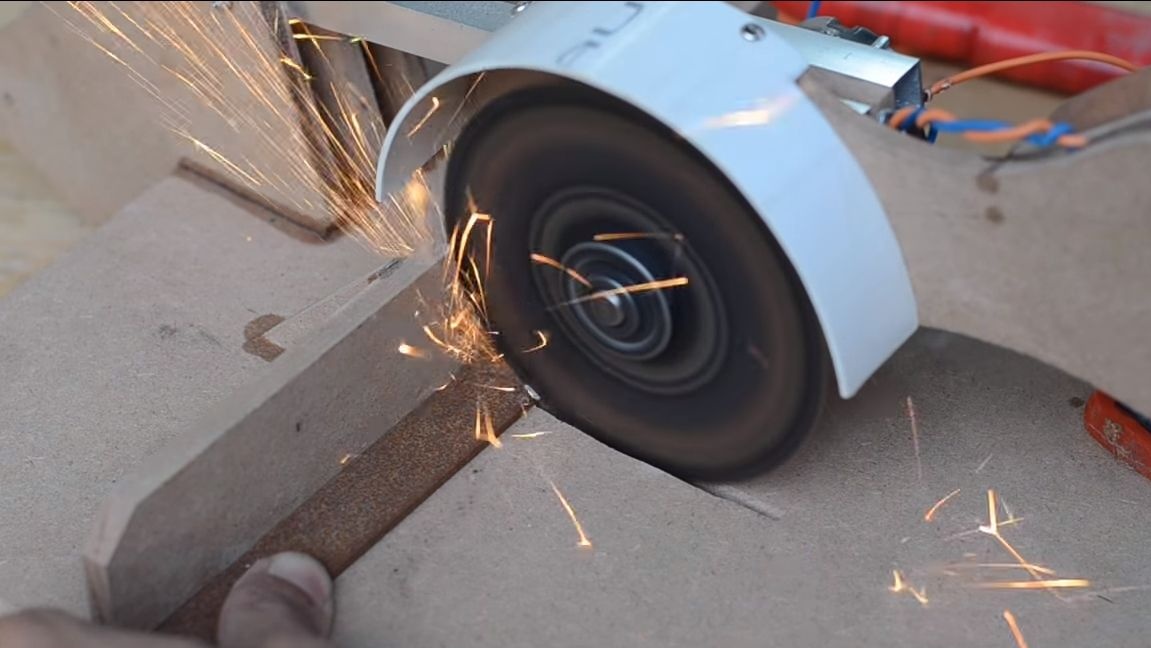
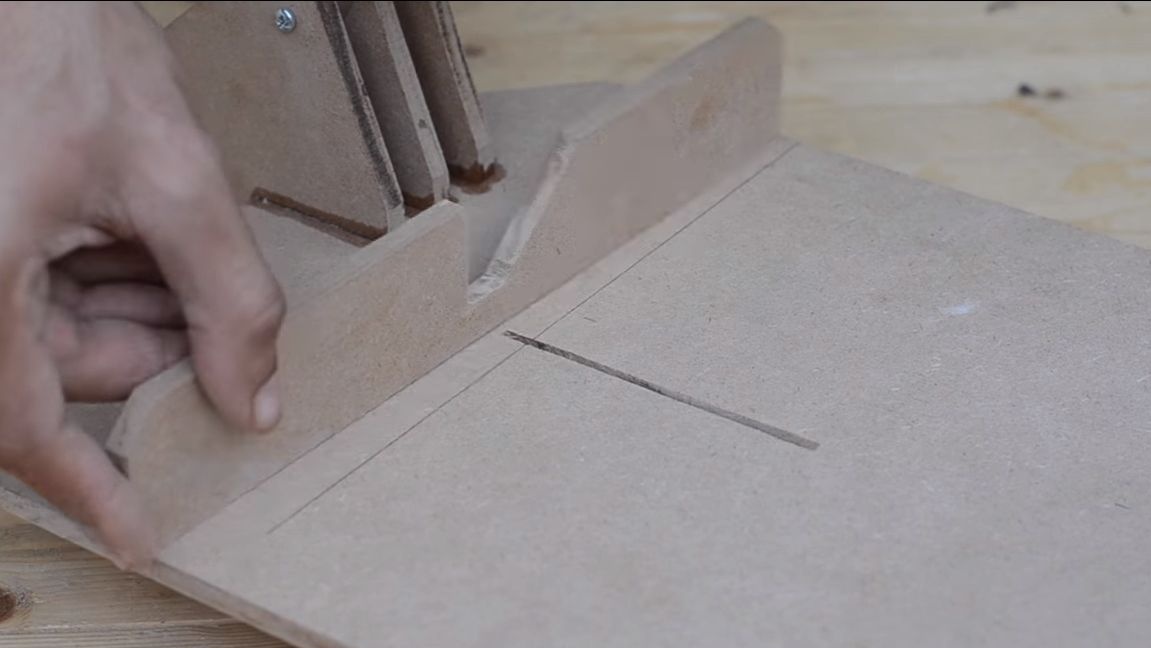
After that, you can conduct the first tests. We connect the power supply and try to cut it. The machine works perfectly, the disk creates the greatest load from the circular, but our device copes with this task perfectly. Using the opportunity, cut the disc at the base of the slot into which the disc will go when cutting.
Step Ten Emphasis
From plywood we cut out details for an emphasis. We glue it with superglue, and it is better to screw such parts with screws. Now it’s more convenient to cut the material, we just rest against the stop and lower the disk.
Step eleven. Spring
We drill a hole on the back of the lever; you need to drill another hole in the rack. We fix the spring on the lever, fix its other side on the frame with a screw and nut. The spring stiffness must be such that it lifts the lever up. You can use several springs if one is not enough.
That's all, the machine is ready! Finally, it is recommended to paint or coat it with oil. So it will not get dirty, the wood will not absorb moisture, and the machine will look much better.
Step twelve. Testing!
The machine can be tested, connect the power and click on the switch. The author demonstrated his work by cutting a steel plate. The sparks fly quite strong, the machine cuts also moderately fast, the power of a 12-volt engine is enough.
That's all, I hope you liked the project, and you found something useful for yourself. Good luck and inspiration in making homemade! Do not forget to share your best practices with us.