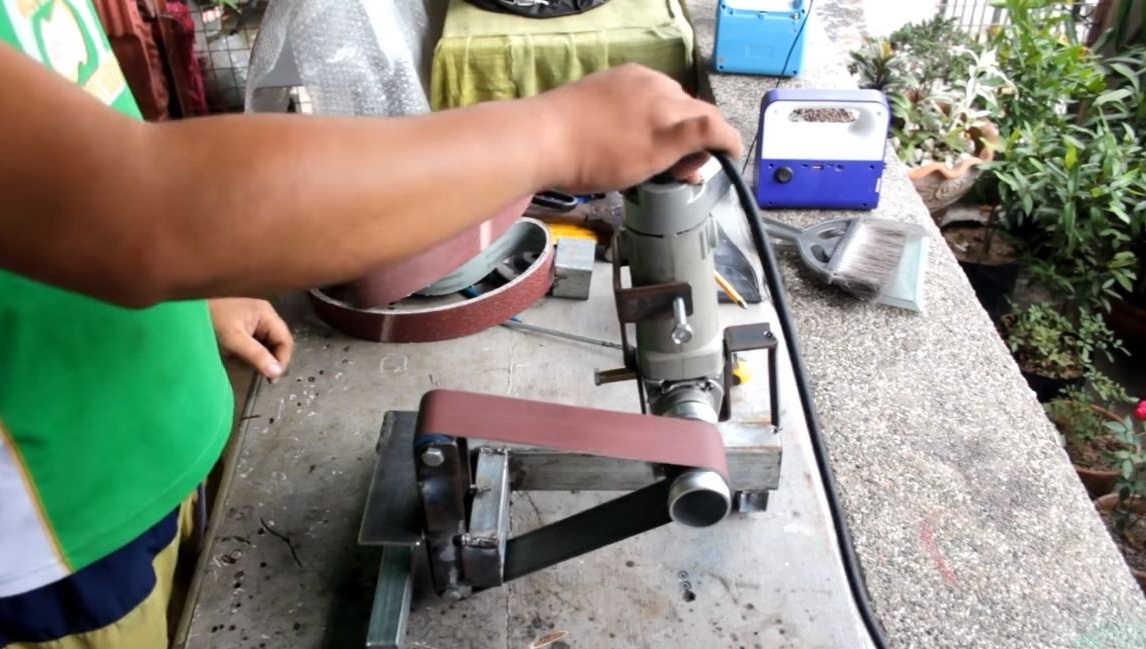
Belt sander is a very useful machine in the workshop. In fact, this is an electric file. Using this item, it is very convenient to grind various objects and materials. Such machines are especially popular in the manufacture of knives. The cost of such machines is still quite high, so it makes sense to think about how to assemble it do it yourself. This can be done not difficult and relatively cheap, but the power of this machine is quite enough for various household work.
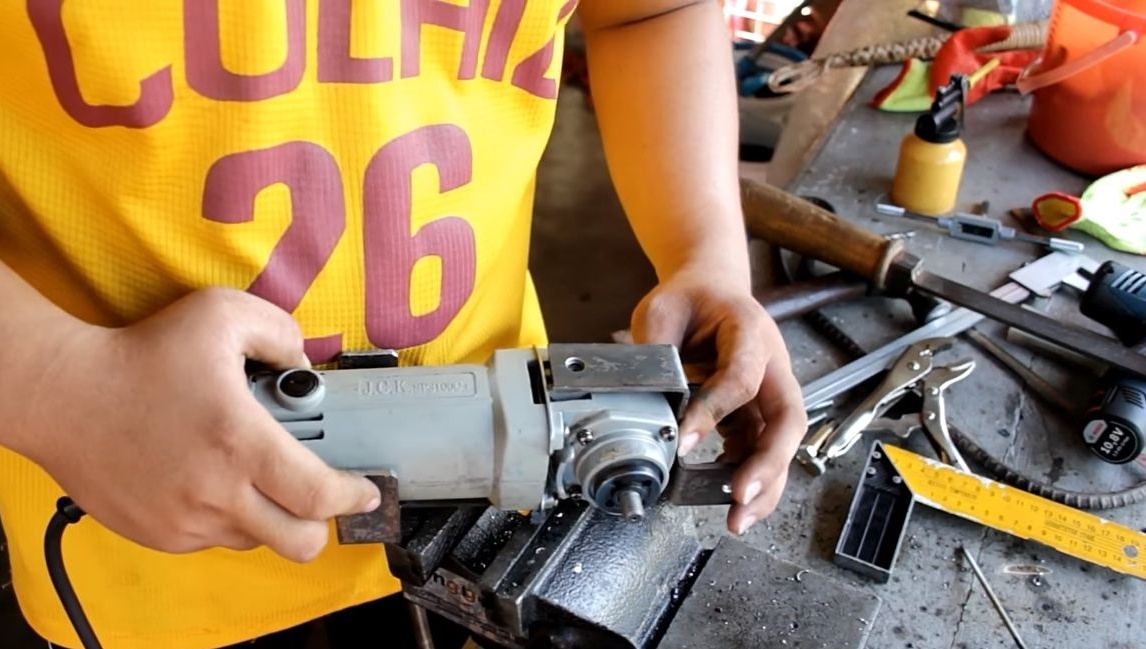
As the main power element, the author decided to use a small grinder. They are relatively inexpensive, and almost everyone has it. All you need is to assemble the frame for the grinder, and also make and install the wheels for the grinding belt. All these elements are assembled from practically waste materials. So, for example, driven wheels are made of bearings on which a piece of hose or something similar is pulled. It is fast, simple, cheap and practical. As for the drive shaft, then the author decided to use the footrest for the bike, it is the best suited for these purposes. So, we will consider in more detail how to make such a machine.
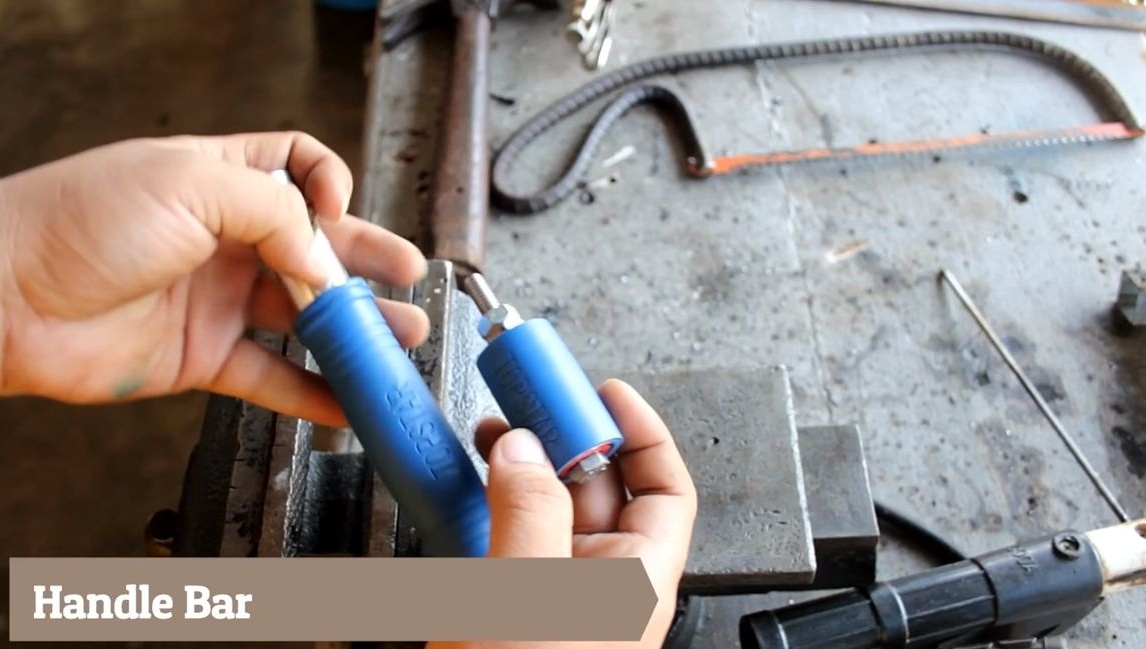
Materials and tools used by the author:
Material List:
- ;
- (which are mounted on an axis);
- Sheet steel;
- bolts with nuts;
- square pipes;
- spring;
- bearings.
Tool List:
- vise;
- hammer;
- ;
- welding machine;
- spanners;
- roulette.
Manufacturing process homemade:
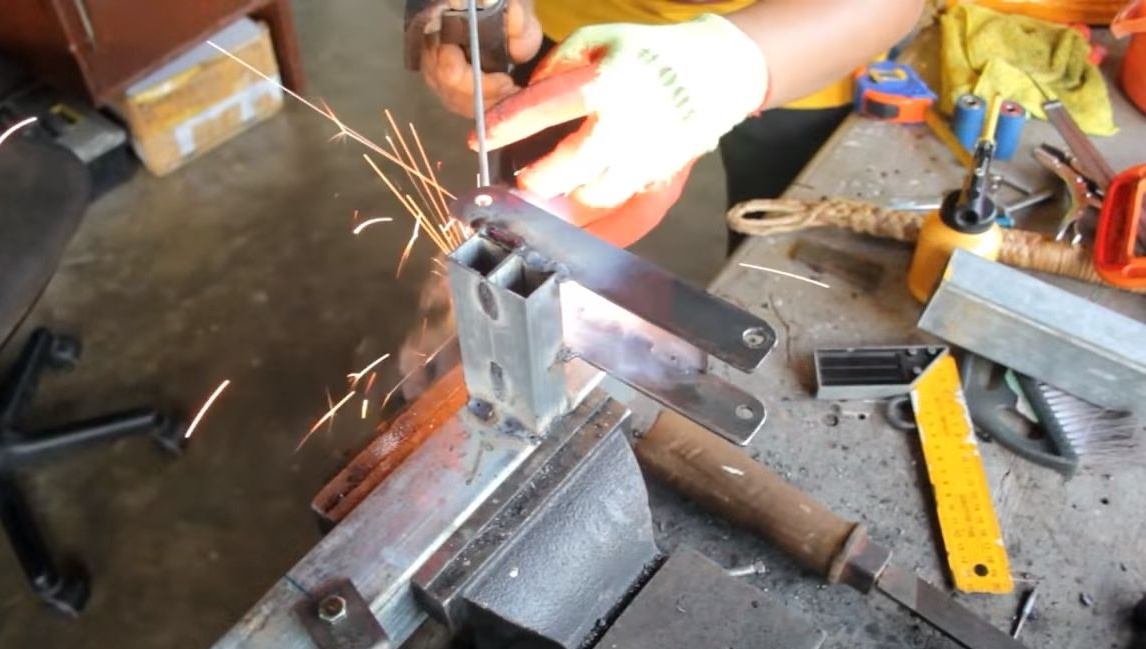
Step one. Making a bracket for a grinder
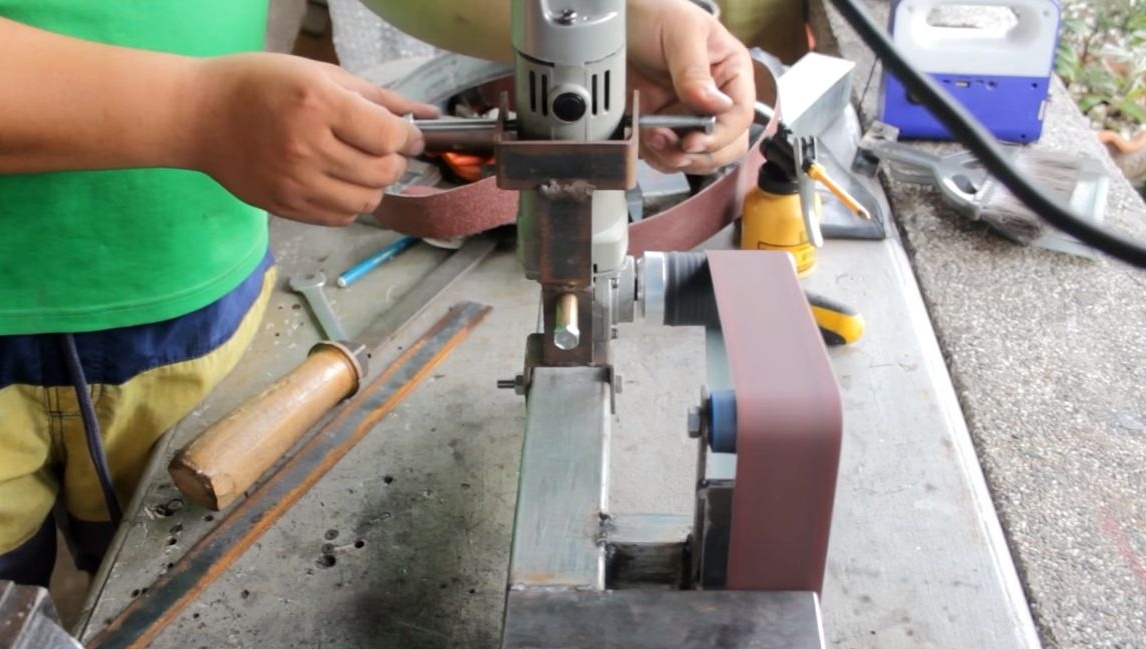
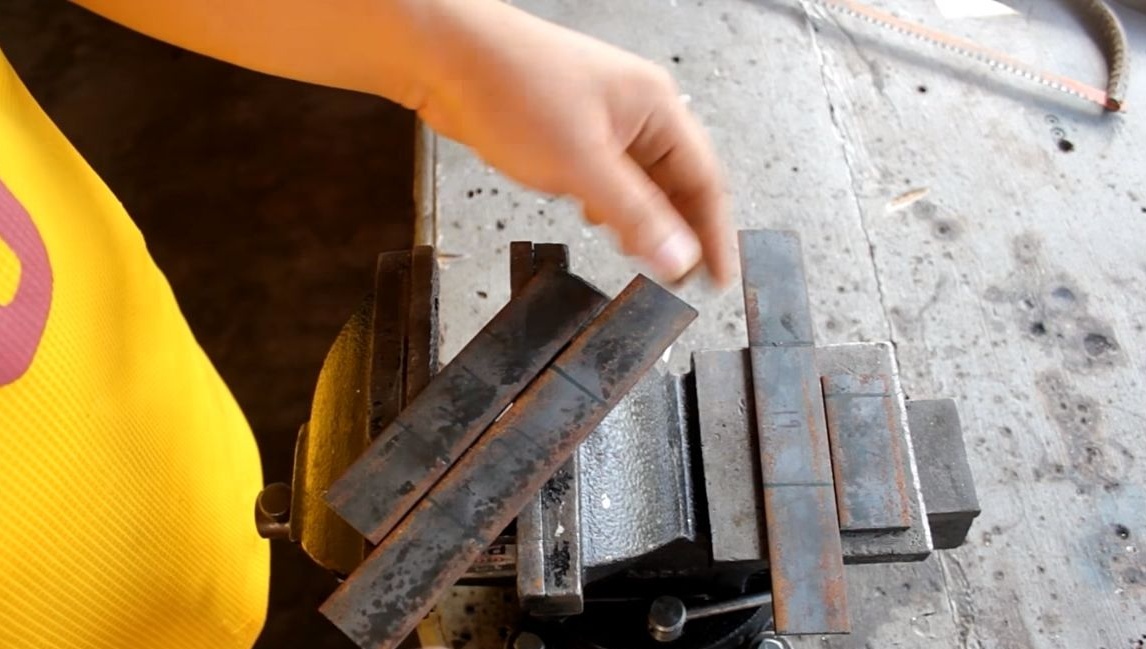
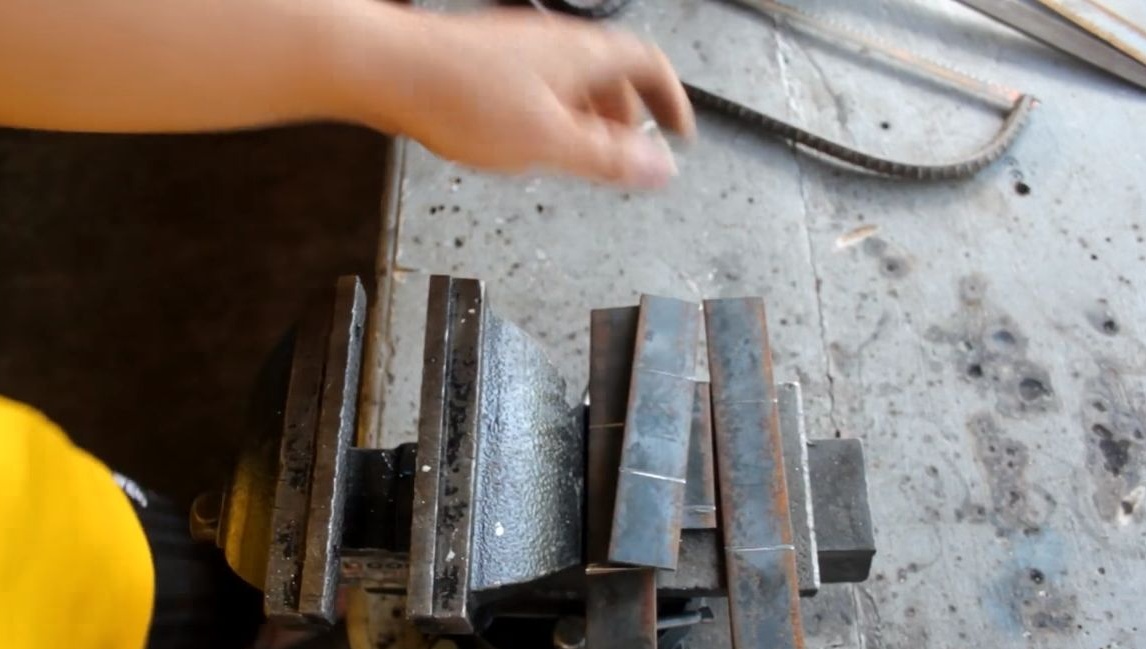
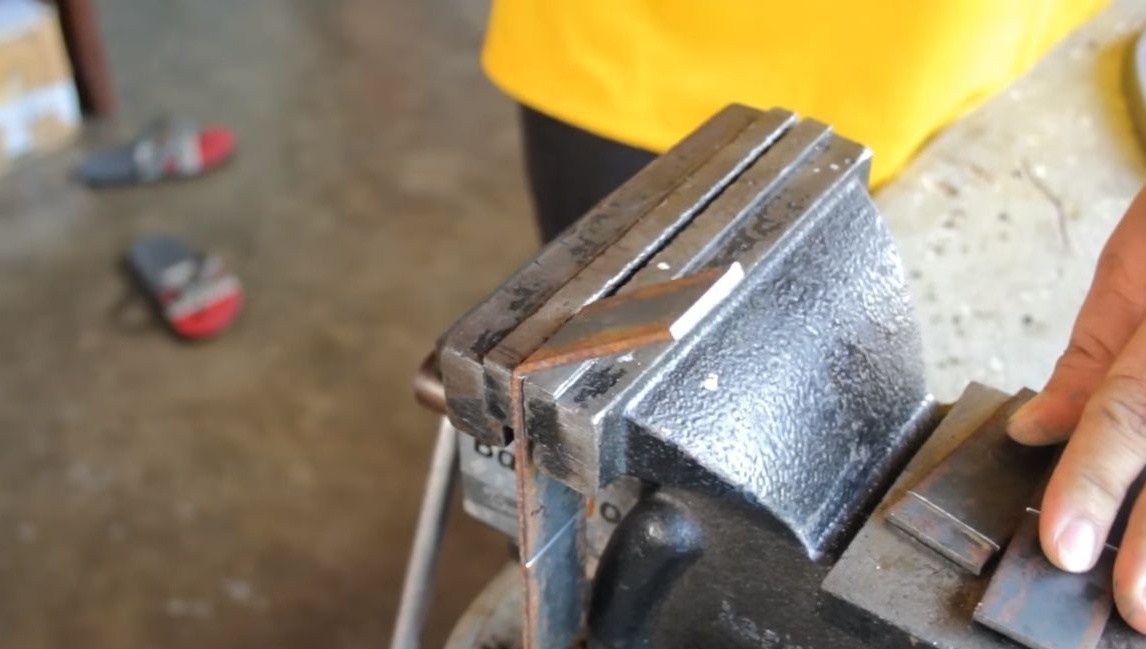
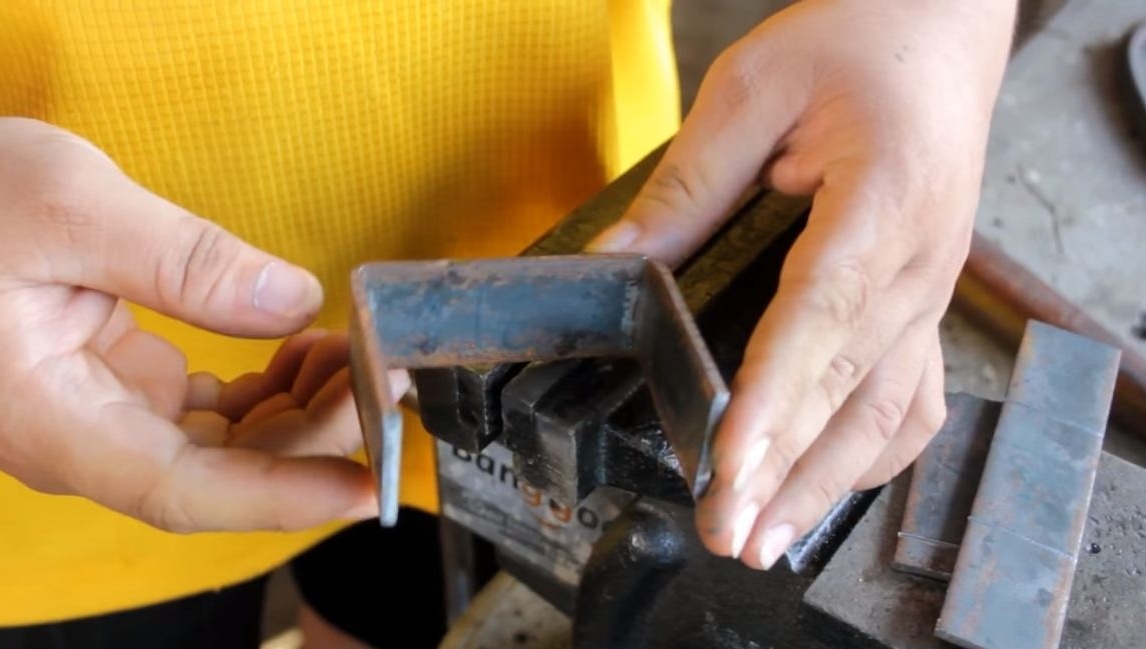
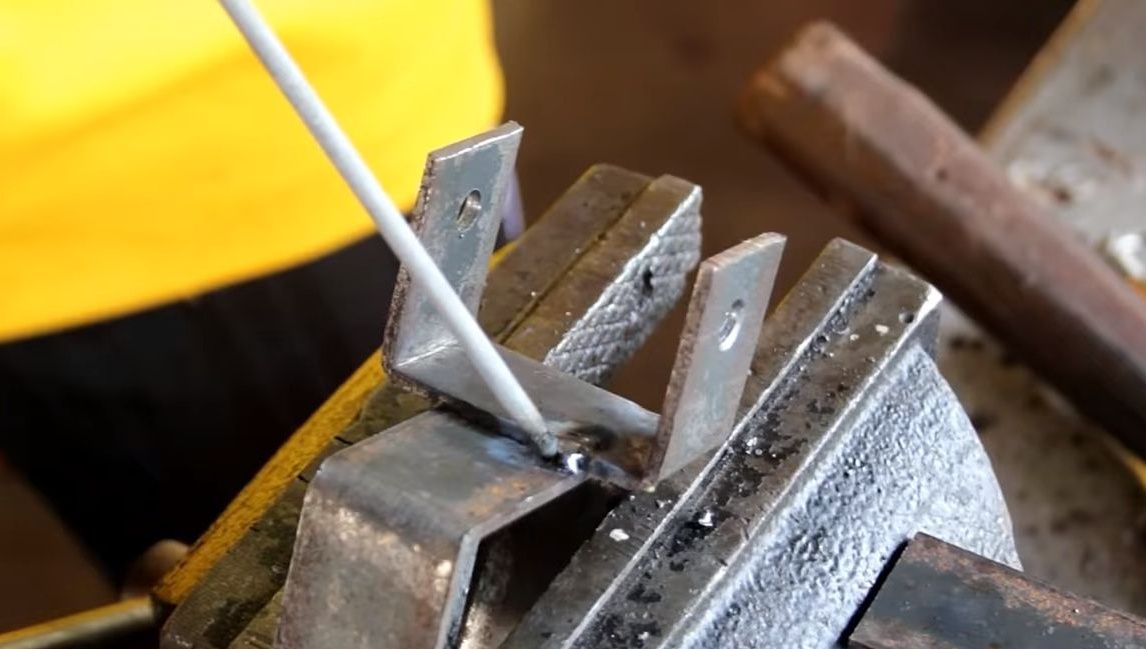
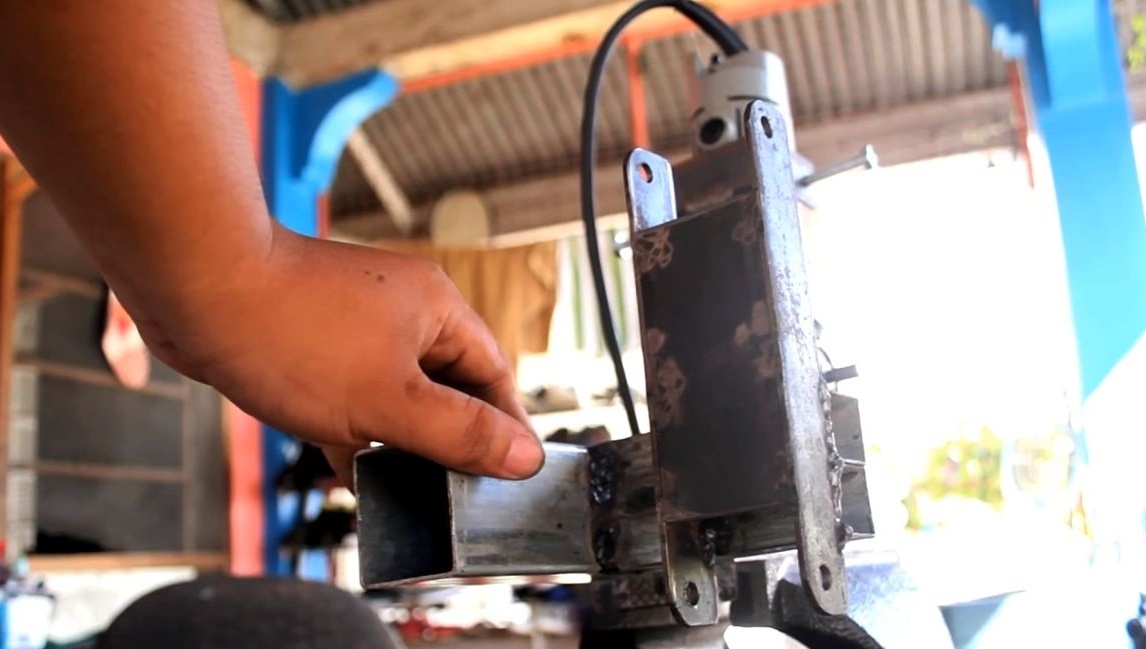
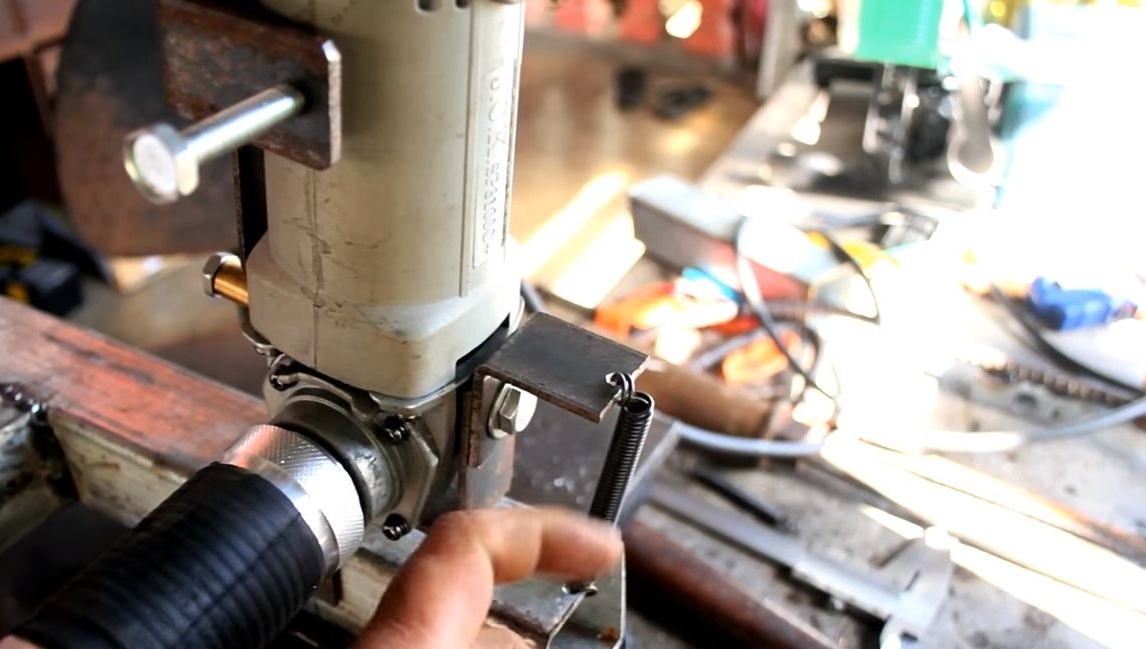
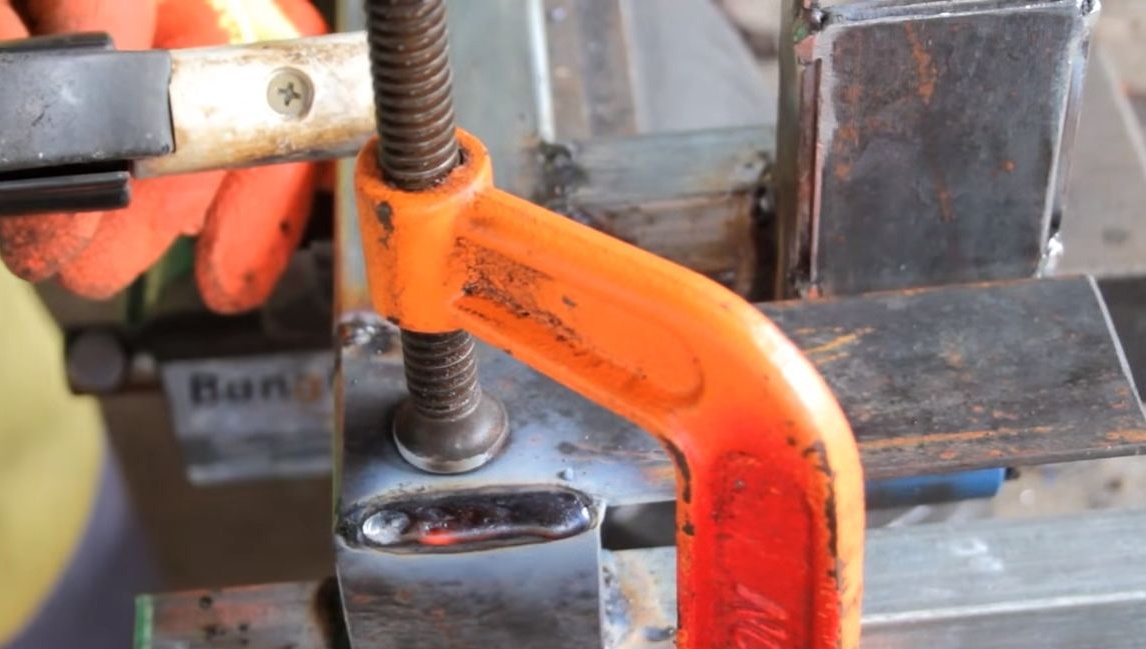
First of all, we will make a bracket for a grinder. In this regard, everything is individual, since in their form all the grinders are different. The bracket is made of steel plates, which bend in a vice in the form of a “P” and another. Further, all these parts are reliably welded to each other. The essence of the bracket is that it reliably holds the grinder. In addition, adjusting bolts are installed on the bracket. When you twist or unscrew them, the angle of the drive wheel changes, as a result, you can center the belt. The bracket itself is pivotally attached to the frame, and it is also spring-loaded so that the belt has the desired tension.

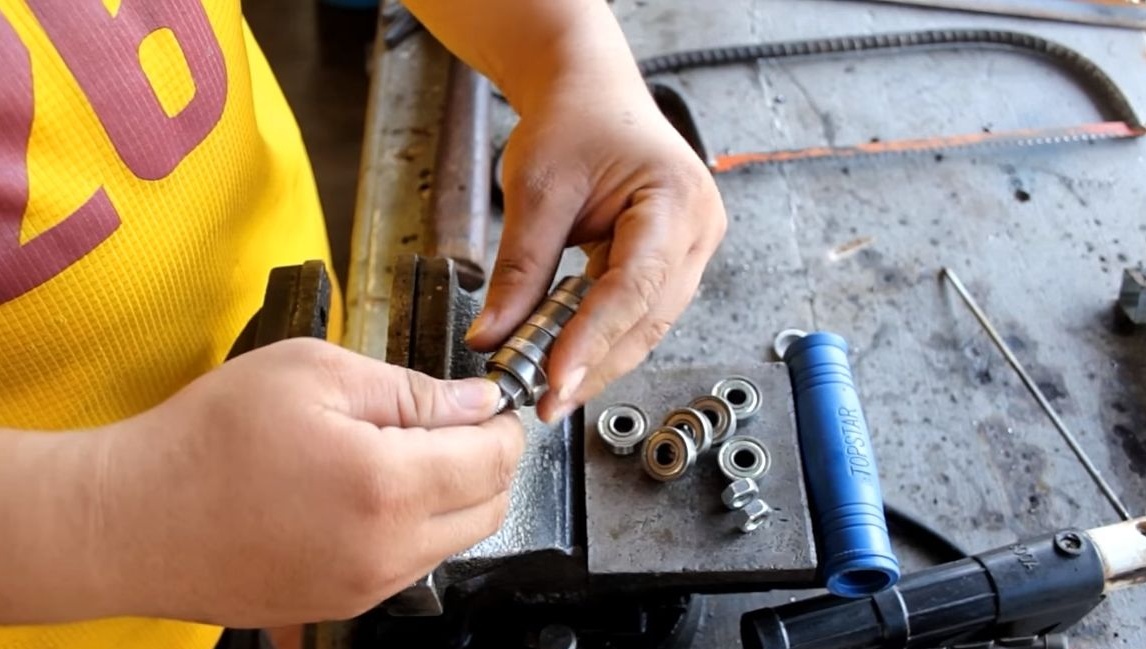
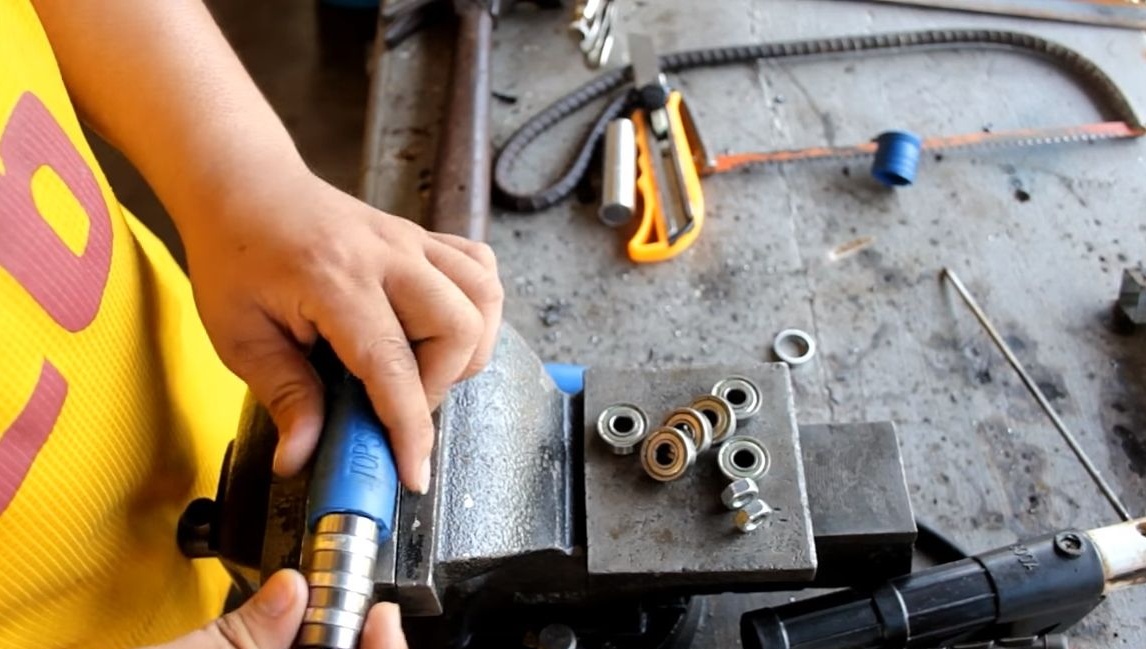
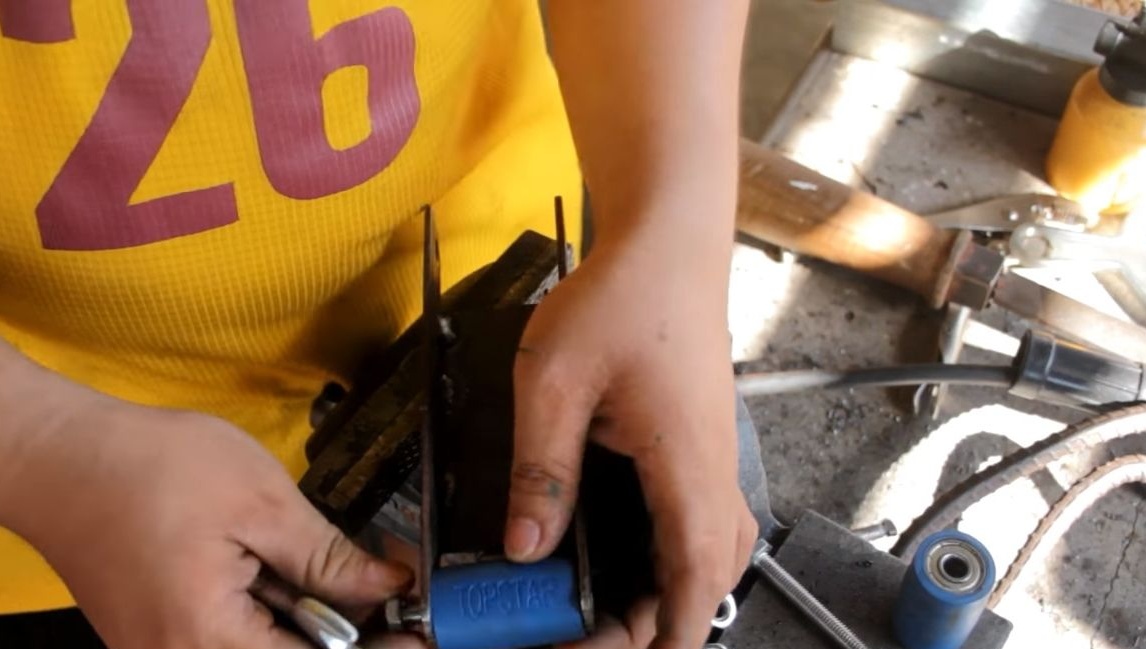
Step Two Production of driven wheels
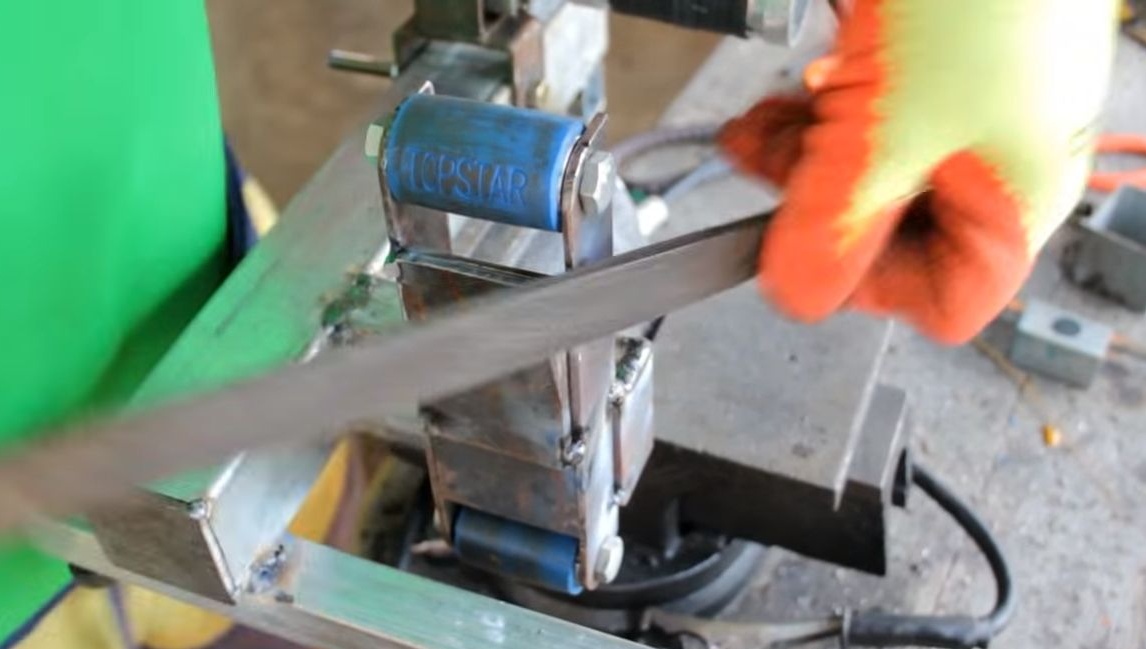
In total, the design provides two driven wheels. They are made very simply, you will need the necessary bearings, as well as bolts of suitable length and diameter.We put several bearings on the bolt and fix this block with the bearing with a nut. Now just pull a piece of hose or something similar over the bearings. That's all, we got a great grinder wheel!

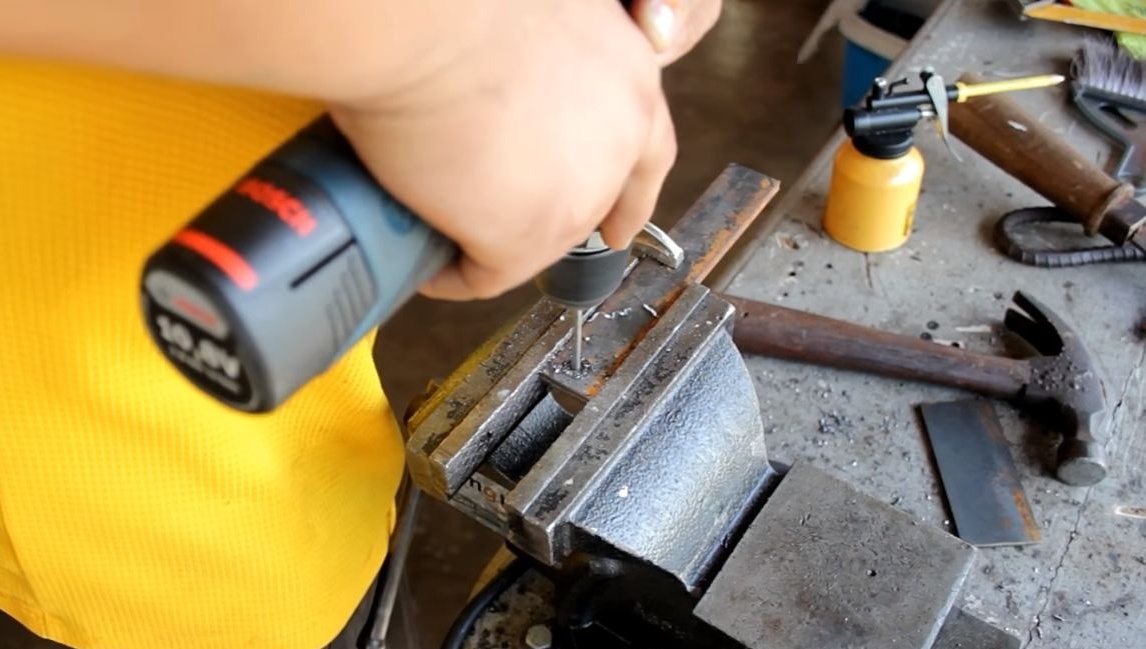
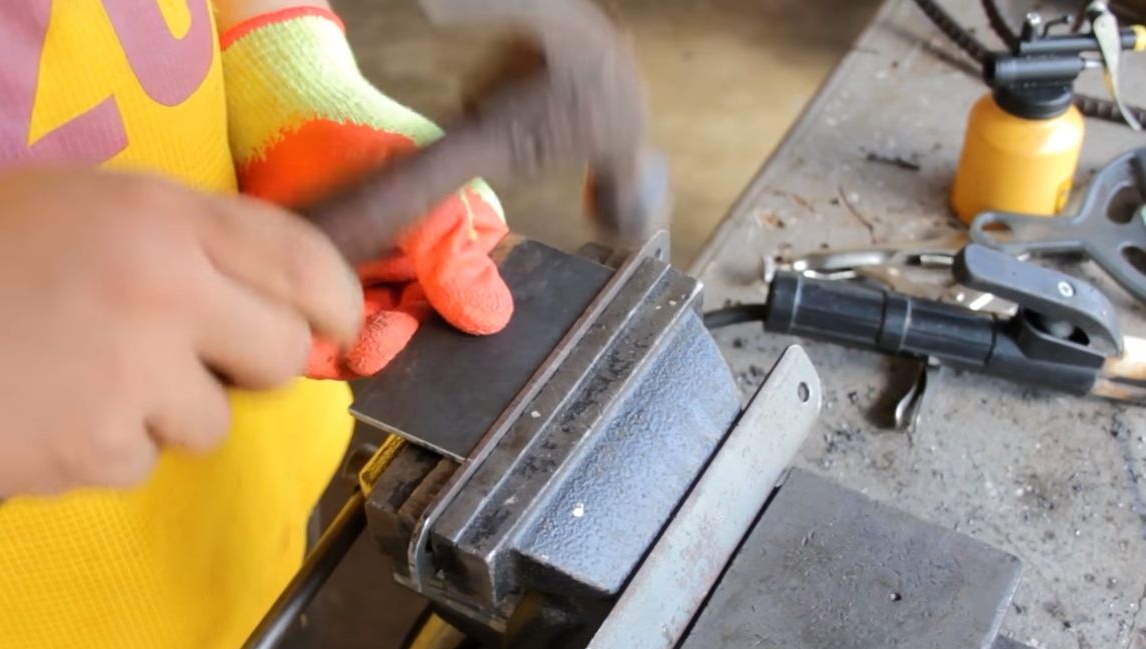
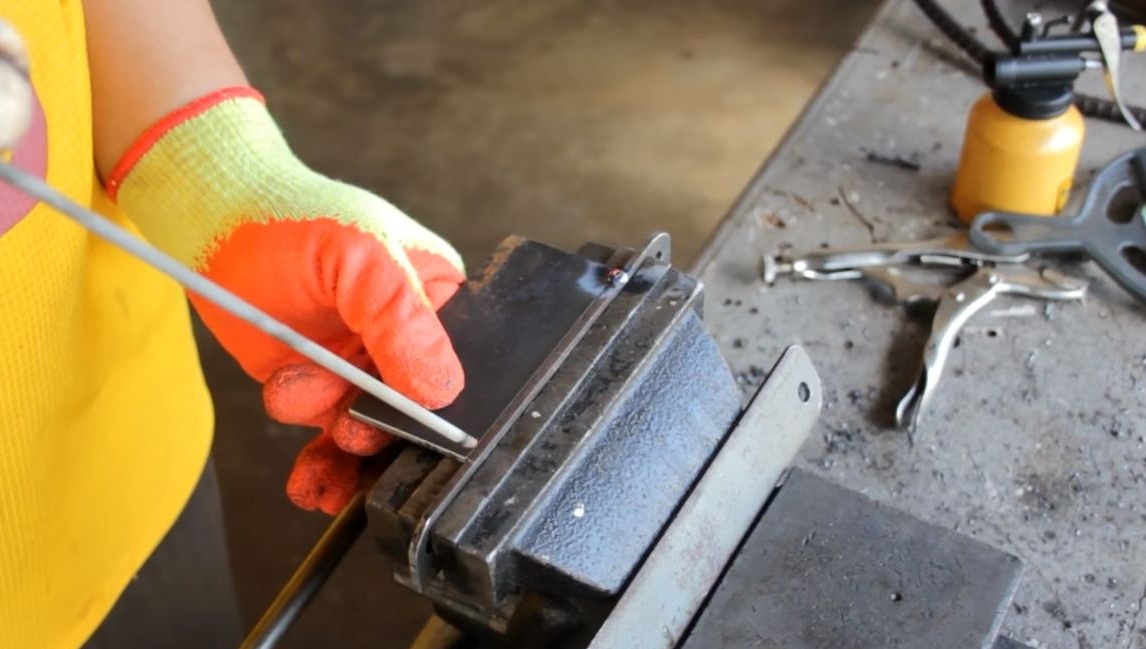
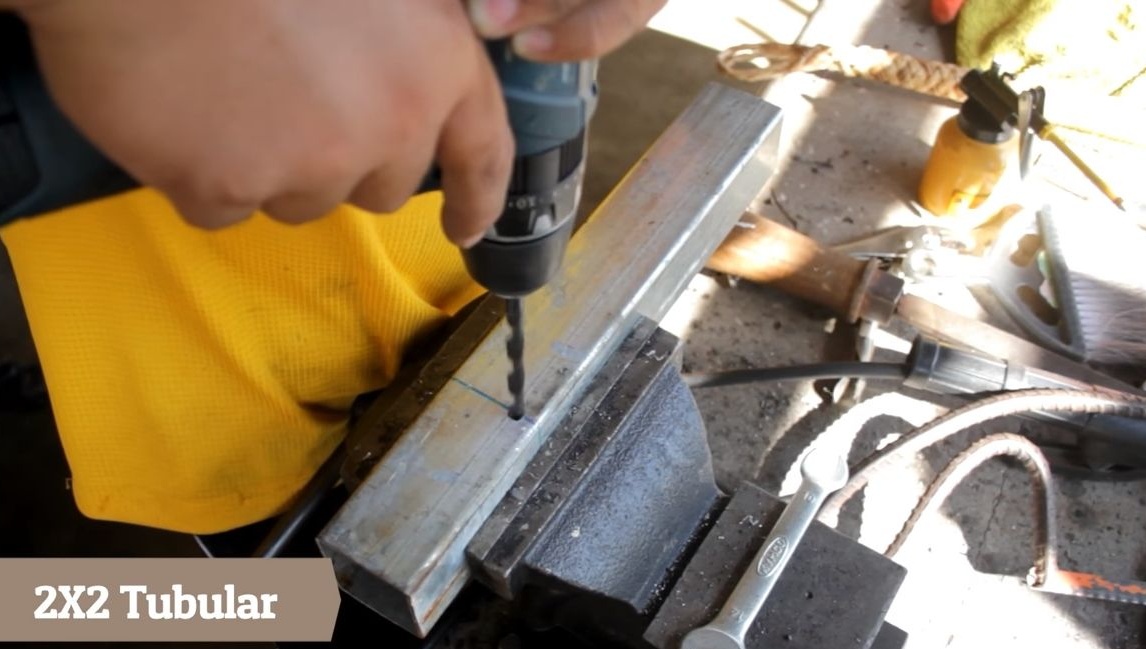
Step Three Production plane
The working plane is that part of the structure on which you will lean the product during operation. For its manufacture, sheet metal will be needed. We make three parts, and then weld them together. Outside, the welds must be cleaned, otherwise the belt will quickly fail.
We drill holes at the ends of the part, now you can install the driven wheels in their places!
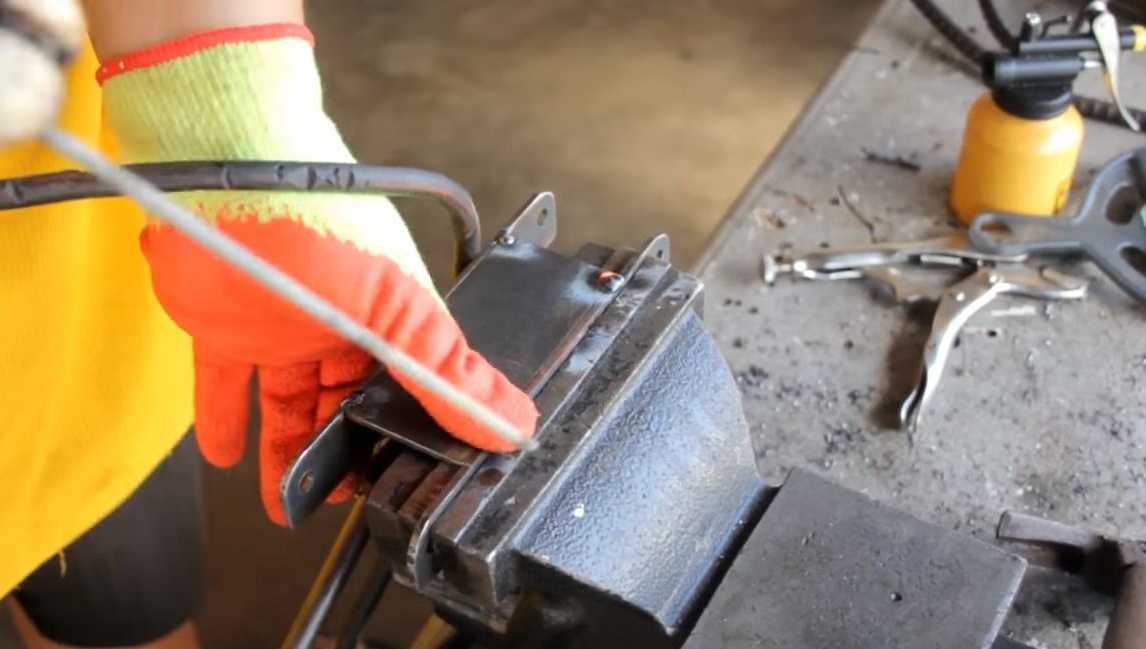
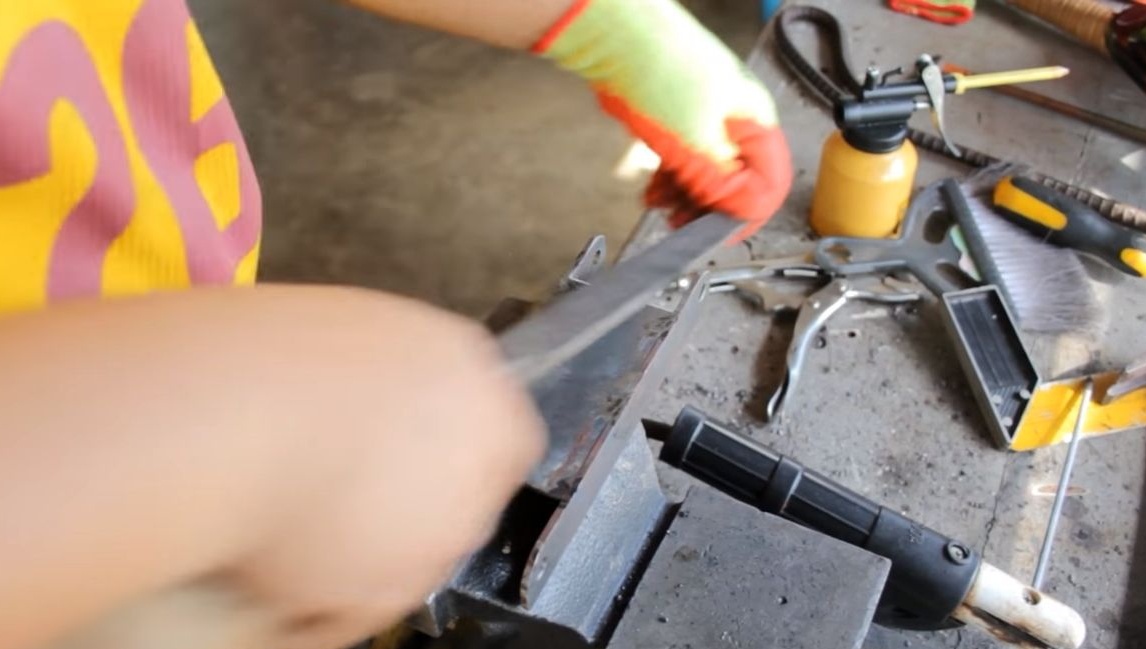
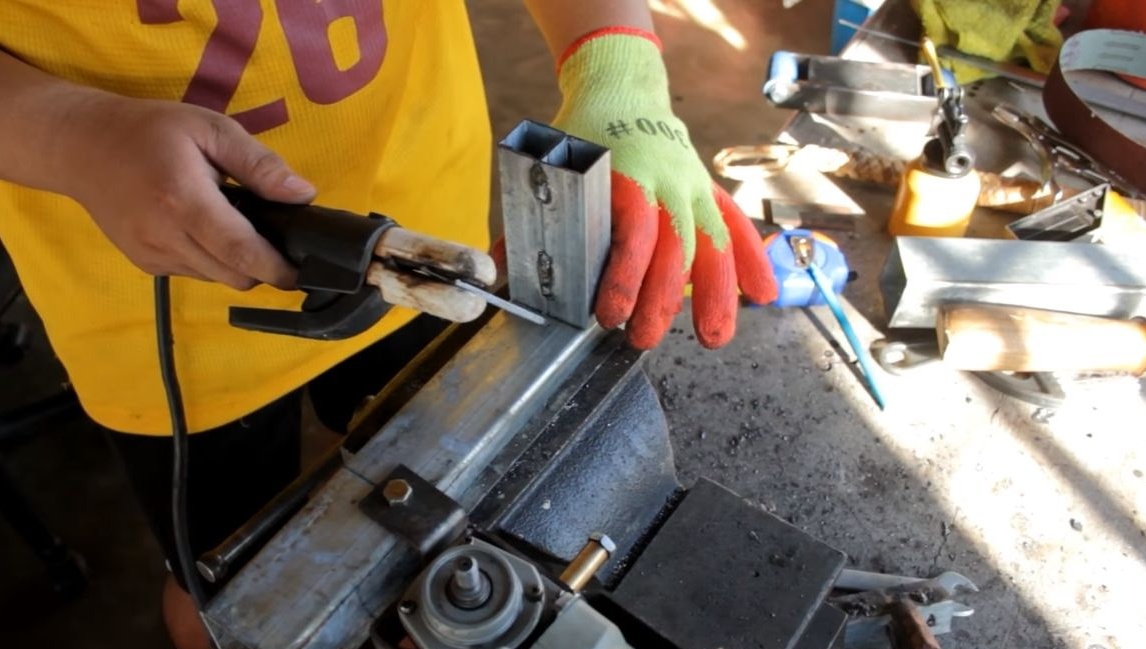
Step Four We fix all the components on the basis of
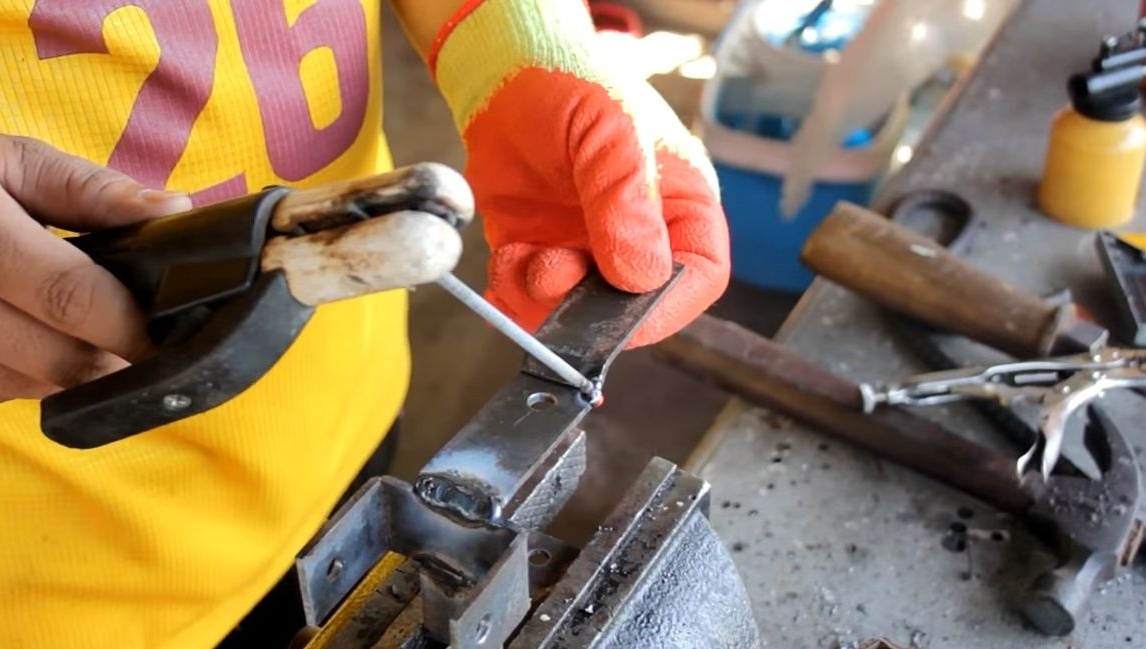
As a basis, we take a piece of a square pipe. We drill a through hole in it and pivotally mount the bracket with the grinder using a bolt and nuts. After that, we fasten the working plane, for its fastening you will need another piece of a square pipe. We carefully measure everything and carefully weld.


Step Five Drive Wheel Installation
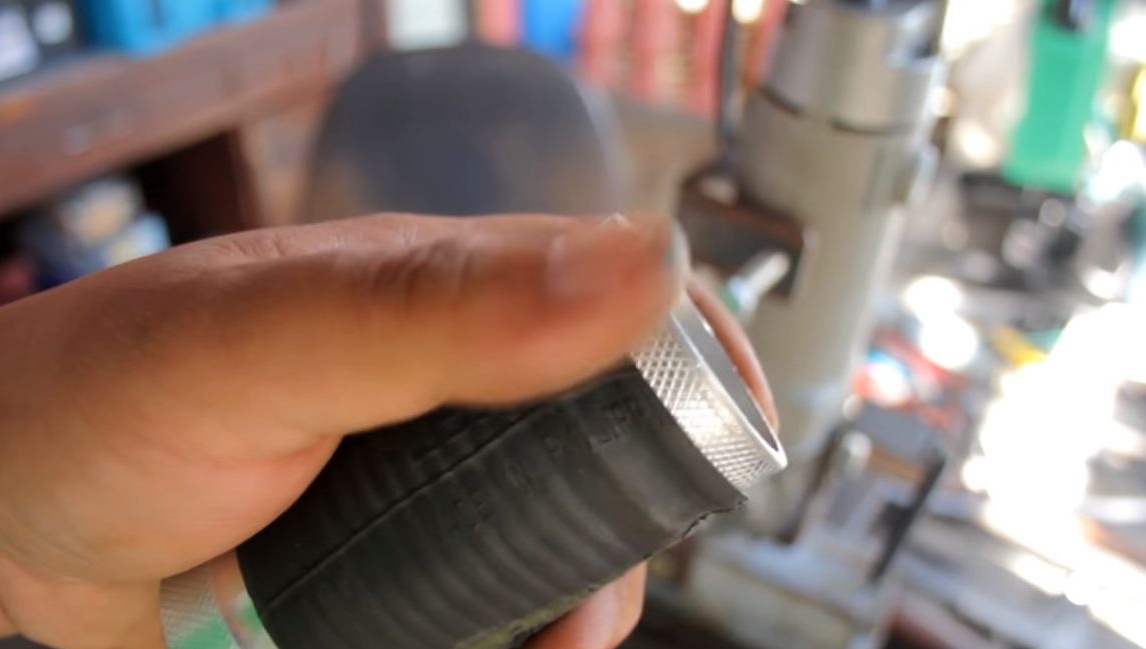
As a driving wheel, the author decided to use a footrest for a bicycle. Such parts are mounted on the axis of the bike to perform various tricks. We need a footboard that has a rubber coating on top. It is possible that you need to refine this part a bit by cutting off the excess and drilling a hole. At the end, we attach the part to the shaft of the grinder using a standard nut. That's it, we got a great drive wheel.
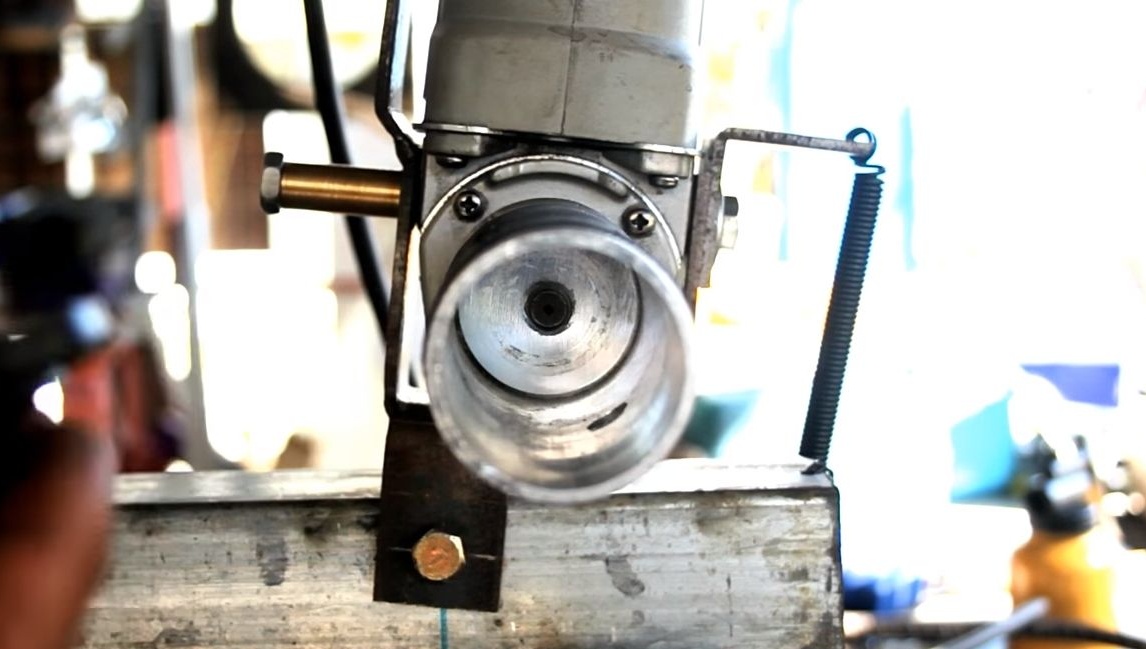
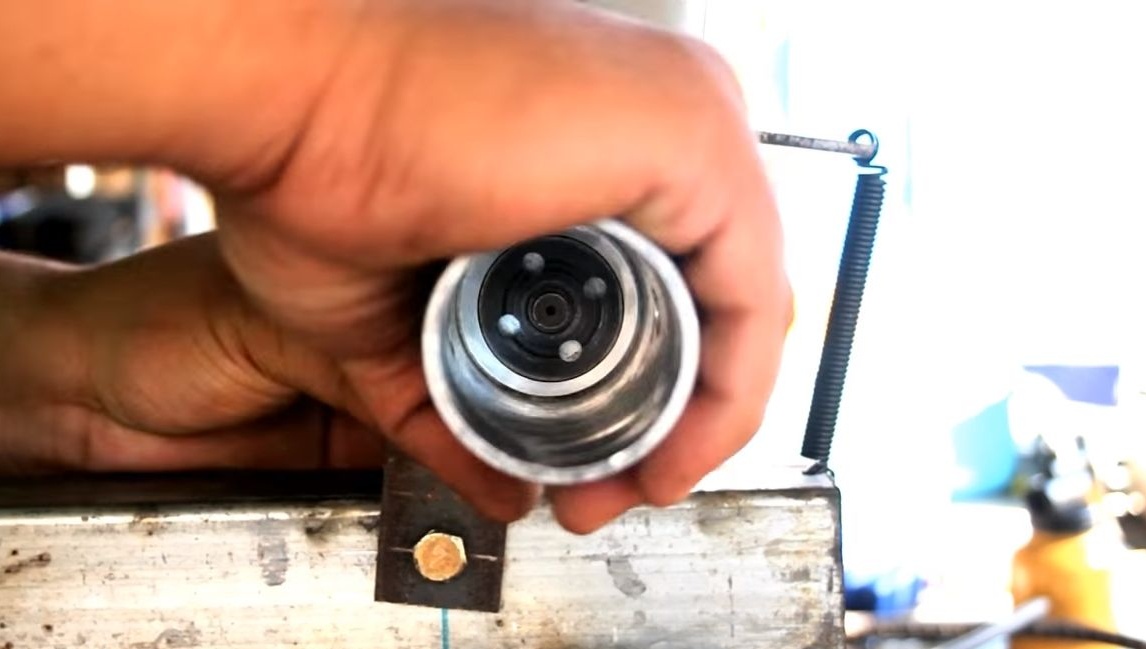
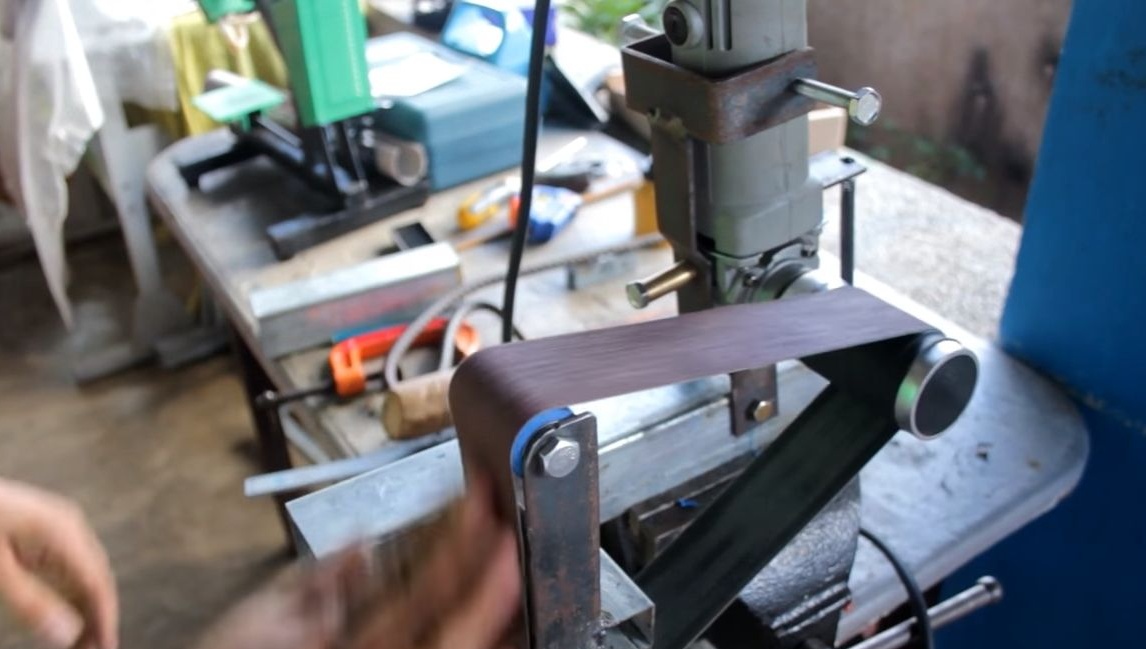
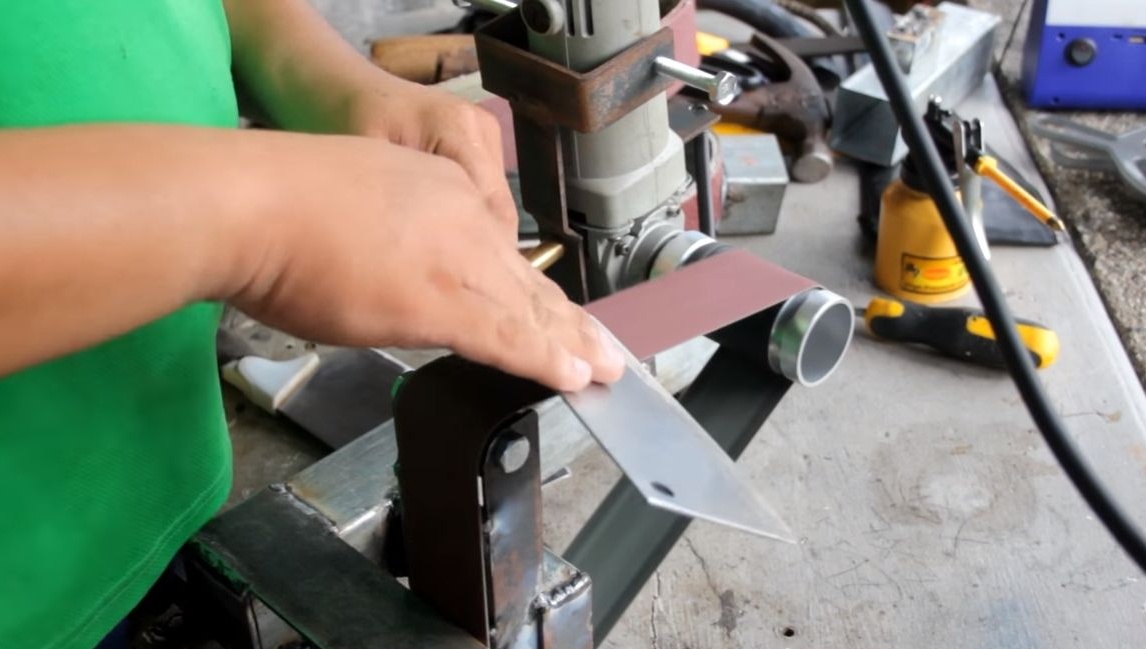
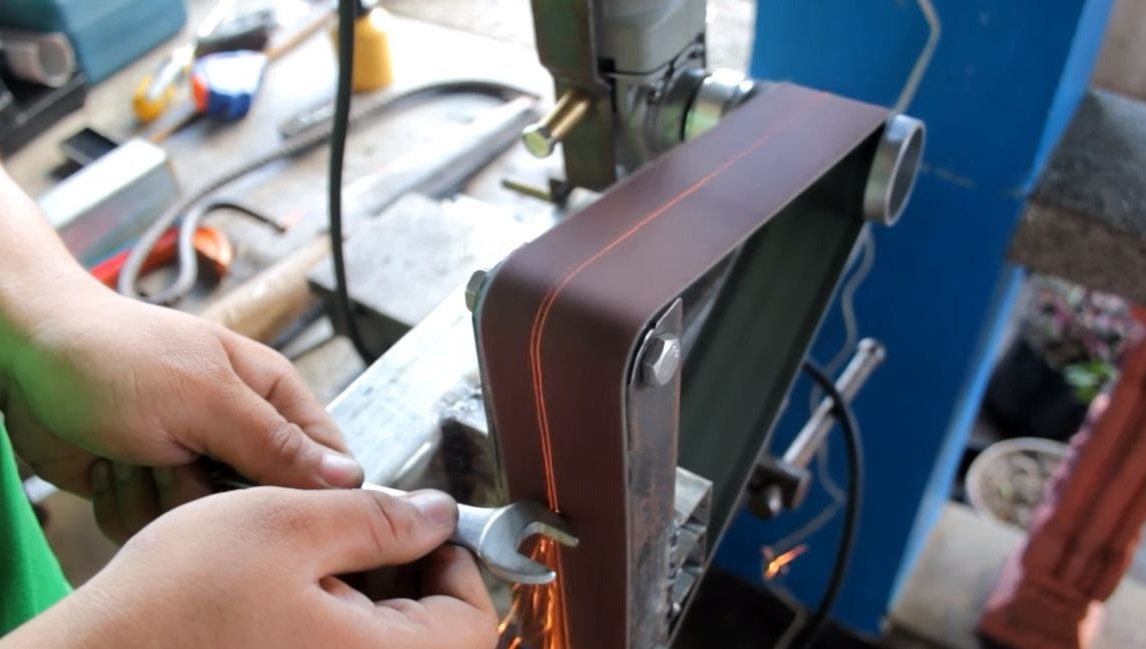
Next, we install a spring between the base and the bracket, it will be needed in order to tension the belt. Once this is ready, install the sanding belt. Now the machine can even be tested, although it has not yet been completed. The author demonstrates the operation of the device, grinding a wrench on the machine, sparks are streaming quite thick.
Step Six The final stage of assembly
Finally, weld the support to the base, it will be a leg that will not allow the machine to tip over during operation. A piece of steel square pipe is perfect for these purposes. If desired, rubber legs can be glued to it.
It will be mandatory to install a “work table” on the machine, you will abut this element when grinding. For these purposes, it will be quite enough to weld a piece of steel plate in the right place.
That's all, the machine is ready! In conclusion, it is highly desirable to paint so that the metal does not rust.
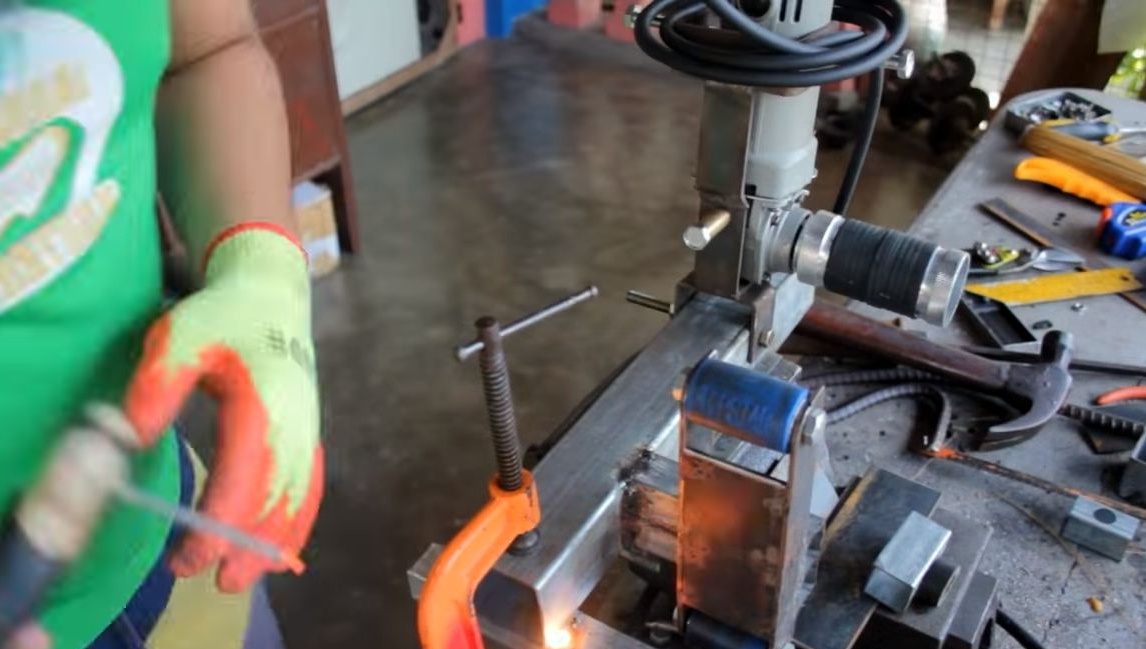
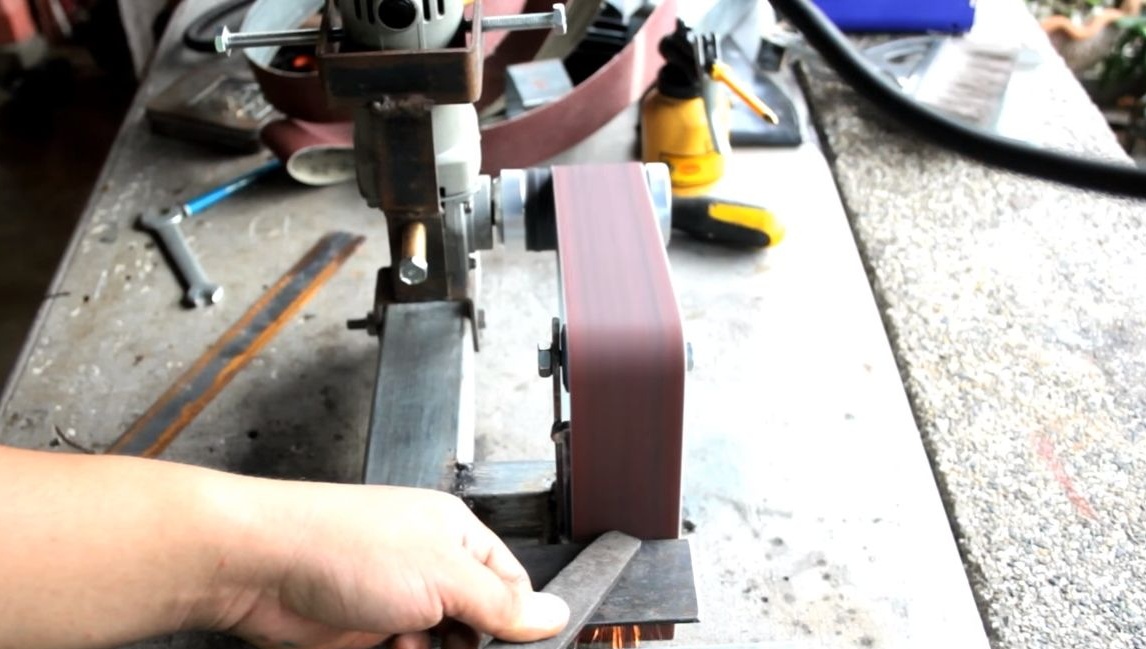
Seventh step. Testing
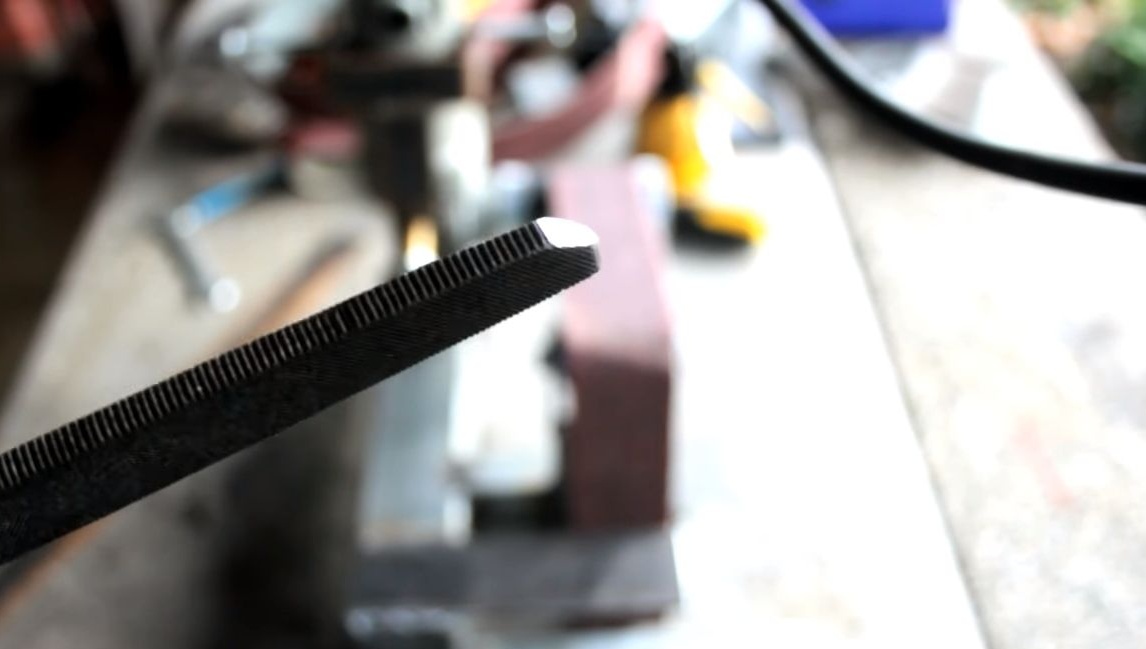
The machine is ready, you can get to work! We start the grinder and with the help of the adjusting bolts we adjust the machine so that the grinding belt is exactly in the center of the wheels. That's all, now the car can be used. The author easily sharpened a kitchen hatchet to such an extent that he cuts paper. Also, the machine can easily cope with grinding a file, which is quite hard metal.
That's all, the project is over, I hope you liked it. Good luck and inspiration in the manufacture of your own homemade products. Do not forget to share them with us.