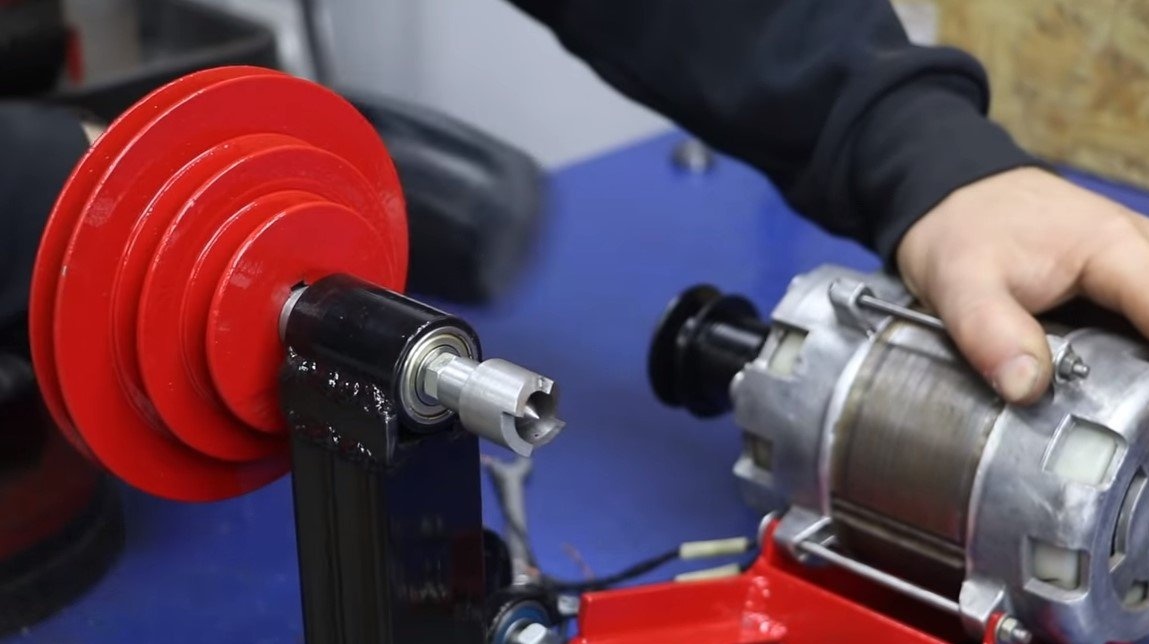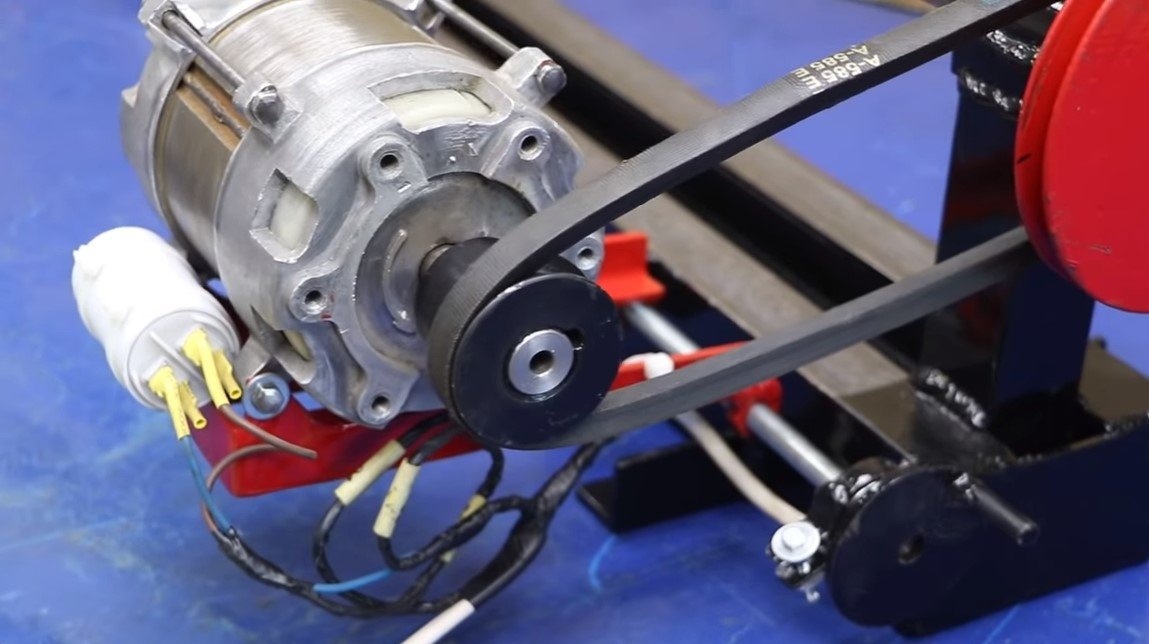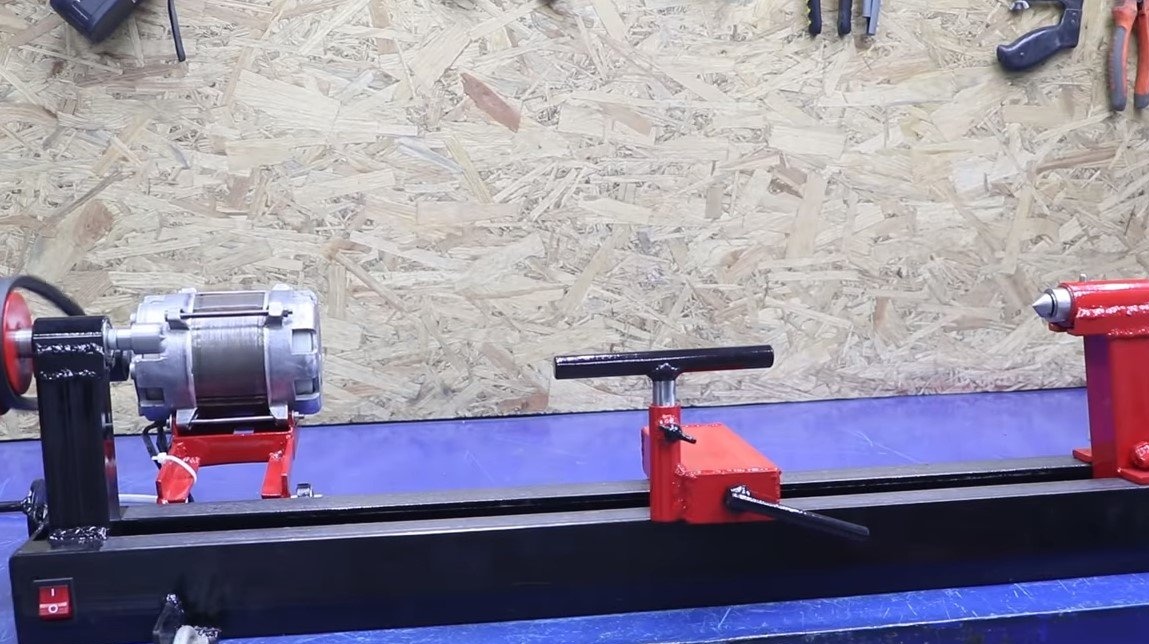
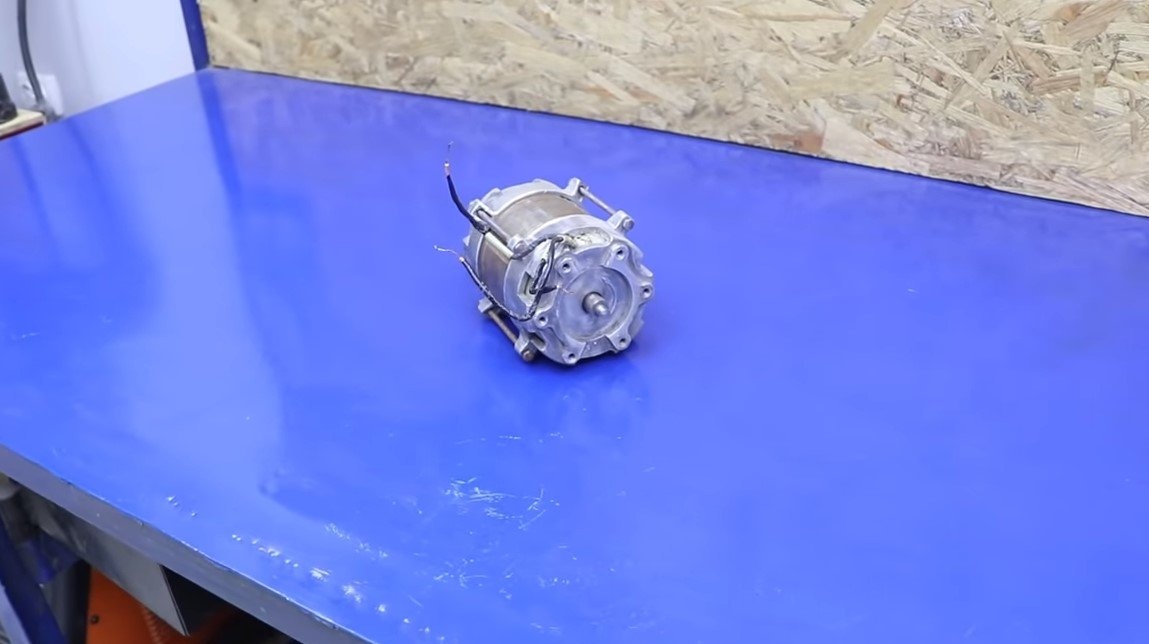
I welcome all fans to craft, I propose to consider a small lathe that can be assembled on the basis of the old motor from the washing machine. Of course, the speed of the machine is small, but this is enough for wood processing. It is best to use a motor from a washing machine, such engines are more powerful and resourceful. The author used a pulley with three streams as a transmission, which allows you to switch speeds depending on needs, the machine has three speeds. Everything is assembled quite simply from the available materials. If the project interests you, I propose to study it in more detail!
Materials and tools used by the author:
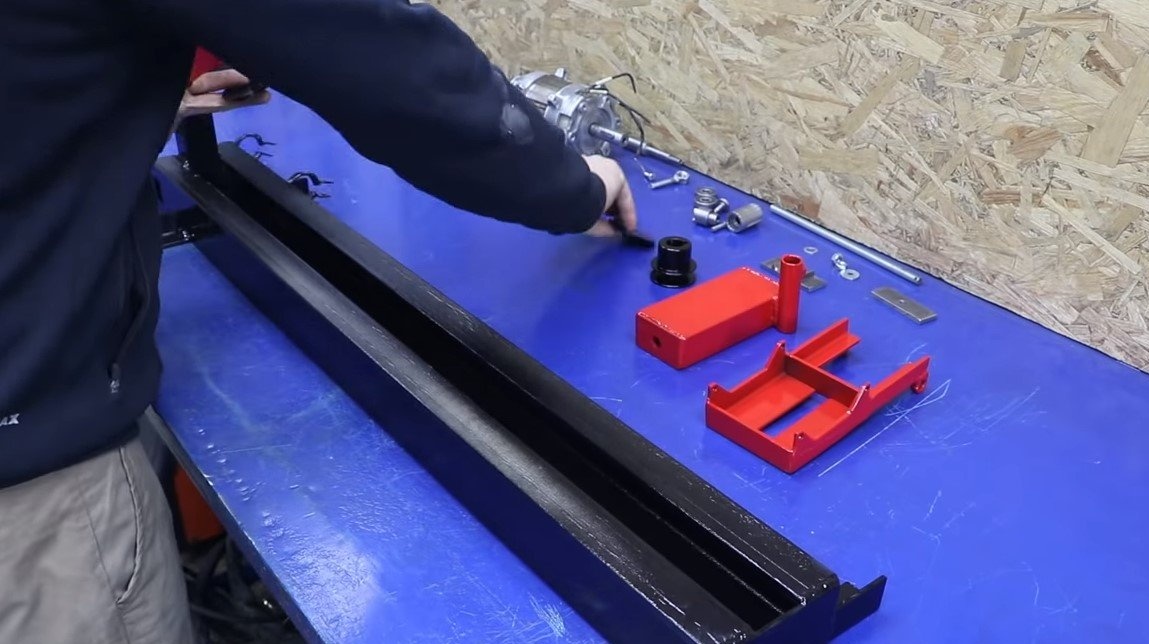
Material List:
- motor from the washing machine;
- Belting;
- corners;
- channels;
- a piece of a round pipe;
- threaded rod;
- bolts and nuts;
- round timber;
- Sheet steel;
- bearings (radial and thrust);
- paint for metal.
Tool List:
-
- ;
- vise;
- roulette;
- marker;
- magnetic squares;
- spanners.
Lathe manufacturing process:
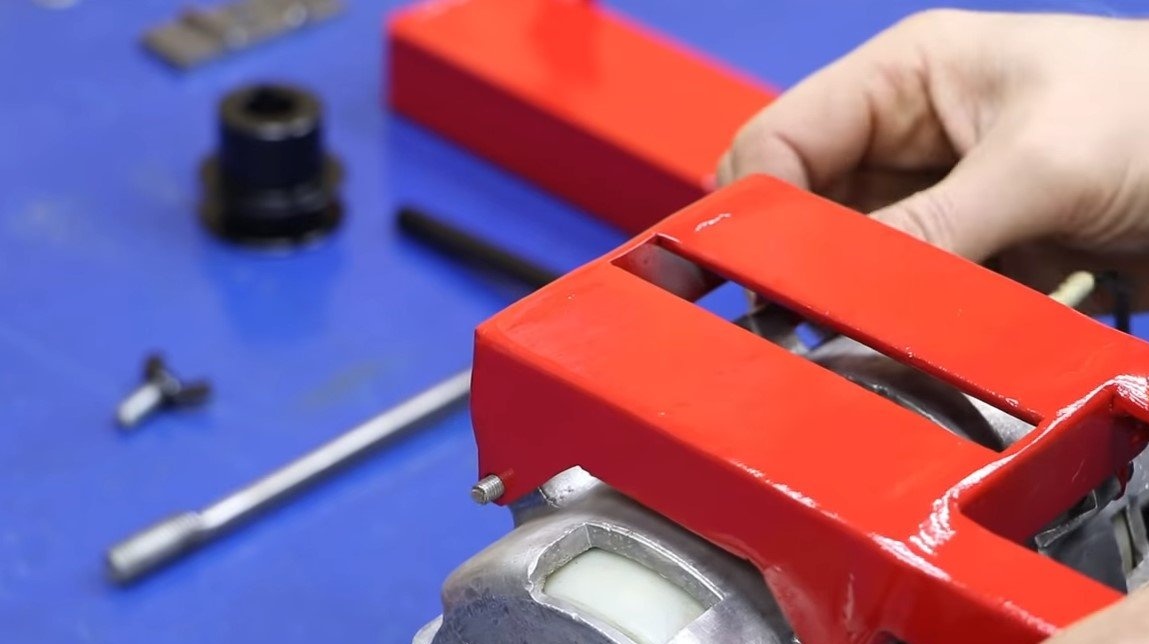
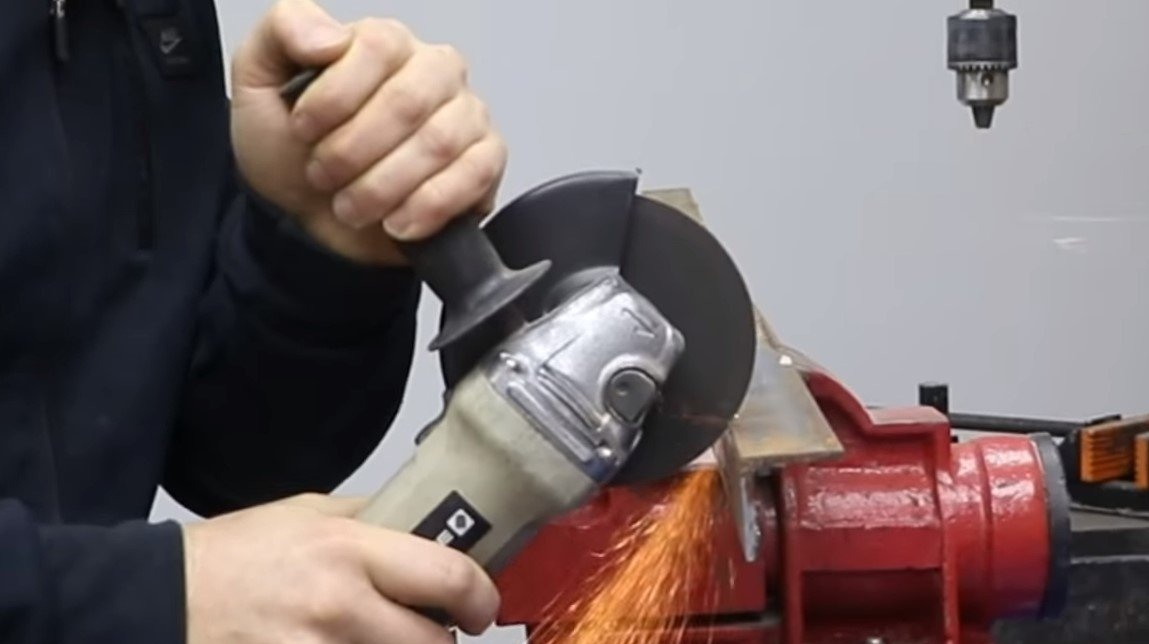
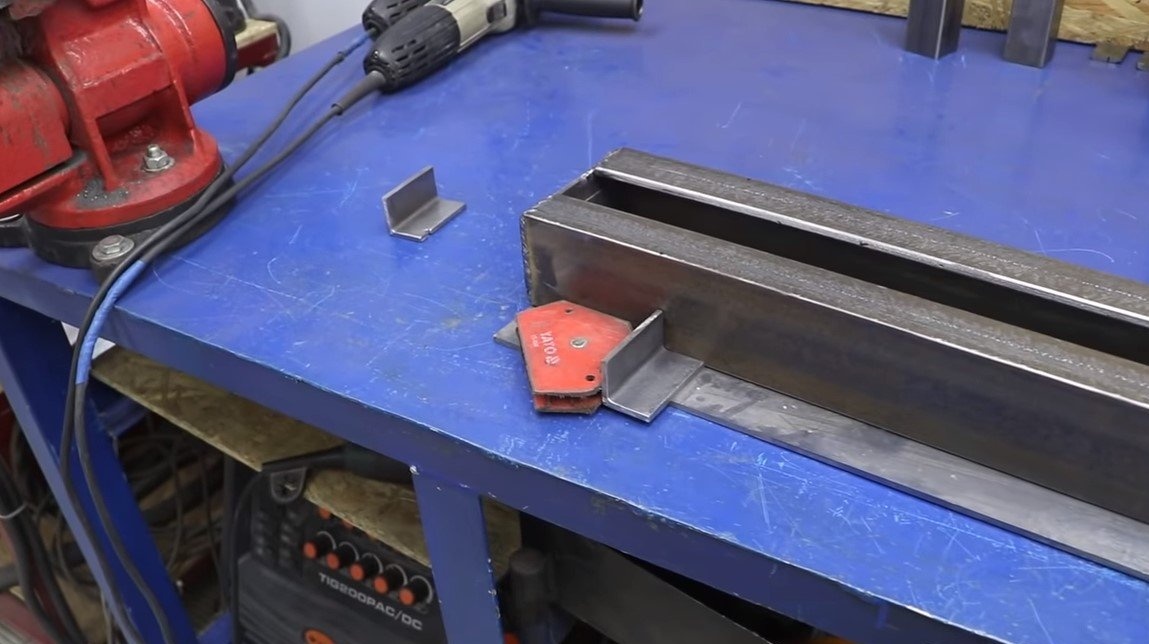
Step one. Fixture for the motor
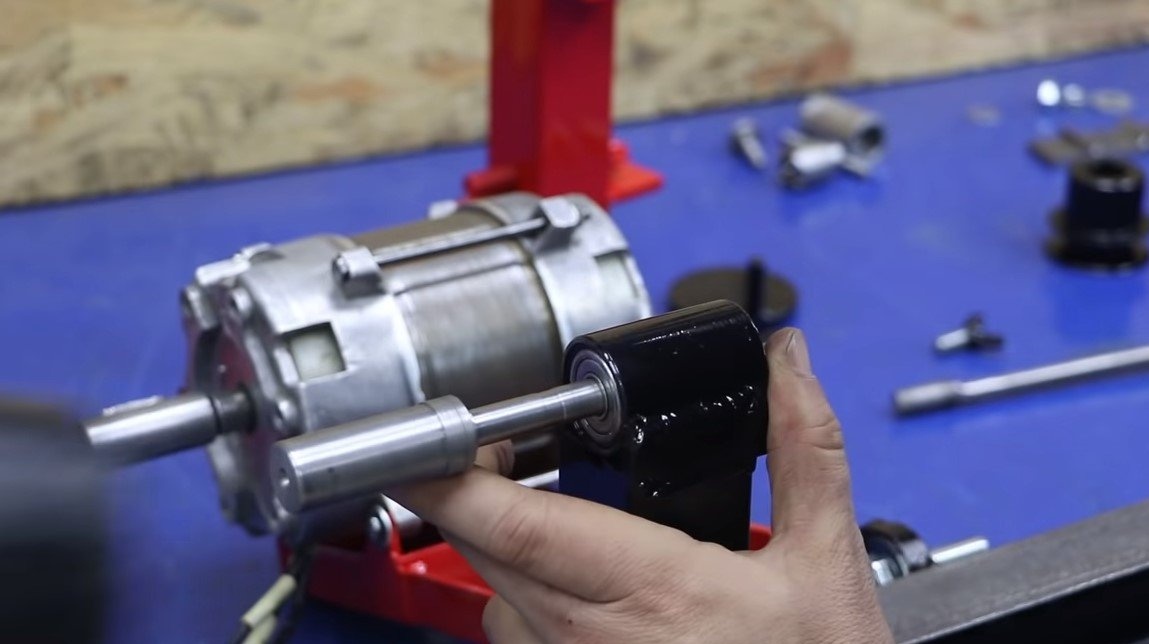
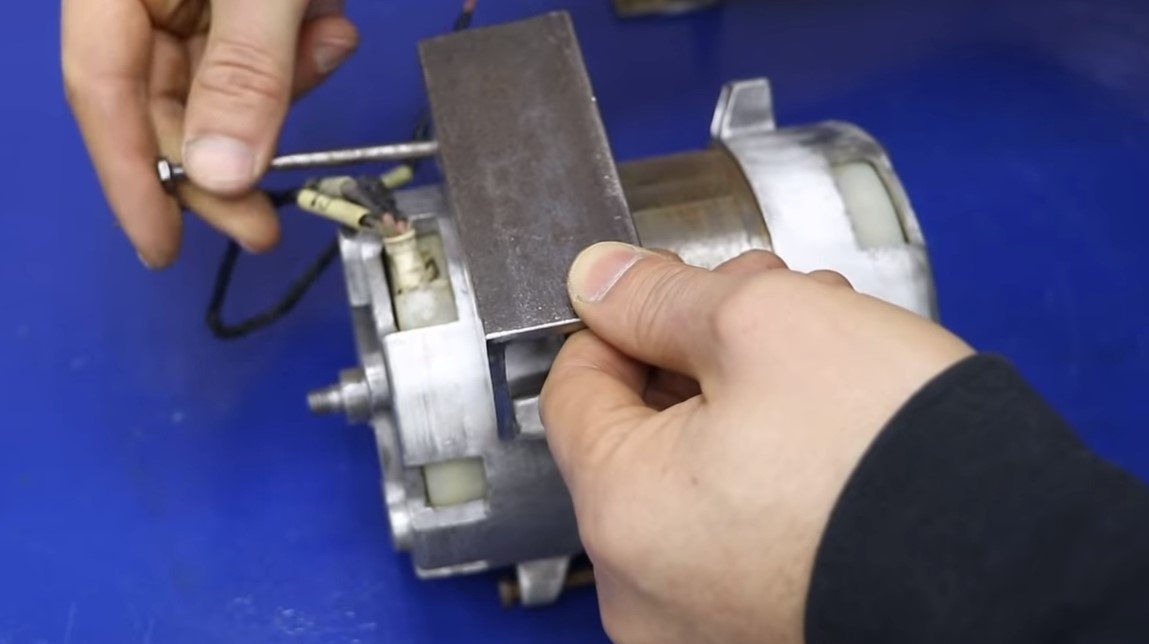
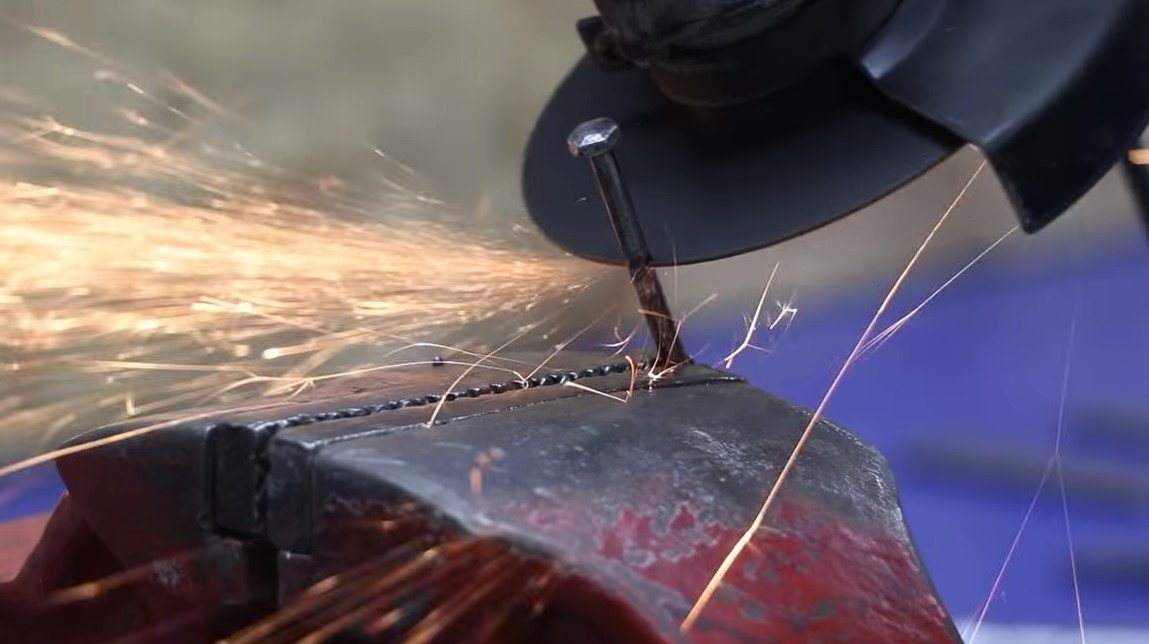
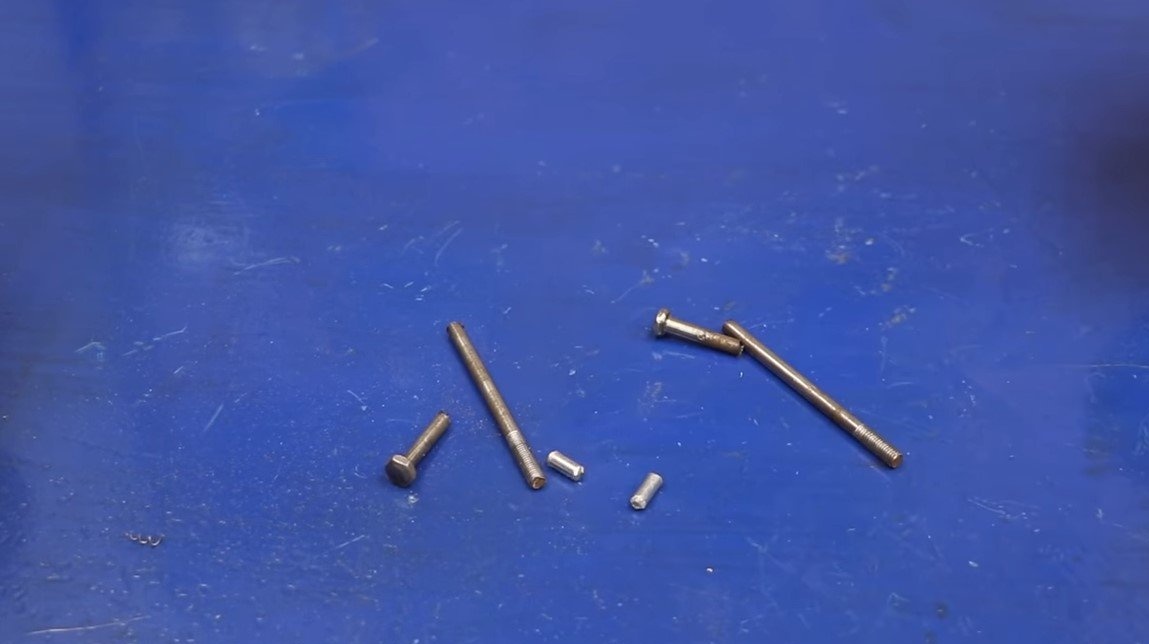
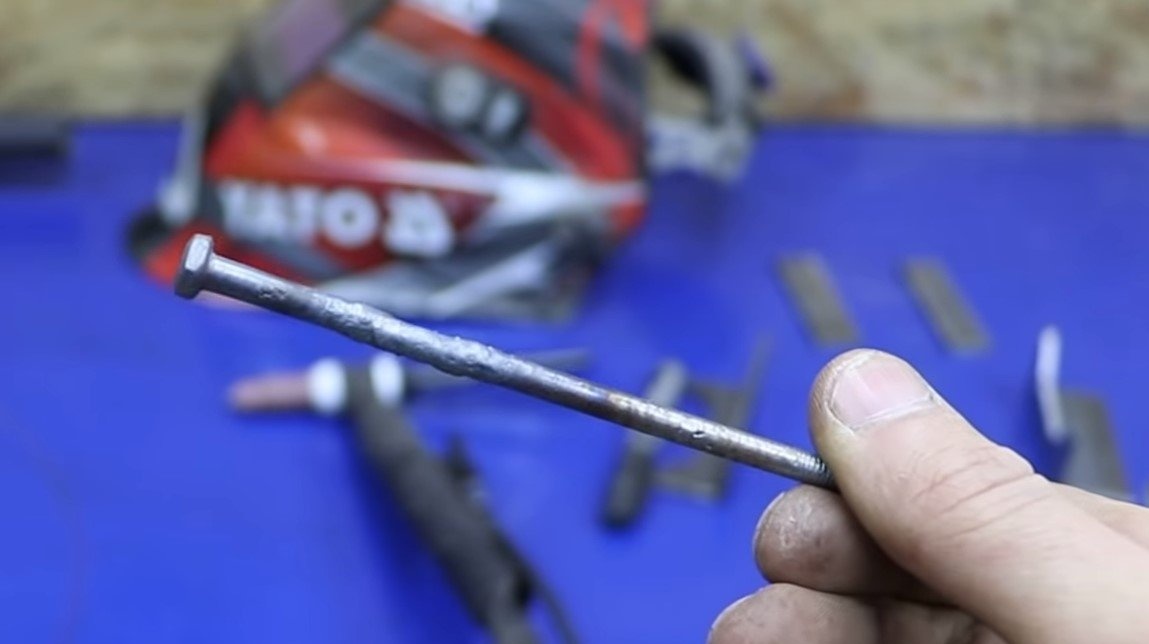
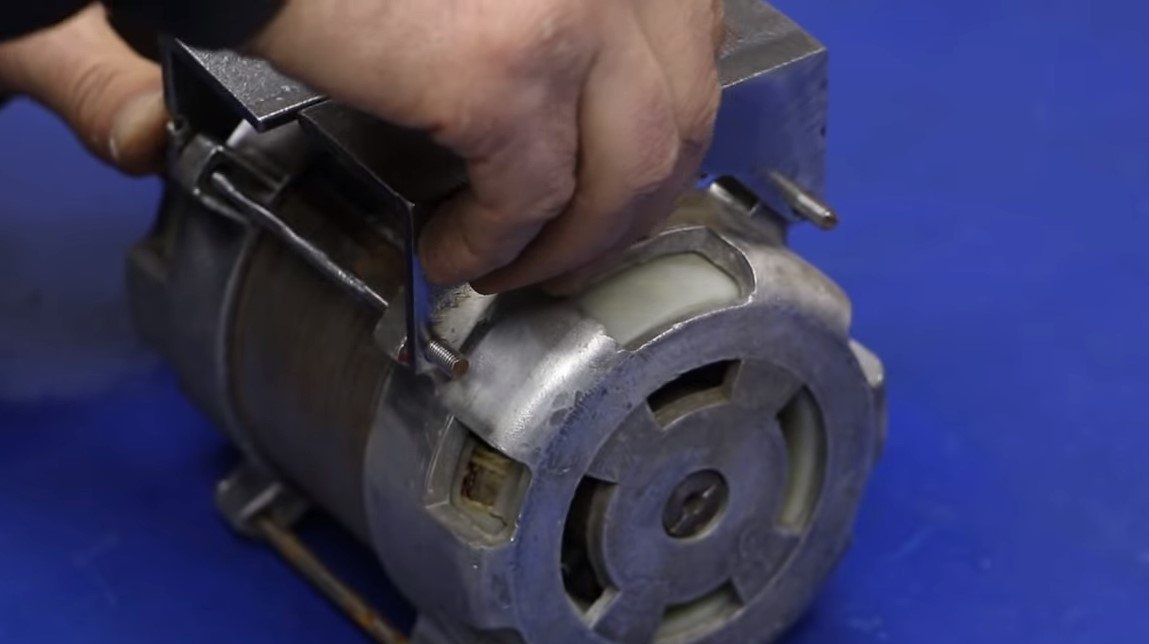
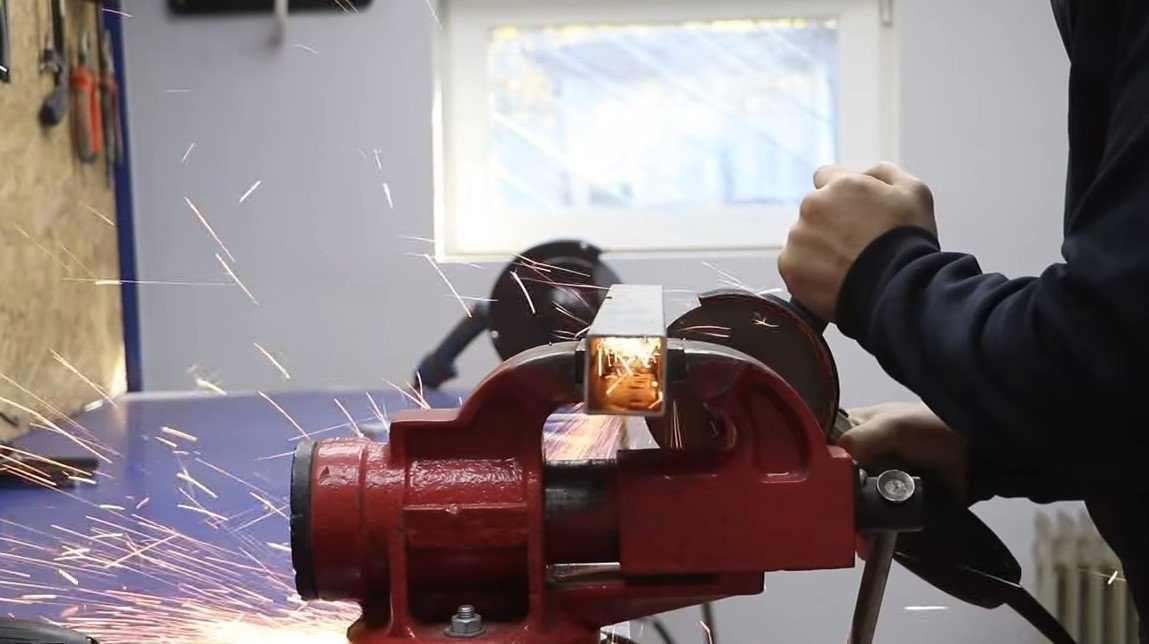
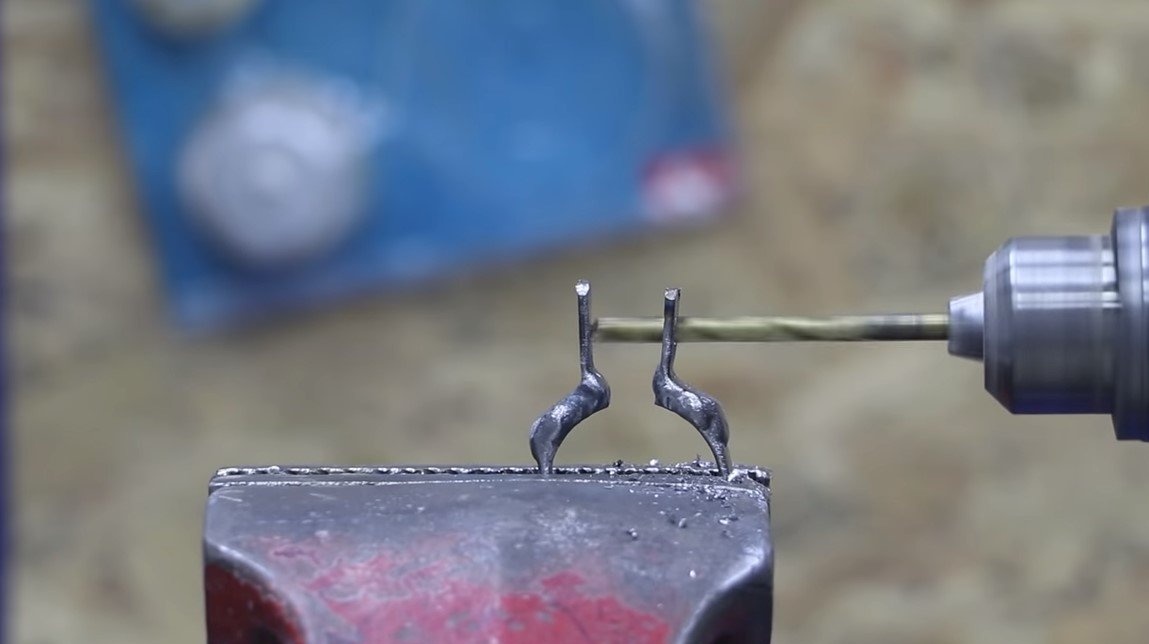
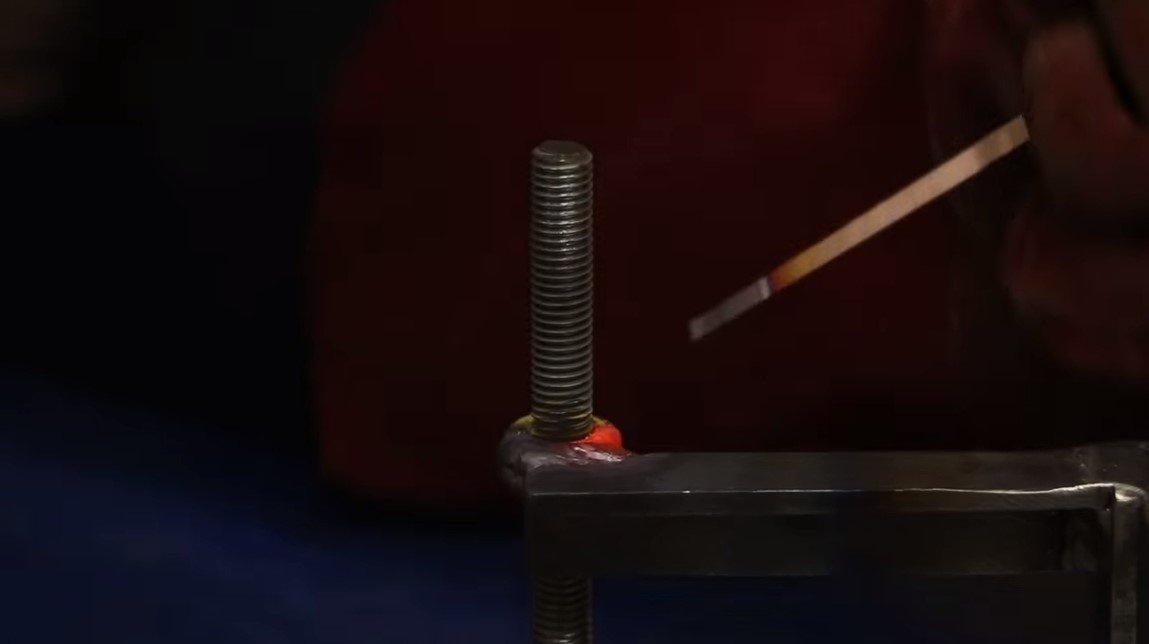
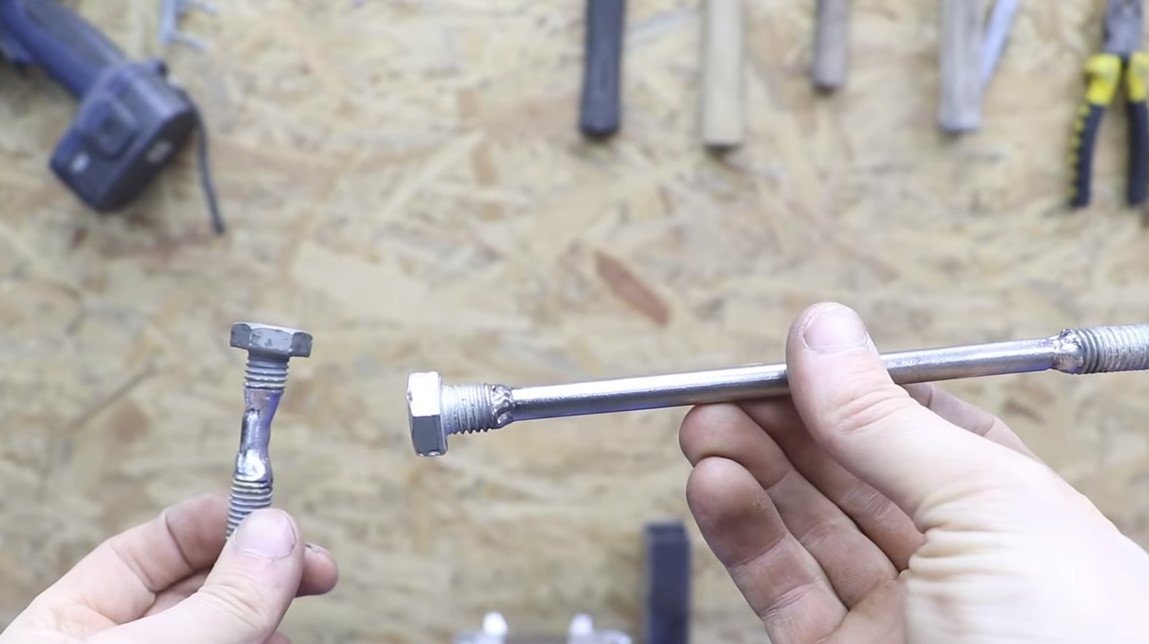
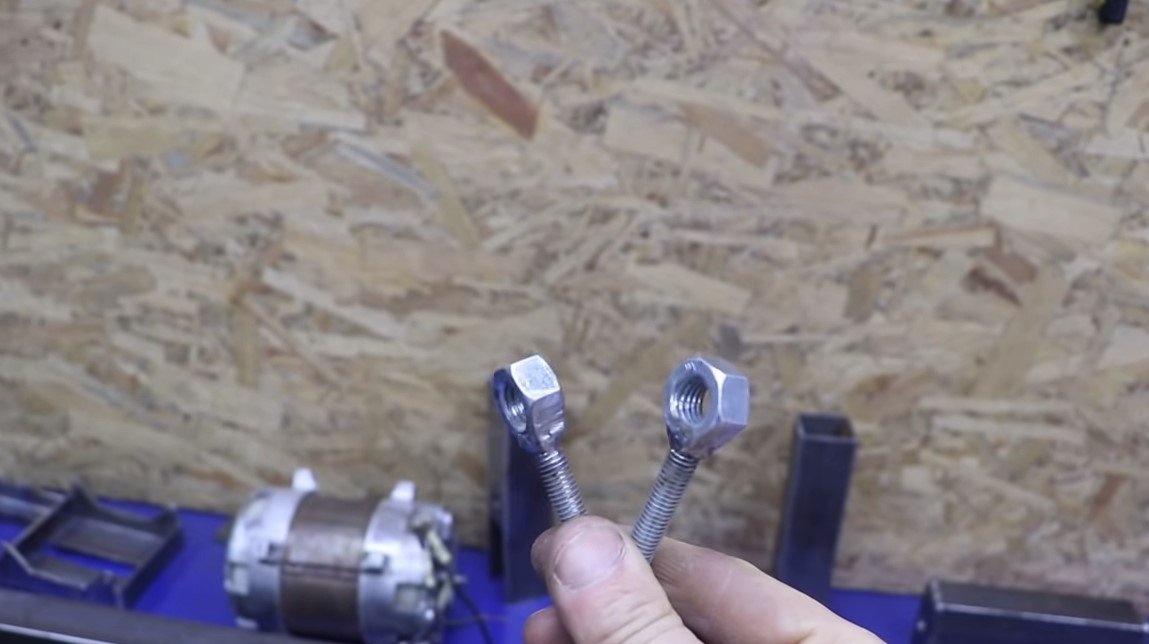
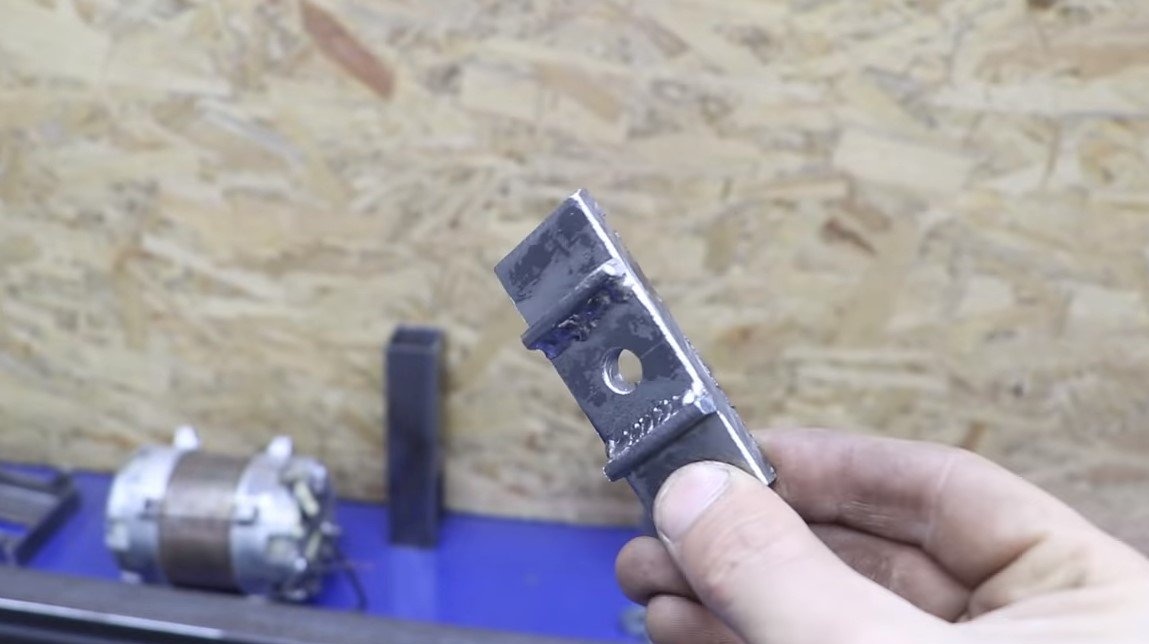
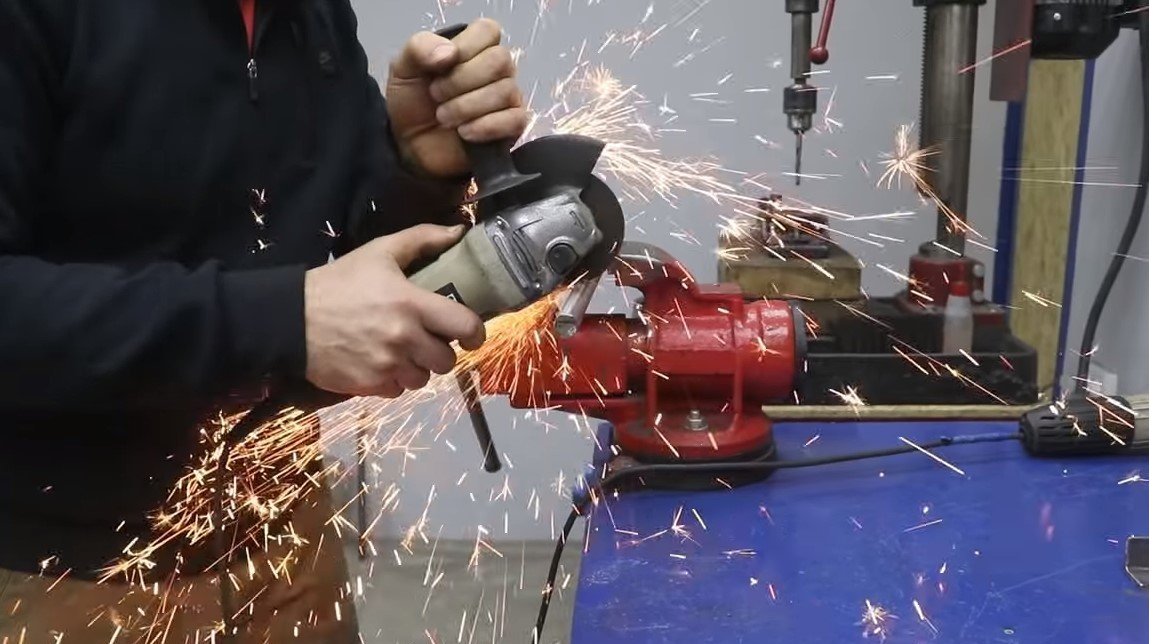
First of all, the author decided to make fasteners for the engine, for such purposes a corner and steel plates were needed. The mounting bracket is needed in order to hinge the engine on the frame, this will allow you to quickly flip the belt and thereby switch speeds. After manufacturing the fasteners, it turned out that the length of the motor studs was not enough for fastening. Without thinking twice, the author cut the studs and welded pieces of screws into them, as a result, he obtained studs of suitable length.

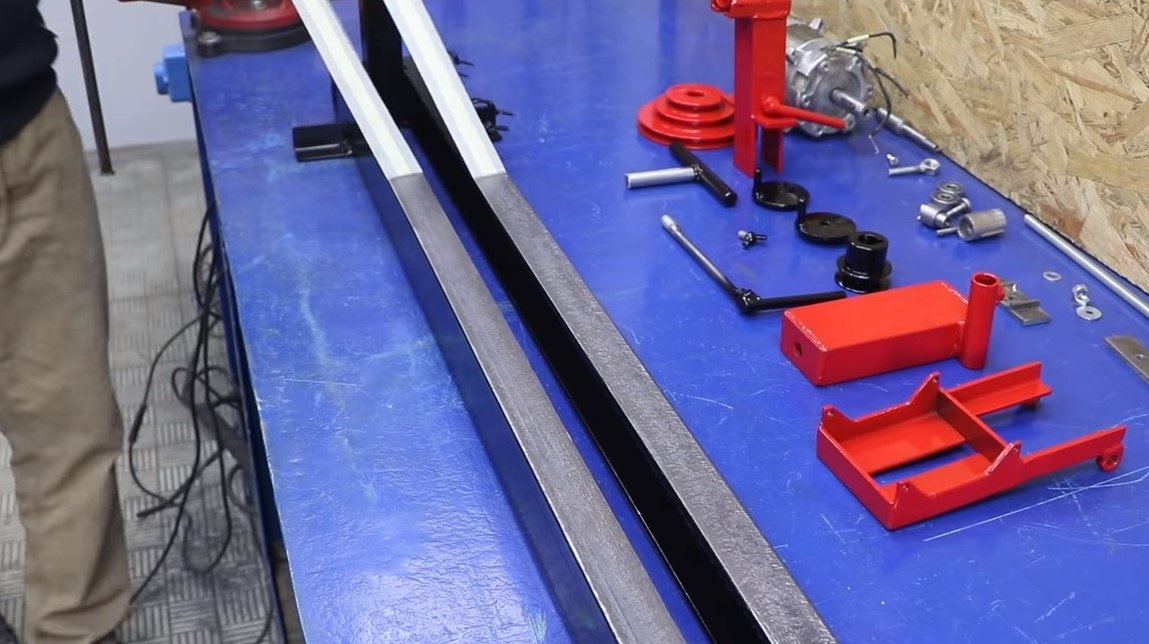
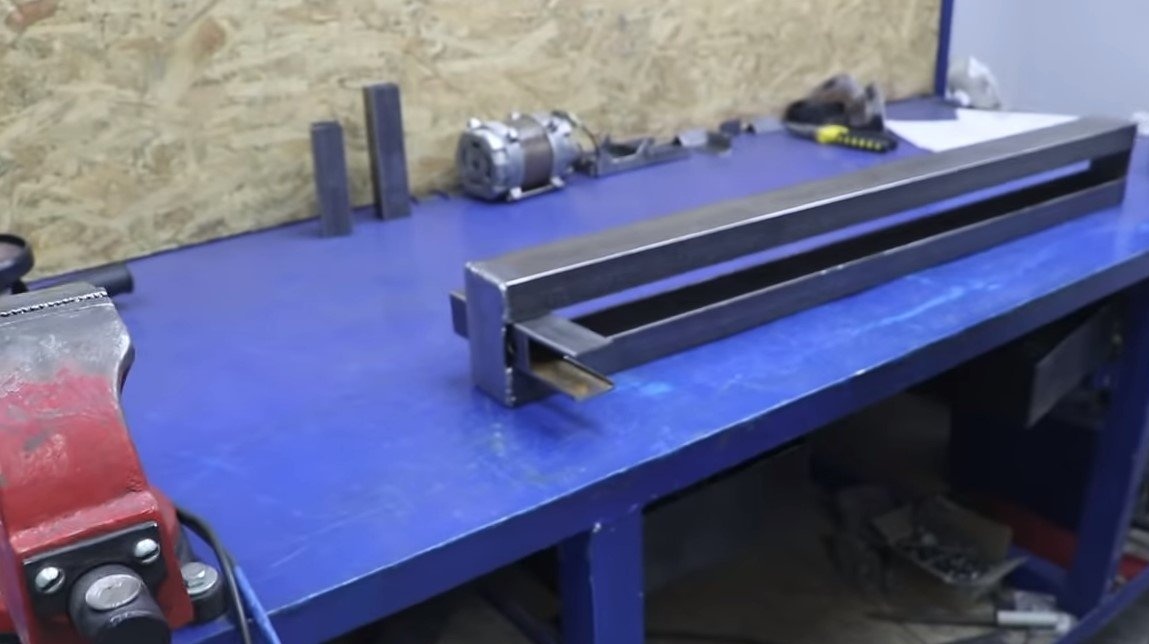
Step Two Making the bed
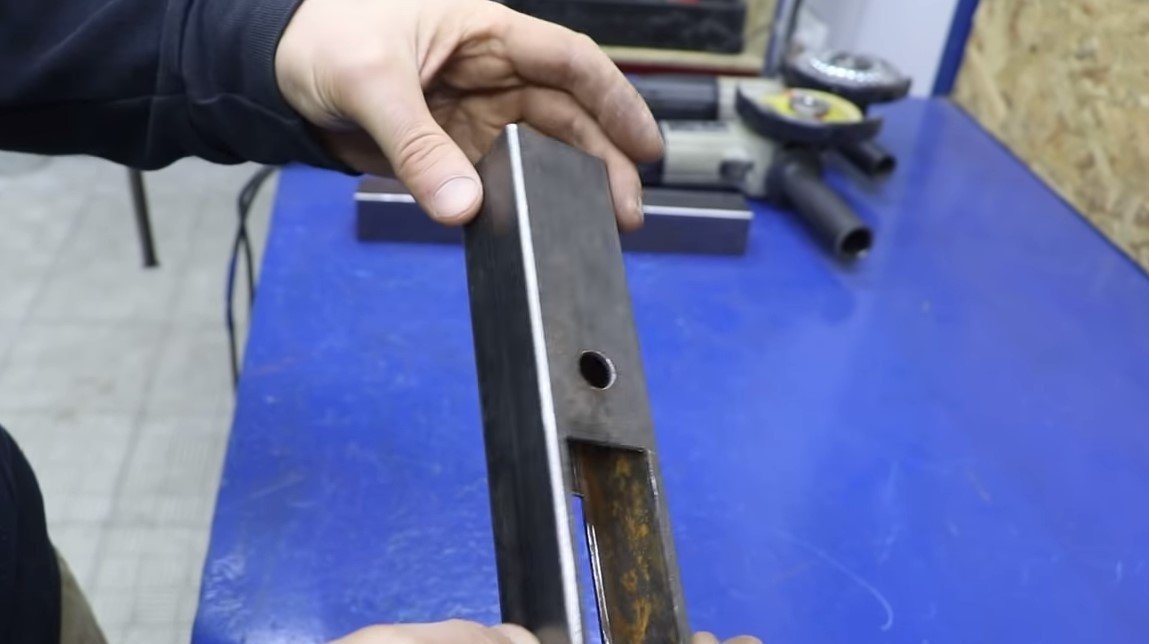
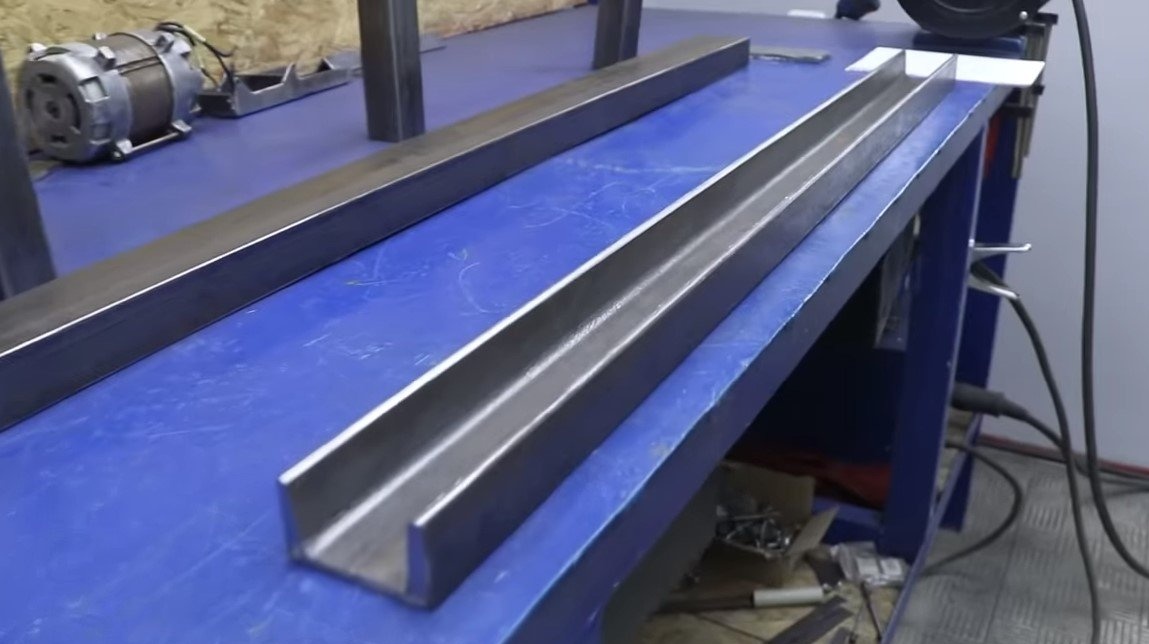
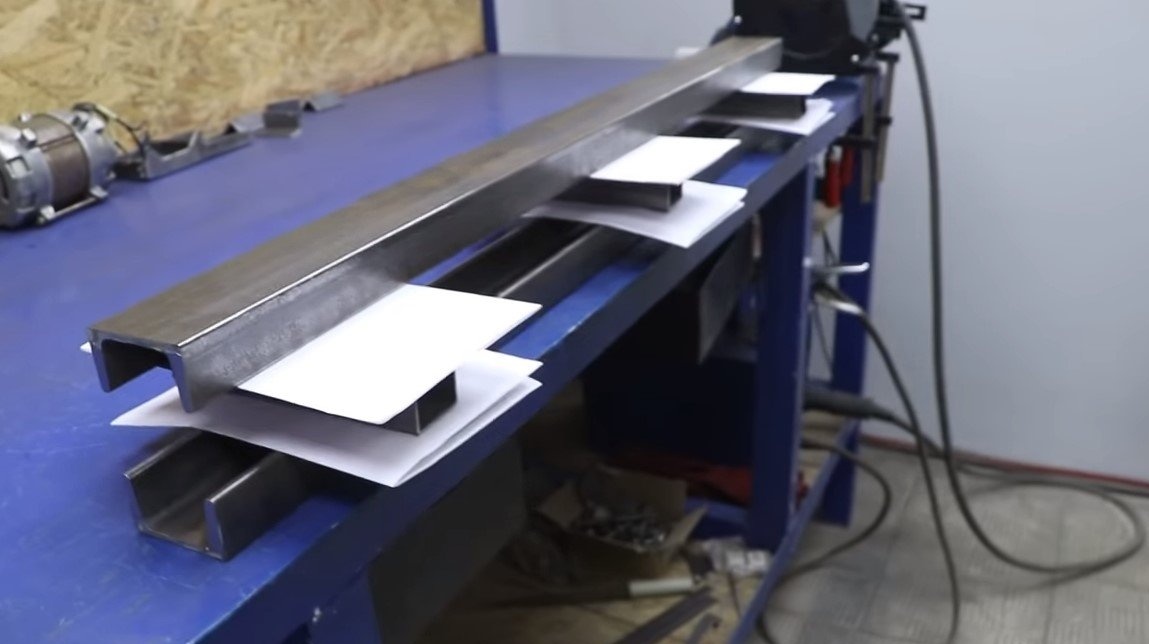
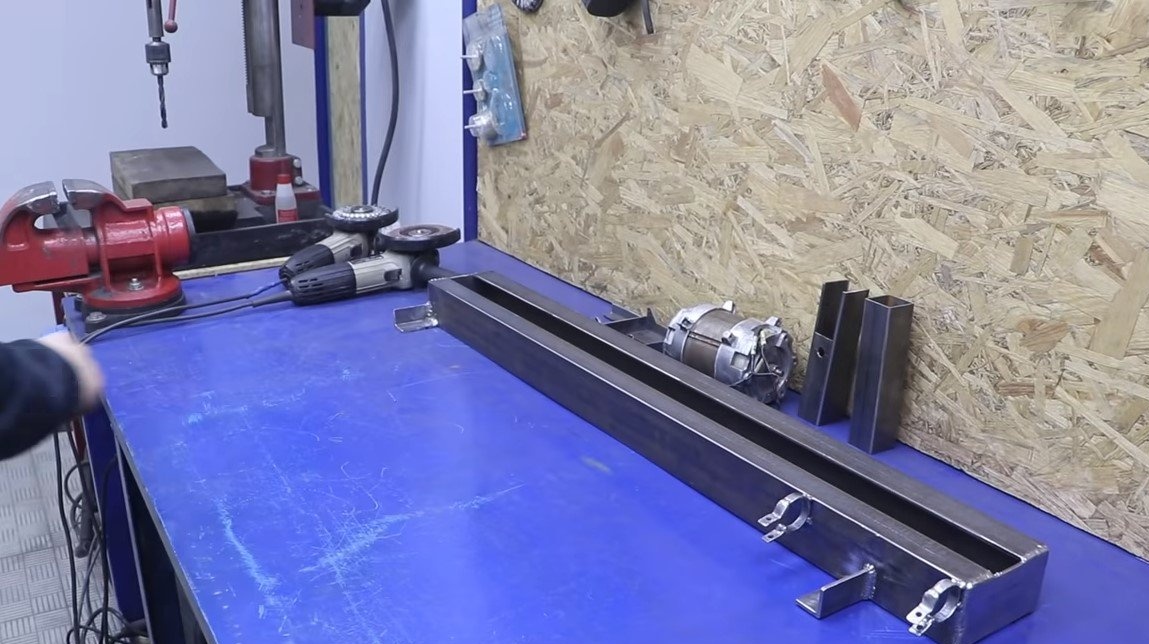
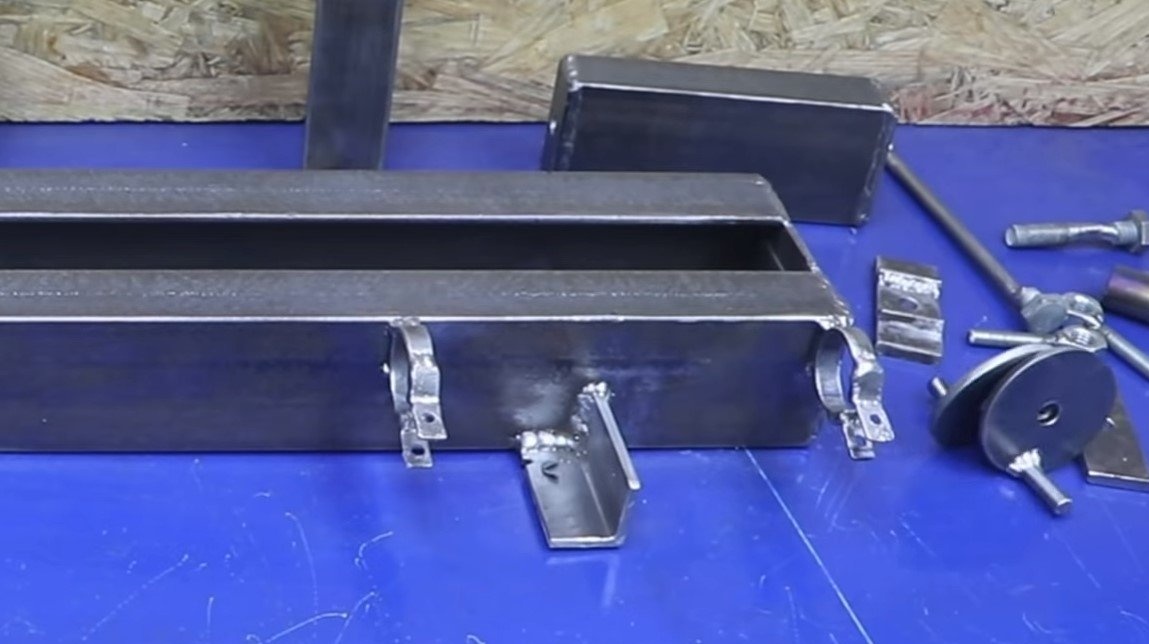
Next, we collect the frame, we need two pieces of the channel, we carefully clean it from rust. The channels need to be welded together so that a goal is formed between them, on which the tailstock will ride, as well as the handicap. To obtain the necessary gaps, the author laid plain paper, and then welded the channels with each other using steel plates.
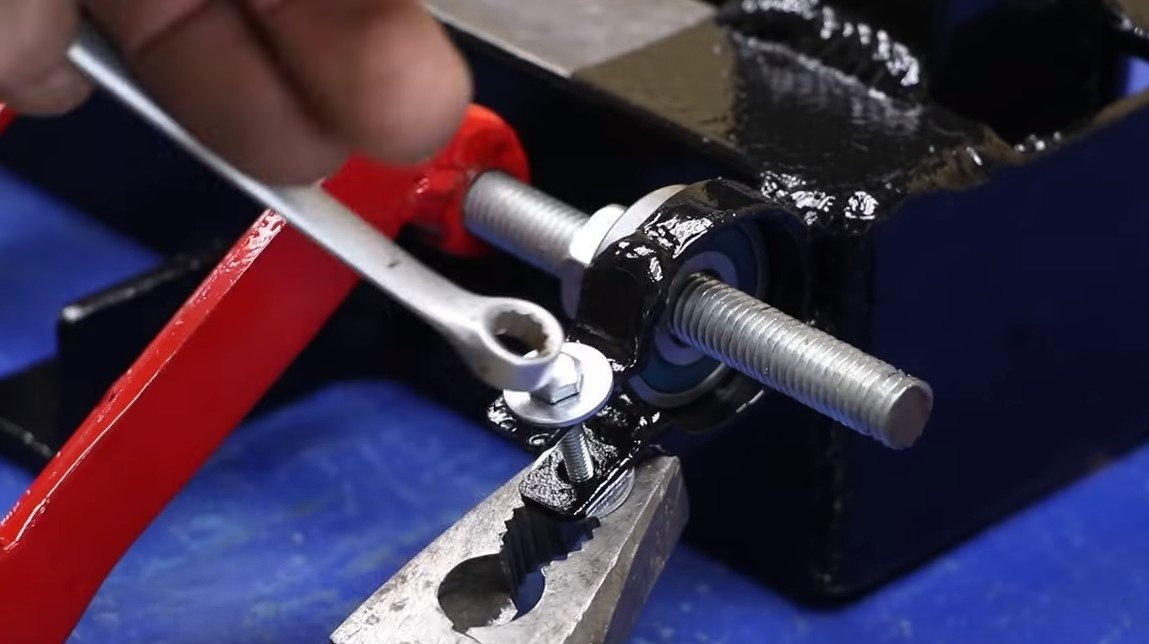
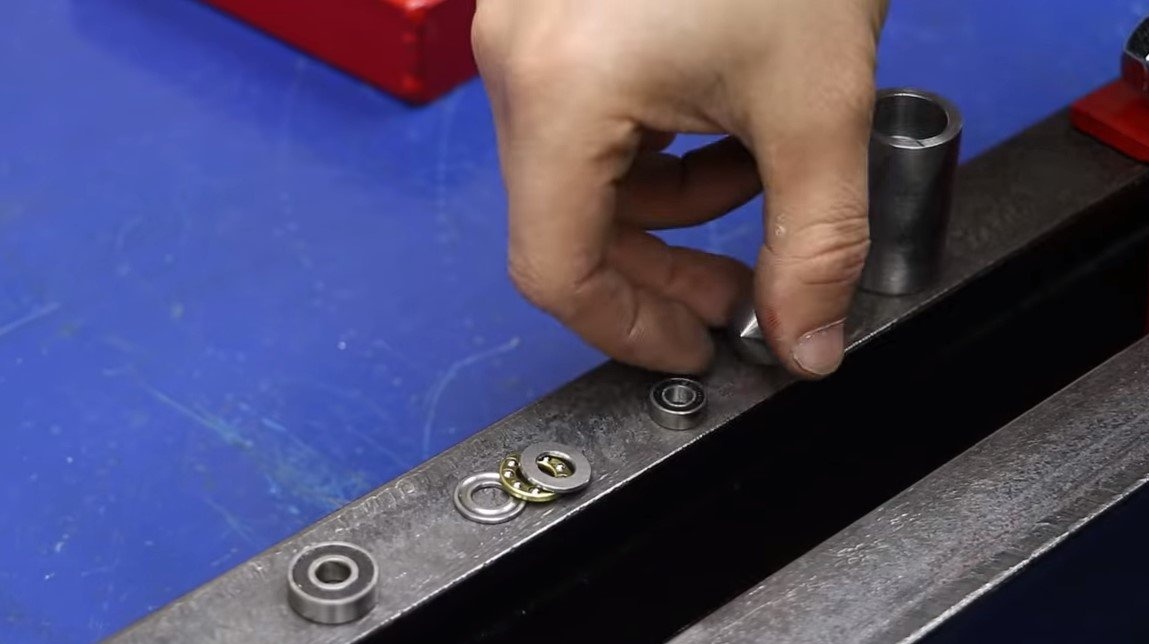
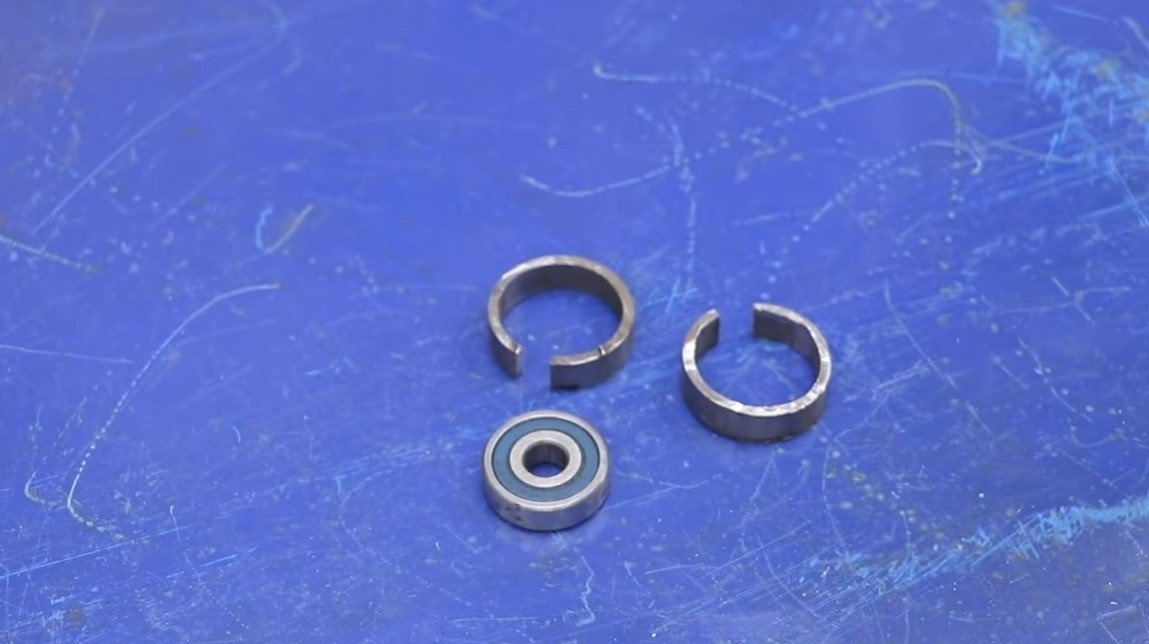
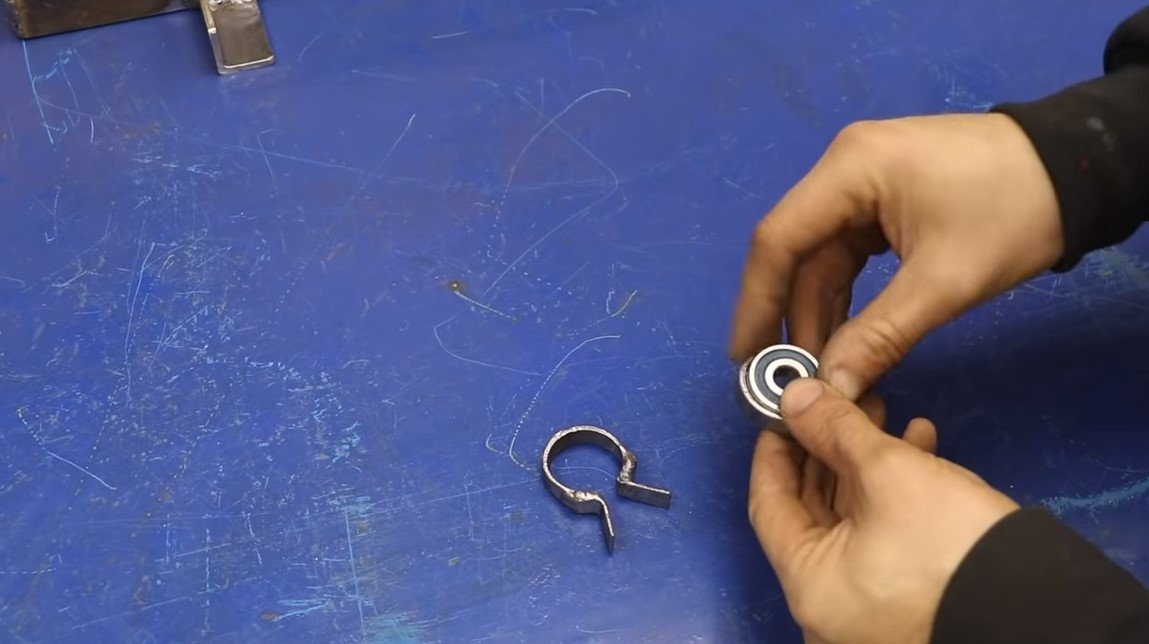
Step Three Bearing clamps
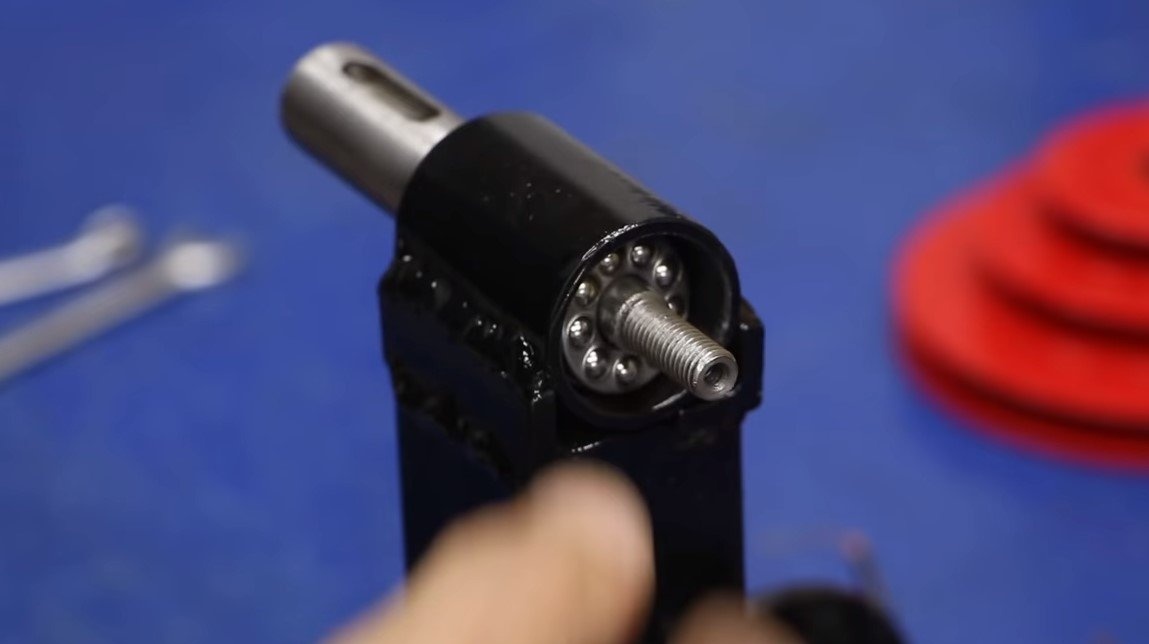
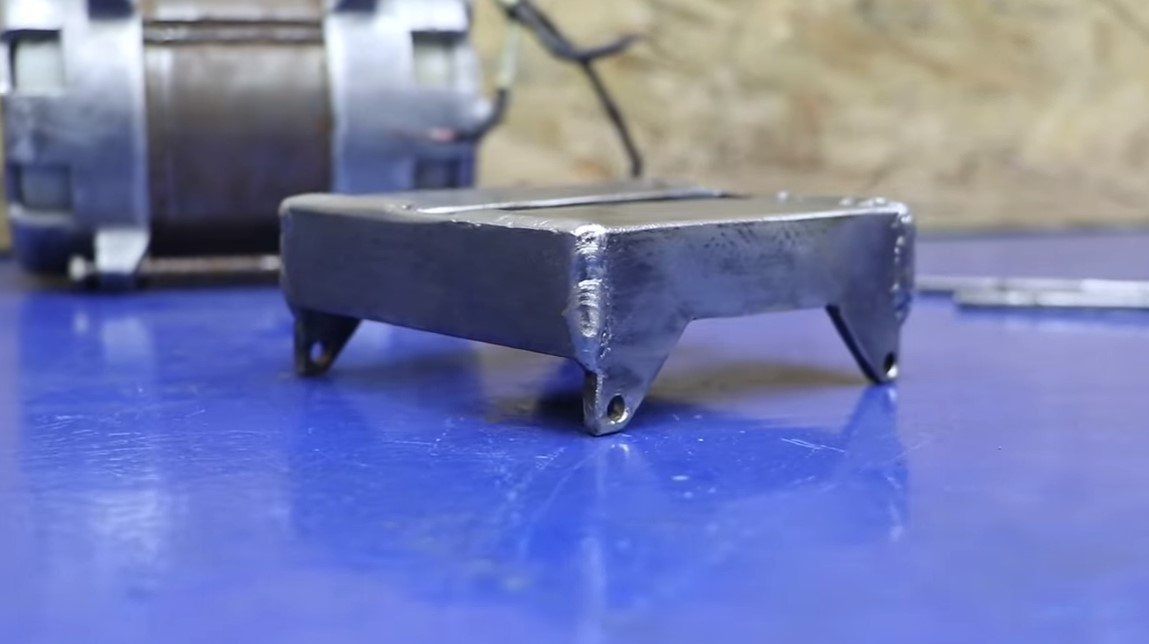
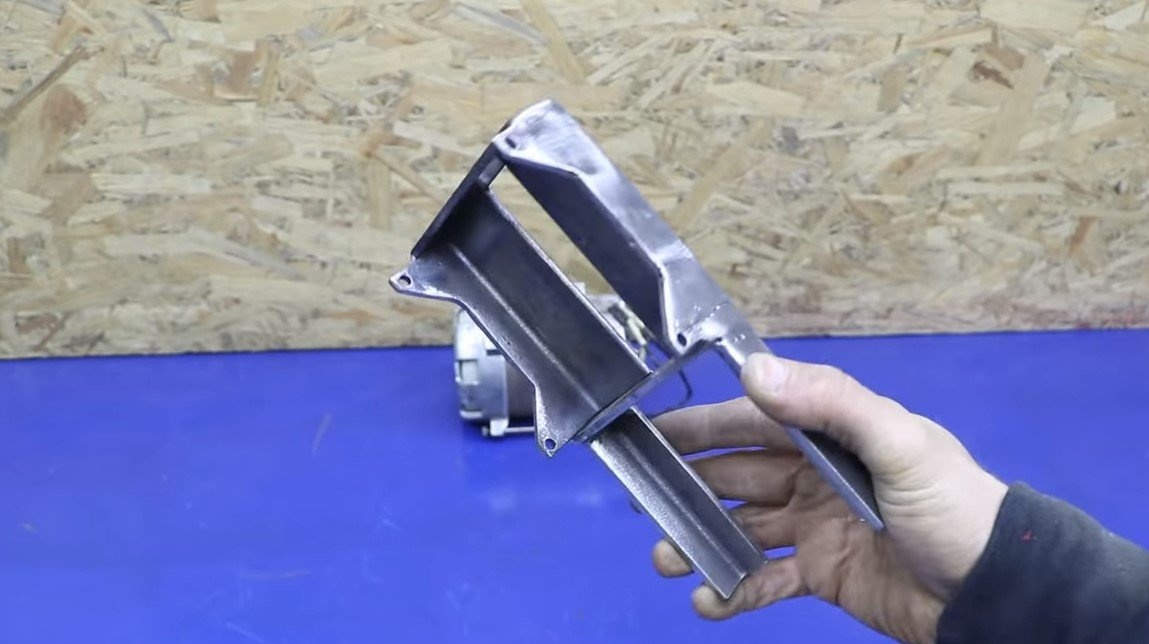
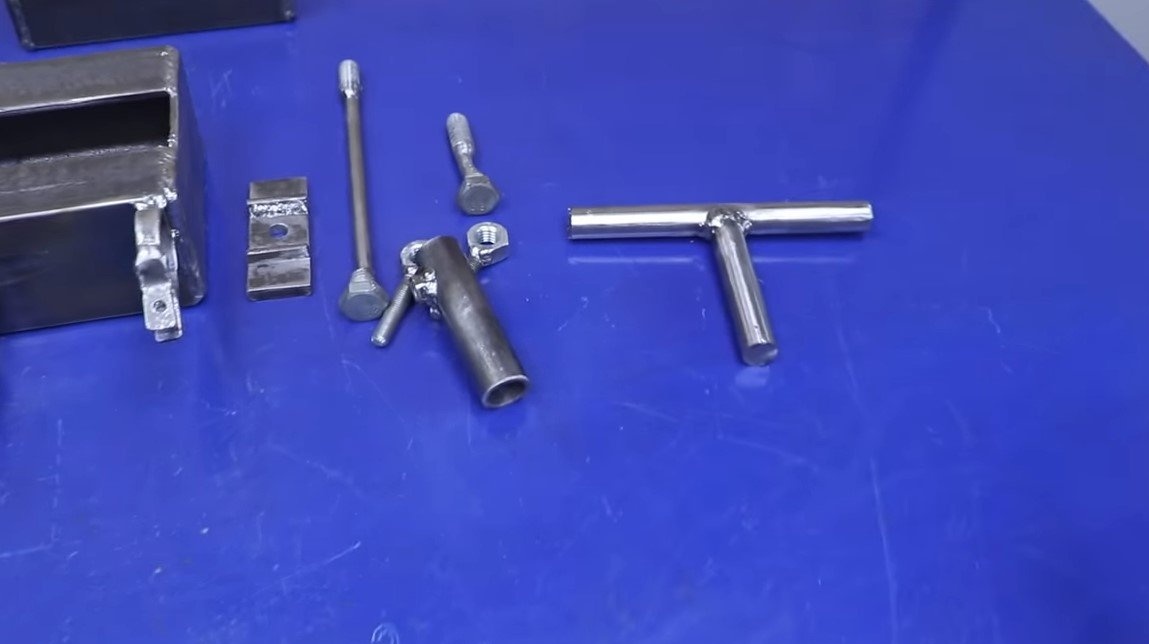
The engine will be hinged to the bed through the threaded axis, and the axis rotates on bearings. We make clamps for bearings, for their manufacture the author used pieces of a round pipe. We weld the ears to the clamps to tighten them with bolts and nuts, and also weld the clamps themselves to the frame.
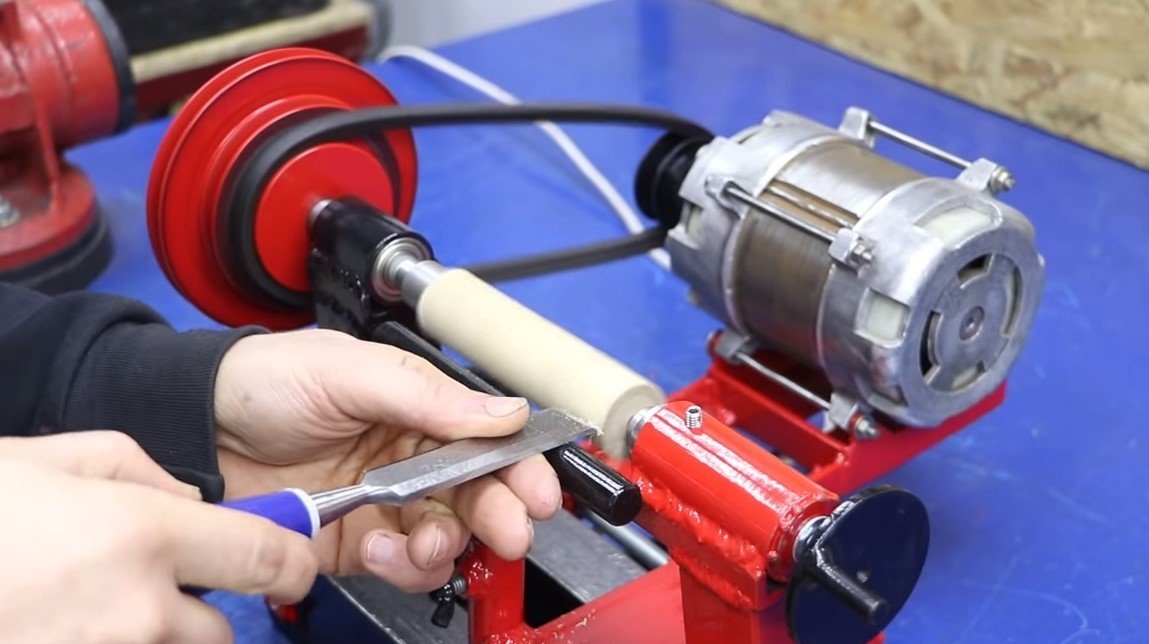
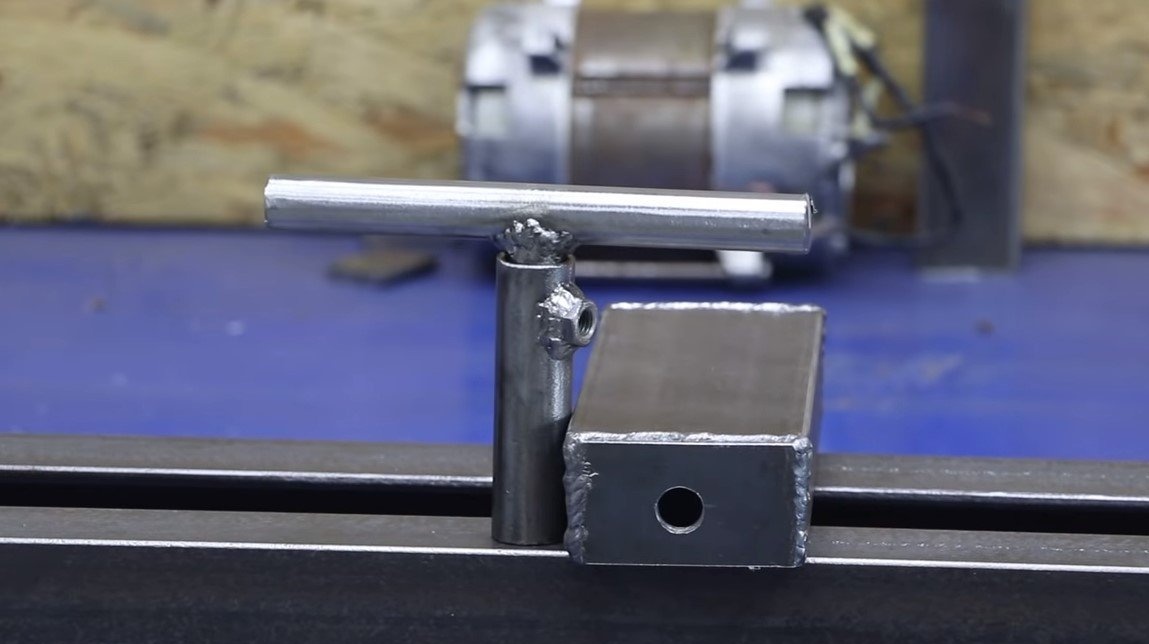
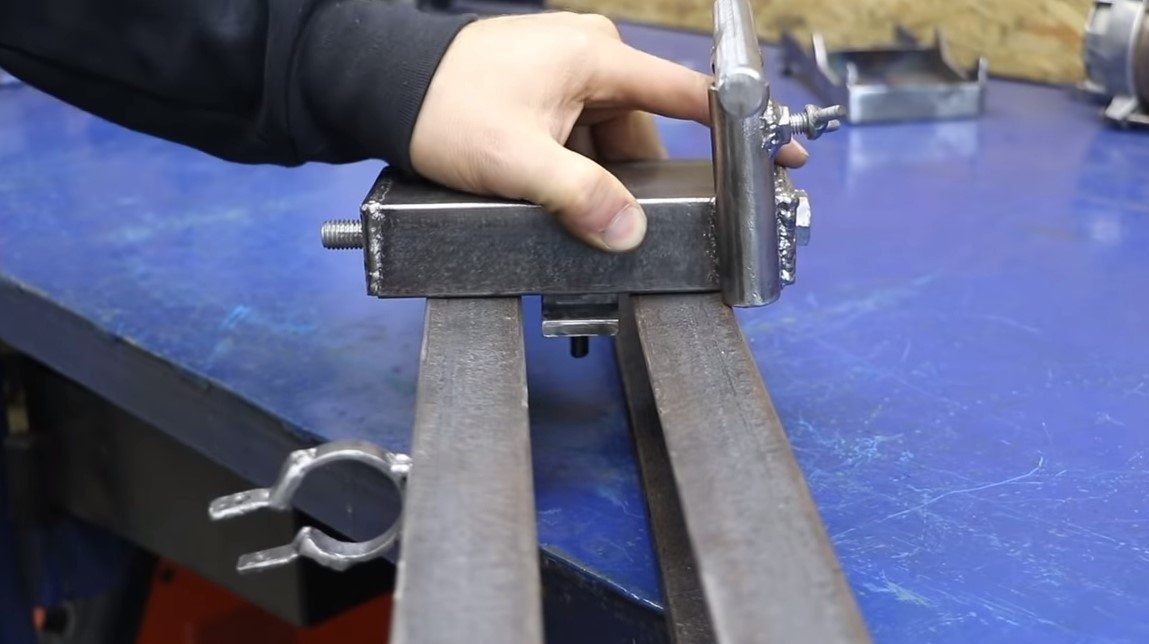
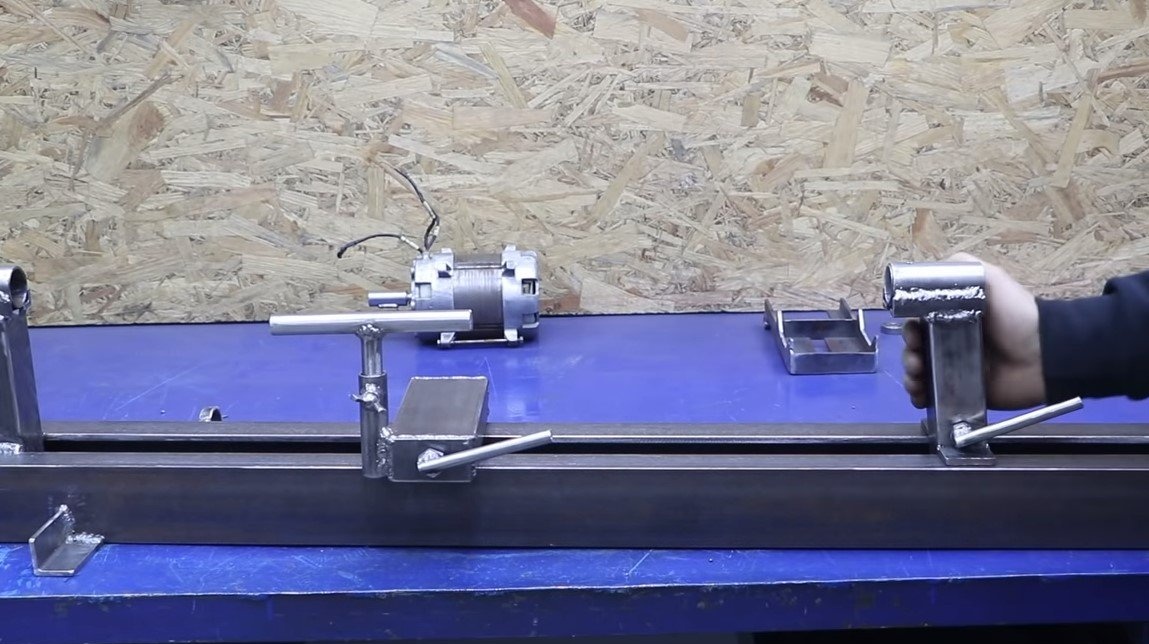
Step Four Pens, handicrafts and more
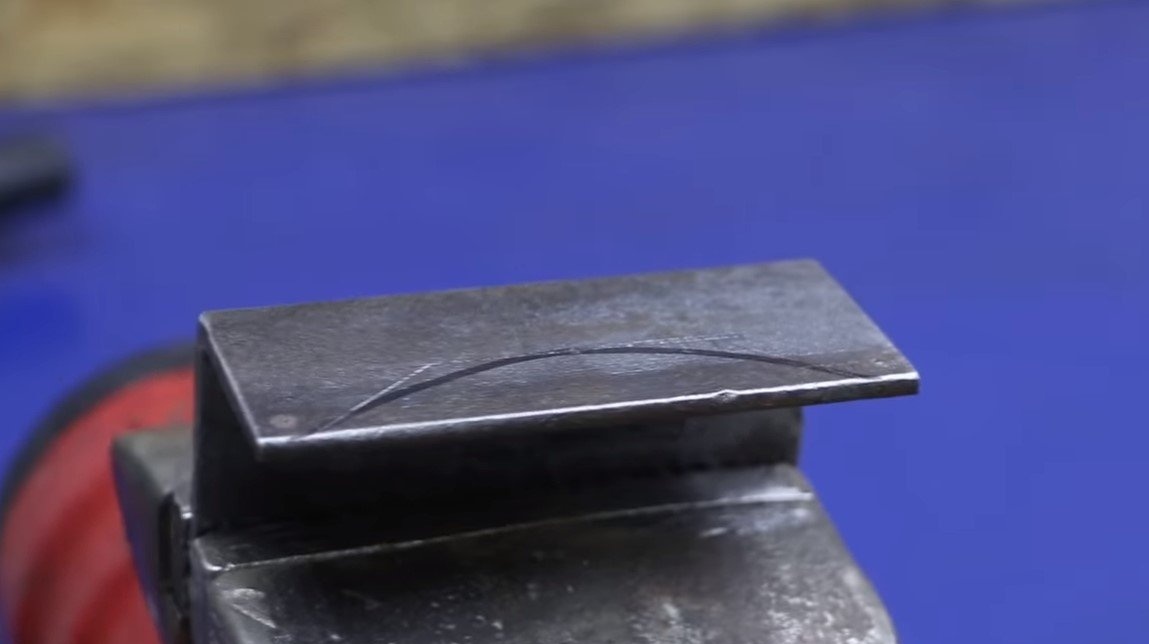
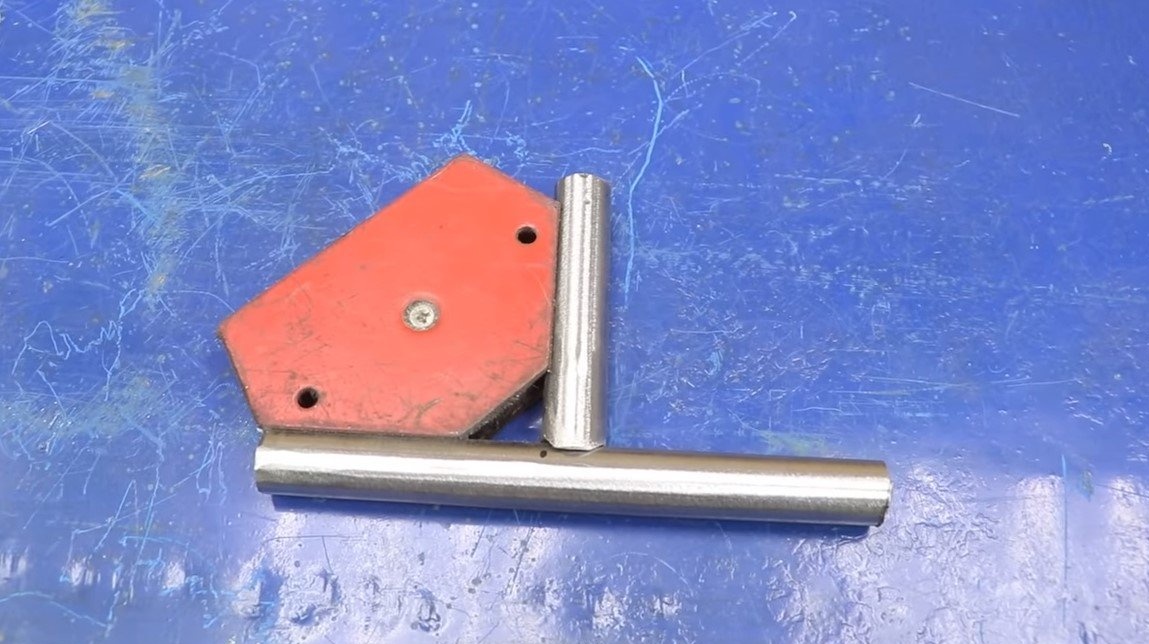
We make a handicraft for the machine, its author has cooked from a round in the form of the letter "T". The handrail is attached to a block that moves along the bed; the handrail can be adjusted in height. To quickly fix the movable block on the bed, the author used an eccentric mechanism. As an eccentric, a bolt with a displaced center was used.
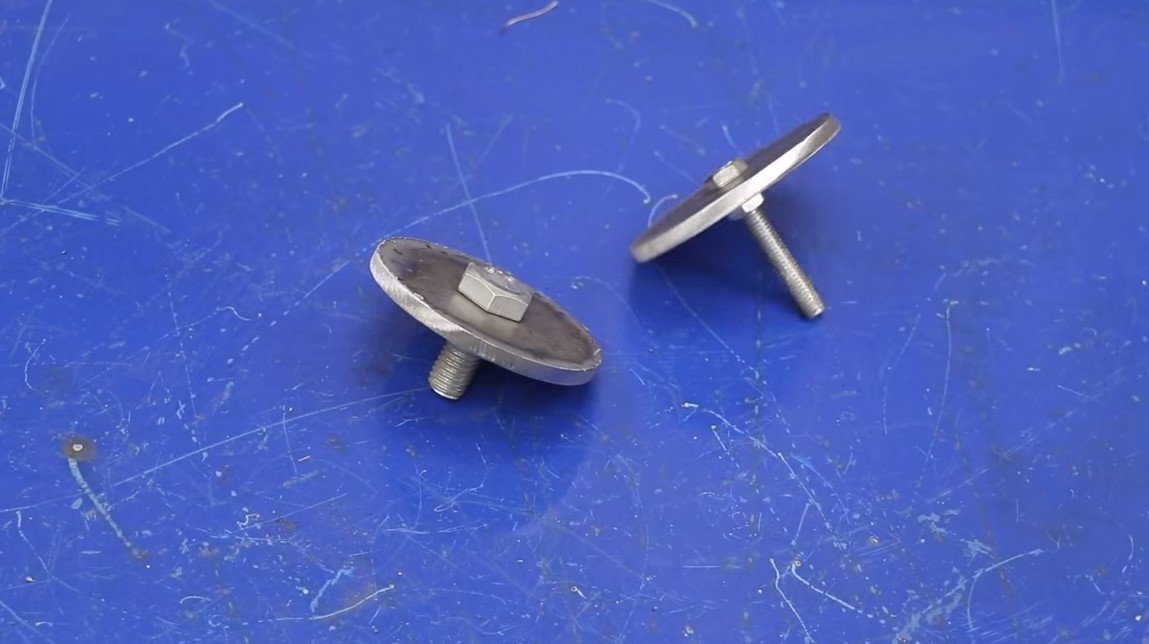
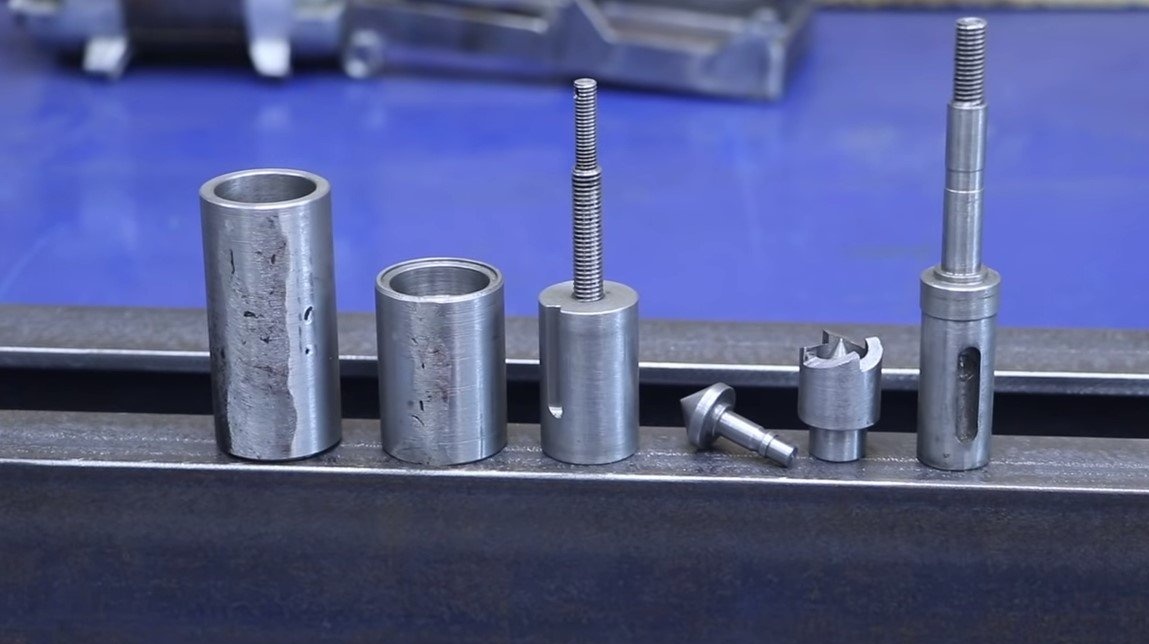
For the headstock and the threaded rod through which the engine is mounted, the author made pens from steel round beams and rods, the pens turned out to be quite elegant. Other, power handles, are simply a welded lever from a round timber.

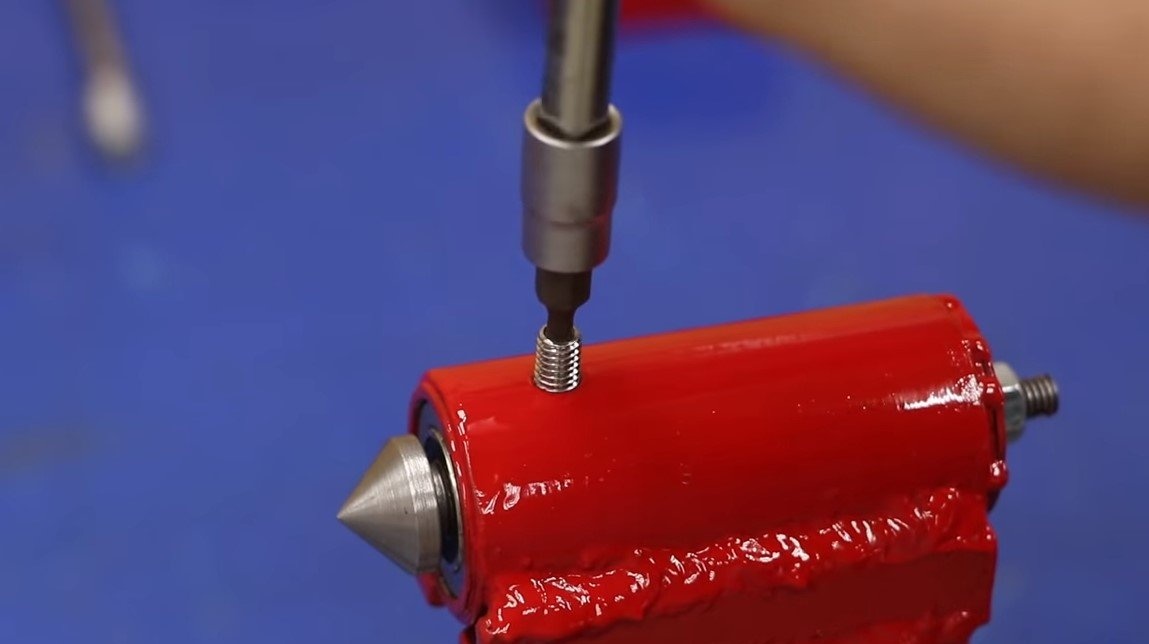
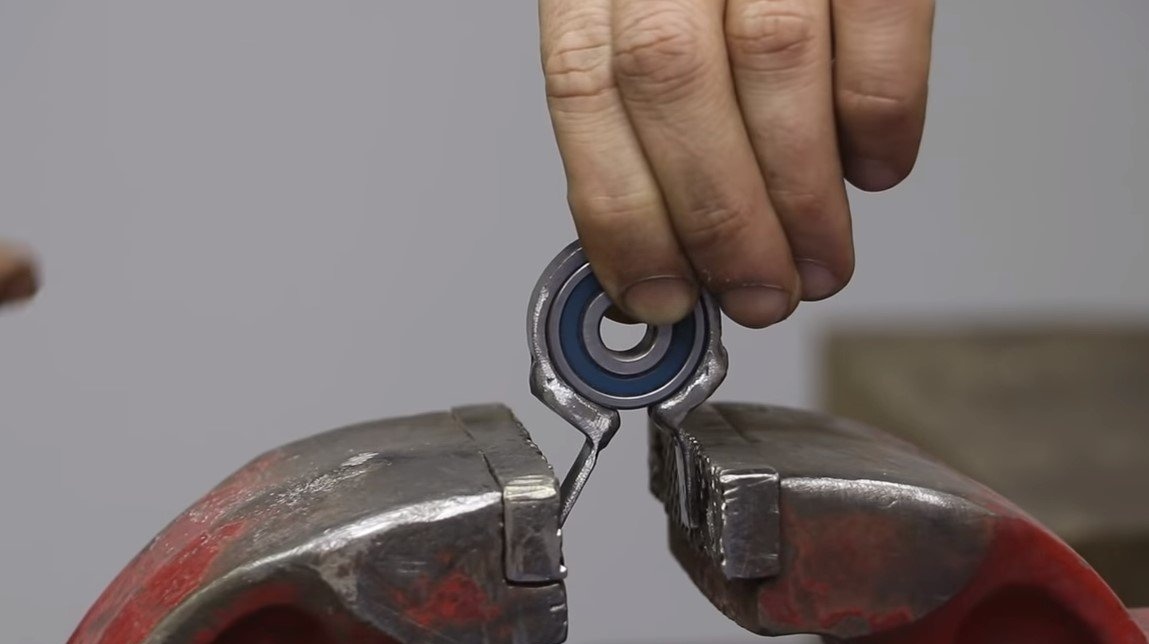
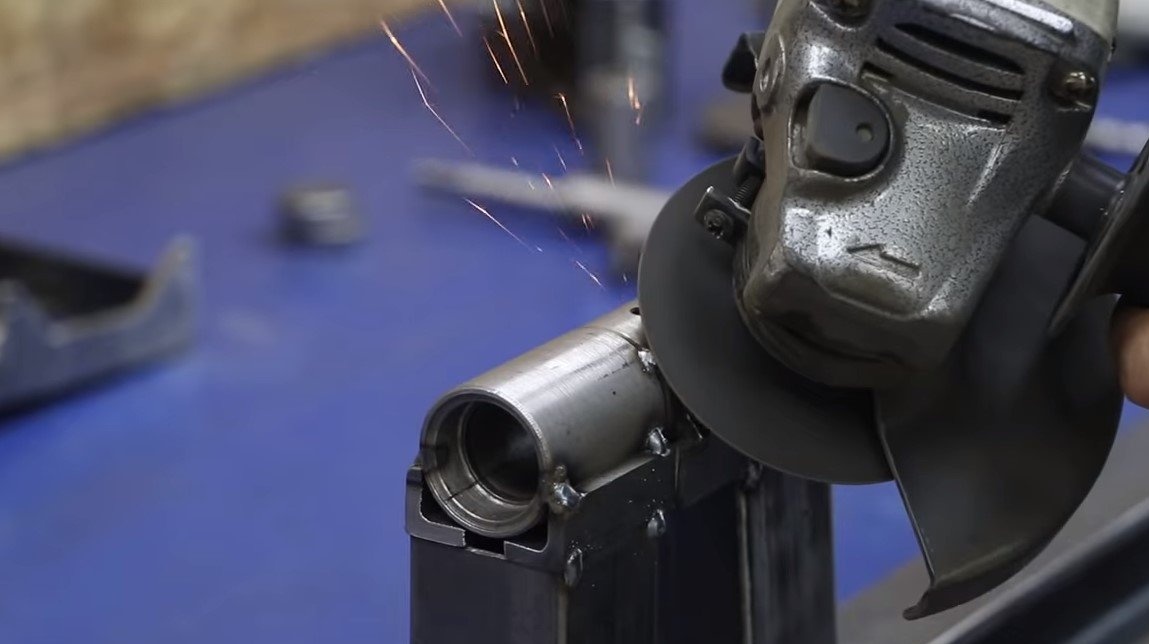
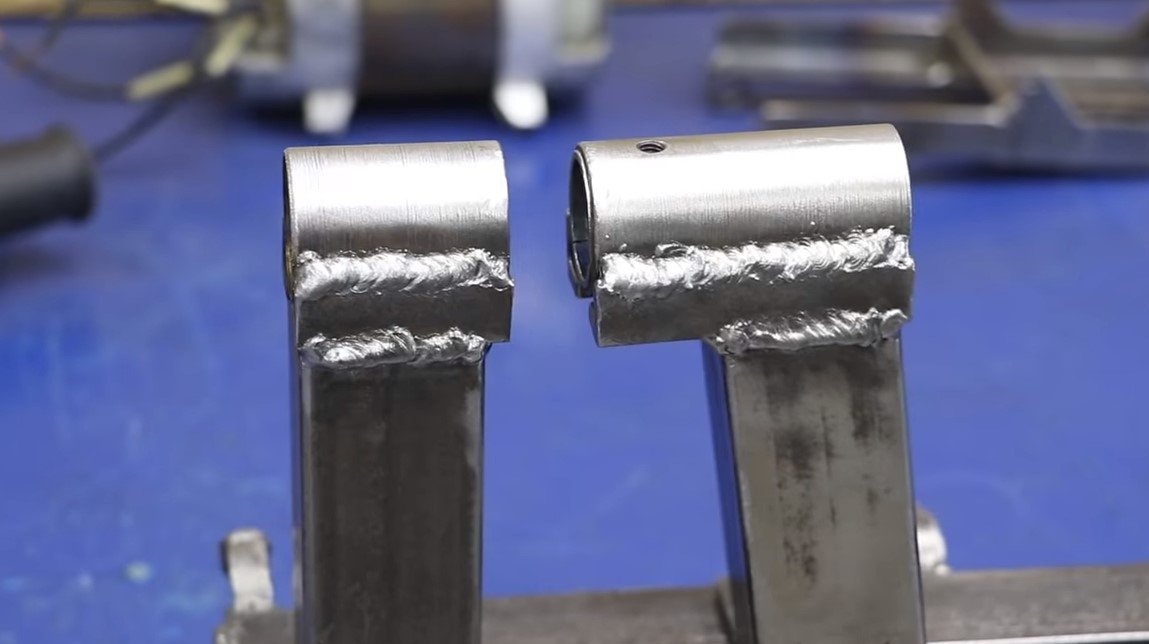
Step Five Rear and front headstock
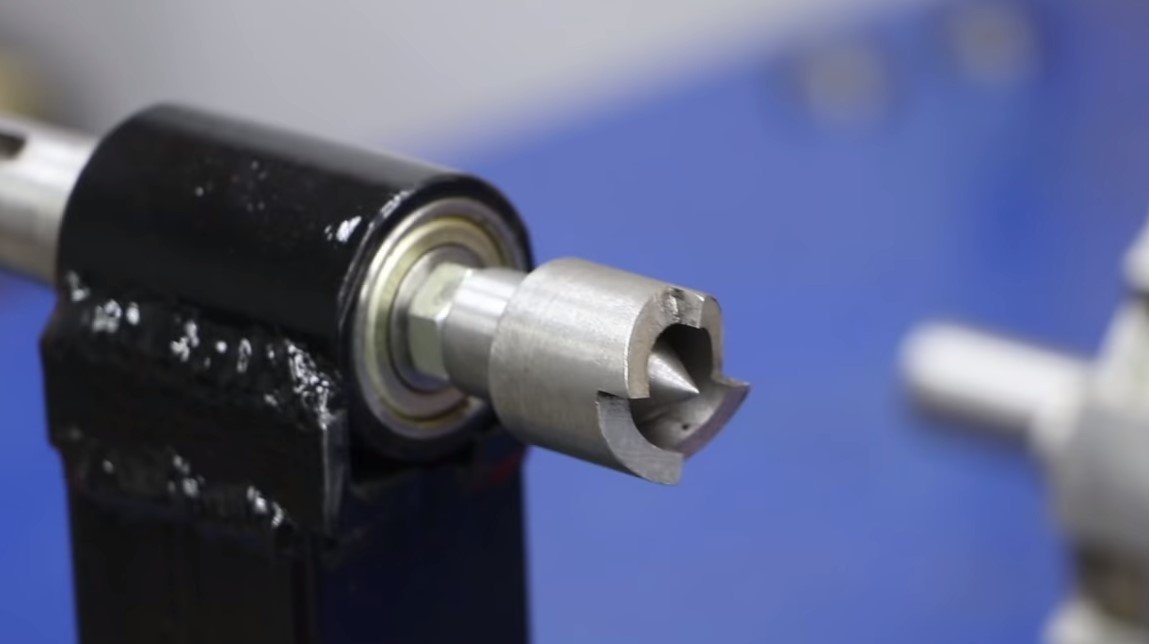
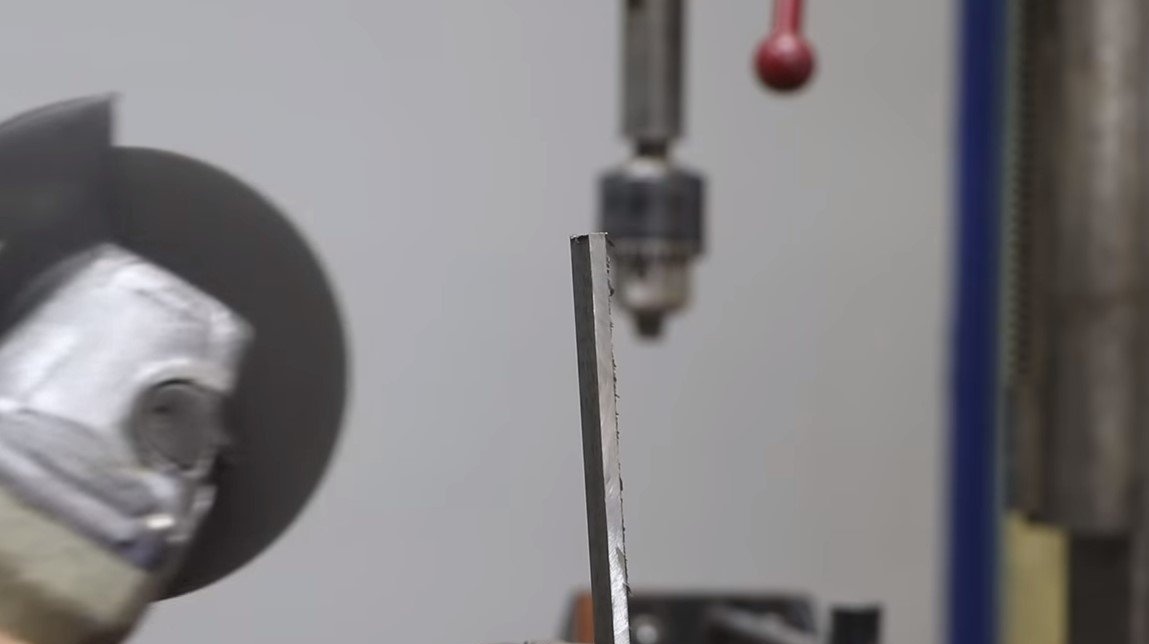
We make the back and front headstock, here the author used square and round pipes. For the manufacture of axles and other parts for the headstock it was not without the use of a lathe, but such parts can be ordered from a turner. All axes rotate on radial and thrust bearings, which significantly extends the life of the machine.
We grab the tailstock to the front, and then weld the back to the bed. As a result, you will get the necessary alignment when you divide the headstock.

Step Six Painting, assembly and testing
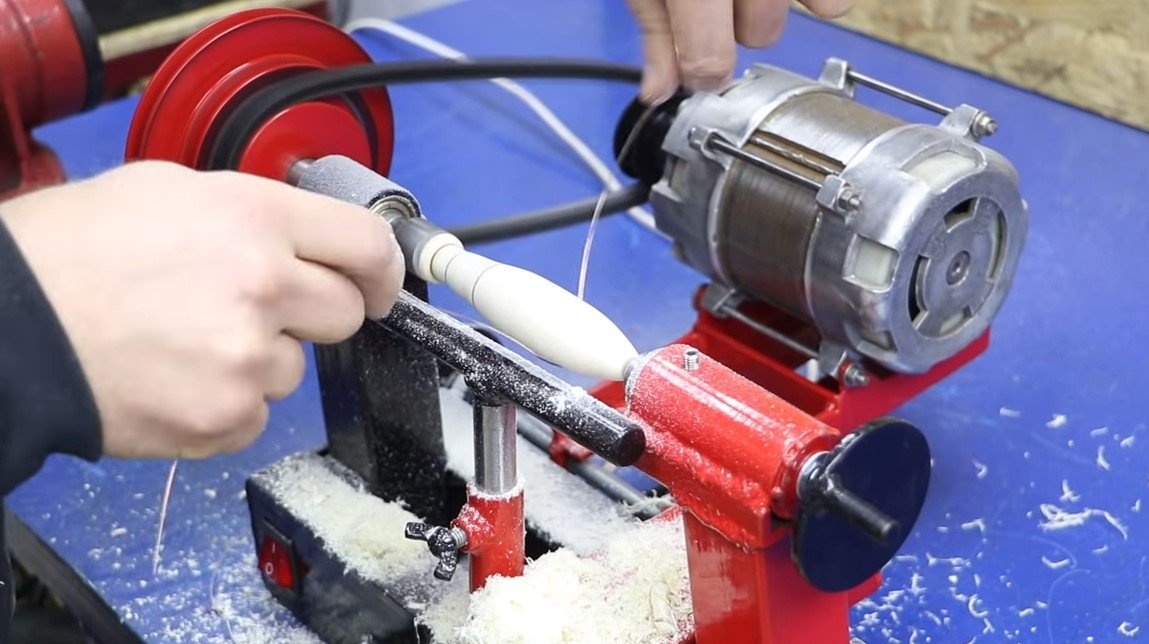
We paint all the steel components of the machine so that they do not rust, now the machine looks delightfully and reliably protected. Once the paint has dried, the machine can be assembled and tested.
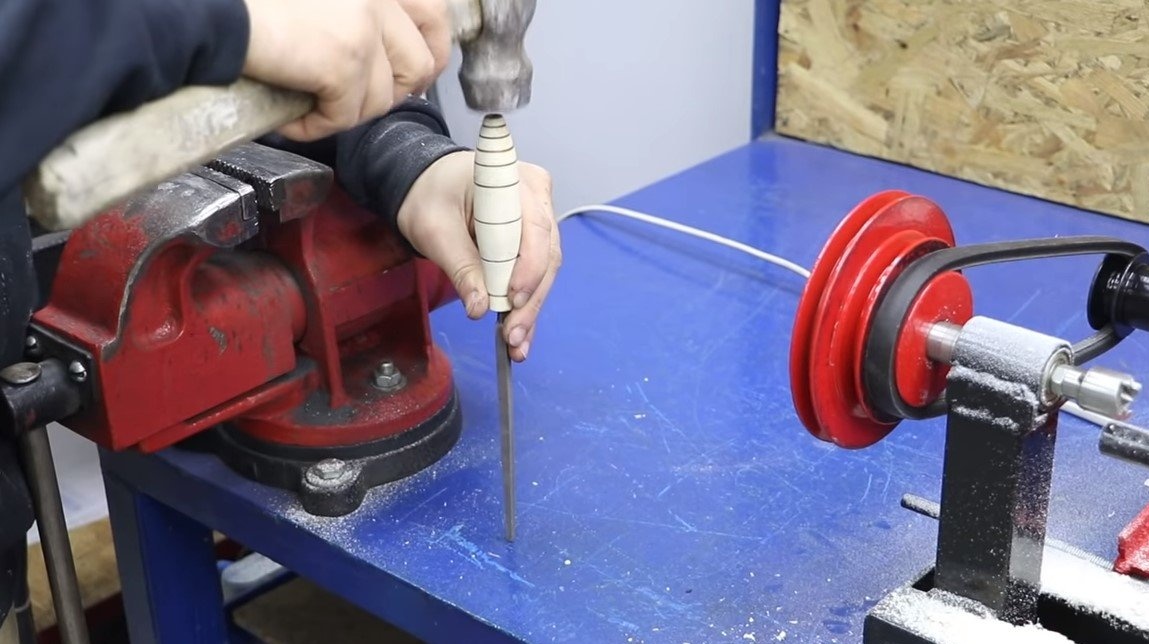
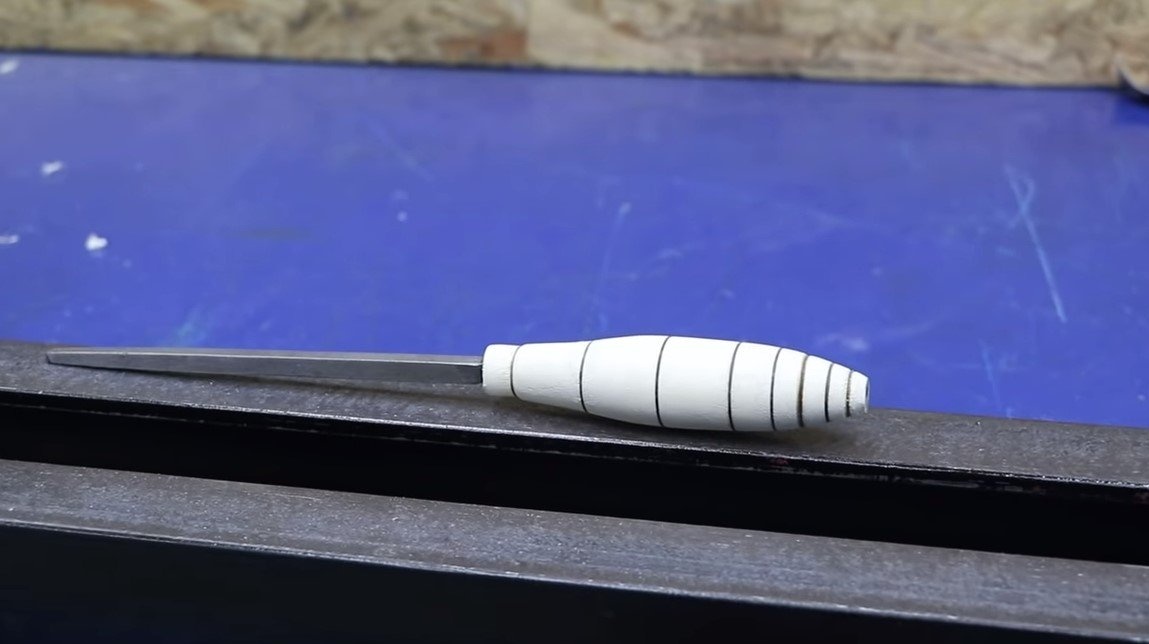
As an experiment, the author immediately began with the highest gear, where high speeds are obtained. At this speed, you can easily grind a file handle and other similar small parts. If you need to get a higher torque and lower revs, we switch the speed, according to the author, this happens in a few seconds.
The machine works perfectly, it is convenient, emits little noise and is durable. If desired, it will be possible to put here a more powerful motor. On this project is completed, I hope you homemade I liked it, and you found useful thoughts for yourself. Good luck and creative inspiration, if you decide to repeat this. Do not forget to share your ideas and homemade things with us!