
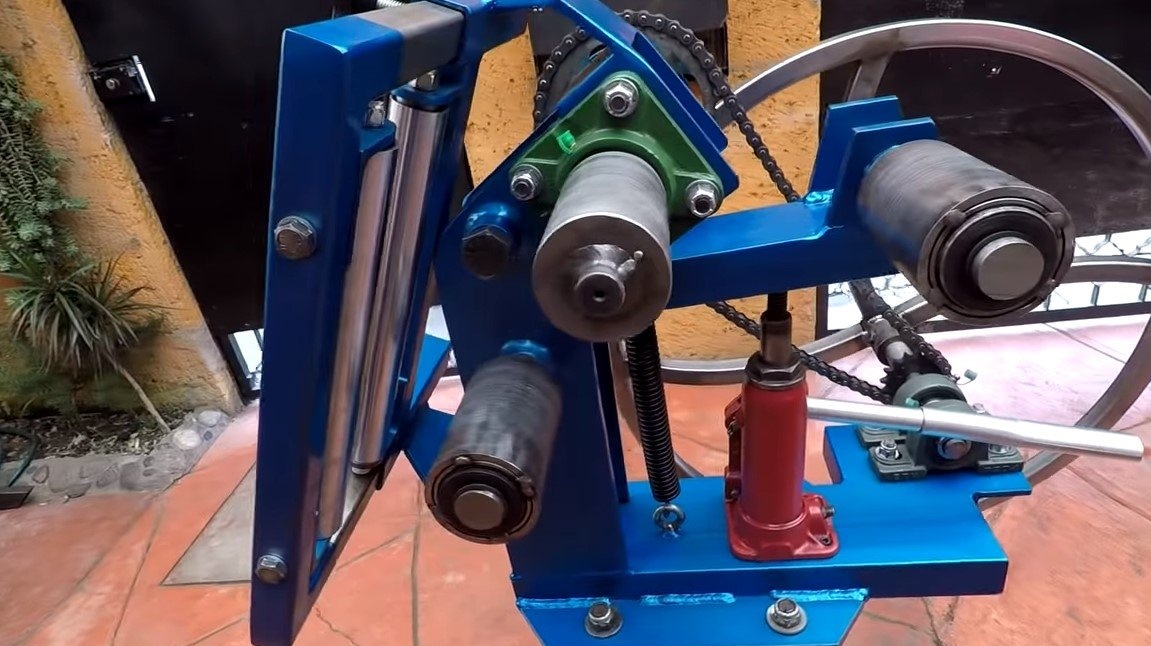

I welcome all fans to craft, today we will consider how to make a reliable and trouble-free machine for bending profile pipes. I can not say that homemade easy to manufacture, but everything is done honestly, this design will be durable. The frame of the machine is welded from thick sheet steel, the clamping unit is driven by a hydraulic jack. Pipe rolling is carried out manually, through a reduction chain transmission from a motorcycle, the machine is quite simple to handle, a lot of work is not required. The drive roller is made of round timber using a lathe, and the driven rollers are pipes with bearings. If you need such a machine and you are interested in the project, I propose to study it in more detail!
Materials and tools used by the author:
Material List:
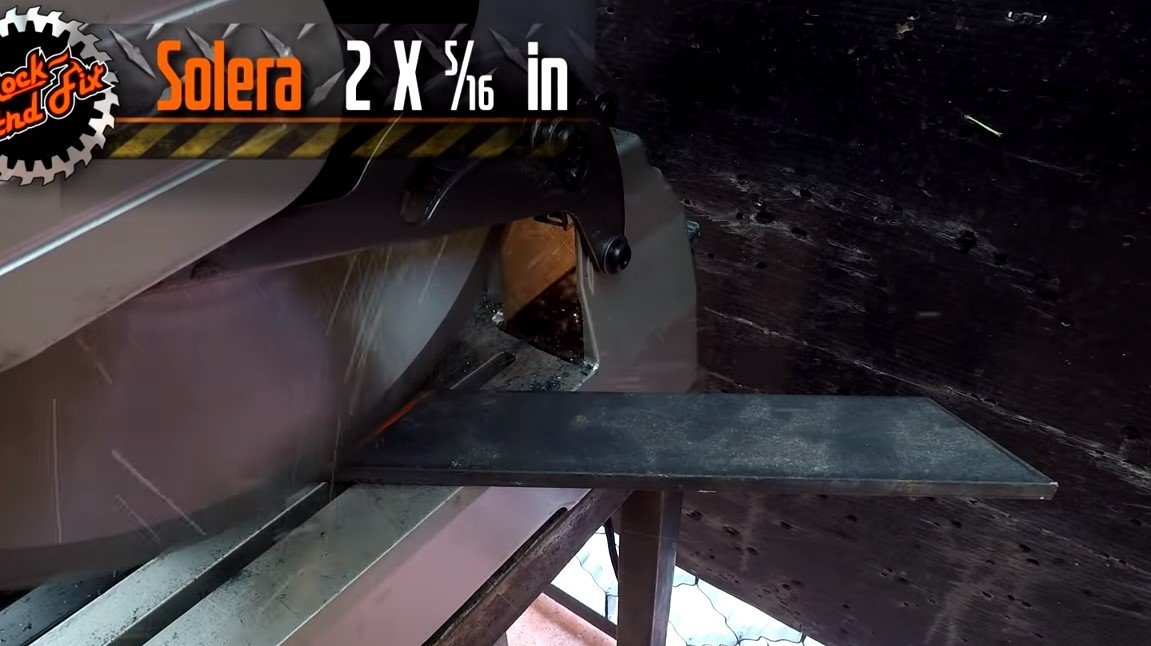
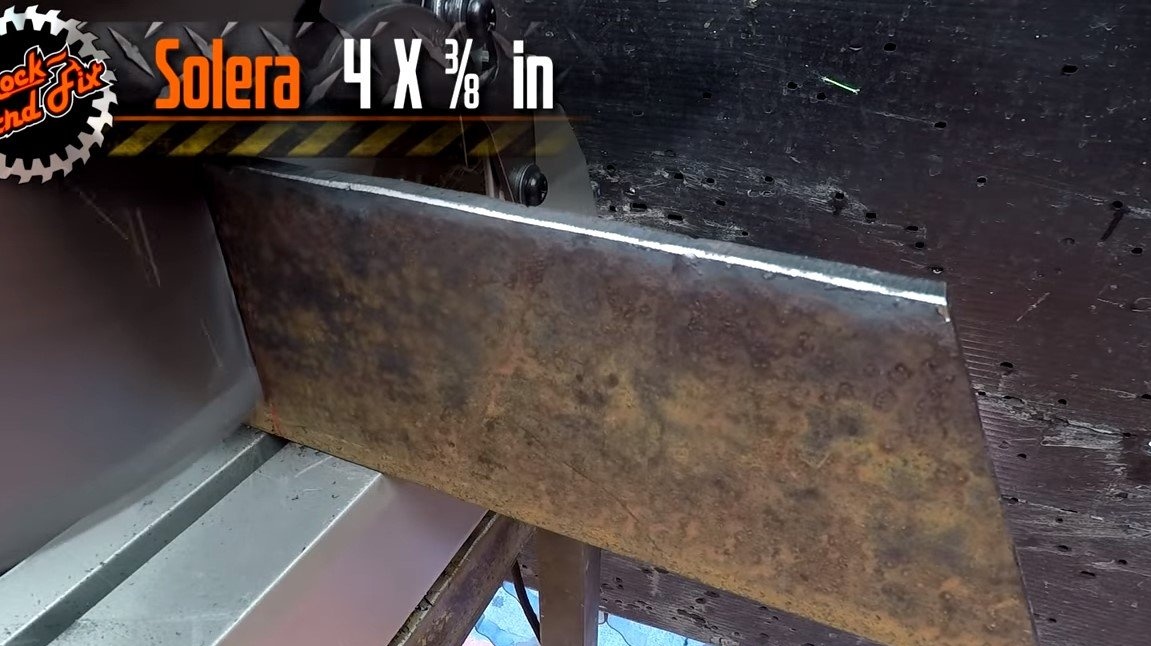
- thick sheet steel;
- bearings;
- round pipes;
- round timber for turning;
- profile pipes;
- bearings with cages;
- spring;
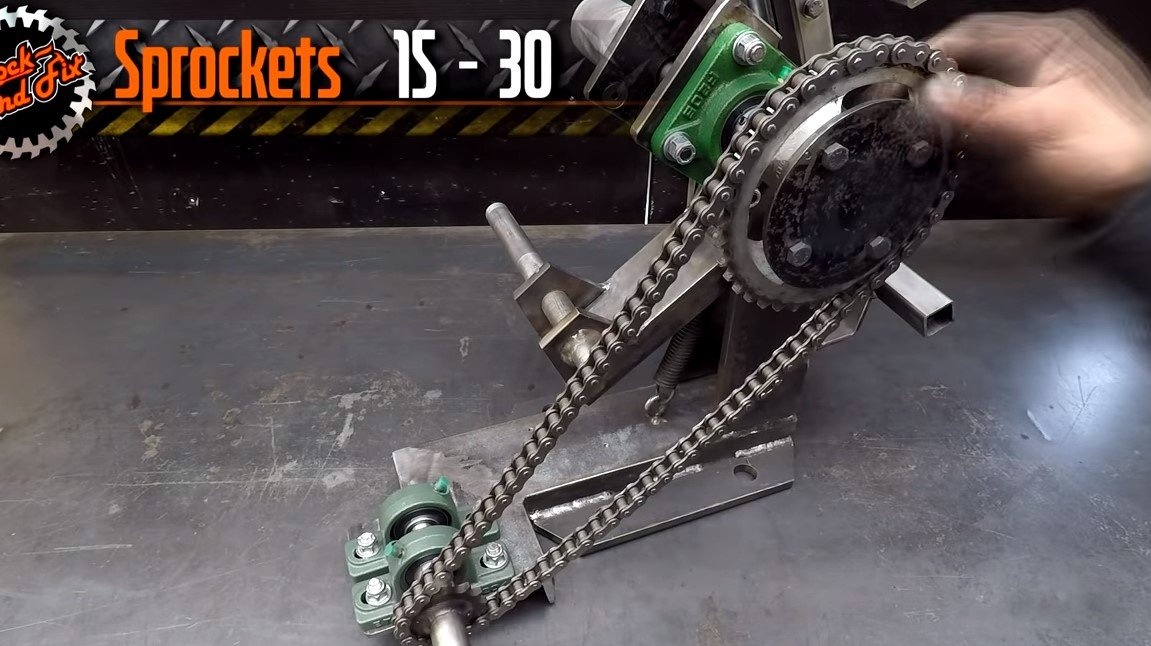
- chain transmission from a motorcycle;
- bolts and nuts;
- channel;
- hydraulic jack;
- paint for metal.
Tool List:
- lathe;
- welding machine;
- grinder;
- Miter saw;
- marker, measuring tool;
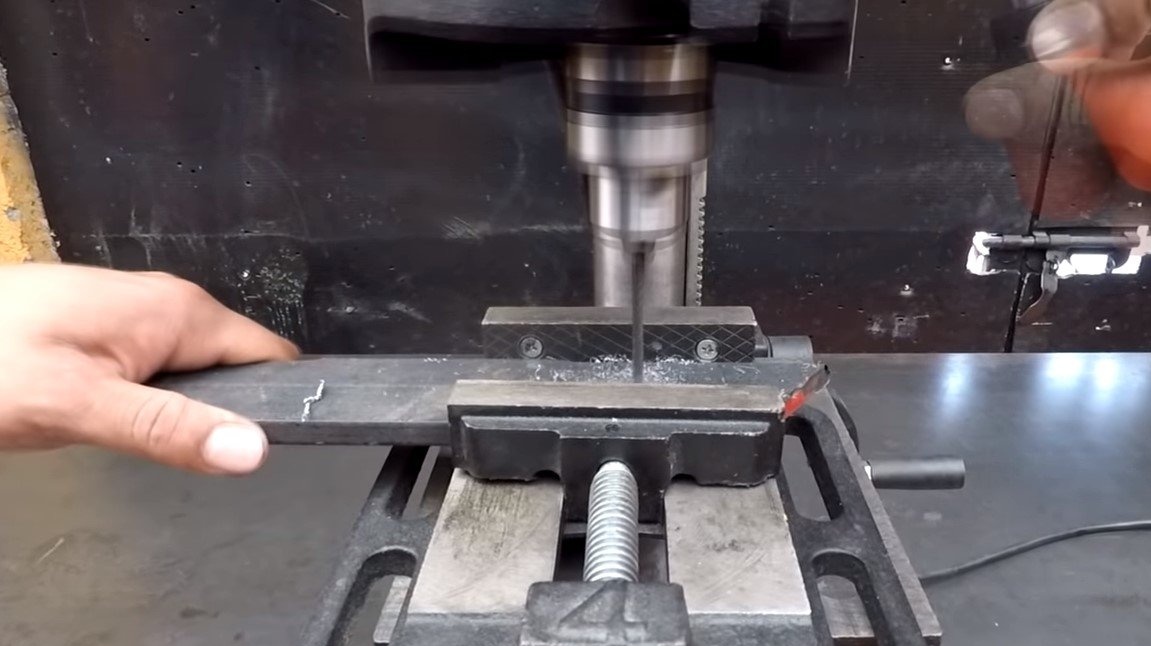
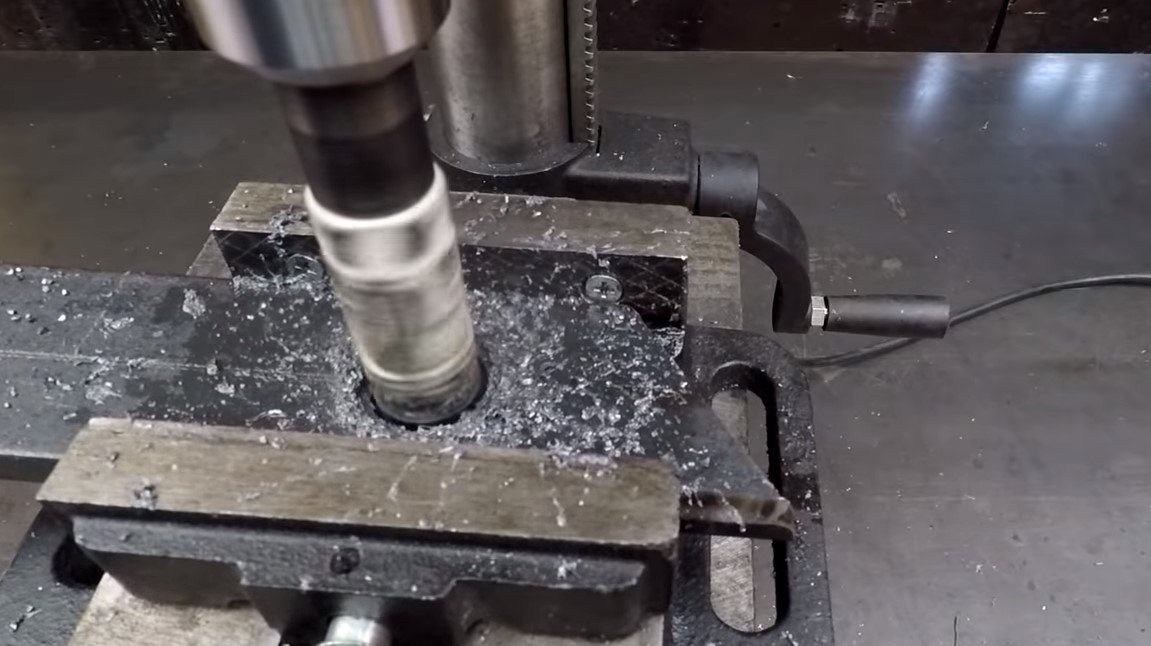
- drilling machine;
- magnetic welding squares.
Machine manufacturing process:
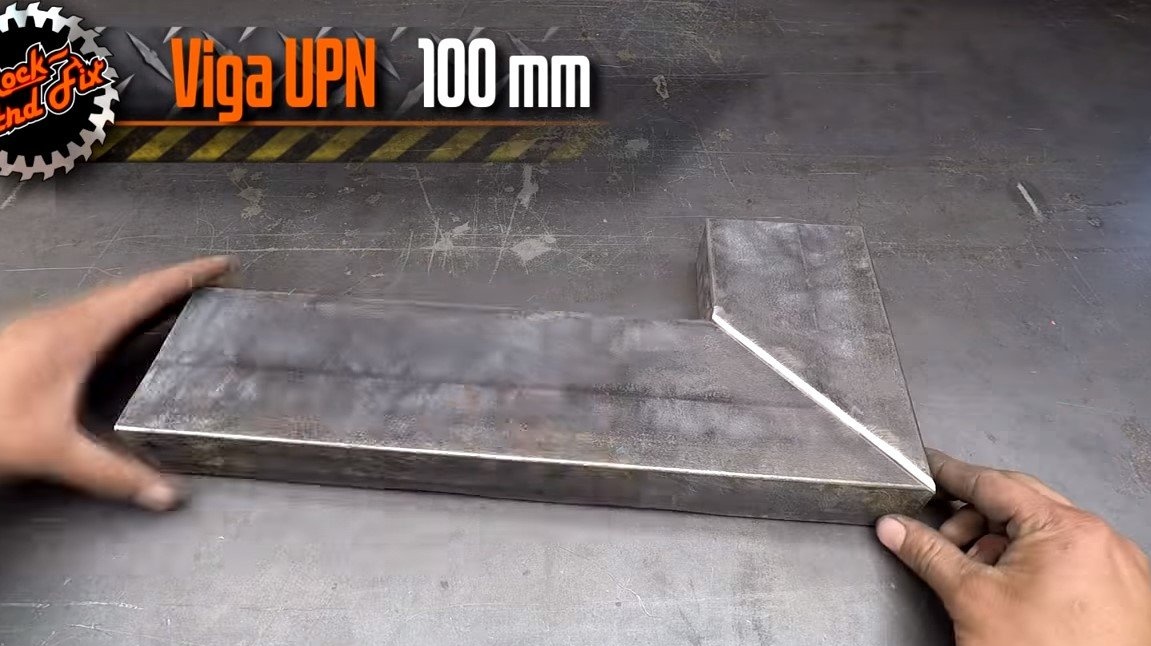
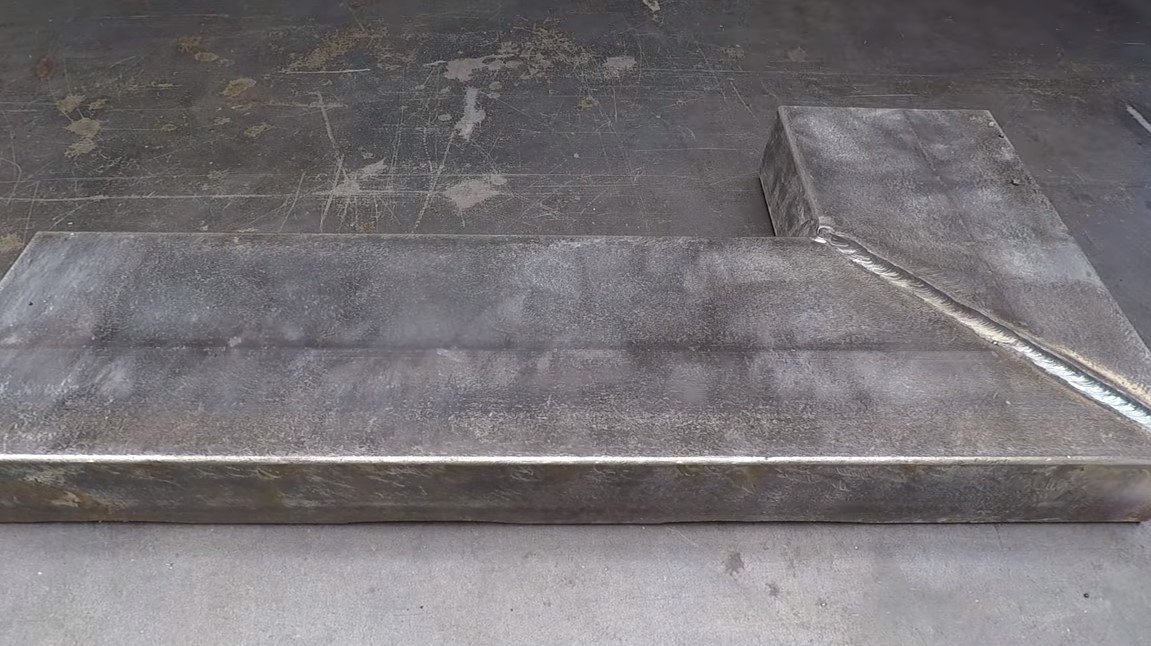
Step one. Base and stand
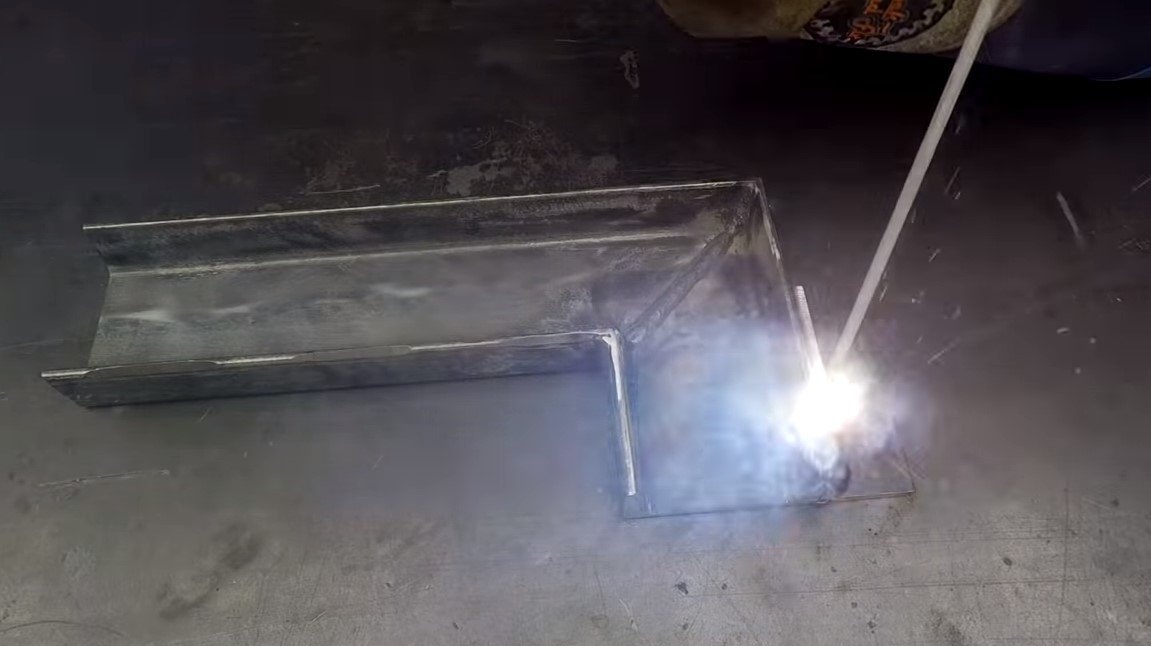
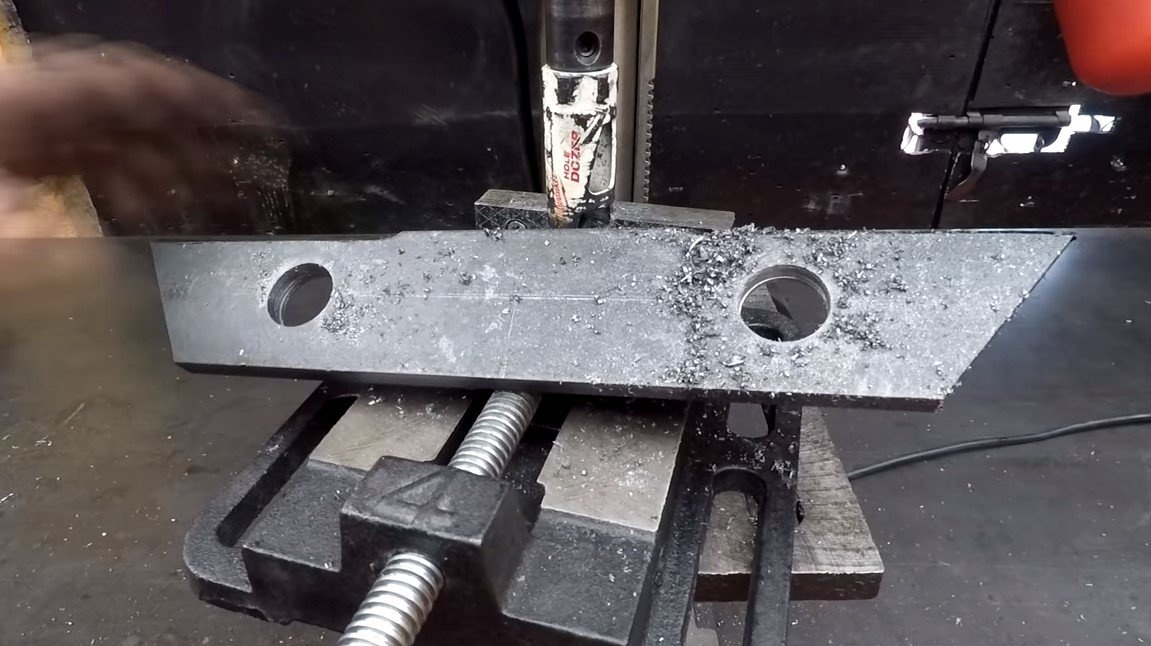
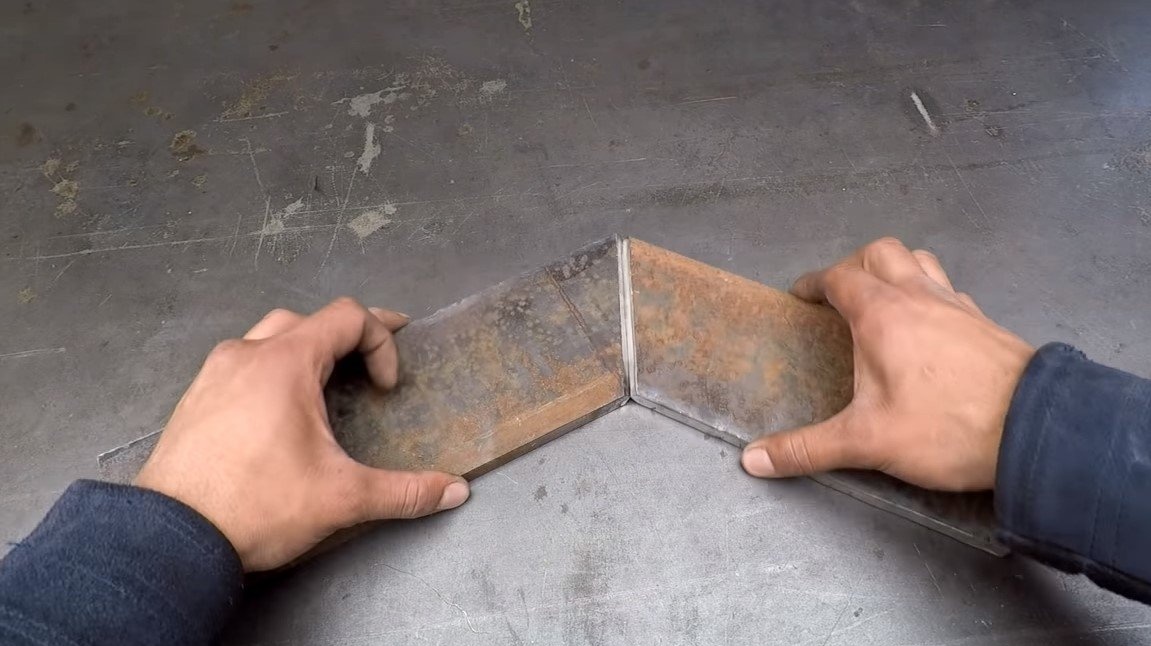
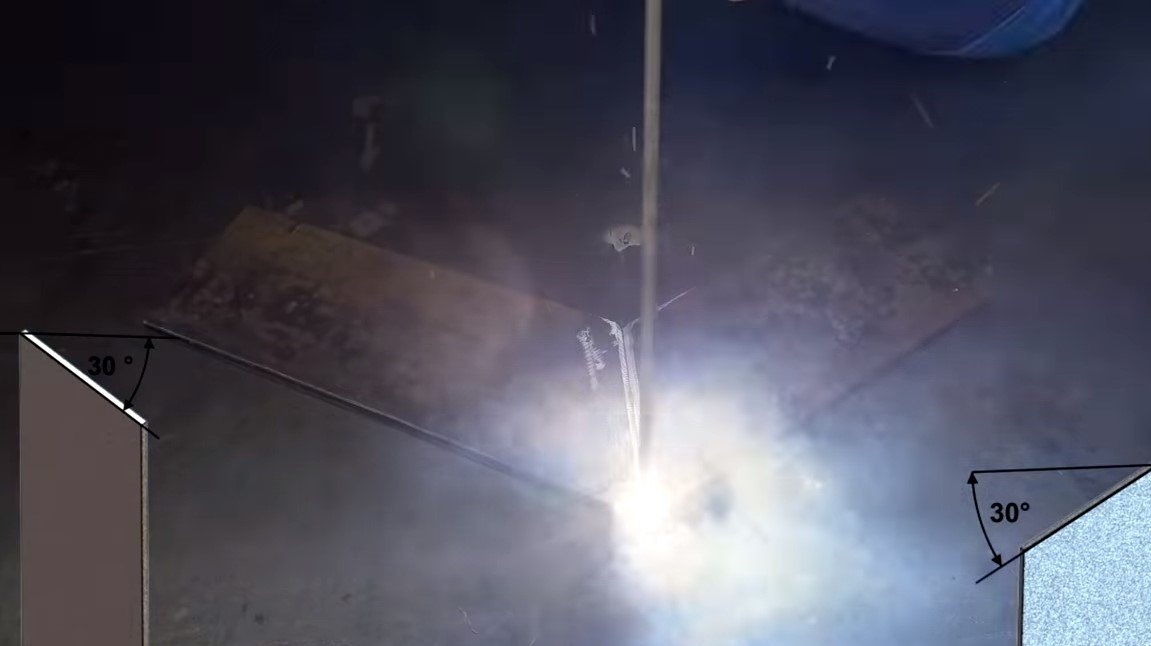
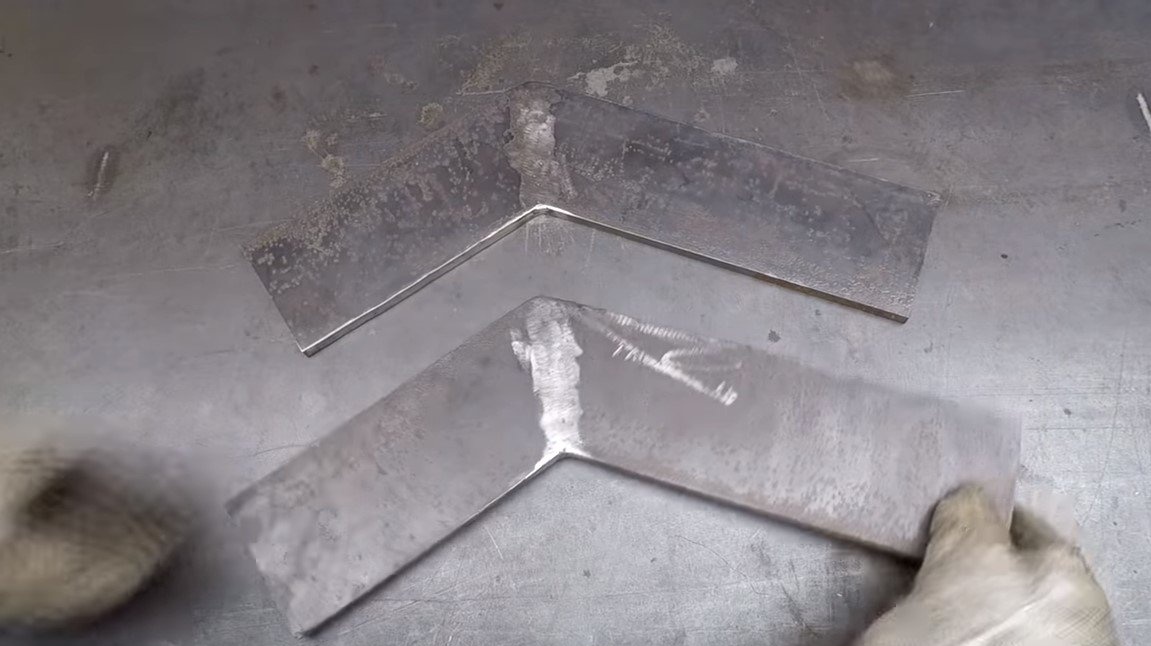
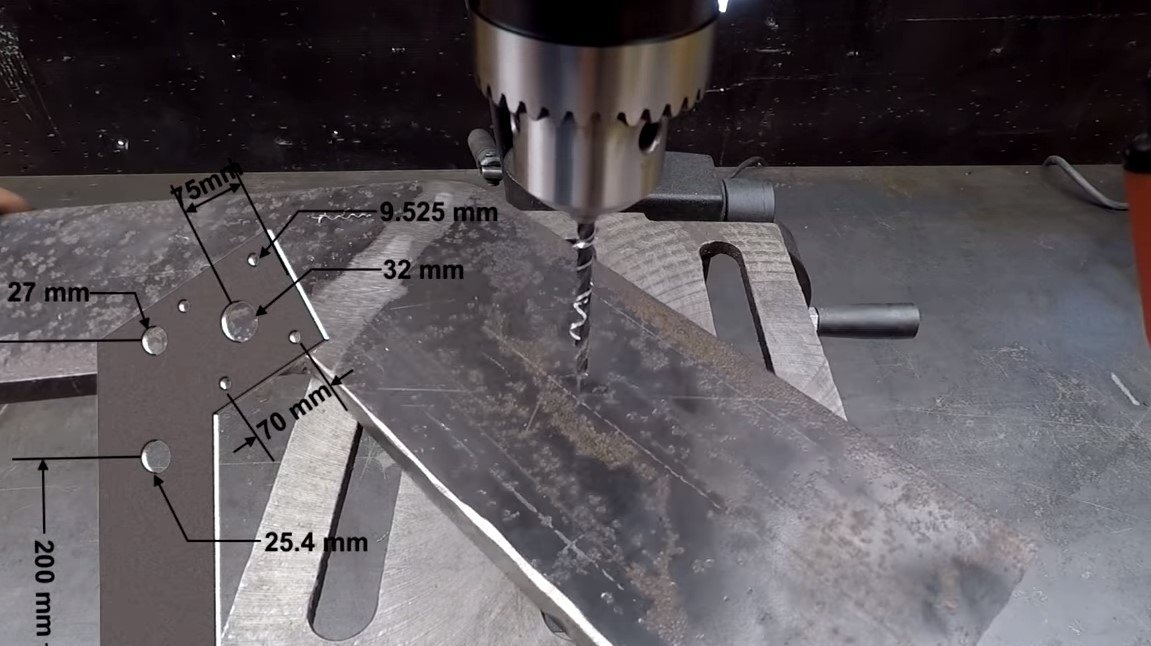
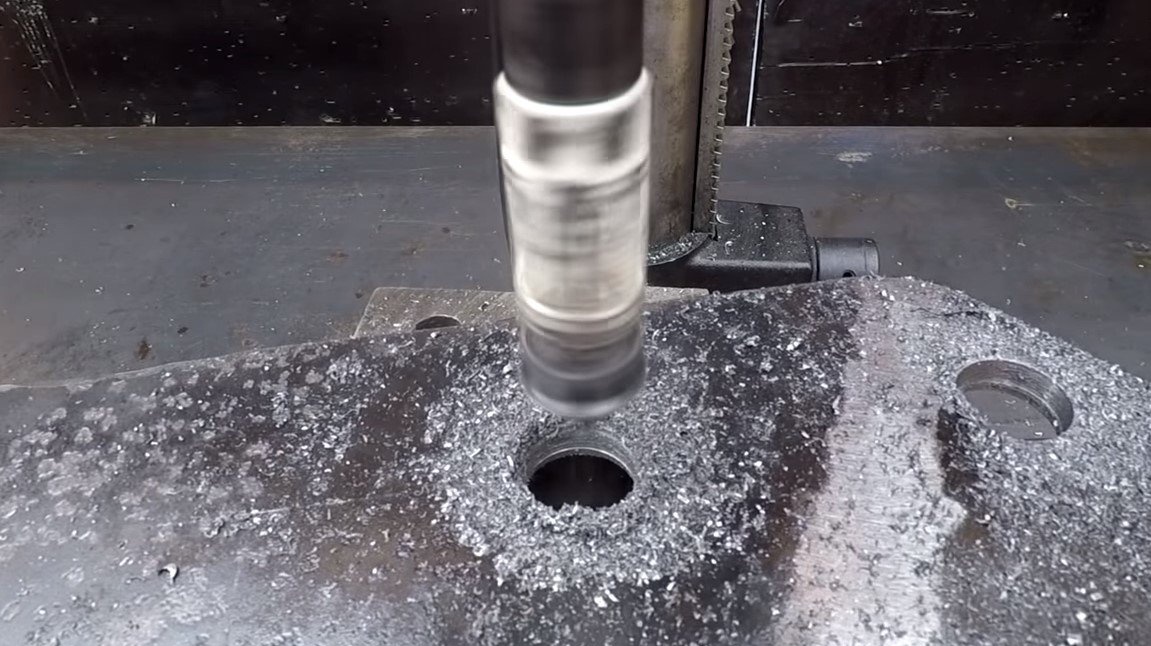
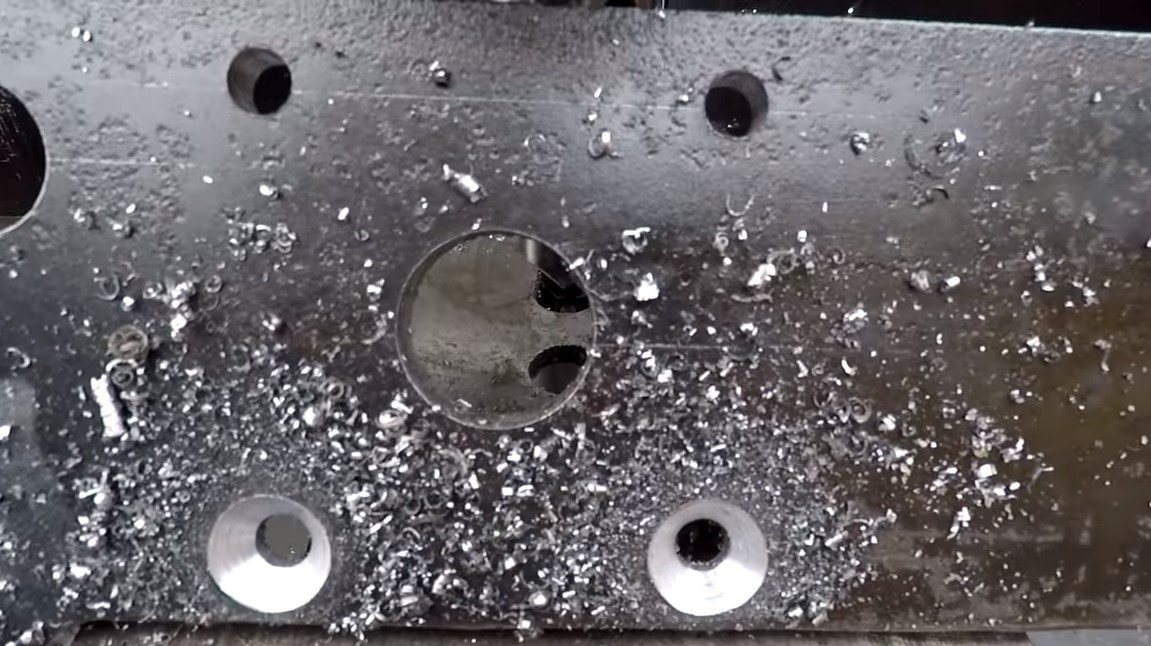
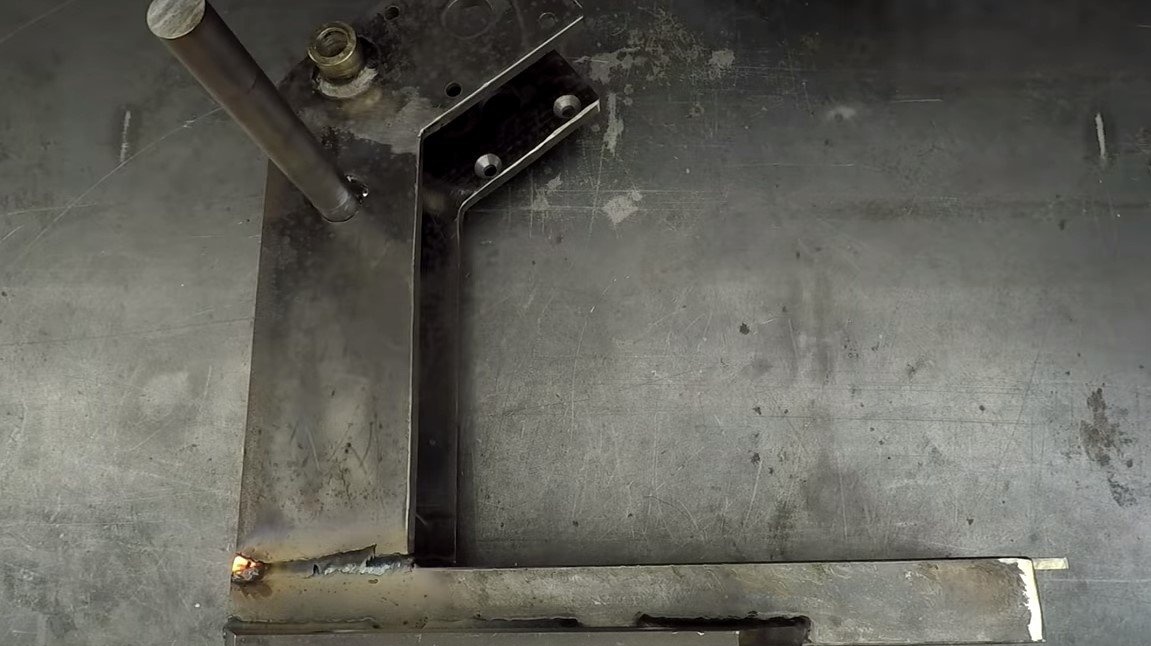
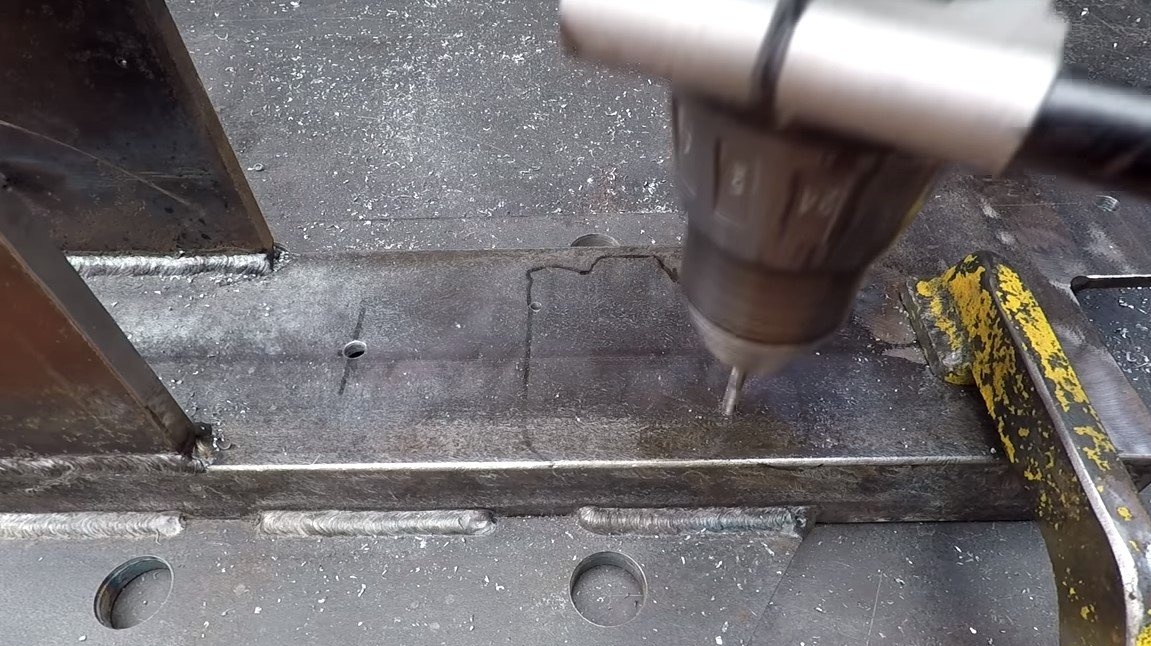
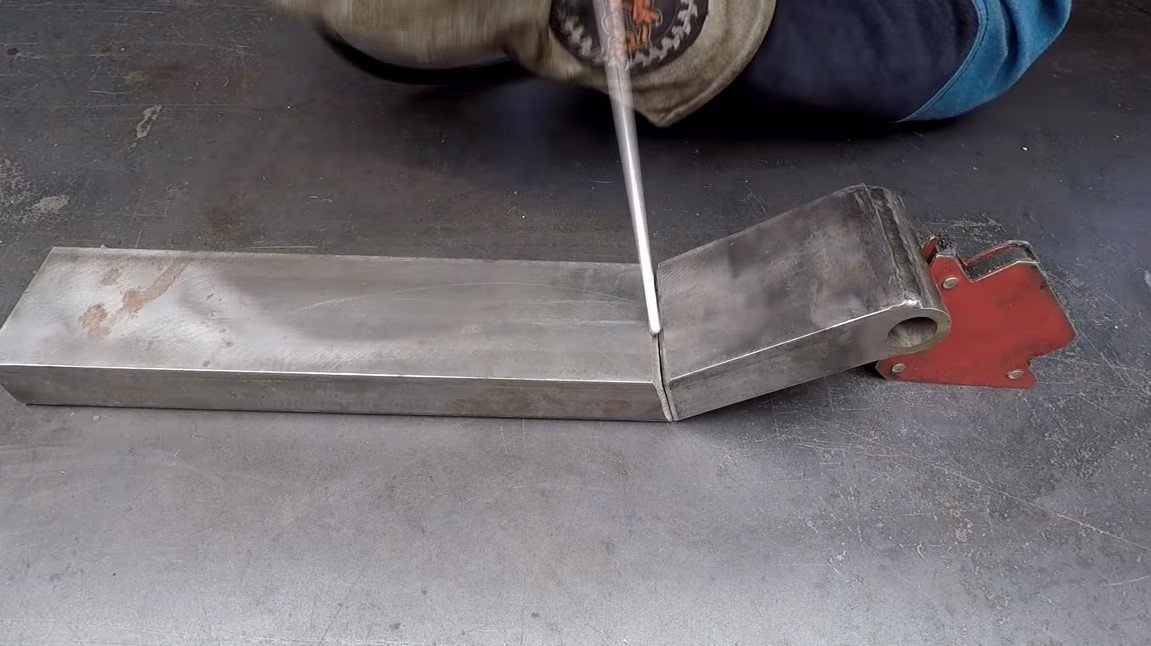
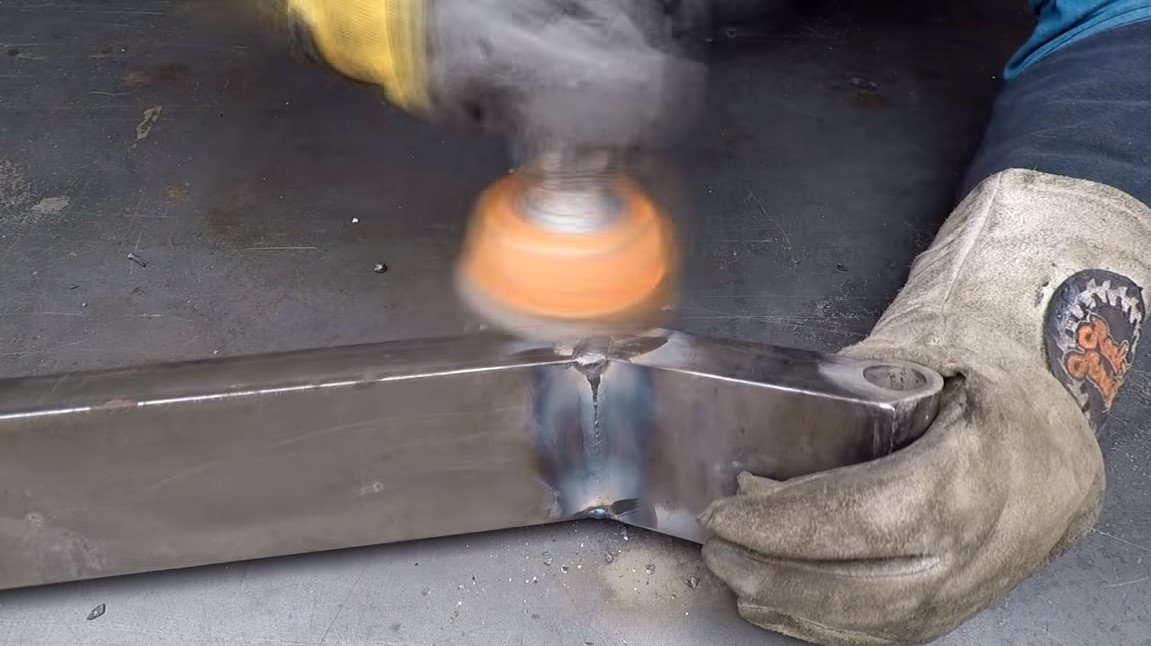
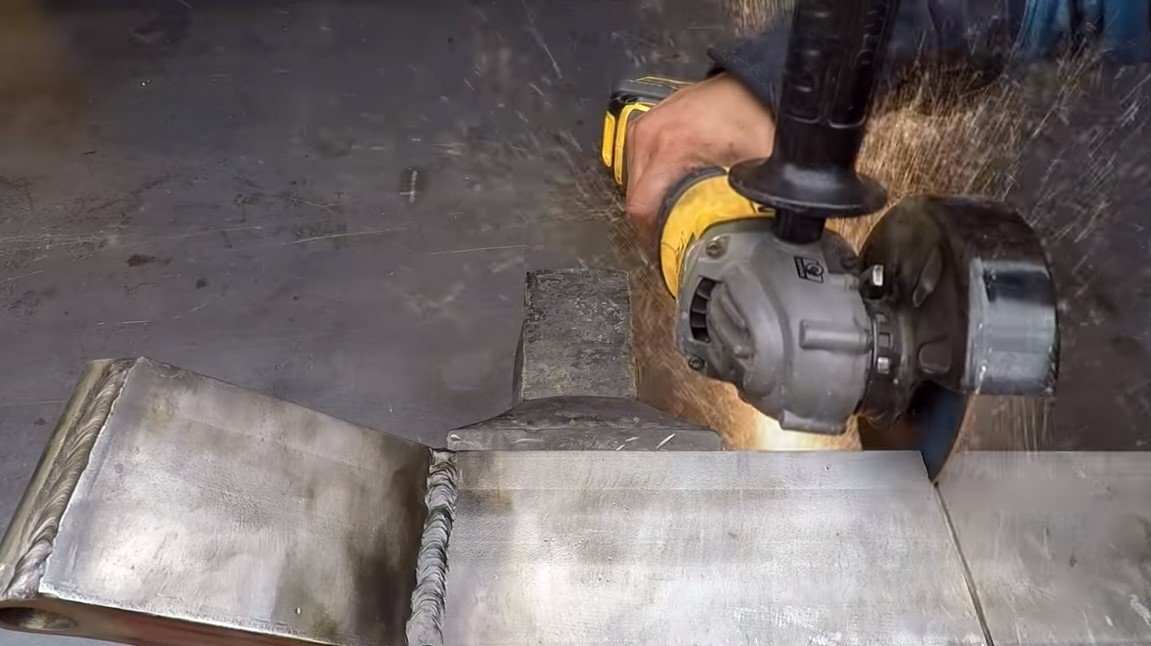
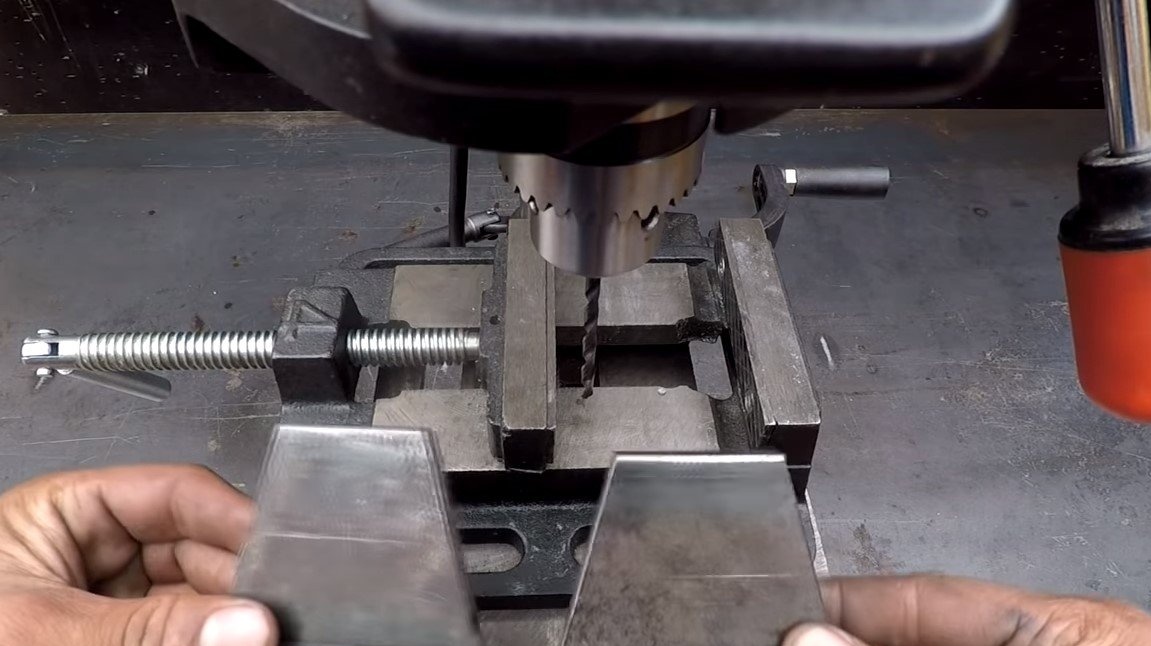
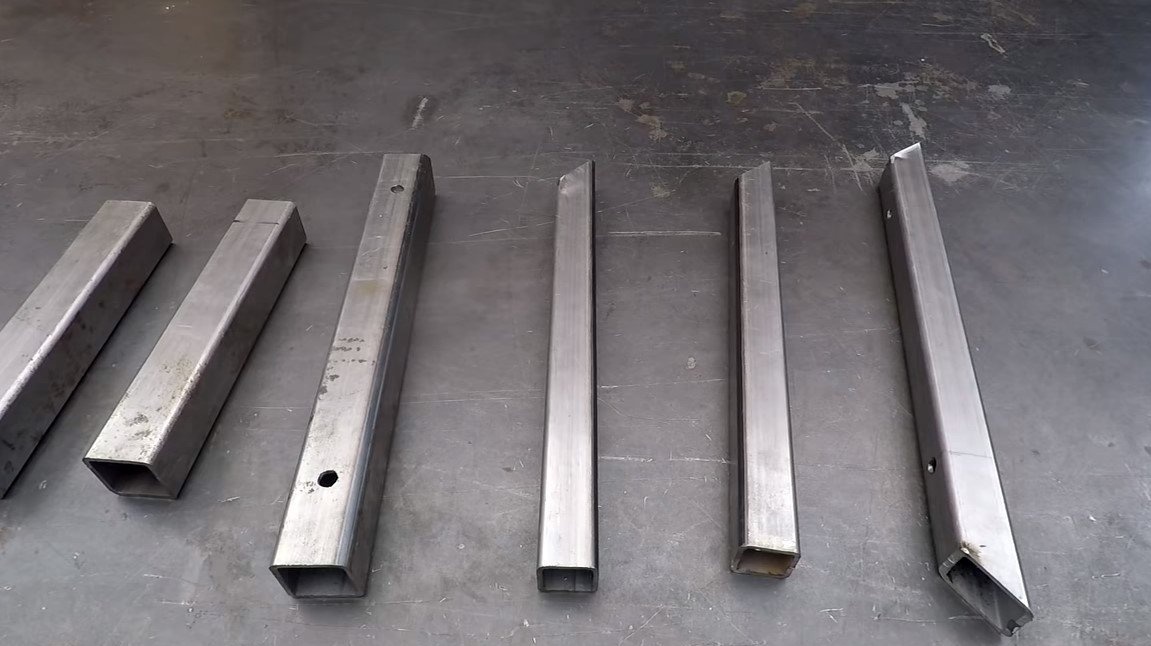
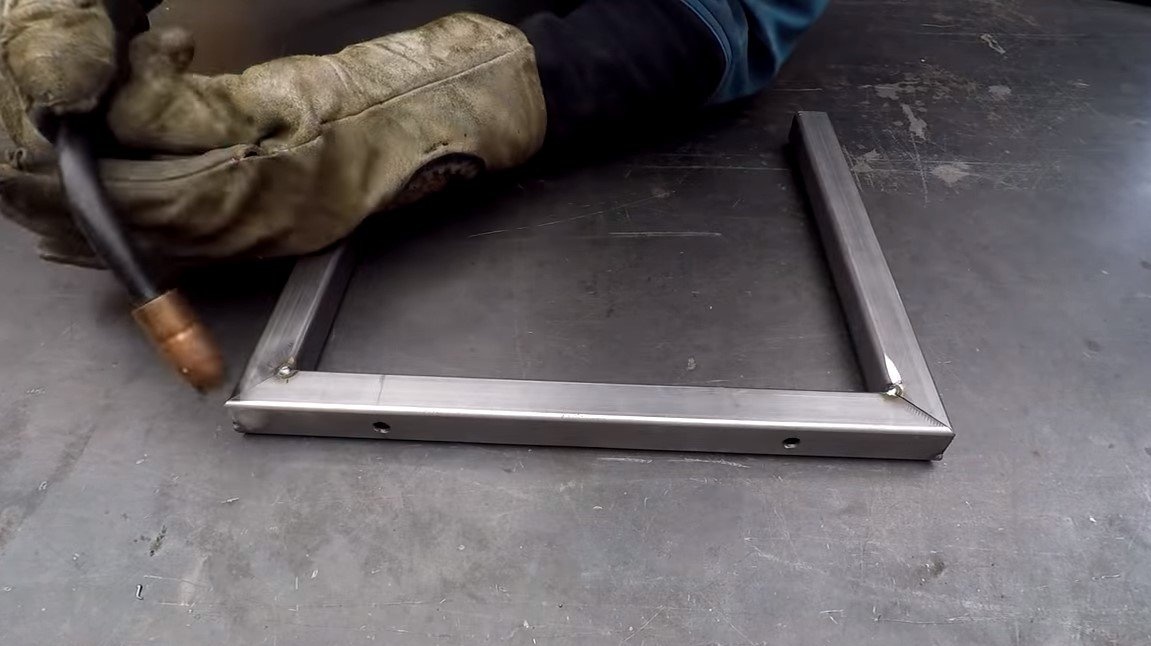
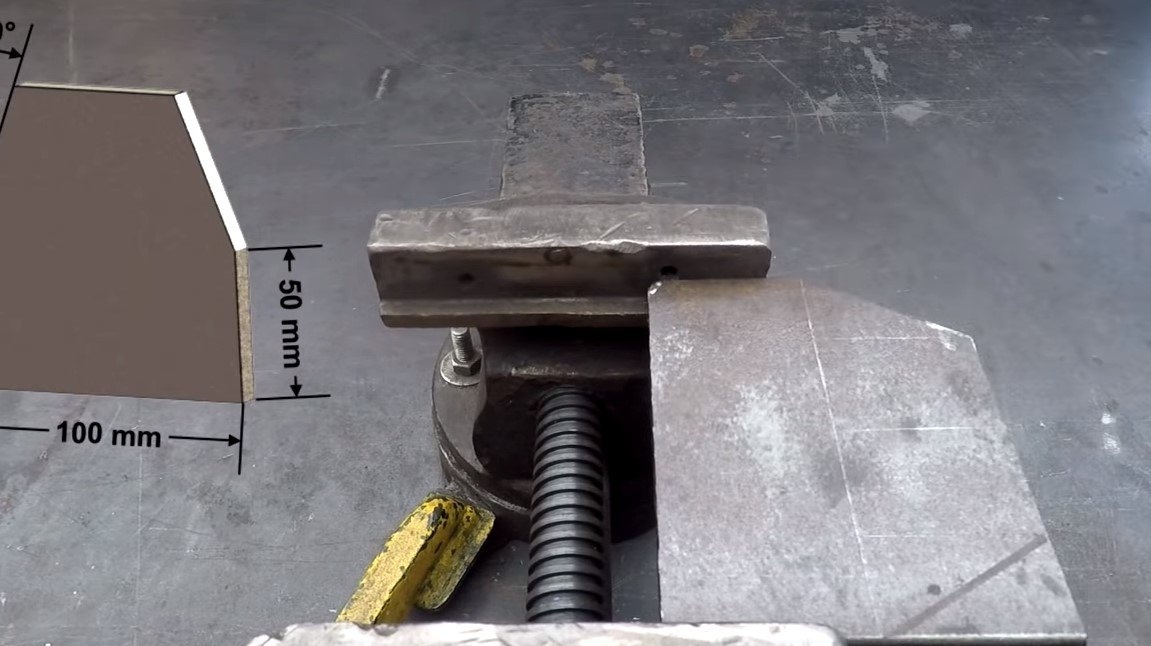
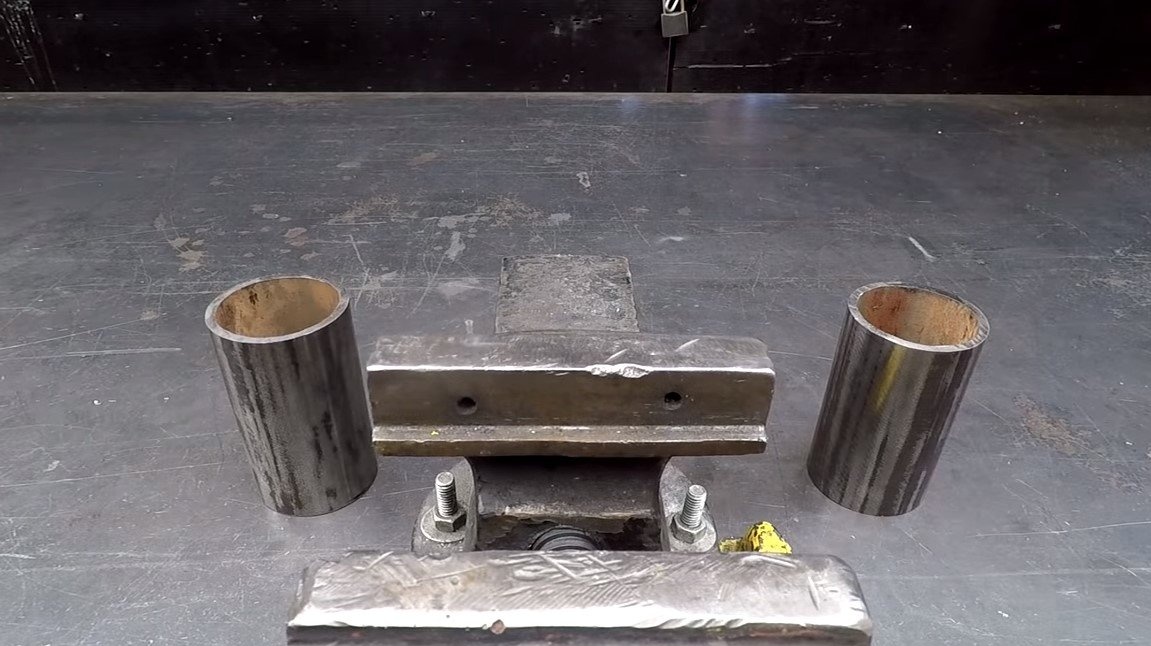
First of all, we will assemble the main part of the frame for the machine, first we weld the base, for this purpose the author used the channel. Next, we cut the material for the manufacture of racks, in this you will need the most thick sheet steel, everything should be strong, since the loads on the rack can be quite large. The author cuts the material with a miter saw and welds everything well. Before welding, we must drill holes for the axles, bolts, and so on.
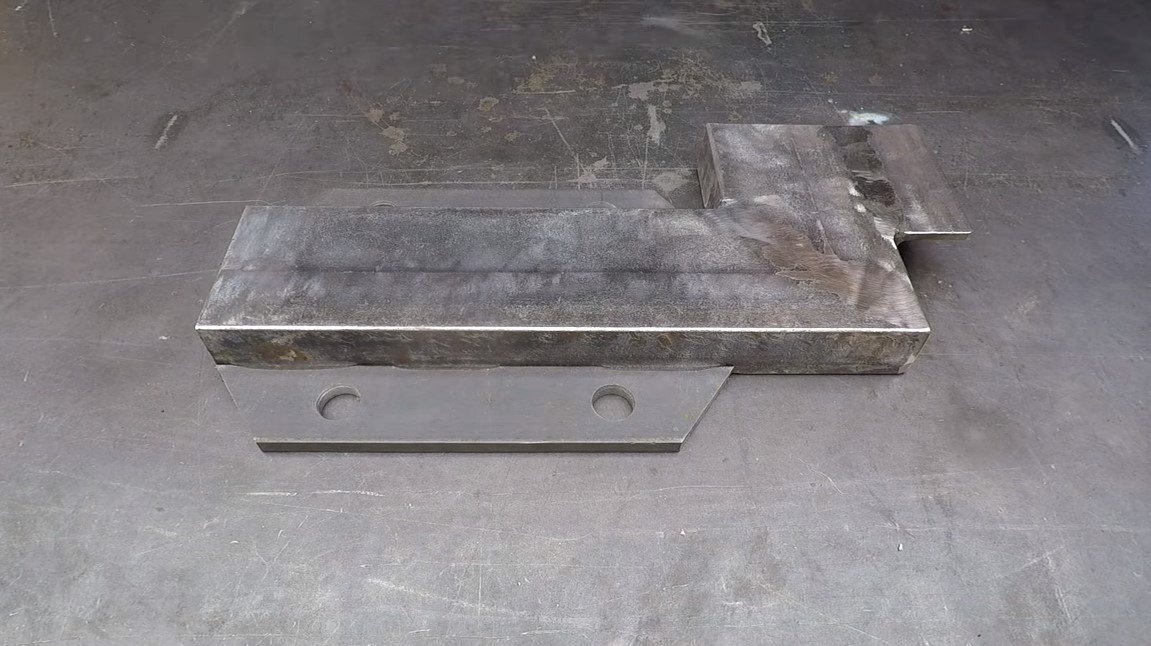
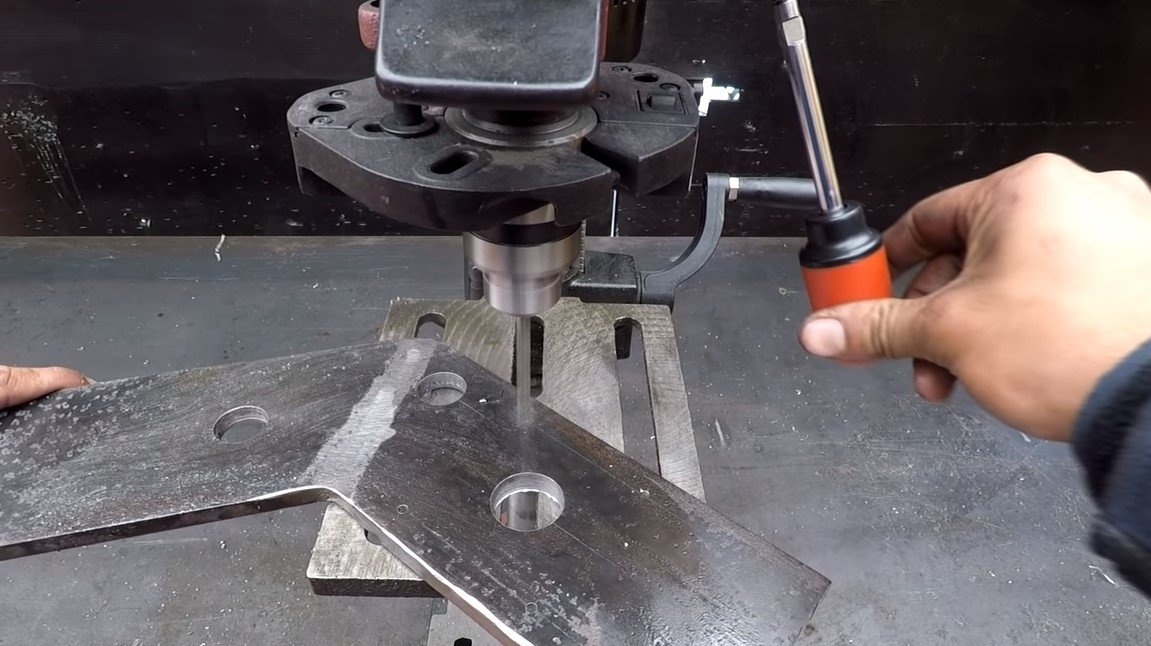

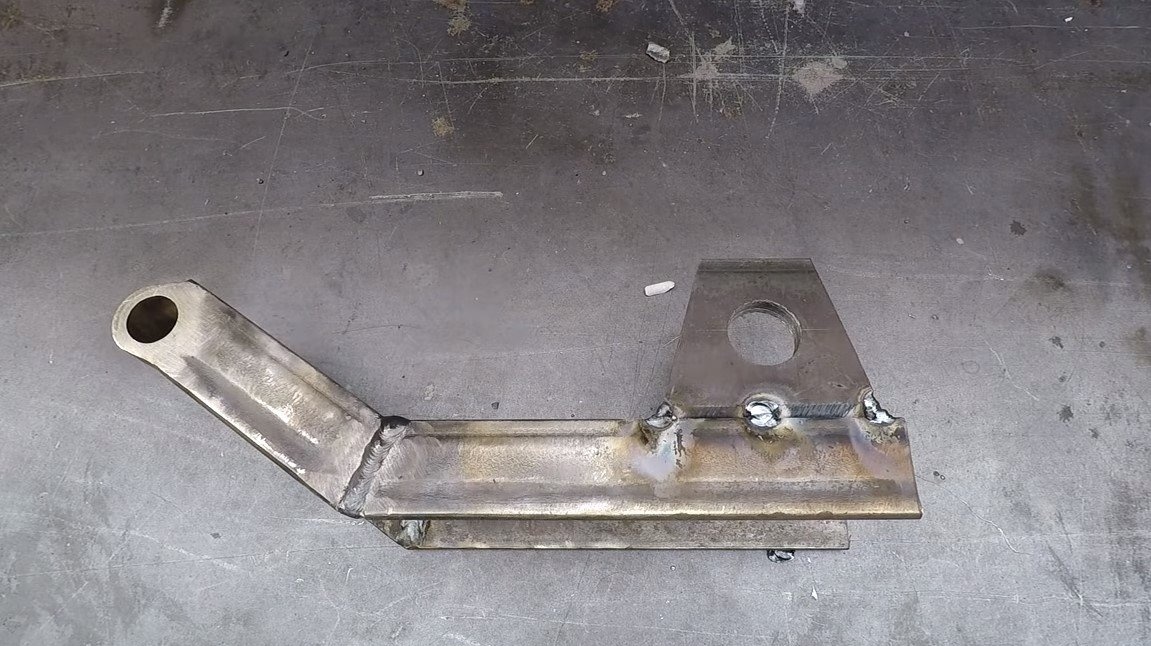
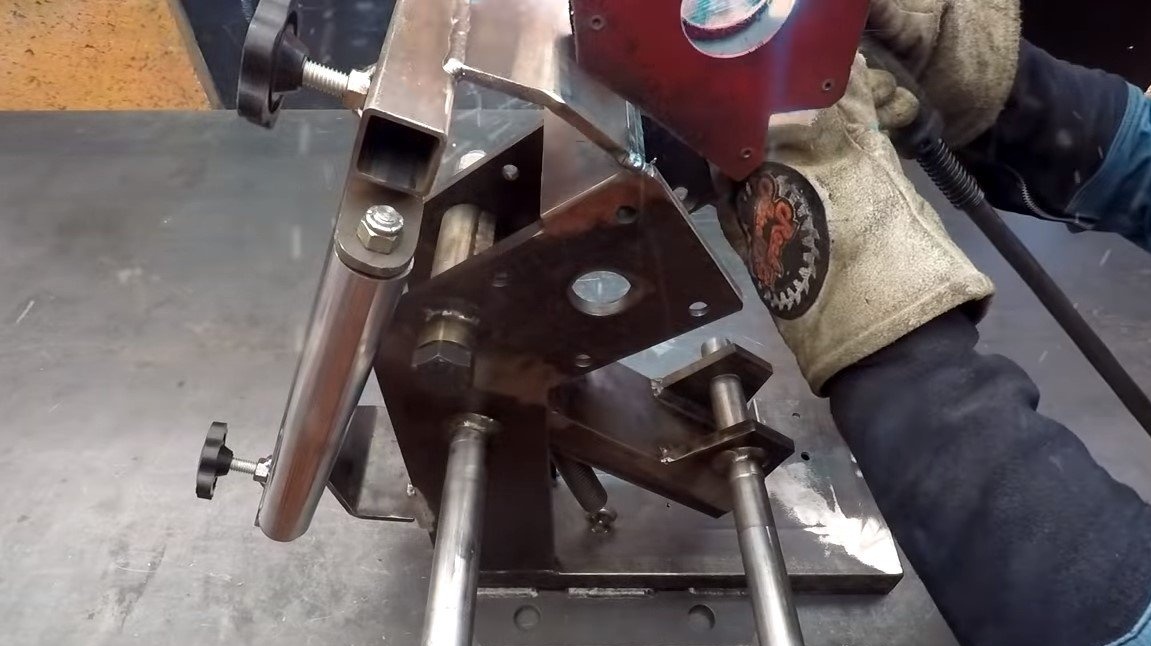
Step Two Clamping lever
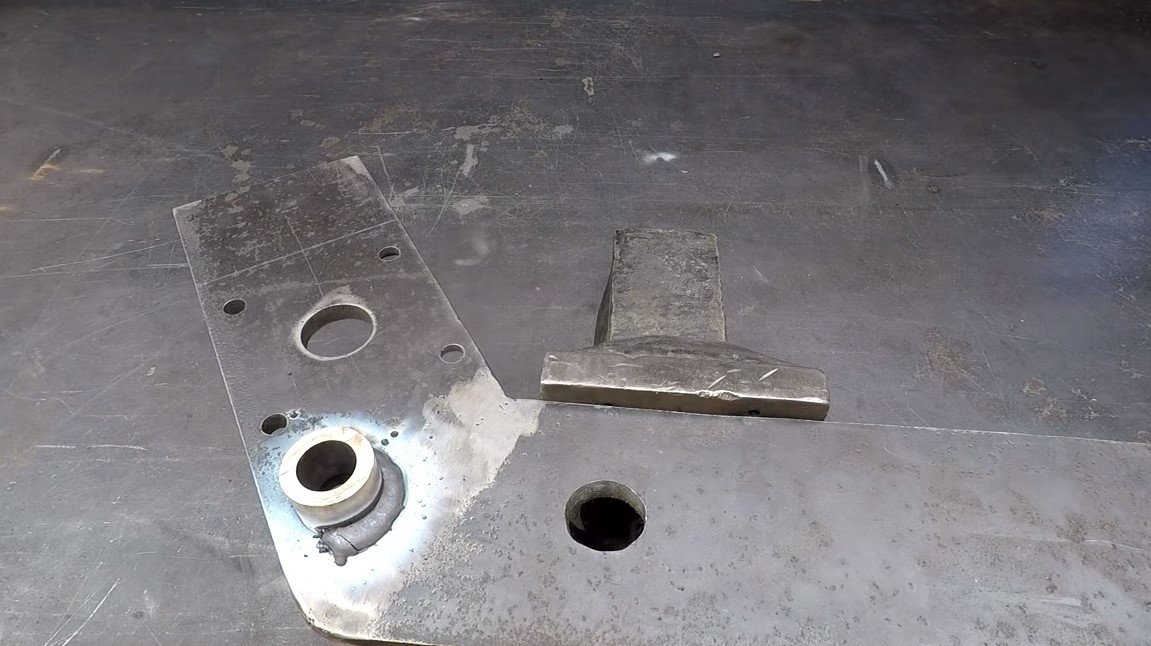
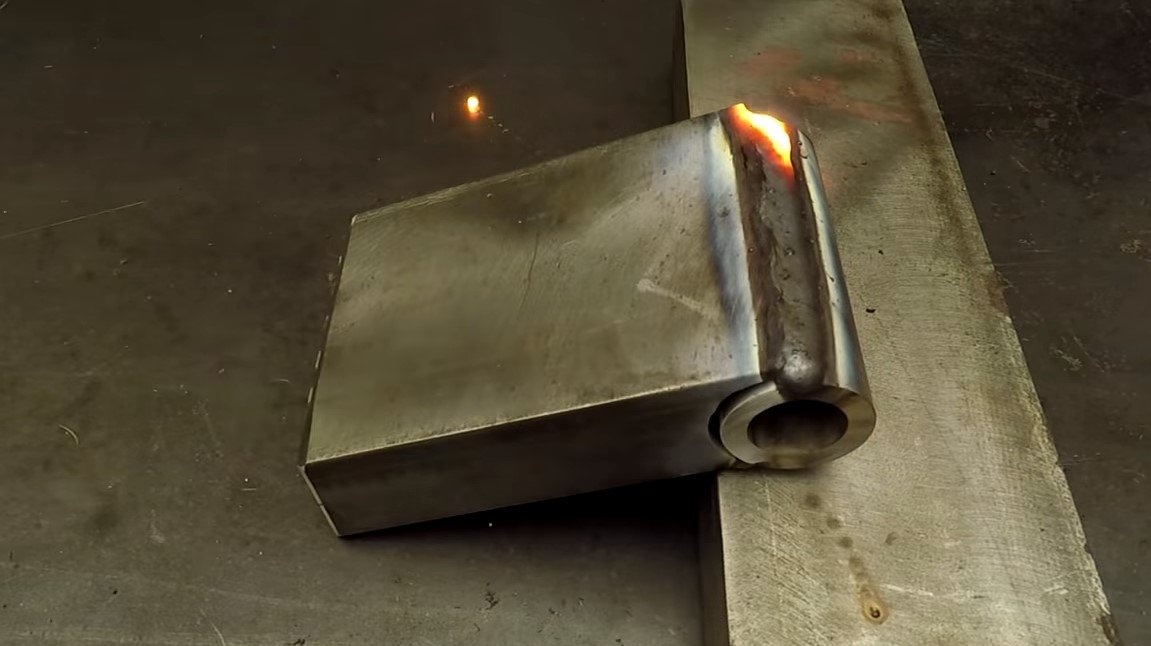
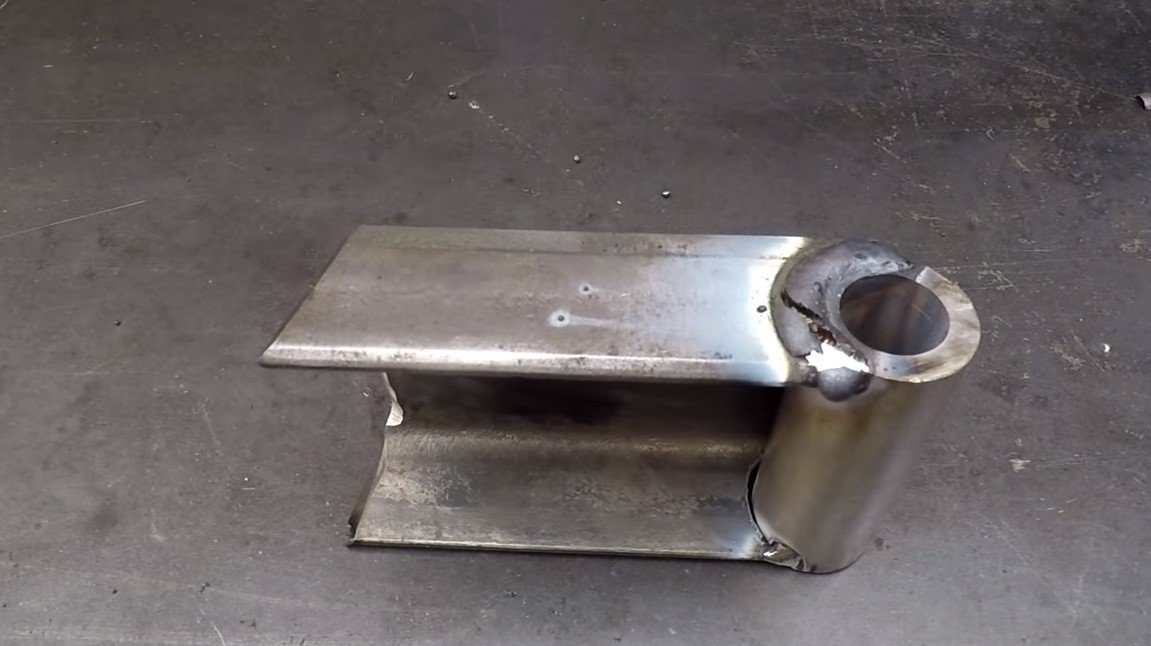
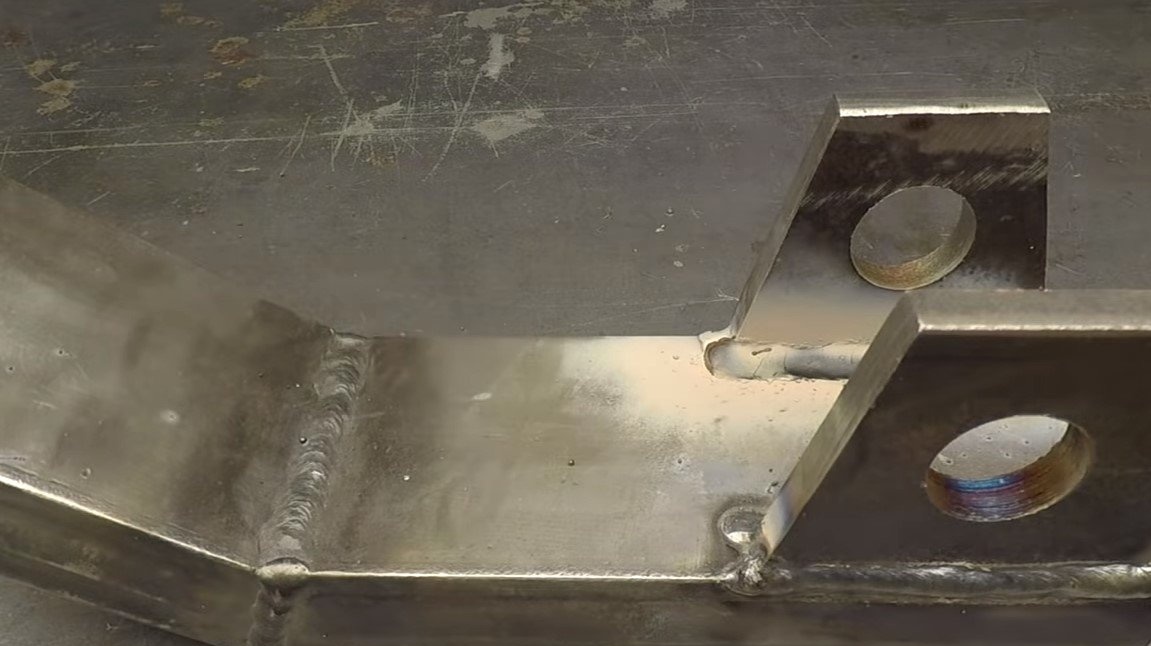
We make a clamping lever that will be lifted using a hydraulic jack. A clamping driven roller will also be located on this lever.We weld the lever of their piece of the channel, for the axis we make the ears of thick sheet steel. The axis is well welded to the fasteners.
At the other end of the channel, a piece of pipe is welded, which together with a good bolt forms a hinge. At the end, the lever can be mounted on a stand.
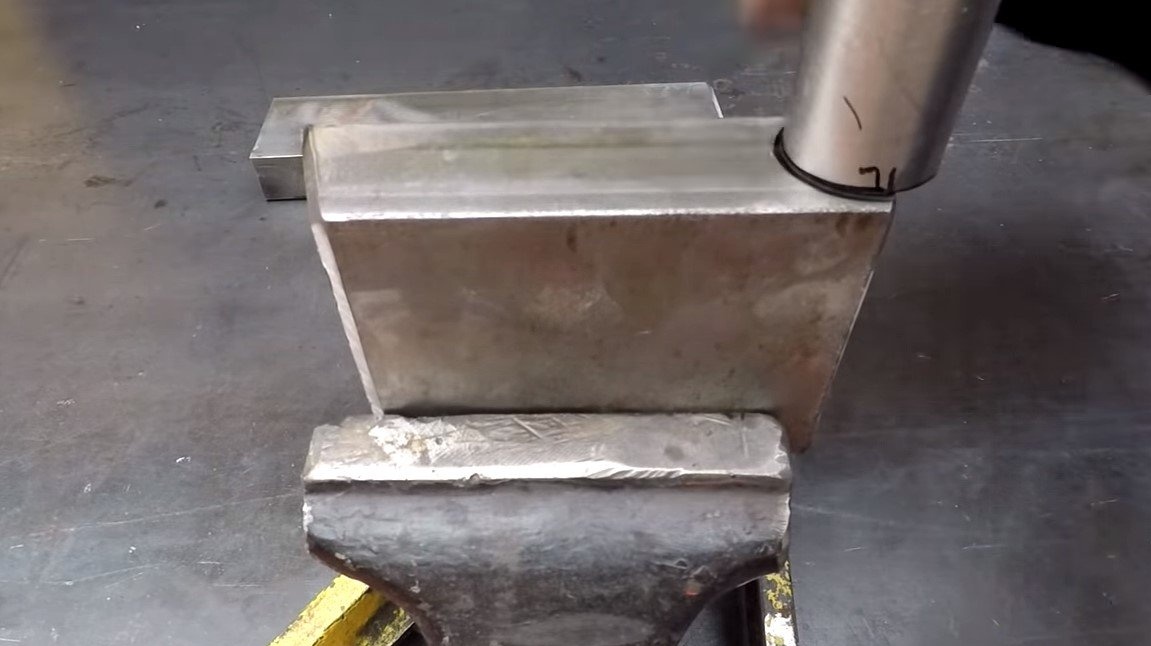
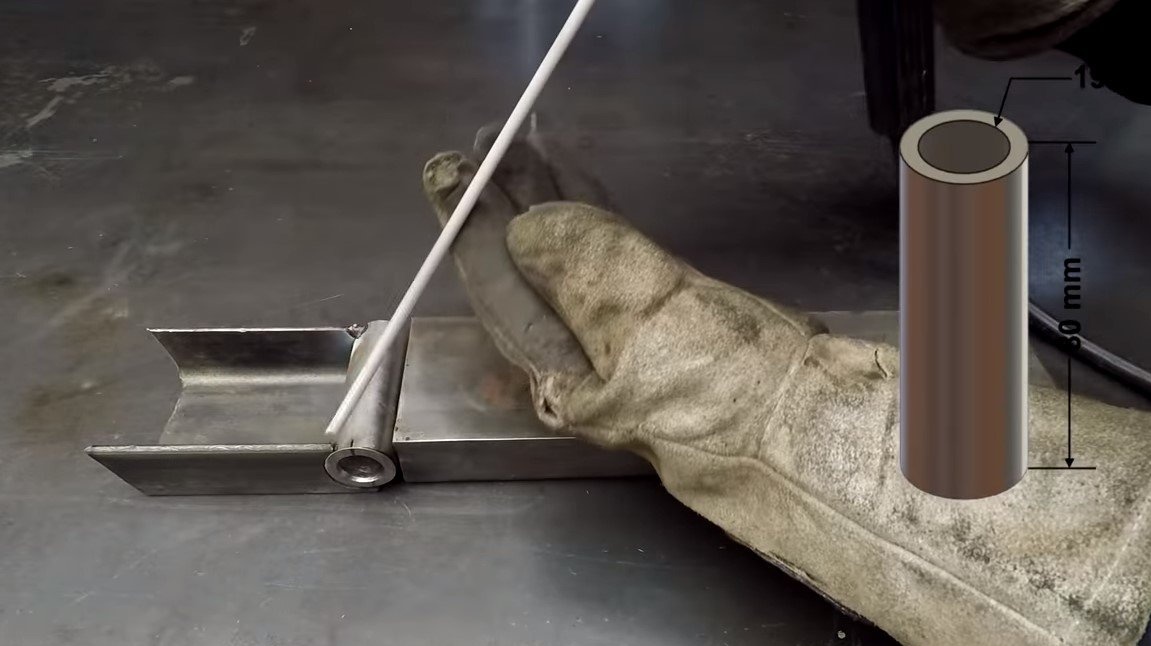

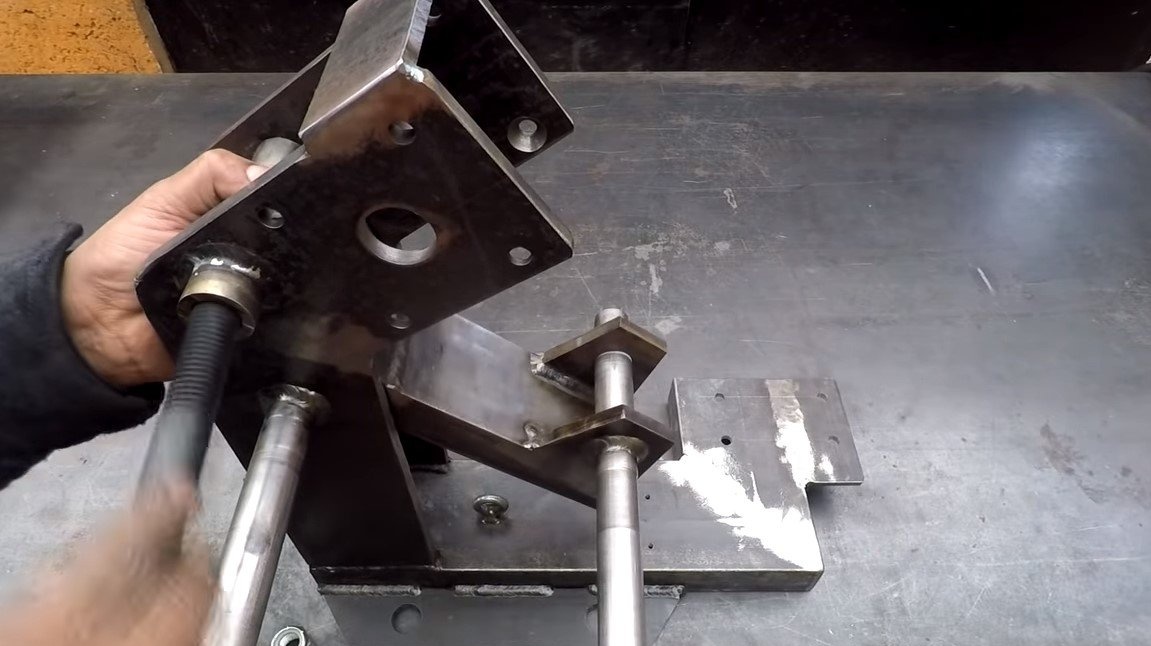
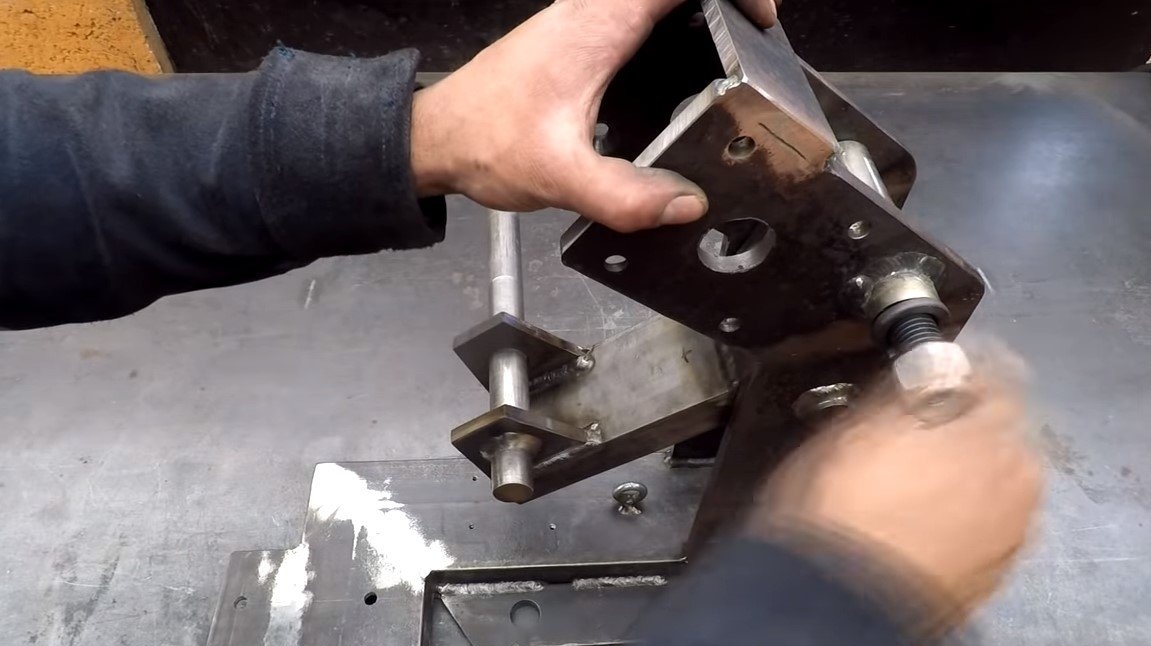
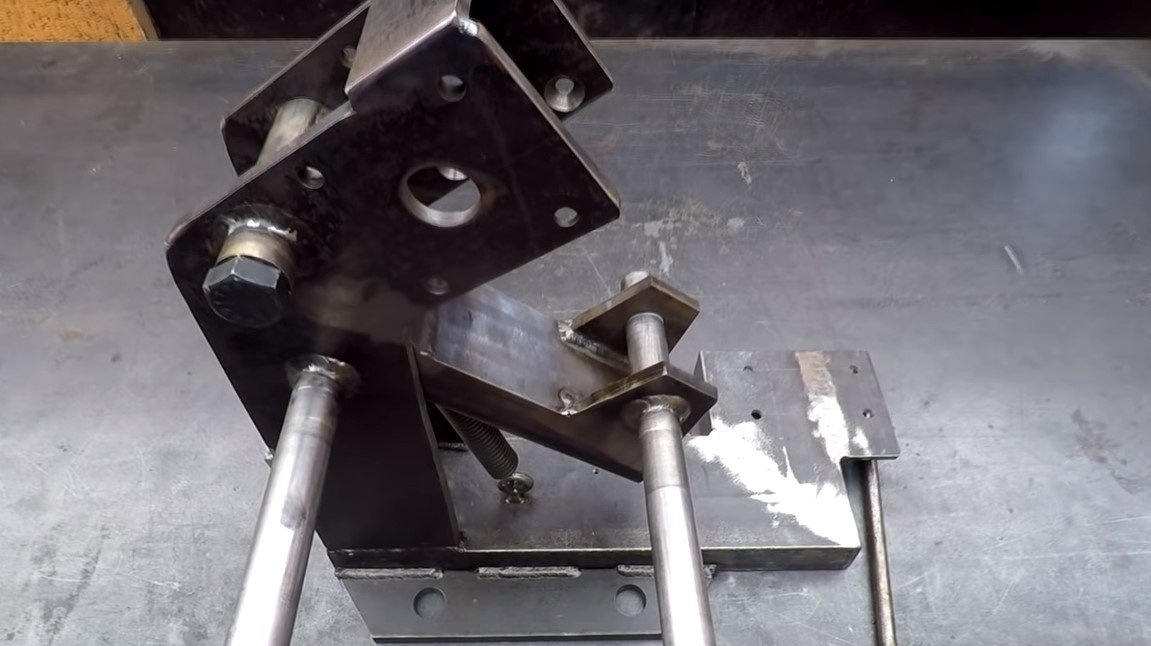
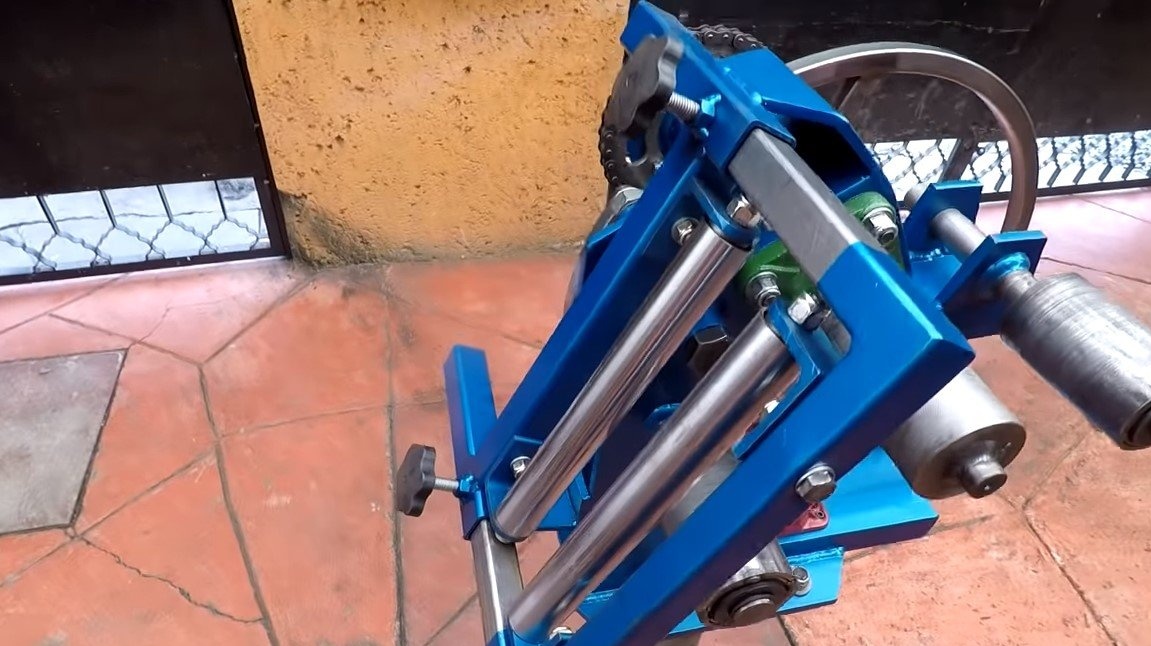
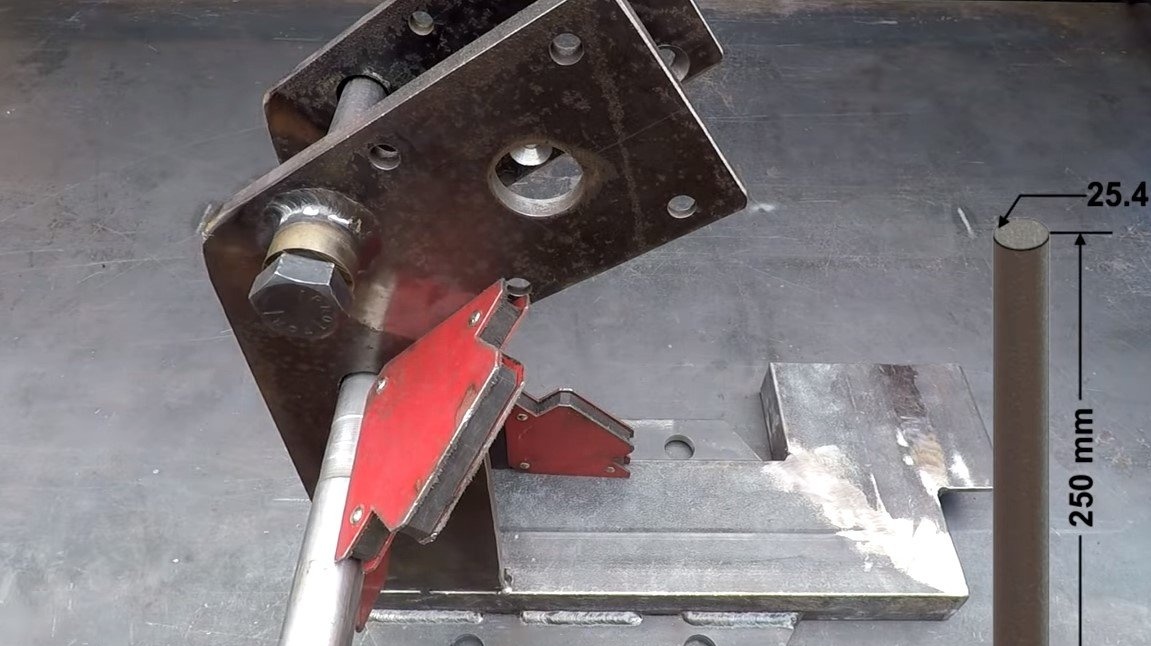
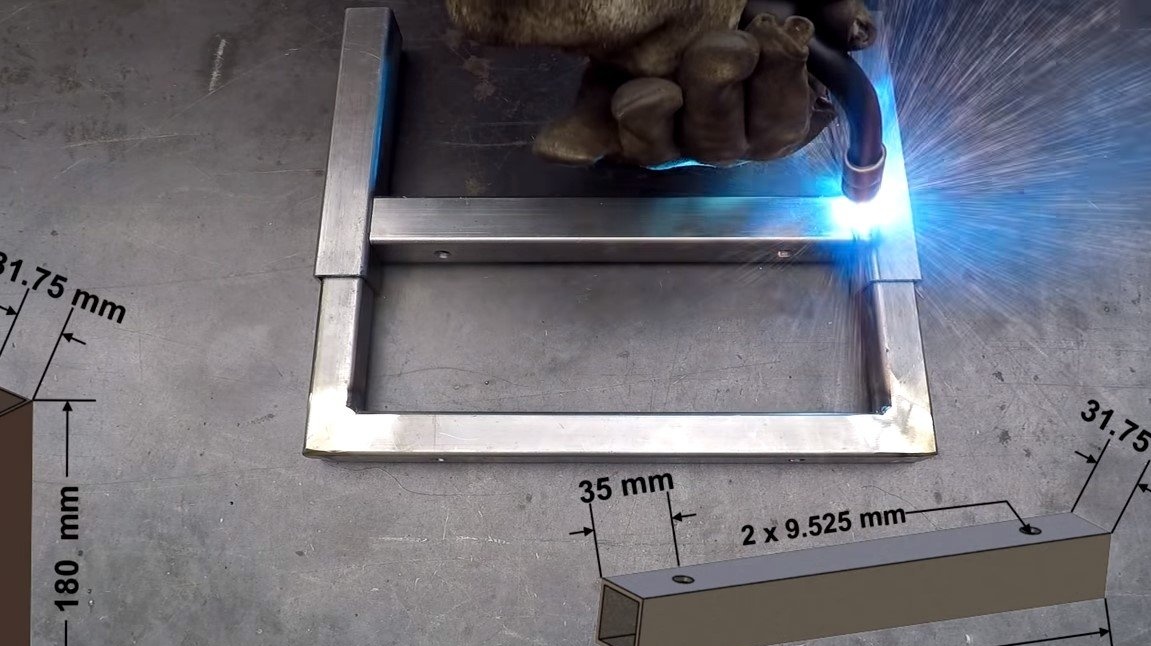
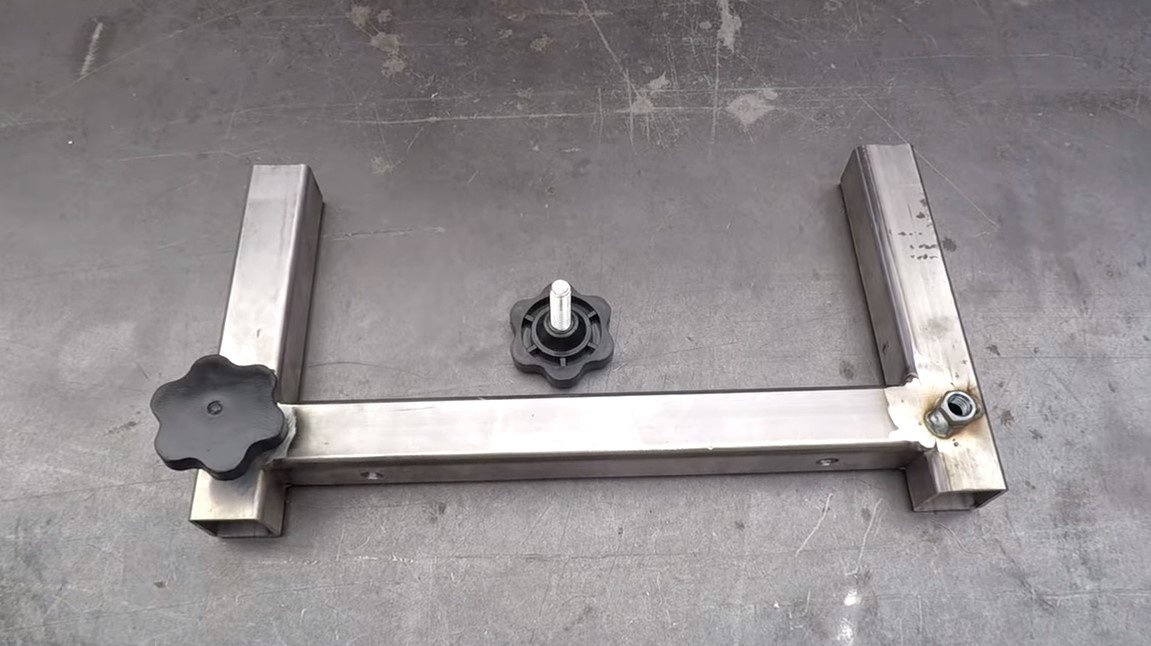
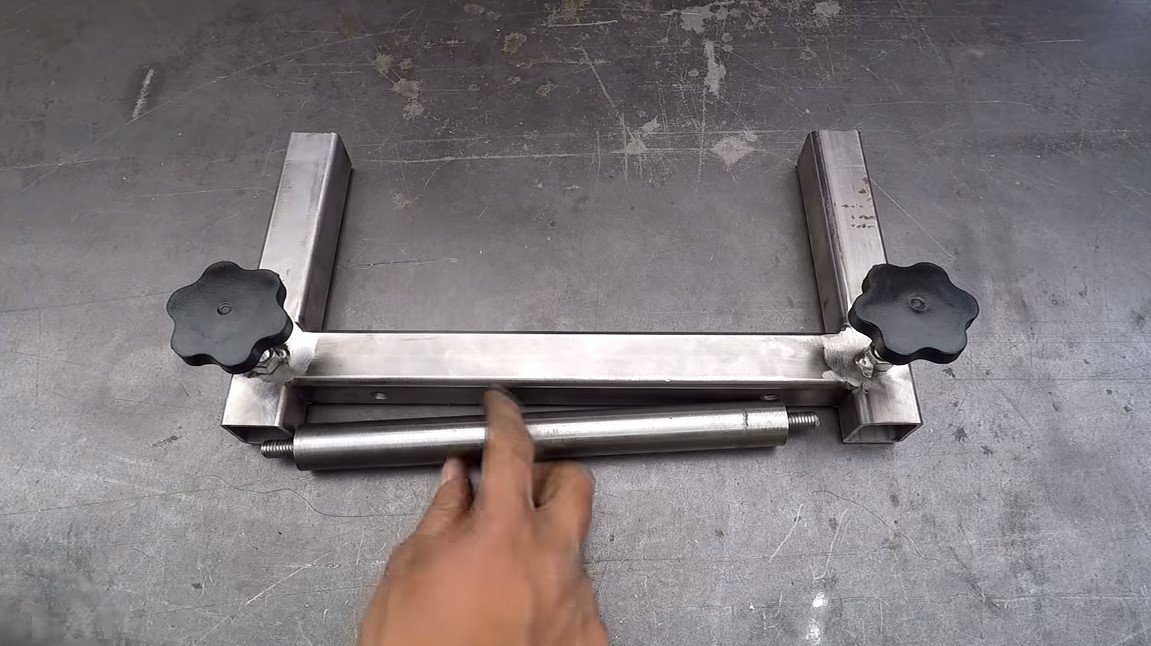
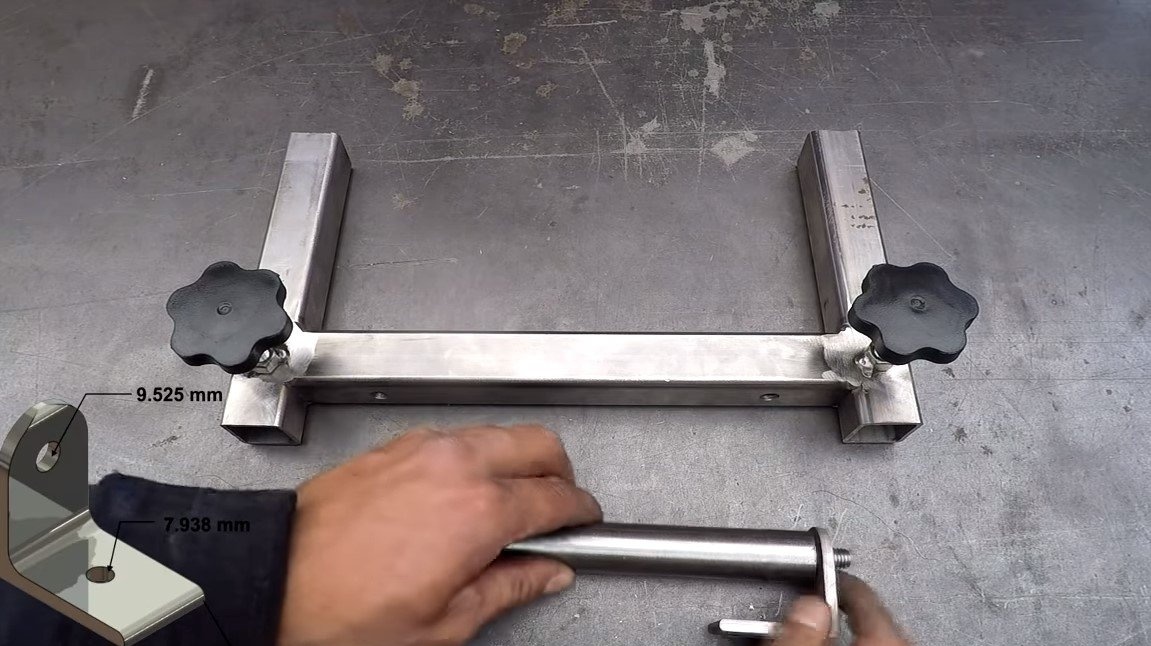
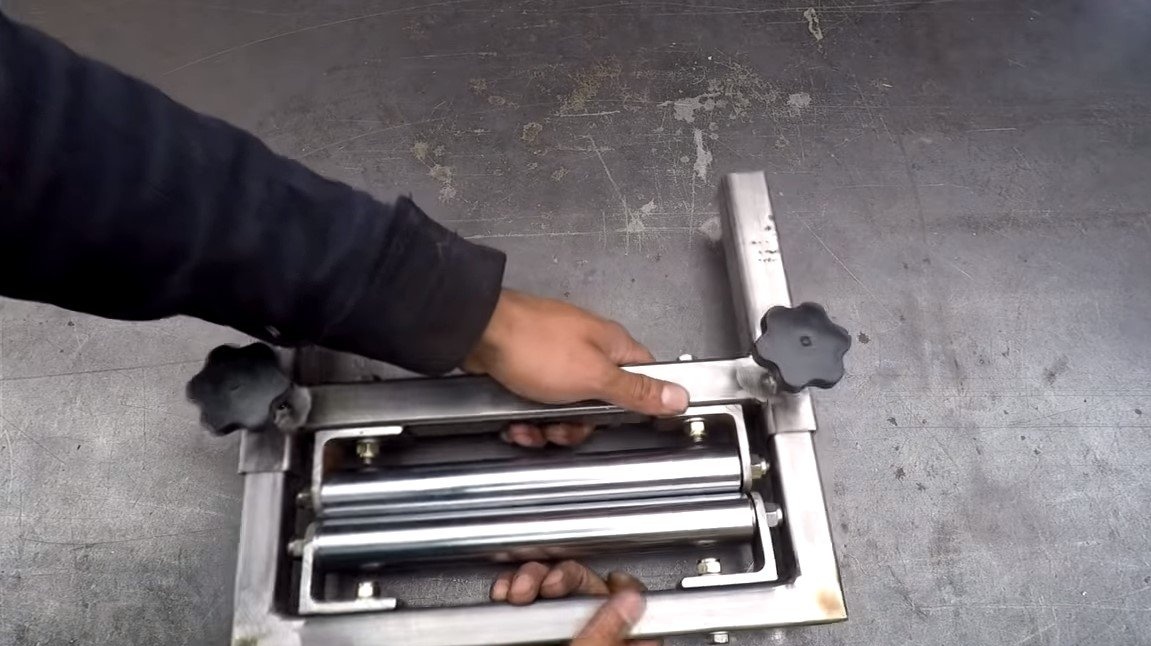
Step Three Stabilizing unit
We assemble a stabilizing unit that will not allow the pipe to bend laterally after bending. This unit is adjustable, it can be adjusted depending on the thickness of the pipe. The frame of the assembly is assembled from shaped pipes. Two steel rods are fixed on the frame, the author has carved them on a lathe. A pipe passes between these rods and rests on them. If desired, these axles can be made on bearings.
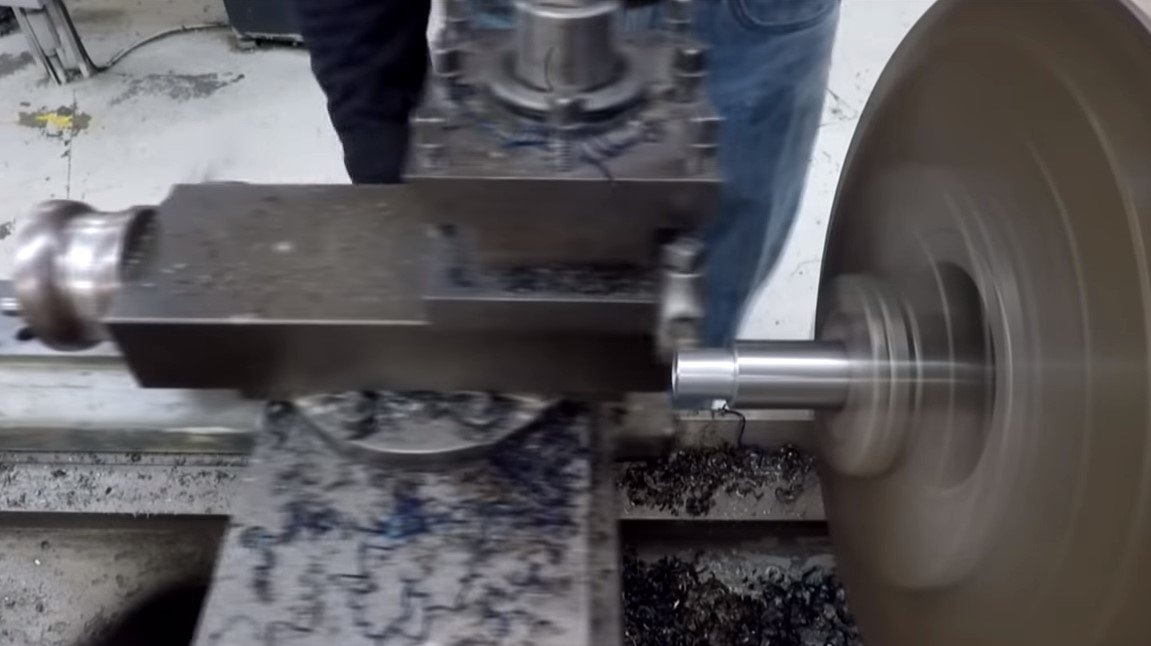
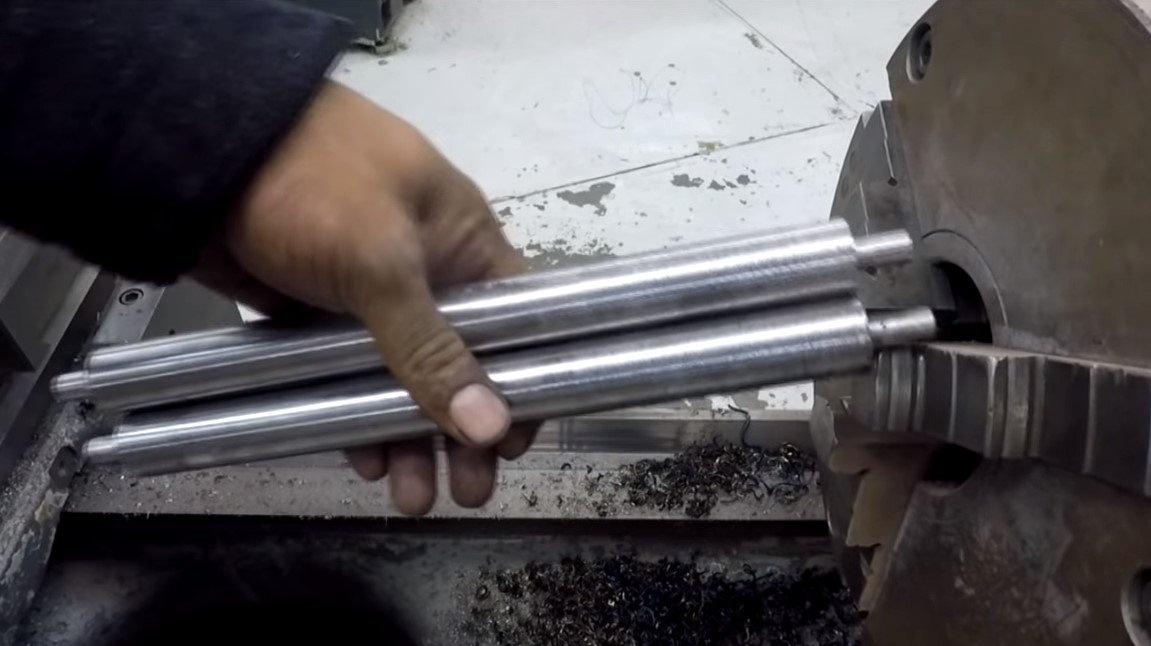

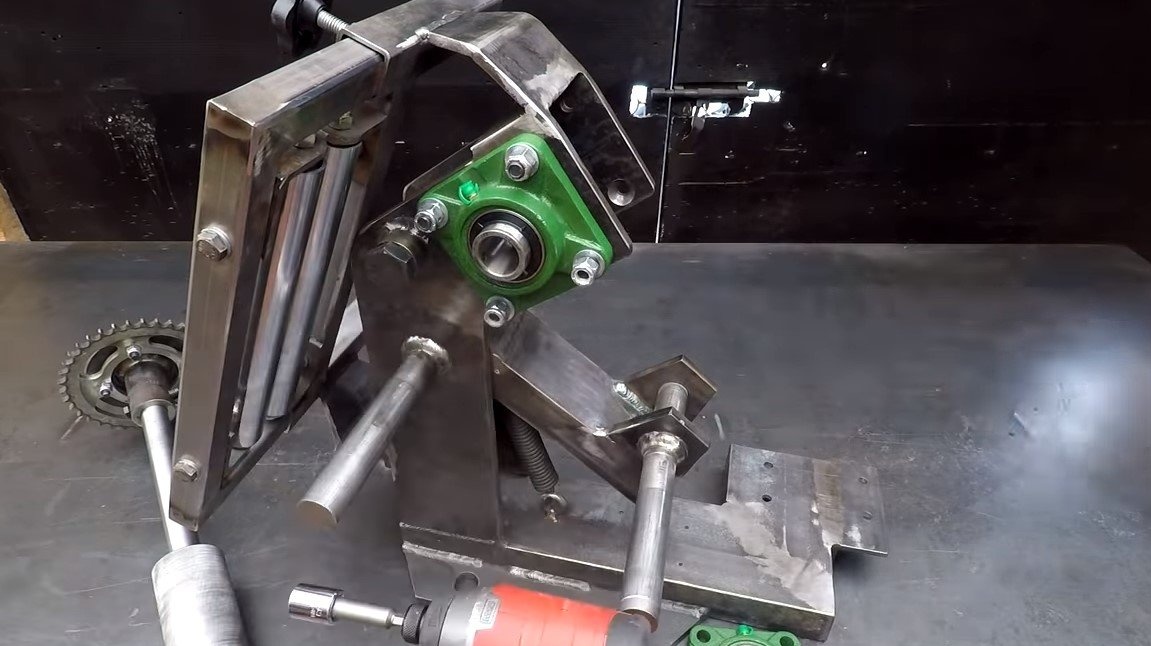
Step Four Work axle and drive roller
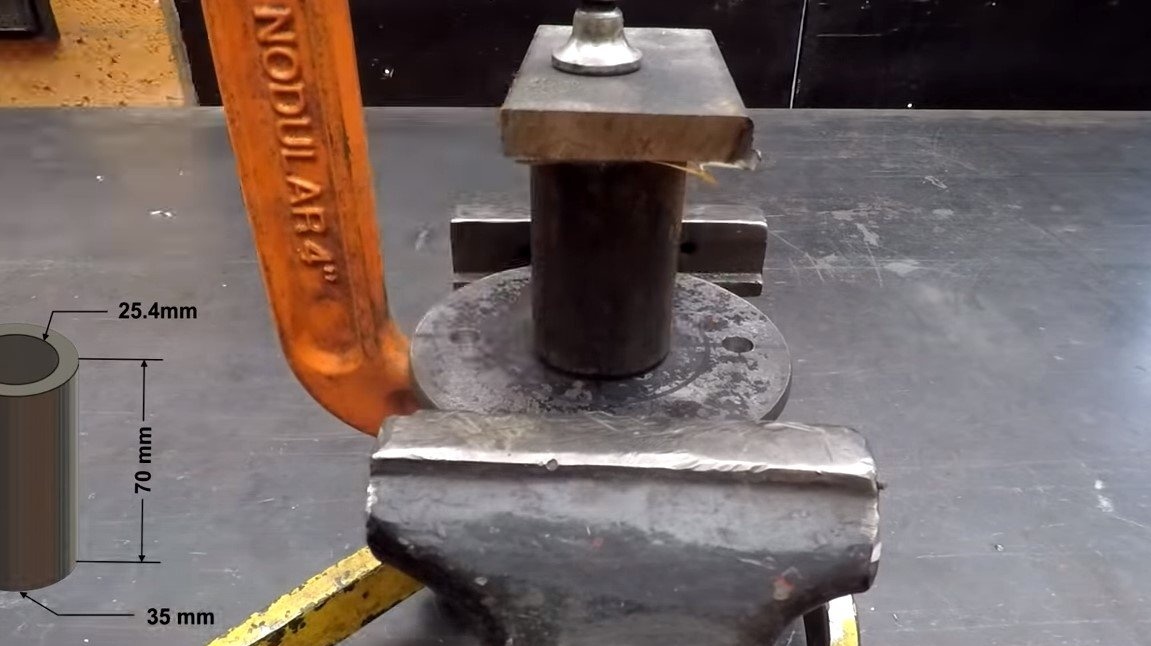
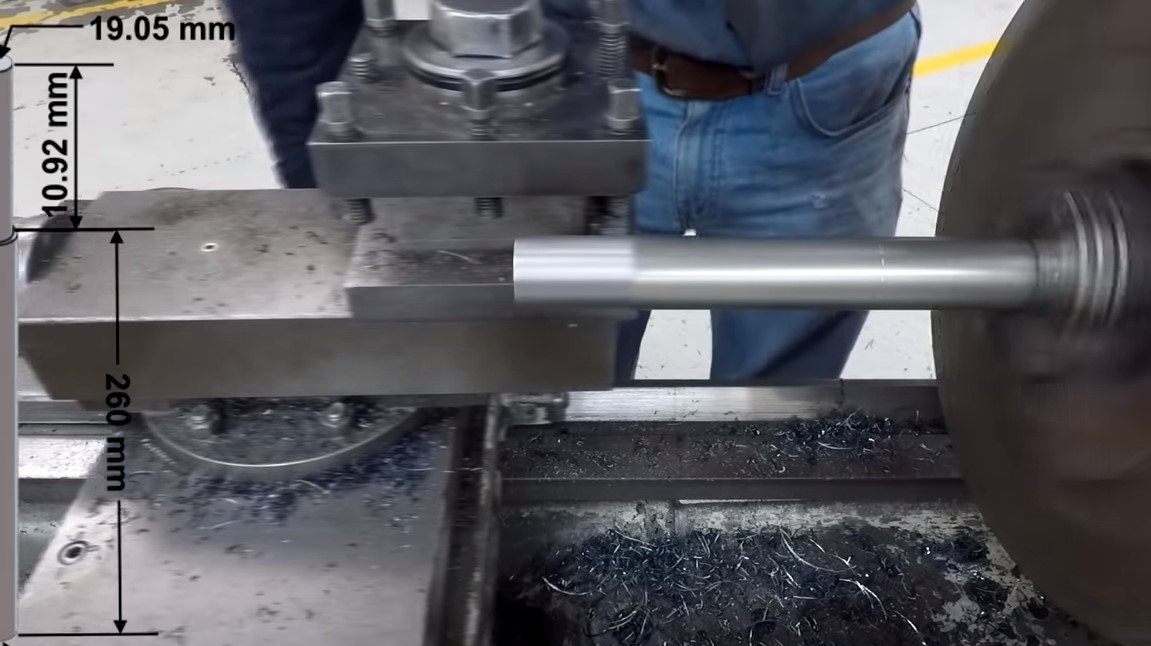
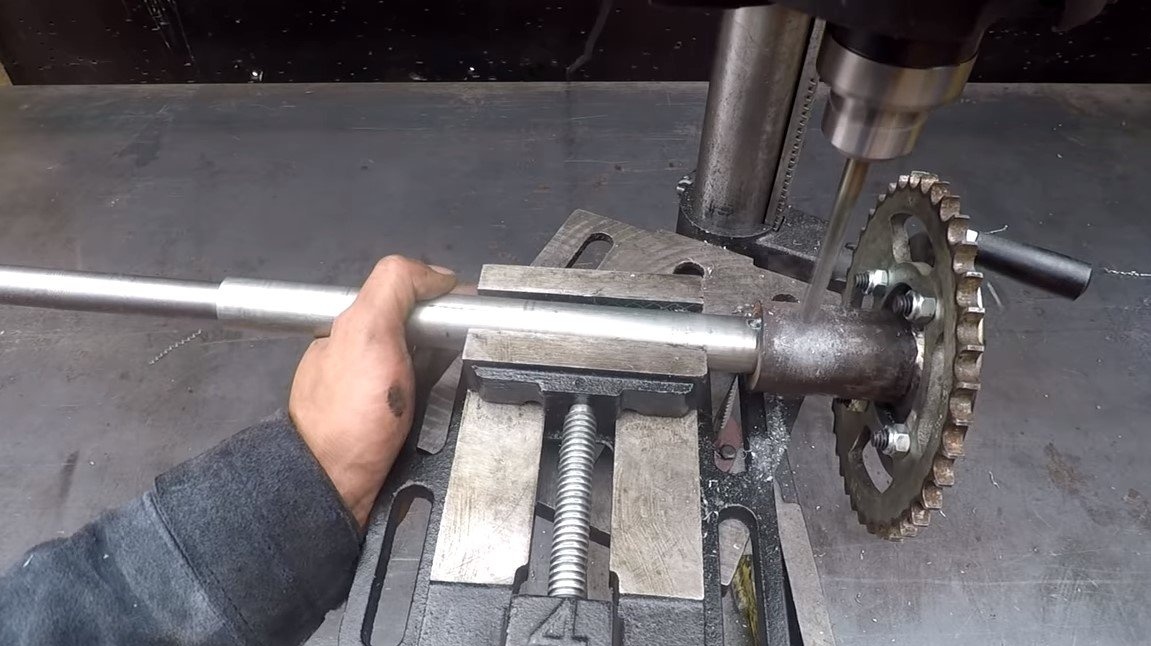
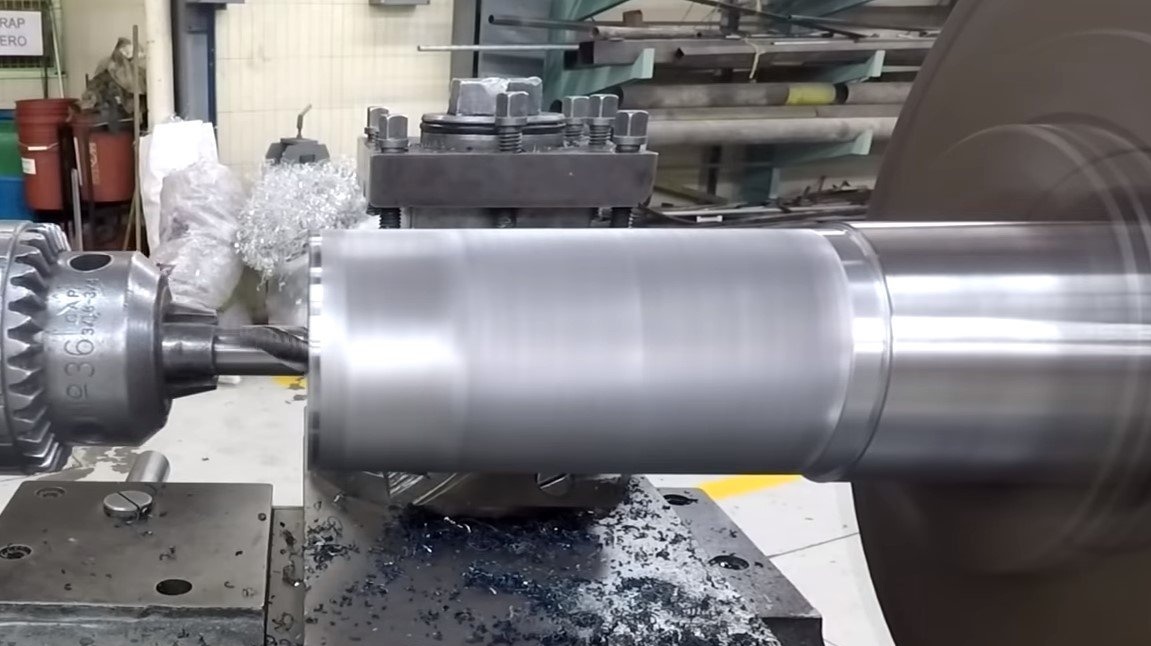
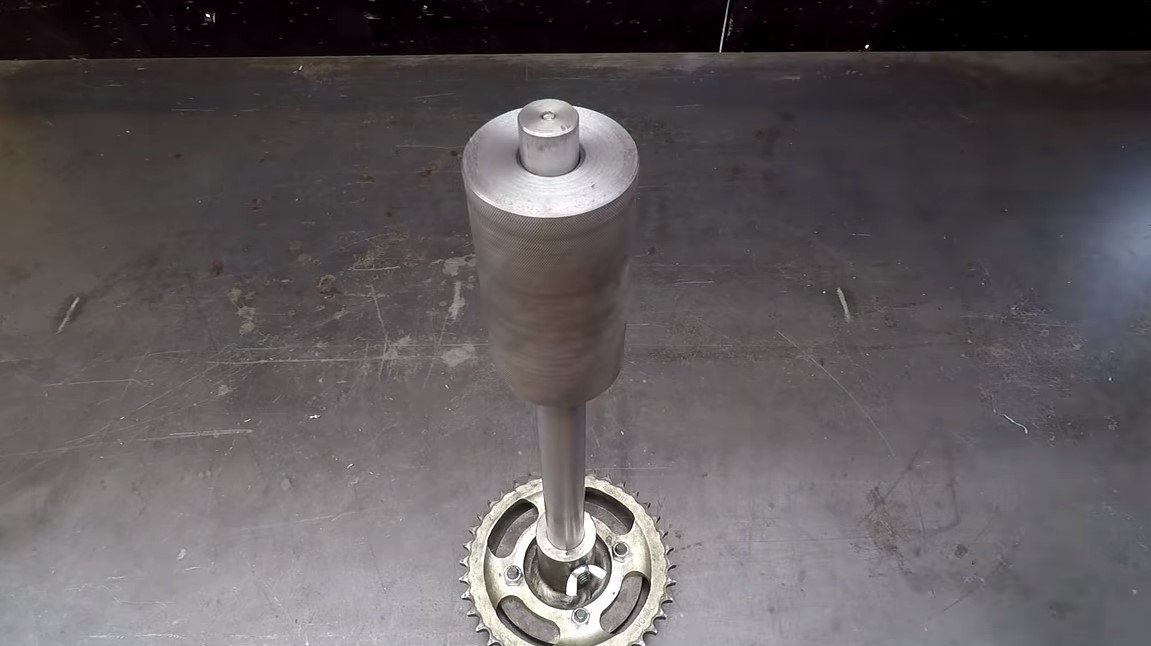
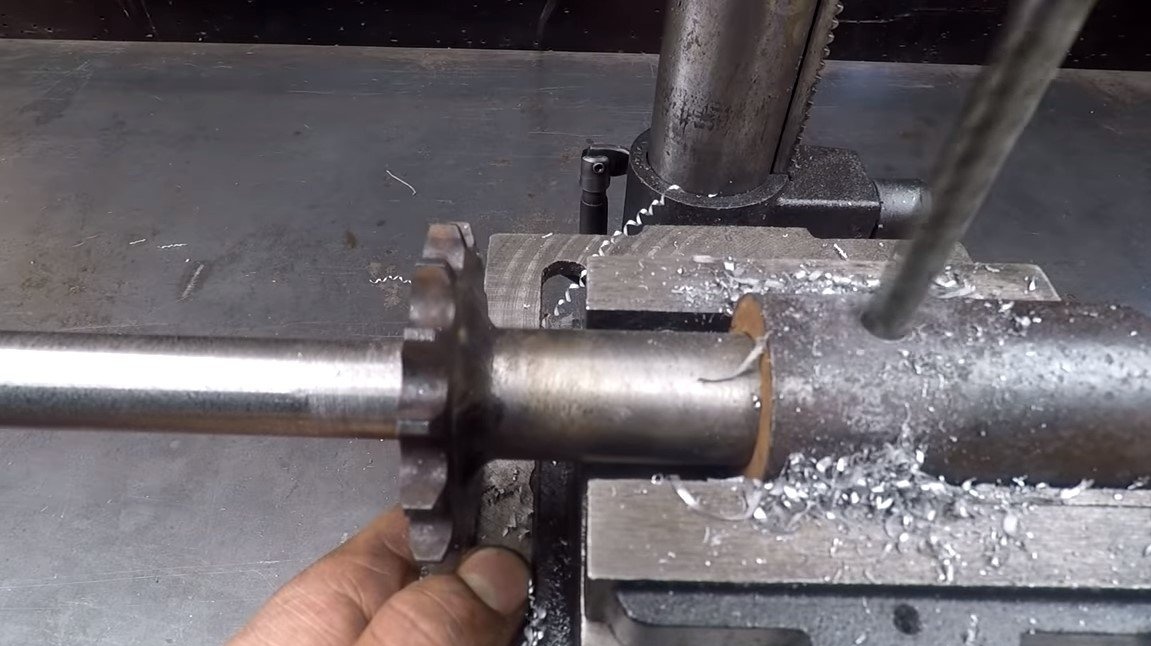
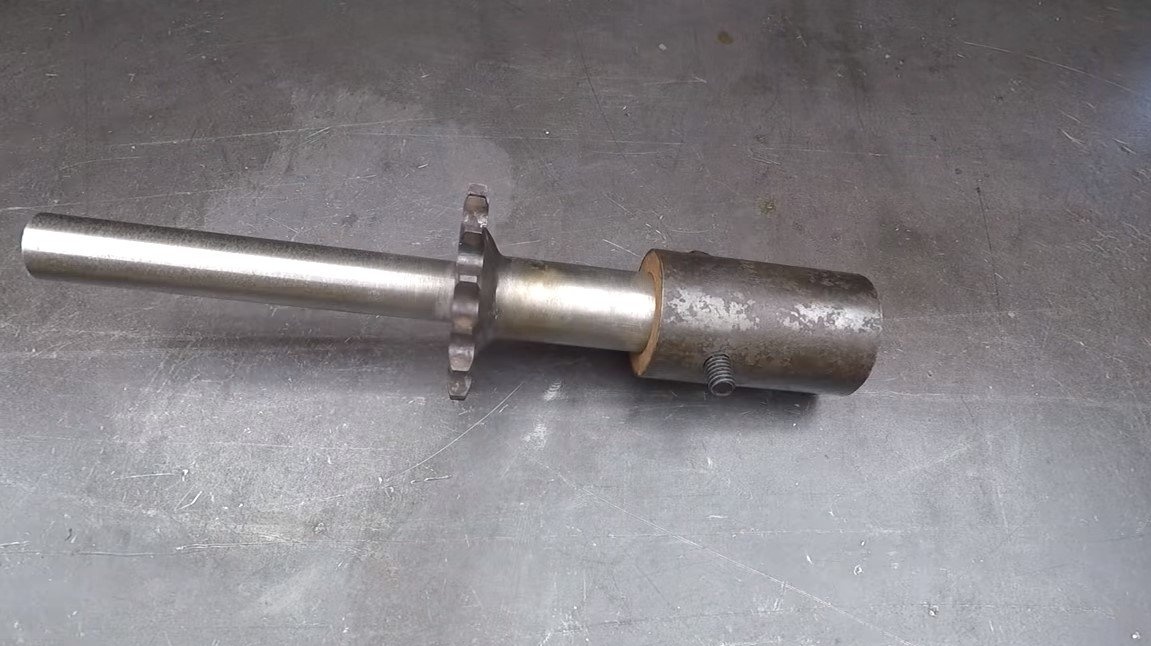
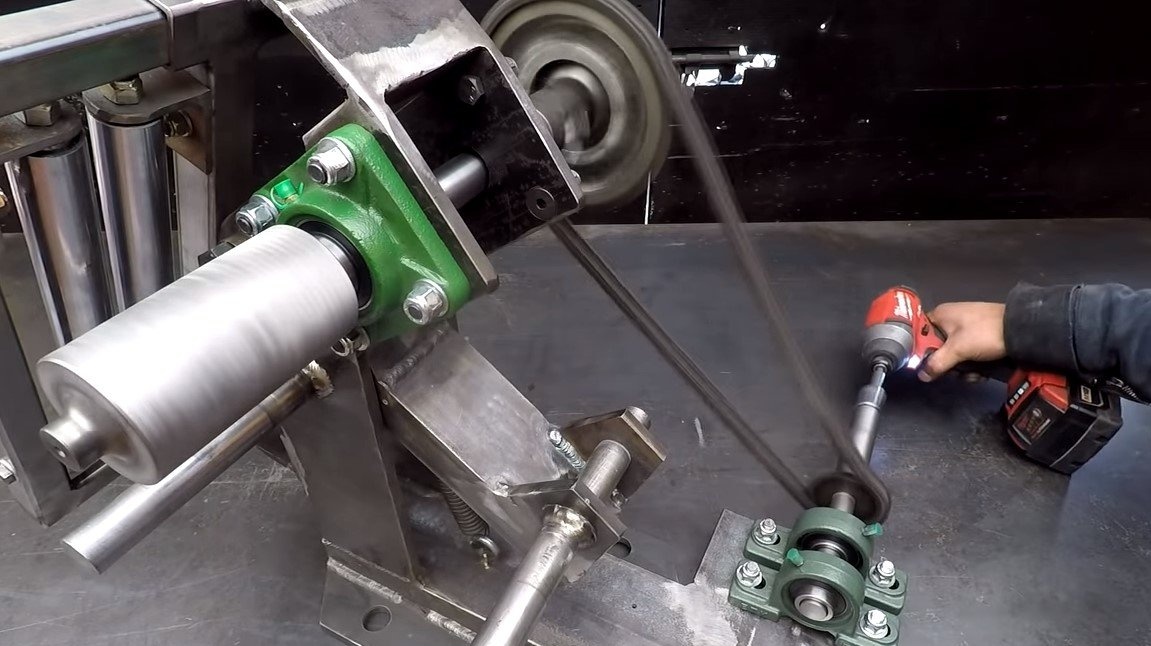
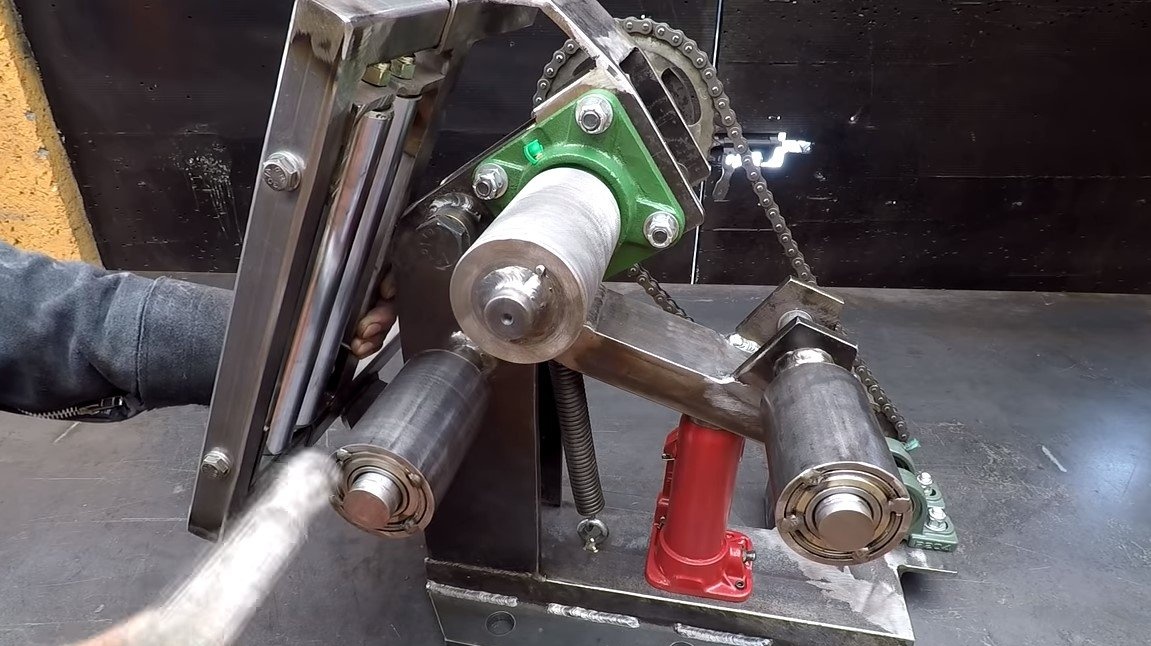
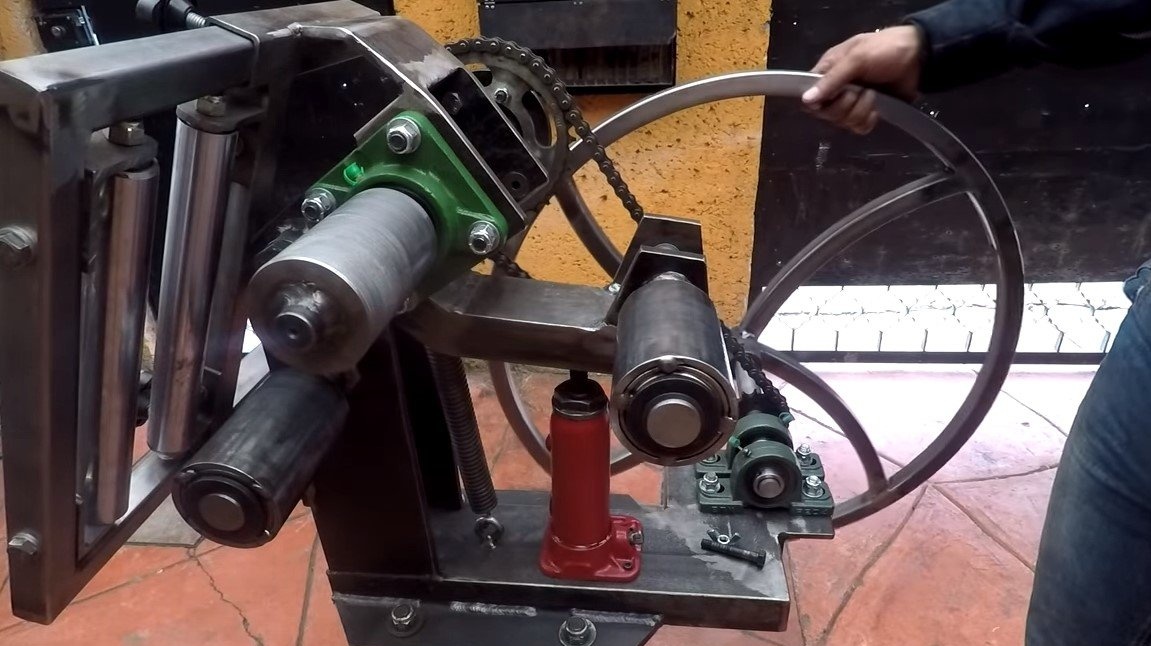
The drive roller can be machined on a lathe, as well as the working axis. A hole is drilled through the center of the roller and an axis is inserted tightly, which is then welded. The axis rotates on two bearings, the housings of which are screwed to the rack.
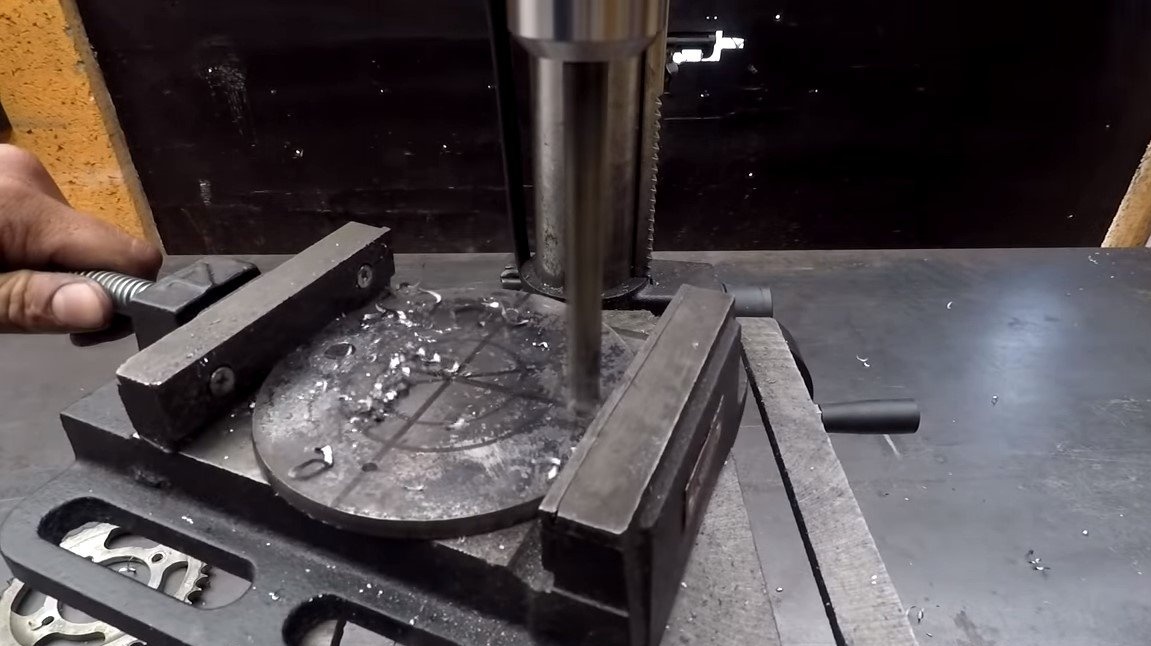
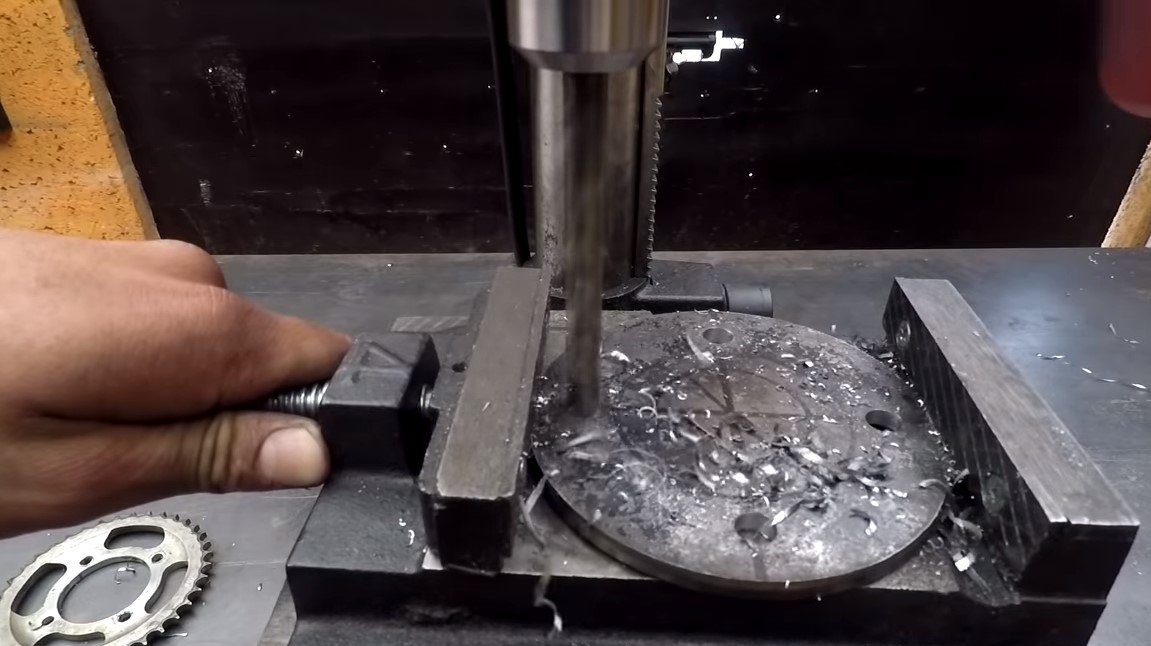
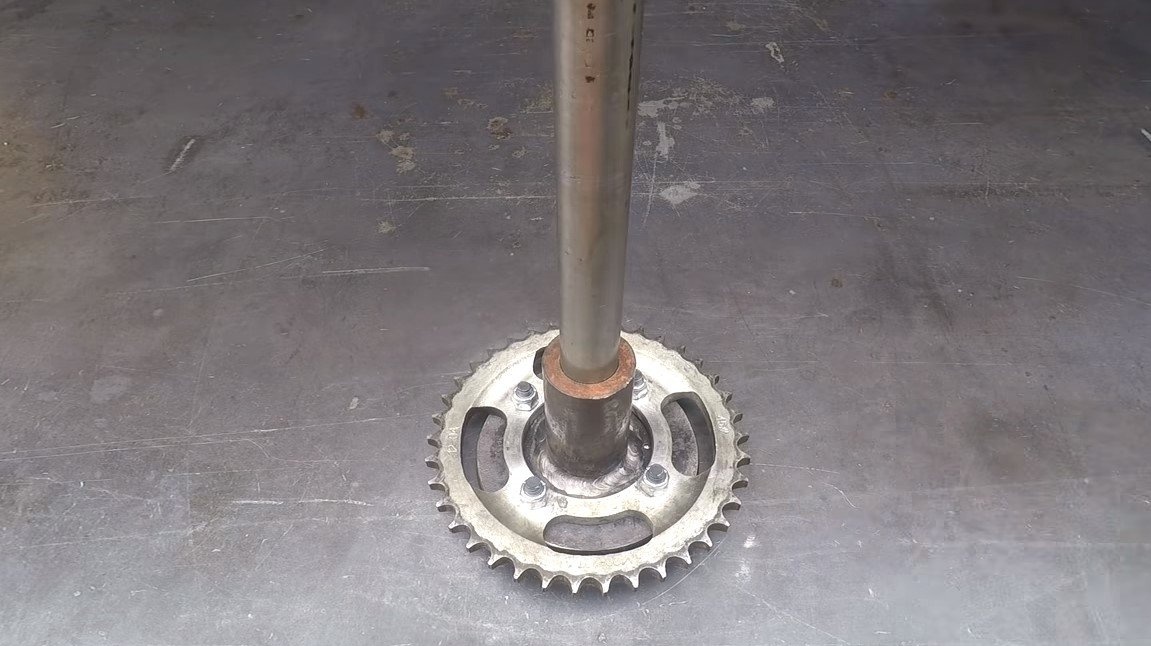
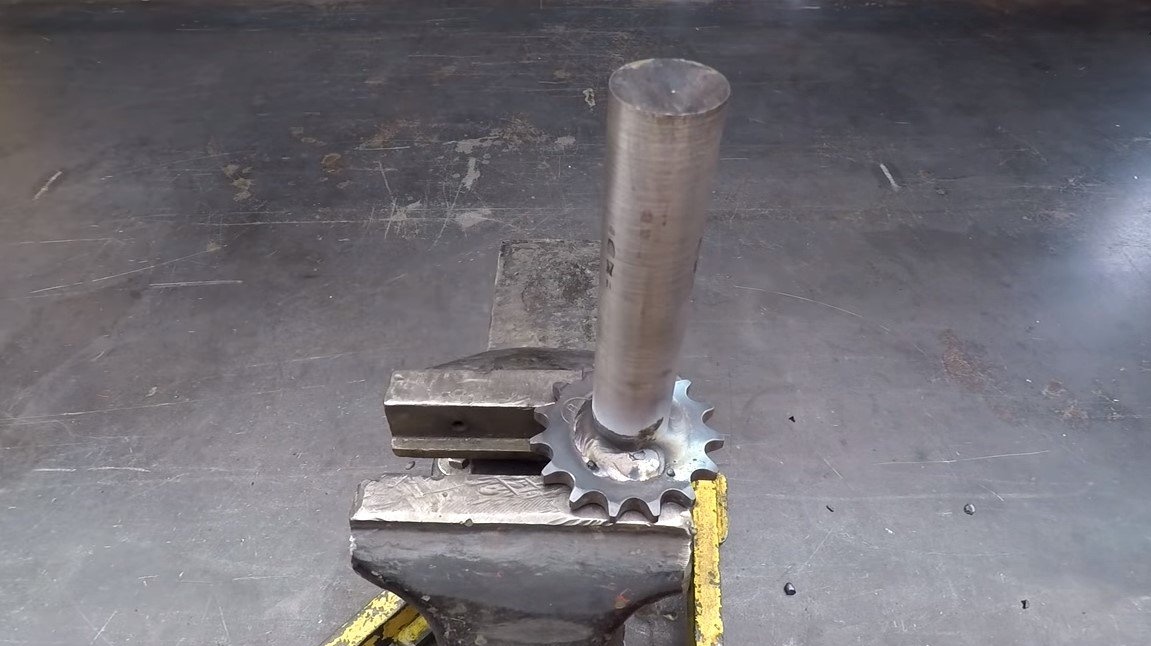
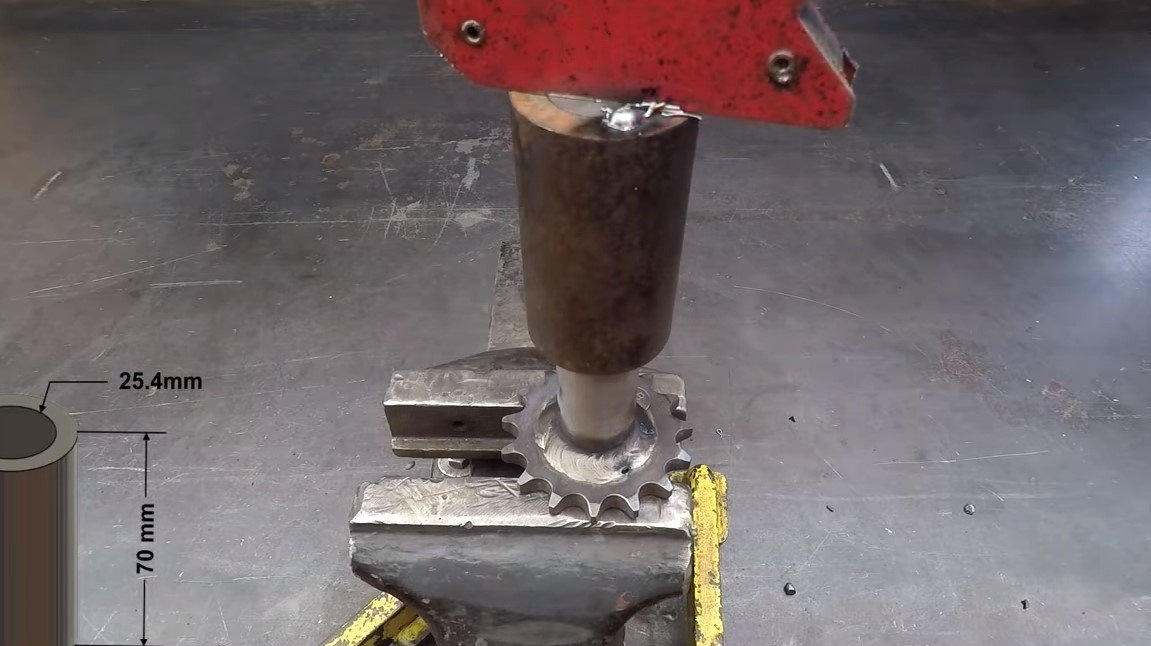
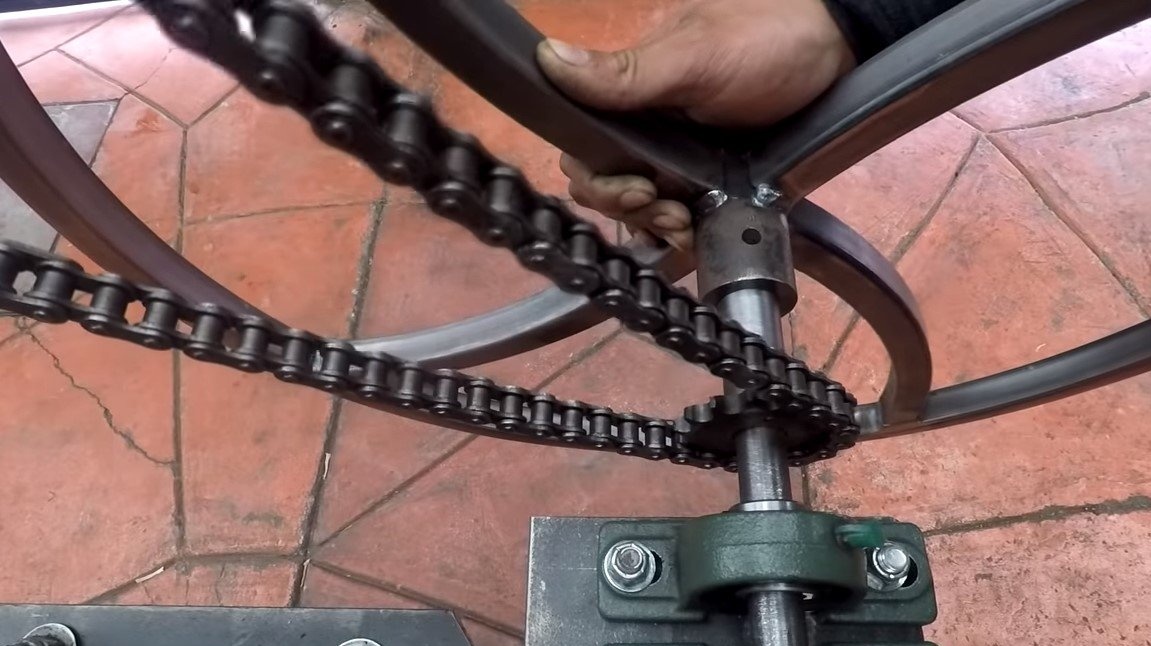
On the axis you need to install a motorcycle sprocket; for this, the author cut a circle from thick sheet steel, in the center of which a piece of pipe was welded, it is put on the axis. Well, then we weld the motorcycle sprocket to the manufactured fasteners, well, or screw it with bolts and nuts, this is useful when replacing.


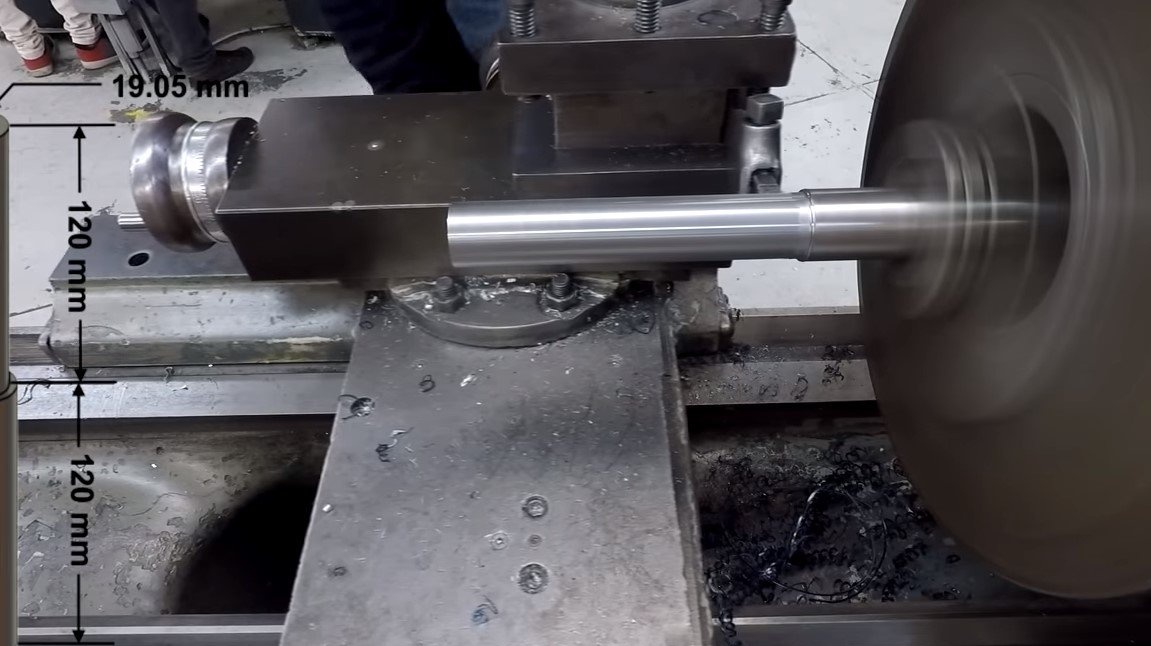
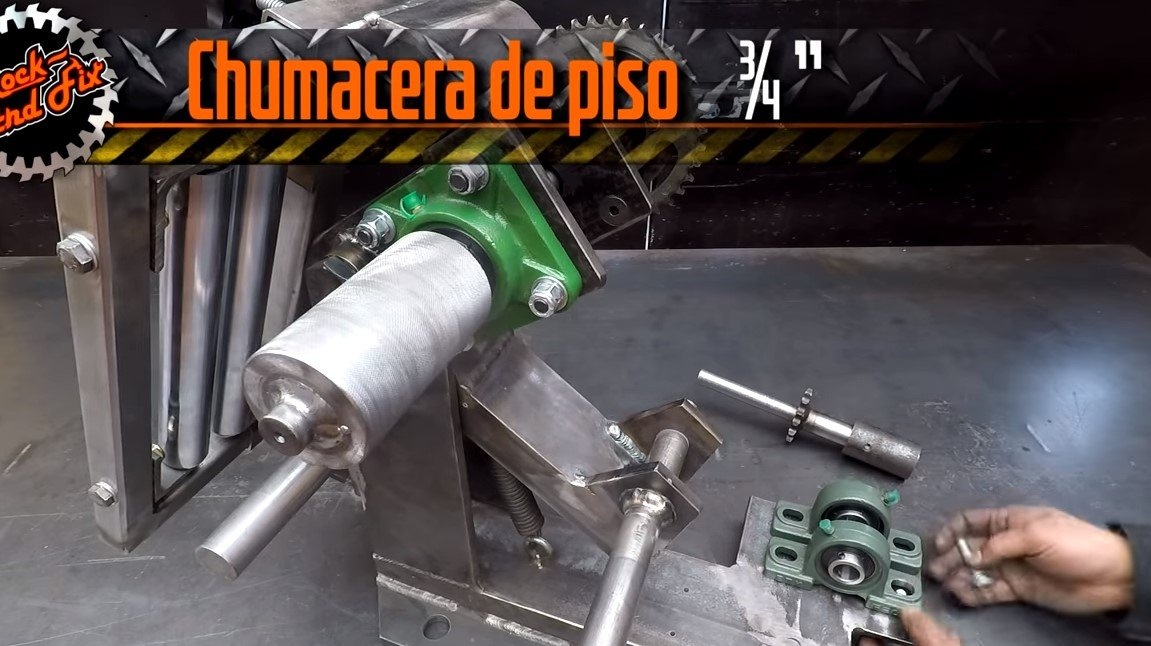
Step Five Drive axle
We grind the drive axle on a lathe and also weld a small asterisk to it from the motorcycle, set the axle in its place and you can put the chain. To demonstrate the operation of the unit, the author rotates it with a screwdriver.
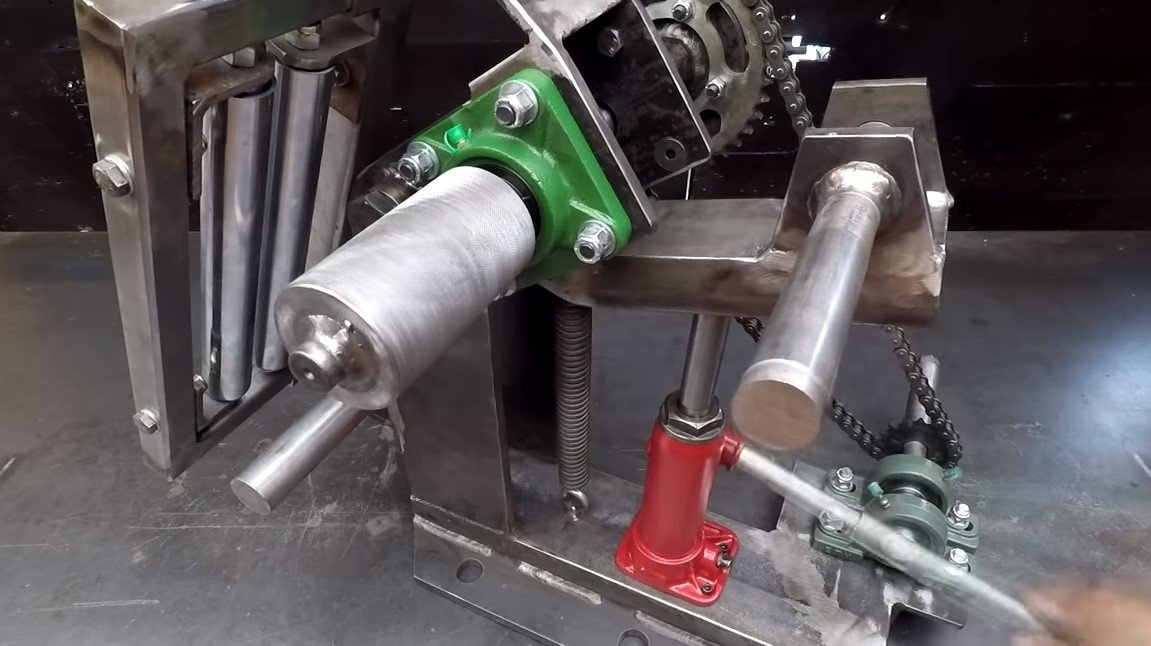
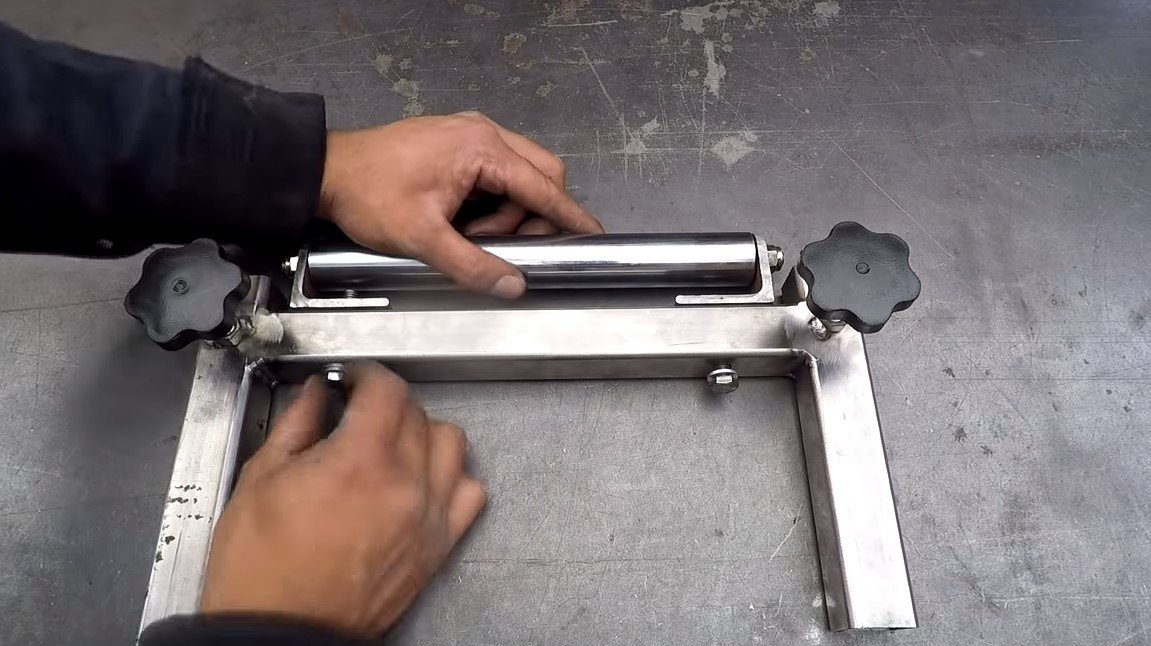
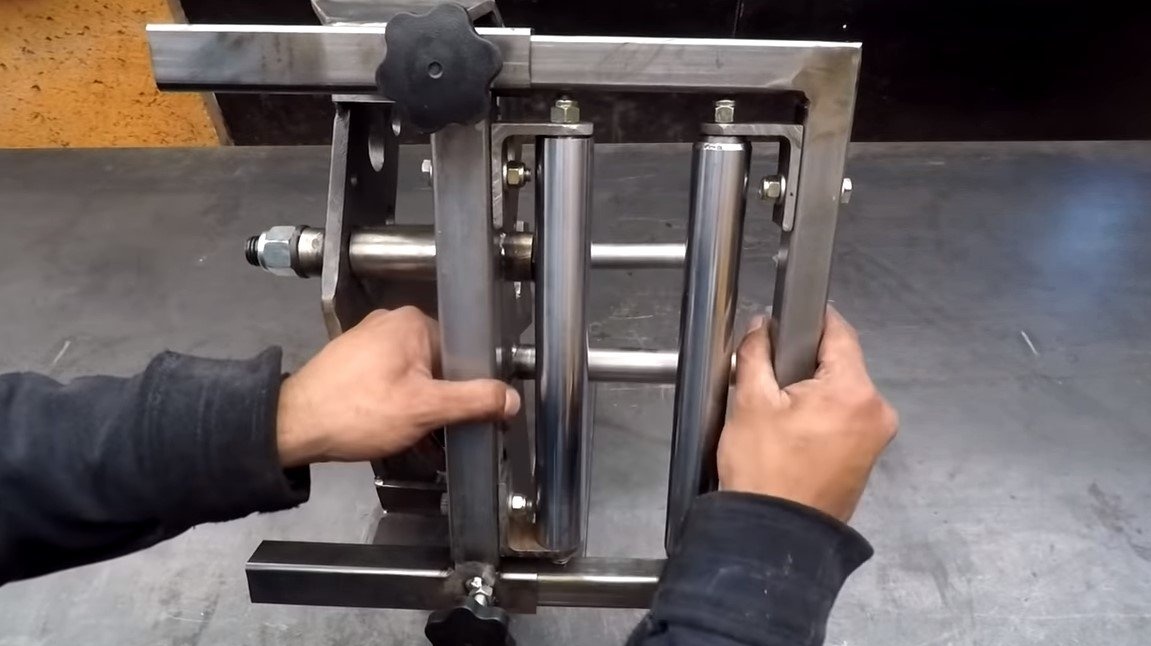
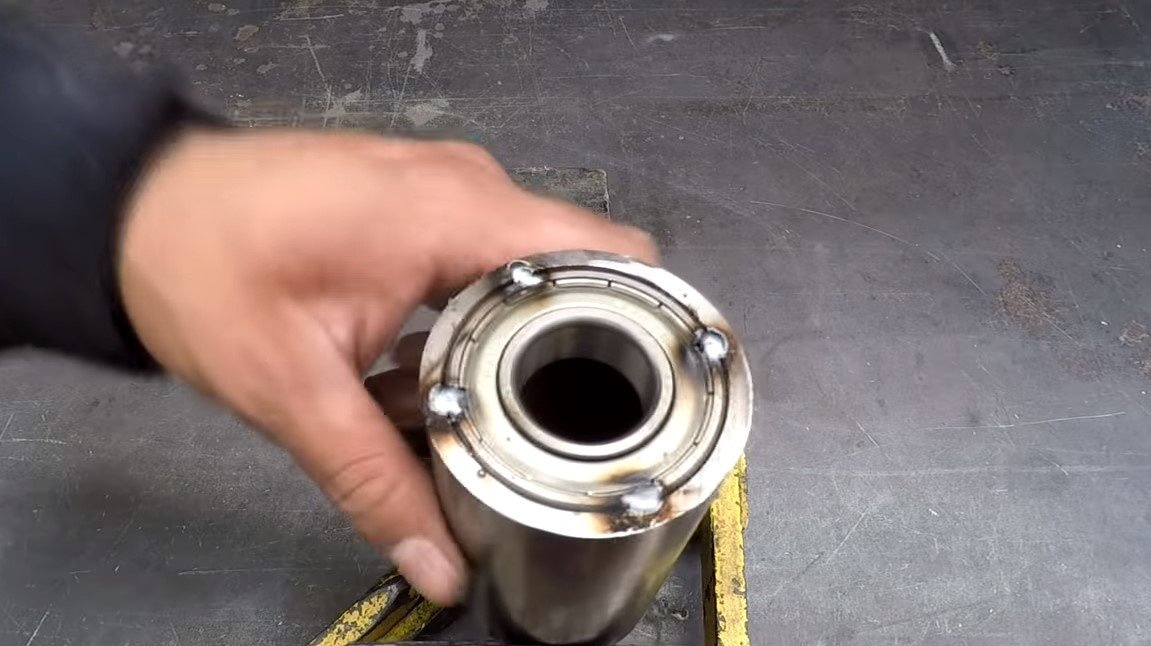
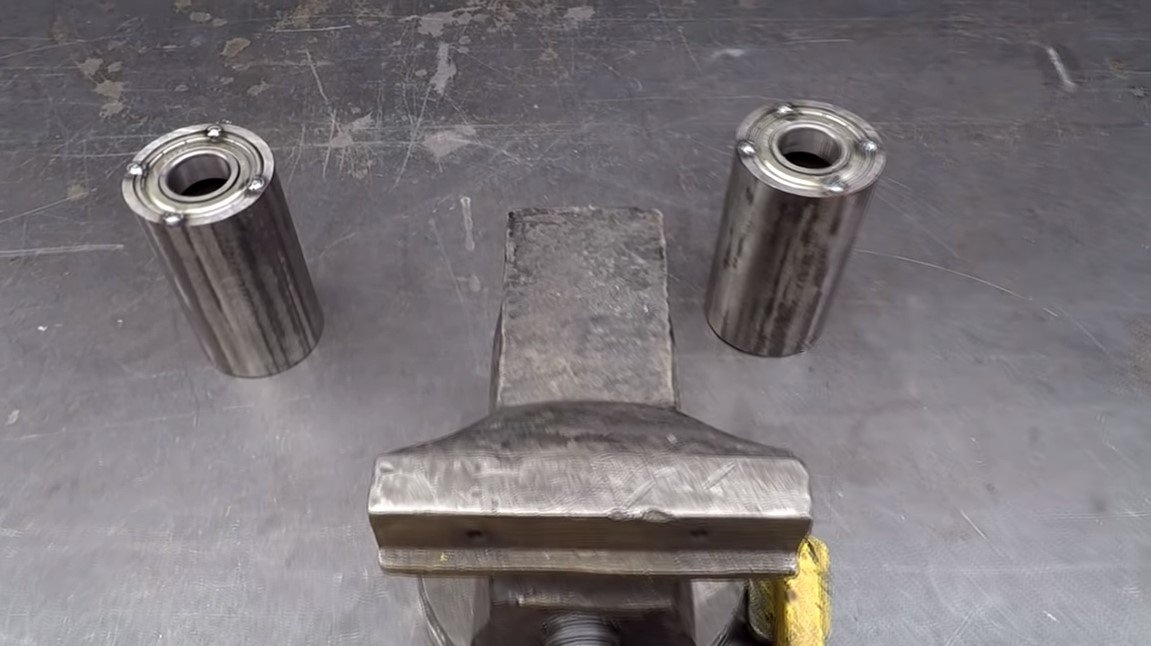
Step Six Production and installation of driven rollers
We make driven rollers from a steel pipe with a thick wall, we press bearings into the pipes. To fix the bearings a little, the author grabbed them with welding. Put the resulting rollers on the axis.
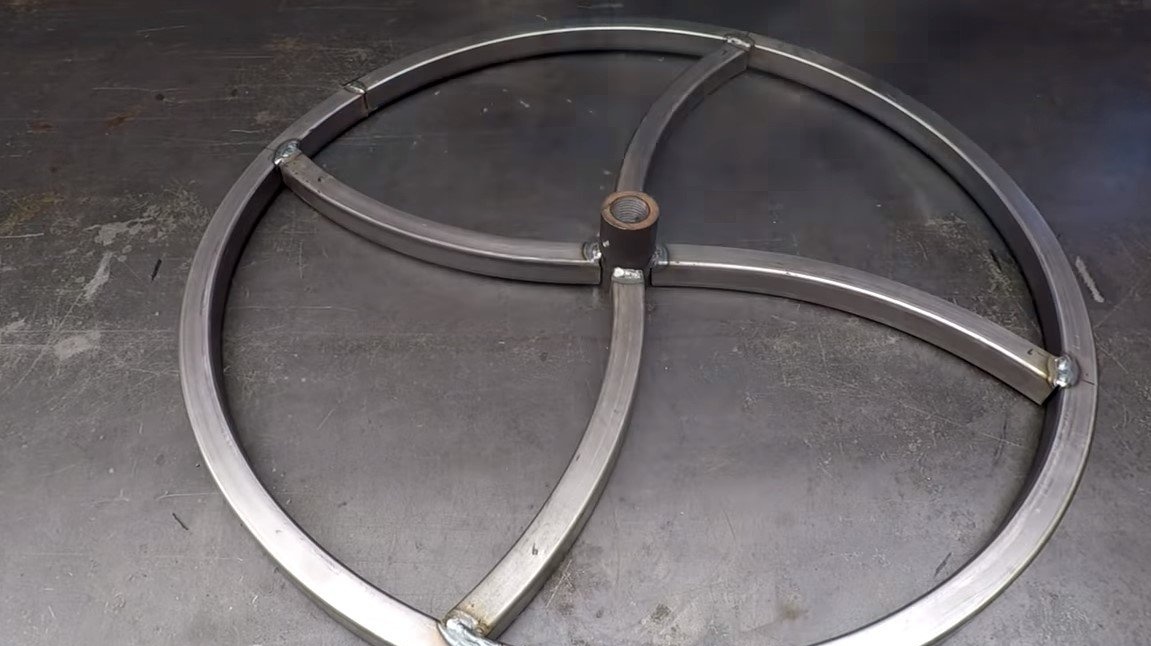
Seventh step. Steering wheel and painting
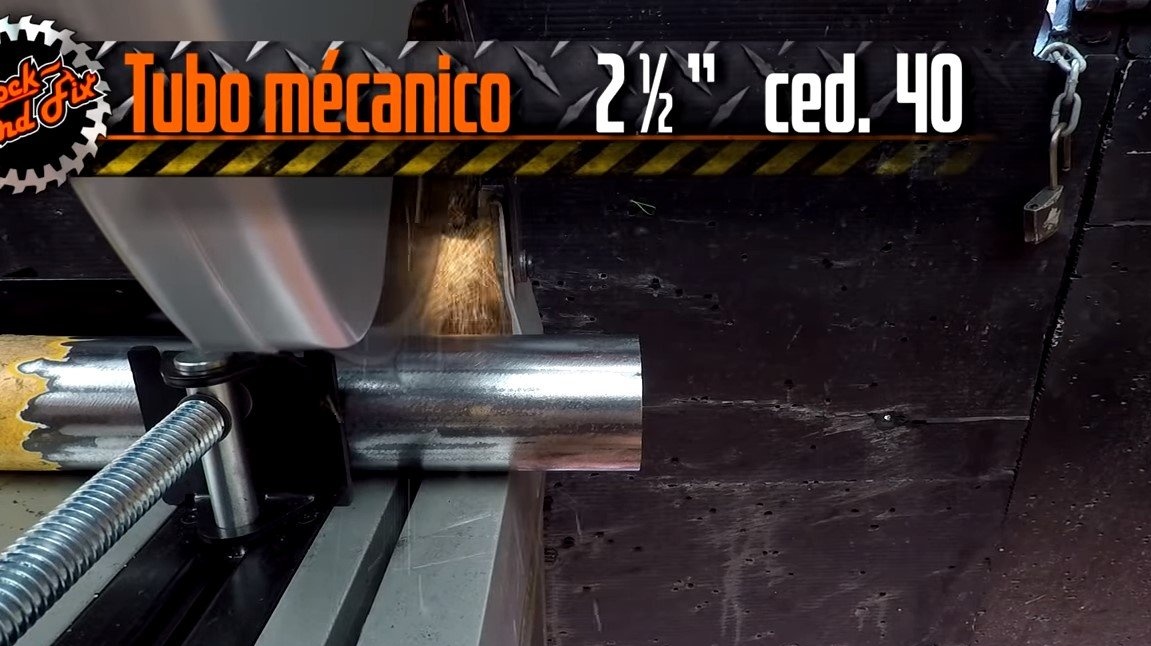
The machine is ready, it remains to do for him and the steering wheel is already on it. We bend the profile pipe and weld the wheel. Set the wheel in its place, now the machine is ready, you can use it!

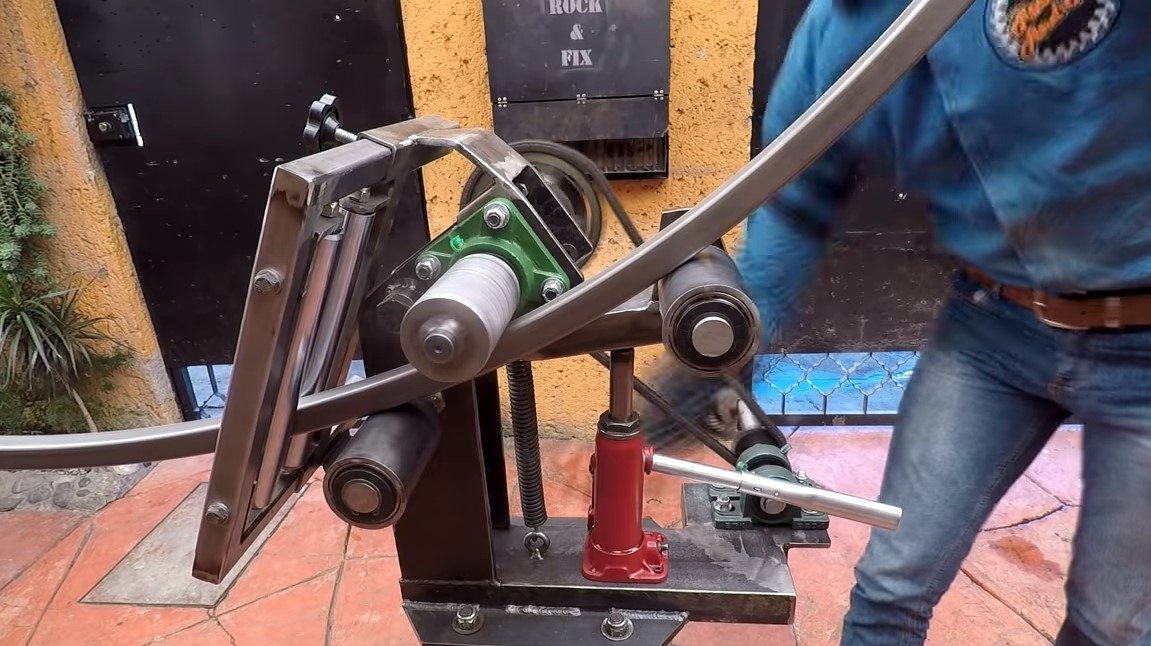

We paint the machine so that it does not rust, now it looks great, it will be a pleasure to work with it. The homemade work perfectly, on the machine you can easily make circles, everything works accurately and without fail.
The project is completed on this, I hope you liked the homemade work, and you found useful thoughts for yourself. Good luck and creative inspiration, if you decide to repeat this, do not forget to share your ideas and homemade things with us!