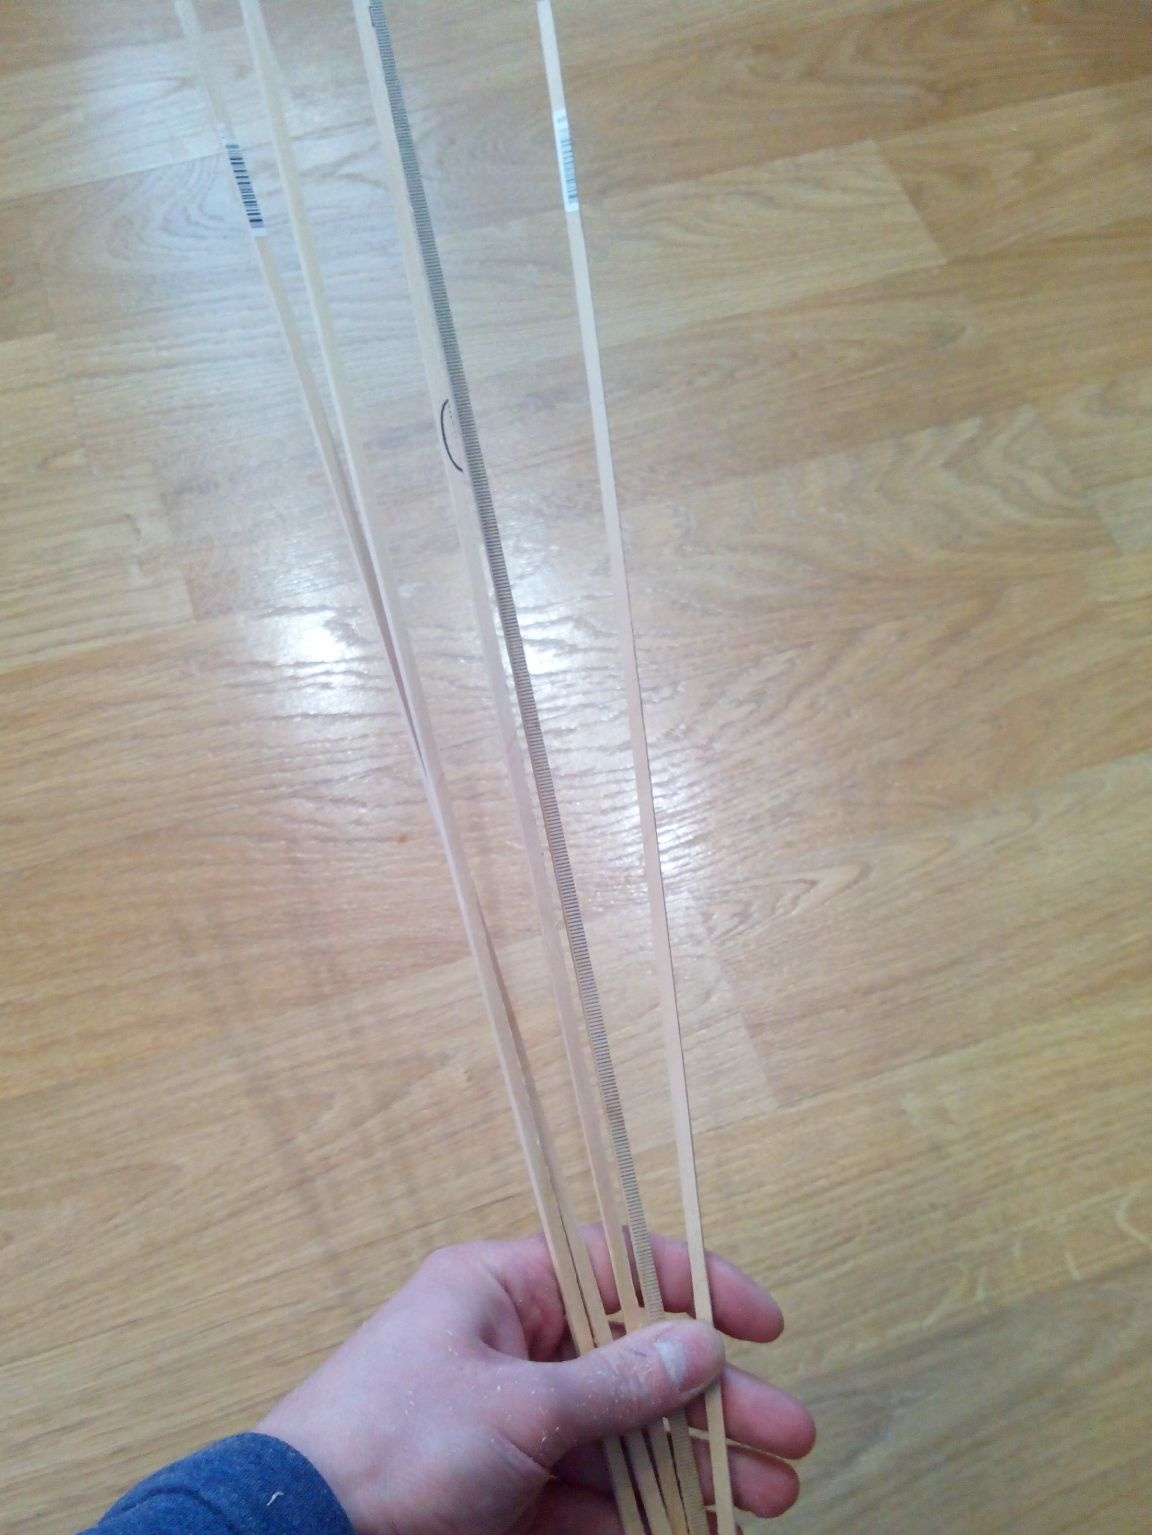
After the need arose to saw a sufficiently large number of wooden rulers into thin slats, I asked myself the question: how to facilitate this task?
The most suitable option is a mini-circular from improvised means with a minimum of costs.
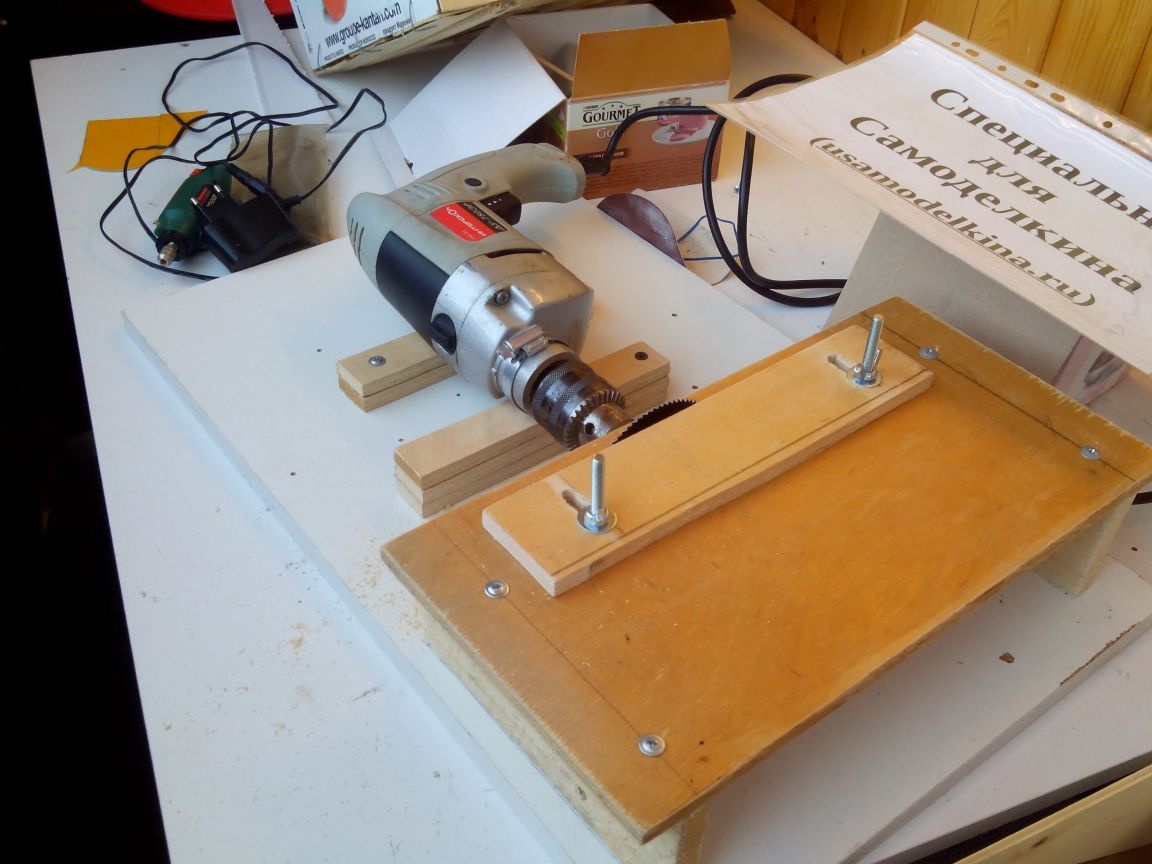
This article will tell and show how to build a small circular saw from a hand drill and several boards in one evening.
Initially, the idea arose of making such a machine from a dremel, and a saw blade from a piece of tin, but the power of the dremel is not enough even for the ruler, and the disk from tin bends.
Materials:
- A small sheet of chipboard
- Plywood (10 mm thick)
- Cutting boards of suitable width
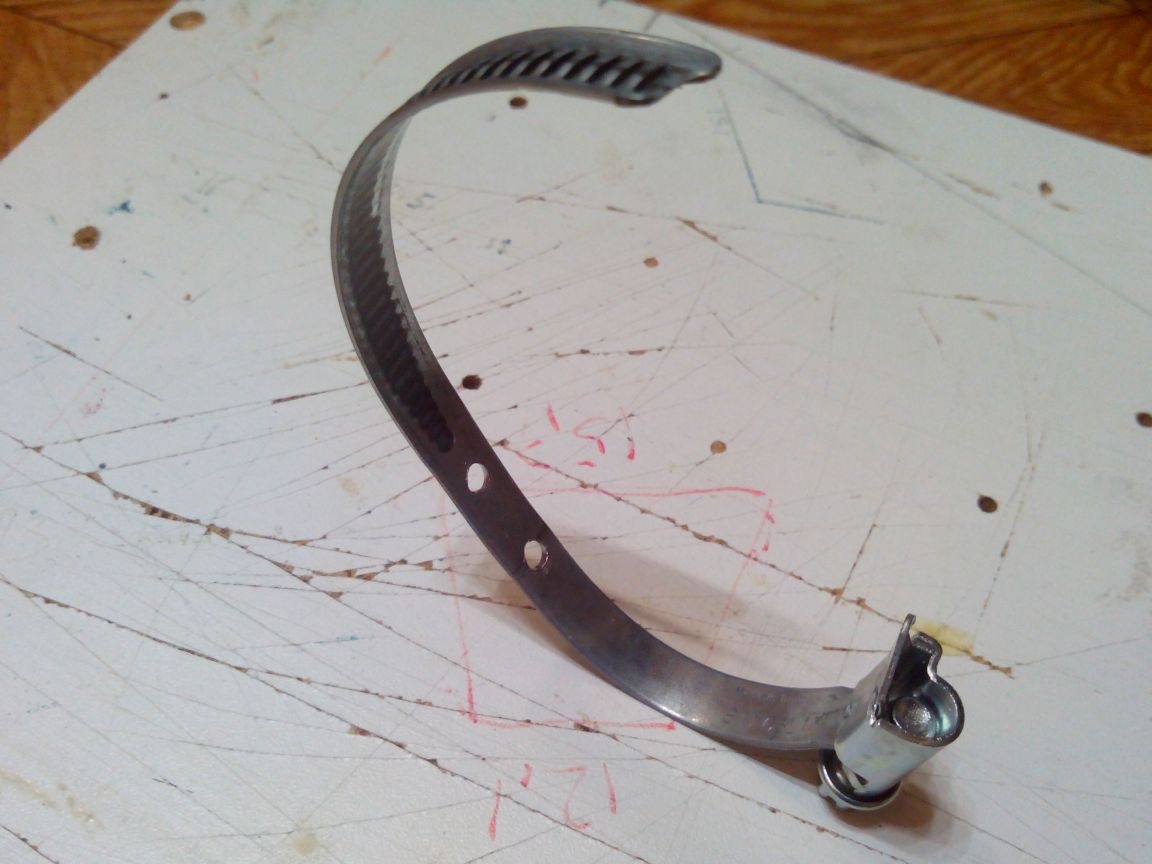
- Metal screed
- Self-tapping screws
- Bolts, nuts, washers, “thumbs”
Instruments:
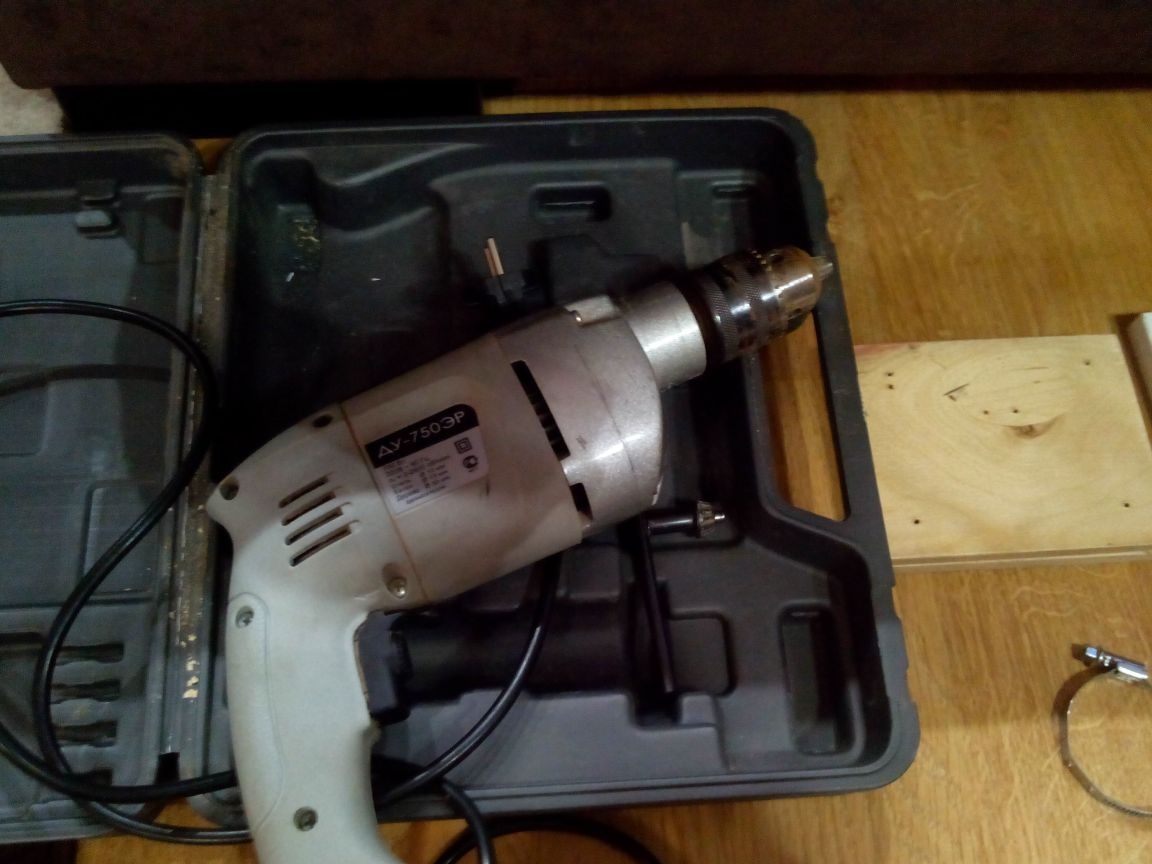
- Drill (she is the basis of the machine)
- Saw blade (for plastic and metal)
- Screwdriver
- Drill
- Pliers
- pencil
- Square
- Jigsaw
Step 1. Preparation of materials
We estimate the size of a hand drill.
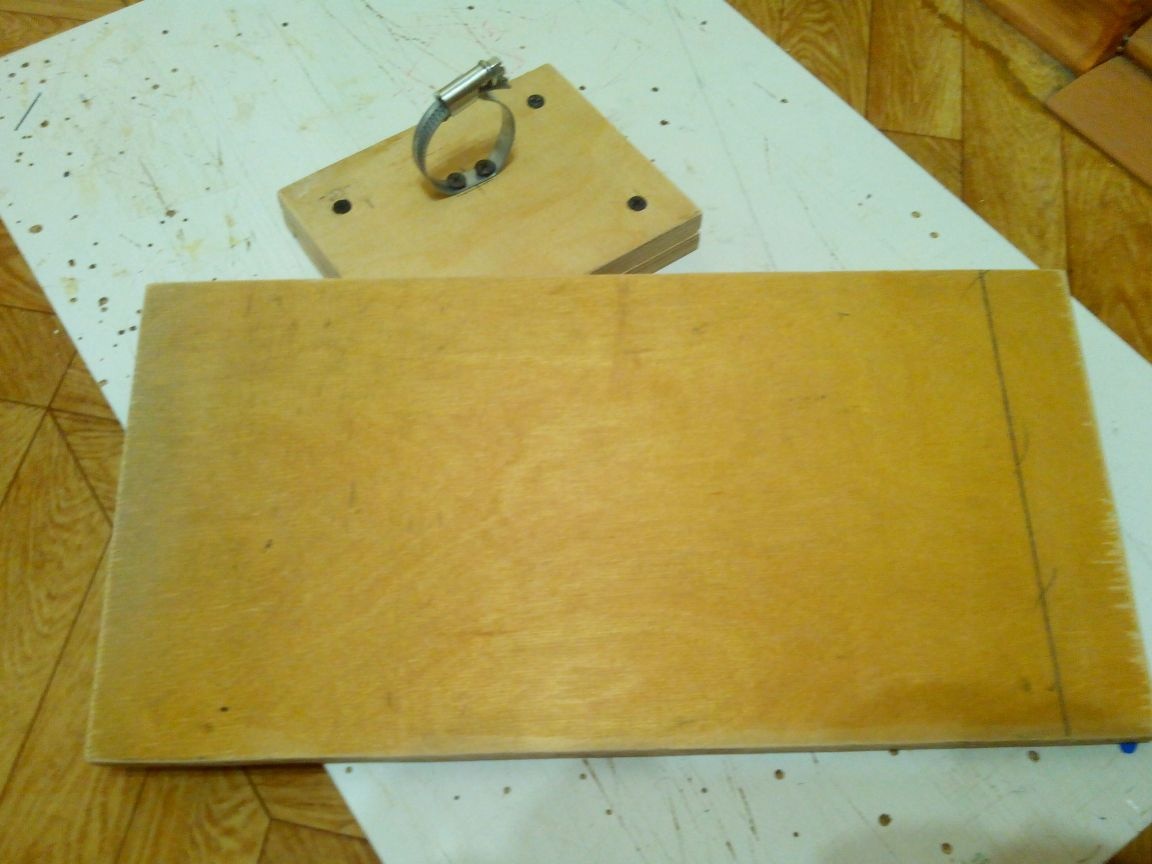
We take a suitable sheet of particleboard (or thick plywood) - this will be the basis of our machine. I didn’t really pick it up - I found a shelf that was ideally suited for the size of a cabinet.
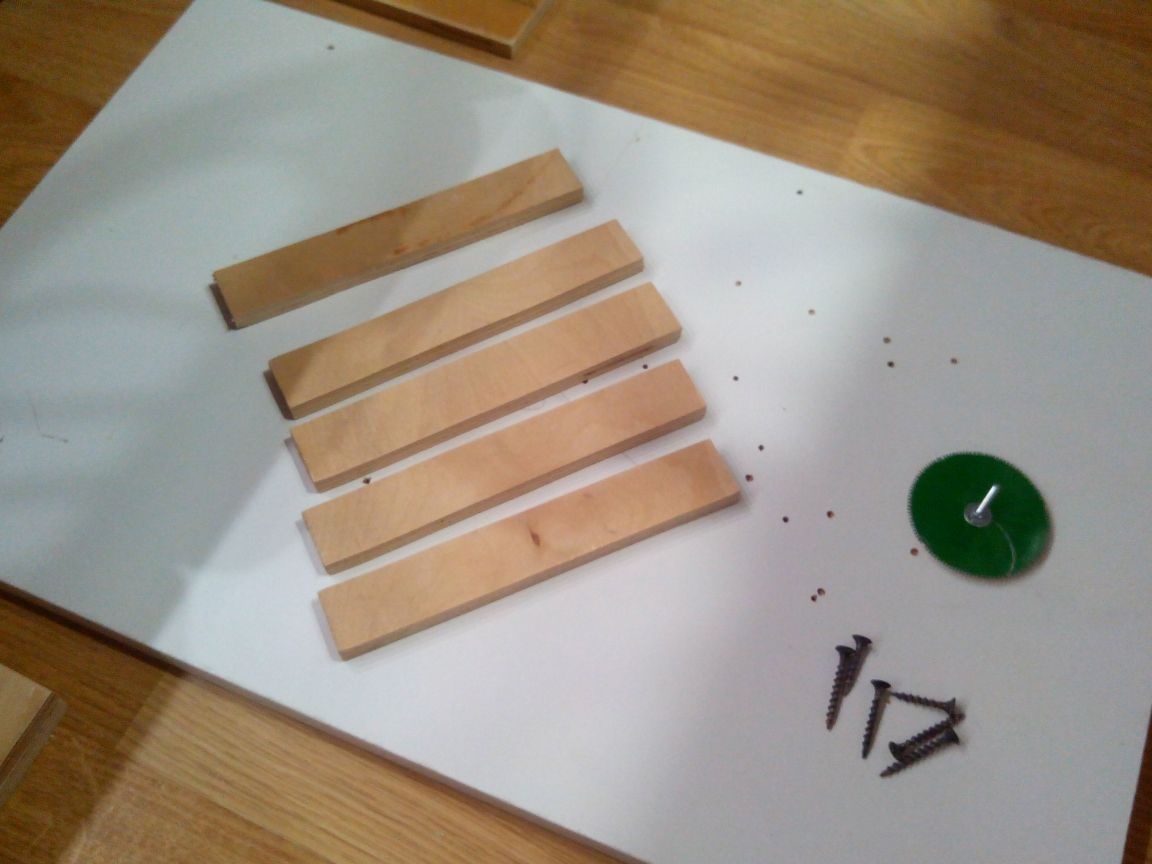
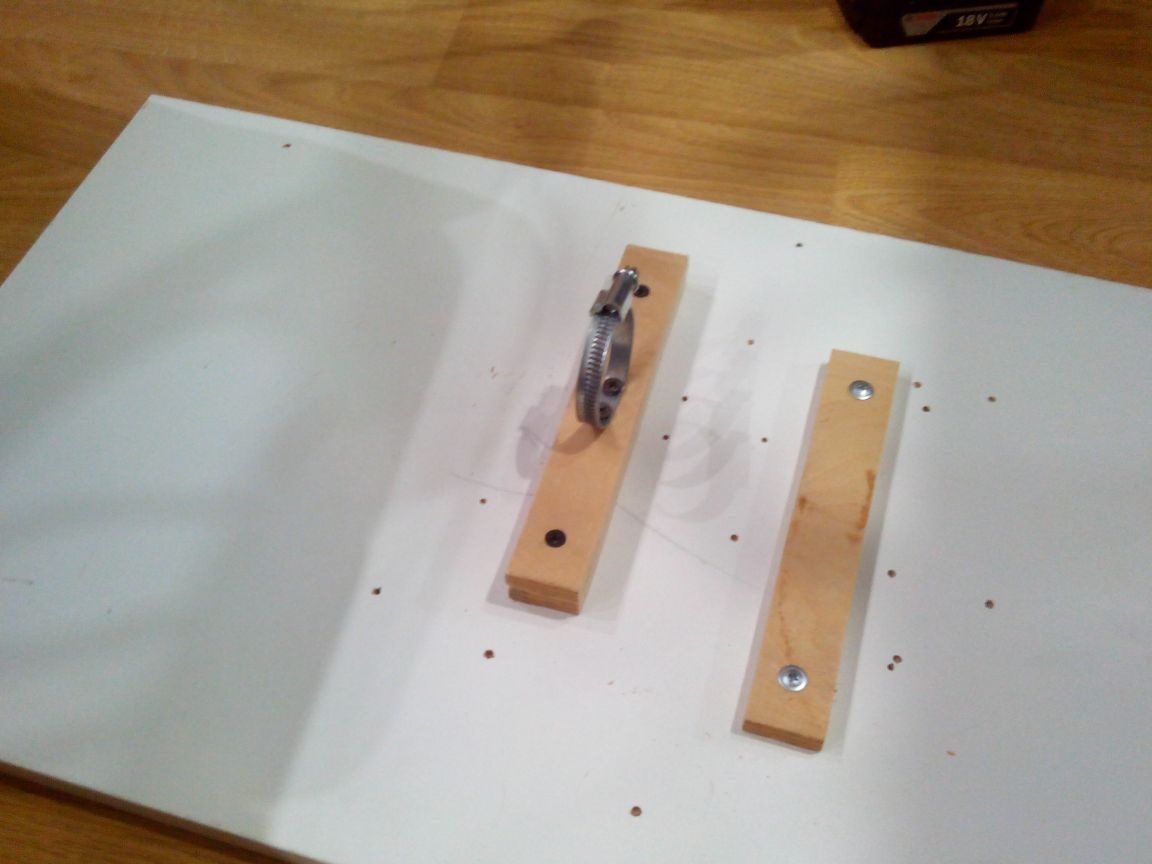
We cut small strips from plywood. They can be replaced with wooden blocks of the right size, but were not at hand.
In the screed we drill two holes (one will spin!)
We cut out a plywood table from plywood.
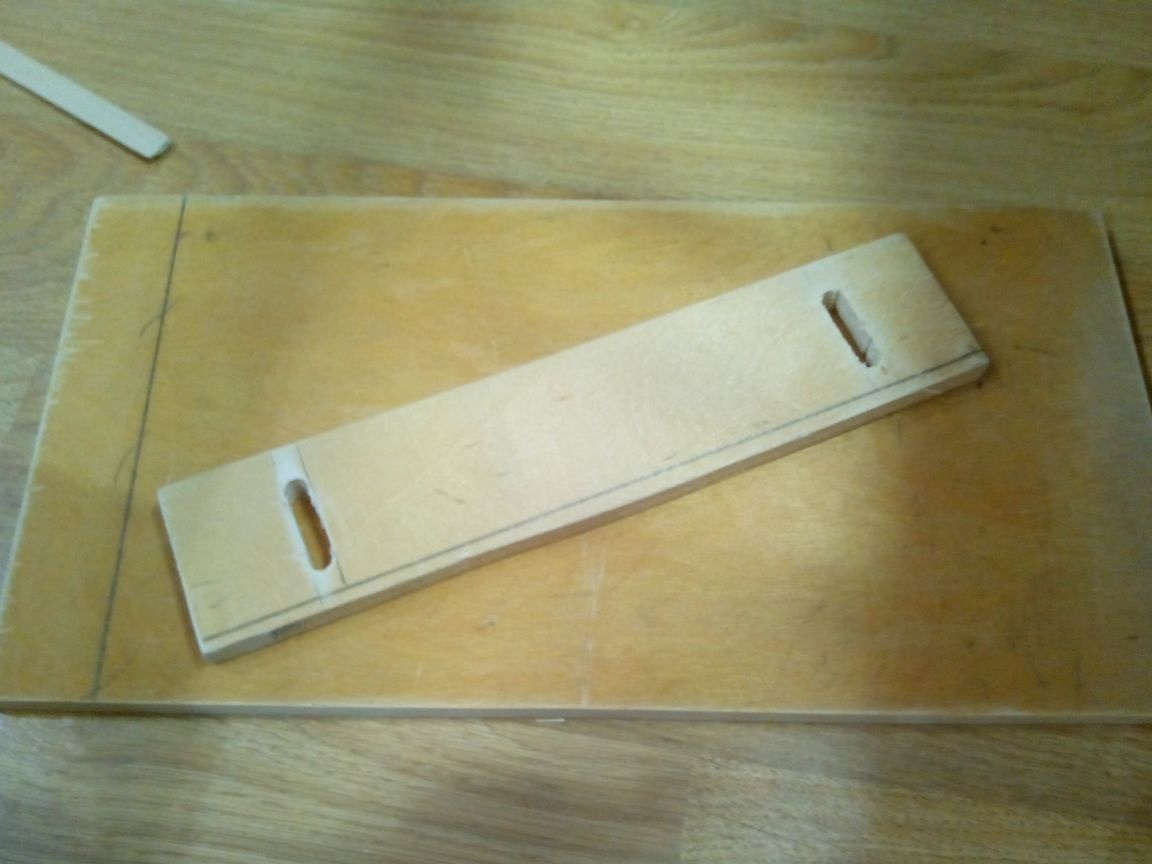
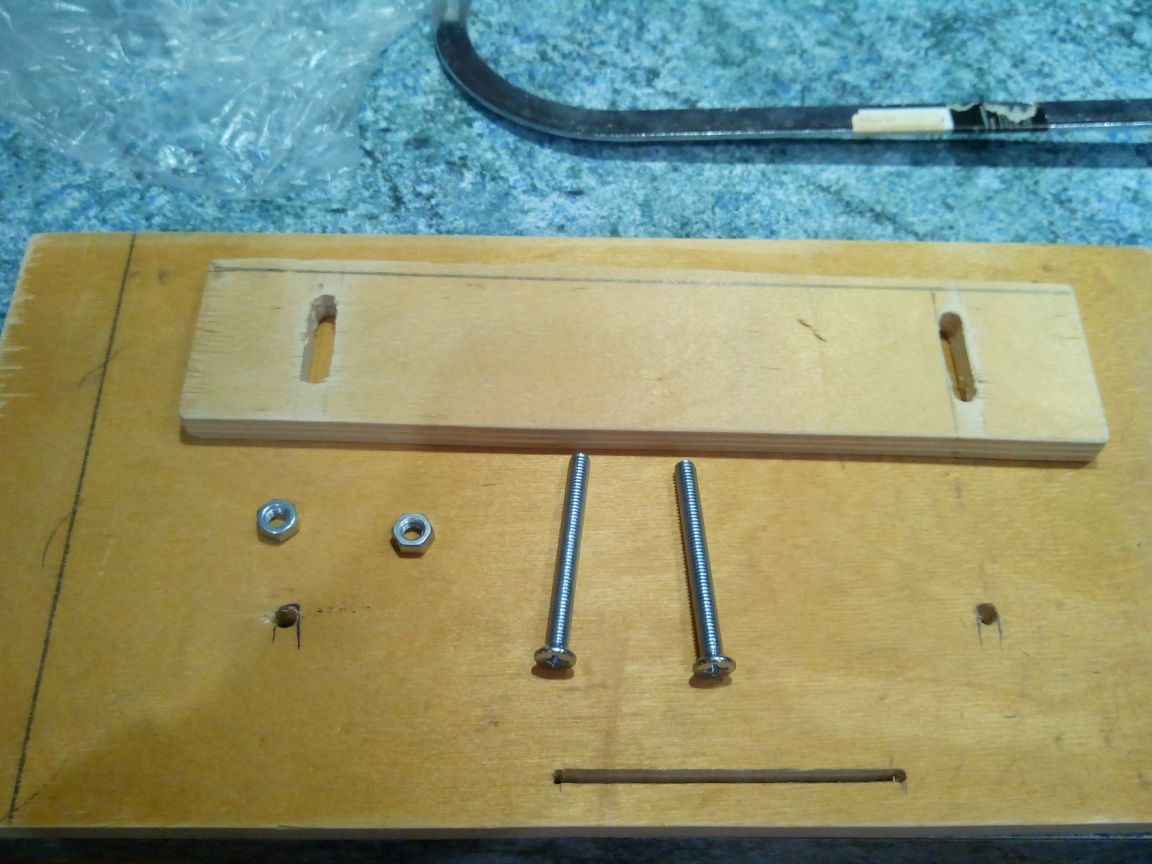
From the same plywood, we cut out the guide and saw through it with a jigsaw through grooves for the fixing bolts.

We process both parts with sandpaper so that there are no bumps and potential splinters.
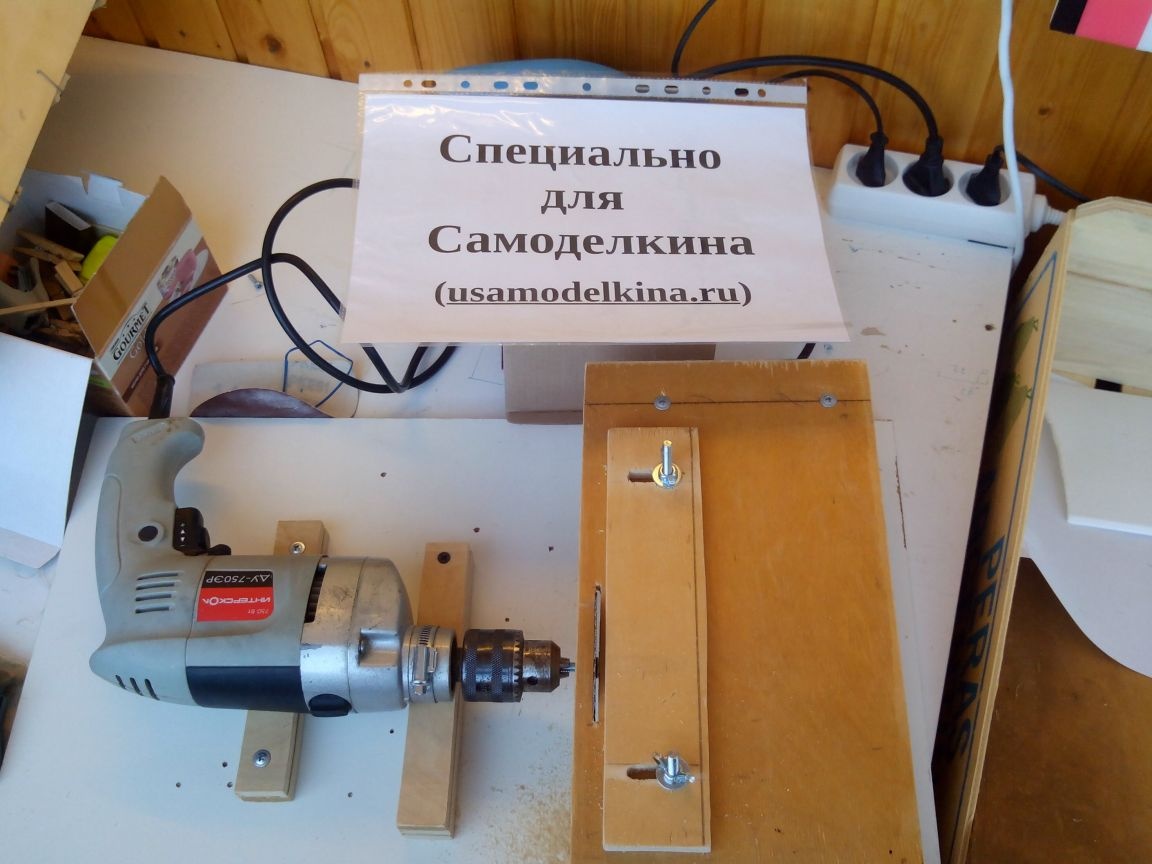
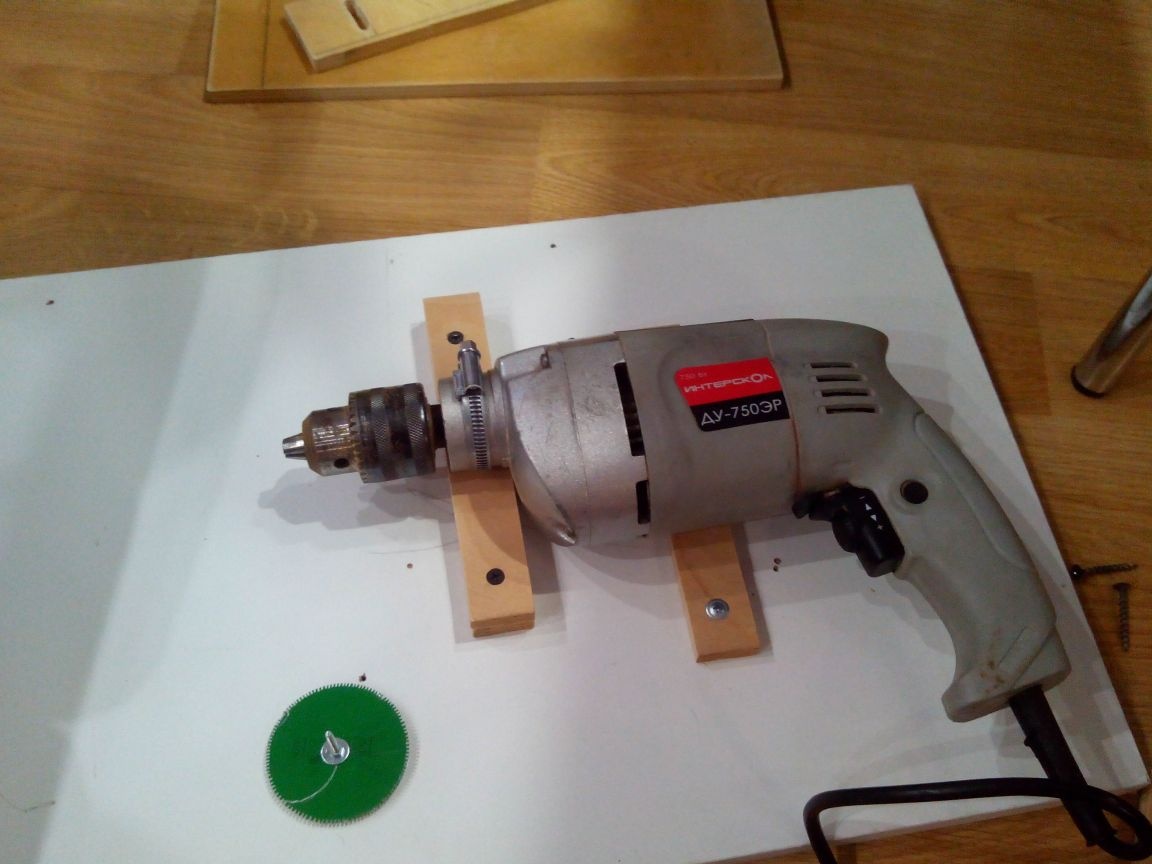
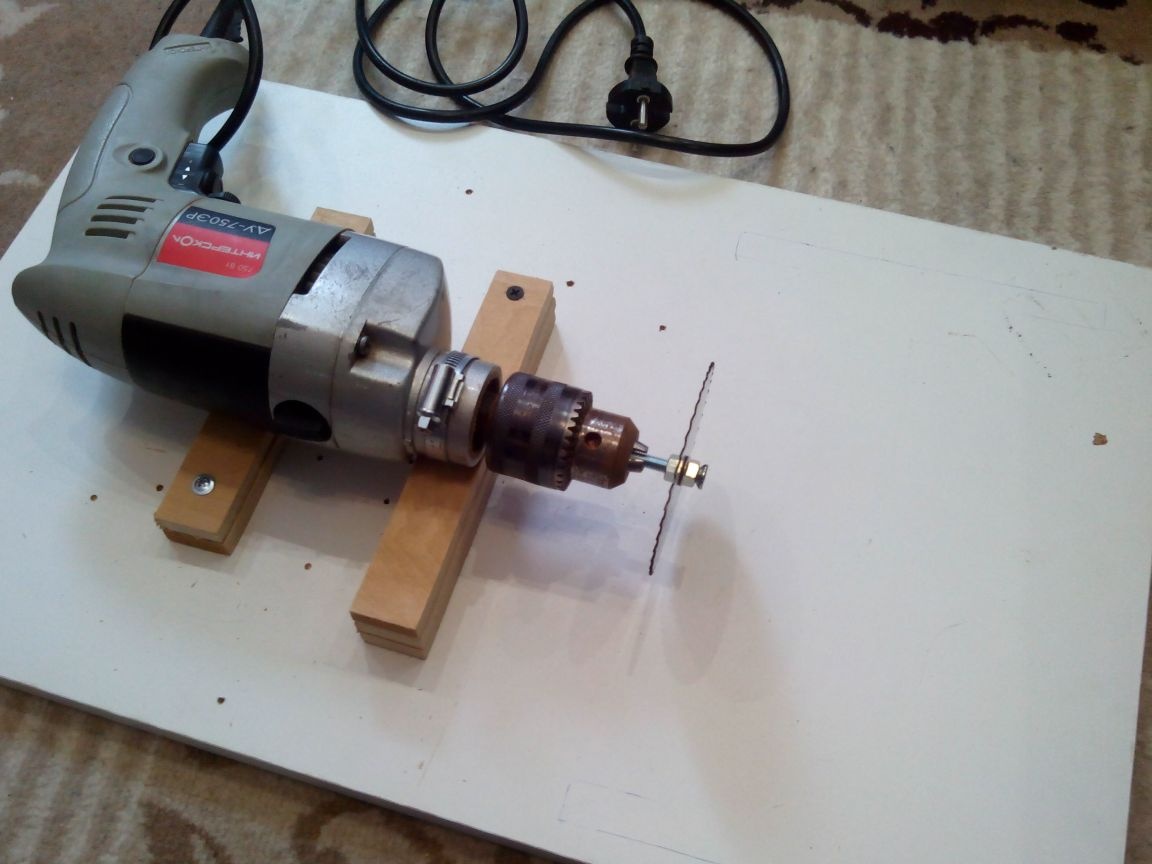
Step 2. Securing the drill
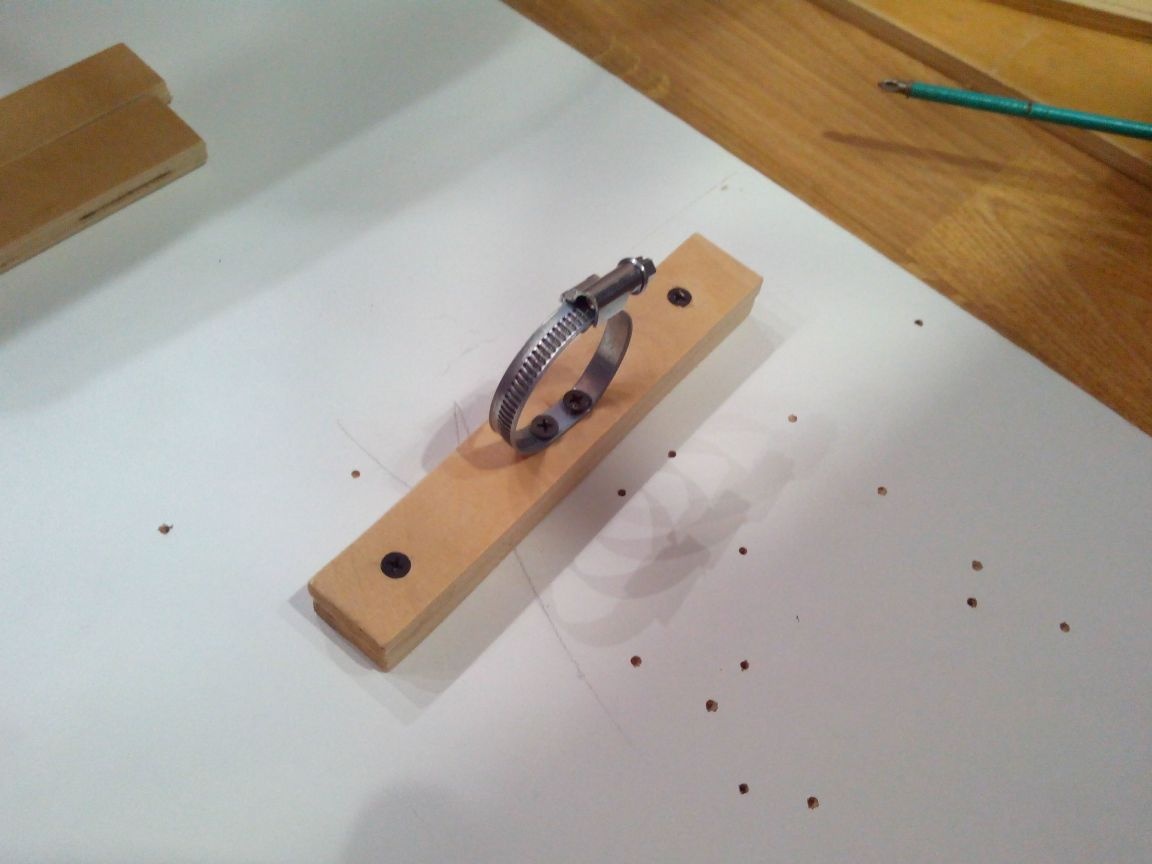
We fix the metal screed that will hold the drill, with self-tapping screws on an elevation from strips of plywood (or bar) so that the saw blade does not touch the base of the machine.
Under the motor (or the handle, individually here) we put another one or two strips of plywood and fasten it with screws.
If all further manipulations are done with a screwdriver, then the drill can be screwed to the base.
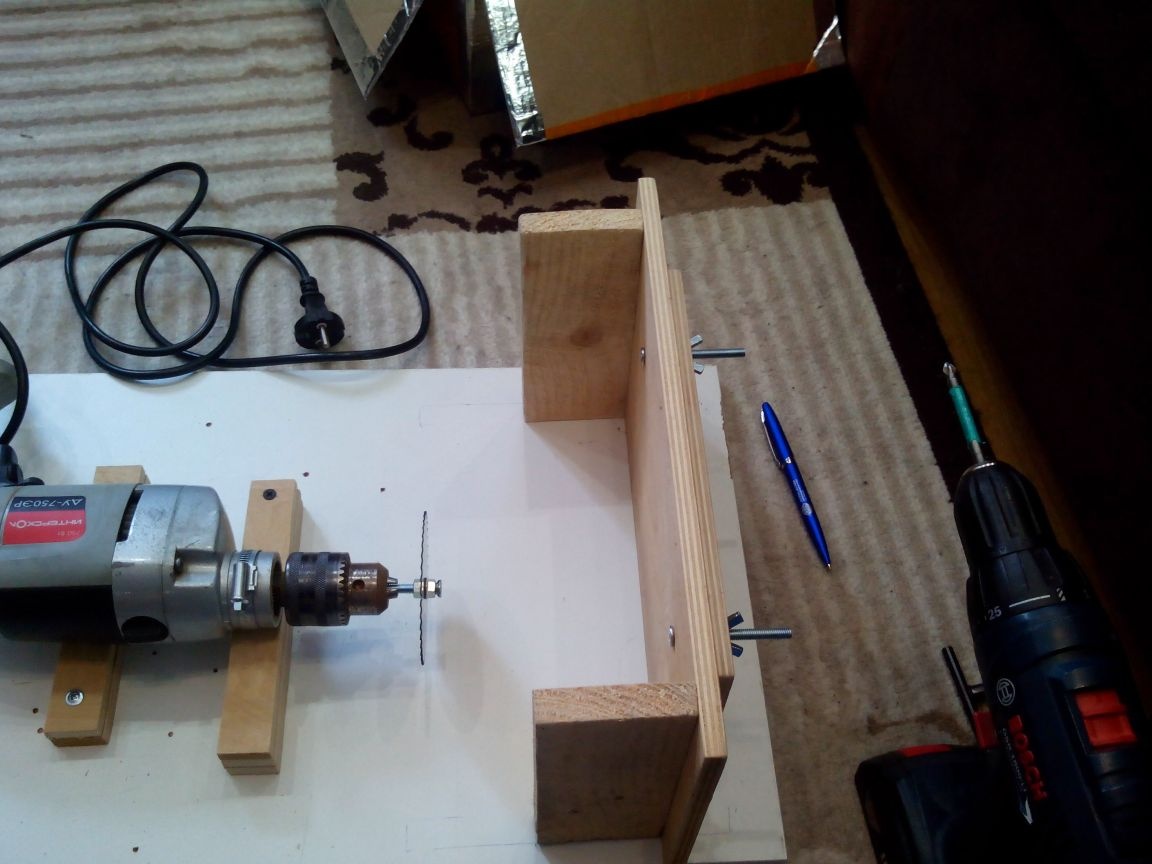
Step 3. Making a work table
The slot for the saw blade should be at such a distance from the edge that the table does not cover the drill chuck. In this case, it is about 1.5 cm.
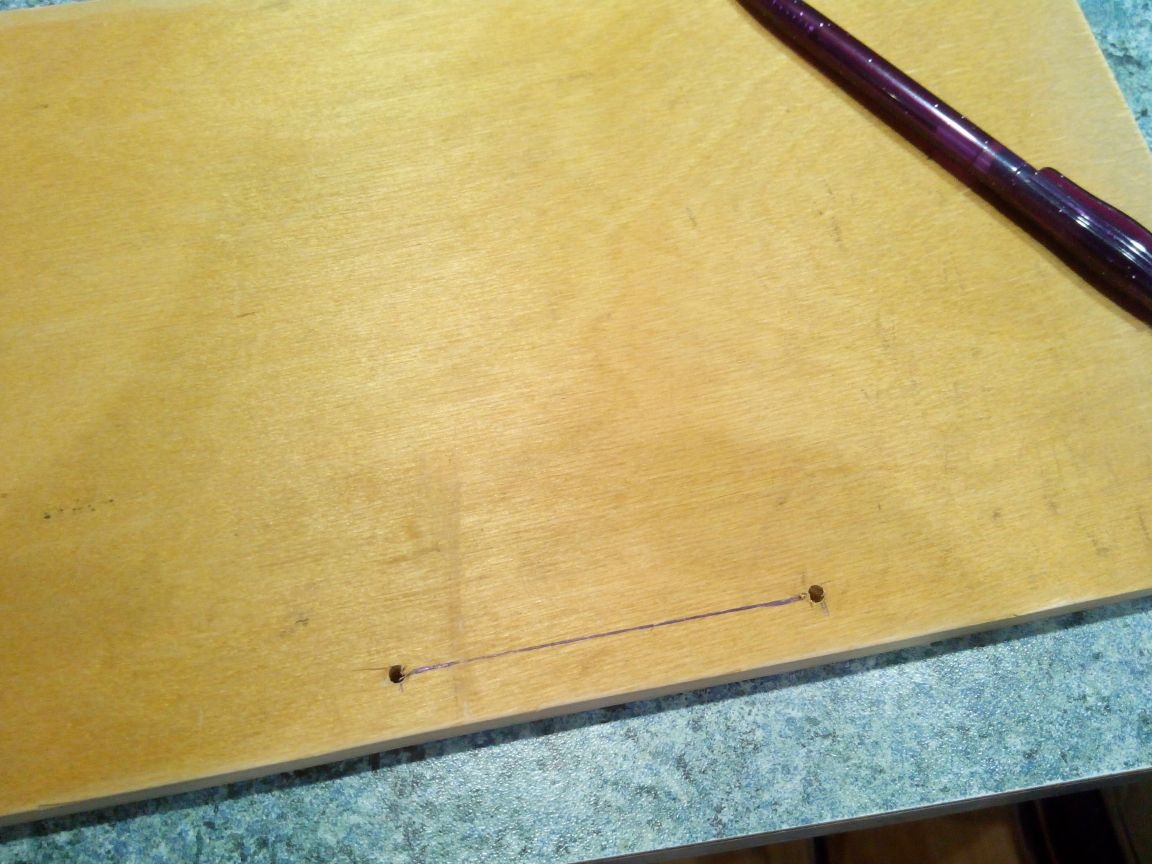
We drill holes at the ends of the future slot and draw the cut lines. The length of the slot is determined by the diameter of the saw blade.

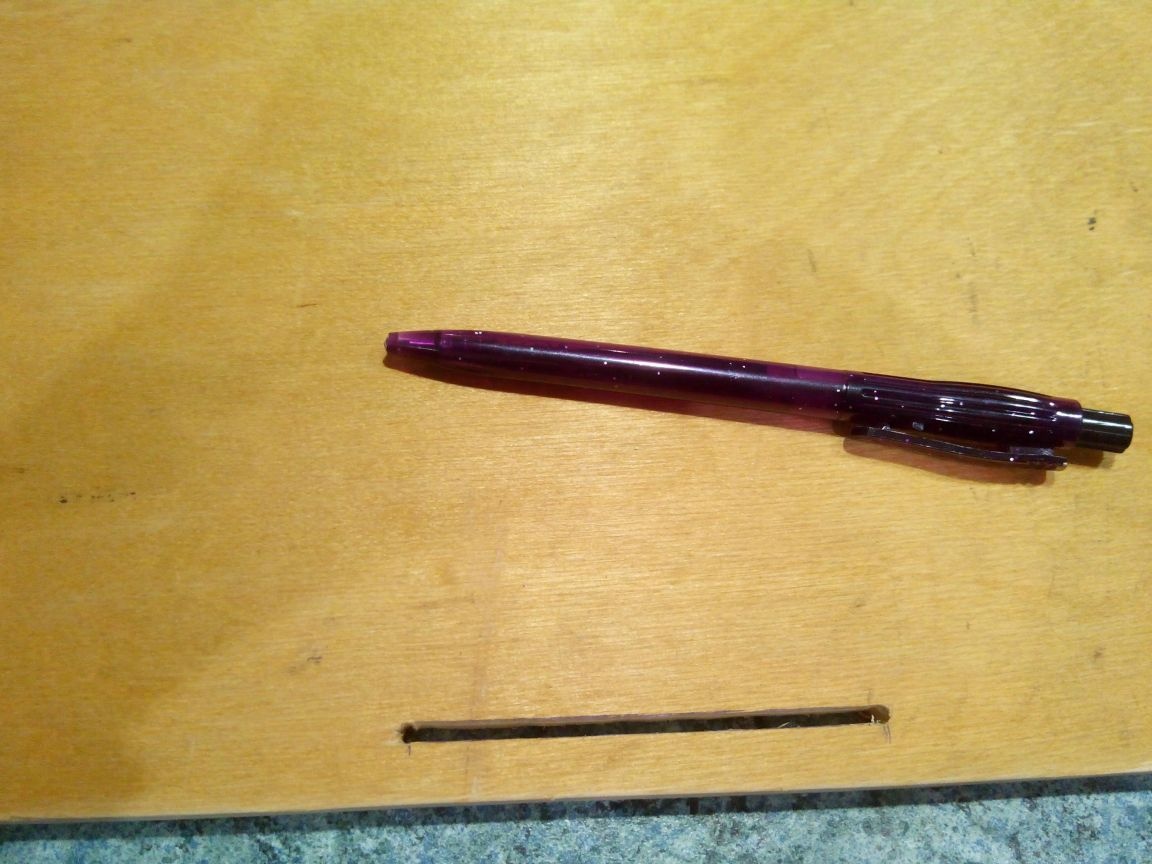
We make a slot with a jigsaw.
We attach the guide close to the slot made and drill two holes for the fixing bolts.If you are guided by the photo, then the holes should be along the upper parts of the through grooves in the guide. The diameter of the holes is better to choose so that the bolts are screwed tightly into them, then there will be no need to mount them additionally.
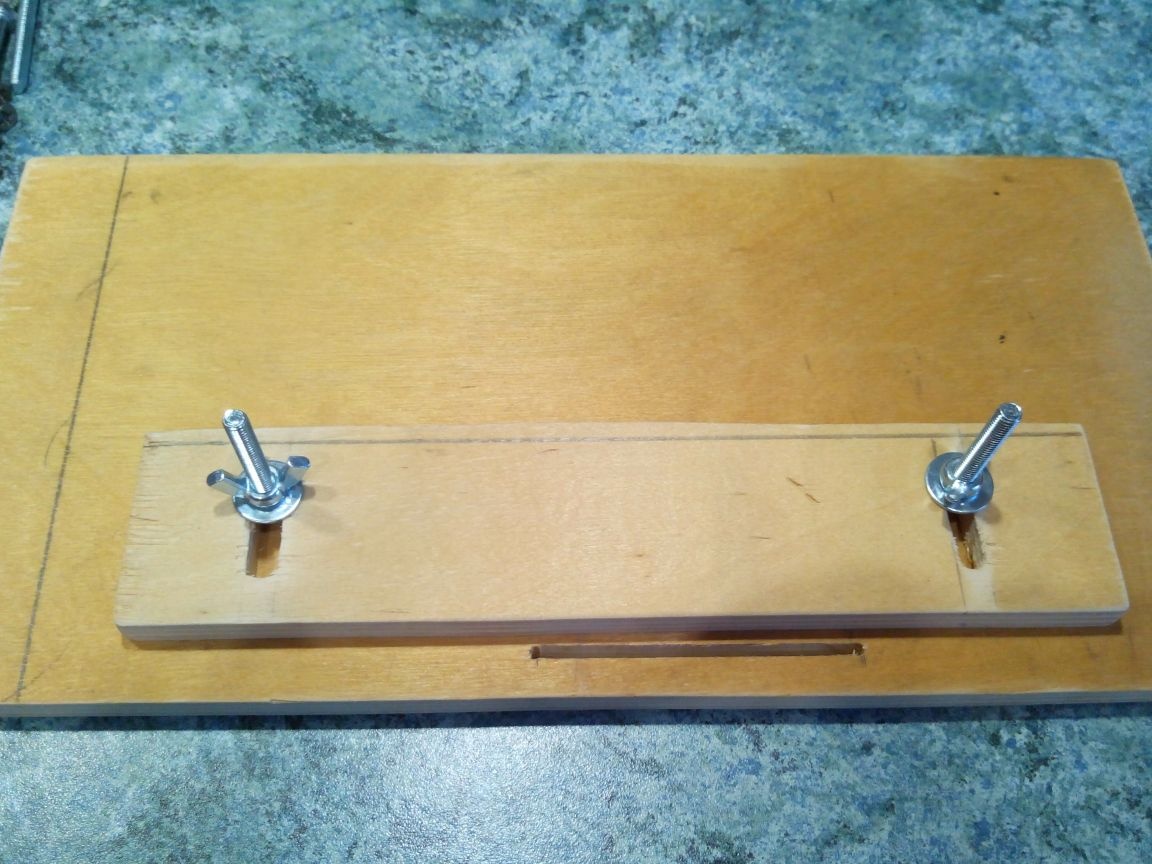
We fasten the guide.
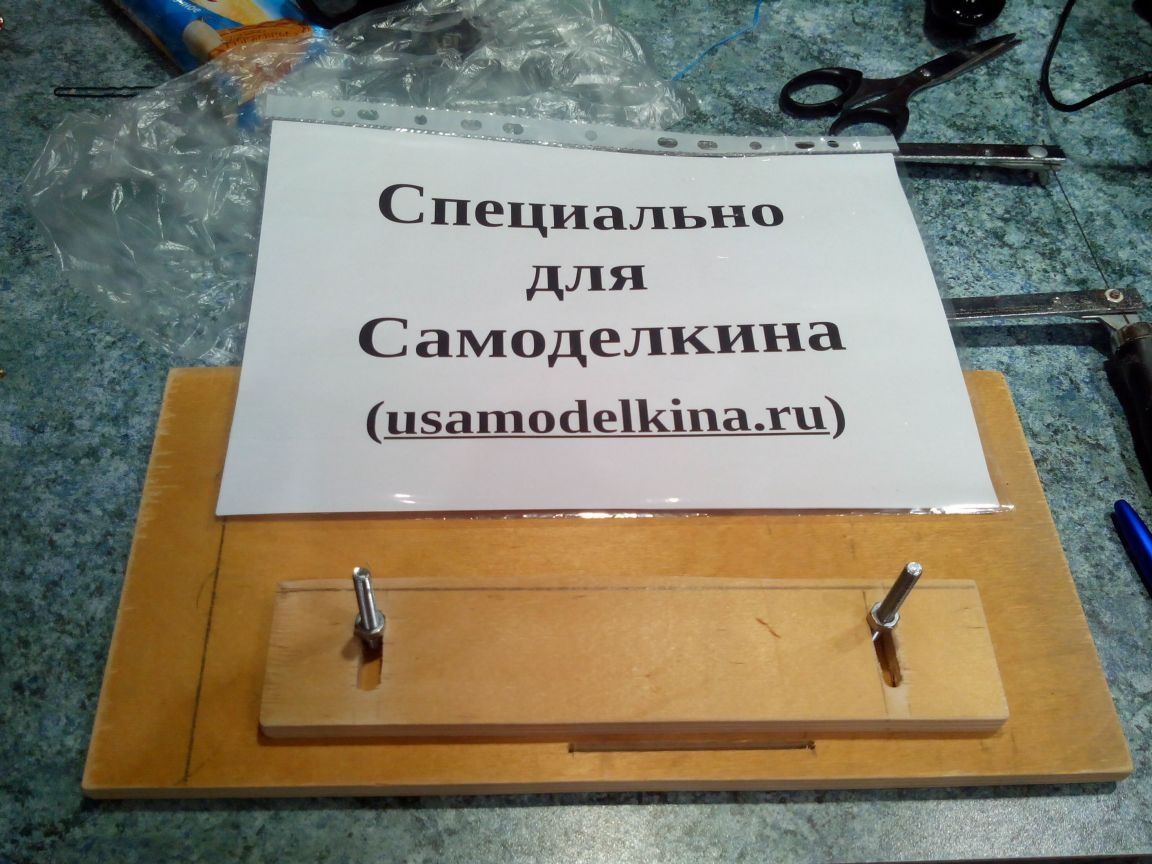
At first I screwed it with simple nuts, but then replaced them with “lamb” and added the washers.
Step 4. Complete the build
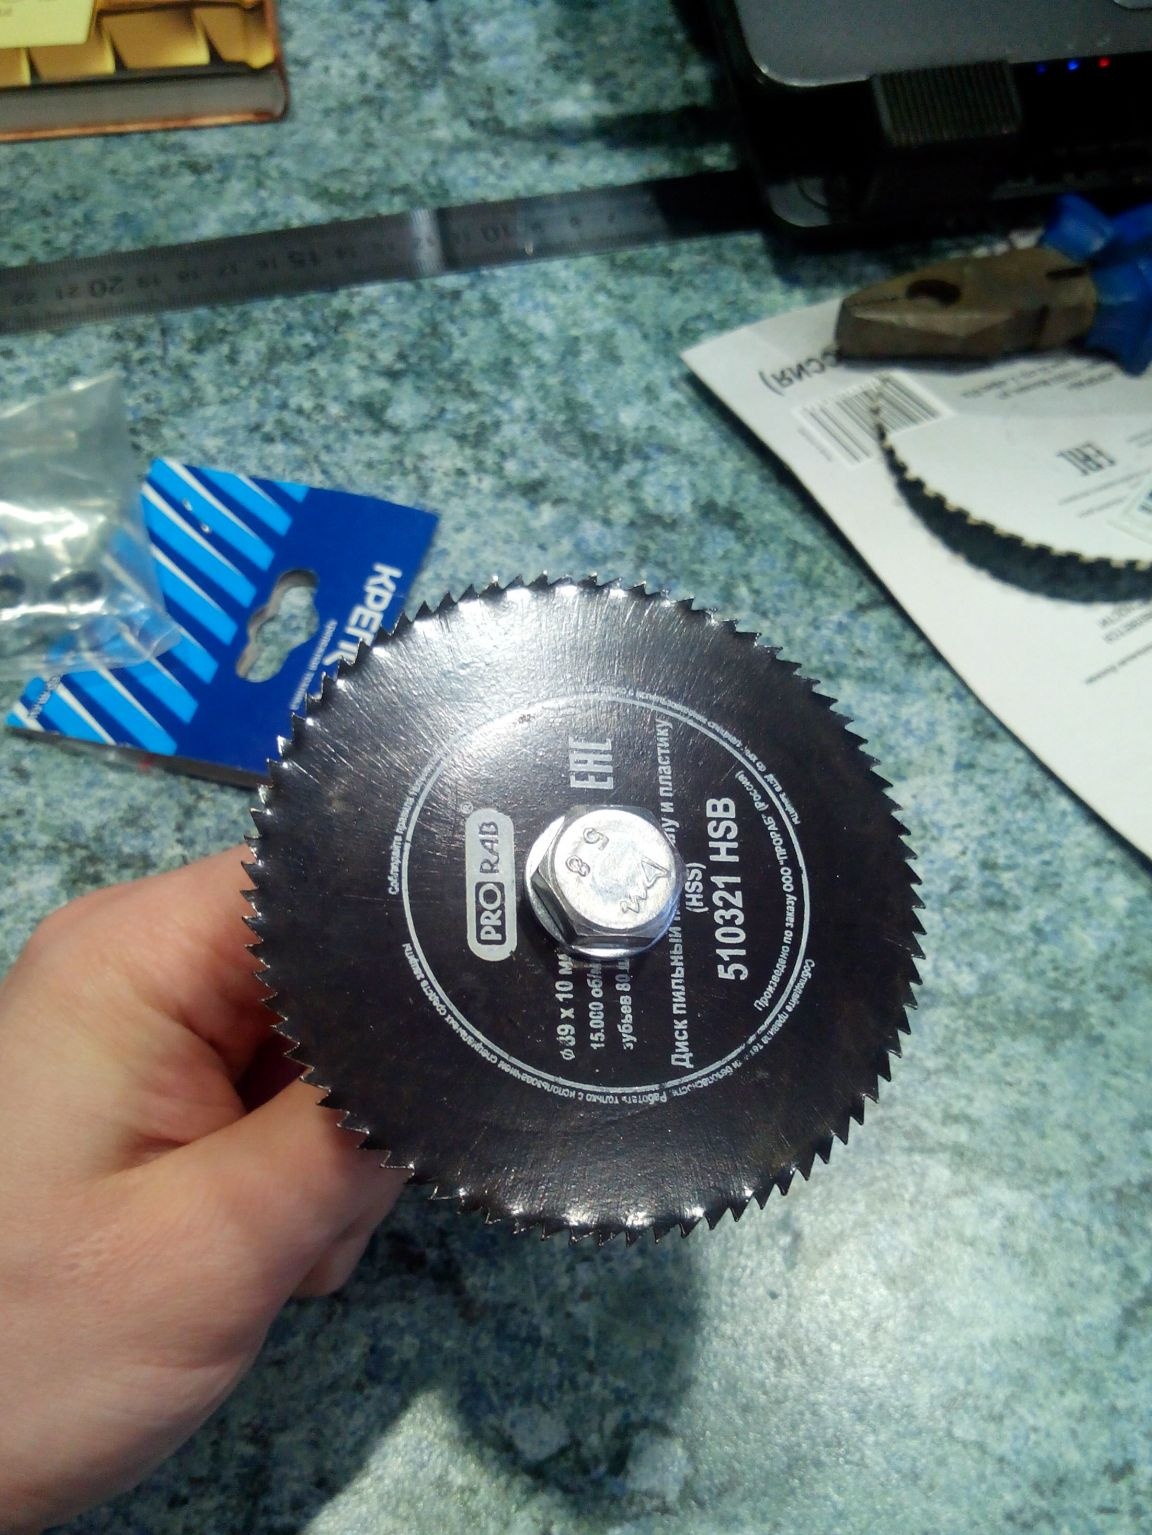
We take a saw blade (I specially attach the photo in the package to facilitate its search in stores).
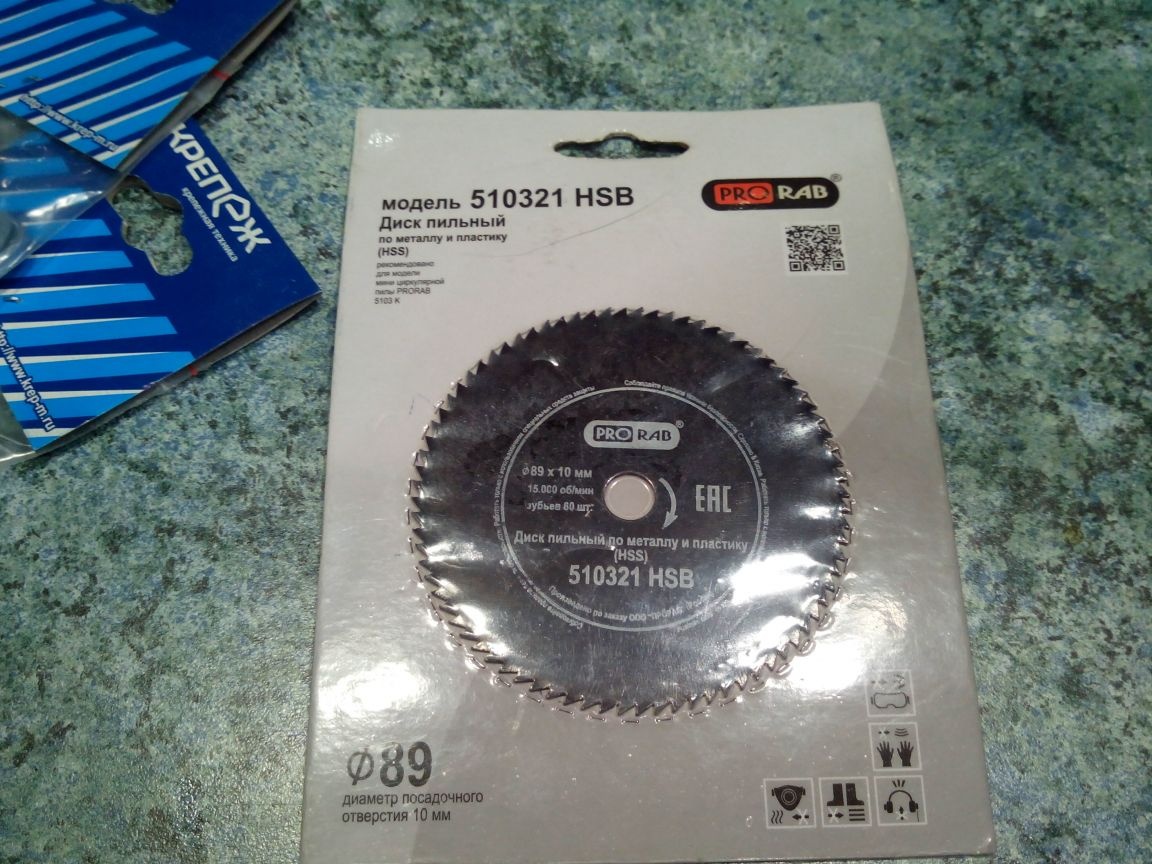
We select an even bolt so that the disk does not make “eights”, and clamp the disk with nuts.
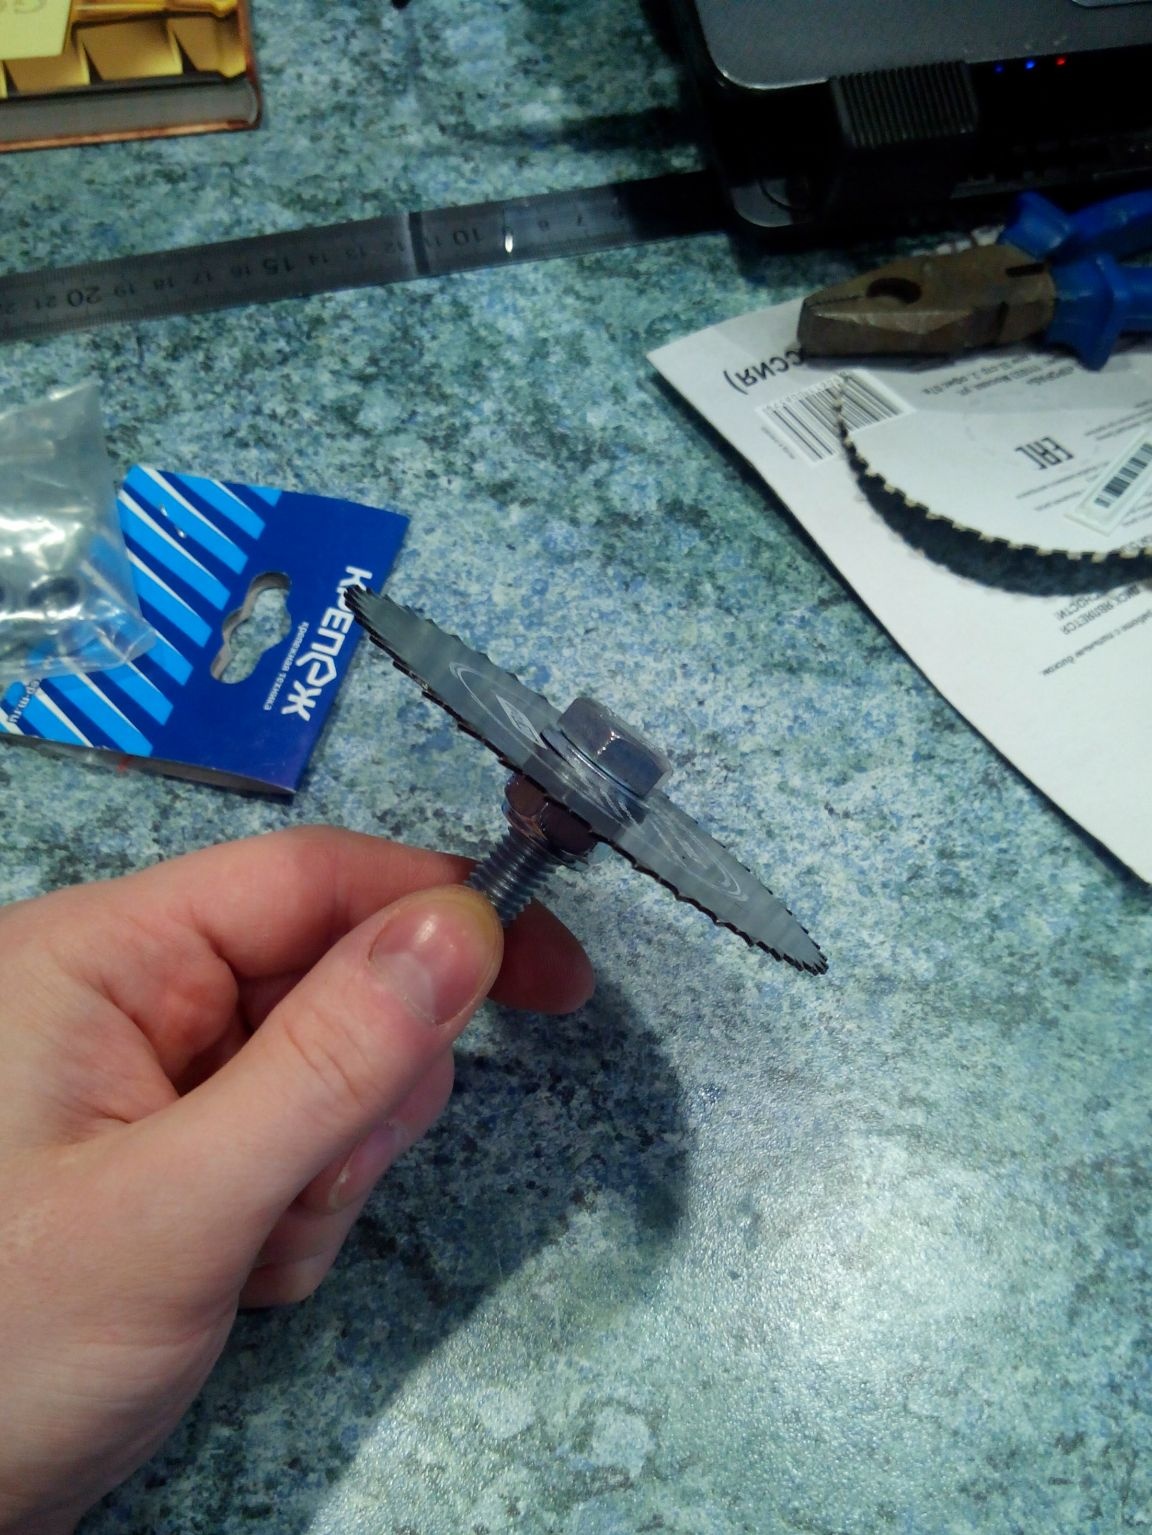
Before that, I recommend figuring out which side it will be more convenient for you to approach the machine to fix the disk with the right side (there is an arrow on it that shows the correct direction of rotation).
We clamp the disk in the drill chuck.
We try on a working table from above, select a pair of planks (or bars) for it, so that the drill chuck does not touch it from below, and the saw blade comes out enough from above.
We fasten the plates with screws to the table.
The table itself is either screwed on with screws on the bottom side of the base, or we sit on small corners from above - here it’s more convenient for someone.
Everything, the mini-circular is ready!
I highly recommend that you provide some kind of fixing the base to the desktop (clamps, screws), because in the process of using the circular strongly "leaves" to the side.
And here is the first result - I dismissed the line on 4 mm wide rails in just a couple of minutes.