
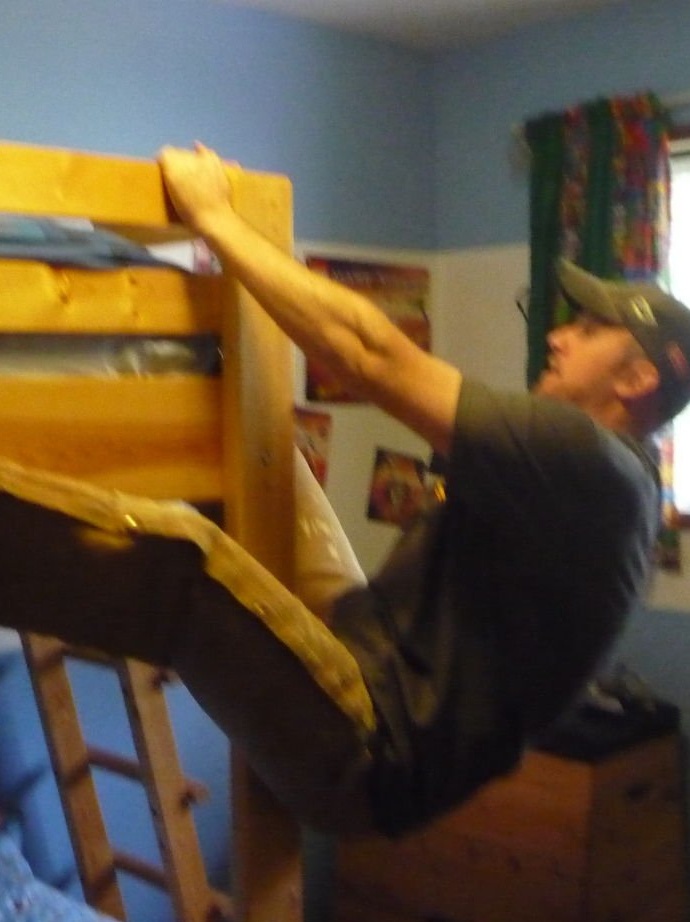
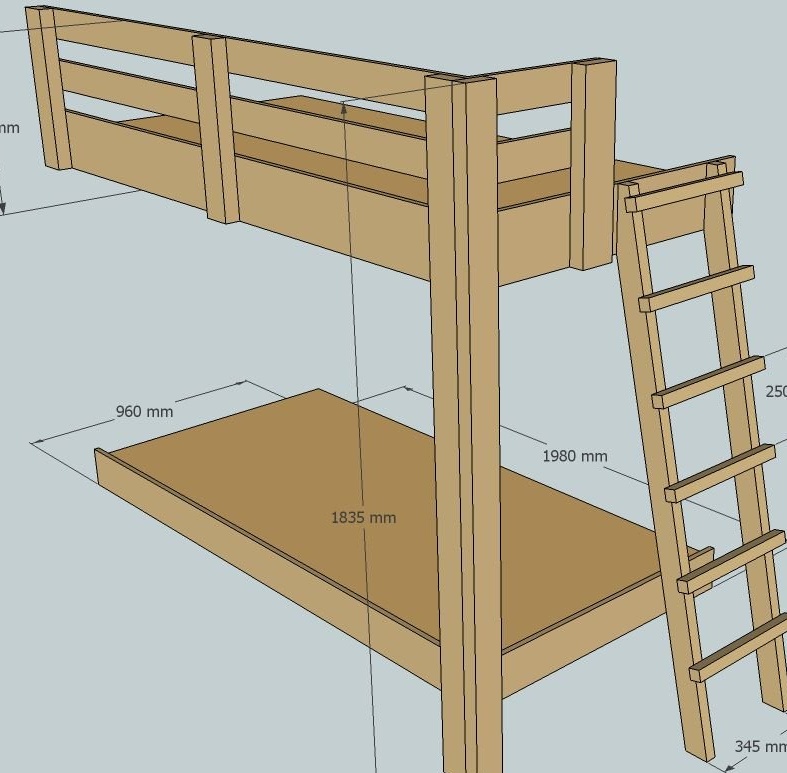
Quality bunk beds are surprisingly expensive. Cheap have a fragile design. This bed is very easy to make from standard lumber, and it will be as solid as a rock. Well, at least as solid as your home. I made this bed for my two kids, but it is strong enough for large people too ... I demonstrated it in the second photo. Try also the regular bunk bed! Actually, it’s not worth it, it’s not very convenient to do. Better just lie down!
Step 1: Materials
- Four beams 5 x 10 x 300 cm
- Four beams 5 x 10 x 240 cm
- Two 10 x 2 x 300 cm polished pine boards
- One 15 x 2 x 300 cm polished pine board
- One 20 x 2 x 300 polished pine board
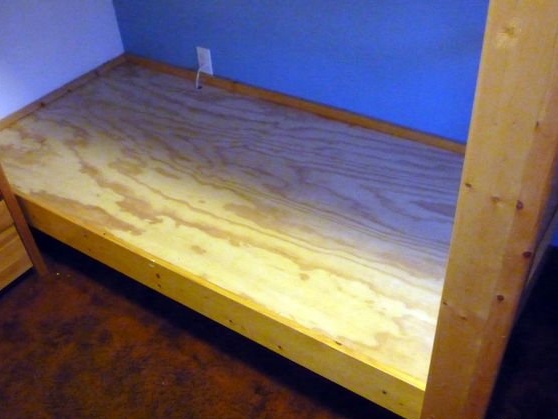
- Two plywood 2.4 - 1.2 m. You can take fiberboard, pressed wood, anything - on this surface there will be mattresses. So it can be just crossbars if you want. I used half-inch-thick plywood because a plan was already ripe in my head where I would use clippings.
- 3 inch square slot screws
- 1.5-inch screws
- Eight 1/4 inch long (6 inches) square head screws and washer
- Ten 3-inch bolts per quarter inch with nut and washer
- Two 6-inch quarter-inch bolts with nut and washer
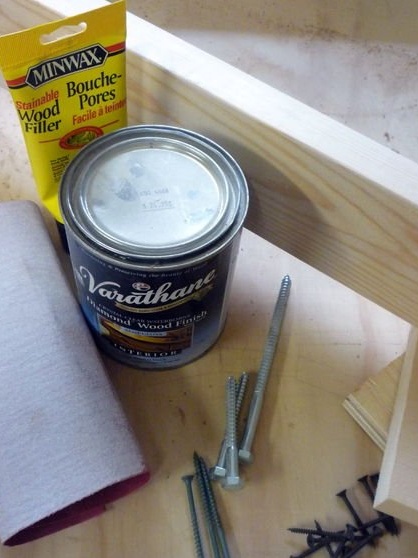
- Polyurethane
- Wood putty
- Sandpaper
All this will cost about 5000 rubles, if none of the above has already been dusted on your shelves.
Step 2: Tools
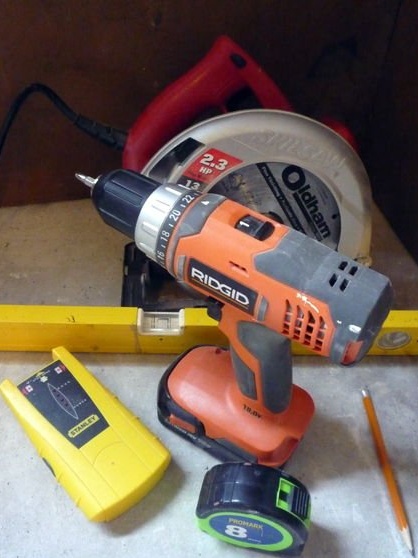
- Cordless drill and screwdriver
- Saw (I used a cutter and a circular saw, but one circular saw or hacksaw will be quite enough)
- level
- meter
“The milling cutter works great with rounded corners, but the emery and hard work will do just fine.”
“A heterogeneity detector might come in handy.”
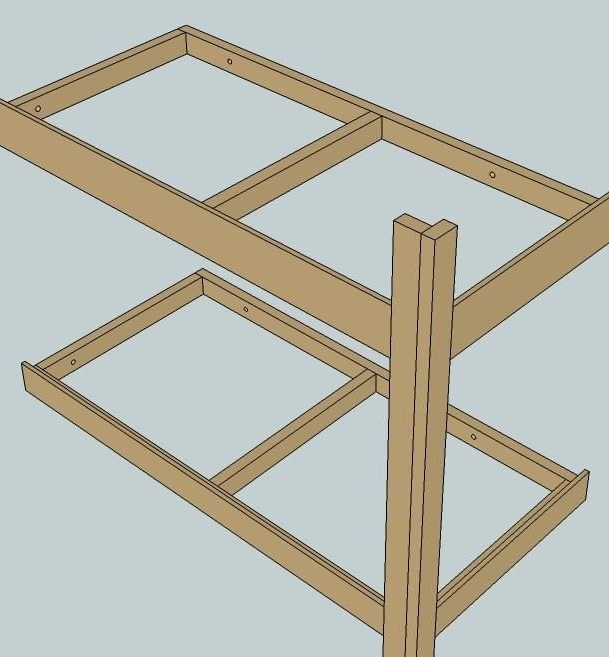
Step 3: assemble the frames
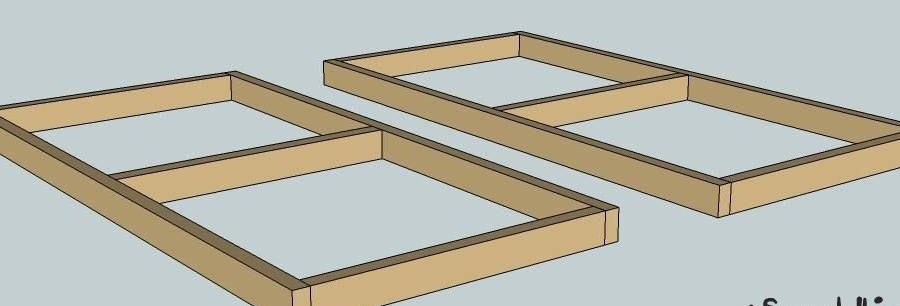
Measure the mattresses that you intend to use for the beds, add a little space for bedding (a couple of centimeters), and get the dimensions of the frame for the future bed. If you buy sheet material, ask that you cut clear dimensions on the edger when you buy. And trim can be saved for future crafts. Fasten the 5 x 10 cm boards together using square slotted screws, as shown in the photo. There are two such frames.
Step 4: add the railing
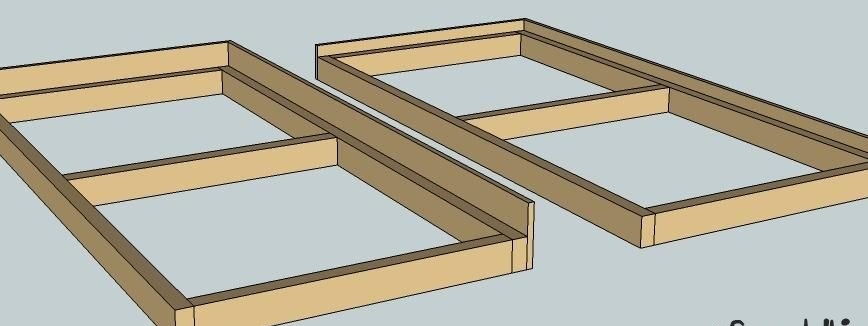
To one edge of one frame you need to screw a 2.5 x 15 cm board. If you screw the screws in the usual way, they will protrude, so you need to screw them from the inside out.The screws are not long enough for this fastening, so drill a little larger holes in the main beam (5 x 10 cm) so that the screw goes as deep as possible, but does not come out through the face plate. The limiter for the drill can be anything, even a wound piece of electrical tape. Do the same with the second frame, securing the railing of 2.5 x 20 cm boards.
Step 5: Building leg

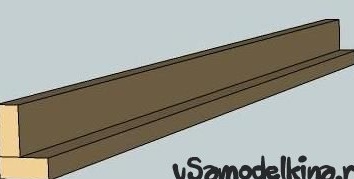
Many beds, which are sold on the market, are kept on the legs of a 2.5 x 10 cm timber. This bed is much more complicated technically, so we will take a 5 x 10 cm timber from which our frames are made!
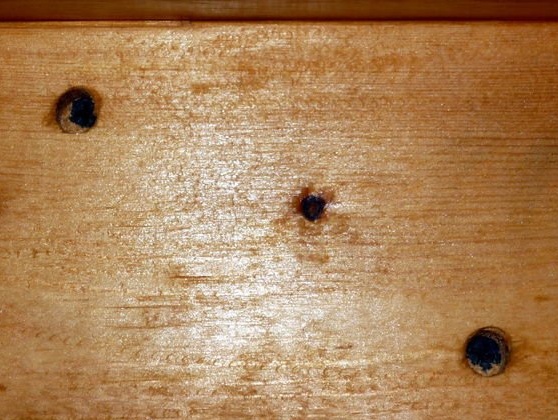
Fasten the two pieces of timber together with the screws together so that the letter G is obtained in the section. Putty holes with screws and polish so that the bed is neat in appearance. The length should be the same as from the floor to the height of the upper railing in the finished bed.
Notice in the photo how I rounded the corners.
Step 6: Putting It Together

For this stage you will need someone else's strength, it is better to take someone strong and patient!
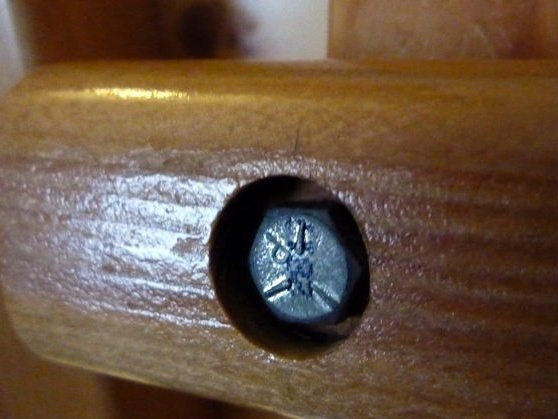
Drill a double hole in the leg at the height of the upper bed and in the assembled 20-centimeter frame. This hole should be wider on the outside to accommodate the square screw head and washer, and in the depth there should be a narrower hole for the screw itself. The hole will pass through the leg, through the front board of the frame, the inner beam of the frame and at the end of the other beam. Screw in a screw.
Find the rack of the wall frame, and make a mark where you want to drill holes.
Ask someone to stand inside the frame and hold it against the walls in the corner. Use the level to set everything smoothly! Drill guide holes for square head screws through a 5 x 10 timber, drywall, and into a wall stand. Here you need a long thin drill. Insert the screws into the hole through the frame into the wall. Your assistant can finally relax.
All this must be repeated for the lower frame.
Step 7: Add Top Railing
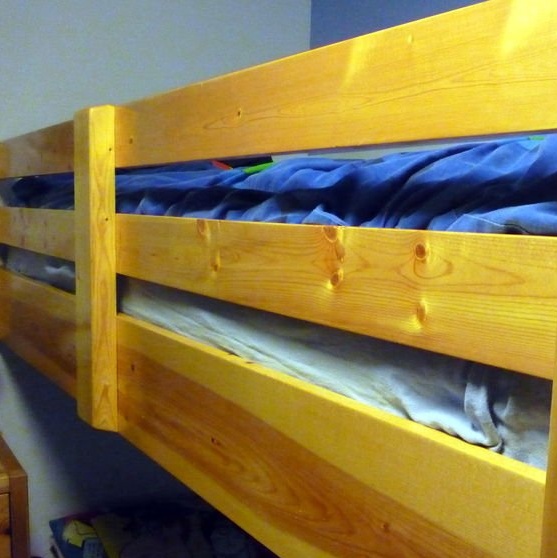

To prevent anyone from falling out of the upper bed, add a railing using 2.5 x 10 cm boards and short bars 5 x 10 cm. Always screw the screws from the inside, as we did before. Leave a gap for the stairs.
Step 8: building the stairs
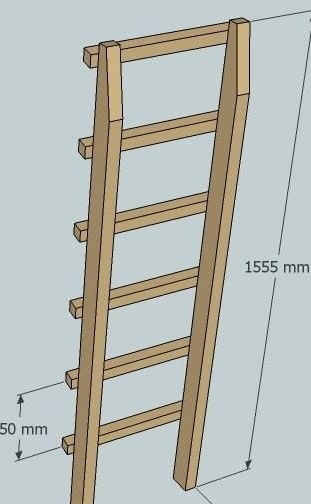
You can make a simpler staircase than shown here. I used the pine railing as the crossbeams and two inclined guides (2 x 3 in. Beams). The crossbars were attached to the guide bolts. Two longer bolts were used for the upper rung to secure the stairs to the bed. It seemed to me that it was easier to assemble the stairs on the spot, immediately measuring out everything that needed to be cut off. A vertical staircase is easier to manufacture, of course.
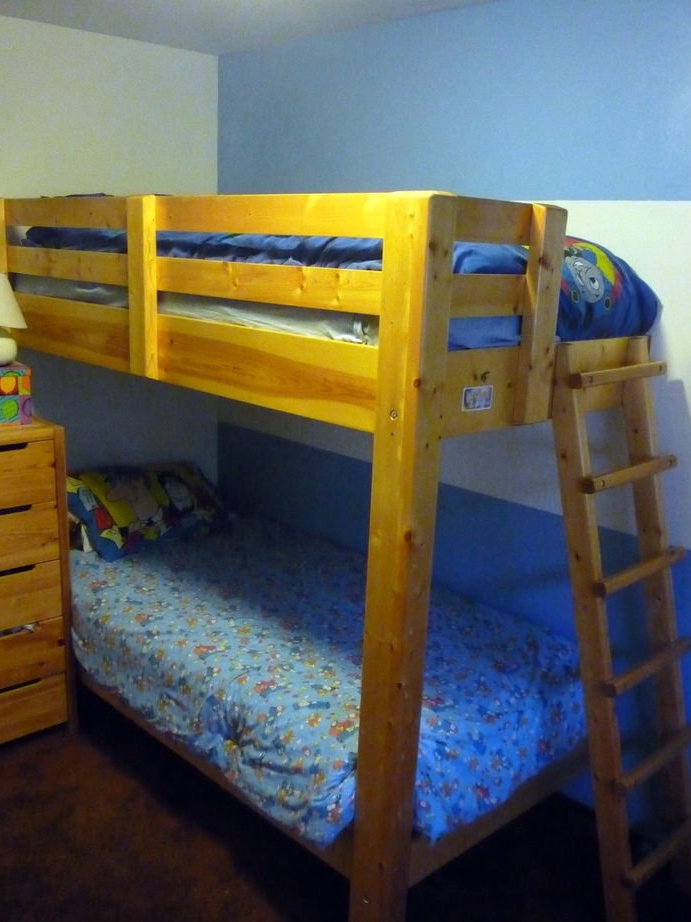
Step 9: Finish
Add a backing and mattresses. Make a bed, and you can go to bed. You now have an incredibly durable bunk bed that will last as long as your children want to sleep on it. Since the whole structure is twisted with screws, such a bed is easily dismantled.