What we need:
1. A set of carpentry tools
2. About 20 bolts
3. Wooden boards (2.5 cm x 15 cm x 300 cm)
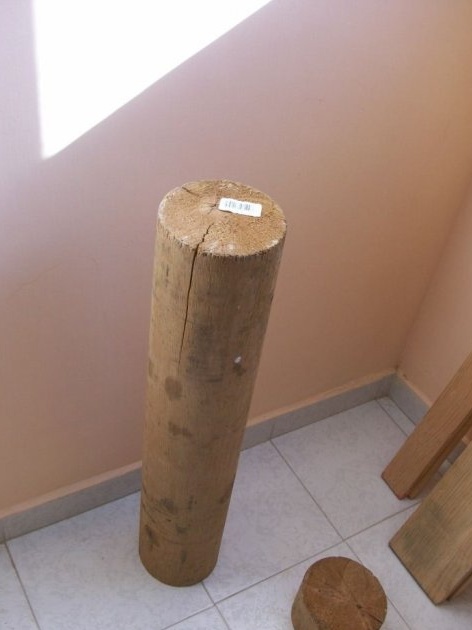
4. Wooden pole (diameter about 15 cm, the length is selected according to our sizes)
5. And a gas burner and, just in case, a fire extinguisher
To make a bed, consider the dimensions of the future product, depending on your height. Therefore, I recommend that you select materials individually.
The next step is the measurement of all parameters:
Getting to the bed. First of all, we measure the parameters of your mattress (length and width, if it is rectangular) and, accordingly, mark these sizes on the boards themselves.
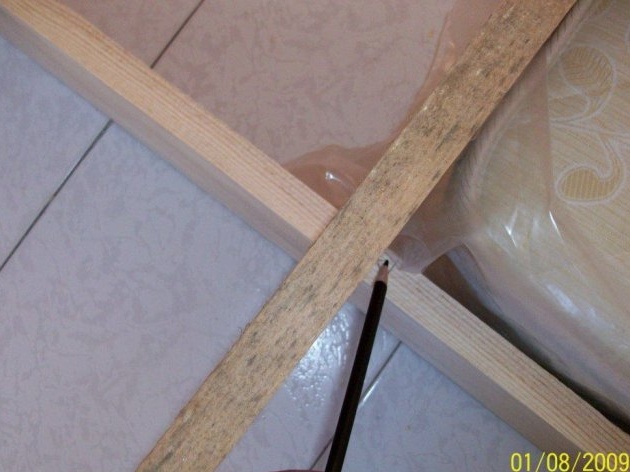
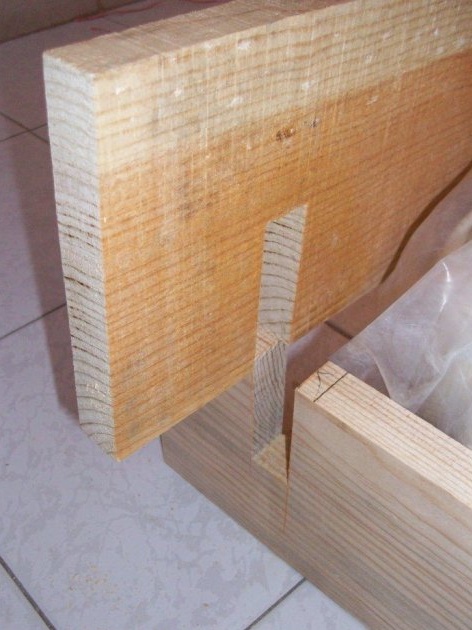
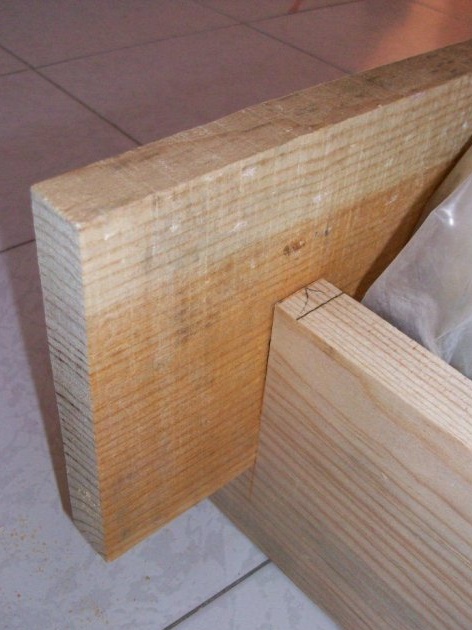
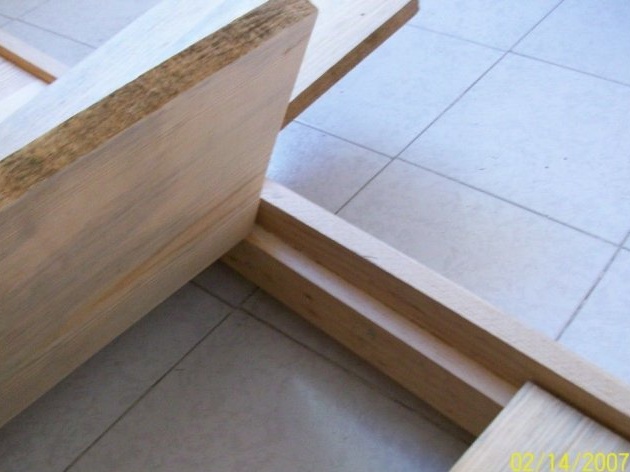
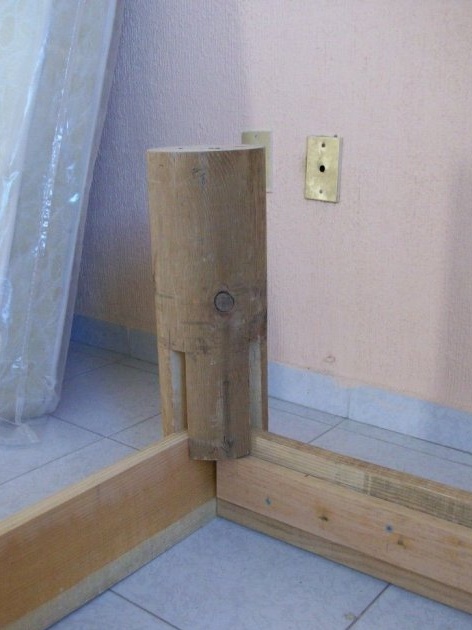
Then on all four boards we make cuts at an angle of 90 degrees, in the pictures it is all shown. In order for all the boards to stand firmly, it is necessary to make all the cuts a little less than the assumed initial depth.
Using a hammer, insert all sides into the grooves.
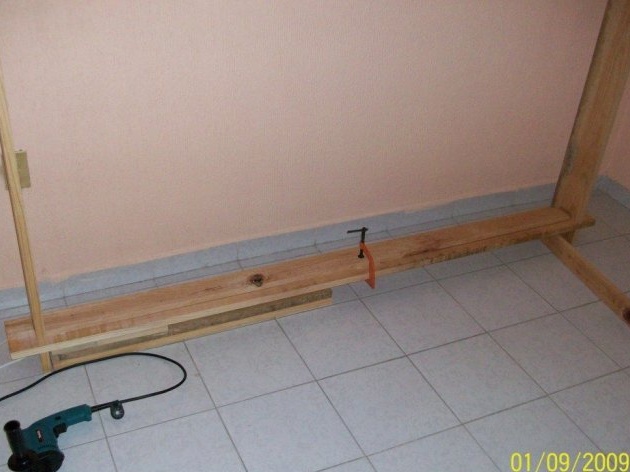
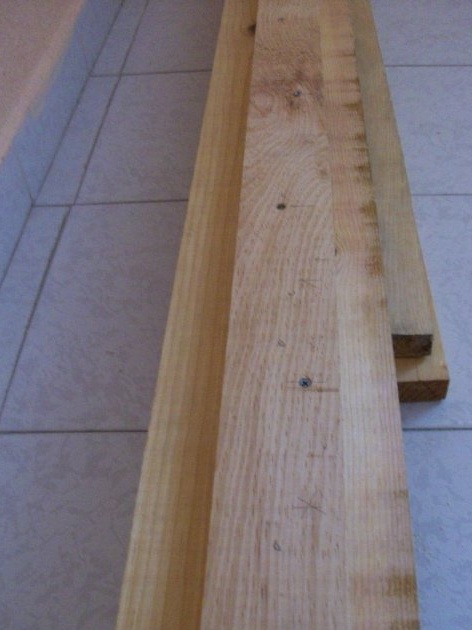
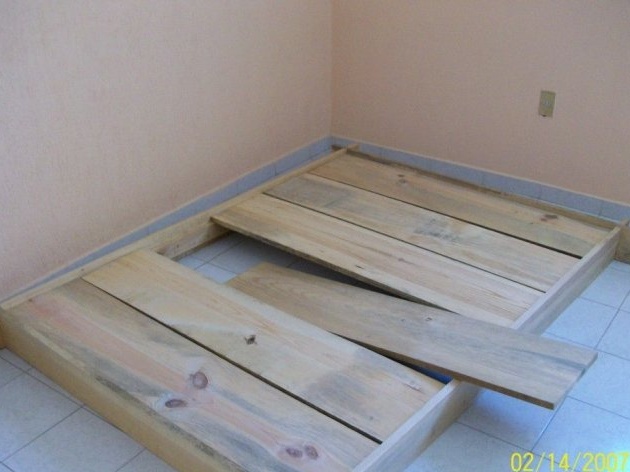
Getting to the assembly of the upper side:
For its manufacture, we use several boards, we attach them to our workpiece with screws or bolts. Since we will put a mattress on the upper side, you must make sure that the boards are securely fixed.
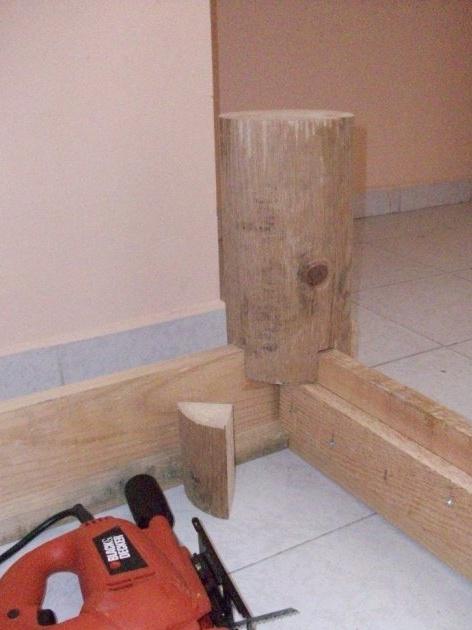
Getting to the manufacture of legs:
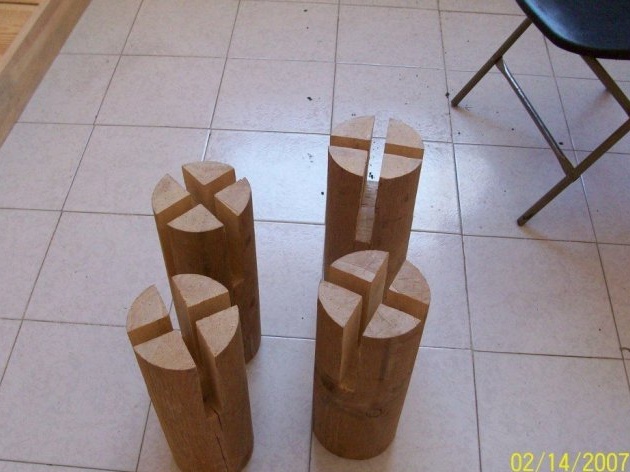
The dimensions of future legs greatly depend on the maximum weight that the bed will be designed for. Next, determine the height (we got 58 cm), divide the column into four equal parts. On all legs we make nicks at an angle of 90 degrees, based on the width of the boards that we used to make the upper part.
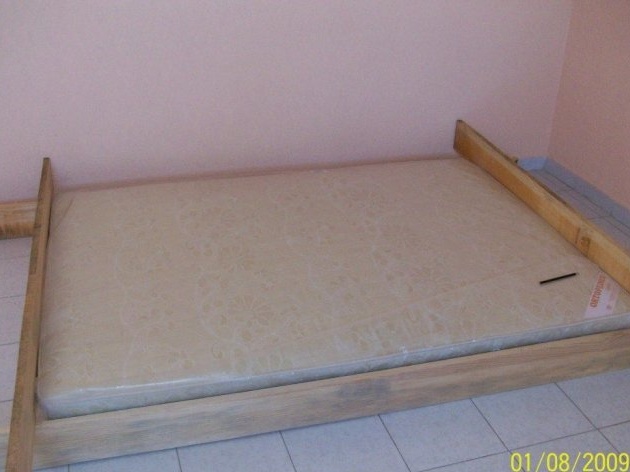
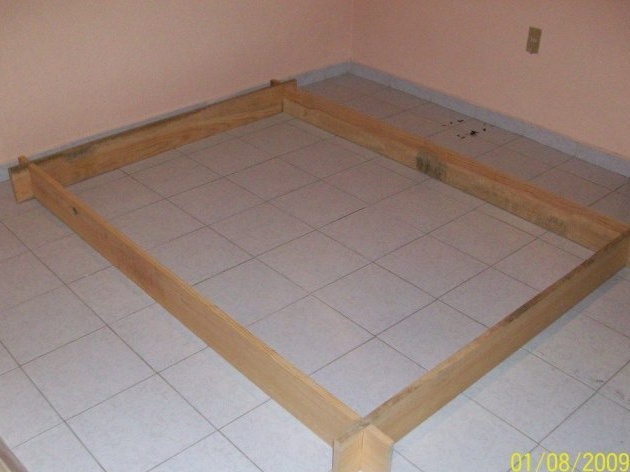
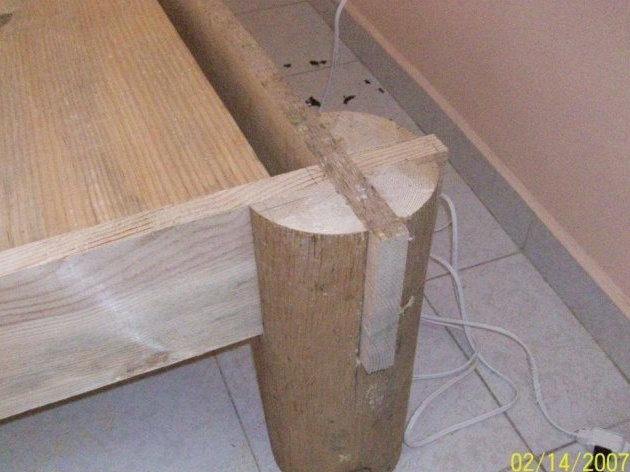
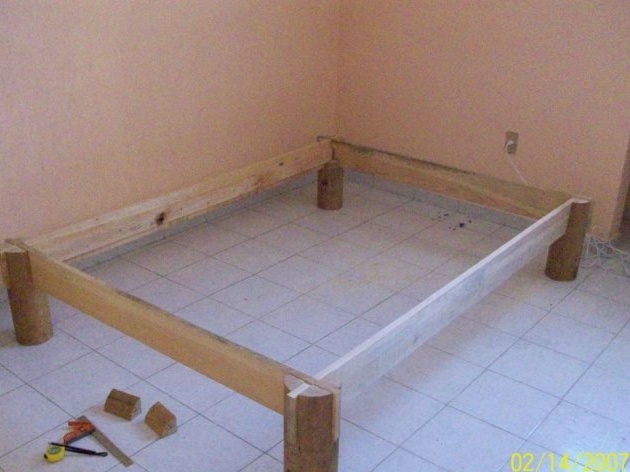
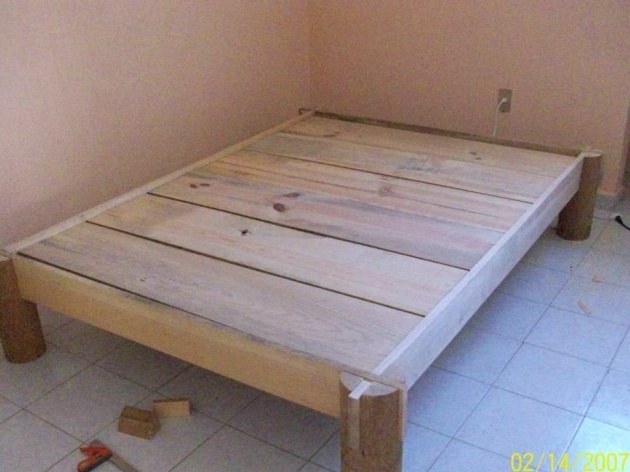
We proceed to the assembly of all the blanks:
Assembly takes place exactly with the photographs given in this manual. If something does not work out for you, then we return to the previous steps and correct the inaccuracies.
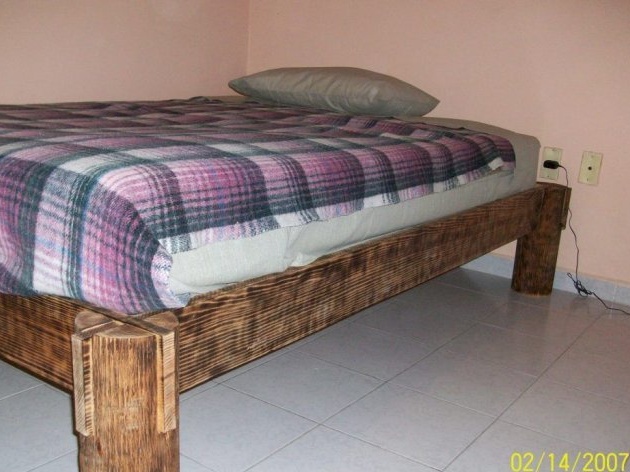
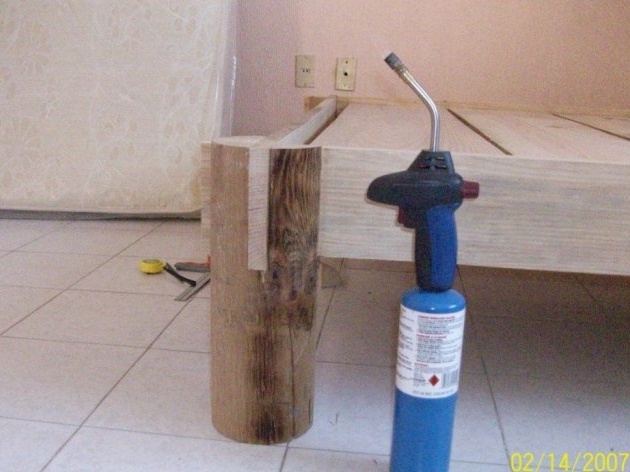
The final stage is firing
For firing, we use a gas burner and gently begin to burn the surface of the resulting bed. This must be done quickly, since you run the risk of burning wood too much.
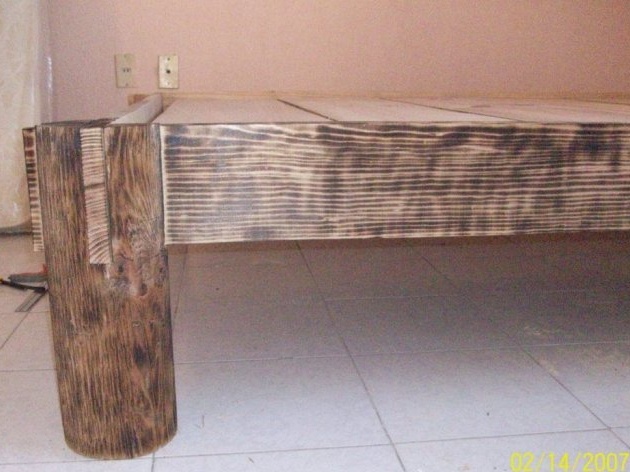
And finally, it is best to cover the finished bed with wood varnish - this will protect it from premature aging and wood insects.