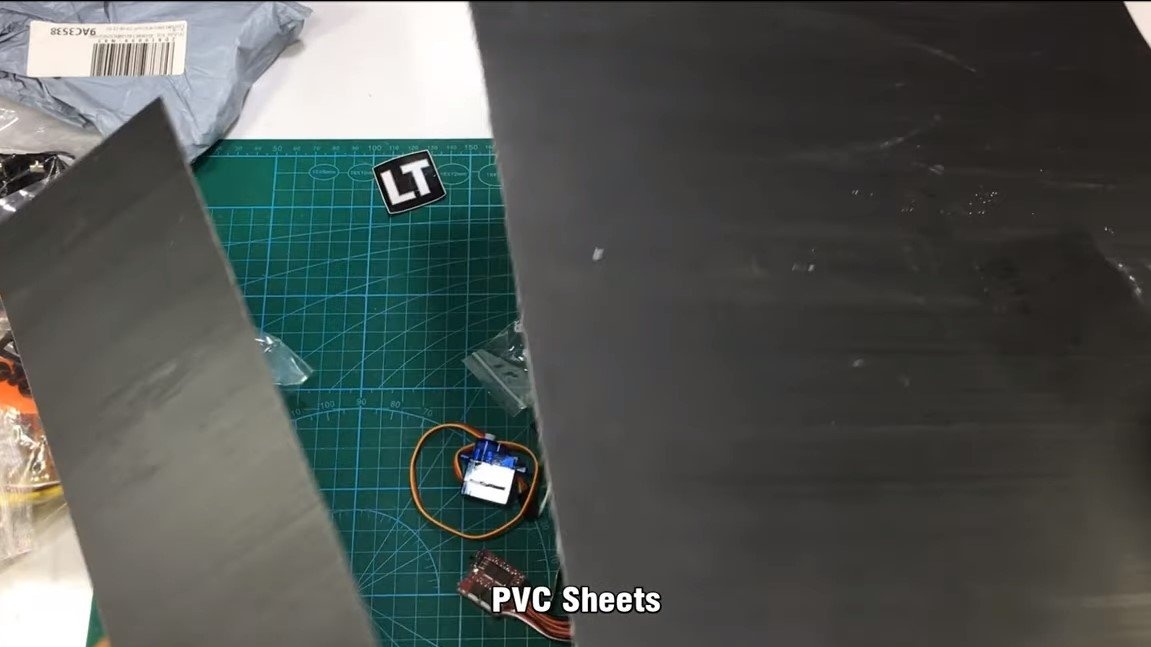
Hello everyone, today we will build a simple but quick boat on the control panel. Motor for homemade the author used the 180 model, he develops high revs and the boat turns out pretty quick. The homemade body is assembled from PVC sheet, model Looks great and pretty light. A small servomotor is used to control the boat. The power source for homemade are two 18650 batteries, the capacity of which should be enough for a fairly long voyage. It is best to install BMS on batteries or take them with protection against deep discharge, otherwise the batteries will not last long. If the homemade product interests you, I suggest studying the project in more detail!
Materials and tools used by the author:
Material List:
- ;
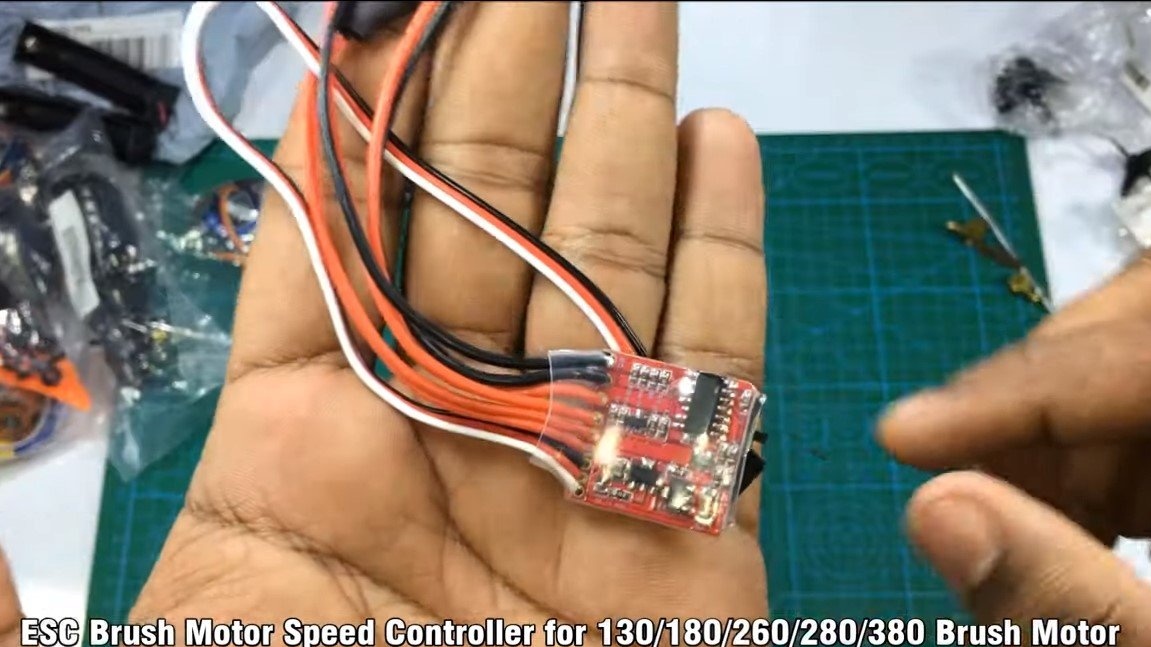
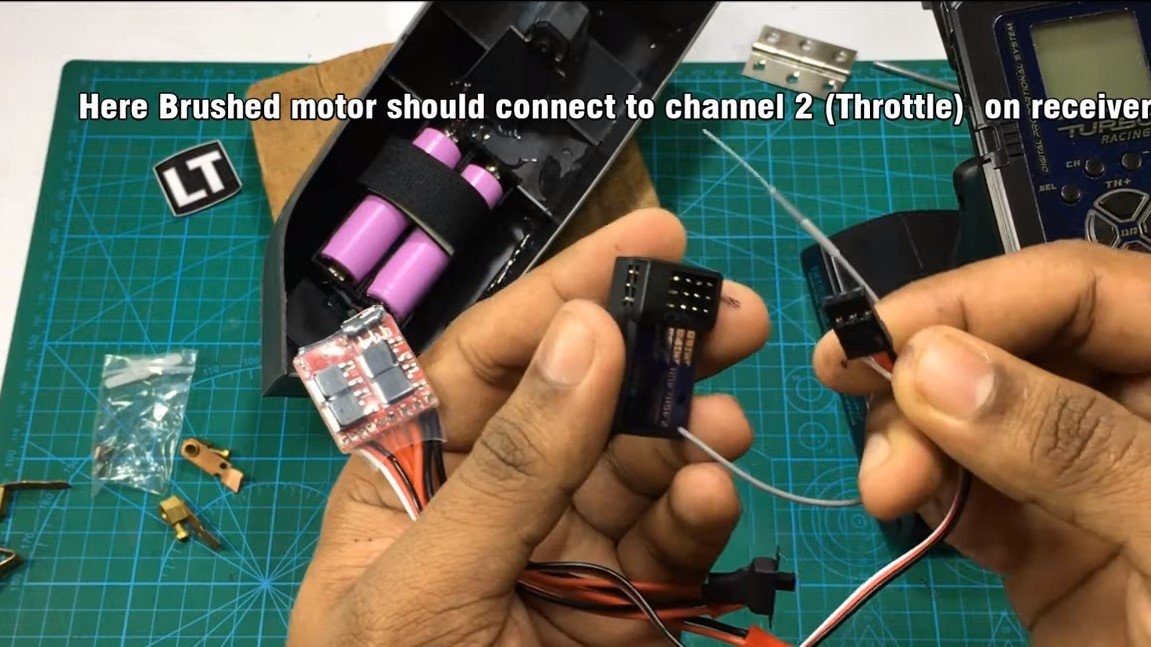
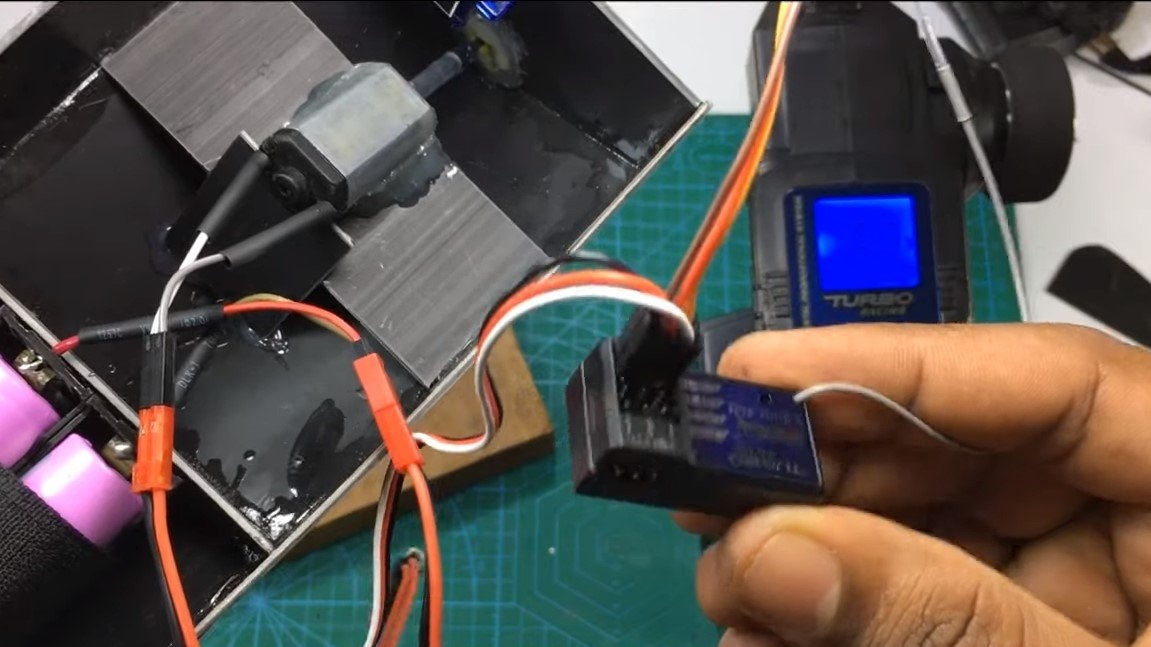
- ESC controller for controlling engine speed;
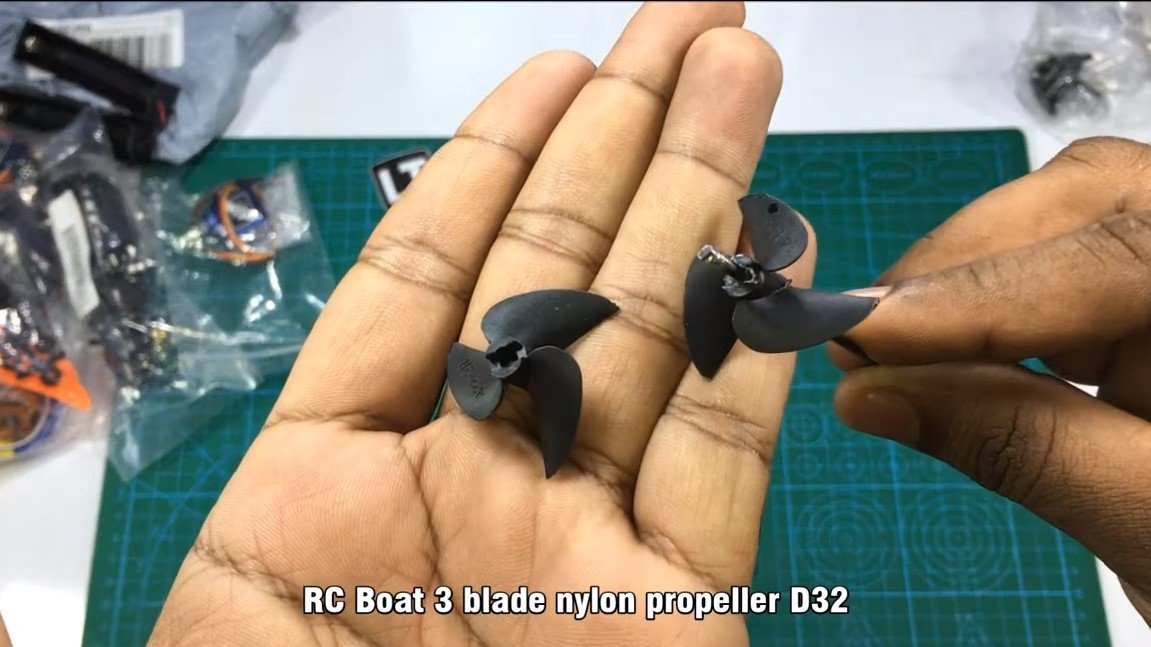
- propeller D32;
- ;
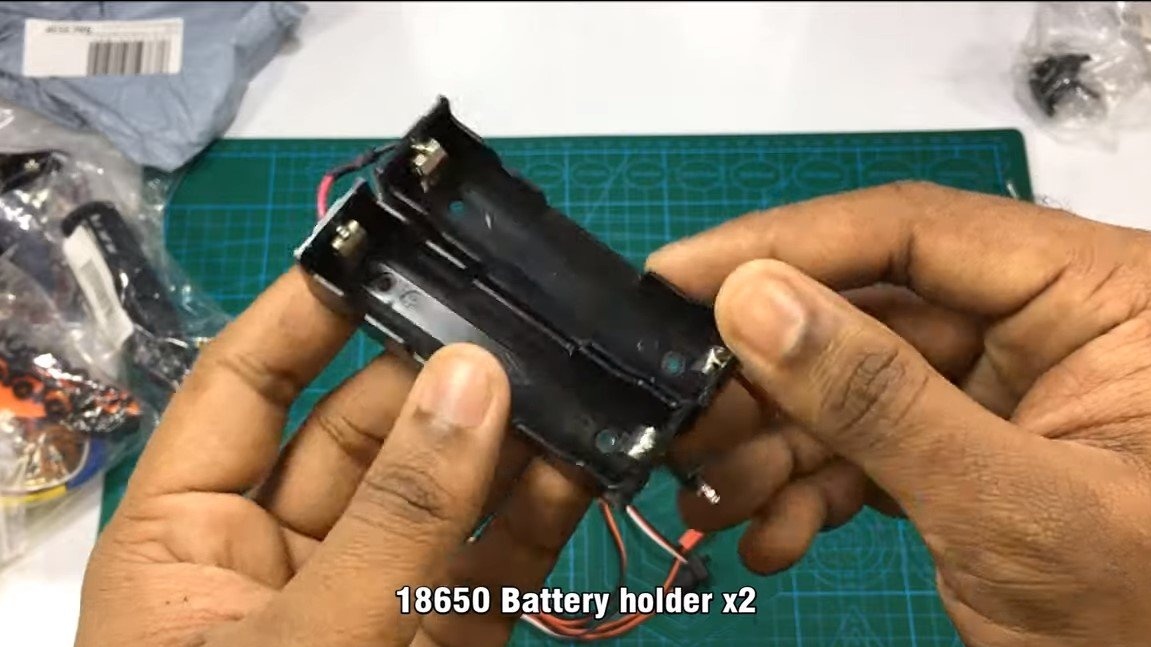
- 18650 batteries and holders for them;
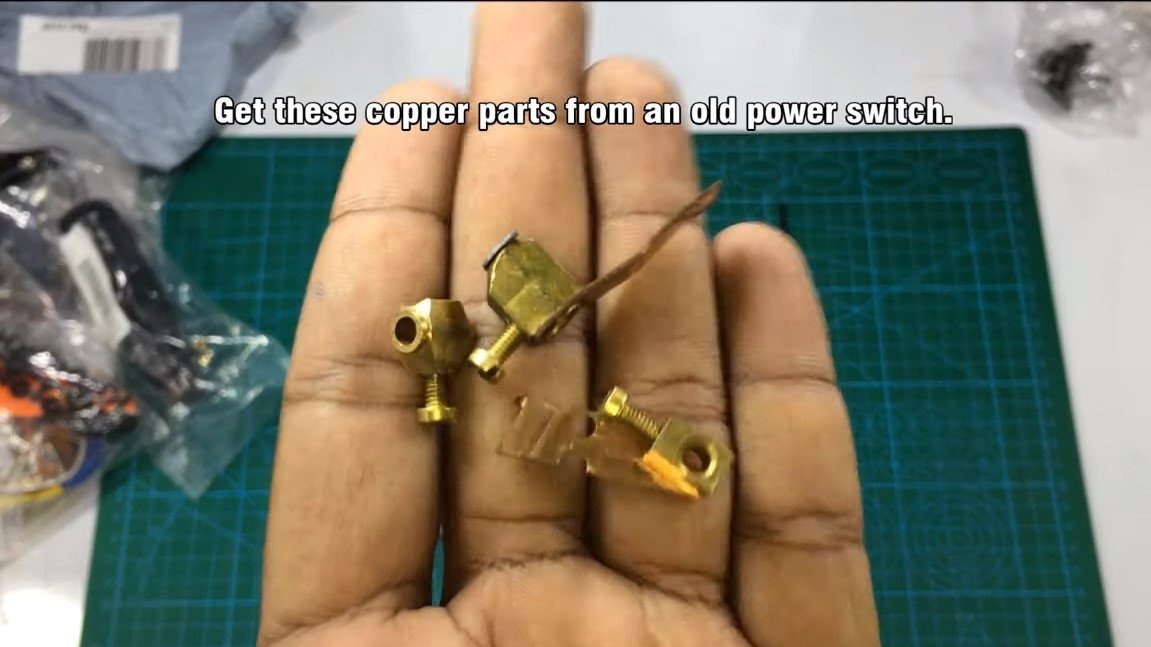
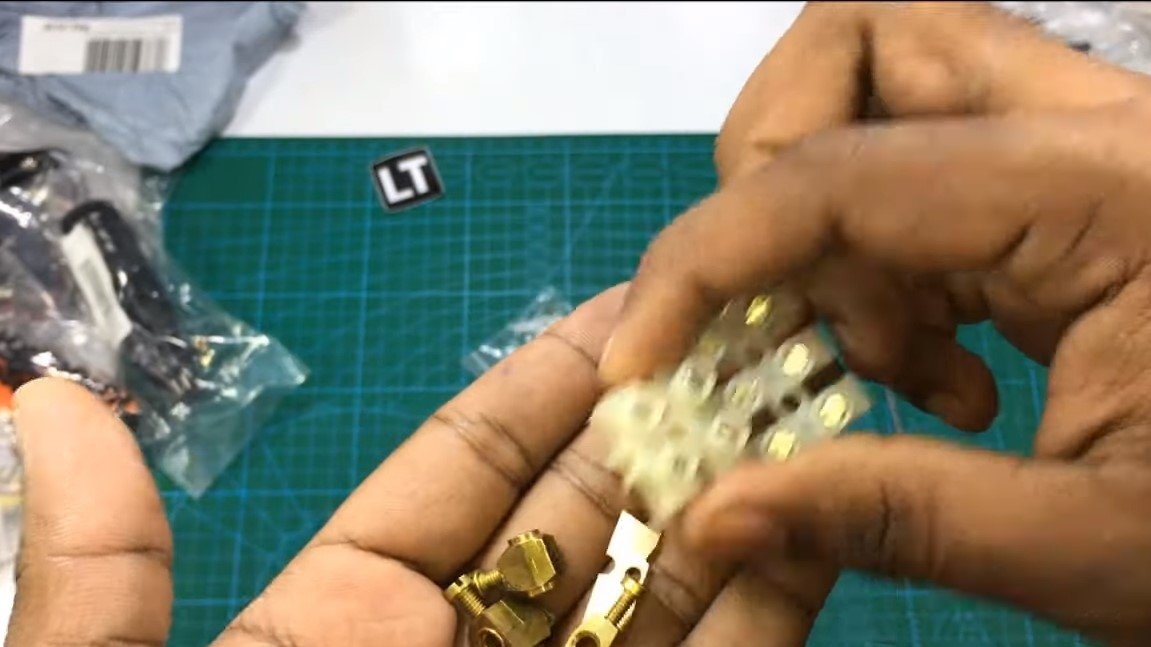
- brass electrical clamps (as bushings);
- bicycle spokes;
- steel axis from the drive;
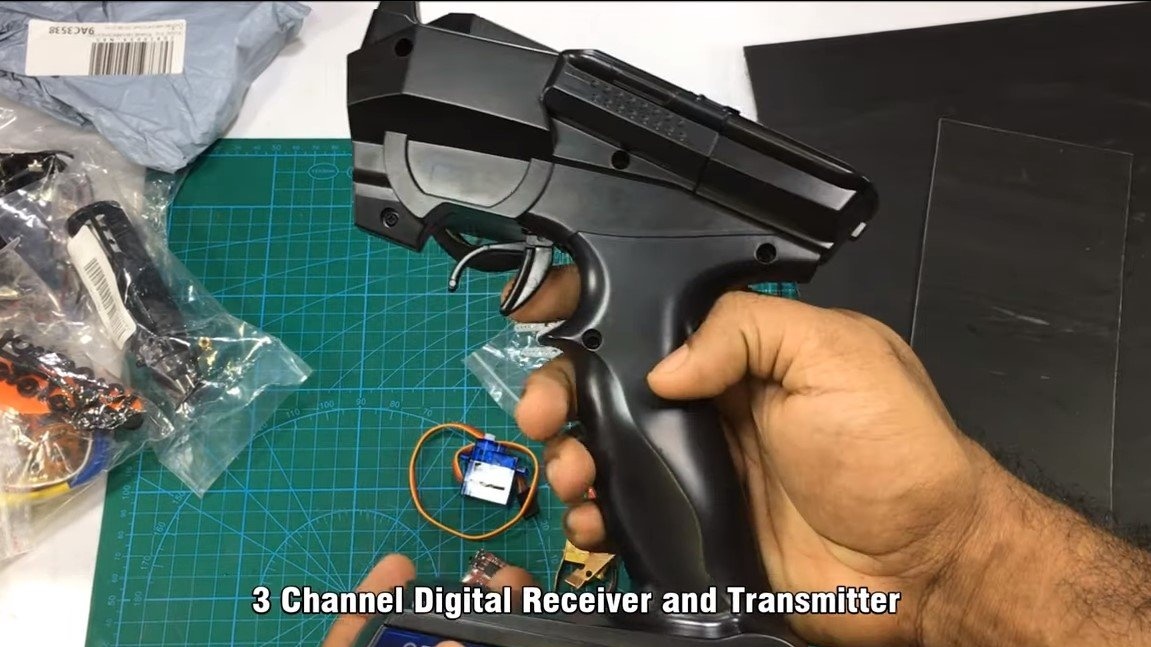
- electronics for radio control;
- sheet PVC;
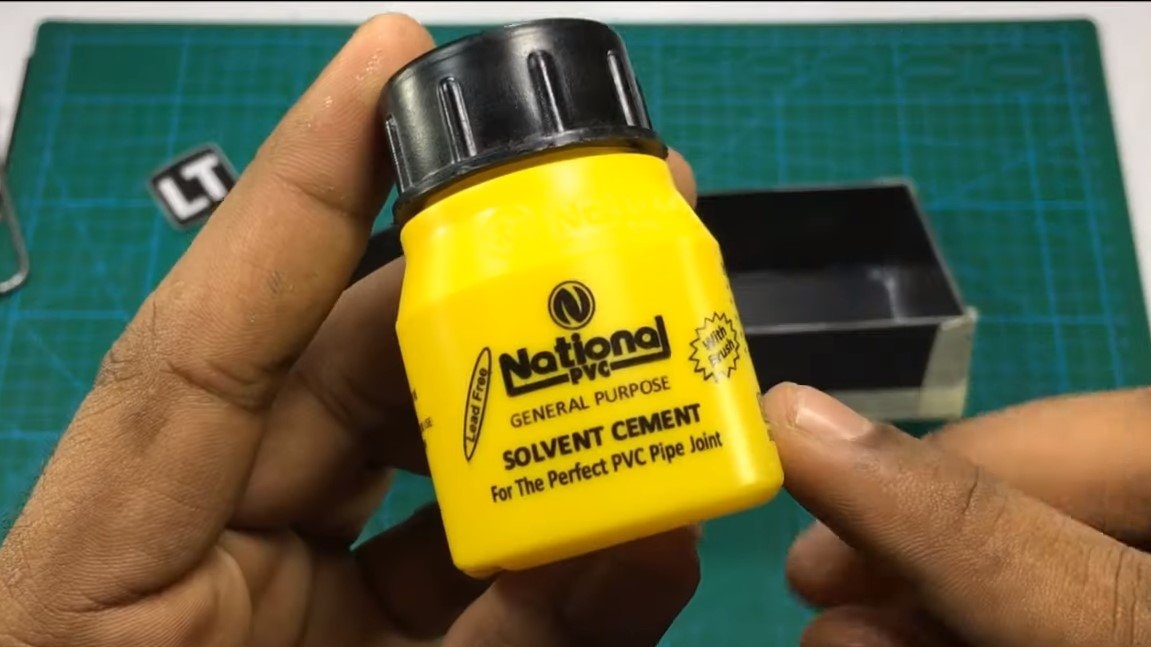
- glue for PVC;
- Super glue;
- paint.


Tool List:
- miniature circular saw (or other cutting tool);
- building hair dryer;
- drill;
- soldering iron;
- ruler;
- stationery knife.
Homemade manufacturing process:
Step one. Making the base of the boat
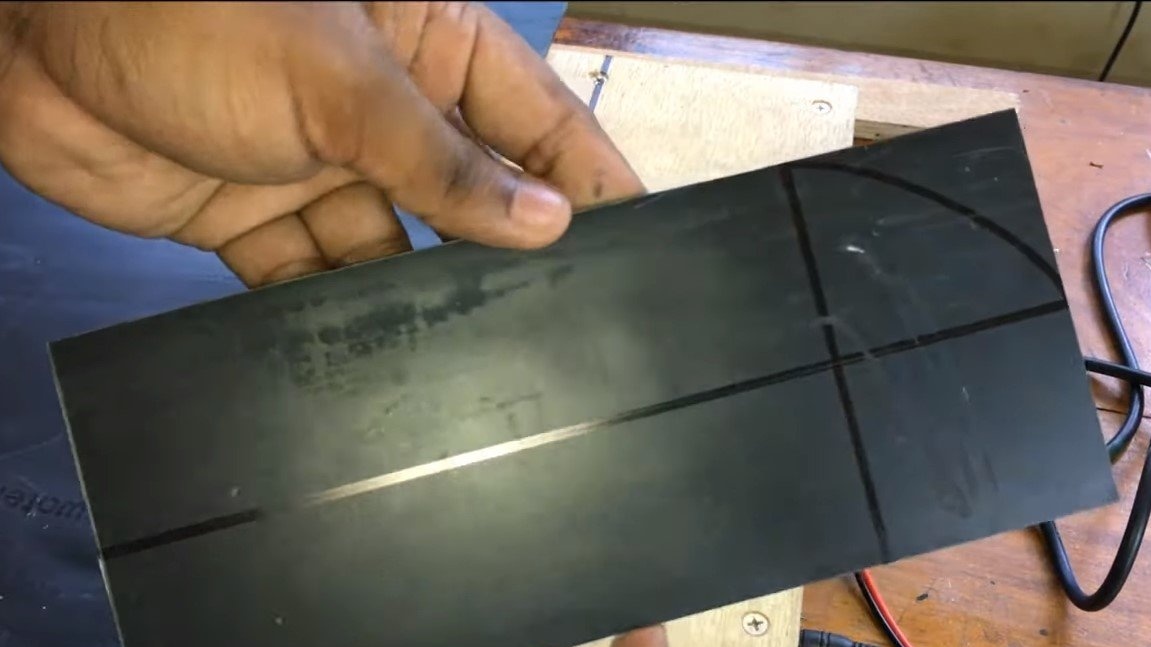
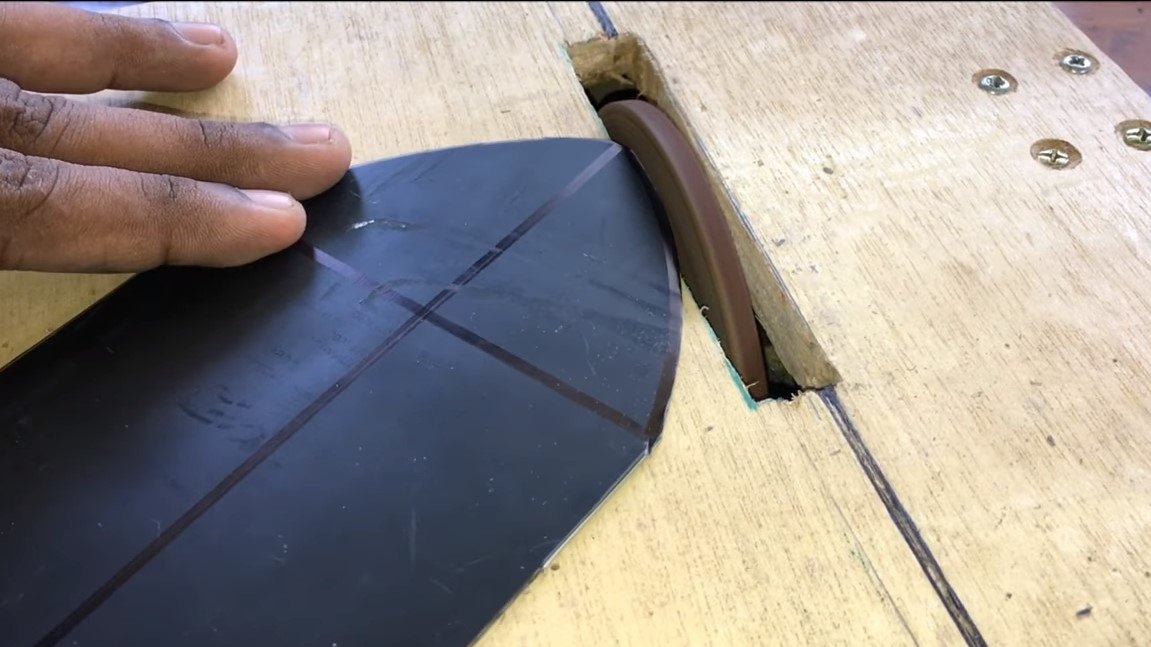
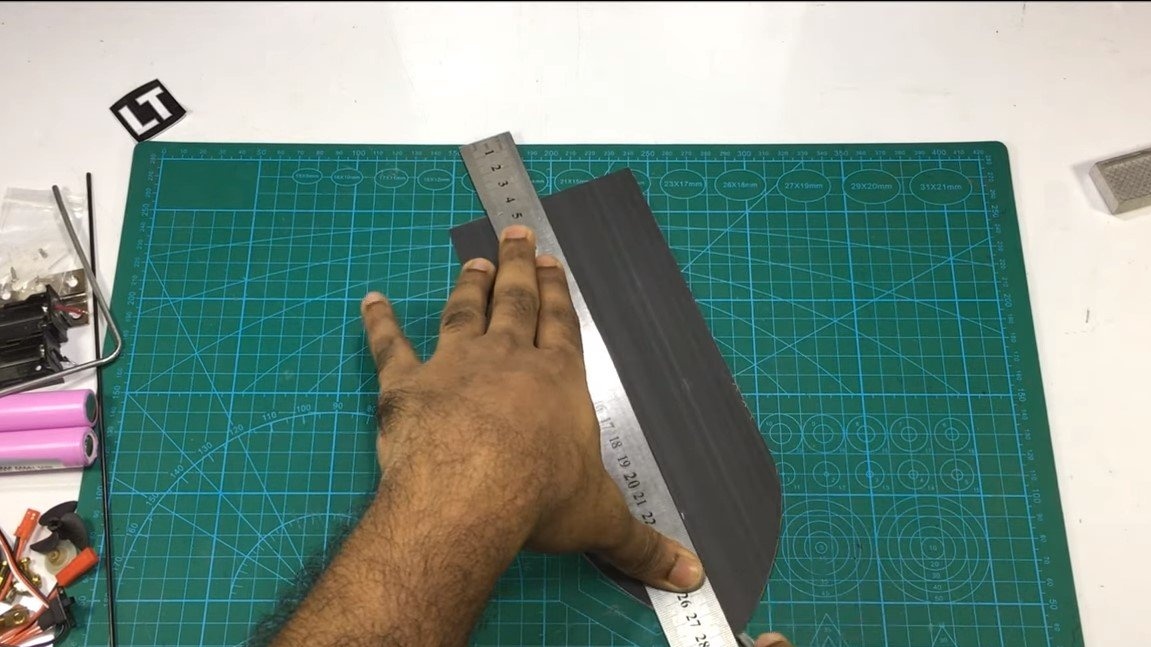
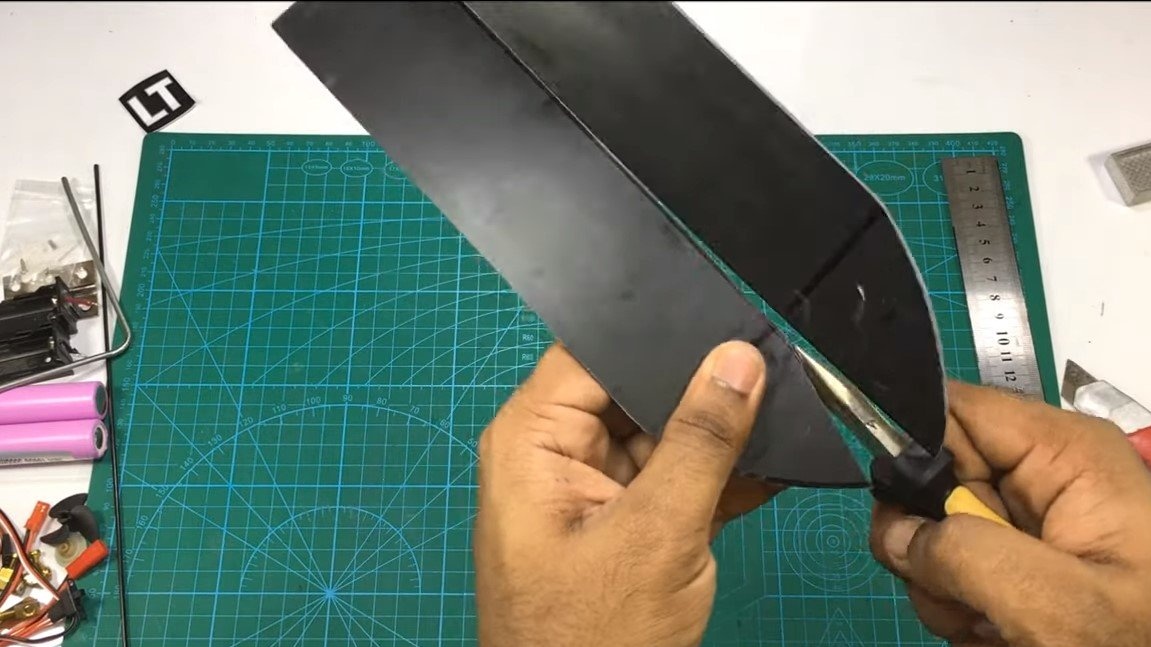
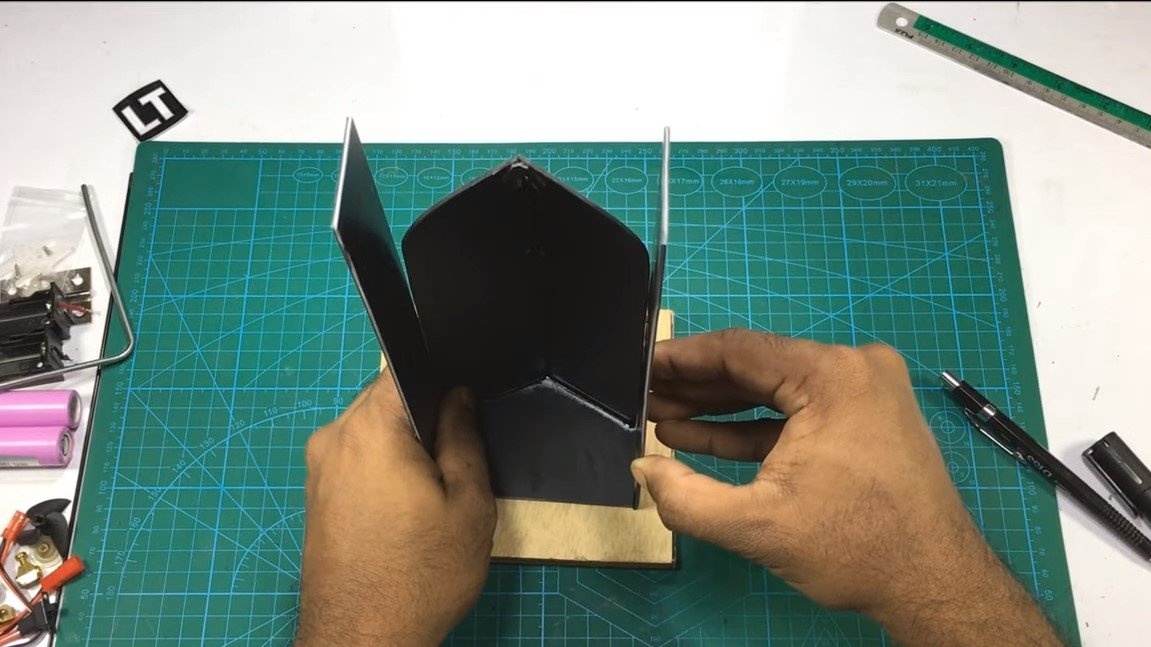
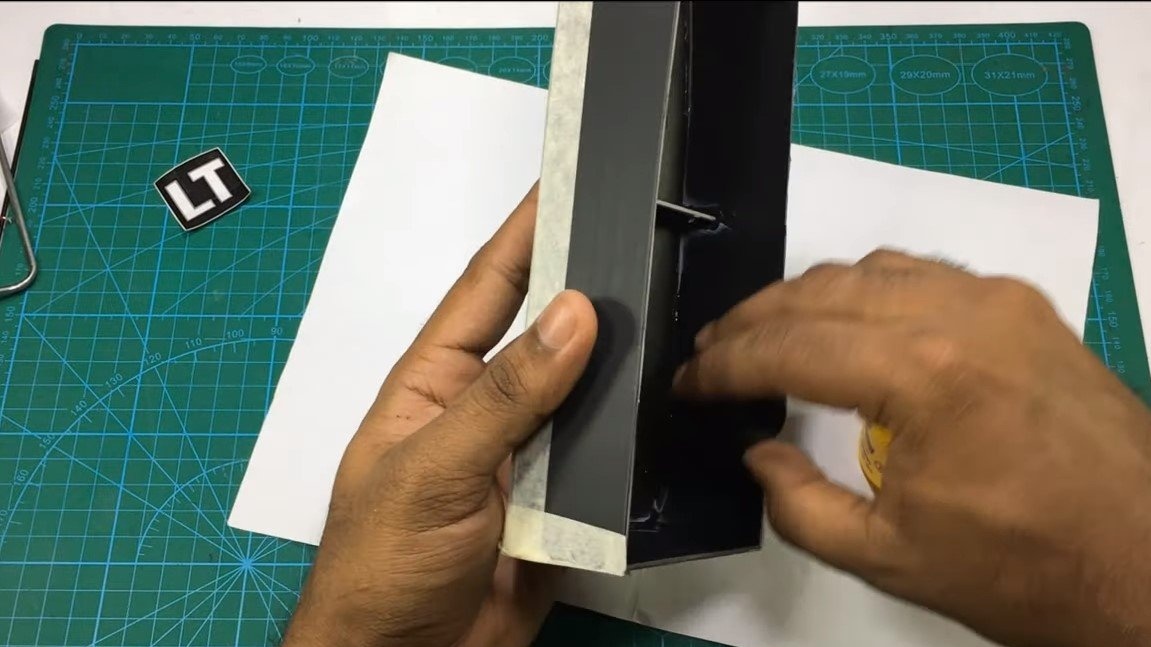
First of all, we will make the base of the boat, the author cuts the part out of sheet PVC, using his miniature circular saw. Next, draw a line along the workpiece with an office knife and now two halves can be bent into the gutter.
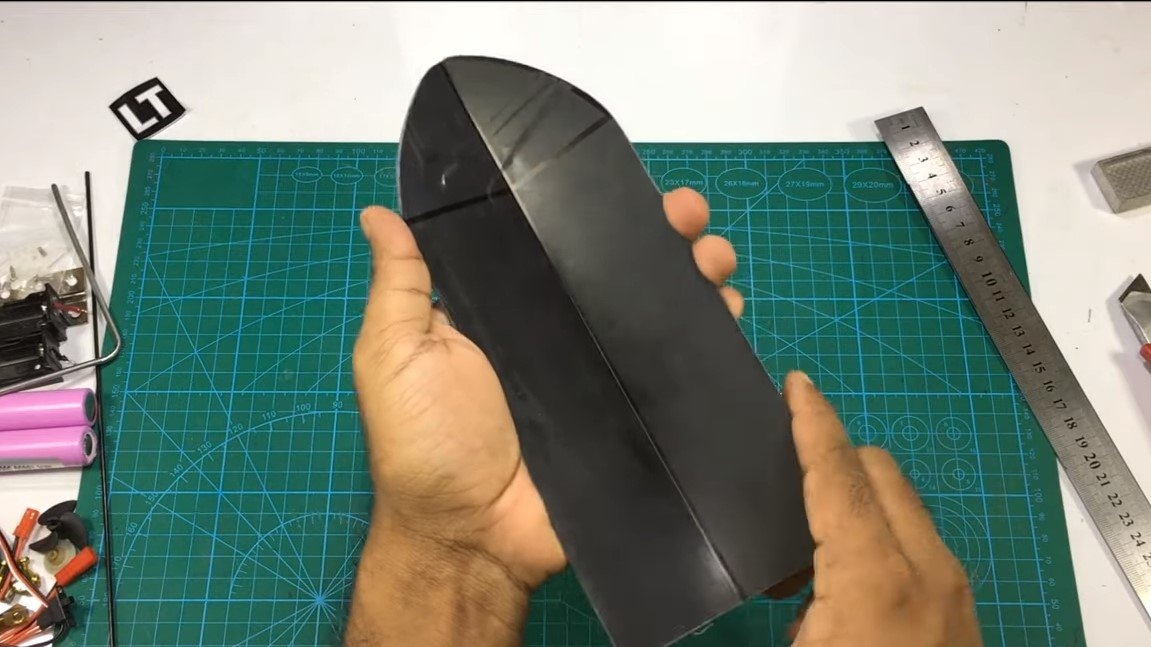
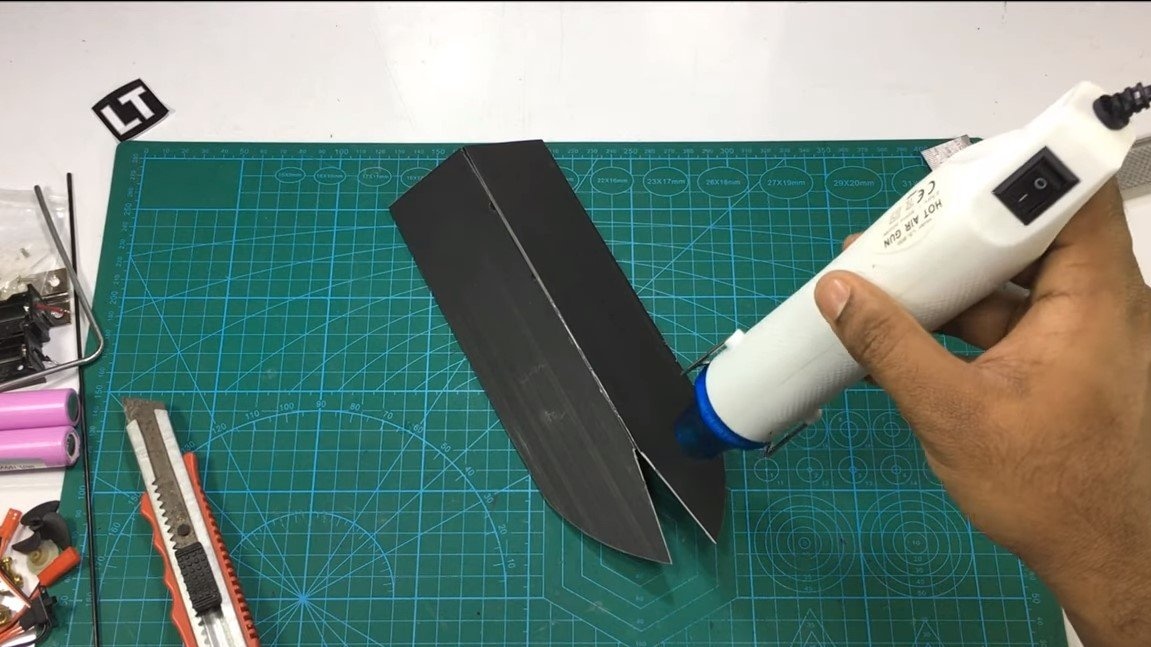
To connect the bow, the author resorted to using a building hair dryer. We glue everything temporarily with quick-drying glue, we also glue the partition inside.


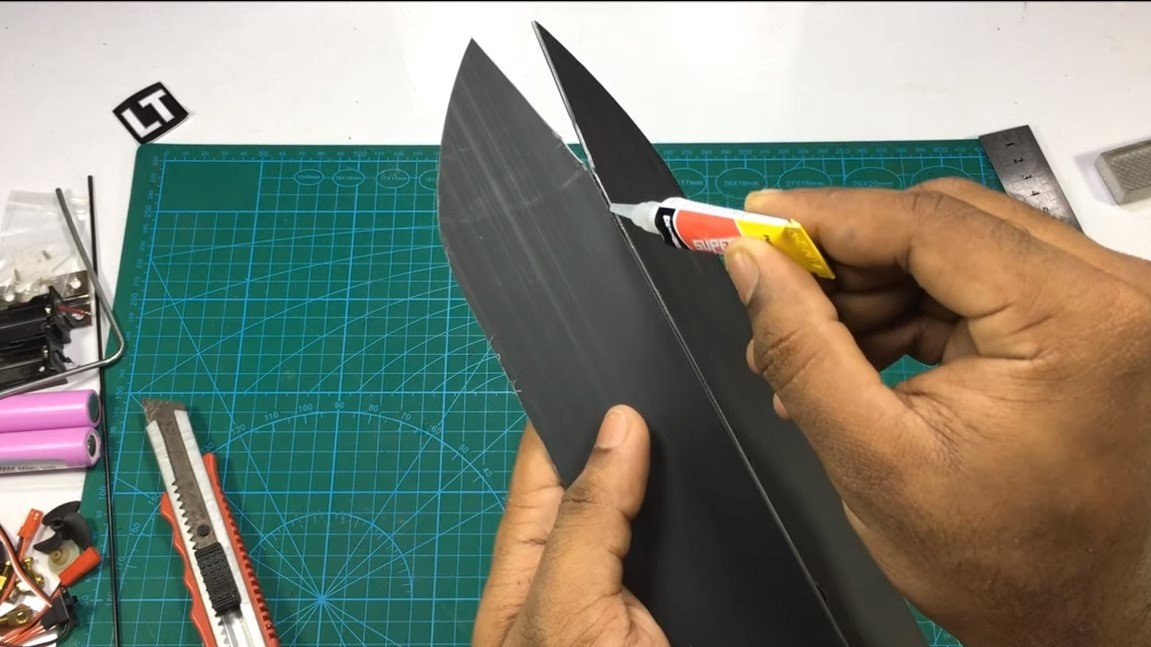
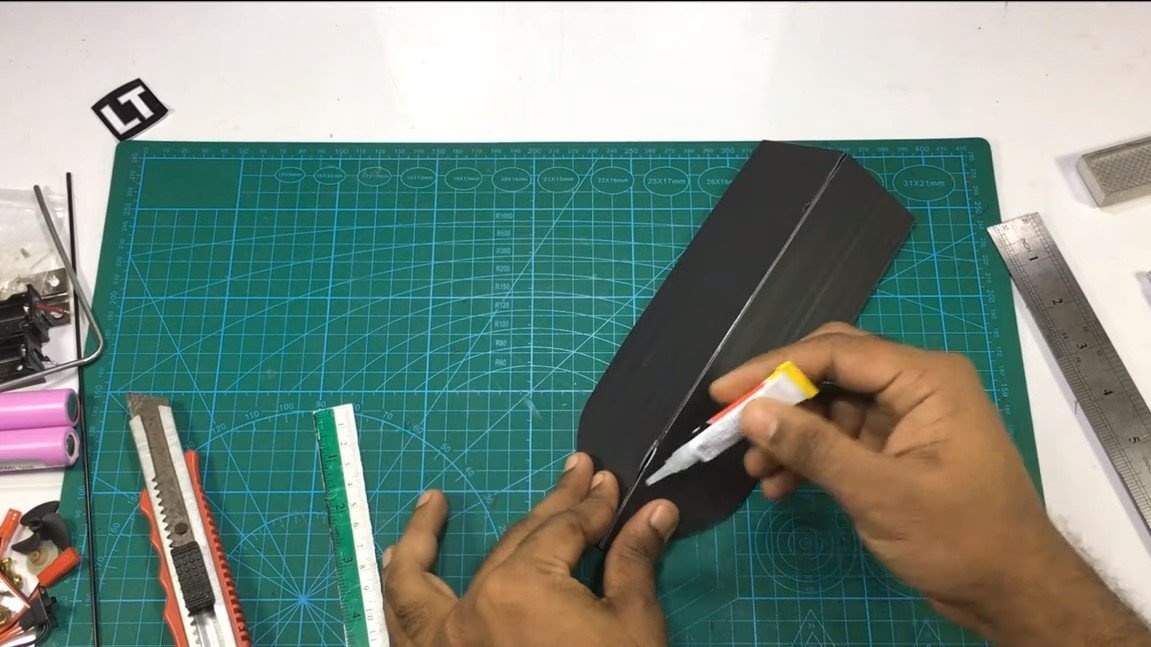
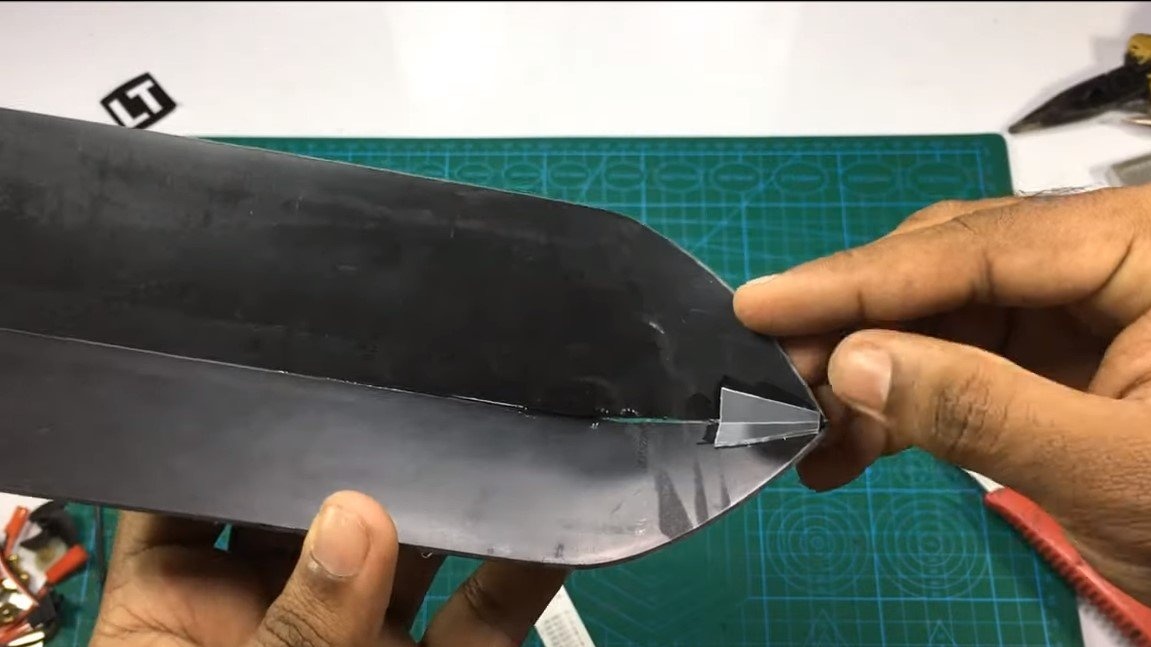
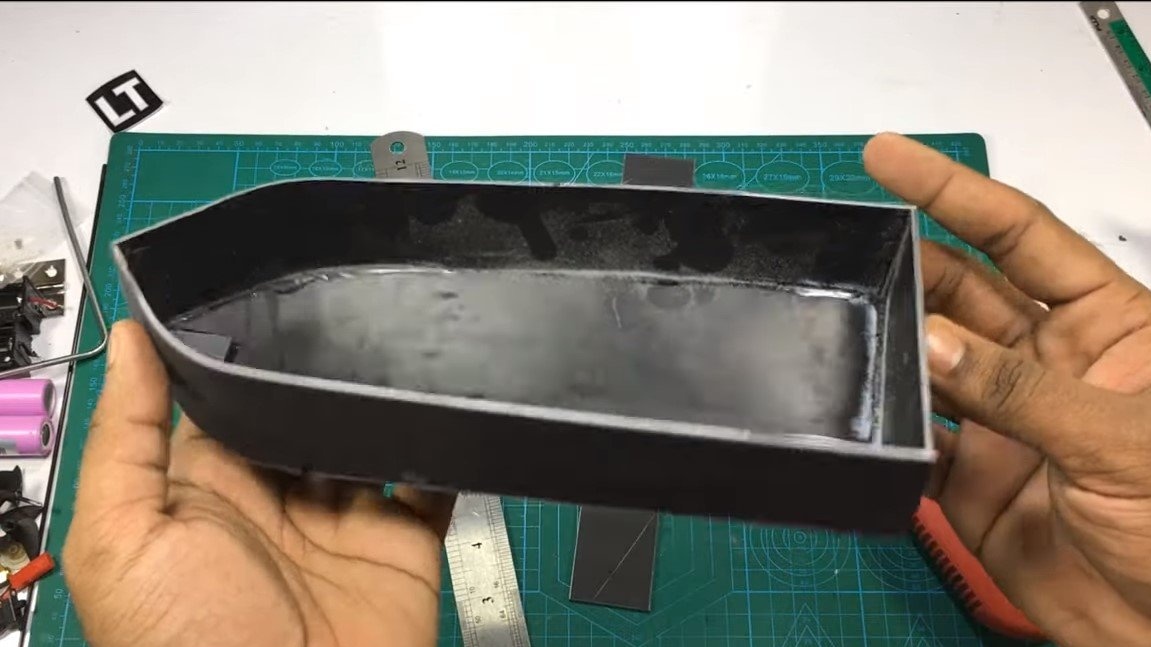
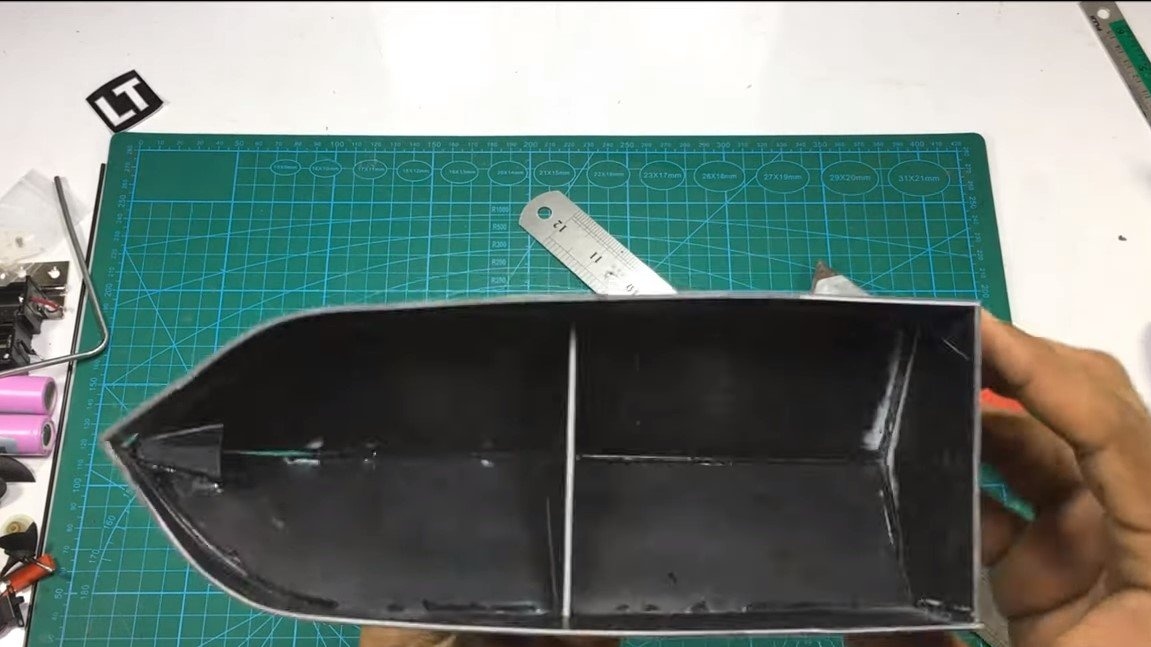
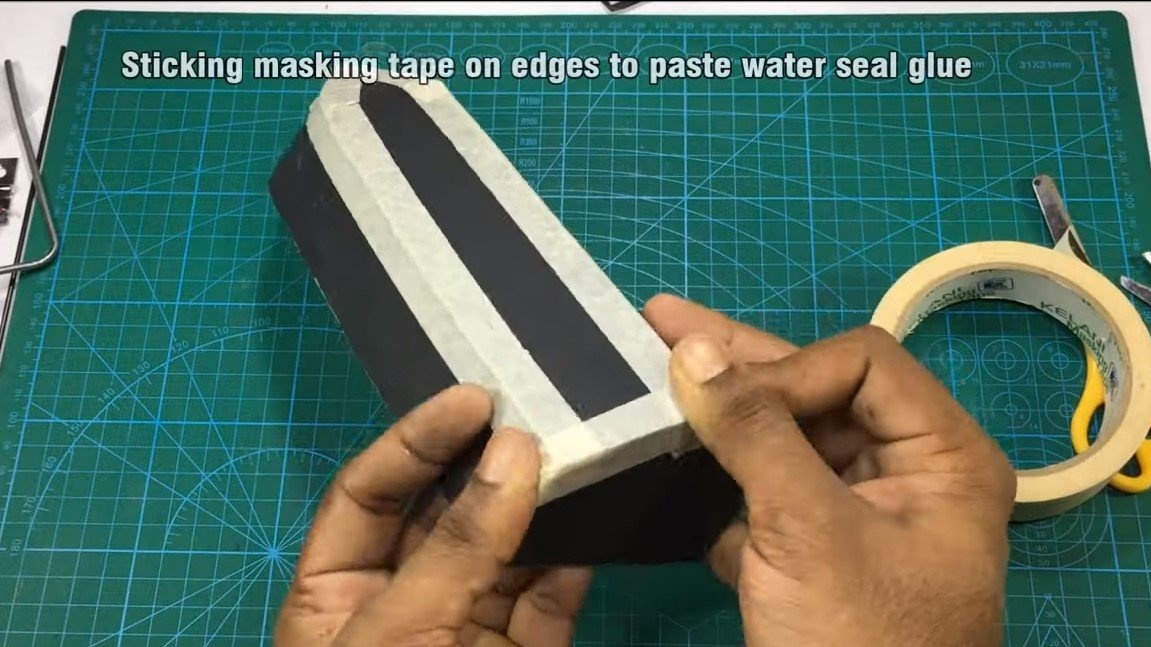
Having assembled the boat, we glue all joints from the outside with a masking tape. Next, we need to properly glue everything together and make a seal so that water does not pass inside. Here we need a special glue for PVC. We take a brush and well glue all joints with glue, leave this whole thing to dry.As a result, we get an excellent boat, on which it remains to install the necessary equipment.
Step Two Engine installation
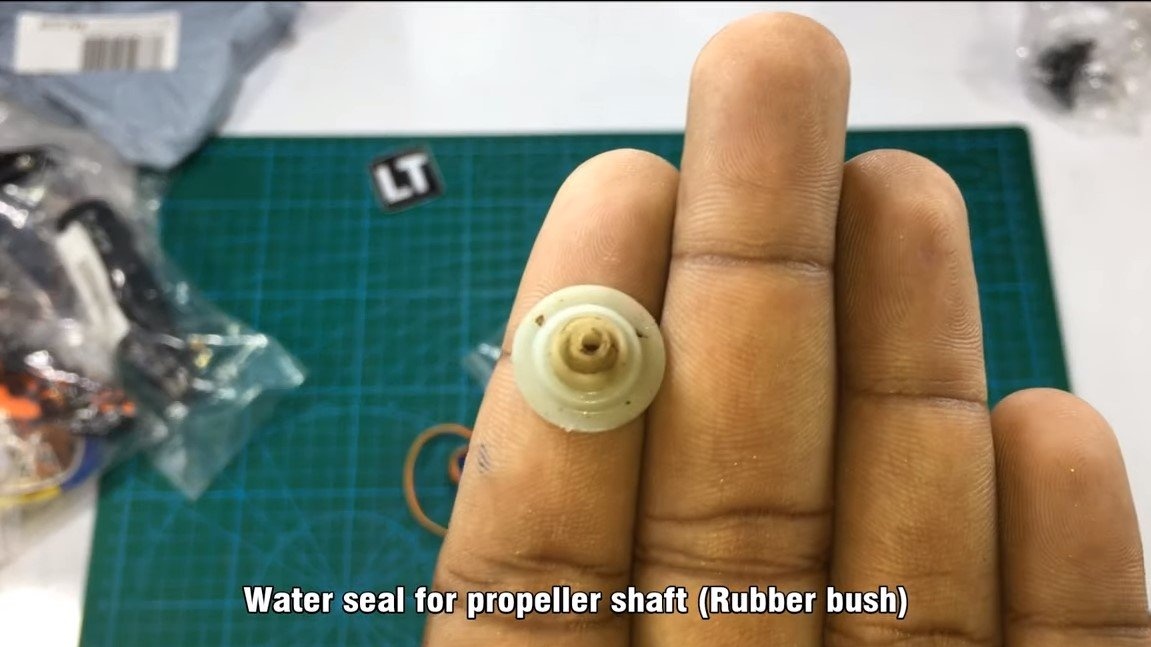
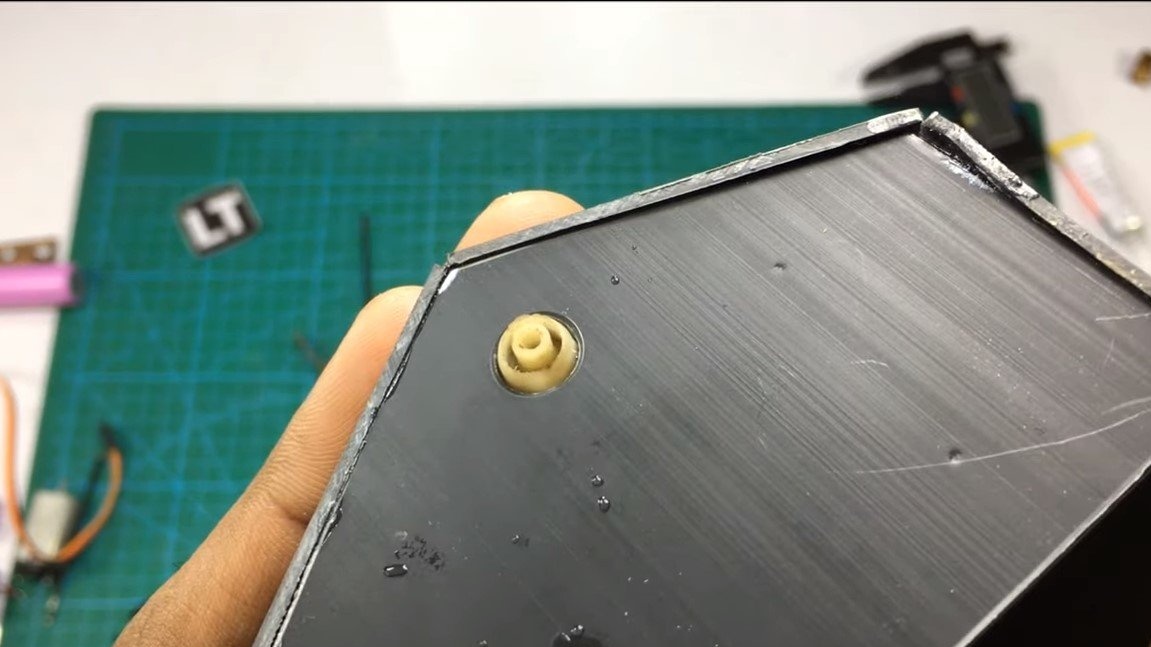
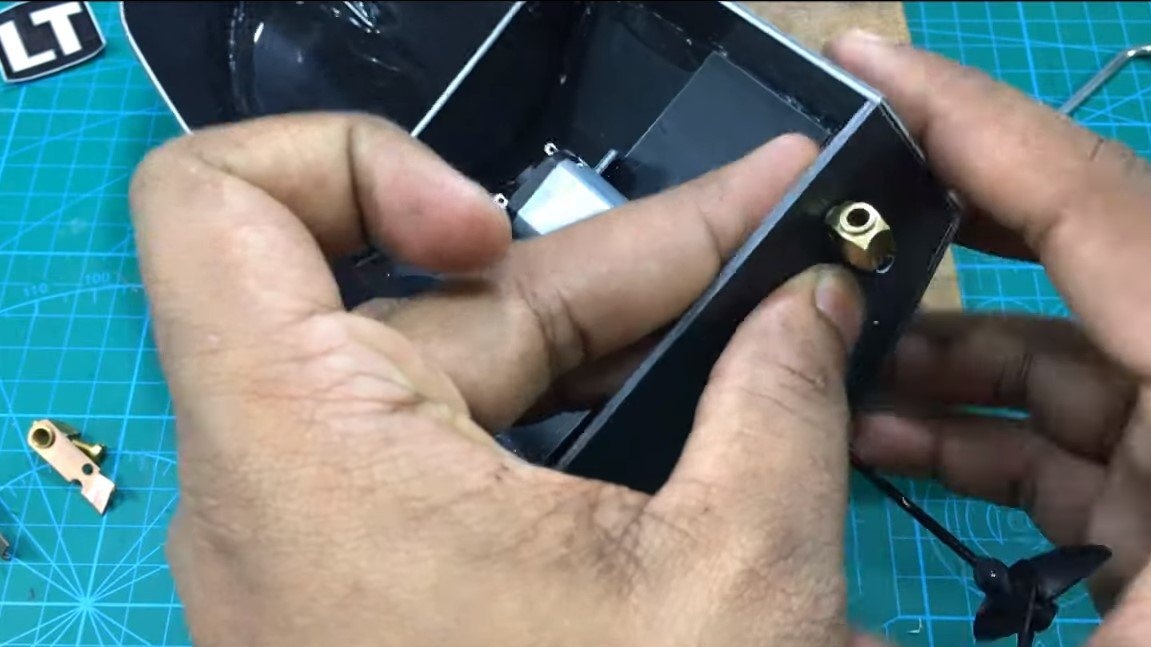
The main difficulty in installing the motor is that no water passes through the opening of the working shaft inside the boat. For such purposes, you will need an oil seal, you can do it yourself using rubber from a bicycle camera. The author had a ready-made oil seal from the pump, he glued it well with glue for PVC, and then additionally sealed everything with hot glue.

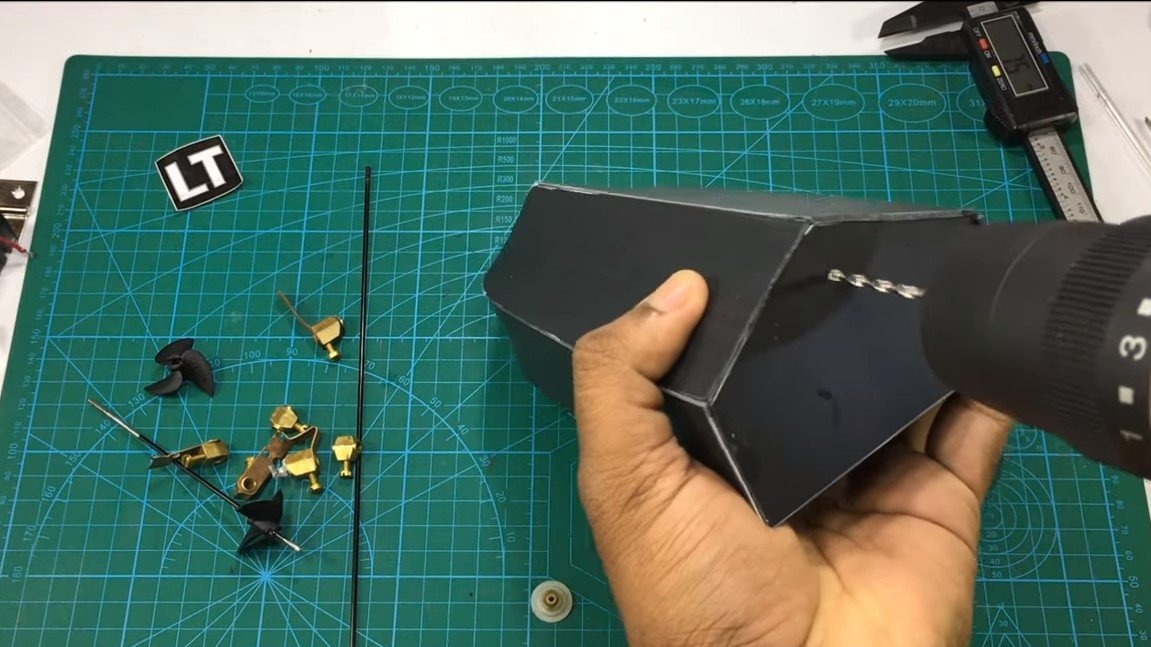
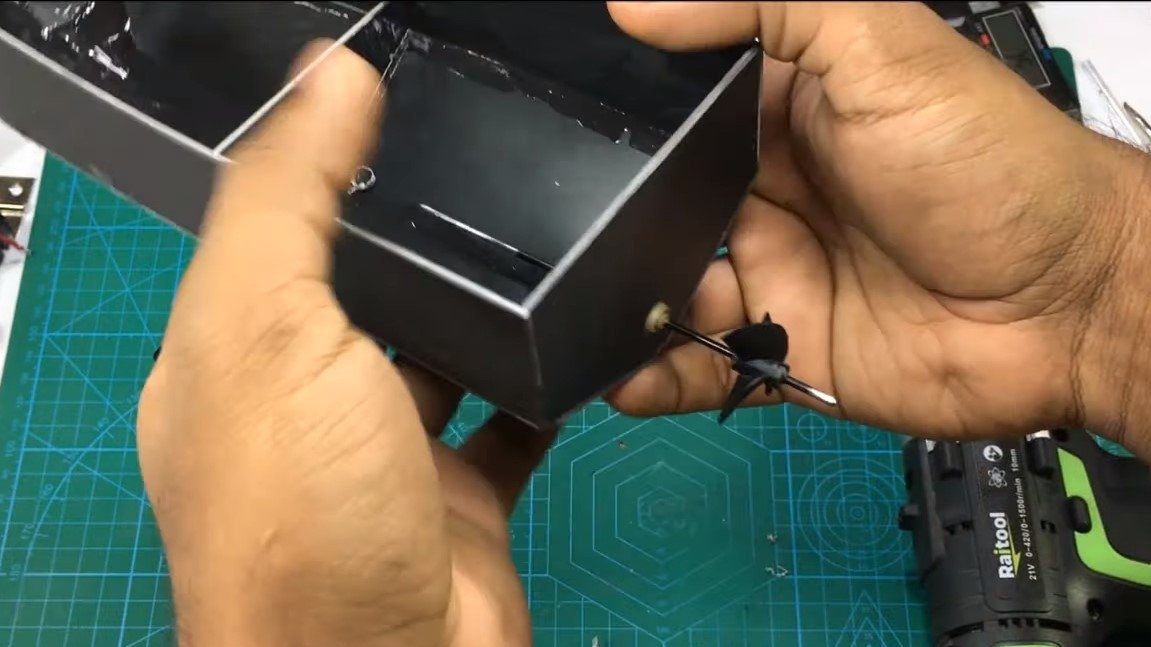
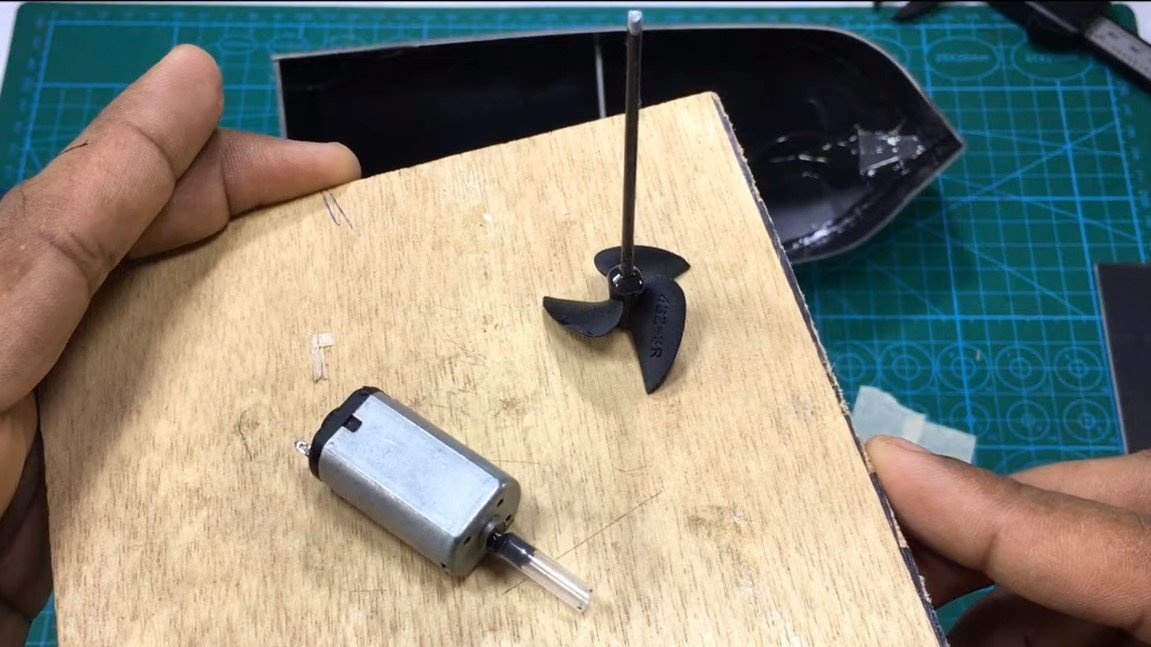
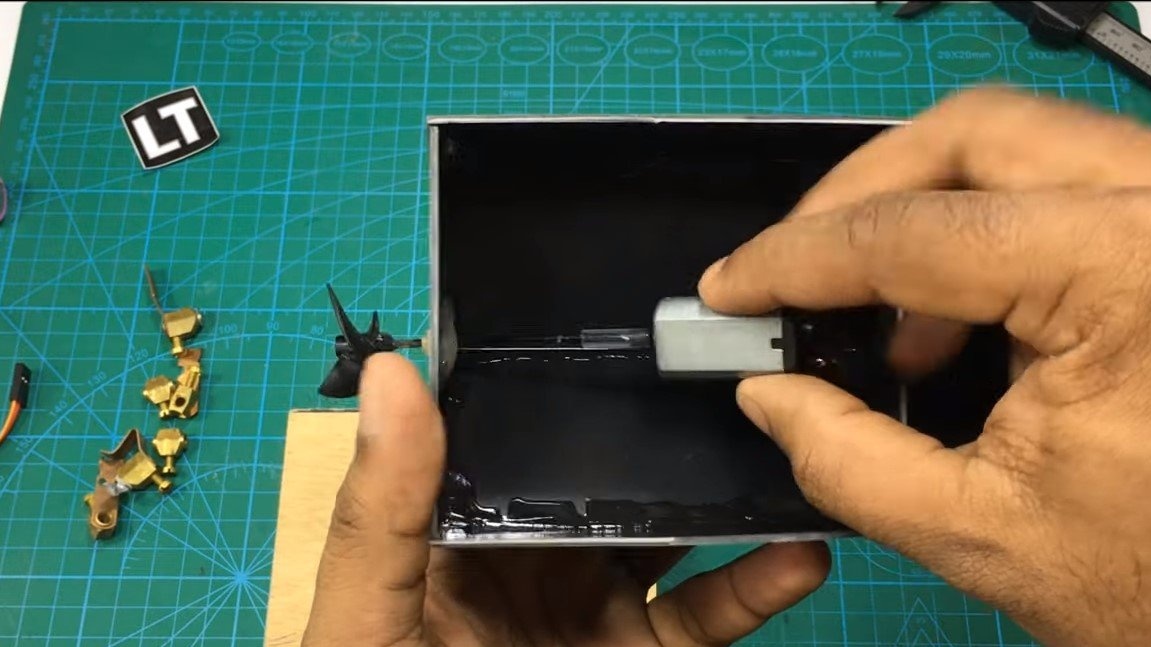
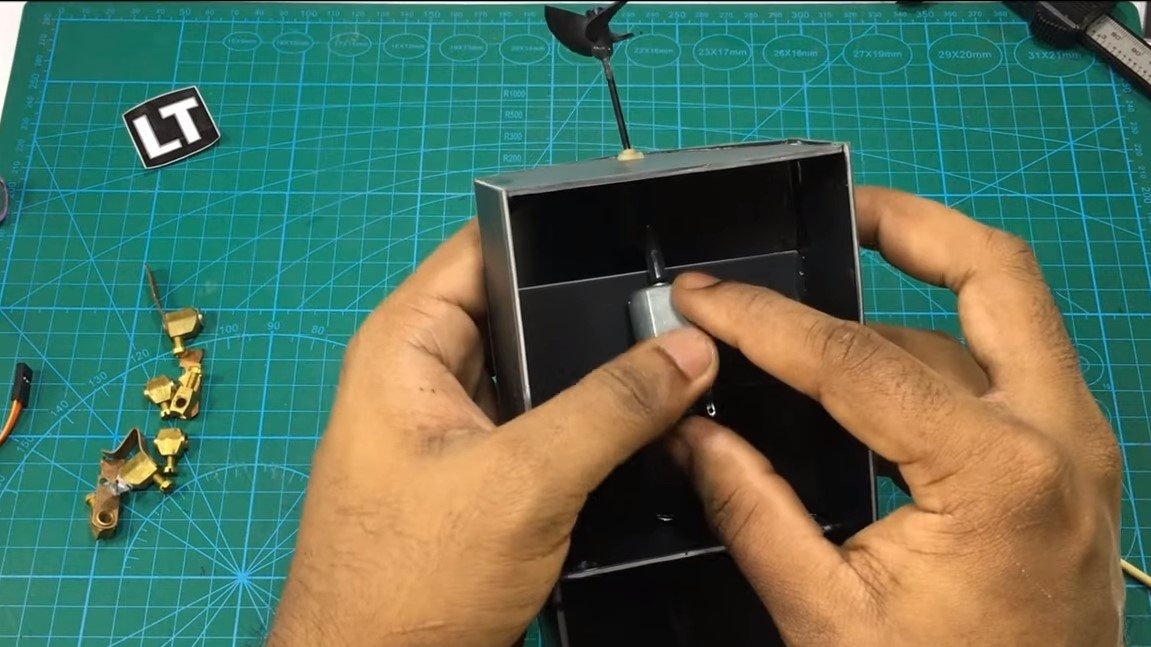
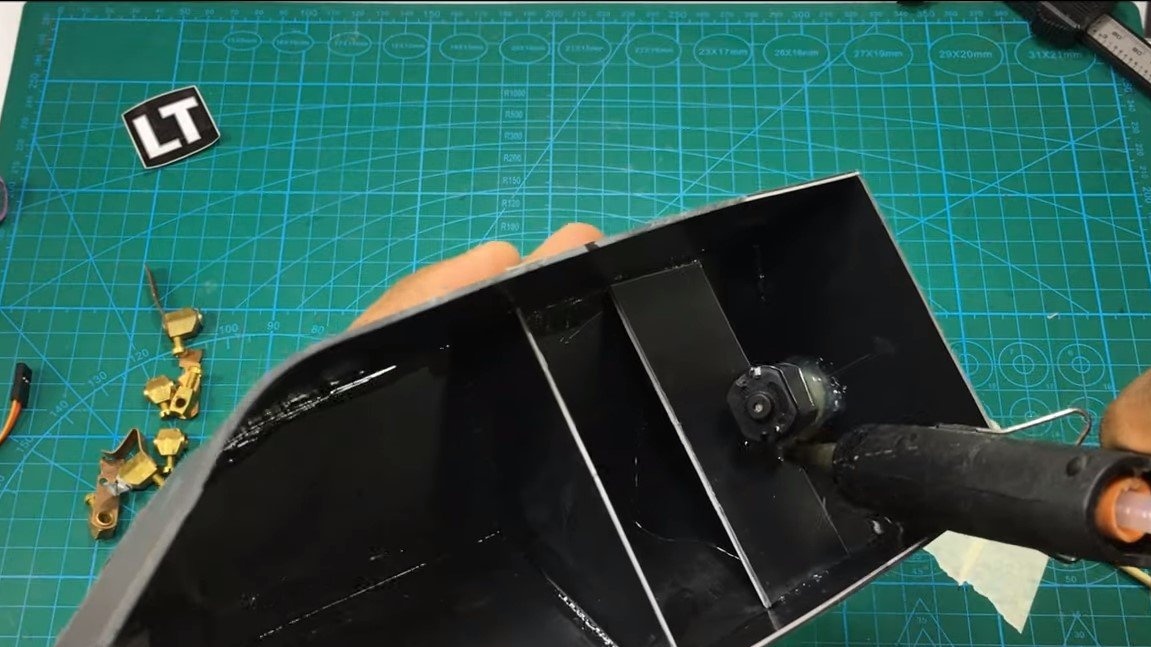
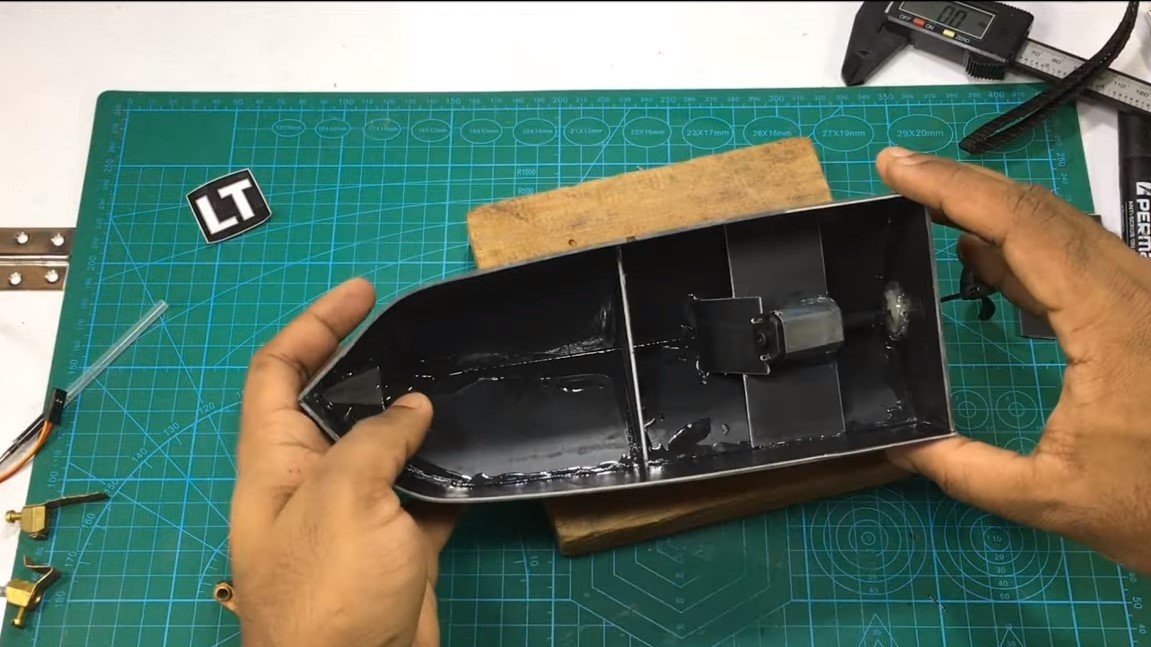
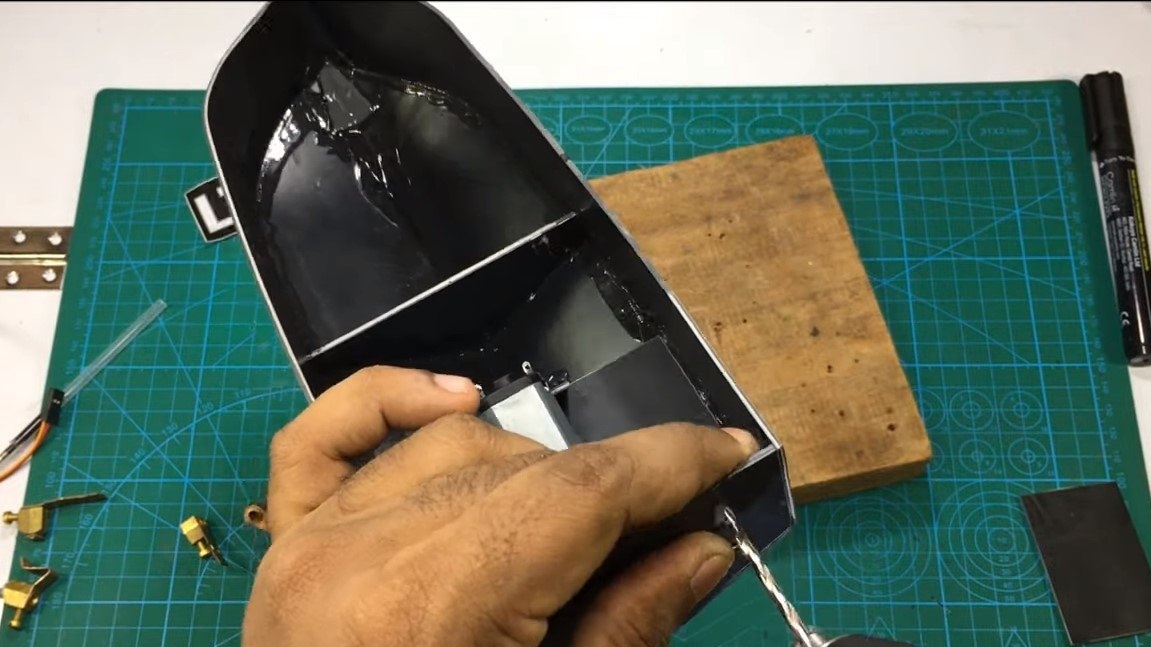
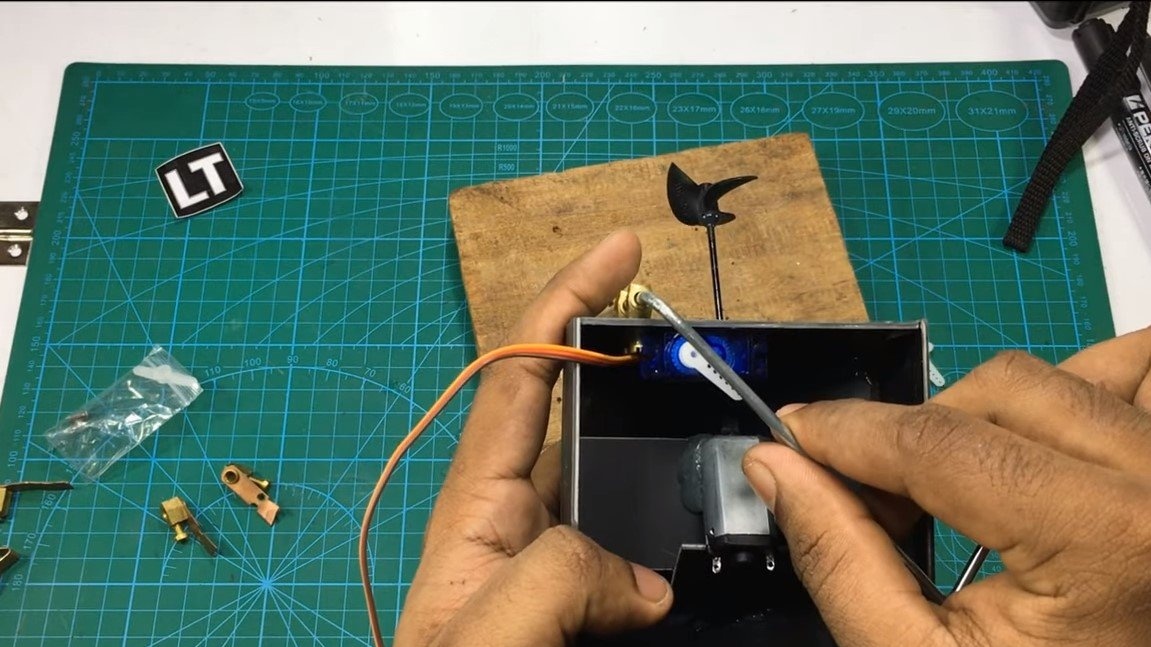
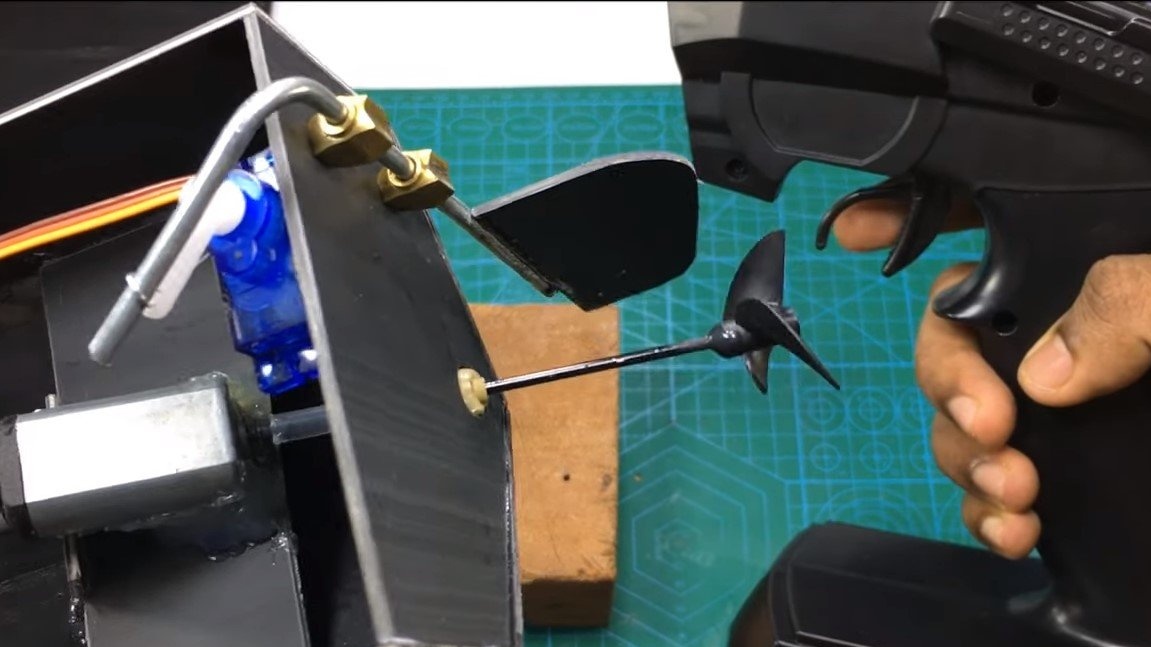
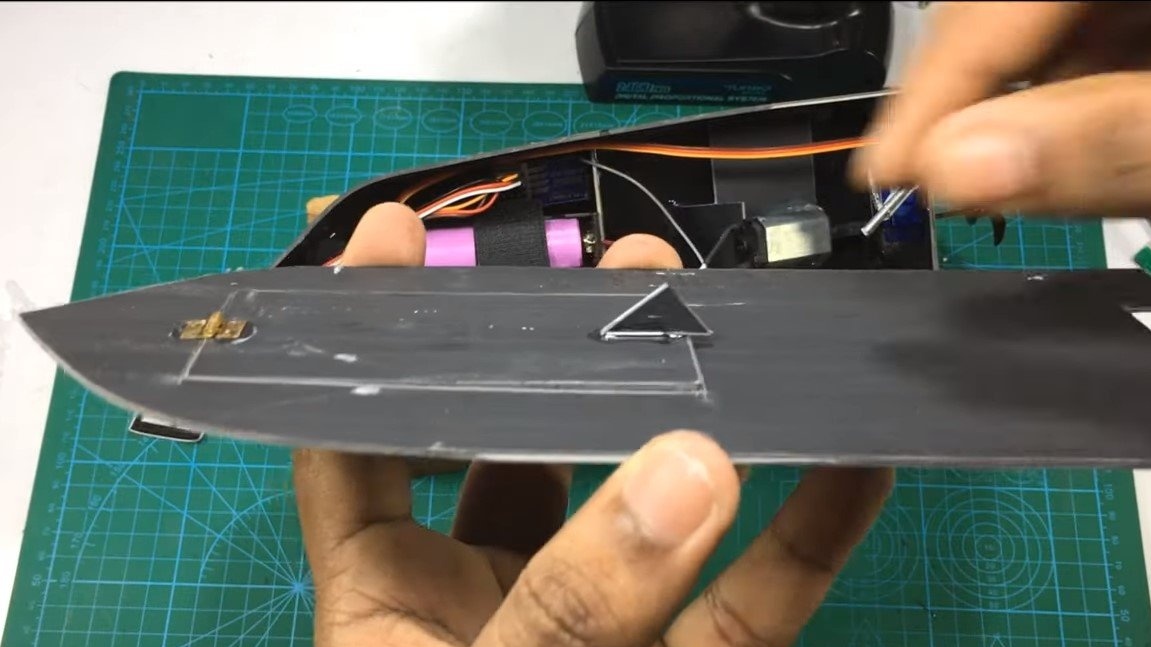
We make a motor mount under the motor, the engine is fixed at an angle at a certain distance from the bottom. Thanks to this design, even if a little water gets inside the boat, the engine will not flood. Securely fasten the motor to the engine mount with glue or a clamp and install the propeller shaft. A bicycle spoke is suitable as a shaft, and it is even better to use a steel axis from the drive, it will not form beats. Glue the propeller to the axis with a suitable glue.
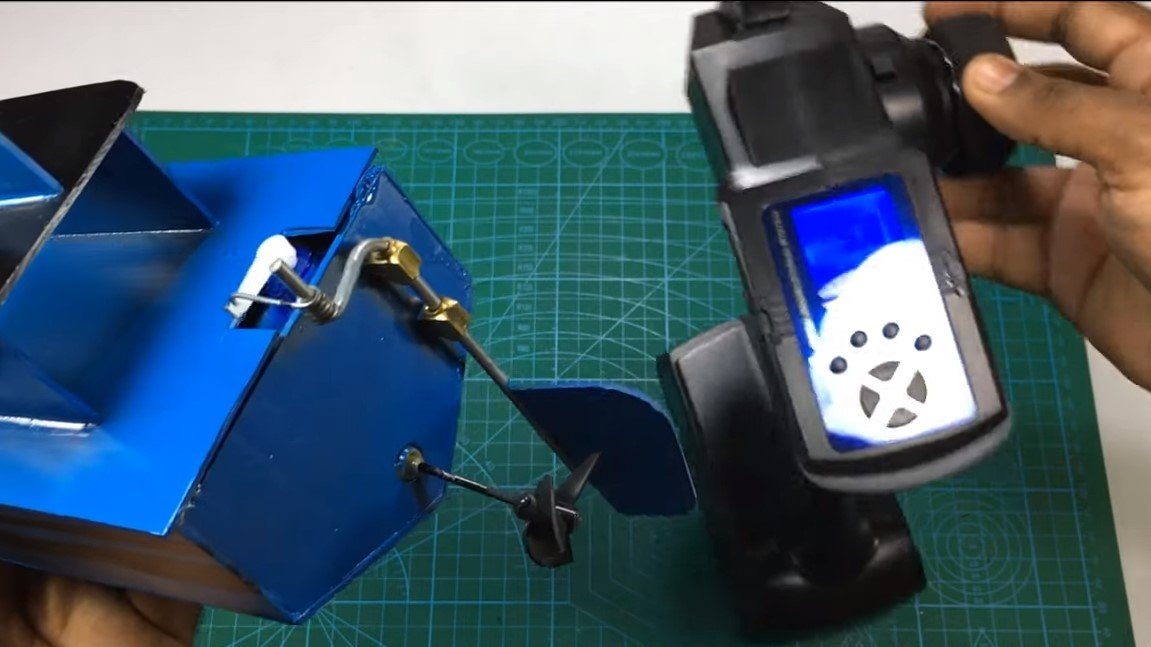
Step Three Steering
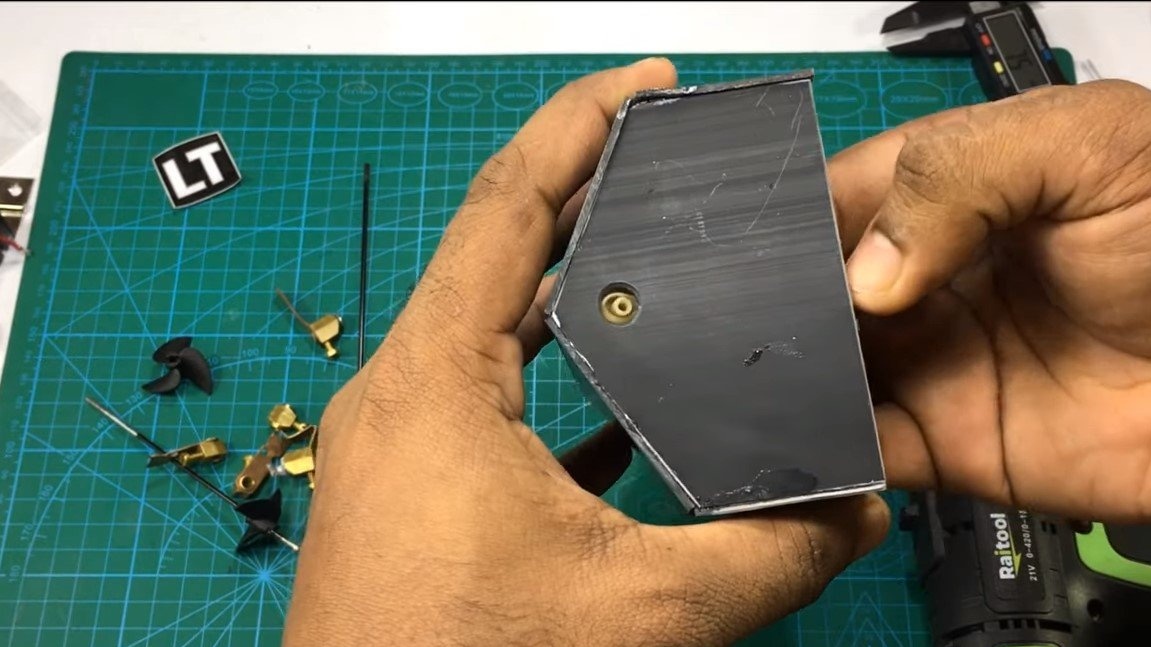
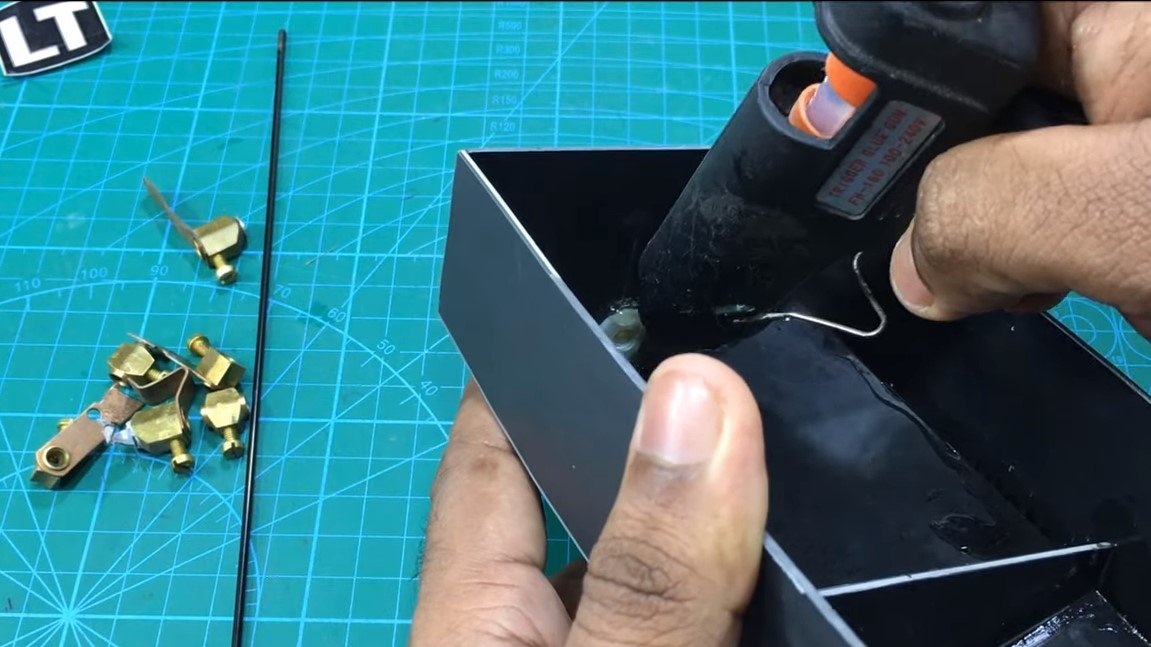
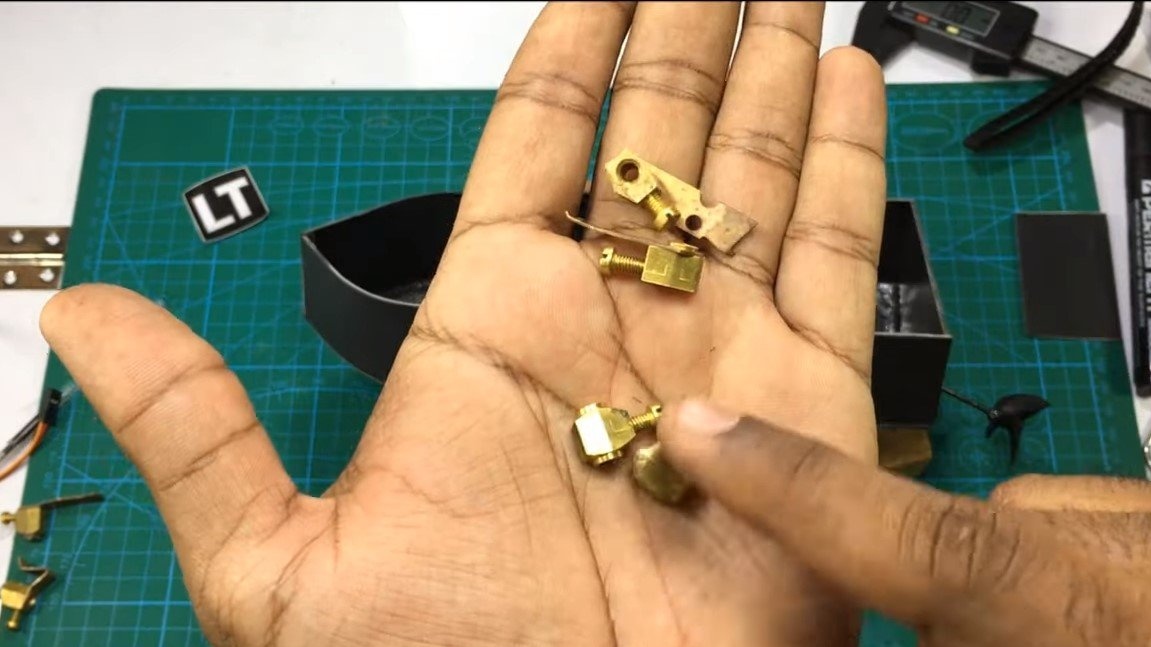
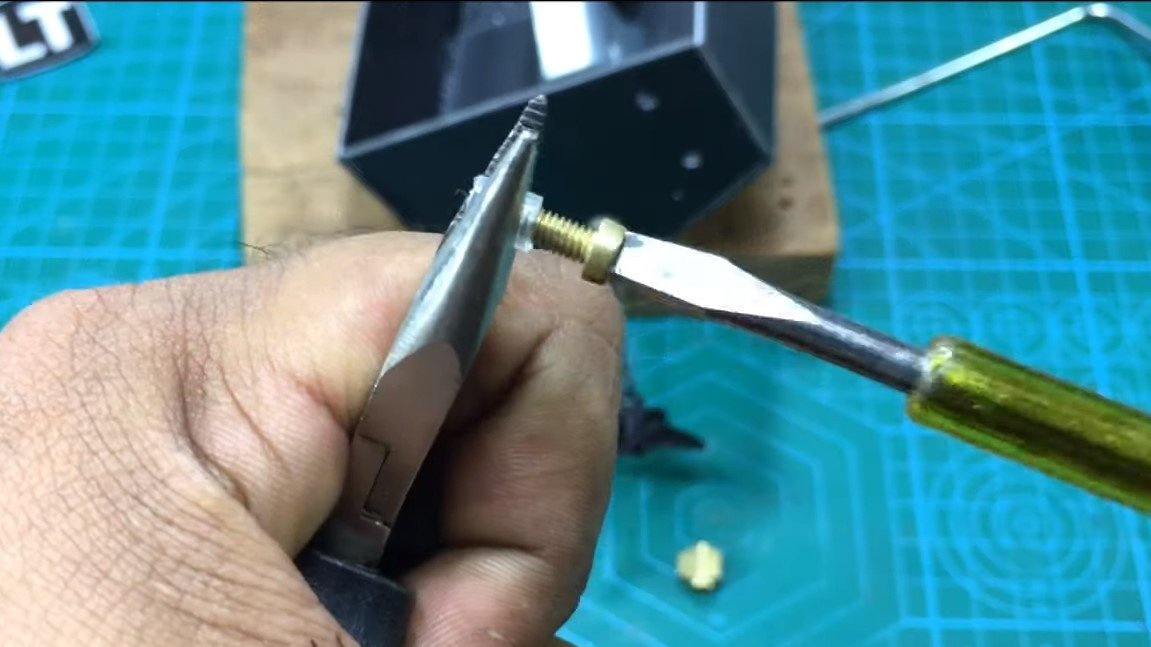
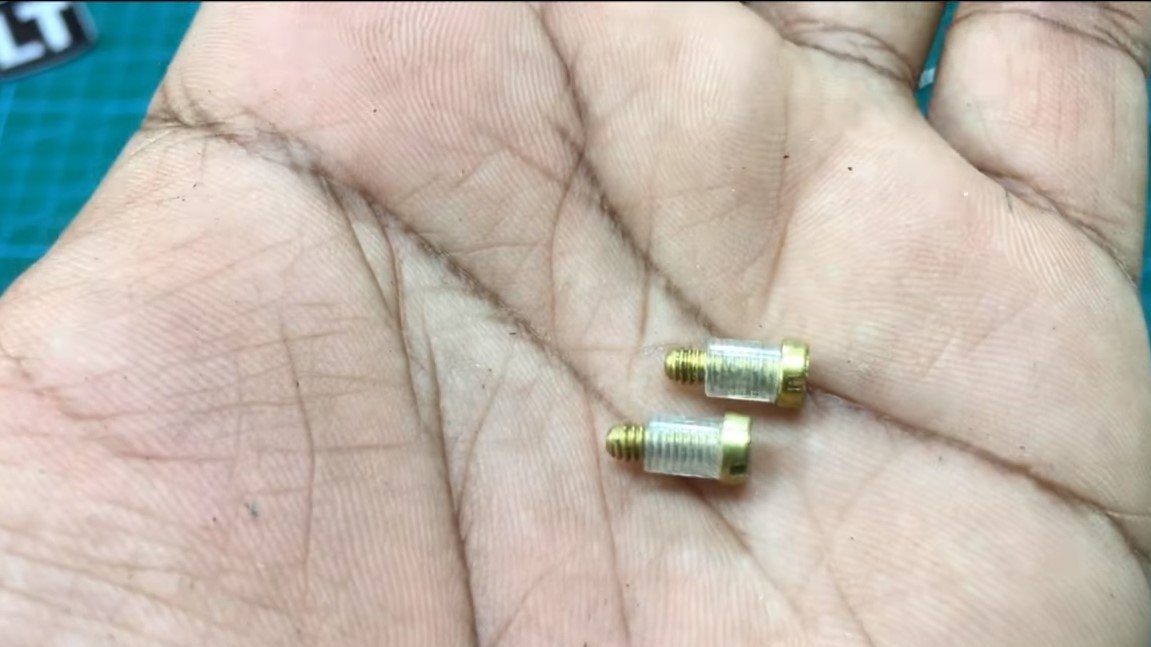
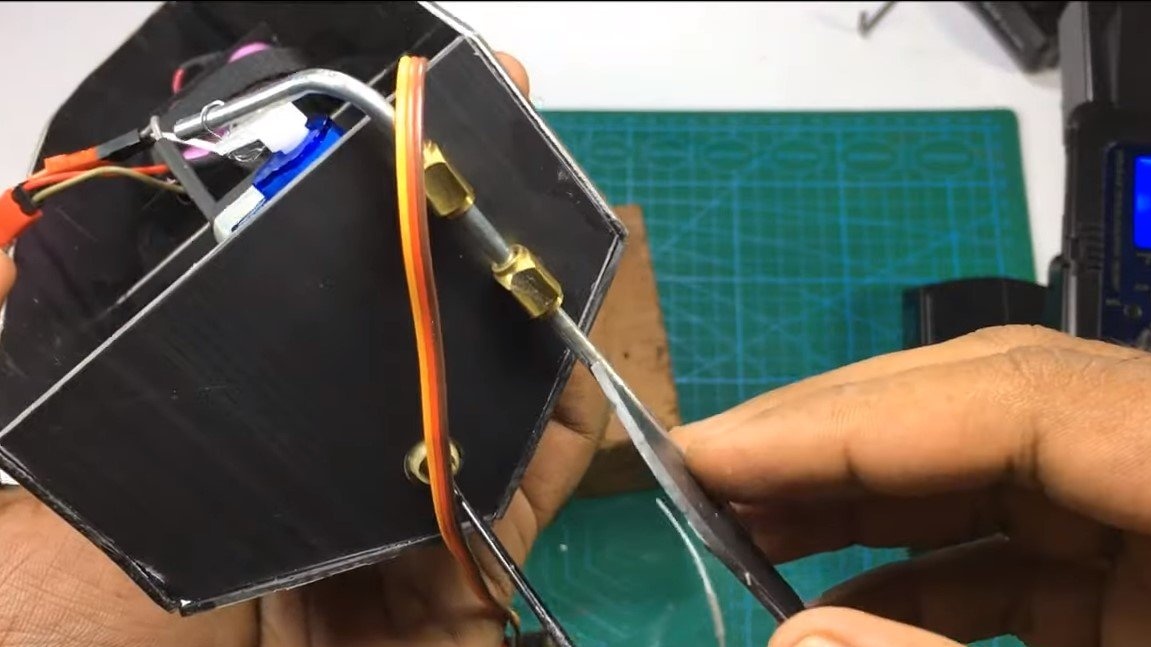
We make bushings for the steering shaft, the author made them from brass electrical clamps. In order not to cut the screws, the author cut out plastic tubes under them so that the screws would not clamp inside the steering shaft.
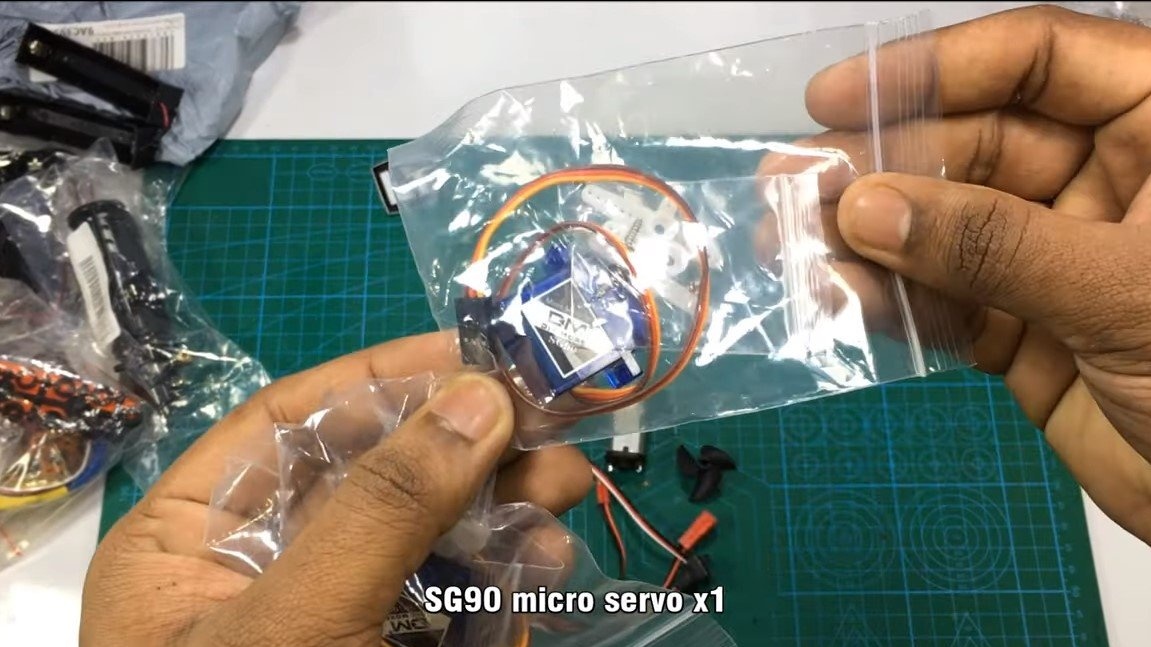
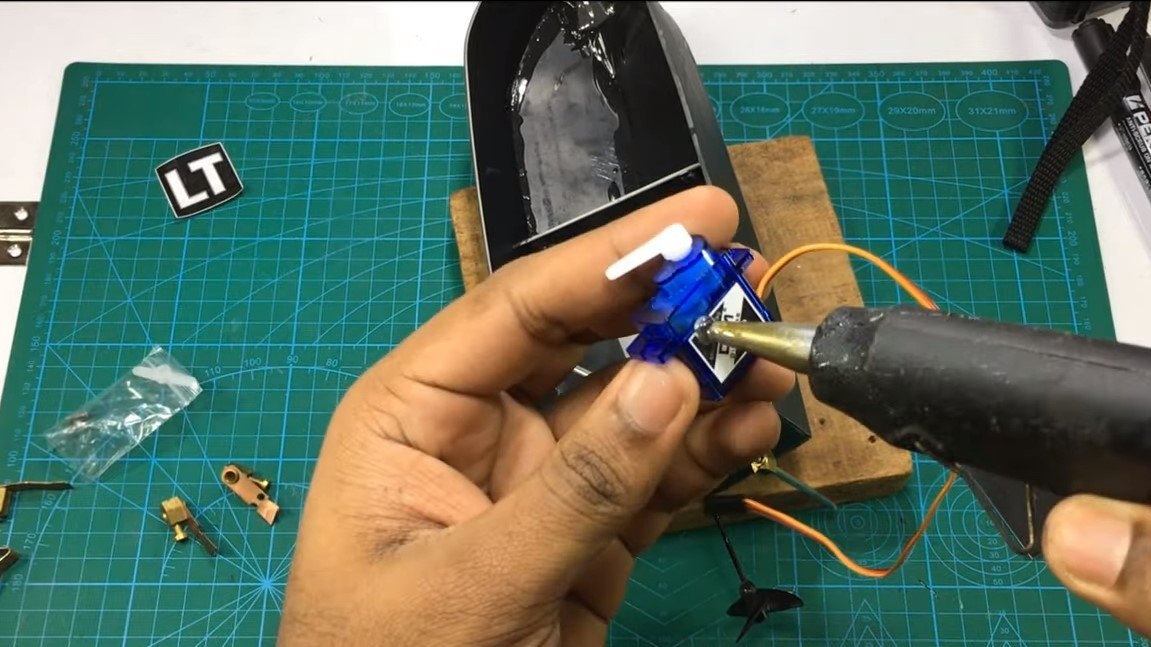
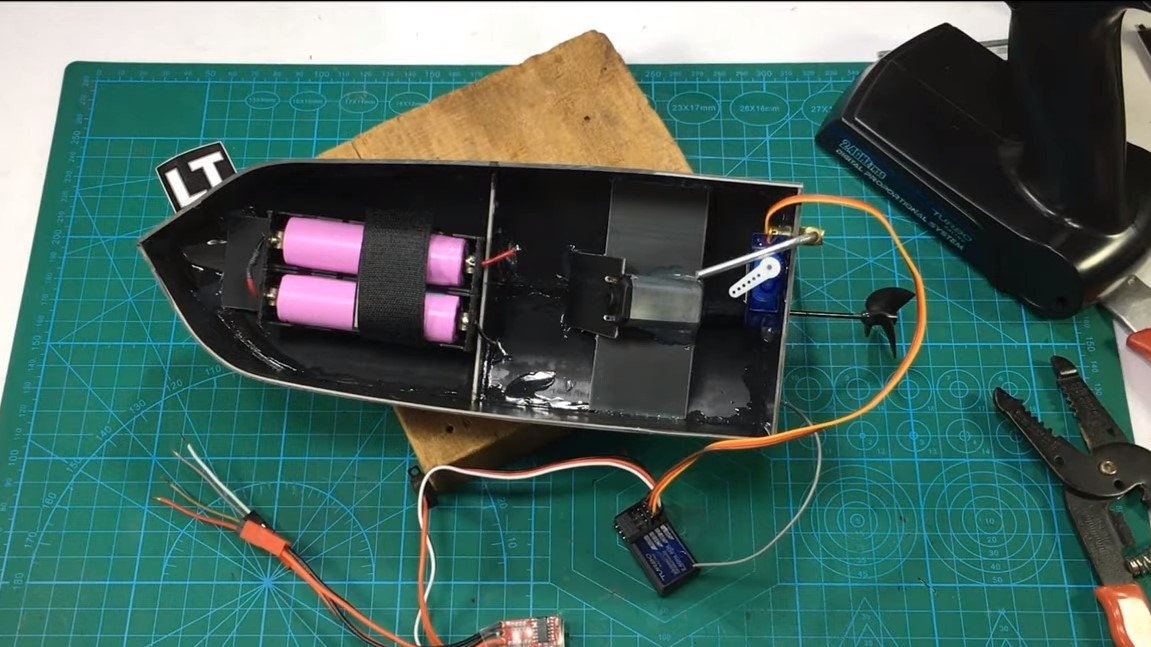
As the steering shaft we use a wire, a spoke or another suitable rod, we glue the steering wheel from a piece of PVC to it. The steering will be controlled by a small servomotor, which the author glued to the hull of the boat with hot glue.
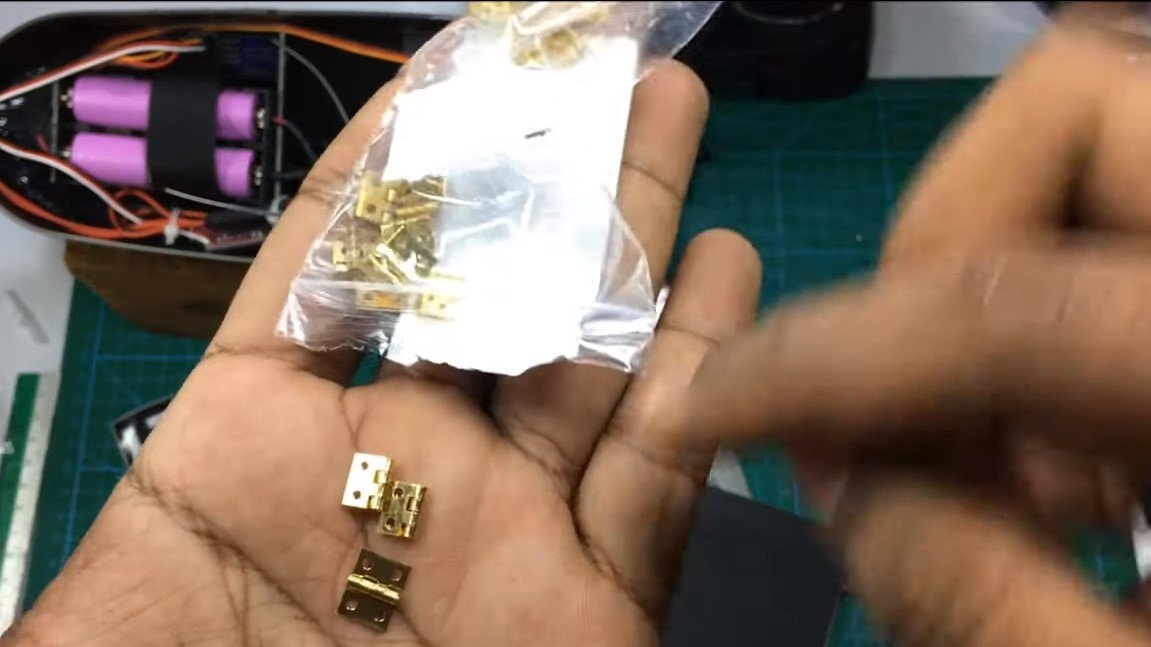
Step Four Power Supply and Electronics
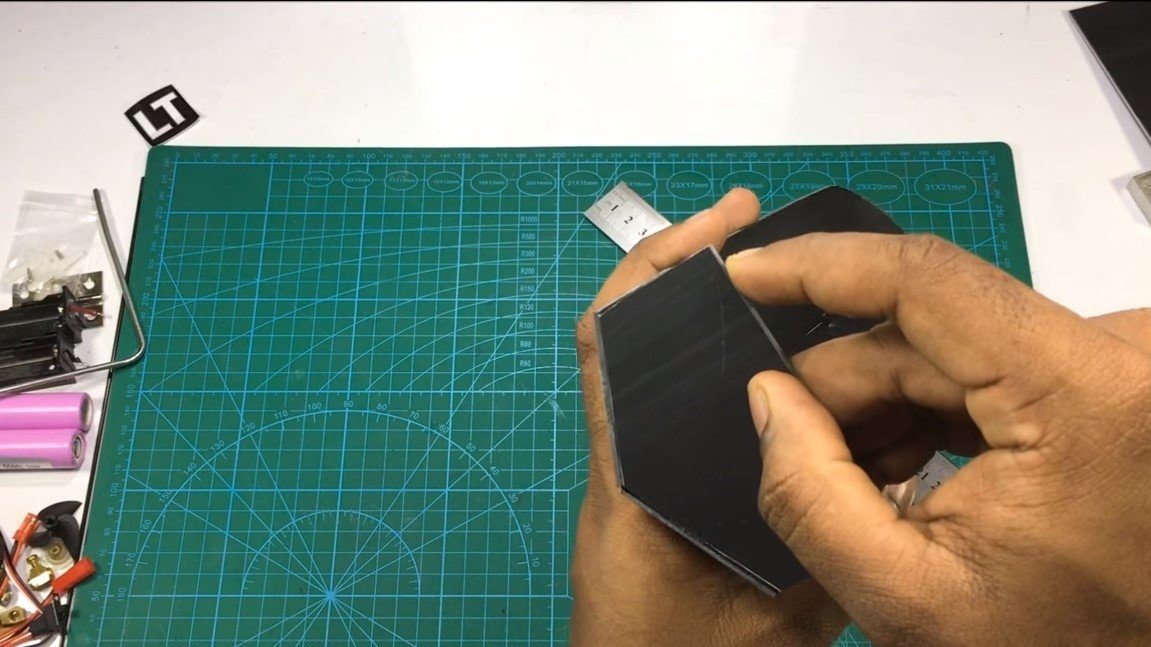
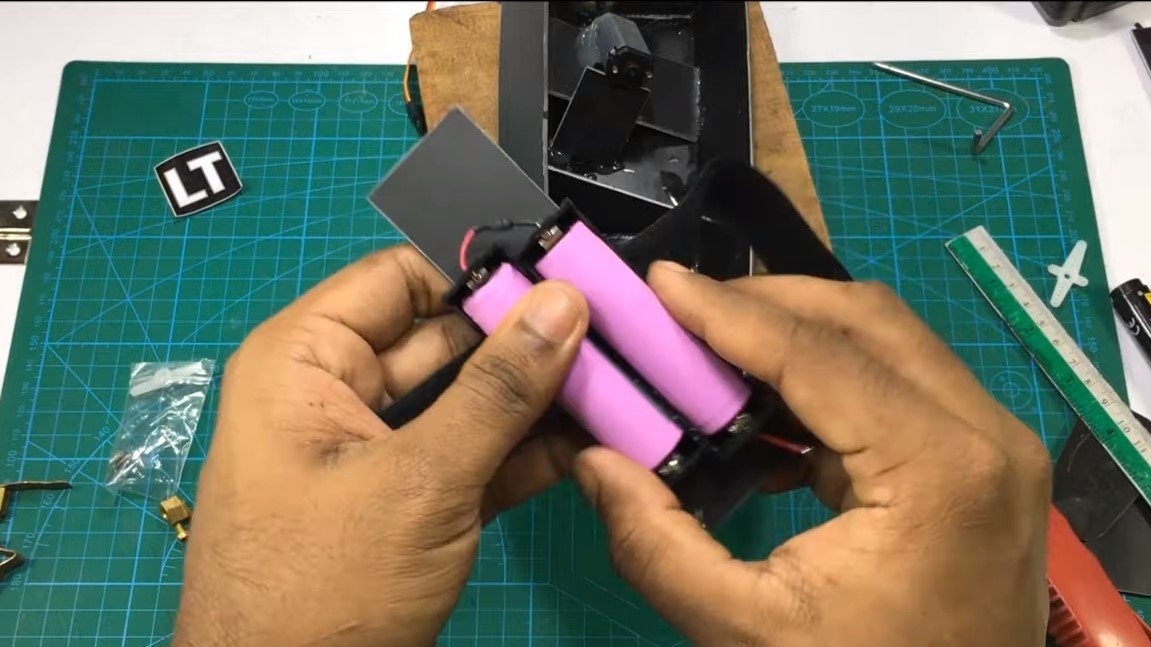
We install 18650 battery cells in the bow of the boat, this also applies to electronics. The bow is separated from the engine compartment by a partition, so that water will get here only if the vessel is turned over. The author installed the batteries in the holders, please note that discharging the batteries below 2.5V will cause them to permanently decrease their capacity.

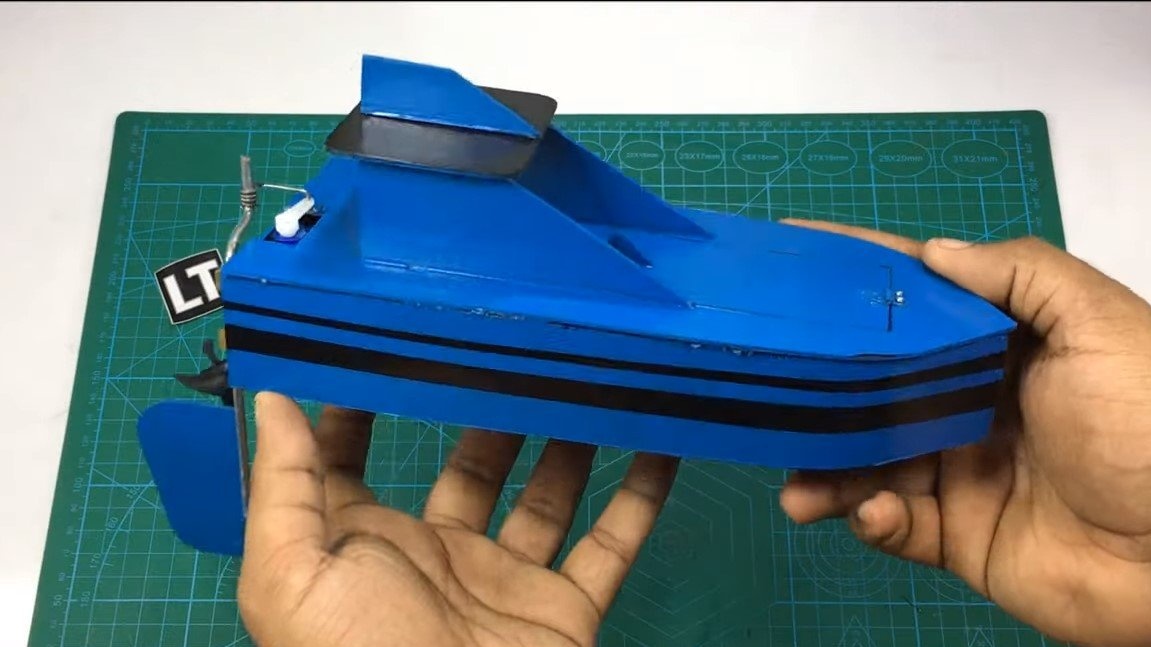
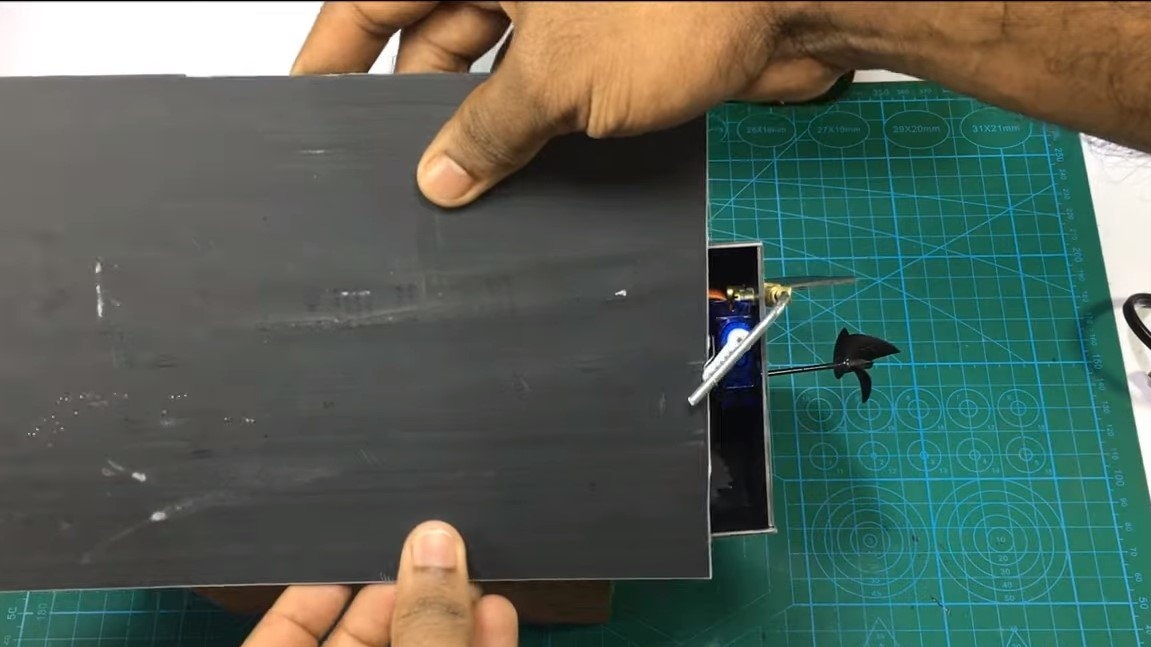
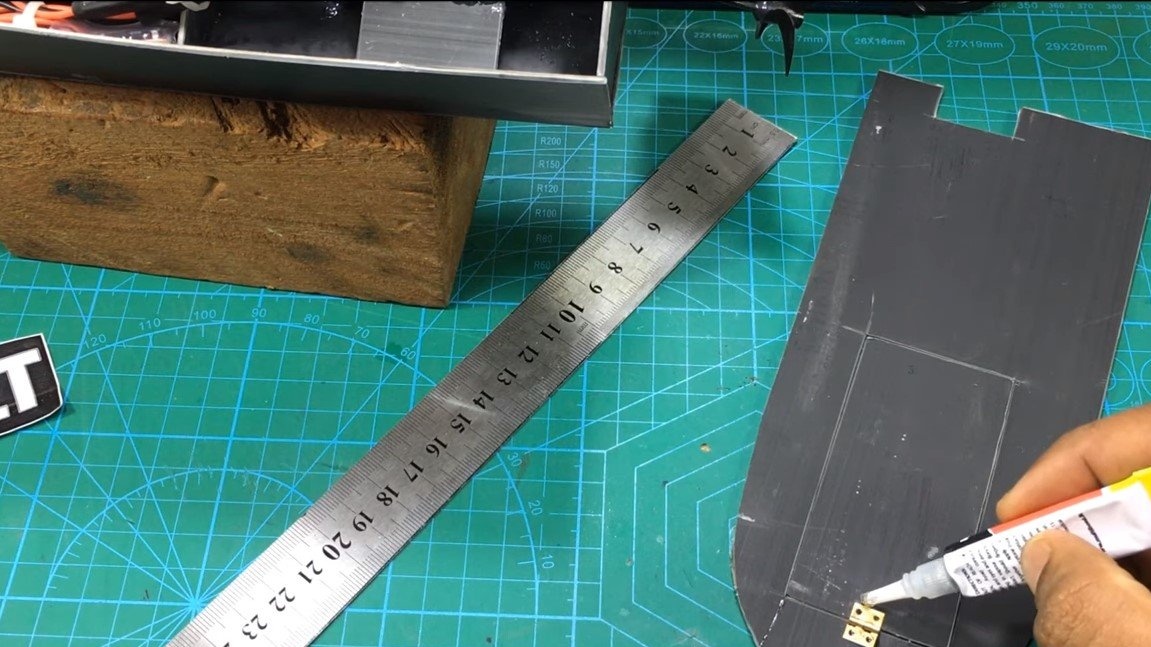
Step Five Deck
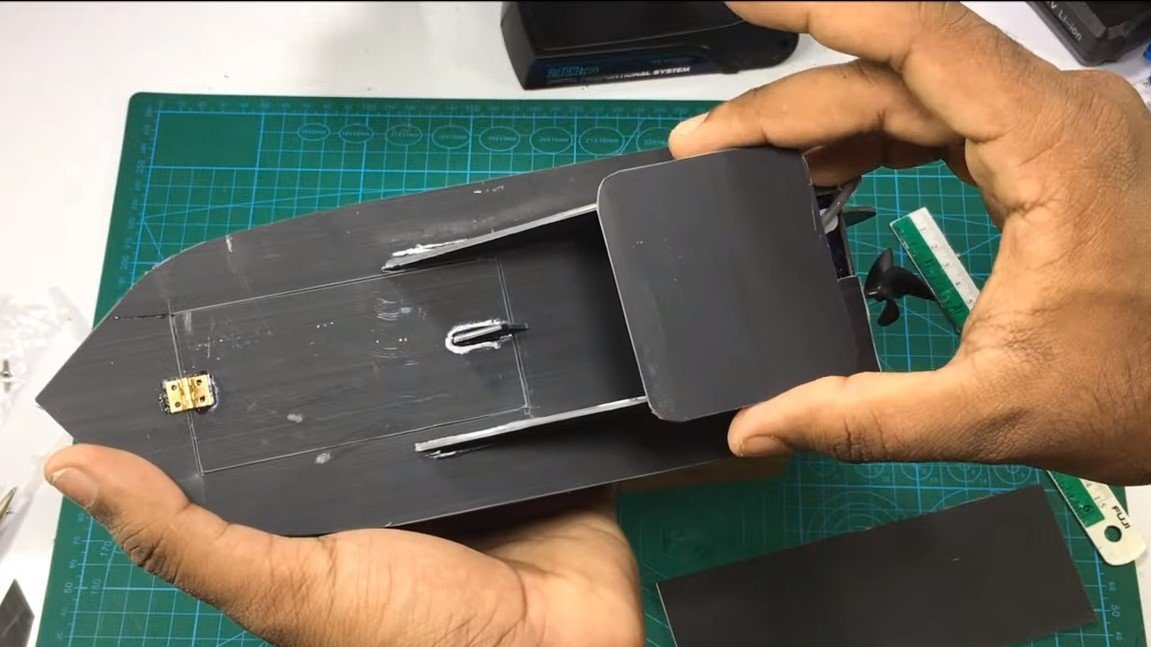
The deck is also cut out of PVC sheet and glued securely to the boat. There is a hatch in the deck, its author hung on a small loop. Thanks to this hatch, you can access the electronics and batteries. Of course, it would be nice to make the hatch airtight, so the water will not get inside the boat, even if it rolls over.
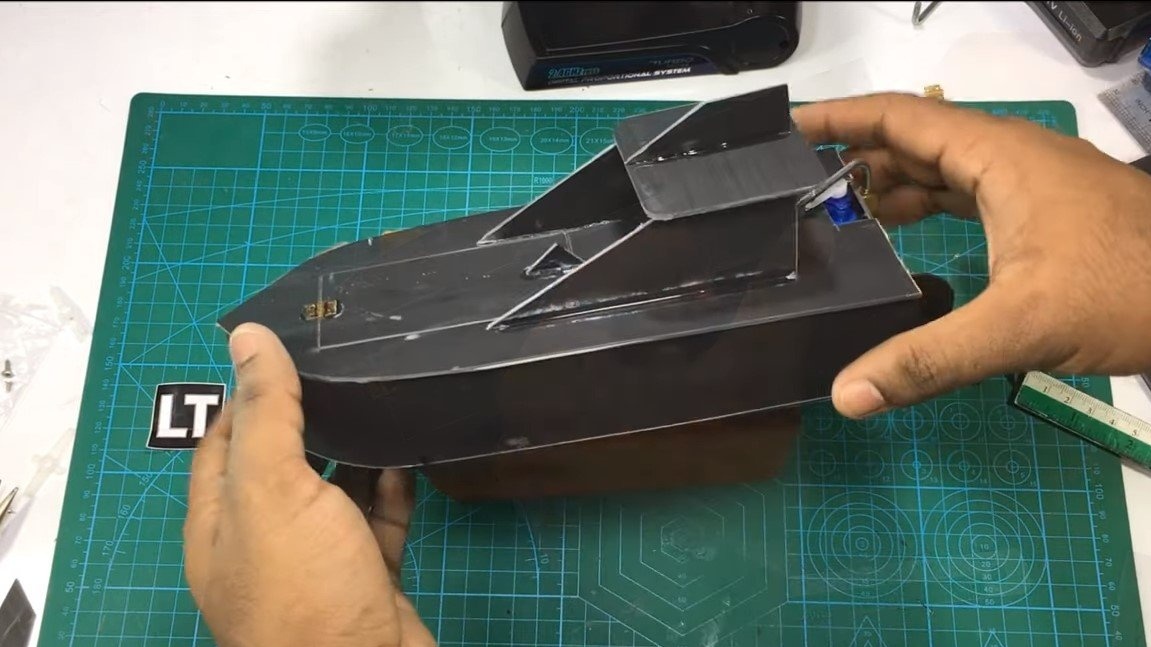

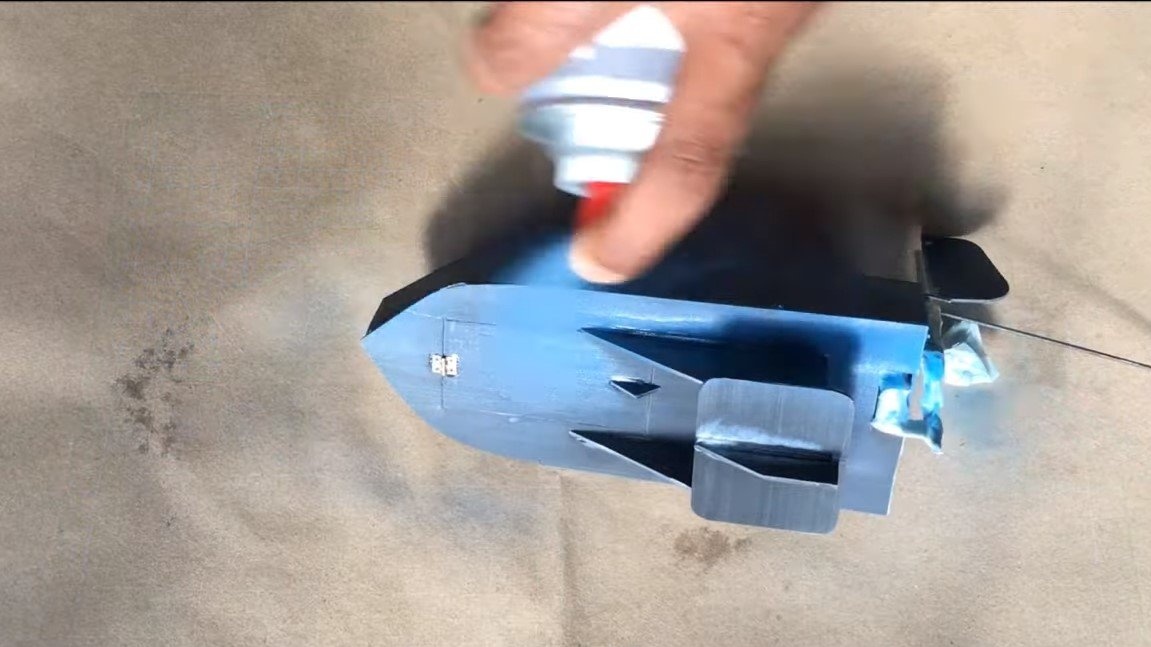
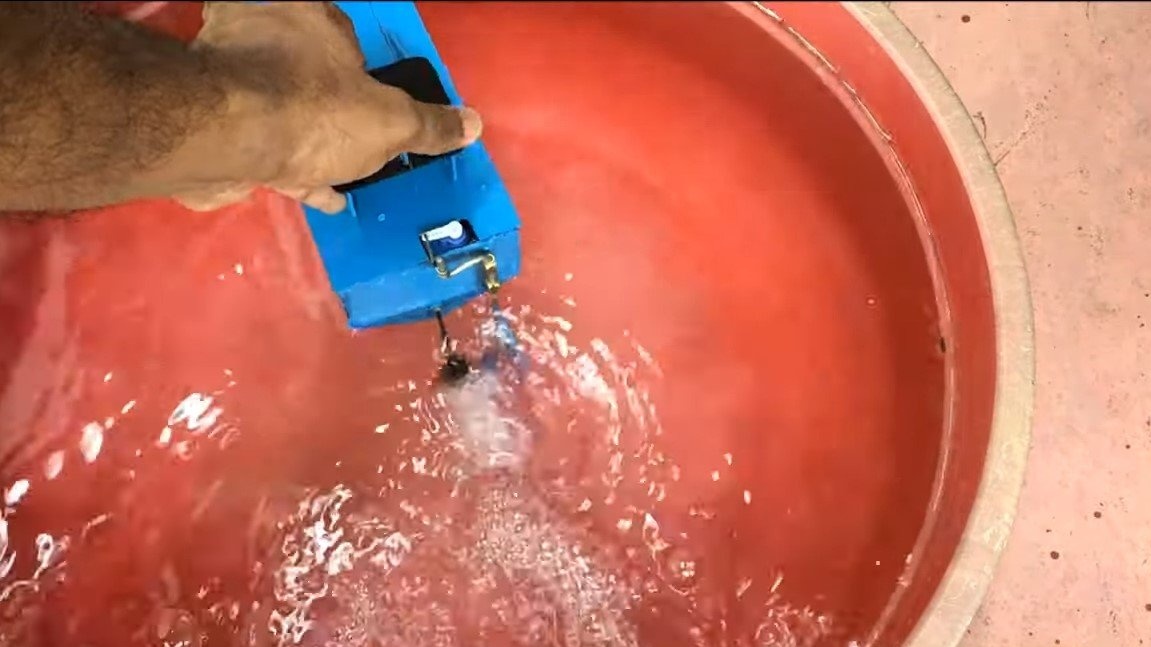
Step Six Painting and testing
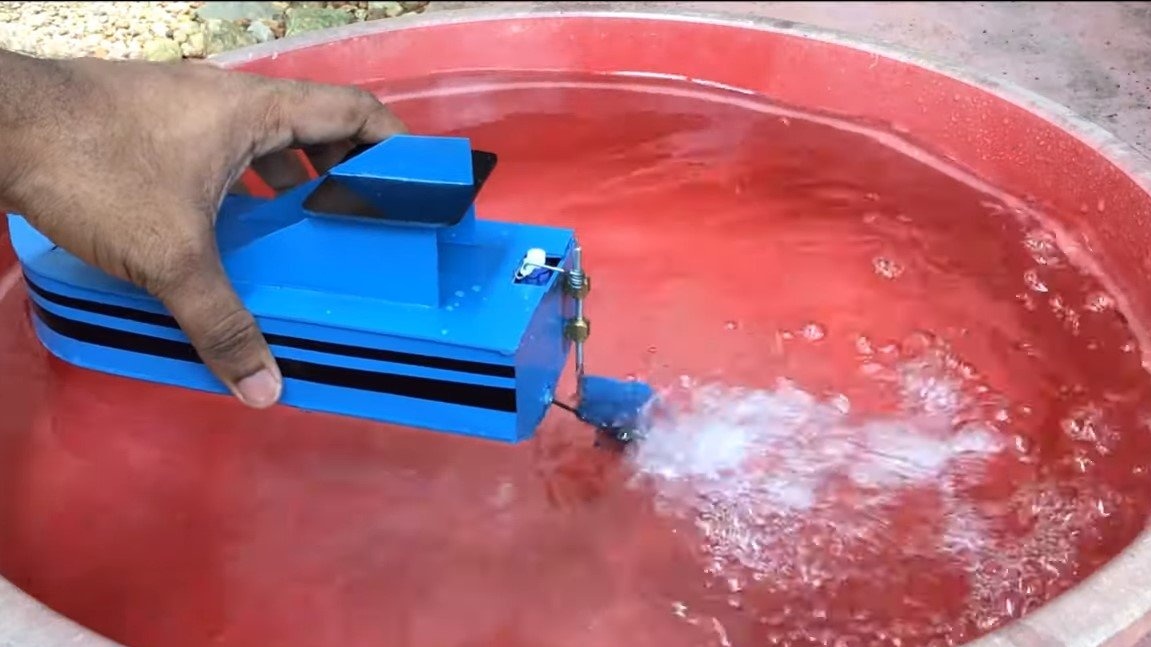
We paint the boat from a spray can and now it can be tested. We put the boat on the water, if it is not confidently floating on the water, we install additional weights in the right places. The author has not yet tested his brainchild on the lake, but in the basin the ship is floating quite briskly. Do not forget that the range of the radio equipment is limited, do not launch the boat too far, you will not get it.
This is the end of the project, I hope you liked the homemade work, and you found useful thoughts for yourself. Good luck and creative inspiration, if you decide to repeat this. Do not forget to share your ideas and homemade things with us!