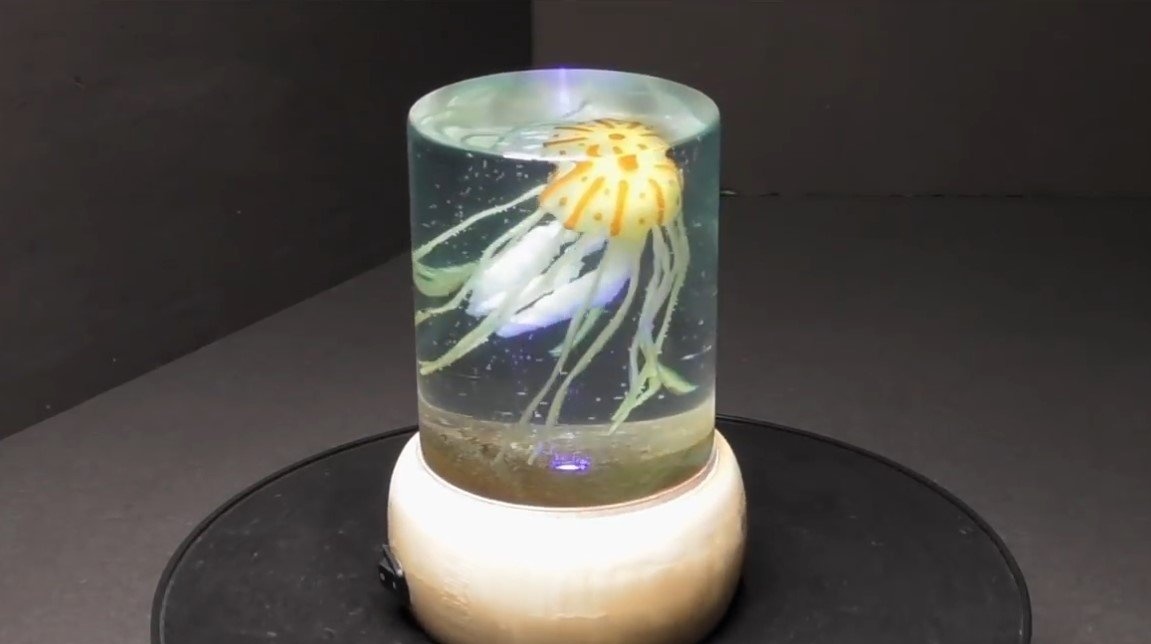
If you want to make a unique night light, this homemade just for you. Today we will look at how to make a luminous jellyfish and pour it into epoxy. The light source for the night light is one 3V LED, which is powered by a flat lithium battery. You can choose the LED of the right color to your taste. Everything looks realistic, but in the assembly the project is quite simple. If the home-made you are interested in, I propose to study the project in more detail!
Materials and tools used by the author:
Material List:
- polymer clay;
- a little dye for epoxy;
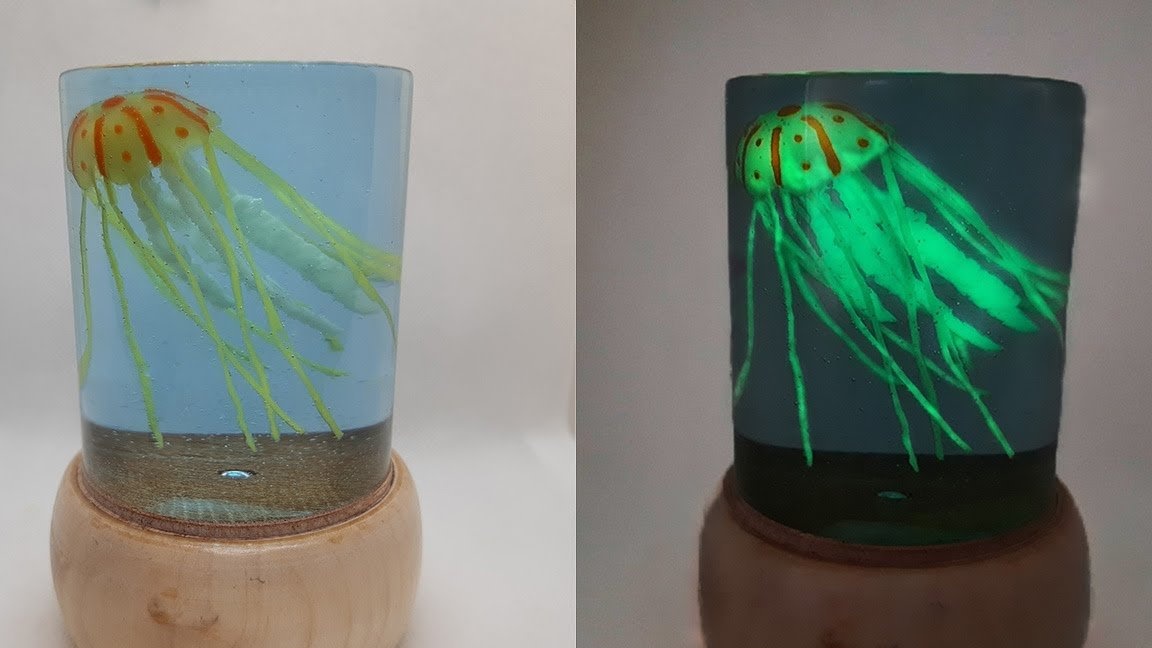
- luminescent powder;
- epoxy resin for pouring;
- epoxy resin that hardens under ultraviolet light;
- a tree for the base;
- 3V LED;
- switch;
- flat battery holder;
- wires.
Tool List:
- mini-lathe;
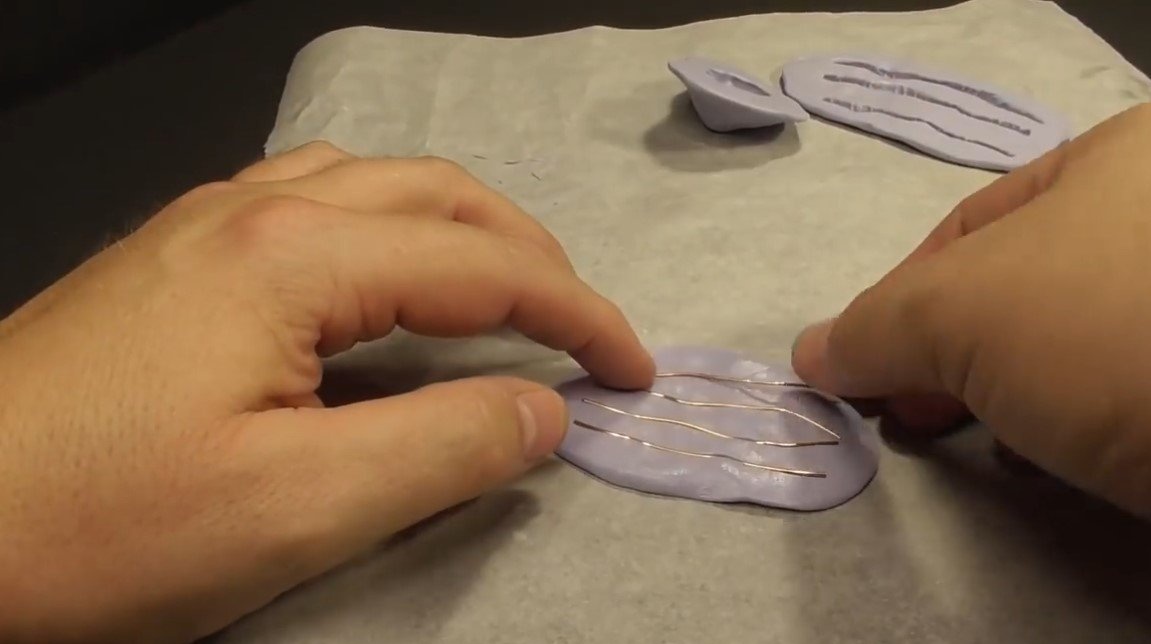
- silicone to create a mold;
- copper wire;
- glue gun;
- soldering iron.
The process of making a nightlight:
Step one. Mold for filling
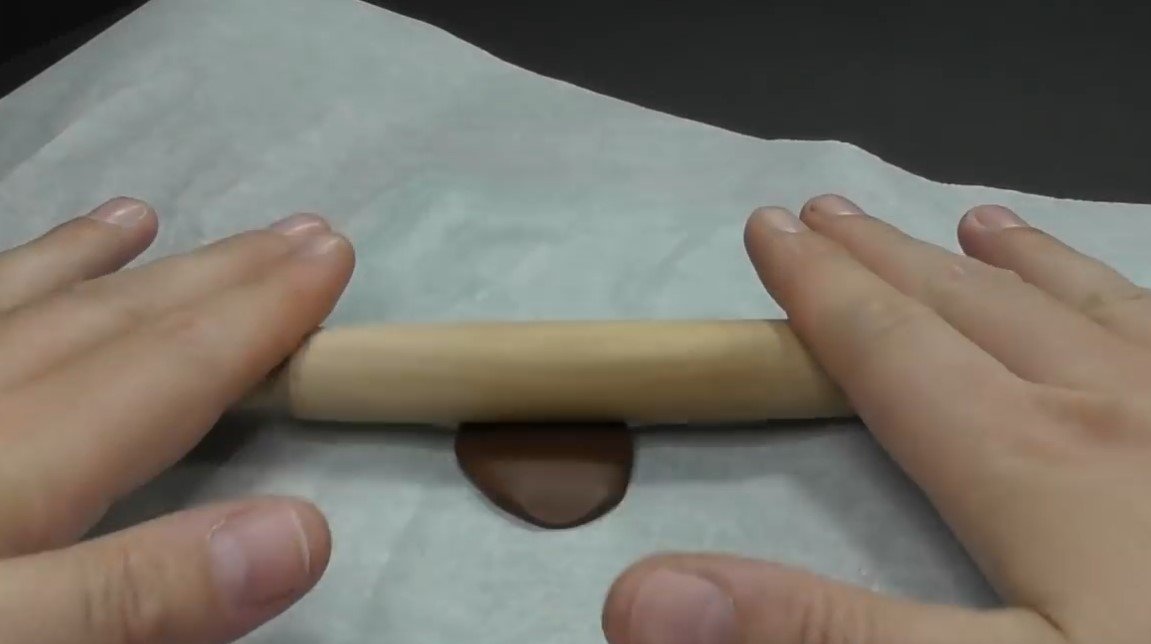
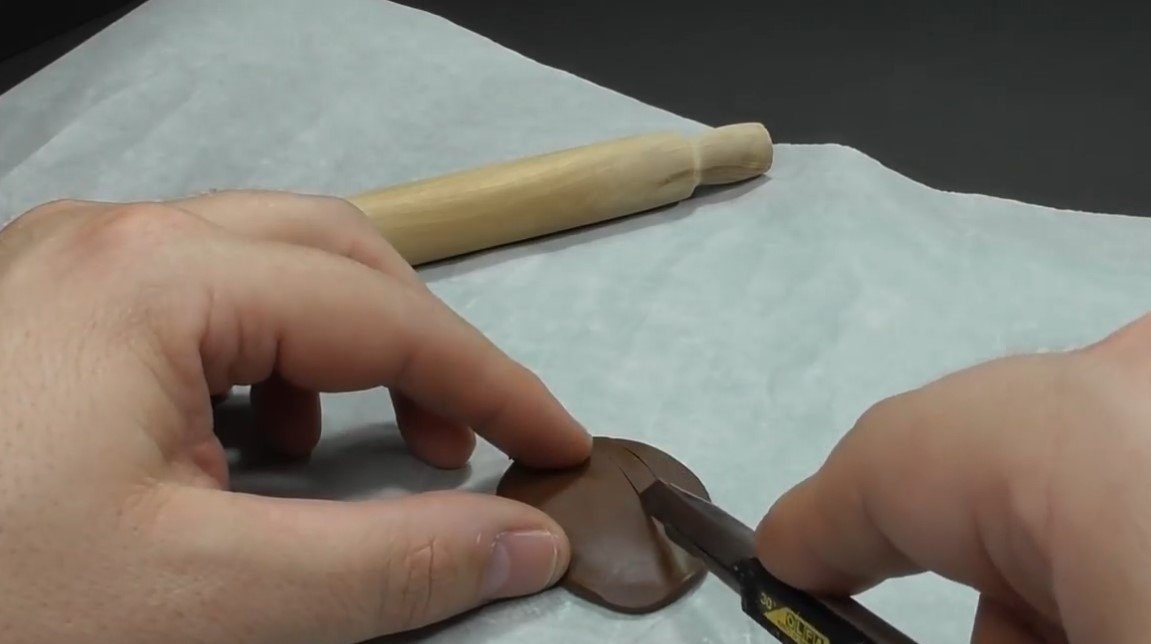
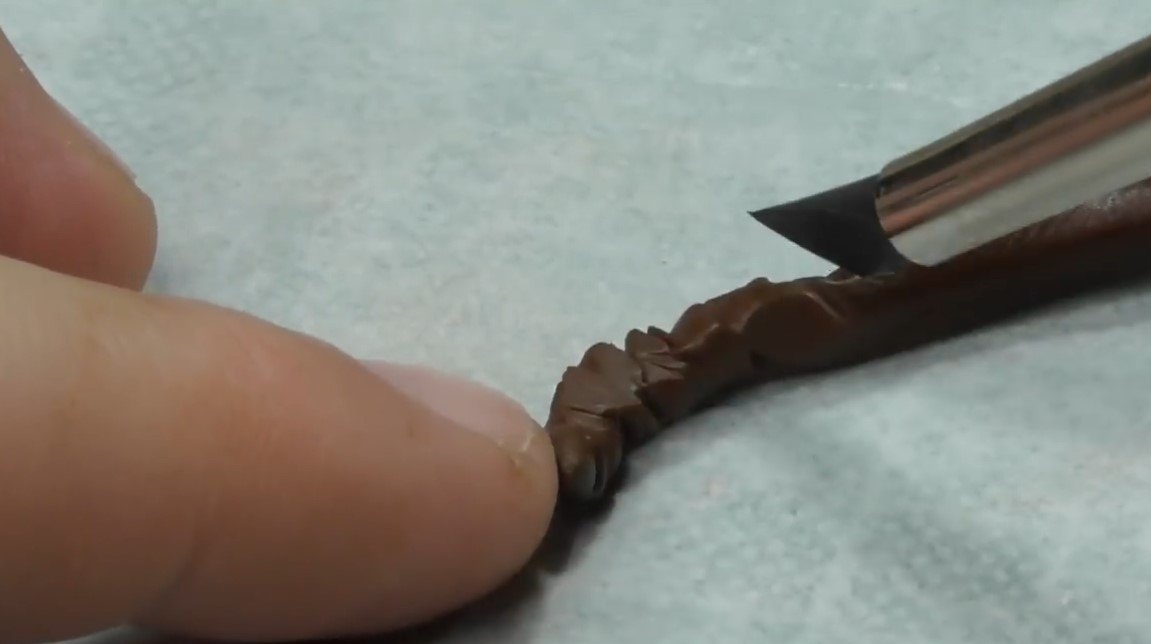
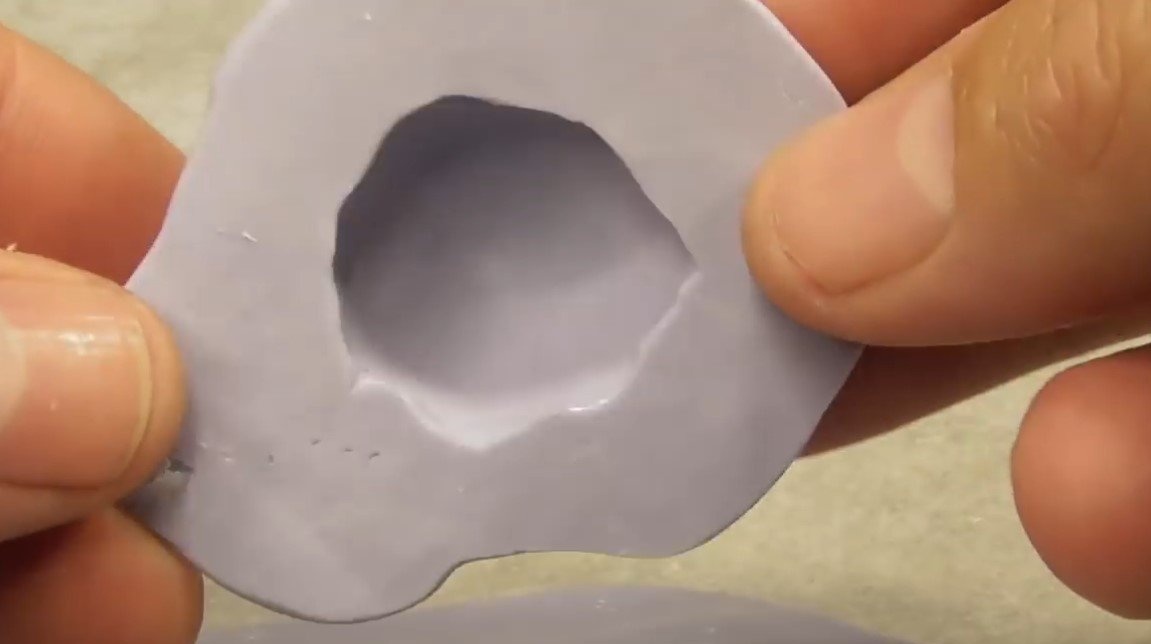
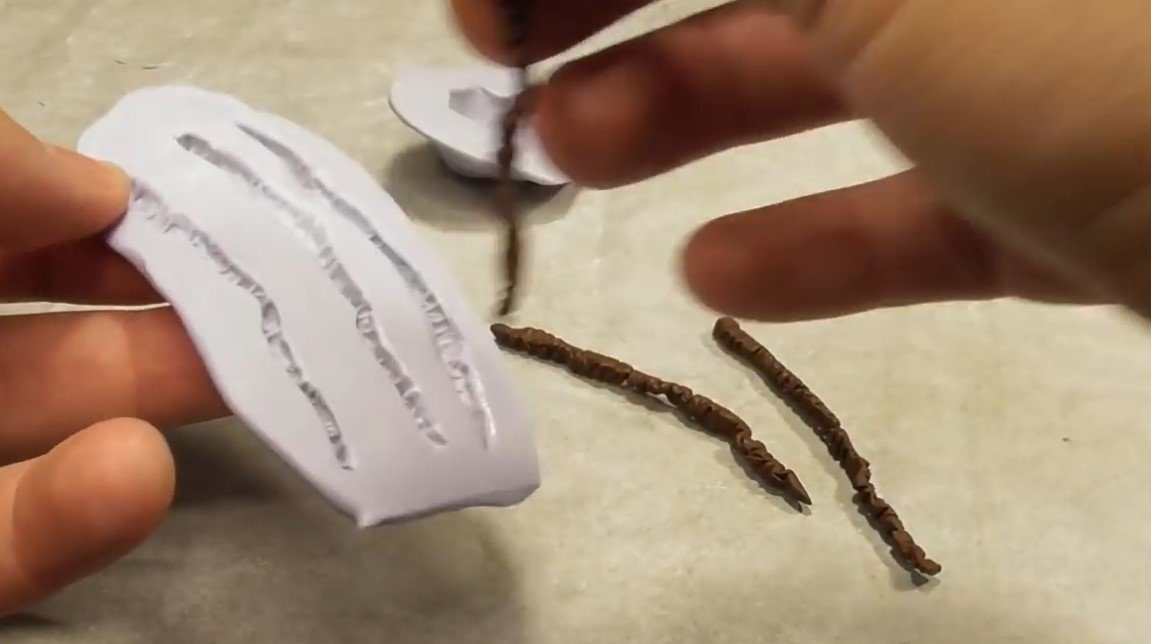
The jellyfish is made of epoxy, so first we need to do it to fill the mold. First, we sculpt “spare parts” for making jellyfish; the author used polymer clay for these purposes. When everything is ready, we send the clay to solidify in the oven.
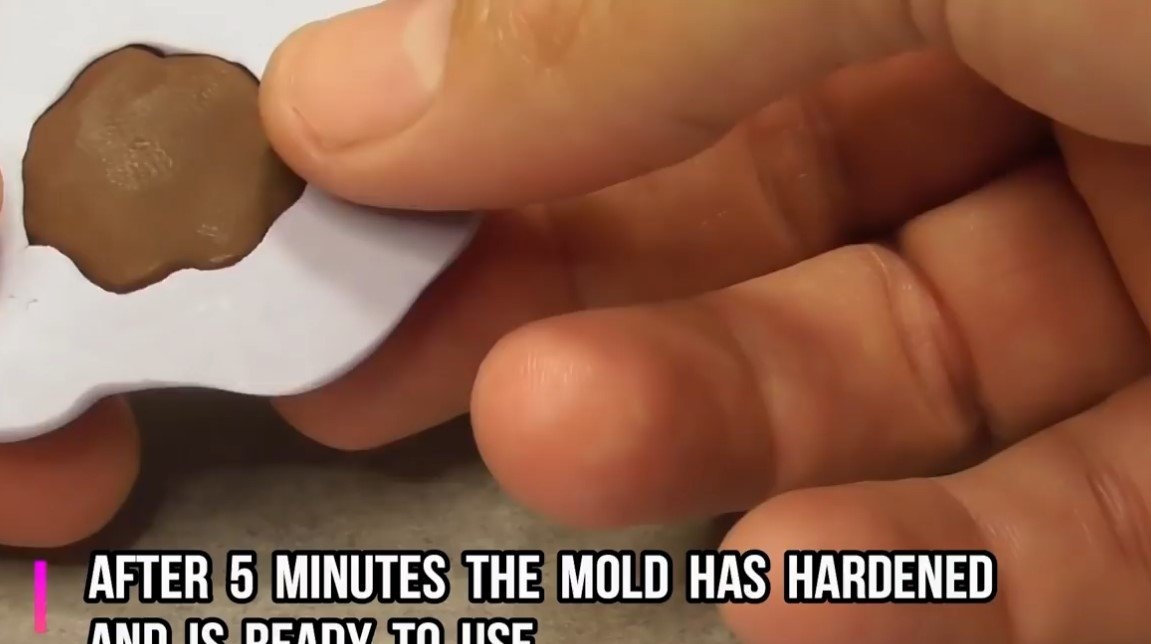
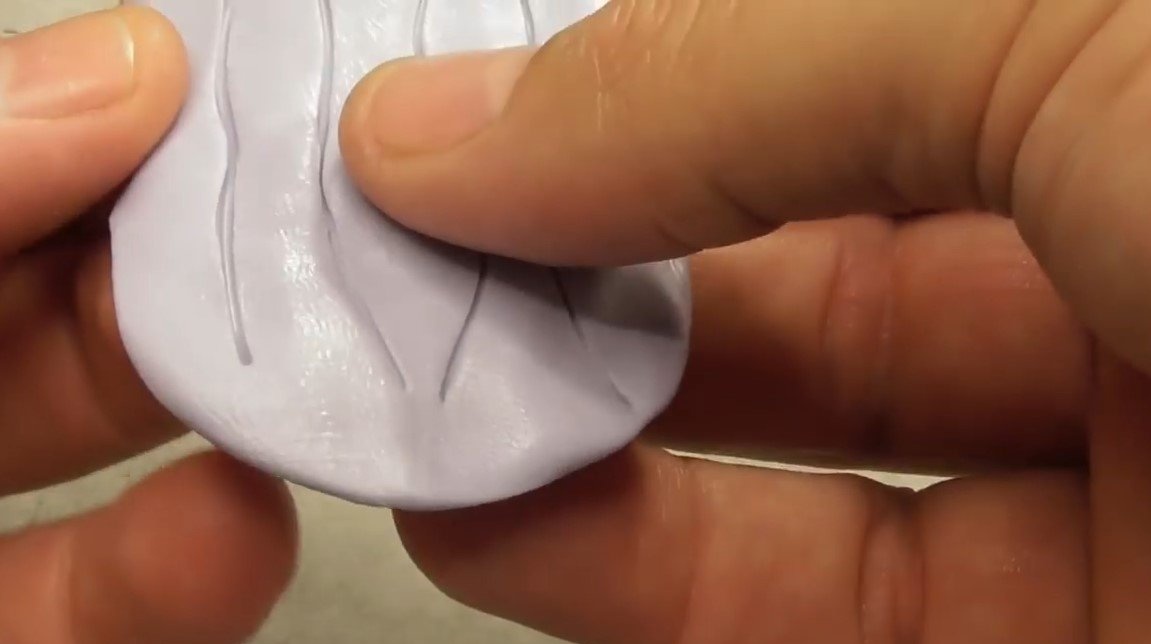
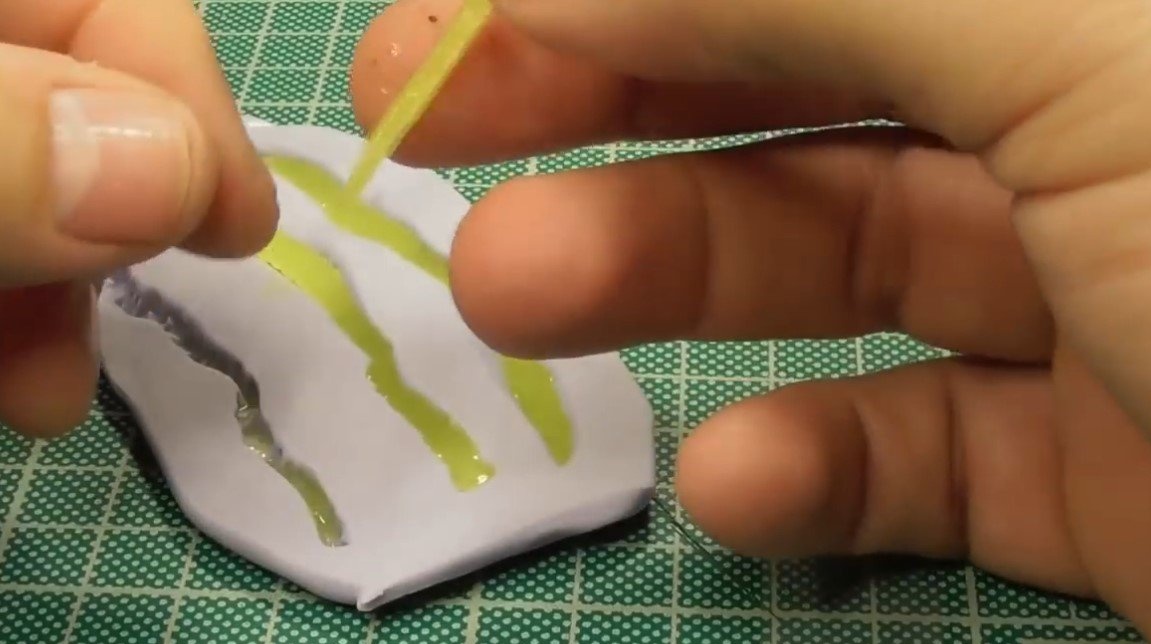
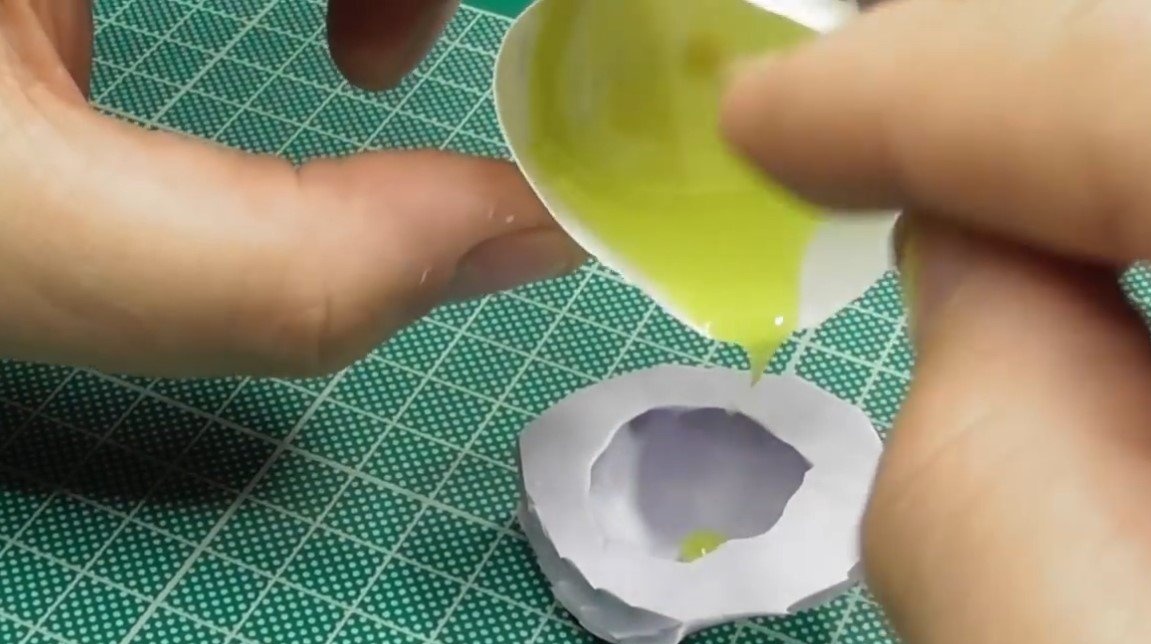
Now we can make a mold for pouring, silicone will help us in this, we will mold silicone around the clay blanks, and after the silicone has dried, clay details can be removed, and as a result we get excellent molds for pouring.


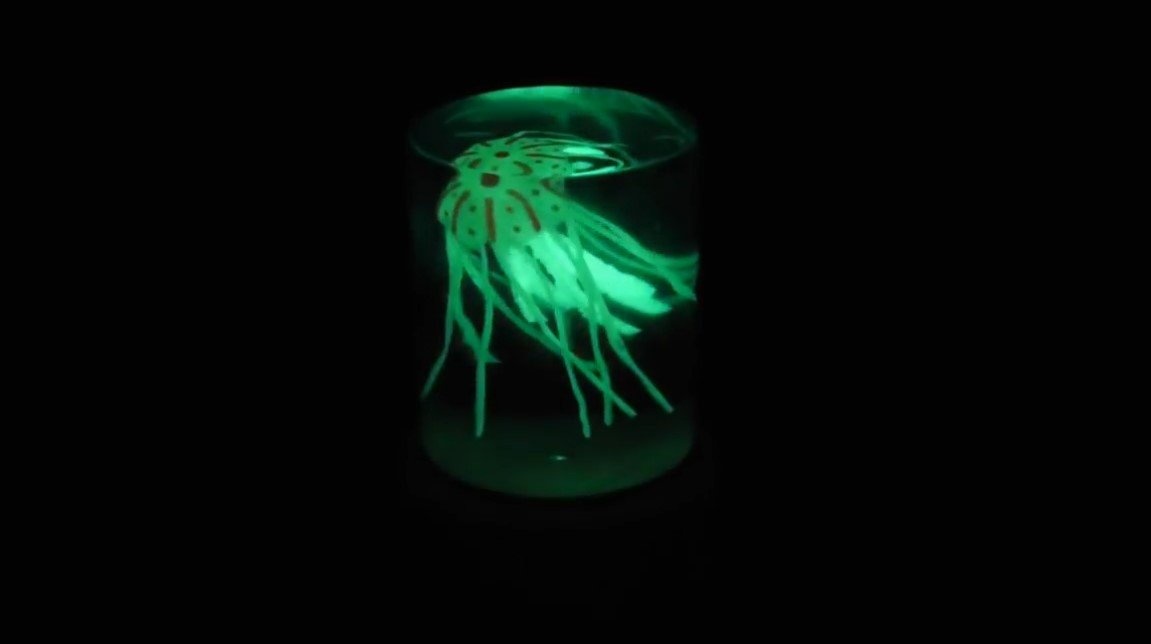
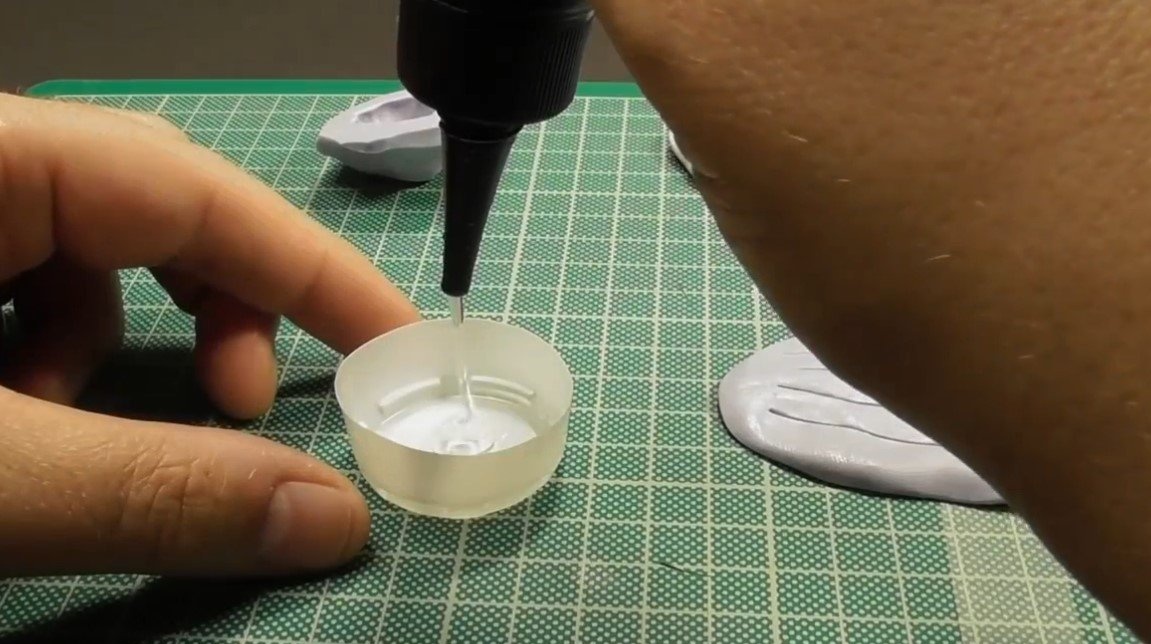
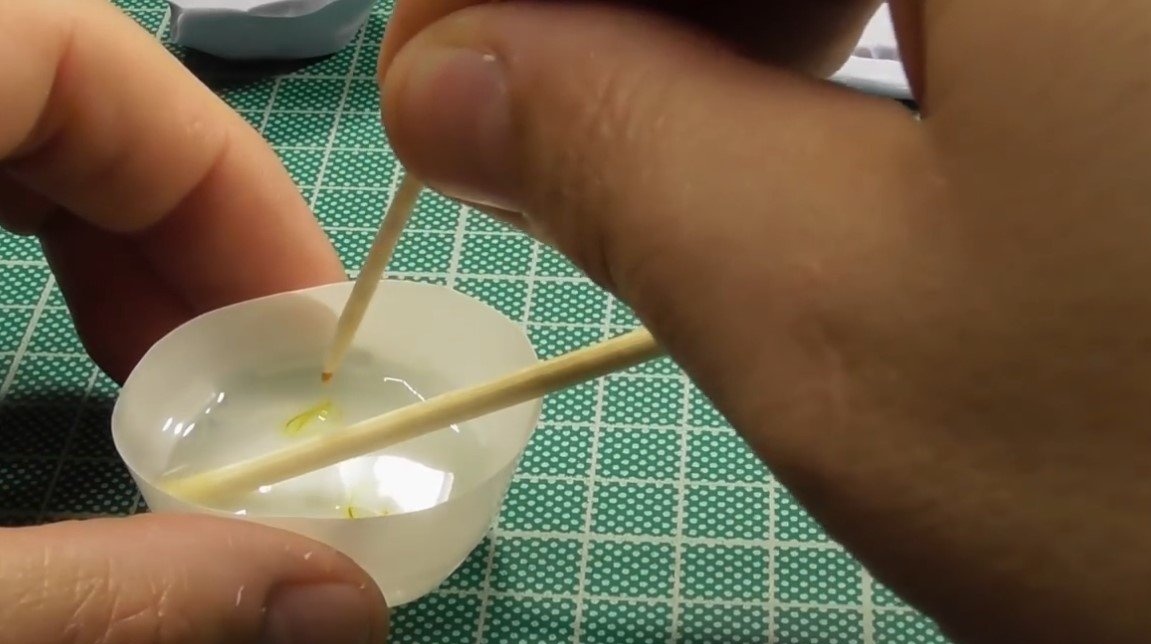
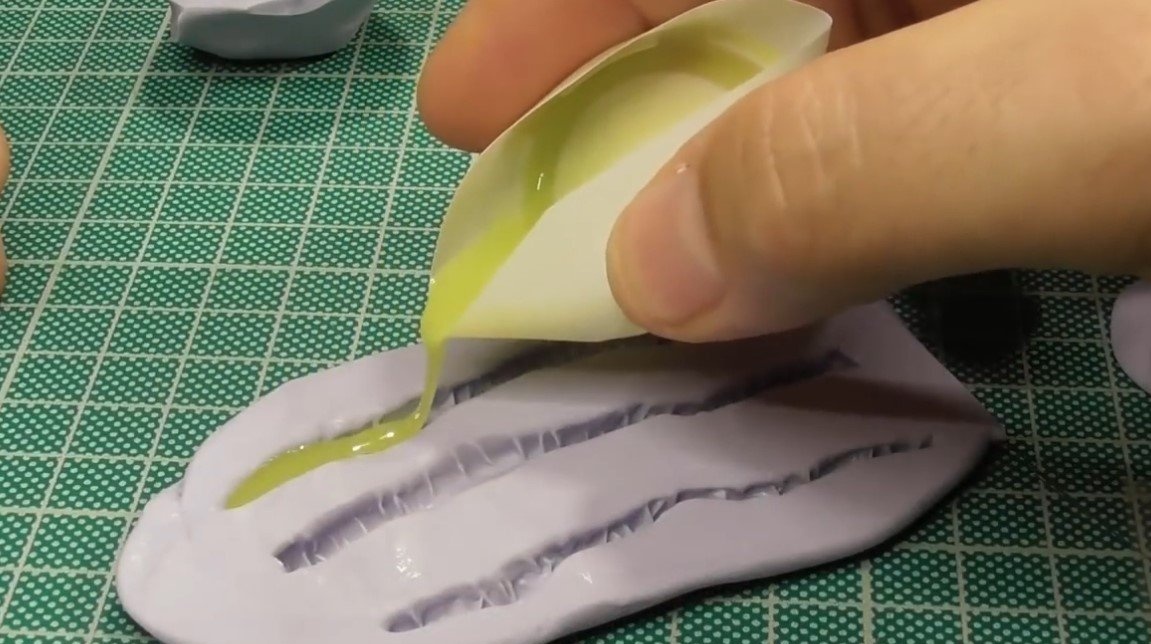
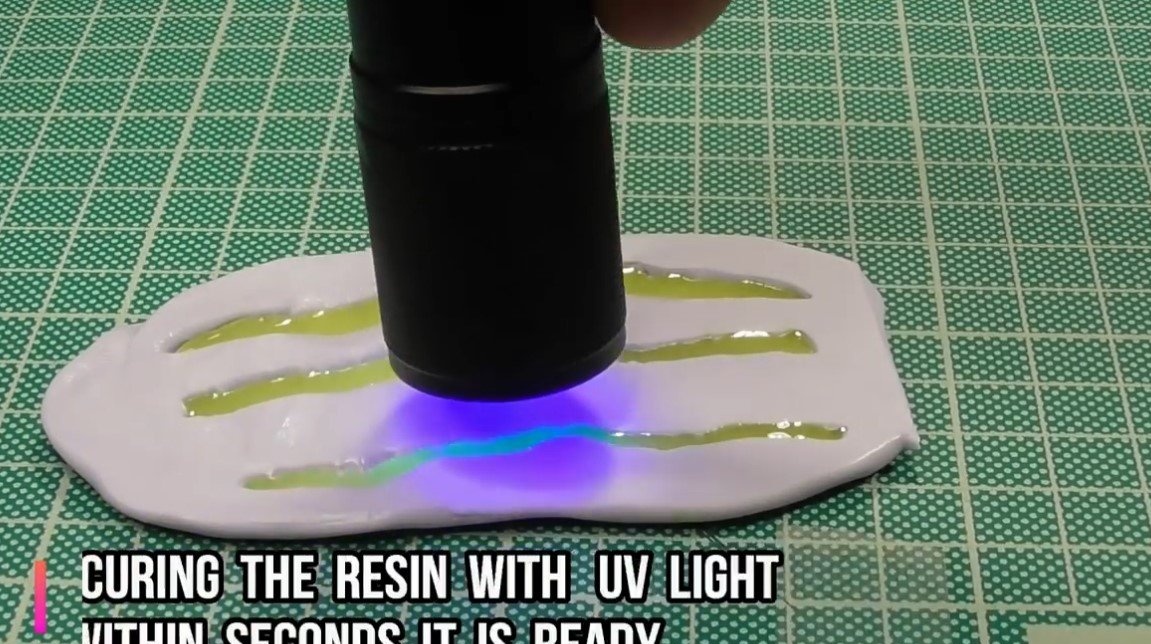
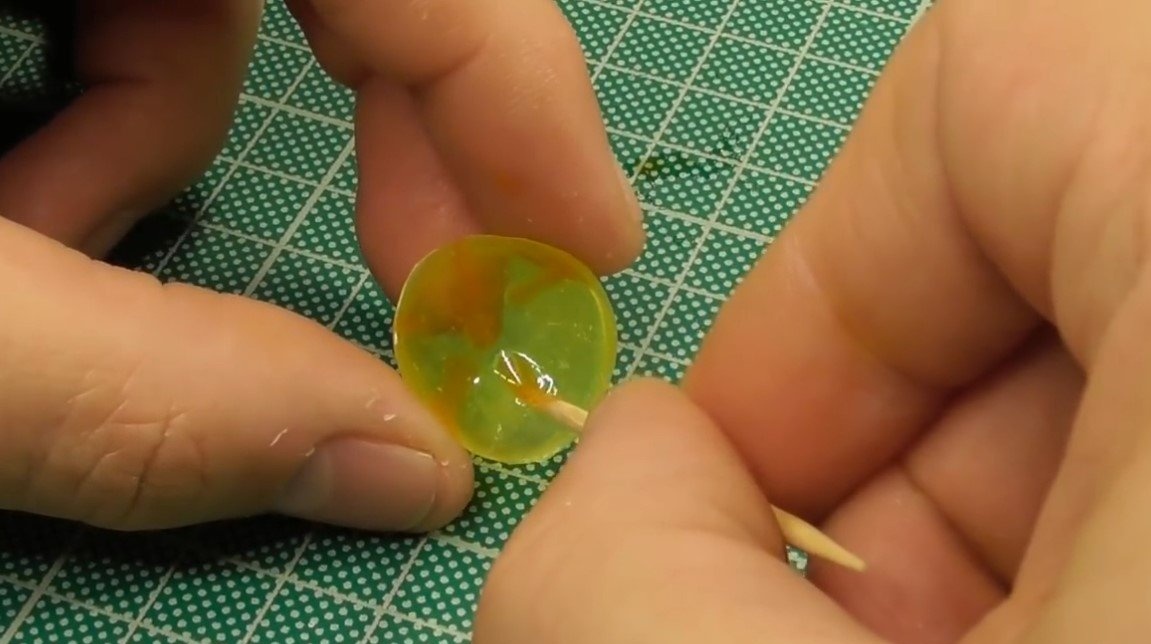
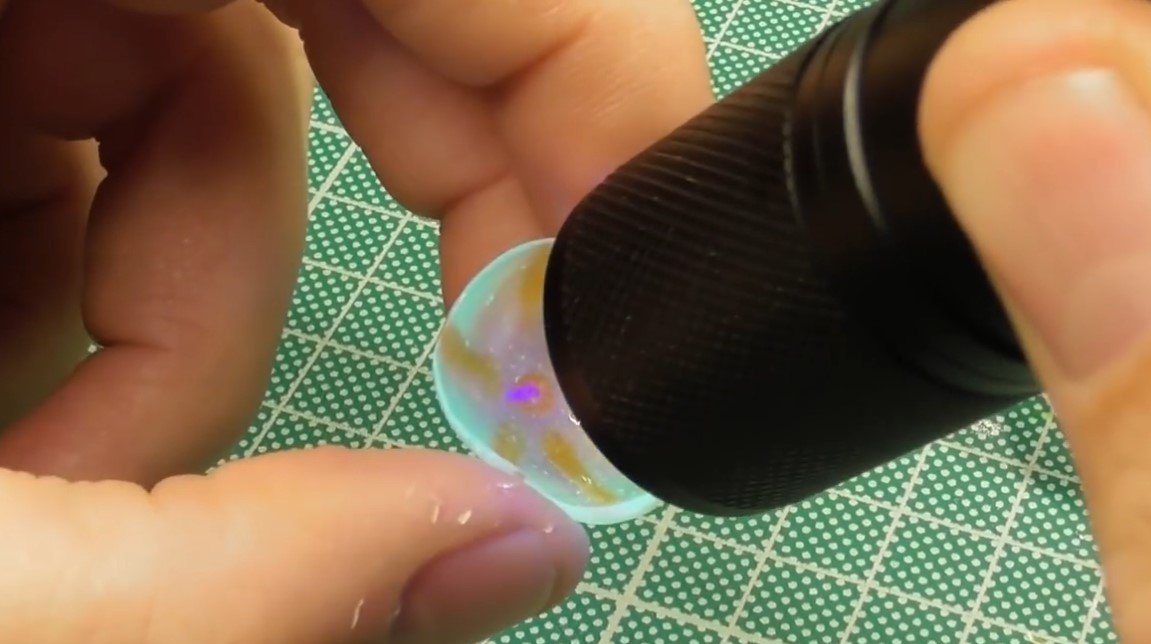
You can start pouring, the author uses a resin that hardens under the influence of ultraviolet radiation. We add dye to the resin, the author also paints the body of the jellyfish directly using resin with dye. We also add luminous powder to the resin so that the jellyfish glows brighter when illuminated. When all the details are ready, you can collect the jellyfish itself.


Step Two Base and Fill
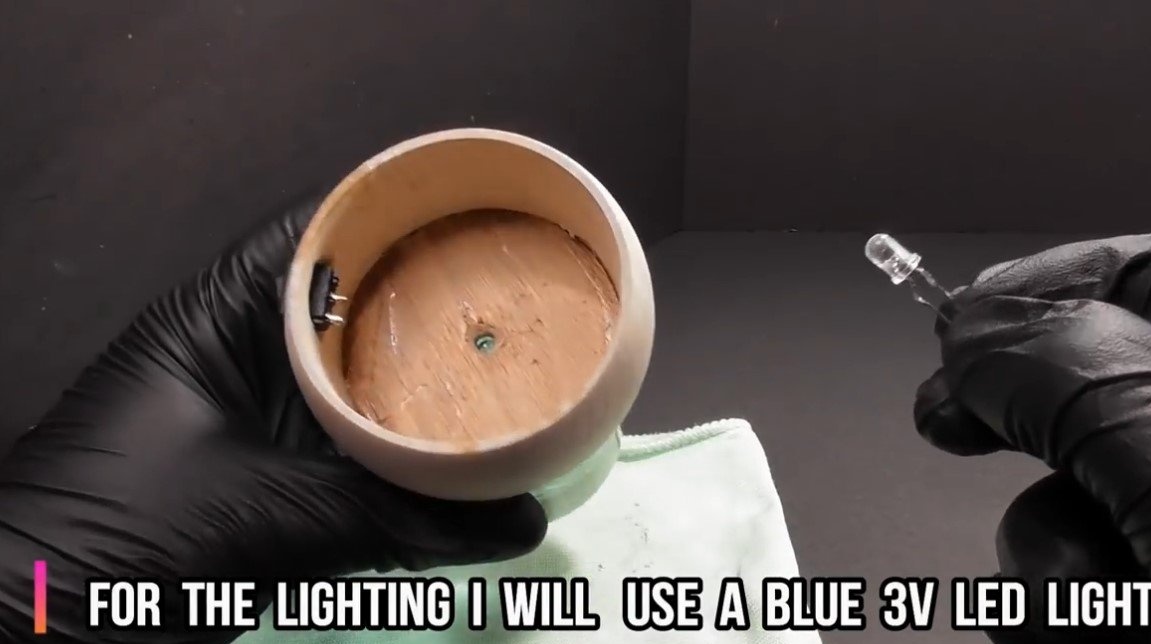
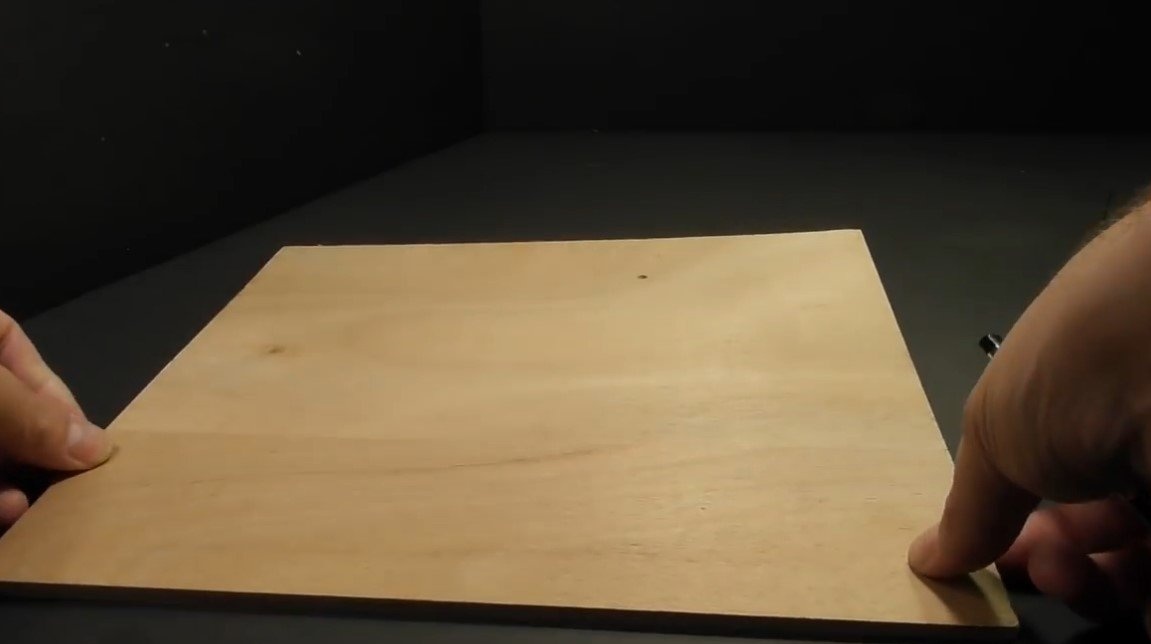
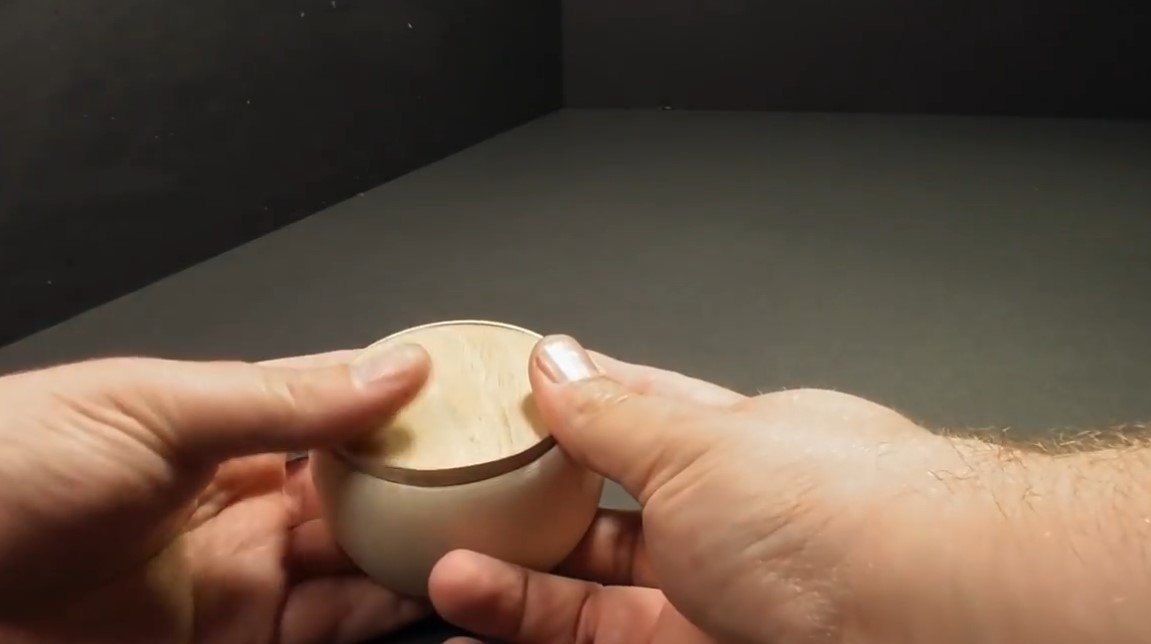
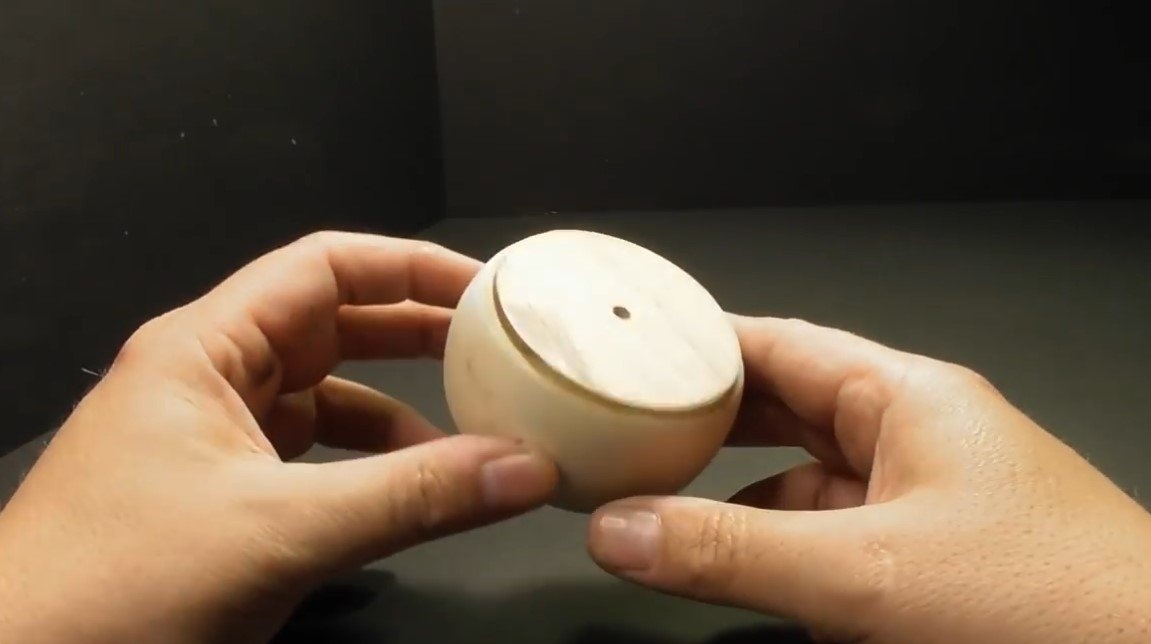
We make a wooden base, inside it must be hollow so that you can place the LED, as well as the battery.
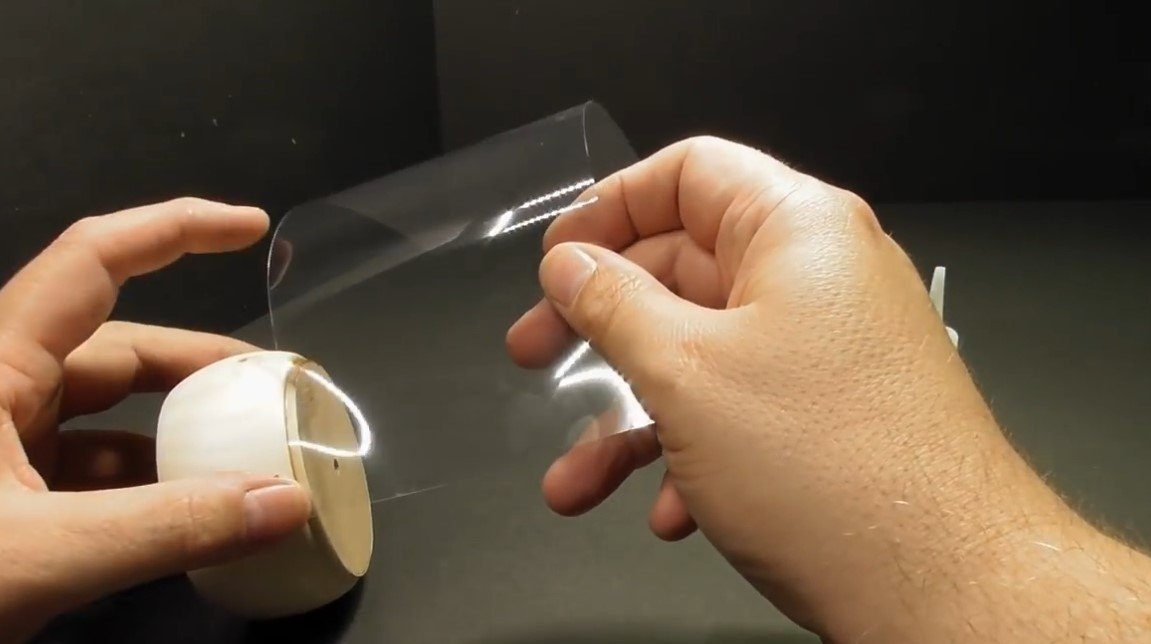
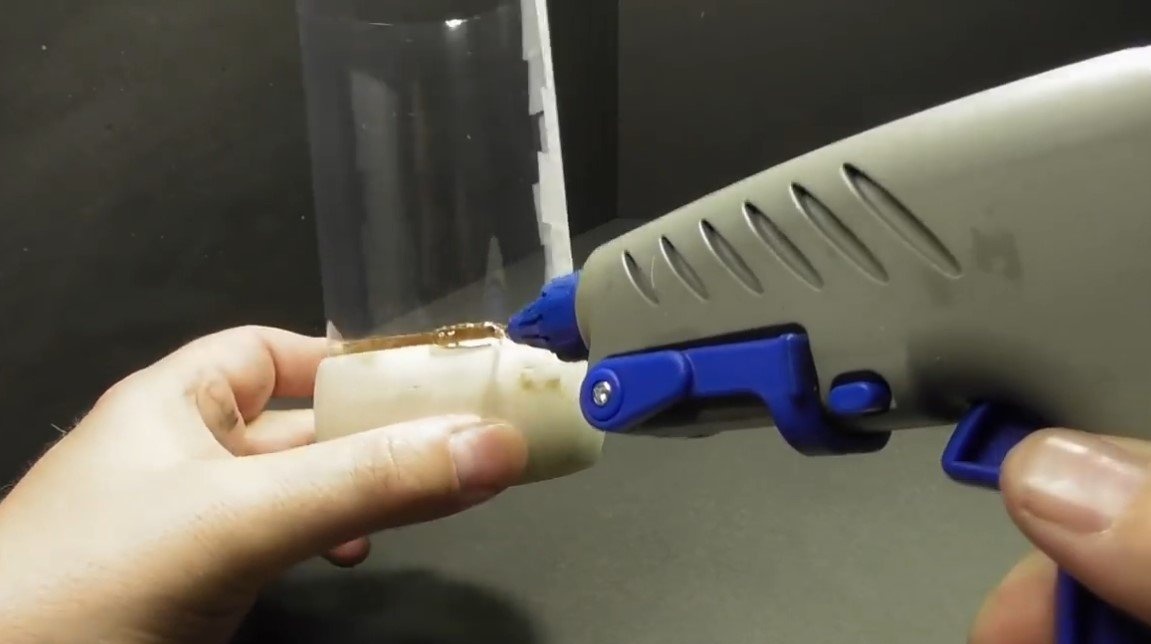
We mount the formwork using hot glue on the base, a dense film or a piece of the bottle is suitable as the formwork.
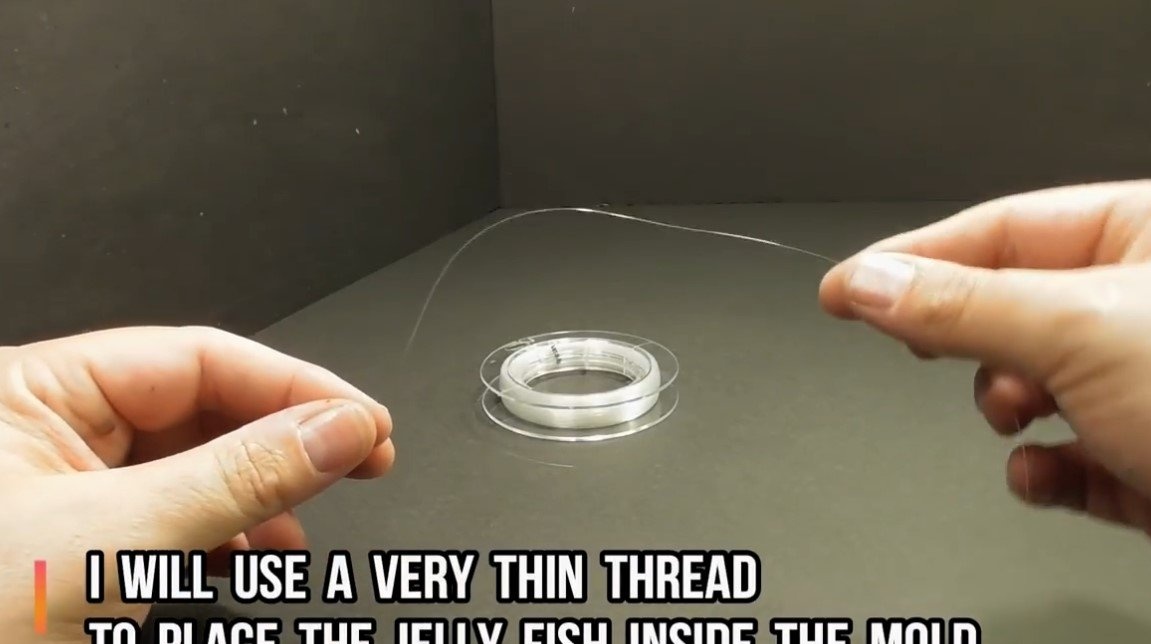
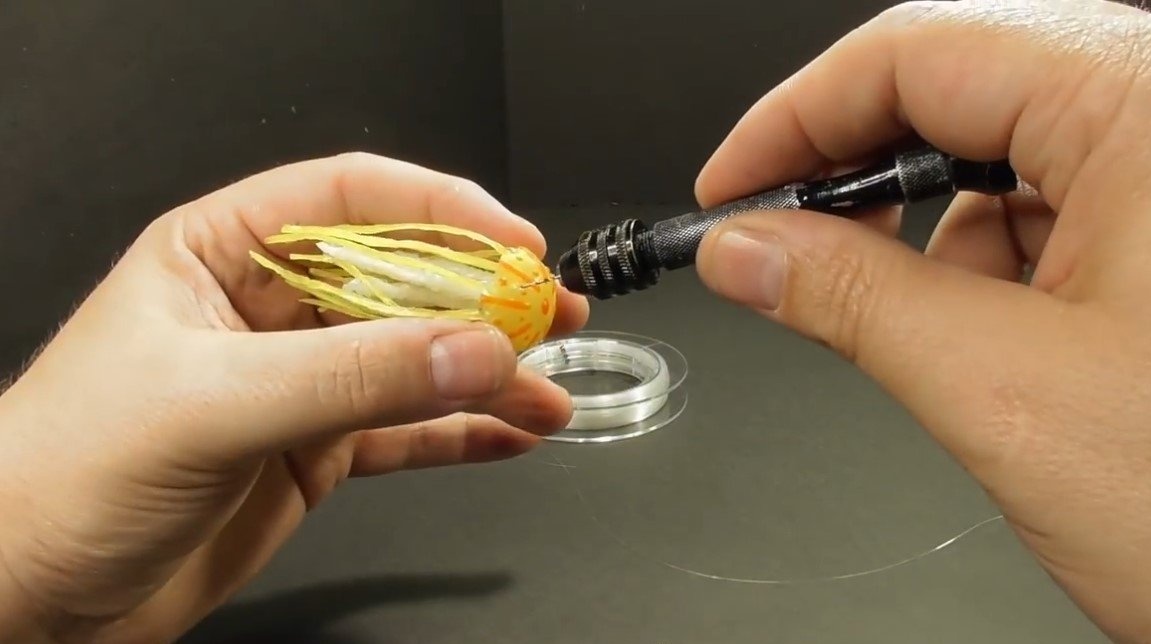
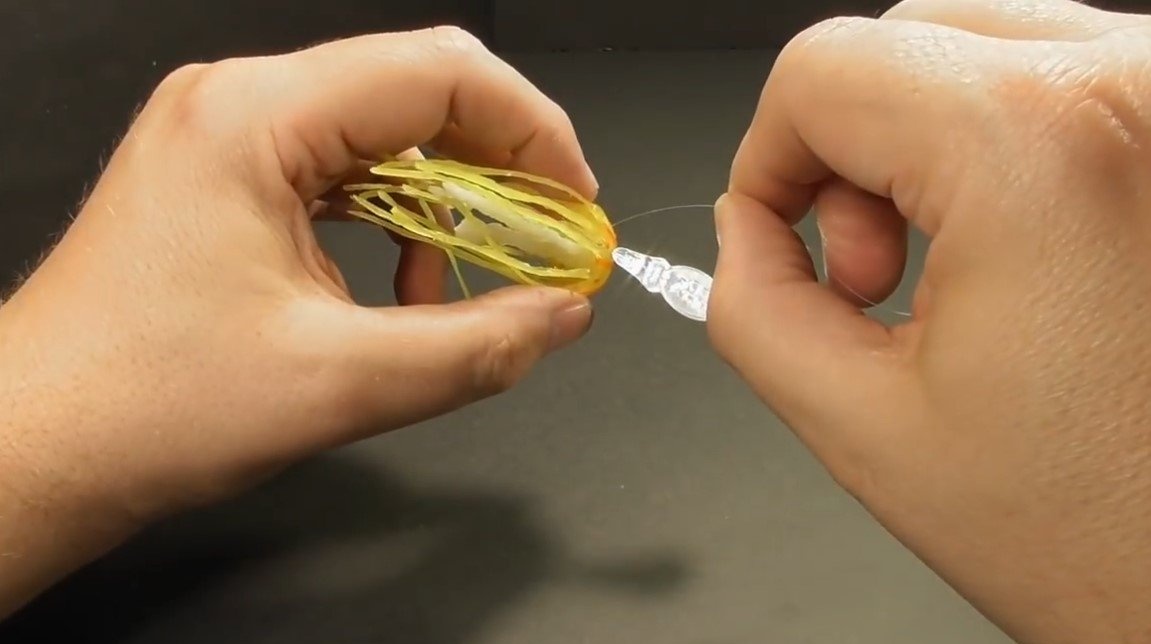
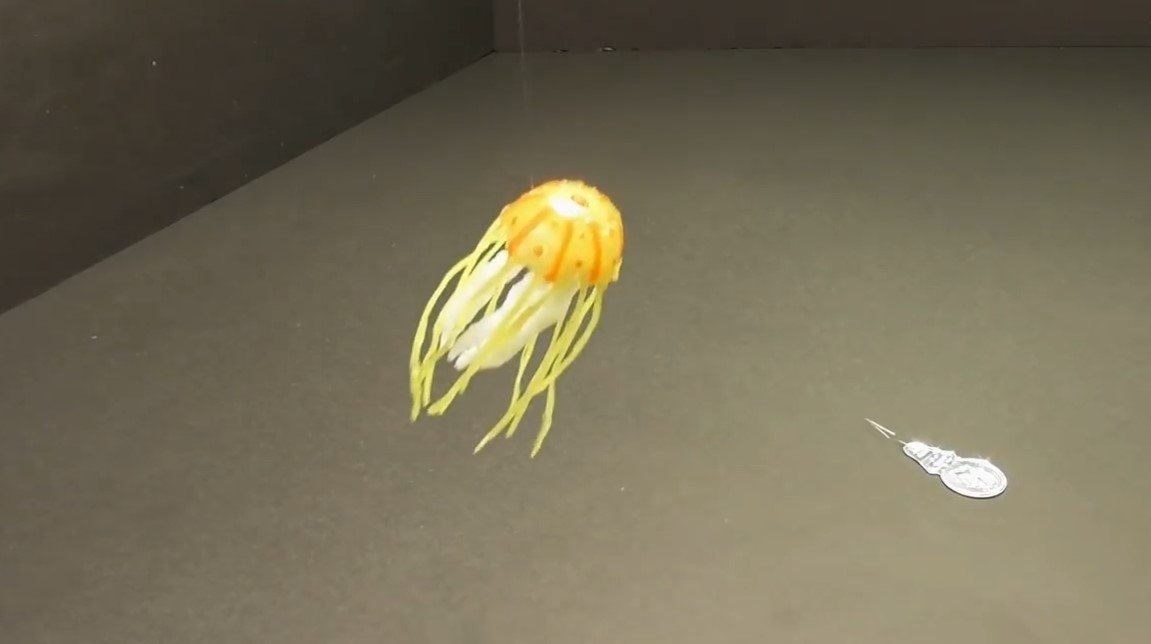
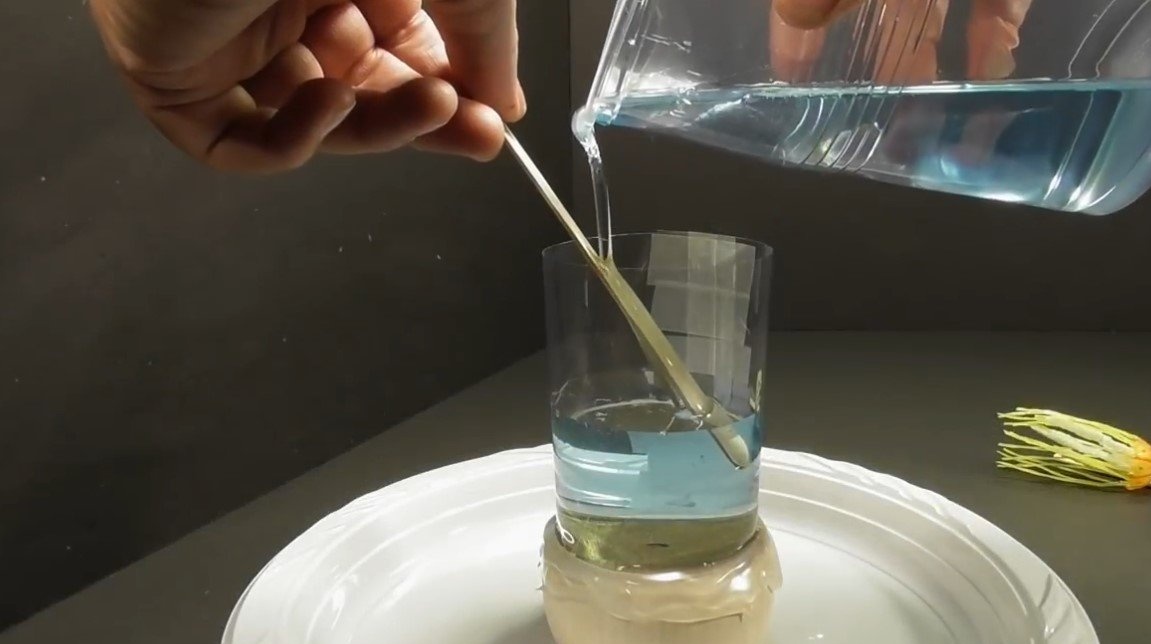
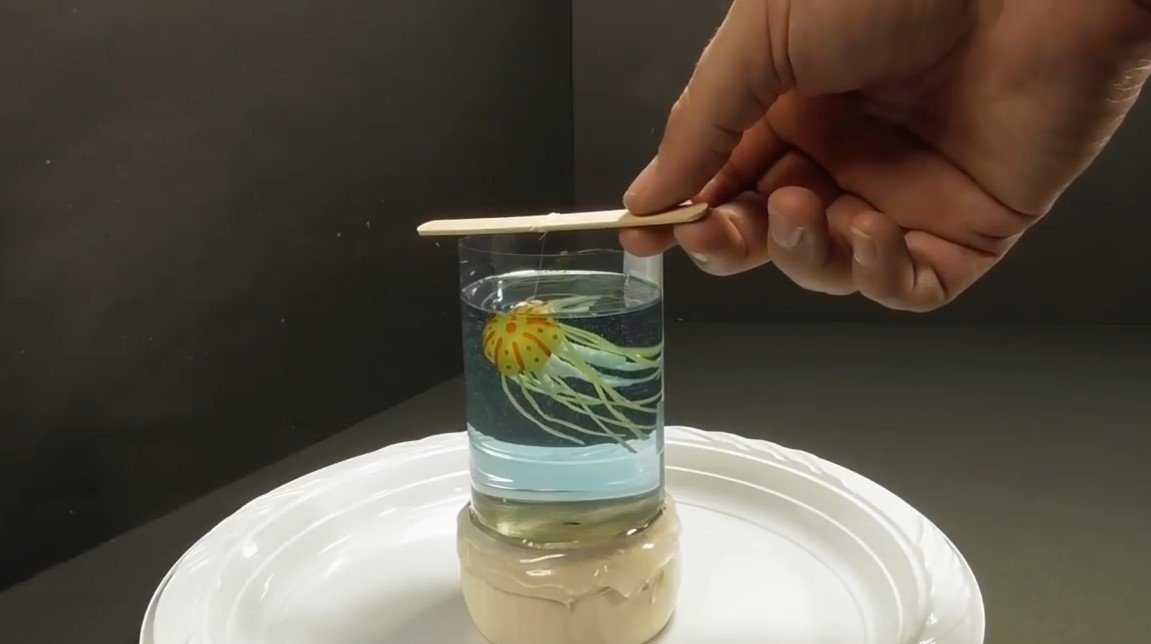

We place a jellyfish inside the formwork, the author hung it on a fishing line, it is not visible. Pour the transparent resin into the formwork, try to make more bubbles, so the water will look more realistic. At the very bottom, if desired, you can install decorative algae, pebbles and so on. We leave this whole thing to harden.
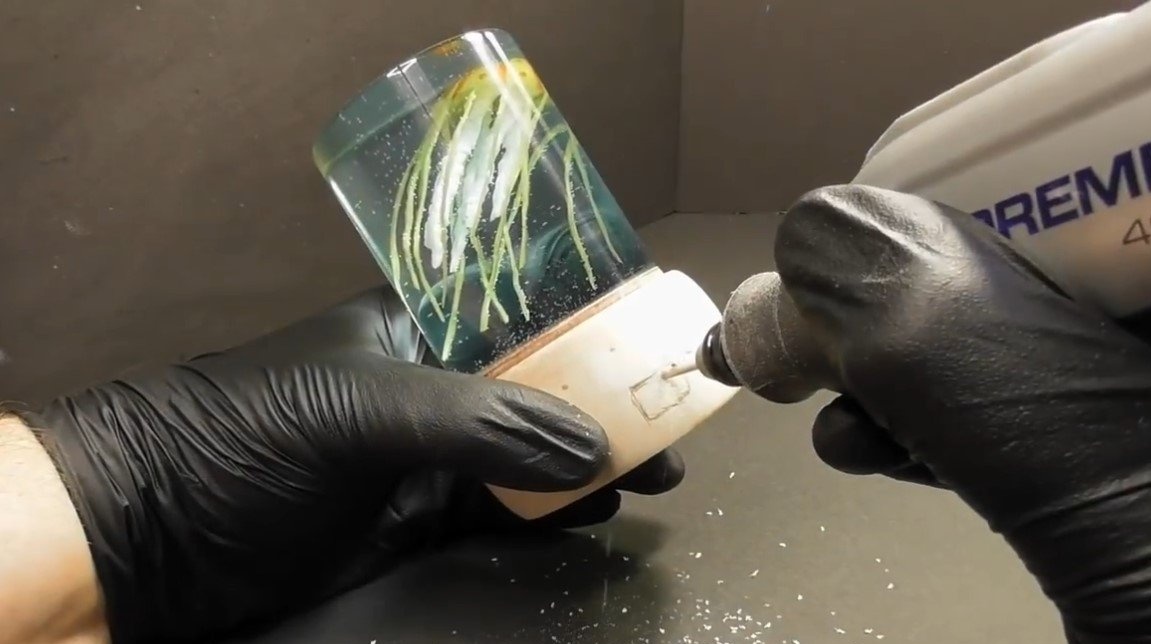
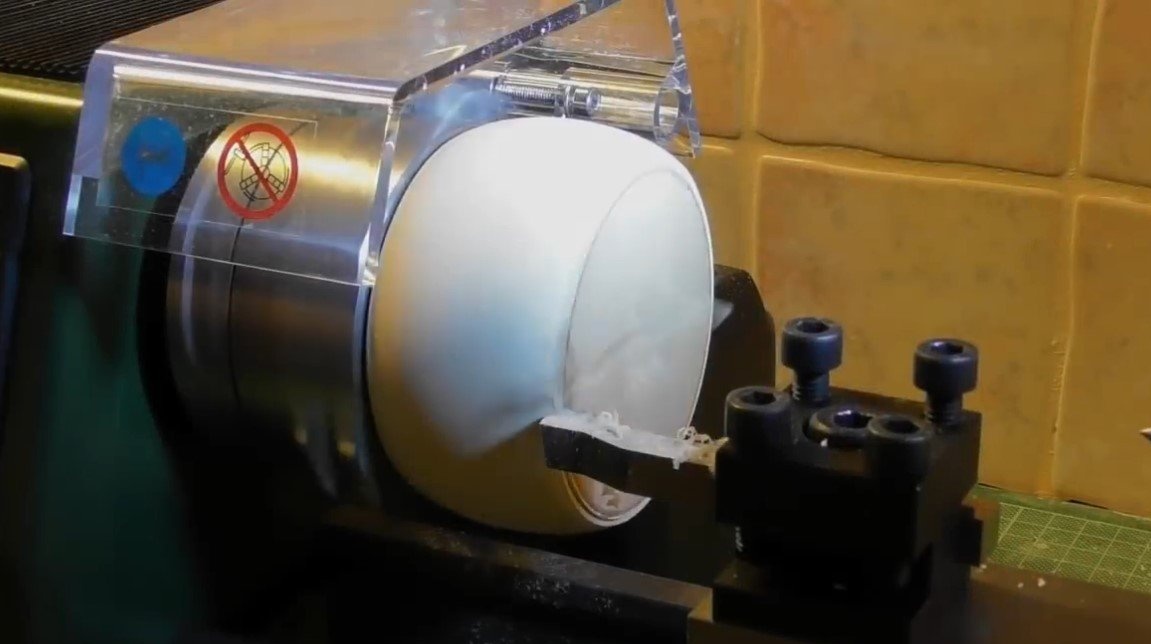
Step Three Turning and assembly
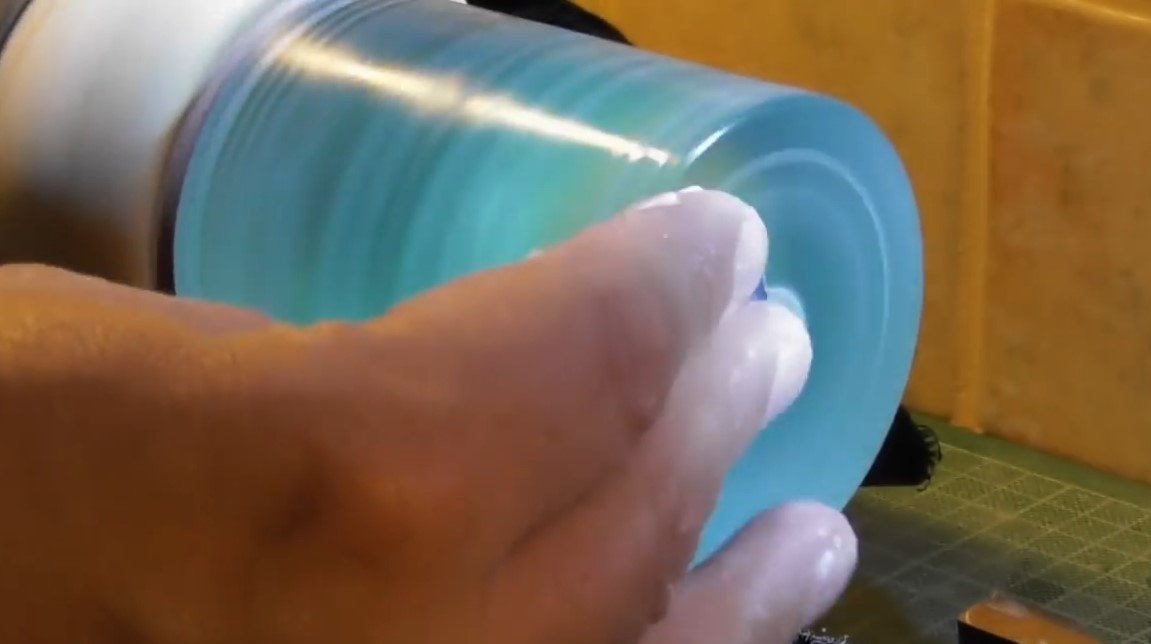
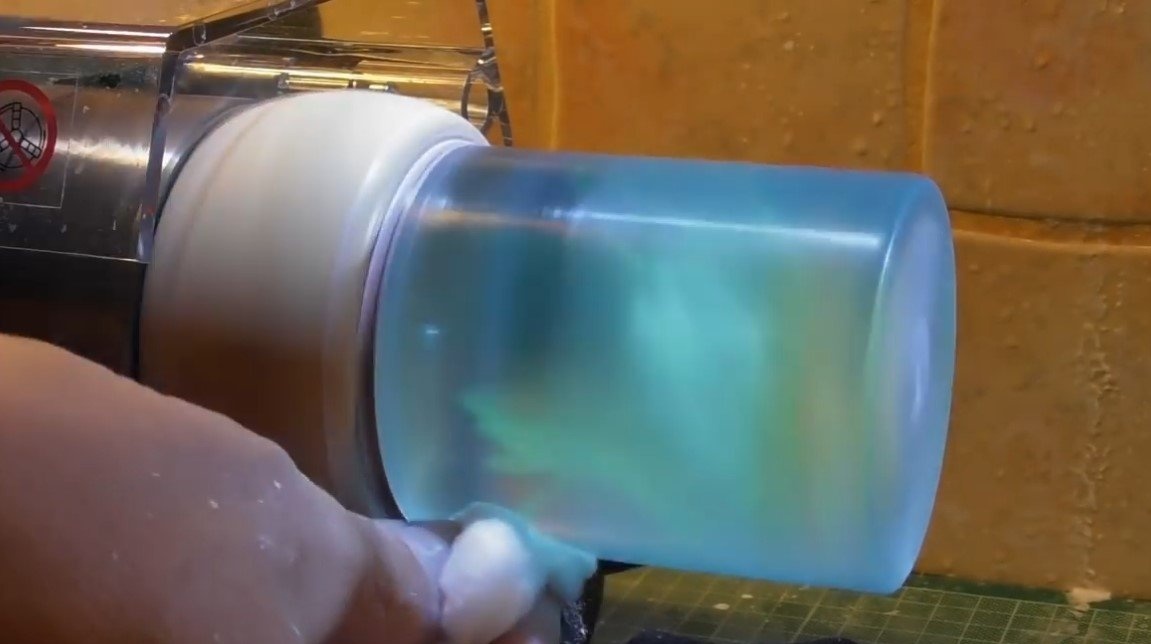
We process the resin on a lathe, cut off the excess, grind it, and then polish the resin to a transparent state.

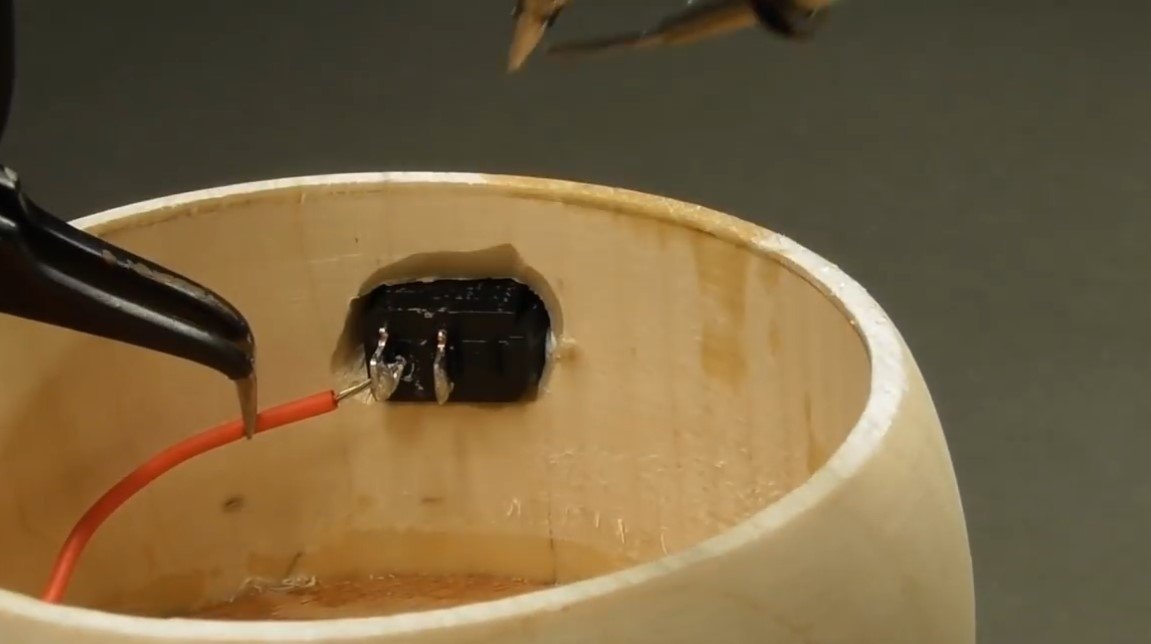
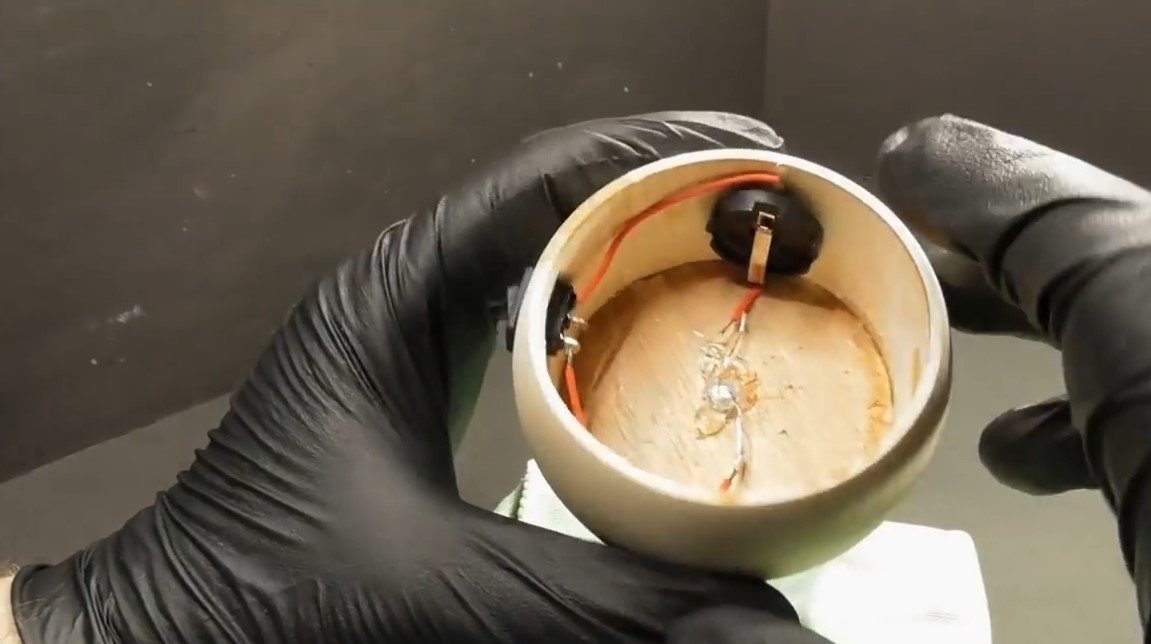
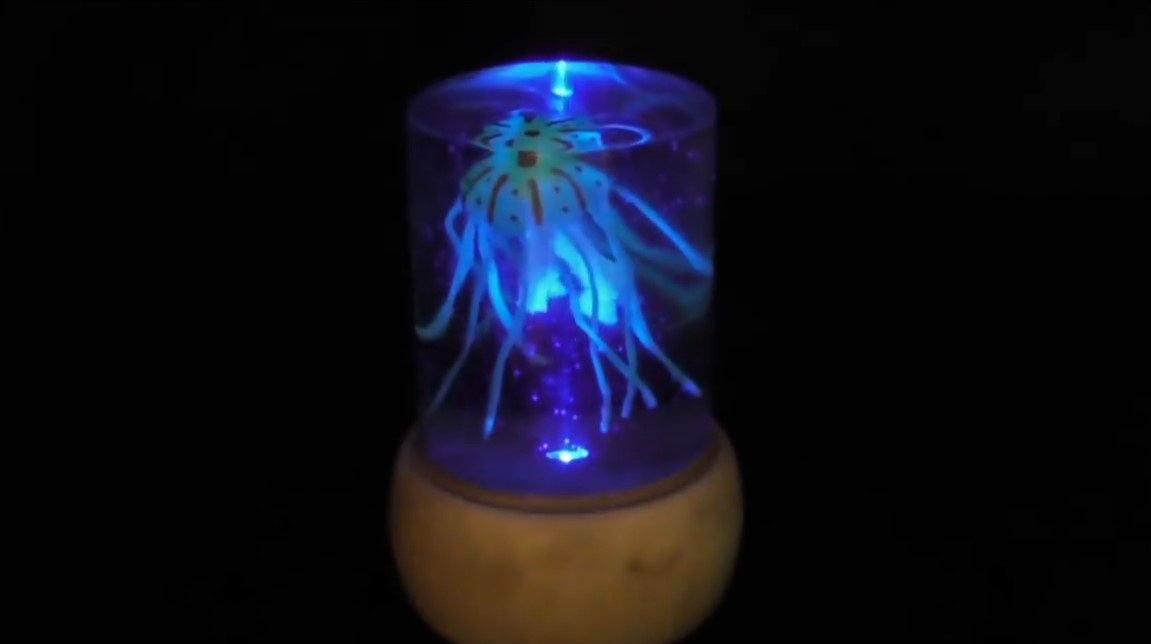
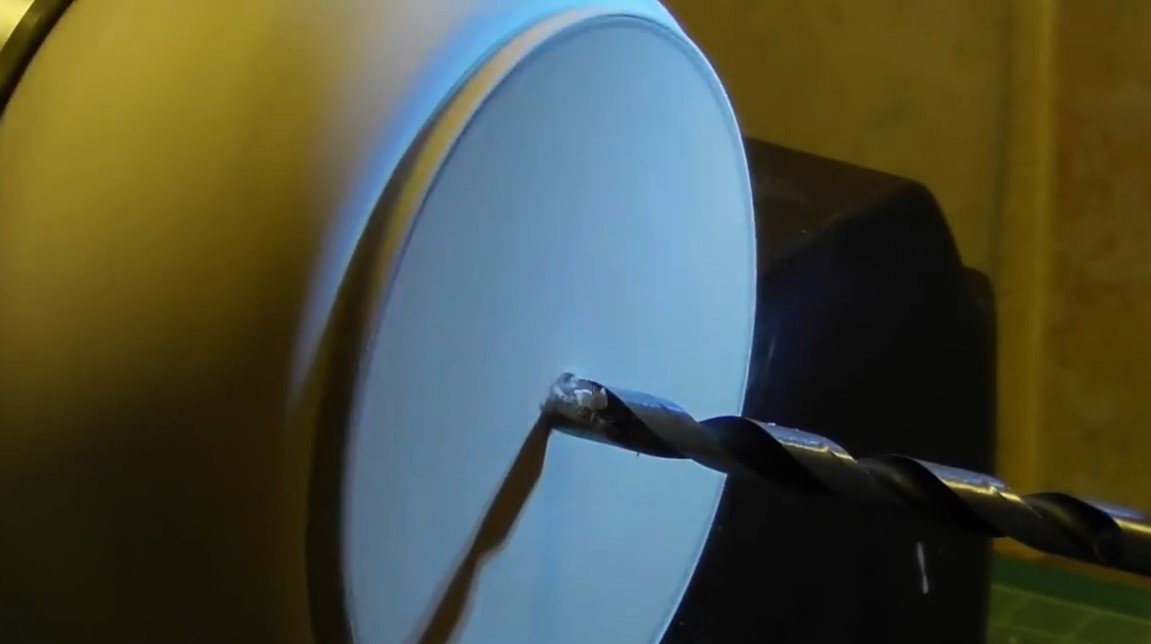
Everything is ready, the nightlight can be assembled, we drill a hole for the 3V LED in the base and paste it with hot glue. LED choose blue, green or some other to your taste. We also install the holder for the flat battery and mount the switch.
Everything, now the homemade product is ready, we turn off the light and enjoy the sight. Everything looks very interesting, mystical, the jellyfish seems alive. The project is completed on this, I hope you liked the homemade work, and you found useful thoughts for yourself. Good luck and creative inspiration, if you decide to repeat this, do not forget to share your ideas and homemade things with us!