
Interesting homemade made by a master arduino. This flashlight remembers the color it was pointed at and then reproduces it. The action of the flashlight is due to the operation of the TCS34725 module. Here is what the module manufacturer writes (abbreviated): “After tens of millions of years of evolution, the chameleons have formed a biological instinct that helps them change their skin color to suit their environment.
We took inspiration from nature in developing the TCS34725 I2C color sensor. Using optical methods, this sensor detects colors and provides digital processing of red, green, and blue (RGB) values. This allows you to recreate the detected colors using these values.
TCS34725 has high sensitivity, wide dynamic range and includes a blocking IR filter, which makes it an ideal solution for color perception when used in various lighting conditions. The sensor also includes four super-bright LEDs that allow the sensor to work without external light sources. "
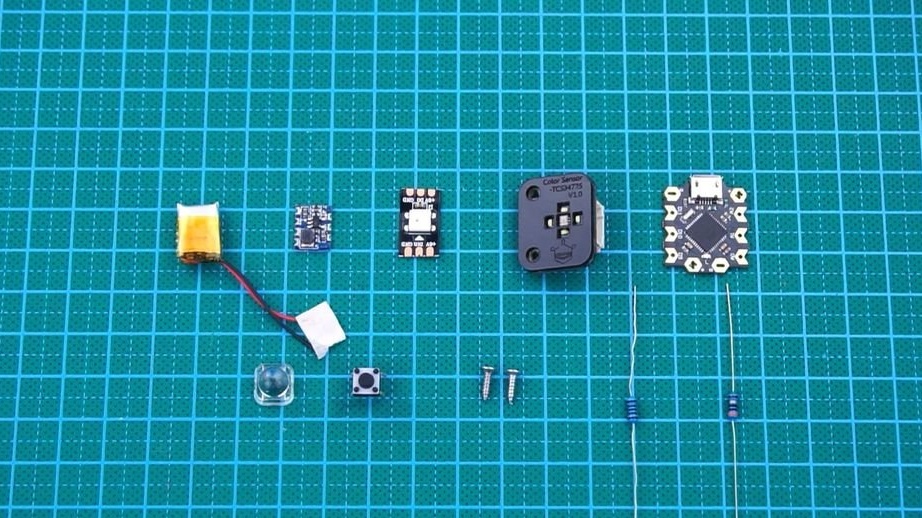
Tools and materials:
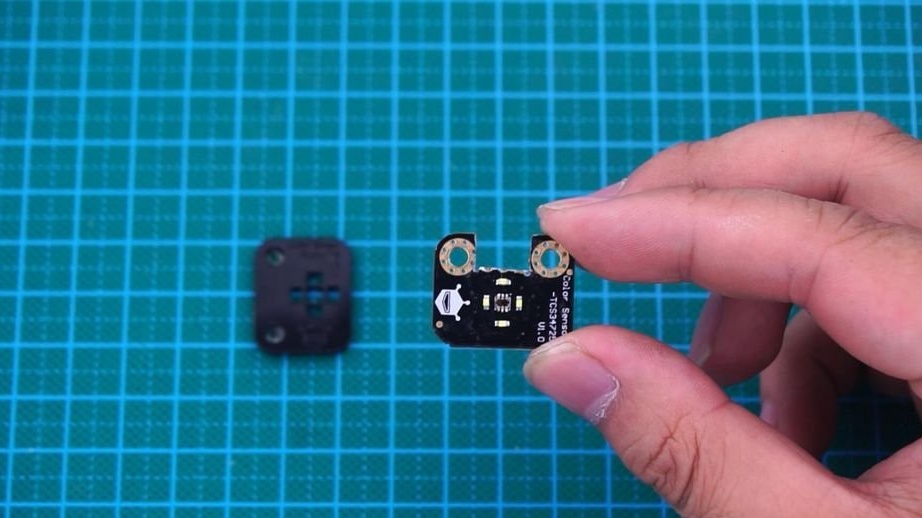
-Module TCS34725;
-Arduino - Beetle (the smallest model);
-LED strip RGB;
- Lithium battery 3.7 V 50 mAh;
- DC-DC module 5v-4.2v;
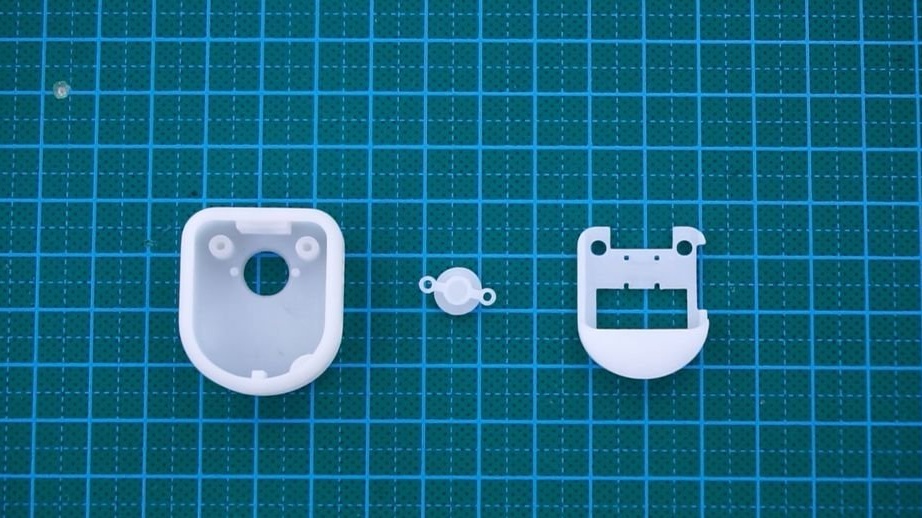
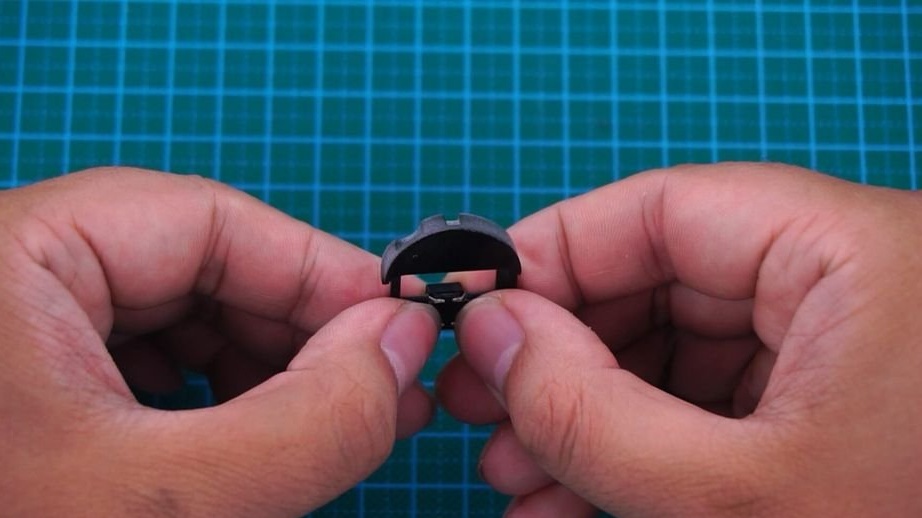
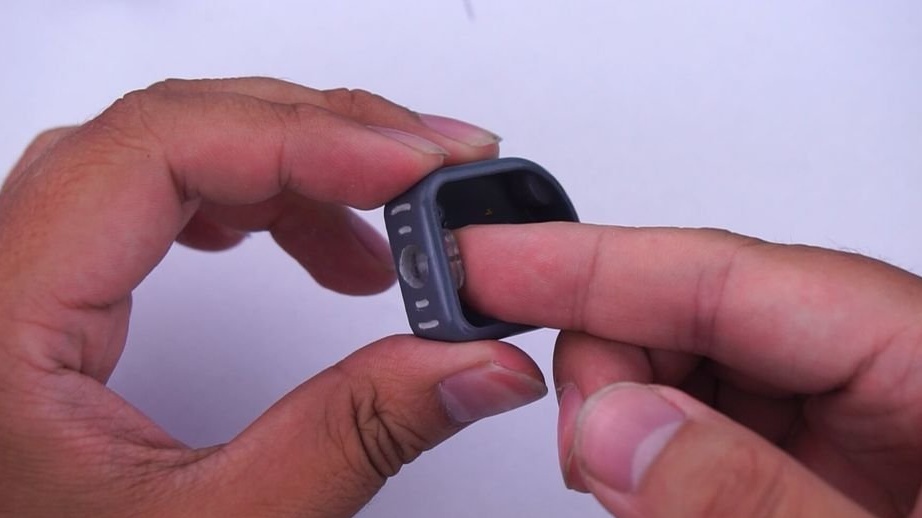
-Plastic cover;
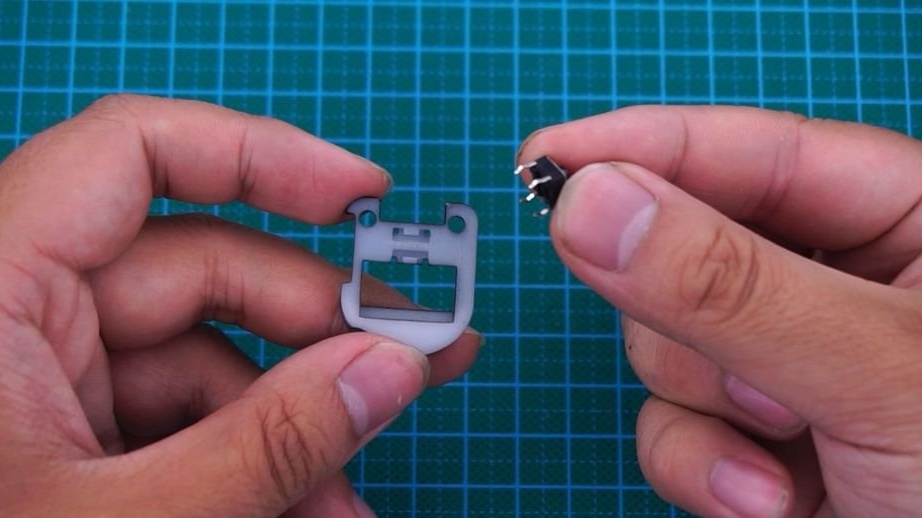
4-pin micro switch;
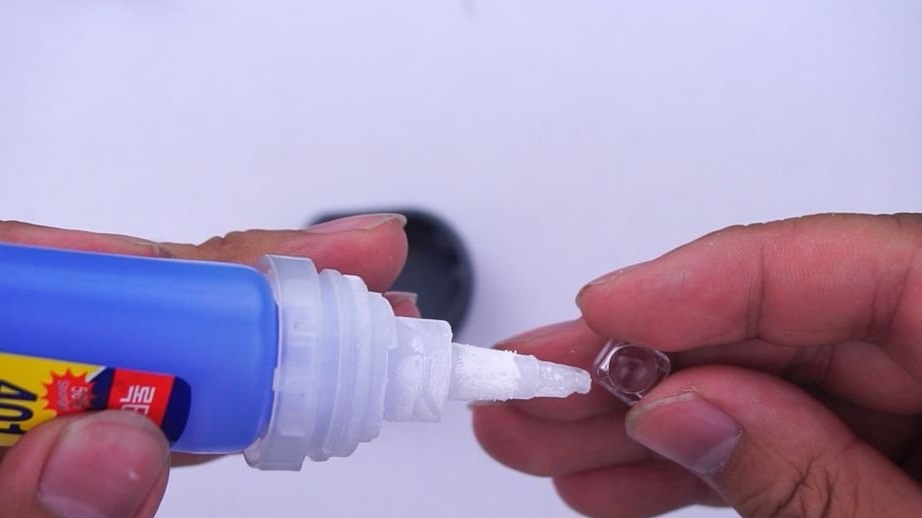
-Fasteners;
- Resistors 1 kOhm;
- Diode 1N4148 - 2 pcs.;
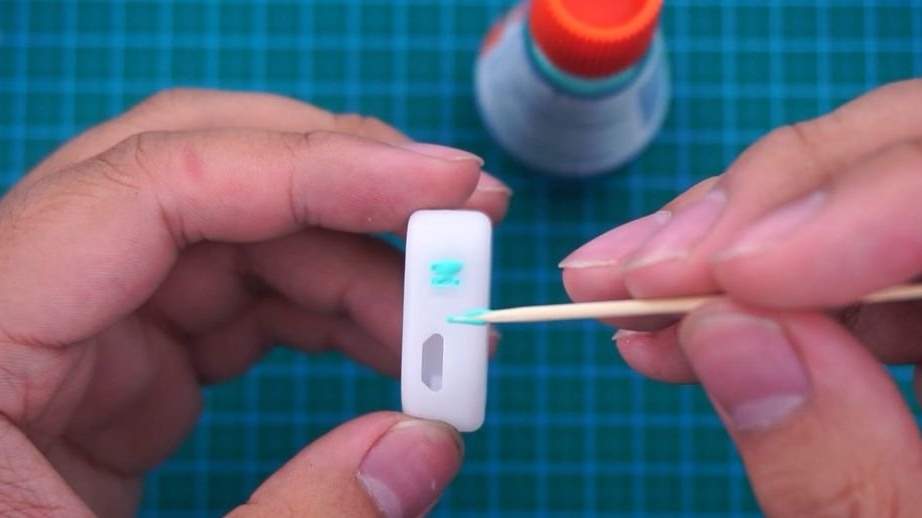
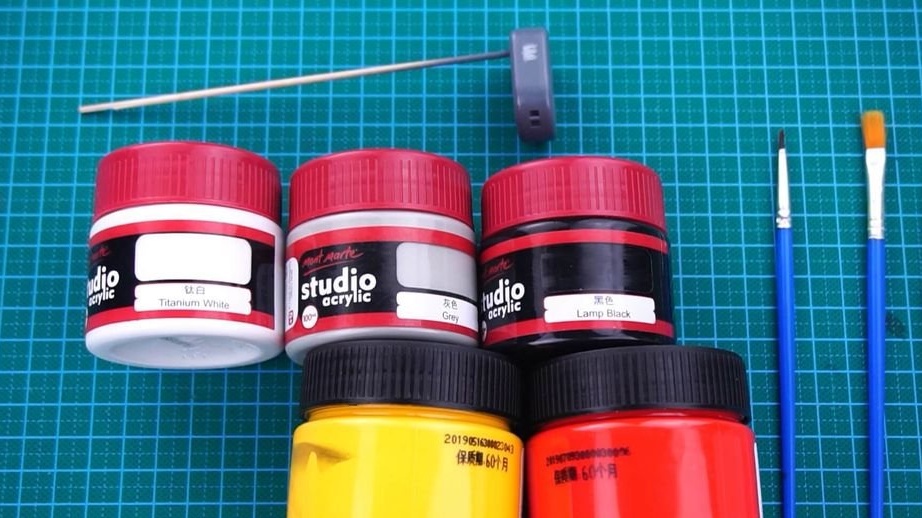
-Acrylic paint green, black, red, white, gray;
-Aerosol paint black and gray;
Aerosol varnish;
-3D printer;
- brush;
-Knife;
-Soldering accessories;
Step One: Design
The master developed the case in CAD. When designing, the dimensions of the components were taken into account.

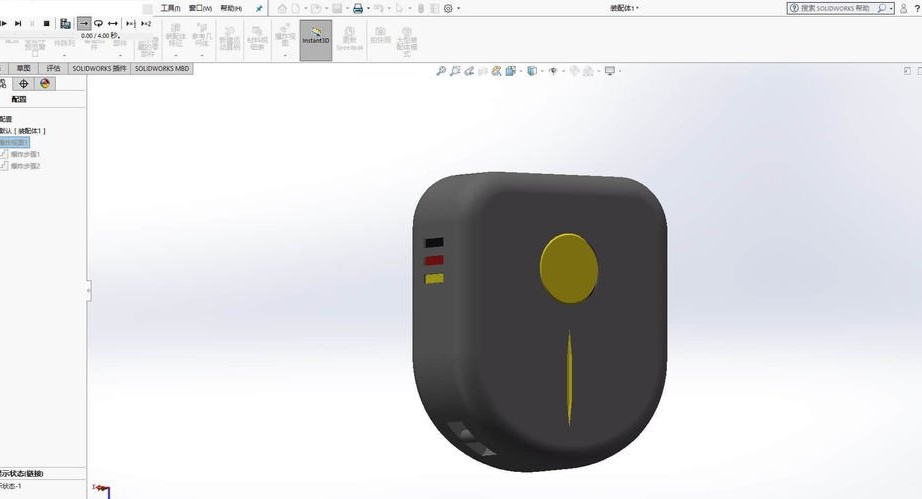
The master chose LEDs as the light source. The button is a micro switch. The choice of the Arduino module is due to its small size. Usually, the Beetle is in sleep mode, after pressing the button, it wakes up and lights up the RGB LED or recognizes colors. A 3.7 V 50 mAh lithium battery is used as a power source.
After development, the file was sent for printing.
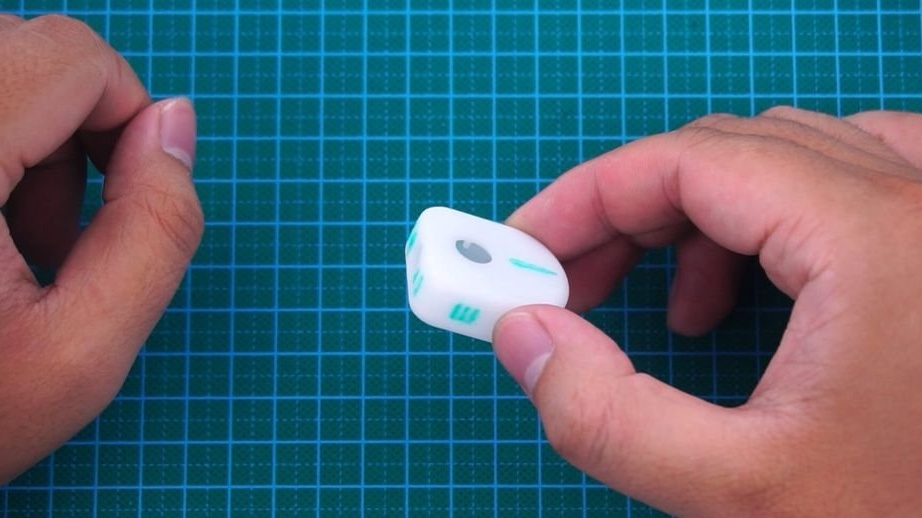
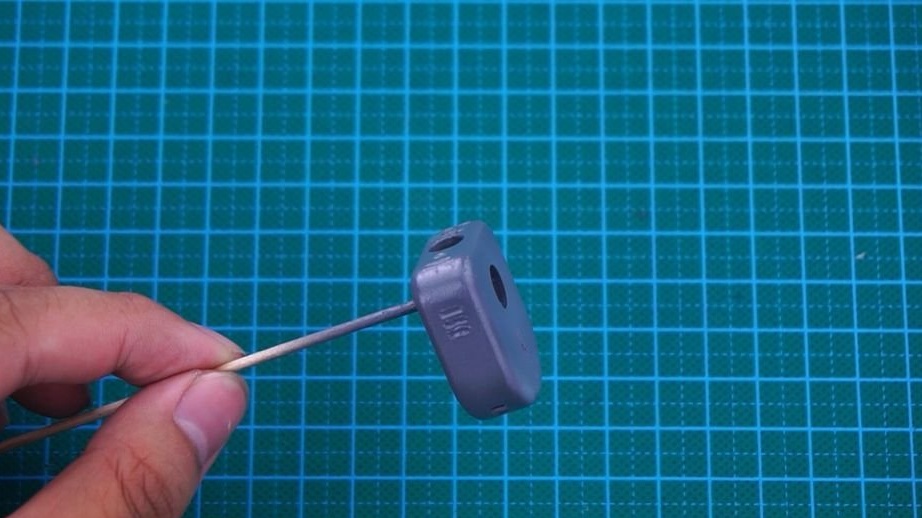
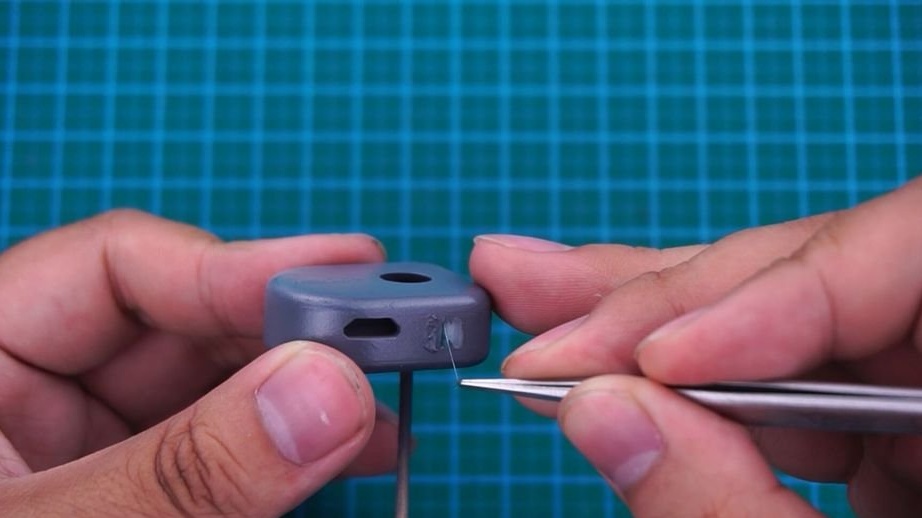
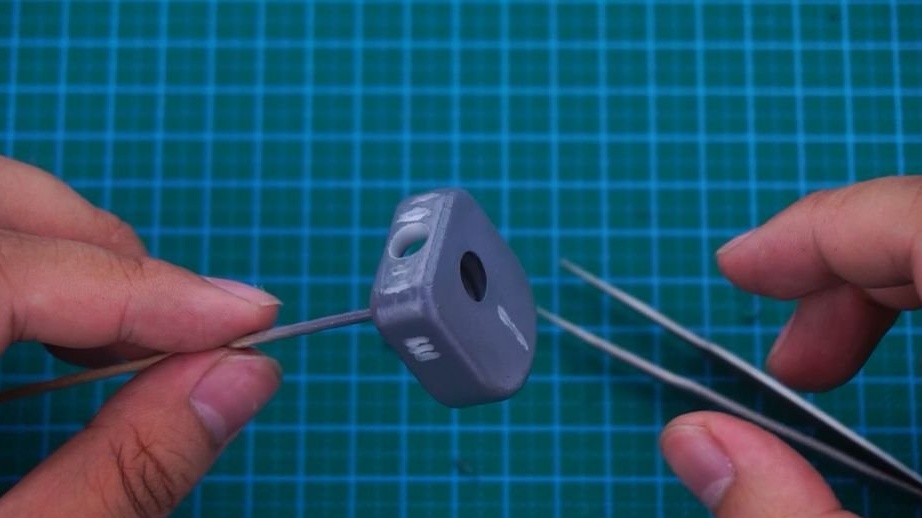
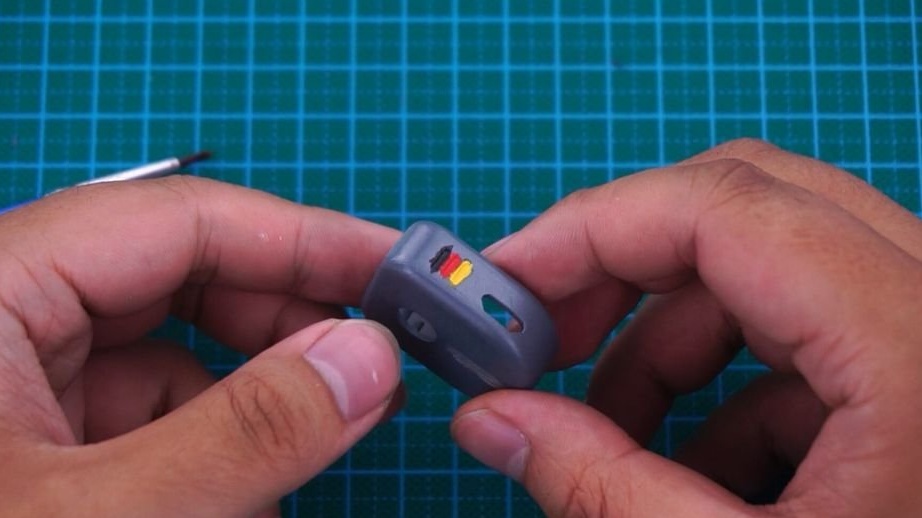
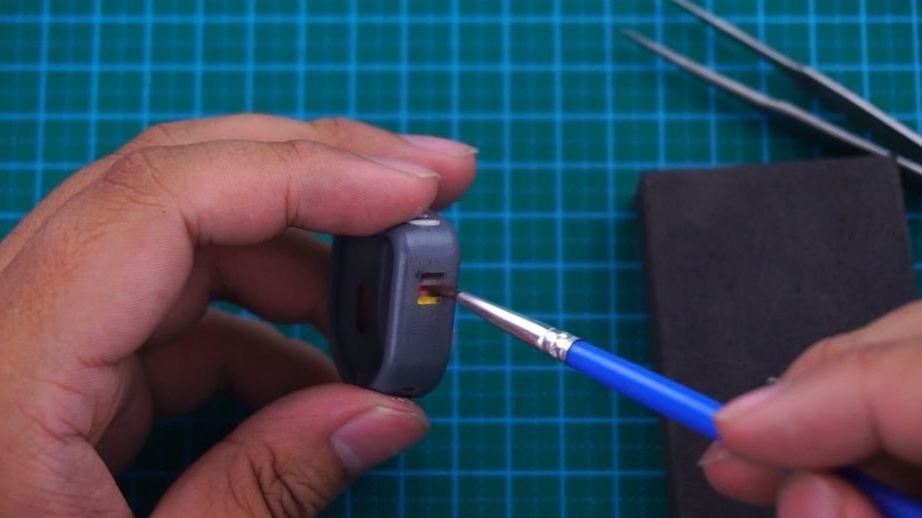
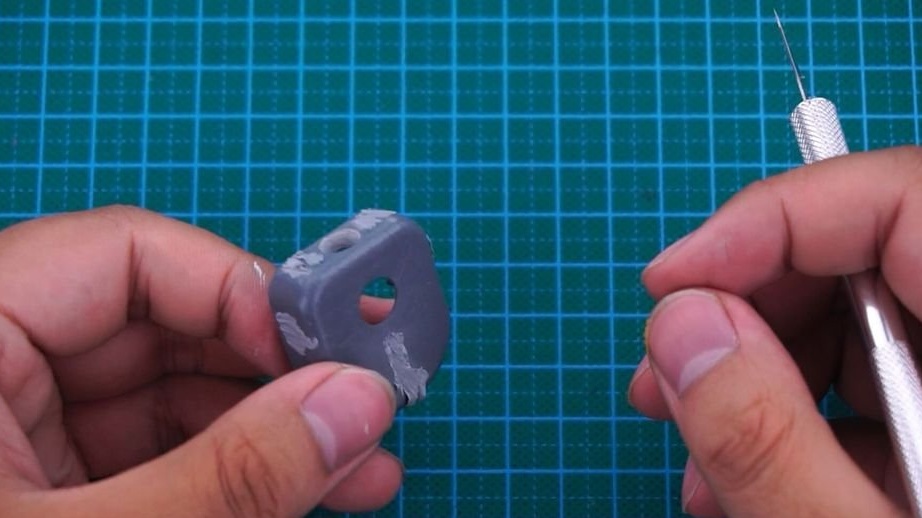
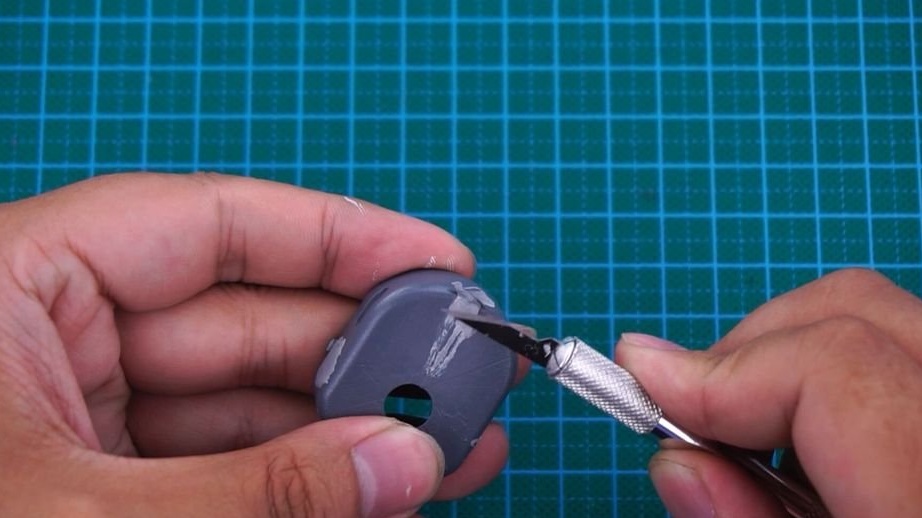
Step Two: Painting
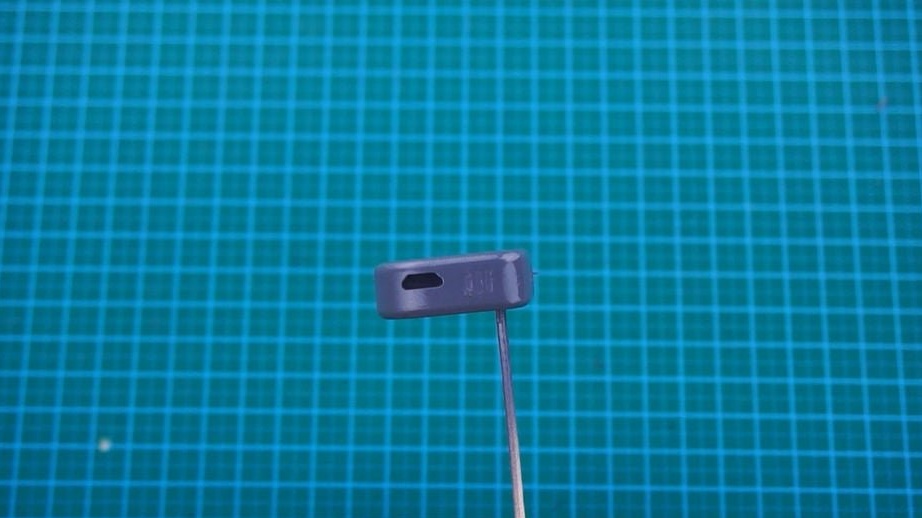
The case is printed and the master paints it.
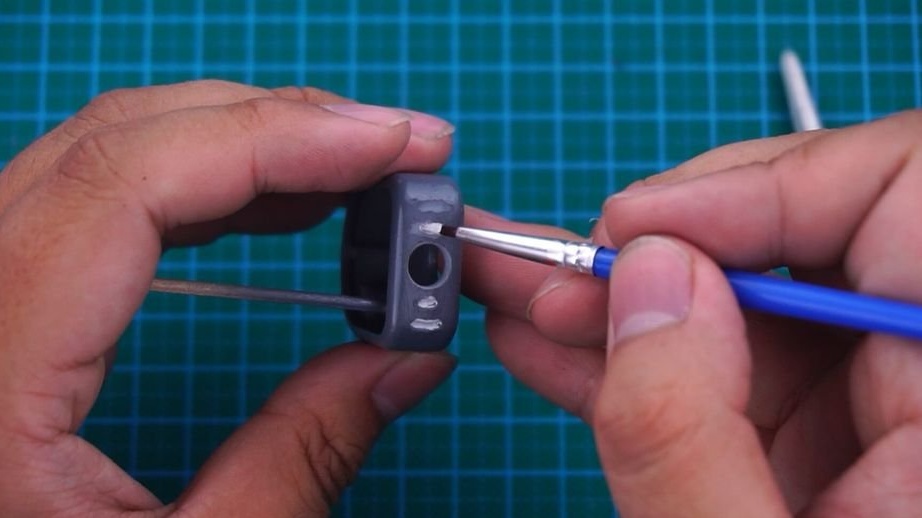
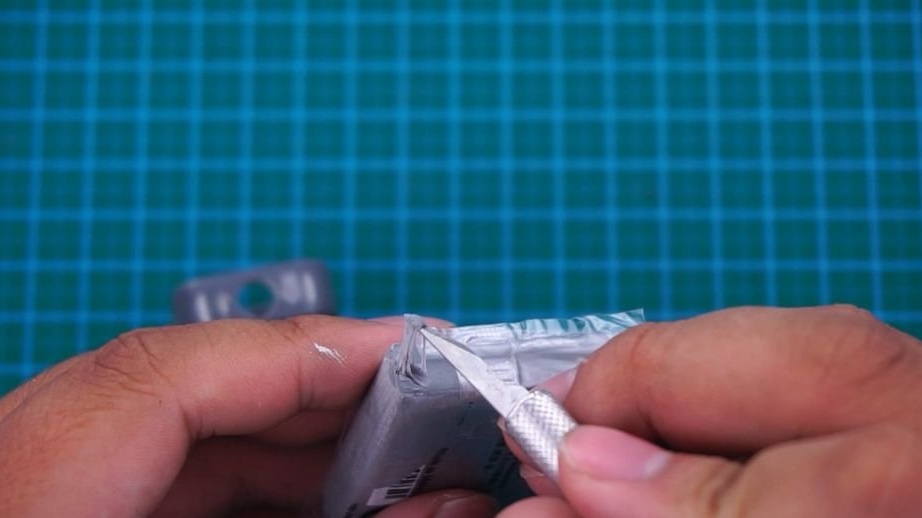
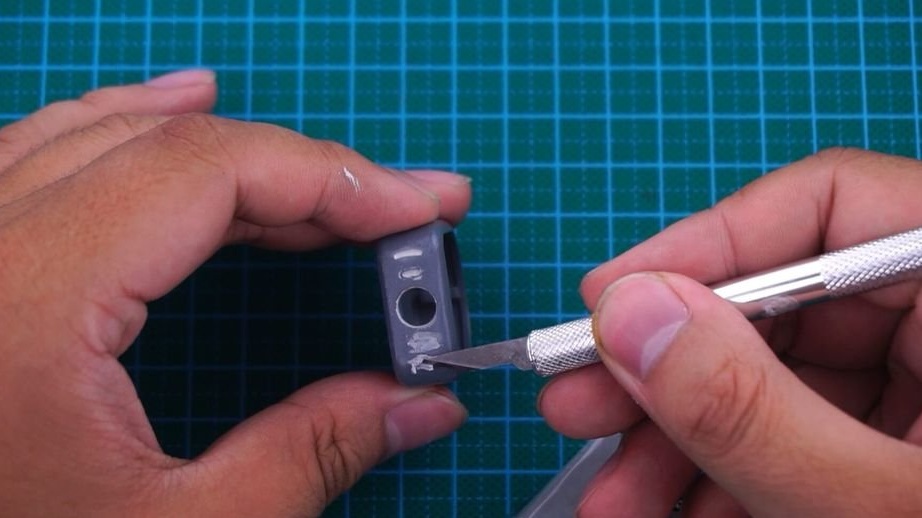
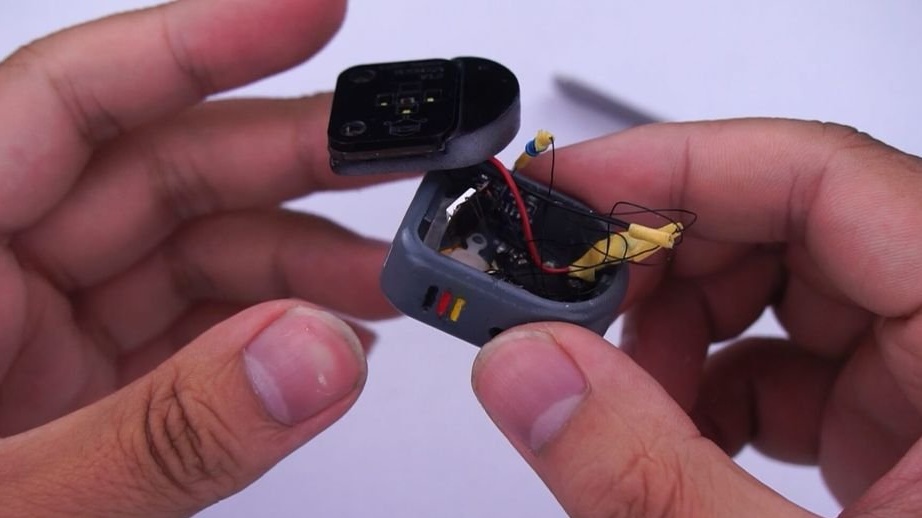
Step Three: Build
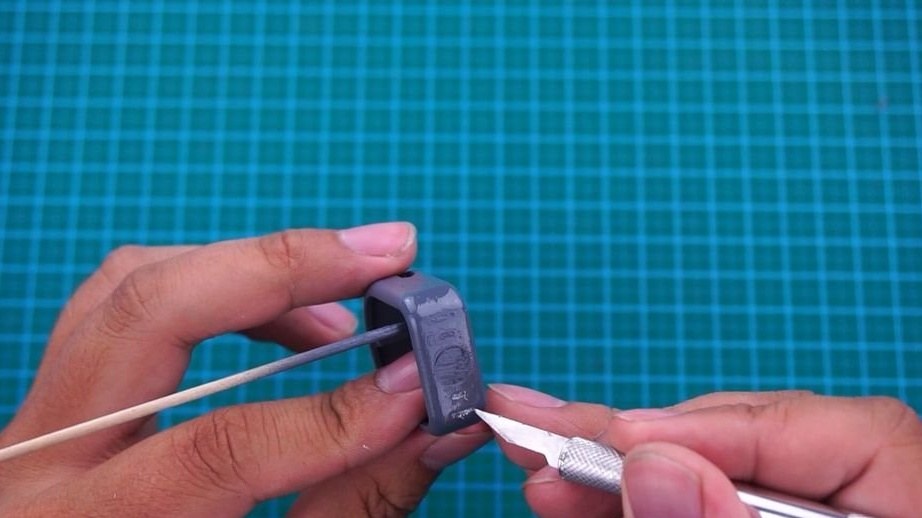
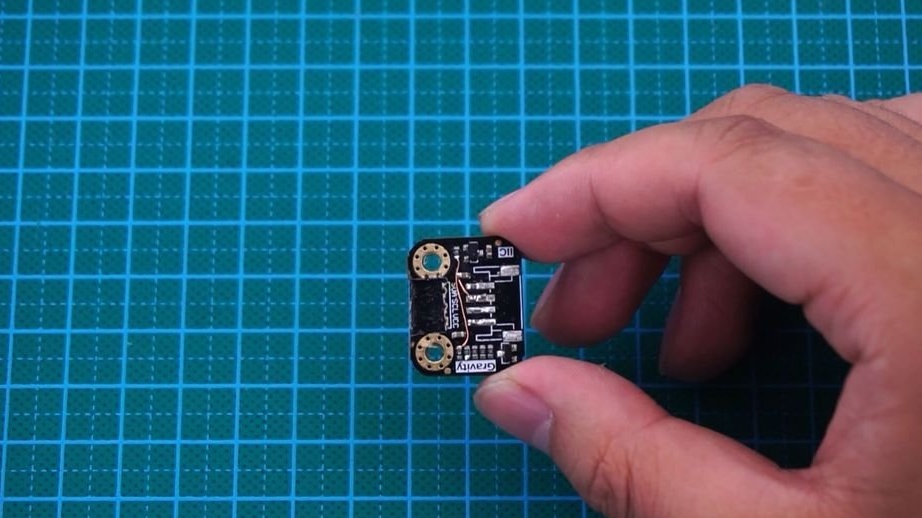
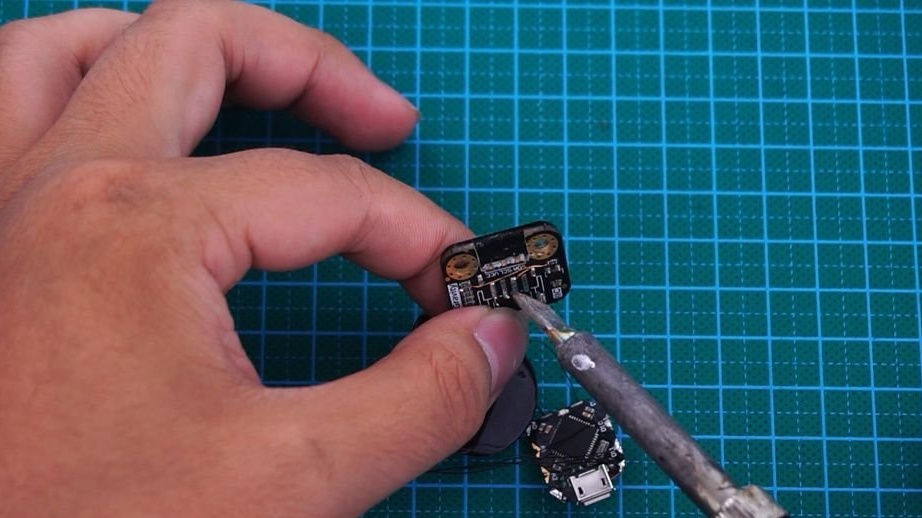
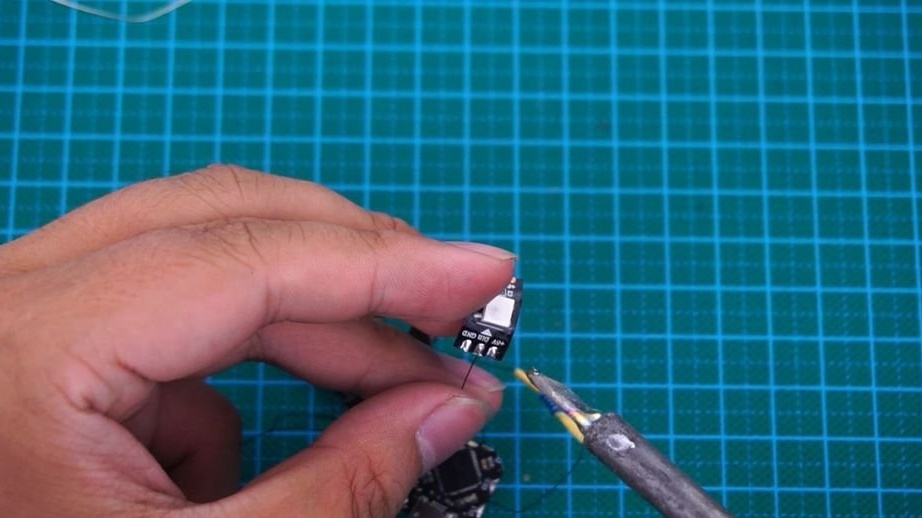
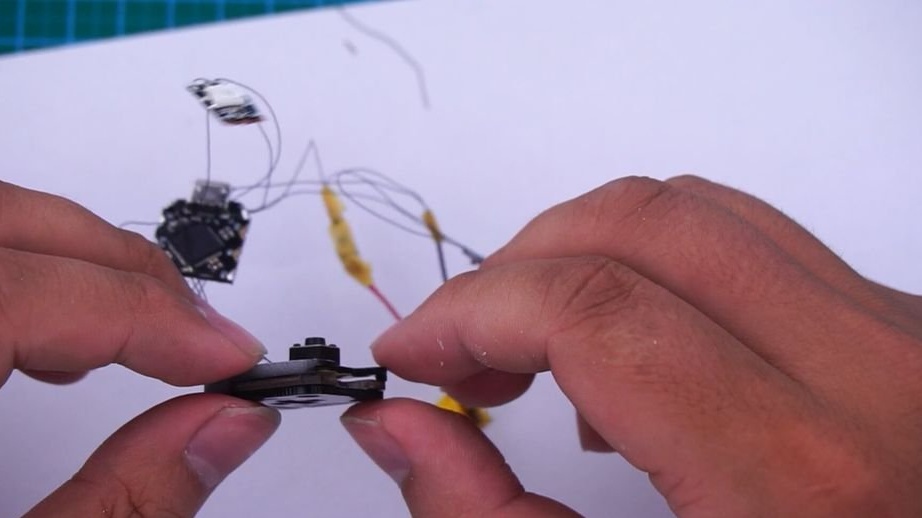
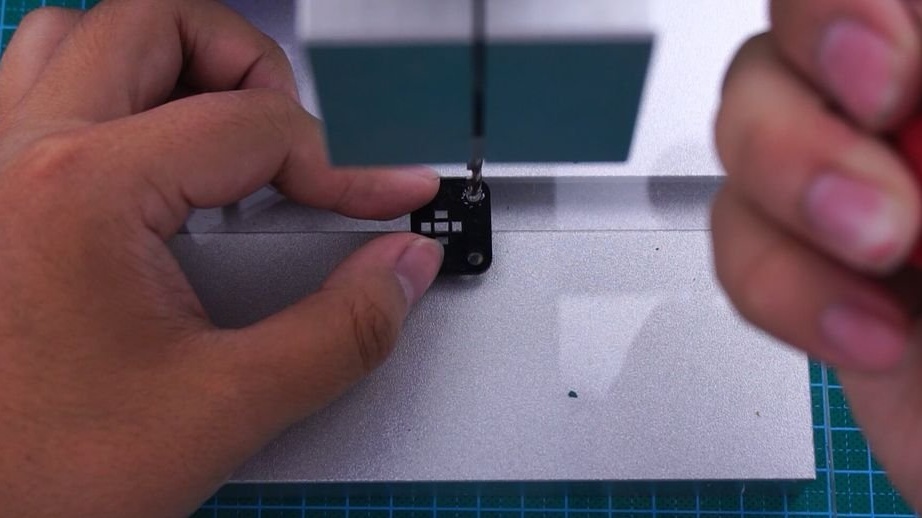
Modules master cuts.

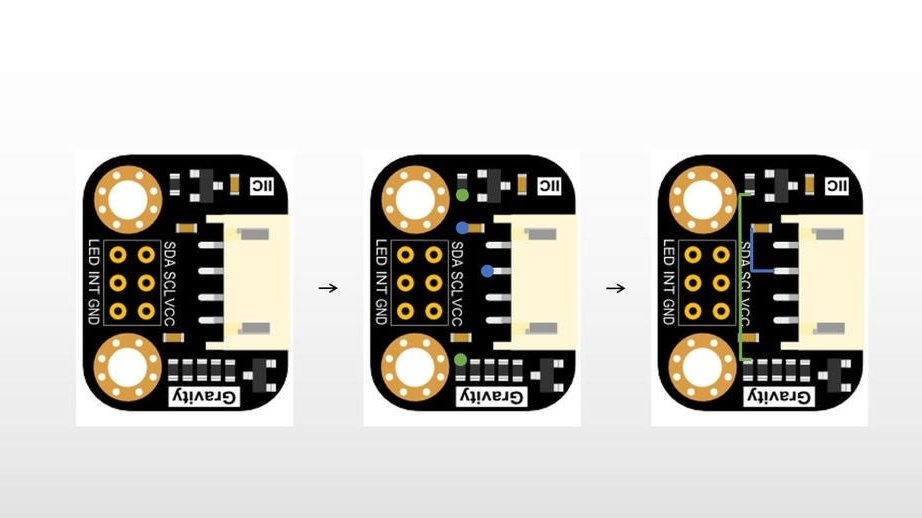
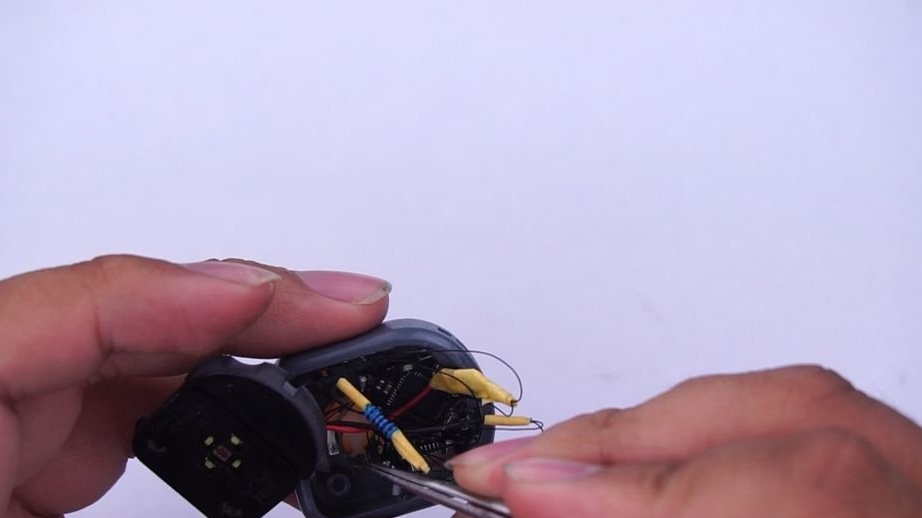
Sets jumpers.
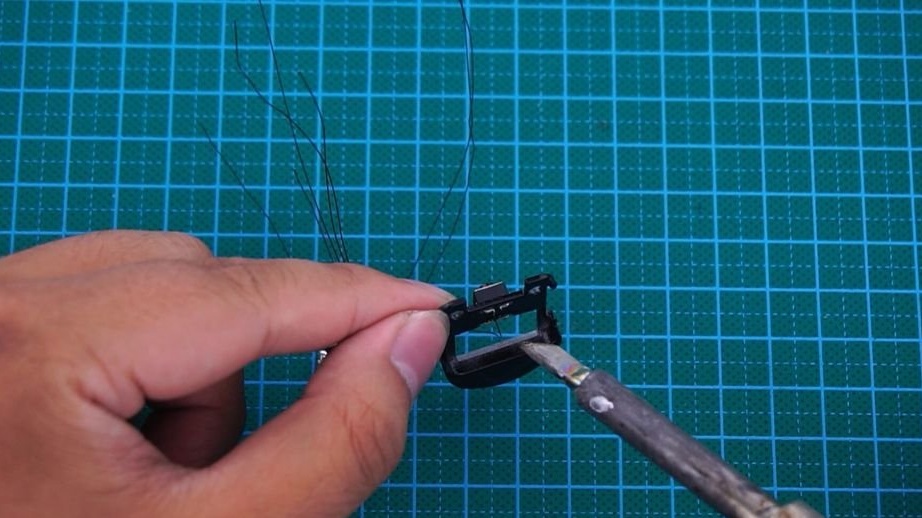
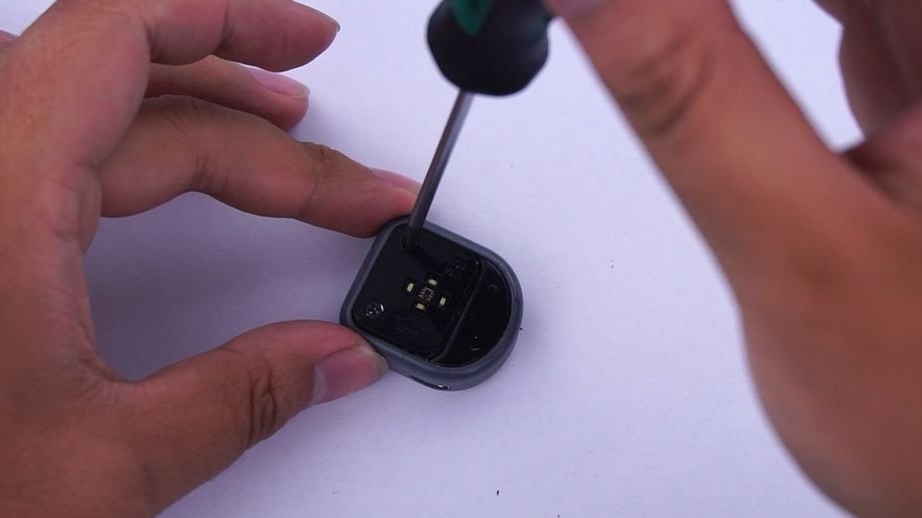
Sets the microswitch.

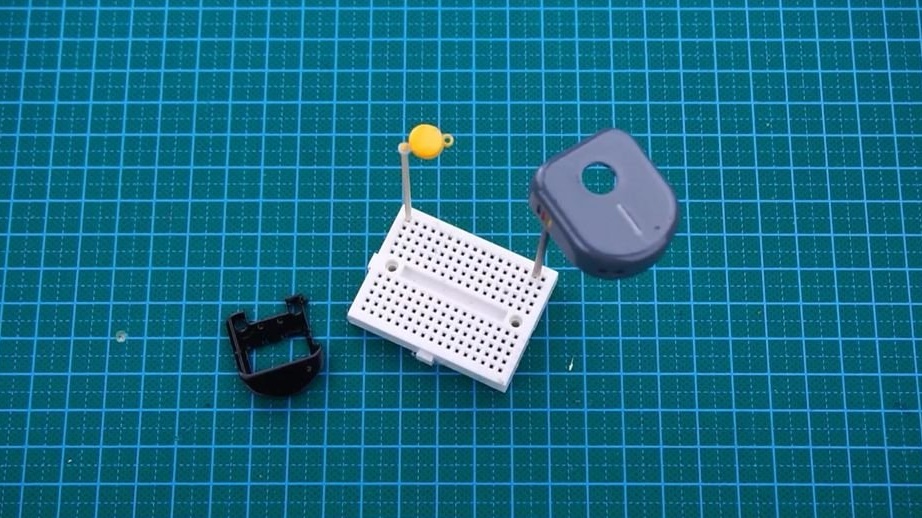
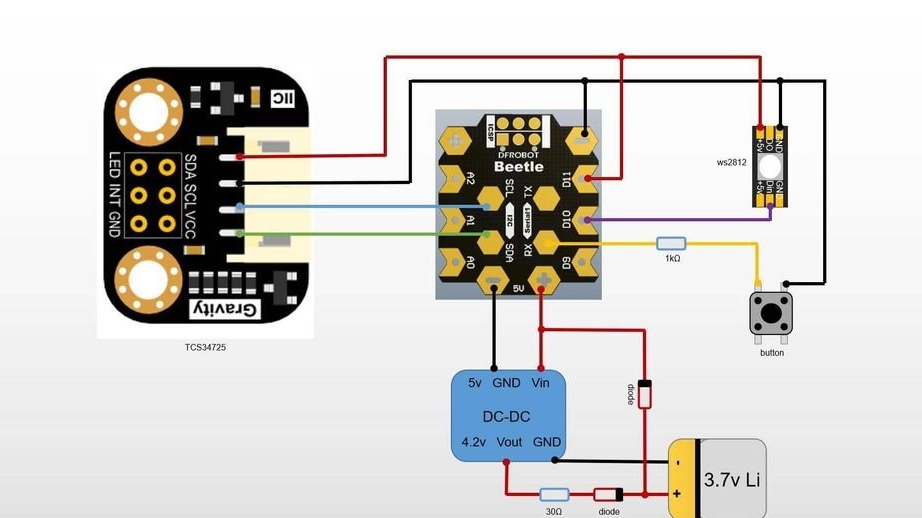
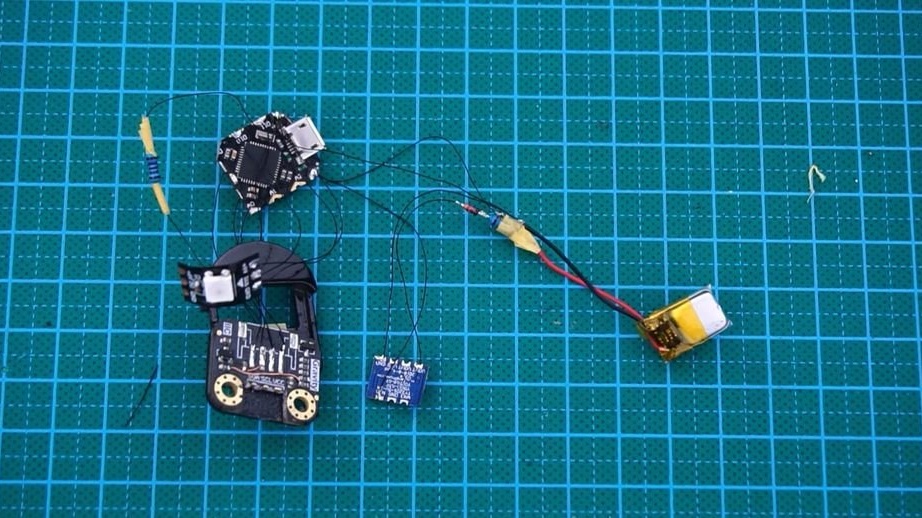
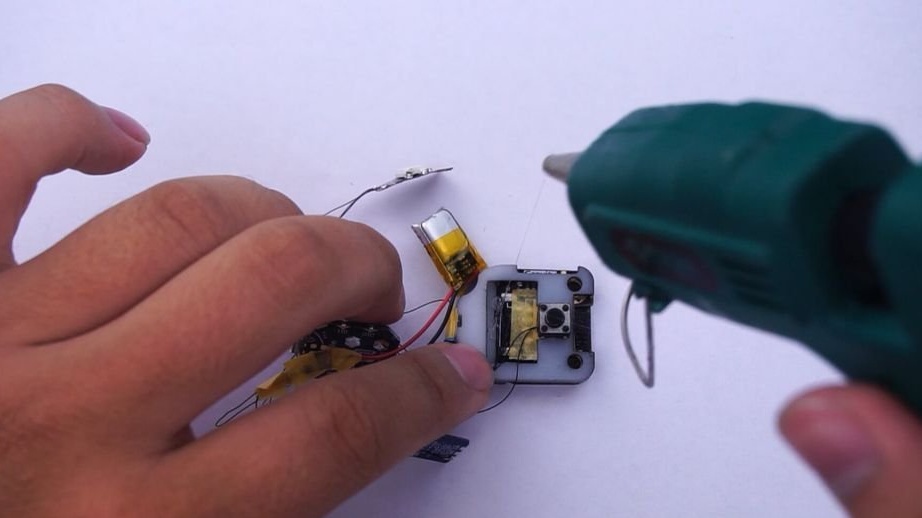
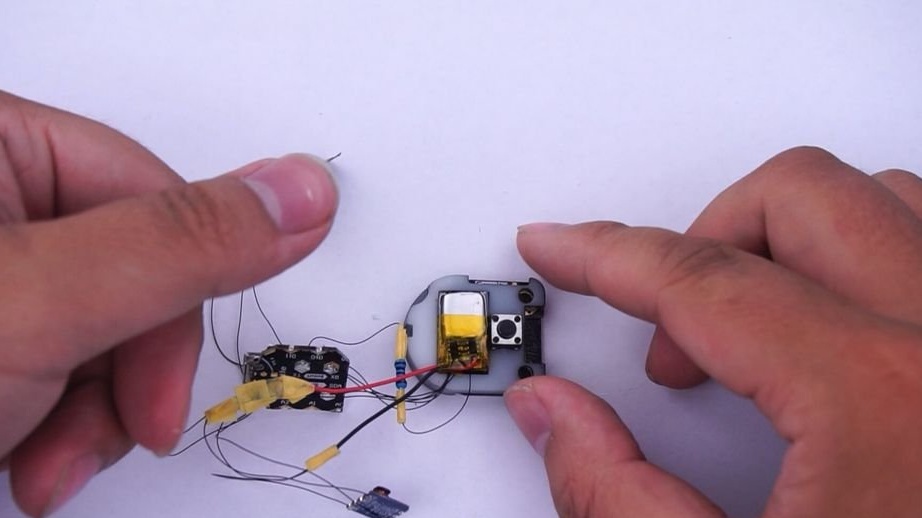
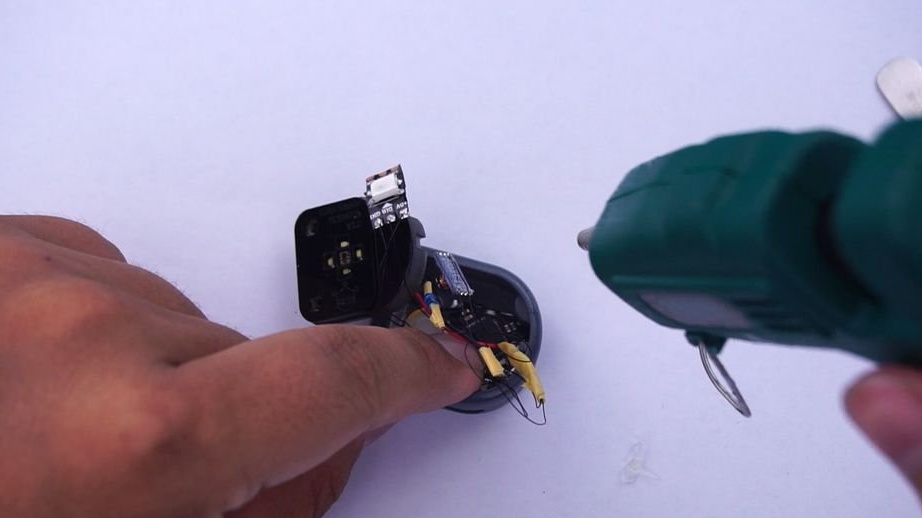
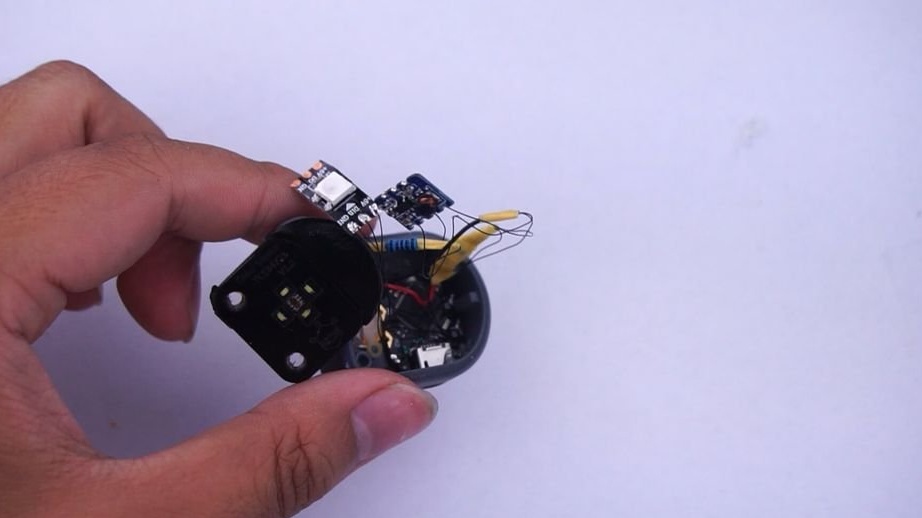
Performs installation according to the scheme.

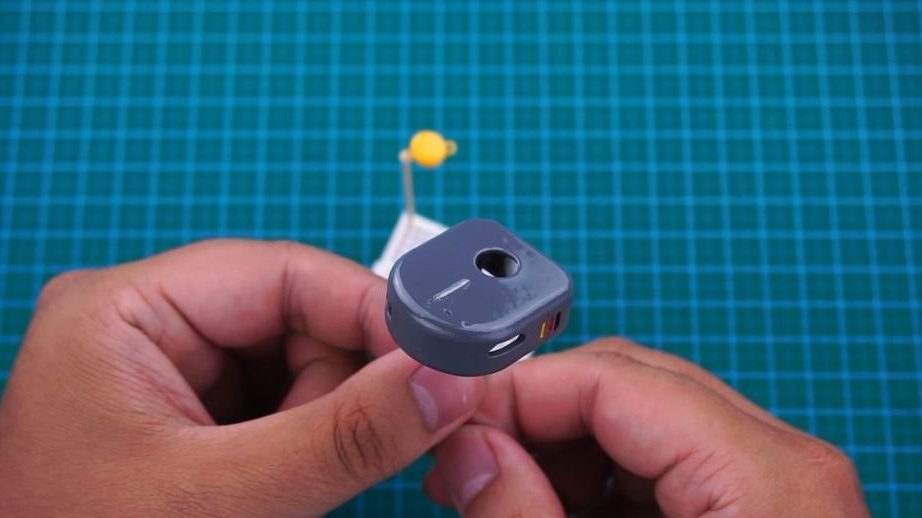
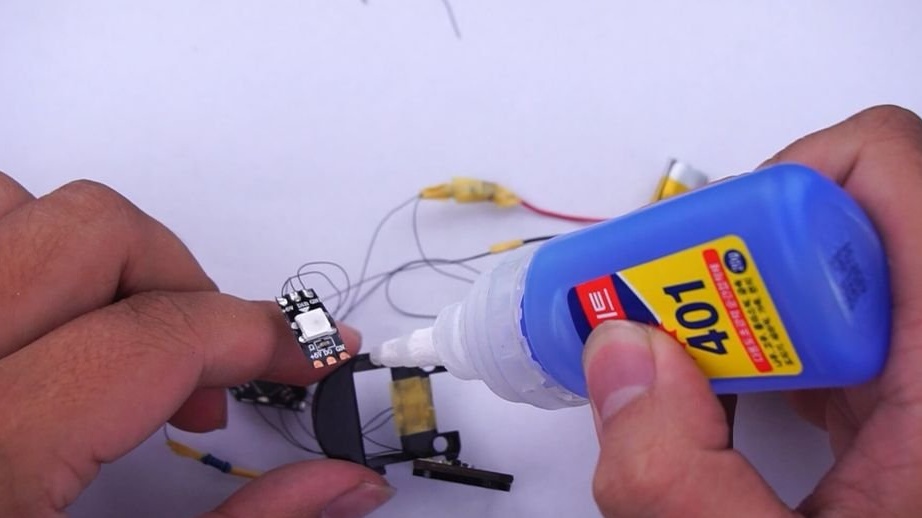
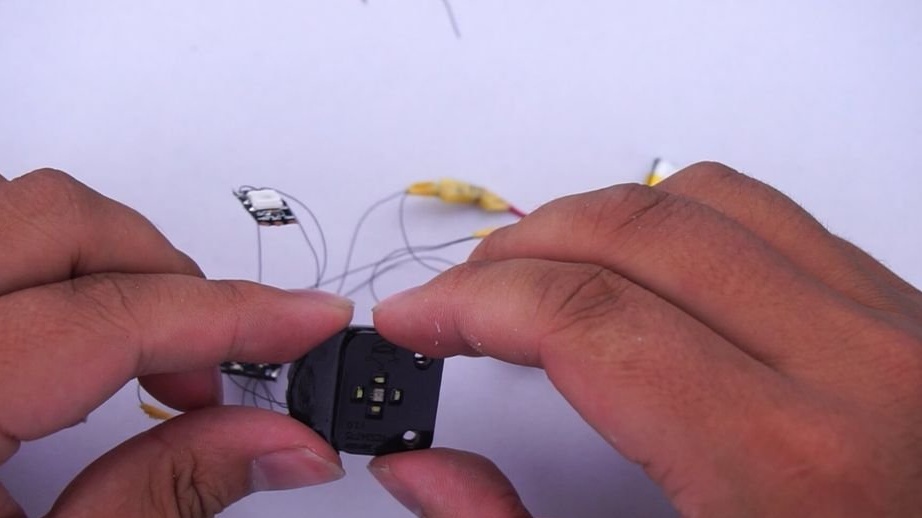
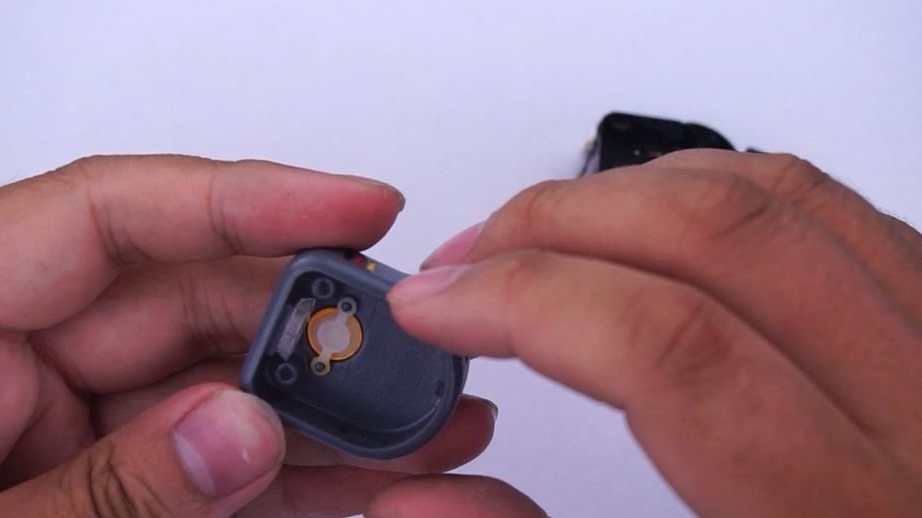
Sets electronics into the case.

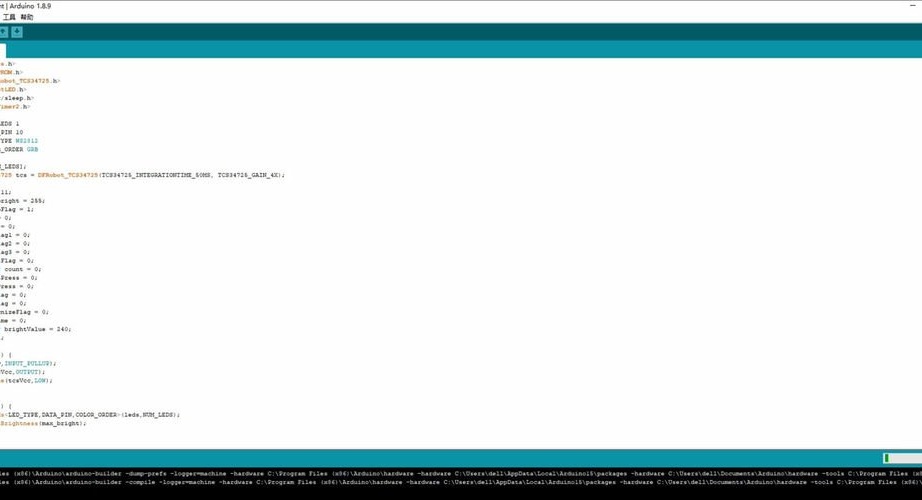
Step Three: Code
Now it remains to download the code and you're done.
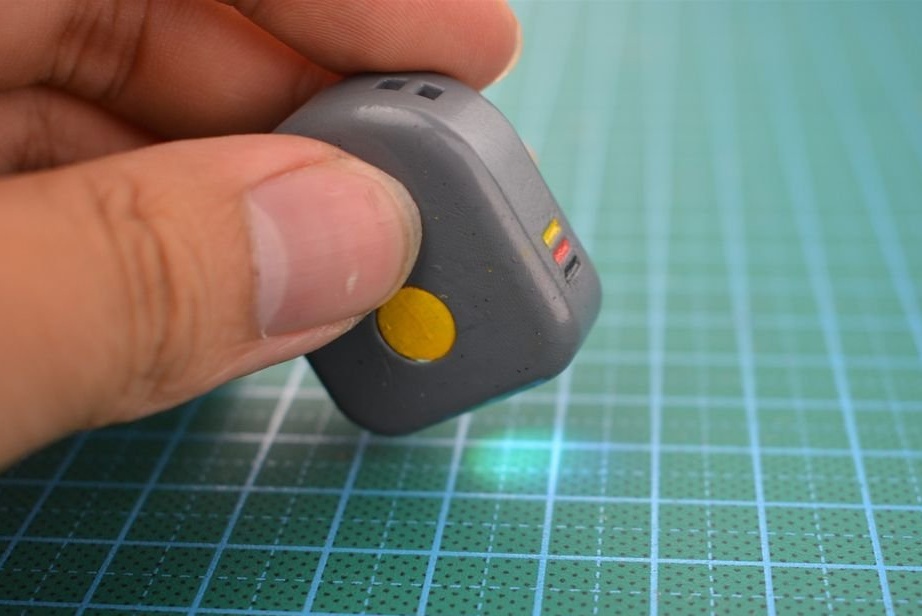
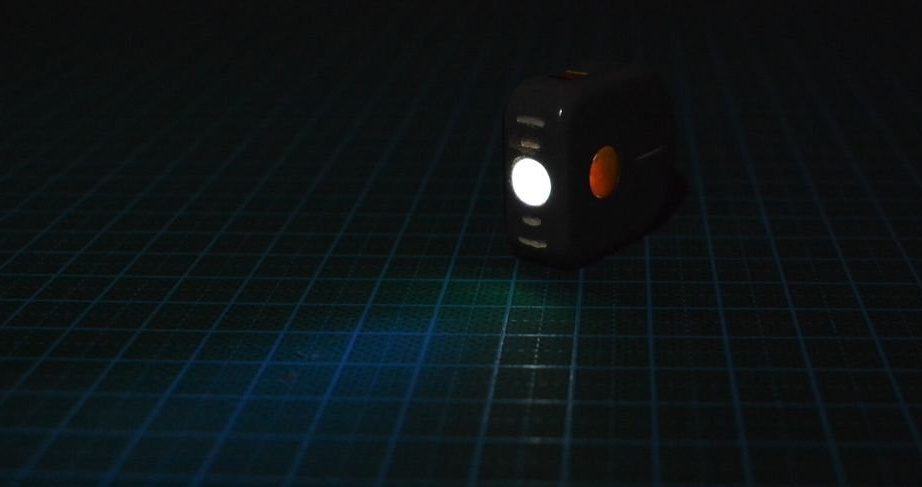
The flashlight works as follows.
A long press on ON activates the color capture mode. Before the desired color, briefly press the button. The color you select will be stored in the memory area, and the light of the flashlight will change. Briefly press the button again, the flashlight will turn off.