As you all well know, one of the most necessary tools in the workshop is angle grinder, or grinder. Many different devices and nozzles were invented for her.
In this article, the author of the YouTube channel “1000 DIY’s and Advice” tells you about a very simple nozzle for the grinder, which will expand its capabilities and allow you to control the depth and width of the cut.
This homemade nozzle is extremely easy to manufacture and can be repeated in just a few minutes.
Materials
- Steel strip 4 mm thick
- Bolts, nuts, steel stud M10
- Machine oil.
Instruments, used by the author.
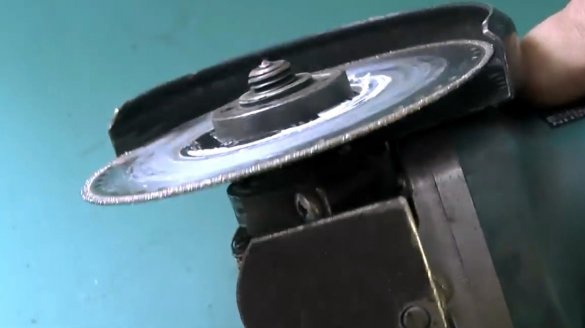
— 125 mm 3T saw blade
— Bulgarian
— Screwdriver
— Step Drills
— Tap
— Welding machine
- Vise, marker.
Manufacturing process.
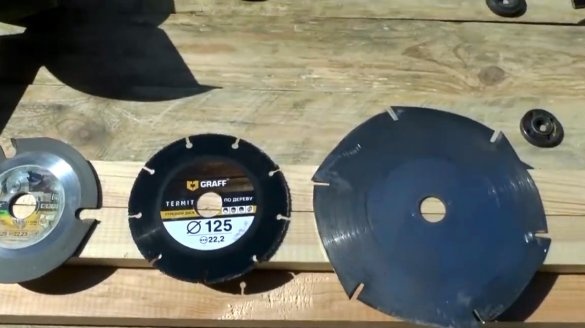
The master will consider the operation of this nozzle in combination with such various wood disks.
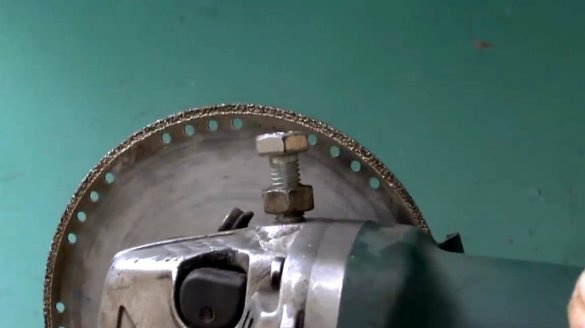
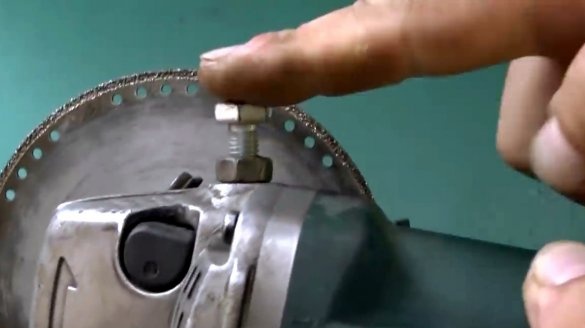
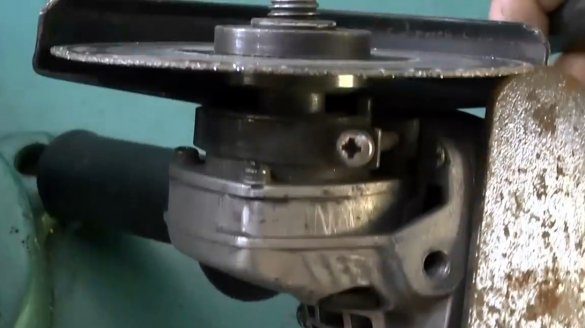
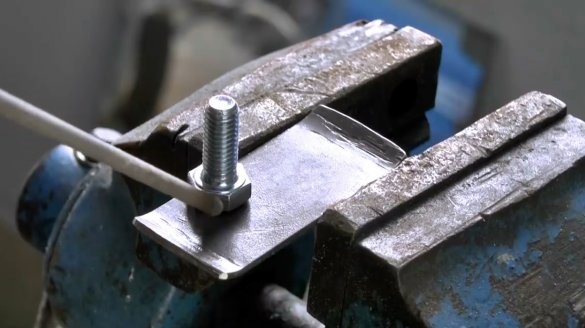
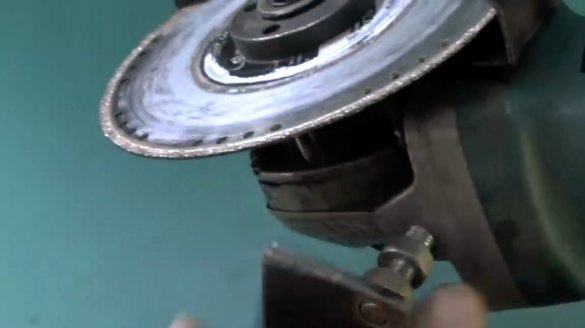
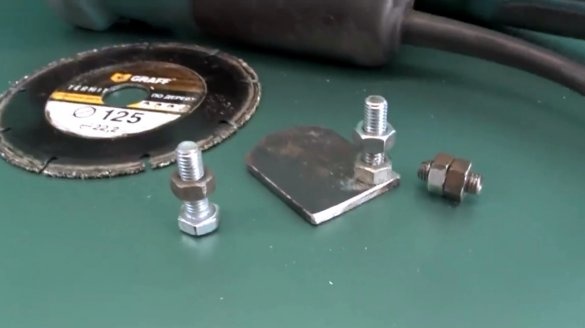
The simplest version of this fixtures there will be an ordinary bolt with a lock nut, which is screwed into the hole for the handle. By resting the head of the bolt in the longitudinal rail, you can move the tool along the workpiece, so it will be easier to control the depth and width of the cut.
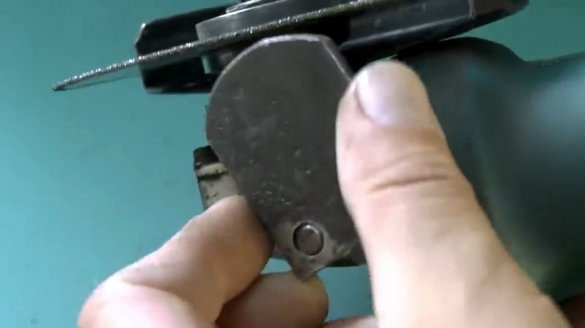
However, due to the small contact area, such a device is not very accurate. For the manufacture of nozzles, the author will use a steel strip 4 mm thick.
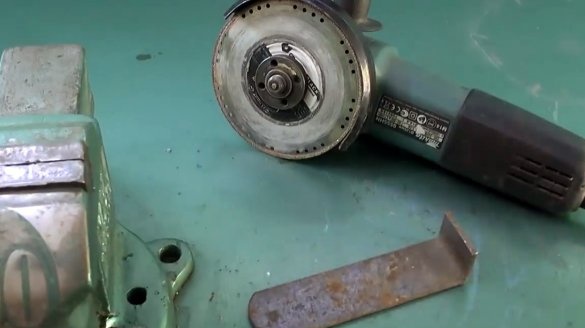
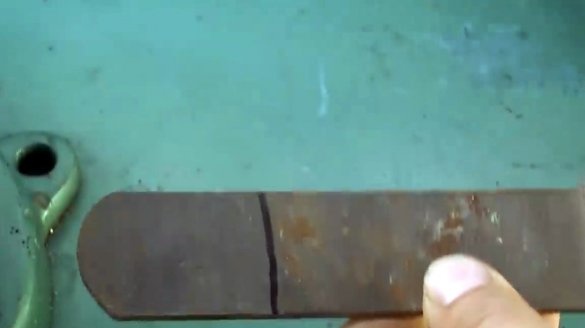
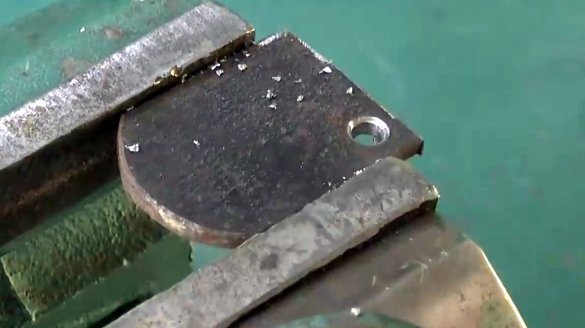
First you need to mark the size of the strip so that it does not touch the disk.
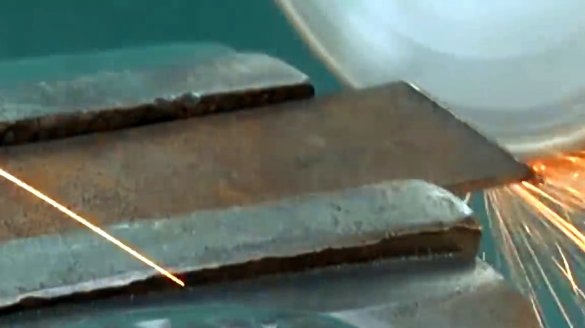
The workpiece is fixed in a vice, and cut off according to the markup.
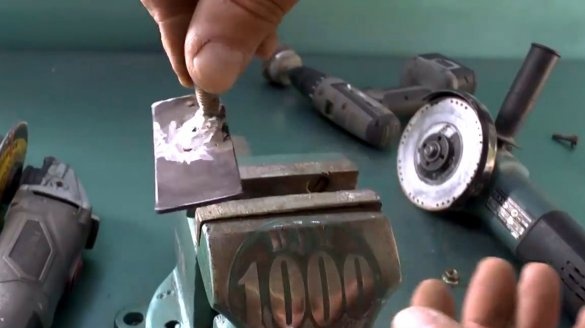
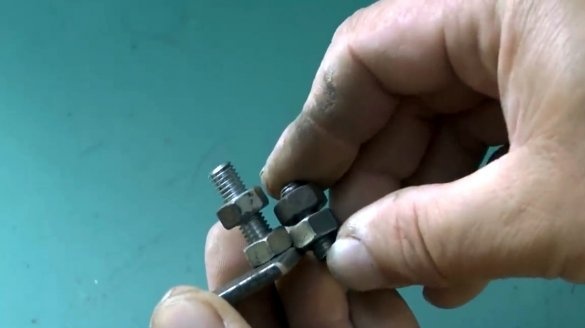
If you have a welding machine, then the bolt can simply be welded to the plate. But this is not very convenient, because such a nozzle does not make it possible to adjust the depth of cut.
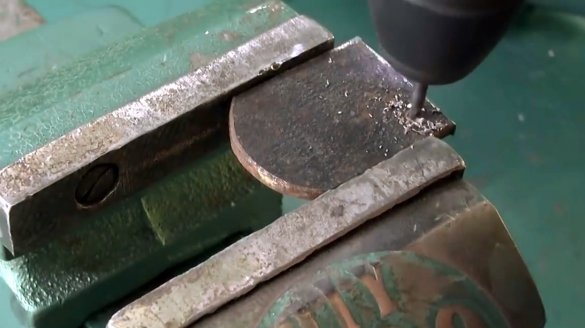
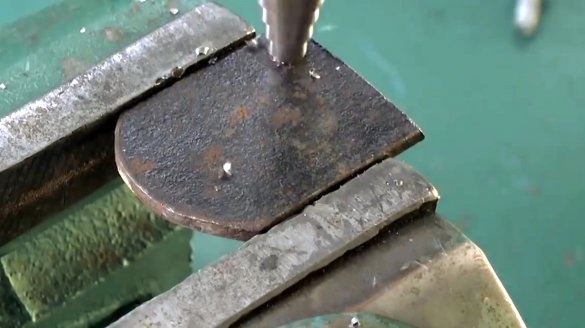
It is easier and more reliable to drill a hole in the plate with a thin drill.
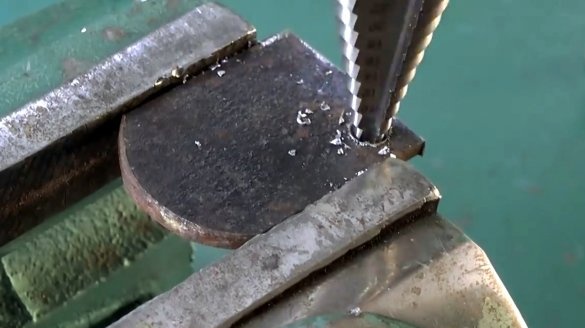
If you have a stepped drill, then it’s better to drill a hole further on them, at the same time you can remove burrs on both sides of the plate.
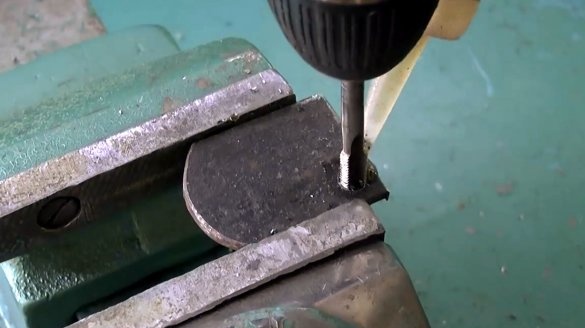
Next, the master cuts the M10 thread in the hole, lubricating the tap with oil. The desired thread must match the screw on the removable handle.
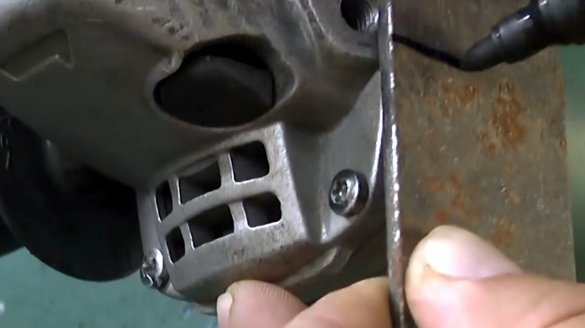
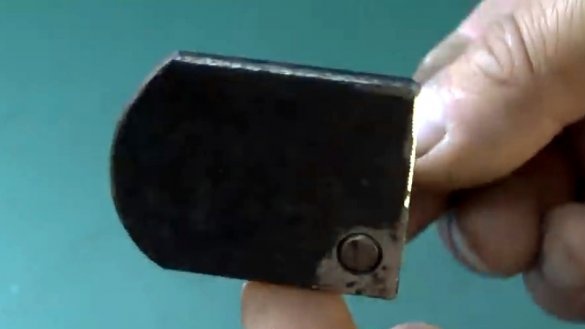
Either a bolt with a cut off head or a piece of a hairpin of the required length is screwed into the hole. With one nut, the pin locks against the plate. To adjust the depth of cut, trimming studs of different lengths will be required.
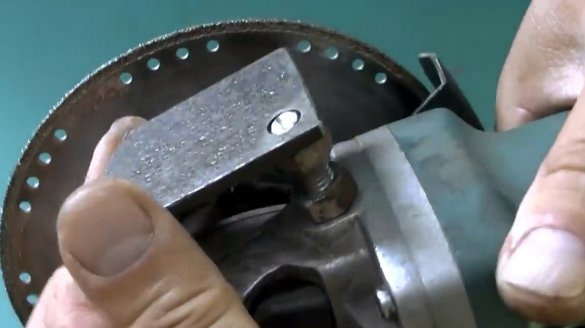
The fixture is screwed into the hole for the handle, and counter-screwed with a second nut.
As a matter of fact, this support nozzle looks like this.
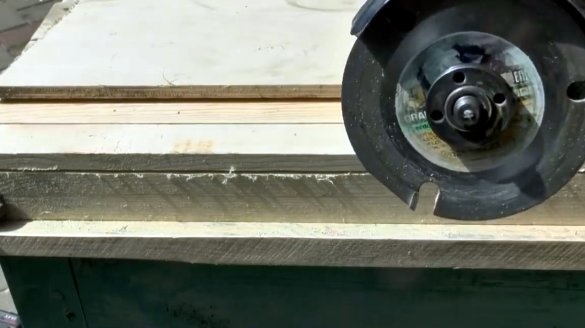
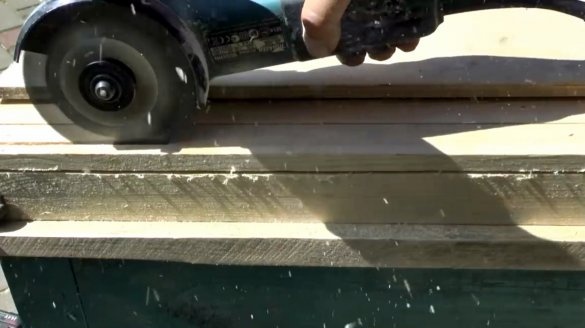
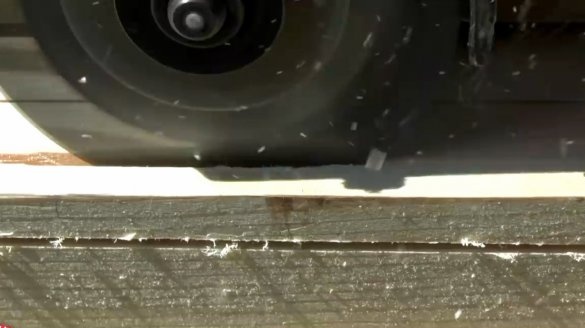
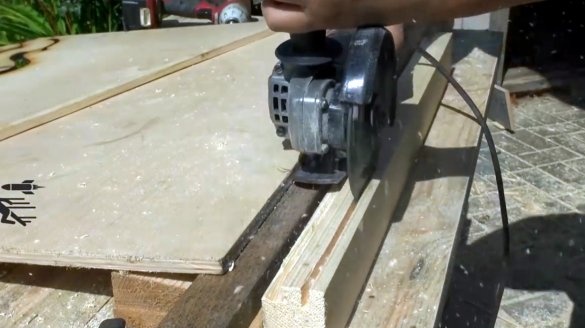
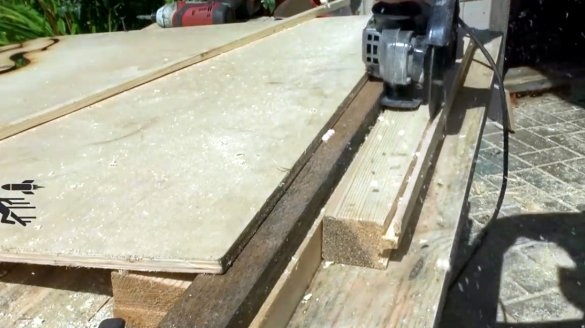
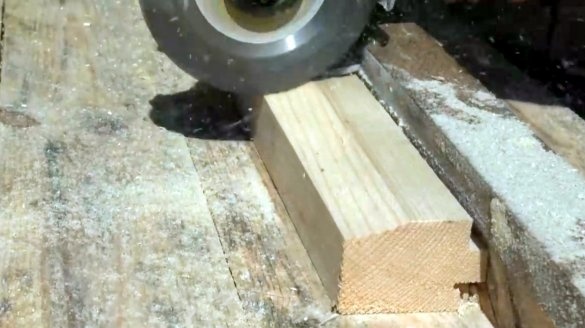
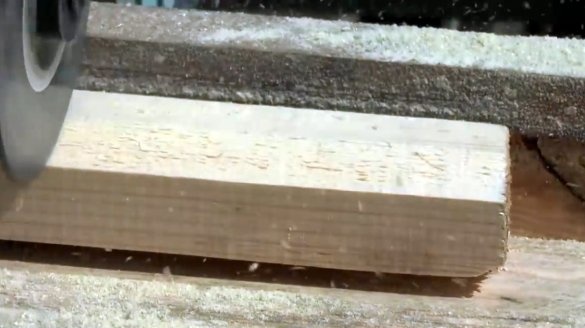
The author pressed the board to the steel profile pipe, and makes the first cut with a disk on wood. Such a disc does not cut wood very quickly, although it is intended for this.
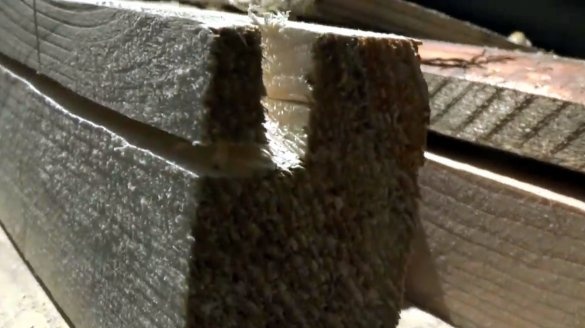
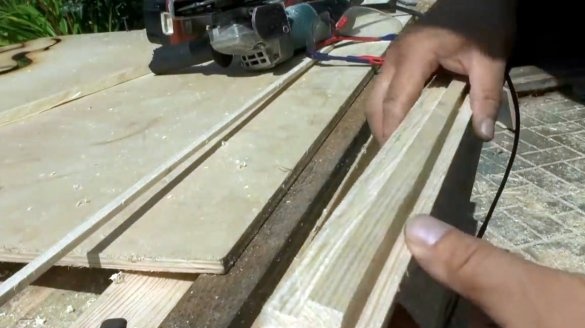
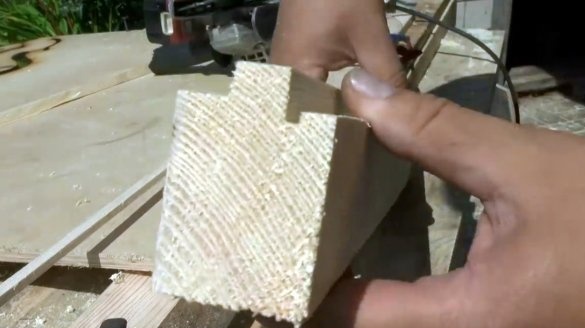
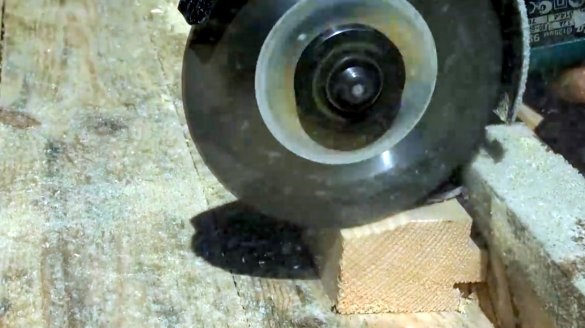
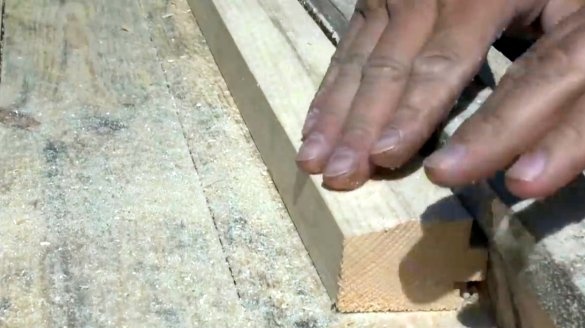
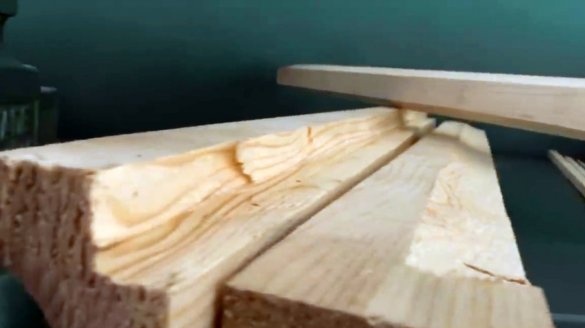
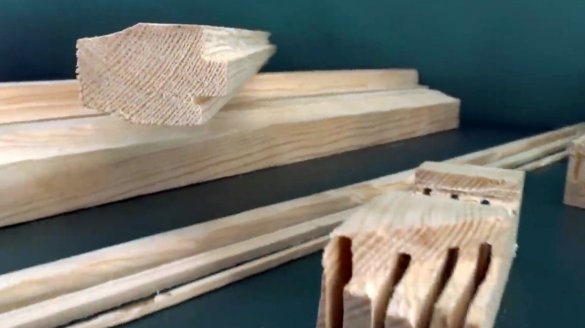
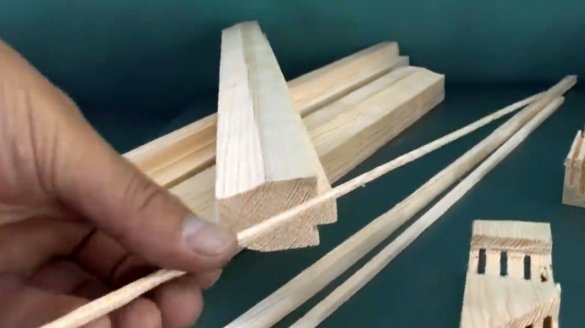
But the second saw blade, which has only three teeth, copes with this task very quickly. The author cuts the “quarter”.
The first cuts were not very accurate, there was simply not enough depth.
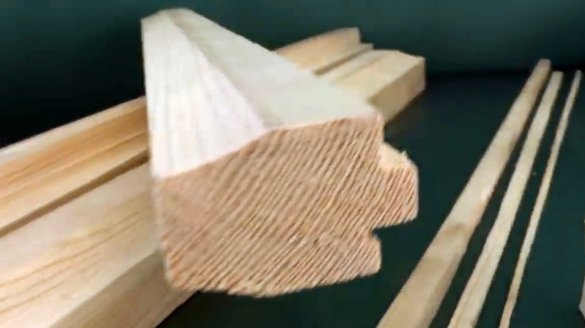
The second attempt, the author decided to make only a trident tooth.
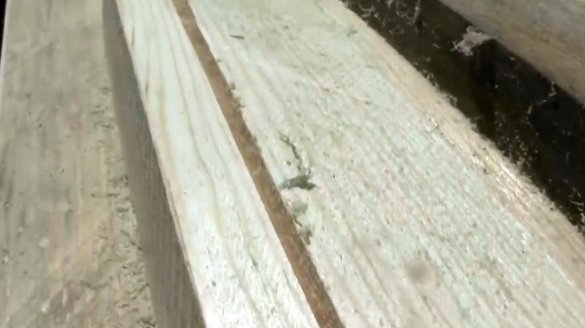
And she was successful. In addition, a glazing bead was also obtained.
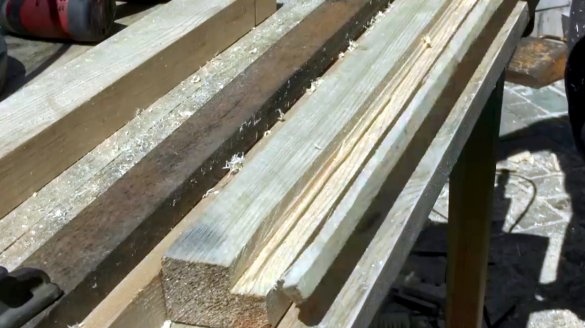
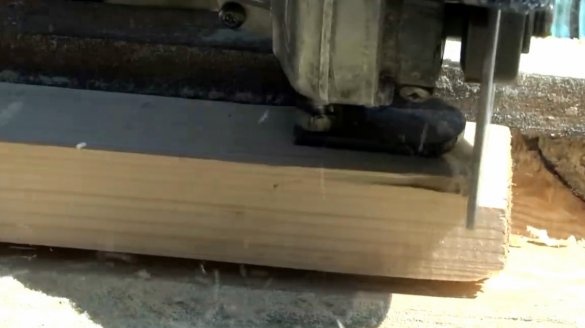
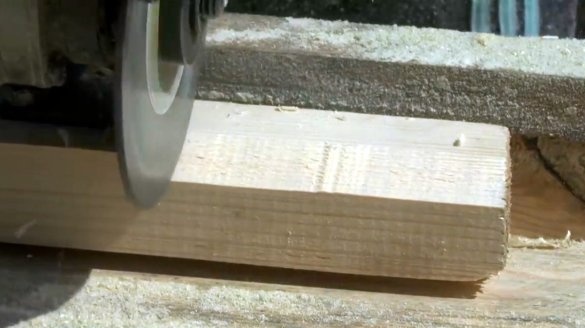
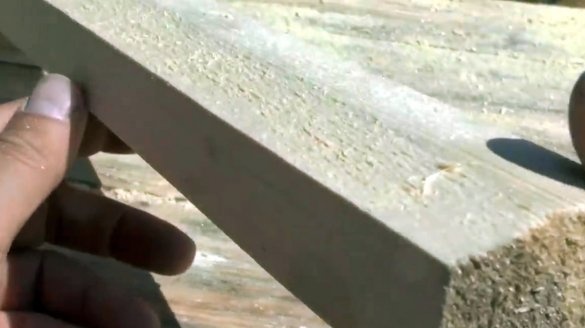
Now he will bevel on the surface of the board. To do this, the grinder moves along the board, and the disk rotates across it.
After the first pass, small irregularities may remain. They can occur due to the entry of debris under the plate, or due to the uneven speed of movement.
But this is eliminated in the second pass. It remains only to polish the bevel.
These are the various ways of processing wooden beams and planks that are made available with the help of this nozzle and a trident disc on wood. Of course, the dimensions and shape of the plate can be changed to suit your individual tasks and requirements.
I thank the author for a simple but useful device for the grinder!
All good mood, good luck, and interesting ideas!
Author video can be found here.


