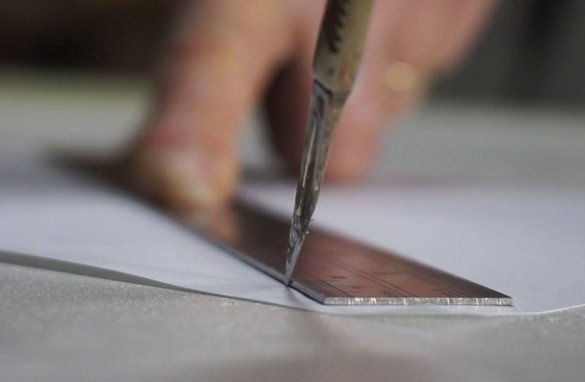
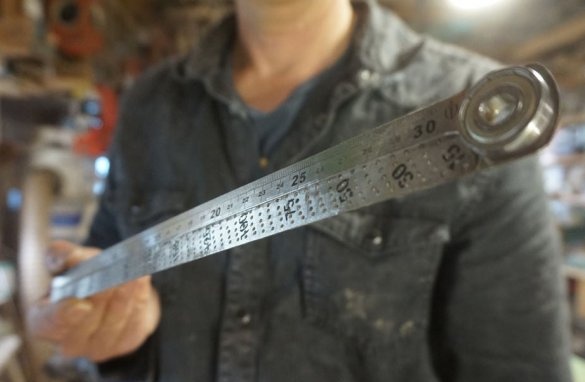
Sometimes when working with metal or wood, it is necessary to draw a circle. To do this, you can use a pair of compasses, a ruler with a pencil, even a simple cord. All this is either inconvenient, or suitable for one-time operations. For those who need to draw circles quite often, the wizard offers a simple and effective solution.
Tools and materials:
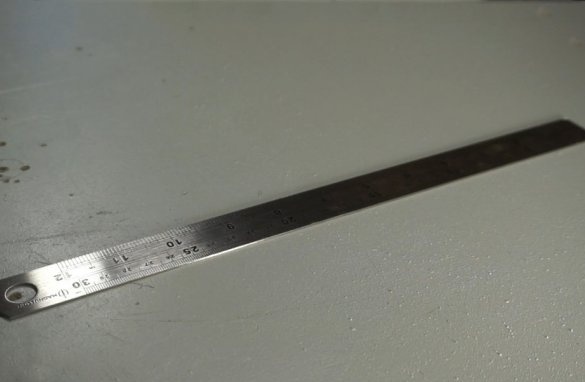
- Metal ruler 300 mm;
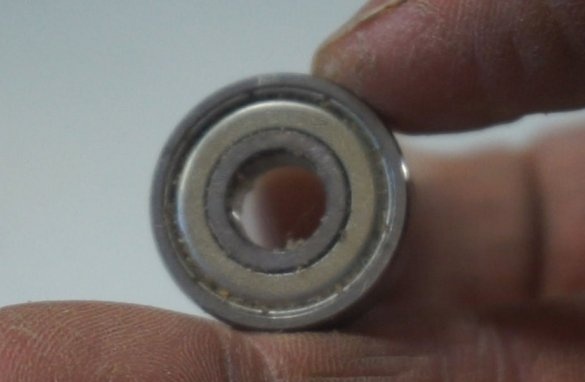
- Bearing 22mm diameter;
-Kern;
- Drill 1 mm;
-Lubrication;
-File;
-Propane burner;
-Vinyl with adhesive layers;
-Knife;
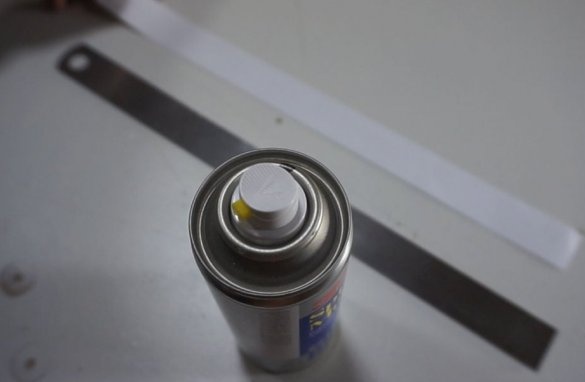
- Aerosol can with paint;
-A computer;
-A printer;
Step One: Project
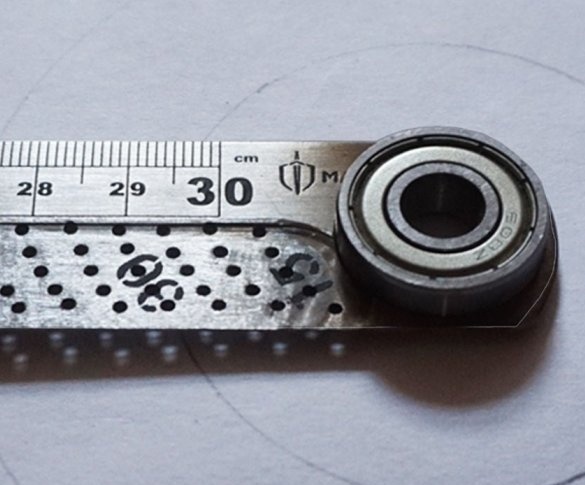
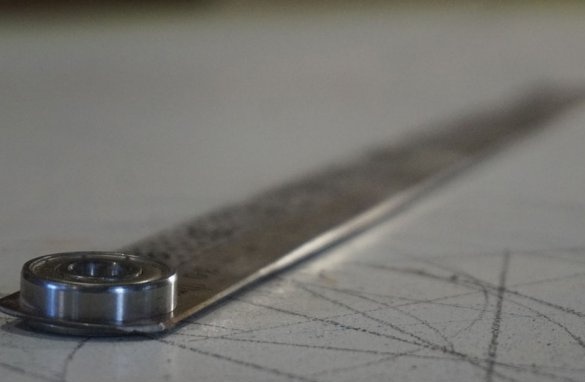
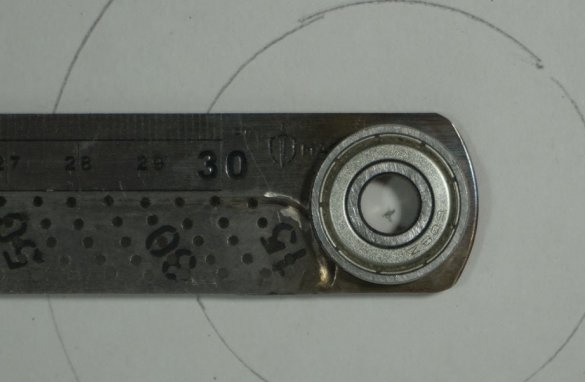
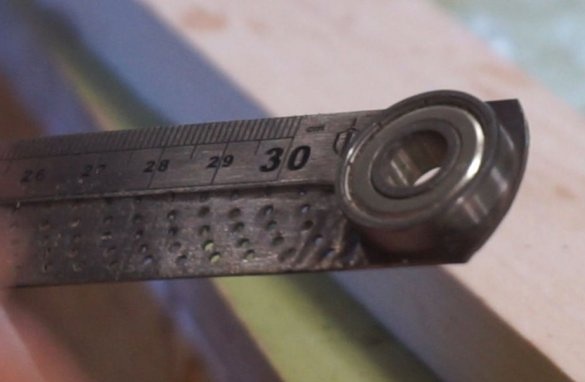
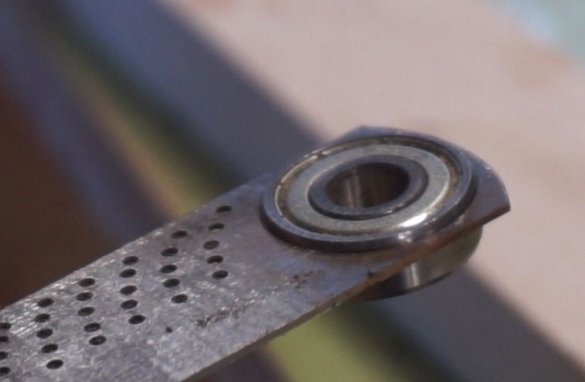
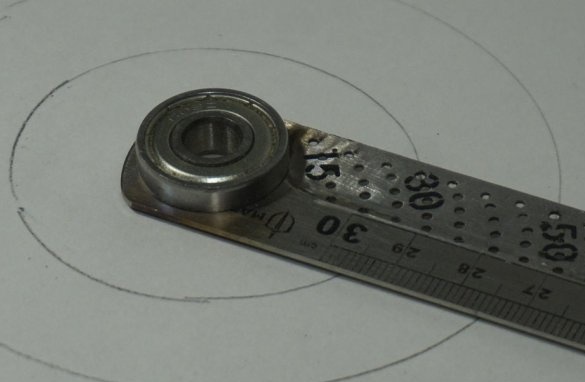
The idea of this project is really simple. Attach the bearing to a metal ruler. The center of the bearing will work as the center of the circle. Drill a lot of holes along the entire length of the ruler in 1 mm increments.
With this tool, you can draw circles with a radius of 15 mm to 317 mm, which gives a circle diameter of up to 634 mm.
Step Two: Template
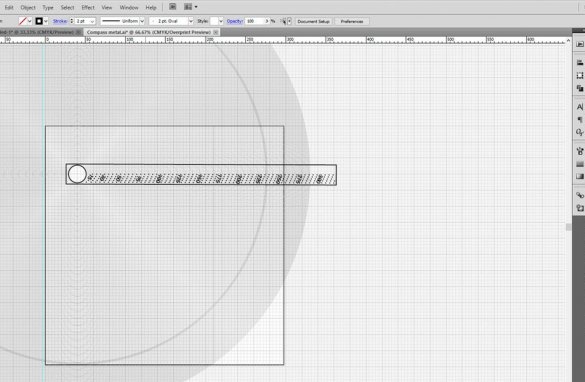
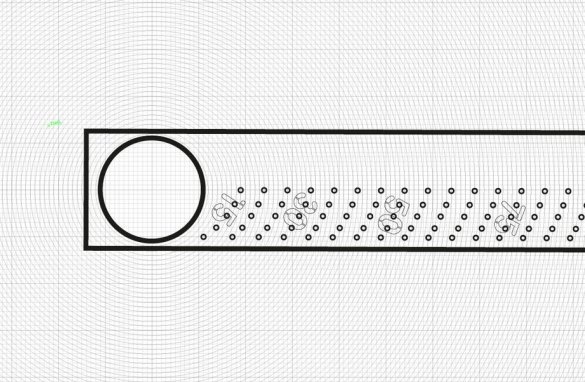
In the graphics program, the wizard makes a sketch of the template. Prints it on a printer.
Download the template below.
Ruler Compass Template.pdf
Step Three: Markup
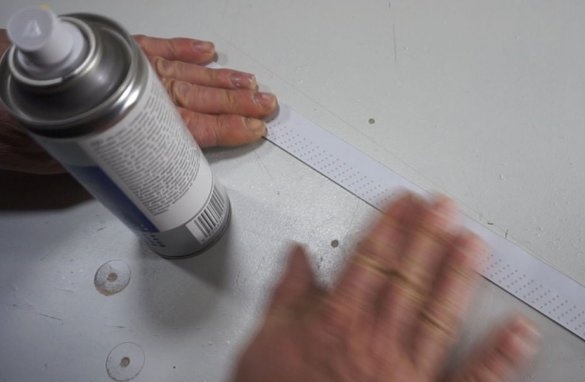
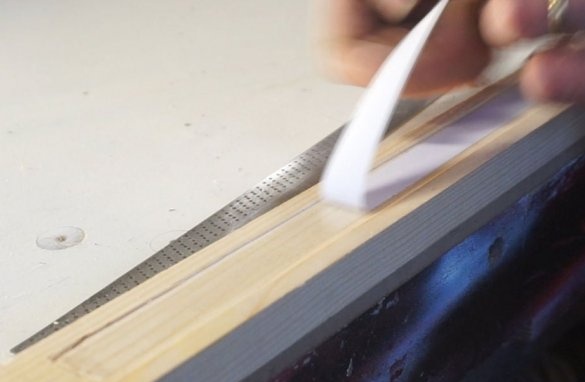
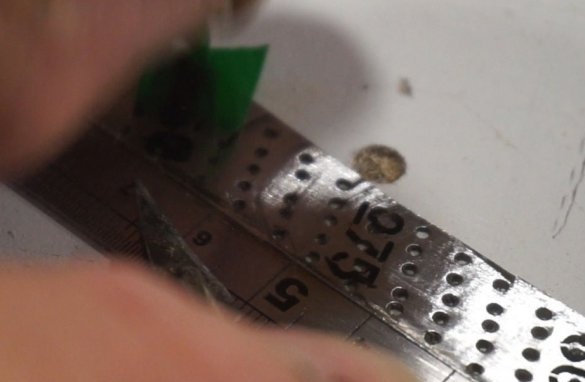
The template needs to be cut and glued to the ruler.
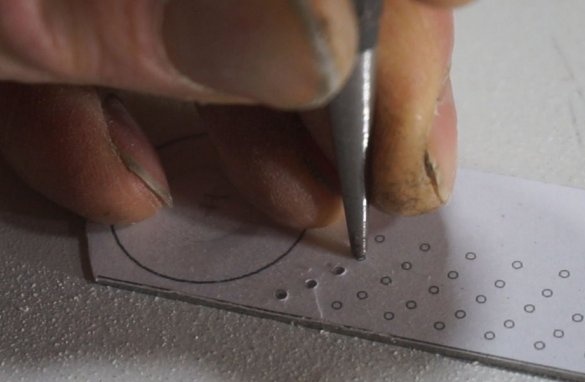
Next you need to tilt the drilling site.
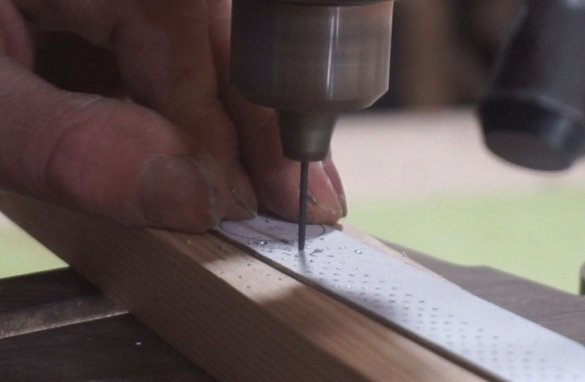
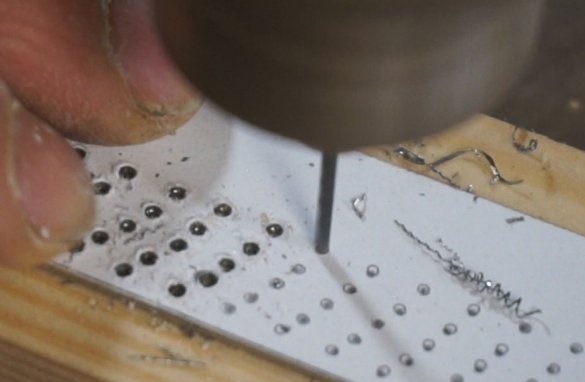
Step Four: Drilling
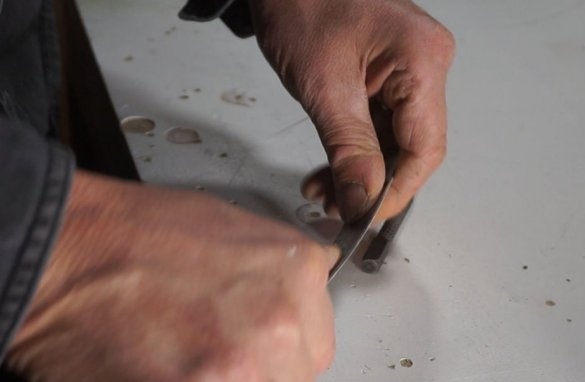
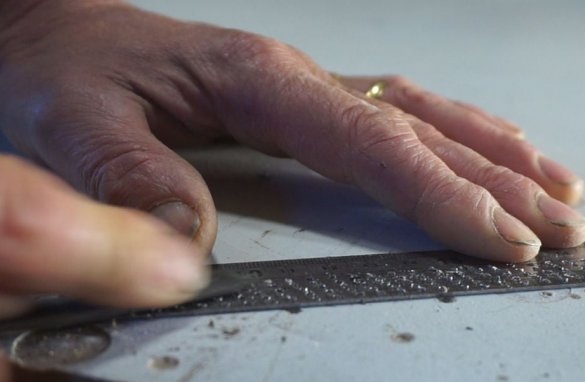
Then the master drills 300 holes with a diameter of 1 mm. Removes a template, removes burrs with a file.
Step Five: Milling
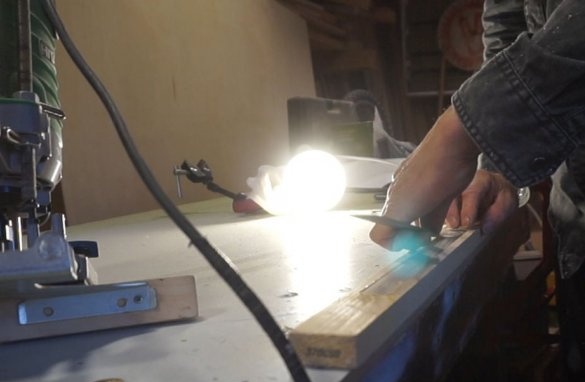
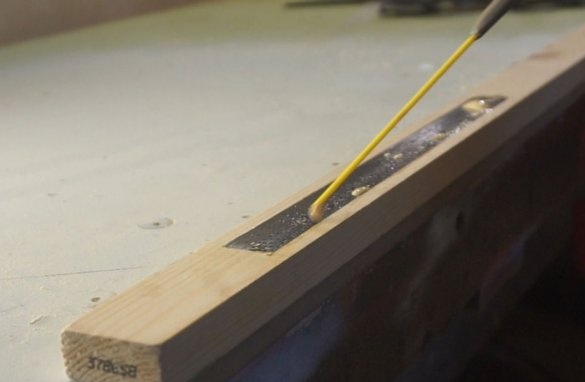
The cutter master removes some metal from the perforated side of the ruler.
Step Six: Bearing Installation
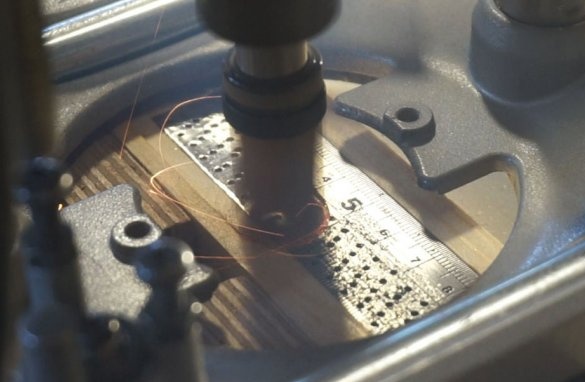
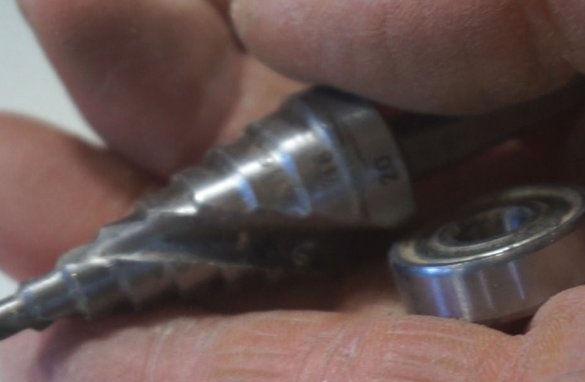
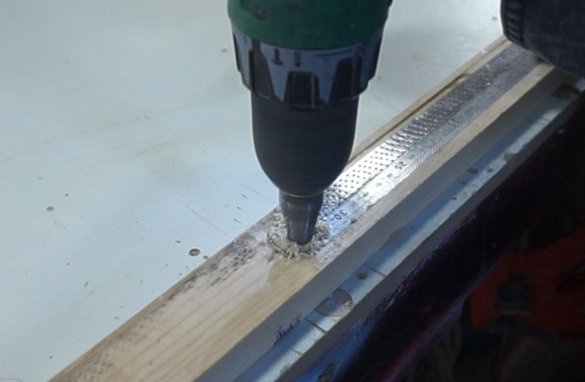
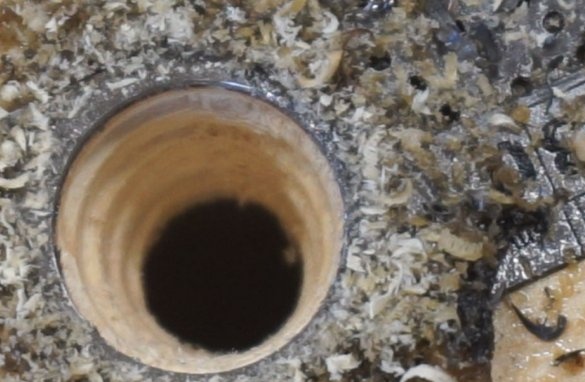
The master drills a hole in a ruler with a diameter of 20 mm.
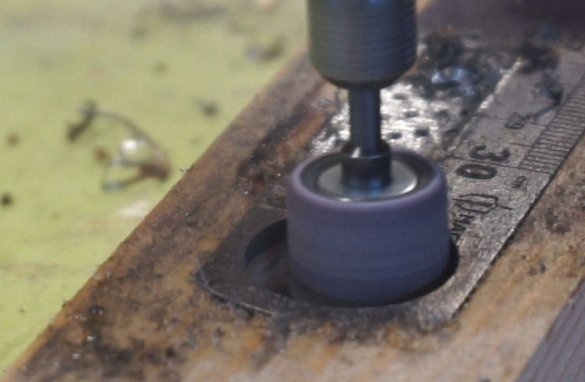
An engraver with a grinding nozzle bores a hole up to 22 mm.
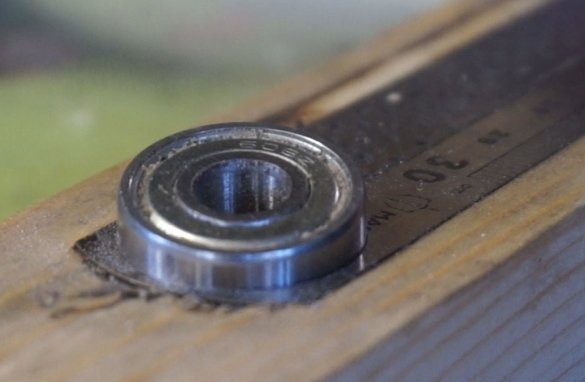
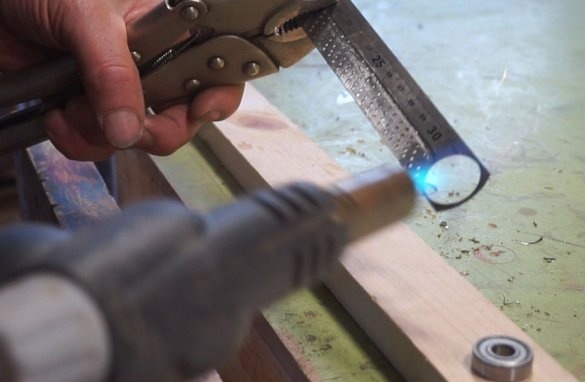
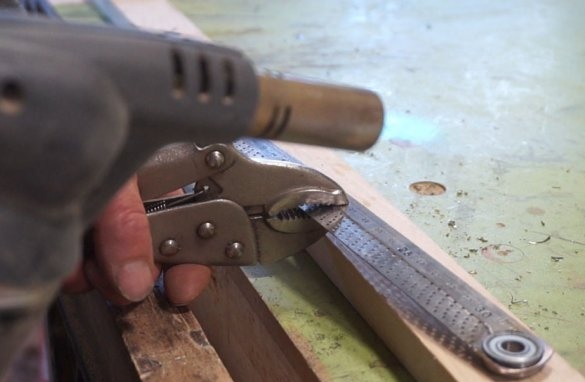
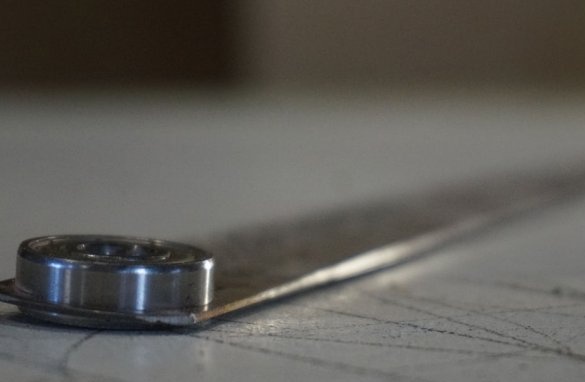
Heats the seat with a burner and installs the bearing.
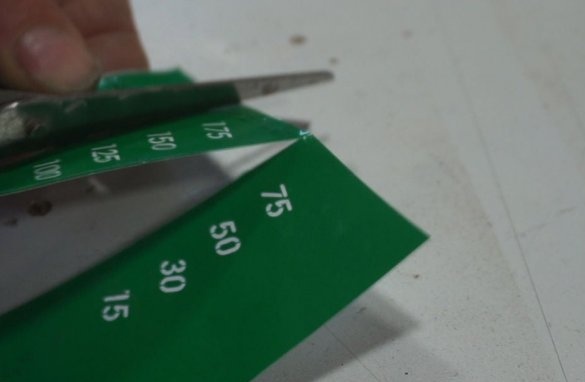
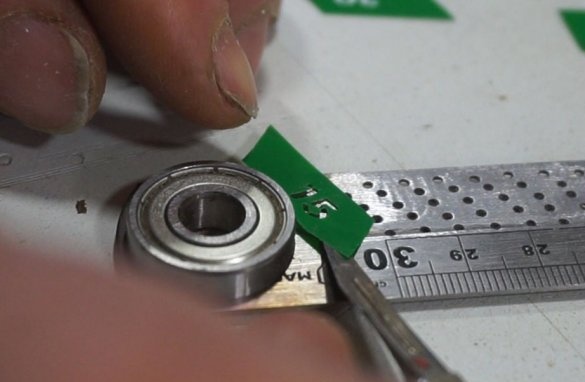
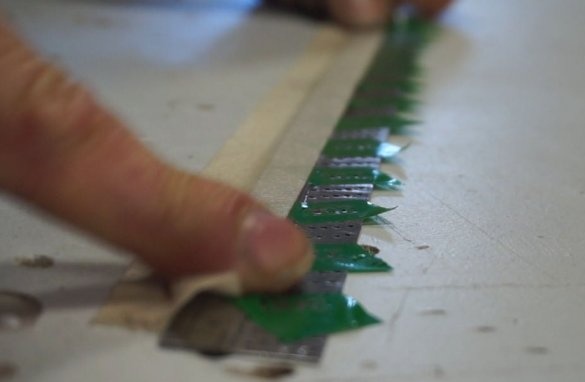
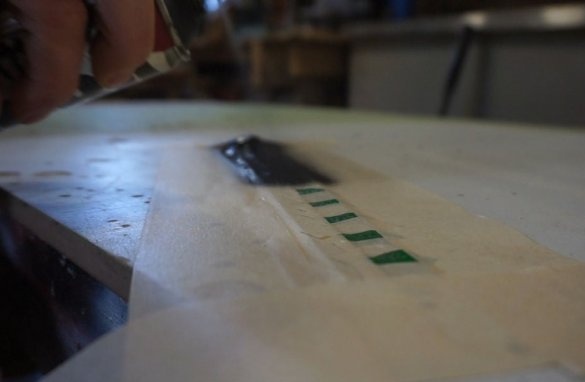
Seventh step: markup
The master makes a stencil. Marks every 25 mm.
All is ready.
The master made another version of such a tool from a plastic ruler.

