
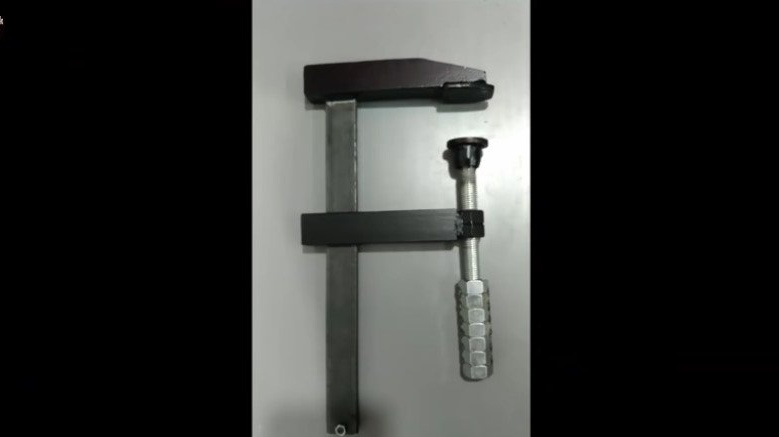
This article will look at how to make a clamp. do it yourself. A feature of this clamp is its strength and the ability to tighten the jaws with a metal wrench.
Tools and materials:
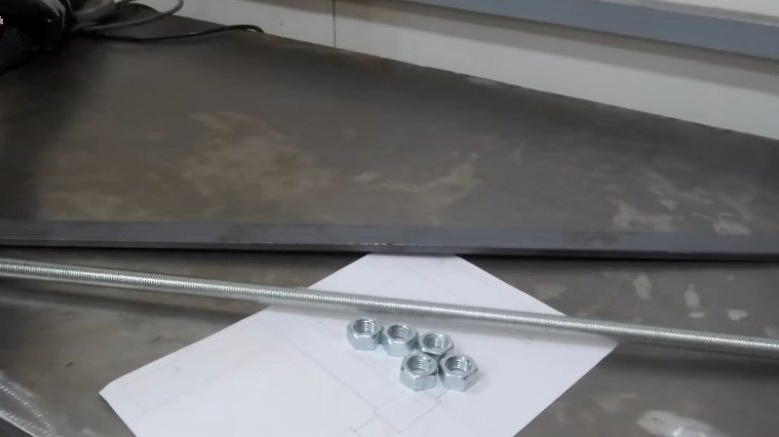
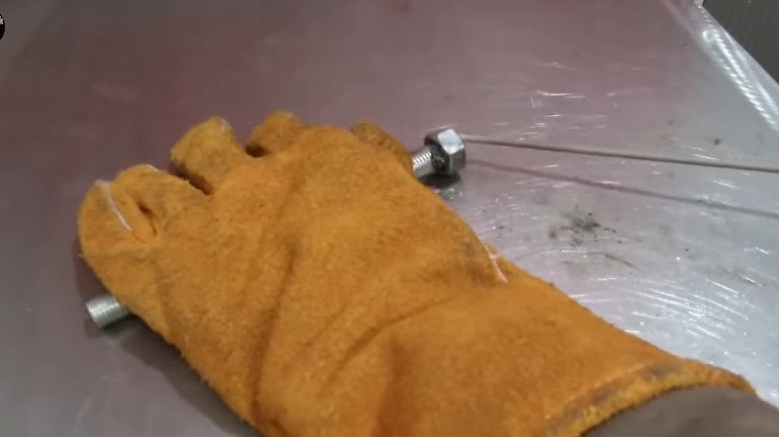
-Nuts;
-Metal strip;
-Threaded rod;
-Metal tube;
-Welding equipment;
-Gon;
-Rule;
-Marker;
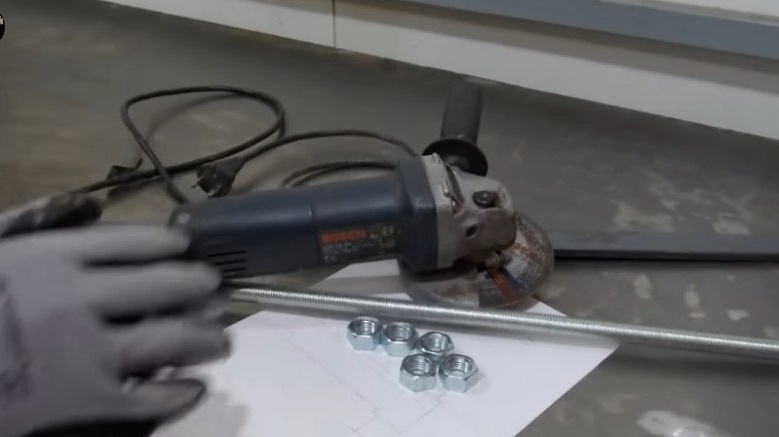
-USHM;
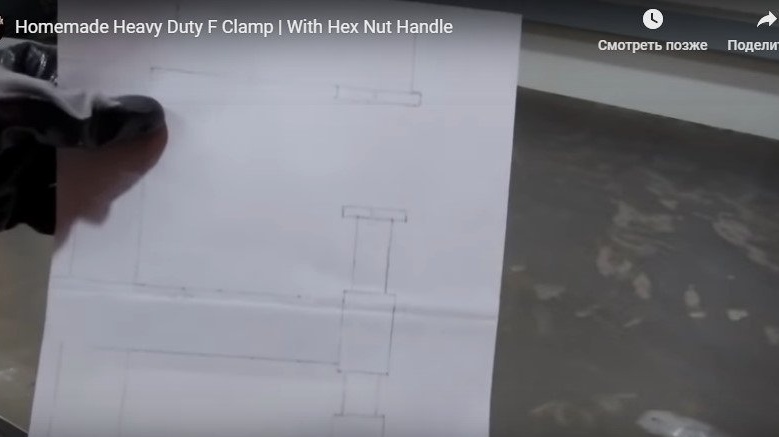
Step One: Project
First, the master prepared the project. I drew a drawing, calculated the quantity and size of the material.
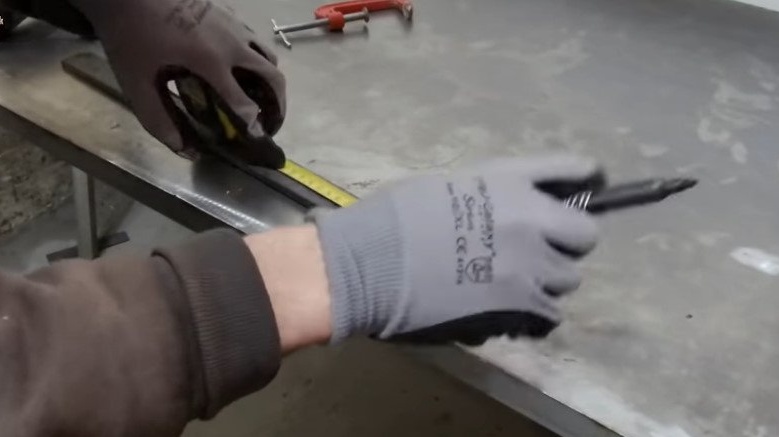
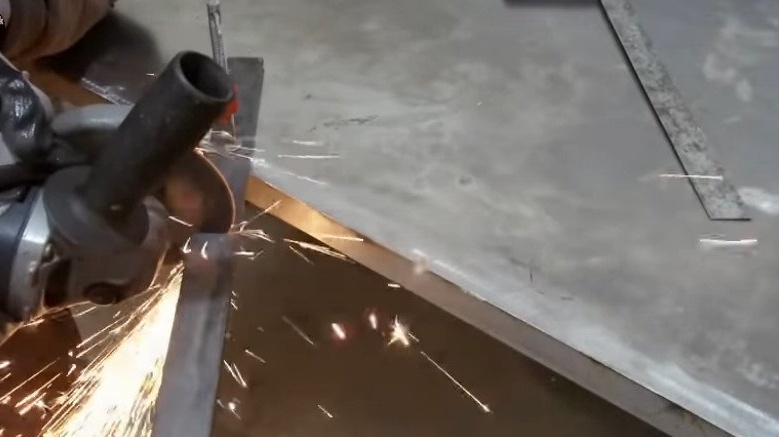
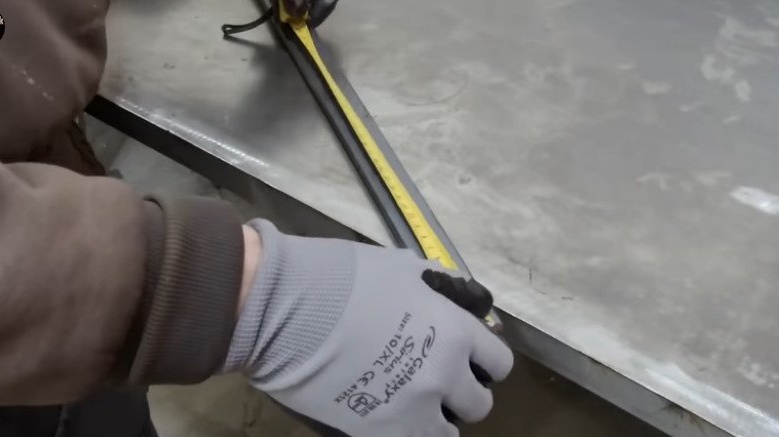
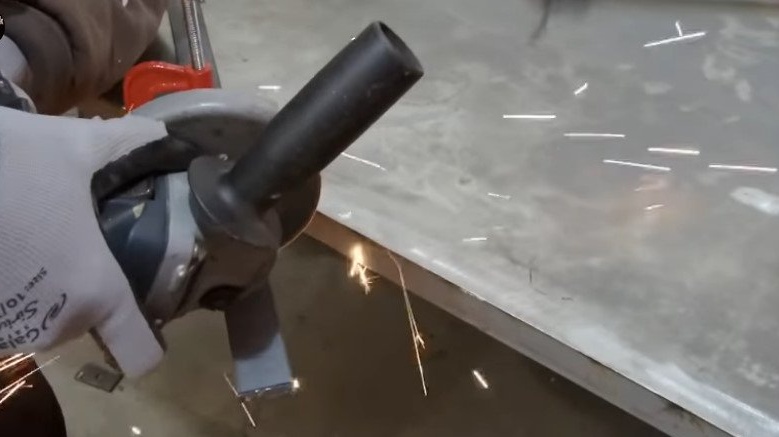
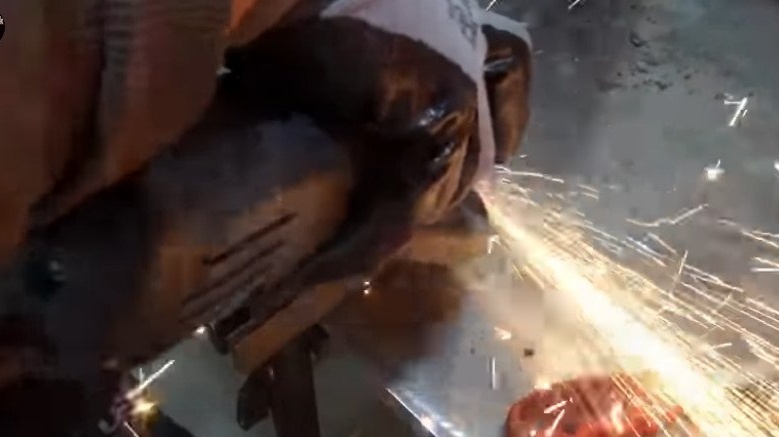
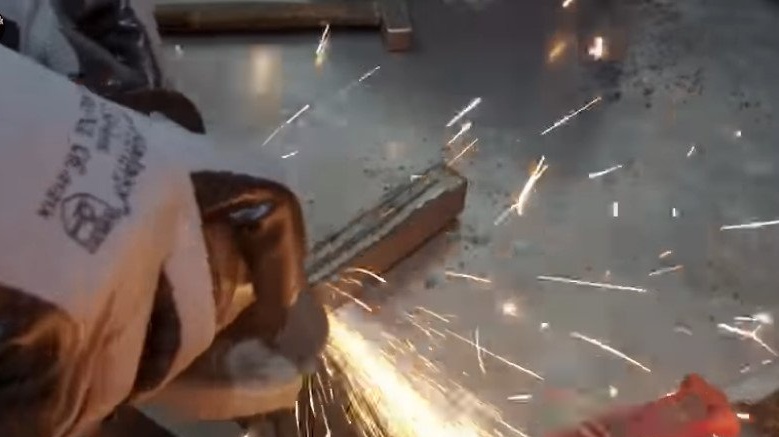
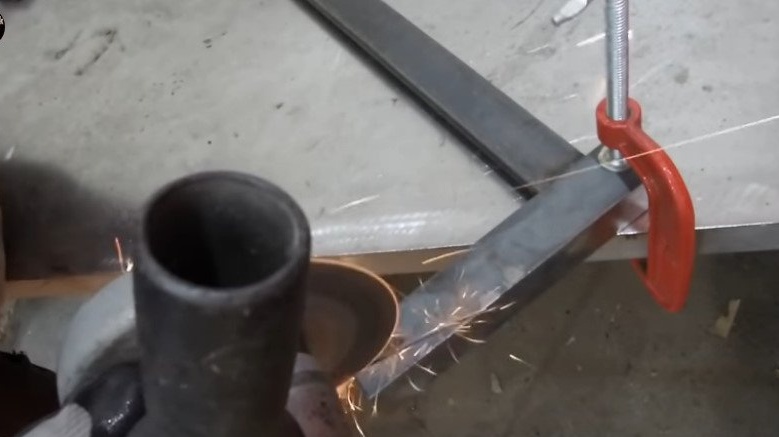
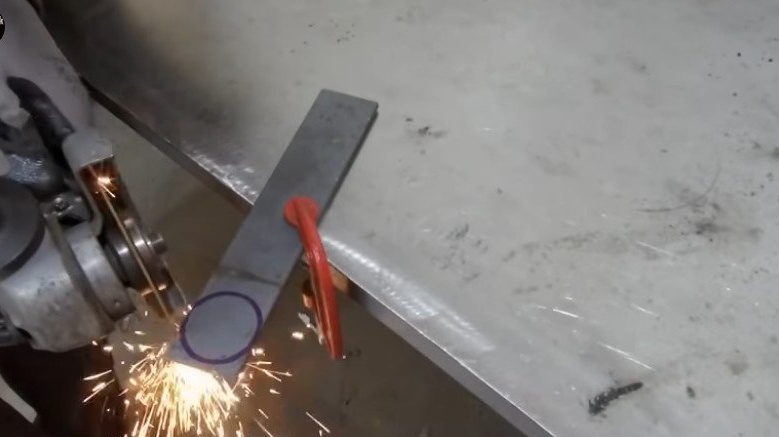
Step Two: Cutting
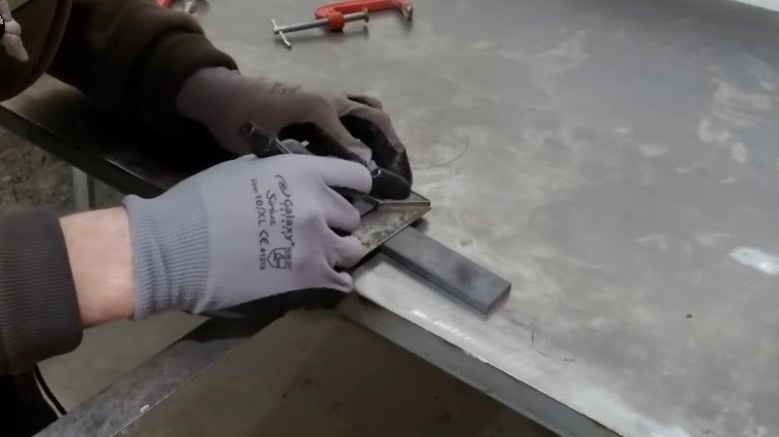
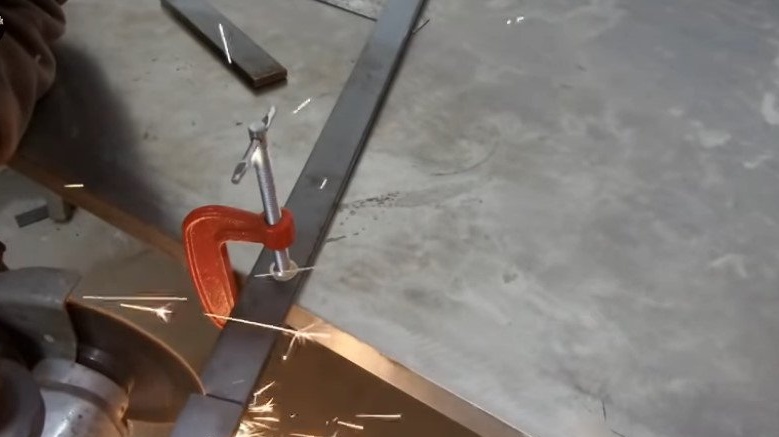
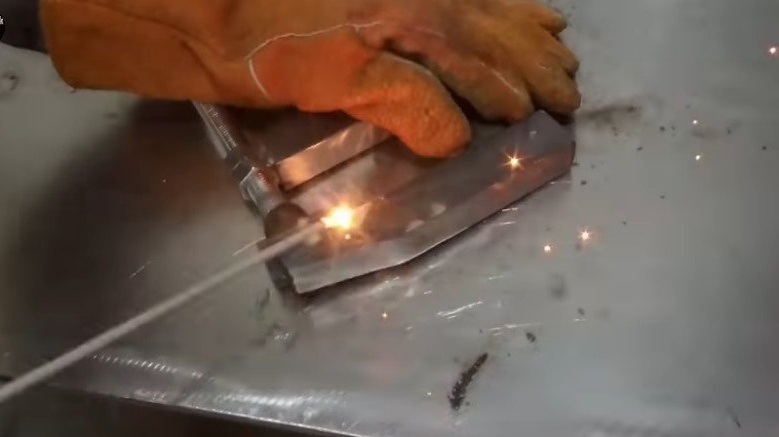
Now you need to prepare the material. The main material for making the clamp will be a metal strip 8 mm thick and 30 mm wide.
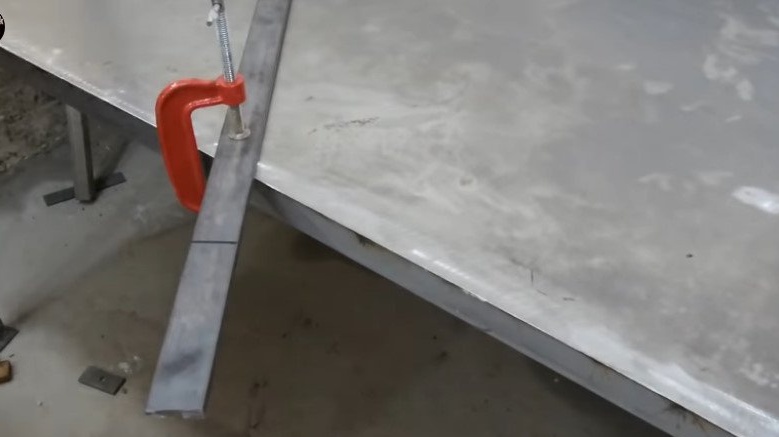
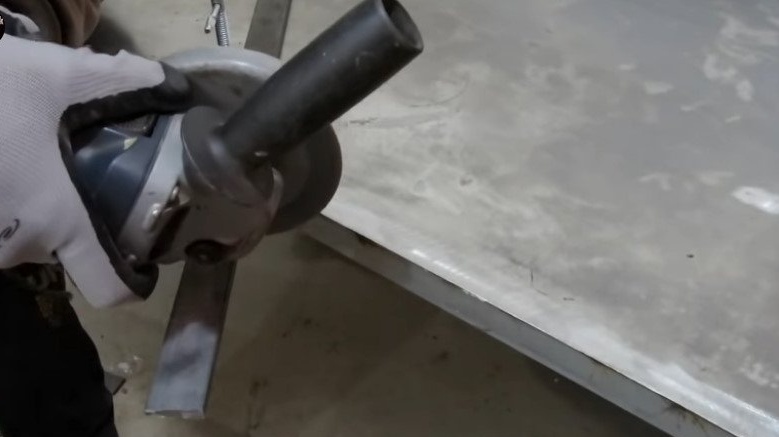
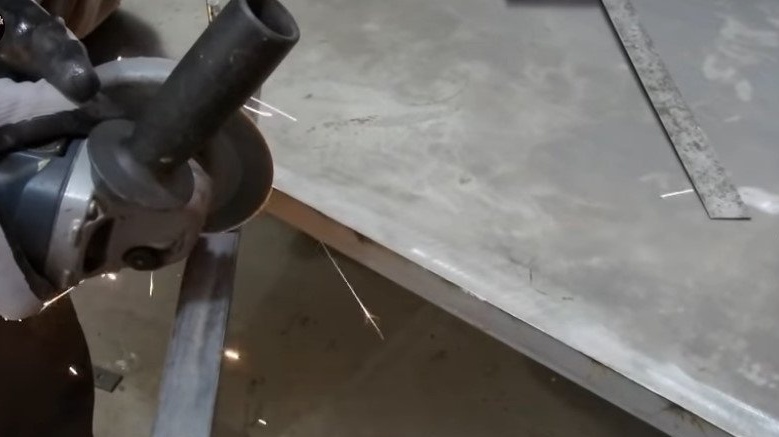
The master marks and cuts off the blanks.
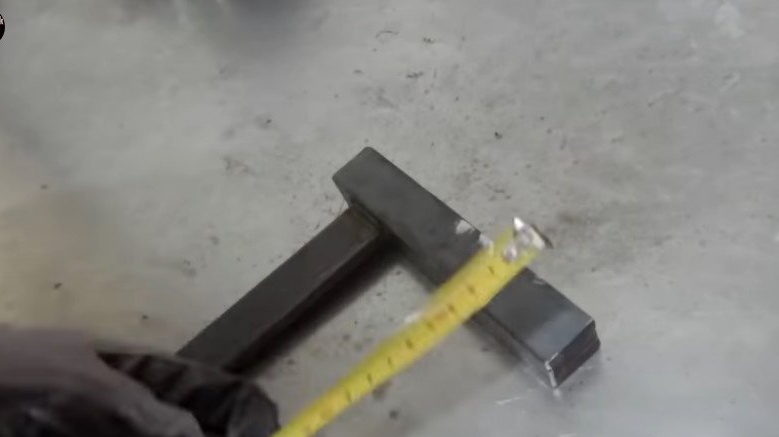
1 pc 35 cm x 8 mm
2 pcs 17 cm x 8 mm
1 PC. 12 cm x 8 mm
2 pcs 14.5 cm x 8 mm
1 pc 9.5 cm x 8 mm
2 pcs 2 cm x 8 mm

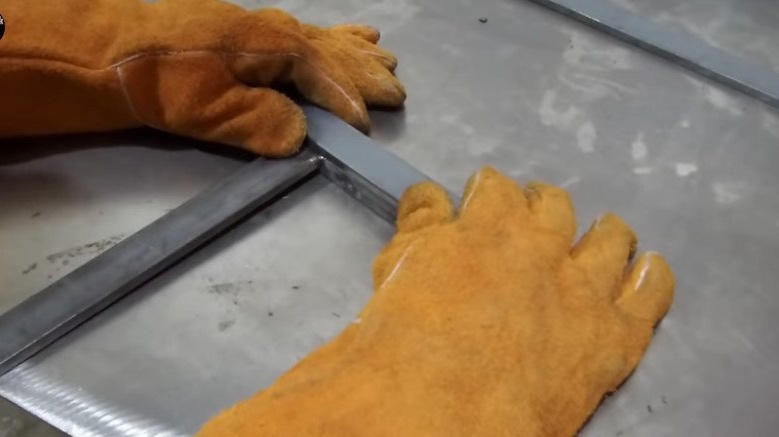
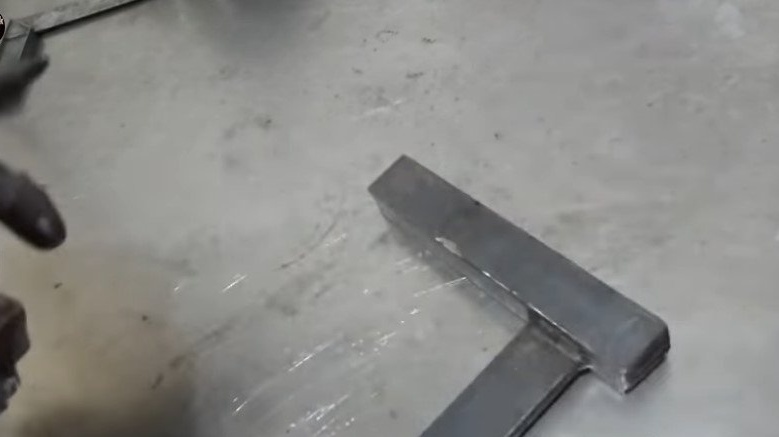
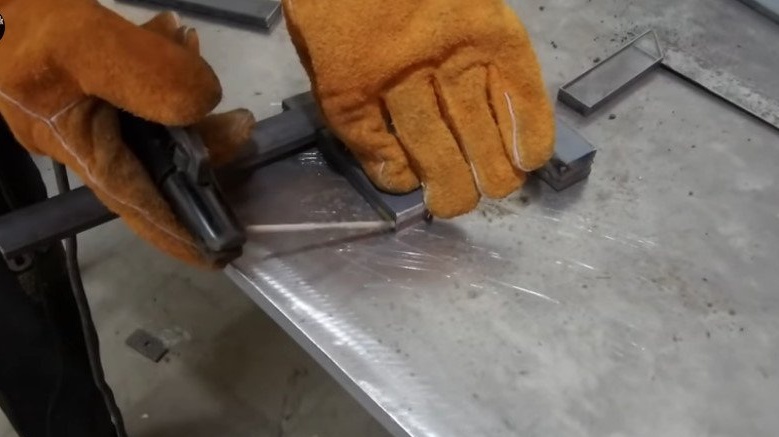
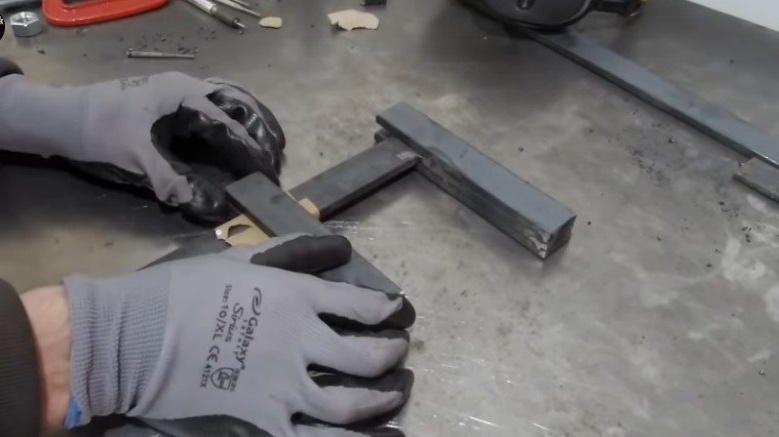
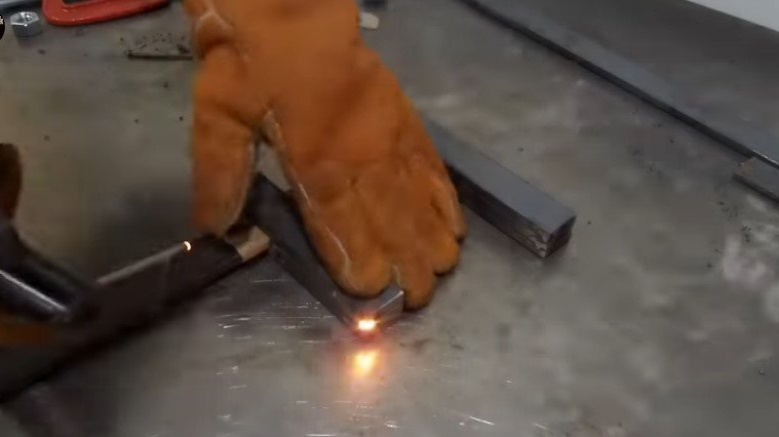
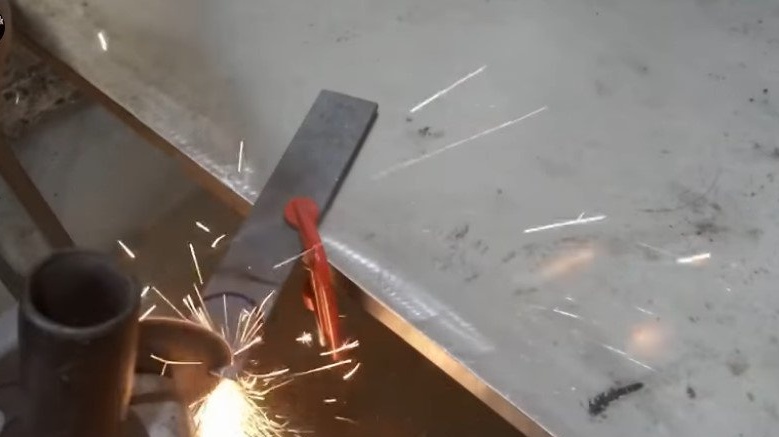
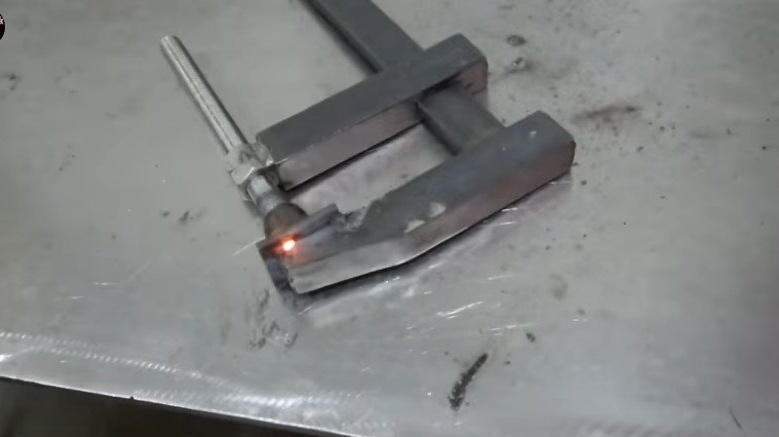
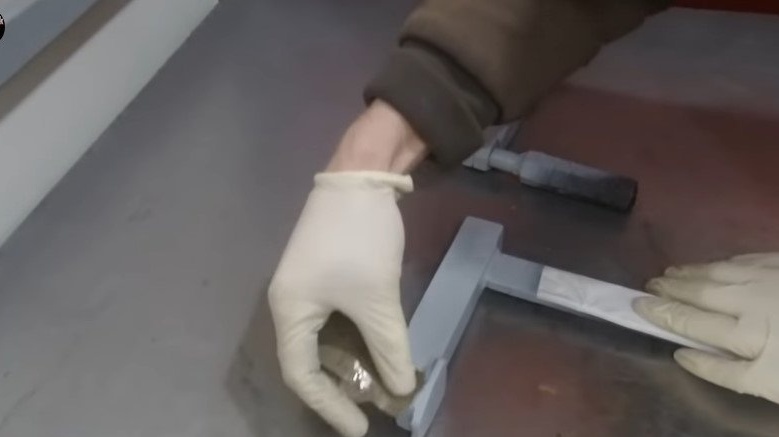
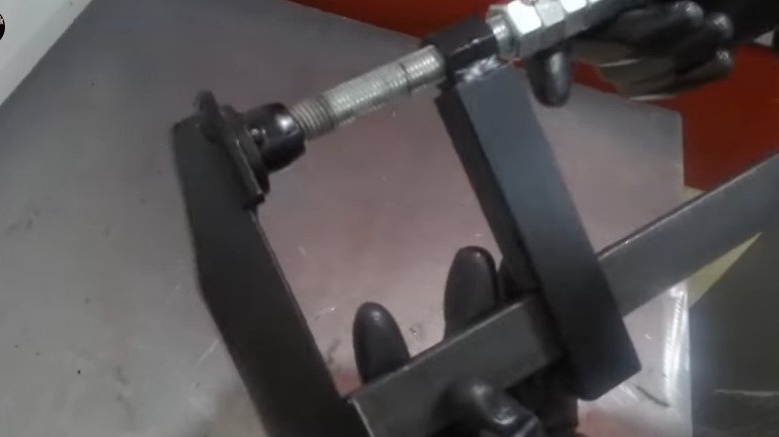
Step Two: Fixed Sponge
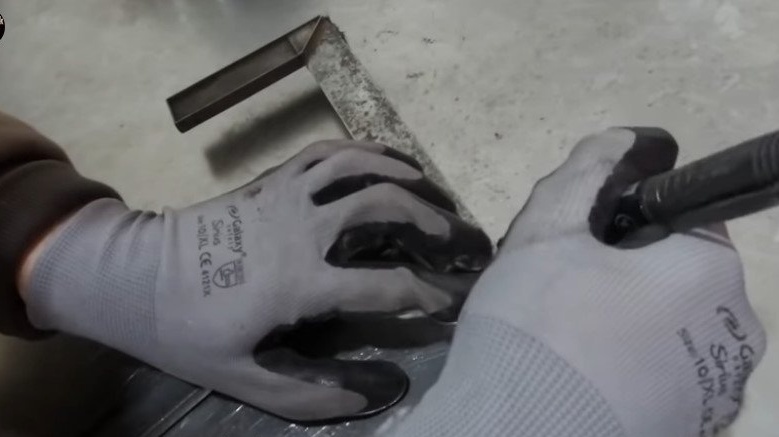
To the top of the workpiece 35 cm long (rod), you need to weld the workpiece 12 cm (fixed sponge).

On both sides, a blank of 17 cm is welded to a 12 cm strip.

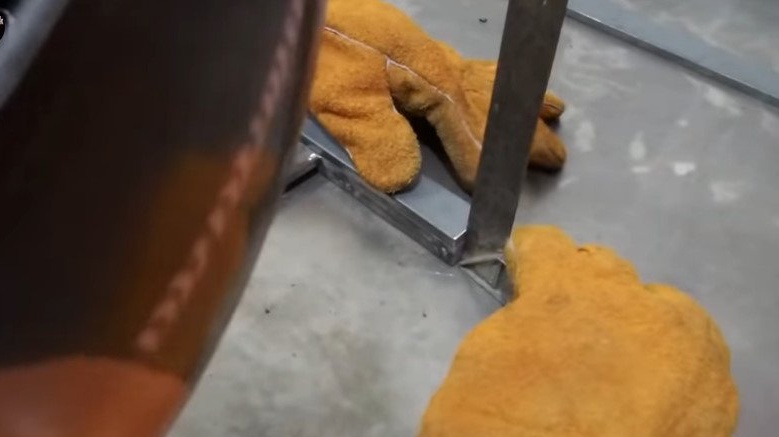
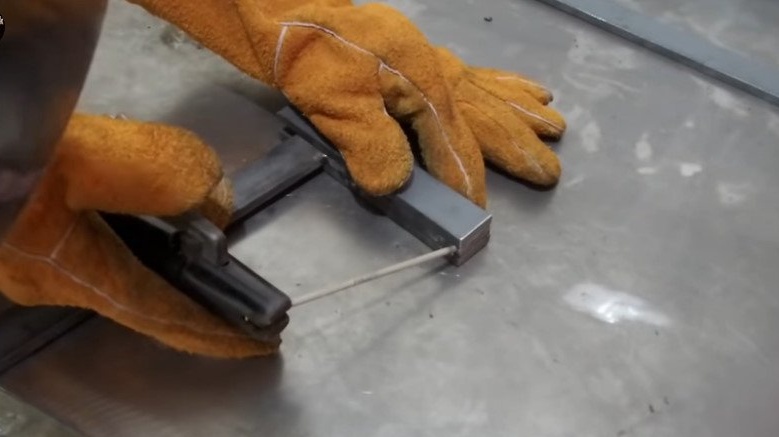
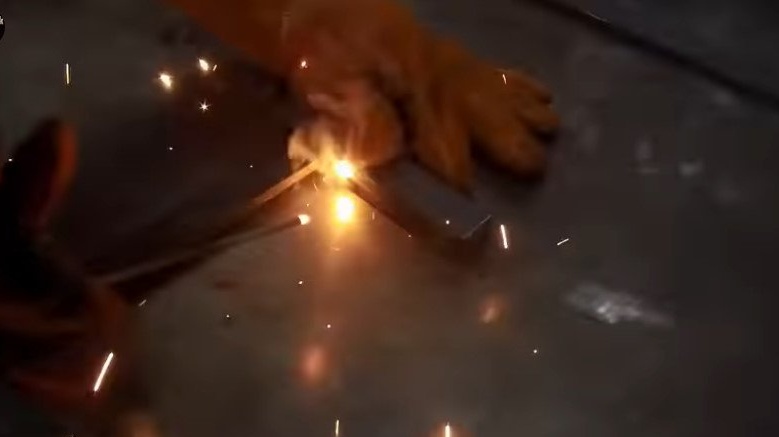
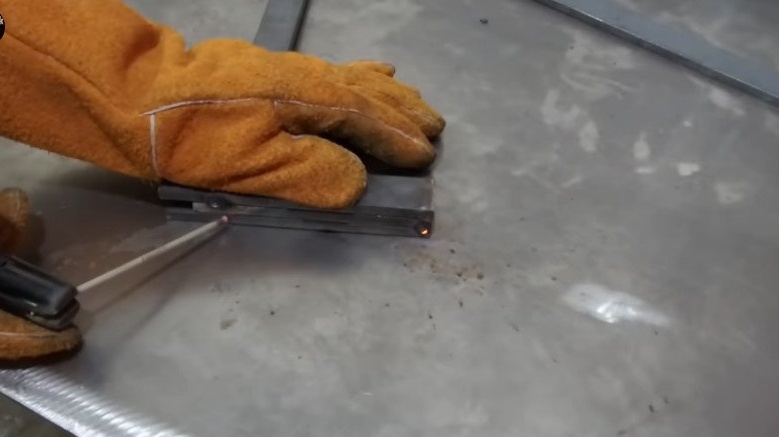
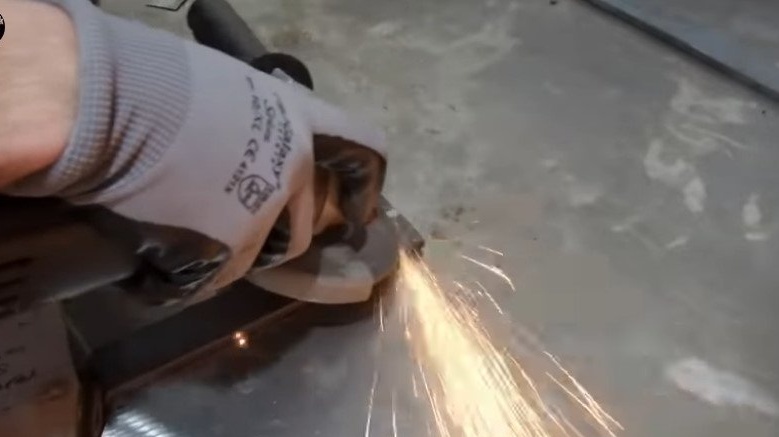
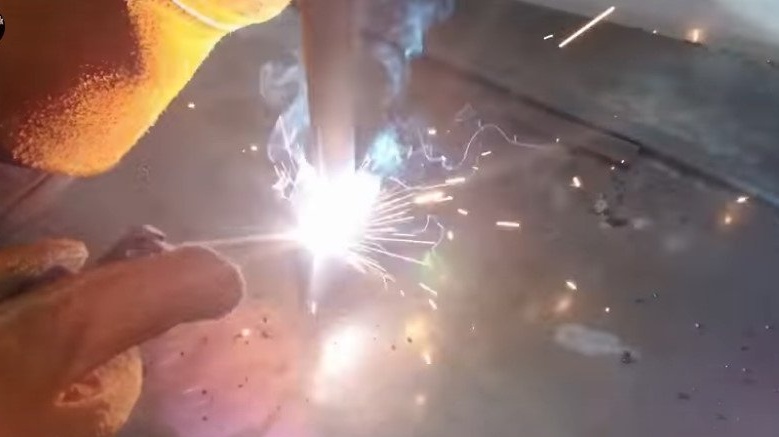
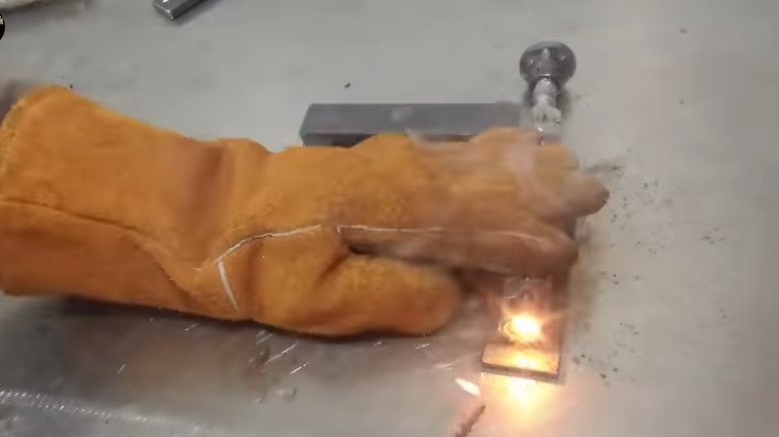
Cleans welds.
The upper part of the sponge is cut at an angle.
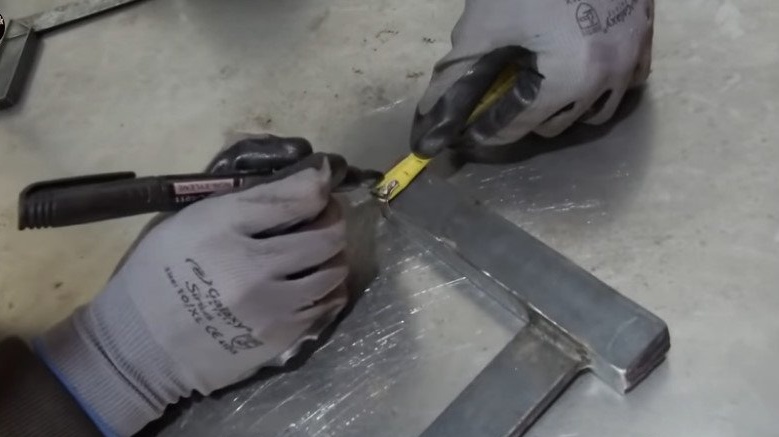

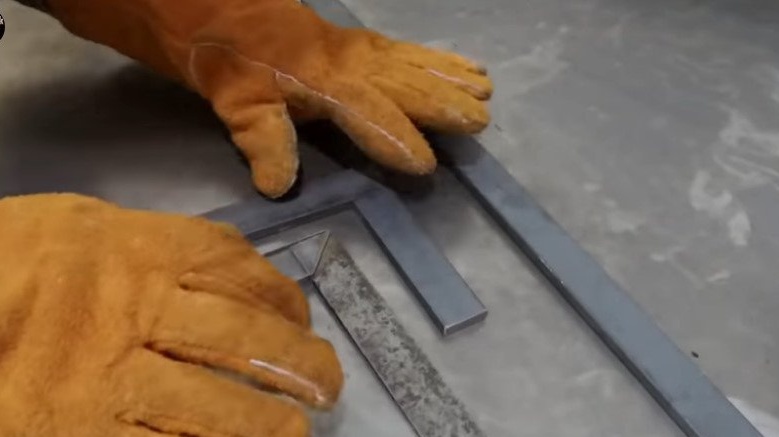
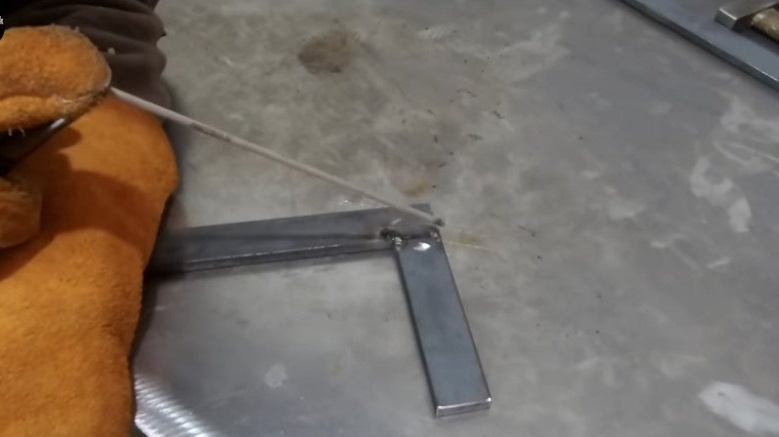
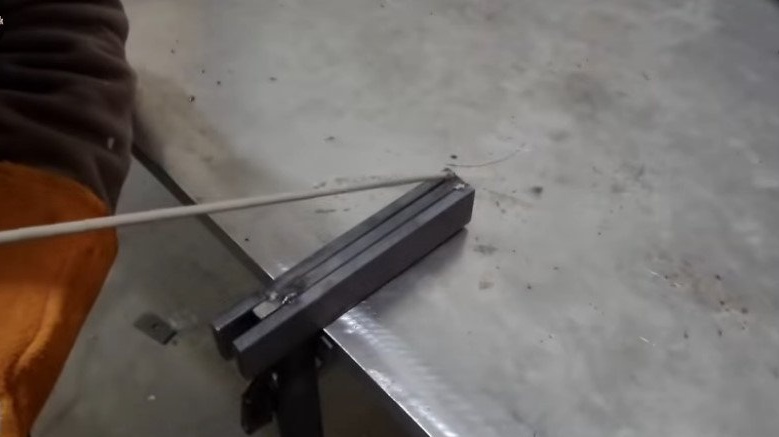
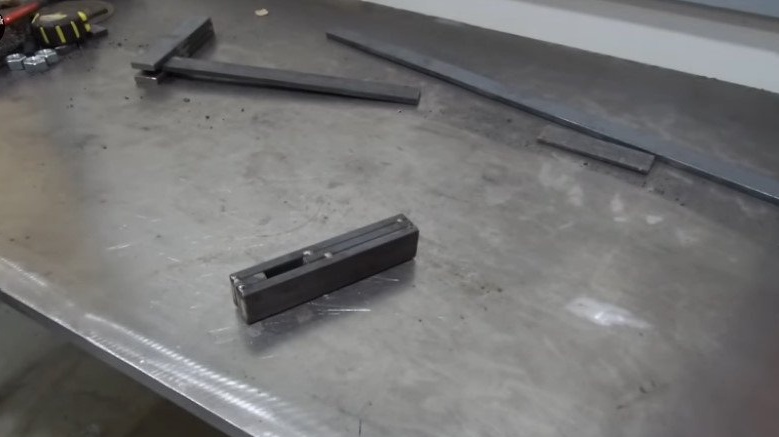
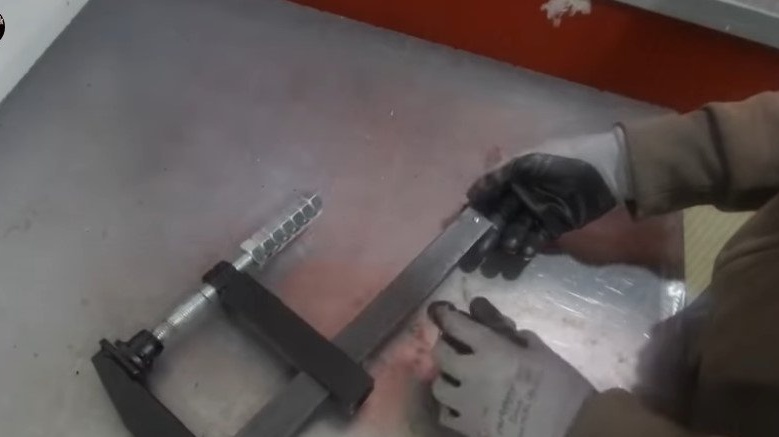
Step Three: Guide
Now you need to make a guide.
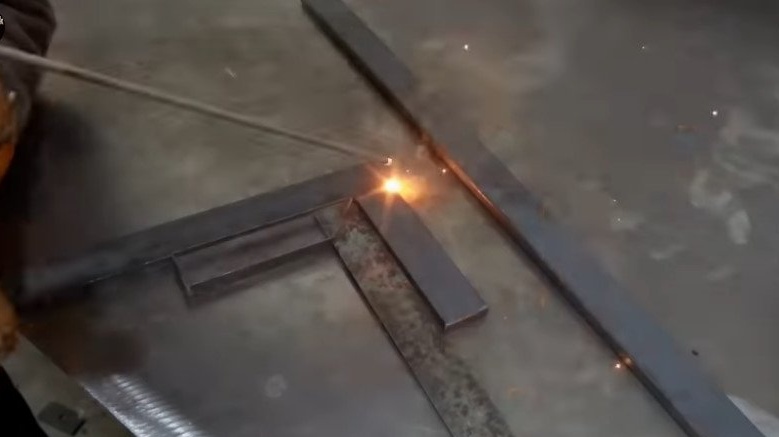
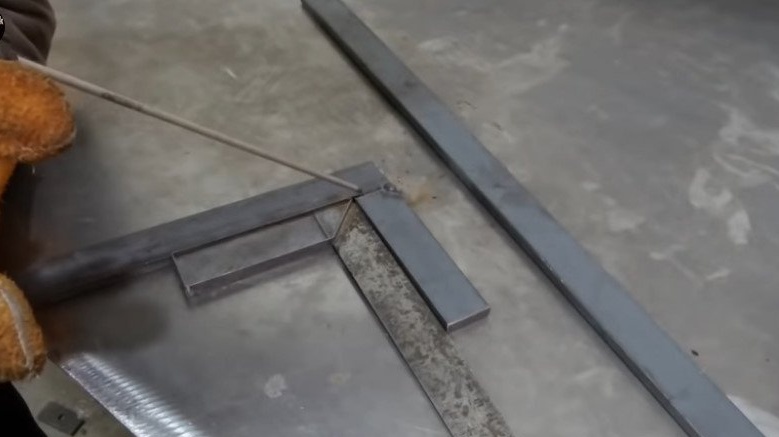
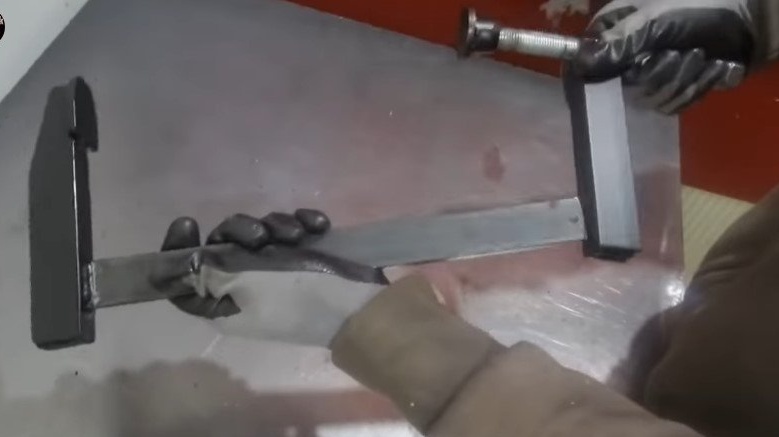
The master takes the workpiece with a length of 14.5 cm (A) and places it under the bar. Aligns the workpiece with a square relative to the rod and the back at the level of the fixed sponge. Imposes a workpiece of 9.5 cm (B) and welds it to A.
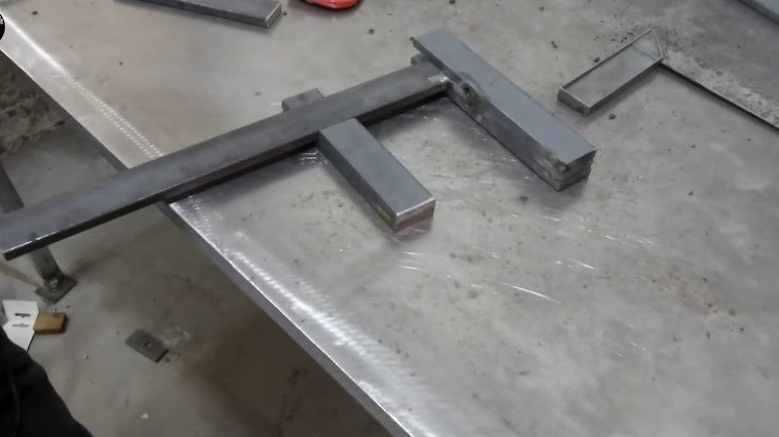

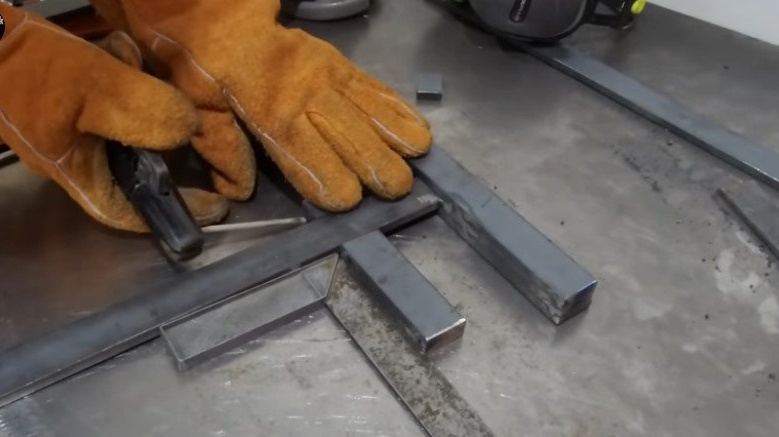
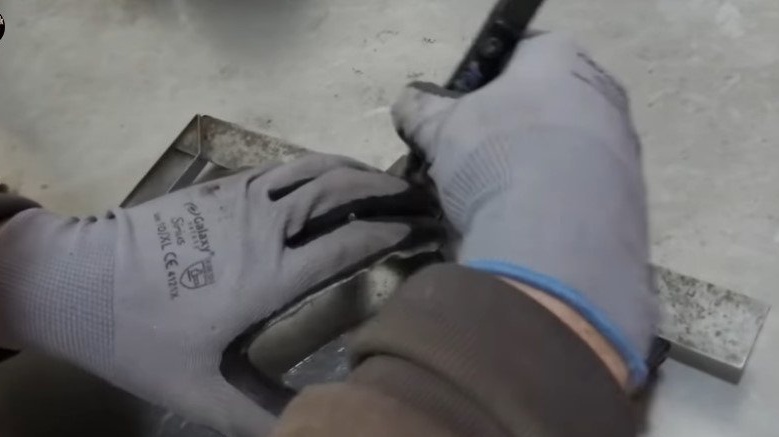
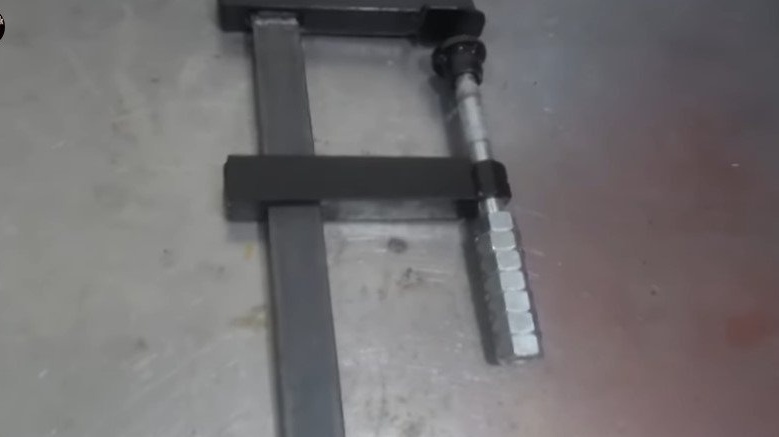
Wraps the barbell with paper. On top imposes a second 14.5 mm (D) workpiece, and on the back side a small 2 cm length. Welds the guide. Scalds and cleans the entire product.


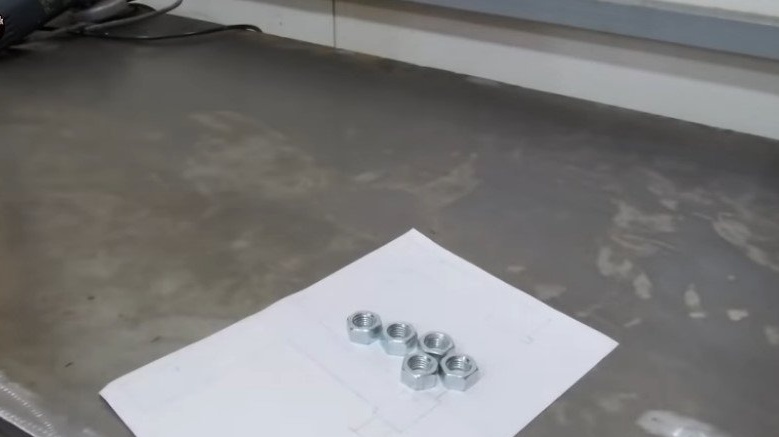
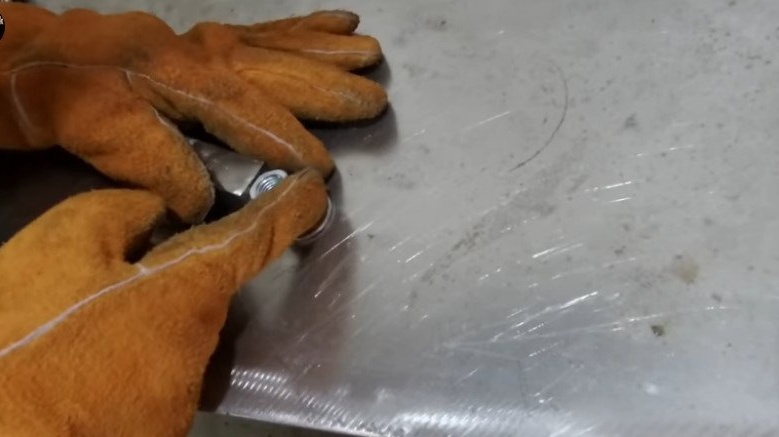
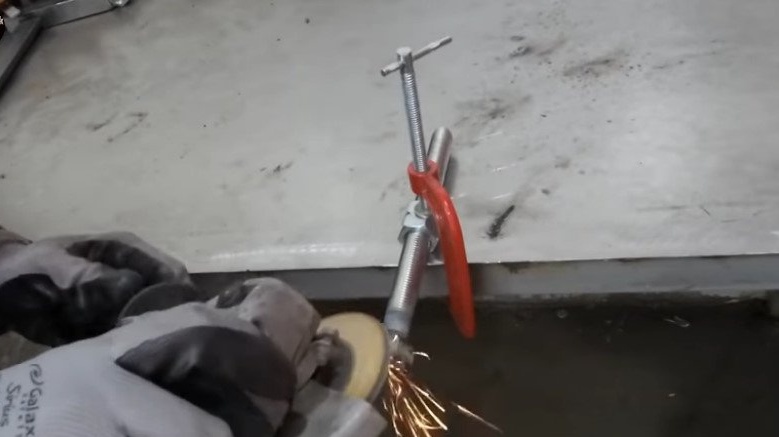
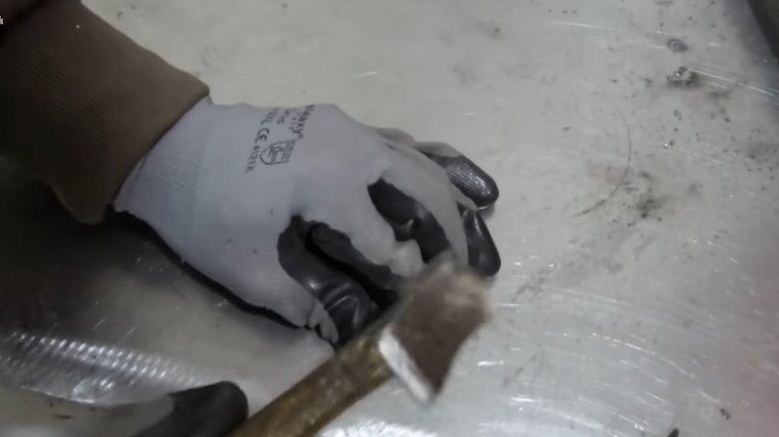
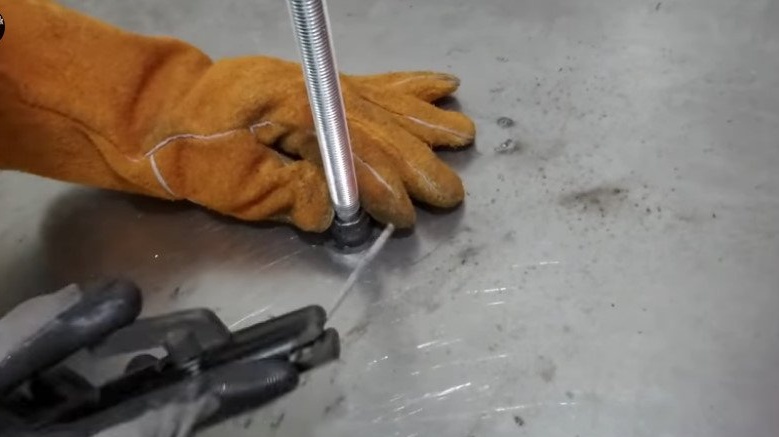
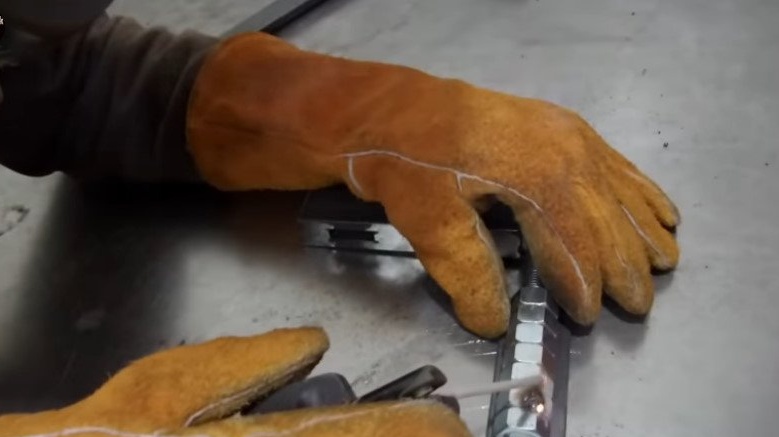
Step Four: Nuts
Screws two nuts onto the threaded rod. The nuts must be tightened close to each other, and so that they easily, together, twisted on the rod. Next, you need to weld the nuts to each other.
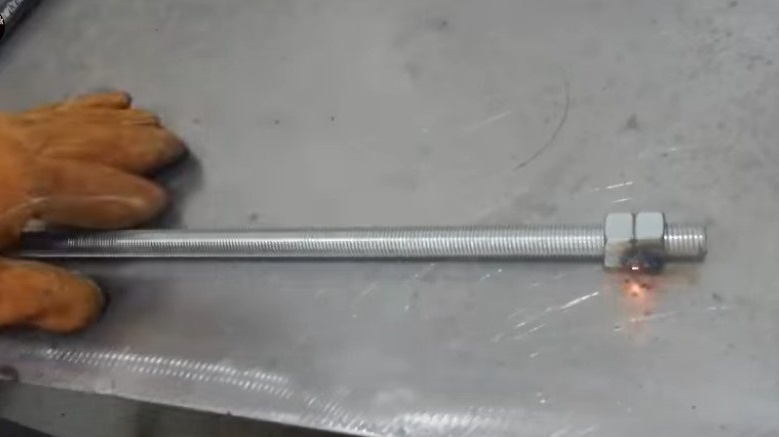
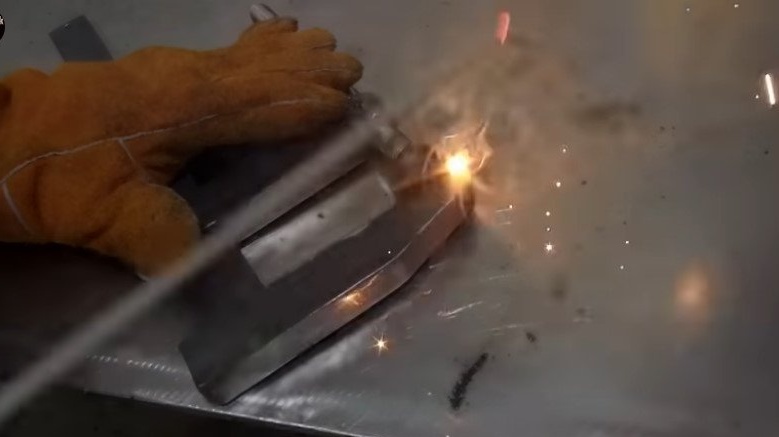
Next, the nuts must be twisted from the thread and welded to the end of the movable jaw.

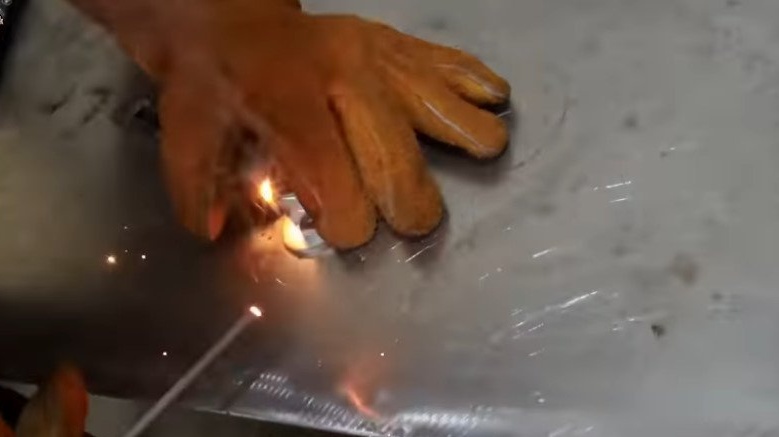


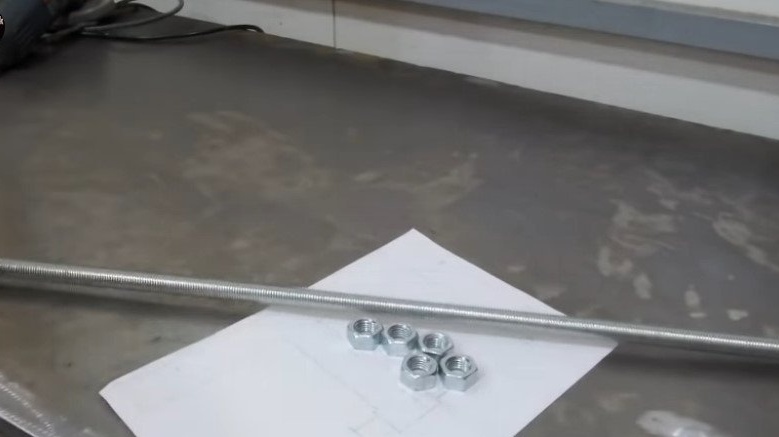
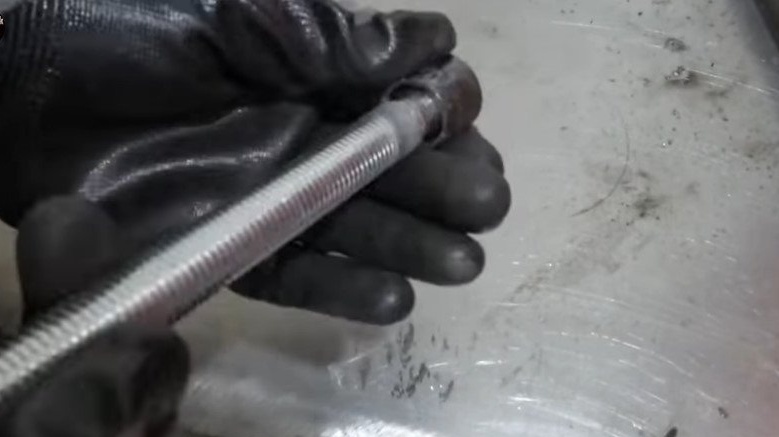
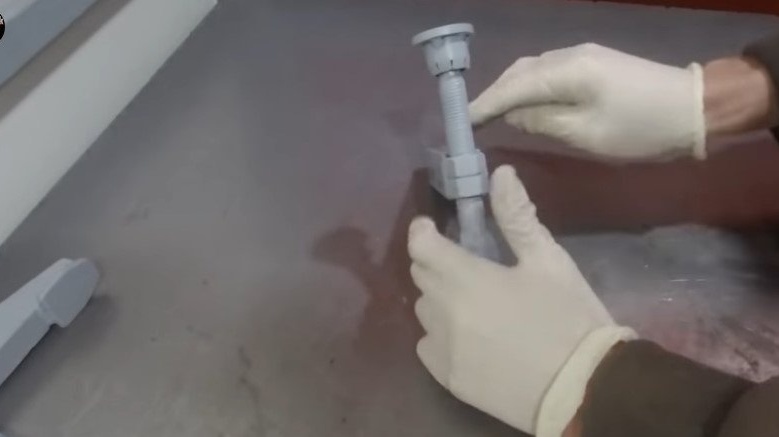
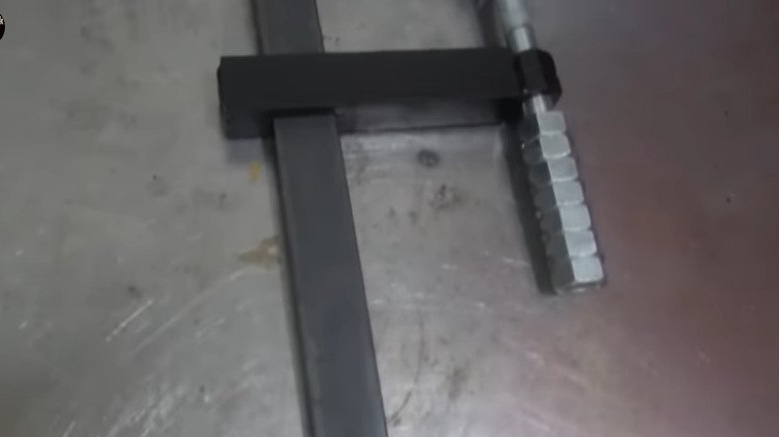
Step Five: Threaded Rod and Movable Sponge
The threaded rod has a length of 25 cm. At one end of the rod, the master winds the nut and welds.

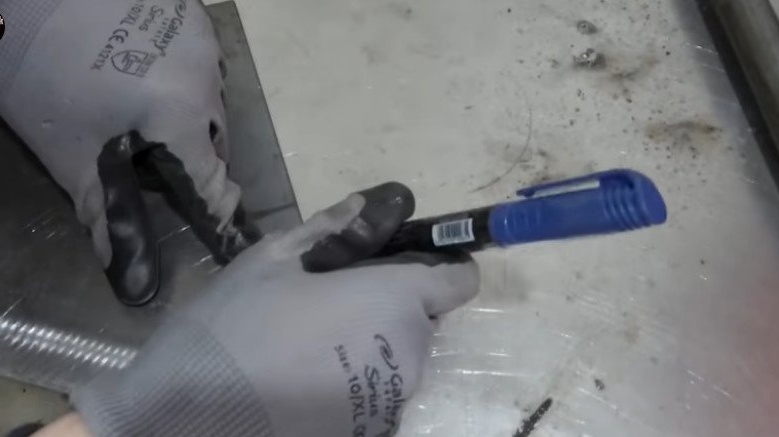
Next, you need to pick up the tube by the diameter of the nut. Make cuts at the end of the tube. Cut off the end of the tube. Incised areas slightly bend inward. Put the sleeve on the nut.
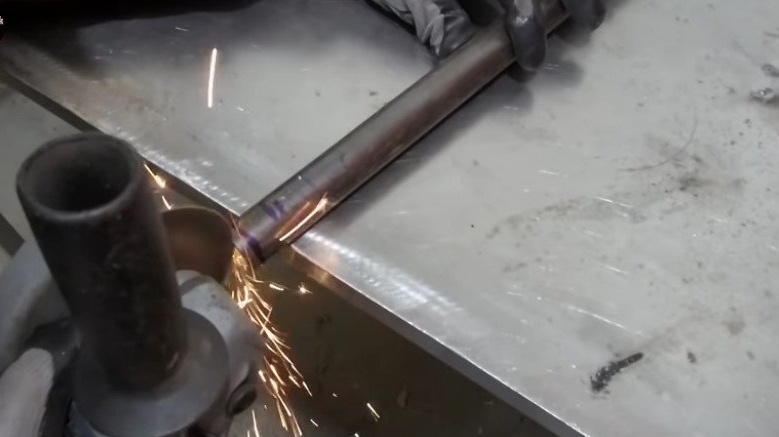

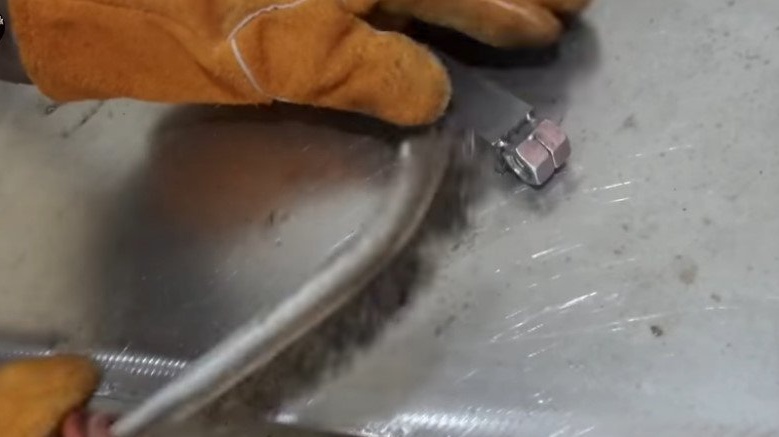
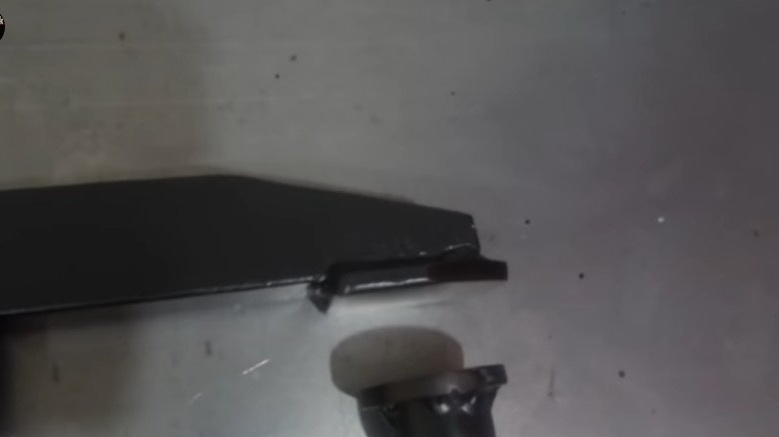
Cut a nickel from metal.
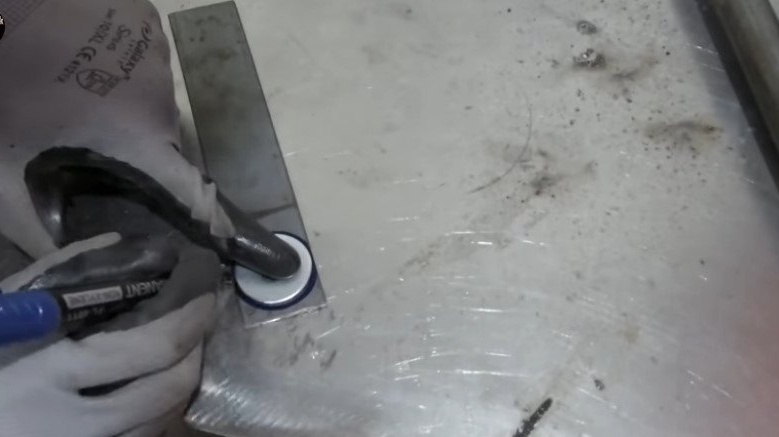

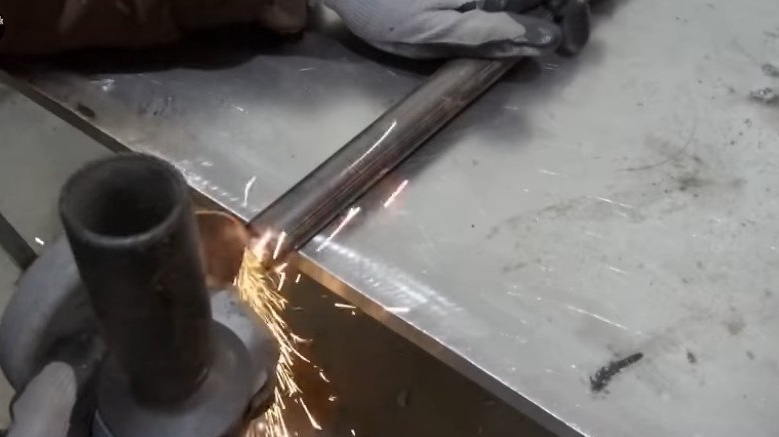
Weld a nickle to the end of the sleeve.
A movable sponge is welded to the nickle.

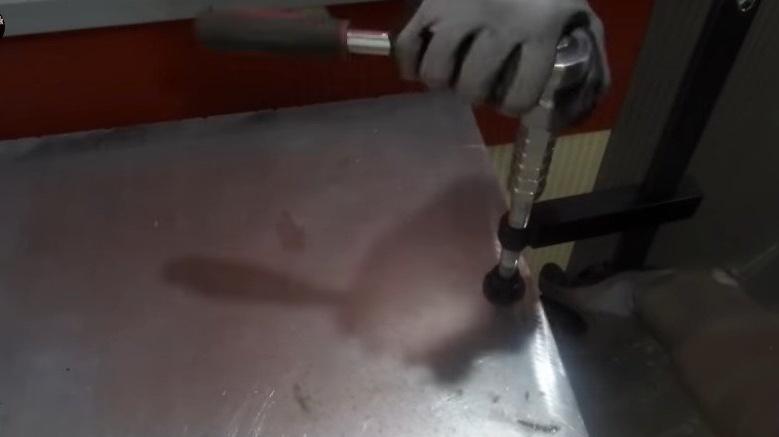
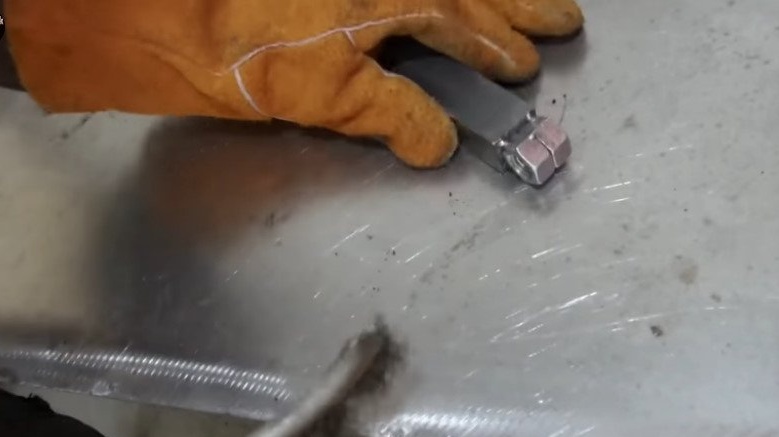
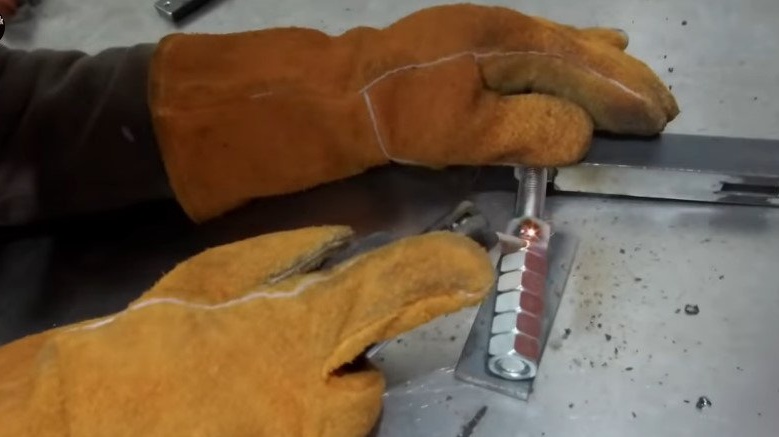
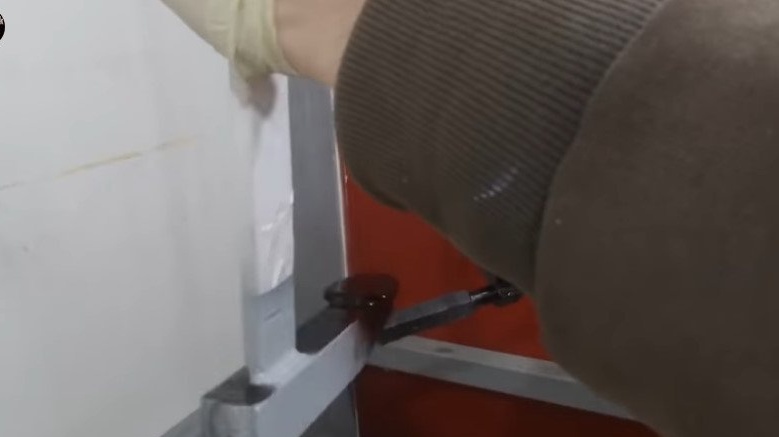
Screws seven nuts onto the shaft.

Welds them together.

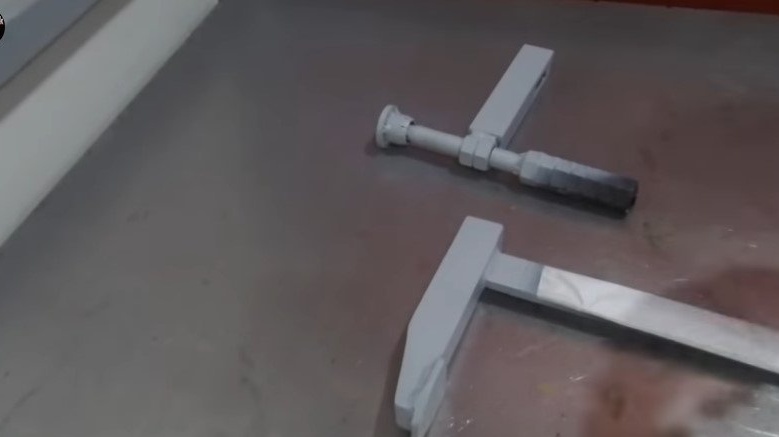
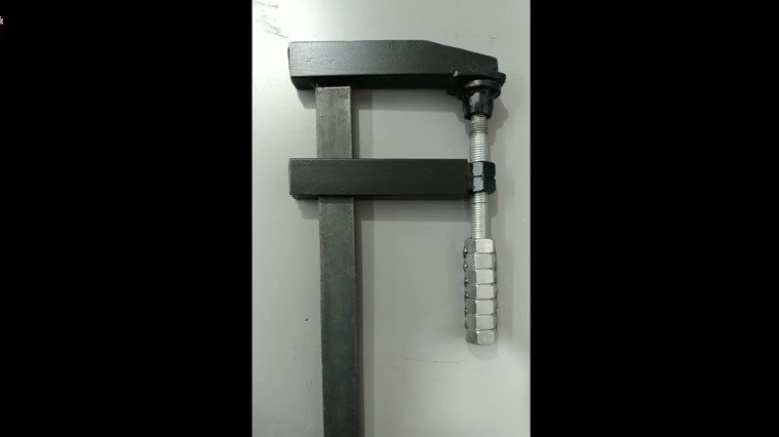
In principle, the clamp is ready, it remains to give it a normal look.

Step Six: Painting
The clamp is painted with gray paint.
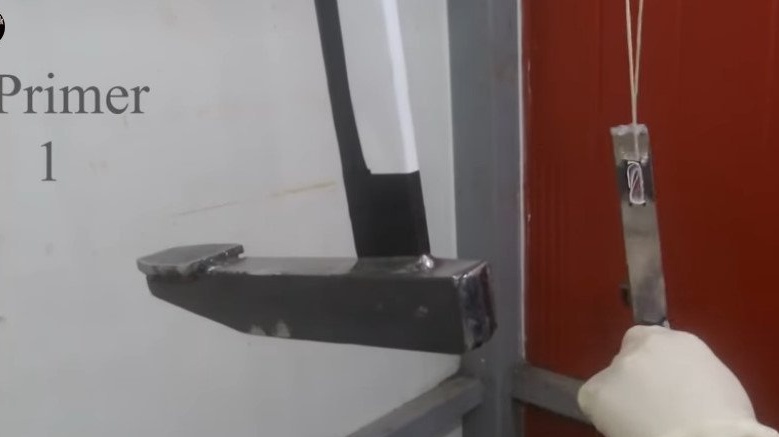
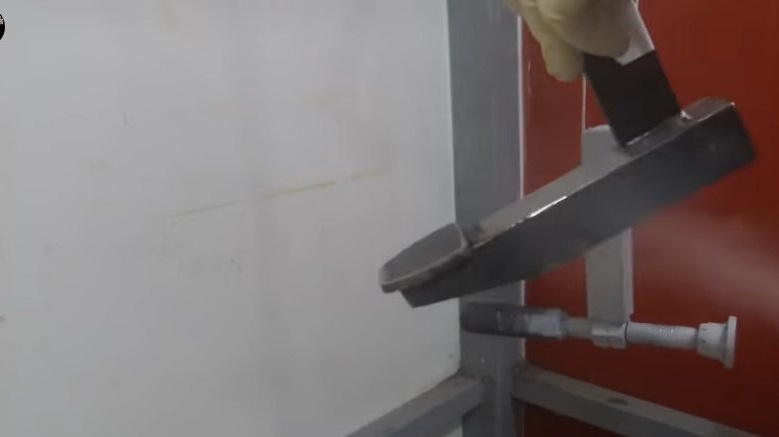

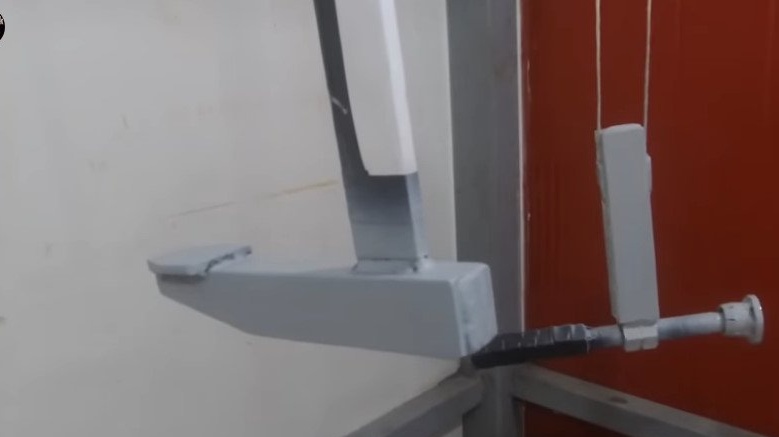
After drying, the primer slightly sanders the sponges.

Stains sponges black.


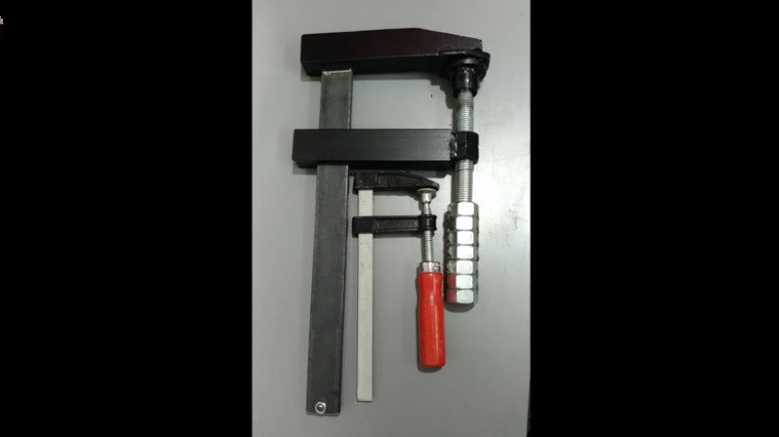
Gathers a clamp.
All is ready.

The entire clamp manufacturing process can be seen in the video.