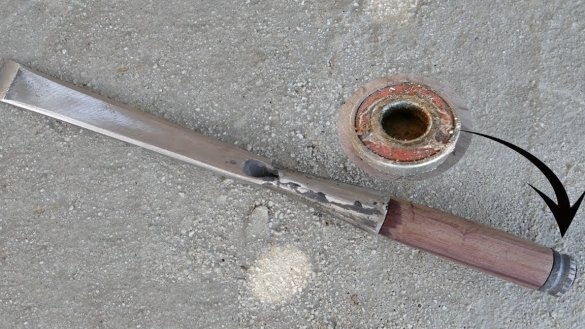
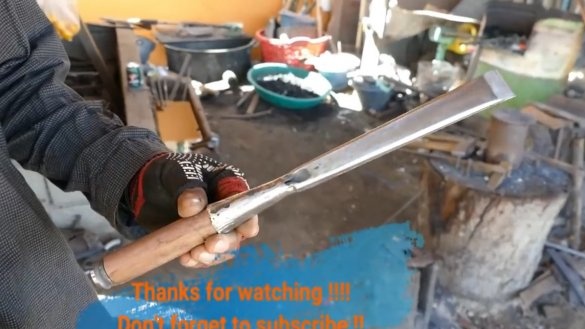
I welcome all fans to craft, today we will consider how to make a massive strong chisel do it yourself. As a source material, the author used a spring from a car. The tool was made by forging, in the end the author only slightly modified the chisel with a grinder. As a result of forging, spring steel in its properties begins to look more like tool steel, it is durable and holds sharpening excellently. On the butt of the handle, the author installed a ring from the bearing, which allows you to calmly hit the chisel with a hammer, it will serve for a long time. If the project interests you, I propose to familiarize yourself with it in more detail!
Materials and tools used by the author:
Material List:
- spring;
- strong wood for the handle;
- An old bearing of a suitable size;
- oil for wood (preferably).
Tool List:
- grinder;
- blacksmith tool;
- forge furnace;
- knife;
- a hacksaw.
The manufacturing process of the chisels:
Step one. Forging
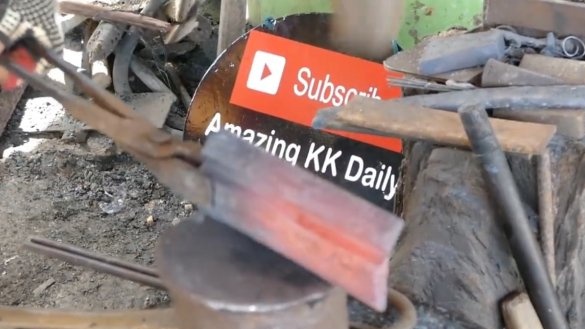
First of all, we heat up a piece of spring, the author’s stove is improvised, it works on coal. In general, it is possible to heat steel well in any coal, but they need to be inflated to raise the temperature, even a household hair dryer is suitable.
Having heated the spring, we level it, in the process of smooth cooling the steel is released, and it becomes plastic.
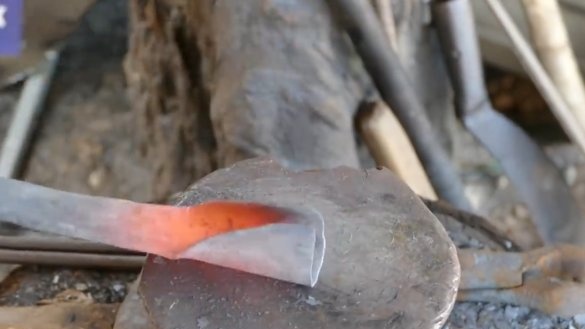
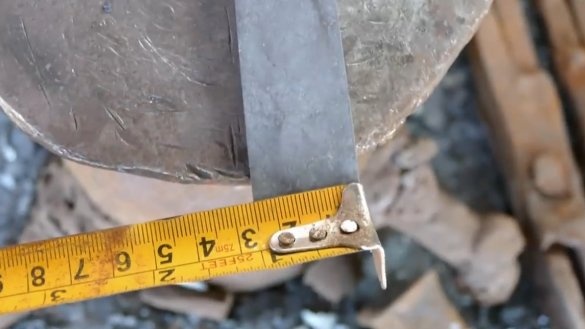
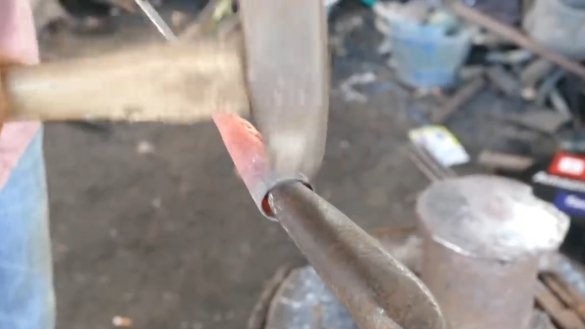
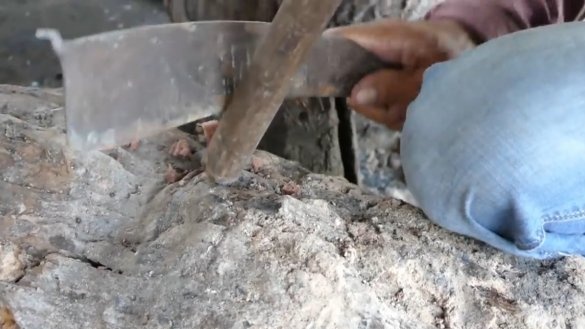
Then, using a special wedge, the author chopped off the desired piece of steel, from which he made a chisel. In order not to chop, you can simply cut off a strip of steel and grinder. Further, the hardest part will be the part where the pen will be inserted. Unfold the steel and then bend so that a cone is formed. That's all, the base for the chisel is ready, if you want, you can slightly pull the nose out so that the blade is more durable.
Step Two We work as a grinder
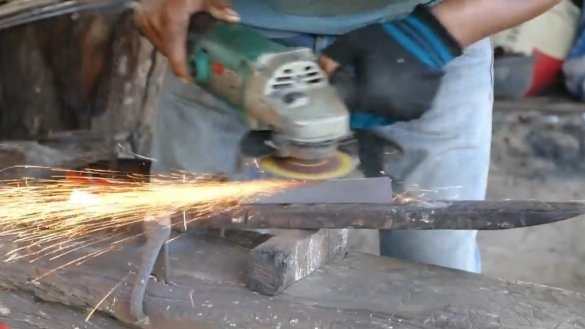
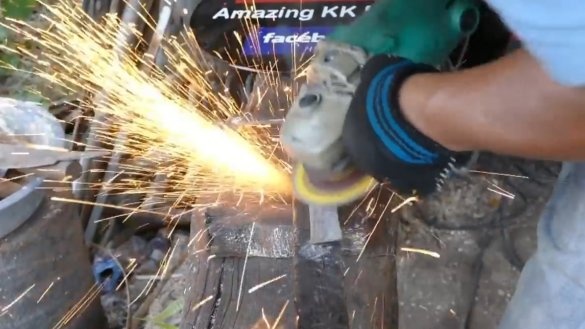
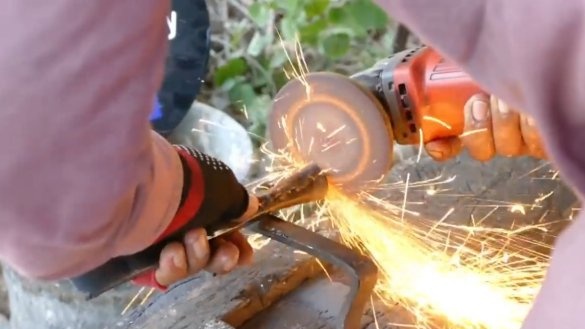
After forging, the author trimmed the chisel with a grinder, a disk nozzle for installing sandpaper or a petal disk is suitable. Grind the chisel along the contour, and also trim the plane.
We also form a descent at the tip, but until hardening is done, until we sharpen the chisel.
Step Three Quenching
Steel must be hardened so that the tool does not blunt and does not bend. Specifically, this author usually only tempers the blade, but for a chisel it would be nice to temper her whole body so that the chisel does not bend when struck with a hammer. The author heated the tip of the chisel and gently cooled it in water. After that, you can make the final sharpening, after properly hardening the steel will not be taken with a file.
Also, if you overdo it, the steel may turn out to be brittle, usually steel is tempered for this.
Step Four A pen
We make a handle for the chisel, the author made it of wood. We grind the handle under the cone so that it fits snugly into the chisel holder.
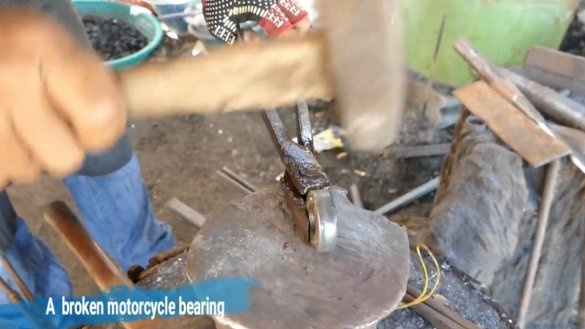
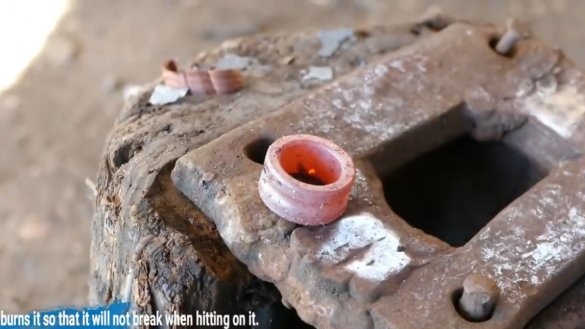
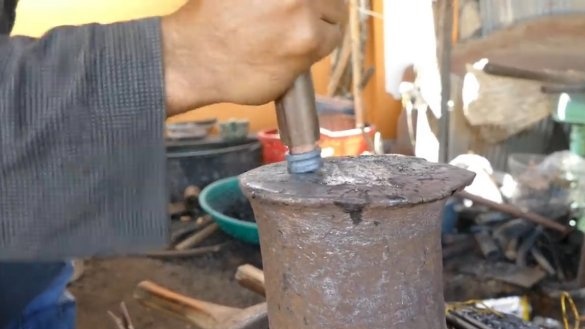
A ring is installed in the back of the chisel handle, which protects the handle from splitting. The author decided to get such a ring out of the bearing, this is the central part of the bearing. To get the part, you can cut the bearing rim with a grinder, you can also break it with a hammer or relax it after heating. We fill the resulting ring on the handle, now on the rear of the handle you can safely beat with a hammer.
That's all, the chisel is ready. Everything has been done, of course, whipped up. It would be nice to soak a wooden handle with oil or varnish, which will significantly extend the life of the tool. Generally homemade It turned out pretty strong and useful. The project is completed on this, I hope you enjoyed the chisel, and you found useful ideas for yourself. Good luck and creative inspiration, if you decide to repeat this, do not forget to share your ideas and homemade things with us!

