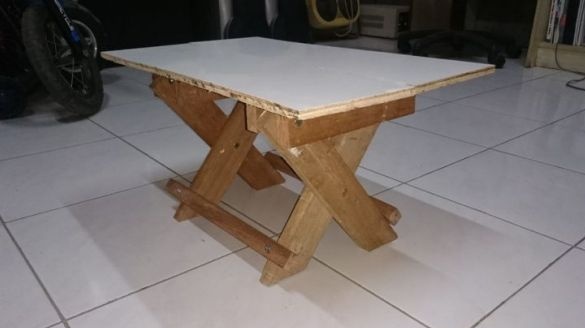
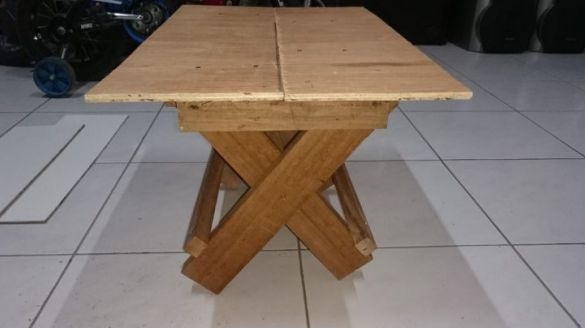
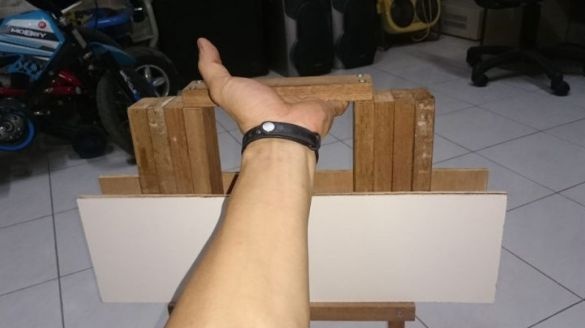
This article will tell you how to assemble a handy portable coffee table. This table is very simple to manufacture, can find a huge number of applications, its assembly does not require large material costs, and a folding design will always allow you to take it with you on trips.
Used materials and tools:
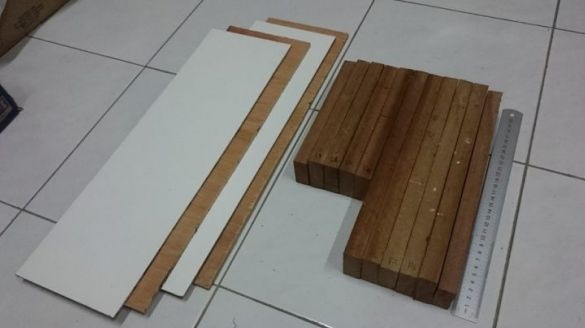
- two sheets of plywood measuring 45 by 15 cm.
- two pieces of a laminate of size 45 by 15 cm.
- five wooden bars 20x5x1 cm
- six bars 30x5x1cm in size
-glue
- Six pairs of bolt + nut.
- eight screws
drill and several drills
-hammer
-saw
line
pen or pencil
- small nails in the amount of several pieces
A detailed step-by-step description of the manufacture of a miniature folding coffee table:
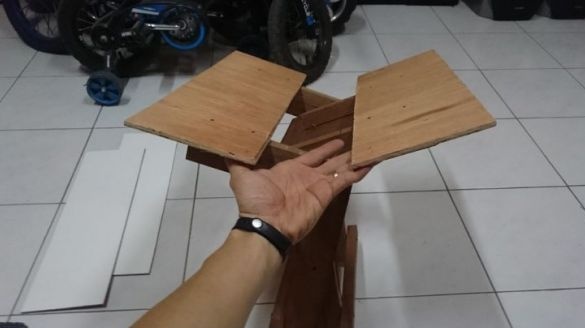
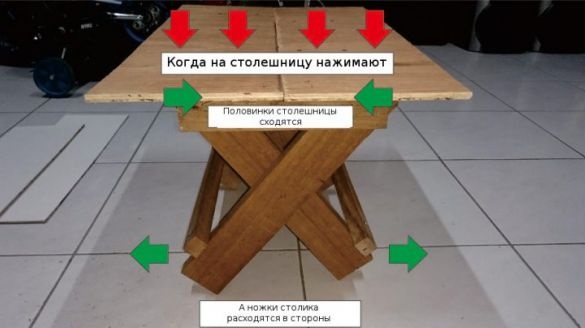
Despite its small size, this table is very durable due to its design features. The table is made so that when you press on the countertop, which consists of two parts, these two halves press on each other even more, so the table will not corrode when writing, or if you put your feet on it. In addition, the used whetstones for legs are very reliable, so that even without load, the table will maintain its established position.
Step one: Assembling the legs.
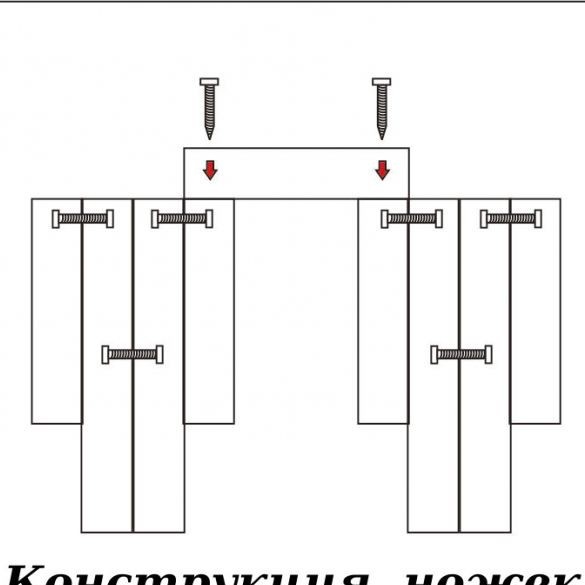
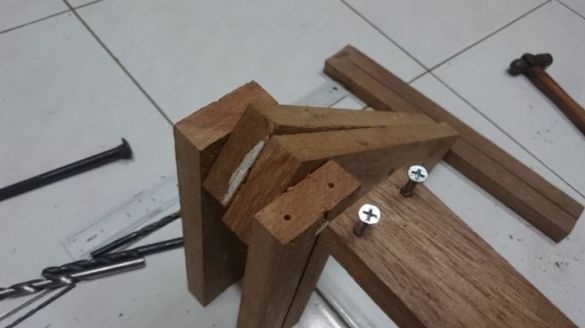
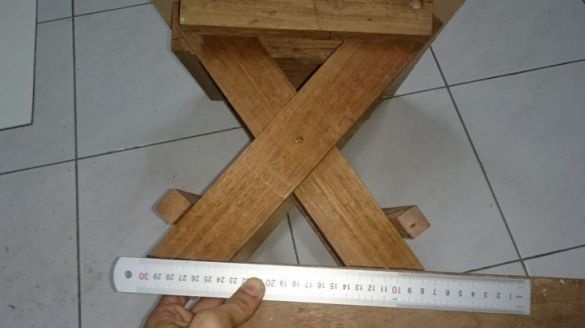
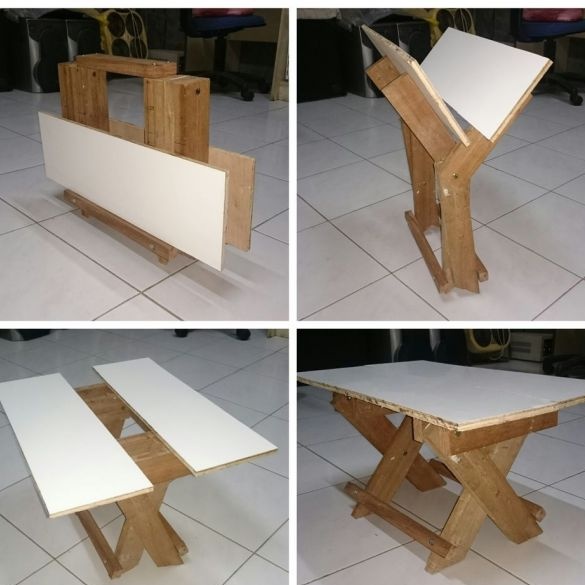
The assembly design of the legs is presented in some detail in the photographs located above, however, for a better understanding, you can read the description of the creation and the rest of the photos of the folding table.
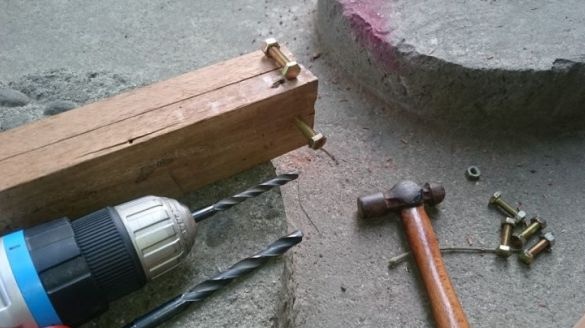
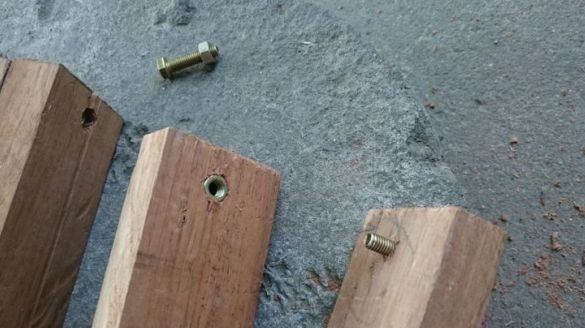
First, we took five bars 20 cm long and four bars 30 cm long. Next, you need to make holes for them in the connection. Since the first 20 cm board will be connected to the first 30 cm board through the top, you need to drill a hole at a distance of about 1.25 cm from the top of the board, this is considering the board width of 5 cm. After both holes were drilled in each connected boards, they were expanded to about half the depth of the through hole with a drill of a larger diameter so that they freely included the cap of the bolt and nut for it.
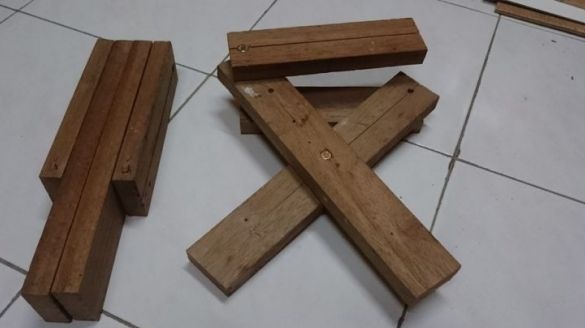
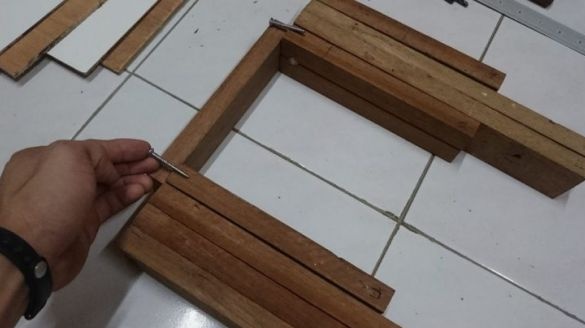
The next two 30 cm boards were connected in the middle, so the holes were made exactly in the center of their length and width. The remaining two boards 20 and 30 cm are connected in the same way as the first through the upper part. As a result, the design should turn out as in the fourth photo at this stage.
Then the moving parts of the table construction are connected in the right places, this is clearly seen from the photographs.The connection of moving parts occurs due to bolts and nuts for which the necessary holes have been made. Since the joints must be movable, it is necessary to tighten the nuts so that the design of the legs can move freely, but it does not loose and is strong. Then, a handle for carrying the table is attached to the resulting structure with self-tapping screws.
Step Two: Carry Handle.
The handle for carrying the table was made of 20 cm of board, which is attached directly to the legs due to self-tapping screws. The author secured it with two screws on each side. It would be a mistake to screw the screws in the middle of the board, since in the center there is a bolt of the movable connection.
Step Three: Making the countertops.
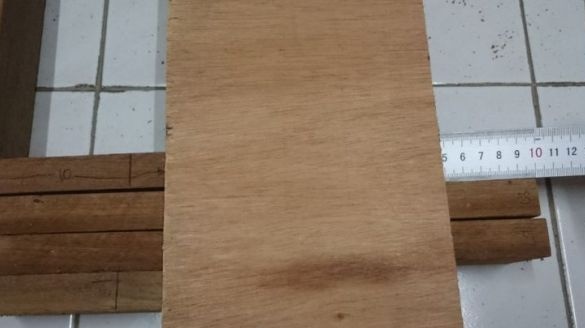
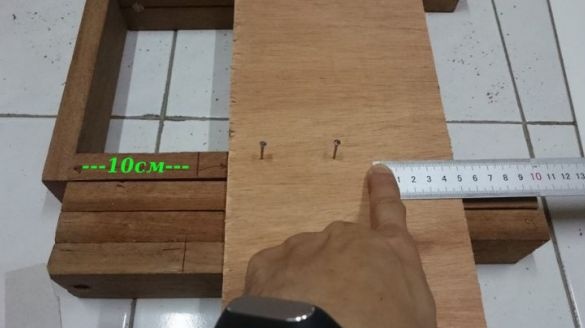
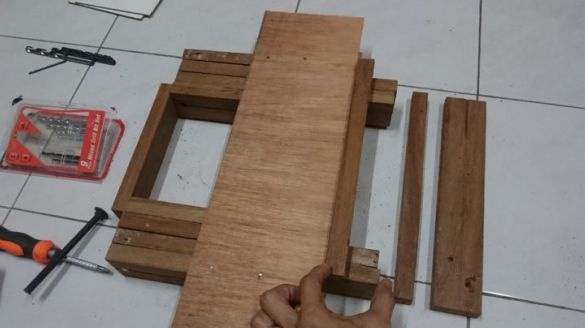
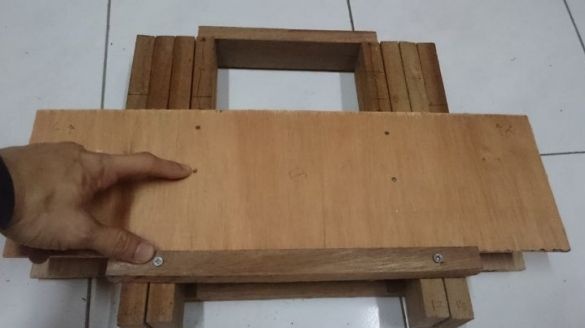
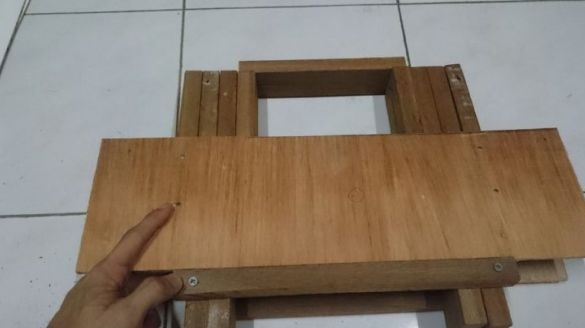
Next, half of the countertop is installed on the resulting design of the legs of the table in their folded form. The tabletop was installed about 10 cm from the carrying handle; for its fastening, the author used several nails.
In principle, the tabletop mounting scheme is shown in the photographs, however there is some important nuances:
It is only necessary to fix the countertop to 20 cm boards, with one half of the countertop being attached to the legs of the fourth plank of the left leg and the first plank of the right leg, and the second half is pinned to the first plank of the left leg and the fourth plank of the right leg. Moreover, the attachment points should be located closer to the handle.
Step Four: Extra Stiffness Spacers.
To give rigidity and greater reliability to the legs and the entire coffee table, the author decided to use two 30 cm boards as spacers. After sawing the bars lengthwise 30 cm, the author proceeded to fasten them at the bottom of the table structure.
Spacers are fastened to 30 cm of the legs of the table. Moreover, if the countertop was fixed to the inner 20 cm boards, then the spacer was attached to the inner 30 cm boards, and if the countertop was attached to the external 20 cm boards, then the external 30 cm boards should be strengthened.
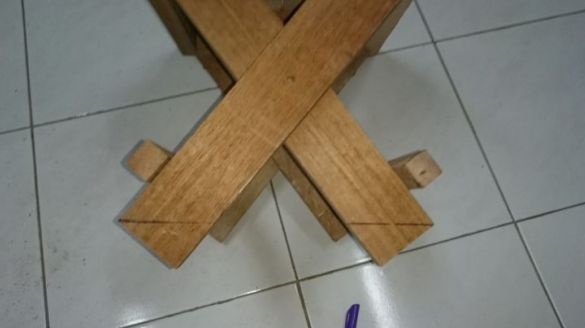
Step Five: Cutting the legs.
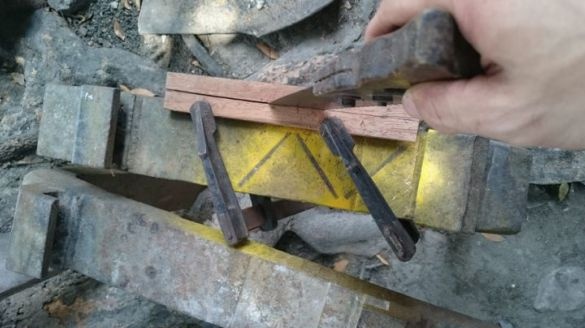
As can be seen from the photographs, when assembling such a table in working position, it stands at the corners of the legs. Therefore, for better stability, the legs must be cut so that in the working position of the table they touch the floor with the maximum surface area. To do this, the angles are marked, and part of the corners of the bar is cut off.
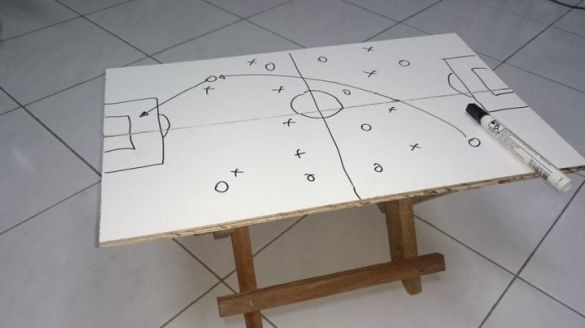
Step Six: Finish the table.
As a finish for the table, a white laminate was used. Such material and color was specially chosen so that on the table it would be possible not only to store magazines, use it as a footrest while sitting in an armchair or for a laptop, but also draw. More precisely, do sketches of games or future projects using an erasable marker.
In the future, it will be possible to do external table processing, for example, polish and varnish, as well as cut the edges of the parts with a milling cutter, so that the table is not only convenient, but also stylish.

