
In this article, John Heitz, the author of the Woodworking Tips and Tricks YouTube channel, will tell you how quickly and simply you can make a platband on a storage cabinet or kitchen pendant.
Materials
- Boards, dowels
- Sandpaper
- Liquid Nails.
Instruments, used by the author.
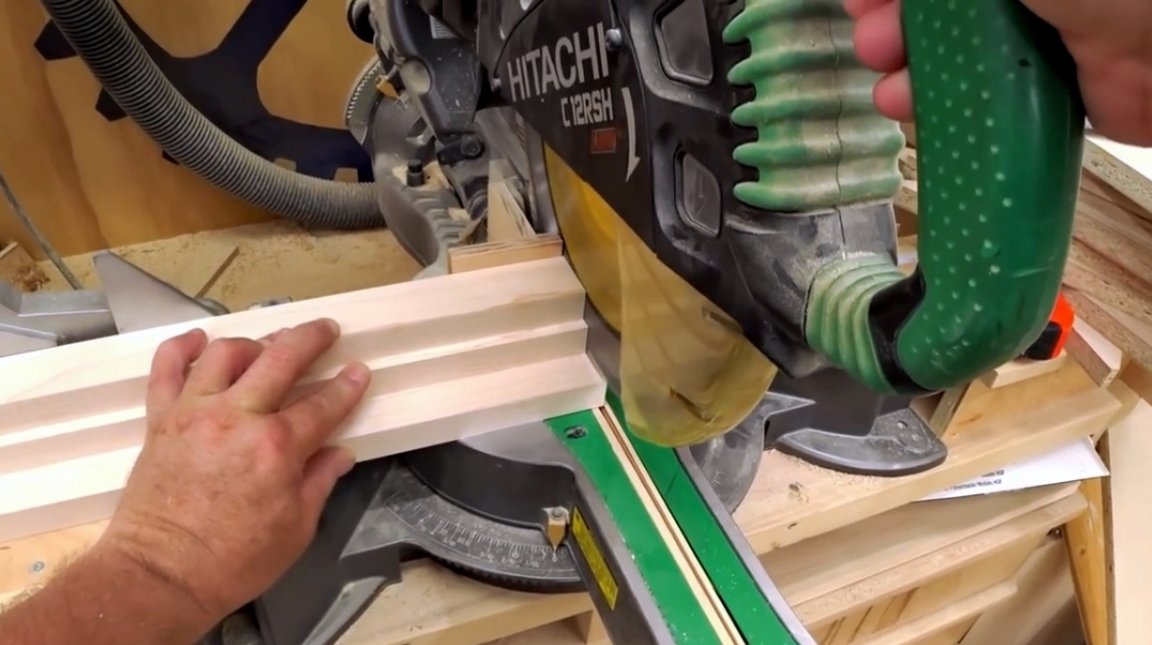
- Miter saw
— Screwdriver
— Clamps
— Battery Neiler
— Orbital sander
- Roulette, chisel, plane.
Manufacturing process.
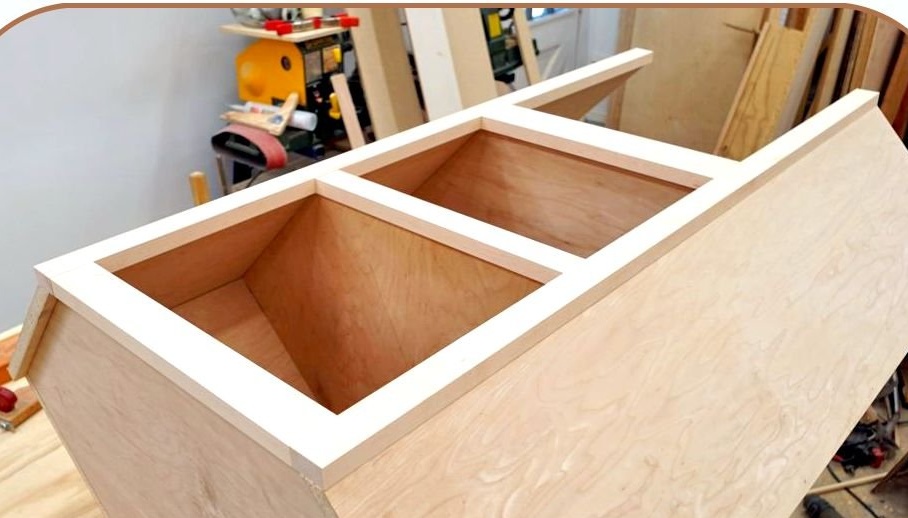
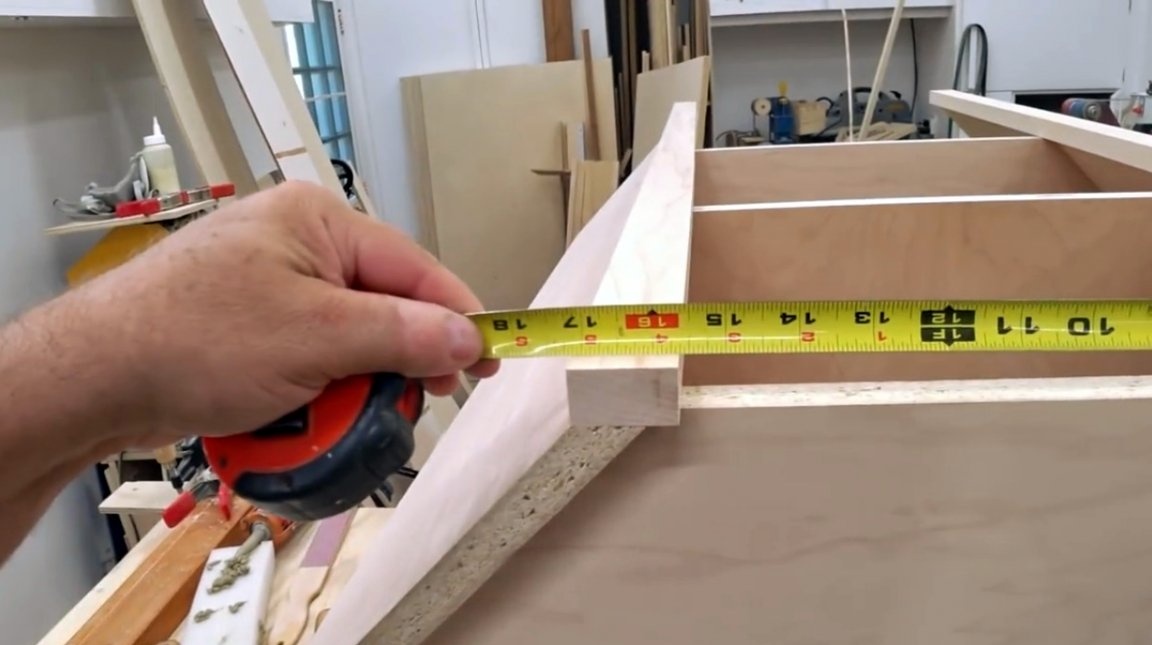
Before sawing planks for platbands, it is advisable to make or buy a cabinet itself. In this case, you can accurately take all measurements and mark out the general appearance of the clypeus. This cabinet is angular. It has a somewhat non-standard shape, so accurate measurements are simply necessary.
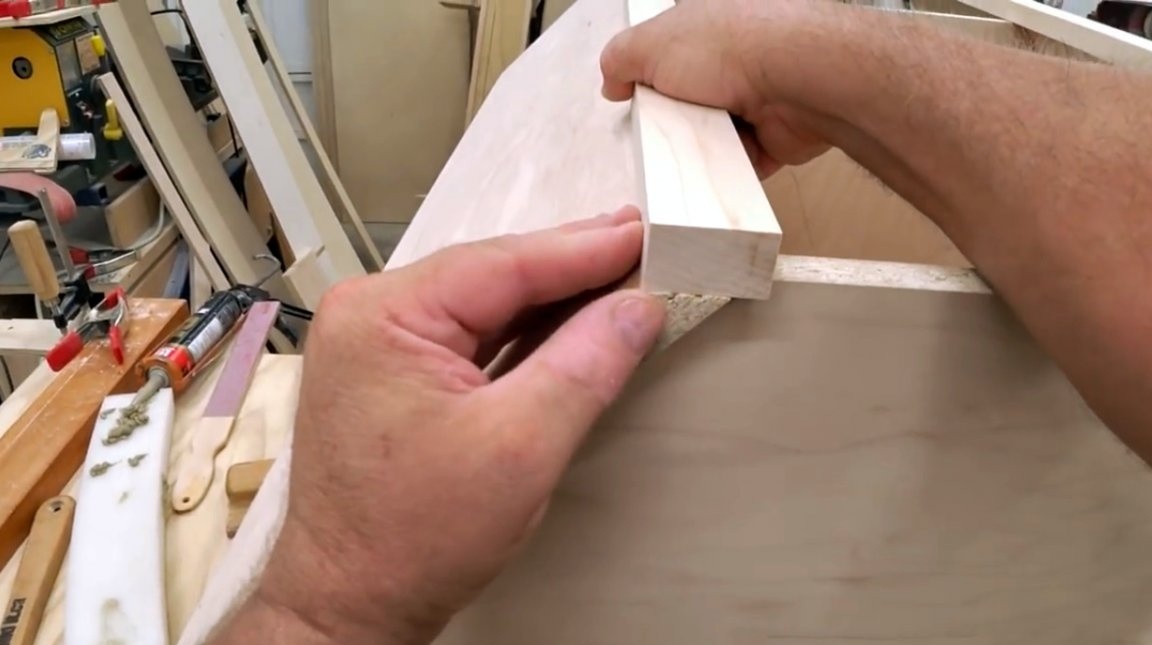
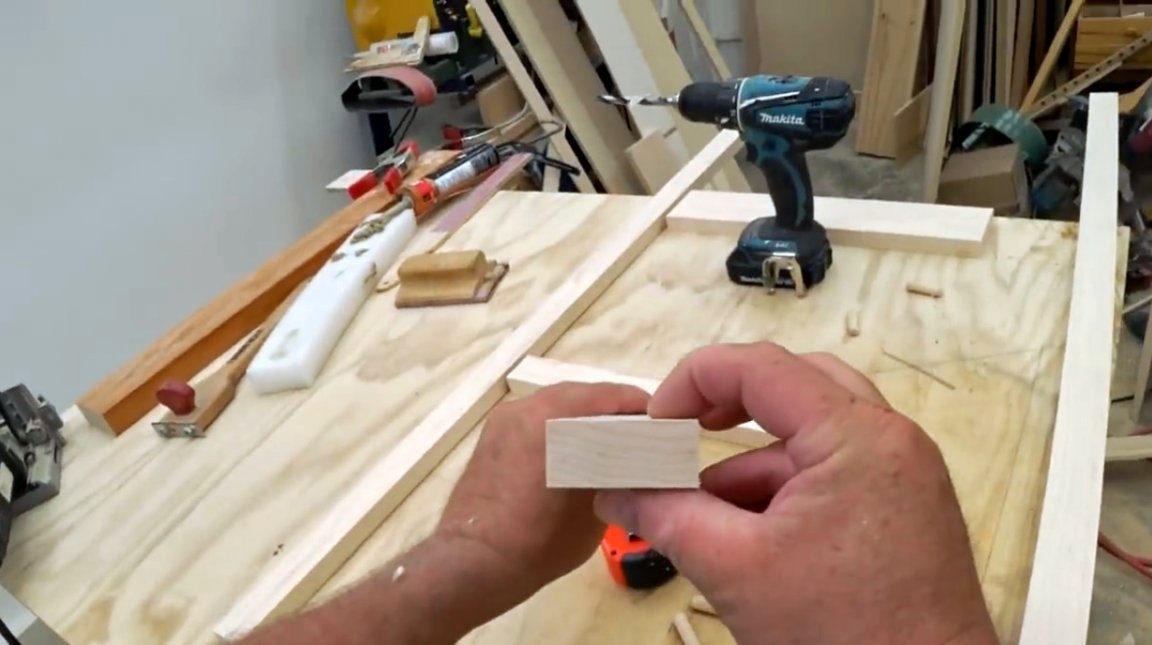
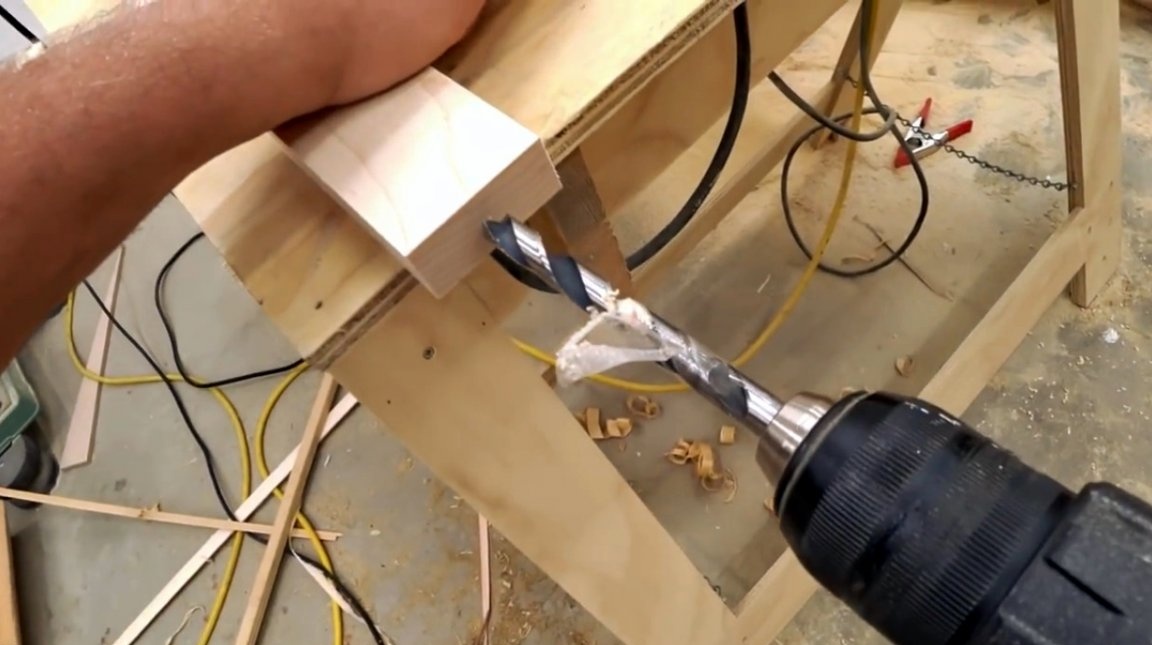
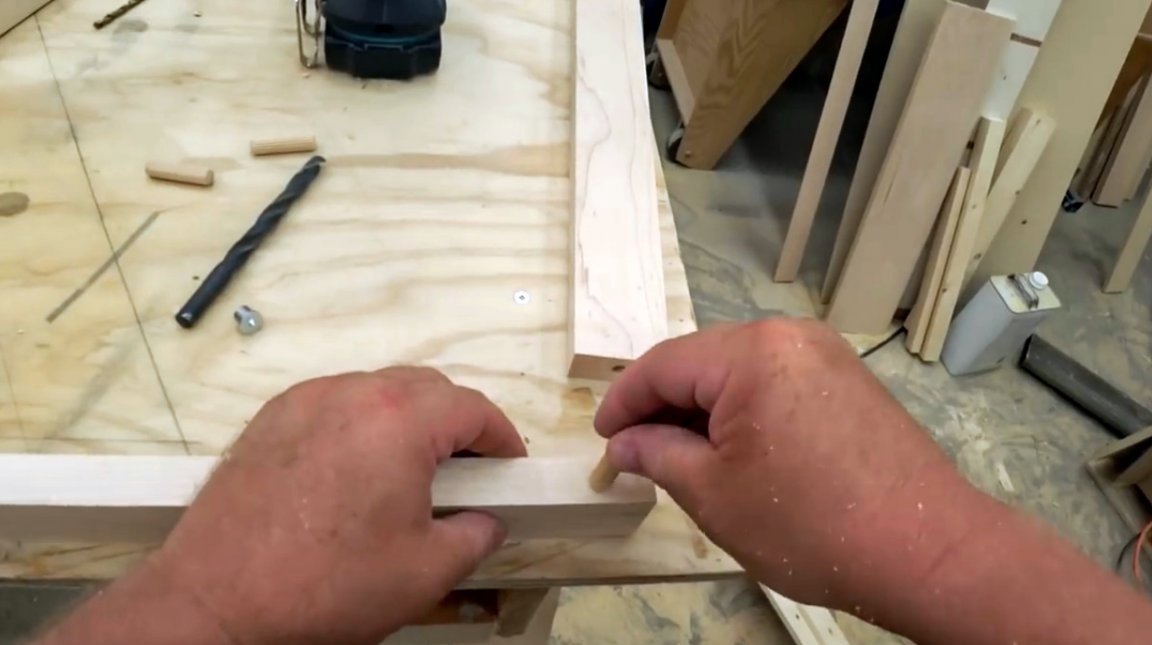
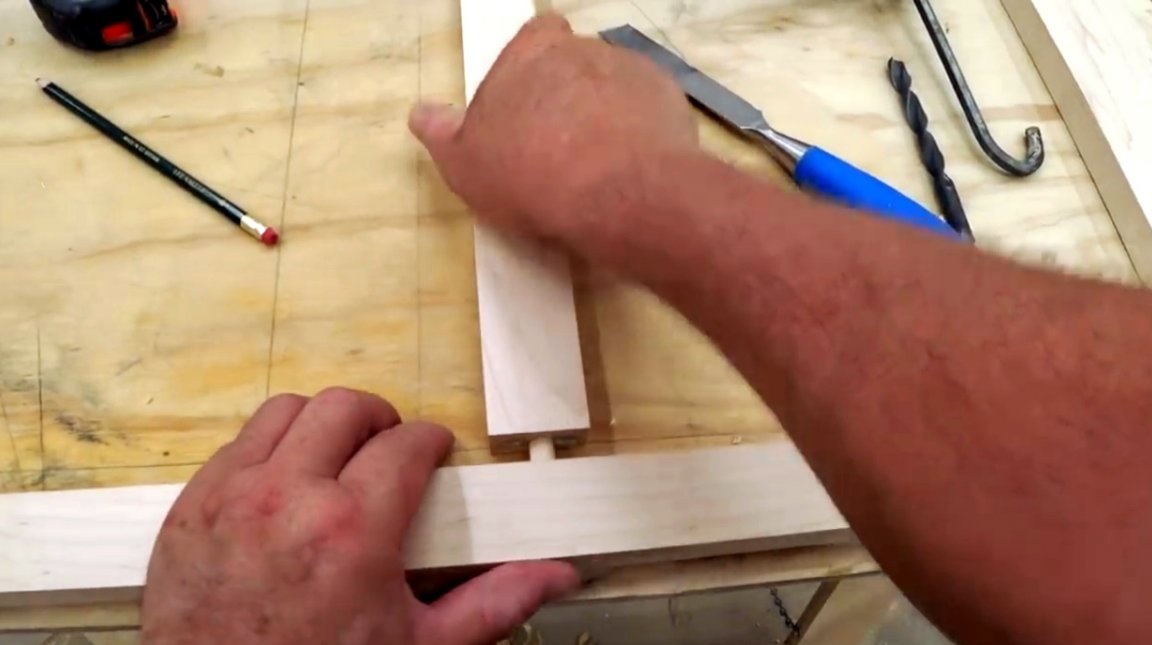
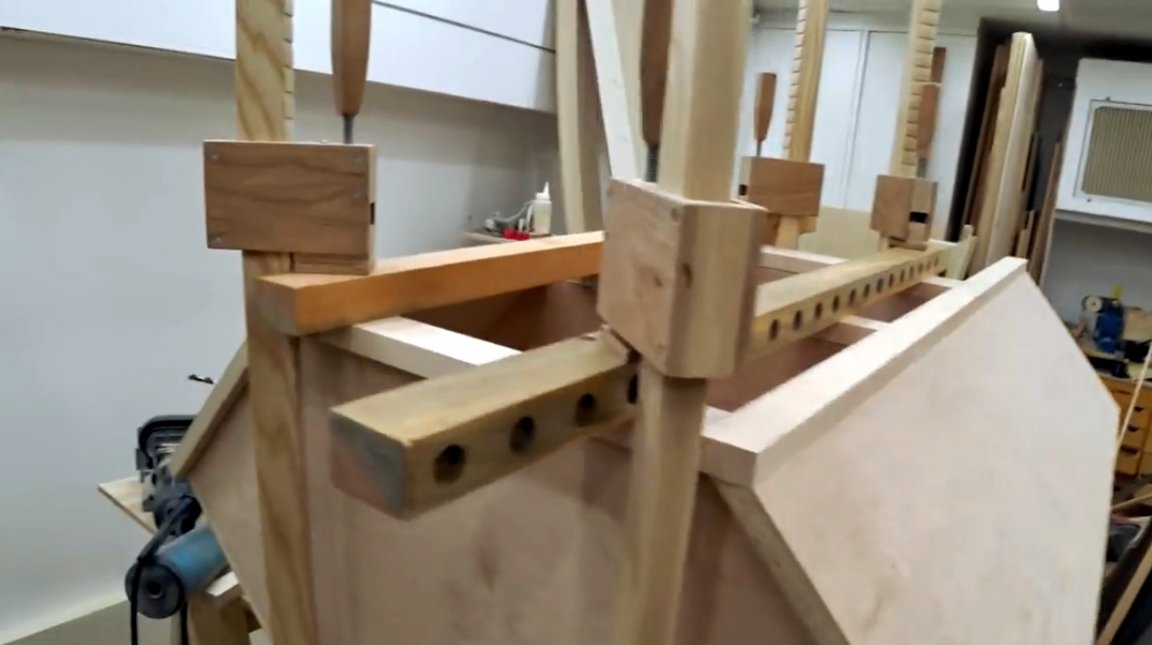
There are several different ways to fix the clypeus. The author will use round dowels in his project, since he wants to rip off all the connections. John takes a wooden plank that is the same thickness along the entire length and drills 3/8 inch holes in it using a screwdriver. It is important that the drill enters the material strictly at right angles. First, he drills holes in the vertical bars.
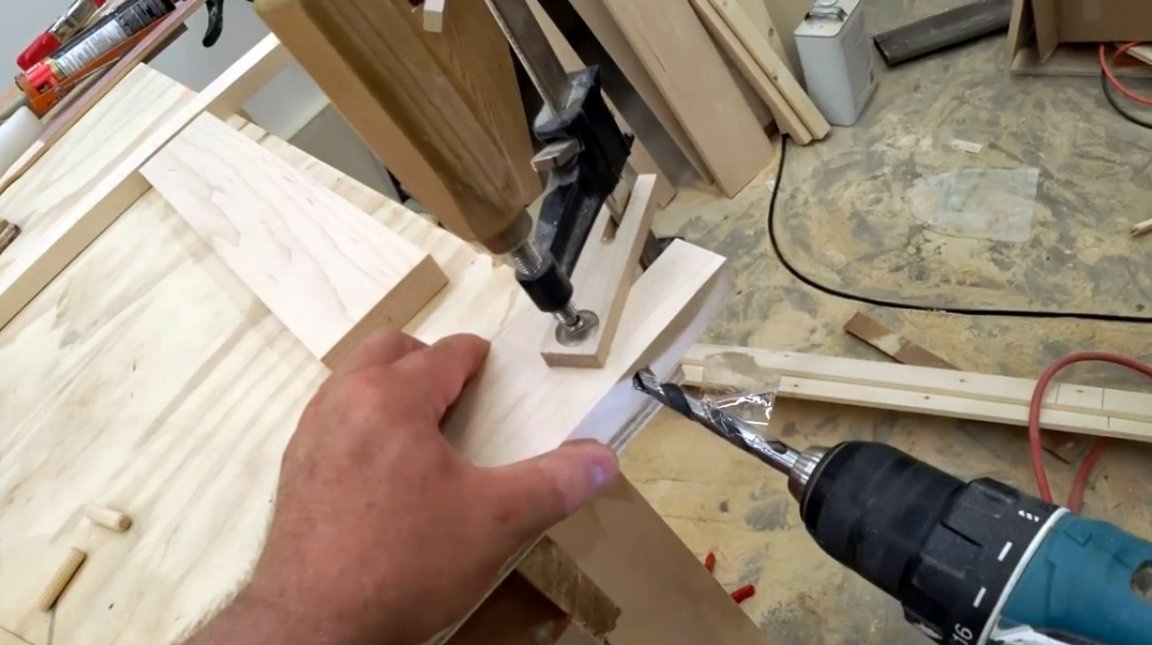
For the exact connection of the two parts, he uses just such an insert with a spike, and then drills the counter holes in the transverse slats.
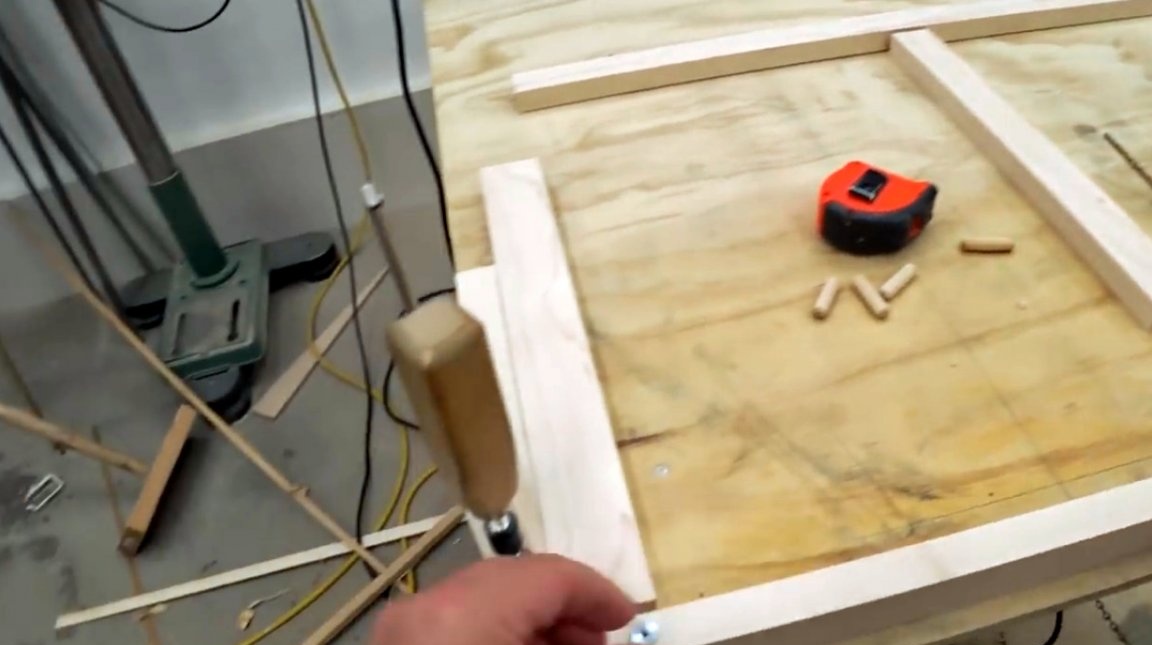
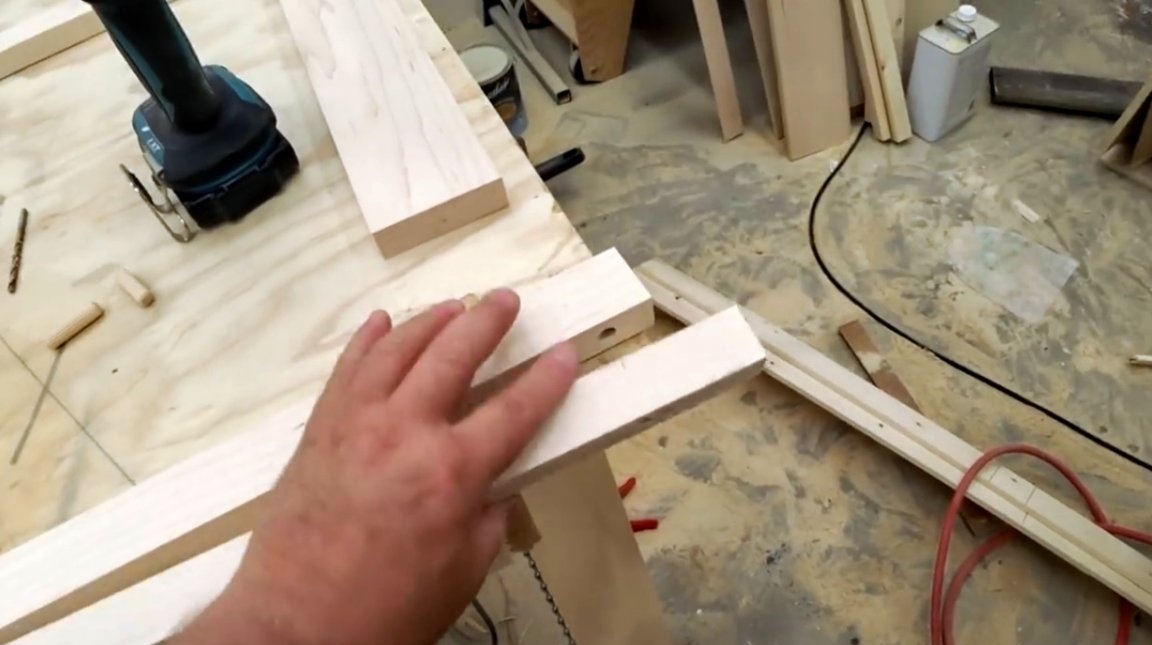
Then he inserts wooden dowels into the holes of the vertical slats.
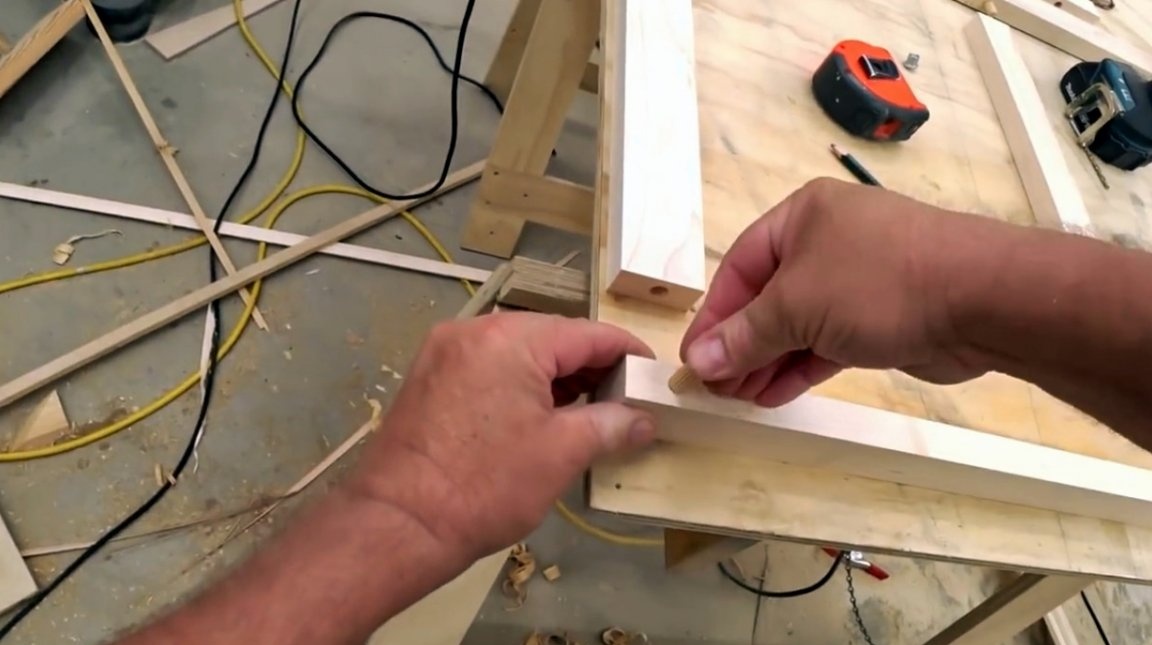
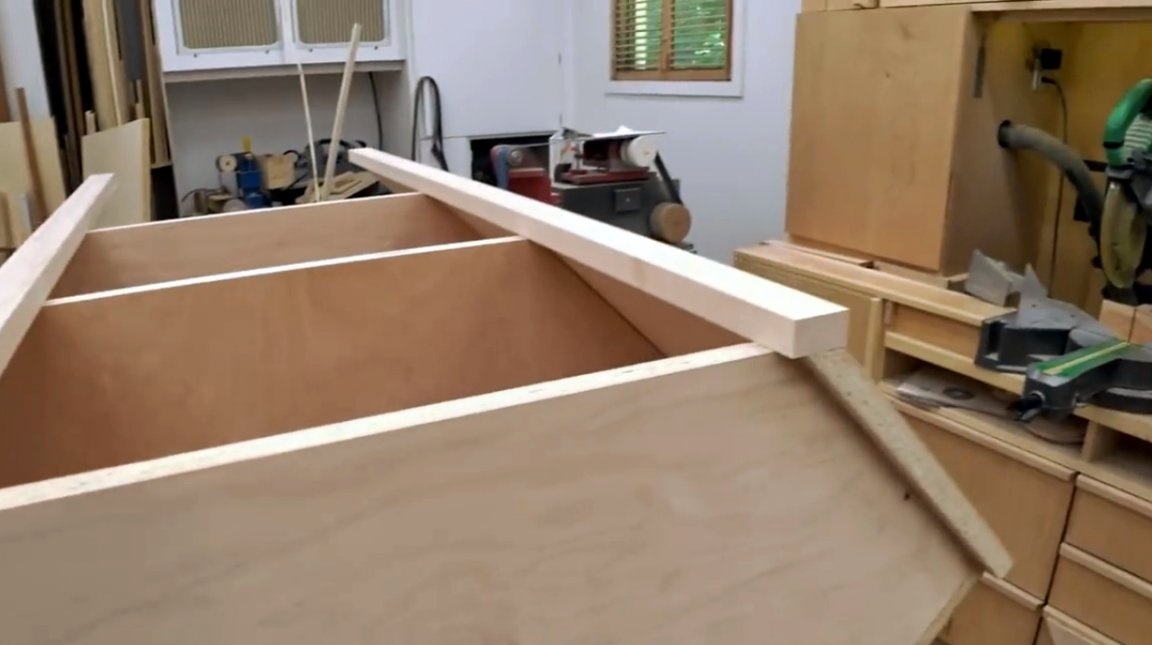
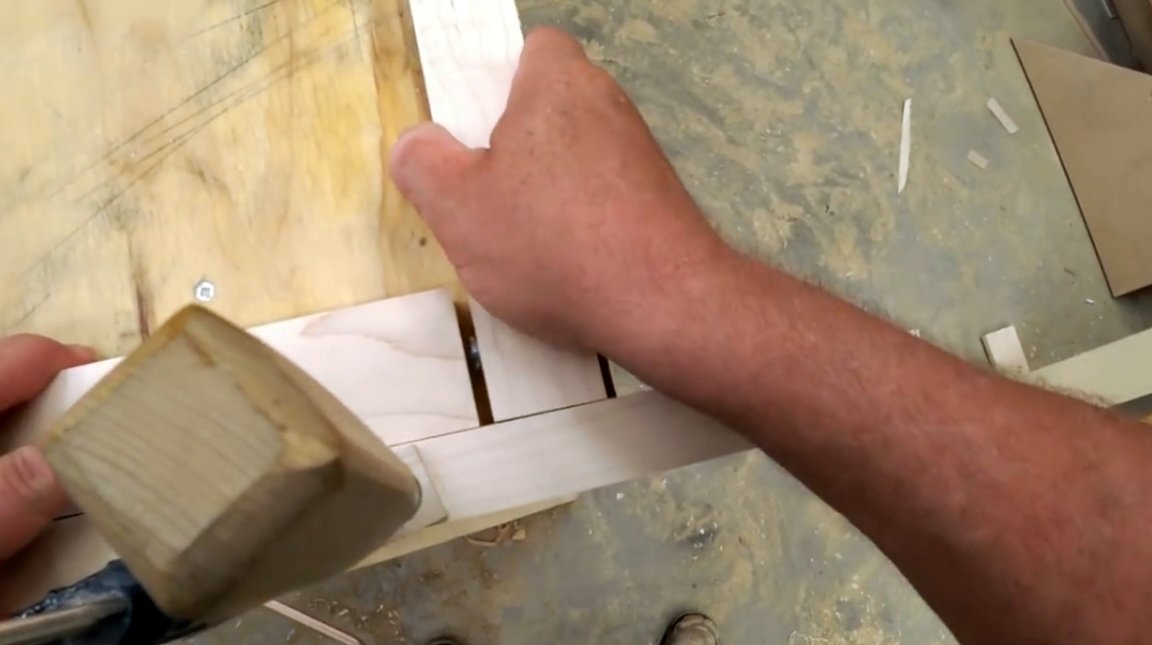
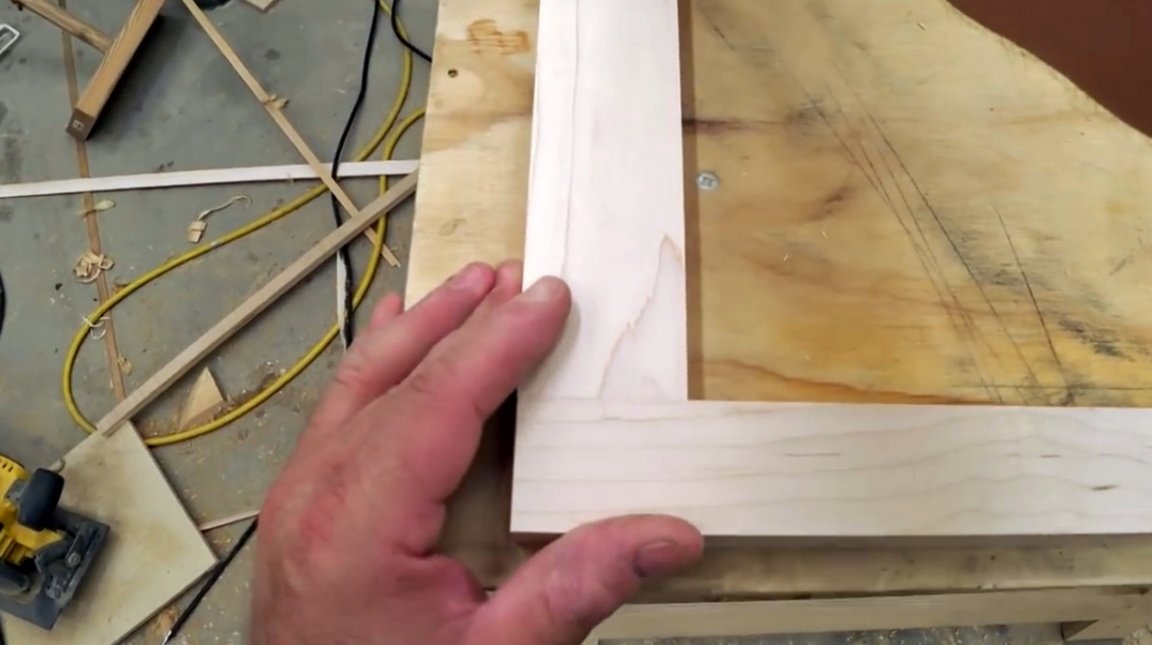
Aligns the transverse and longitudinal planks with respect to each other and combines them, firmly pressing down each connection. At the same time, the author carefully monitors that the front, front of the frame is as flat as possible, without any protrusions.
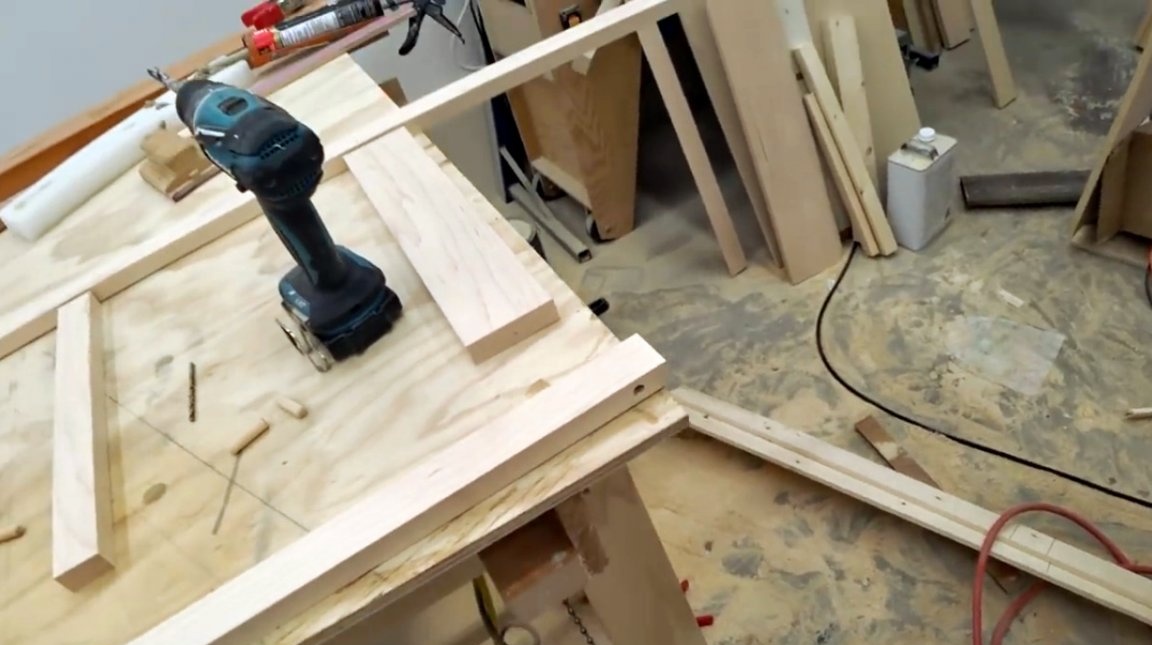
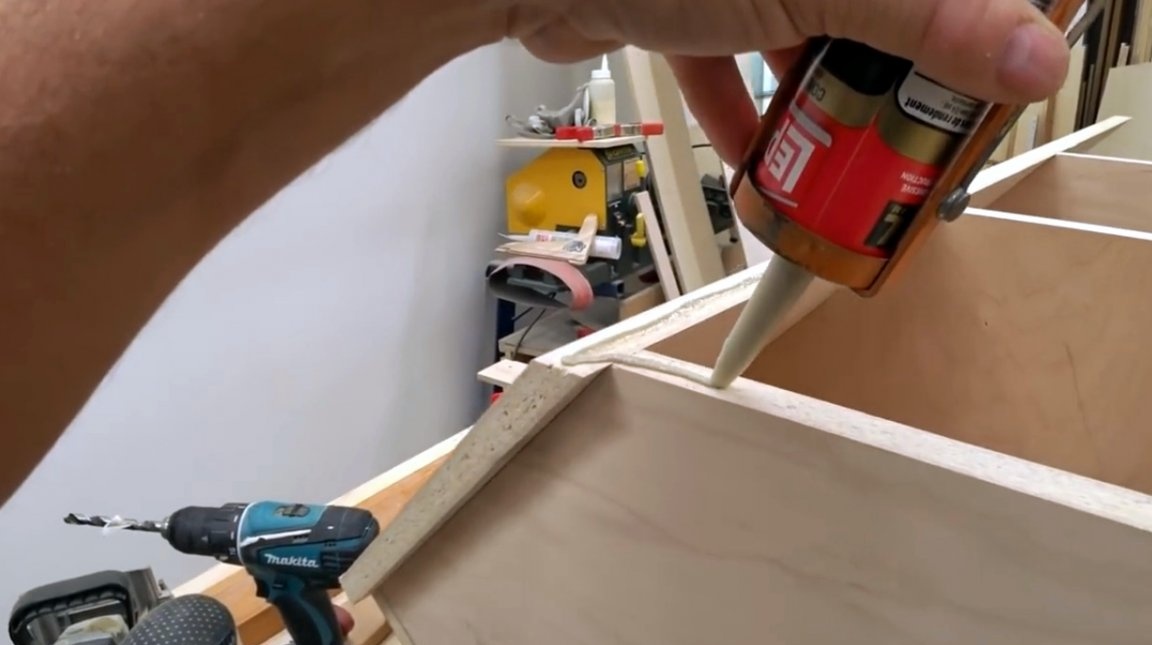
In order to fix the platband, the author uses polyurethane high-strength adhesive. This glue and dowels are quite enough to provide the entire structure with the proper strength.
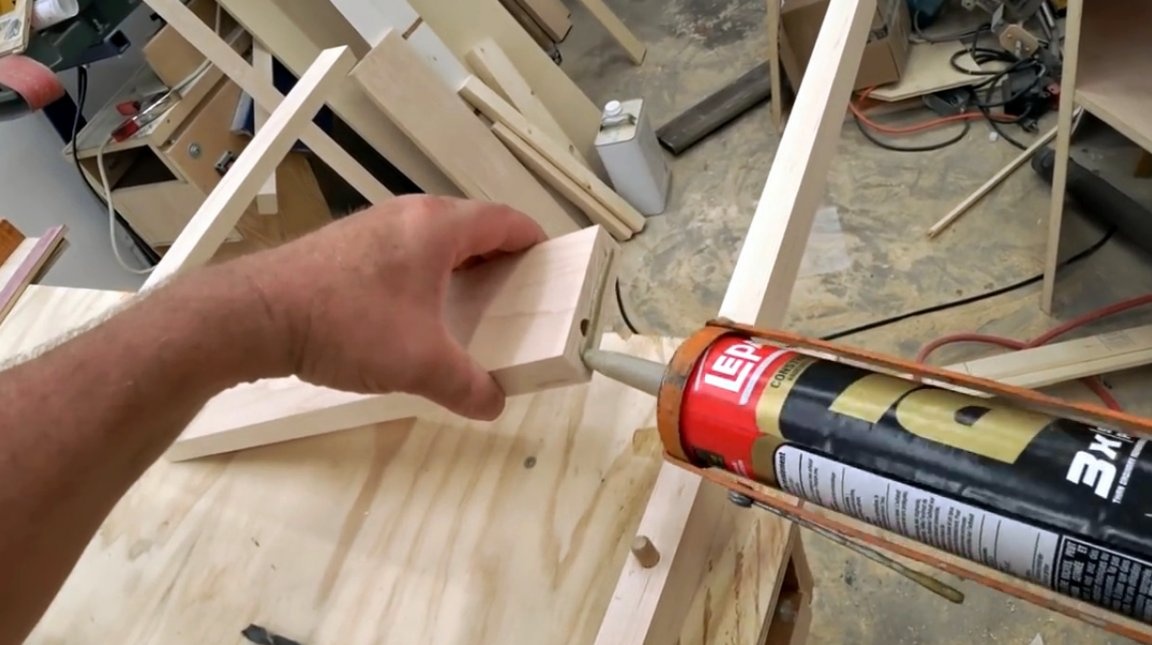
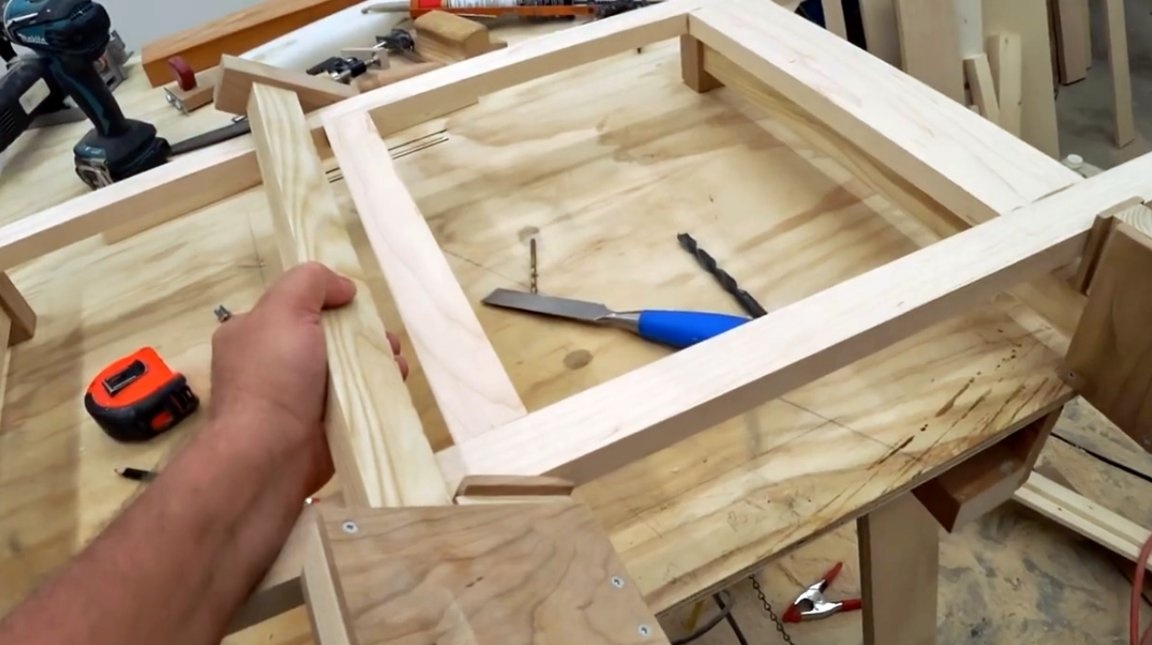
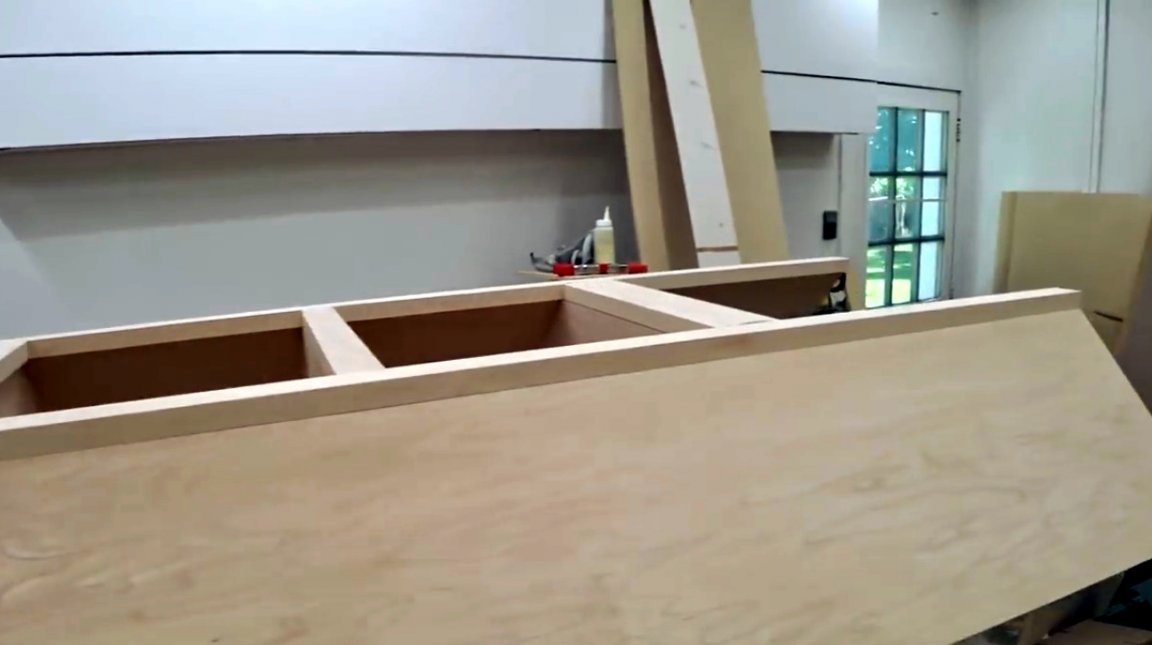
After that, John carries out a complete assembly of the clypeus. He clamps the joints with clamps and waits for the glue to completely dry.
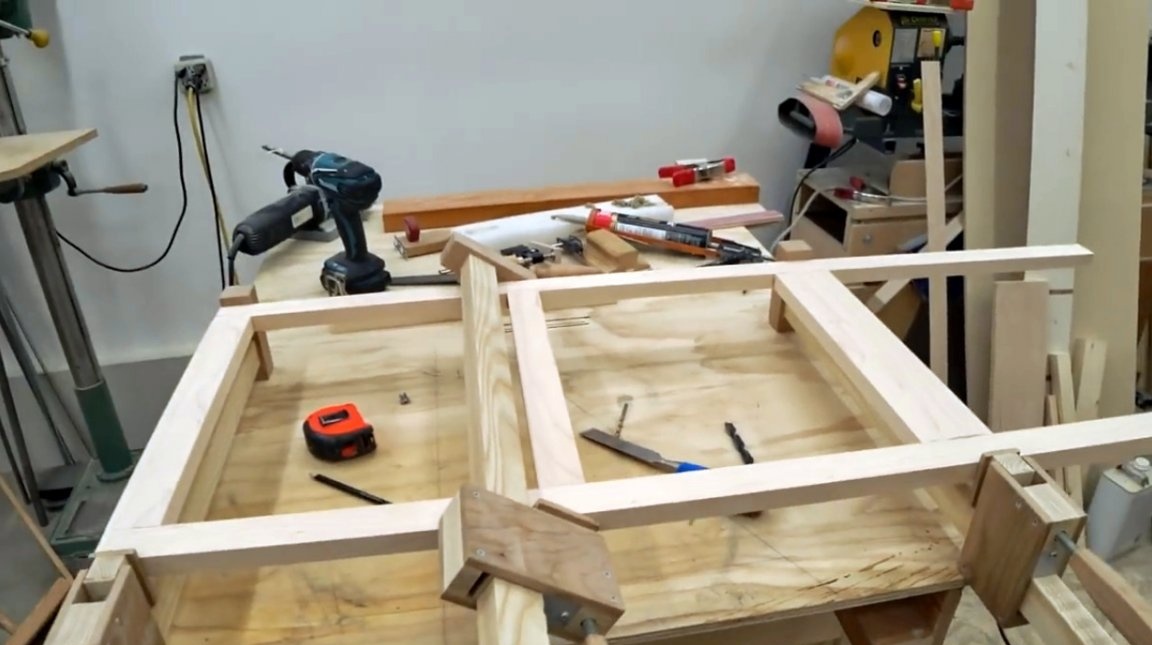
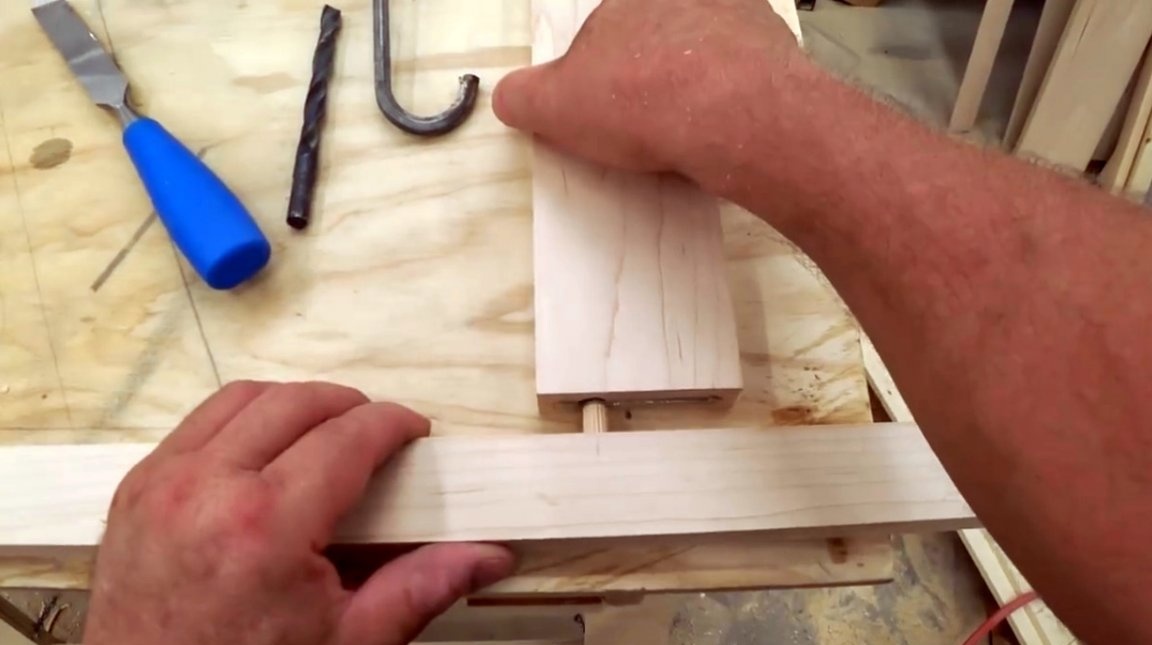
After about 2 hours, the master removes the clamps.Then she glue with glue the perimeter of the front of the cabinet with the same polyurethane glue. And puts the clypeus on top, trying to align it around all the edges.
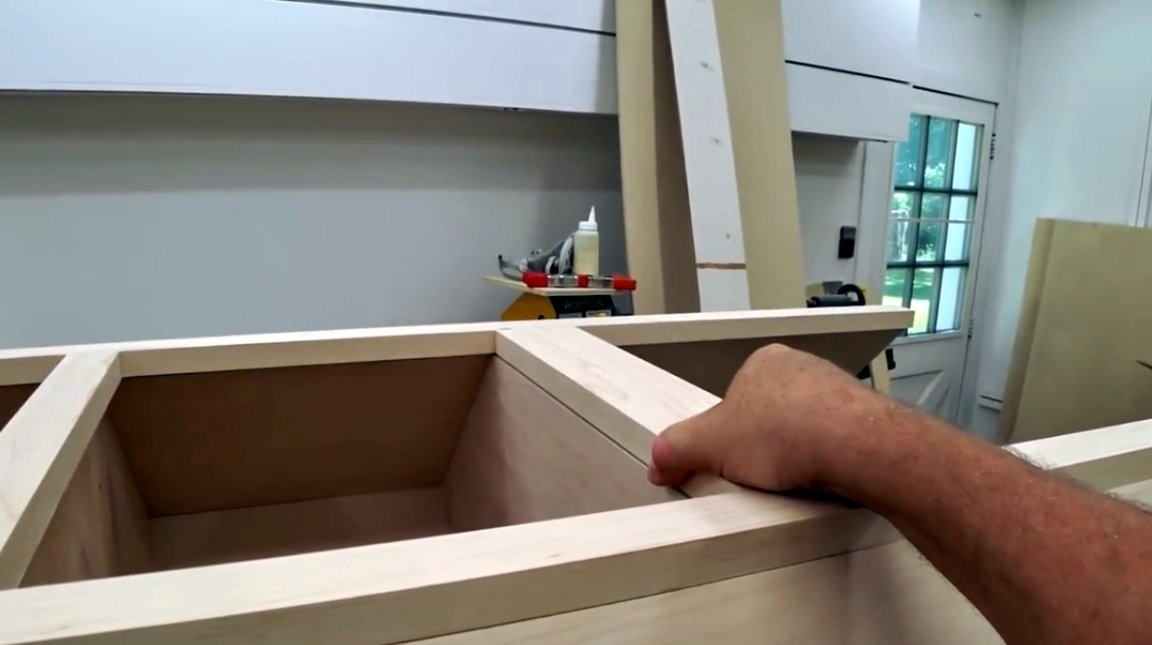
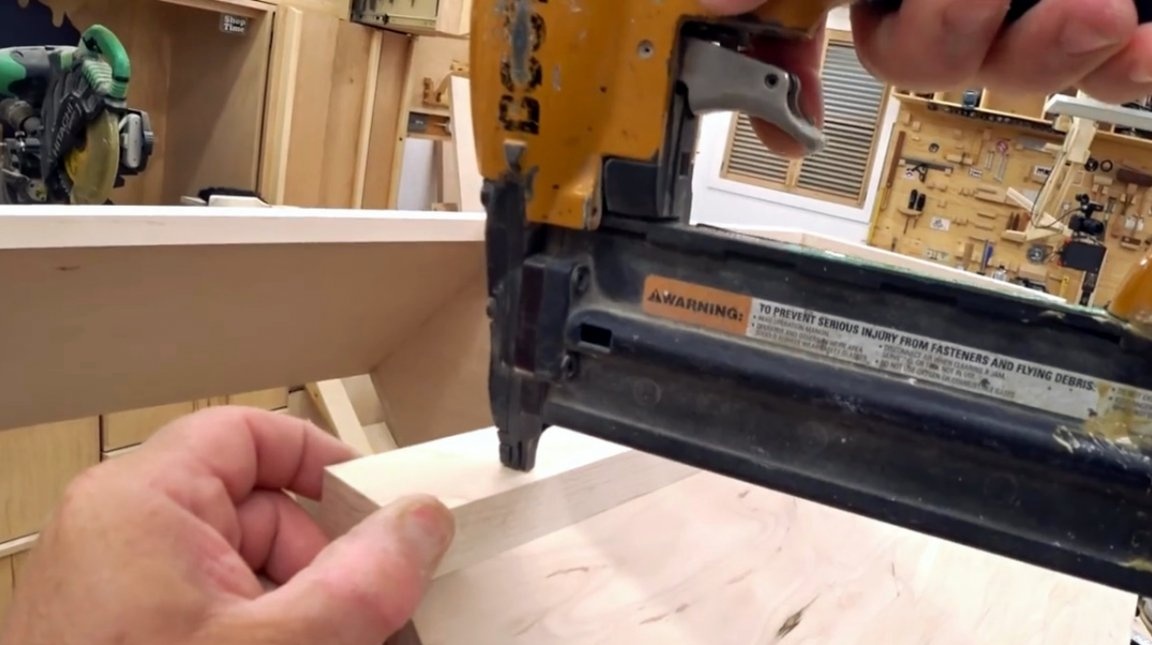
Then, literally in several places, he shoots the platband for greater reliability with a neiler, trying to drive nails in those places where they will be least noticeable.
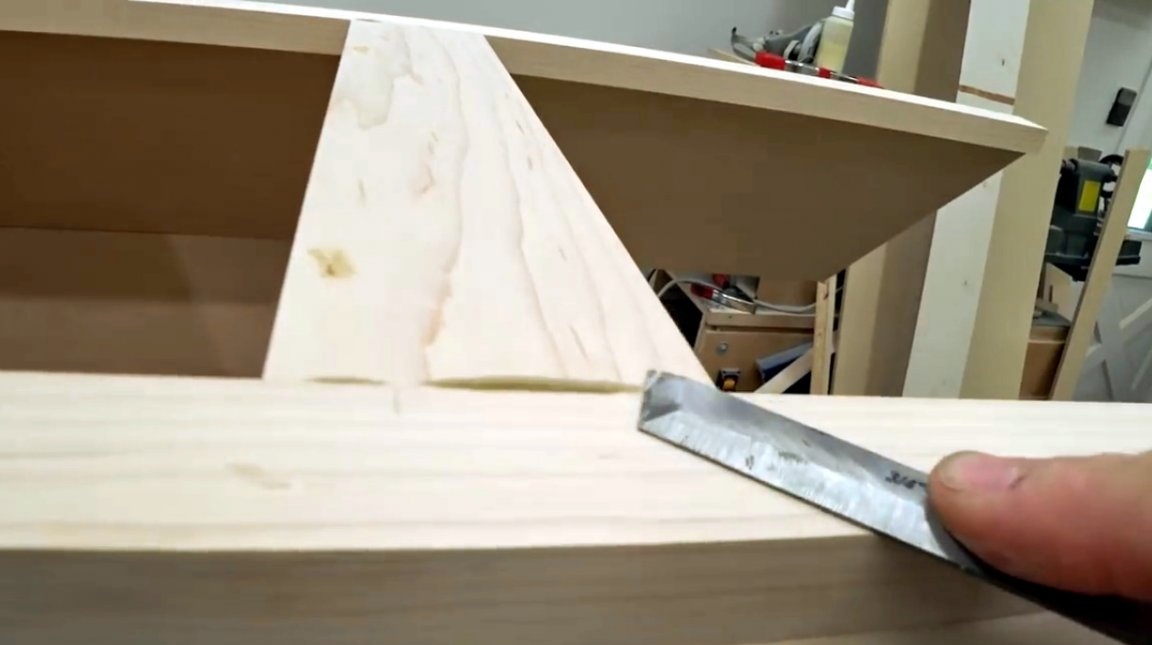
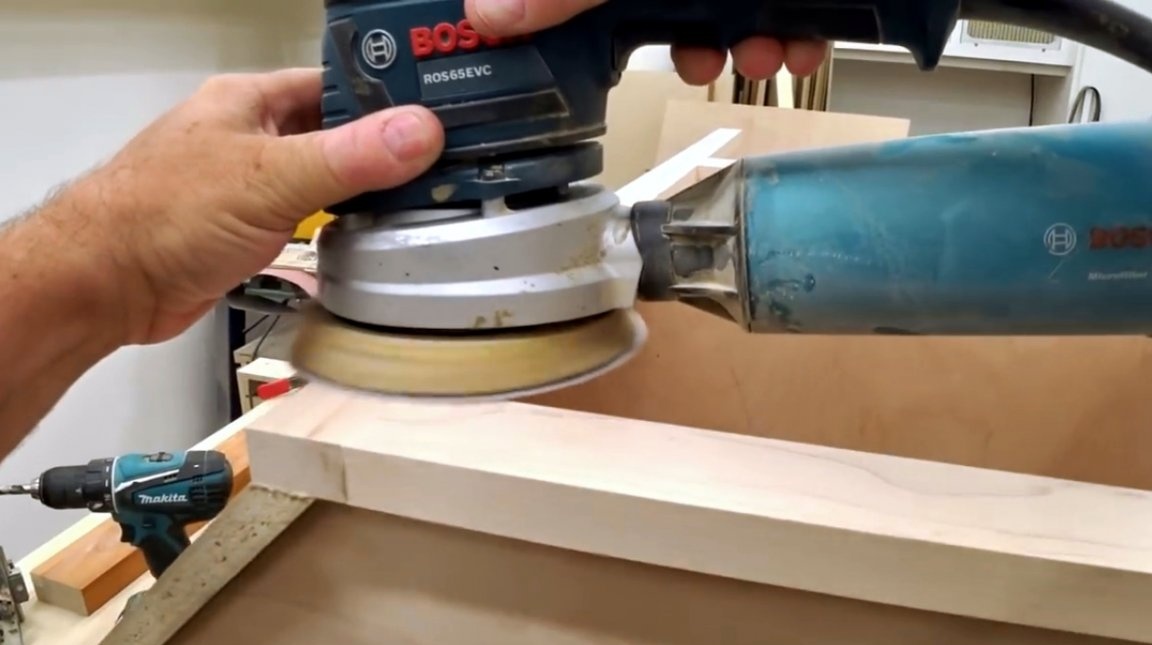
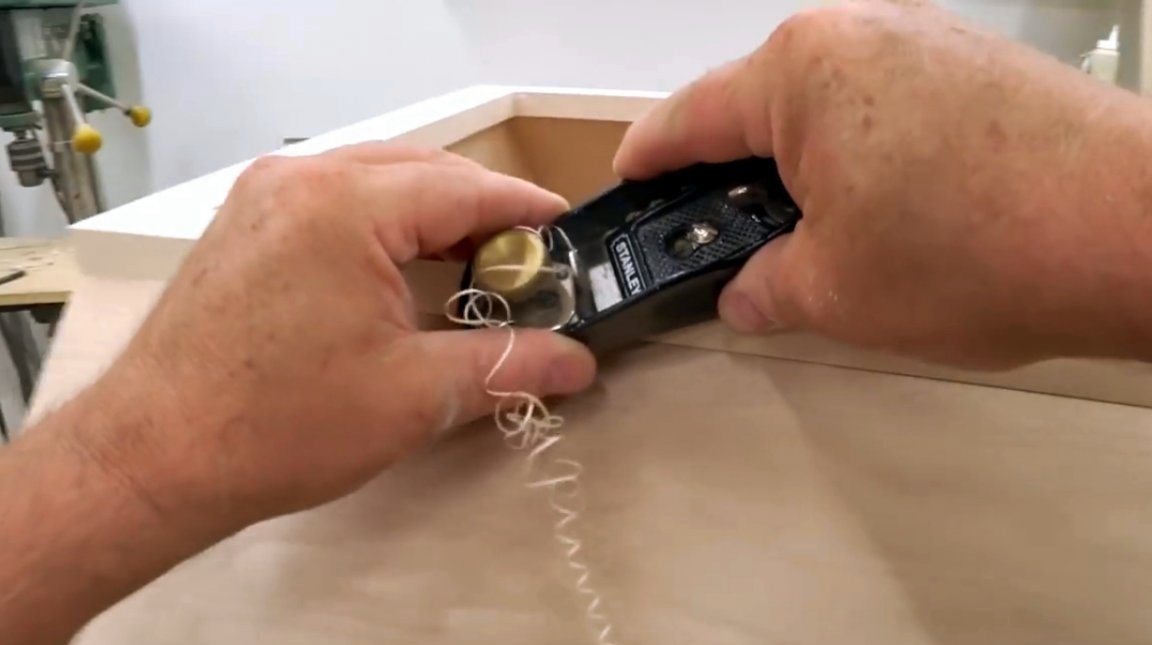
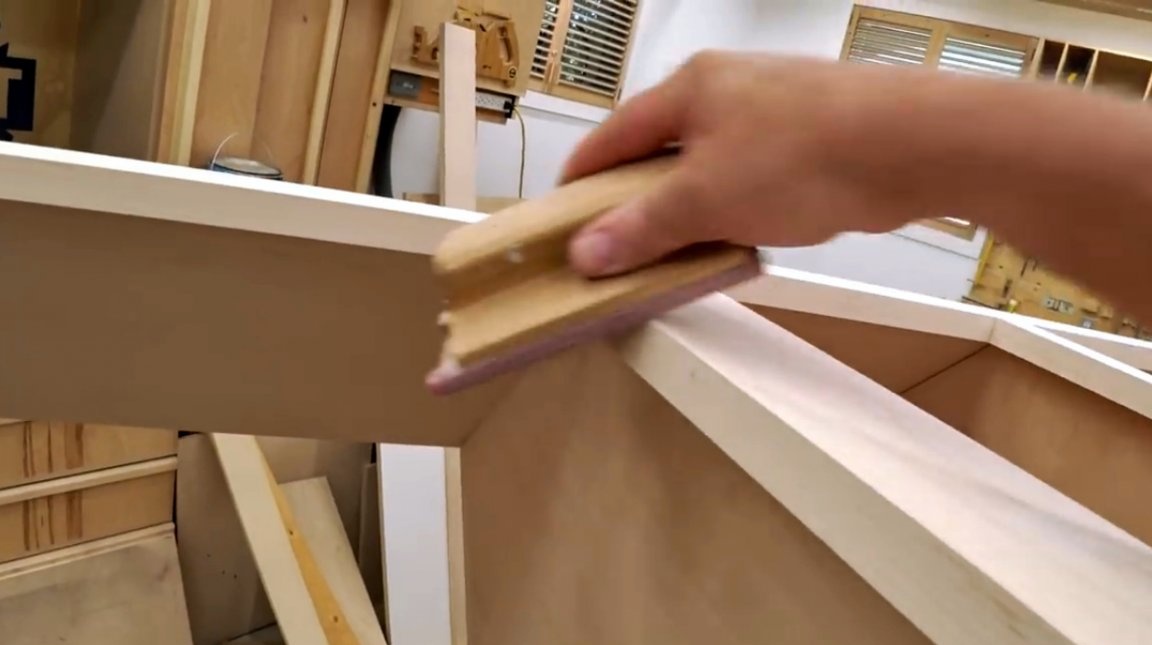
The exposed and hardened glue is removed with a chisel. All corners are ground, and the sharp edges are cut with a manual plane.
I thank the author for the simple idea of creating a casing for a cabinet in a workshop!
All good mood, good luck, and interesting ideas!
Author video can be found here.