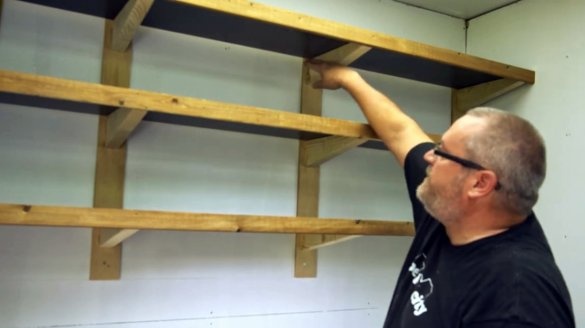
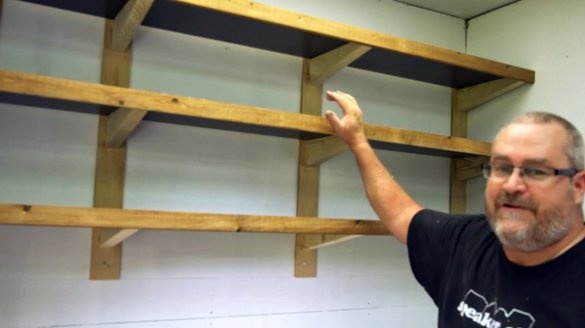
Surely many of you have garage, workshop, or a small barn or pantry. One of the most important points is the need to build quality shelves in them.
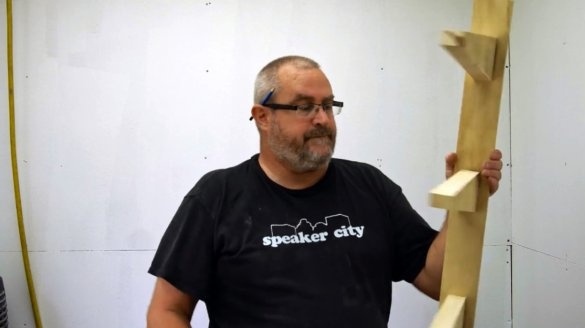
In this article, the author of the Woodworking Tips and Tricks YouTube channel will tell you how to make durable, cheap shelf brackets cheaply and quickly.
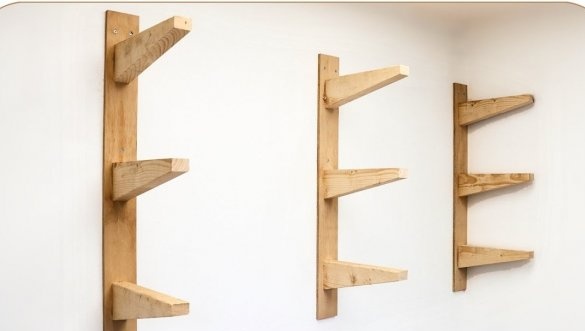
These are very simple and reliable shelf brackets that can easily be repeated even with ordinary hand tools.
Materials
- sheet plywood
- Chipboard panels
- Wood screws
- Glue "liquid nails."
Instruments, used by the author.
- Miter saw
— A circular saw
— Screwdriver
- Planer
— Battery Neiler
- Roulette, square, ruler, pencil.
Manufacturing process.
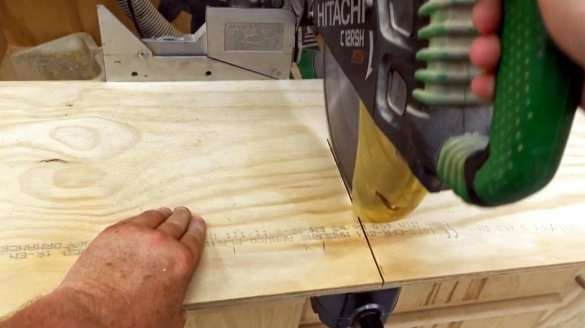
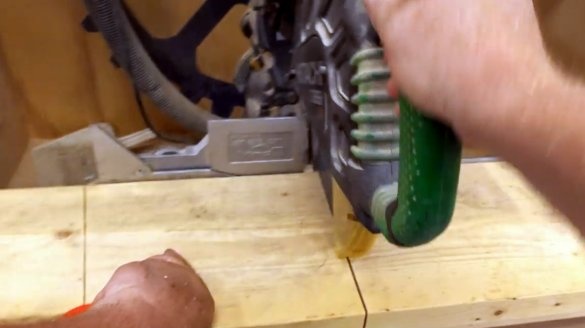
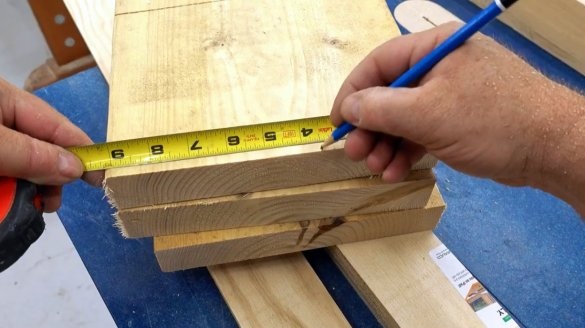
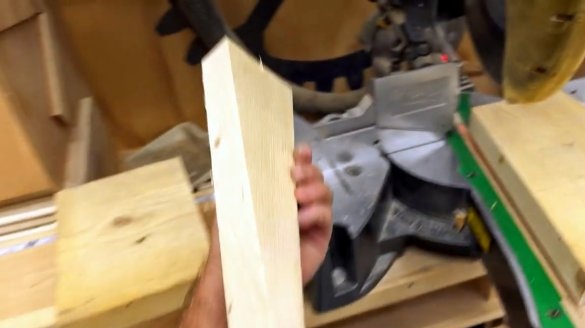
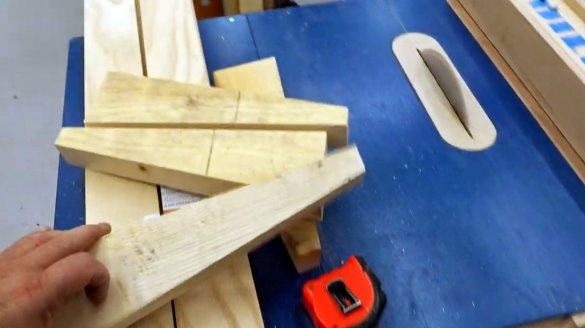
First, segments of the board are cut on the miter saw, the approximate thickness of the board is 12 mm.
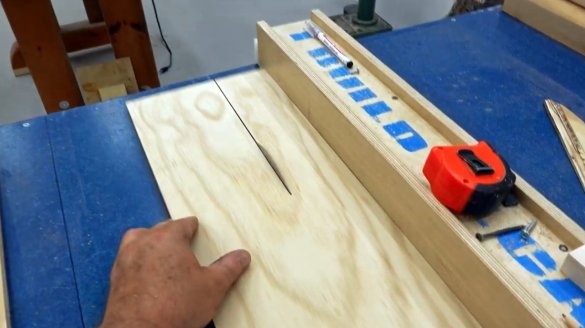
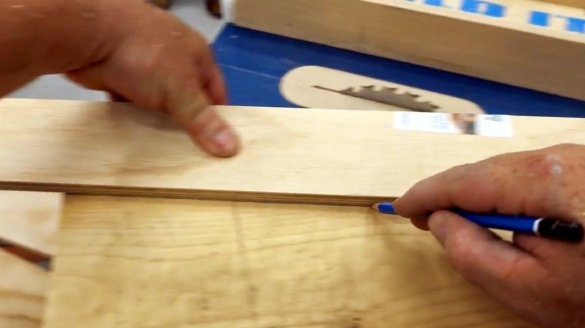
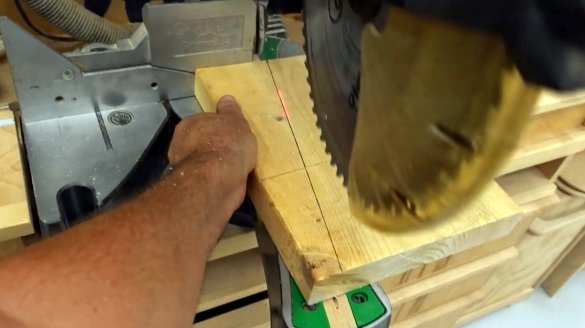
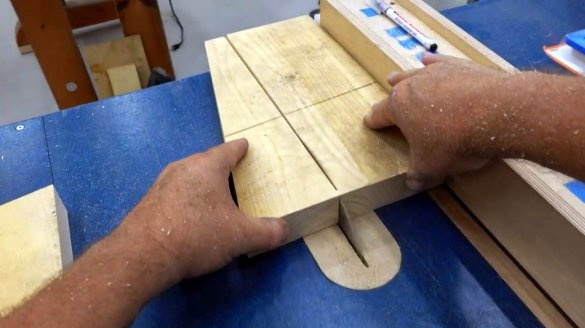
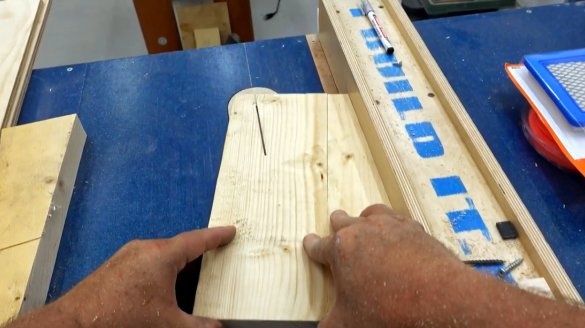
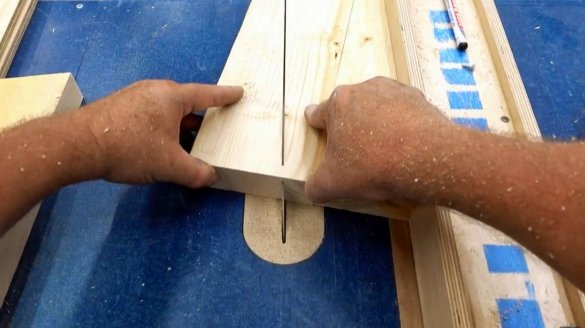
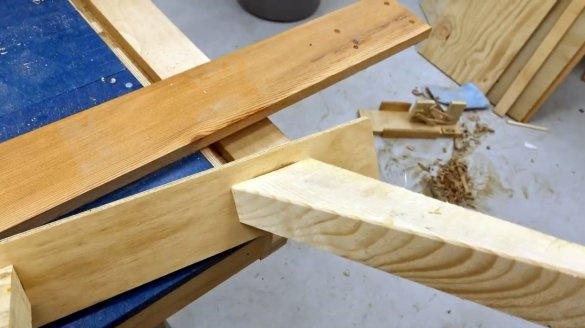
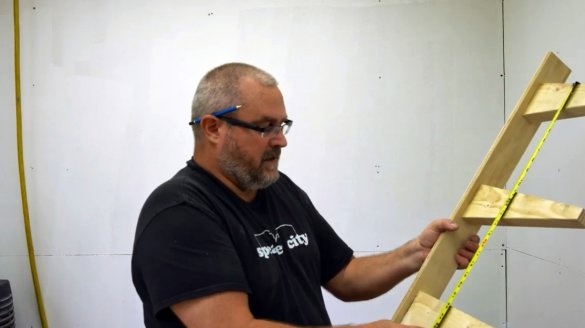
Next is the marking in the form of brackets. The first support is cut on a miter saw, after which the board receives the desired angle, and all subsequent parts can be repeated with a circular machine, simply turning the workpieces.
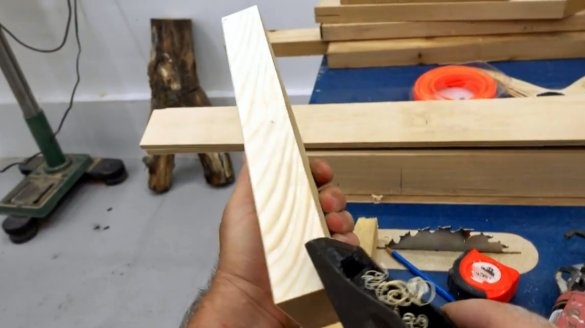
The sharp edges of the supports are slightly removed with a manual plane.
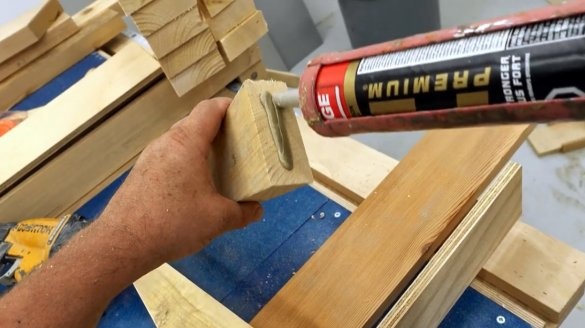
“Liquid nails” glue is applied to the inner, near-wall part of the bracket.
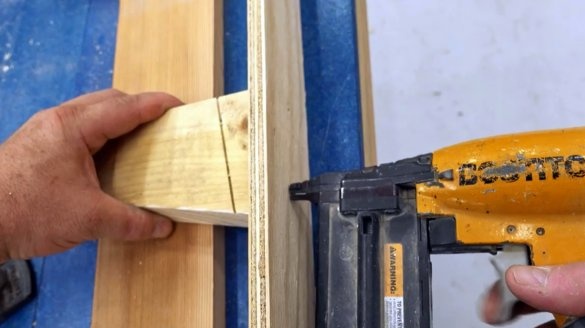
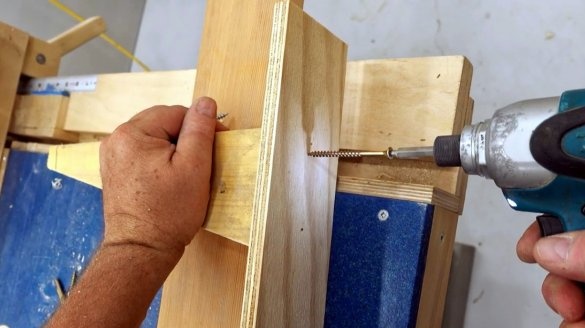
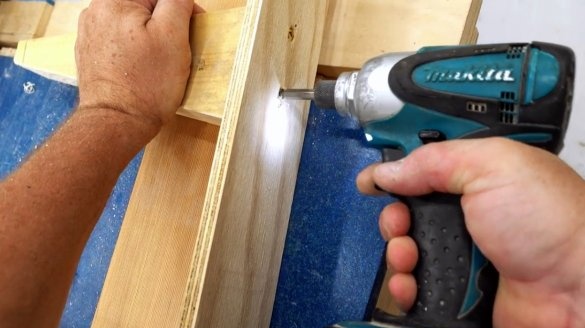
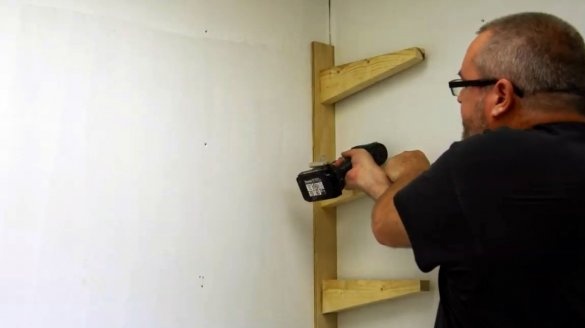
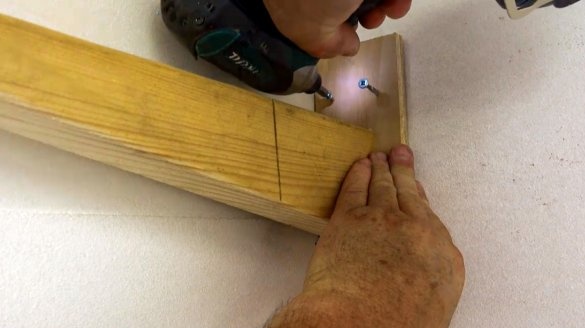
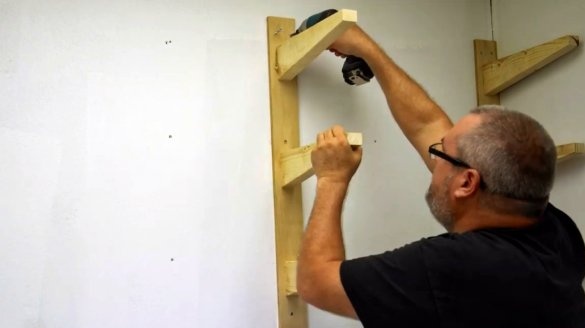
Then each support is fixed with the help of a neiler, and is additionally fastened with screws to the plywood stand on the back side.
The author has several such dark boards with an inexpensive plastic coating - ideal for storage shelves.
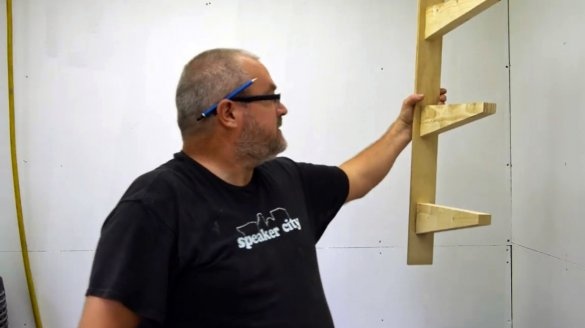
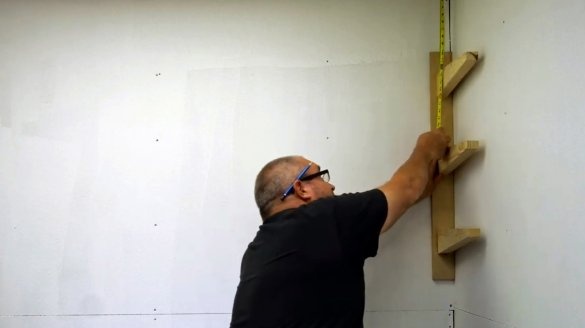
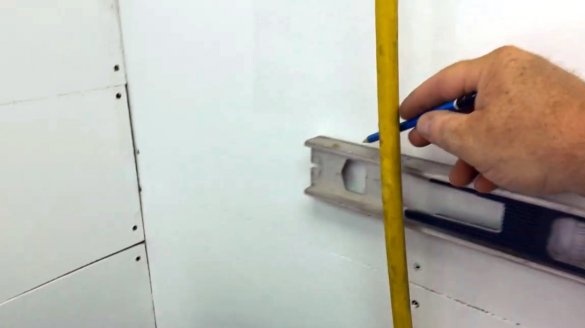
The author intends to place the brackets so that the top shelf is as close to the ceiling as possible. And he measures approximately 12 inches. One shelf is approximately 11 inches from the other.
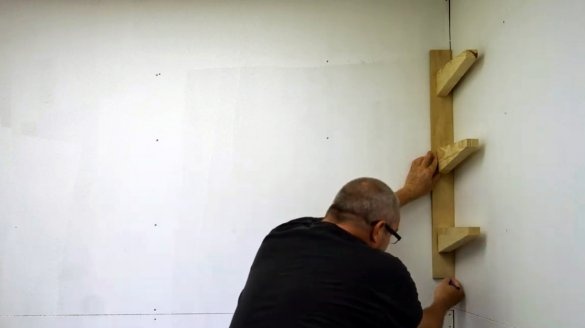
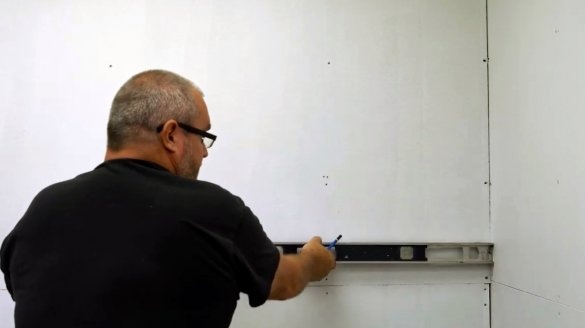
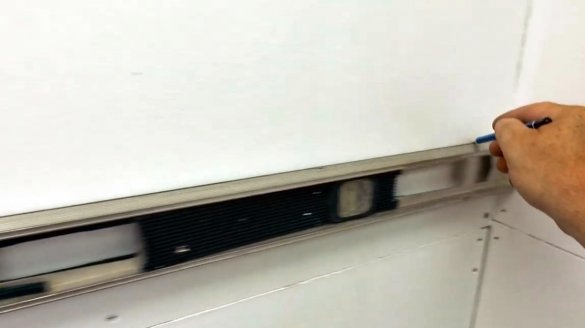
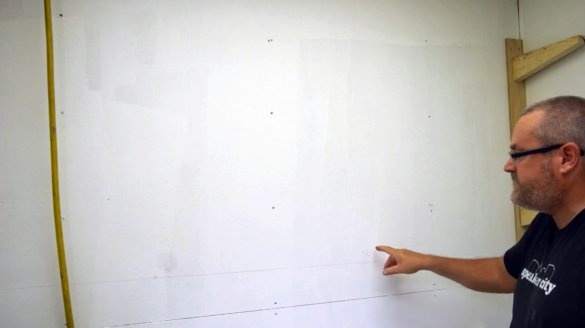
The master marks the top and bottom of the rack with brackets on the wall. And then the level draws a line along which all other racks should be equal. The line should be absolutely parallel to the floor.
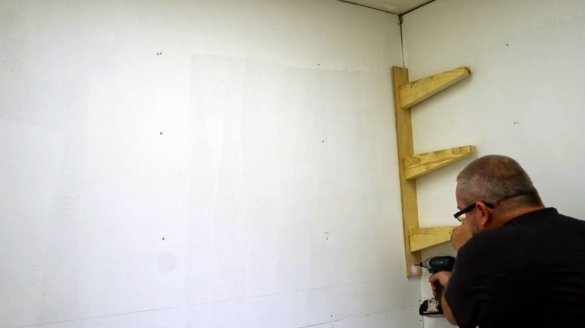
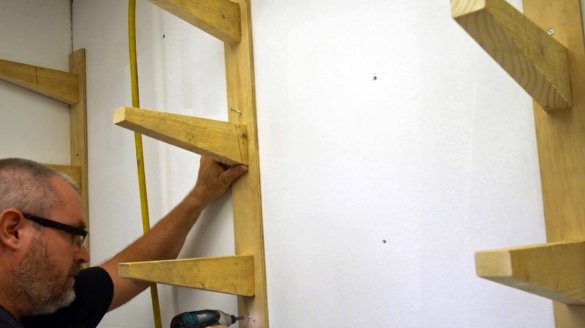
Now he fastens the posts with screws to the wall. The master draws attention to the fact that the walls of his workshop are sheathed with chipboard.If it was drywall, the screws would have to be driven into the profiles of the wall frame, or special fasteners such as molly dowels should be used, in the common people - just a “mole”.
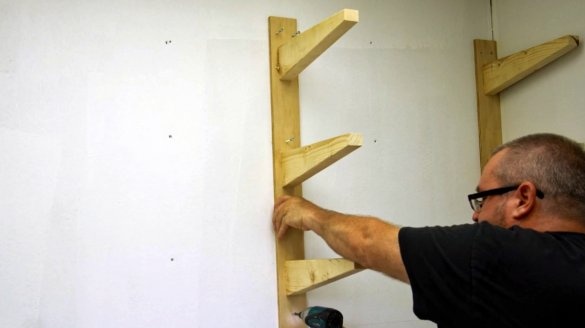
Next, the craftsman marks the position of the central pillars, and bolts them to the wall.
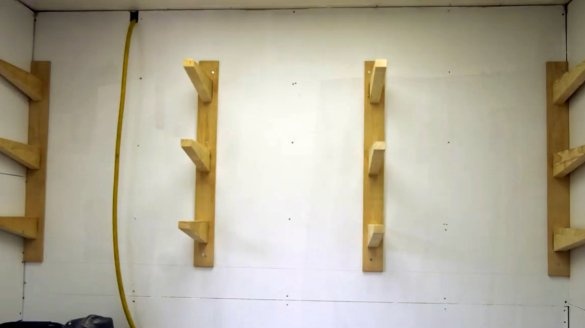
So, all the brackets are mounted on the wall.
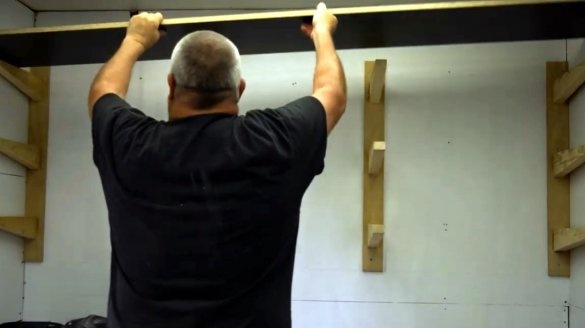
Now it remains only to cut the shelves in length. The author will not fix them to the supports, but this is optional.
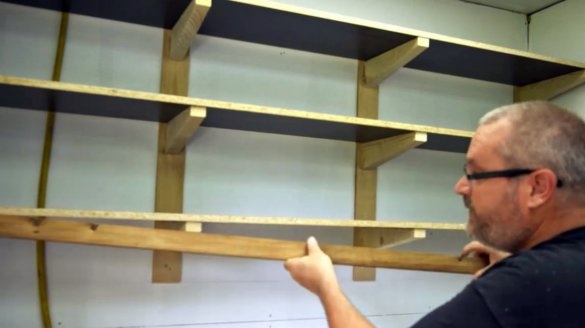
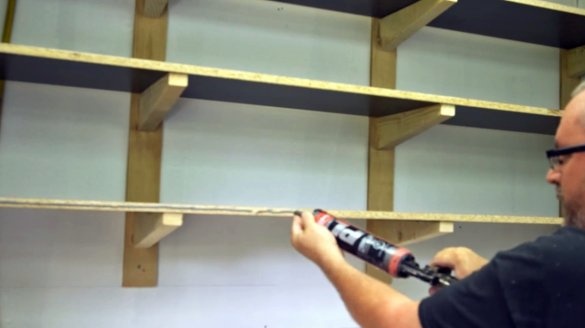
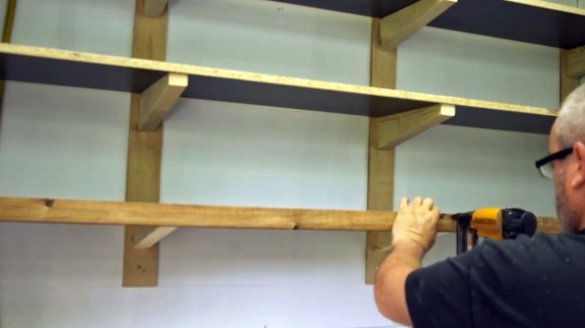
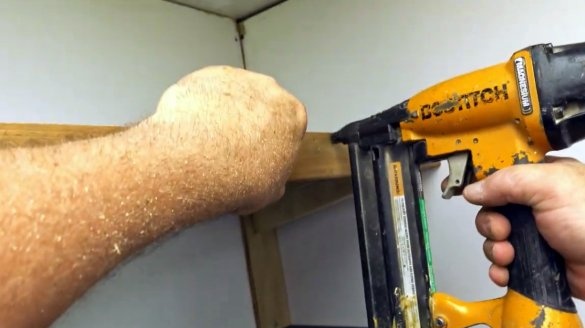
Instead, he decides to edge their edges, stuffing extra front bars. Due to this, the shelf itself receives additional strength. The planks are made of hardwood. They sit on the glue and additionally fixes them with 2-inch brackets with the help of a neiler. Since the plank is slightly wider than the thickness of the shelf, and protrudes upwards, it is a kind of barrier preventing objects from falling from the shelf.
If you want to further strengthen the shelves, preventing them from sagging, you can screw a few steel corners here, at the junction of the rear of the shelf and support.
I thank the author for the idea of a simple but reliable design of technical shelves for the workshop and other technical rooms!
All good mood, good luck, and interesting ideas!
Author video can be found here.

