

I welcome fans to craft, today we will manufacture an electric bike. The design of the machine is simple and reliable, the drive is carried out on the drive sprocket (front) of the bicycle, that is, in fact, we replace the operation of the legs with an electric motor.
The design of the bike is radically changing and its disadvantage is that bike ceases to function in the classic version. So you must always carefully calculate the supply of electricity in the batteries. And the advantage of the design can be considered that we have the ability to switch speeds due to the block of stars on the rear axle. The speed and range of the machine is unknown, but it already depends on the batteries used. If the project interests you, I propose to study it in more detail!
Materials and tools used by the author:
Material List:
- ;
- batteries;
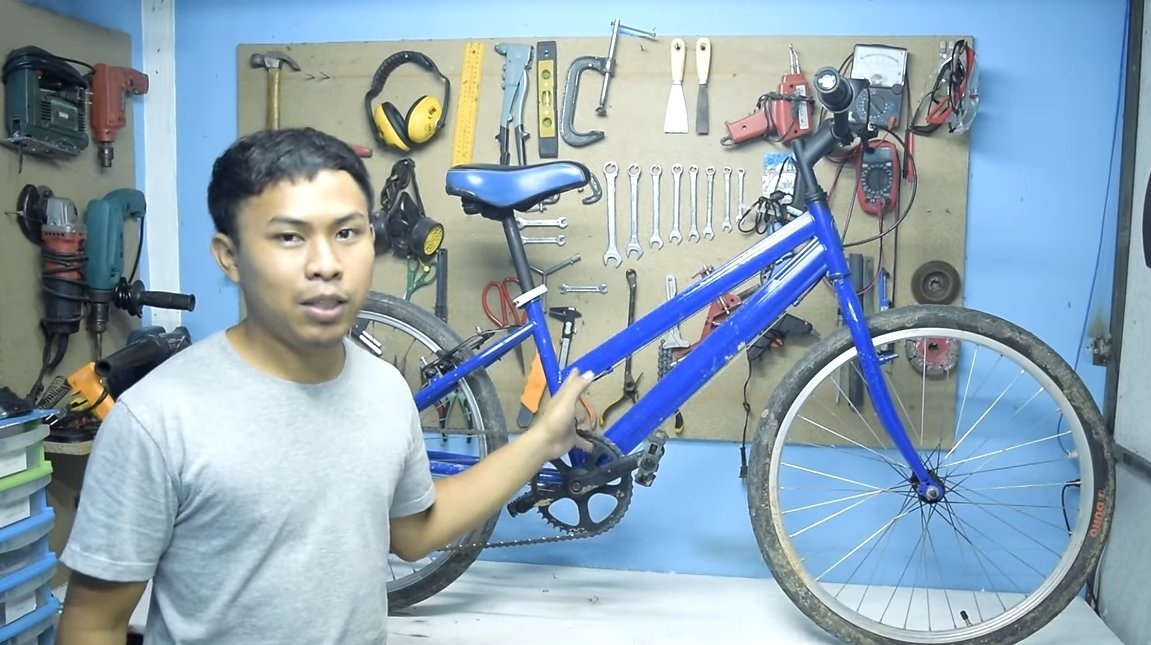
- experimental bike;
- a small driven asterisk;
- round pipes;
- iron plates;
- bolts and nuts;
- wires;
- sockets from computers;
- a case from a laptop charger (or the like);
- paint.
Tool List:
- screwdriver;
- welding machine;
- grinder;
- spanners.
Manufacturing process homemade:
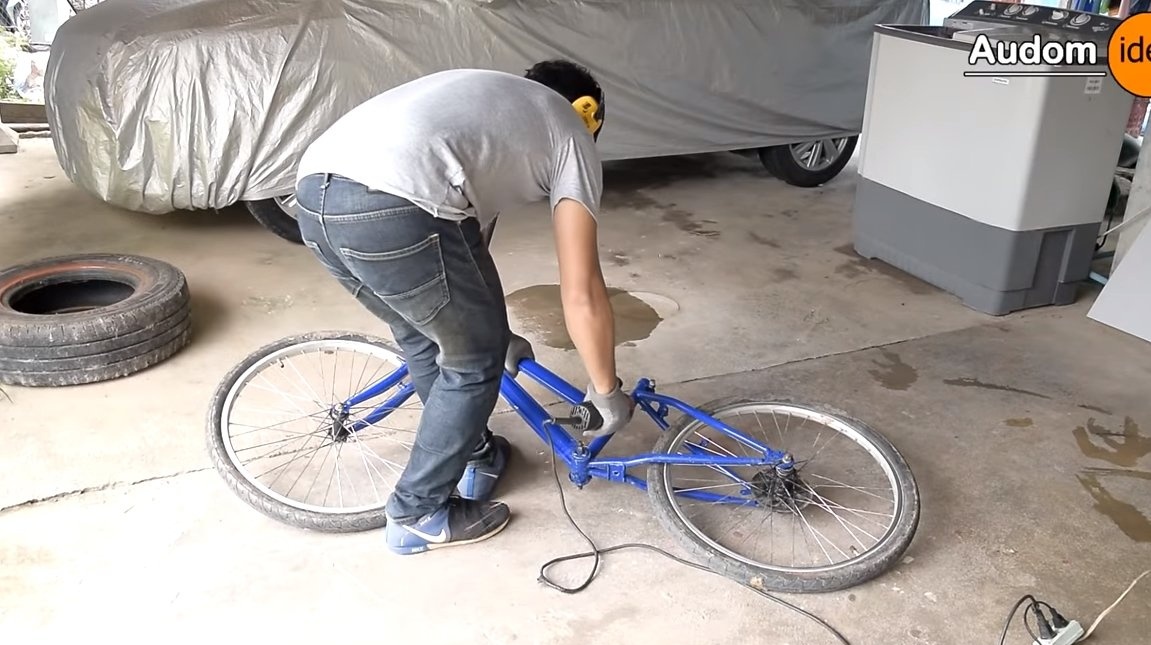
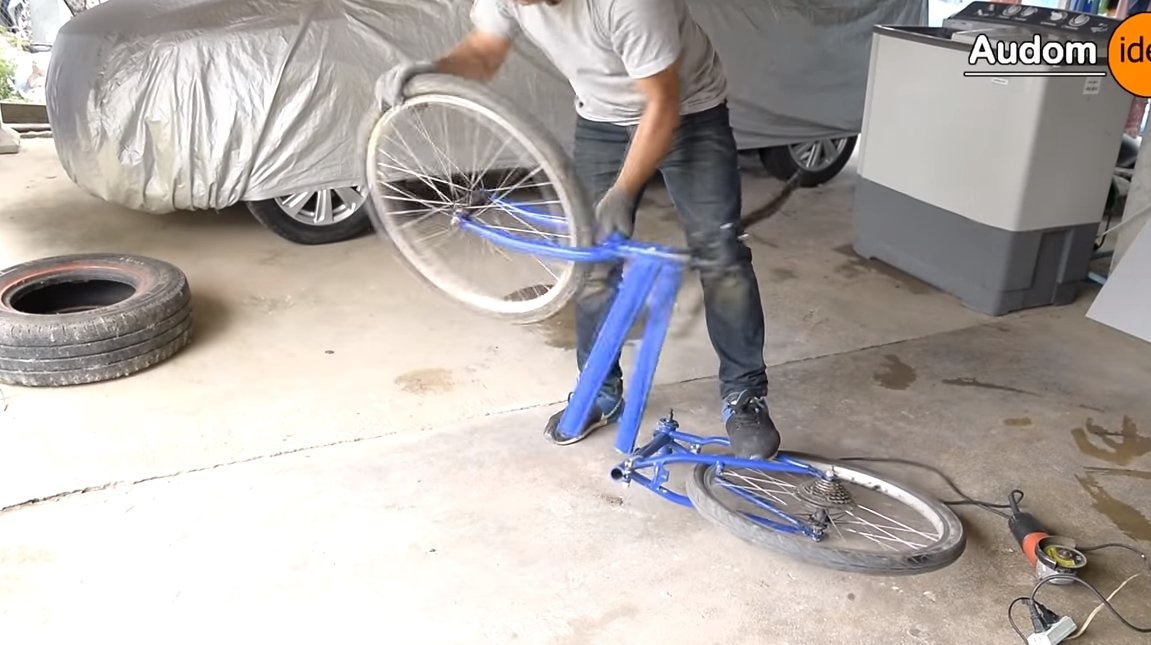
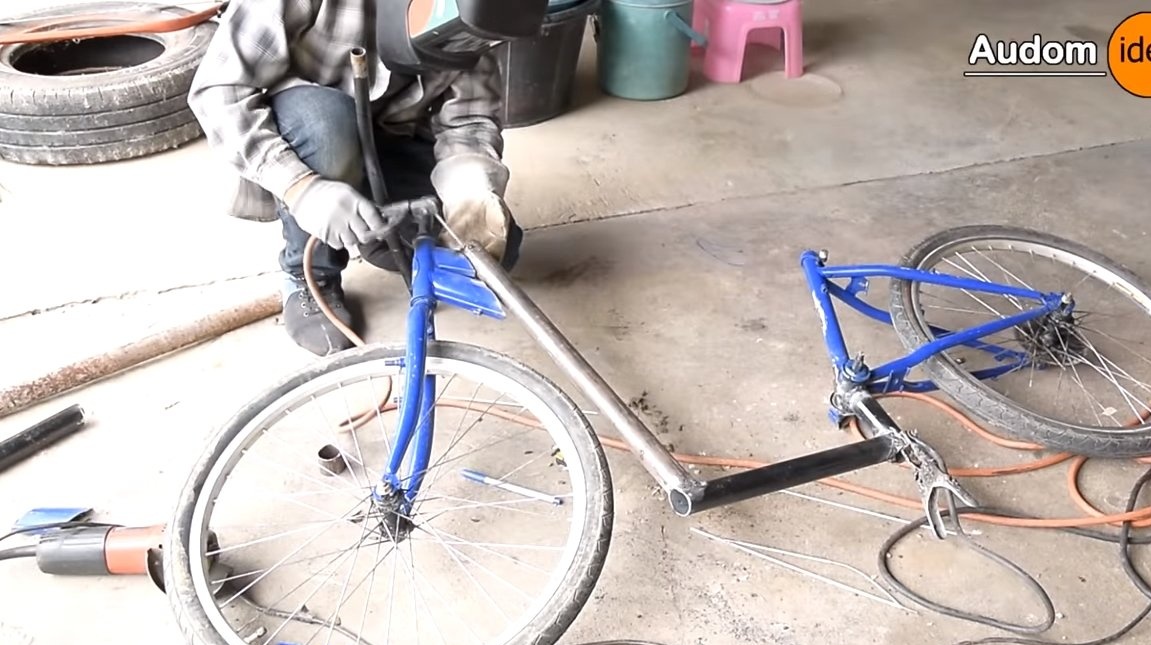
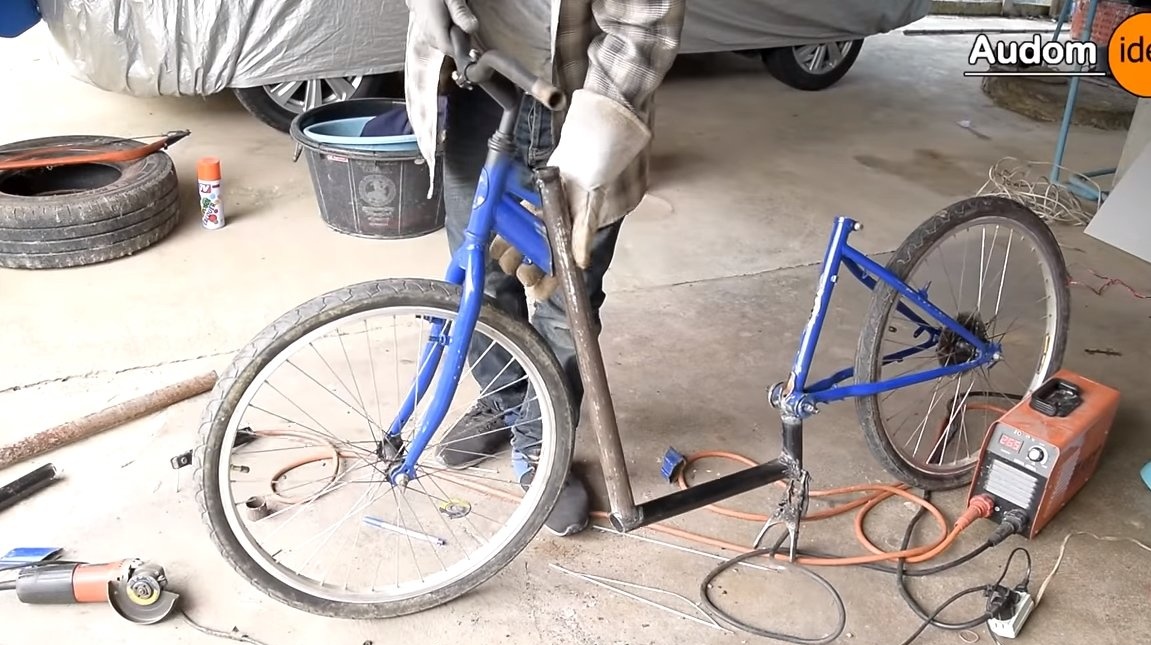
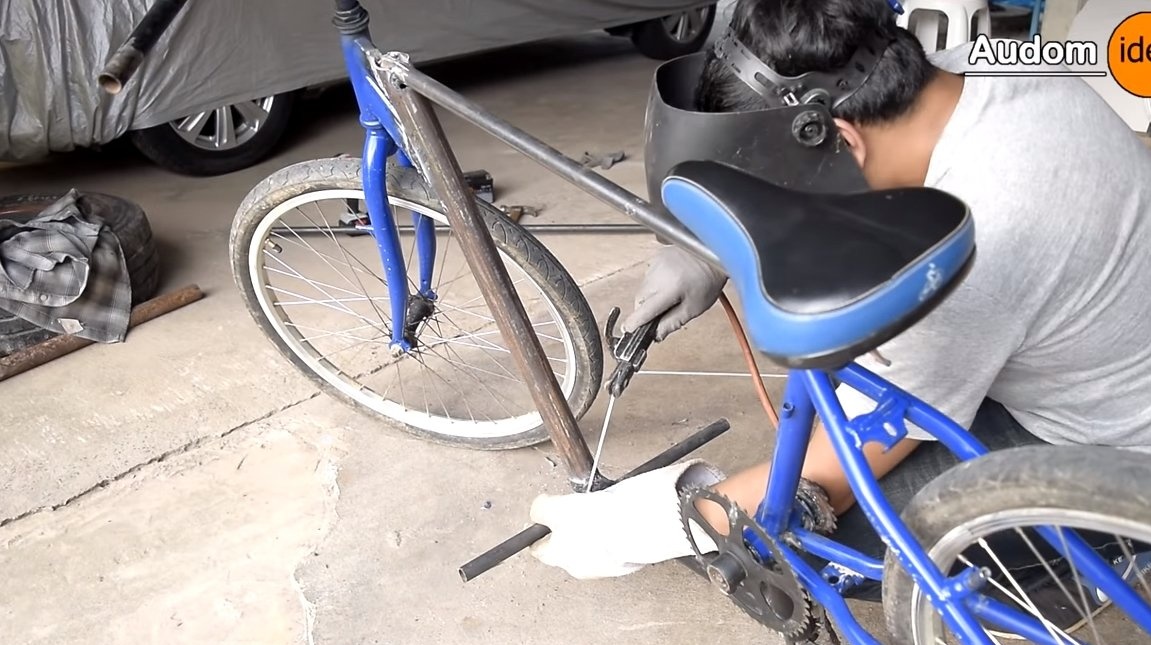
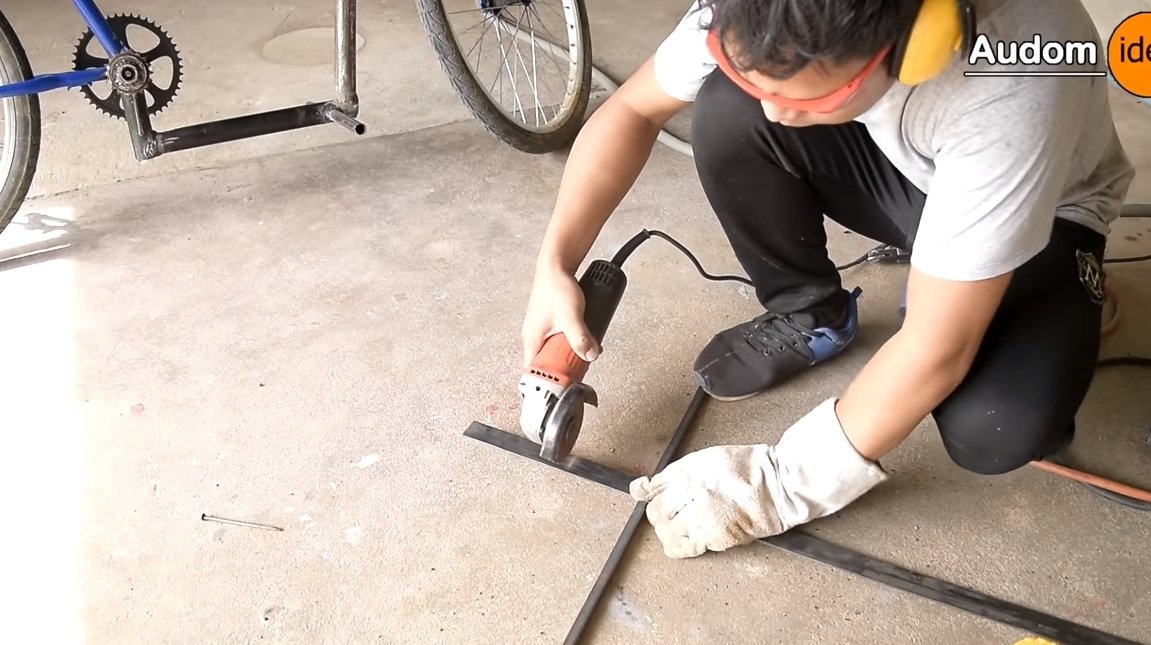
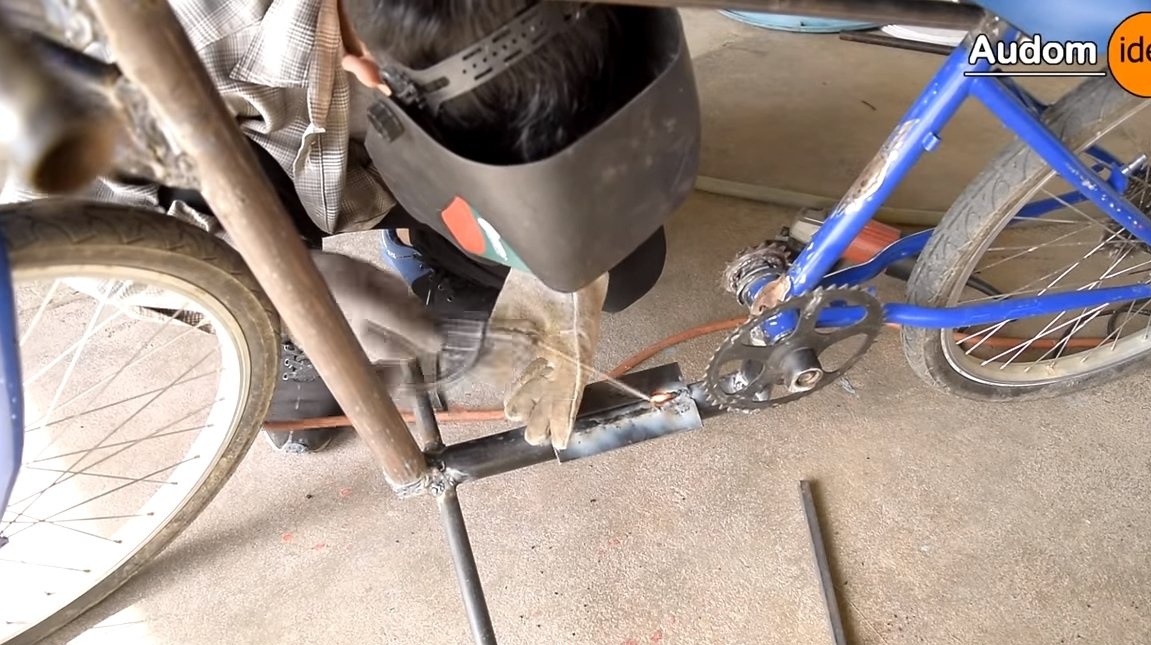
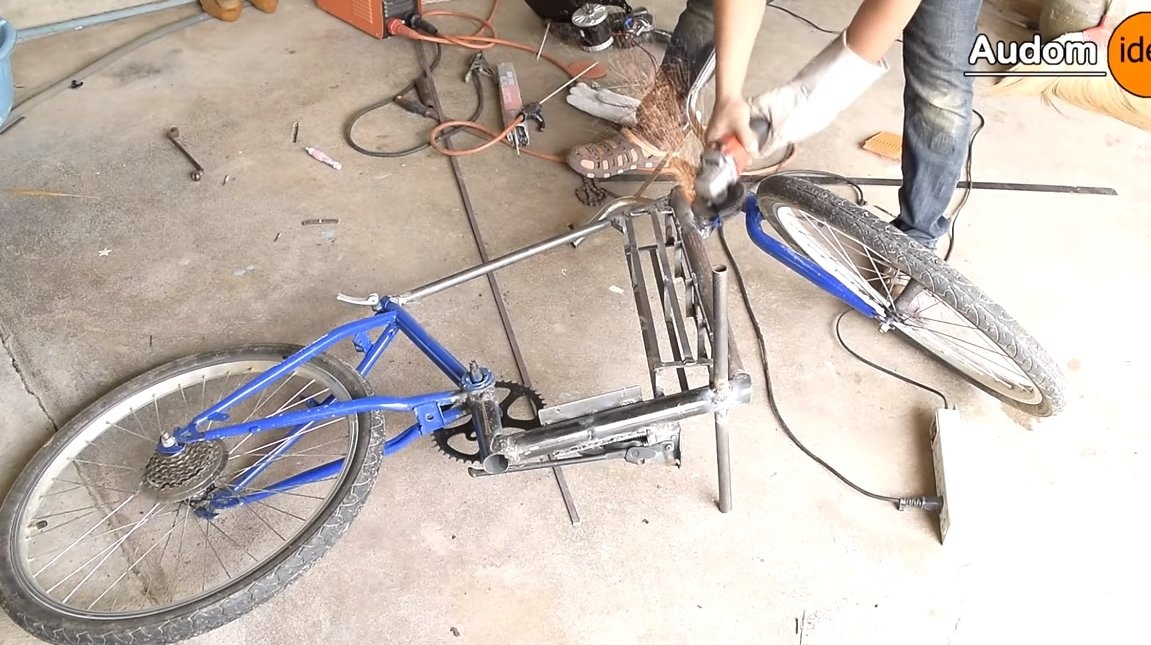
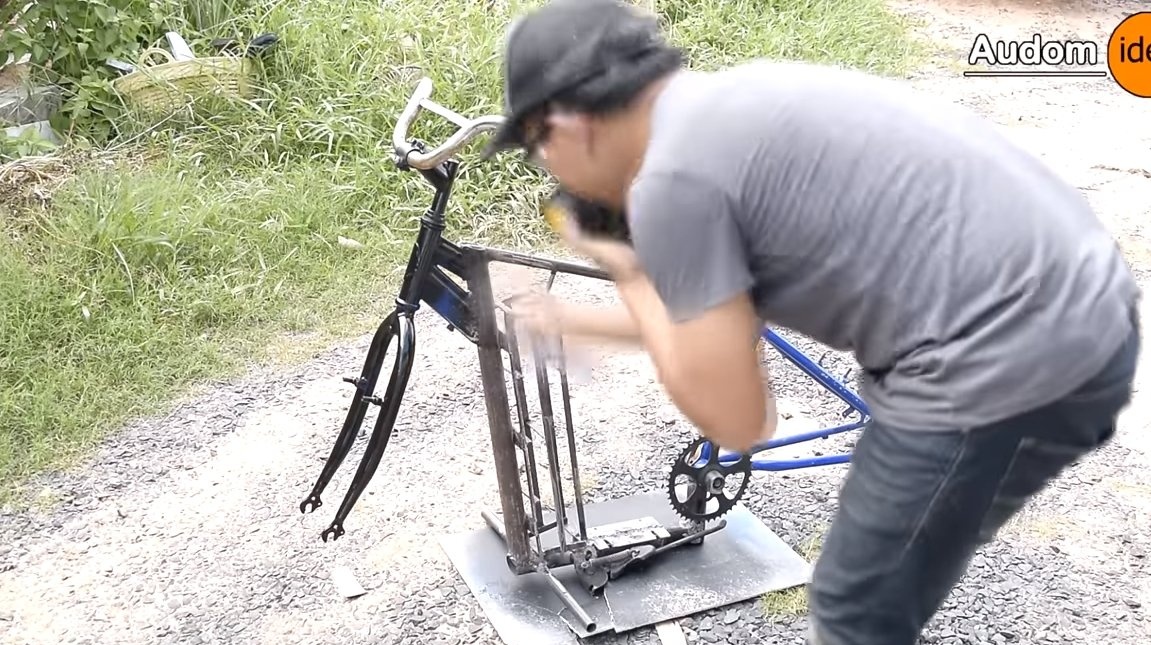
Step one. Alteration of the frame
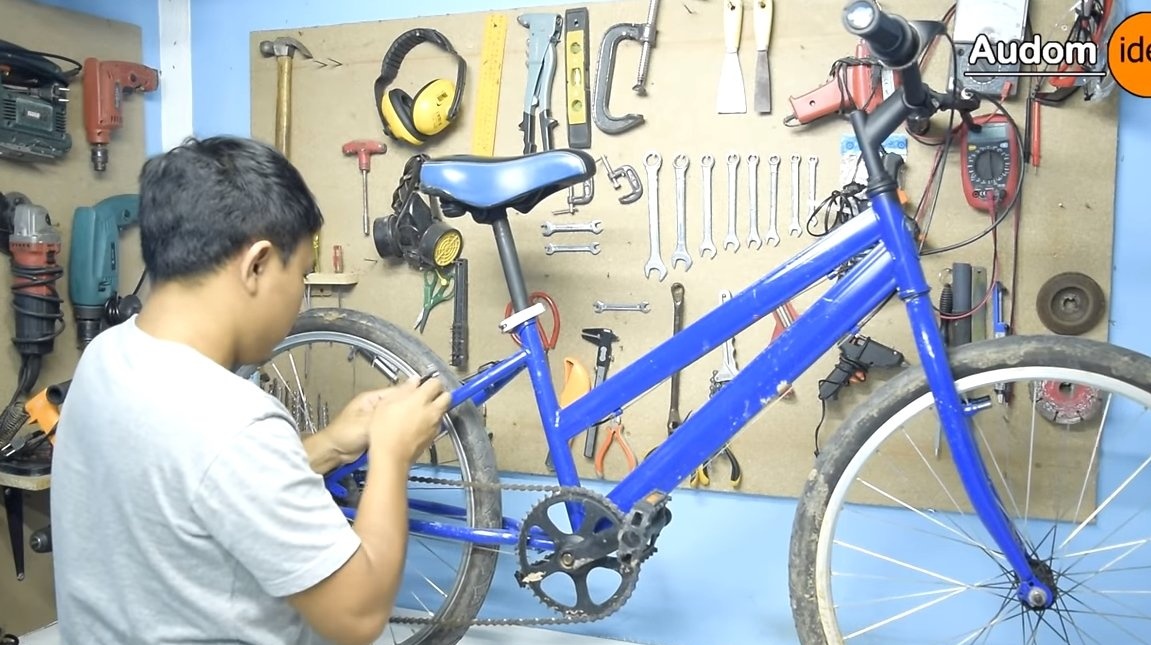
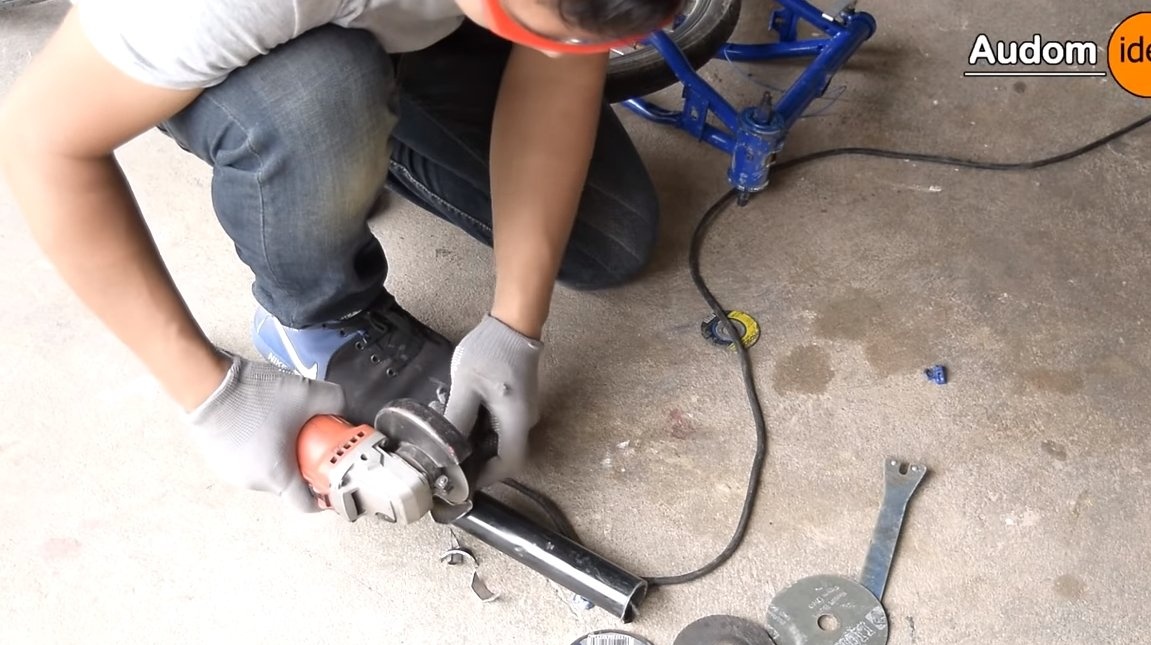
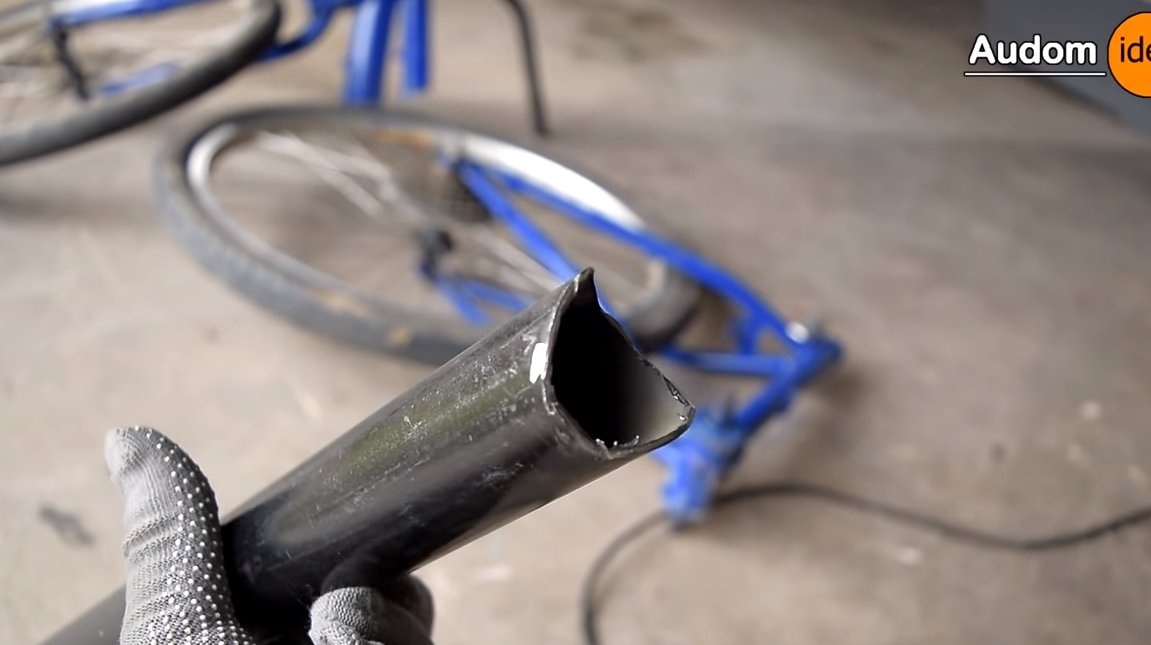
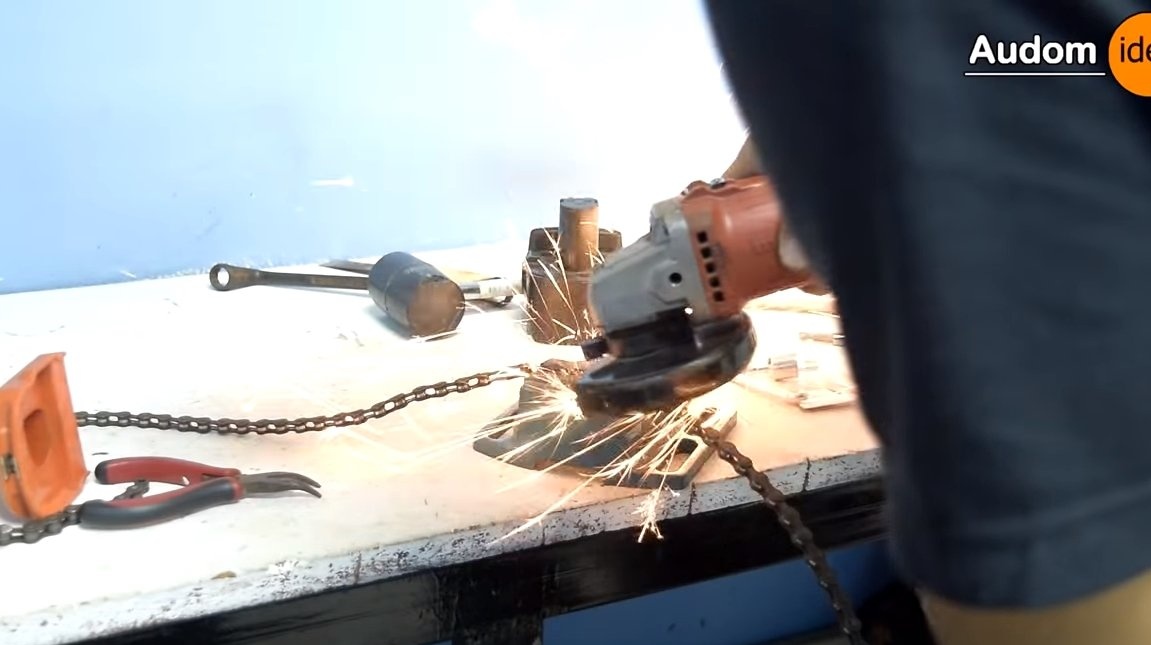
To begin with, we need to remake the bicycle frame, it will turn out to be more convenient and simple to install the equipment we need. Just disassemble the bike and cut the frame, weld a new frame from a round pipe. We make welds as tight as possible, we strengthen those places that will bend under load. We clean the welds with a grinder so that everything looks neat.
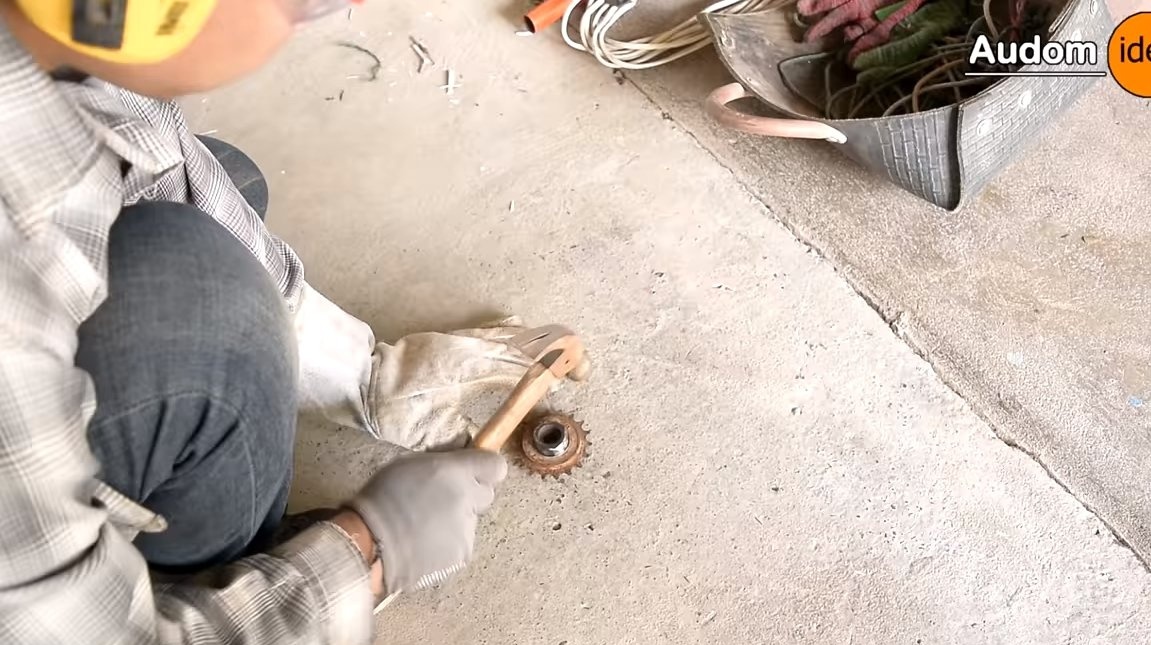
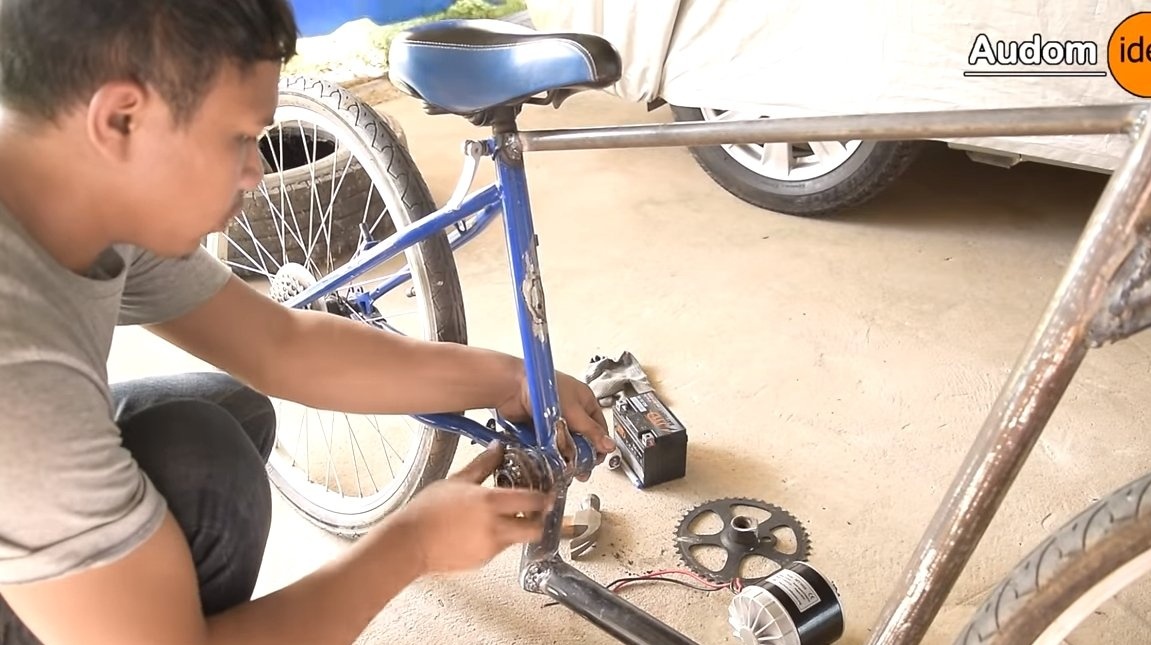
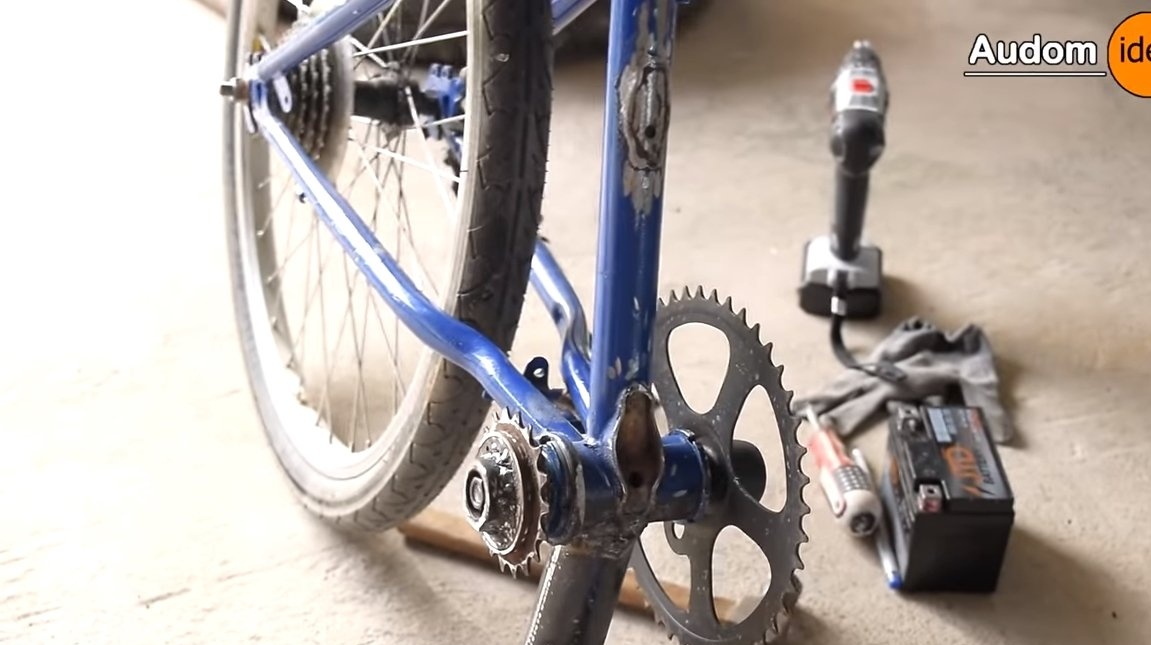
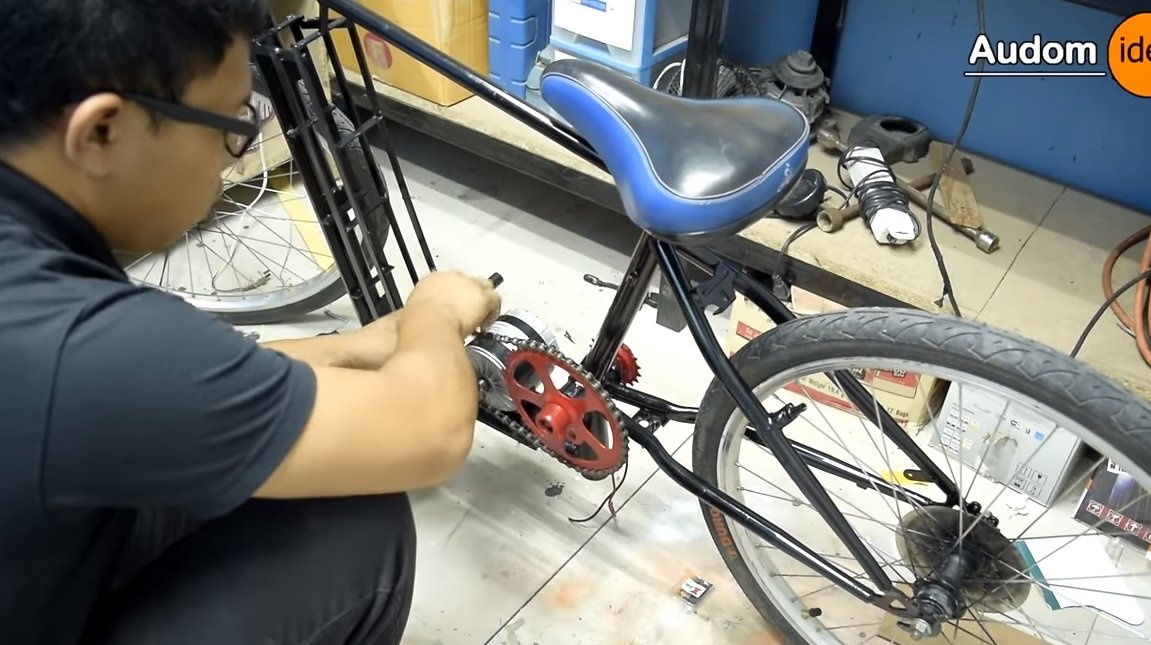
Step Two Finalization of the front sprocket
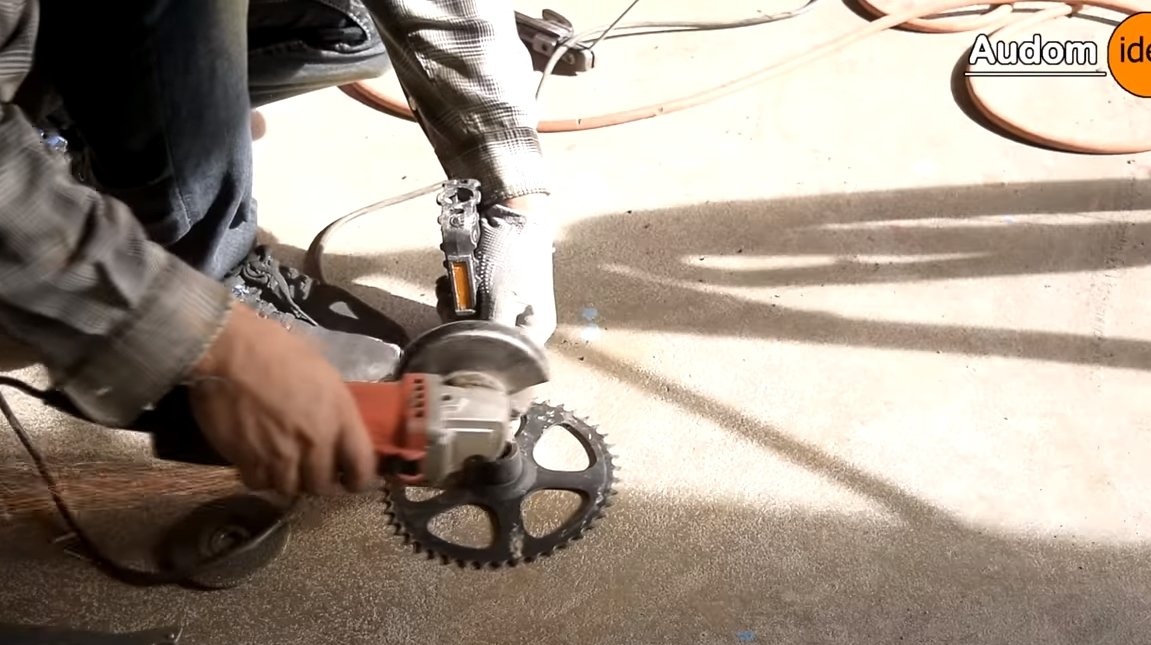
We are finalizing the front sprocket, to which we will transmit torque from the engine. To begin with, we cut the connecting rods, we will not need them. We grind the inside of the connecting rod, on which there is no sprocket, and weld a small driven sprocket to it.
From this sprocket, torque will be transmitted to the wheel sprocket block. As a result, the transmission can be either direct or low, if you include larger rear sprockets. This is convenient if you need to ride on mud, sand or for riding on steep mountains.
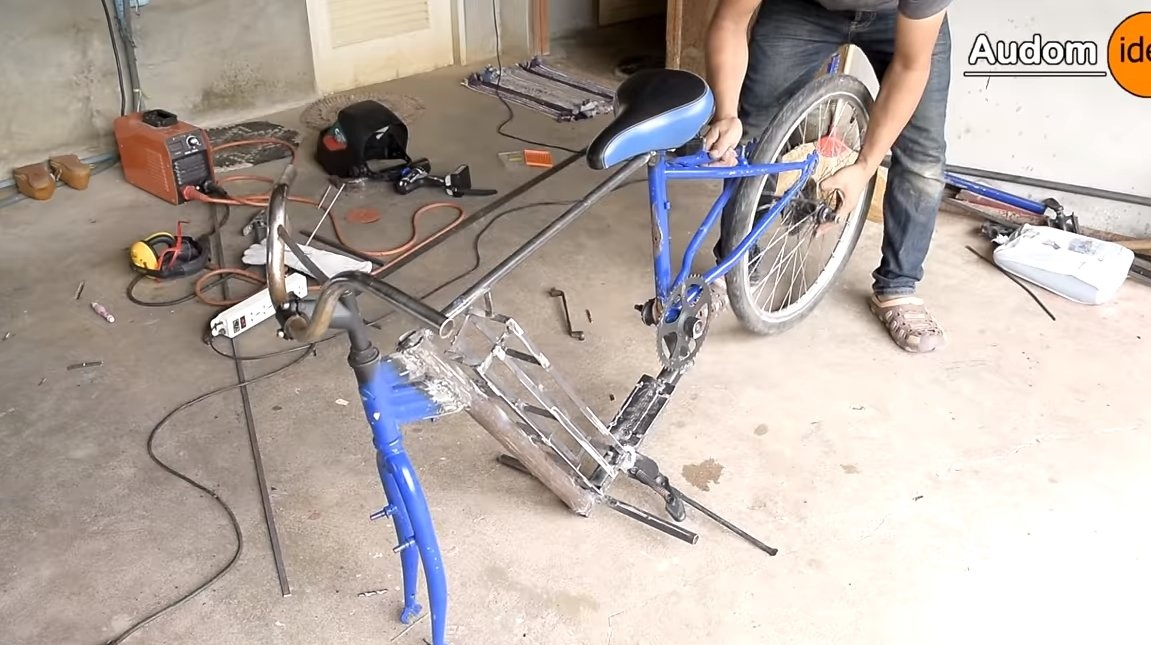
Step Three Footrest and engine bracket
Let's make a bandwagon for homemade work. Here we need a piece of a round pipe, weld it in the right place.Now the ride will be safer and more comfortable, there is where to put your legs.
You also need to weld the engine bracket, you can make it from corners or iron plates. Later, the author drilled holes in it and fastened the engine.
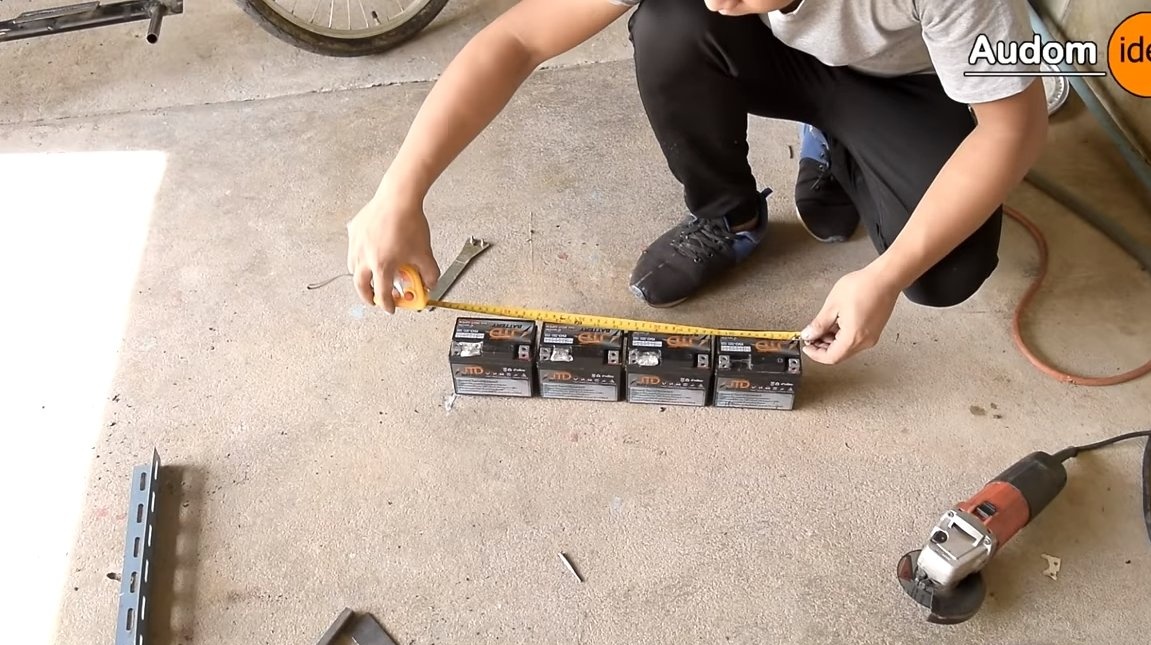
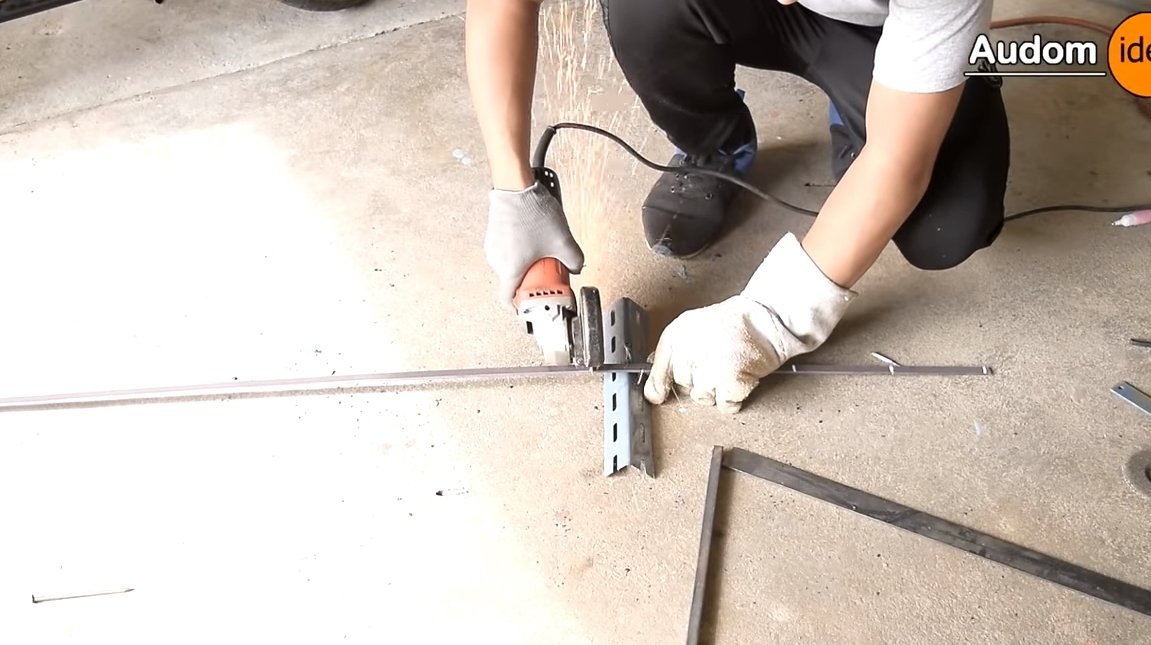
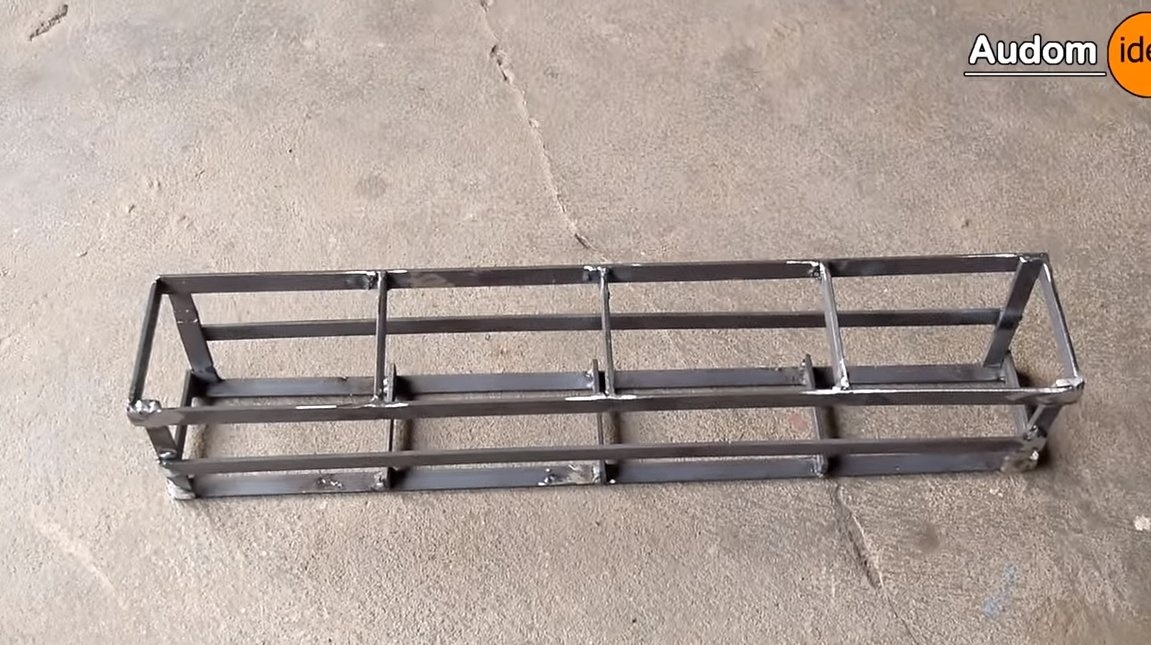
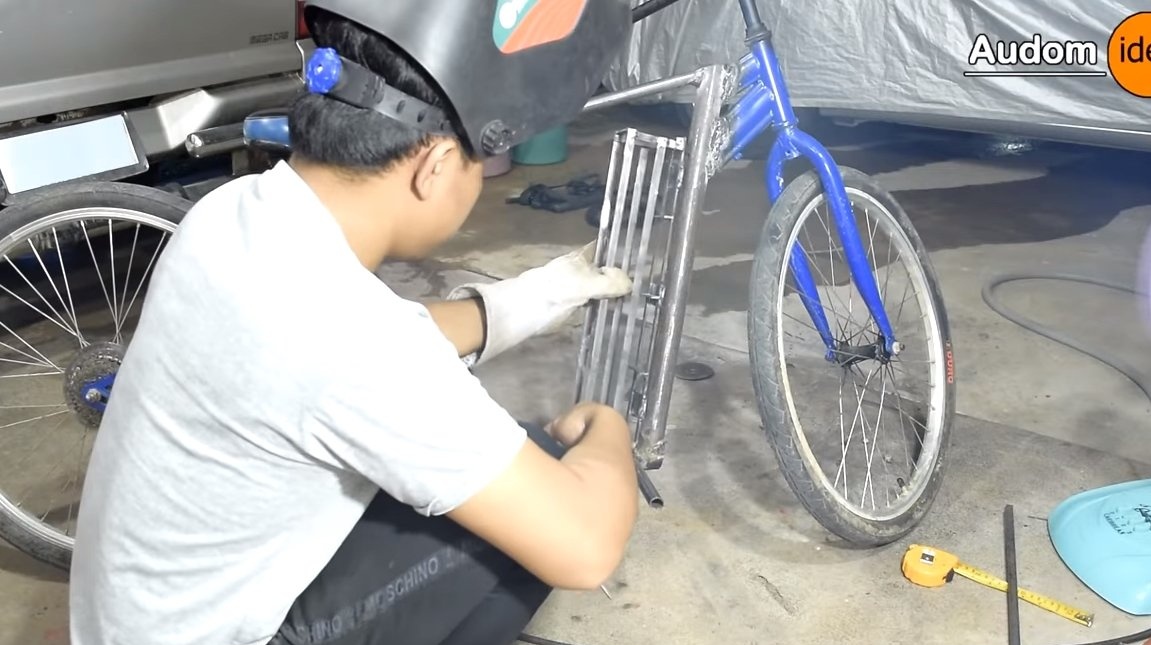
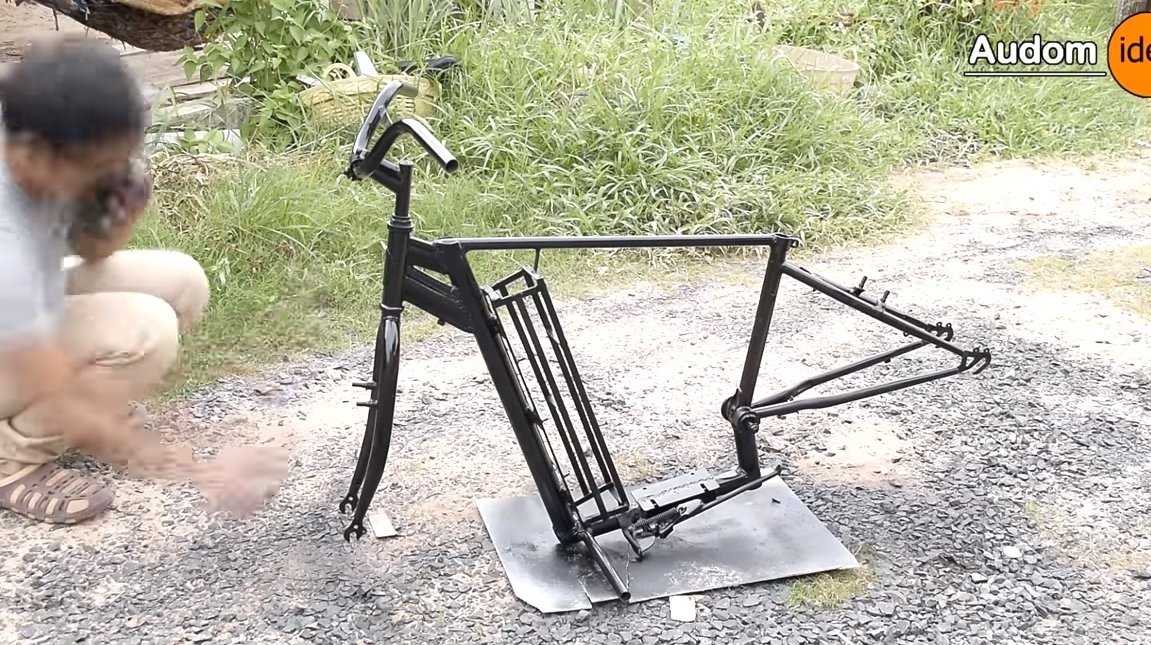
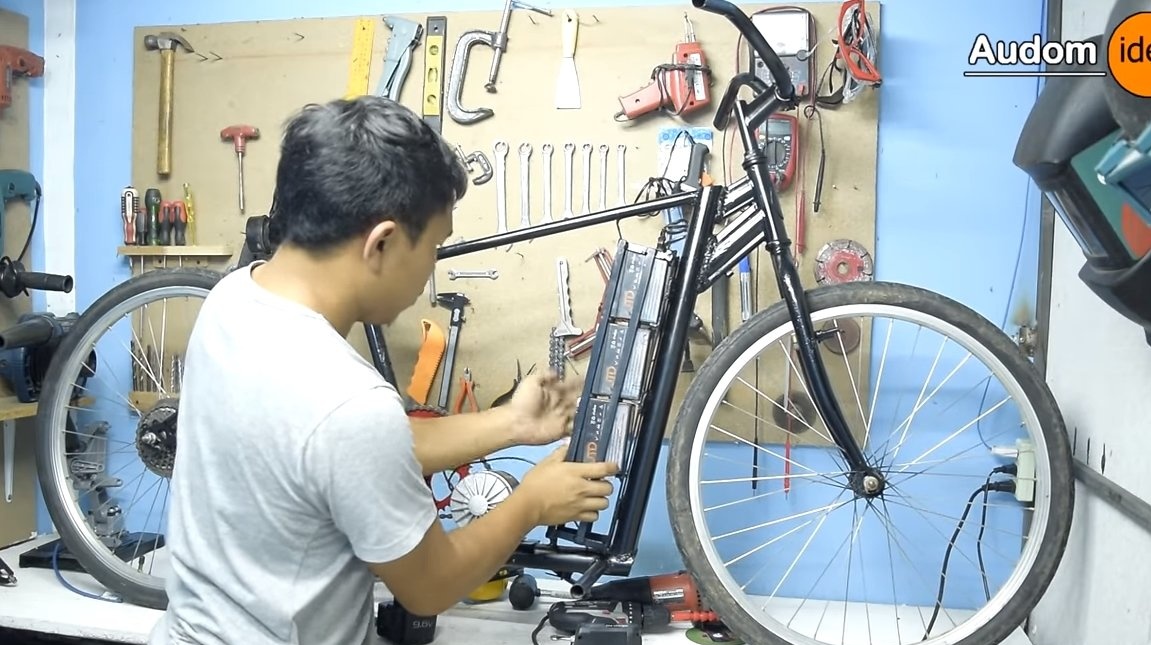
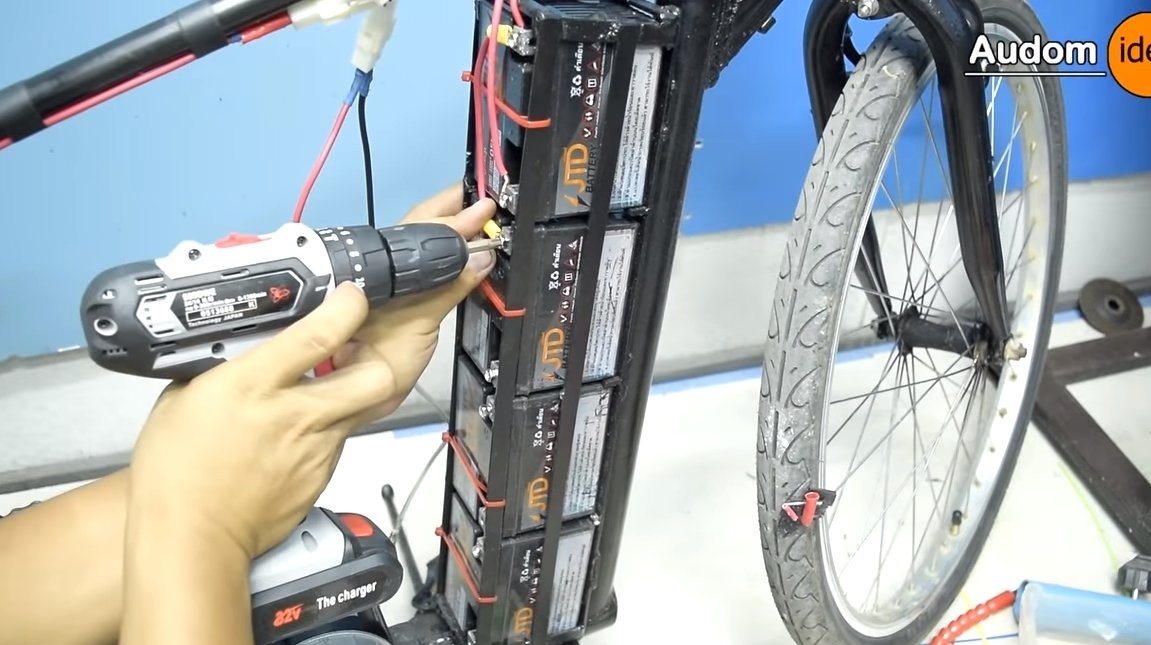
Step Four Frame for batteries
A battery pack will need to be installed on the bicycle frame, they must be fixed securely. We assemble for batteries a separate frame of iron plates or other similar material. We weld the finished frame to the homemade frame.
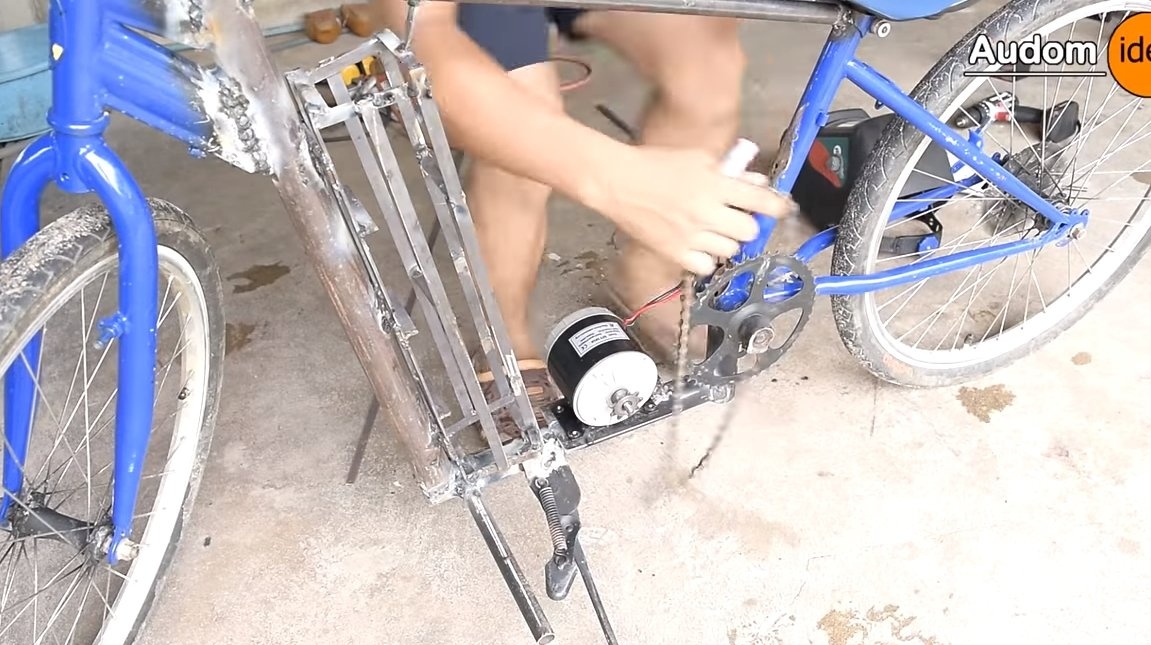
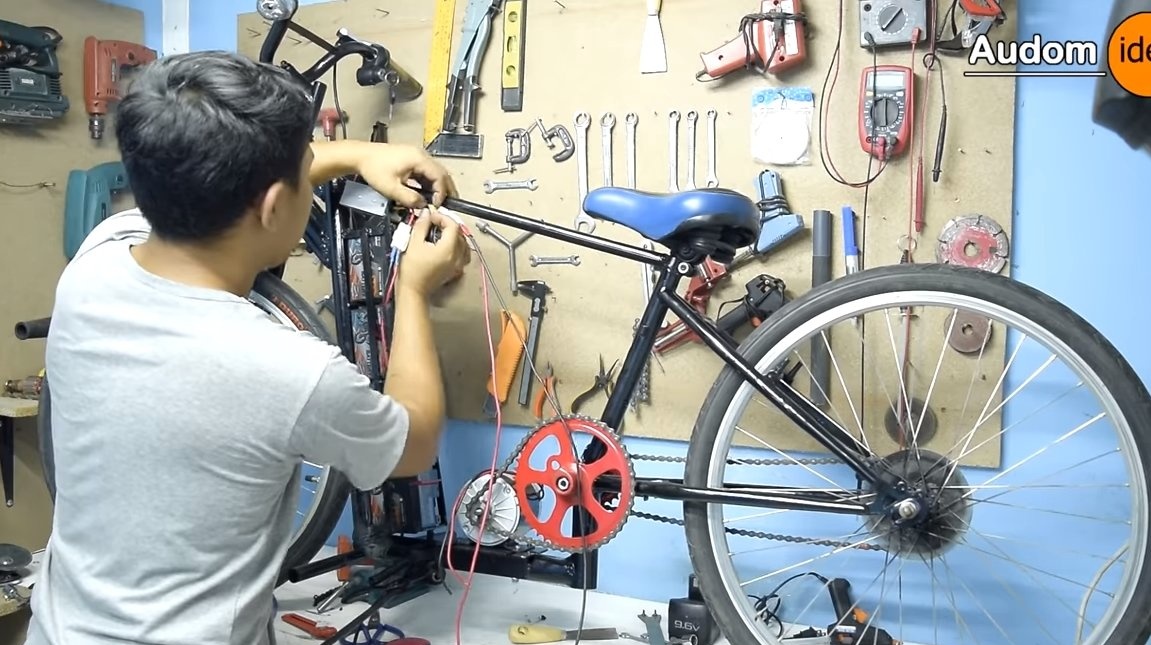
Step Five Engine installation
We install the engine in order to correctly determine the right place for installation, you will need to install the circuit. We drill holes in the bracket and fasten the engine with bolts and nuts. It is highly desirable to make the slots open so that the chain can be pulled.
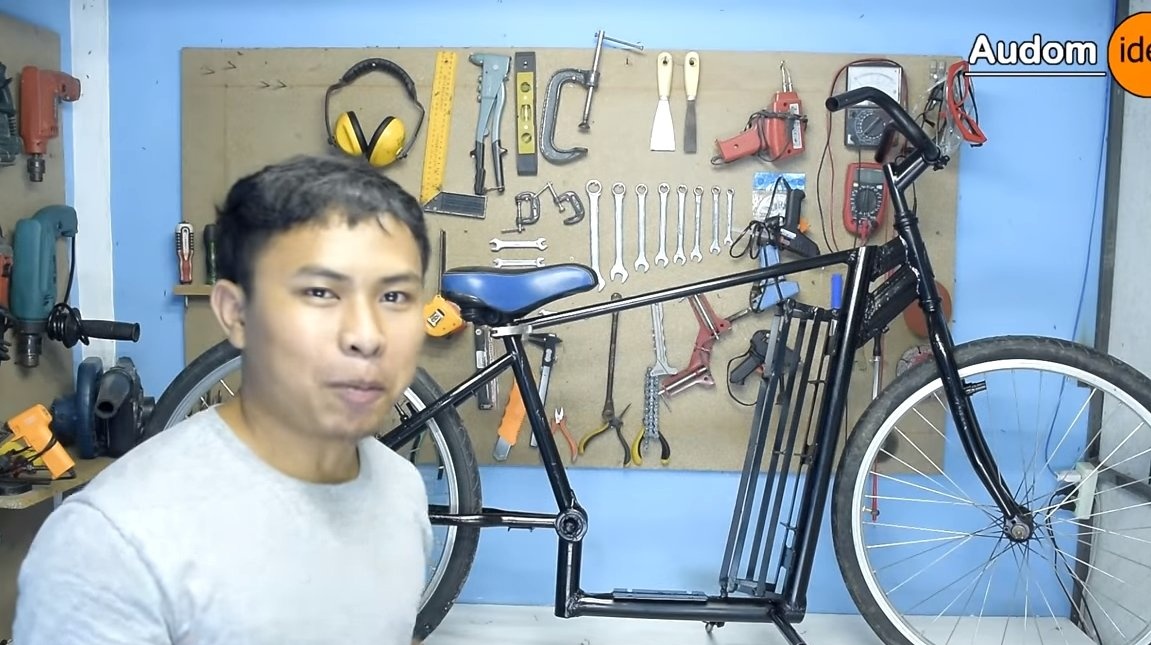
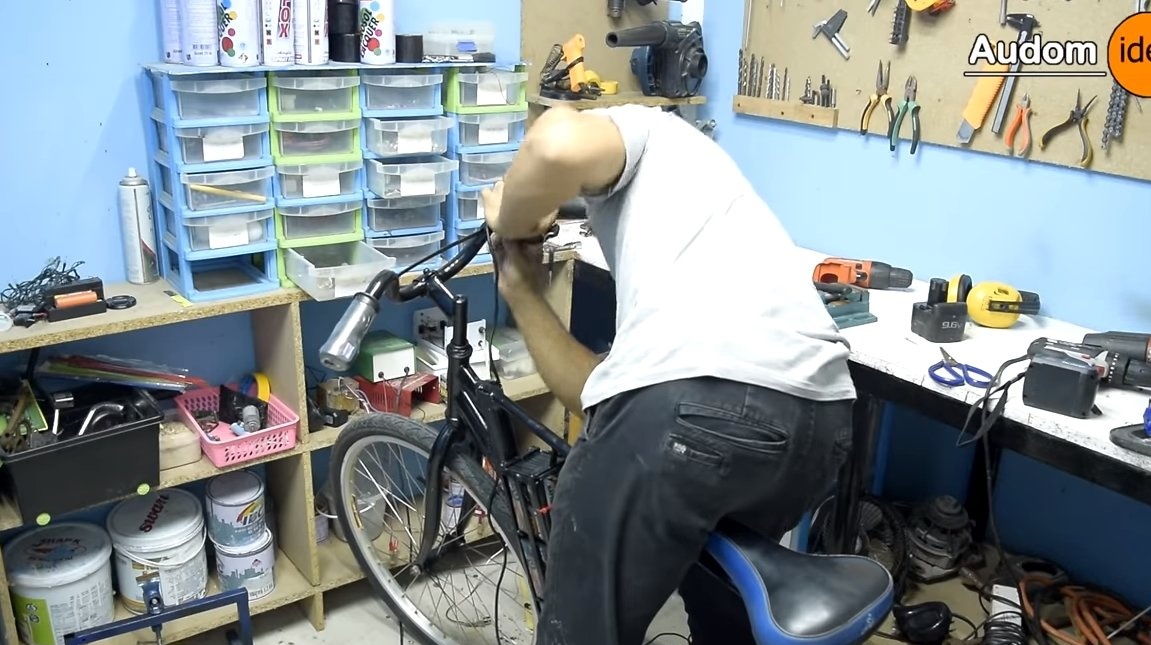
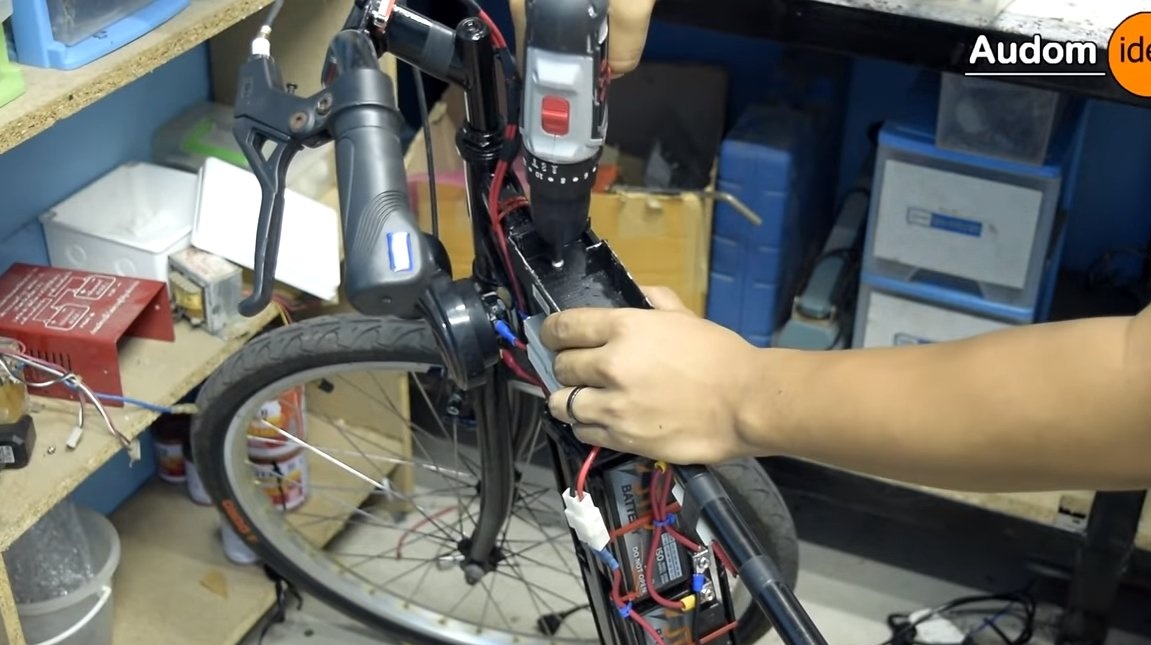
Step Six Painting and assembly
We disassemble the bicycle and paint it so that everything looks beautiful and nothing rusts. Well, then you can assemble the bike, securely mount the controller for the engine so that water and dust do not get on it. Also install electronic throttle handle and do not forget to set the brakes before testing!
We connect the batteries in parallel or in series depending on the voltage that the engine is powered by, the author did not indicate its characteristics.

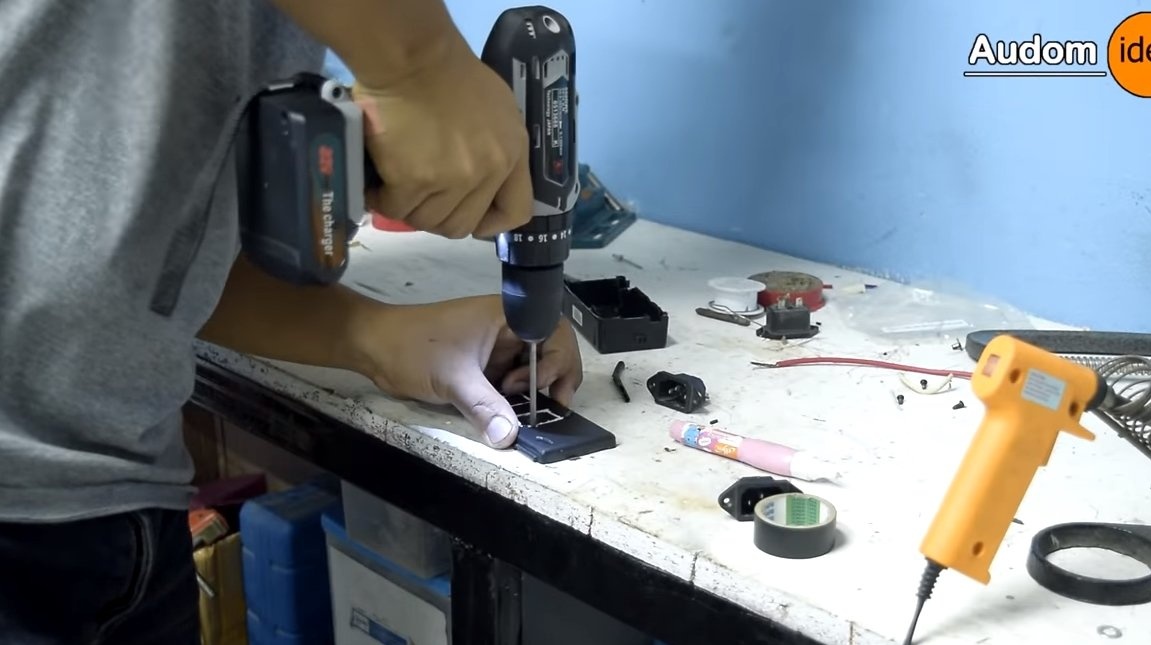
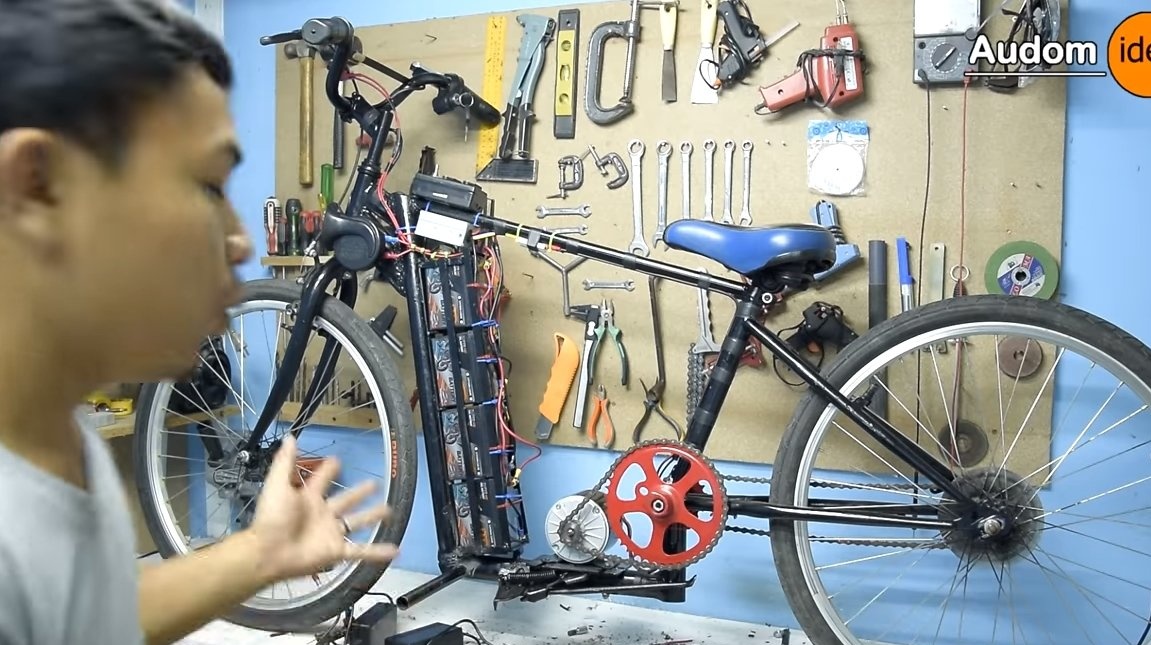
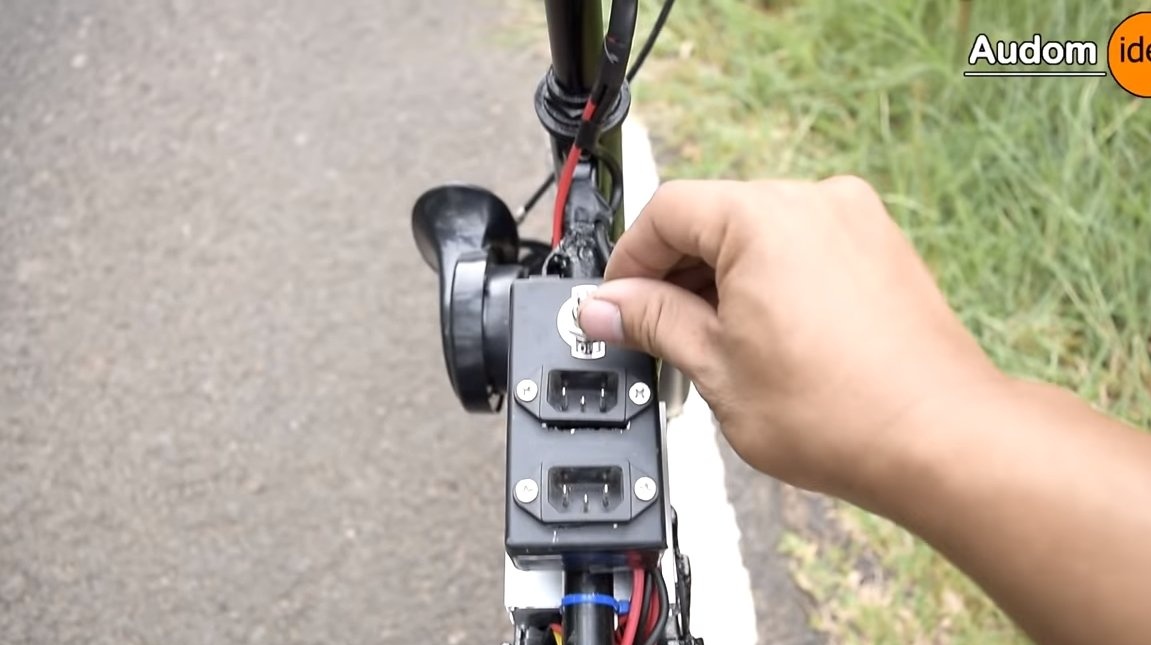
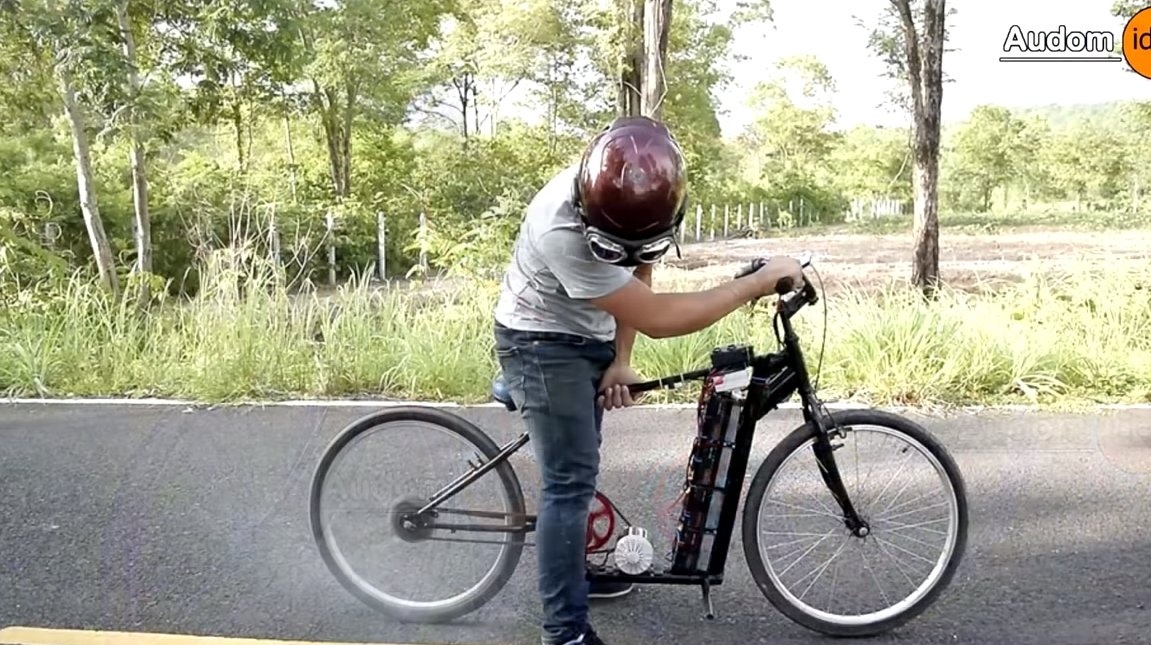
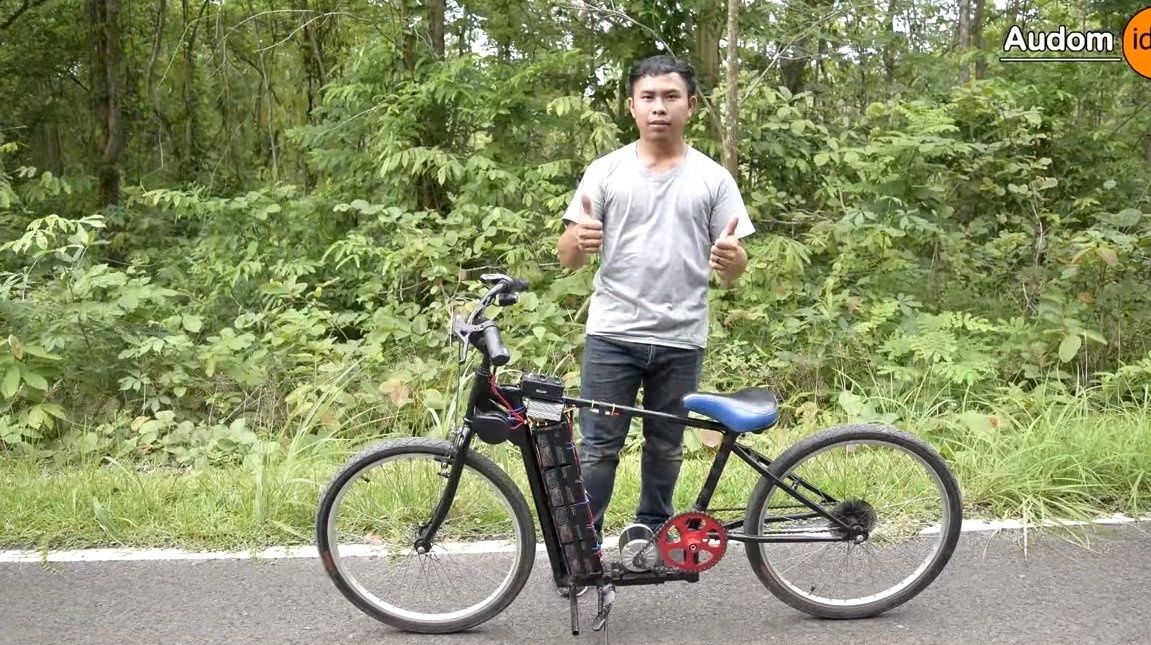
In the end, it remains for us to install two sockets from the computer for connecting cables from the charger. And for emergency shutdown of the circuit and safety, we put a switch or ignition switch. After that, the homemade product is ready for testing. The car looks pretty playful, the wheel in place slips on the pavement, which indicates a high torque. The author also travels quite quickly and without problems. You can ride on a bicycle while saving energy.
On this, the project can be considered successfully completed, see the video for testing the machine. I hope you enjoyed the project and found useful thoughts for yourself. Good luck and creative inspiration, if you decide to repeat this. Do not forget to share your ideas and homemade things with us!