» Fixtures »Snail for cold forging

Cold forging snail


Hello everyone !!! Always admired wrought patterns with all sorts of curlicues, probably any person will appreciate such work. Looking at the patterns, you think how so probably it’s hard to repeat this and the equipment needs more than one. In fact, this is not so and is difficult, of course, there are some nuances, but having a desire, anyone can repeat such beauty. You can make many identical curls, playing with the imagination, more than one drawing will turn out just changing the curls.

Cold forging is a process without heating the metal, that is, the metal simply bends by its own strength. I've seen more than once device called snail - this is the basic tool for cold forging. That is, having a pair of snails of different sizes, you can create patterns of almost any shape.

And so for making a small snail we will need: iron sheet 20x20cm 4mm thick and a metal strip 5x50cm, as well as welding and grinder.

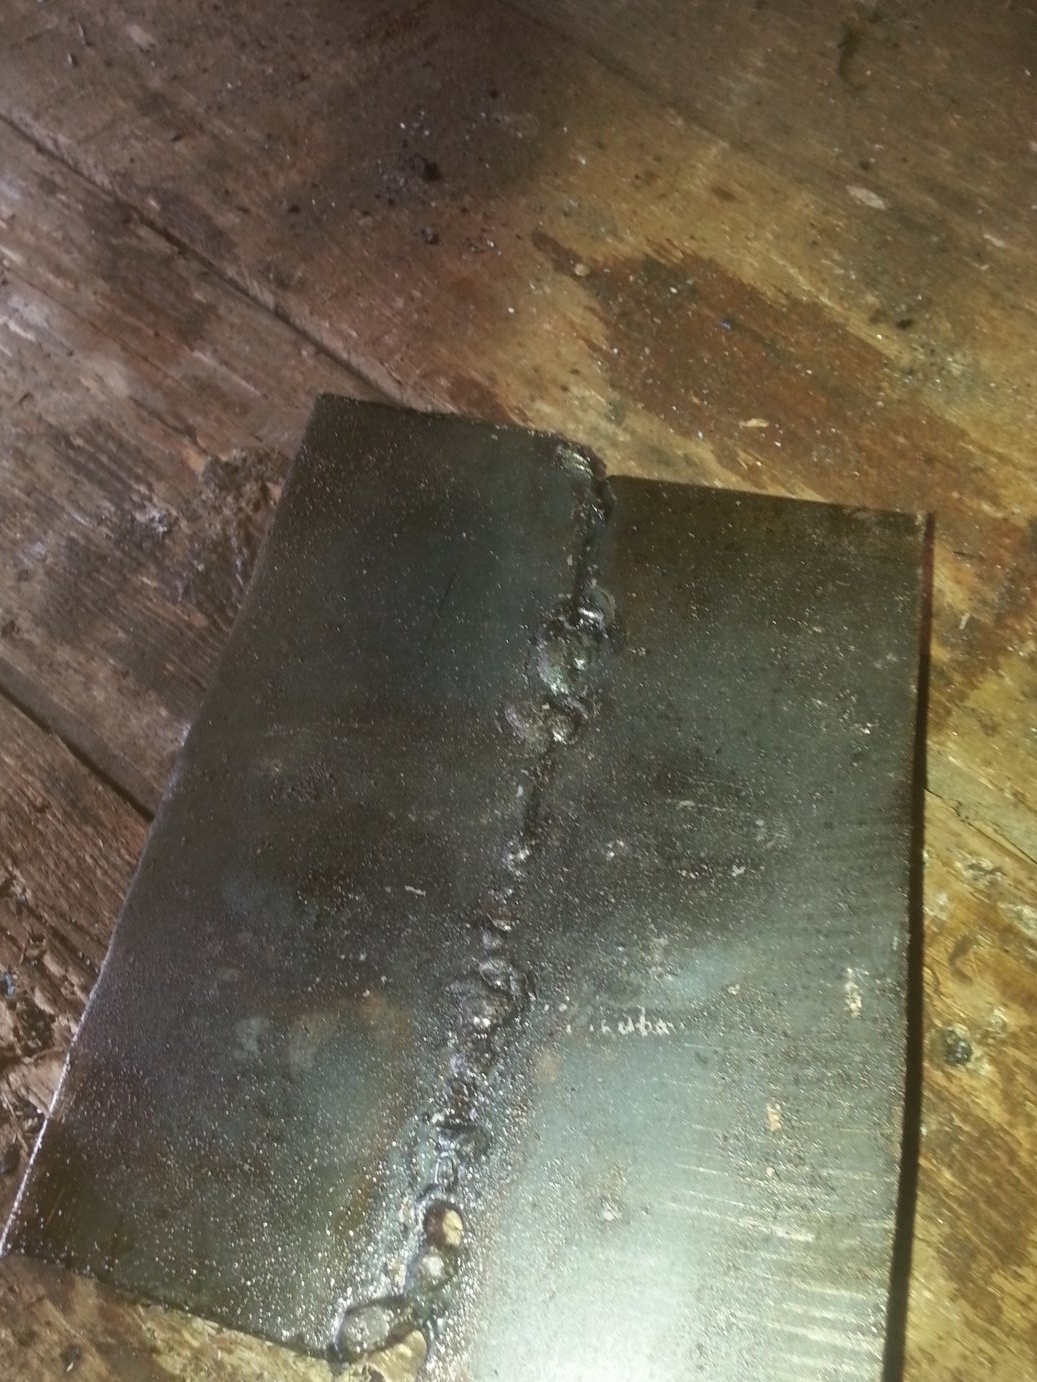
I didn’t have a metal sheet, I had to sculpt from two pieces
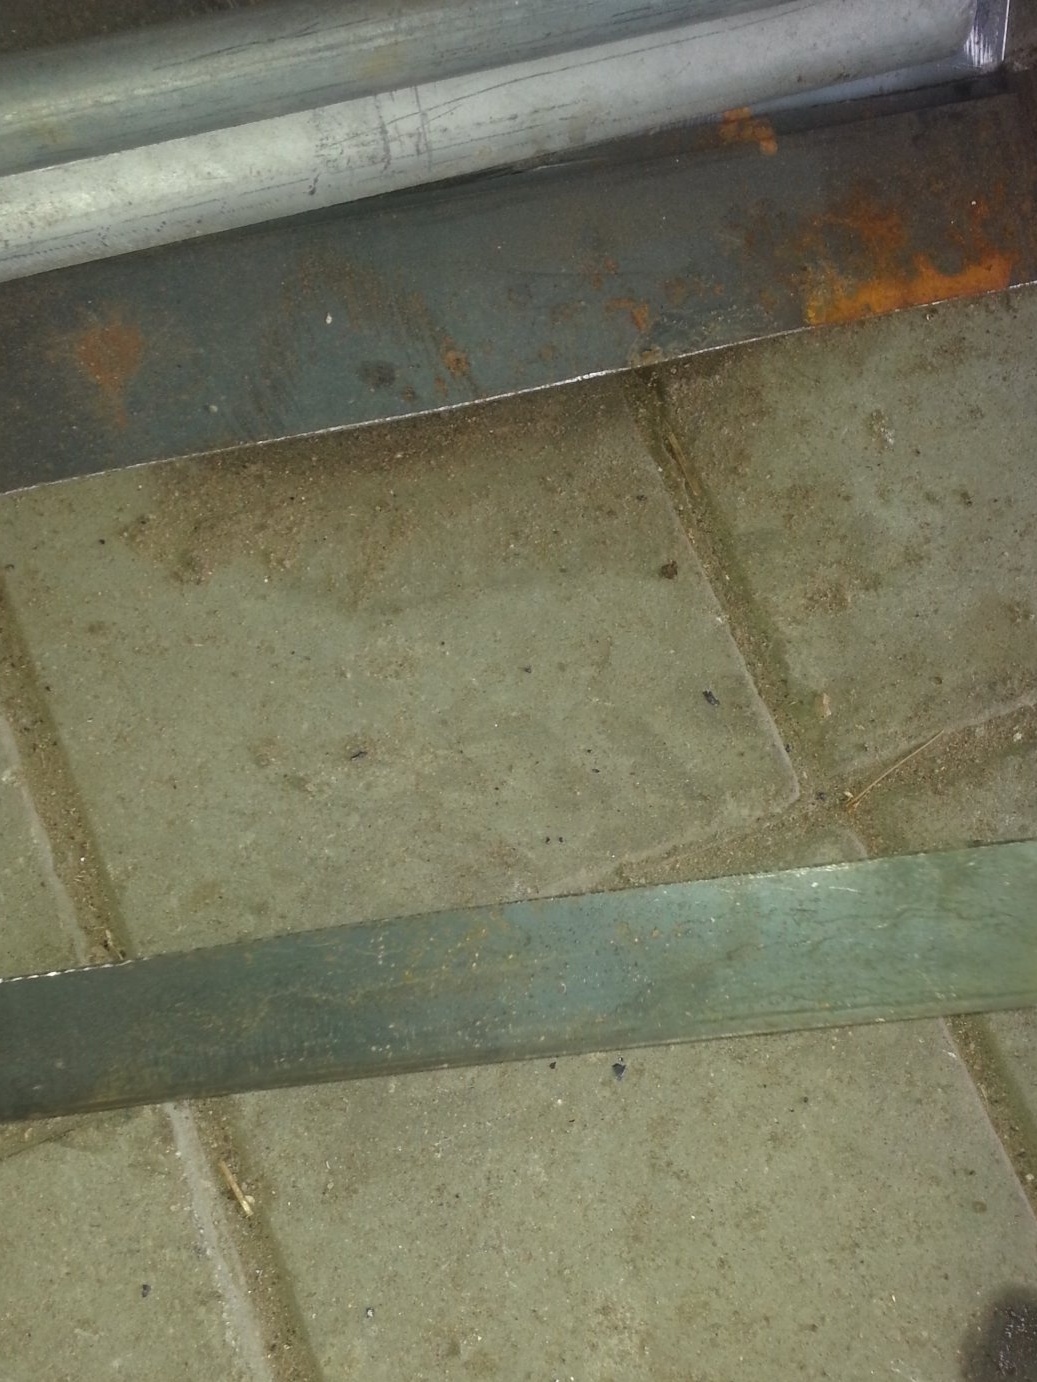
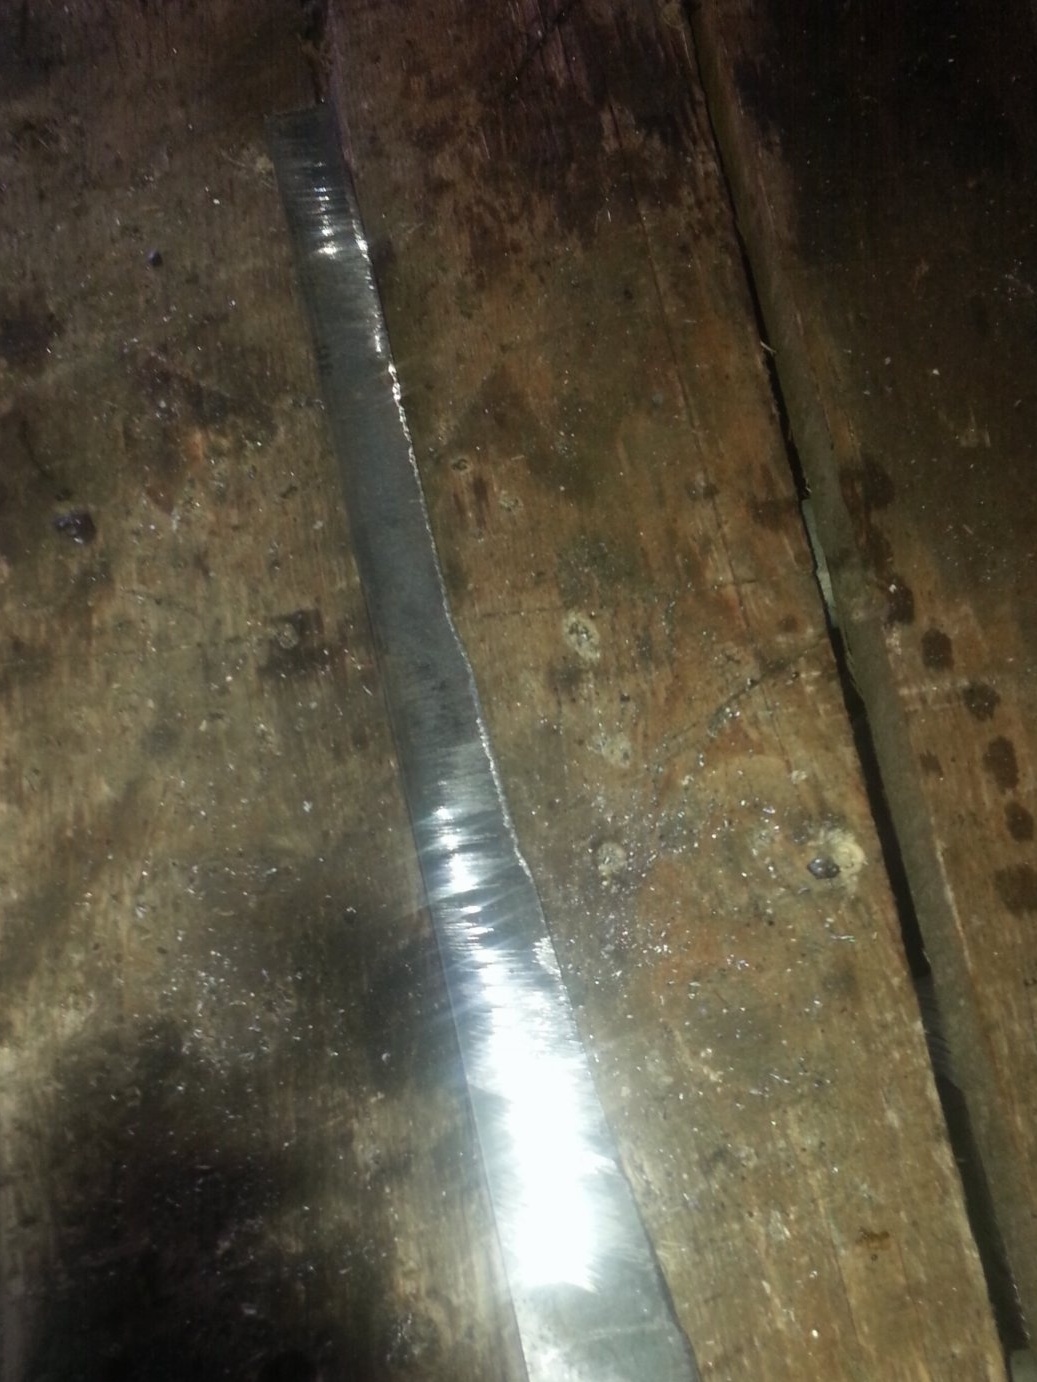
Our strip

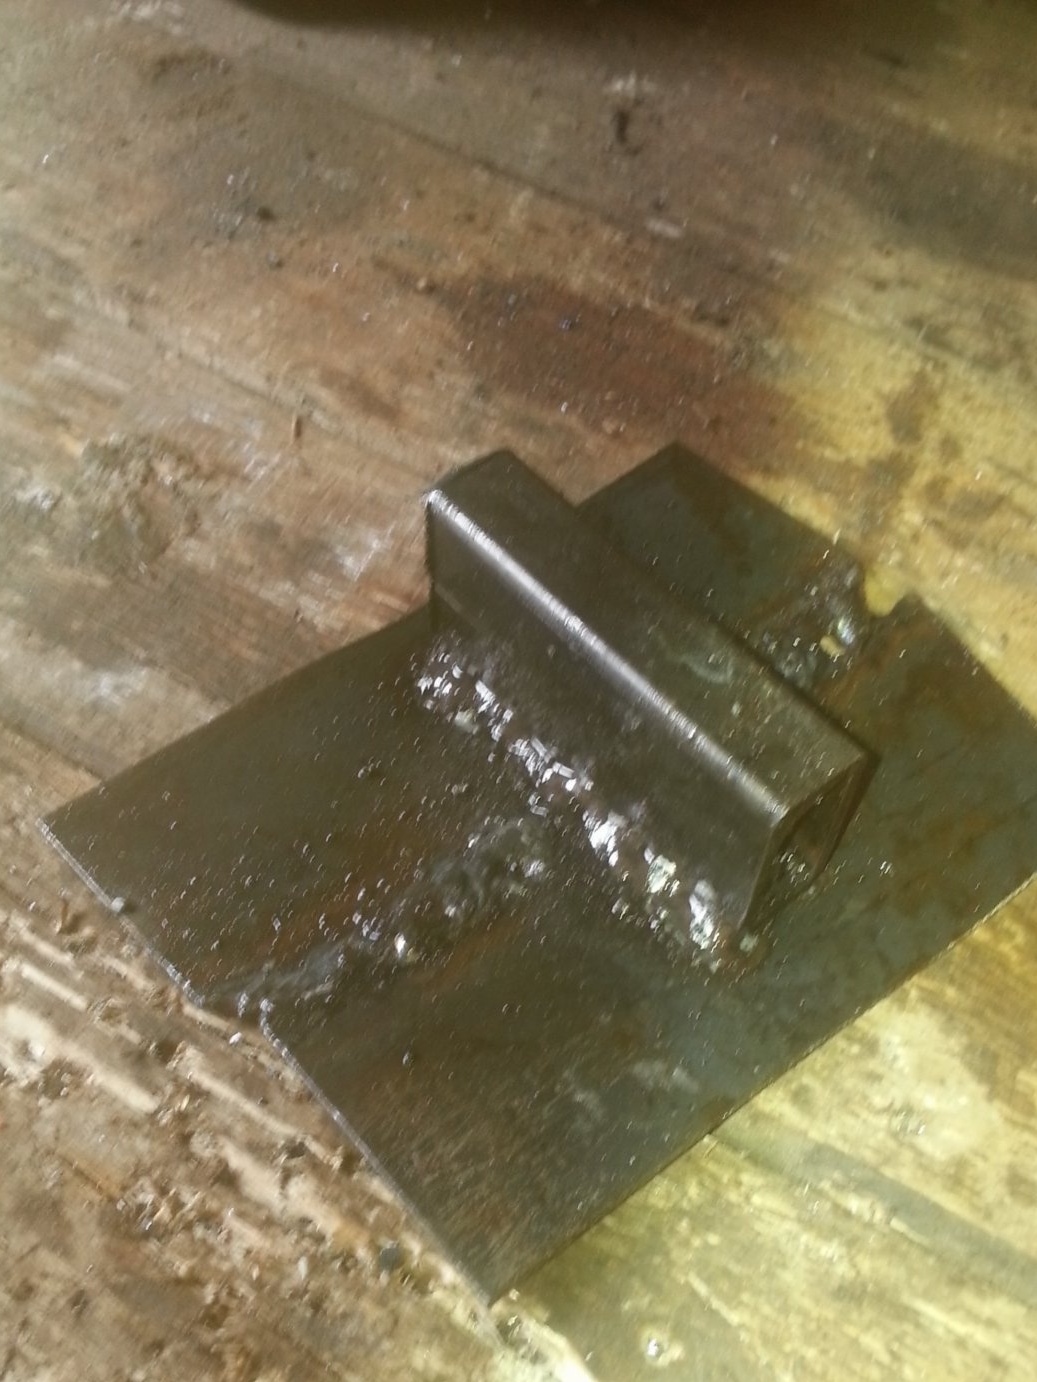
And so I weld any piece of metal to the back of the sheet, in my case it’s a profile for clamping in a vice

Now we are preparing a strip of metal, cut from edge to edge of the strip under the cone, approximately by eye. On the widest part from above, saw off a piece of 1x1 cm

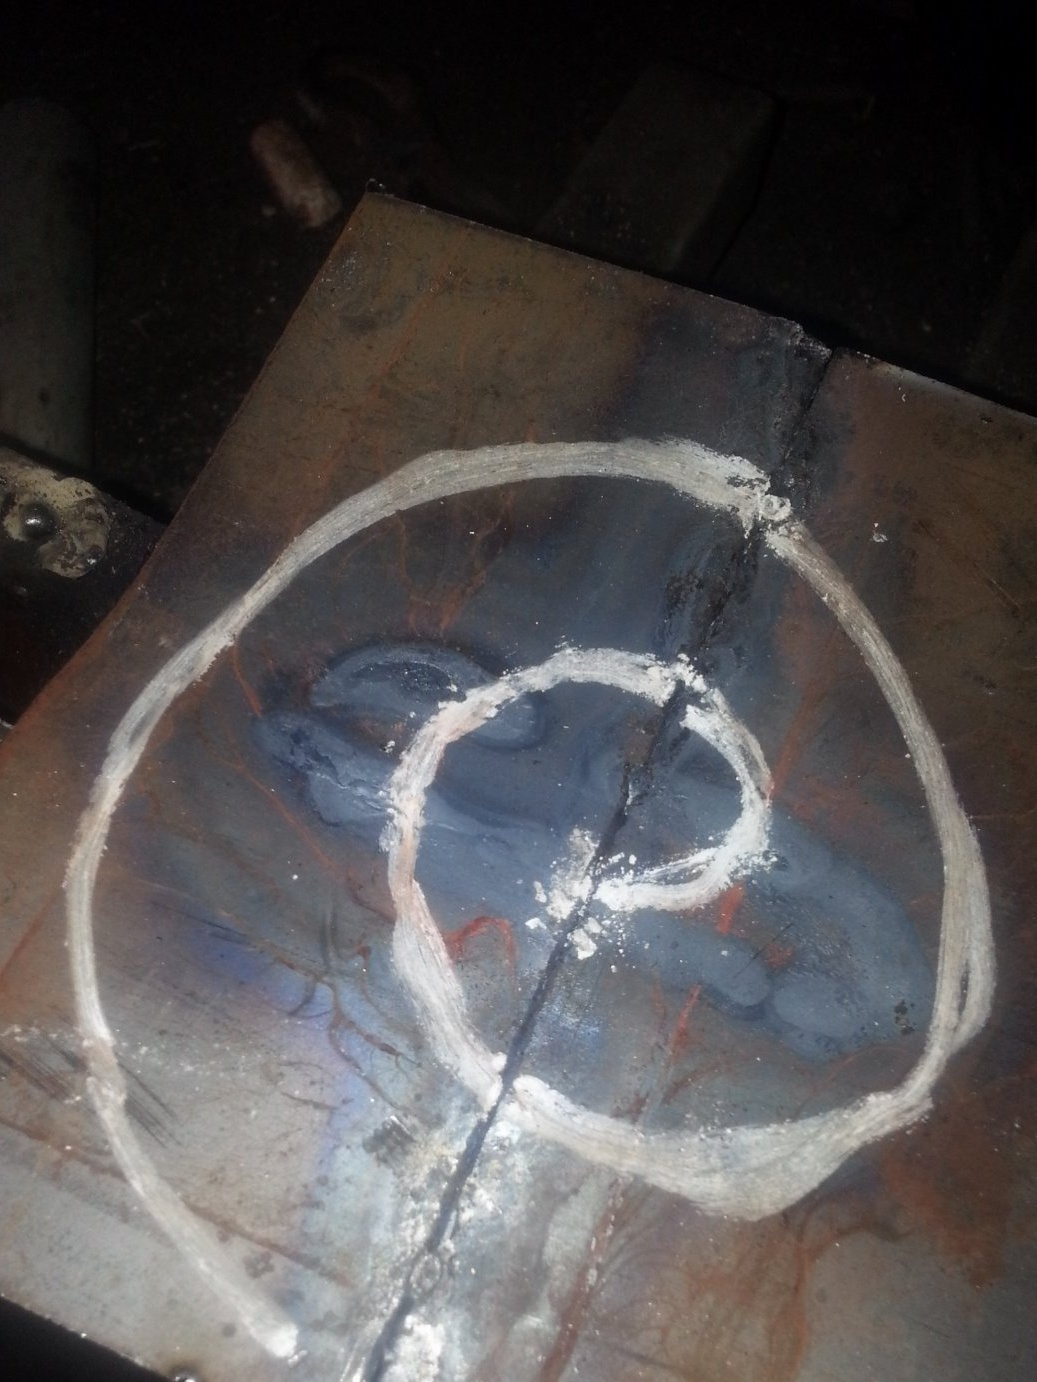
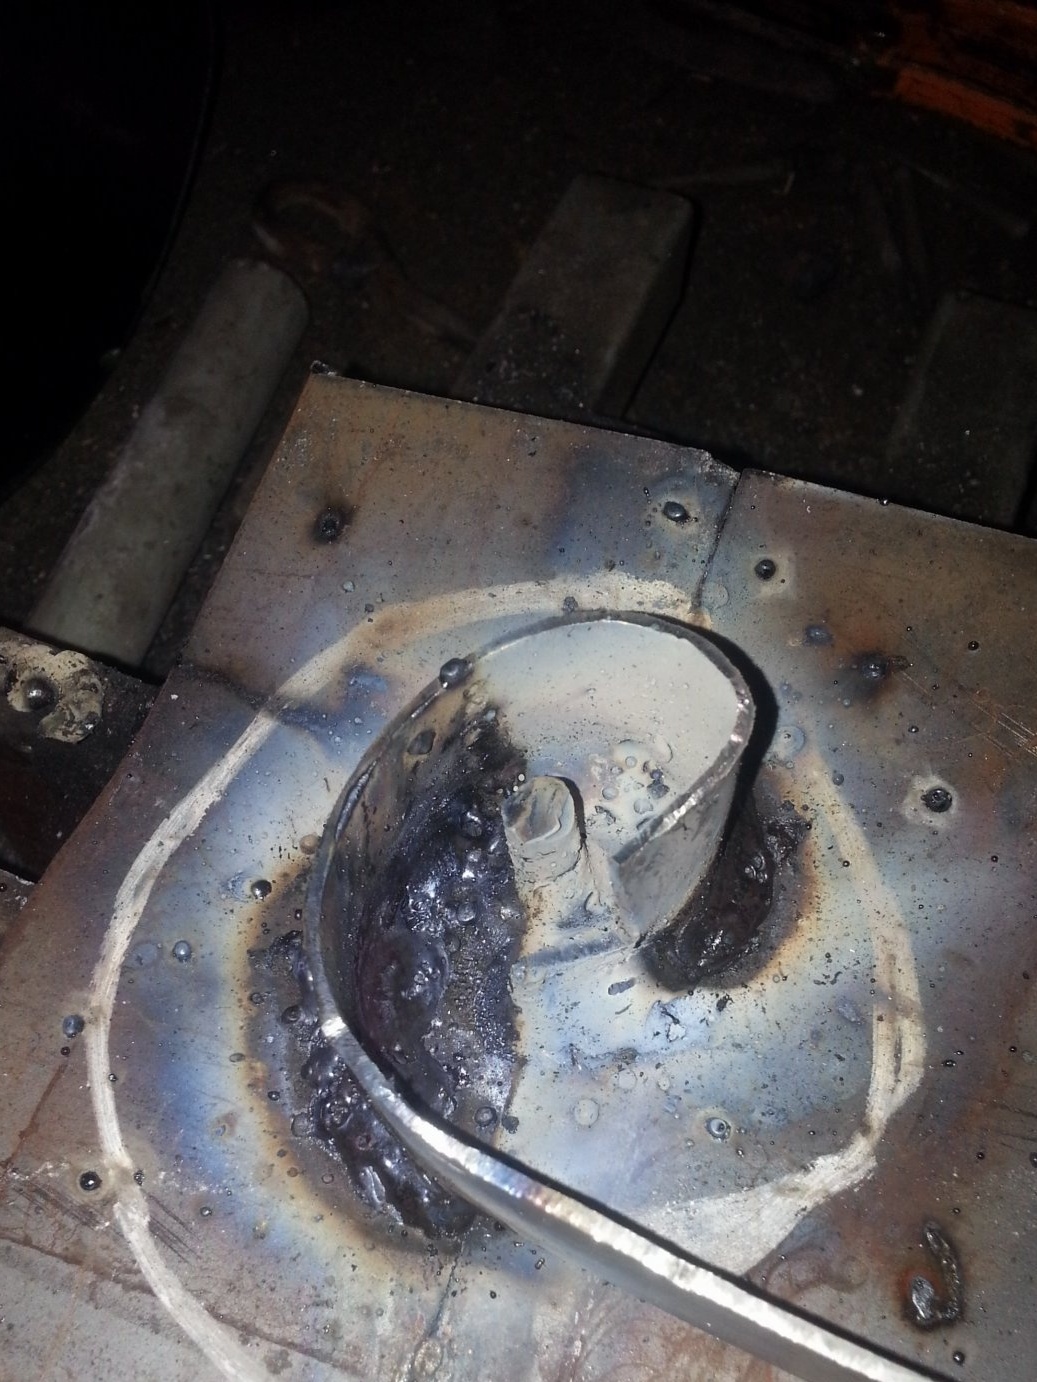
Now draw a template on the sheet with chalk

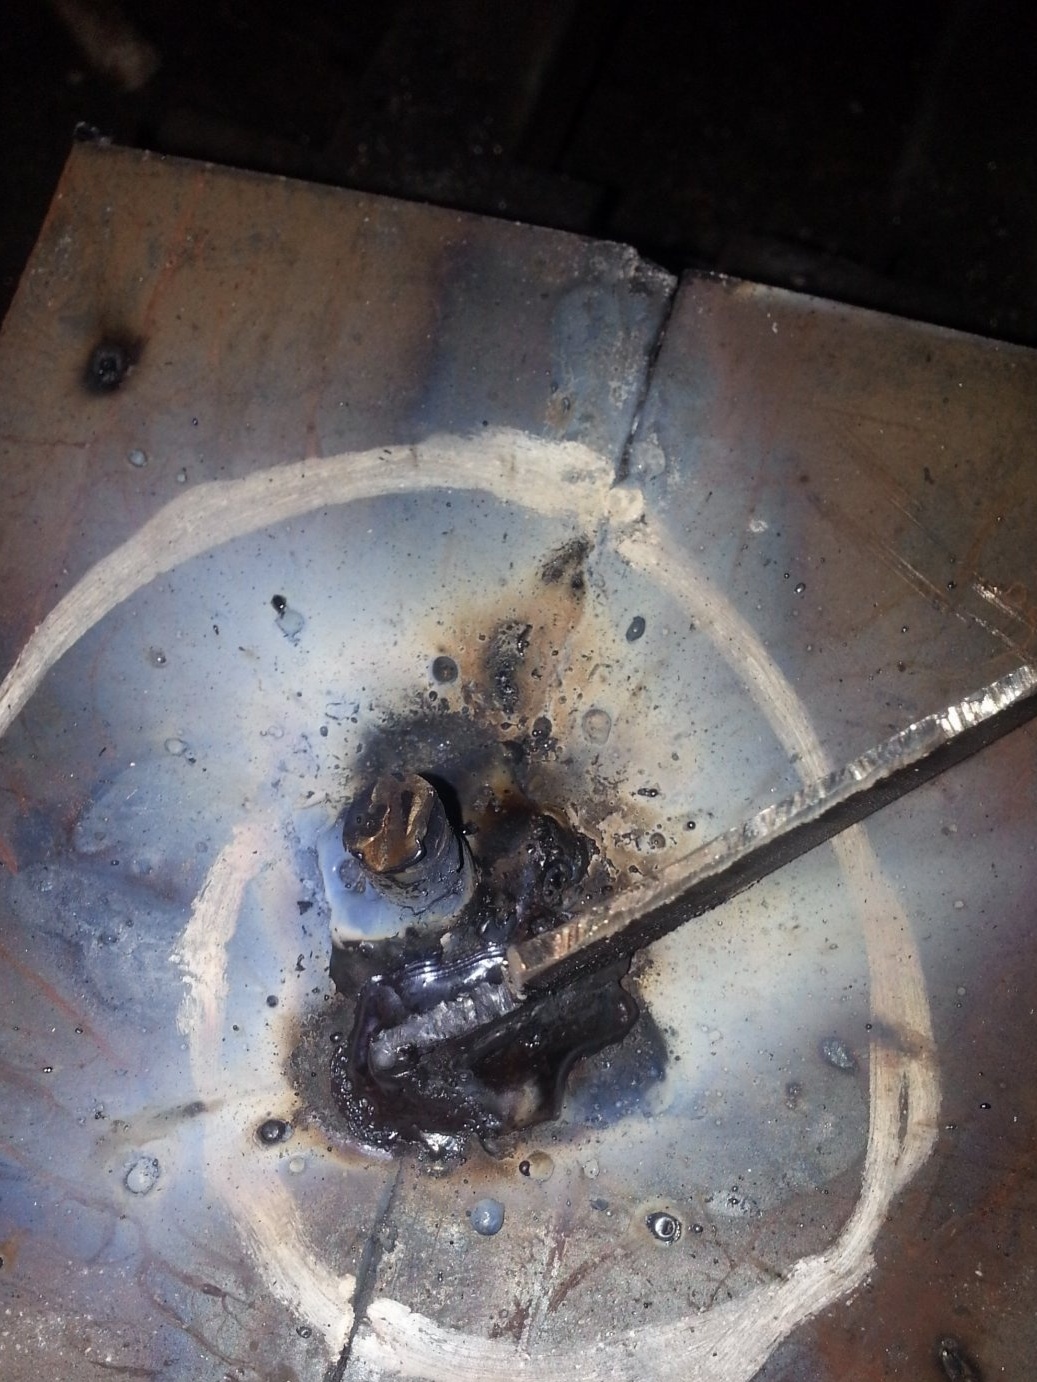
I weld a bolt for an emphasis, I recede 1 cm and I weld a metal tip

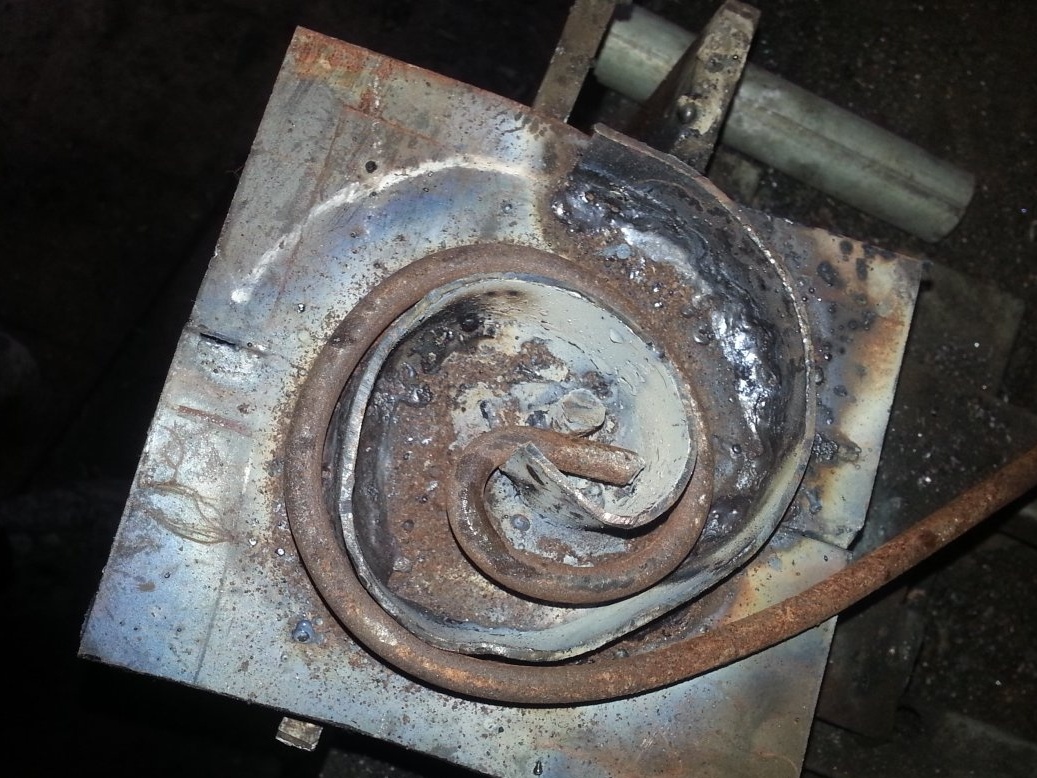
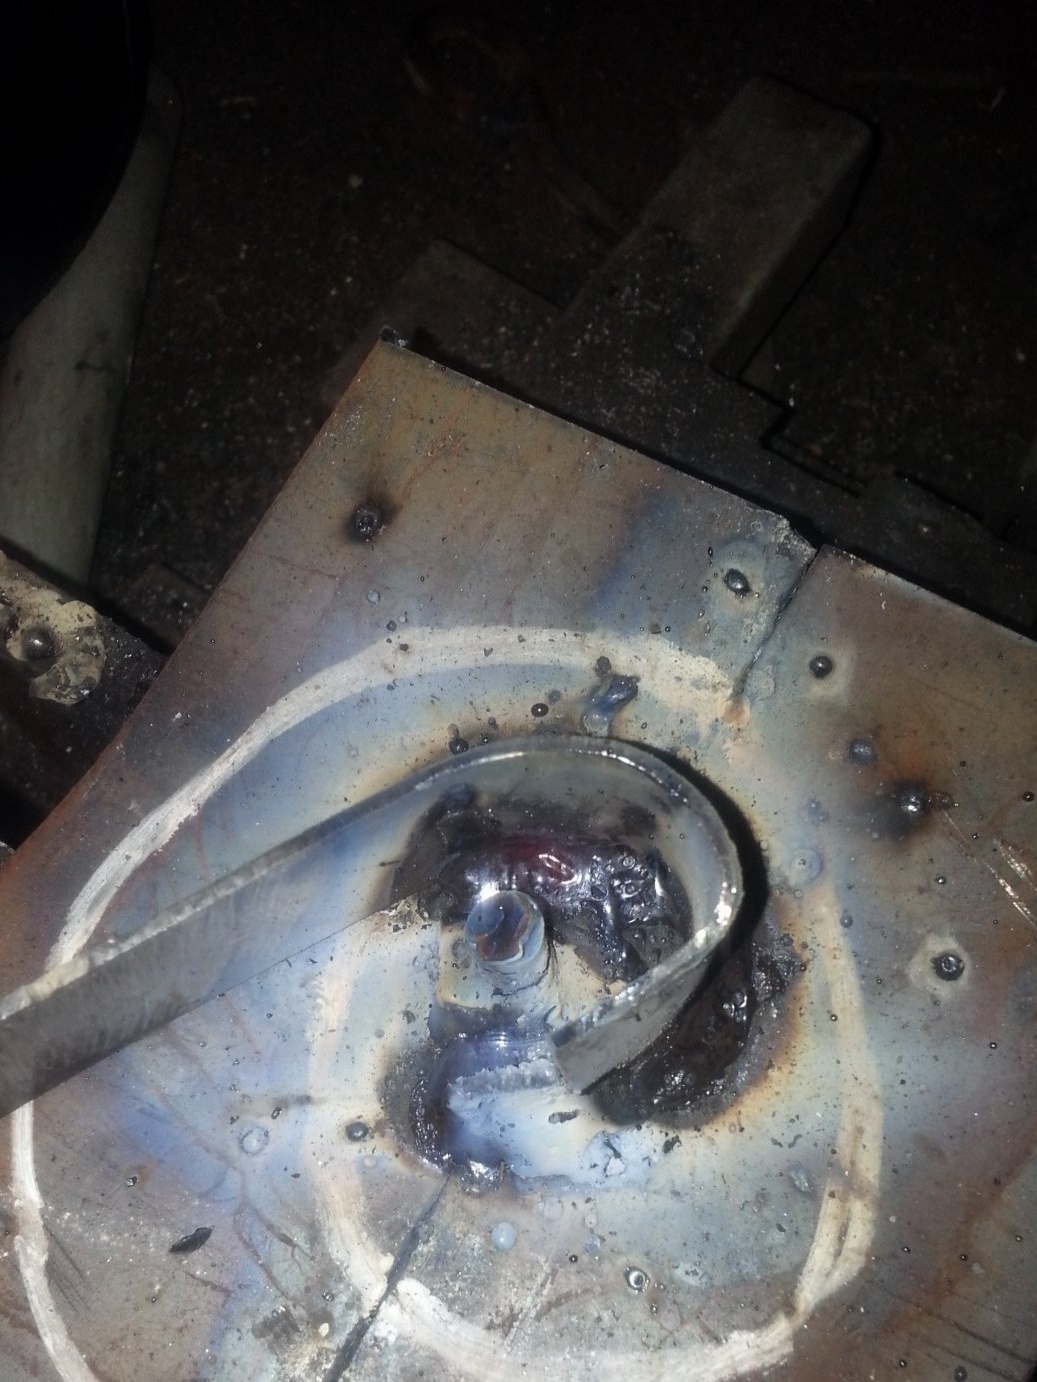
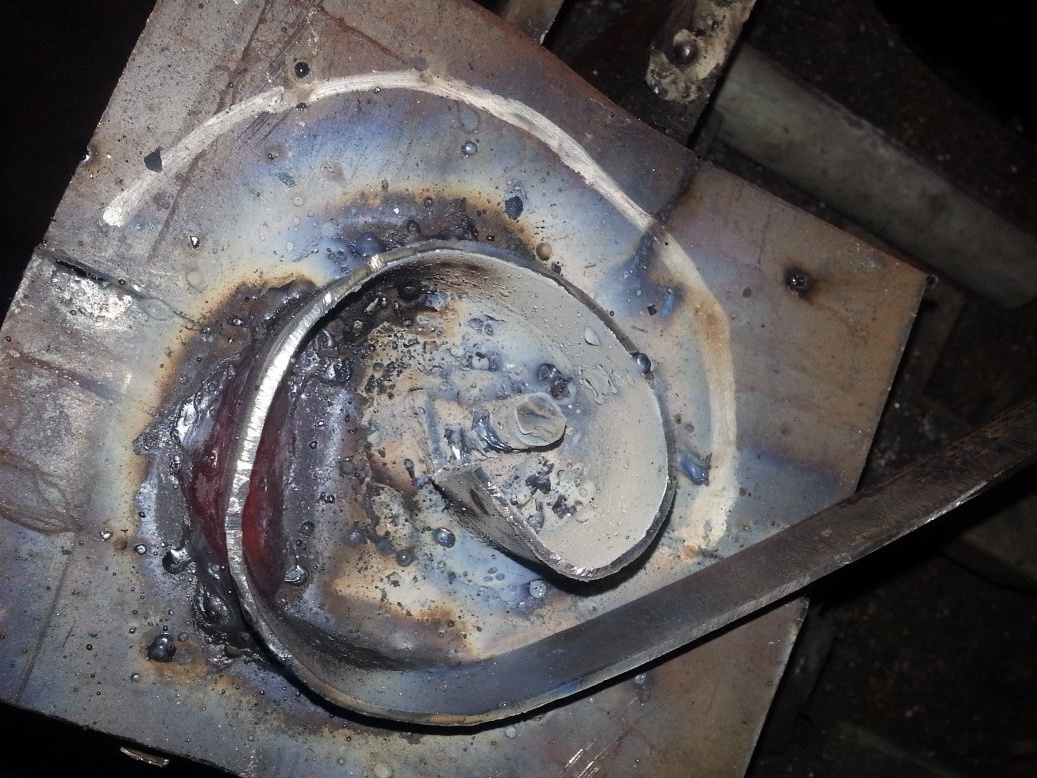
Holding pliers I bend according to the pattern and weld thoroughly

And so on throughout the pattern

Continue


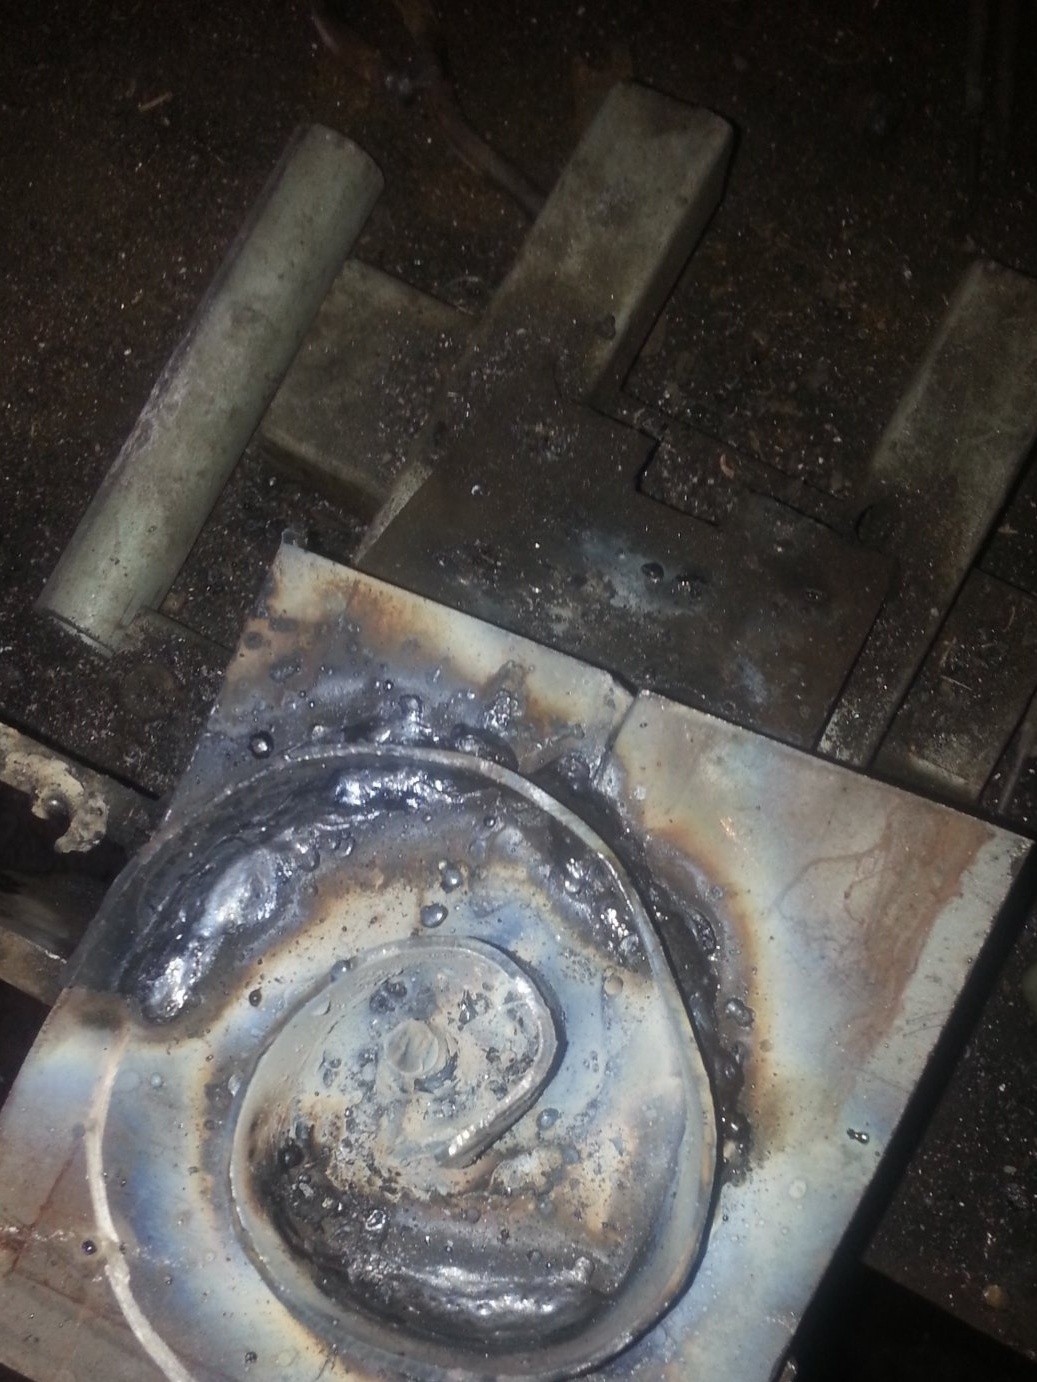
Well, that’s all, our device is ready, you can create. We insert the end of the wire between the bolt and smoothly bend the wire, giving the desired shape

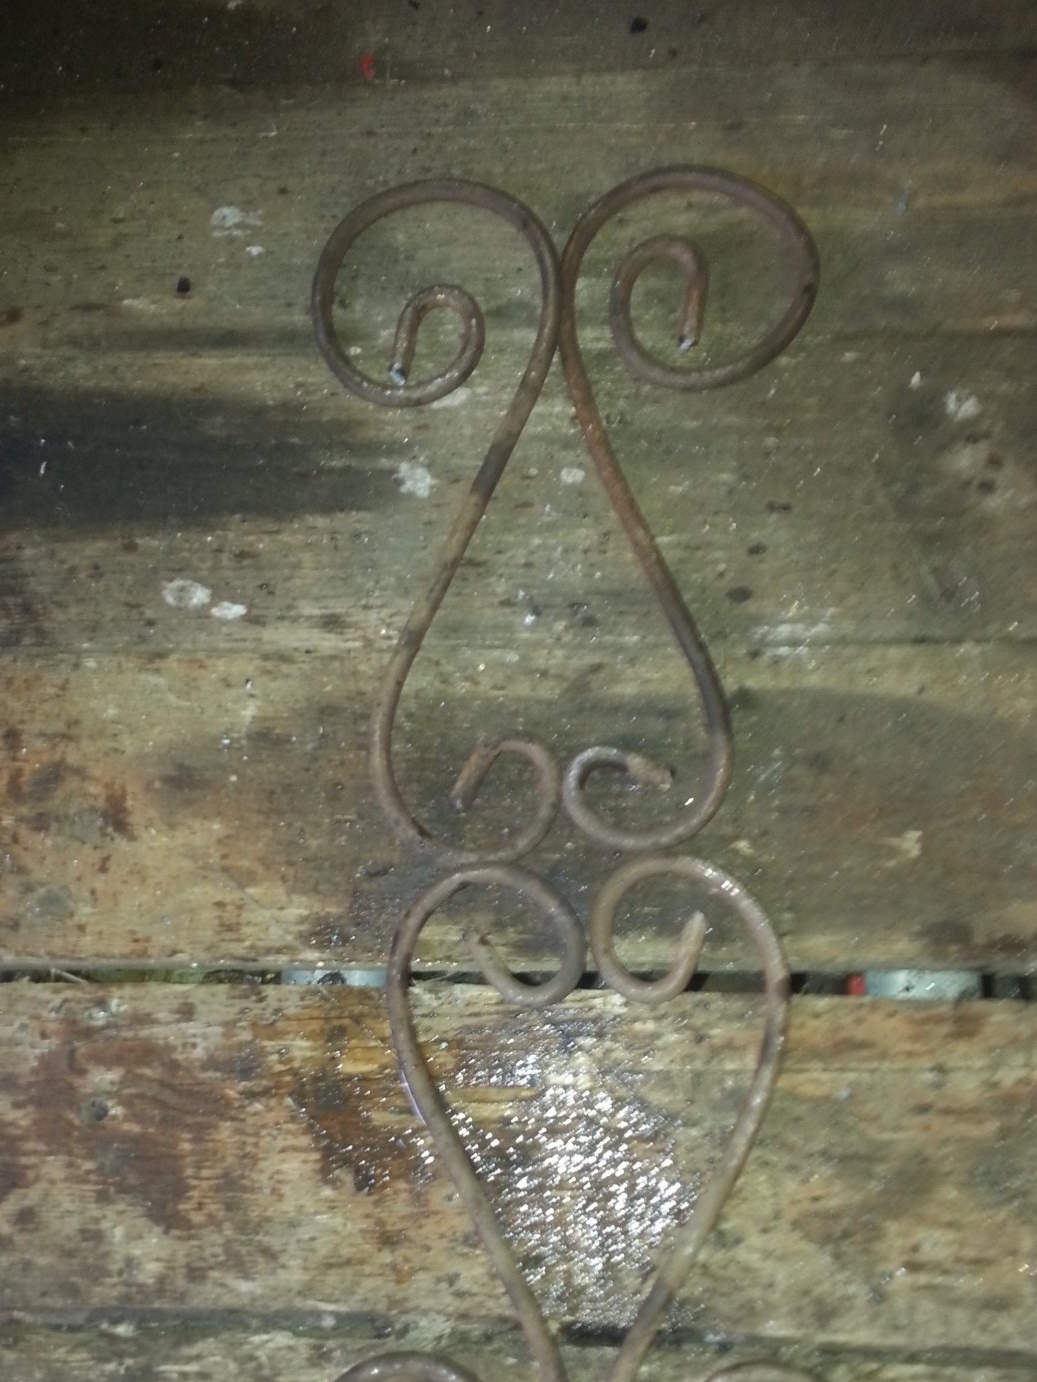
By creating a little

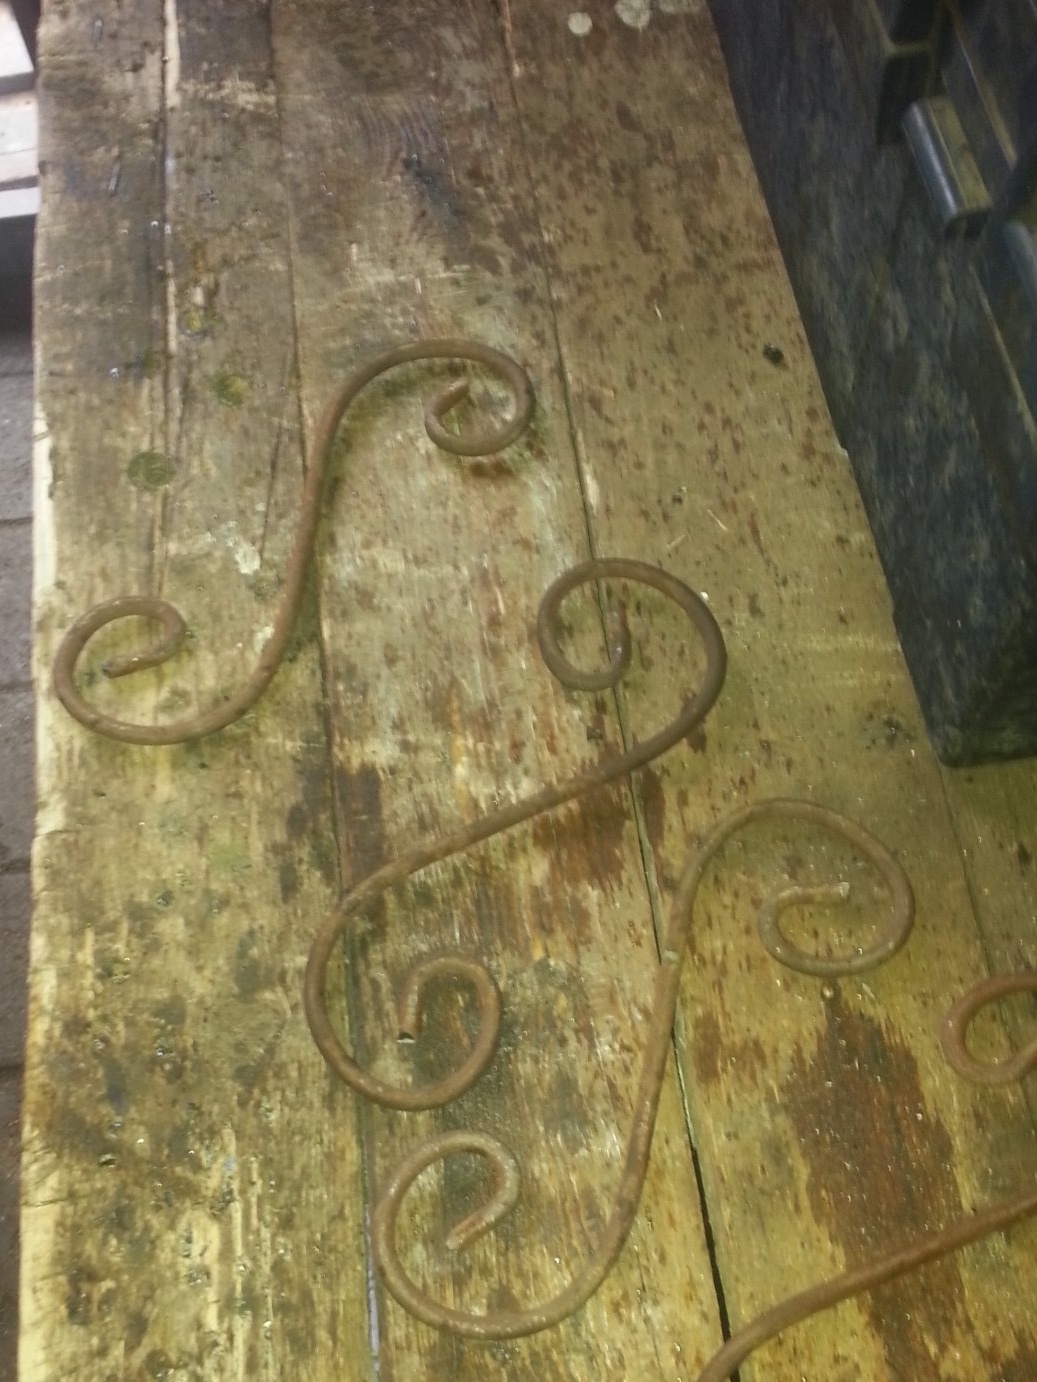
I make a pattern of curlicues

And further

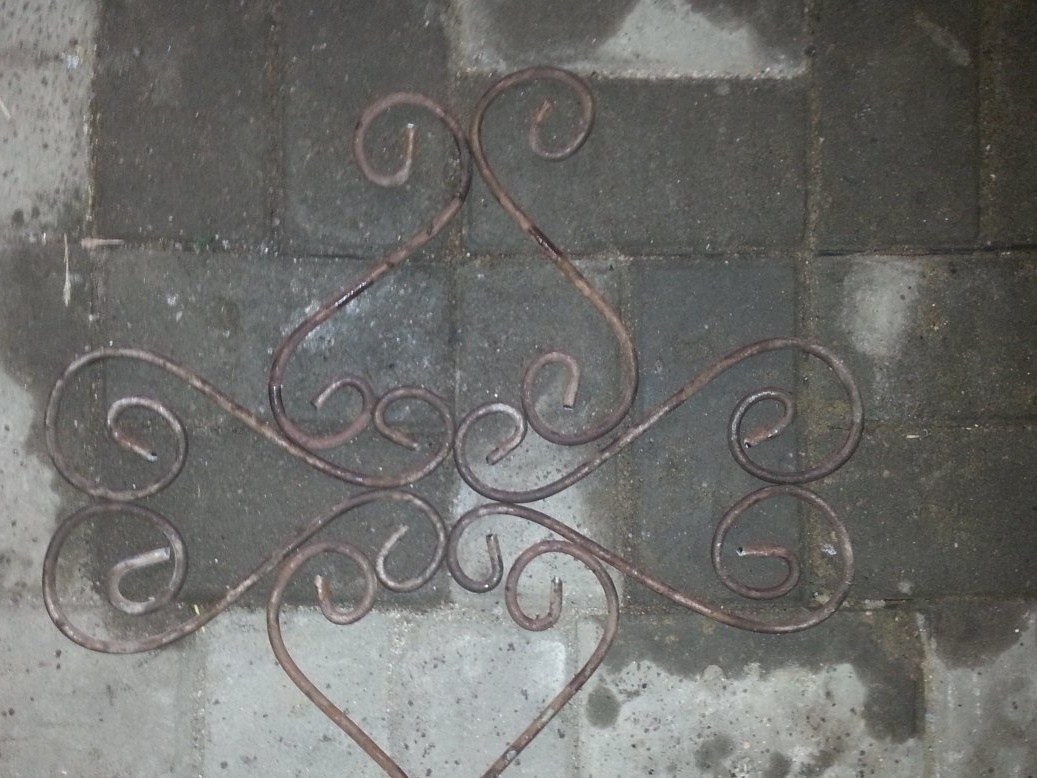
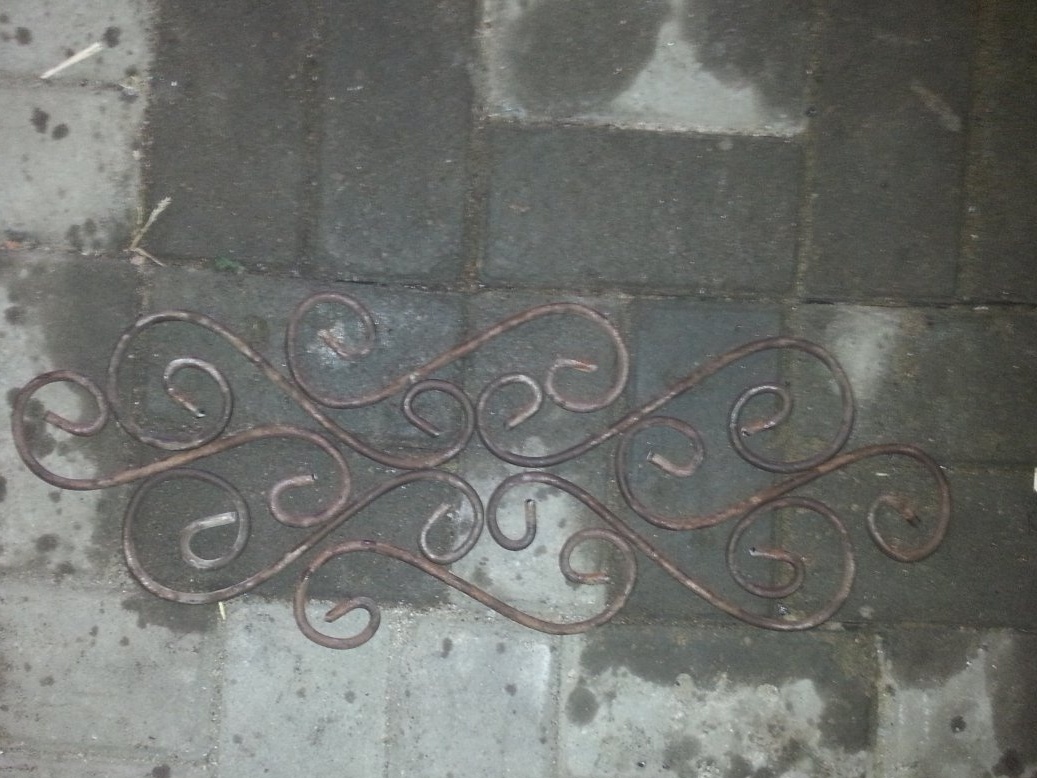
Well, the lightest patterns are ready


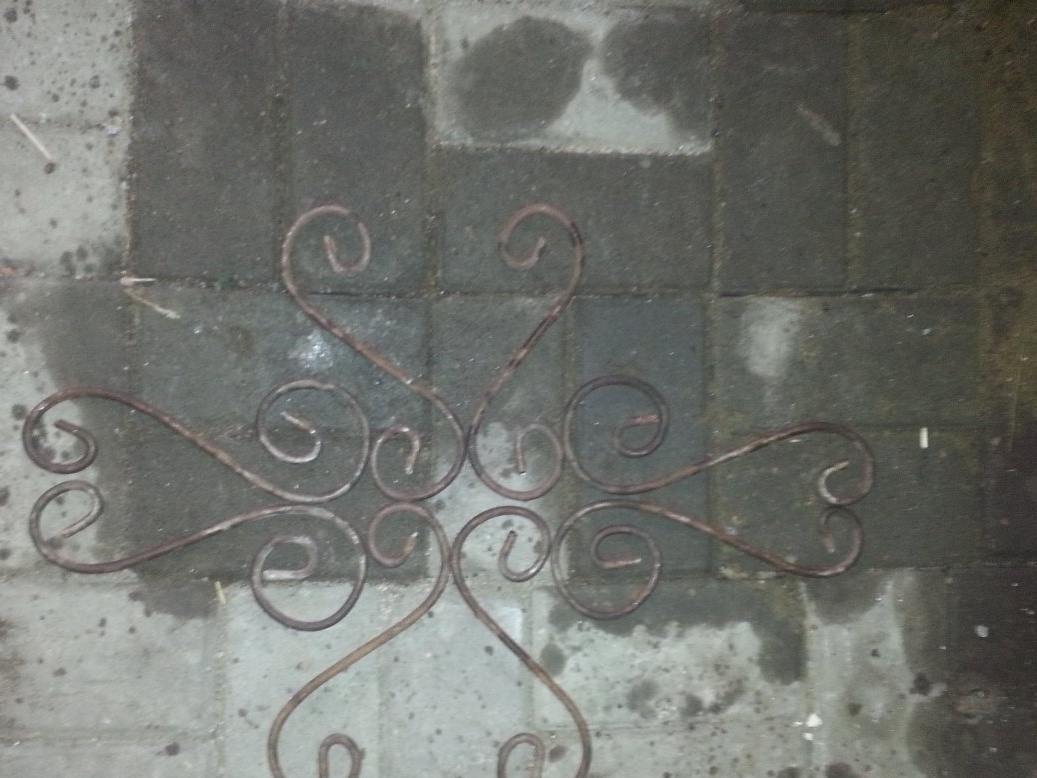
Changing swirls in places, you can make different patterns at your discretion

Well, with this homemade You can create almost any patterns without special troubles. Thank you all and to the new DIY.
1.8
1.8
1.8

Add a comment

    • smilesmilesxaxaokdontknowyahoonea
      bossscratchfoolyesyes-yesaggressivesecret
      sorrydancedance2dance3pardonhelpdrinks
      stopfriendsgoodgoodgoodwhistleswoontongue
      smokeclappingcraydeclarederisivedon-t_mentiondownload
      heatirefullaugh1mdameetingmoskingnegative
      not_ipopcornpunishreadscarescaressearch
      tauntthank_youthisto_clueumnikacuteagree
      badbeeeblack_eyeblum3blushboastboredom
      censoredpleasantrysecret2threatenvictoryyusun_bespectacled
      shokrespektlolprevedwelcomekrutoyya_za
      ya_dobryihelperne_huliganne_othodifludbanclose
2 commentary
I looked at this here:

Ah you, Bozhechki, you are mine ... I will no longer find fault with how they are further executed .... what has to be done with fillet welds ...))))
But here! ... On the plane! ...
I apologize for explaining “as a schoolboy” right now, but sometimes this is just not enough for the person who immediately “jumped” over the basic elementary level ...
At your leisure, practice like this:
Lay the two plates tightly together and try to weld. (About the fact that "you need to make a groove and weld it" - this is later. It's too early for you. So far - master surface seams))))
So. The plates are tight. Warm the electrode by stretching it ("striking" with sparking) over an unnecessary piece of iron.
Give such a current so that the arc is easily ignited on the purified metal.
Take the first stroke. Guide the electrode across the junction line of the plates. Three millimeters on one plate and, moving to another - as many. (You don’t think about seams with a “zigzag, eyelet and monogram”. This will come later. For now, learn a simple transverse one.)
While the seam and the electrode are hot, the arc itself will be ignited when approaching - so, do not be afraid to break the seam, and again draw the same “dash” across, “aiming” the end of the electrode into the base of the first stroke knoll.
Between strokes, do not drag time - it will cool down, and you will have to rekindle it again.
Good luck Once again, I apologize for the "science" ...
Yaroslav
Well done, but learn to cook - it’s scary to look at the “seams”. The two main "tricks" are a short arc and a higher current. Do not be afraid to burn (everything can be brewed), fear lack of penetration. Well, the metal will no longer go to pieces in pieces, as shit.

We advise you to read:

Hand it for the smartphone ...