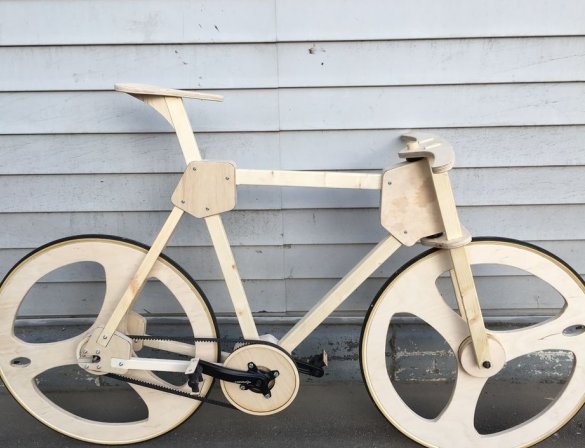
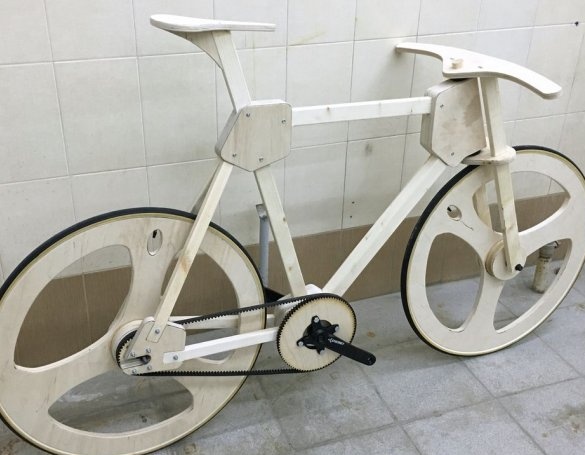
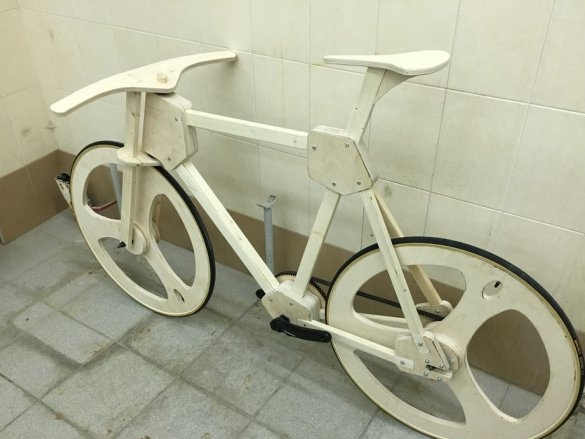
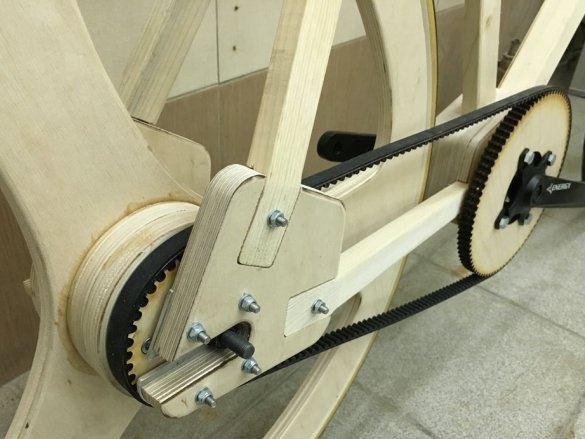
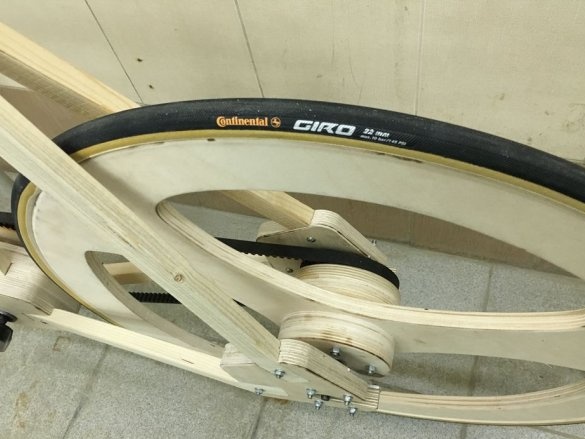
The idea behind this project is to create a wooden bike that can be downloaded and assembled like an IKEA chair. There are already a lot of wooden ones on the Internet. of bicycles, but if you are not a professional woodworker or do not want to spend a month on fine-tuning details, then you better consider this project.
It took the master foreman seven days to assemble this bike (without developing a project), but he had never used an CNC milling machine or a manual milling machine before.
Tools and materials:
-Cnc milling machine;
-Manual milling machine;
- Electric jigsaw;
-Drilling machine;
-Laser cutter;
-Chisel;
- Plywood (15 and 18 mm);
-Lanks wooden;
- Dowels diameter: 28 mm; length: 260 mm;
- Aluminum 5mm 20 x 40 mm;
-Bearings;
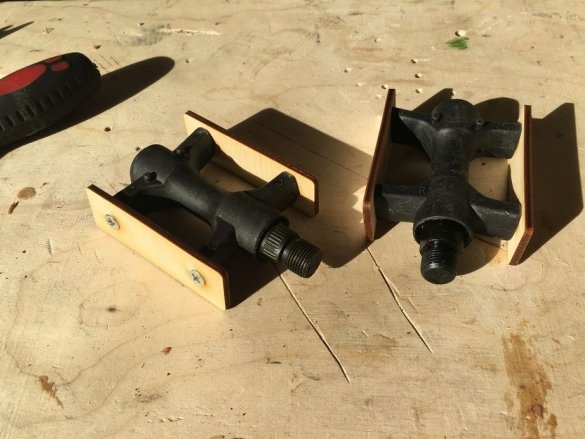
-Pedals with bearings and axis length: 68 mm, diameter: 34 mm;
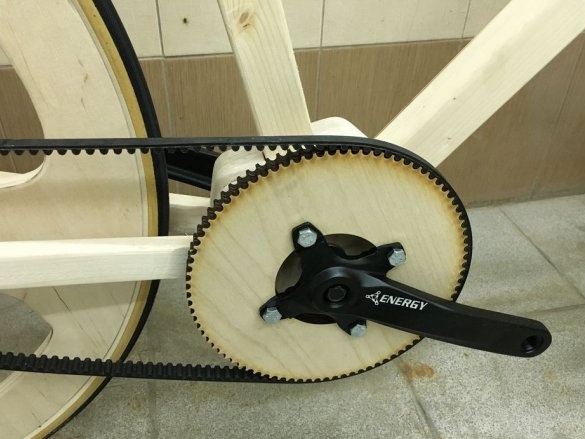
- Belt HTD 8M 1440;
-Tire 22 mm;
-Wheel axle;
-Fasteners;
Step one: procurement of parts
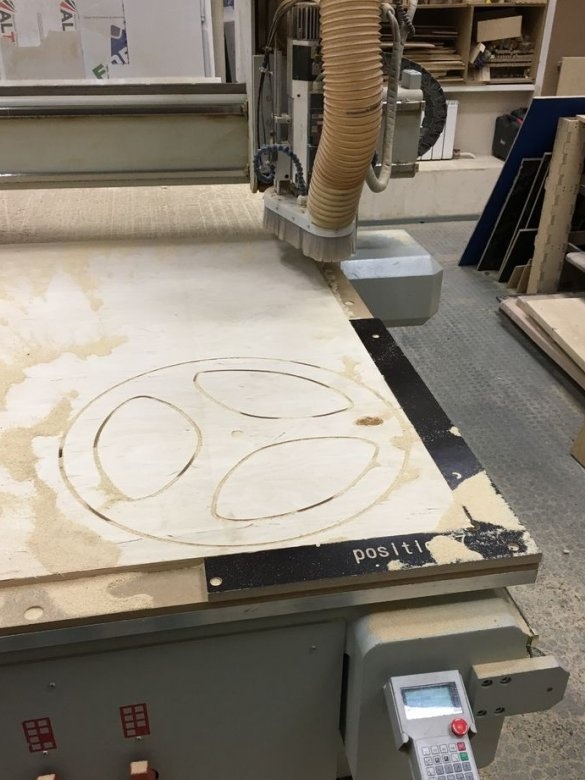
First you need to cut out the details according to the attached files. Cut trims to size:
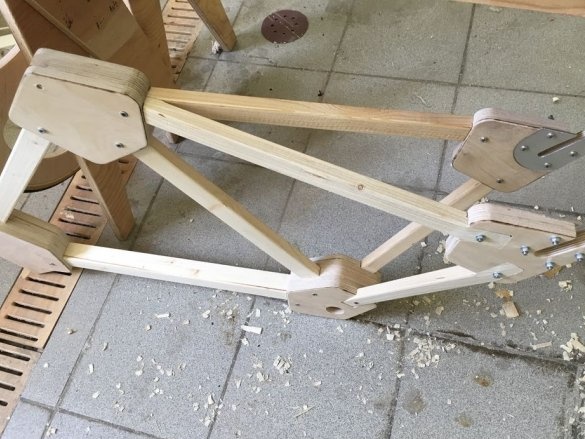
40 x 20 mm: 200, 480, 490, 556, 556, 620, 620 mm (cut at an angle of 90 degrees)
30 x 20 mm: 500, 500, 400, 400 mm (complex section: see files with the names “baseArriereBas” and “baseArriereHaut”)
veloBoisDXF.zip
Step Two: Rear Mount
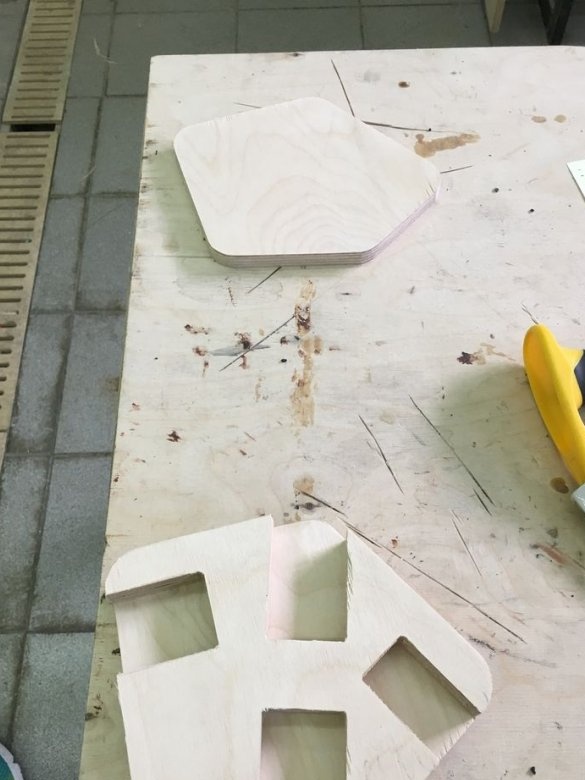
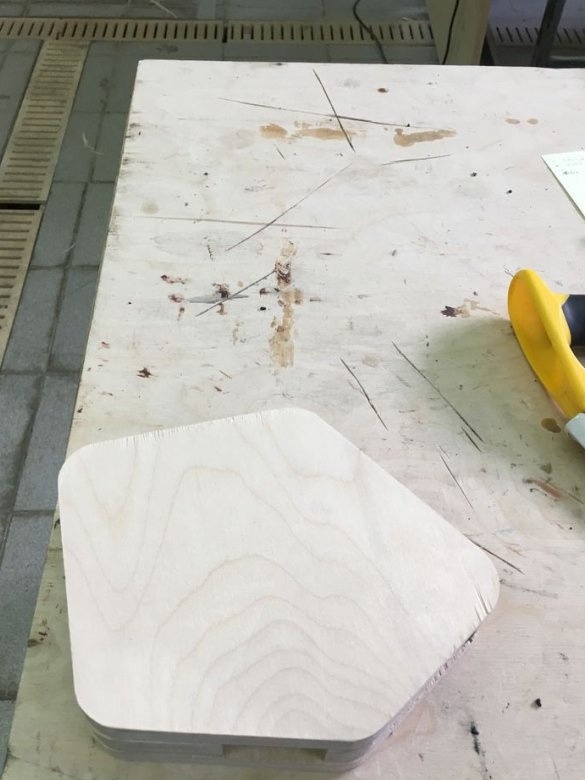
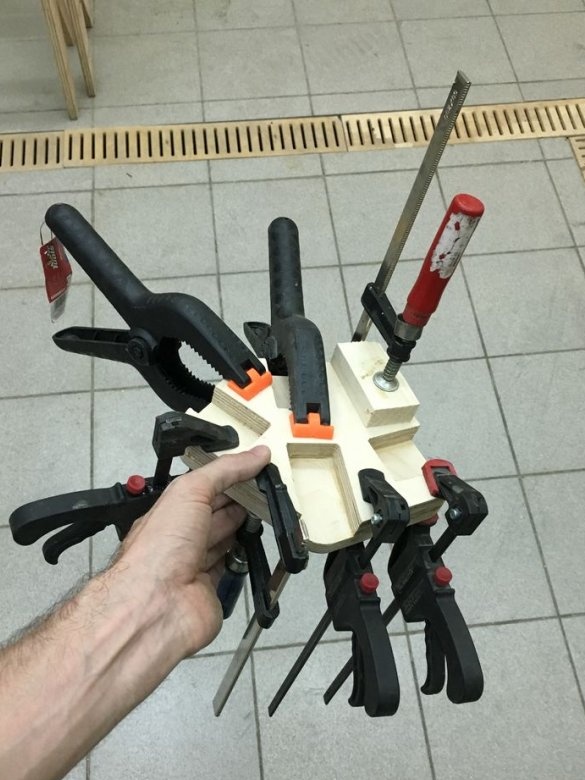
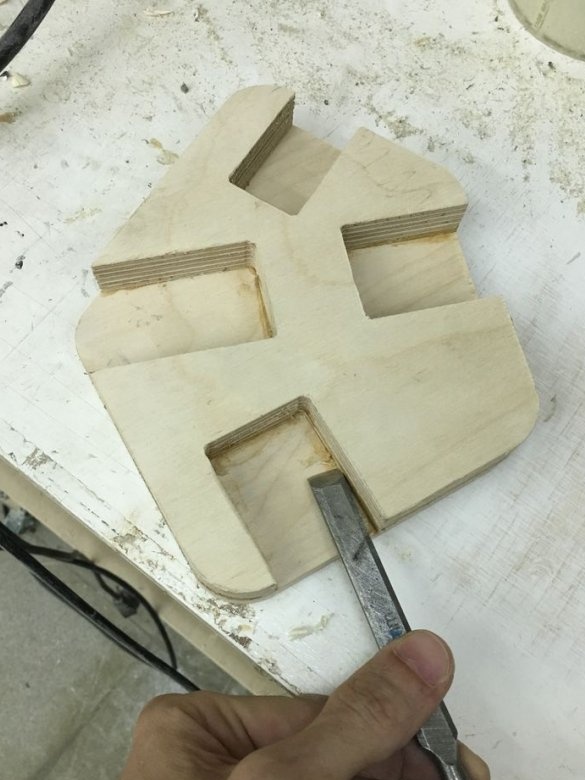
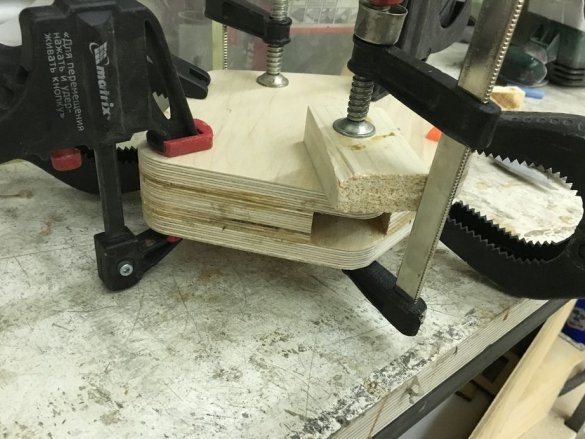
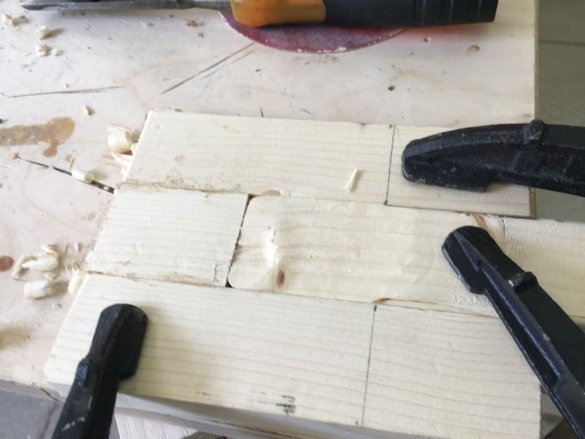
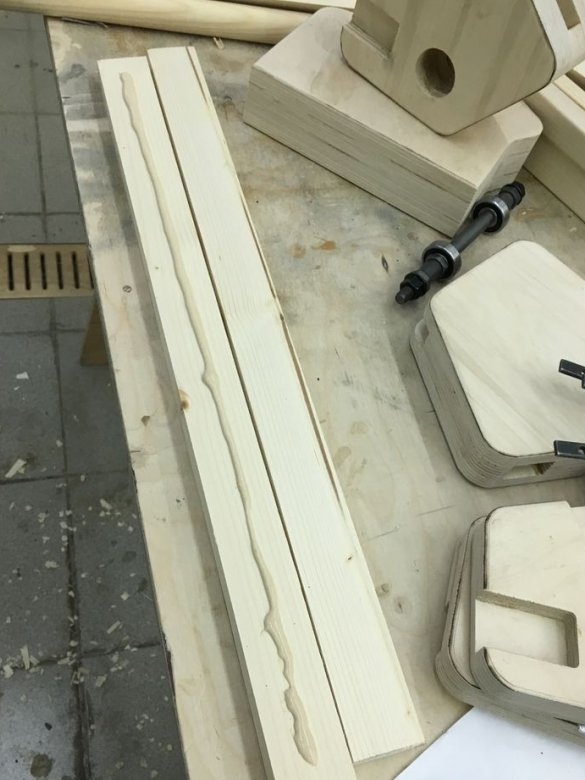
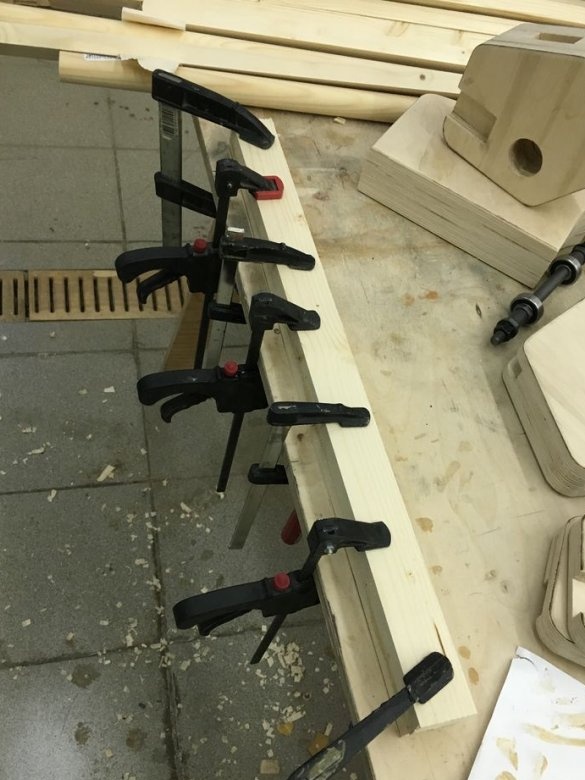
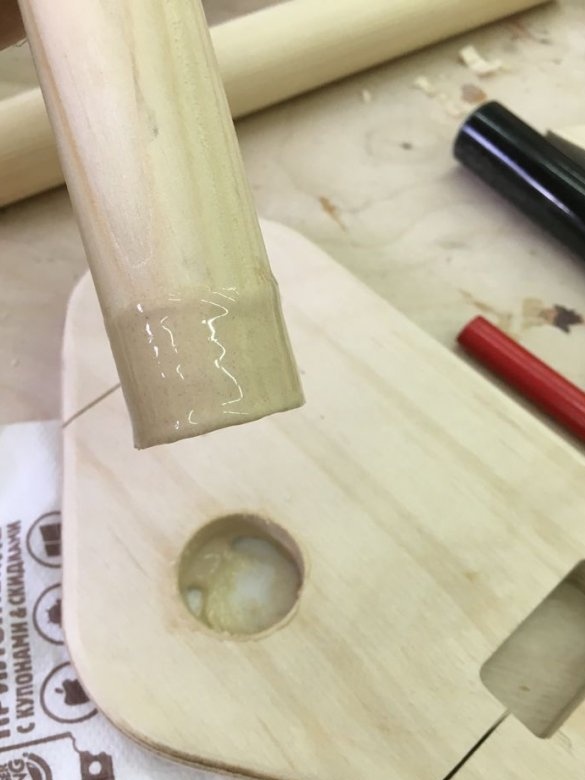
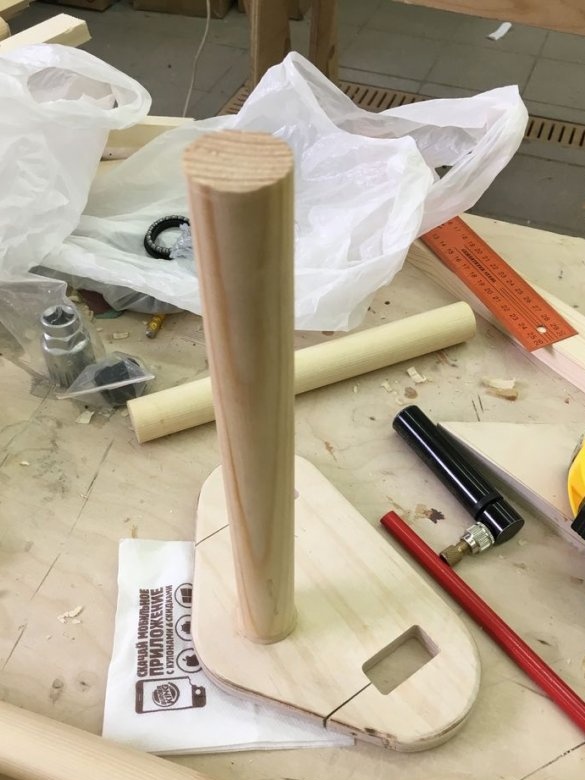
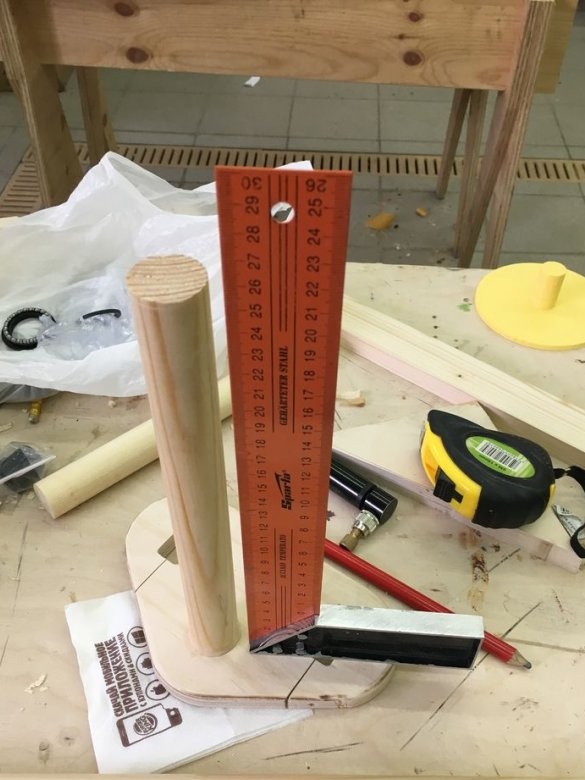
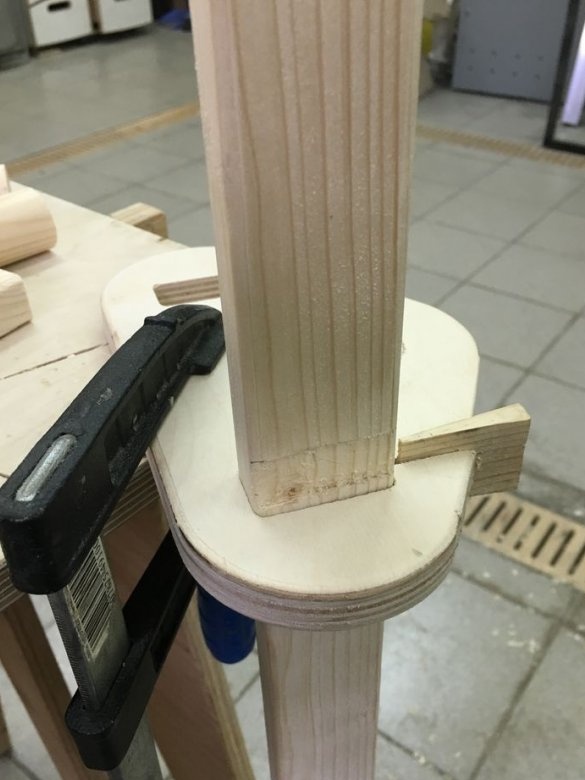
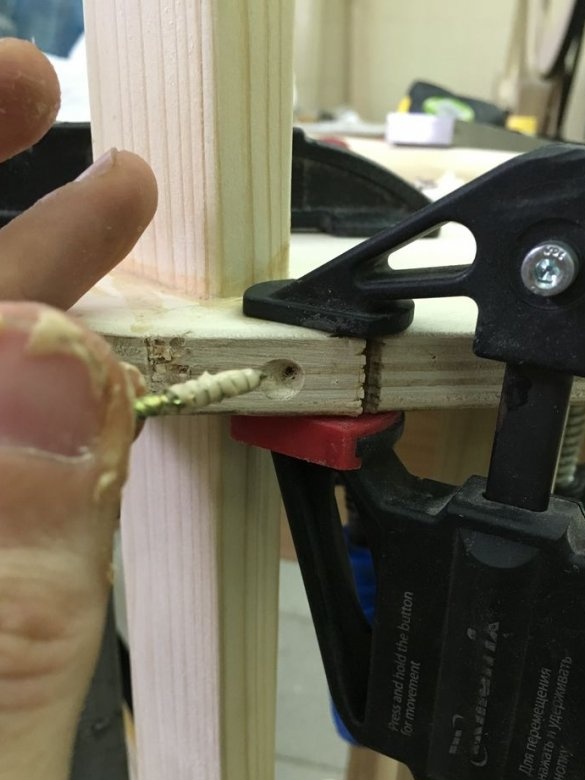
Further, the master glues the part, as in the photo.
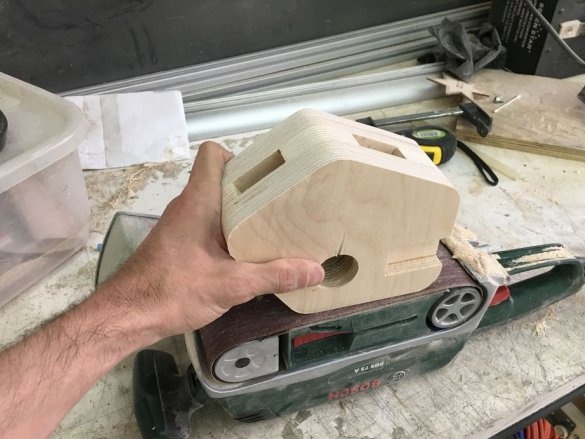
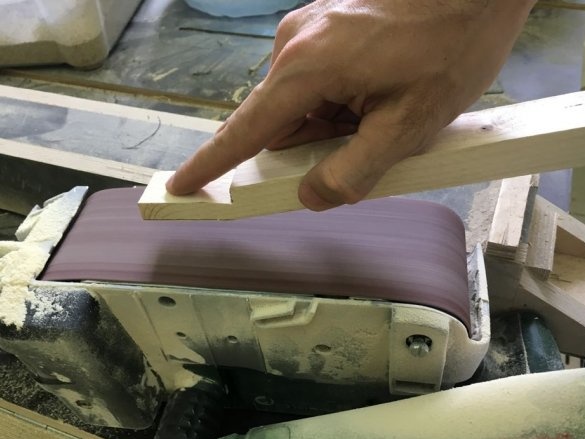
Grinds the part.
Step Three: Frame Details
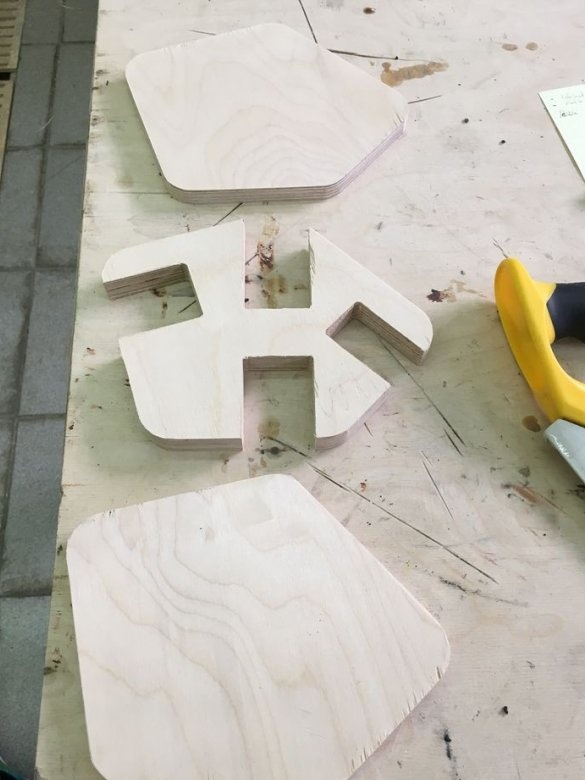
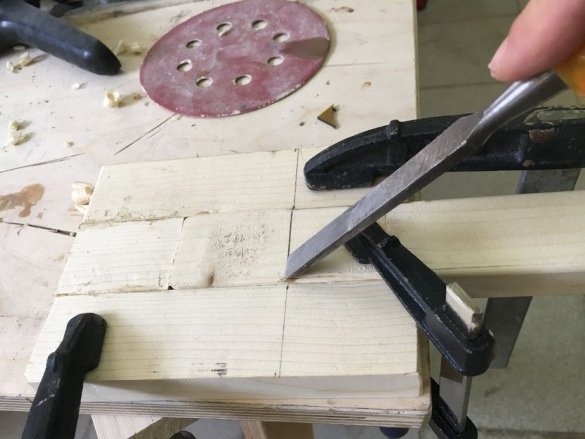
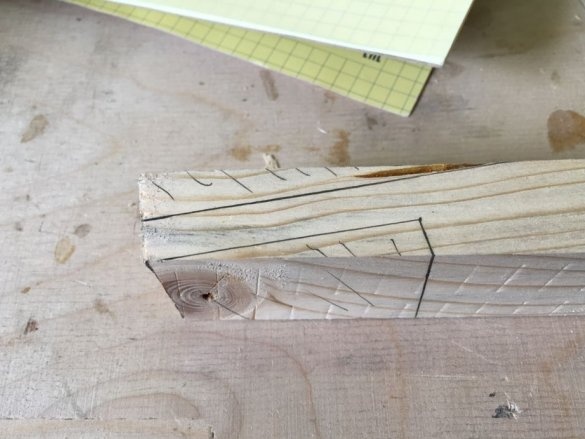
The master had to reduce the thickness of the strips at the joints by 1 mm.
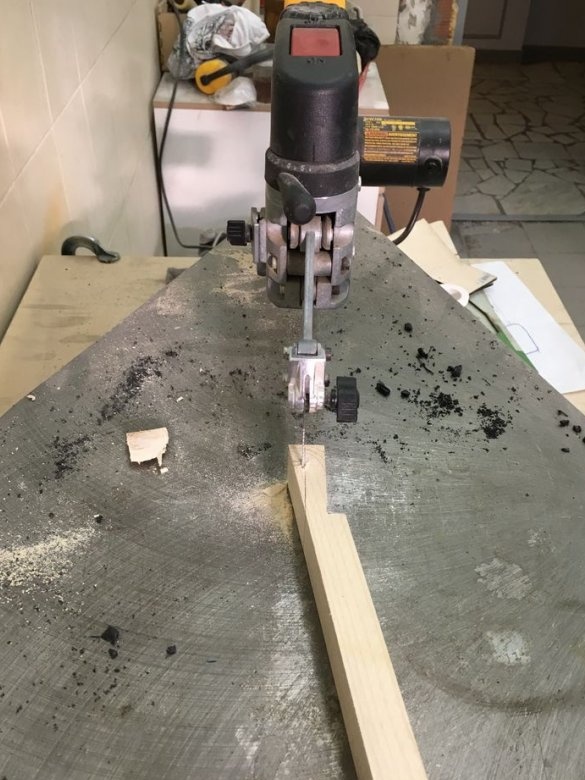
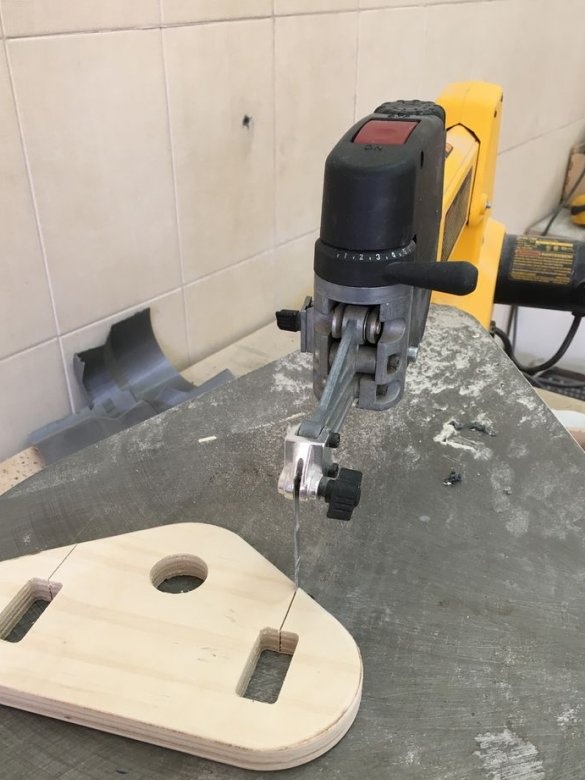
The ends of the strips have a complex shape, so the easiest way to do this quickly is to cut the shape with a laser from files with the names “baseArriereBas” and “baseArriereHaut”. Then the master completes the workpiece with a jigsaw.
And at the end, he glues two pieces together, so the thickness of the part is 40 mm.
Step Four: Hub
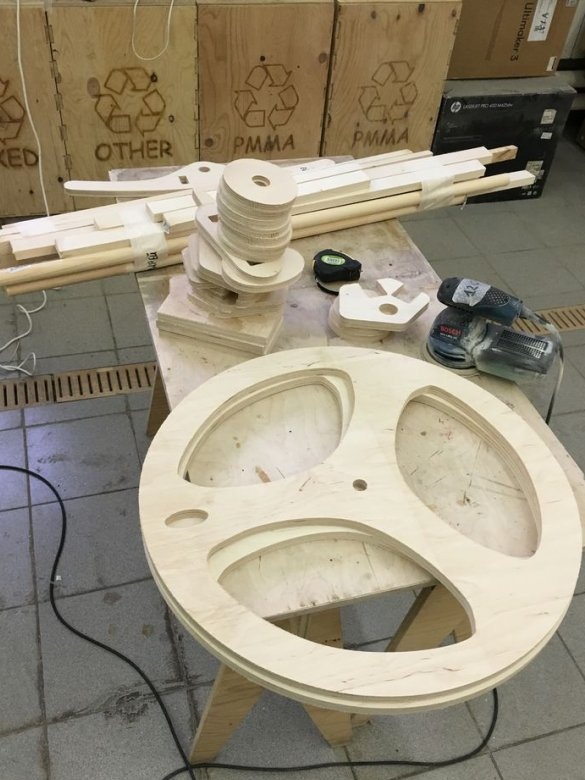
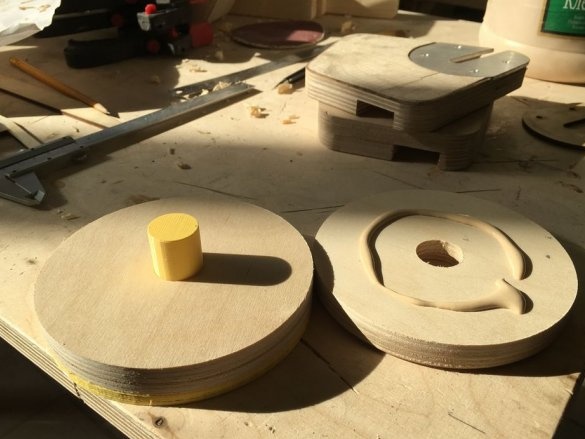
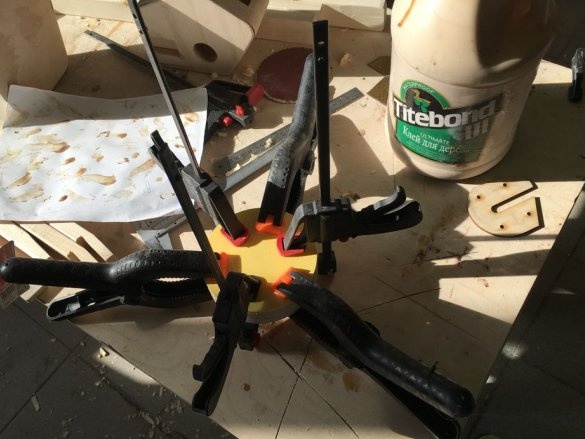
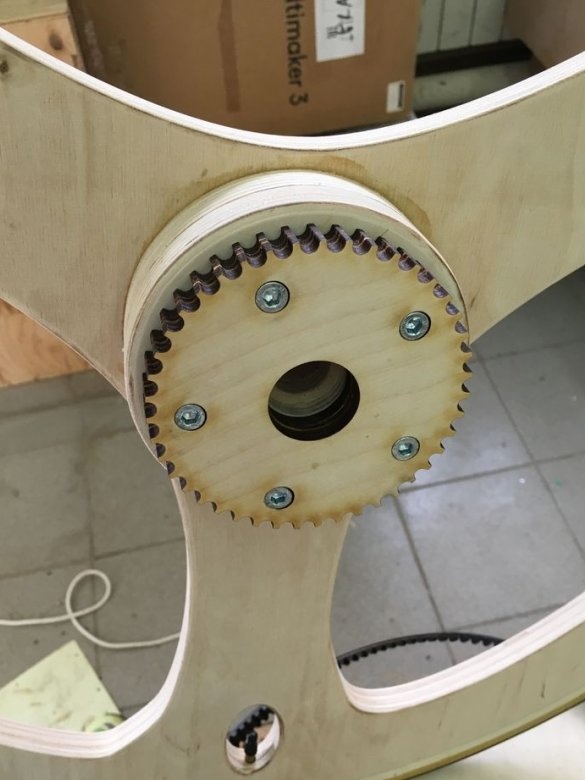
For wheels, the master used a 3d printed pattern to ensure alignment. All discs have a thickness of 15 mm, with the exception of the rear right, which have 18 mm (pulley side).
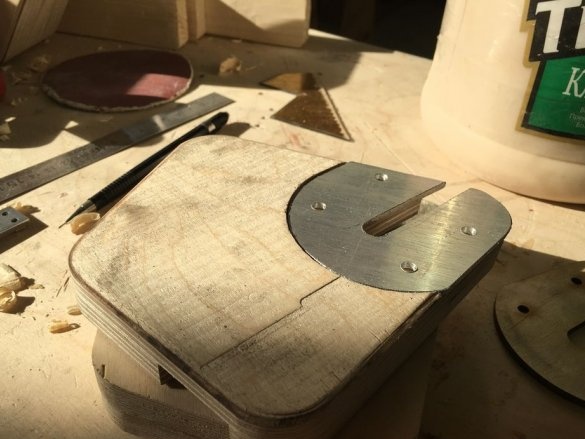
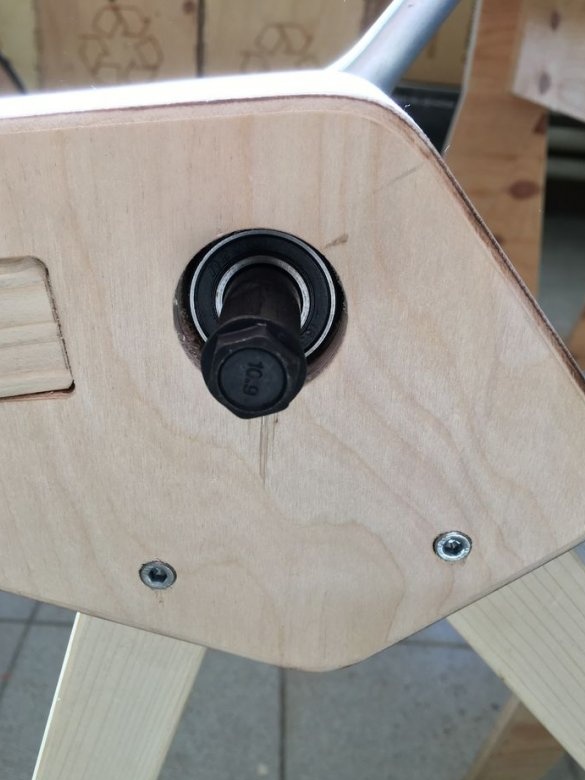
It makes and installs a part from aluminum for mounting the rear axle of the bicycle.
Step Five: Wheels
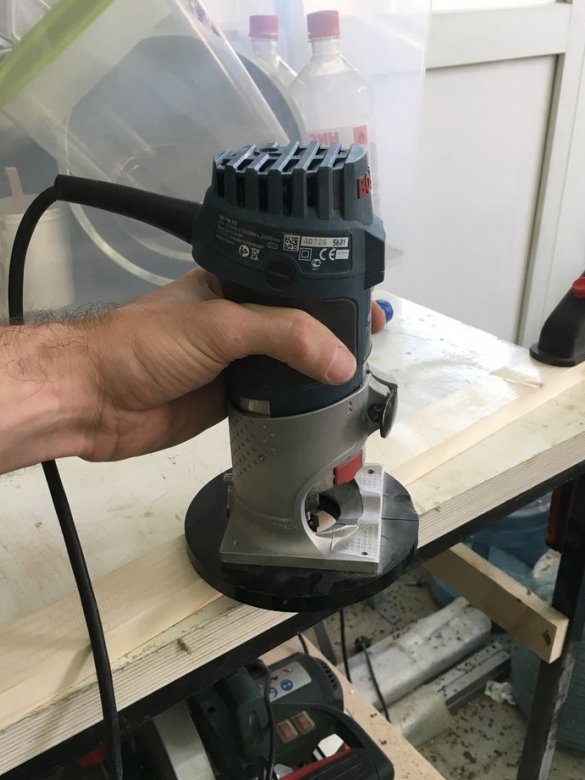
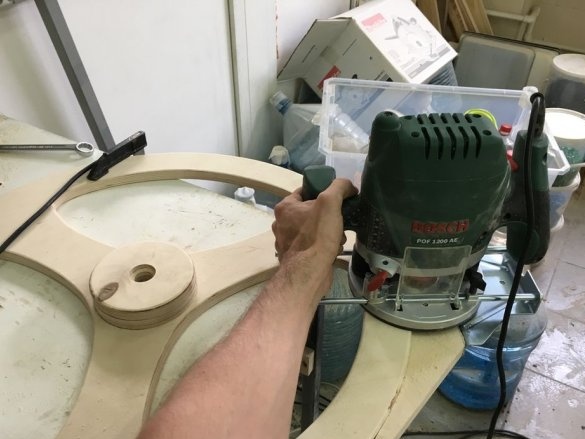
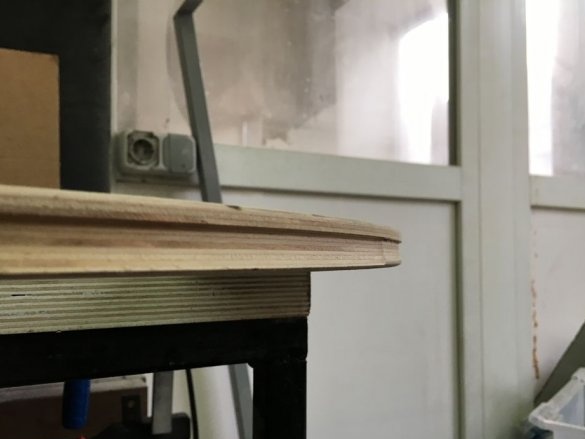
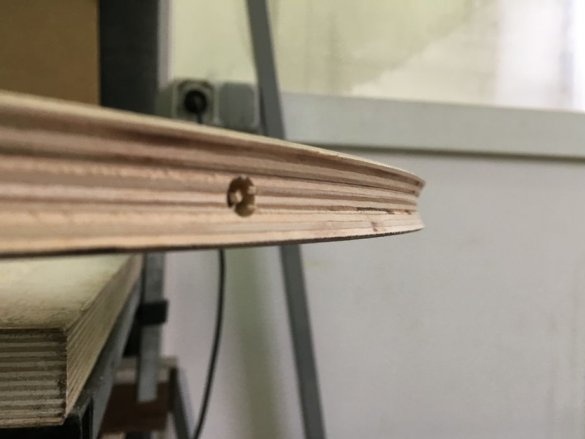
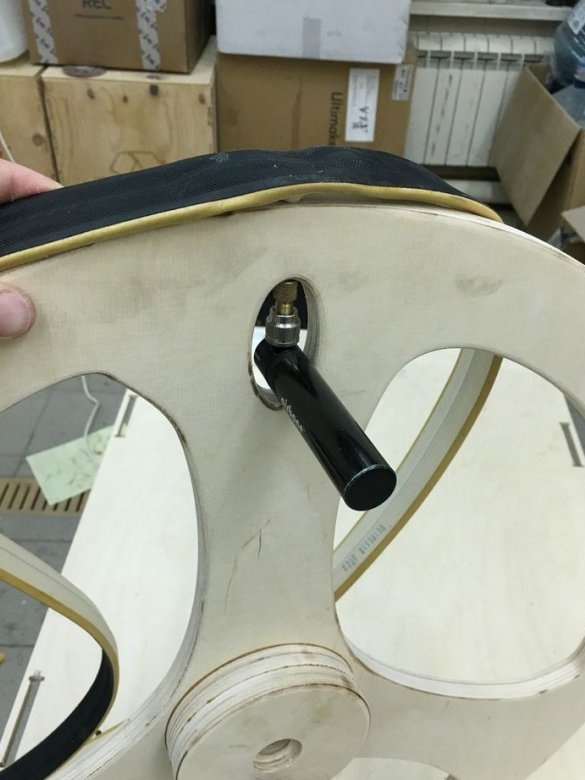
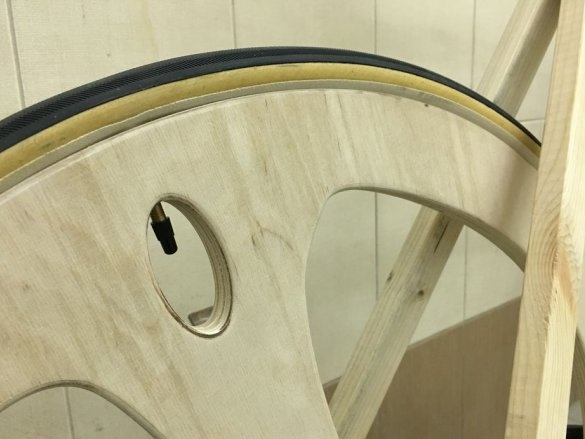
On wheels, the master drills a hole under the nipple and cuts out a seat on the outer part of the rim for installing a tire with a camera. The master used a 25 mm drill. The cutout should have a depth of 3.5 mm to fit the 622 mm tires. The master made a slot in two passes: first on one side, then on the other side. After installing the camera with a tire, I pumped the camera with a pump.
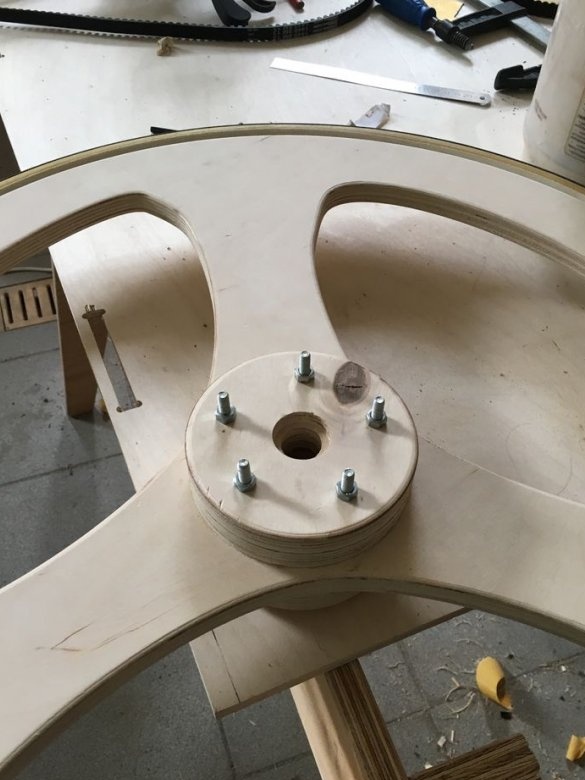
The last step is to drill 6 mm holes in the hub (use the “chablonTrou” shape as a template) and install 5 M6 x 100 screws.
Step Six: Asterisk
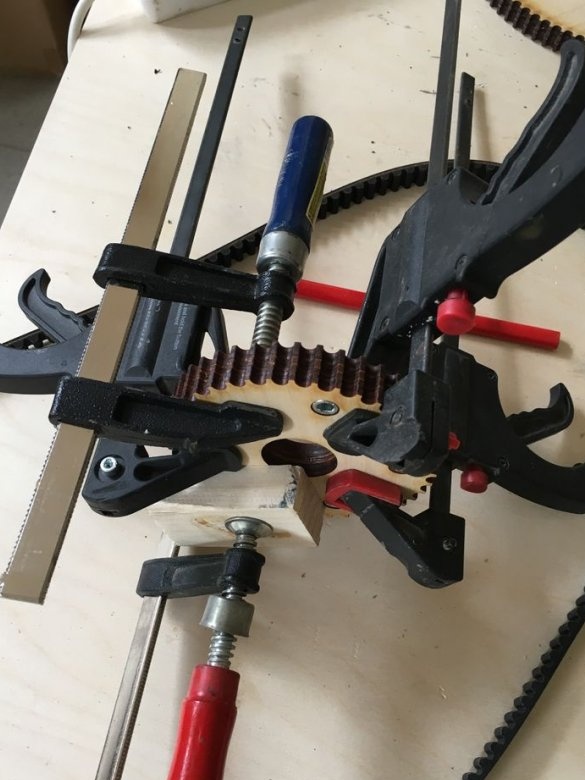
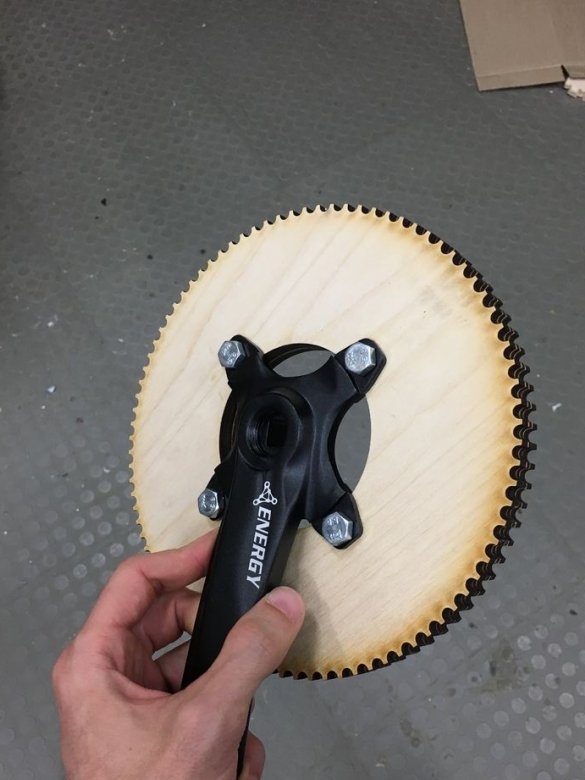
The master used a laser cutter to make the gear, but you can also mill it in 15 mm plywood. The master glued three 5 mm layers together. Then set it on the pedals and rear wheel.
Seventh step: fork
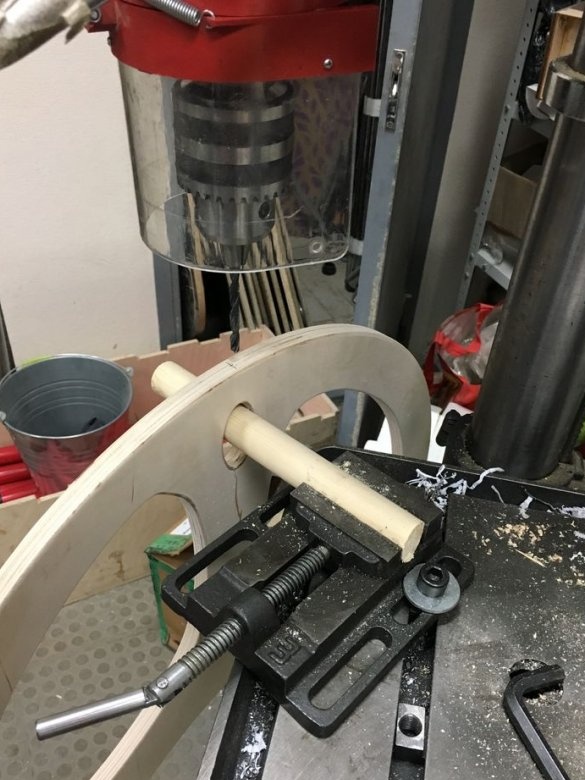
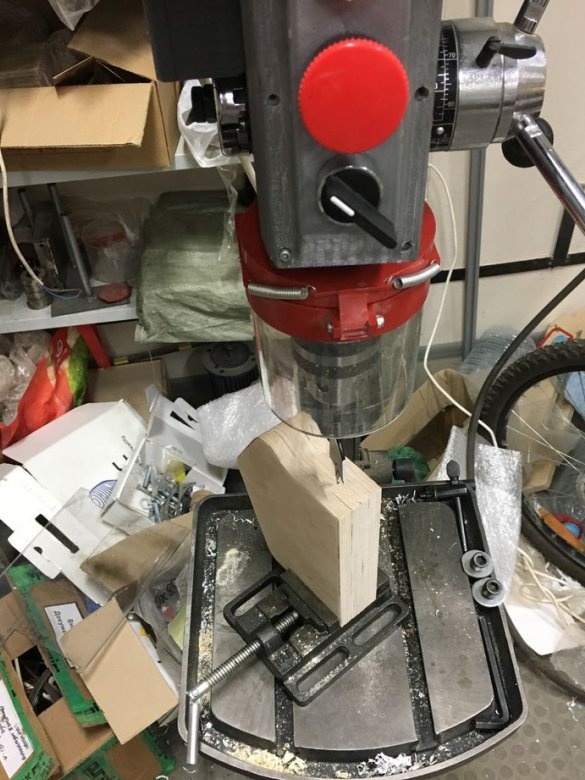
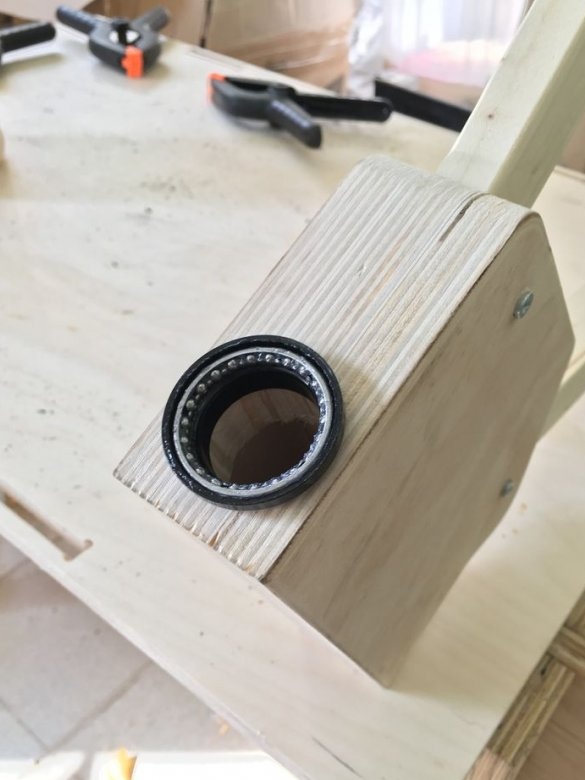
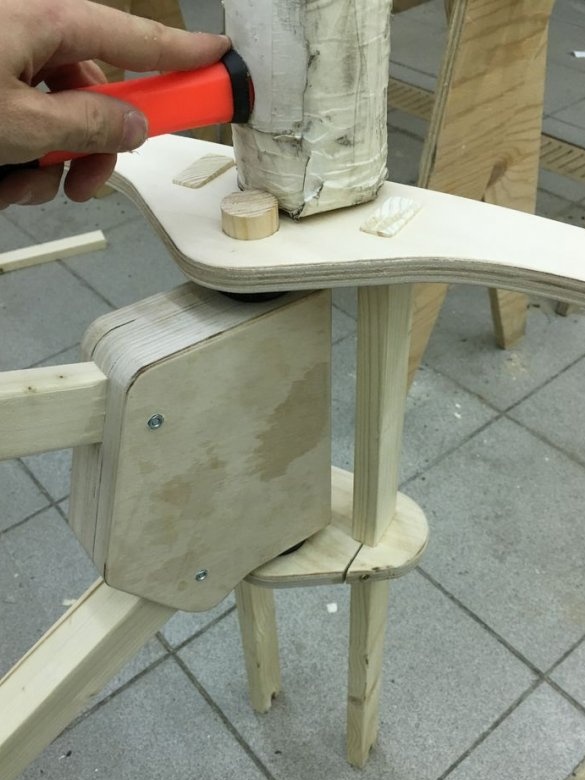
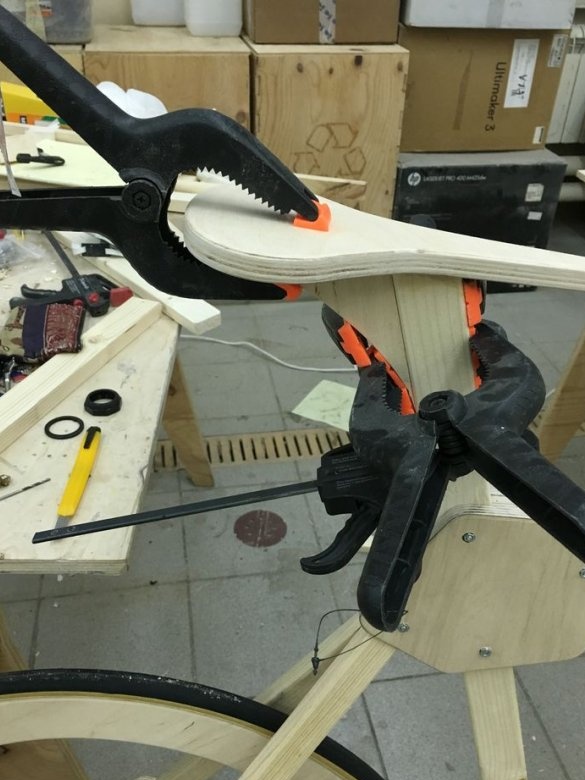
Drills a hole for the plug with a drill with a diameter of 34 mm. Then it drills 4 mm screw holes and assembles the frame with glue and M4 screws. Sets bearings.
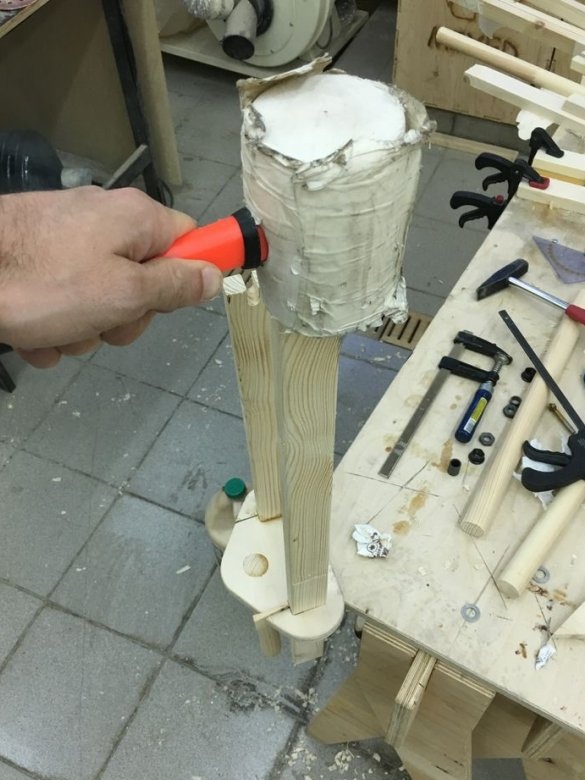
Cuts the bottom, as in the photo. Connects two parts of a fork with a dowel and two slats.
Step Eight: Saddle and Pedals
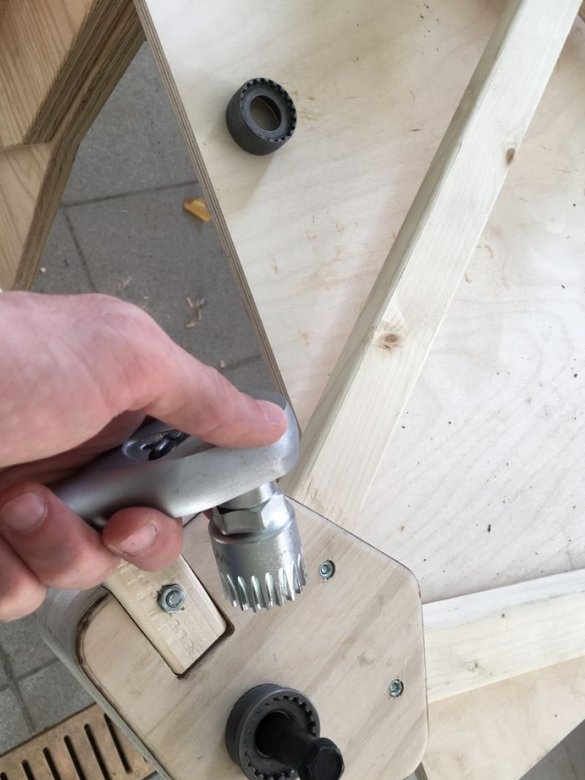
Establishes a saddle and fastens pedals.
It remains to cover the bike with varnish or paint, put on a belt and you can go on a trip (but with caution).

