
In today's article, Vladimir Natynchik, author of the YouTube channel of the same name, will show how he managed to do do it yourself such an electric scooter.
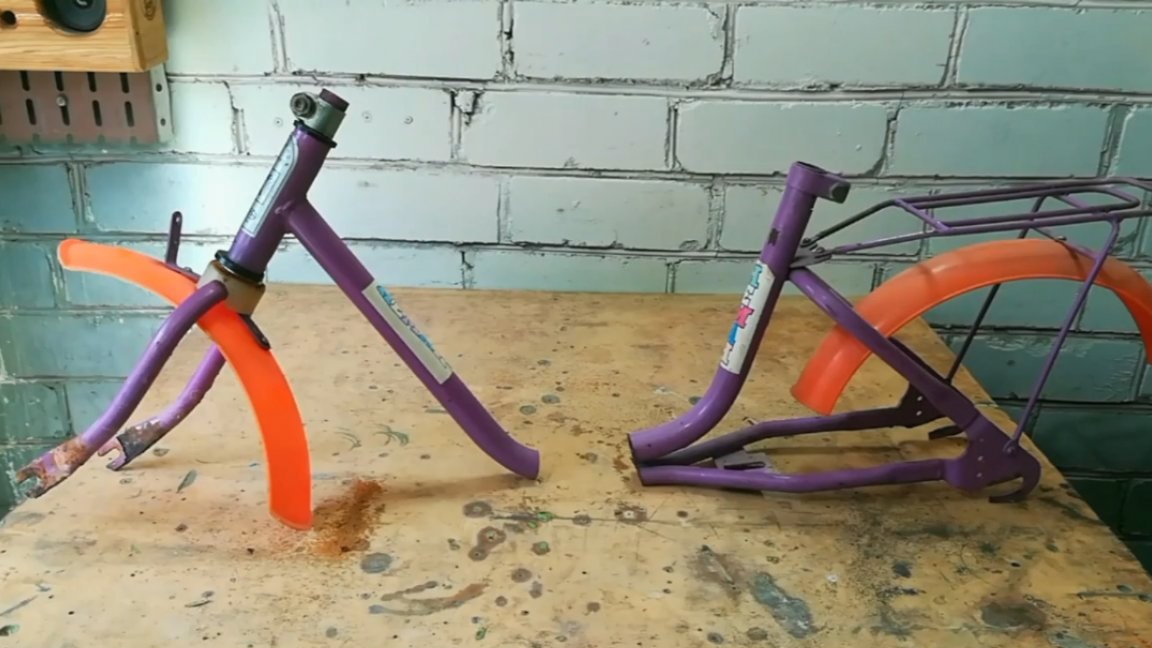
This miracle will serve as the basis for the future electric scooter:
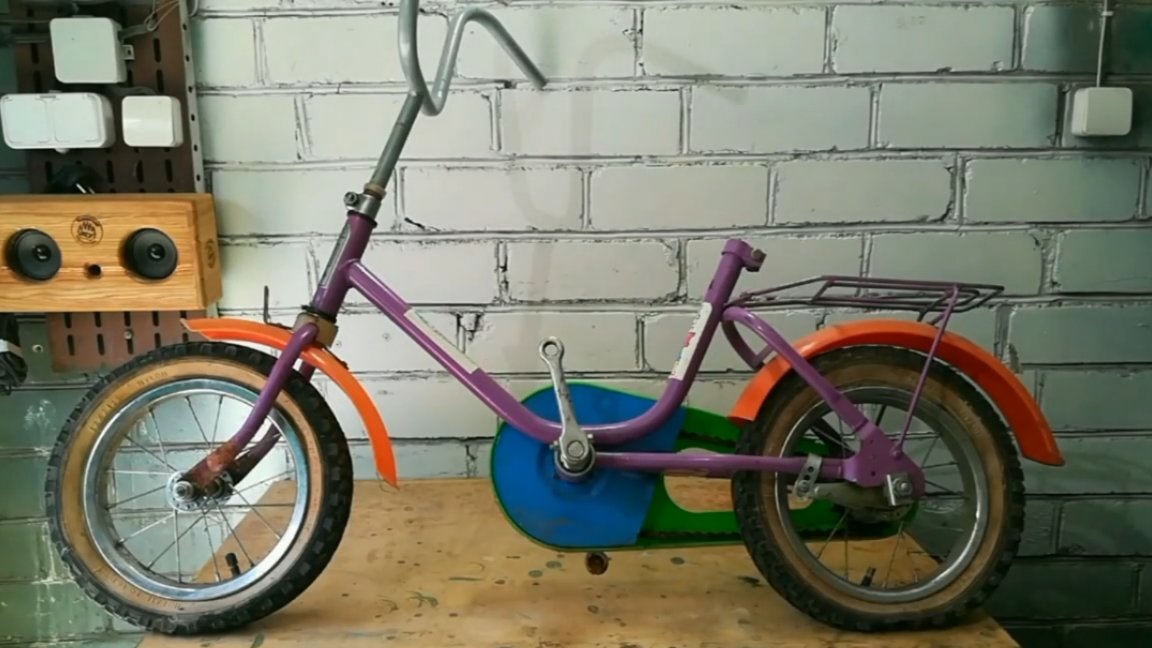
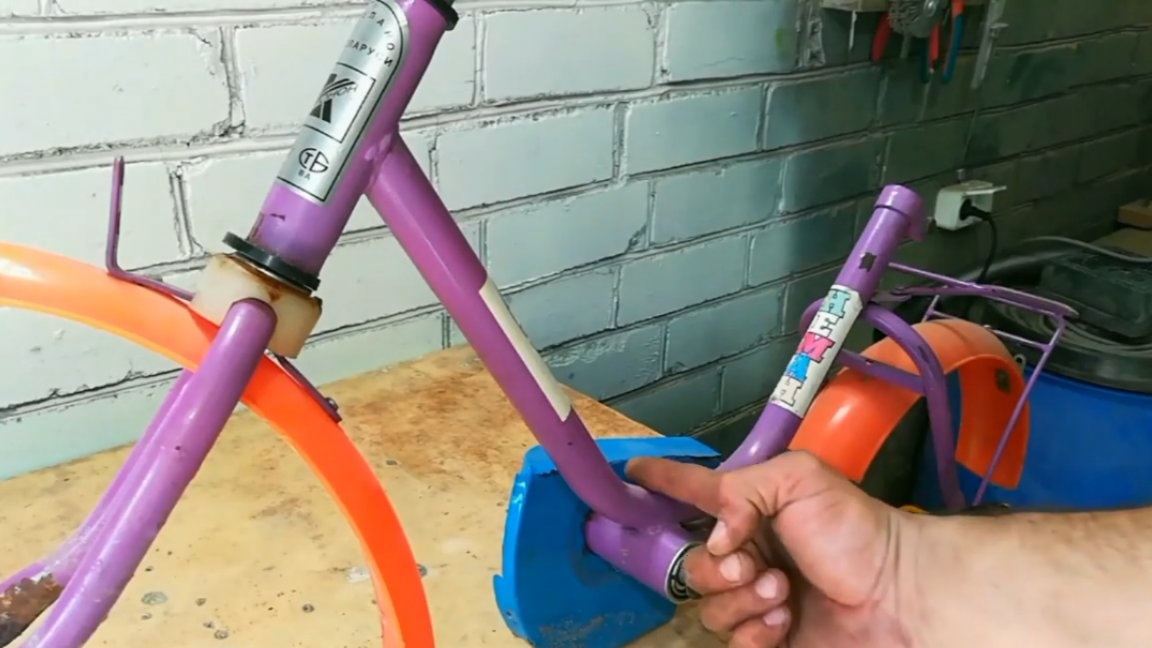
The first step is to disassemble the children's two-wheeled bike.

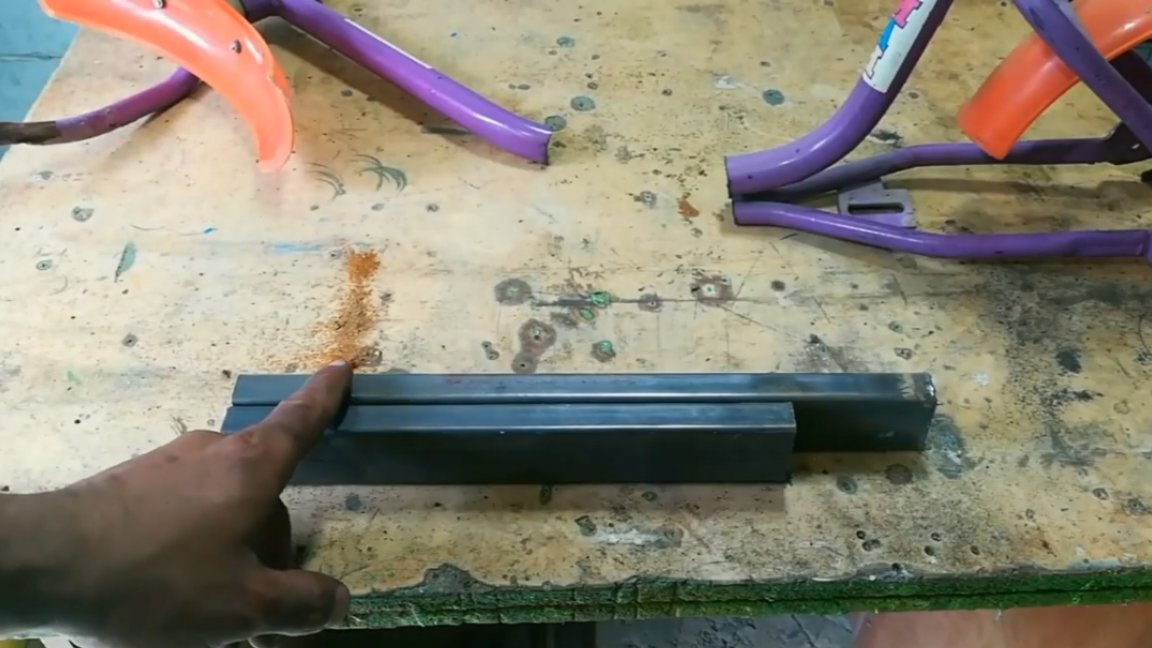
Next, you need to cut the frame in half and remove the middle part.

So, the frame was cut, now we take the profile and cut out two identical blanks from it to make the base.
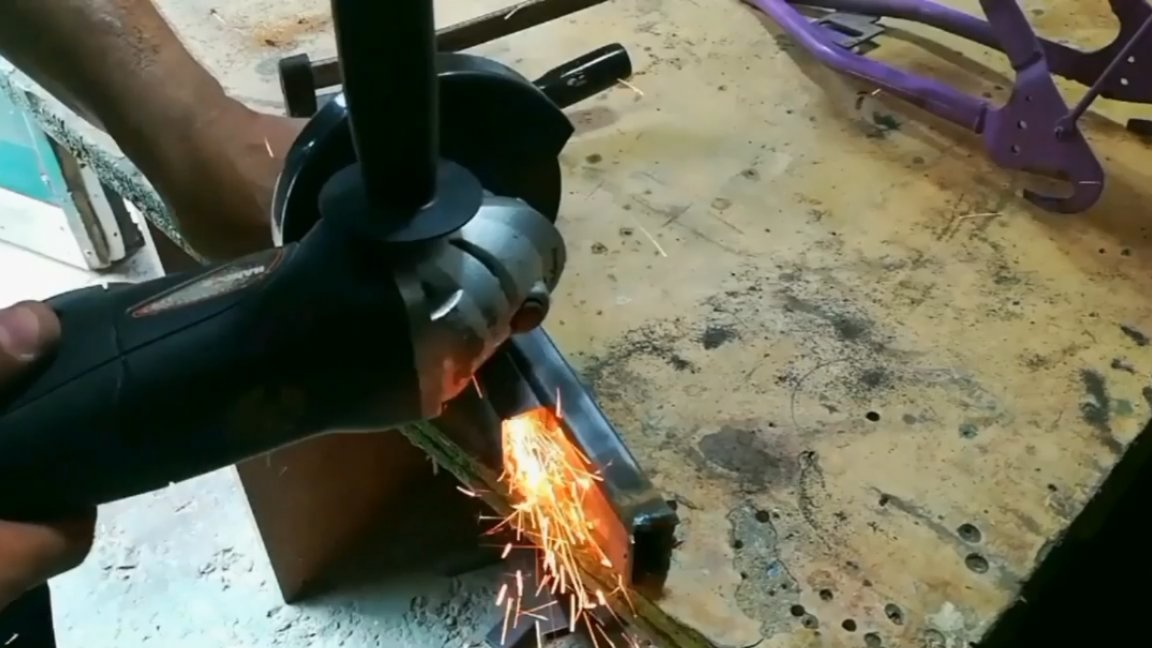
Then we take 2 more authentic profiles and also cut 2 workpieces of the same length.

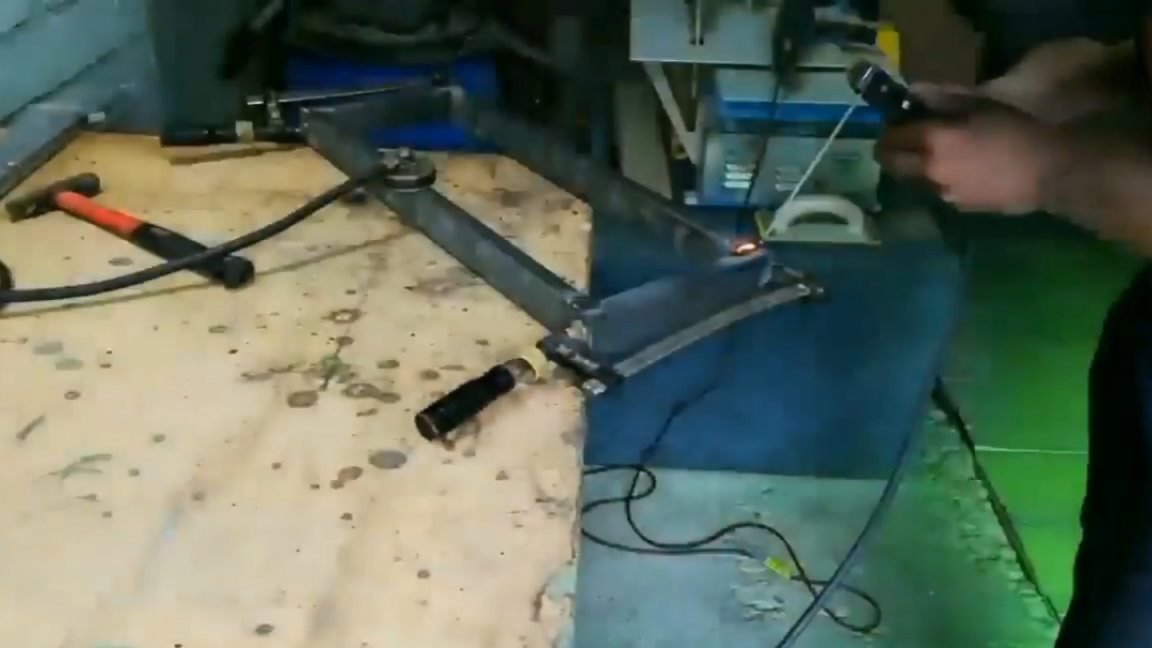
We assemble the following construction from the resulting parts.
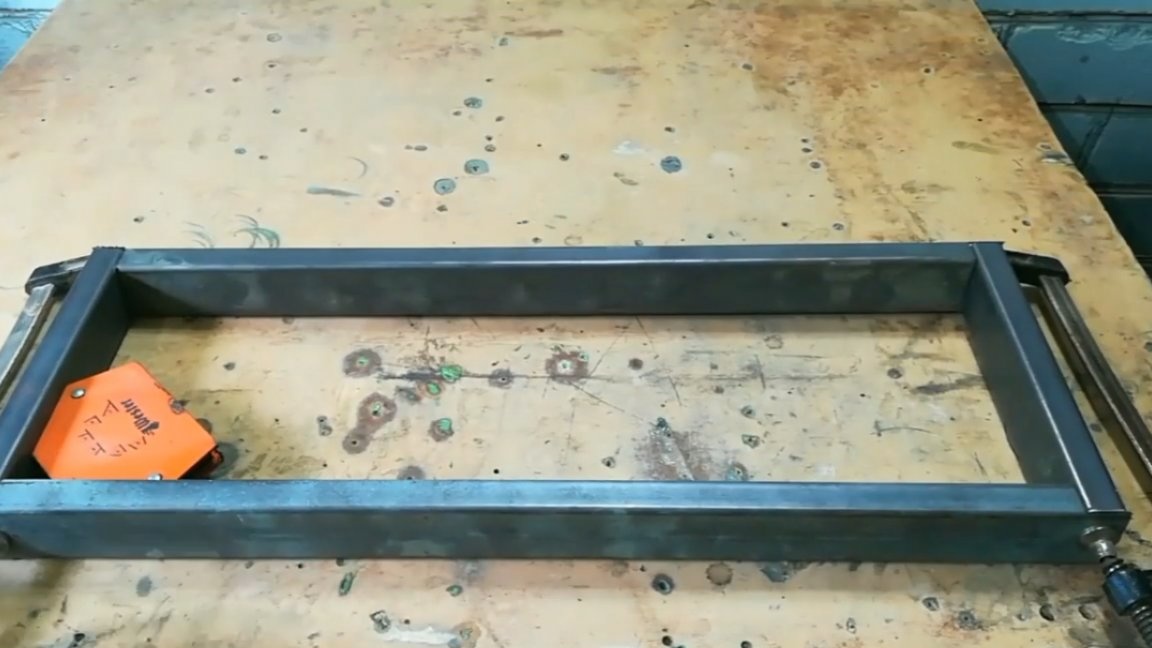
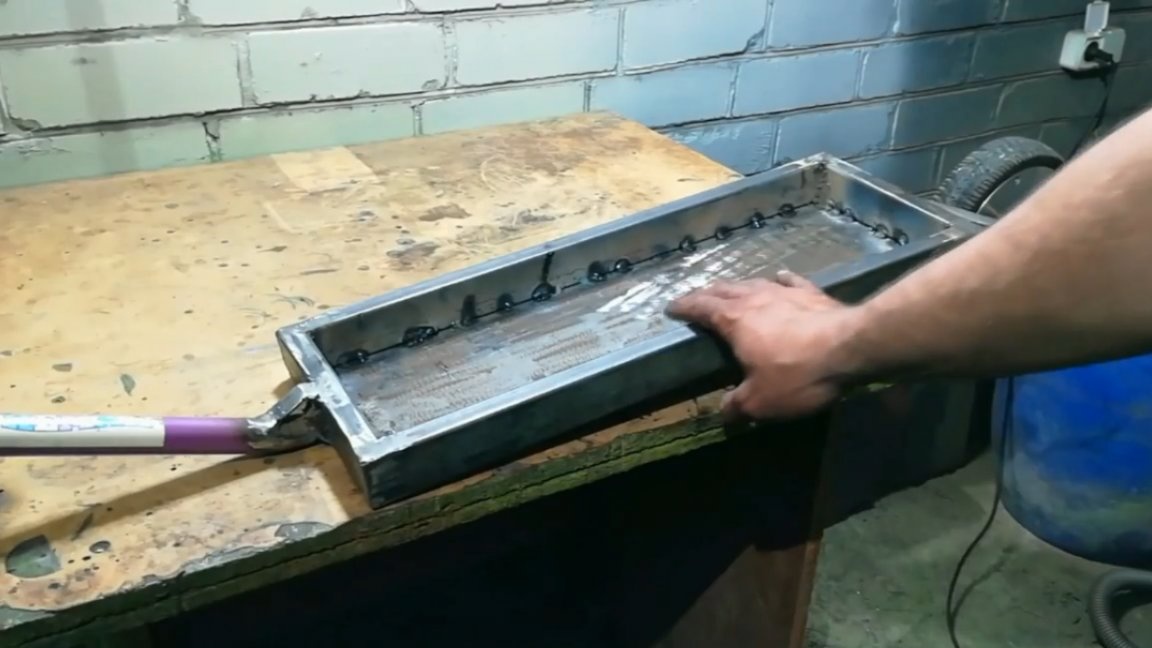
All angles converged remarkably, now you can start welding.
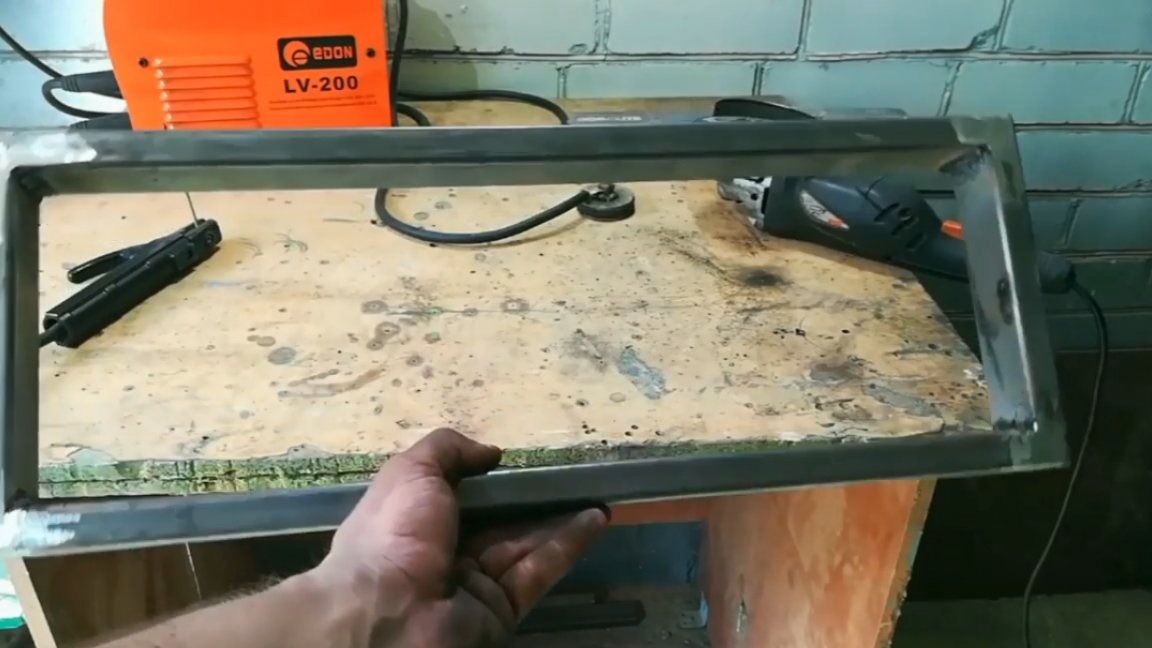
Here is such a framework in the end should be:
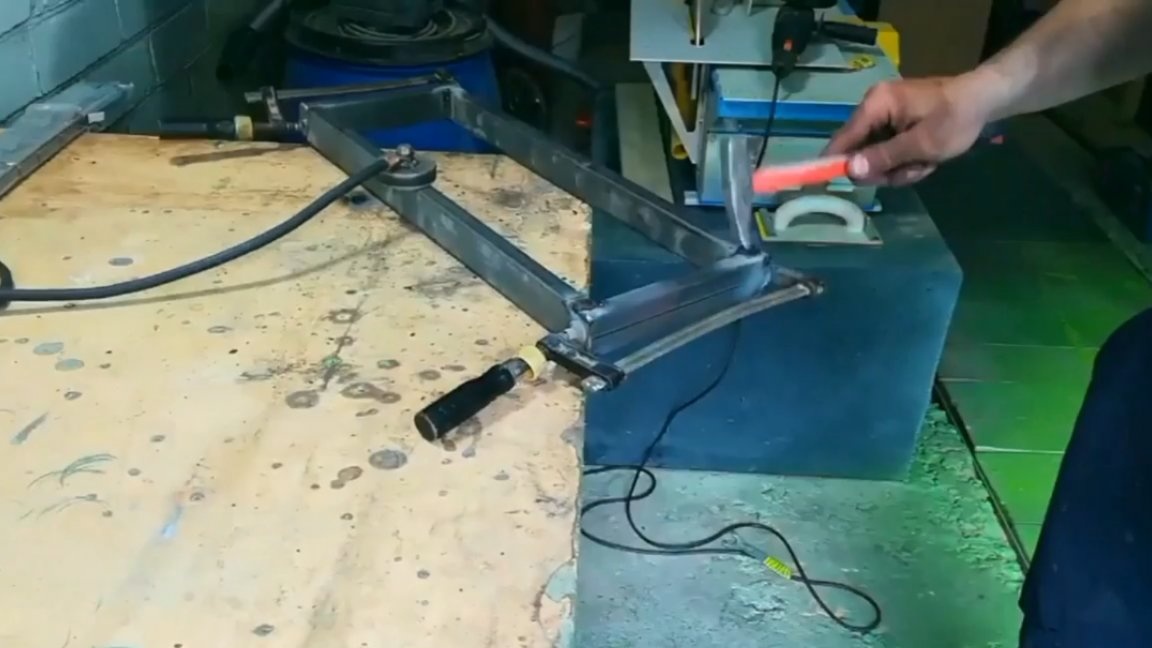
By the way, the author performed these welding work with two electrodes. Next, you need to weld the front part to our newly obtained frame.
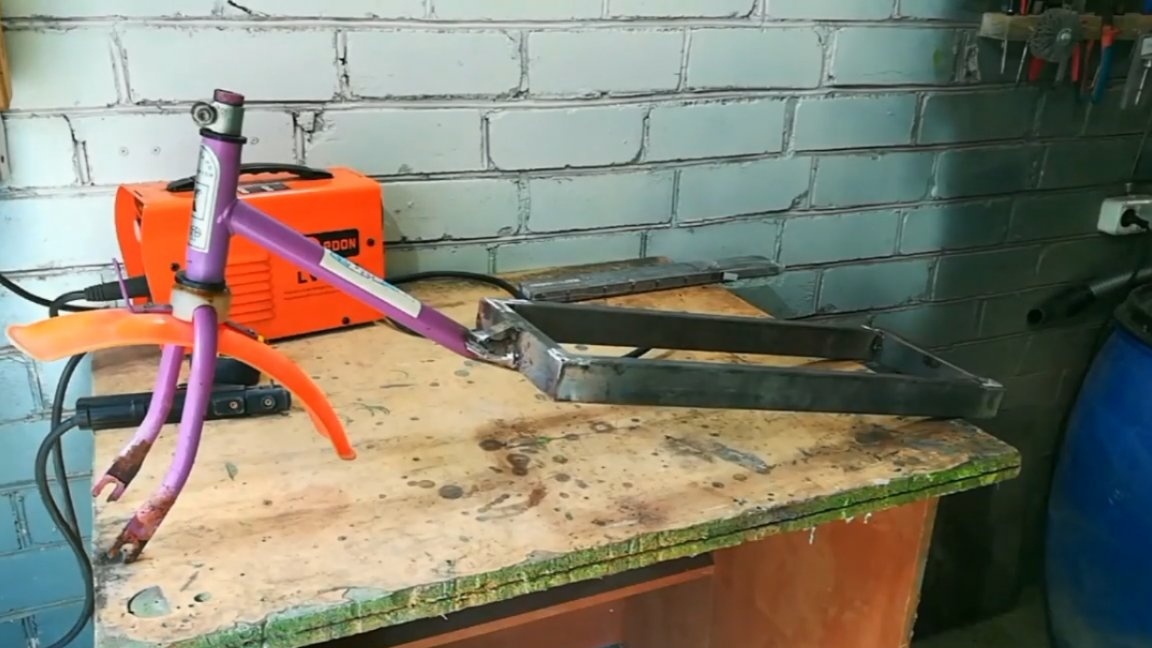
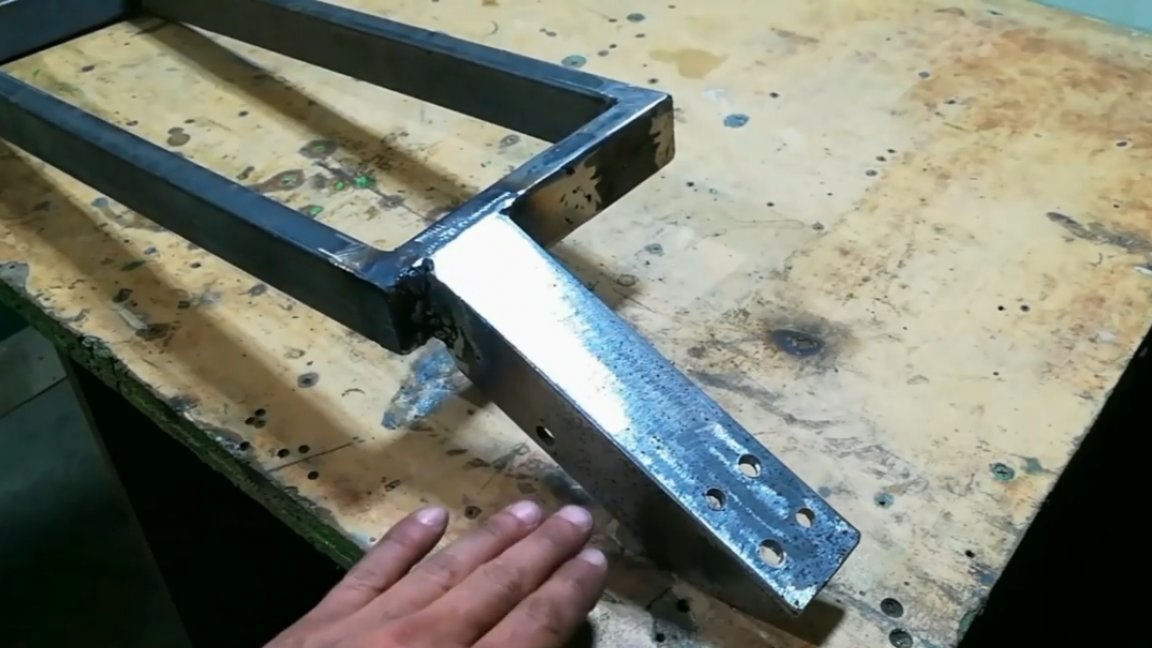
Then the master wanted to do the same with the back of the bike, i.e. weld it to the base, but still decided to slightly change the design of the future scooter and instead of the bicycle part, such a corner was welded:

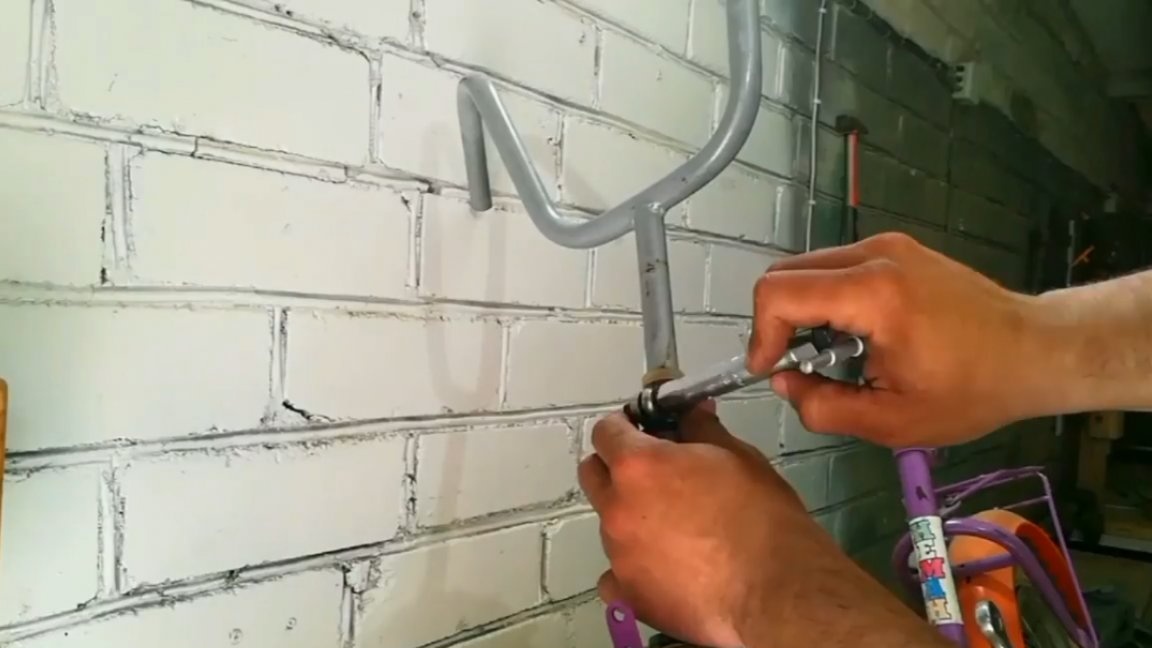
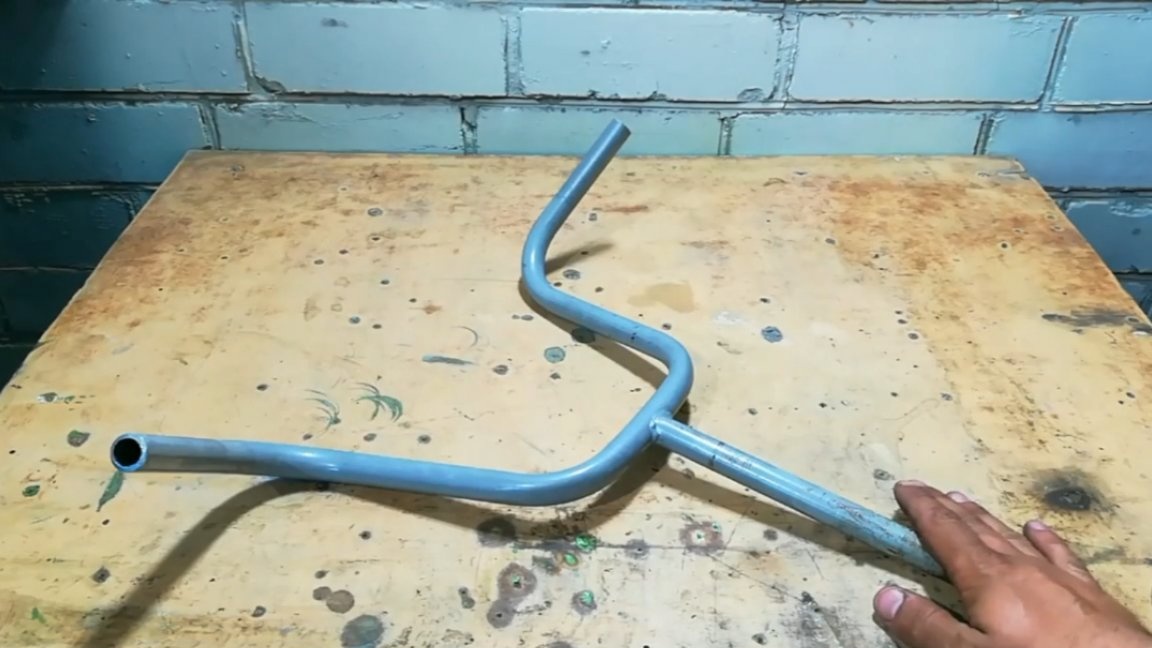
Instead of a native steering wheel:
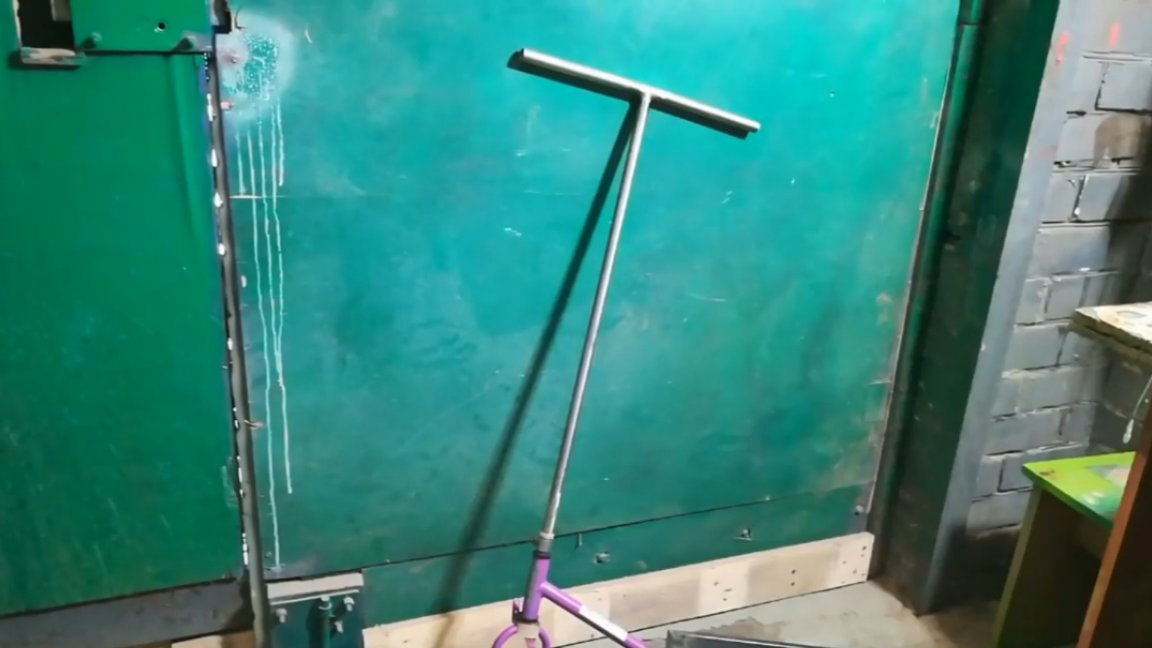
It was decided to use this wheel:
Then we need a gyro scooter. Remove the wheel of the hoverboard.
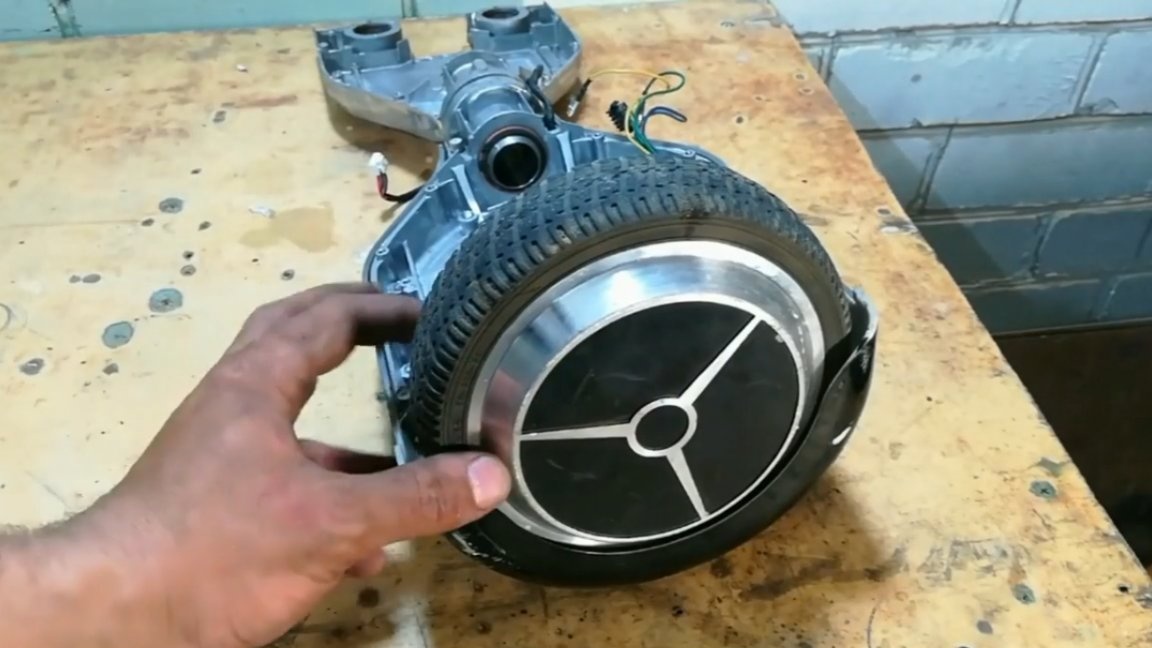
We also need this part:
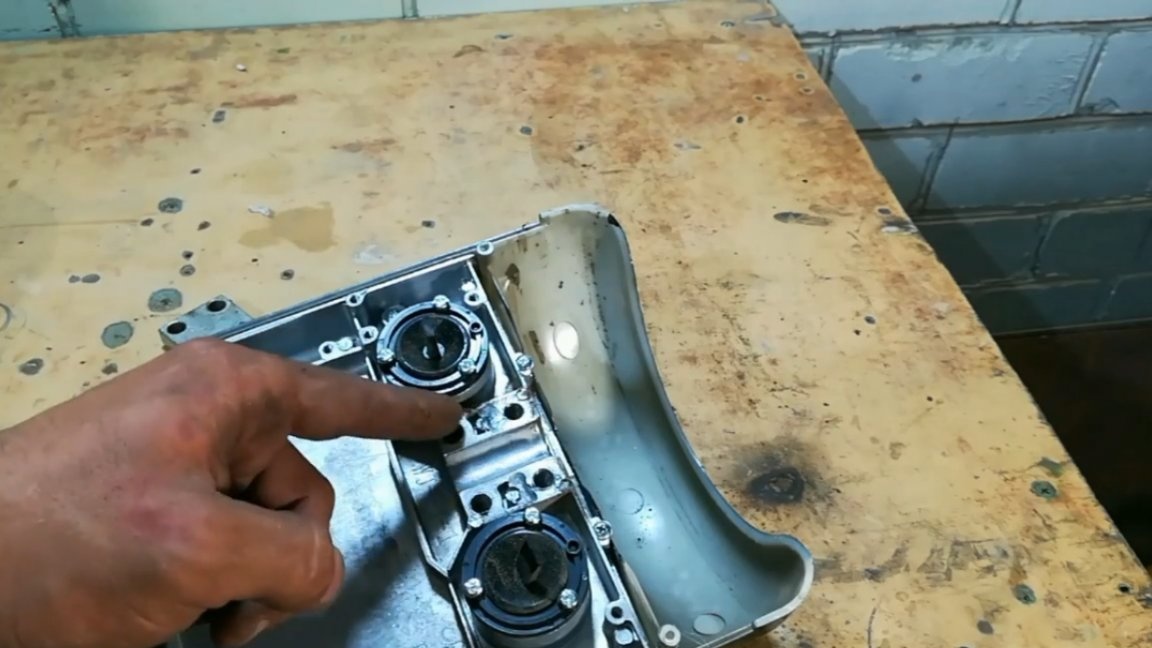
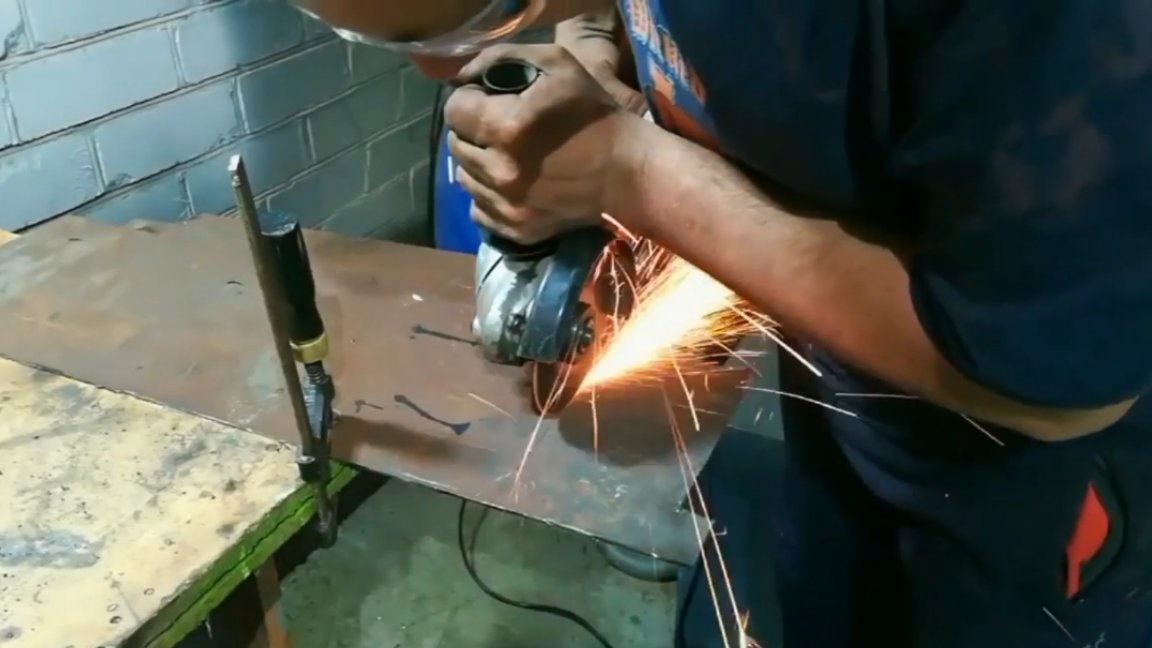
Cut it with a grinder.

By further action we will need to achieve smoothness (sand) this part, since it should fit snugly against the corner.
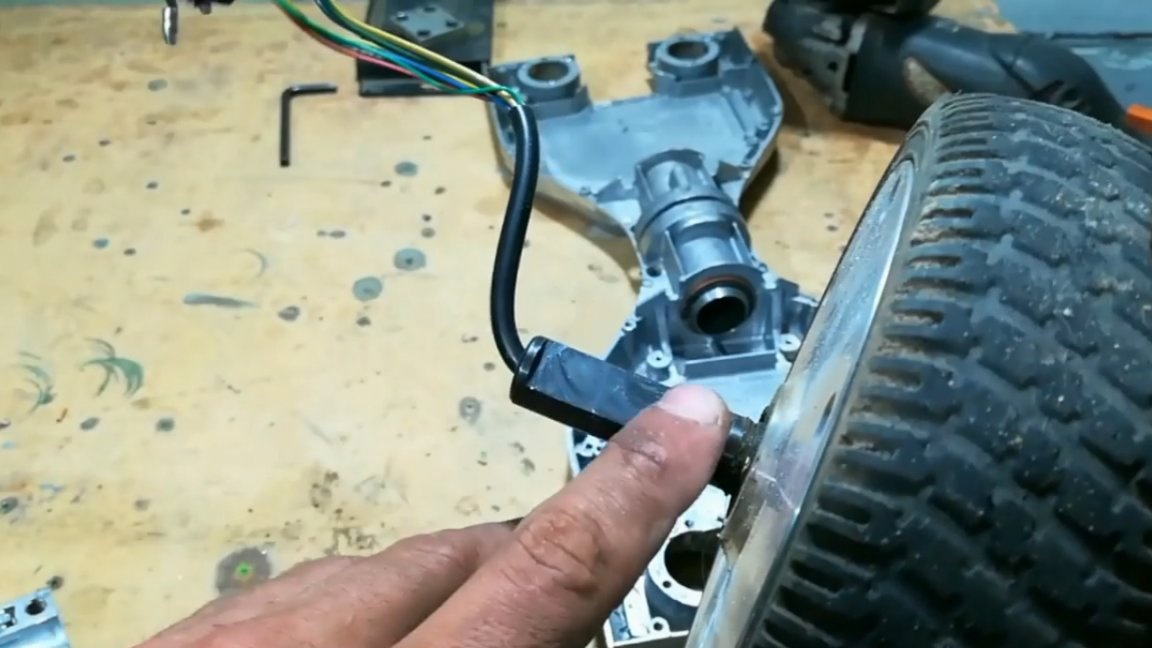
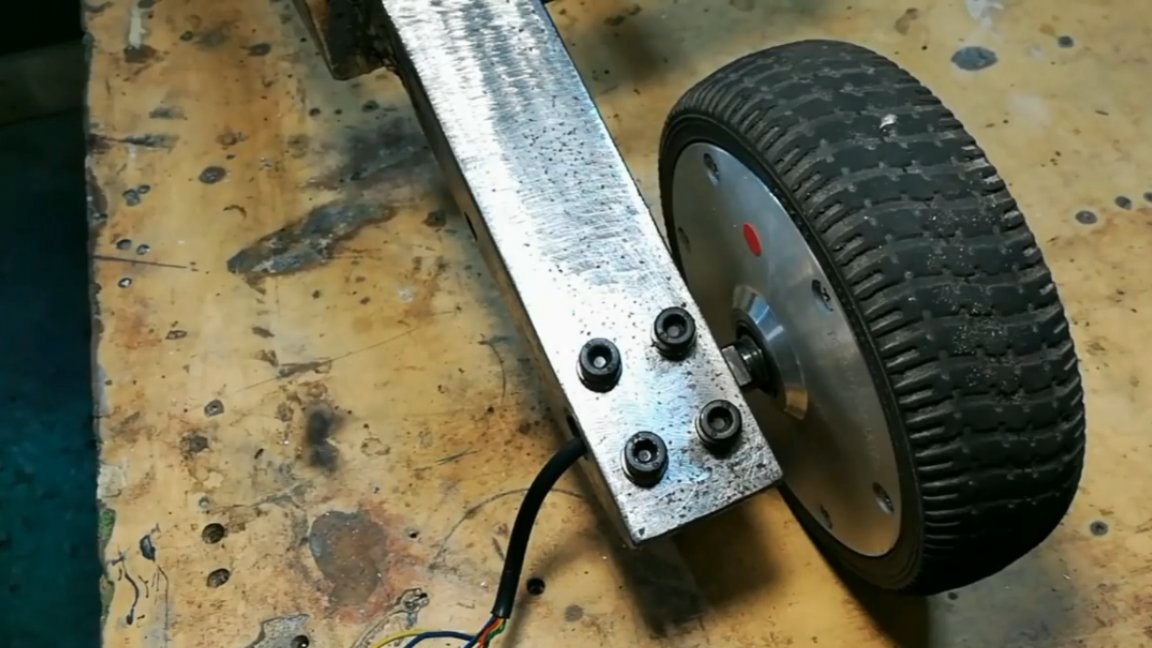
Set the wheel. The polished part does not allow the axis to rotate, which is fixed on the corner, the wheel rotates - the axis is stationary in place.
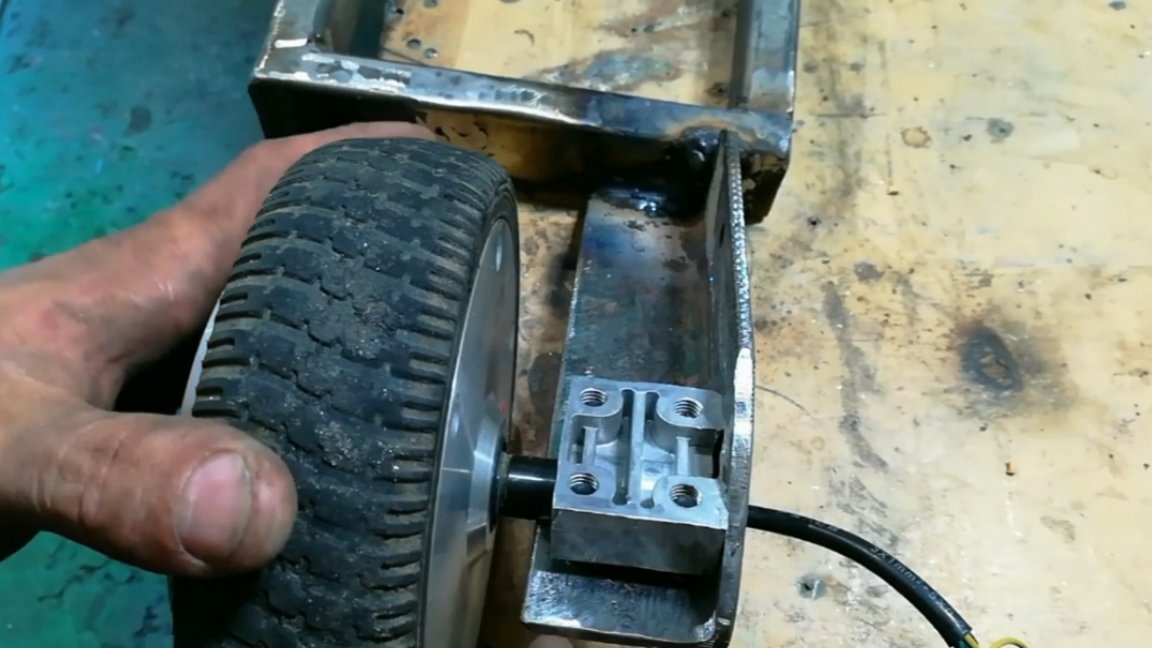
This is how it looks on the other hand:
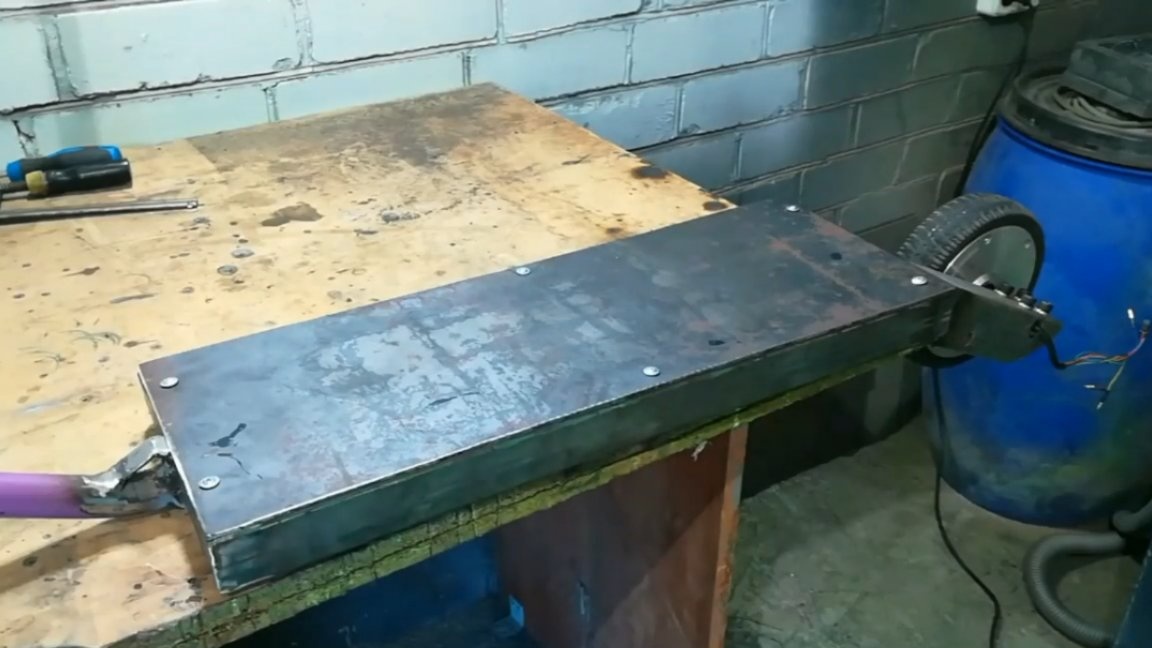
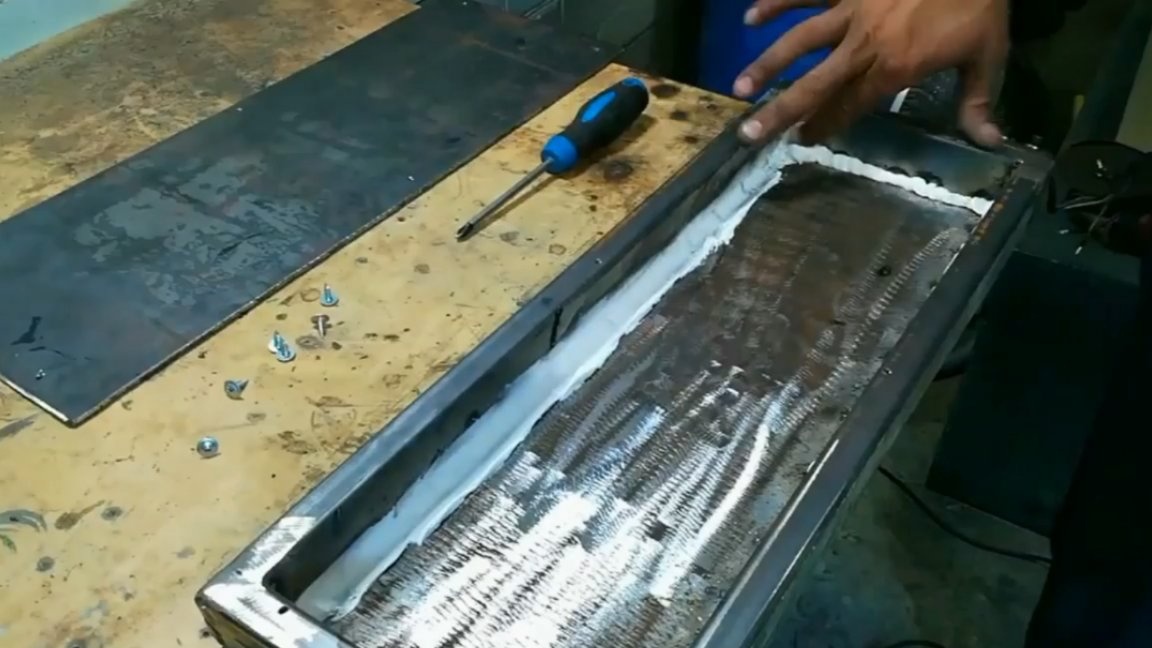
Next, close the bottom of the frame. For this, the author cut out a piece of suitable size from tin.

Now you need to boil the whole thing.
The bottom is welded, now you need to cut the top cover. It will be fastened with self-tapping screws, since we will need periodic access to the internal components of the future product.
The top cover is ready, fitted and fixed. Now we disassemble the structure and carefully lubricate the joints with silicone to make the frame airtight.
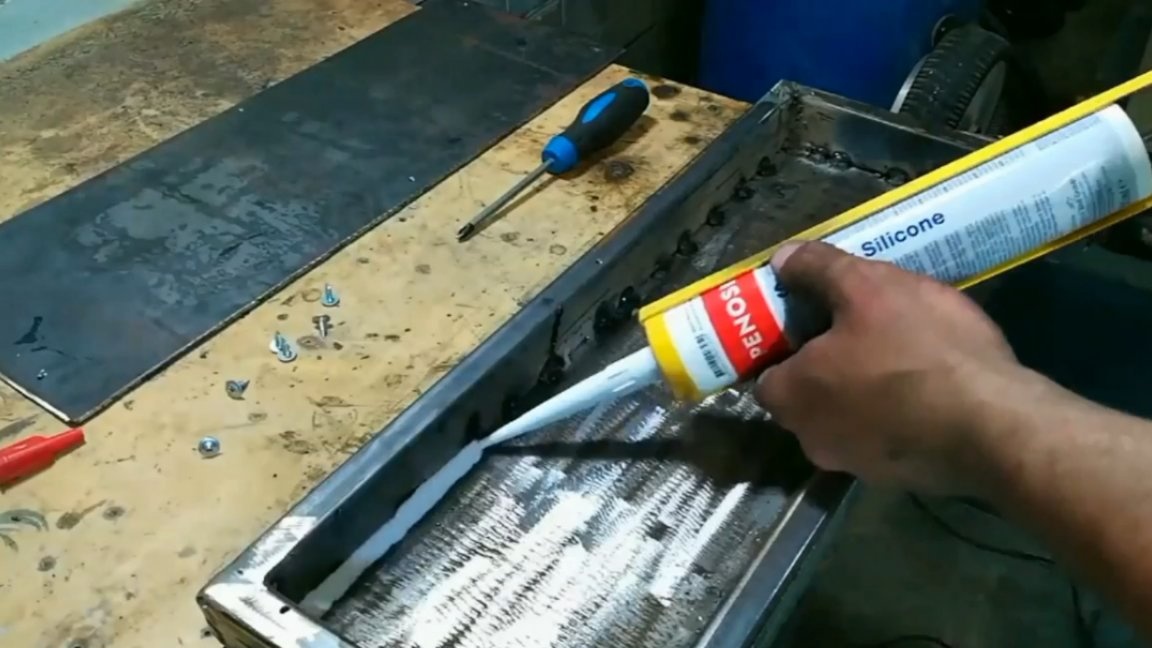
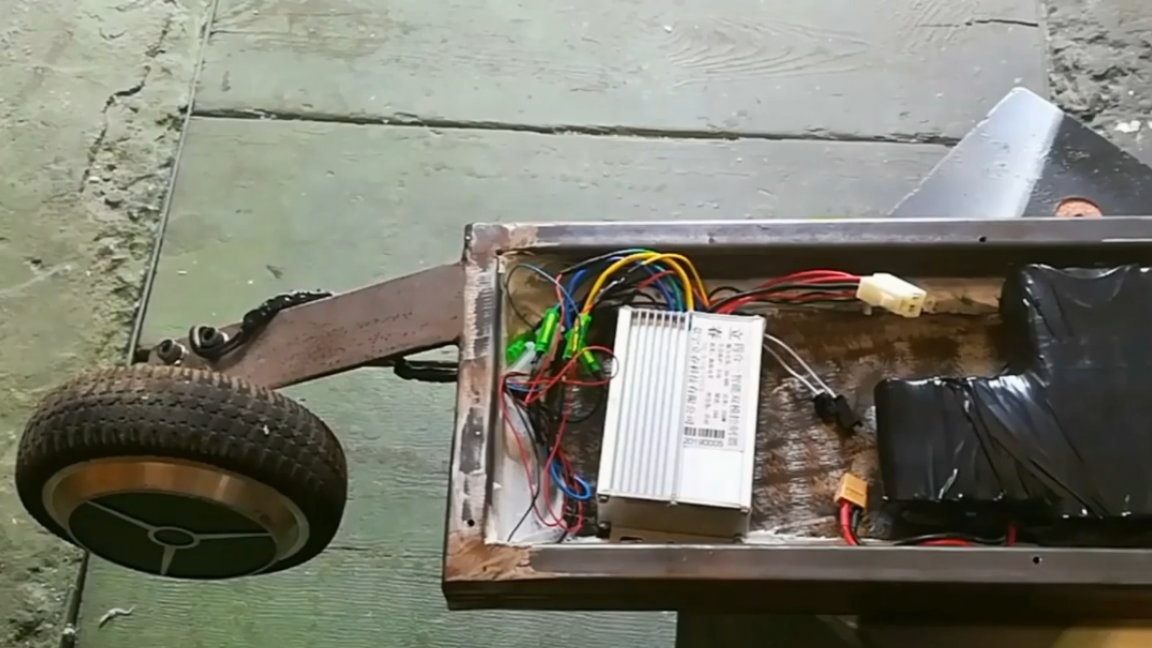
Inside this metal frame we will have a controller and a rechargeable battery.

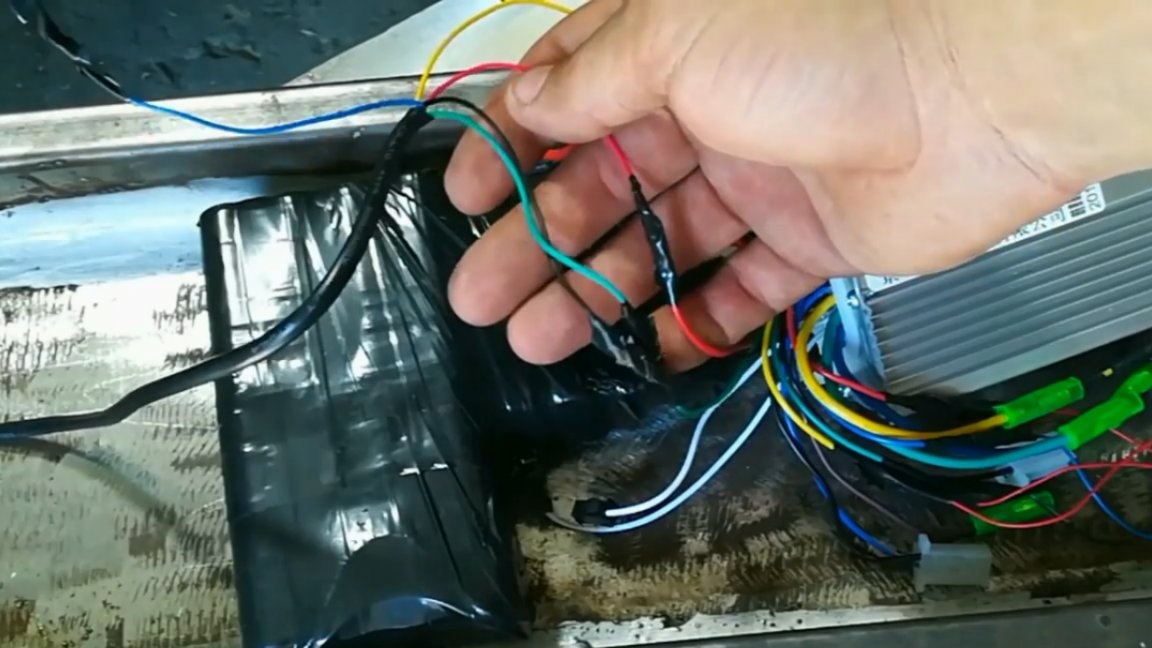
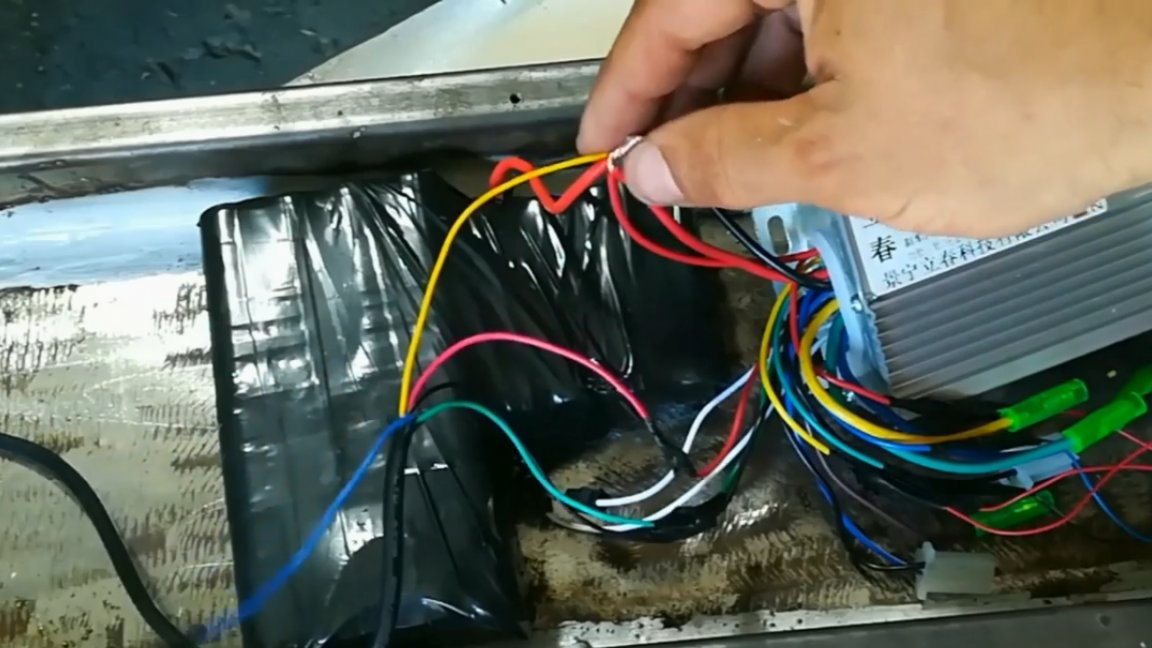
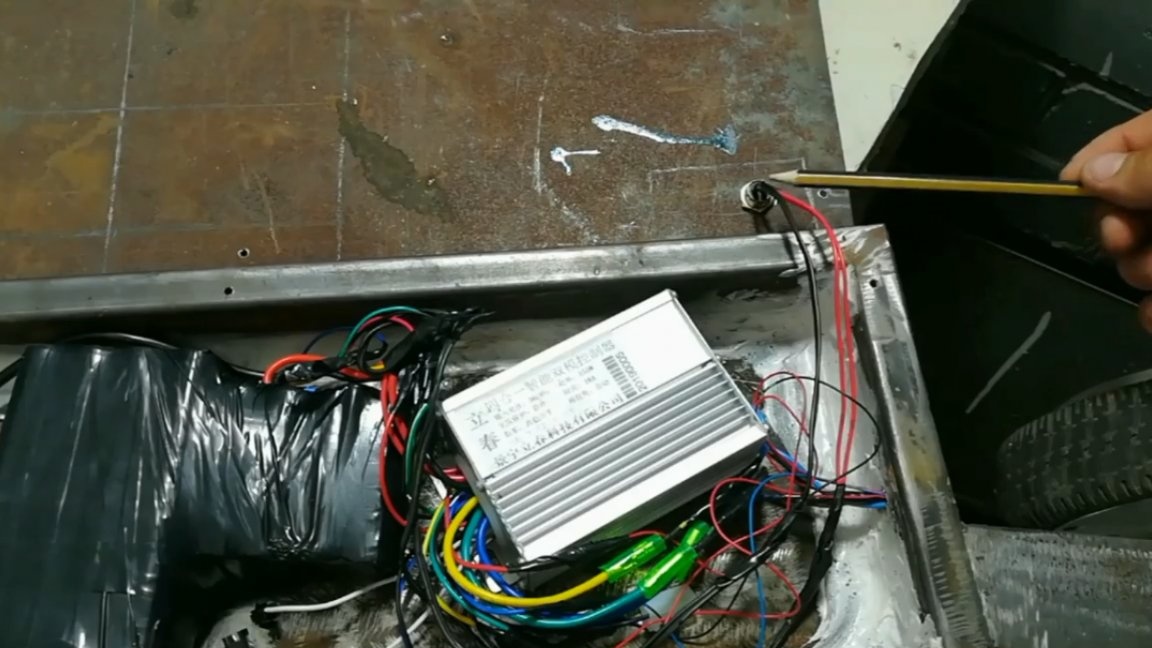
Now, a little more detail on how to properly connect the controller and accelerator (in common people - gas handles). The controller itself has a huge pile of wires, but most of it will not be needed in this case.
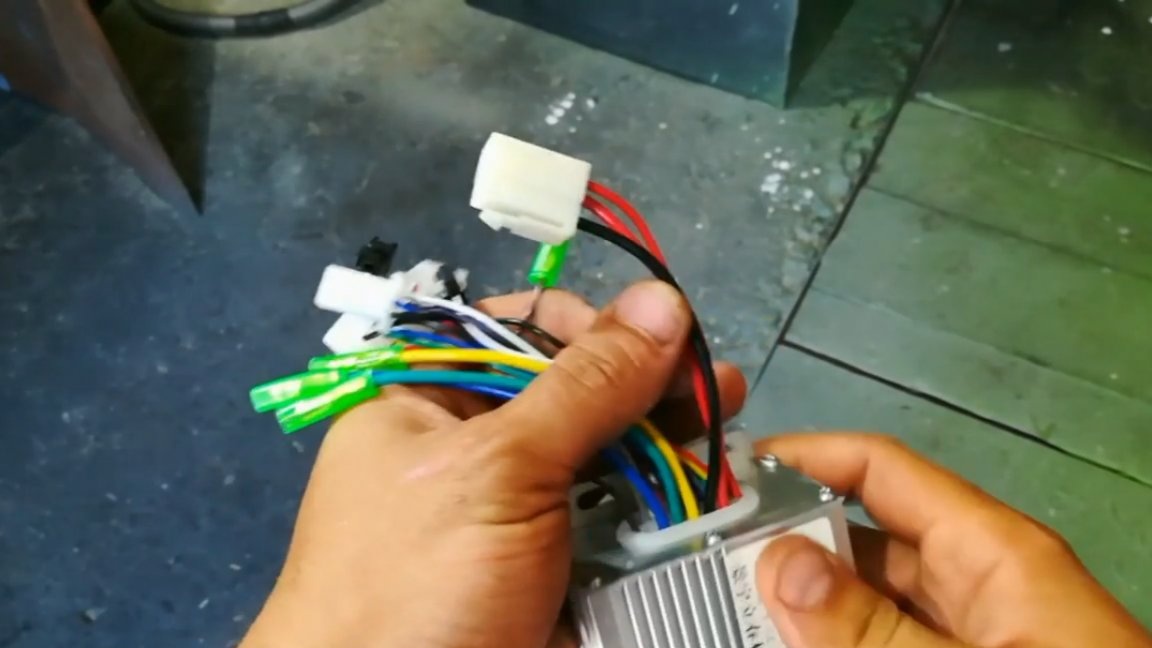
The first is nutrition. The black wire is the mass, the red is the plus (+).

Next are 3 power wires per engine.
Next we need a tachometer. Please note that the tachometer in the color of the wires matches the windings of our wheels, they control the tachometer. Red and black wires are power to the tacho.

The speedometer connection wire, as well as the remaining wires, are not needed in this case.
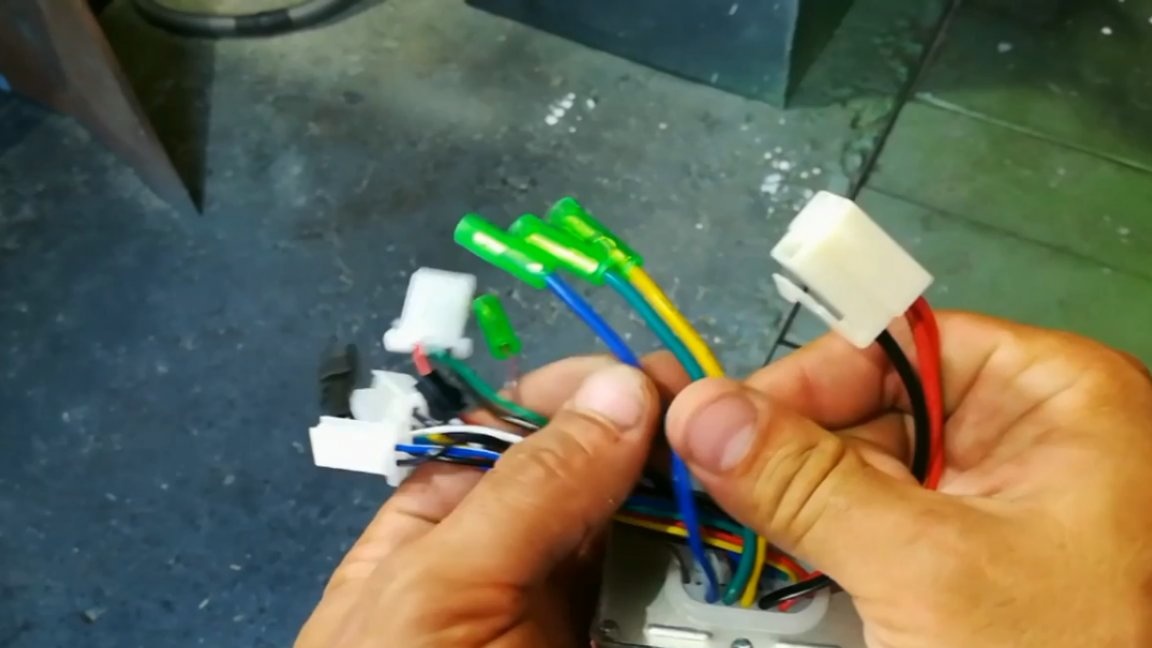
On the motor wheel, the wires are exactly the same color as those on the controller. When connecting, problems with this should not occur.
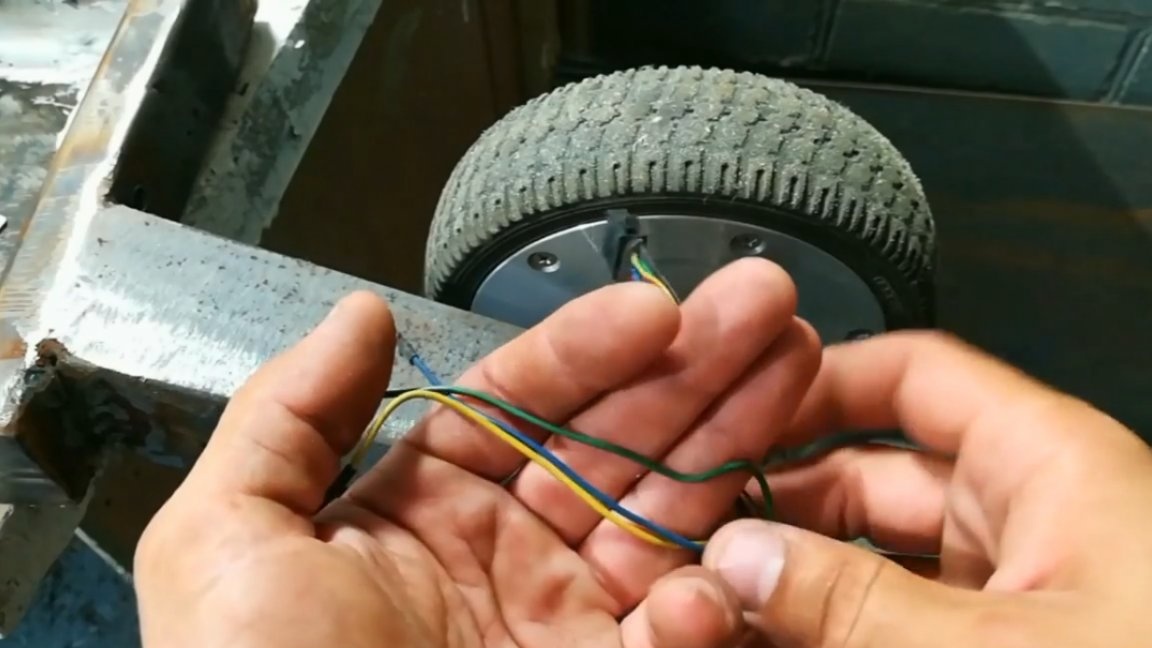
True, we do not have enough wire lengths to connect, we will have to increase them. We finish the wires, turn them in and connect.
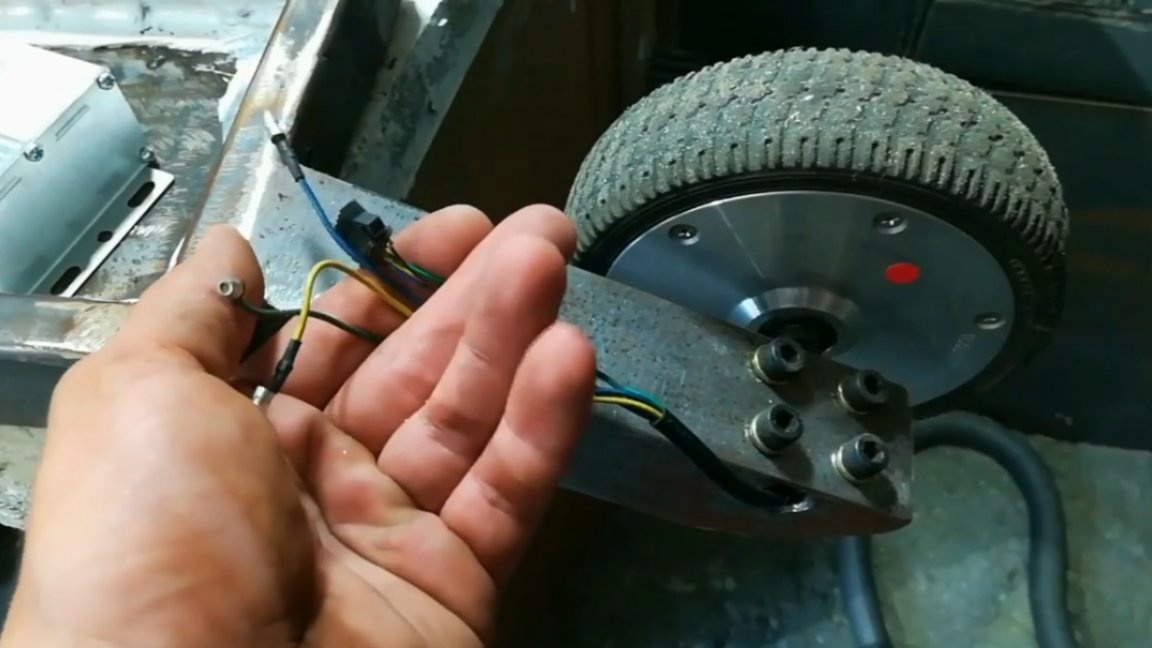
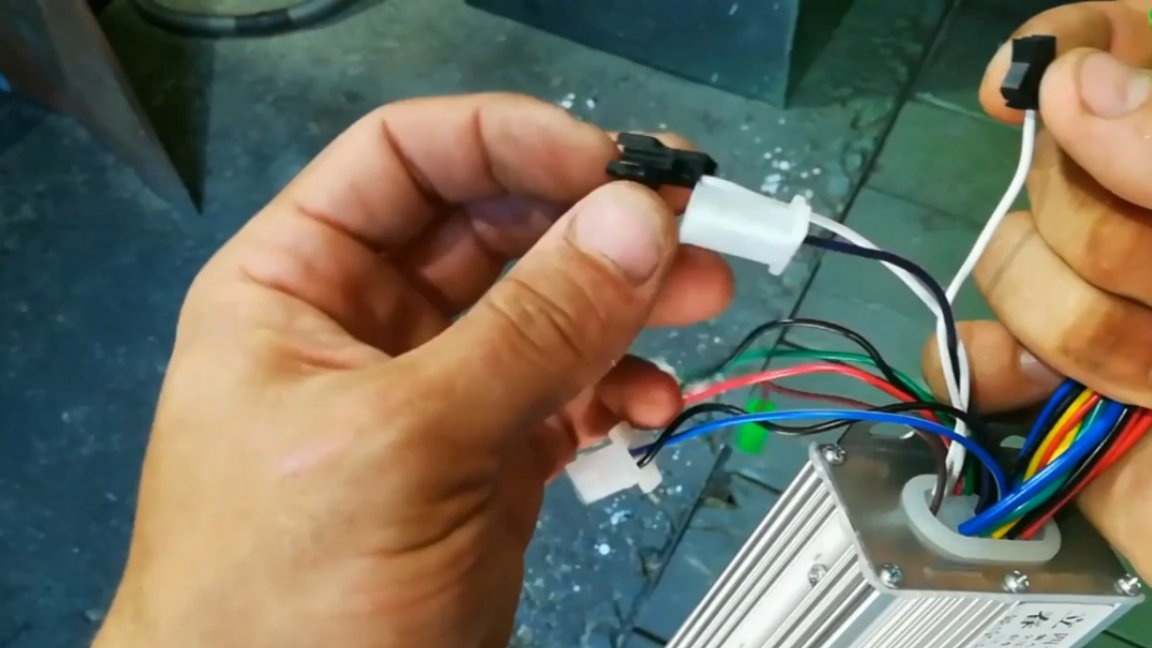
So, we connected the drive wheel, there is nothing complicated.
A throttle stick must be installed on the steering wheel. Before installation, the author decided to paint the steering wheel black.
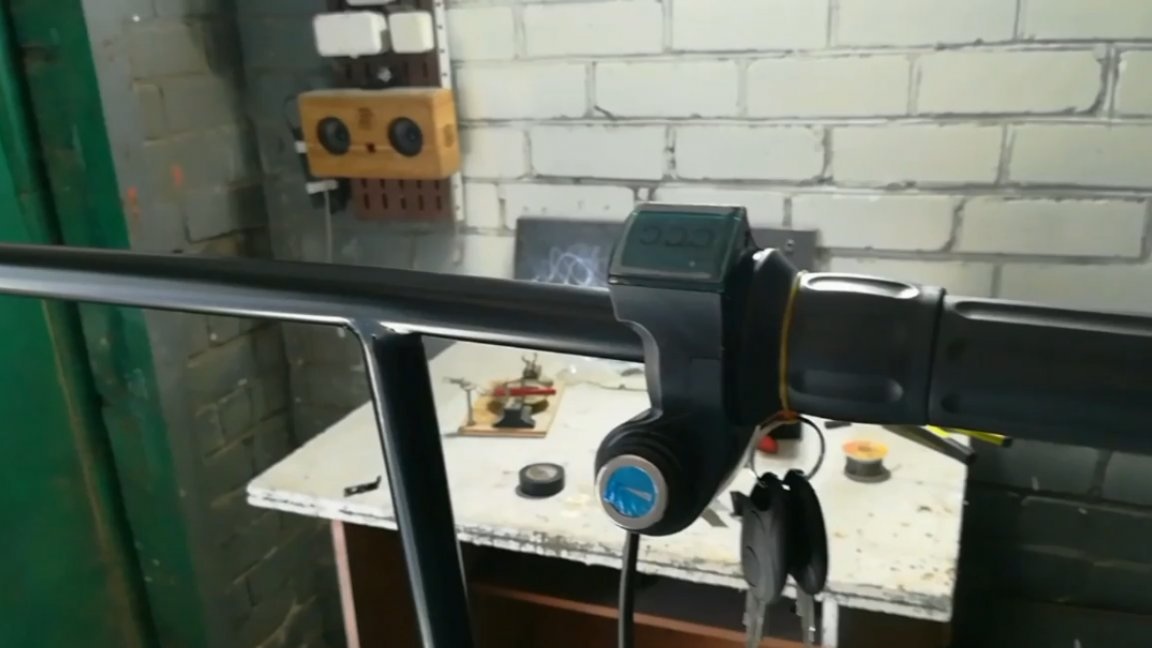
The handle is mounted on the back using a hexagon. As a result of such fastening, nothing staggers; everything keeps excellently.
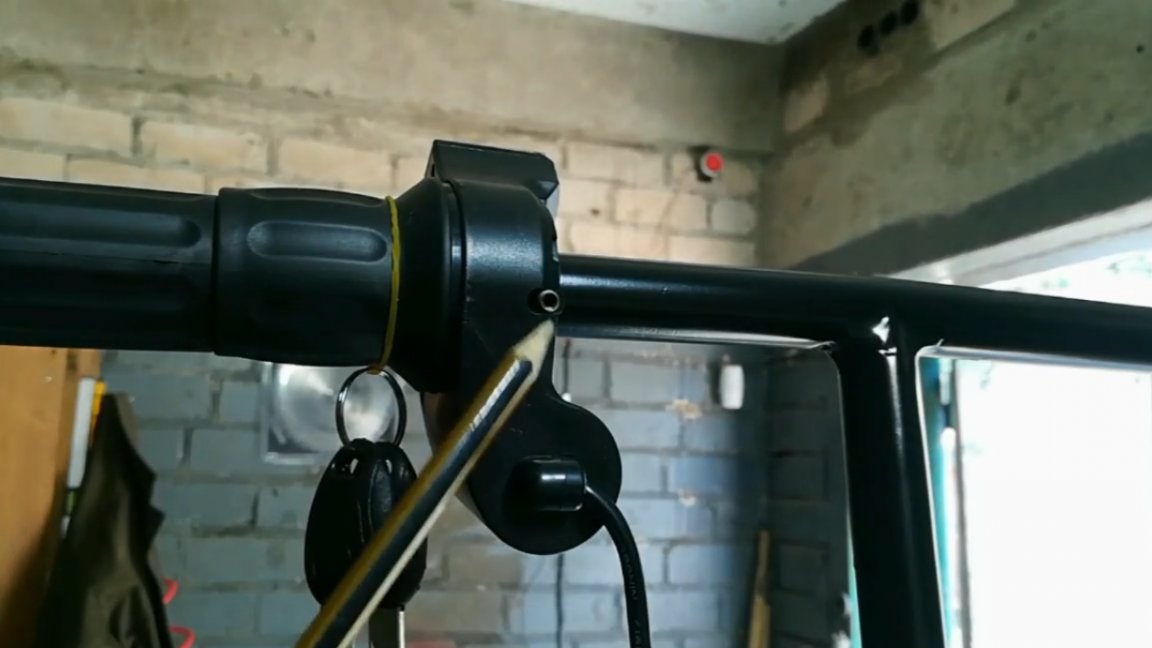
We move on. We connect the gas handle and the ignition key to the controller.
At this stage, you can check the performance of our homemade product. Turn on the ignition. The display showed 41 volts.
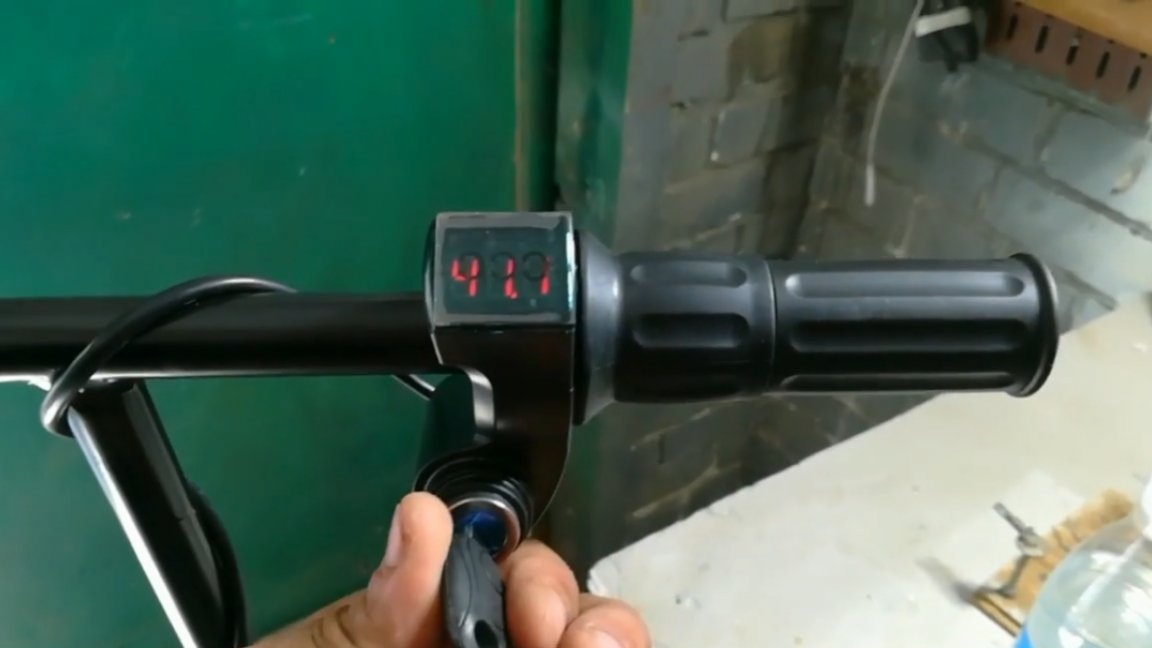

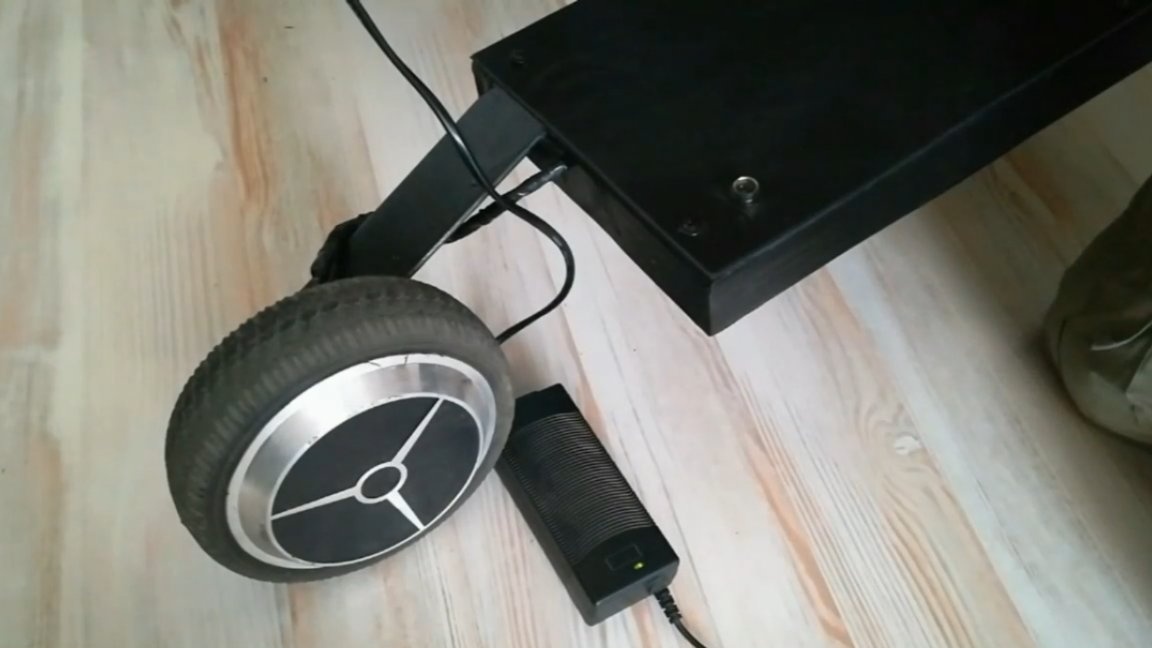
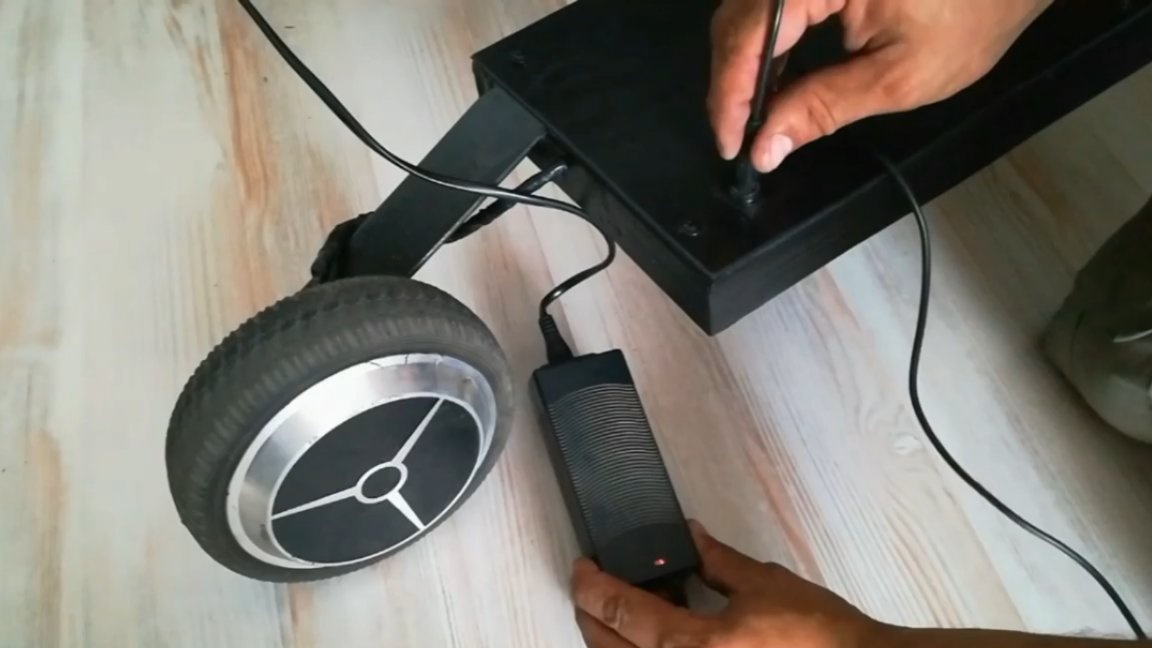
As you can see, the device is working. From the back, the master installed a slot for charging a lithium-ion battery. By the way, the author took this charger socket, as well as the charger itself from the same hovercraft.
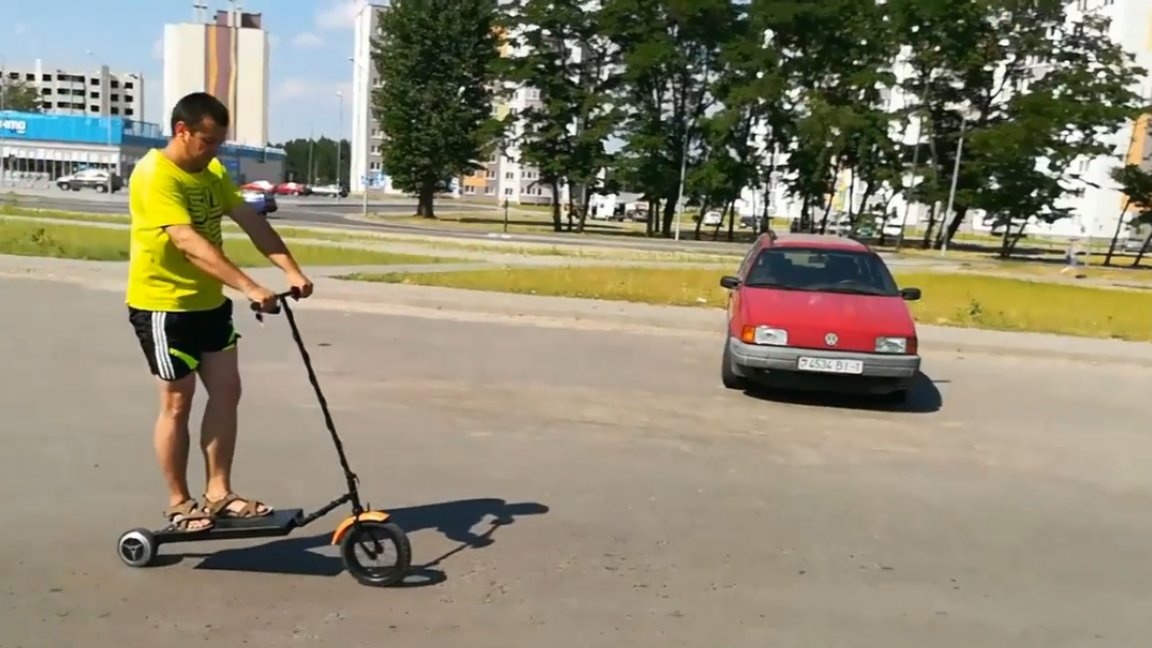
Well, it remains to collect and paint our electric scooter.


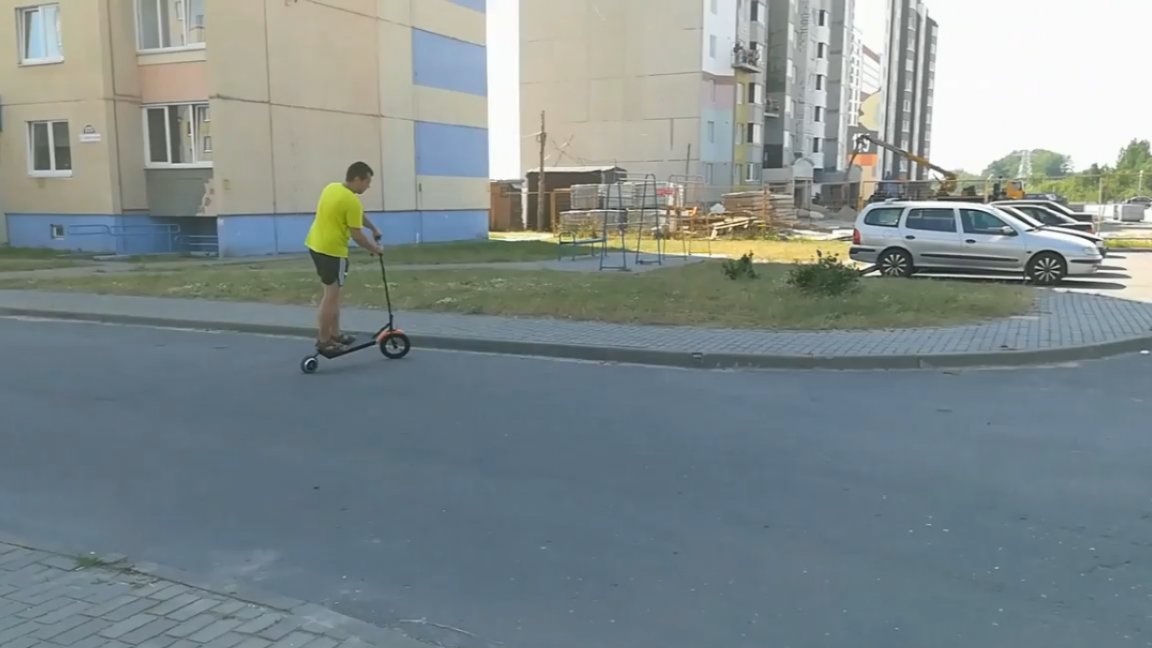
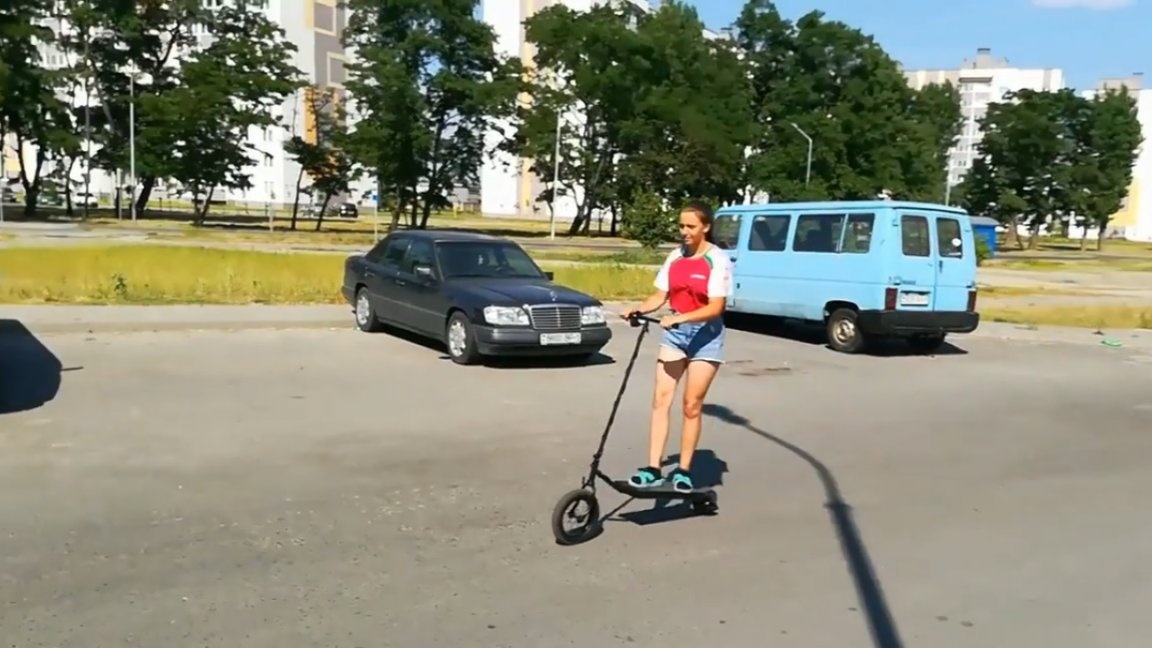
Well, the homemade electric scooter is completely ready. Our monster is also charged easily and simply, there is the necessary indication of the charging process and its end.
Thank you for attention. See you soon!
Author's video: