
In this article, Ivan, the author of the channel, will show how he put together a budget version of the cutting machine based on the 125th Bulgarian.
Moreover, the author used the minimum amount of materials, and also made the most simplified model. What kind of machine Ivan assembled, and how accurately he cuts, read further in this article.
Materials for the machine.
Strip 25mm 120mm long
Two 8mm bolts with washers
A section of a profile pipe 20X20mm 200-250mm long
Profile pipe 25X40mm
The sleeve from the jet traction Lada
12mm hex bolt
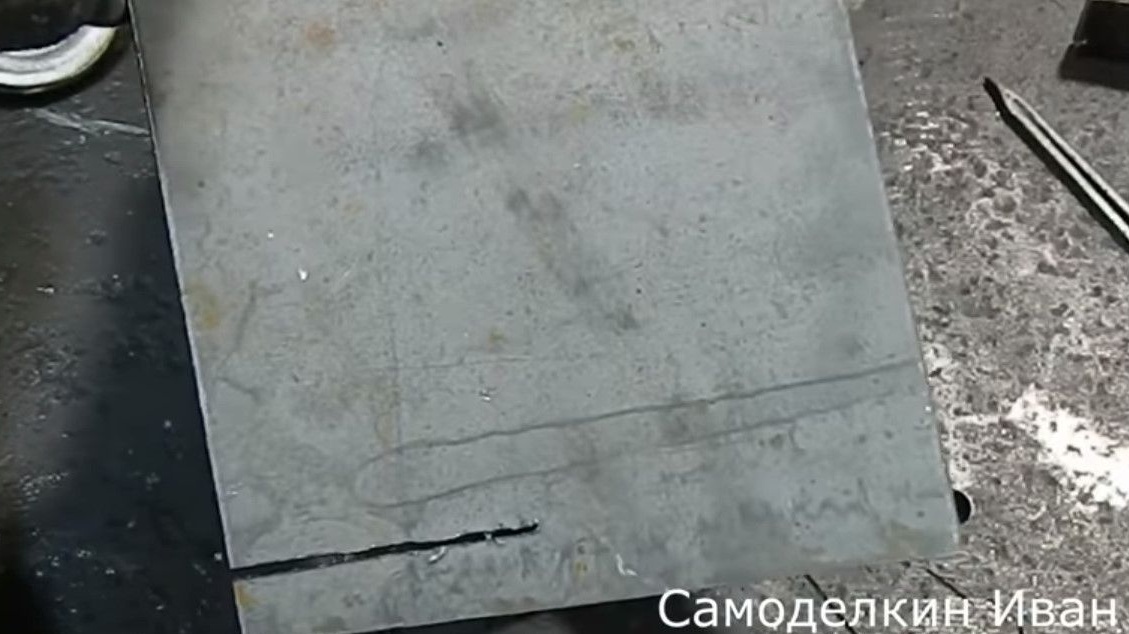
Steel sheet 350X400X4mm
Instruments.
Bulgarian wheels
Drill or drill machine
Drills for metal on 8mm and 12mm
Square
Hammer
Pliers
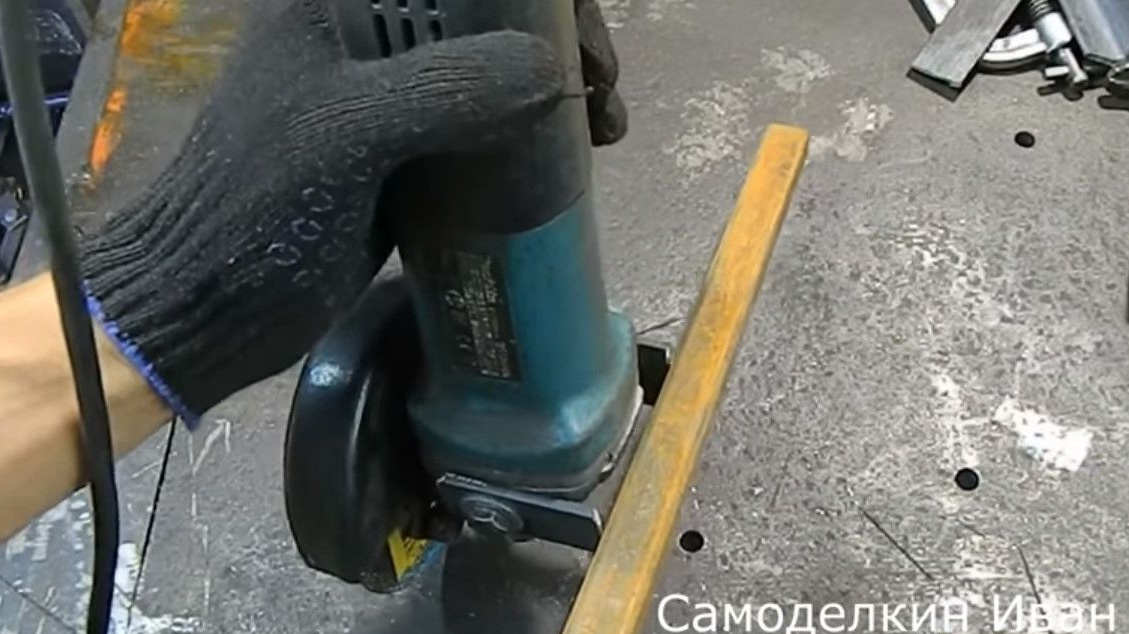
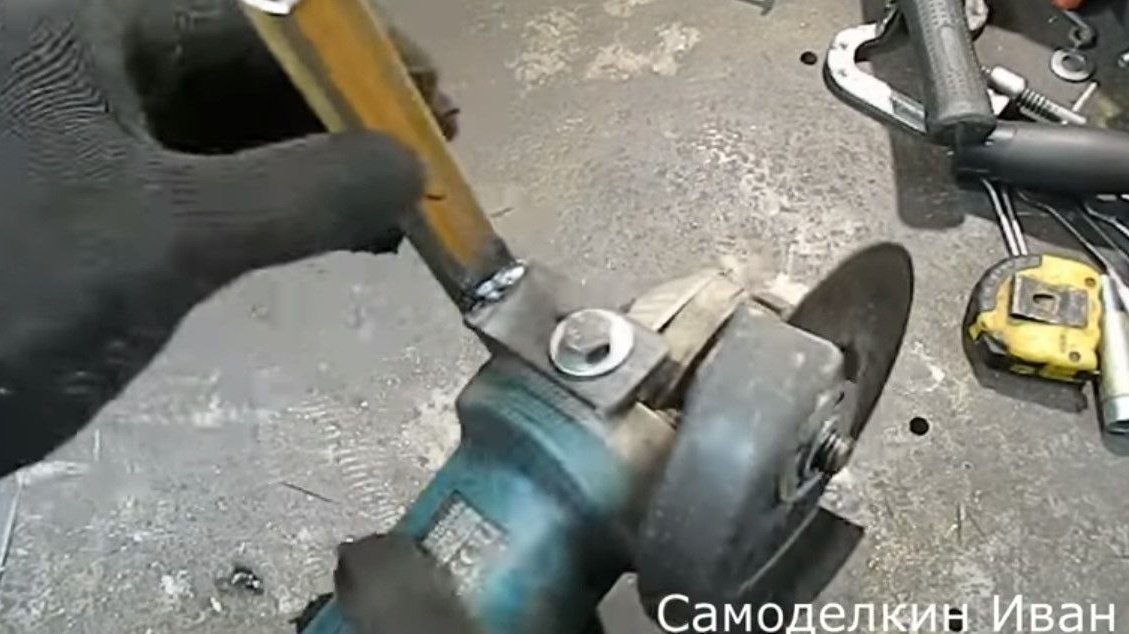
Ivan will use the 25th strip as fastenings, in which holes for the threads on the gearbox will be drilled.
In order to fix the grinder itself, for a start it measures the distance from the threaded hole to the edge of the gearbox. It turns out about 40mm.
So it is necessary to take a small overlap for the internal thread, so that there is something to lean on the nut.
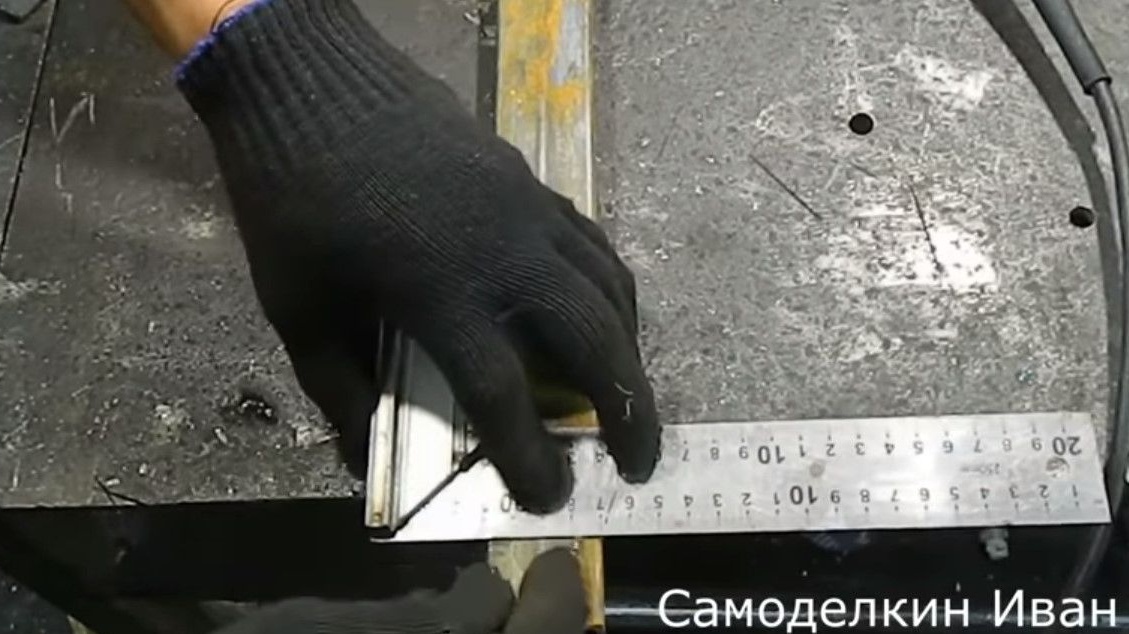
He takes the 25th strip, cuts two pieces of 60mm.

Further, it measures 40mm on segments, and drills a hole by 8mm.
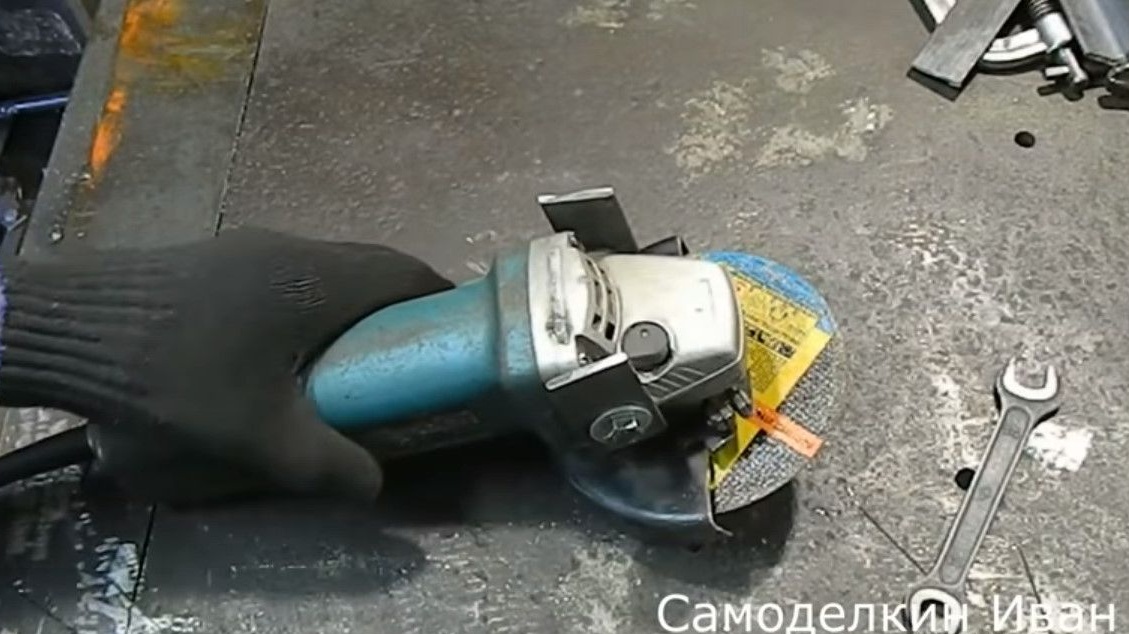
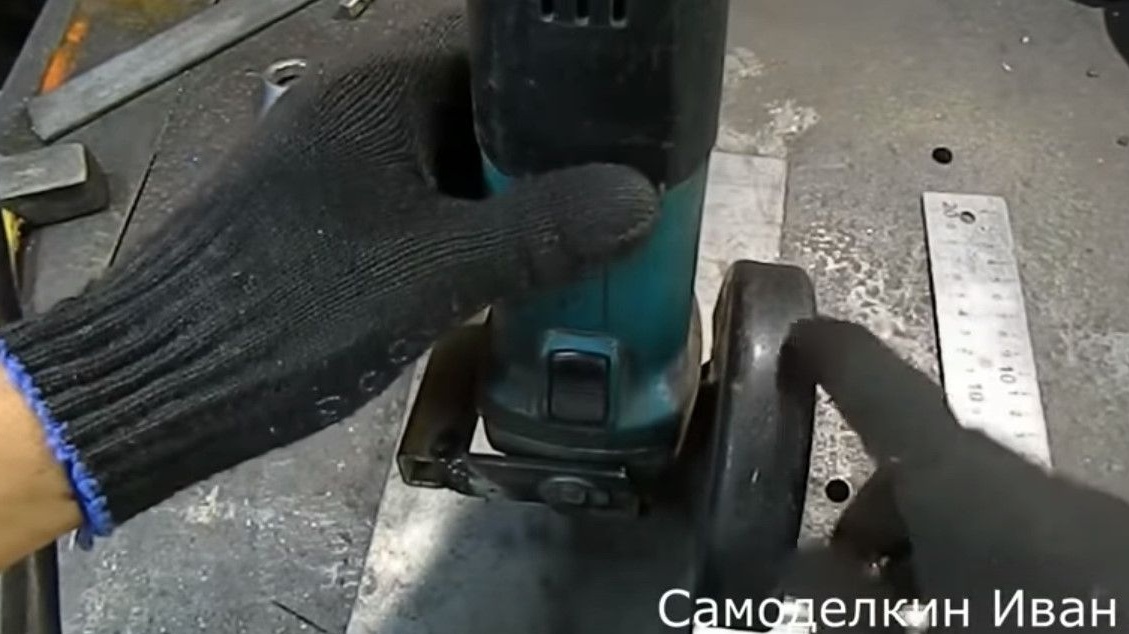
After processing the sharp edges, the mounts for the grinder are ready.
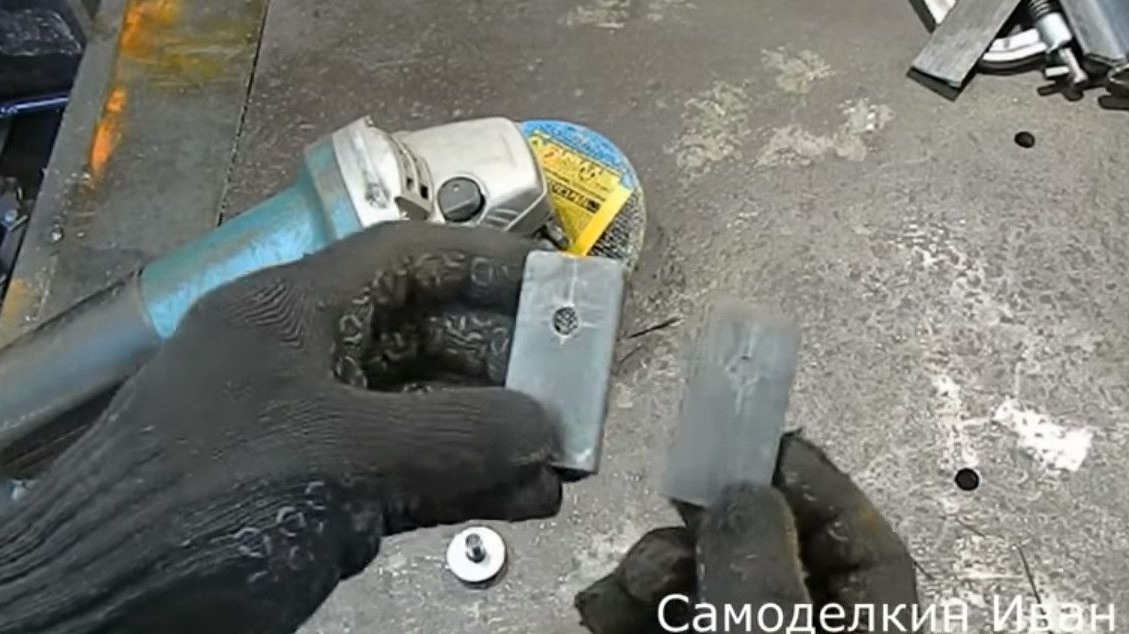
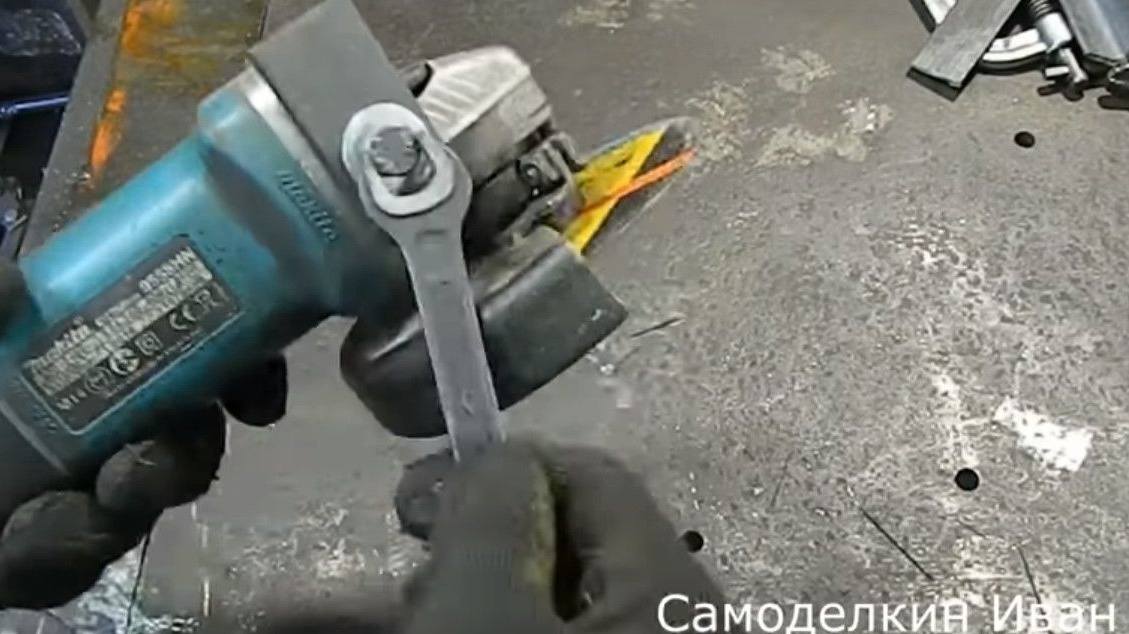
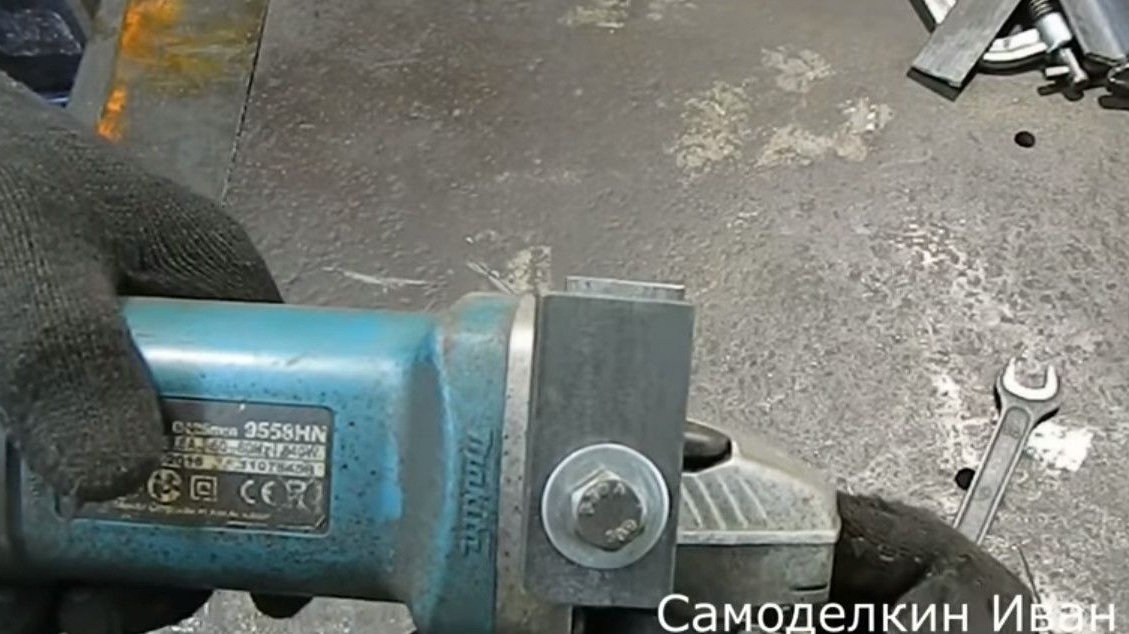
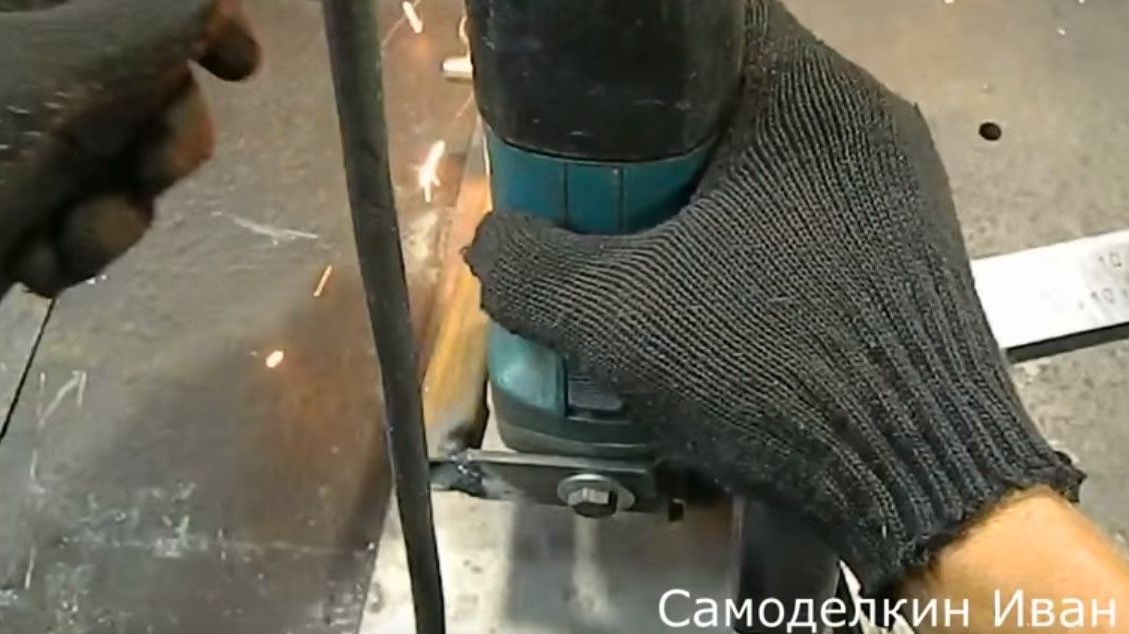
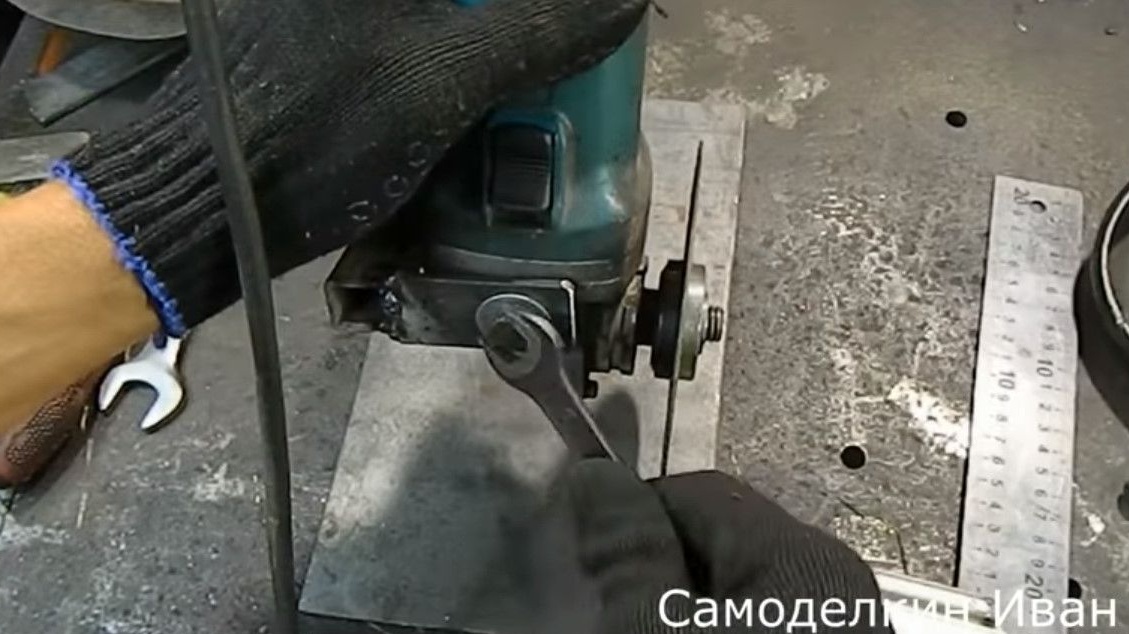
Installs them on the gearbox, fixing with 8mm bolts with washers, and clamping with a key.
After adjustment, the ears are set evenly.
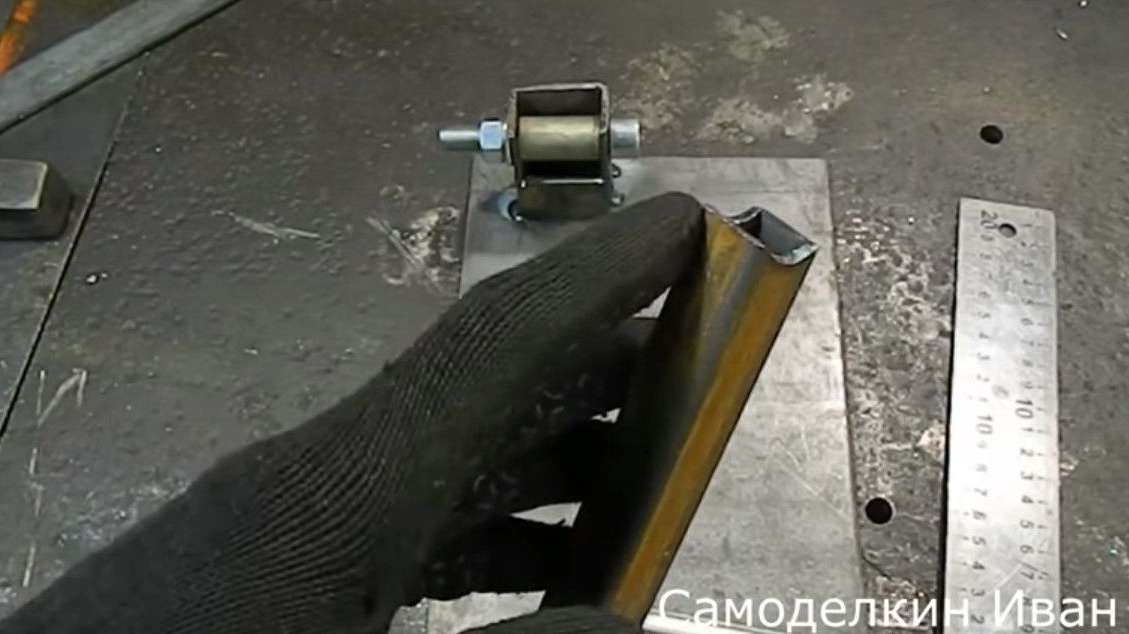
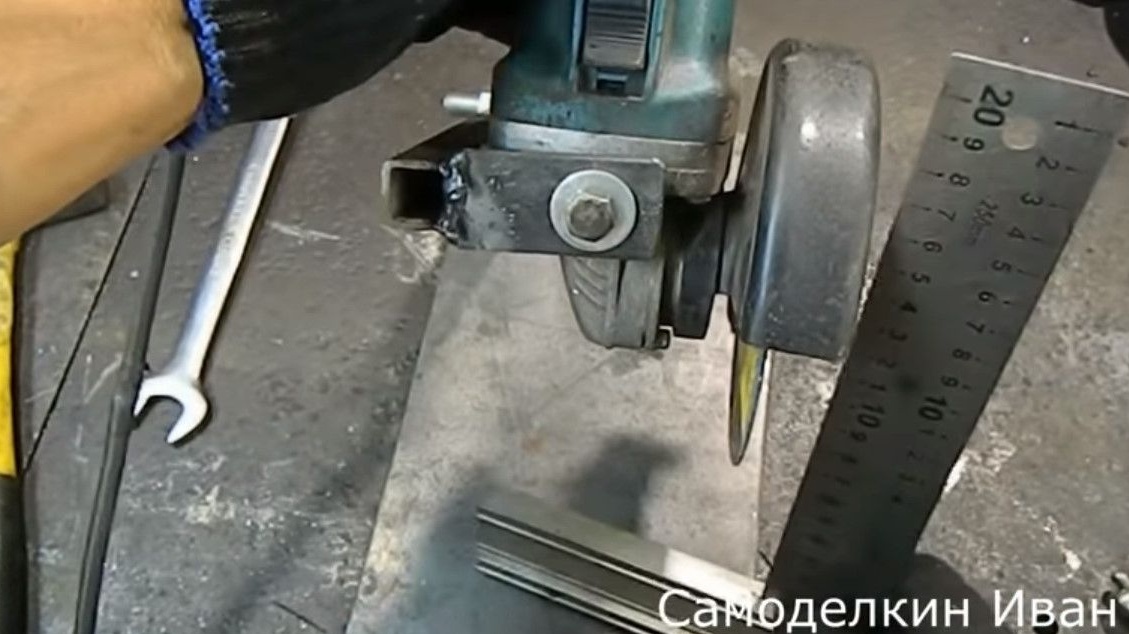
Now, using the profile pipe 20X20mm, you need to weld the fasteners to the profile.
And already a profile pipe will connect the grinder itself with a sleeve and an axis.
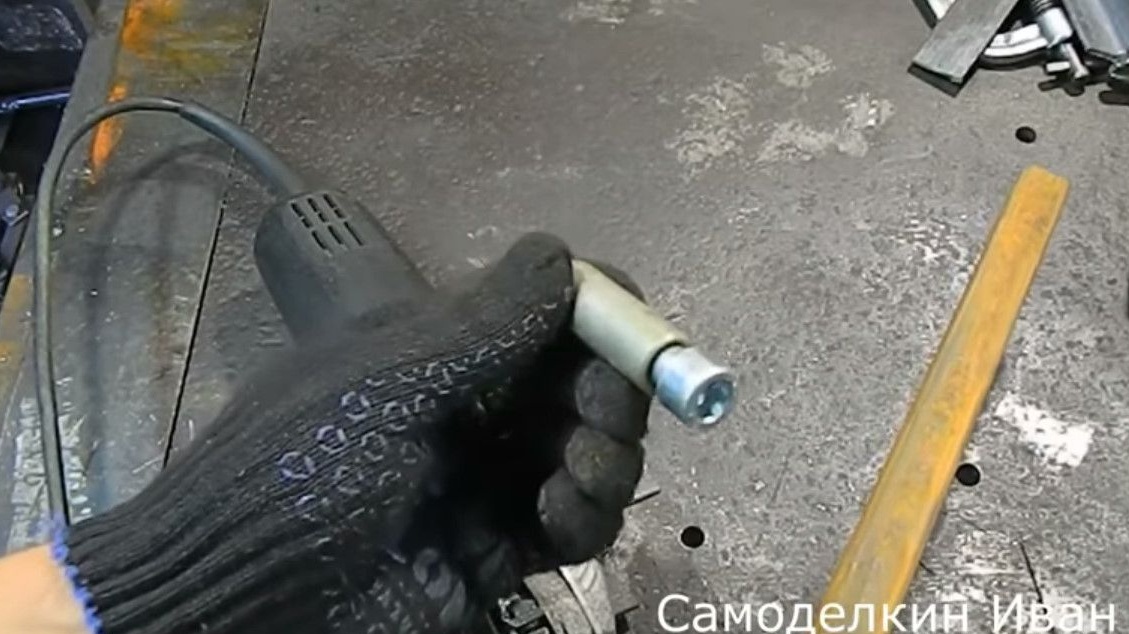
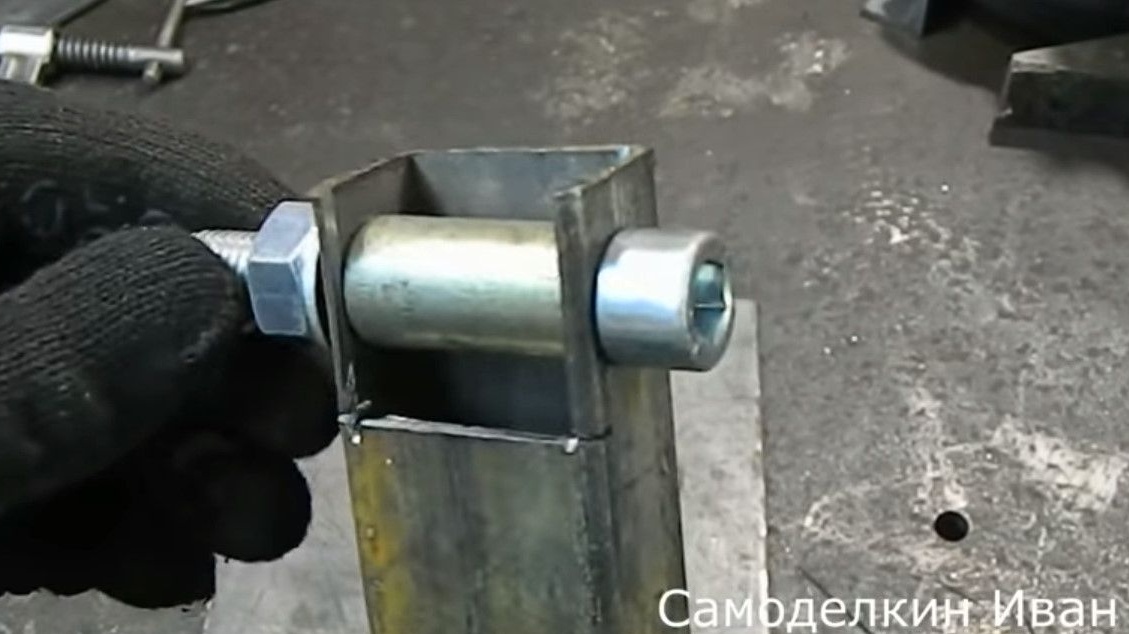
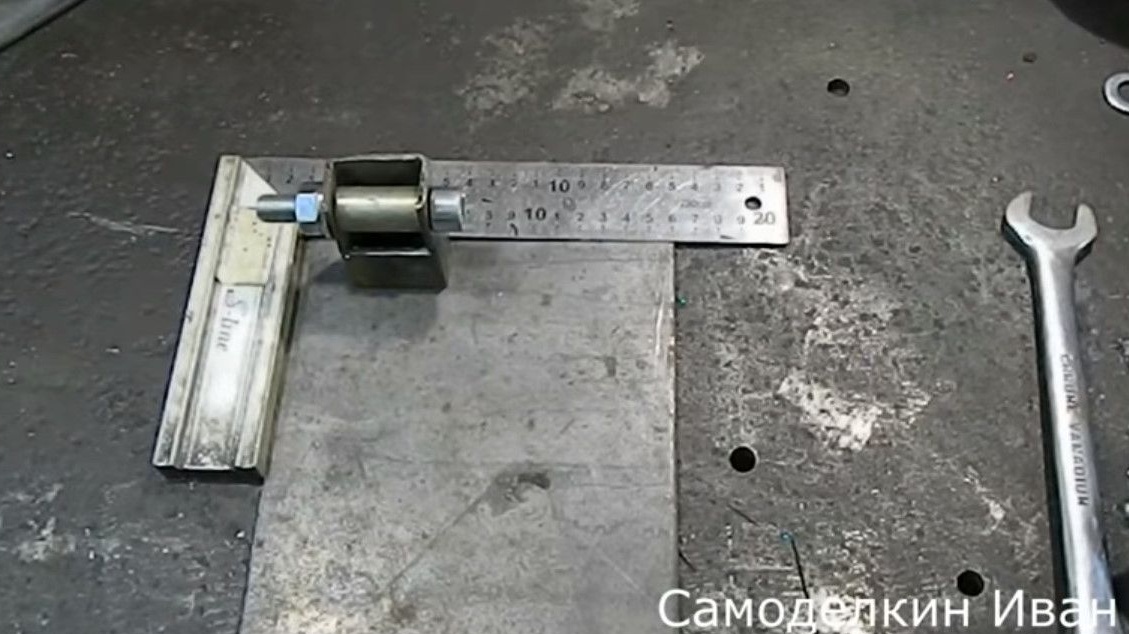
As a sleeve, the author uses a Zhiguli jet thrust sleeve and a 12mm bolt for a hexagon.
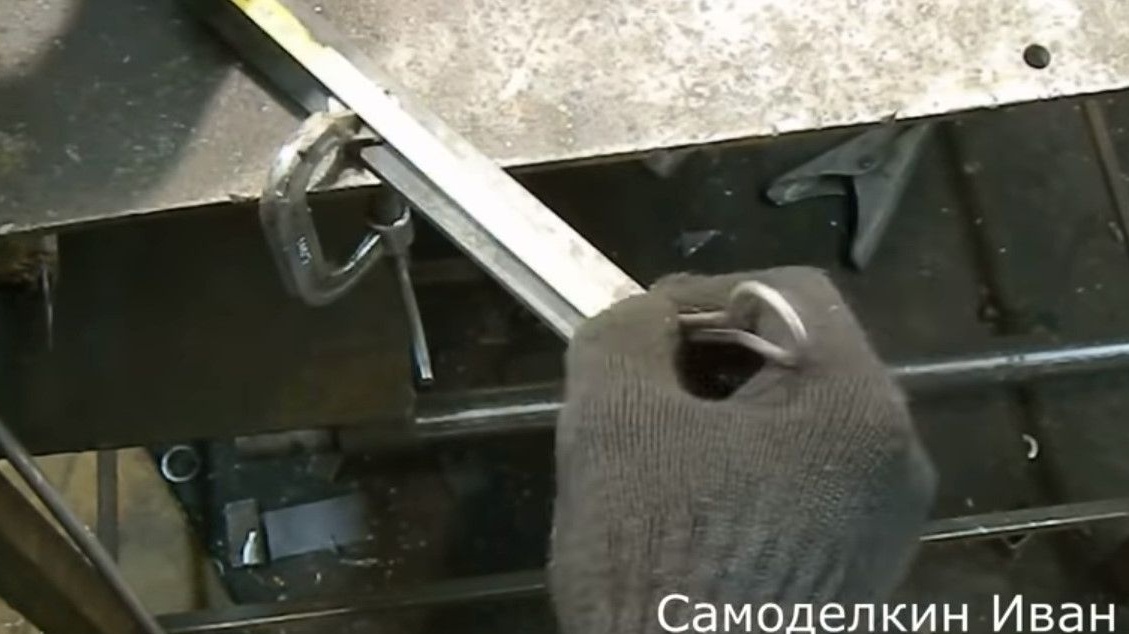
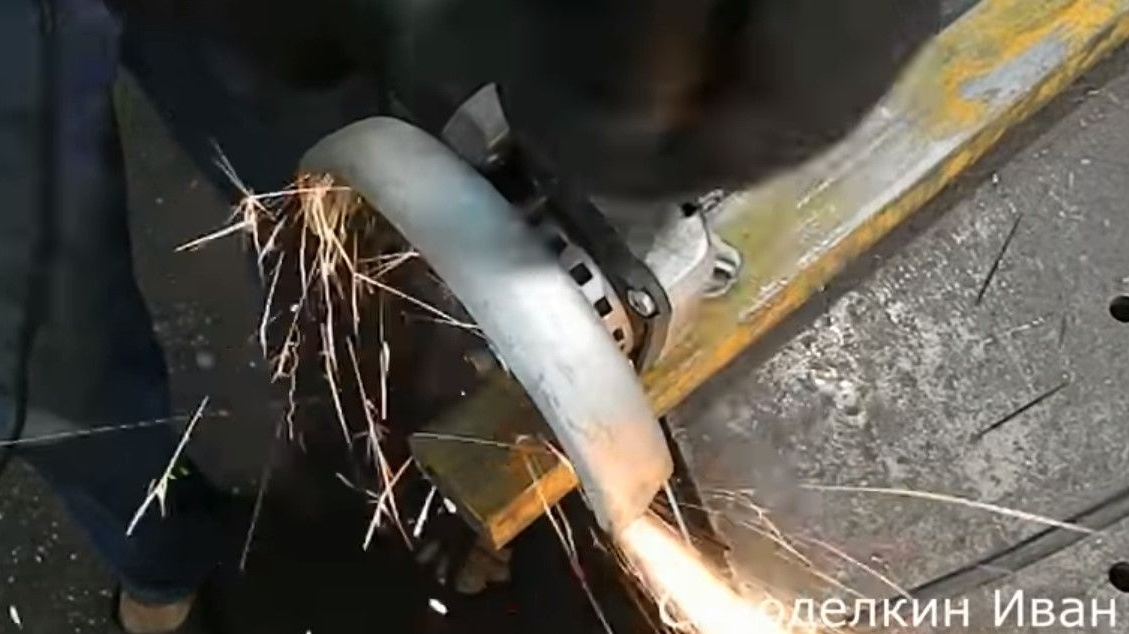
Measures 200mm and clamps the pipe with a clamp.
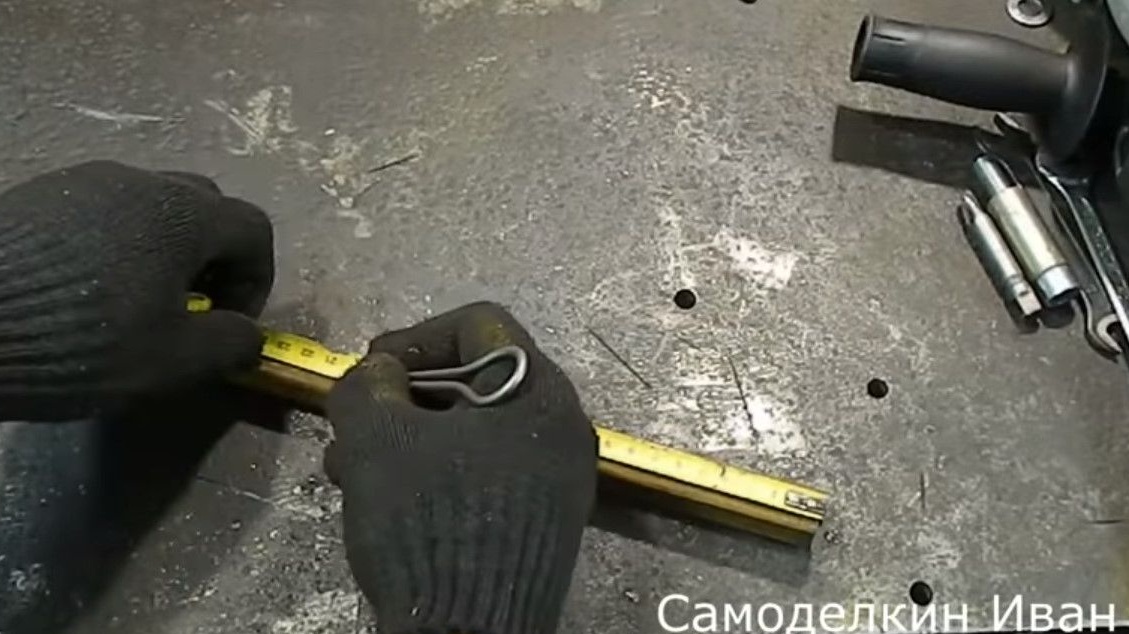

Cuts a small, 200mm piece of profile pipe.
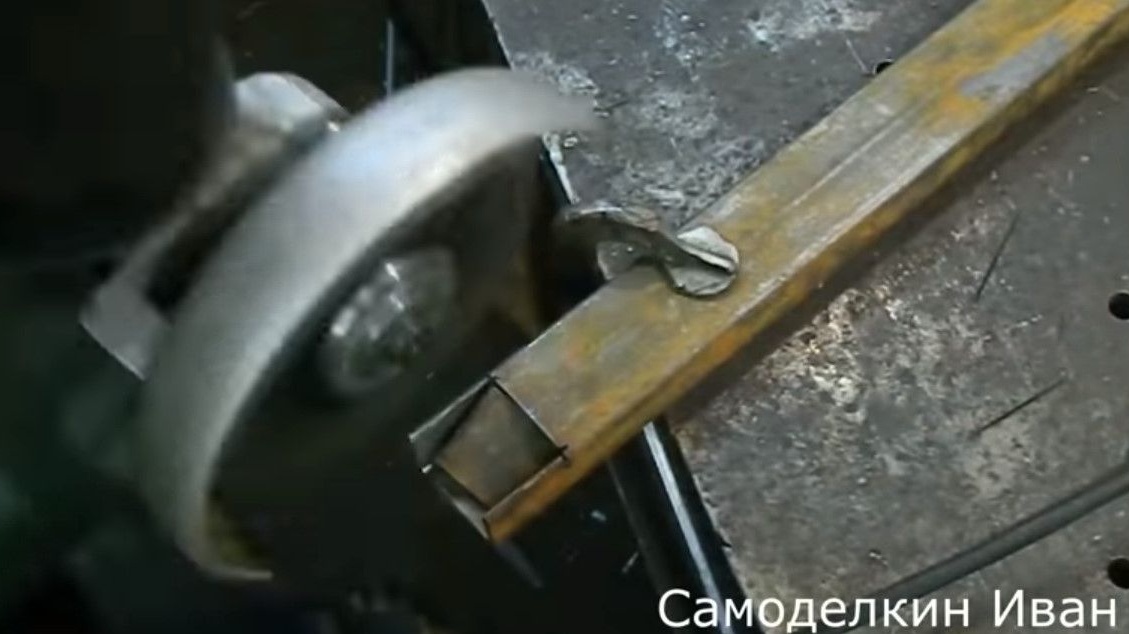
Trying on, will weld a profile pipe to the fasteners.
Welded the profile pipe to the mounts.
It is necessary to make the main part - the hinge system, with a sleeve and a bolt of 12 mm. Ivan had two mounting options.
The first option - it was possible to fix it this way (weld a bolt to the profile 25X40mm).
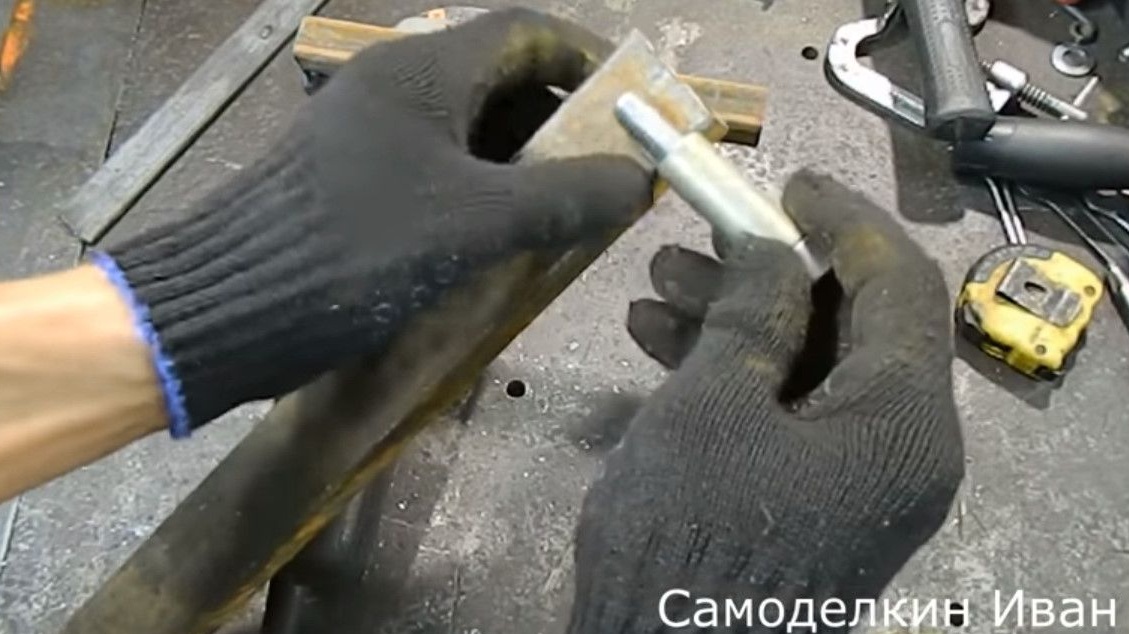
And already weld the guide profile to the sleeve - the handle. But there is a chance of backlash, due to one fixation point. There is also no way to remove the hinge.
Therefore, the second option was chosen.
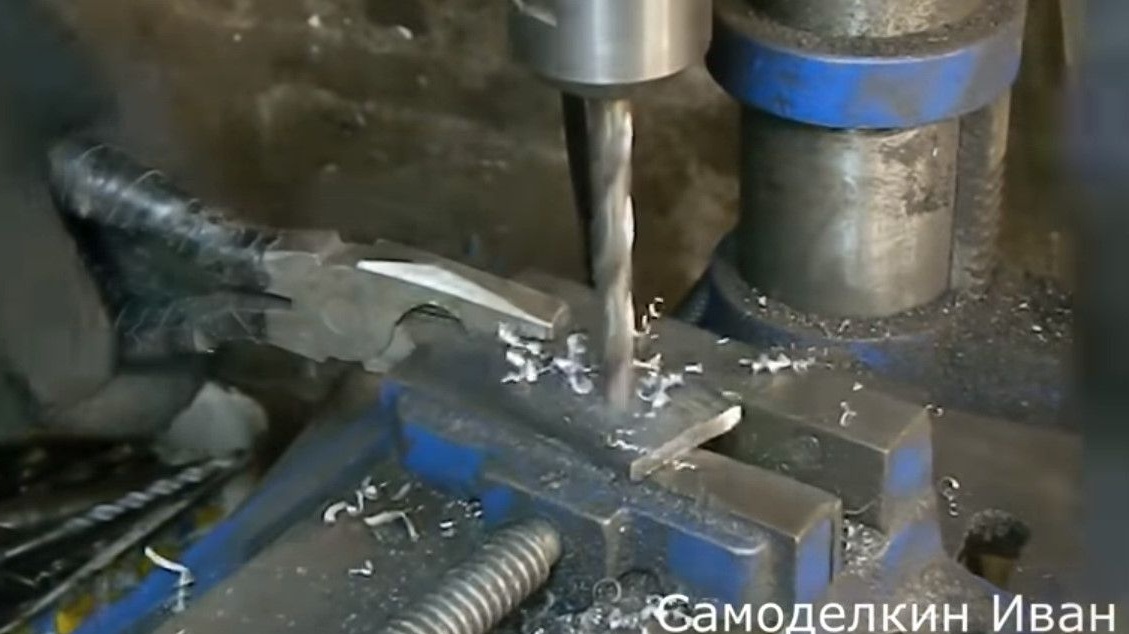
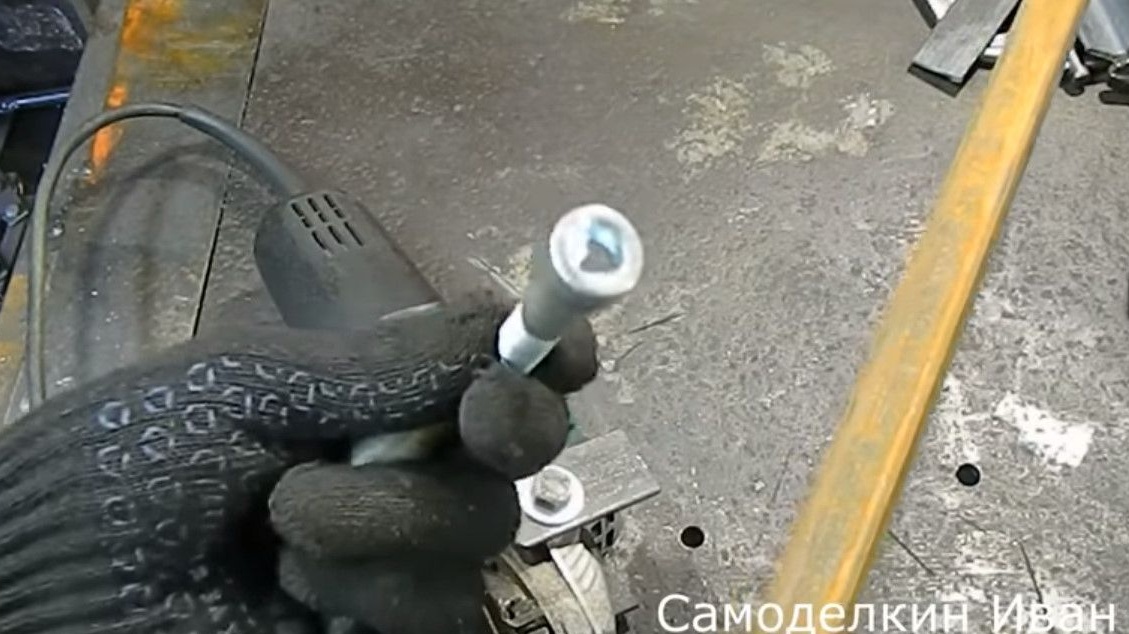
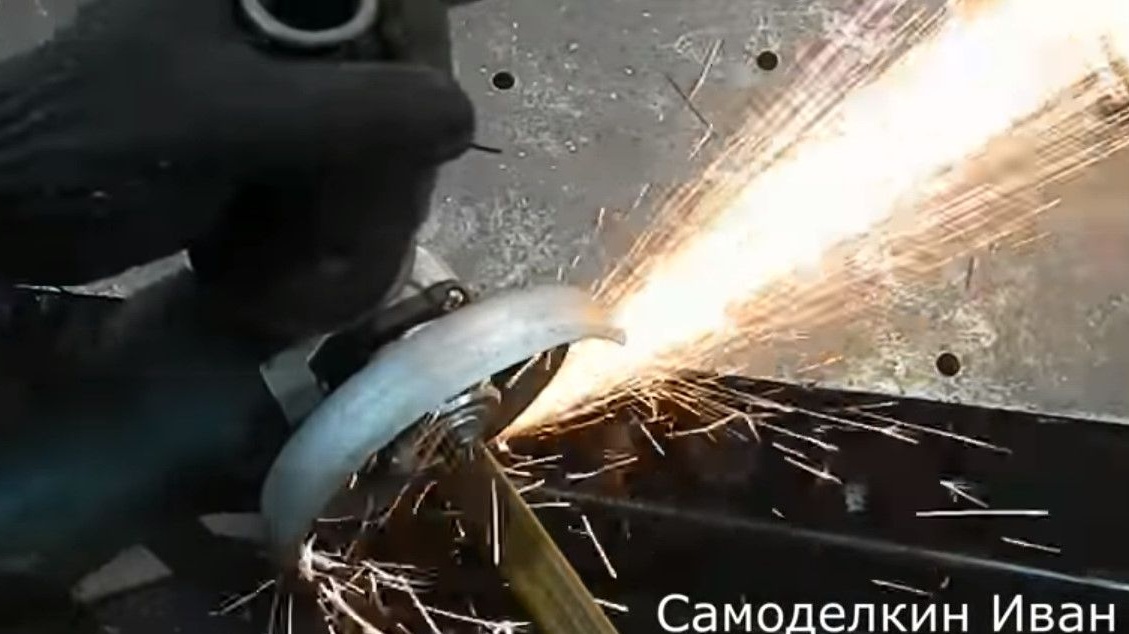
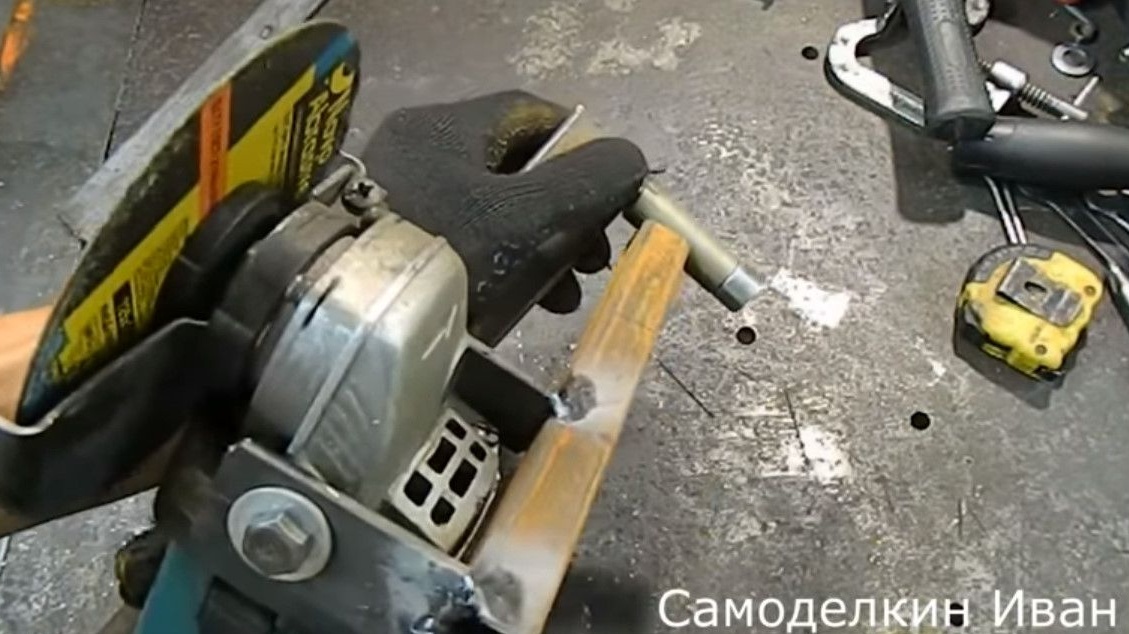
To do this, the author will cut the sleeve under the internal profile width 25X40mm. Drill a 12mm through hole and insert the sleeve.

The whole thing will be bolted.Then it will be possible to tighten the sleeve inside the profile when it is worn.
Thus, it will be possible to eliminate backlash as much as possible, there will be the most accurate cut.
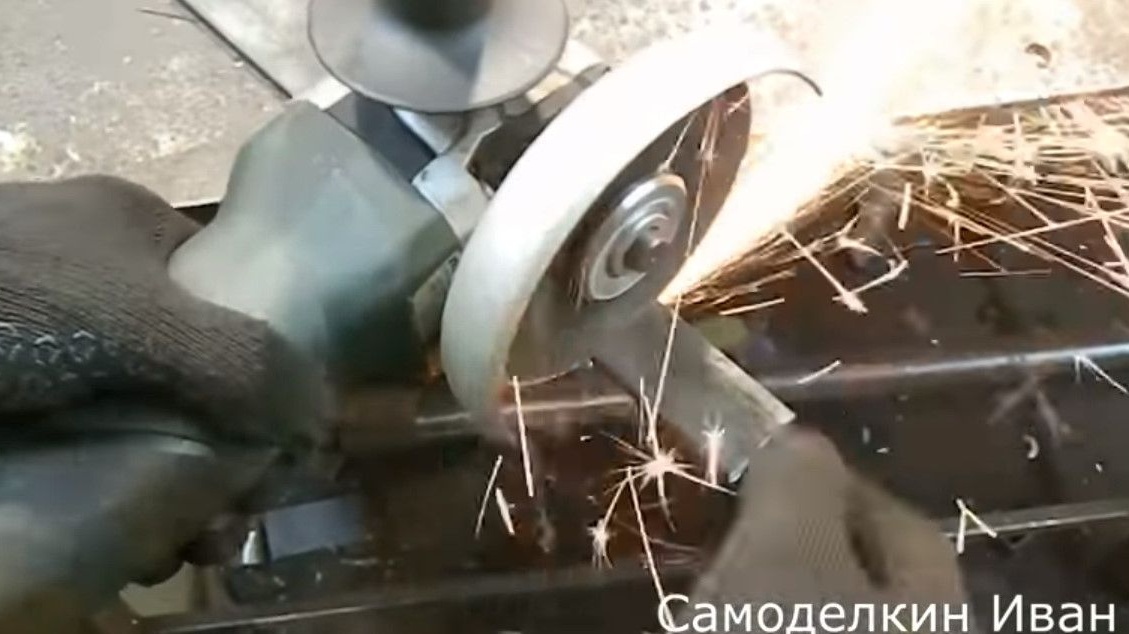
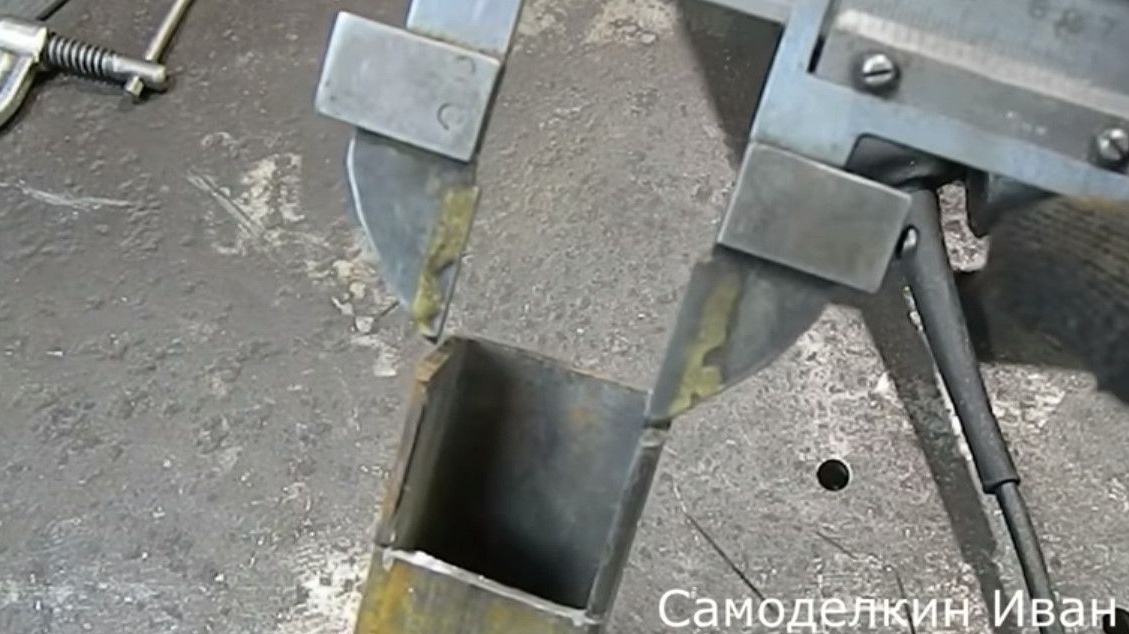
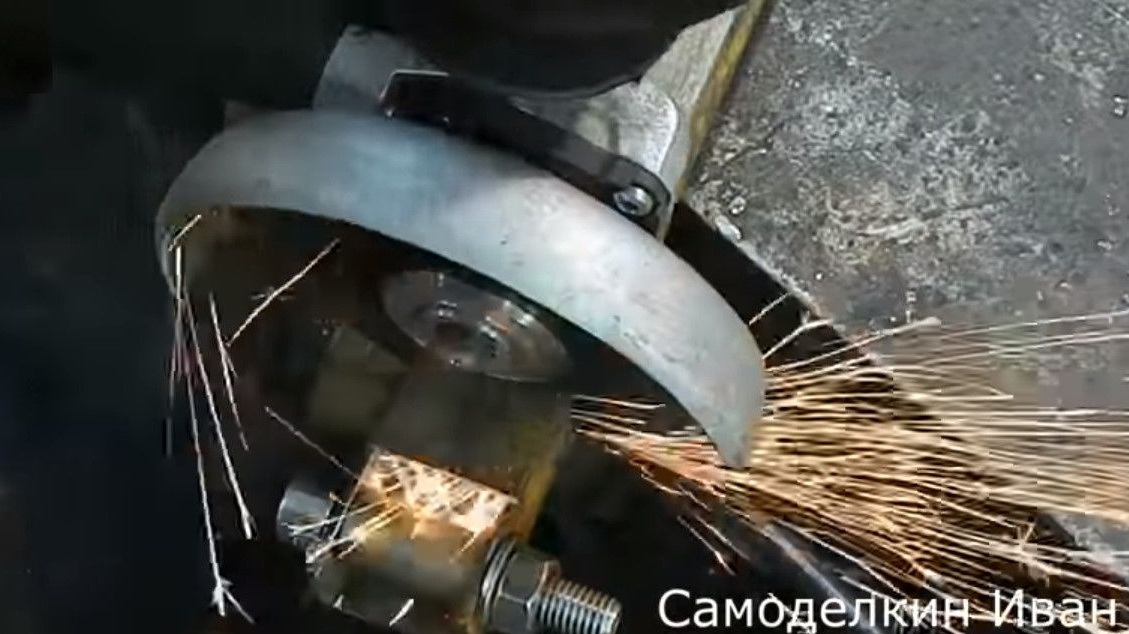
For starters, cuts the seat under the sleeve.
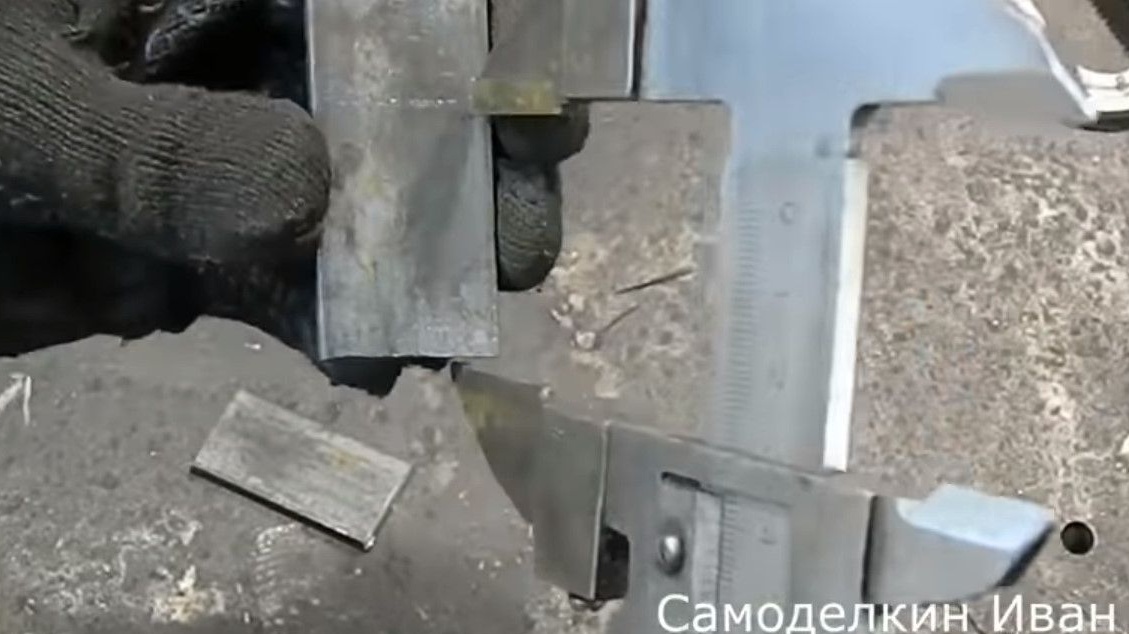
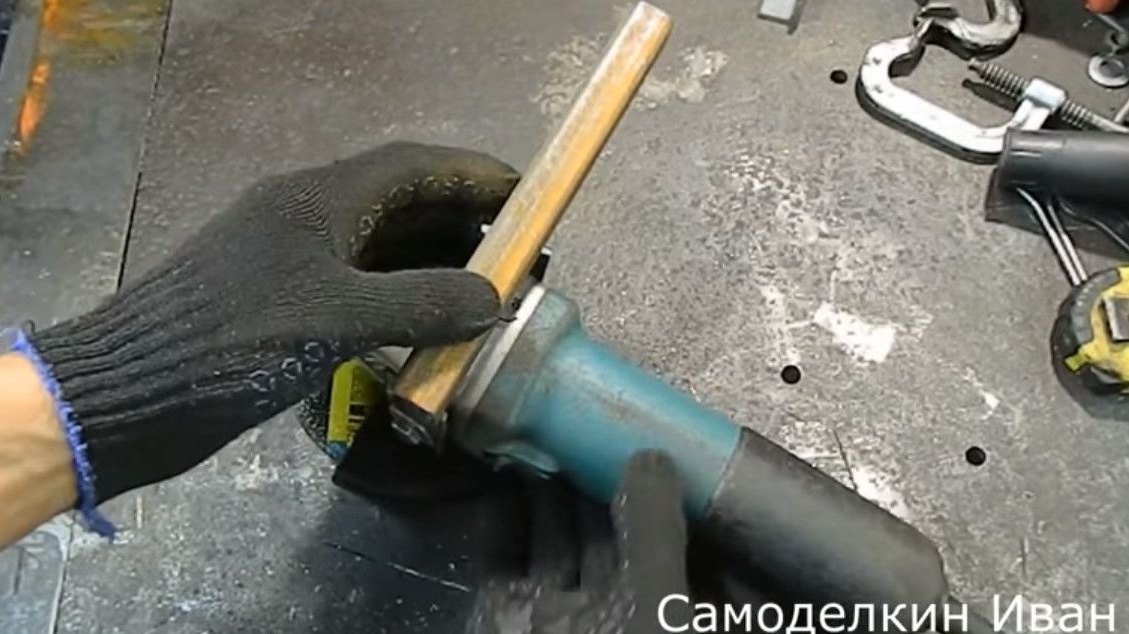
Now you need to trim the sleeve so that it fits into the inner width of the profile.
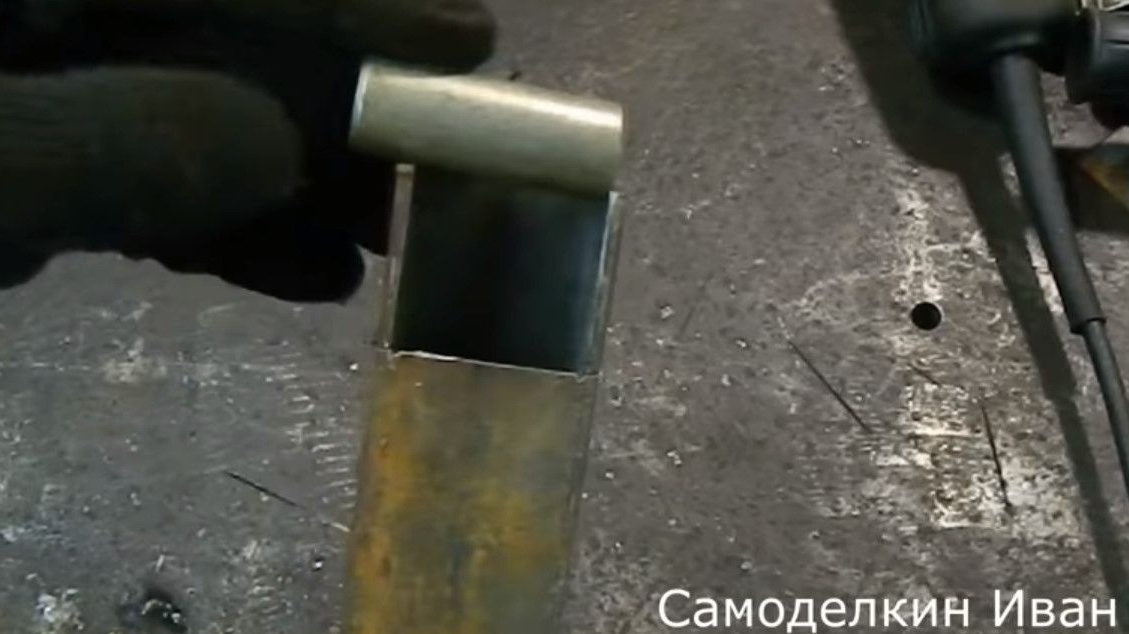
Measures the internal size and marks on the sleeve.
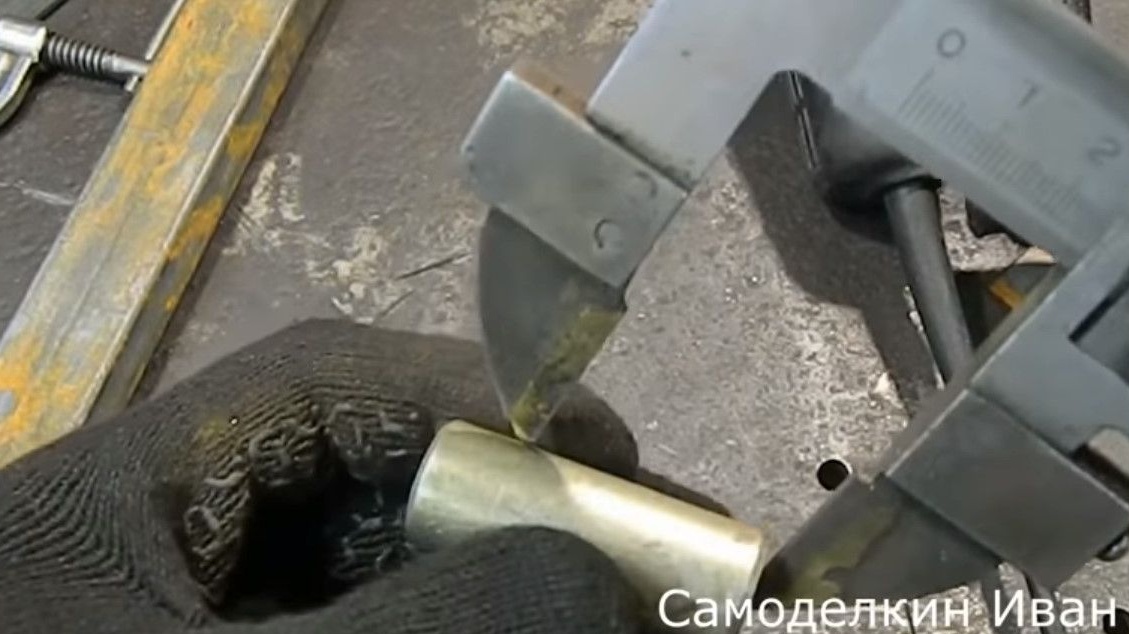
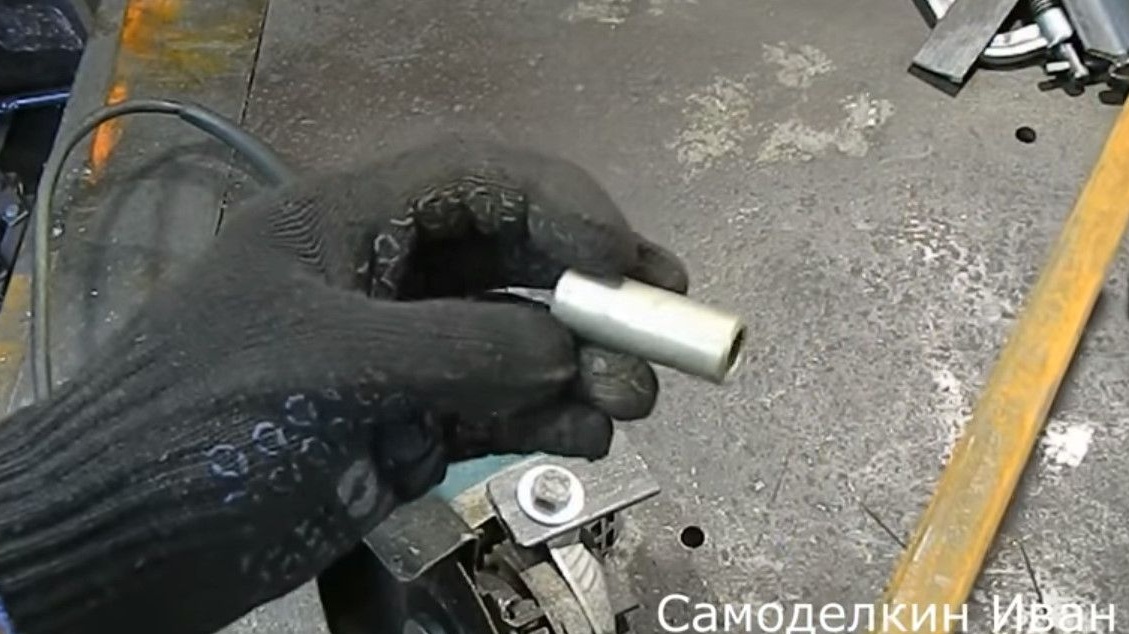
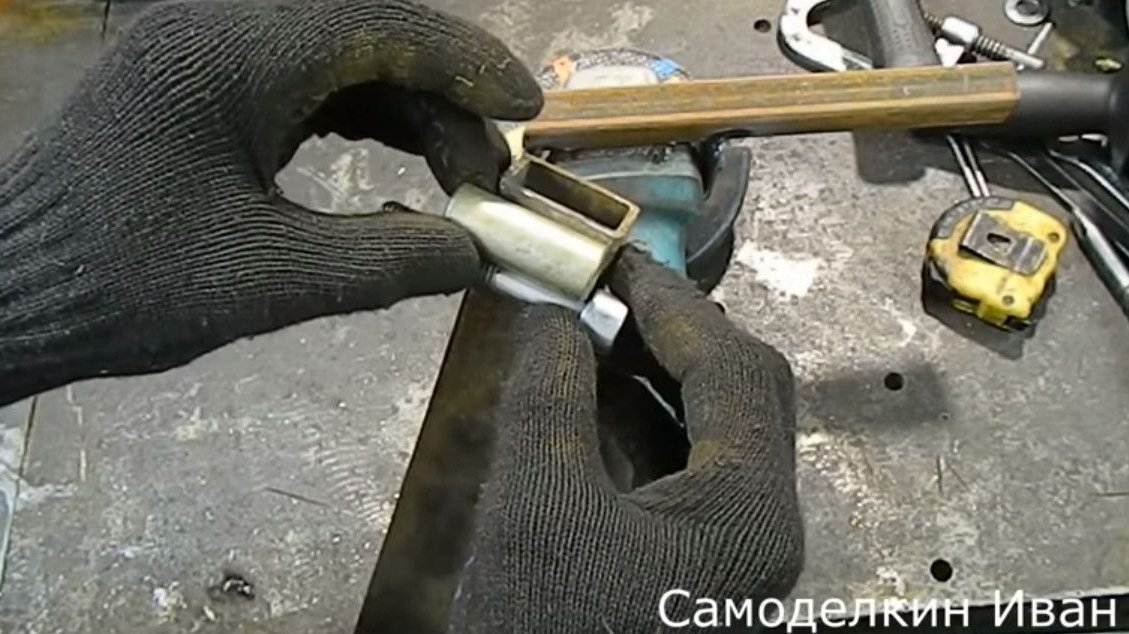
Now cuts off the extra piece. Cut out, and on the sandpaper a little trimmed sleeve.
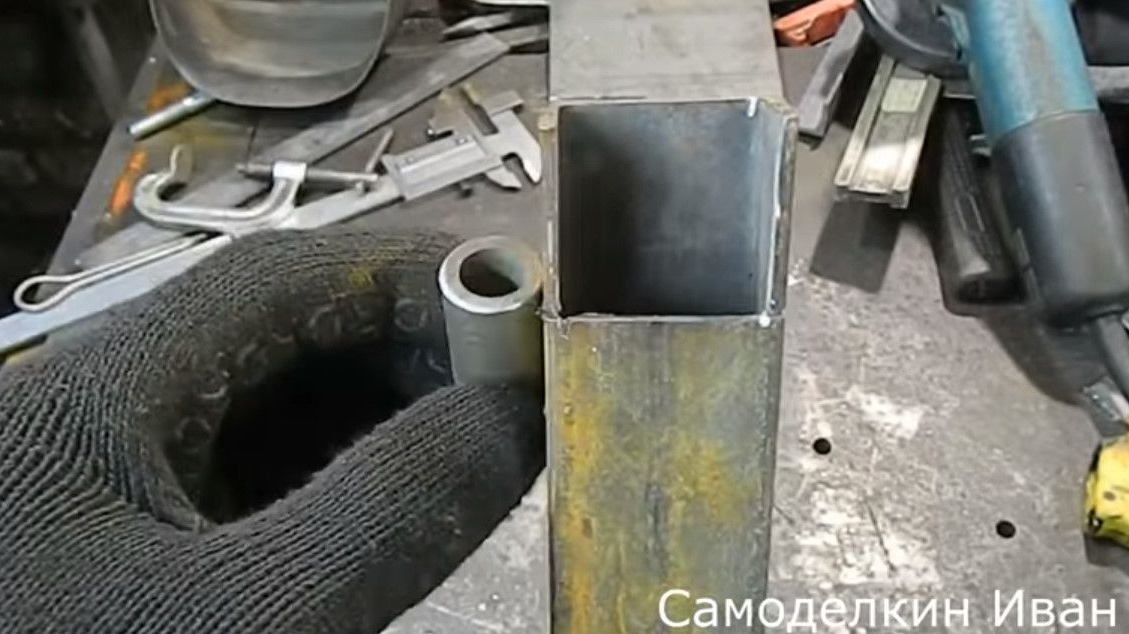
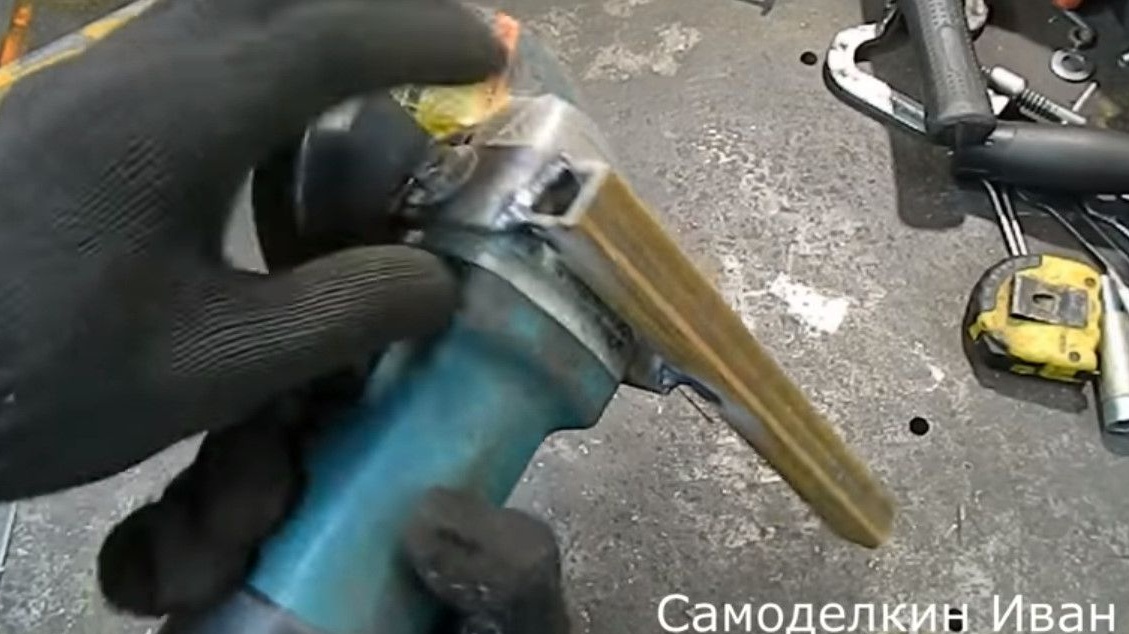
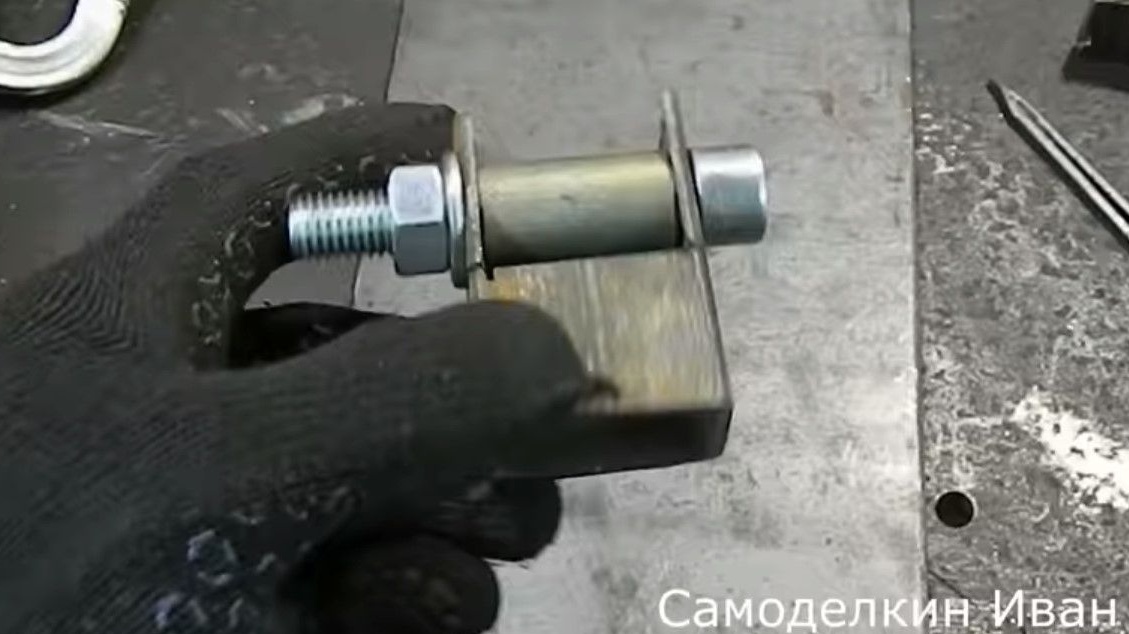
Now it is clearly included, but there is a very small backlash. However, this is good, the sleeve will be tightened with a bolt and nut. Thus, it was planned to eliminate such a backlash.
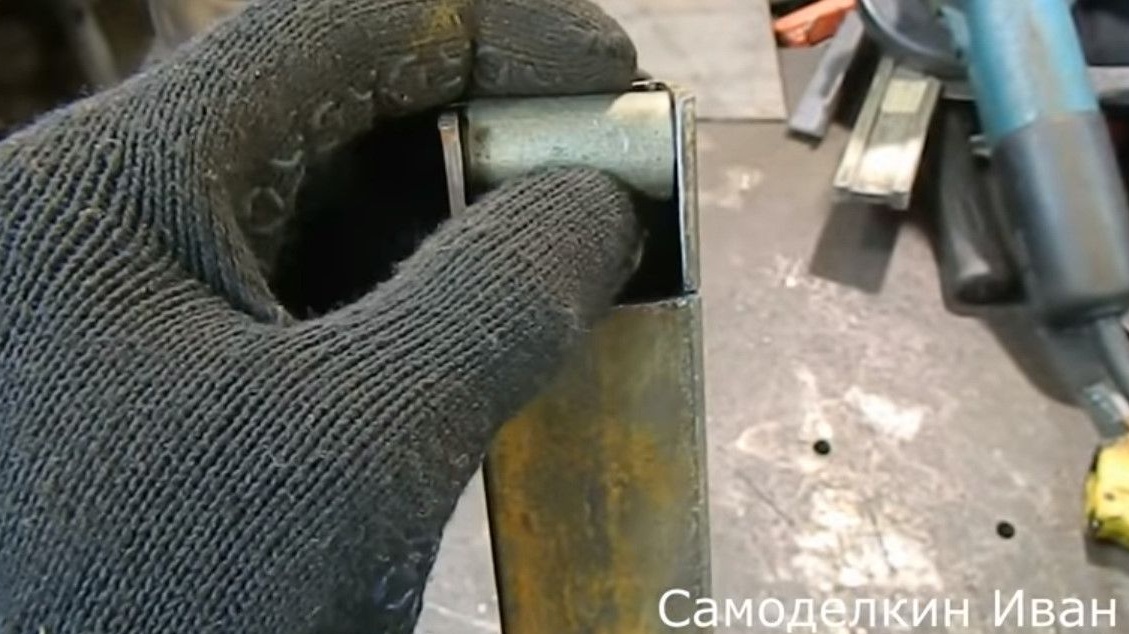
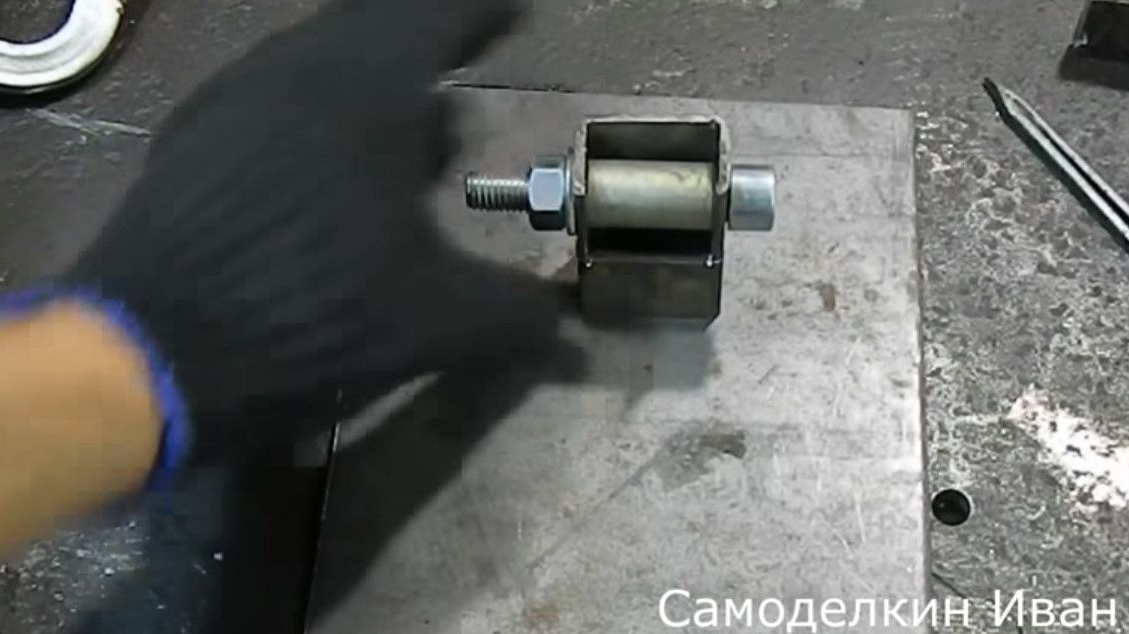
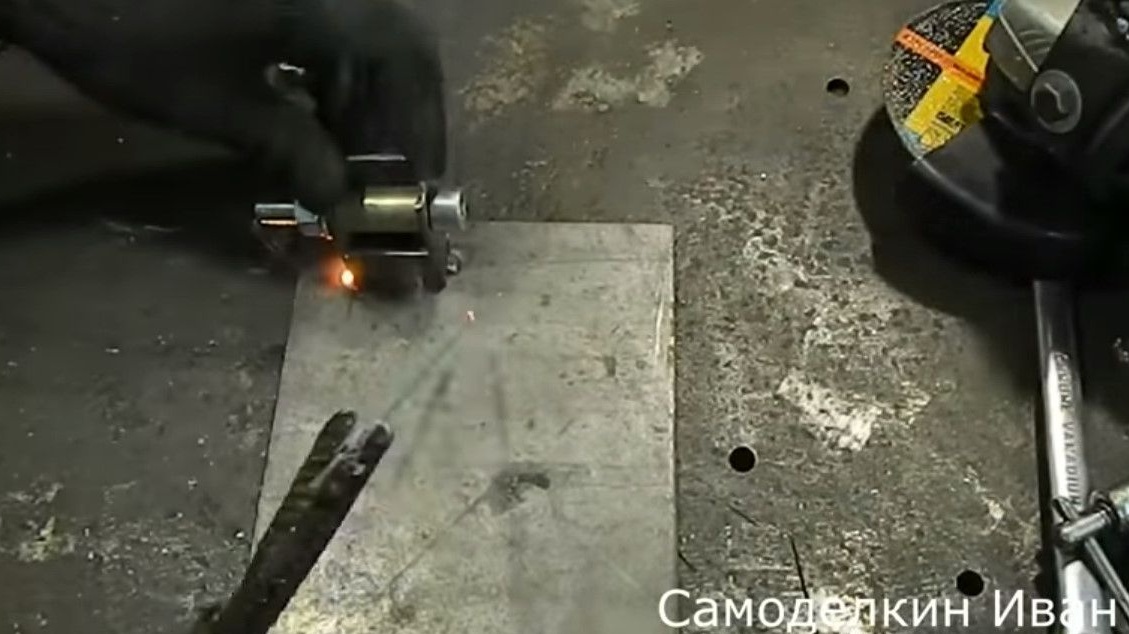
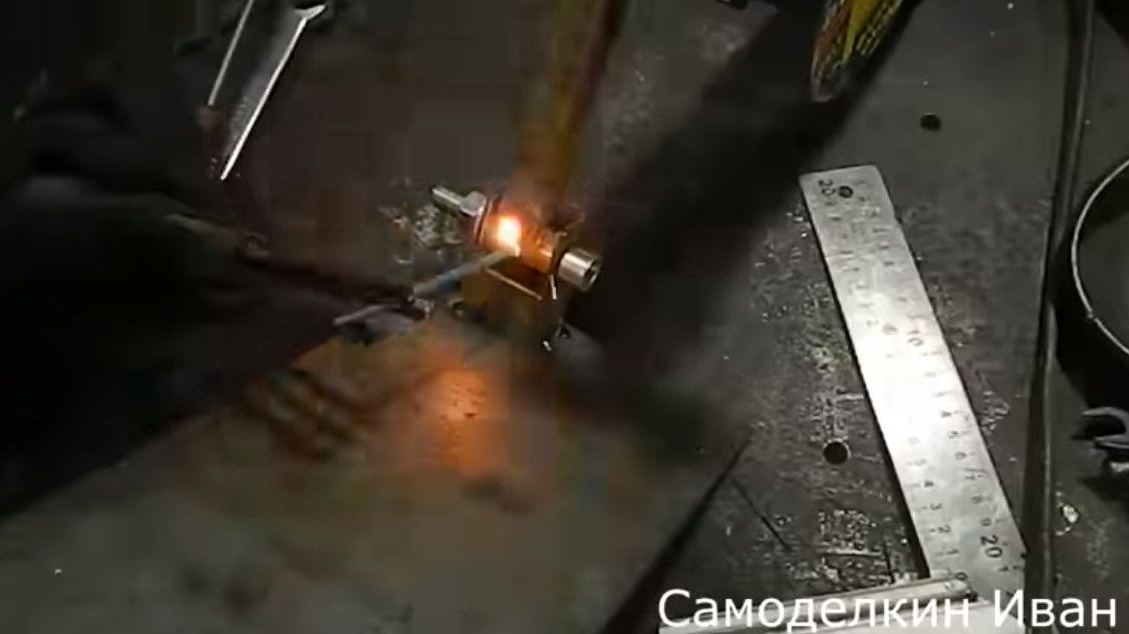
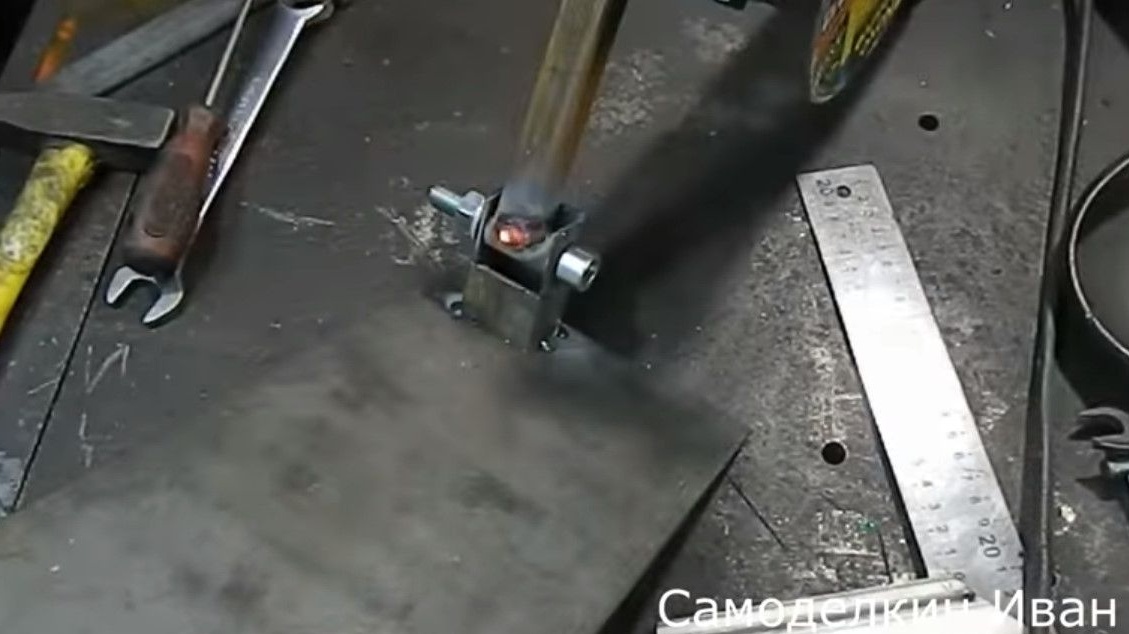
12mm holes are drilled in the center of this cut. Such a construction has already turned out.
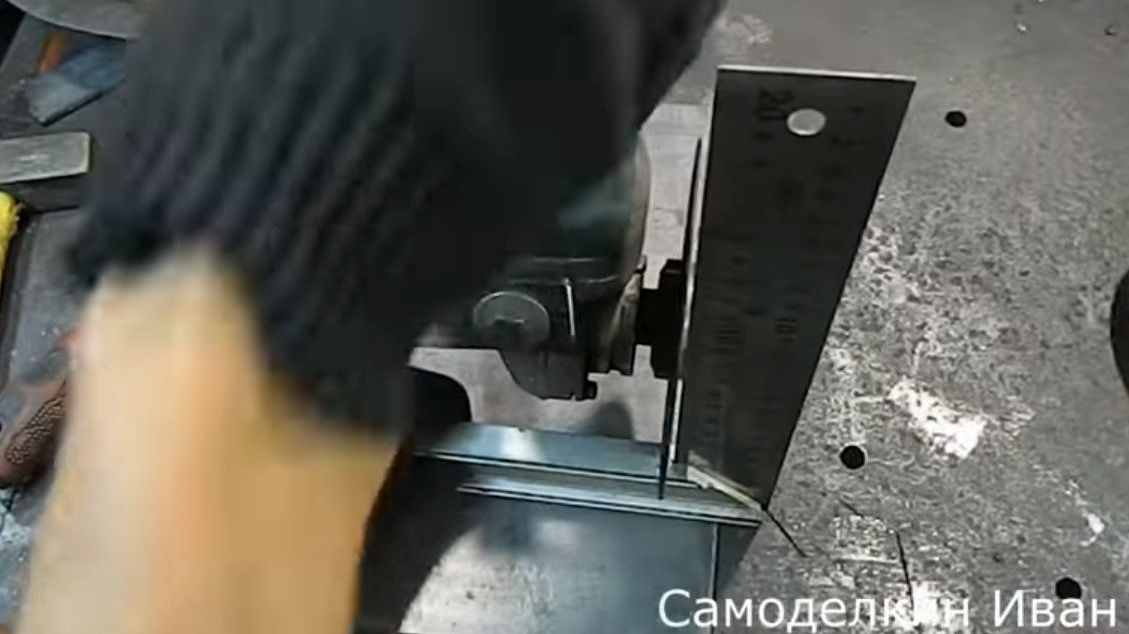
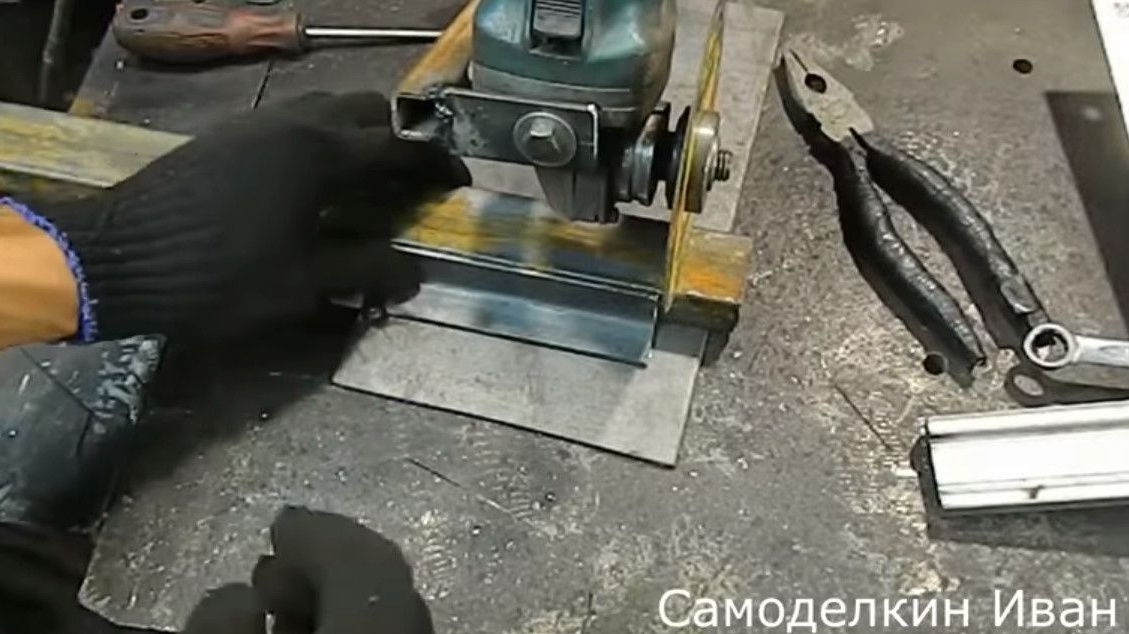
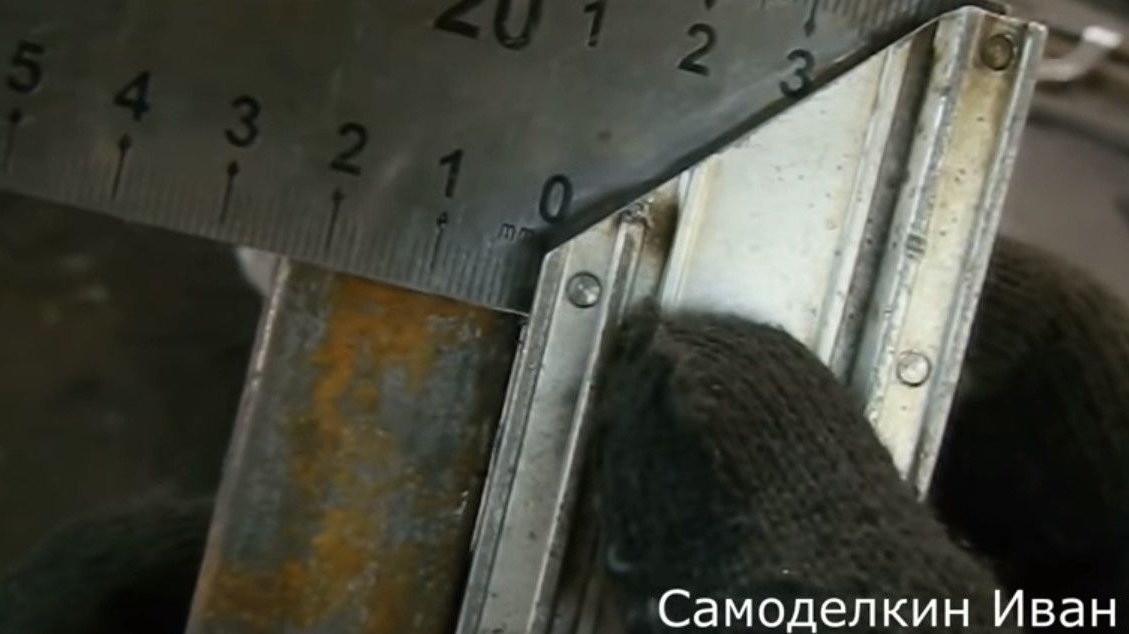
Next, the profile itself will be cut to the desired height, and set the hinge system on the sheet. The sheet will be the base of the machine, that is, it is like a platform on which all mechanisms will be fixed.
I sawed off the part, and now it will be attached to the site.
But first, the platform will customize for itself, cut off the desired piece.
Also, the hinge system on the site is pre-set with a square.
On a profile pipe - a guide, I made a selection under the sleeve.
It approximately measures where the cutting zone will be. Thus exposes finally. The item is on display. Grasps the part by welding to the sheet. All assembled, welded articulated mechanism.
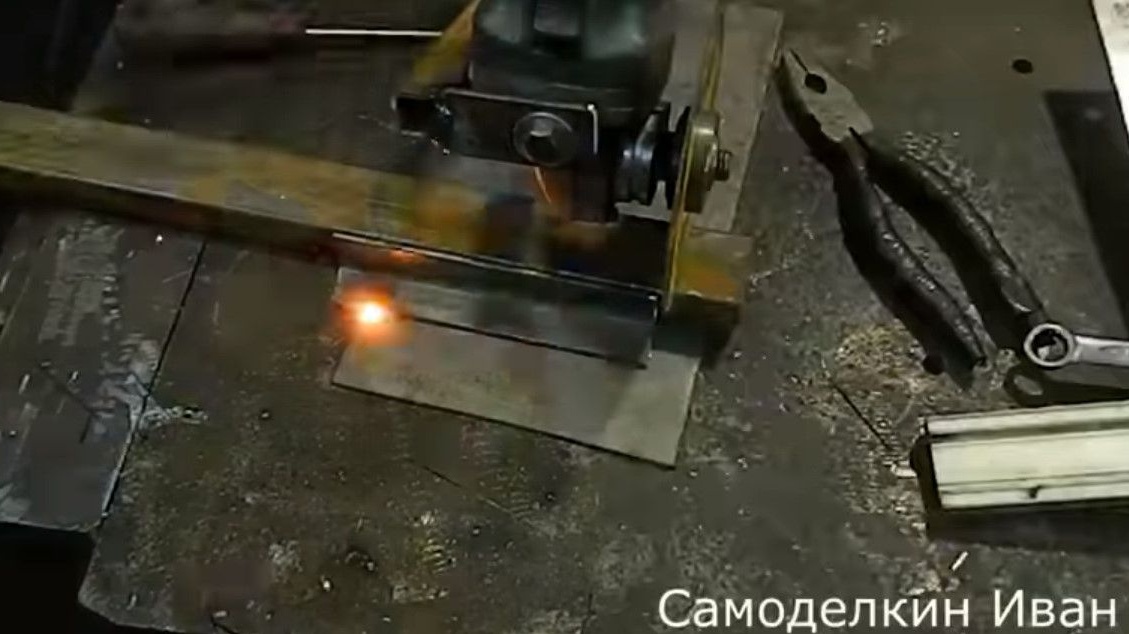
Further, it grabs the profile pipe to the sleeve.
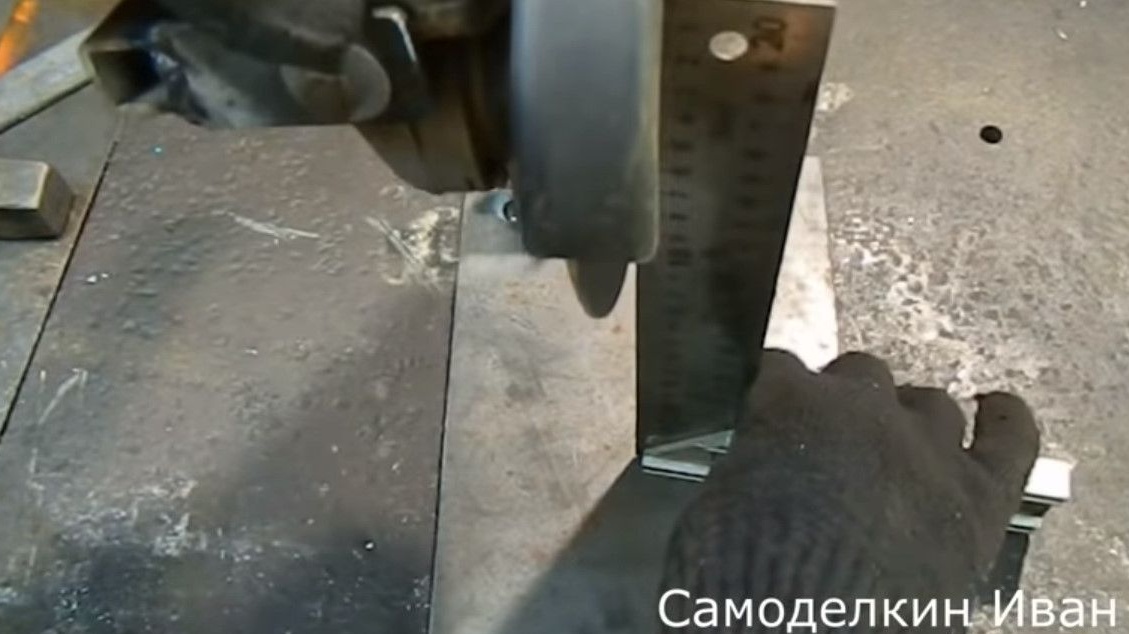
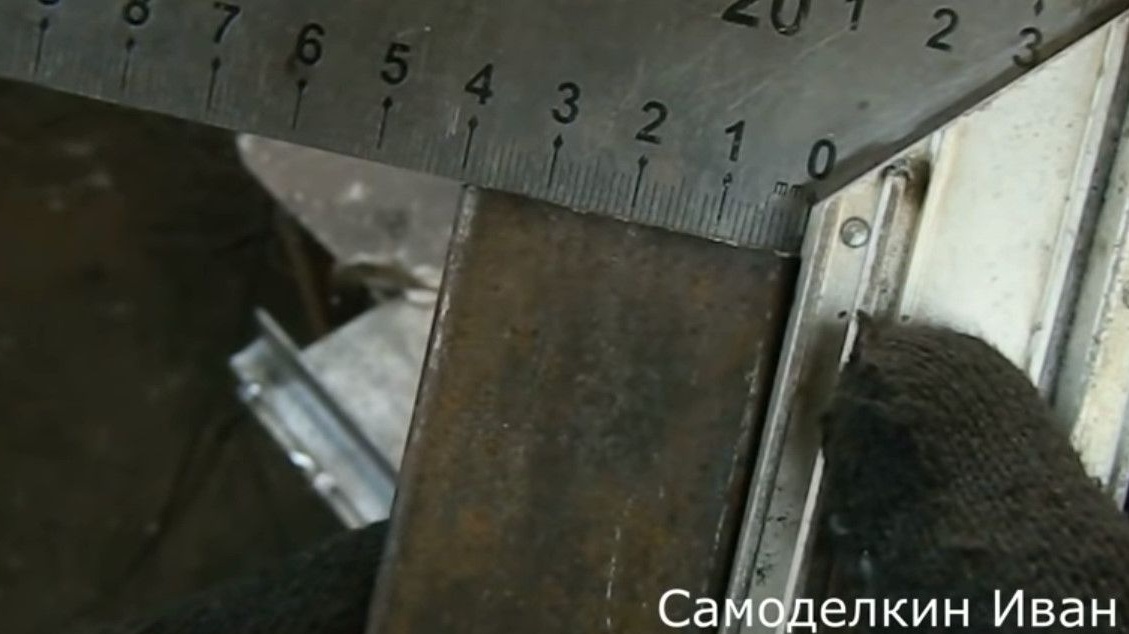
It is extremely important to observe the perpendicularity of the planes of the site and the circle of the grinder. Checked by a square.
Eliminates backlash by tightening the nut.

There is no backlash, now, it more accurately sets the angles, guided by the cutting circle.
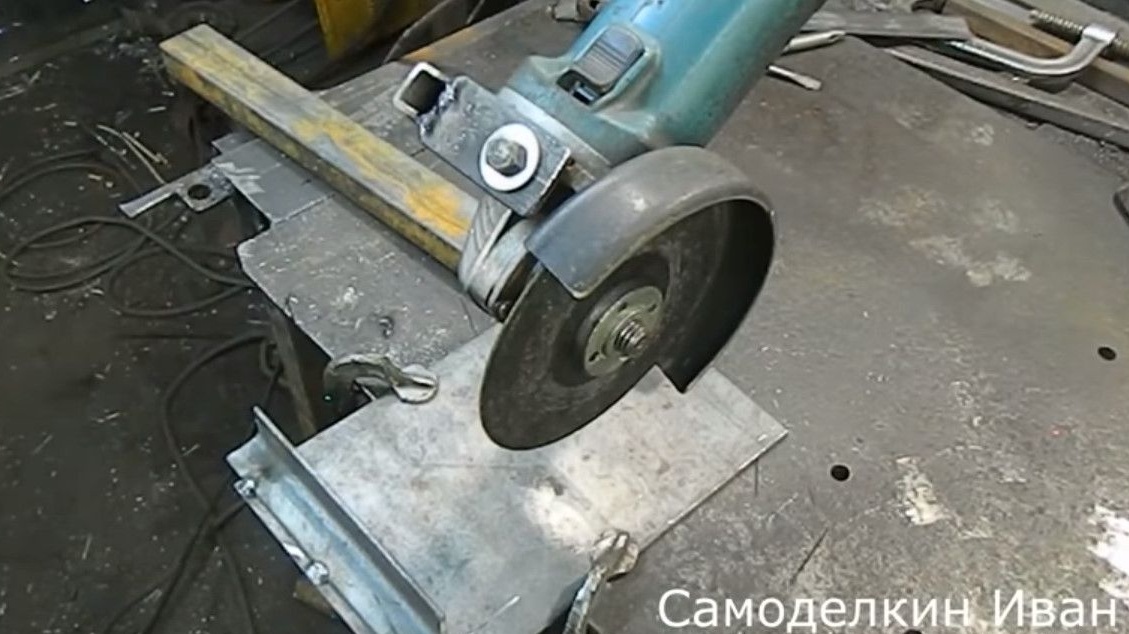
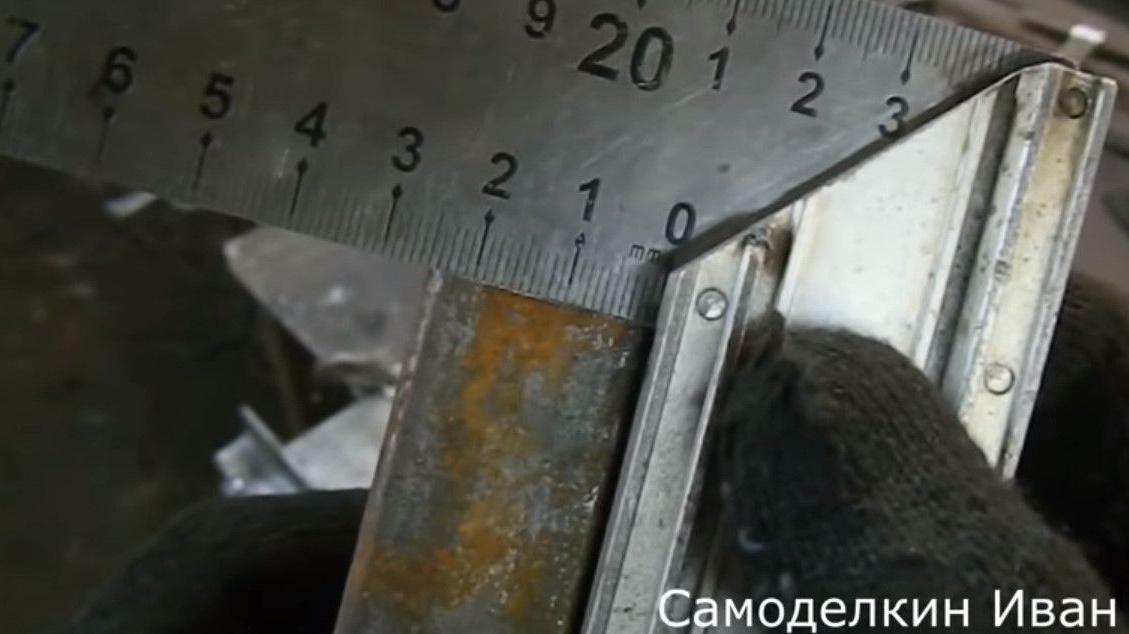
To set it even more accurately, it is necessary to remove the protective cover.
Here, the long-awaited 90.
Moreover, the inclination of the disk vertically is regulated by bolts on the ears.
Finally welds the sleeve to the profile.
The last thing left is to fix the corner, which will set the direction of cut of the workpiece.
The simplest detachable machine is ready.
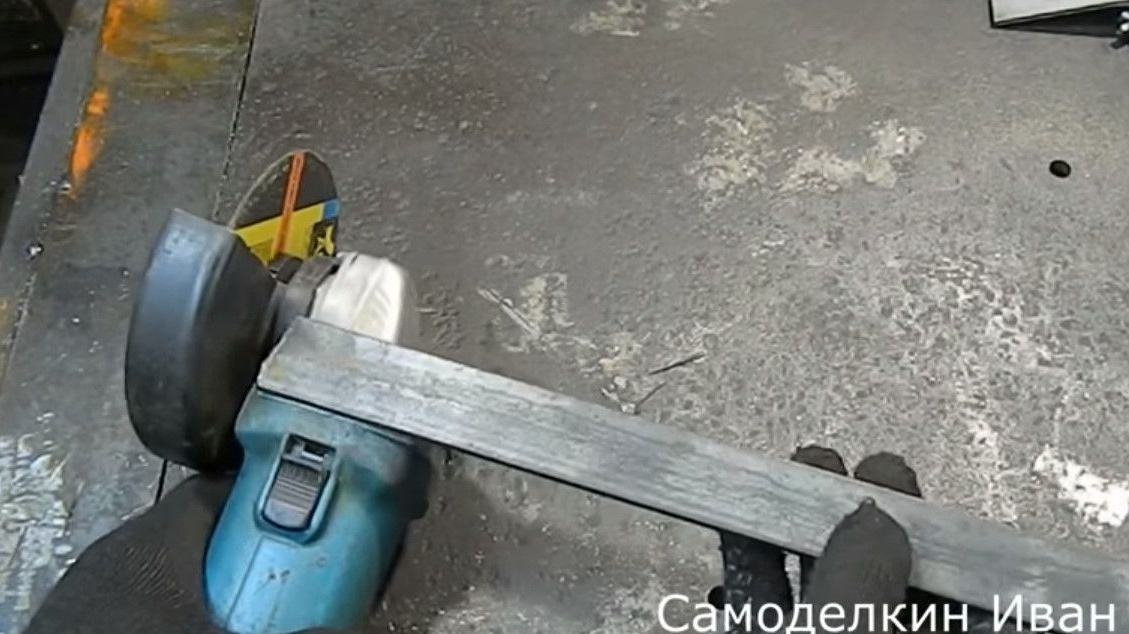
The profile pipe 25X40mm will be cut, and thus, it will be possible to accurately measure the cut.
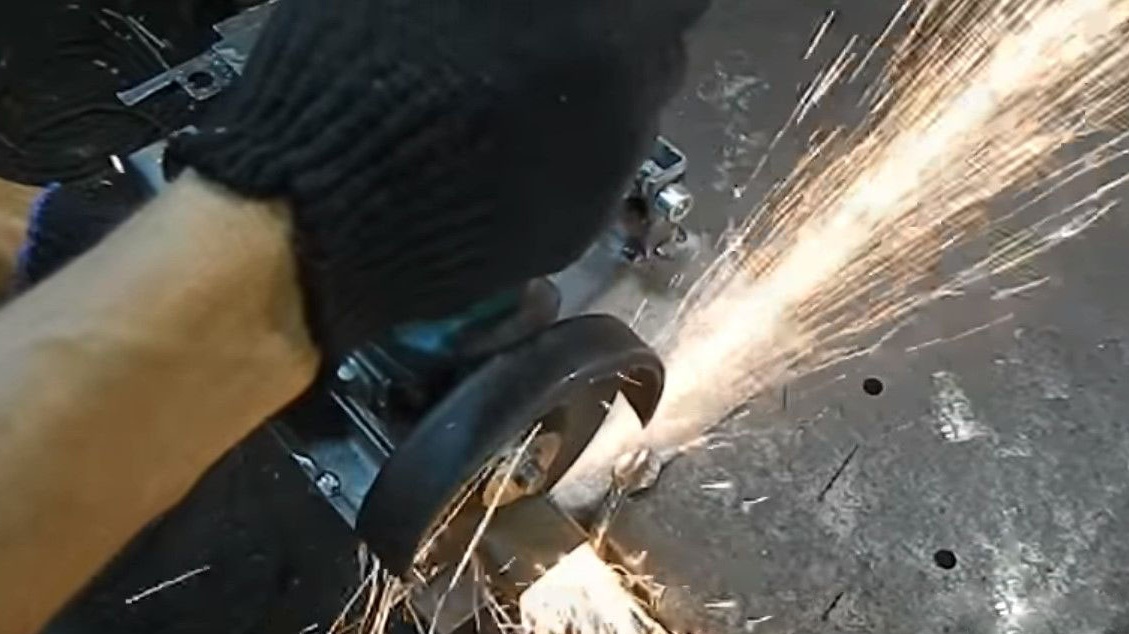
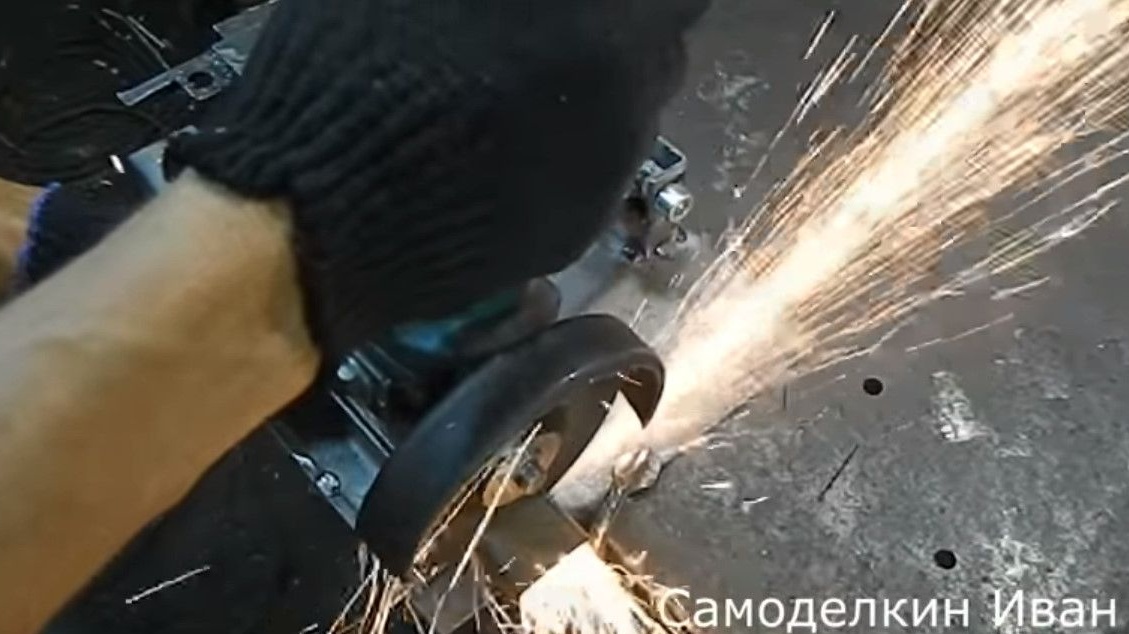
Turns on the Bulgarian, and proceeds to the tests.
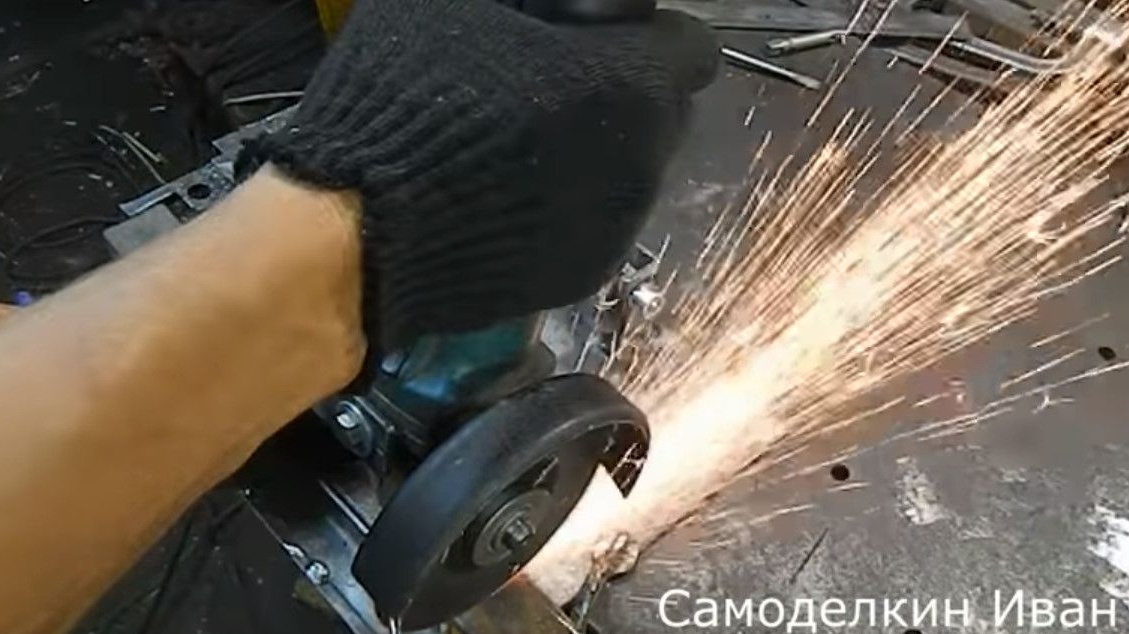
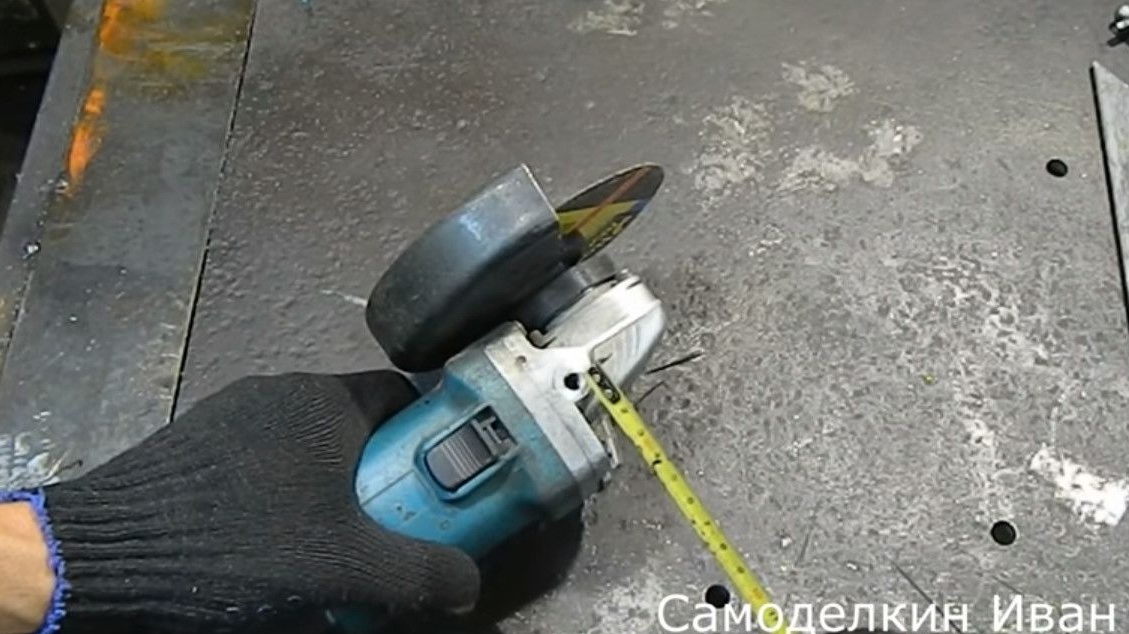
He takes a square, and looks. The result is amazing, perfect cut.

With the second side, everything is similar.
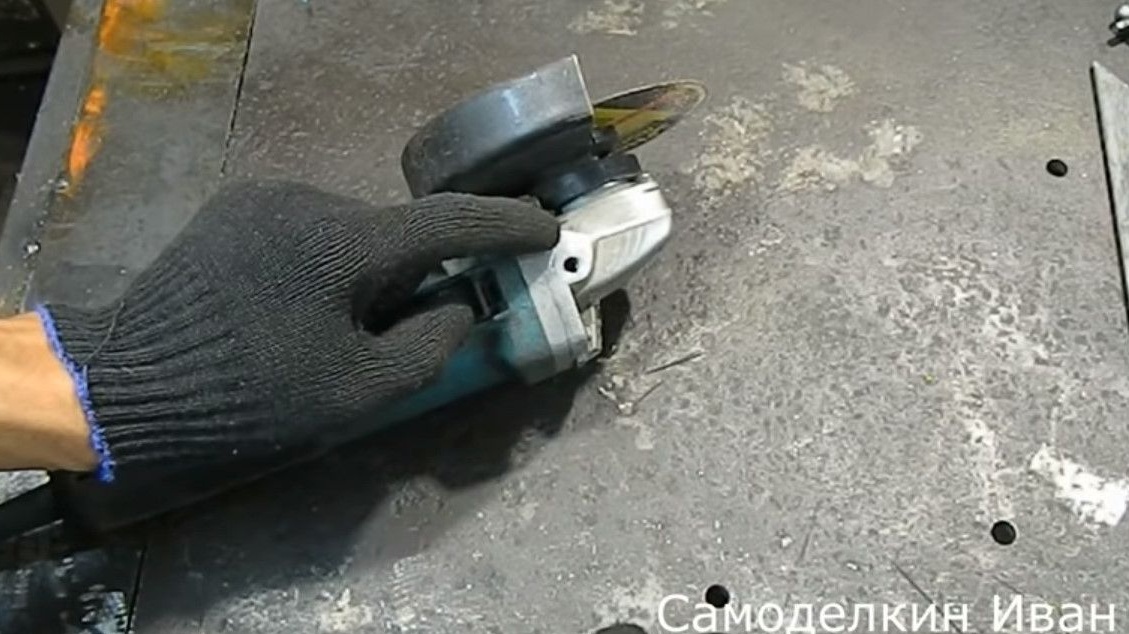
Repeats the test again to see if this design works or not.
And the second time sawed off exactly.
Here’s such a precise machine, Ivan turned out to be from simple material. The only thing I would personally bring to the design is a return spring, and a movable corner so that you can cut not only at right angles, but also at 45 degrees.
Thanks to Ivan, the author of the channel for detailed instructions on the manufacture of the machine!
All good homemade!