
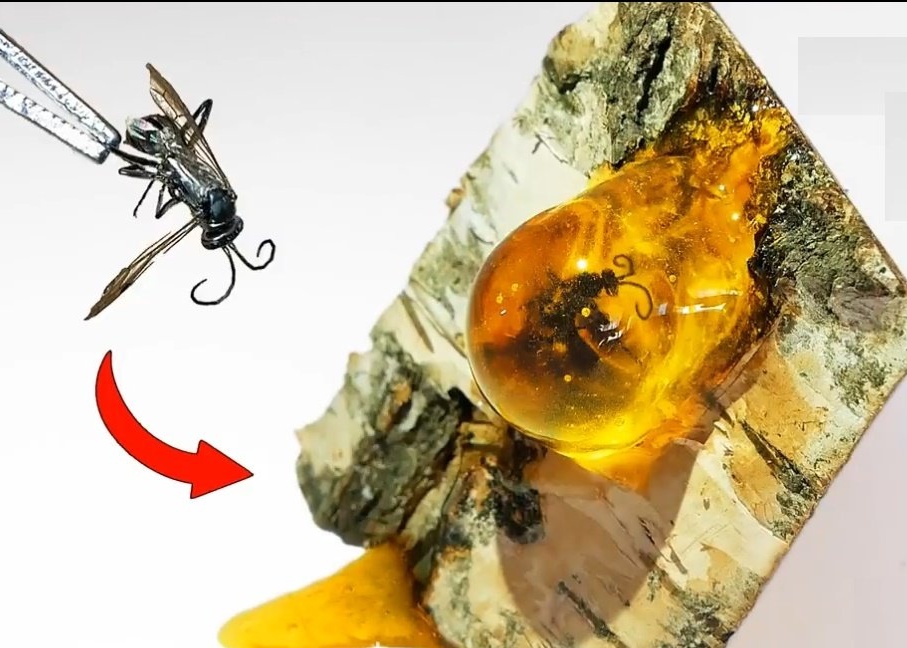
I welcome all fans to craft, I propose to consider instructions for making an interesting picture of epoxy and natural materials. The author was asked to depict a wasp that was stuck in the resin of a tree. The author coped with the task pretty well, on a piece of birch bark everything looks pretty realistic. If the project interests you, I propose to familiarize yourself with it in more detail!
Materials and tools used by the author:
Material List:
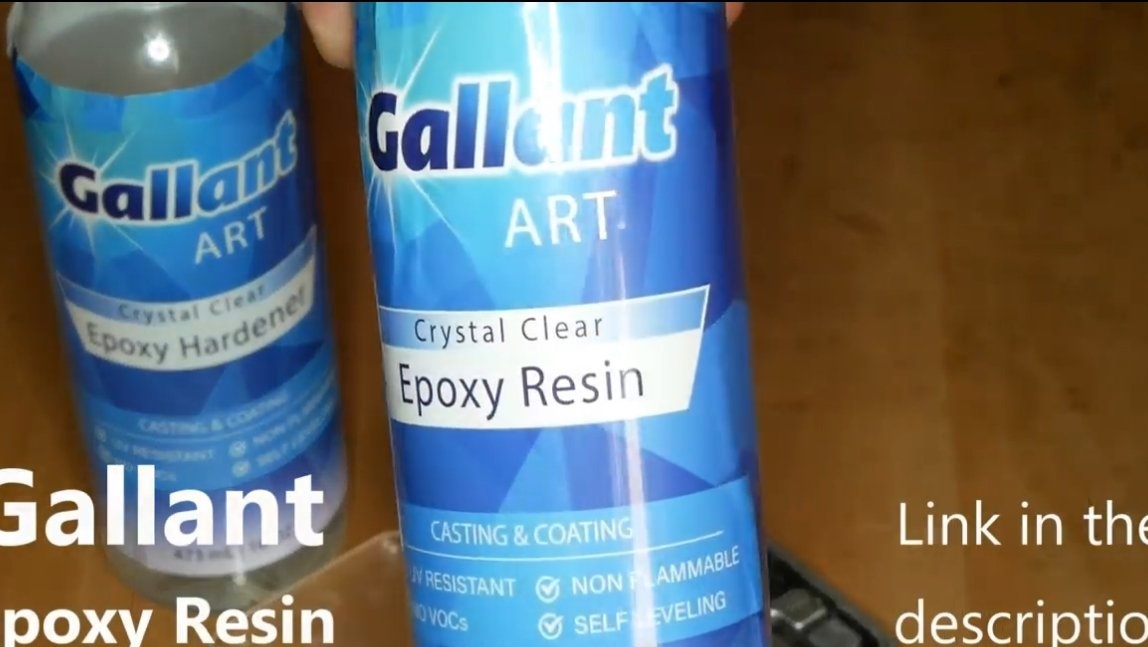
- epoxy resin for pouring;
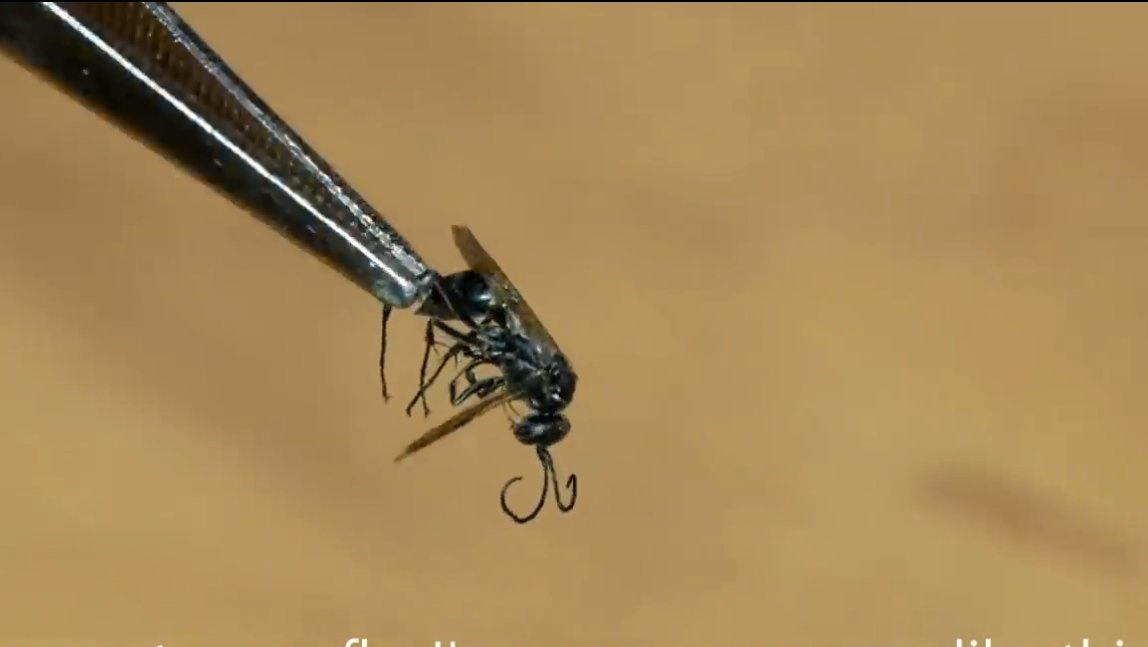
- dry wasp;
- yellow dye for resin;
- a piece of birch bark;
- polymer clay.
Tool List:
- a hacksaw or a cutting machine;
- glue gun;
- acrylic for formwork;
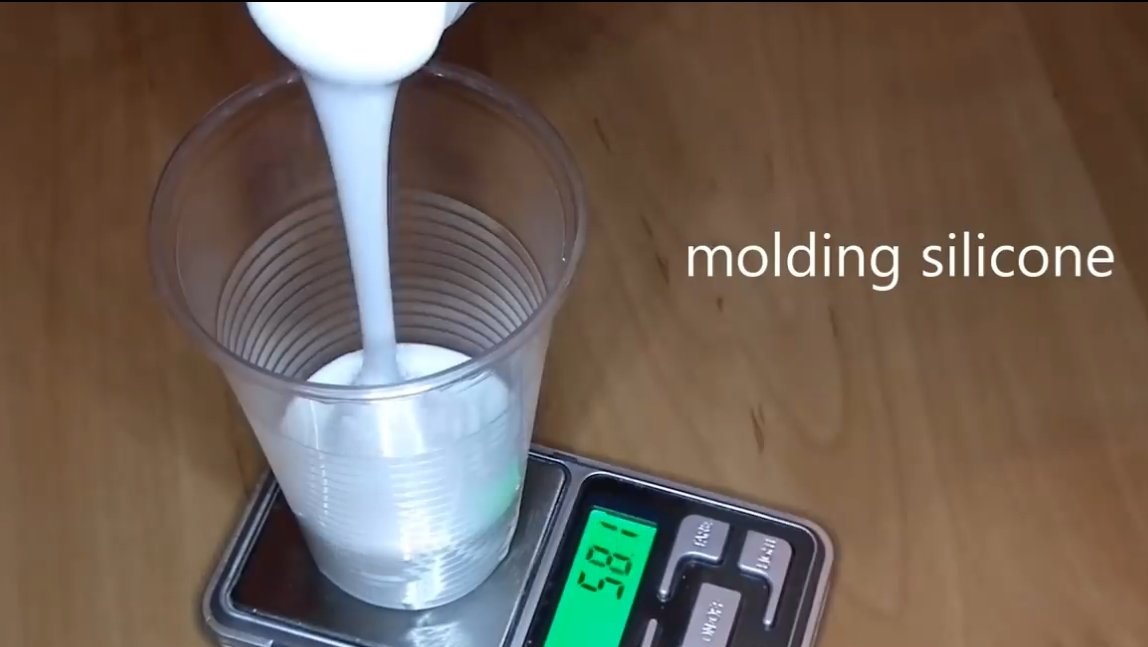
- digital scales;
- two-component silicone;
- stationery knife;
- ruler;
- tweezers, etc.
Manufacturing process homemade:
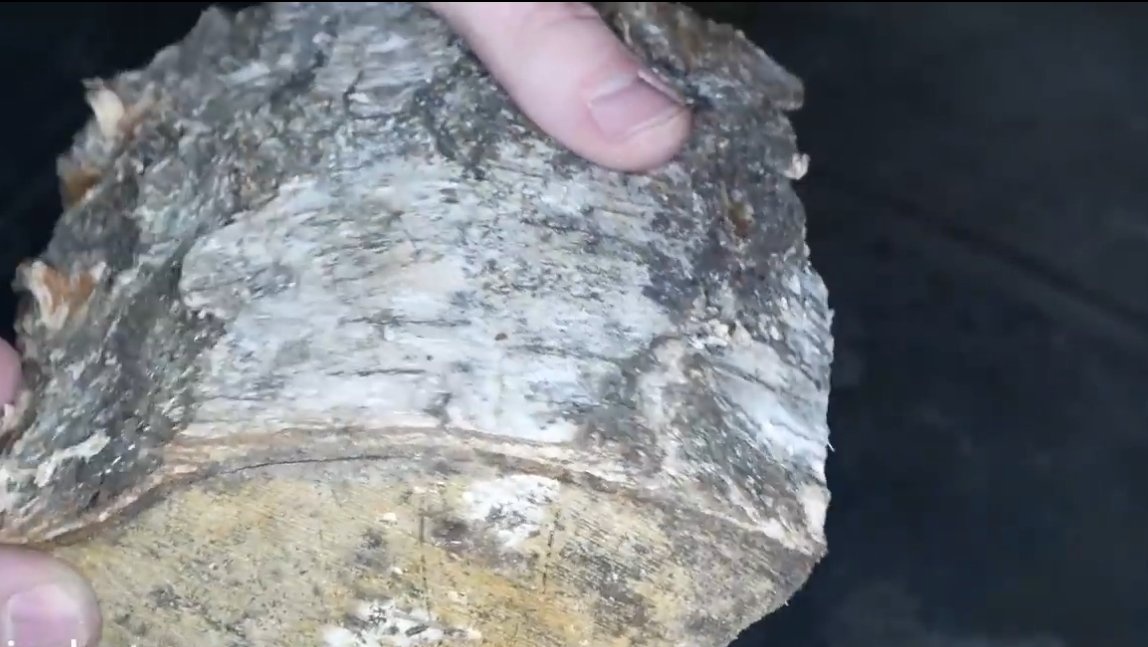
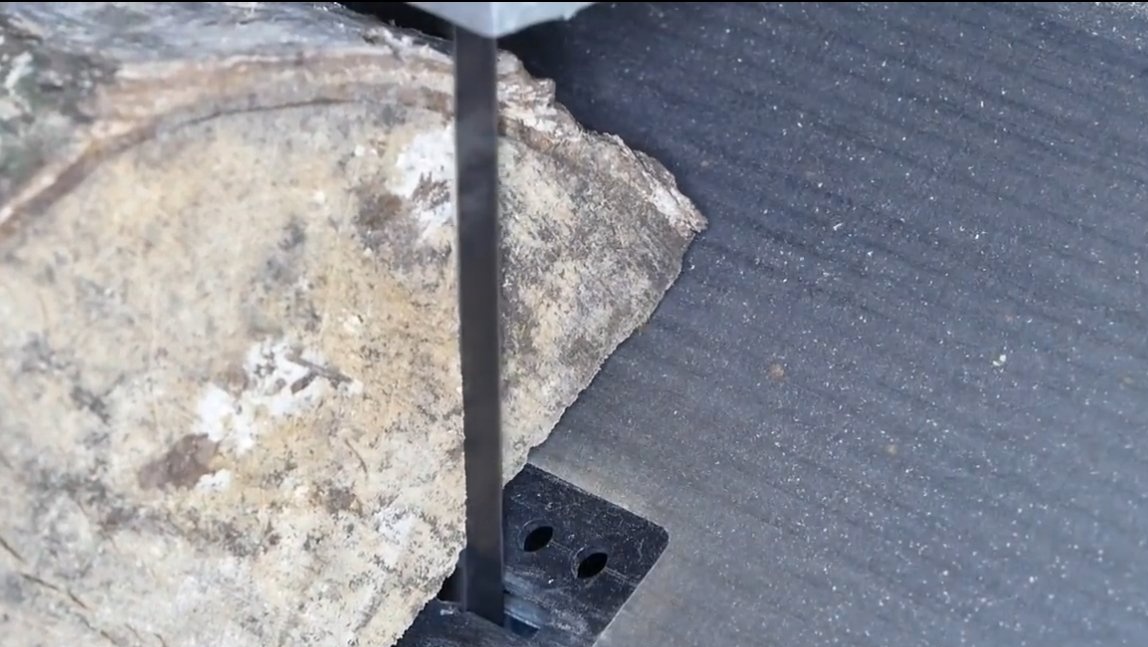
Step one. Foundation preparation
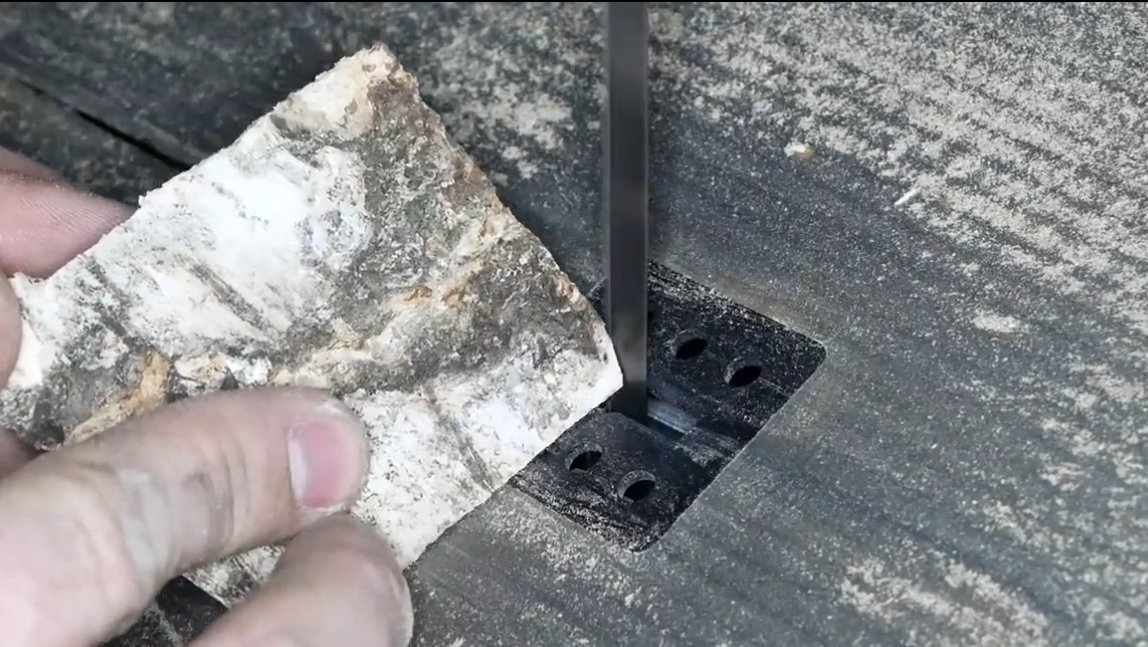
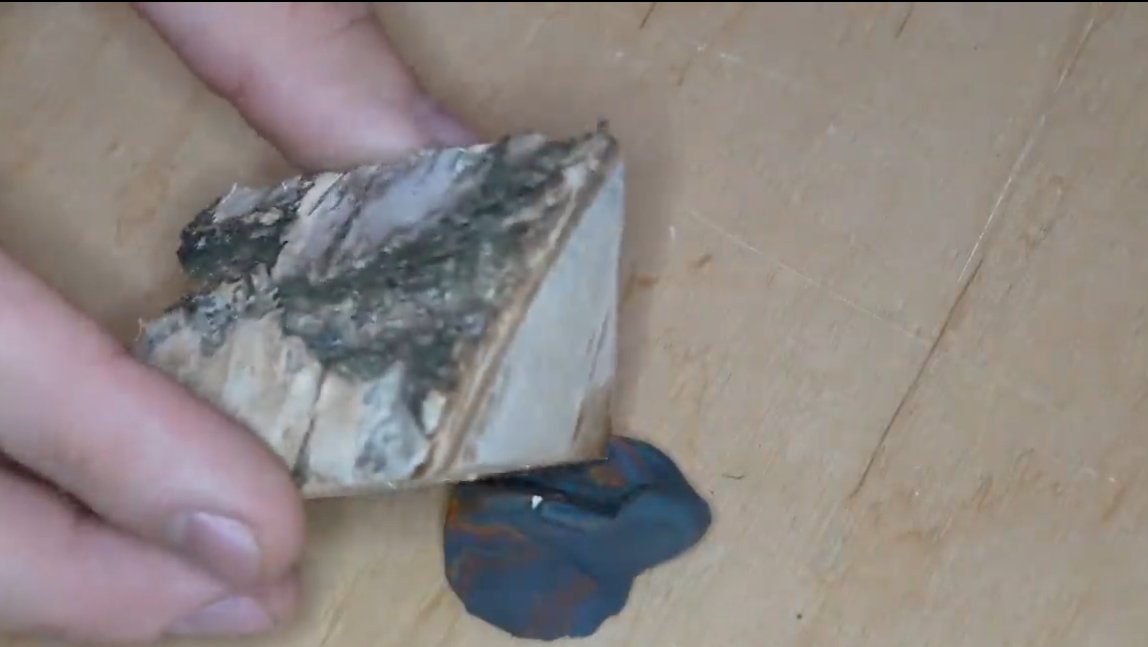
As a basis, the author decided to use a piece of birch trunk with bark. We cut off the excess, remove the debris and lightly grind the reverse side.
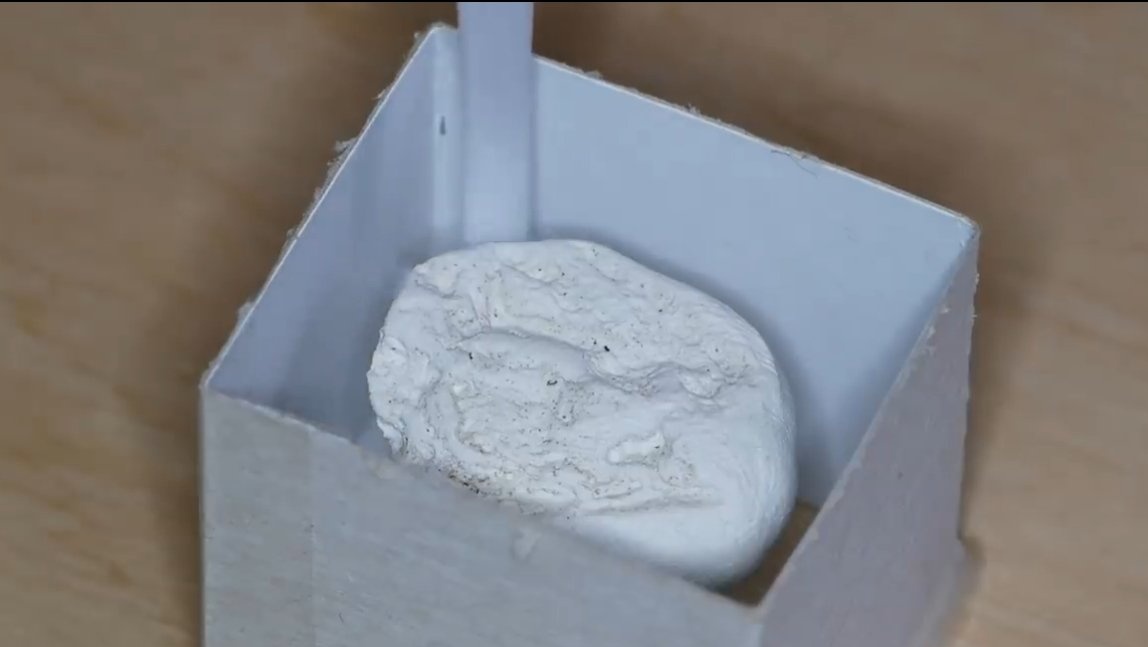
Step Two Mold for filling
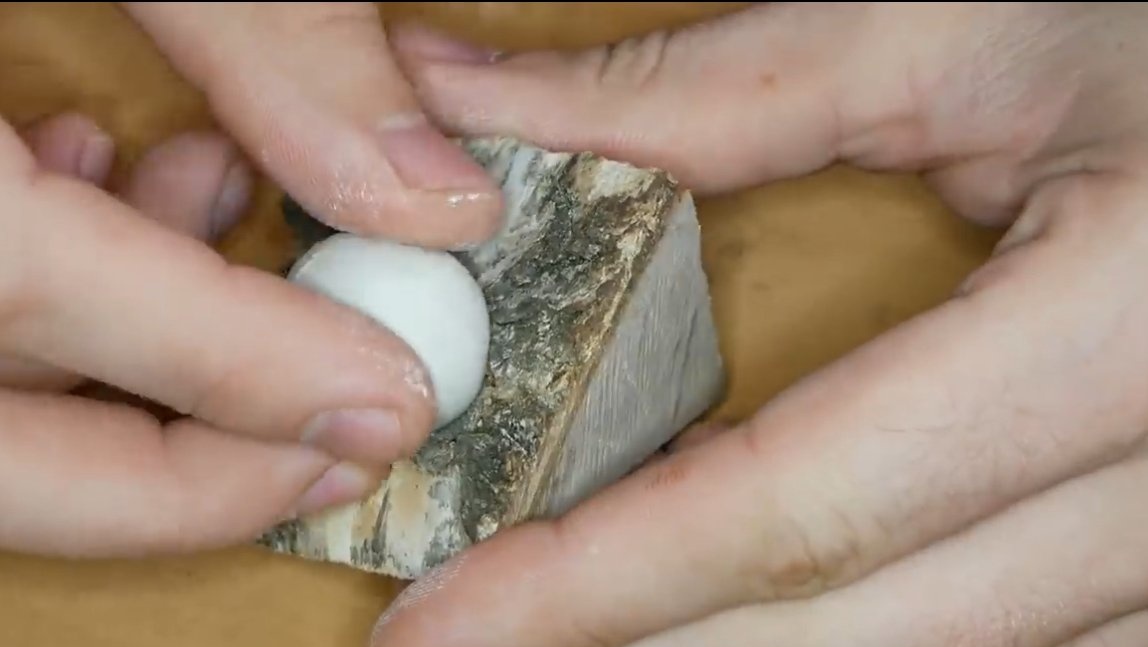
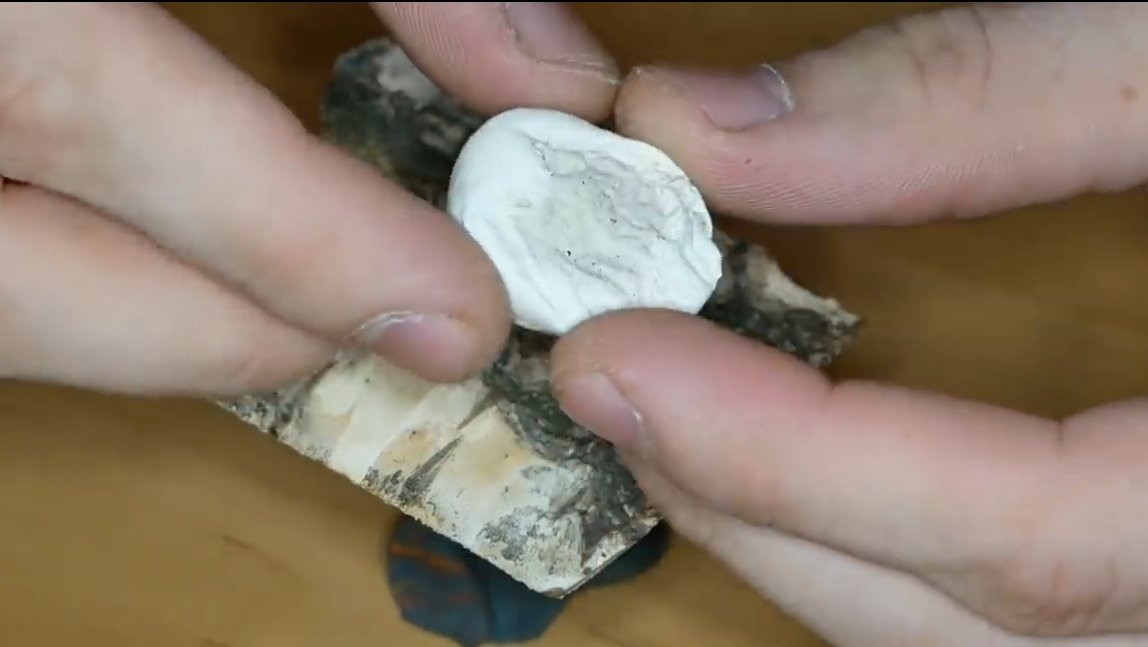
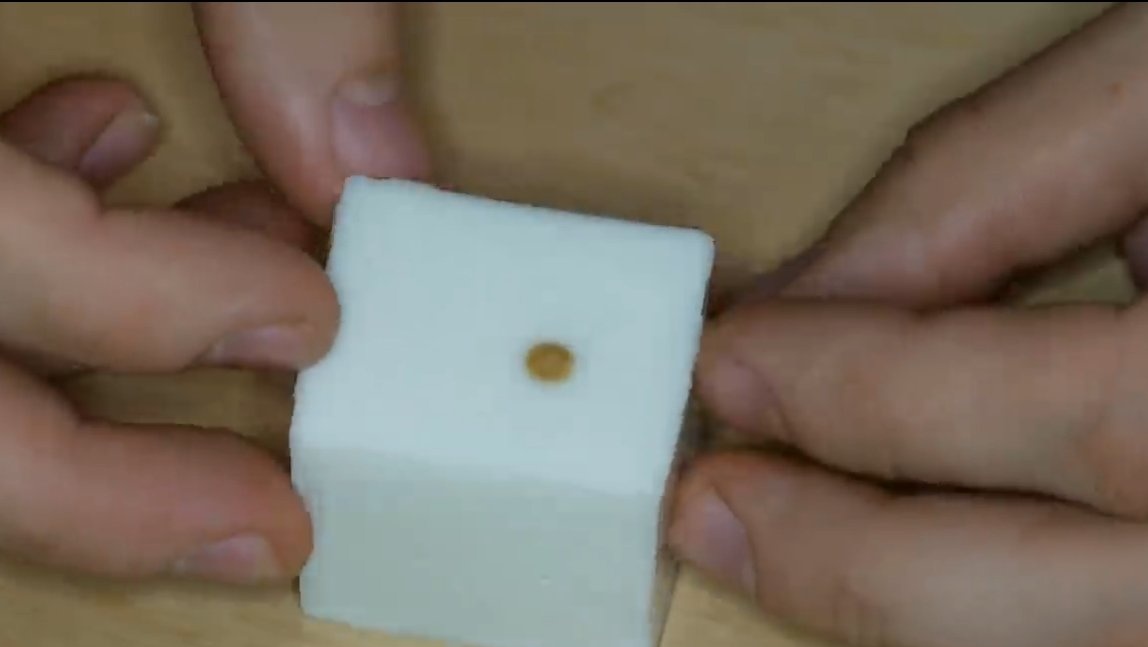
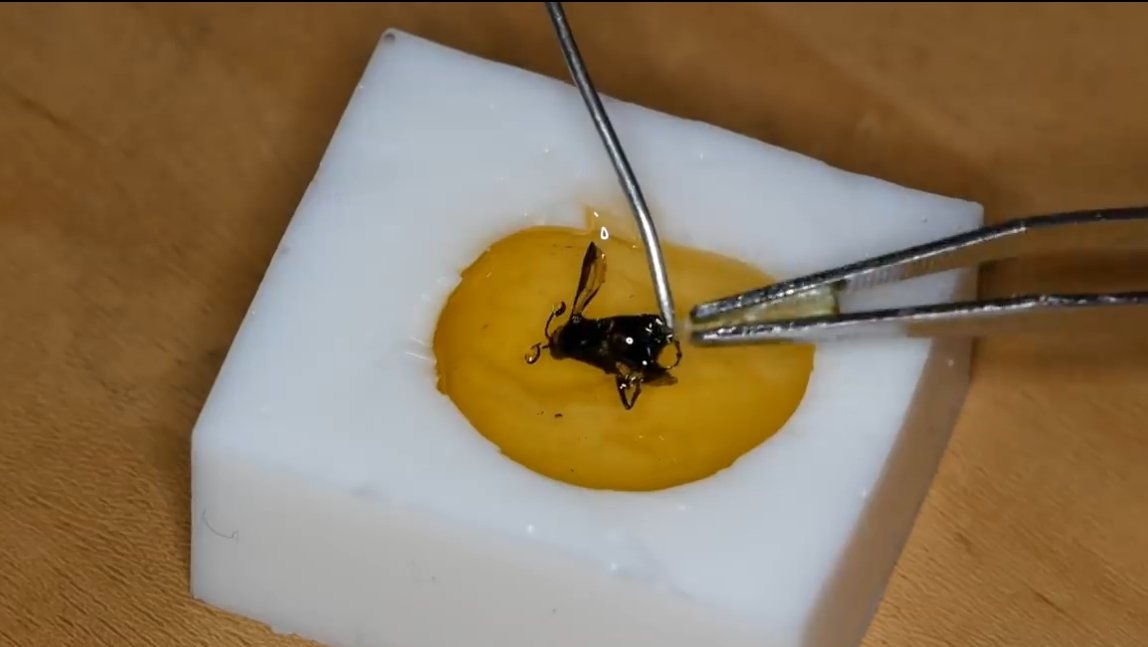
We will need to cast a drop of resin, it is under this drop that we will need to make a mold. To begin with, the author used polymer clay, a drop was molded from it on a piece of bark prepared earlier.
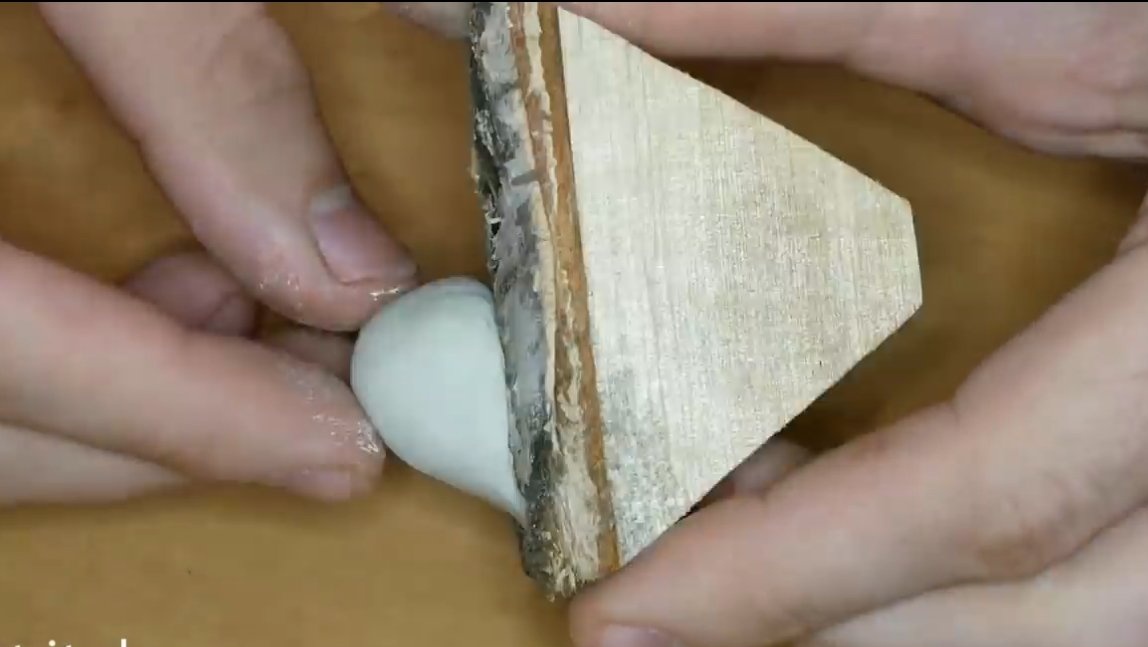
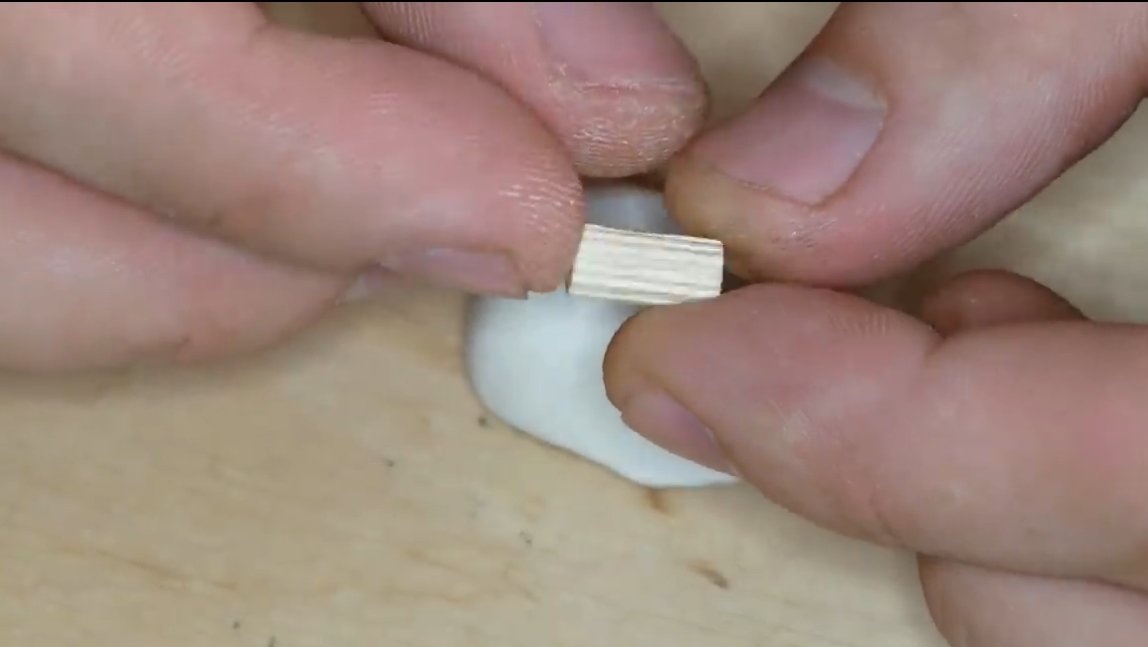

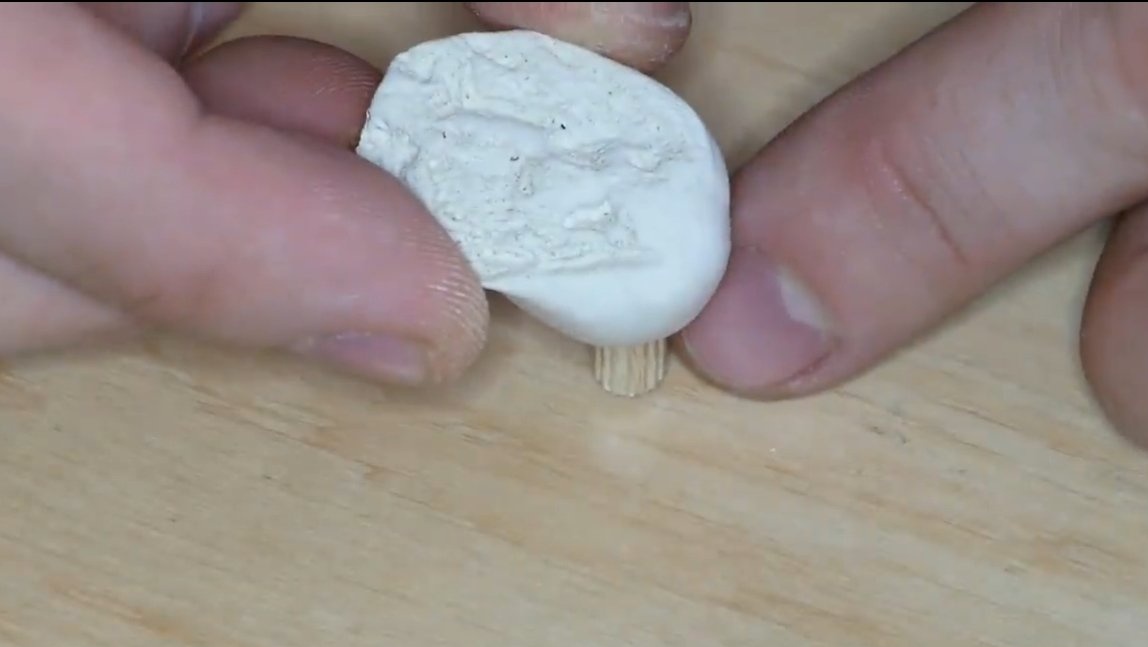
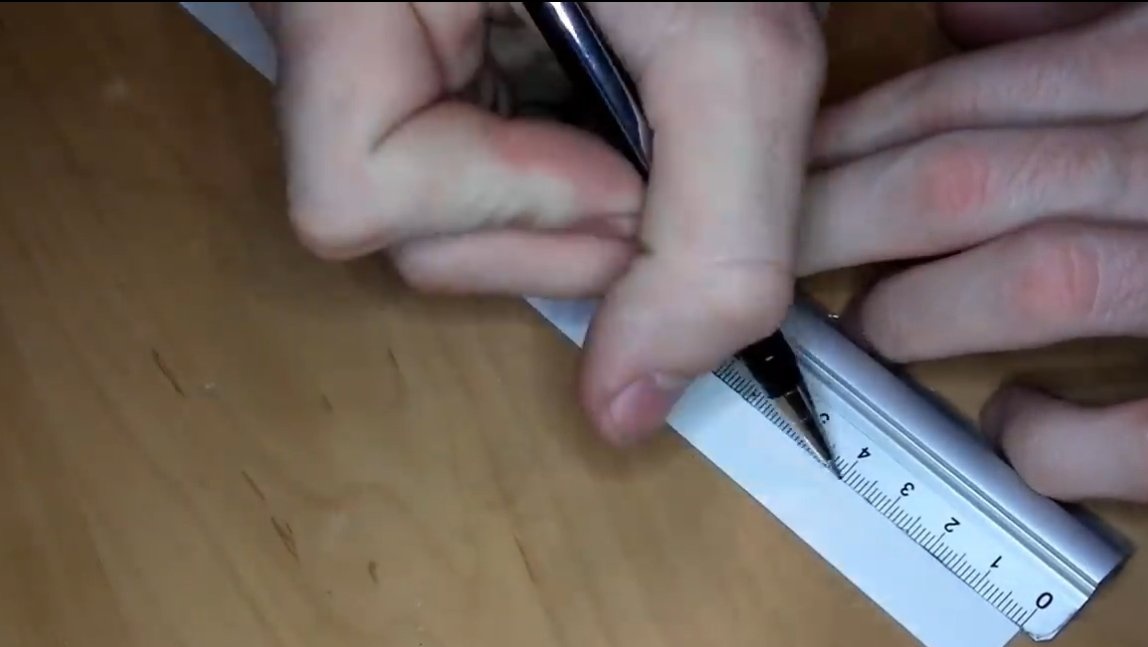
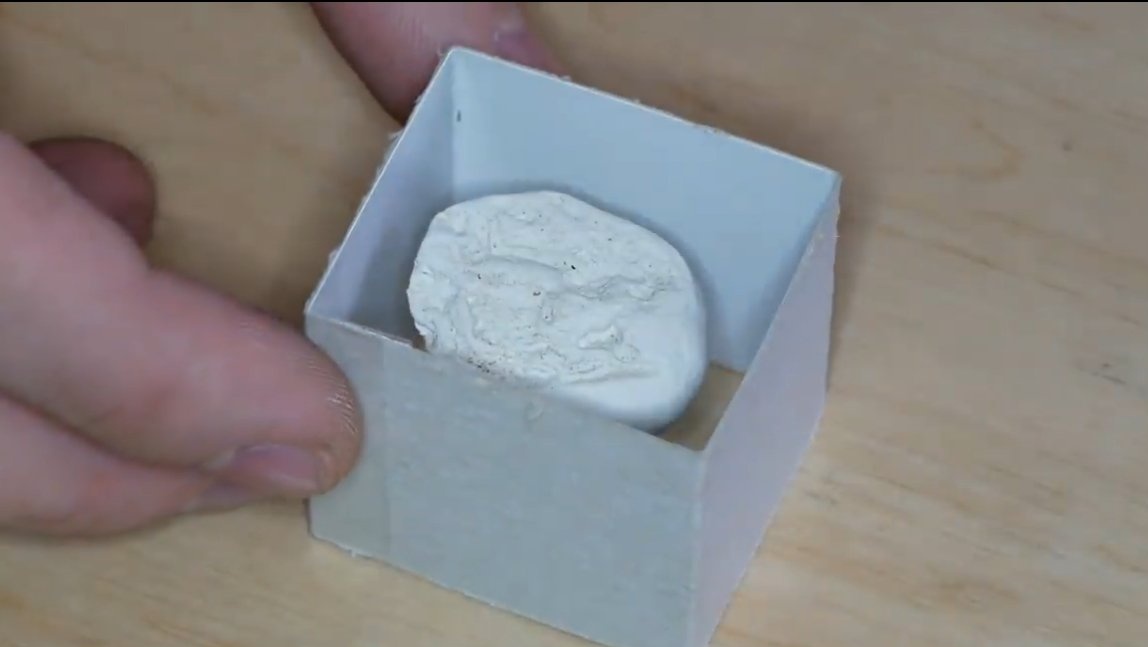
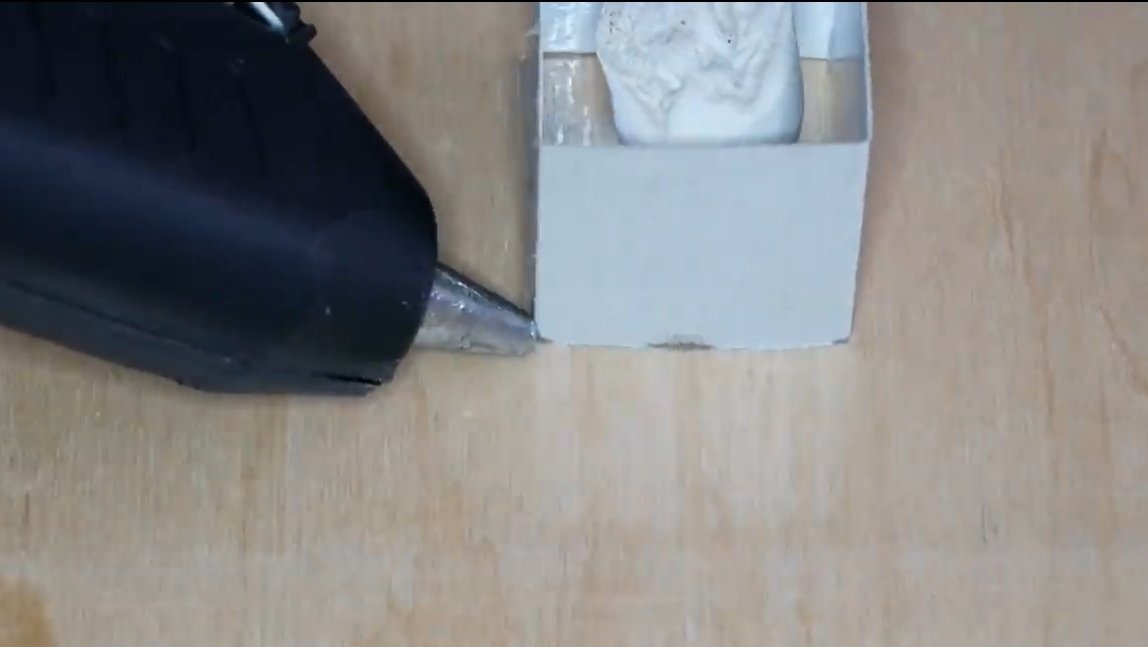
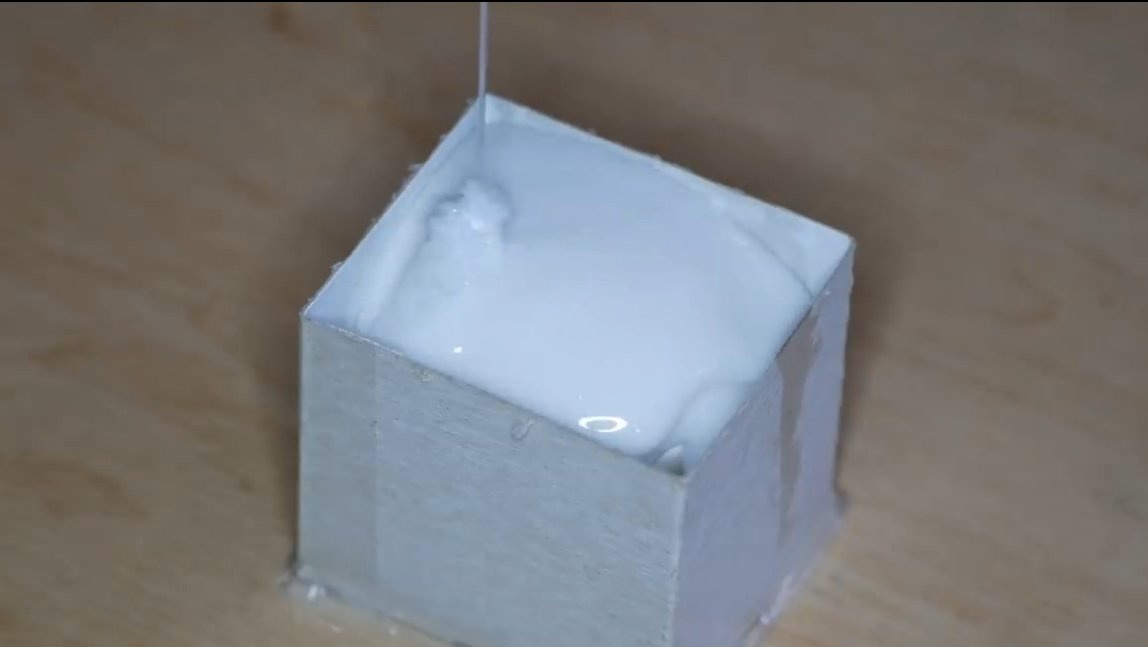
Next, you need to pour the made stew in silicone, for this we glue a piece of dowel to the clay workpiece, this will be the gate. Under silicone, we make formwork from paper or acrylic, for tightness we use a glue gun. We install the part in the formwork and fill in the silicone. The author has a special two-component silicone.
Step Three Pour a drop of resin
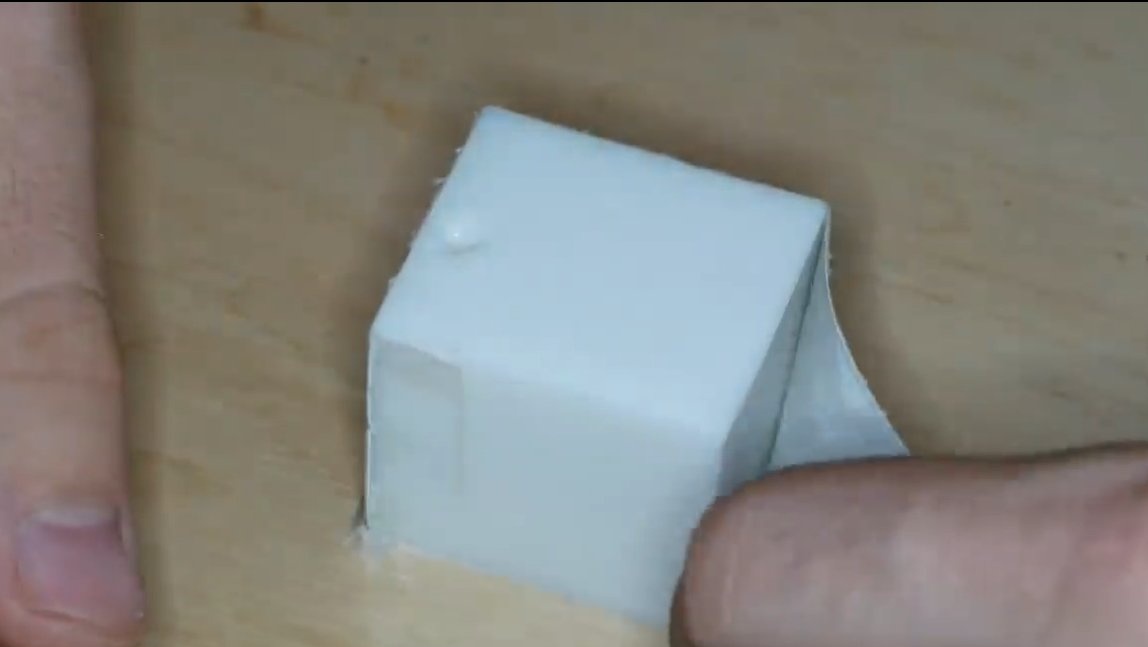
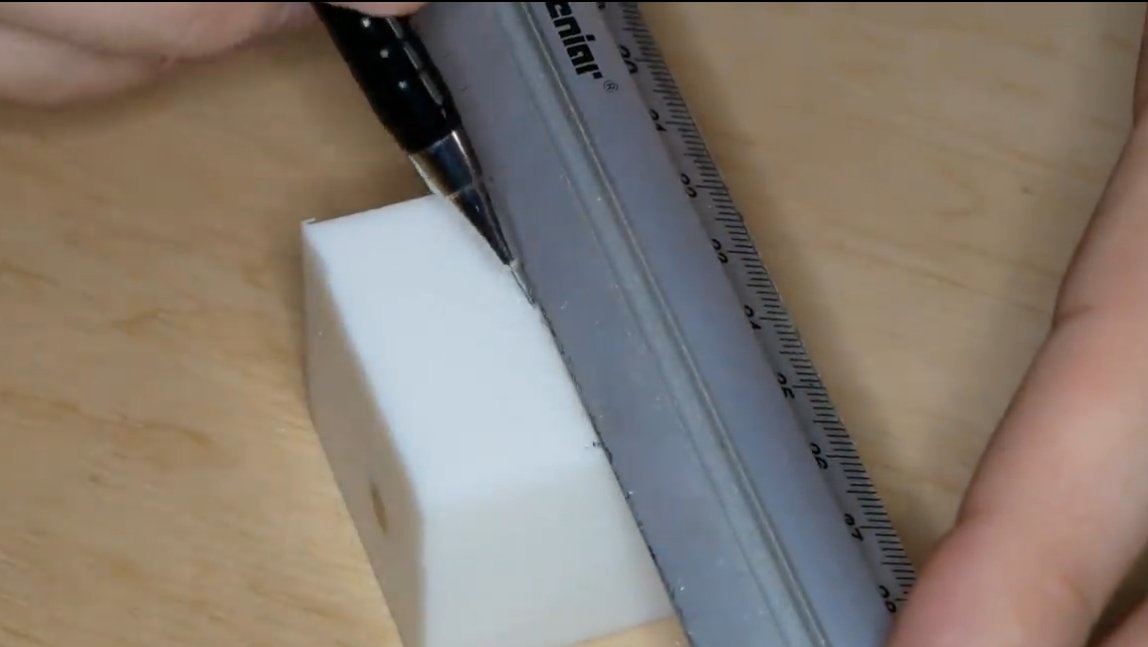
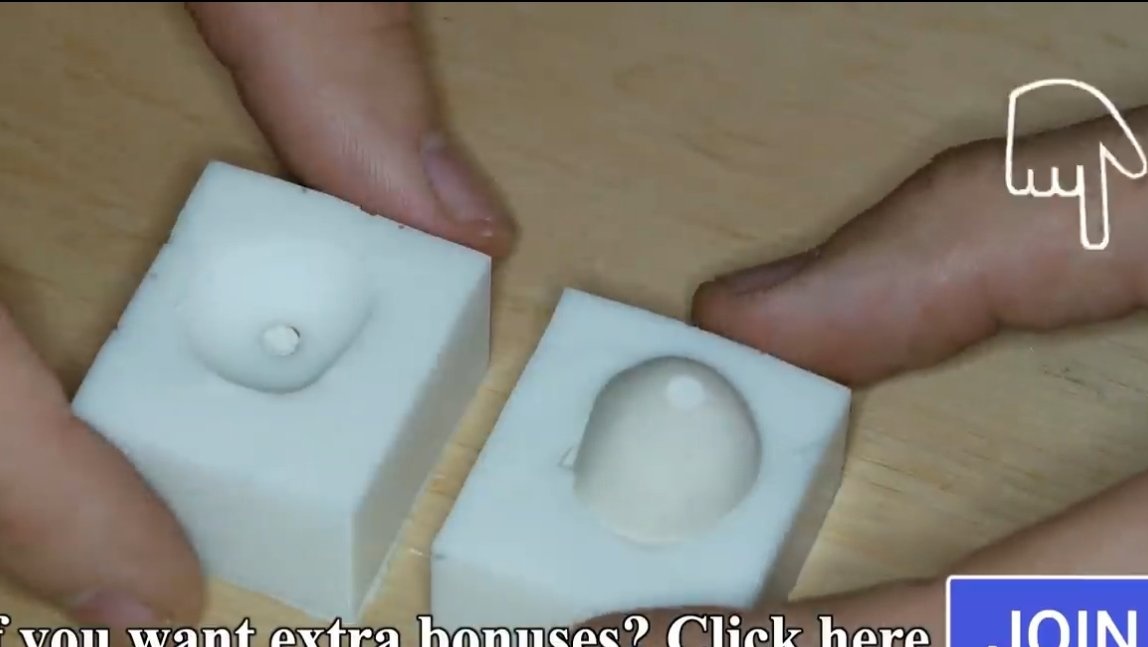
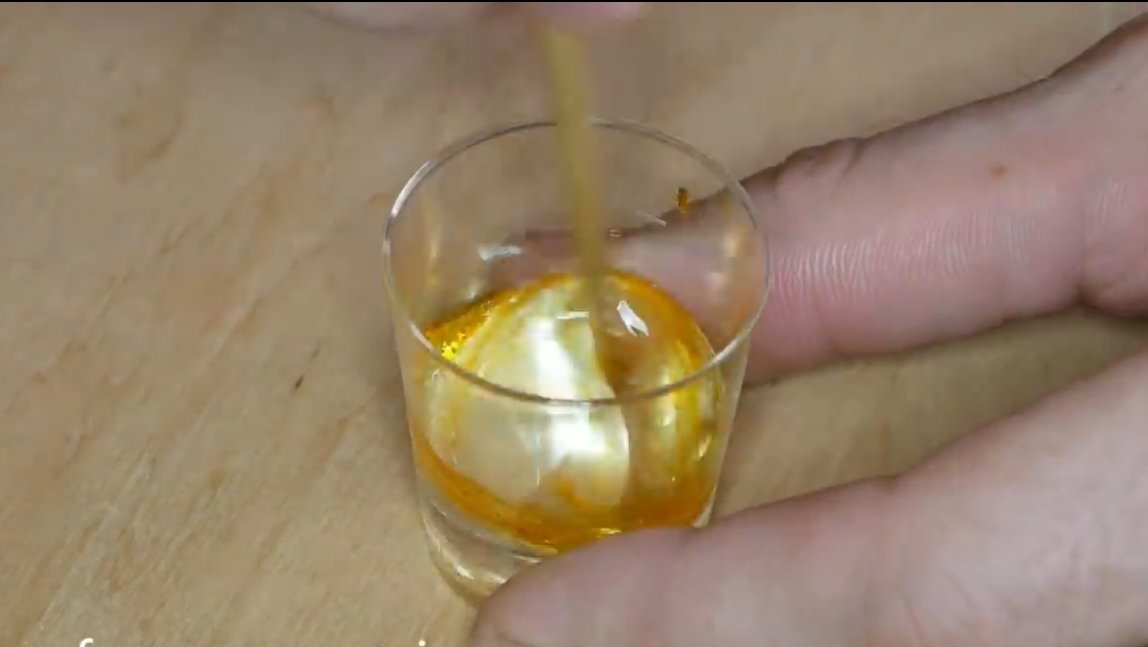
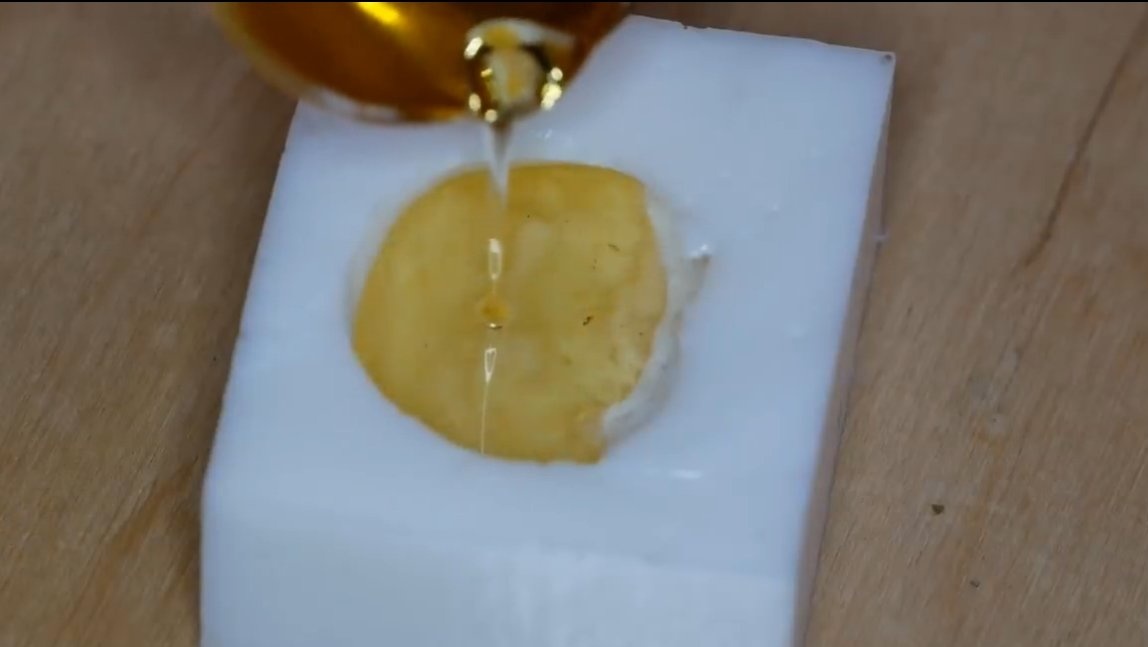
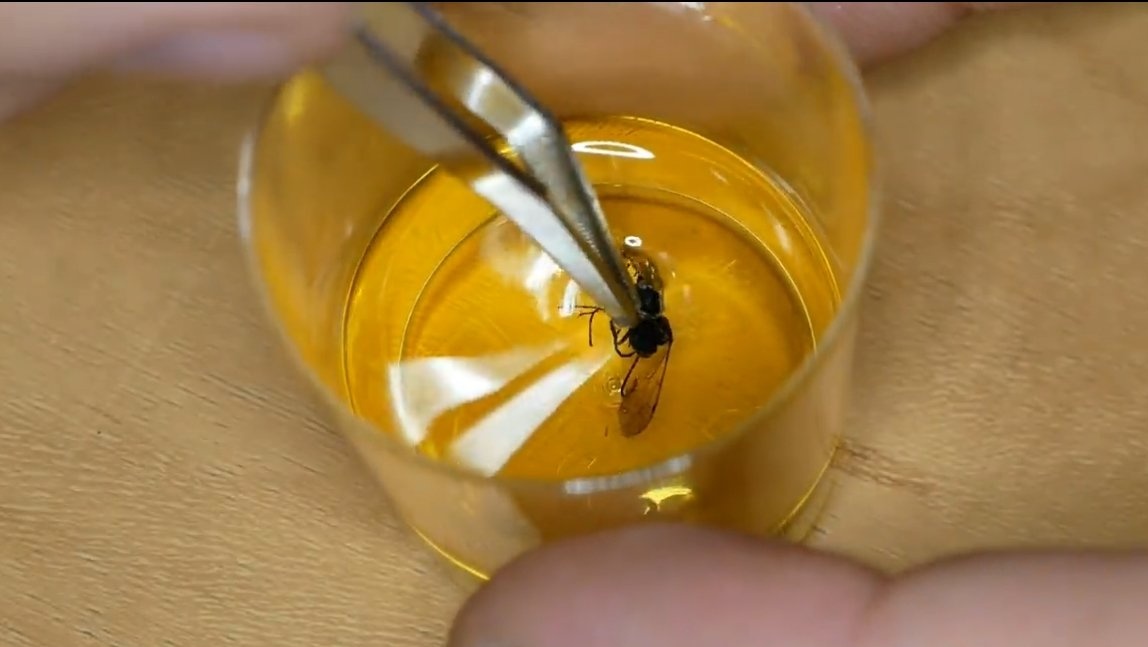
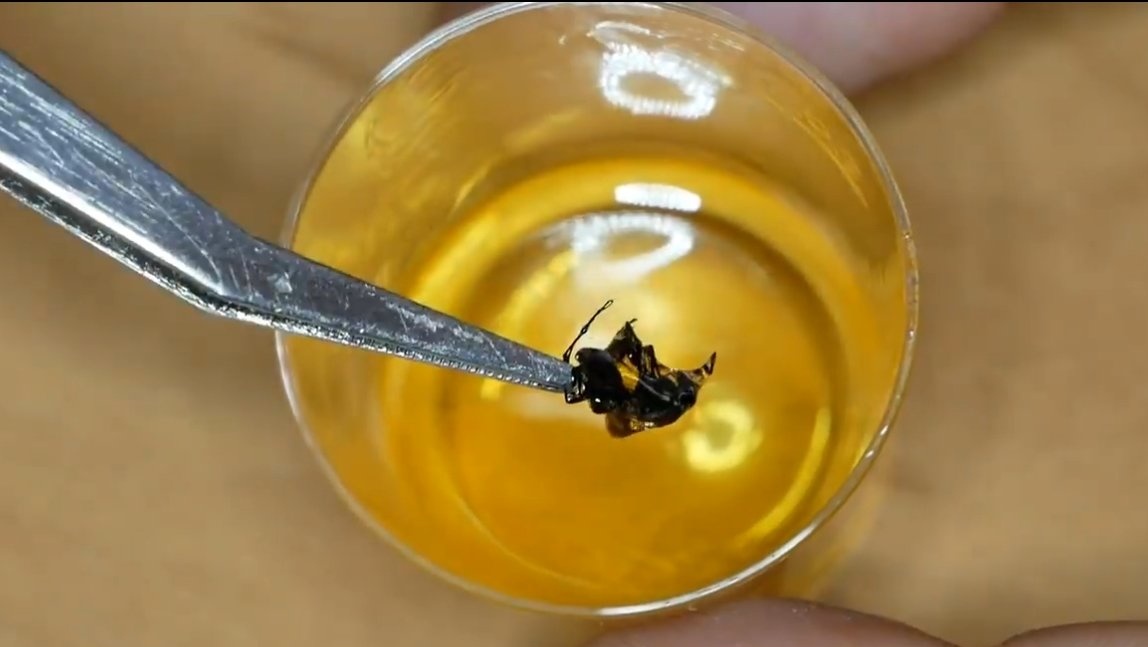
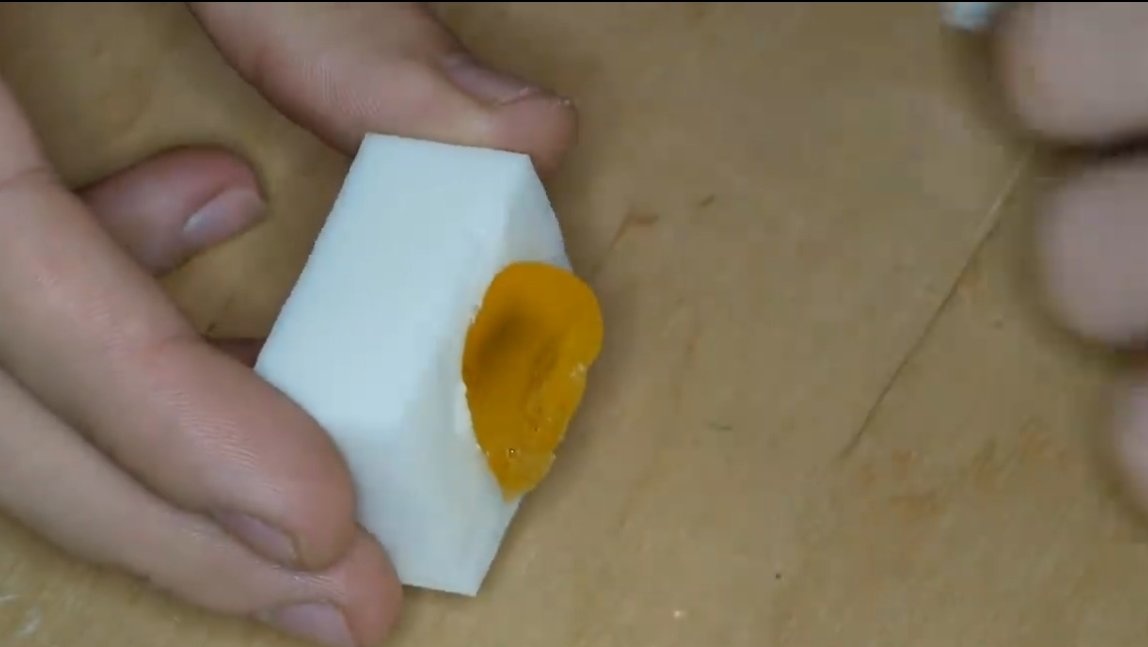
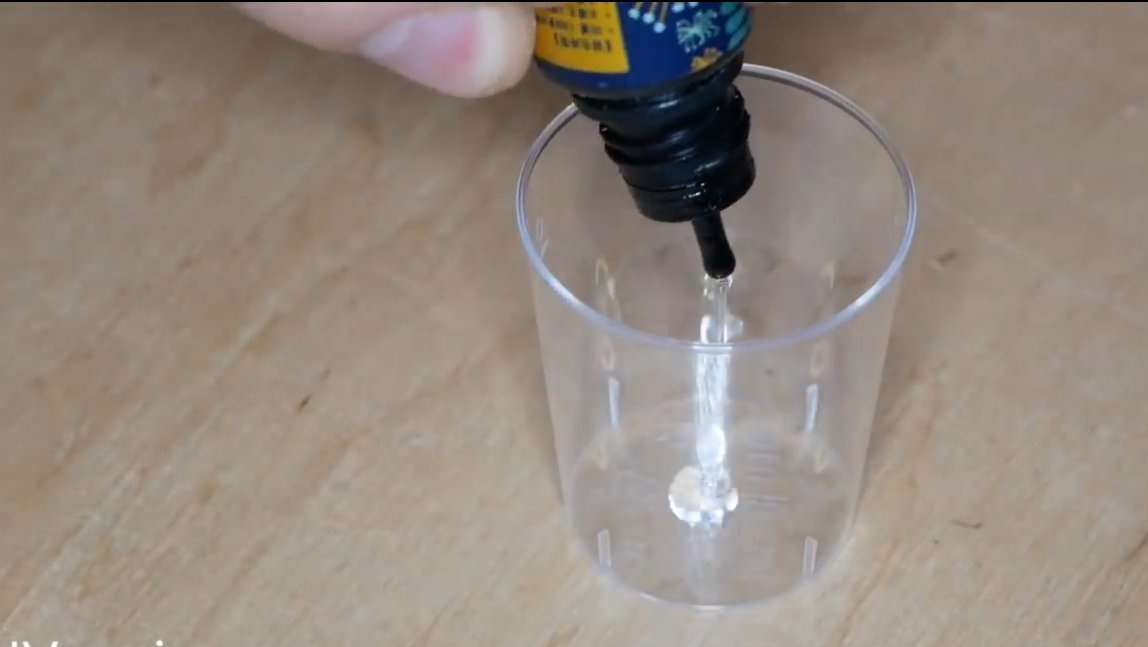
When the silicone hardens, cut it into two halves and remove the template from clay with a dowel. Next, in one of the halves, where there is no gate, we pour a little epoxy with a yellow dye. That's all, dip the wasp in the resin and then gently immerse in the poured resin.
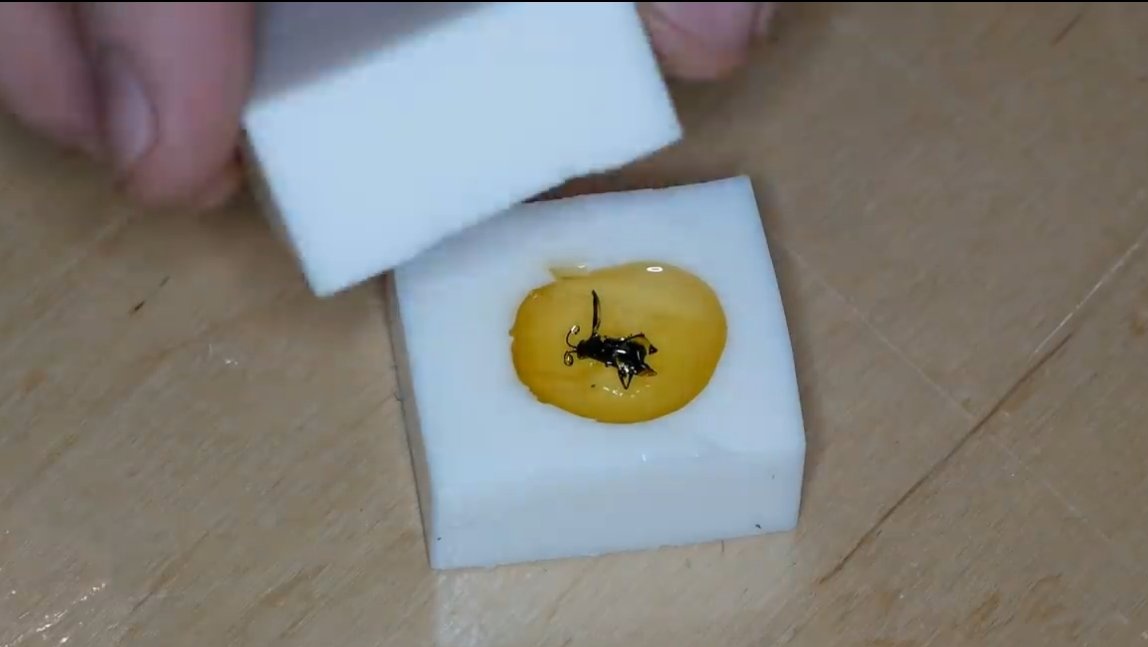
At the end, set the second half with a gate on the glue and finally fill the mold with resin. Now it is important to wait until the resin has completely hardened.
Step Four DIY assembly
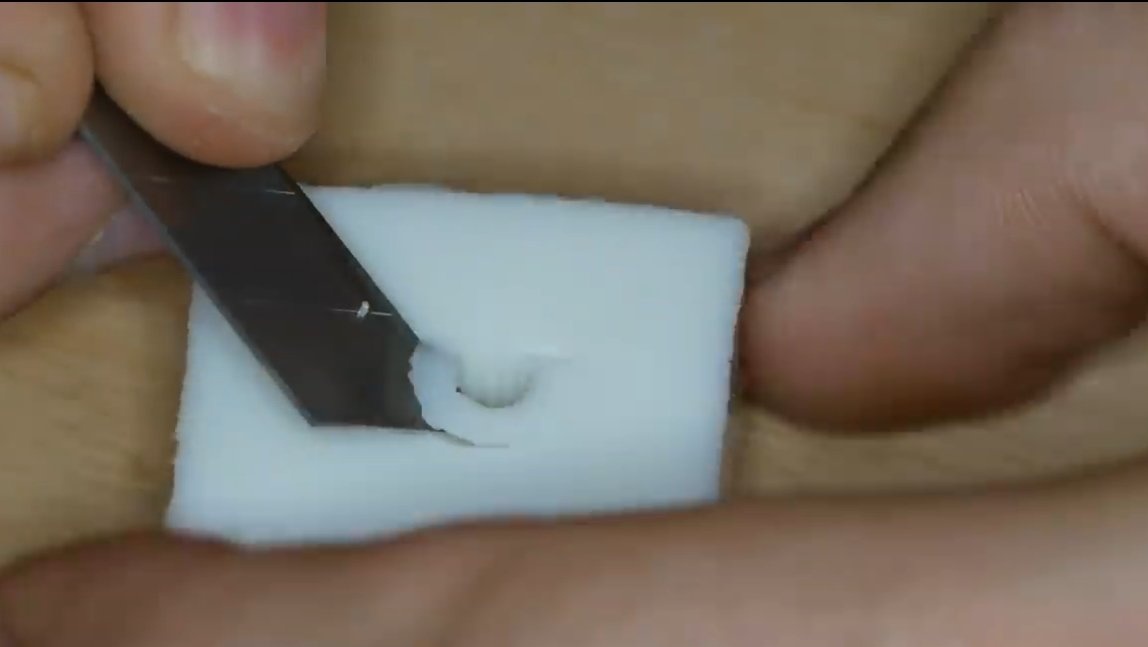
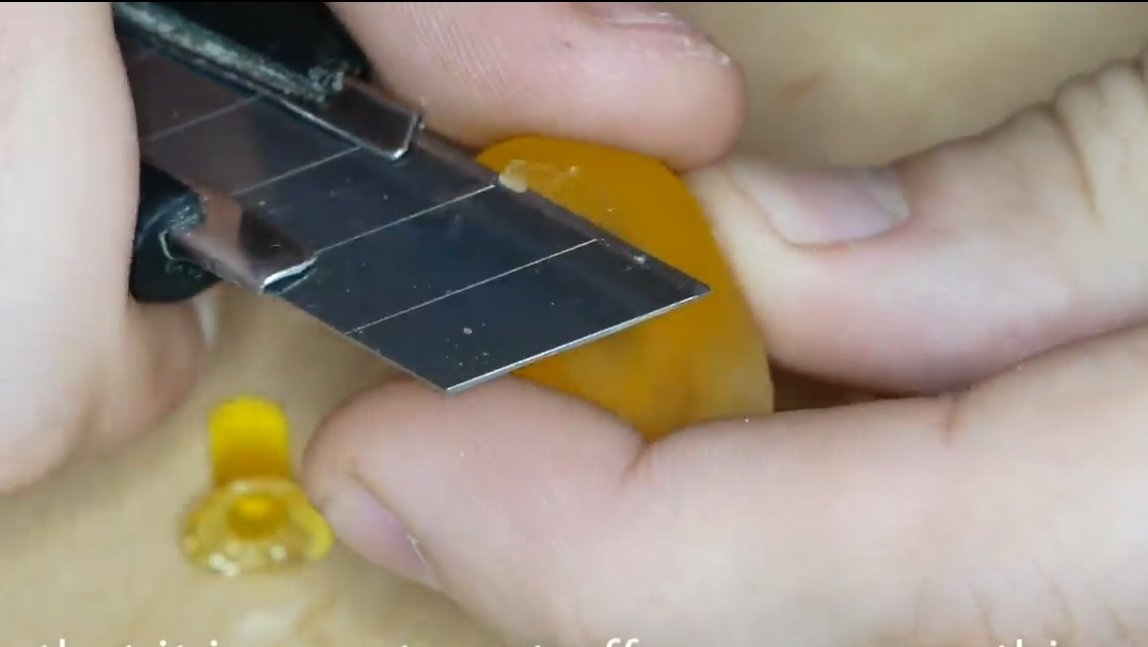
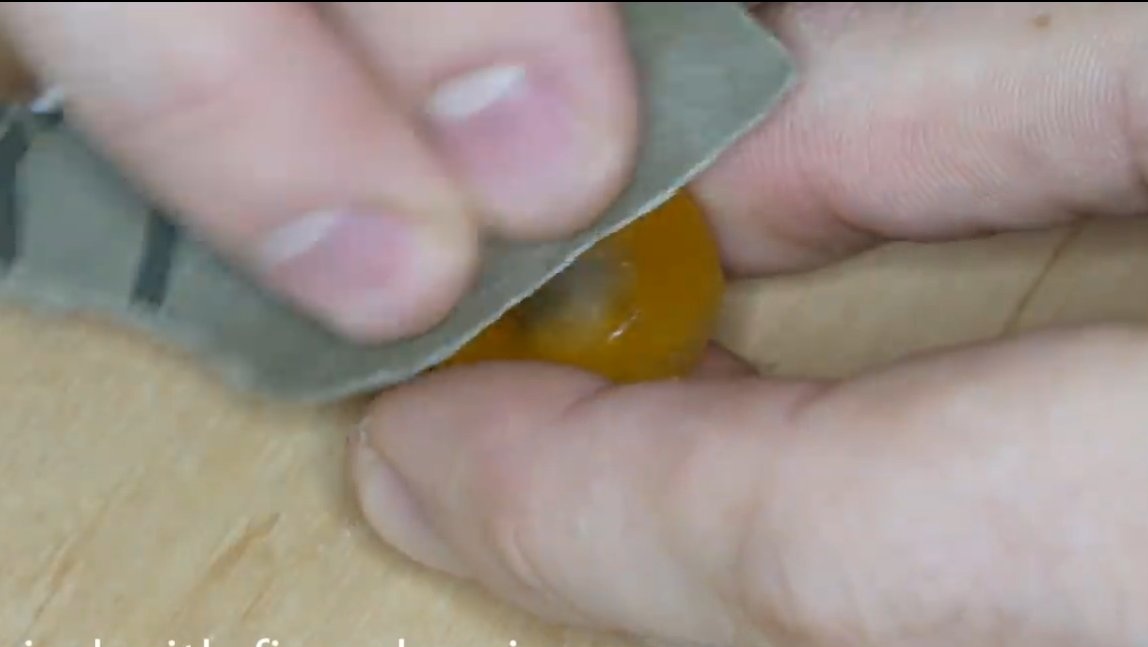
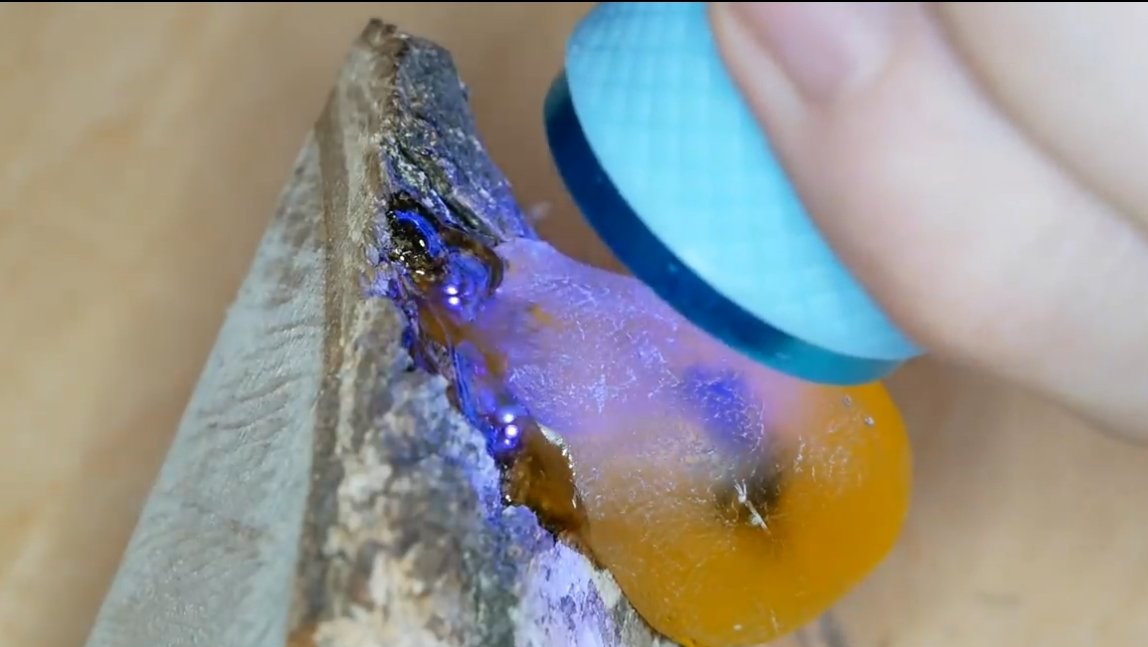
We remove the finished drop of resin from silicone, the author cut off the excess with a clerical knife, since the resin is not completely frozen. Next, we produce coarse grinding and a drop can be installed on the bark. Everything can be glued with resin, which hardens under the influence of ultraviolet radiation, or we use superglue.

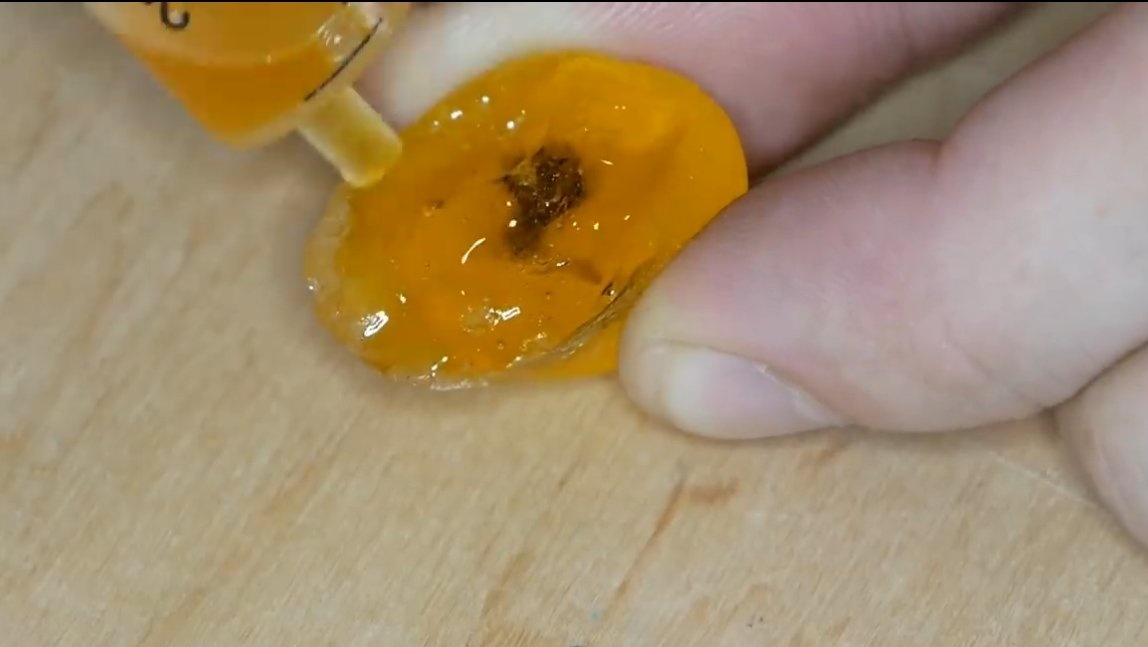
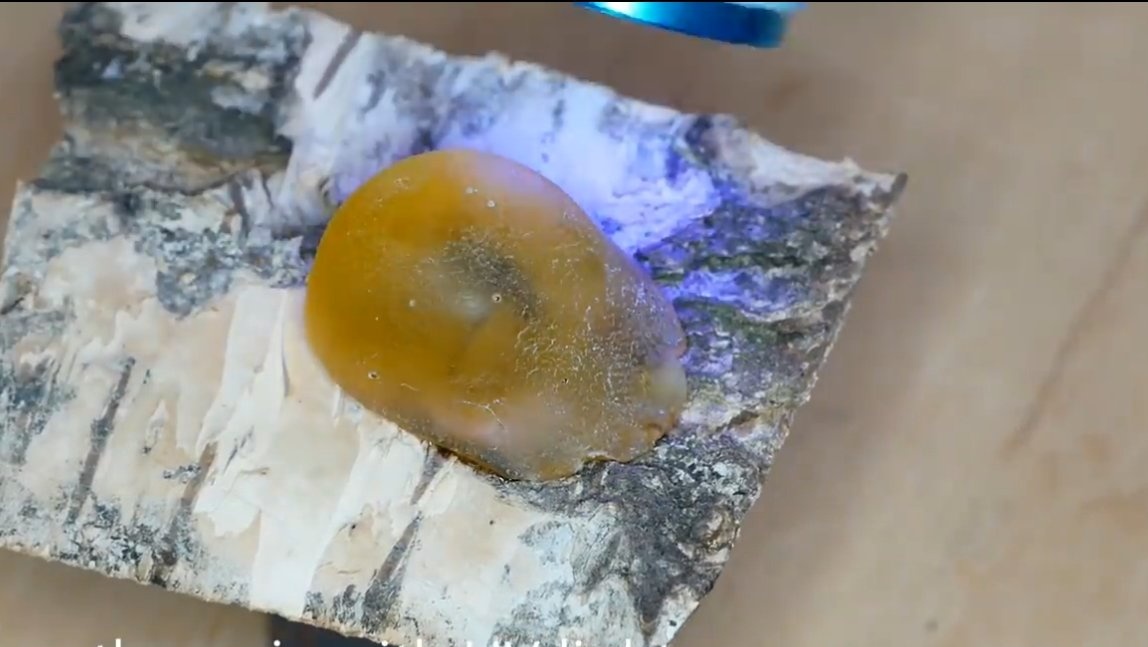
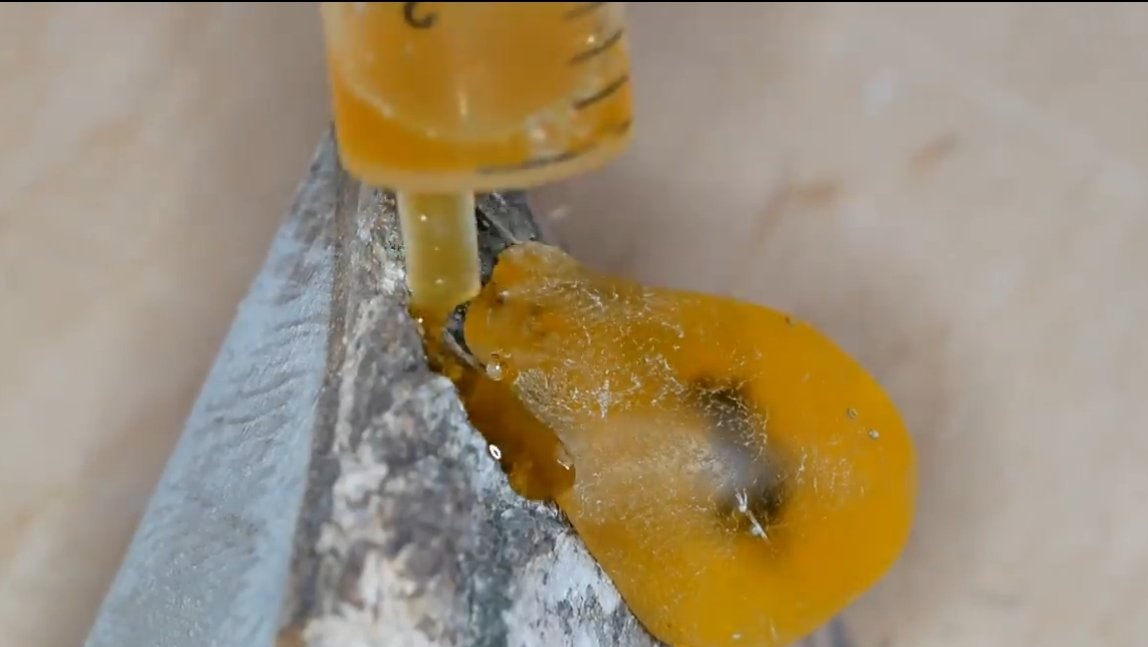
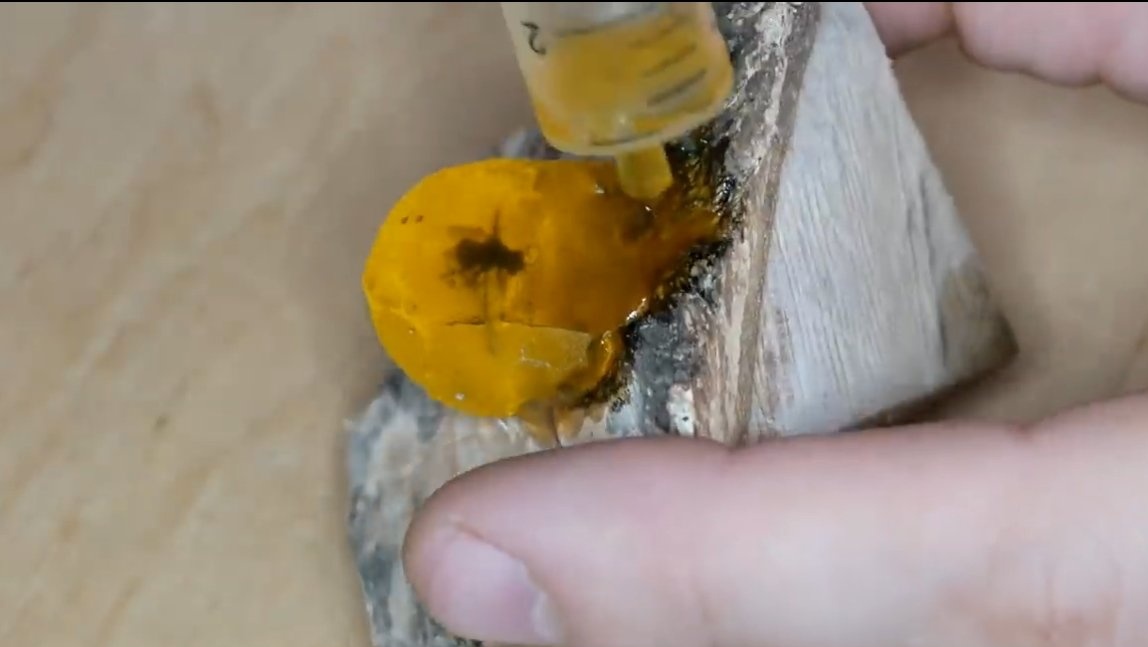
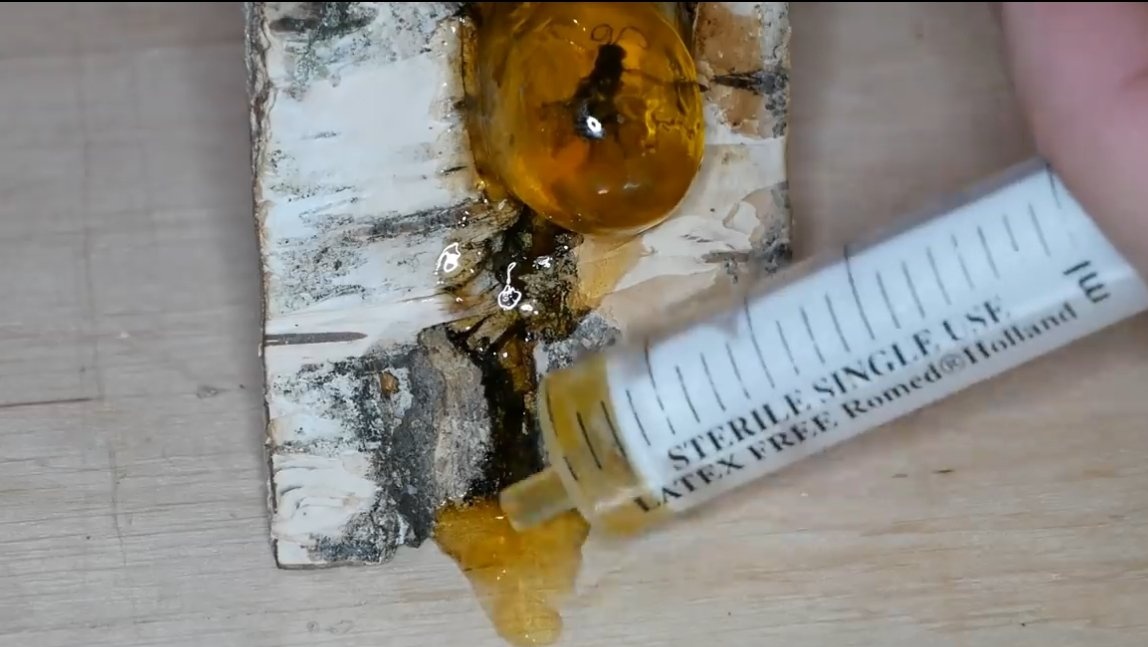
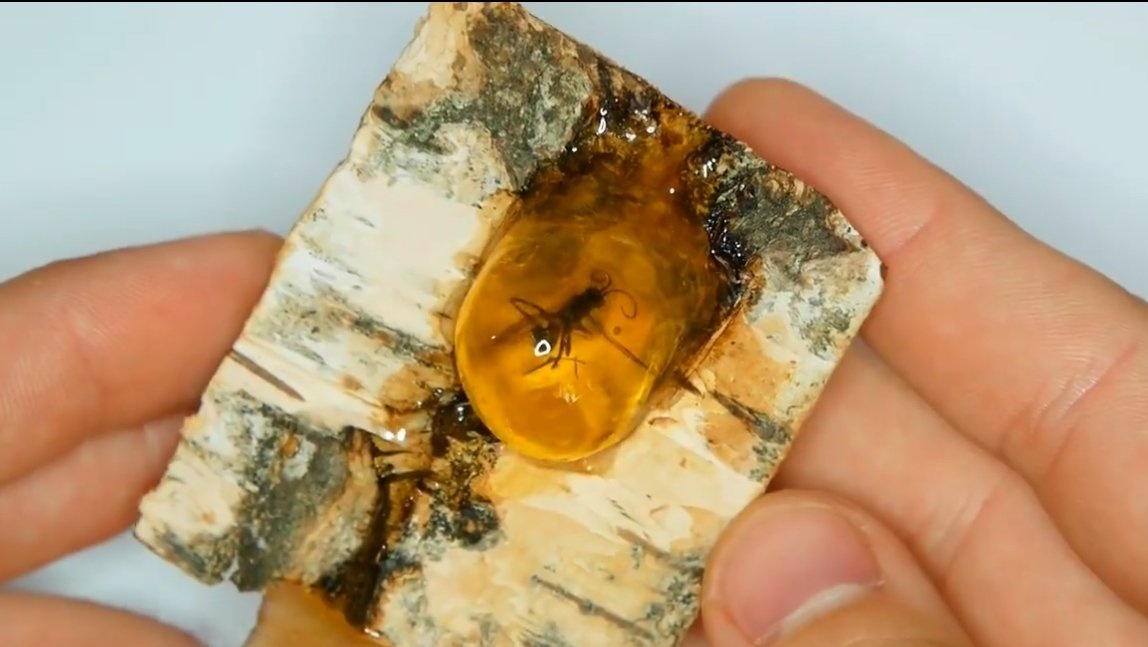
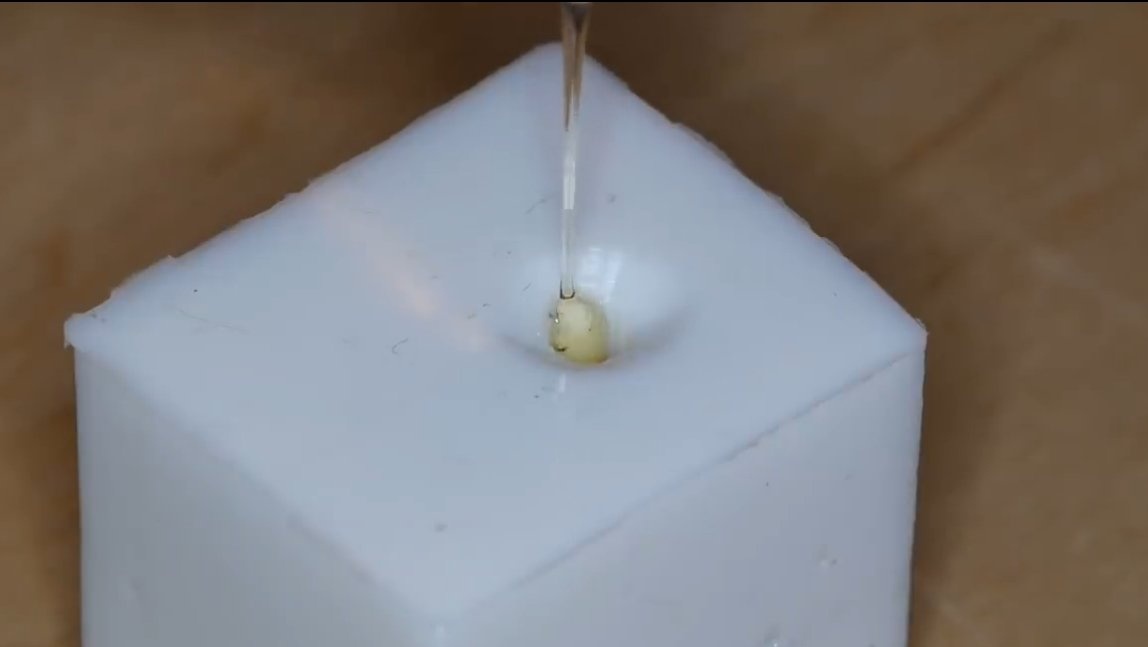
At the end, the author scored resin and dye into a syringe and poured a drop in a circle to give the impression of realism. The author also got a drip of resin on the tree, which made the picture even more real. We also smear the drop itself with resin to restore transparency to the resin.
The project is completed on this, I hope you liked the homemade work, and you found useful thoughts. Good luck and creative inspiration, if you decide to repeat this. Do not forget to share your ideas and homemade things with us!