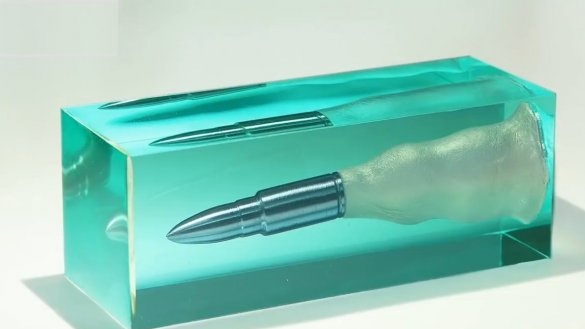
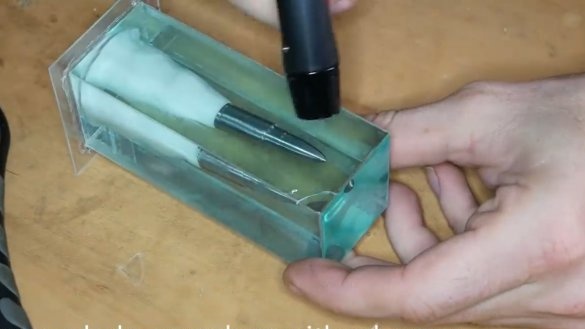
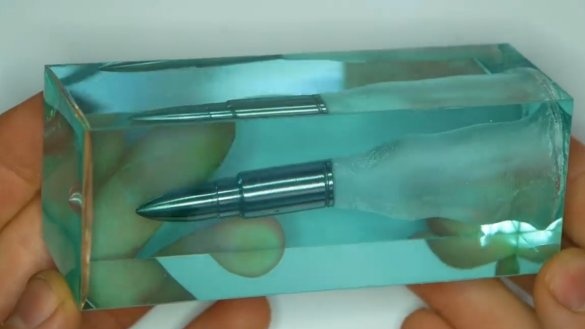
I welcome all fans to craft, I propose to consider instructions for making an interesting picture of epoxy and steel do it yourself. The author decided to depict the flight of a bullet in air or water. A bullet flies and cuts through the air, leaving behind a rarefaction zone. Everything looks realistic, however, the author confused the bullet with a cartridge, but then everything looks more interesting. If desired for homemade You can make a highlight and get a great night light. If the project interests you, I propose to study it in more detail!
Materials and tools used by the author:
Material List:
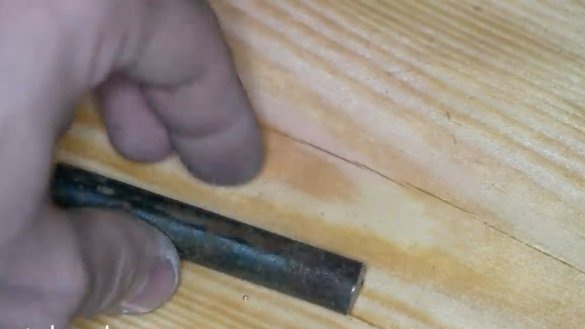
- steel rod or fittings (for turning);
- epoxy resin;
- dye for resin to your taste.
Tool List:
- lathe;
- polymer clay;
- dental composition for impression taking;
- two-component silicone;
- a plastic cup;
- acrylic;
- plasticine;
- glue gun;
- electronic Libra;
- stationery knife.
Homemade manufacturing process:
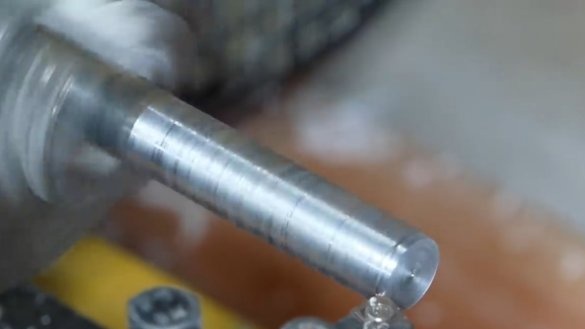
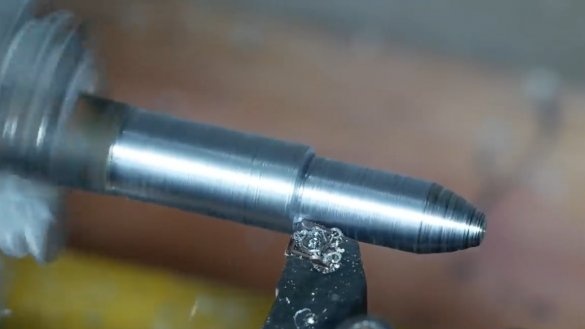
Step one. Turn the bullet (cartridge)
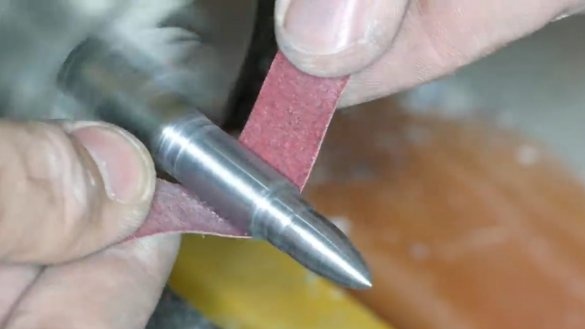
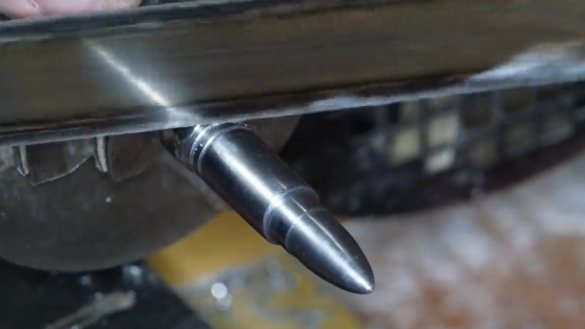
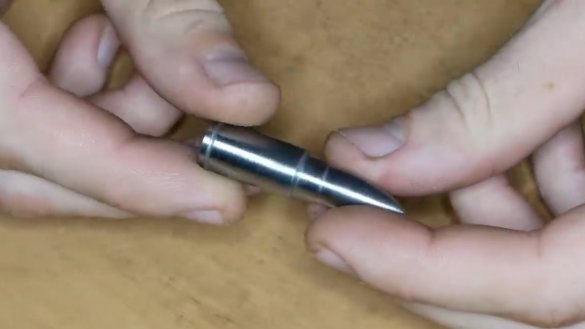
The author decided to make a cartridge out of the round, and not use the ready-made one to avoid questions. All this is done quite quickly and simply using a lathe. Of course, it would be more interesting to use copper or something like that, since the cartridges are not made of steel.
Step Two Rarefaction zone
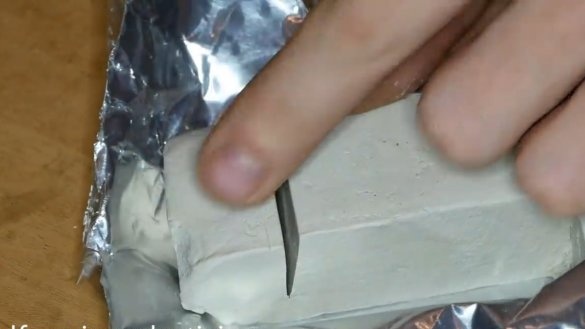
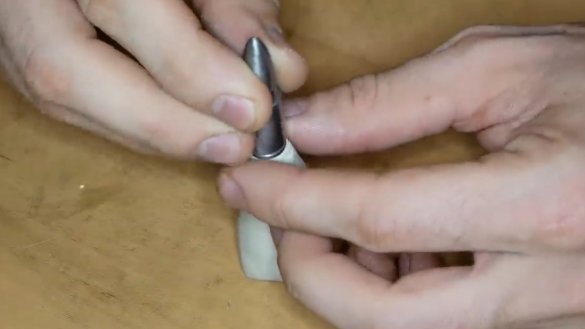
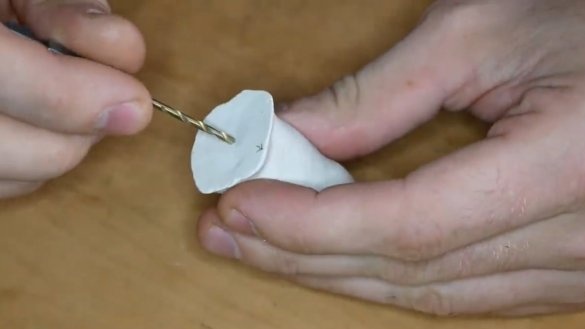
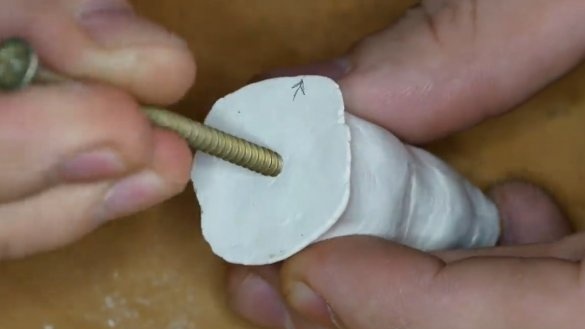
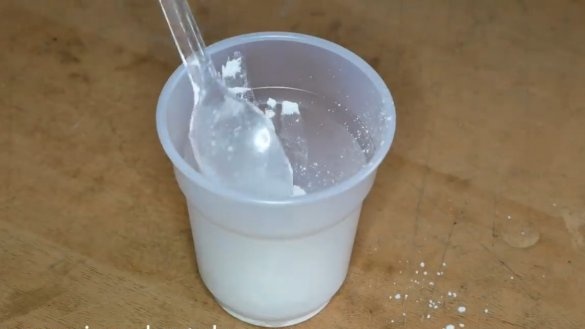
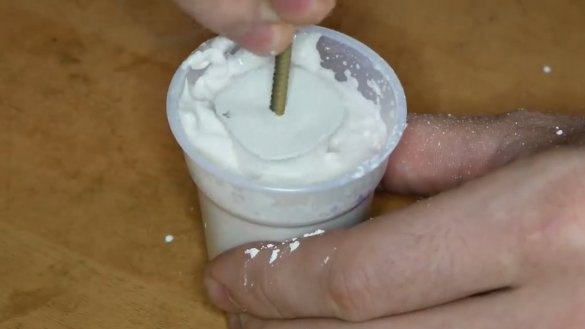
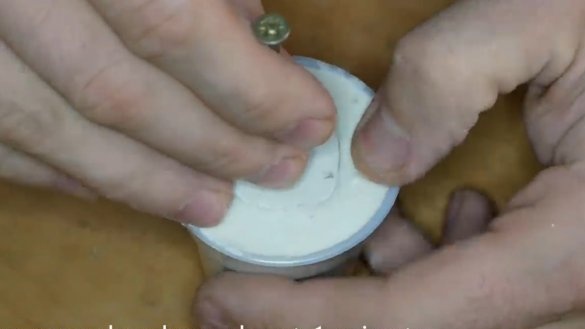
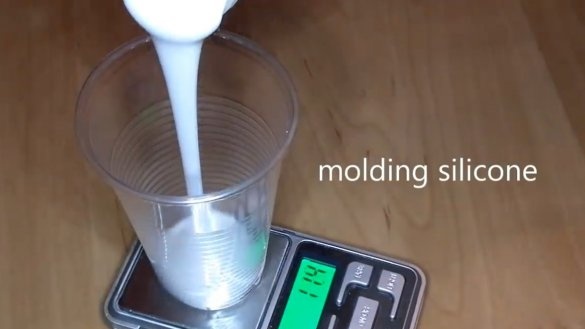
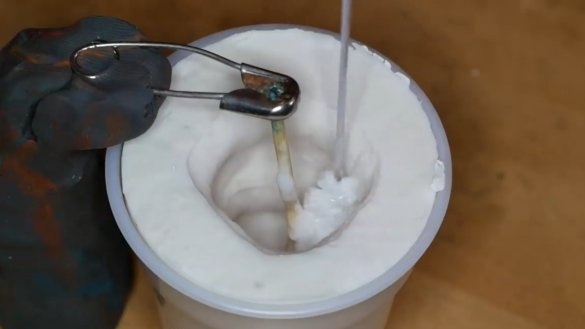
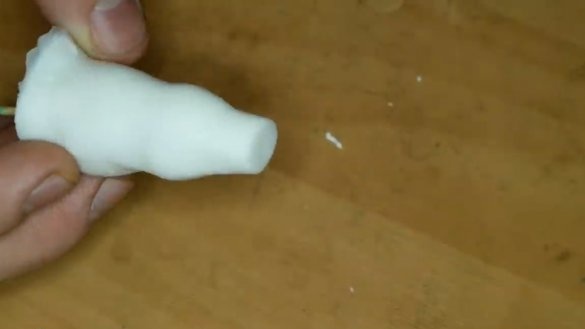
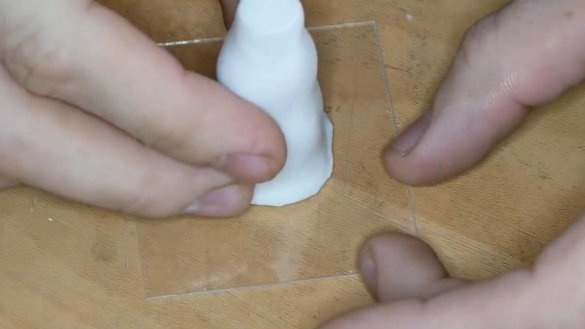
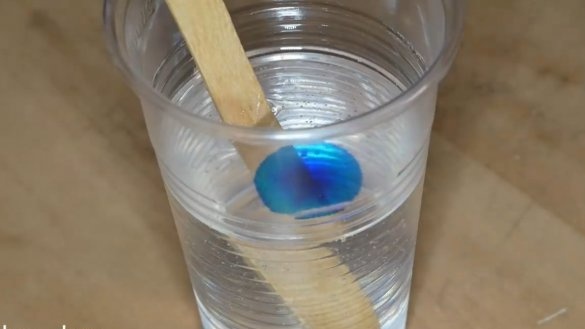
We make the very trace that forms behind the flying bullet, this is the rarefaction zone, low pressure. To begin with, we sculpt this same zone of polymer clay or even ordinary plasticine. Next, the part is poured into a glass with a special solution for removing impressions from the teeth. After 1 minute, the composition will remember the circuit and you can remove the part from plasticine. In the prepared form, fill in two-component silicone and wait until it hardens.
Step Three Pouring a bullet into the resin
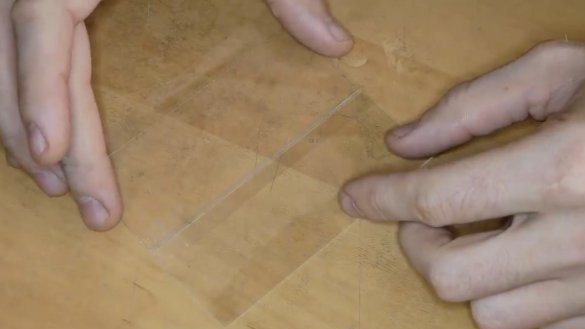
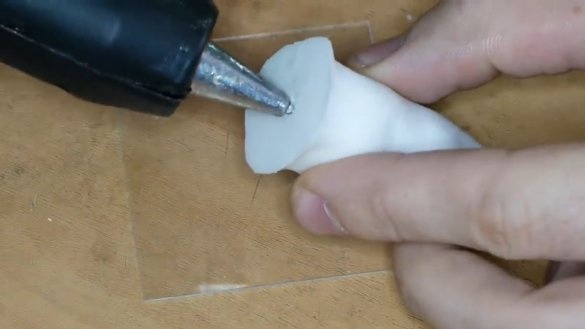
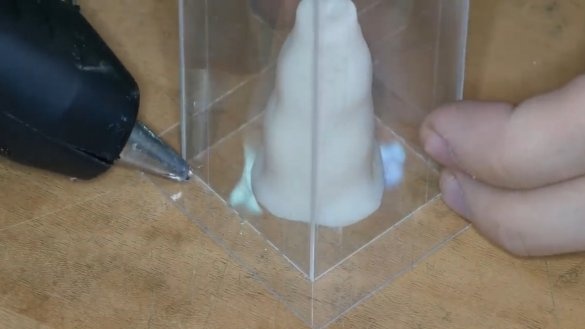
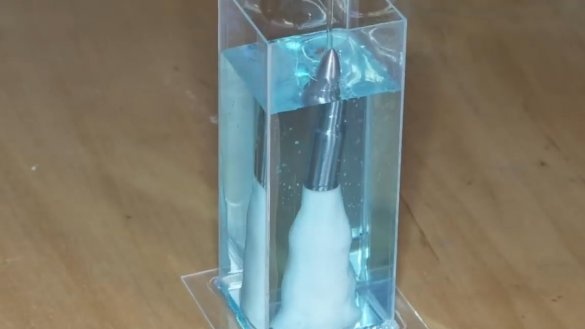
We make formwork from sheet acrylic, the author glues the sheets with adhesive tape. The joints at the bottom are glued with hot glue, it will not release resin.
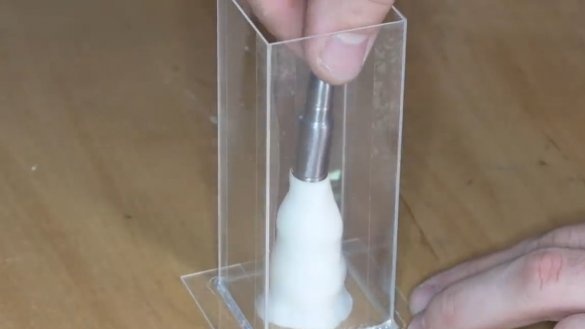
We install our cartridge into the formwork by gluing it to the "rarefaction zone", which we made of silicone.
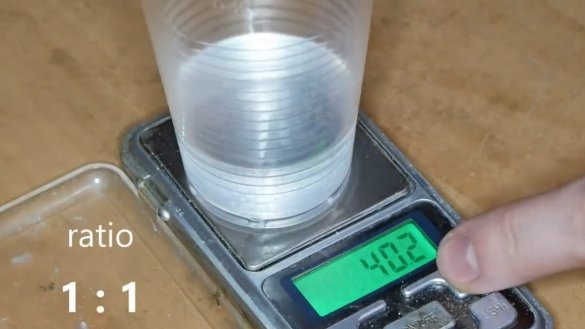
That's all, stir the resin with the hardener and dye, pour it into the formwork and wait.
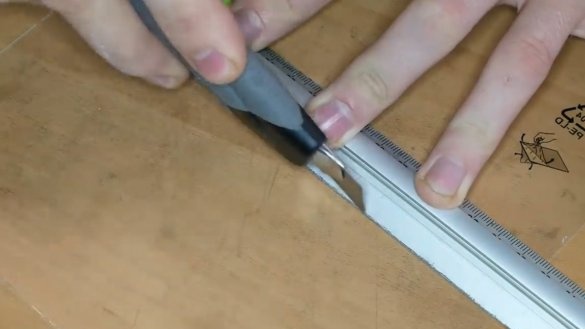
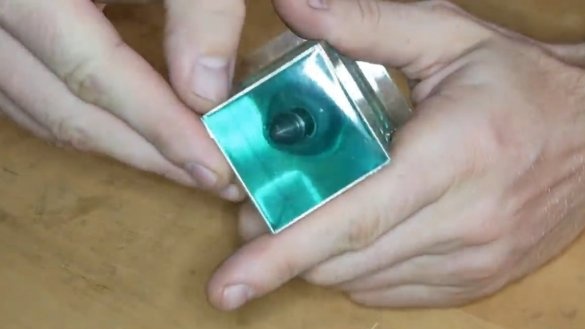
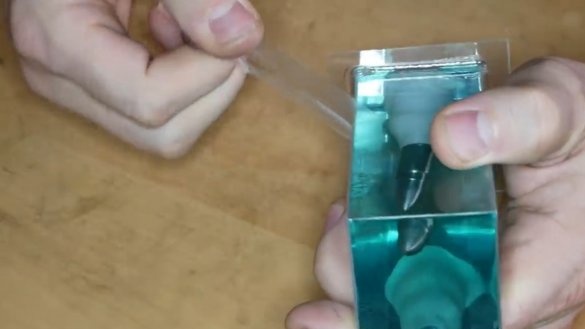
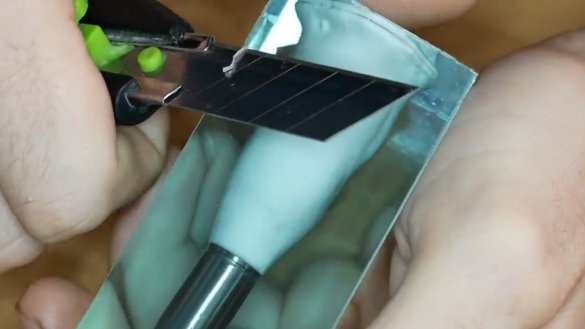
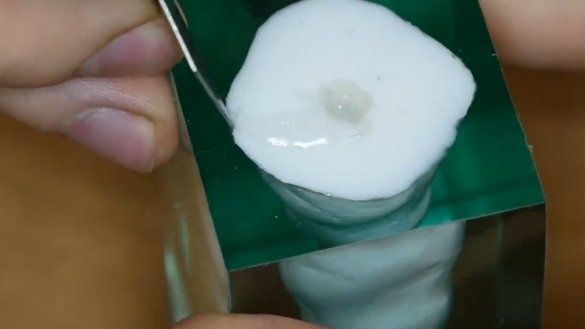
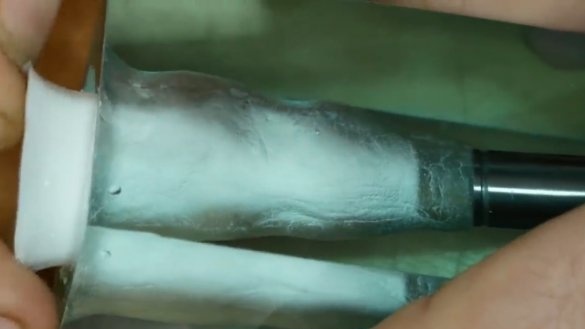
When the resin hardens, carefully remove the formwork, the author cut the sharp edges of the resin with a clerical knife. In the end, it remains to dig out the silicone part from the resin, the homemade product is ready! Everything looks great and realistic.
The project is completed on this, I hope you liked the homemade work, and you found useful thoughts for yourself. Good luck and creative inspiration, if you decide to repeat this. Do not forget to share your ideas and homemade things with us!

