
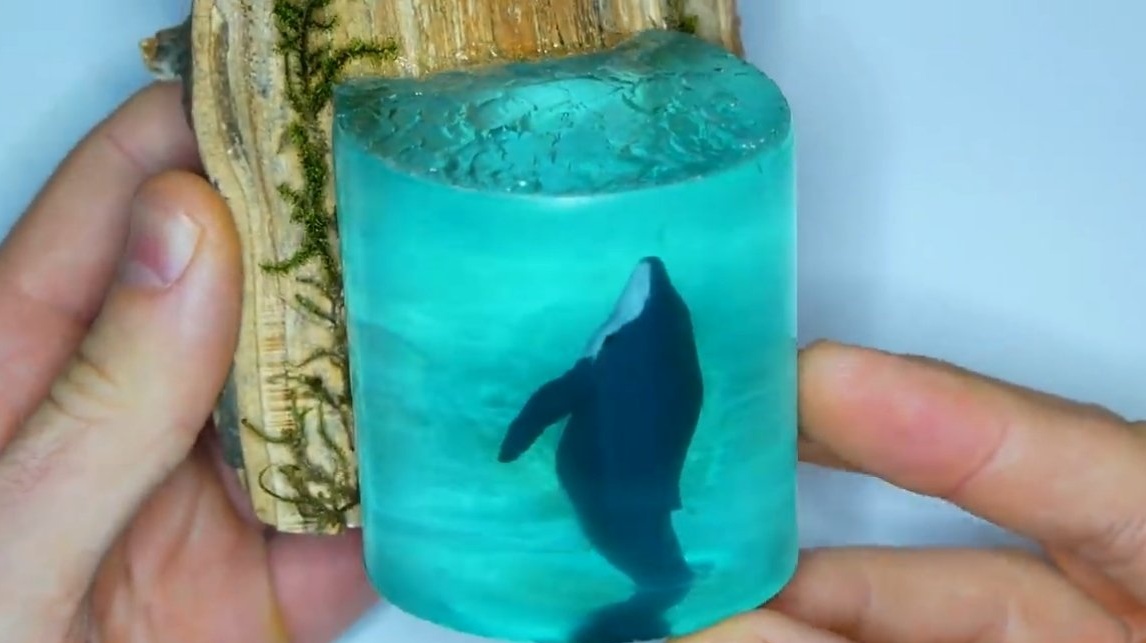
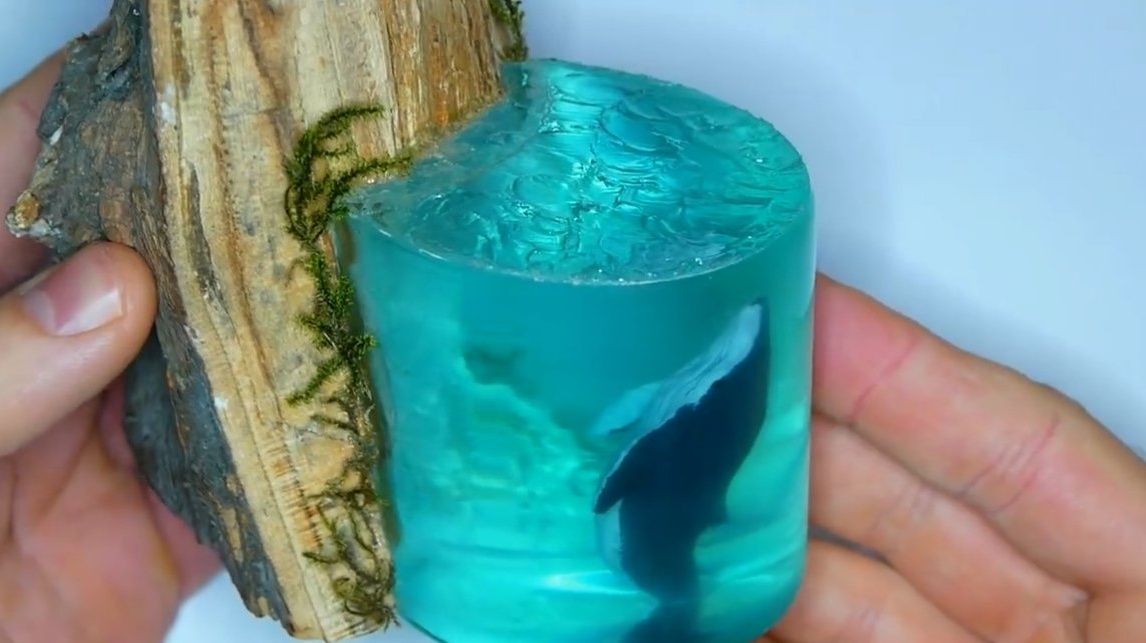
I welcome all fans to craft, I propose to consider instructions for making an interesting picture of epoxy do it yourself. The picture shows a whale floating up from the depths of the ocean, everything looks quite realistic, and if you wish, you can also make a backlight in the form of a small LED. If the project interests you, I propose to study it in more detail!
Materials and tools used by the author:
Material List:
- a piece of a tree trunk;
- dry moss;
- polymer clay;
- paint;
- epoxy resin and blue dye;
- acrylic texture gel.
Tool List:
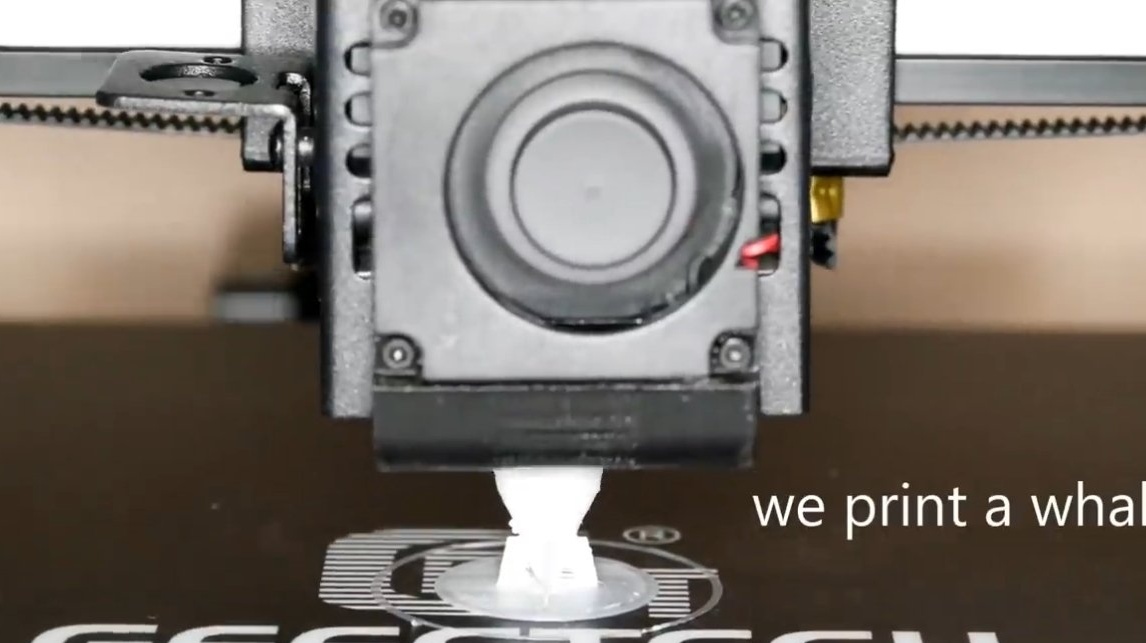
- 3D printer (the author printed the whale);
- knife;
- glue gun;
- a hacksaw or a cutting machine;
- electronic Libra;
- two-component silicone;
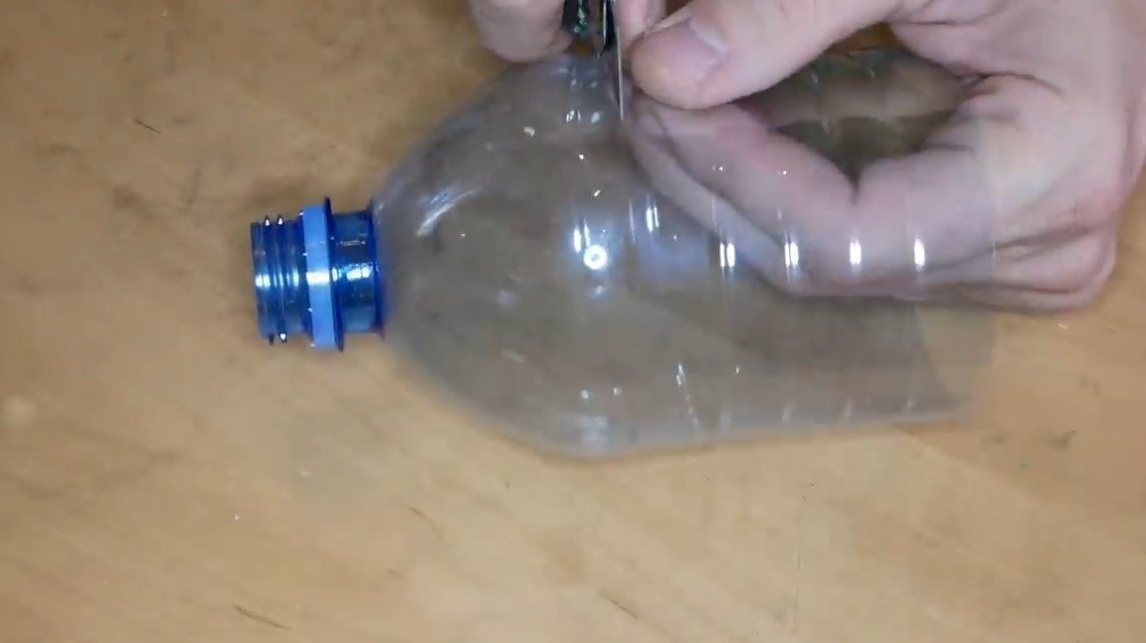
- PET bottle.
Manufacturing process homemade:
Step one. Foundation preparation
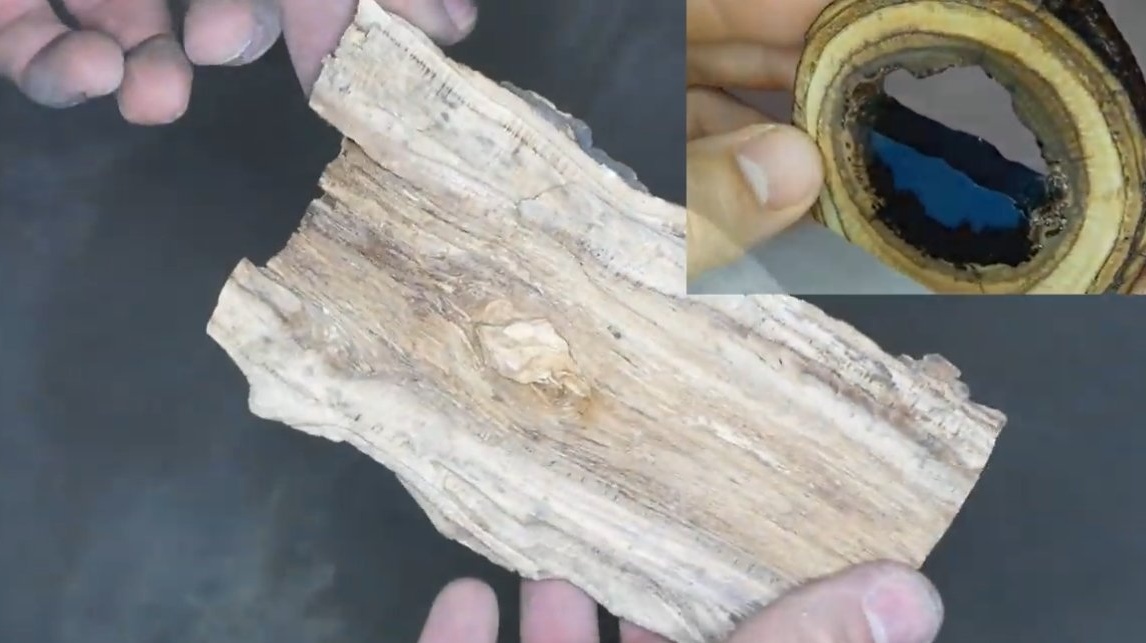
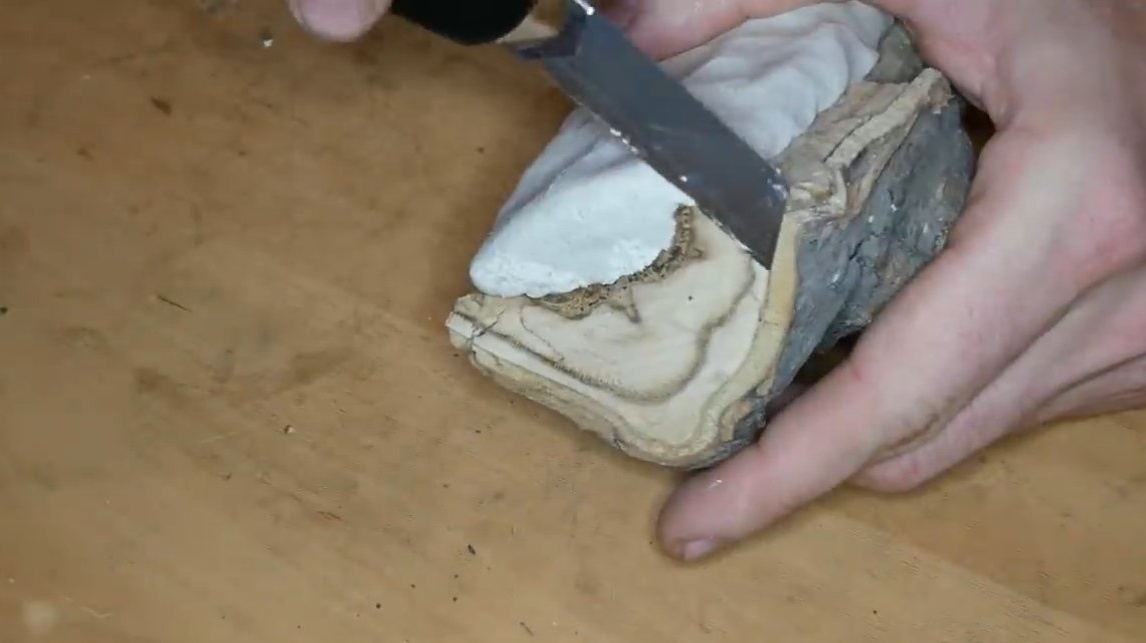
First of all, we will prepare the basis, for this you will need a piece of well-dried wood. The author used part of the trunk of a dead tree. We cut off the excess, and also remove all those parts that do not hold well.

Step Two Resin formwork
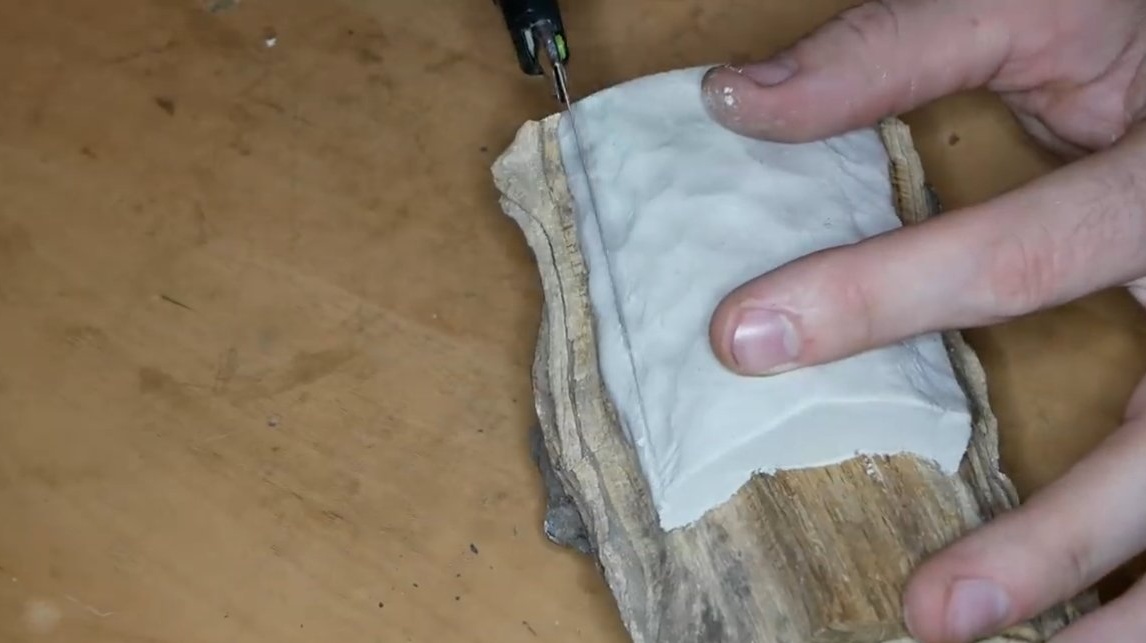
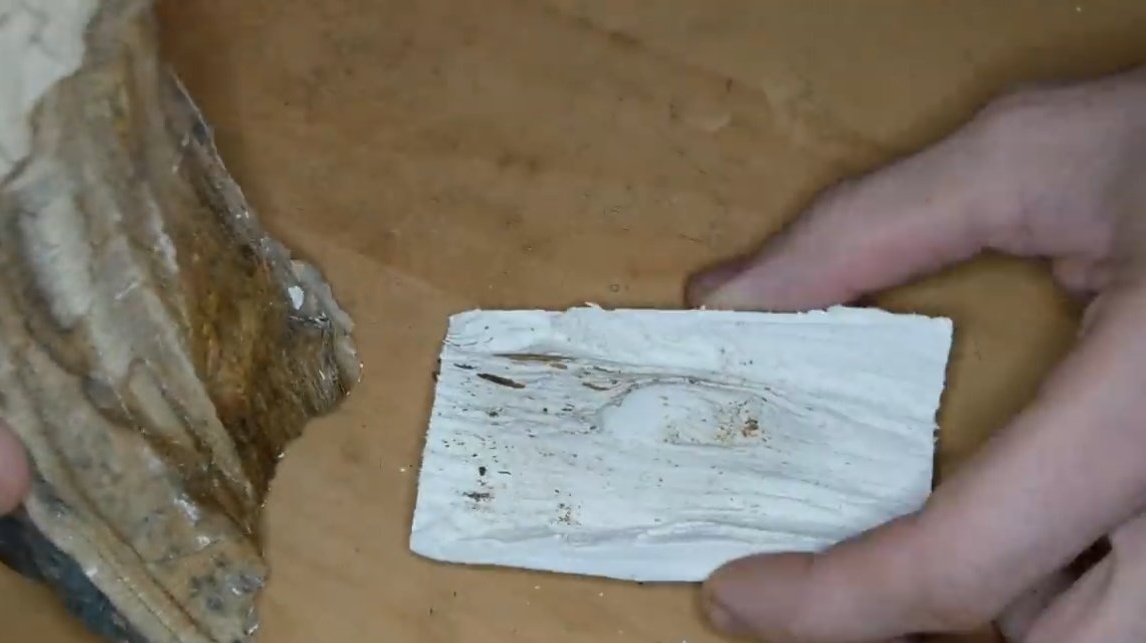
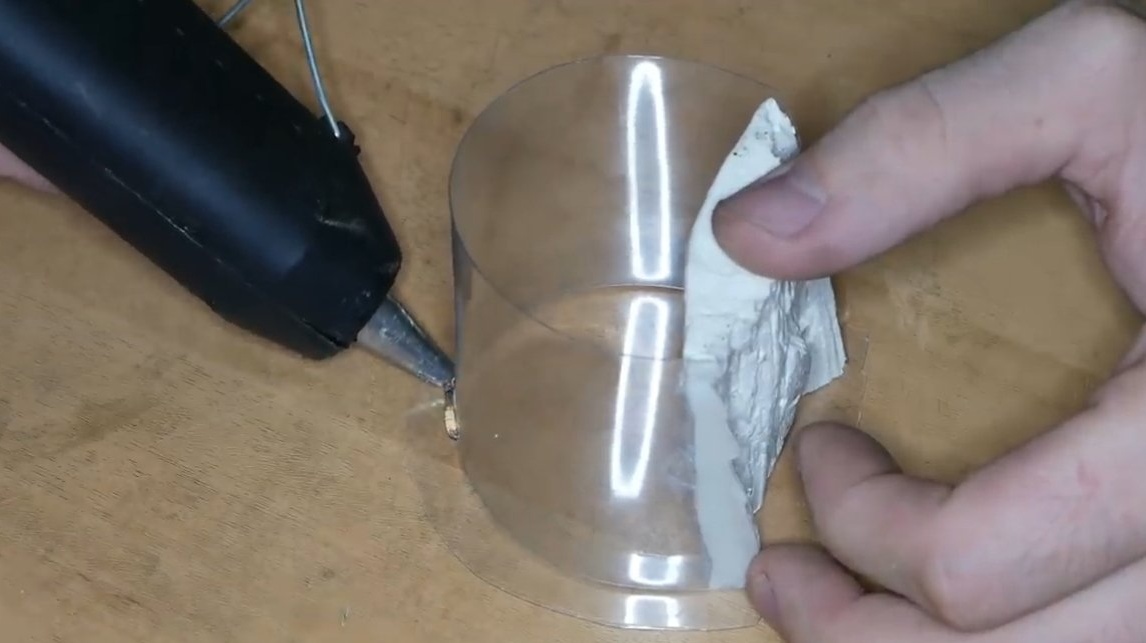
We will need to make a formwork that will allow the part to be molded from resin, this will be water. The part should fit well under the relief of the prepared wood to solve the problem, take polymer clay and sculpt it on the tree. Having cut off the excess, we remove the plasticine, as a result, it will have an exact imprint of the relief of the wood on it.
Further, the author made the formwork from a PET bottle, installed the manufactured part with a relief outward, and filled the rest of the space in the formwork with gypsum.
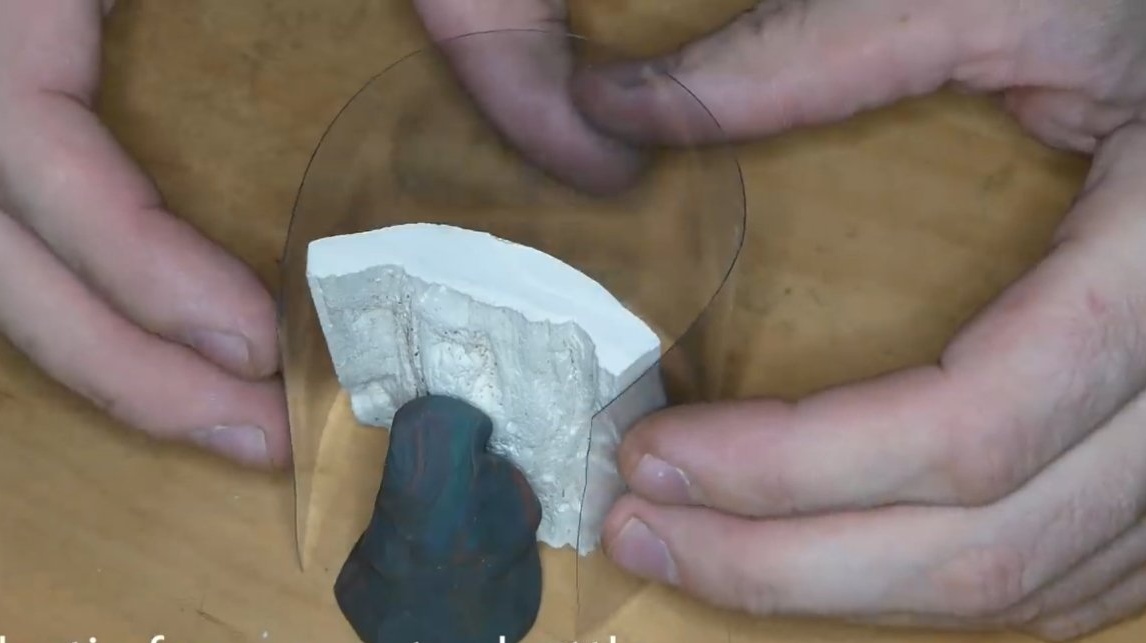
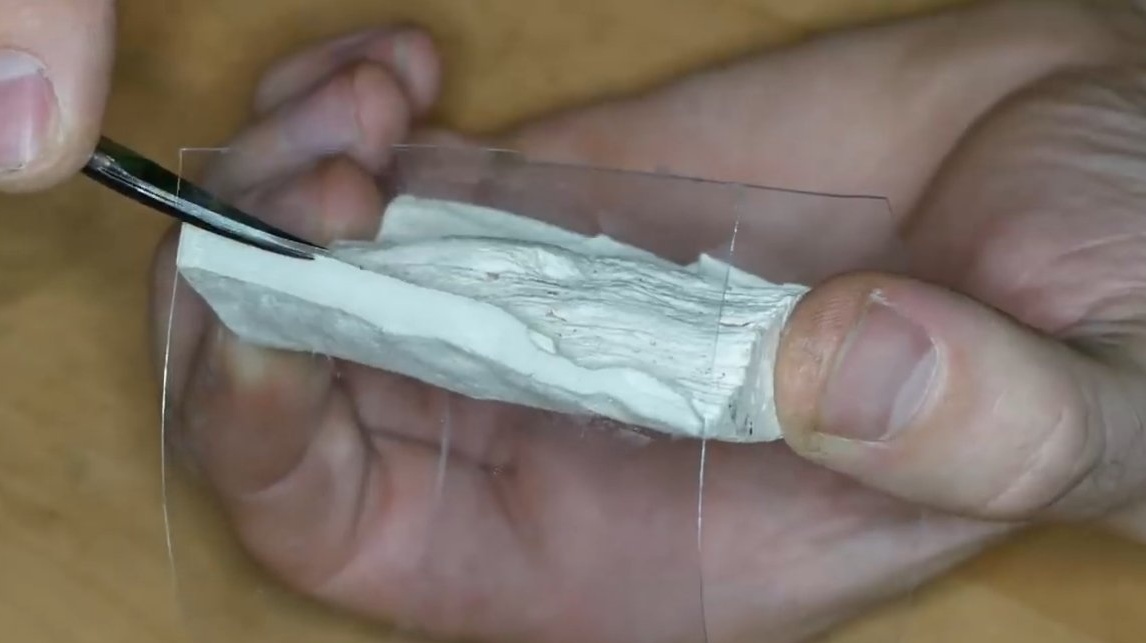
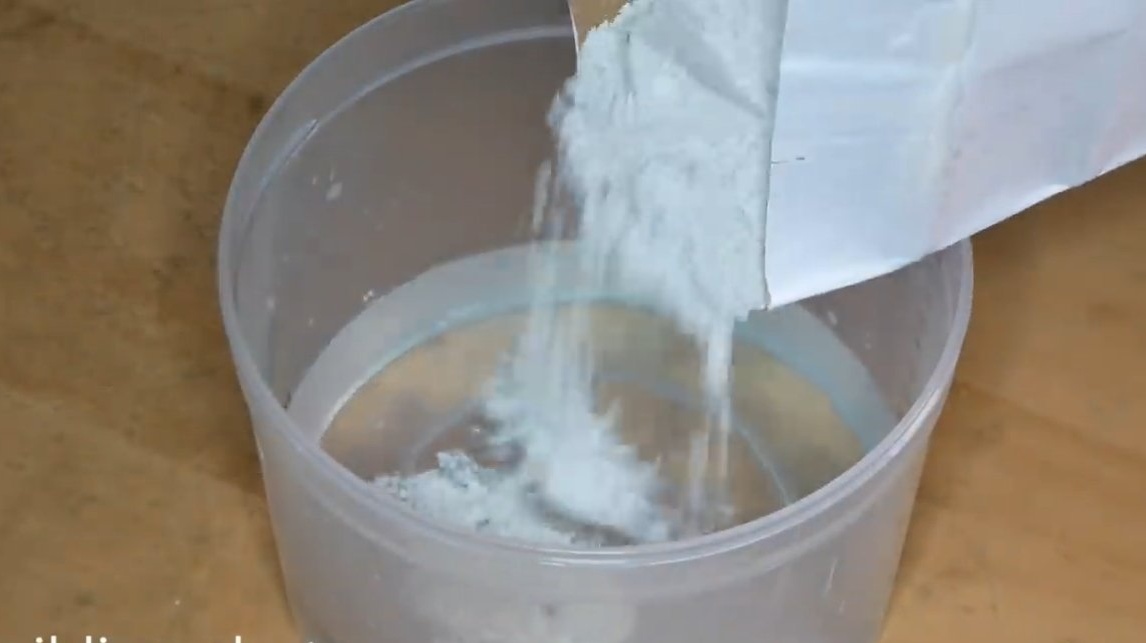

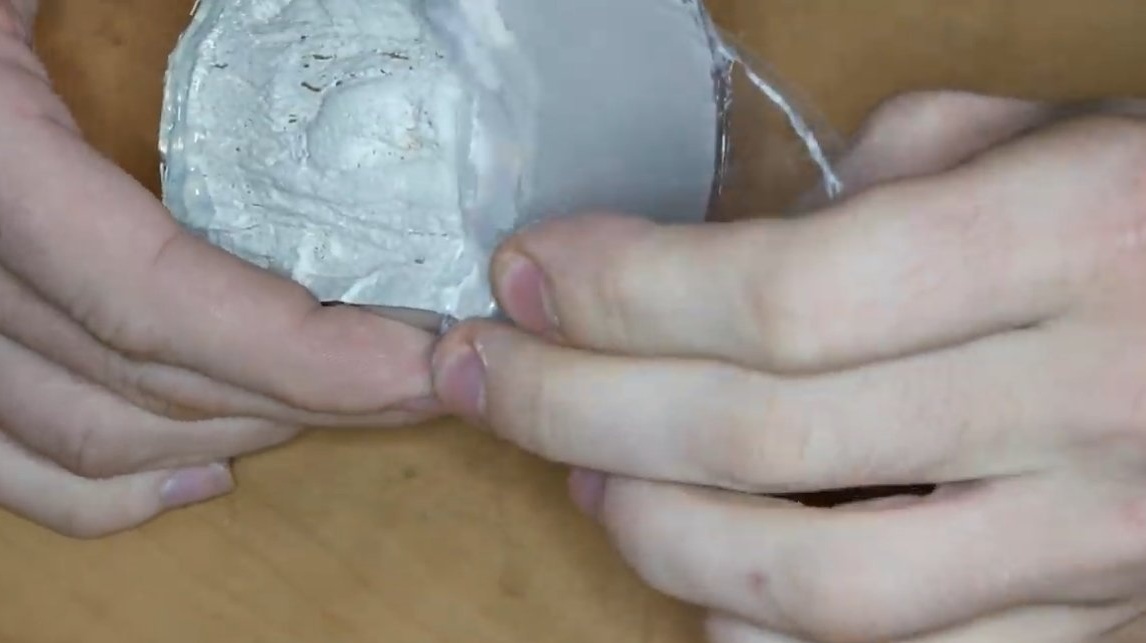
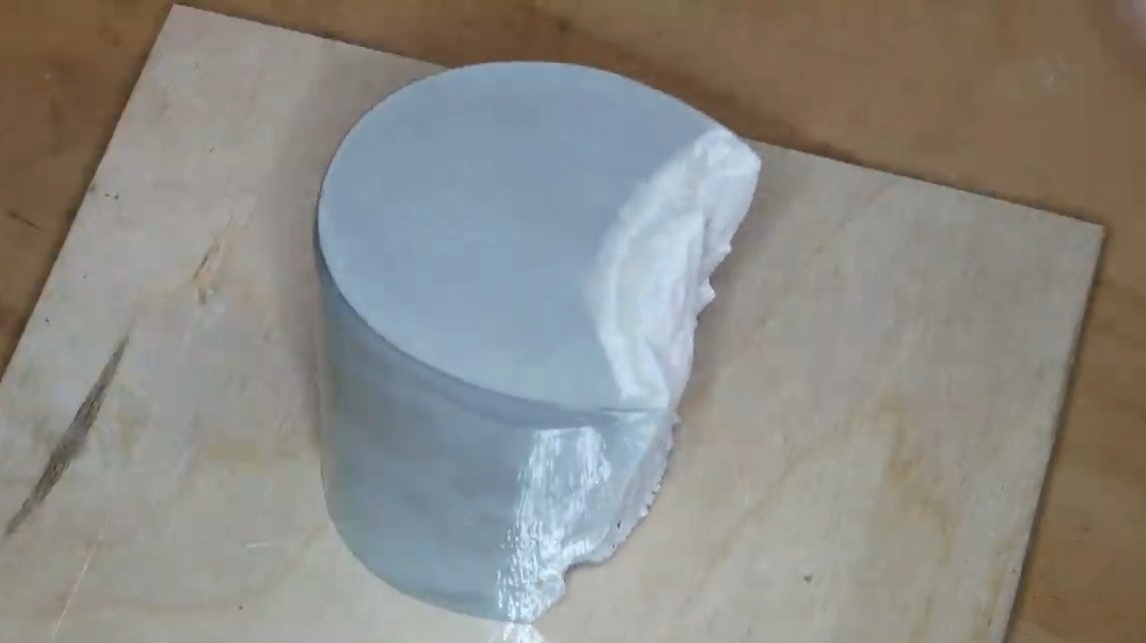
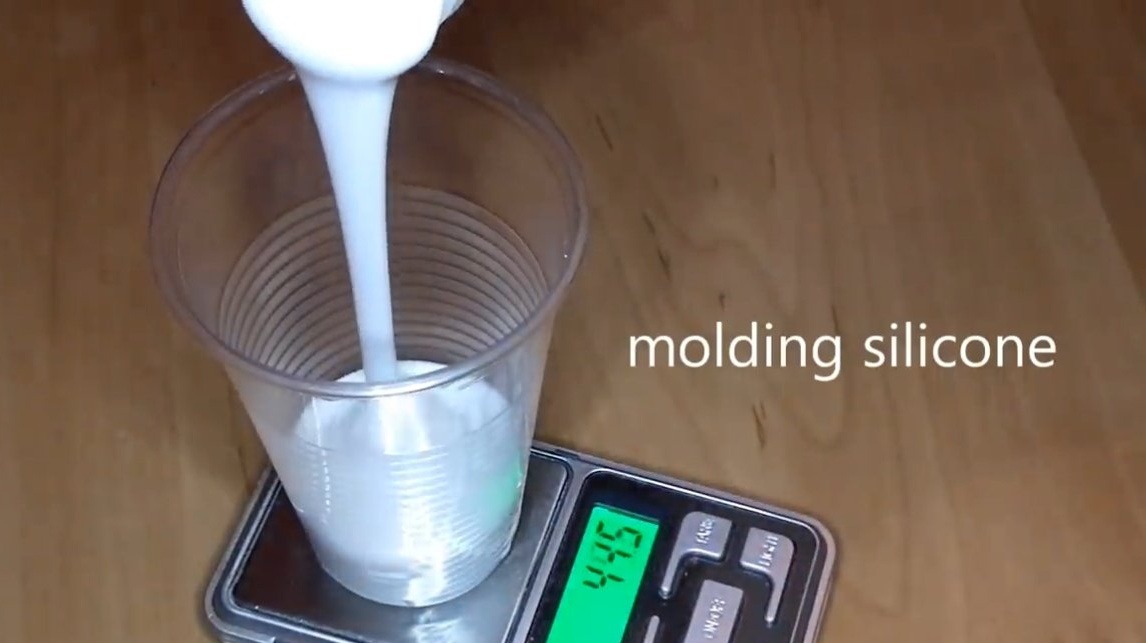
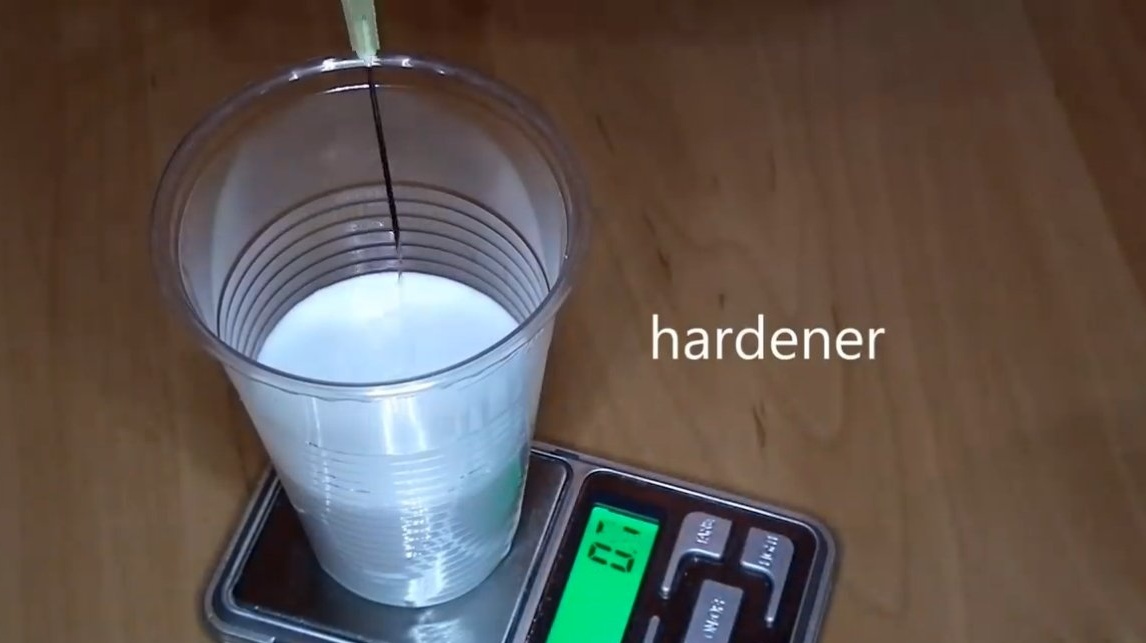
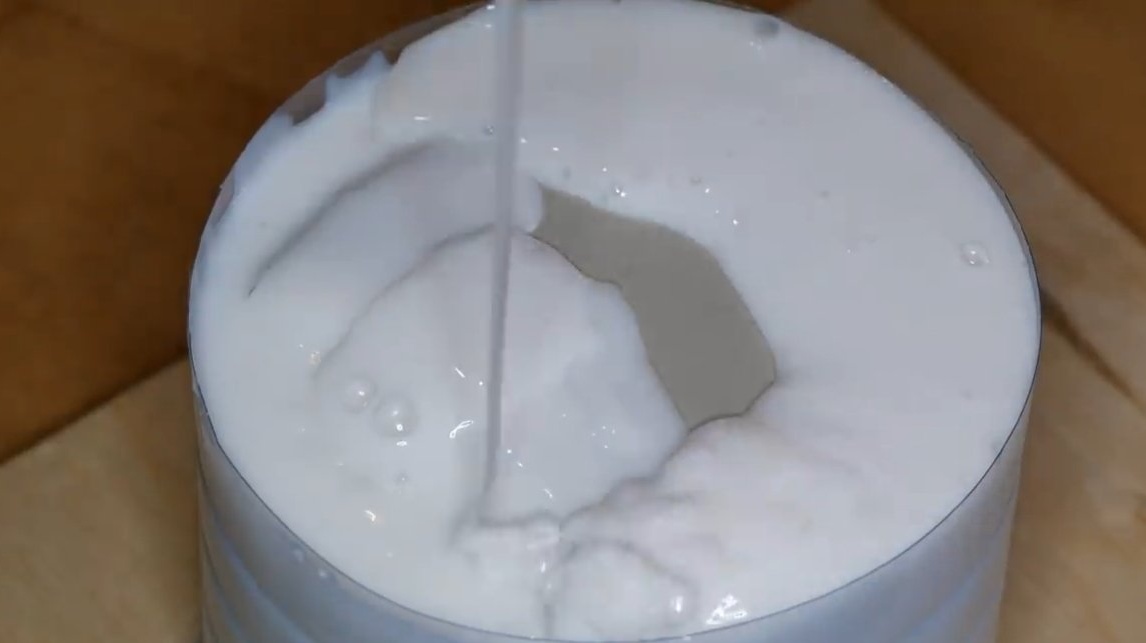

The resulting gypsum component is poured into silicone, making and under it the corresponding formwork. The author’s silicone is special, two-component. When the silicone hardens, you can remove the gypsum part from it, after which the formwork is ready.
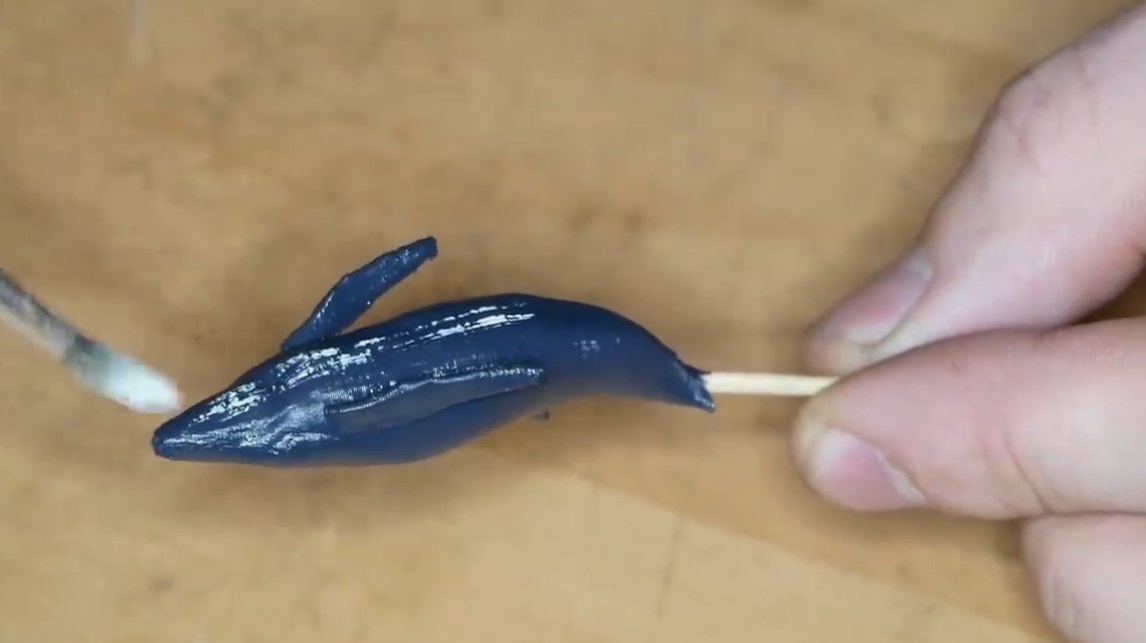
Step Three Whale making
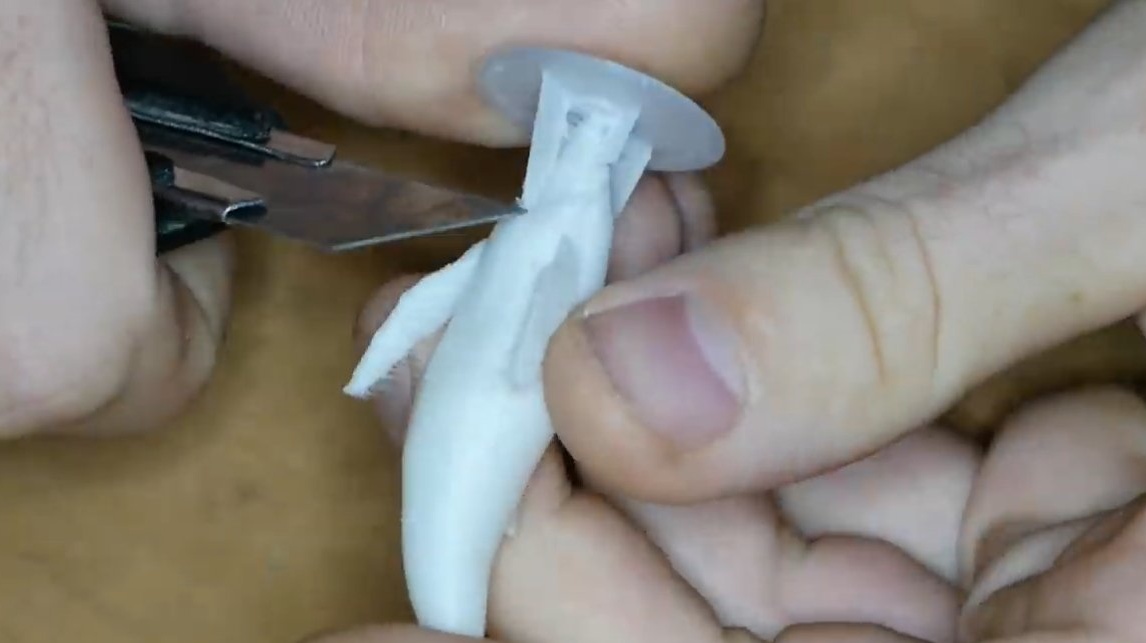
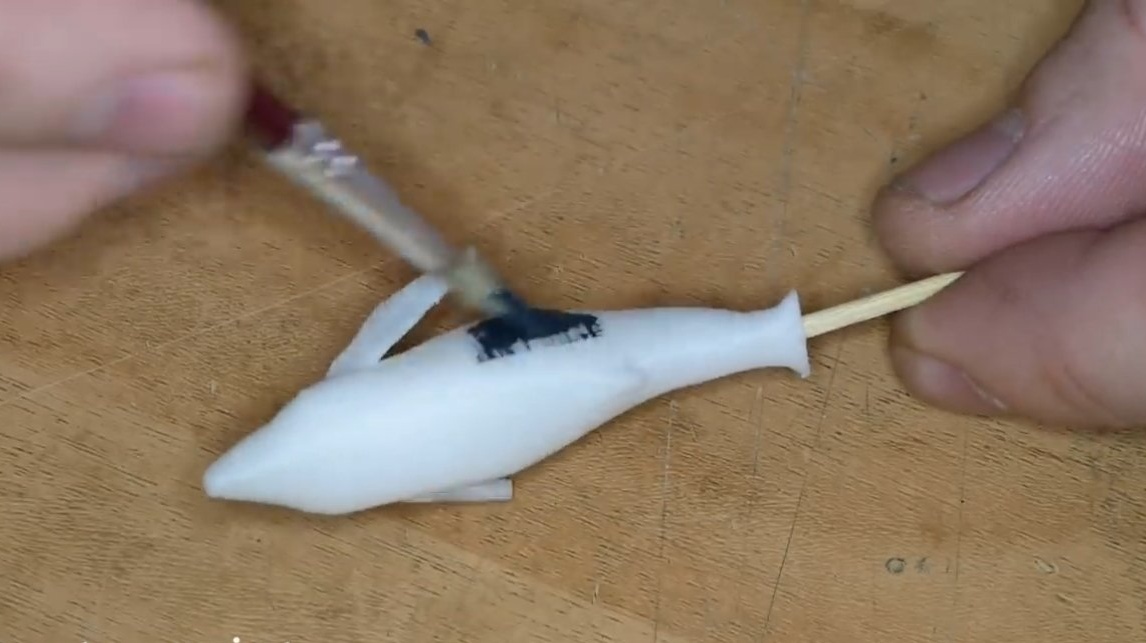
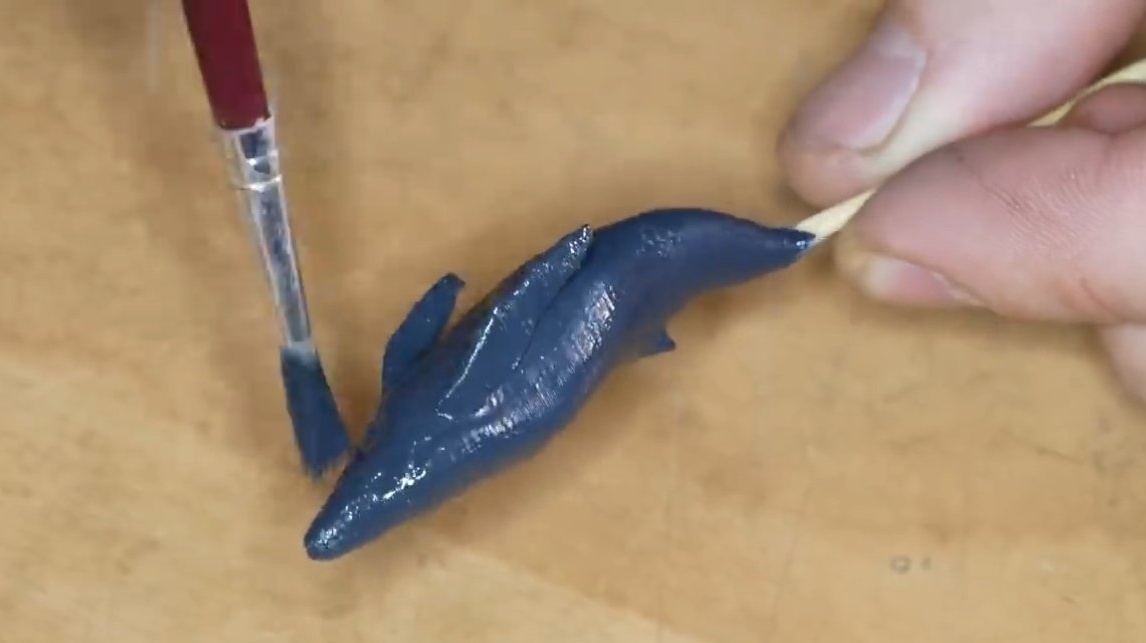
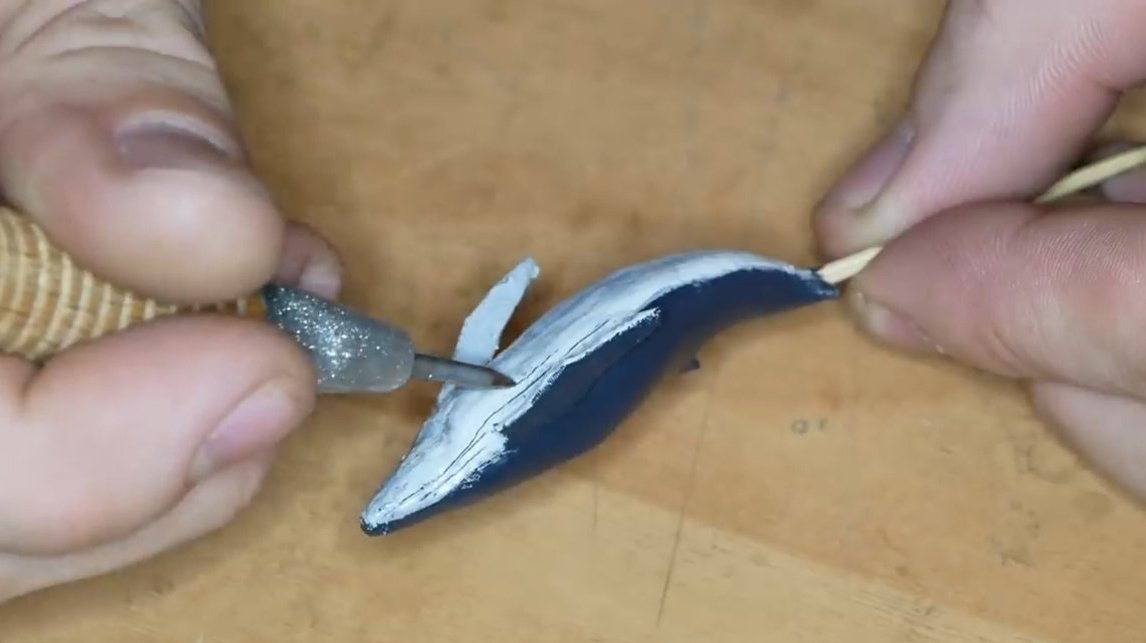
We make a whale; the author simply printed it on his 3D printer. It is also possible to mold whales from polymer clay or even from ordinary dough. Then it will remain good to paint the whale with acrylic or other paints.
Step Four Pouring
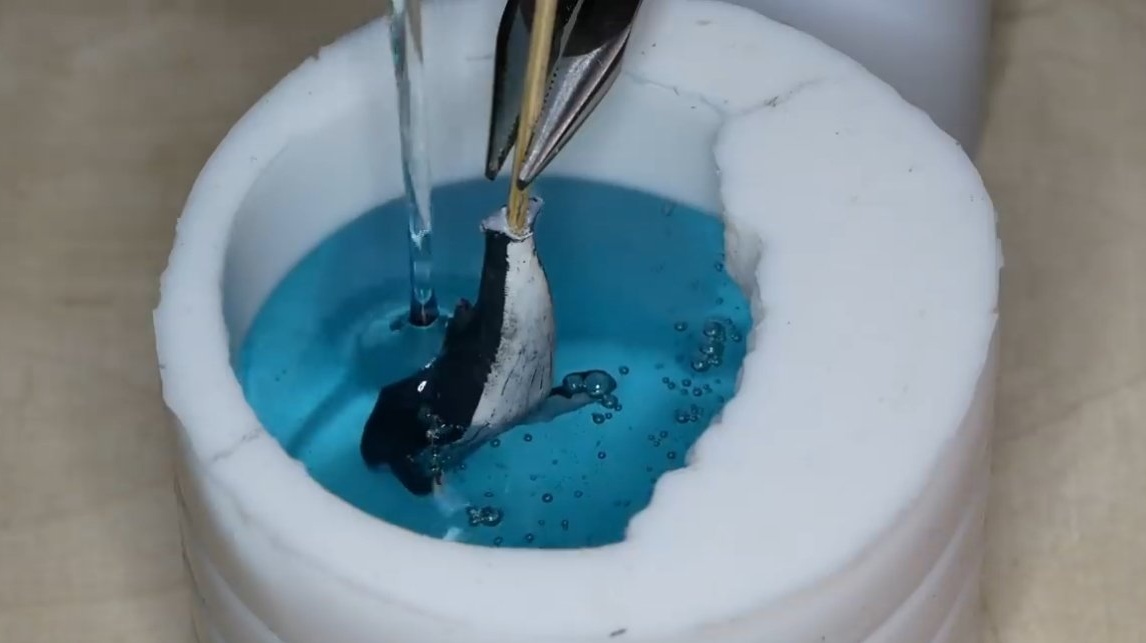
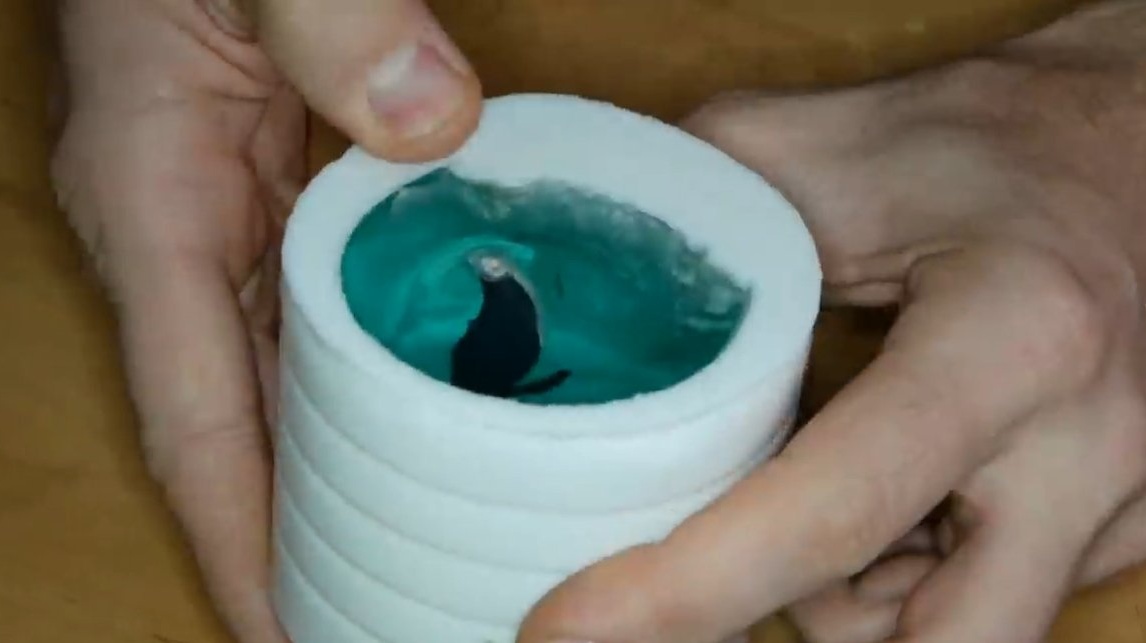
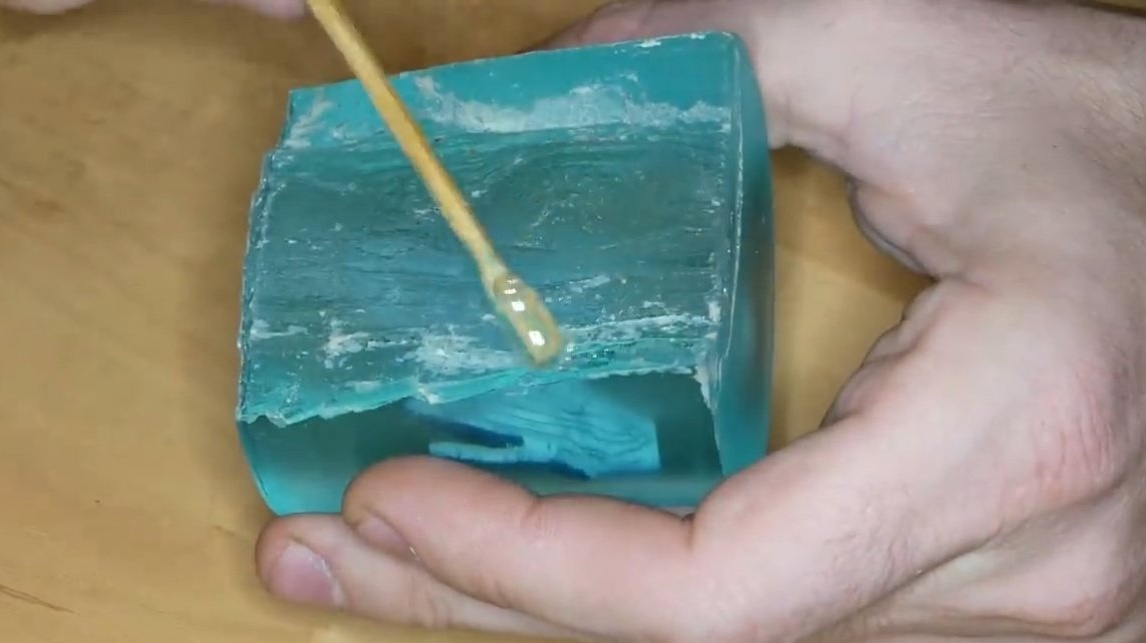
We install the whale in the formwork, the author fixed it on a toothpick. The whale does not have a tail; it is simply not yet visible from the dark water depths. Stir the resin with a blue dye to get the blue color of the water, and fill it into the formwork. Bubbles here are not scary, they will make the picture even more interesting. We wait until the resin has completely hardened.


Step Five Final touches
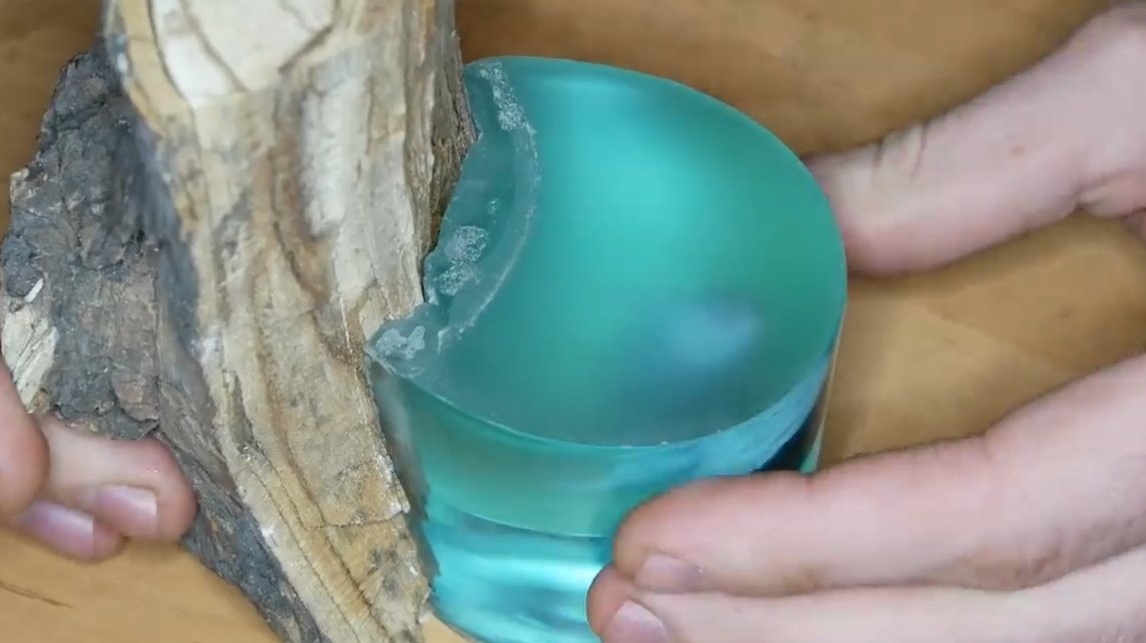
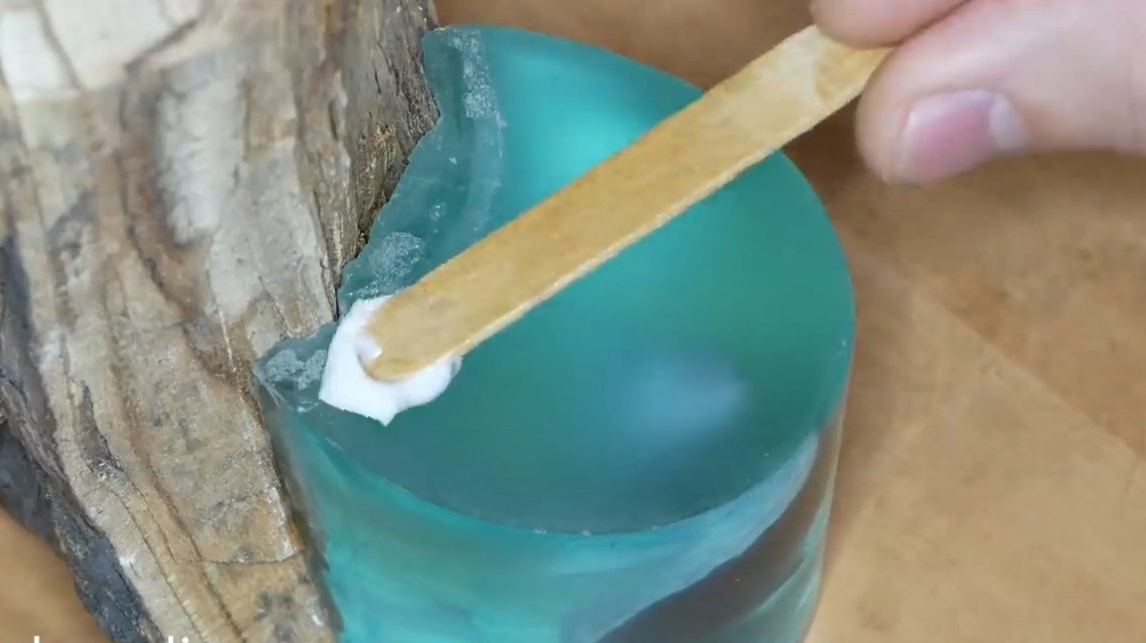
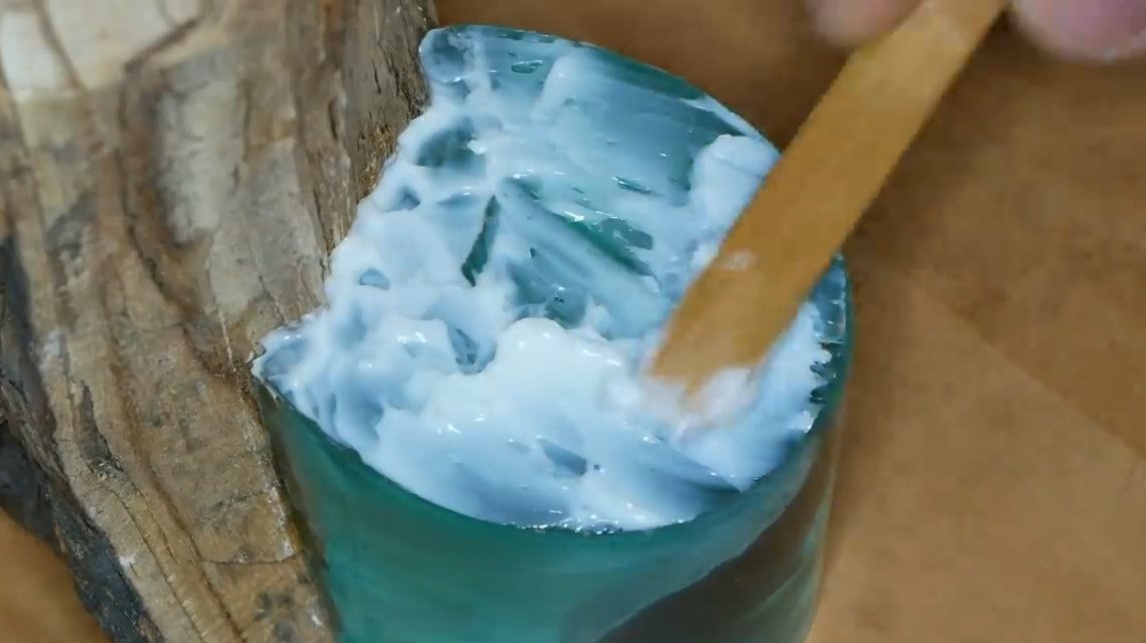
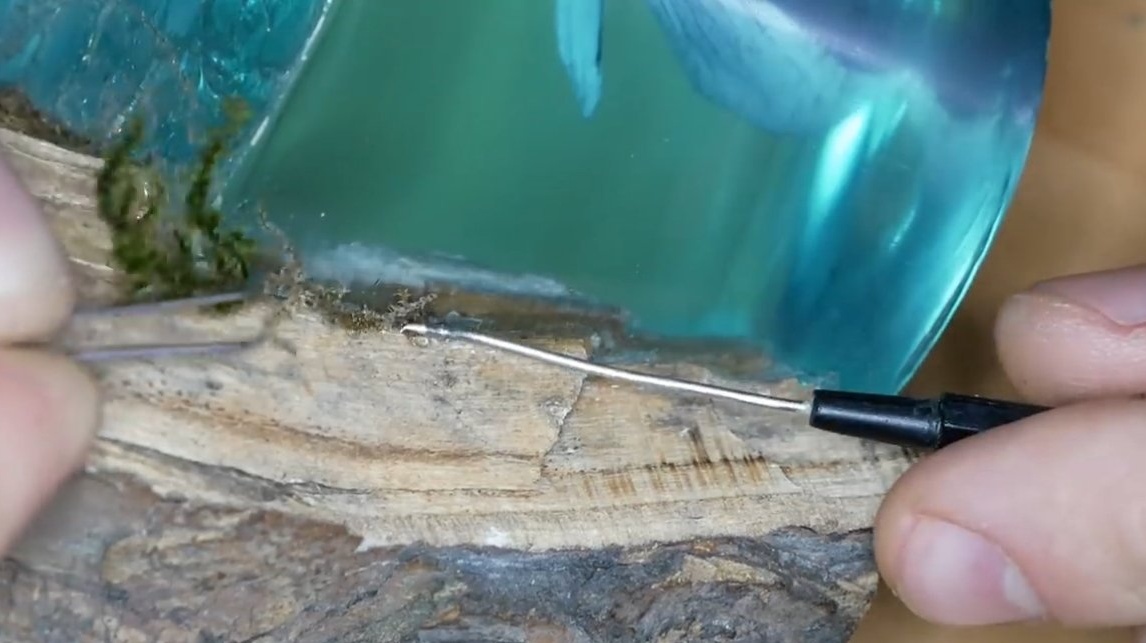
We remove the formwork, cut the excess and glue the manufactured part to the wooden base. Next, the author took an acrylic texture gel and missed the junction to hide it and add realism. Using the same gel, the author depicted ripples on the water. At the end, glue the moss and the picture is ready! The homemade look looks great, and if you put the picture on the base with backlight, you get a great night light!


The project is completed on this, I hope you liked the homemade work, and you found useful thoughts. Good luck and creative inspiration, if you decide to repeat this. Do not forget to share your ideas and homemade things with us!