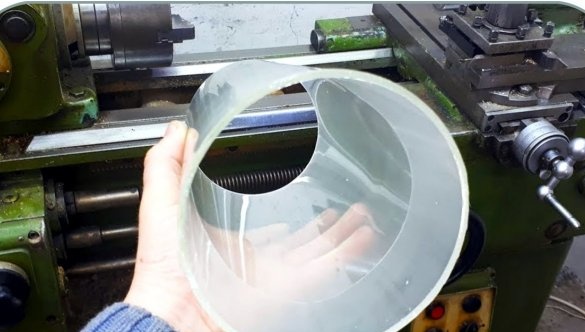
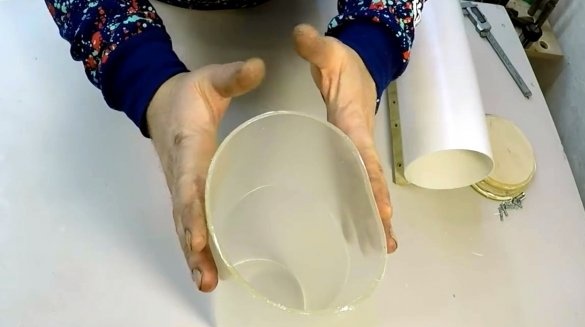
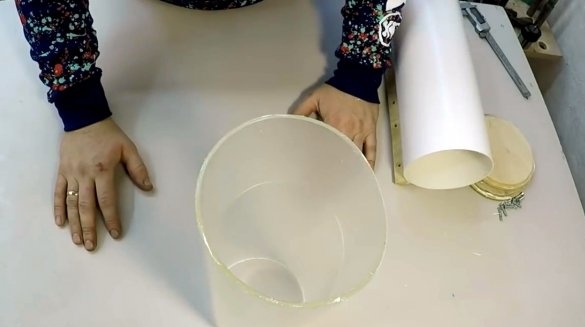
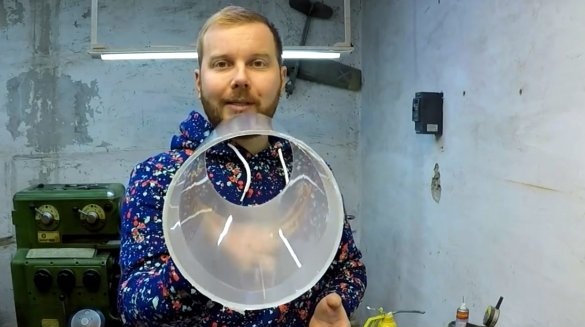
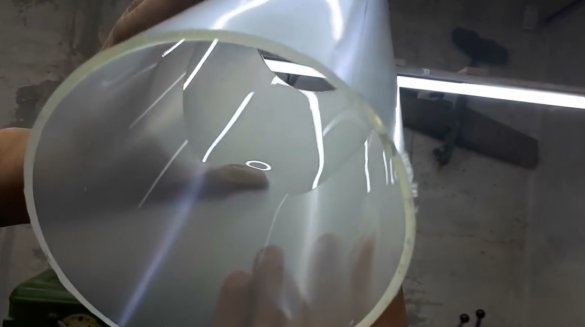
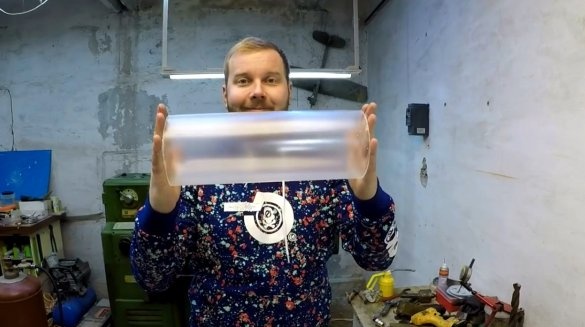
Perhaps some of you have used transparent acrylic pipes of large diameters for your homemade products.
In this article, the author of the YouTube channel Oleg Pevtsov will tell you how to make them yourself from two-component epoxy.
This technique will be very useful for many masters, and quite simple to implement.
Materials
- sheet plywood
- Silicone sealant
- Wood screws
- PVC pipe
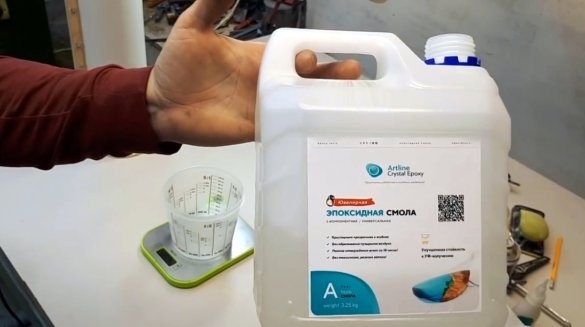
- Injection two-component epoxy resin Artline Crystal Epoxy
- Separating wax
- Two-component second glue
- Scotch, rags.
Instruments, used by the author.
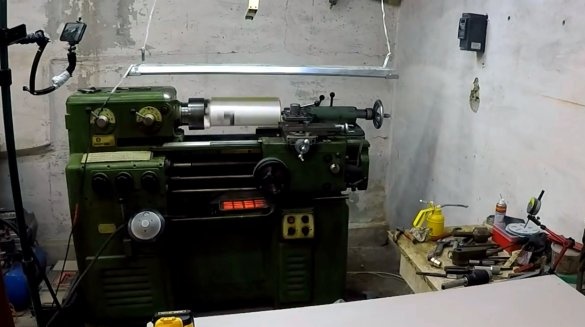
- Lathe
— Screwdriver, drill bits
— Infrared digital thermometer
— Electronic caliper
- Infrared heaters
- Vacuum chamber
- Libra
- Knife, level.
Manufacturing process.
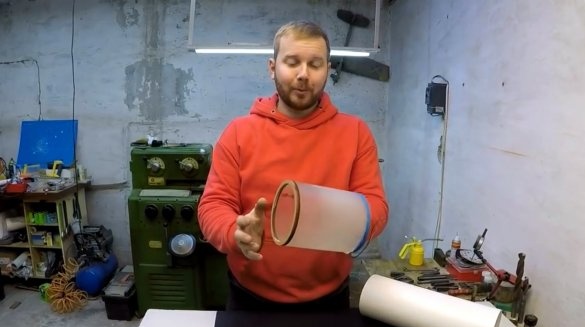
So, Oleg in his practice very often uses such cylinders for the manufacture of lamps. Such cylinders are also glued on the outside with a thin wooden veneer, and very beautiful lampshades are obtained.
Of course, a similar acrylic pipe can be purchased both in the store and on the Internet. However, the cost of such a pipe with a diameter of 120 mm and a length of 2 meters is about 8000 rubles.
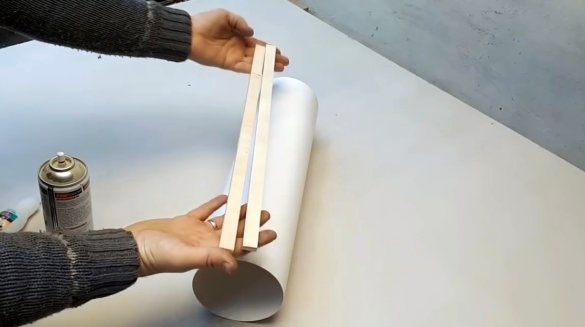
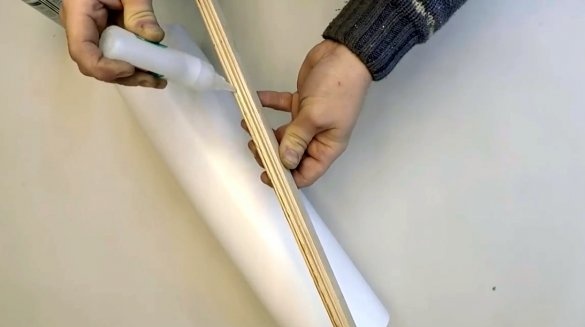
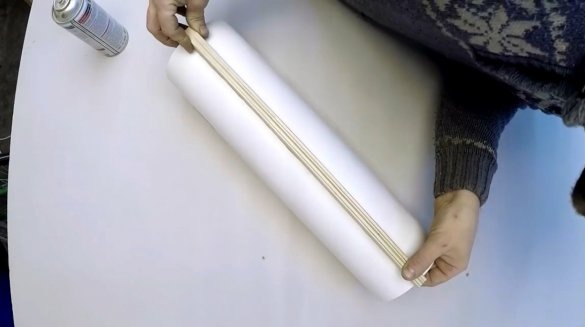
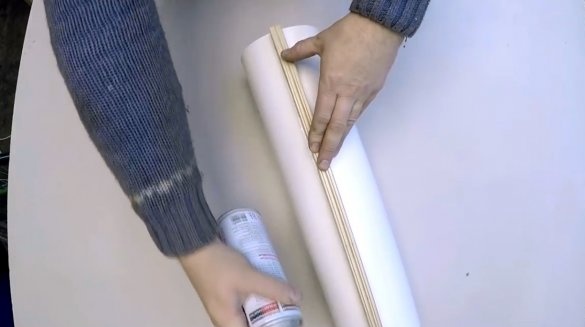
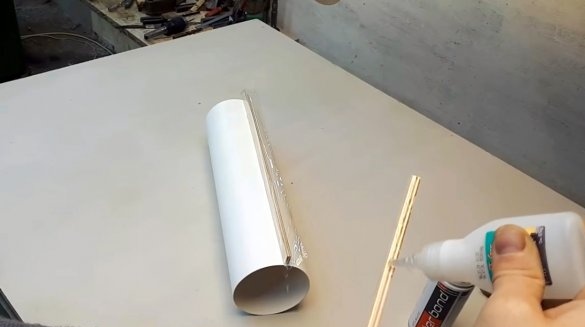
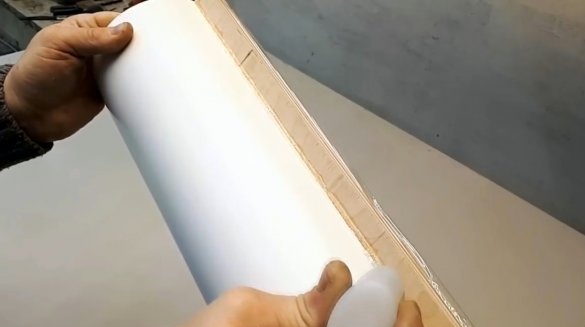
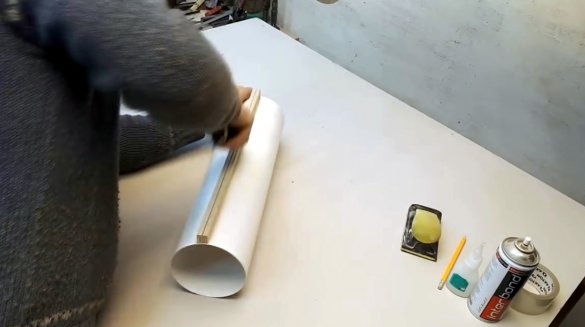
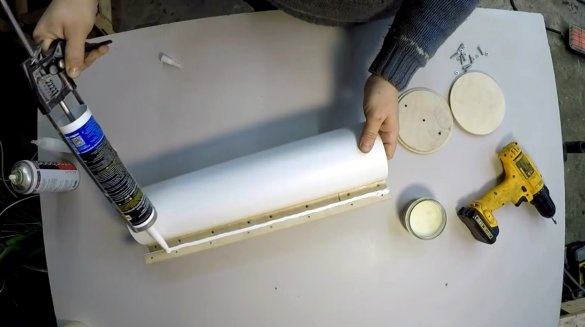
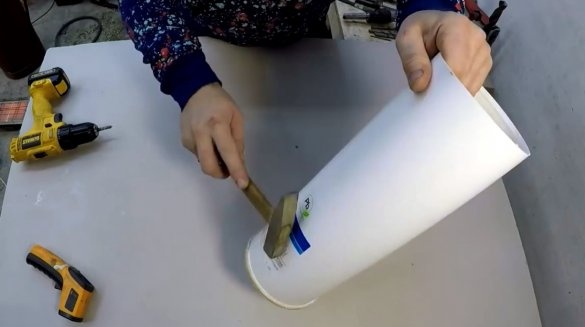
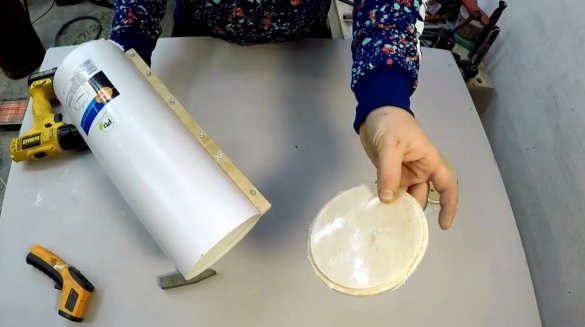
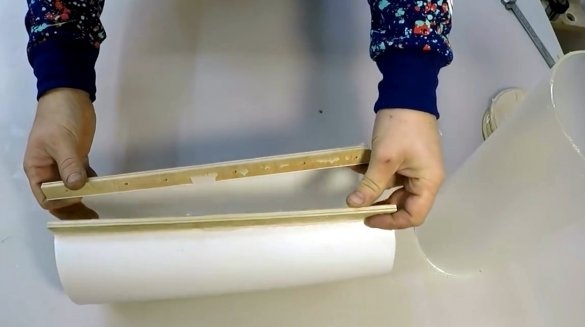
First of all, Oleg begins to manufacture a cylindrical shape. It glues a plywood strip along the outside of the PVC pipe of a suitable diameter. It is fixed with a two-component second glue.
In order to prevent the next strip from sticking to the first, a strip of adhesive tape is glued to one side of it.
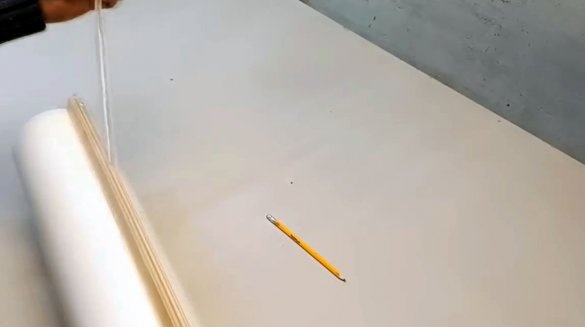
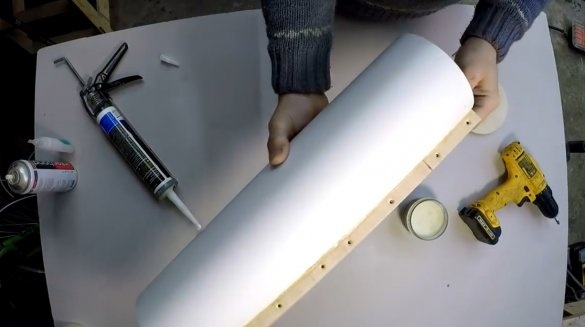
Then the second strip is glued next to the first. Both seams should be as tight as possible. After the glue hardens, a strip of adhesive tape is removed from the gap.
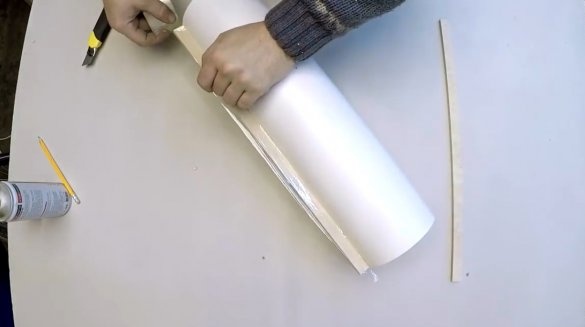
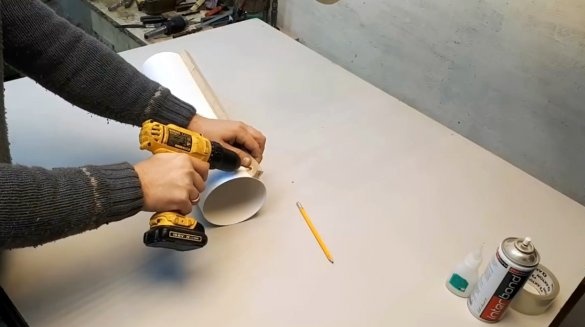
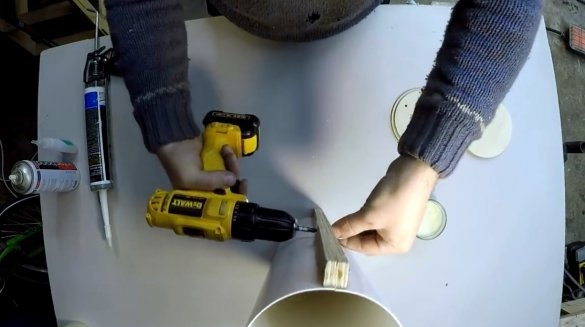
Holes for connecting screws are drilled in the slats.
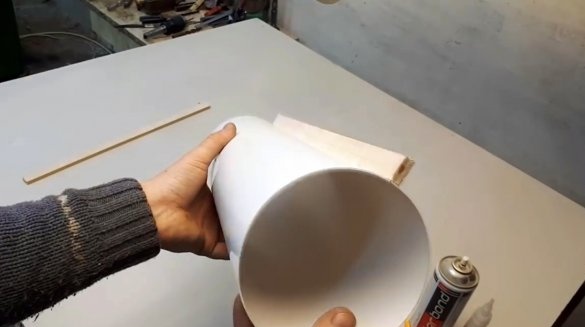
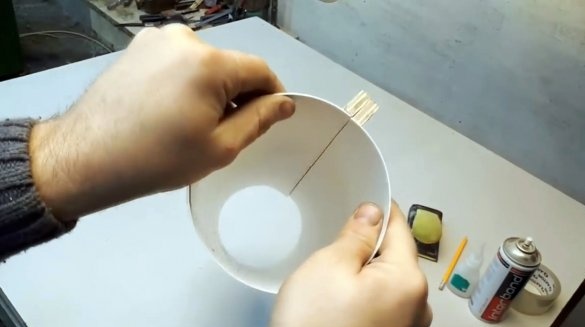
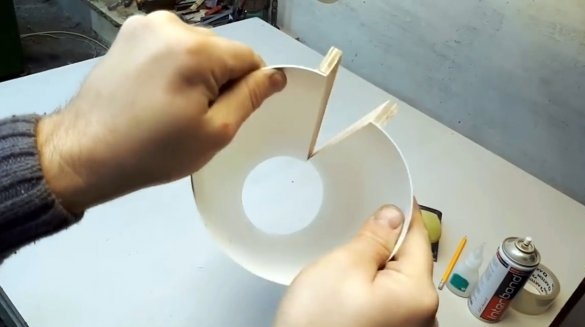
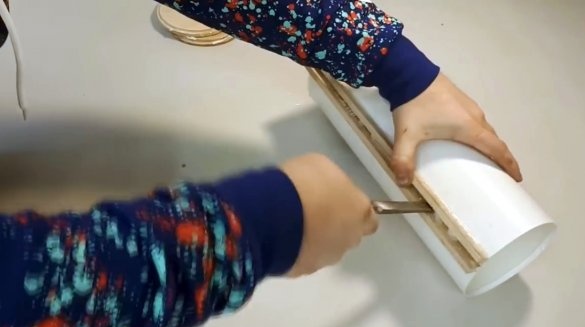
A sharp knife makes a cut in the pipe, between the two slats.
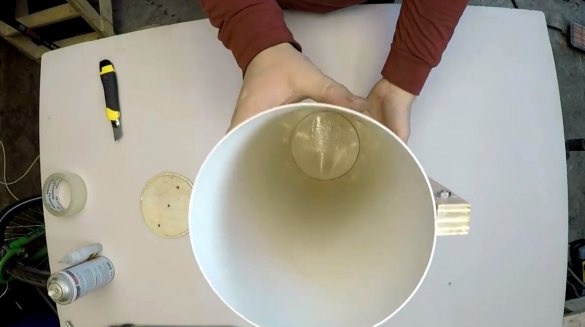
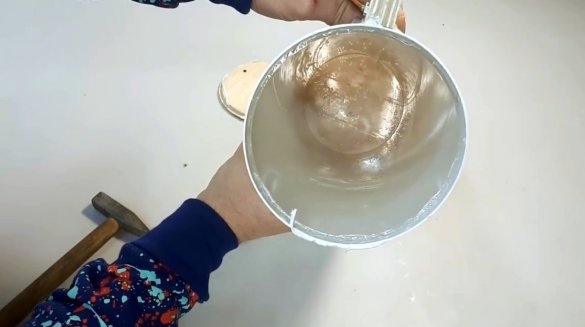
The mold is ready, but the epoxy is very fluid, so that it does not leak through the gap, Oleg seals the connection with a conventional silicone sealant, and tightens the strips together with screws and nuts.
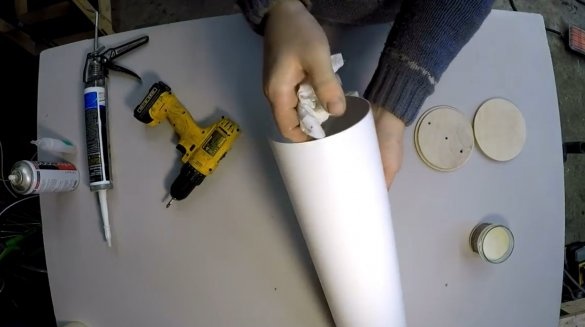
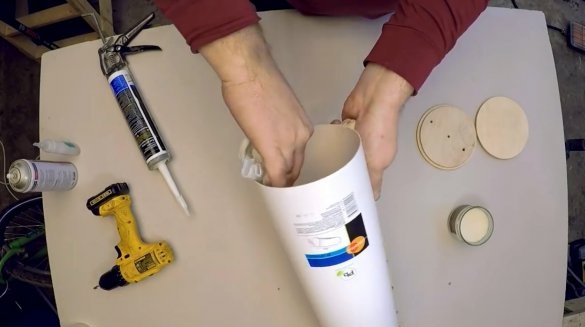
Excess silicone should be removed immediately with a rag, and then apply a thin layer of separation wax on the entire inner surface.
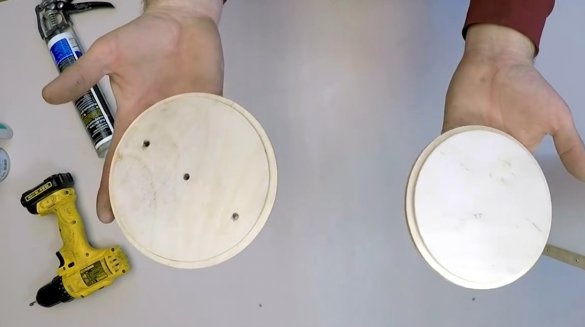
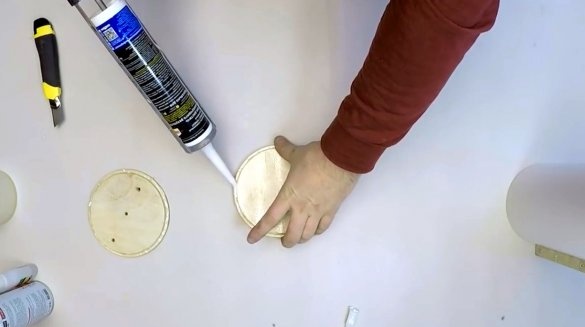
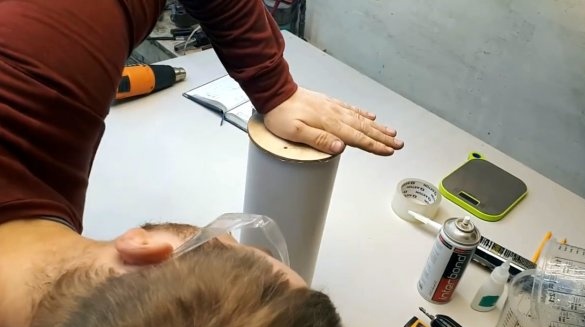
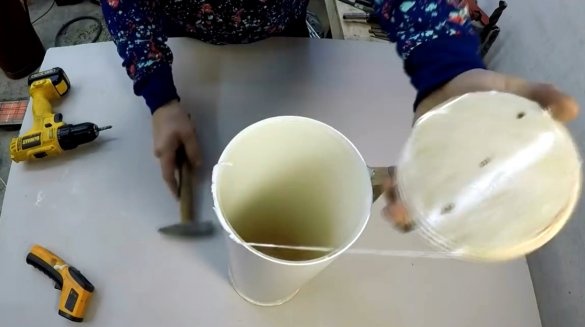
As covers, he machined two such discs from plywood.In the absence of a lathe, you can use standard plugs for this pipe, partially cutting off the skirts. The inner surface of the covers is sealed with ordinary transparent tape, and treated with a separator. After that, on the one hand fixtures It sticks to silicone.
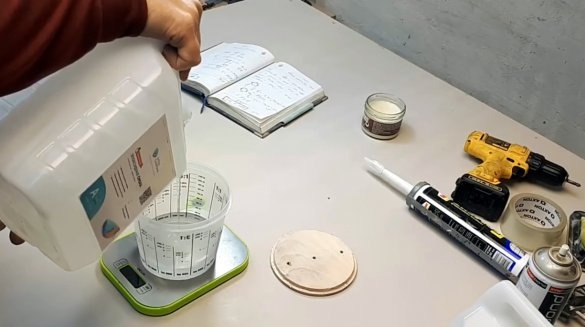
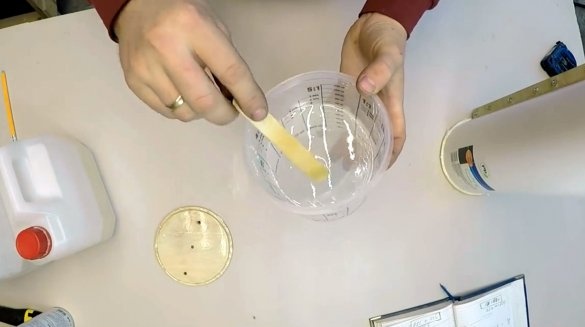
So, Oleg calculated the required amounts of resin and hardener to obtain wall thicknesses of the order of 3 mm. Resins will need 340 grams, and hardener 170 grams. Then thoroughly mixed the components. The author uses Artline Crystal Epoxy two-component injection molding epoxy in his practice.
At this stage, you can add any suitable dyes to the mixture, and get a tube of the desired shade or color.
However, small bubbles always form in the bulk of the resin, and the solution appears cloudy. To eliminate them, the master places the container in a vacuum chamber, and performs degassing.
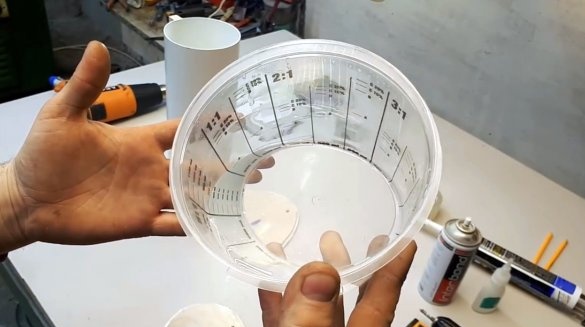
After degassing, the liquid appears as clear as water.
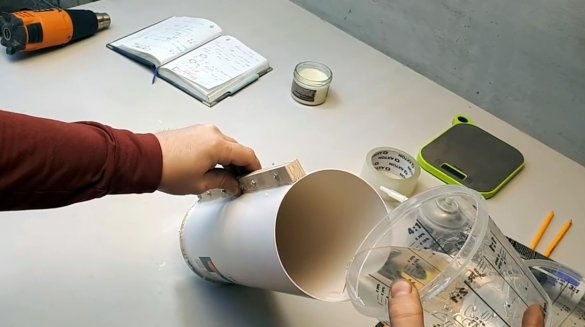
Now you can fill the resin inside the device, and close the second cover, not forgetting about the silicone.
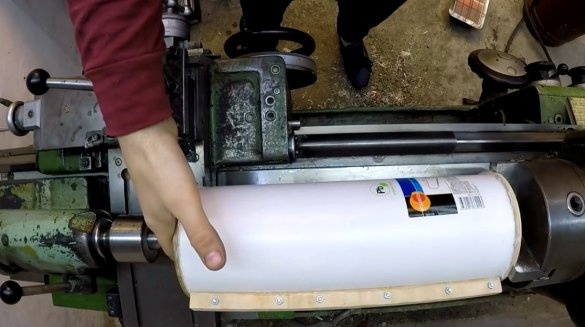
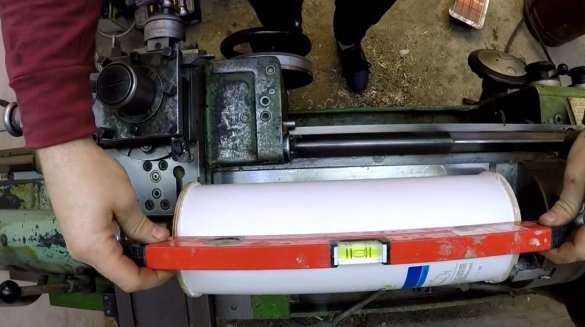
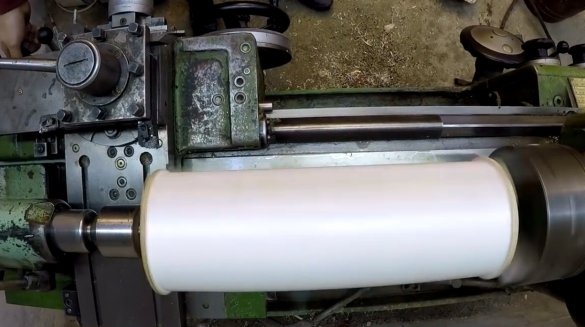
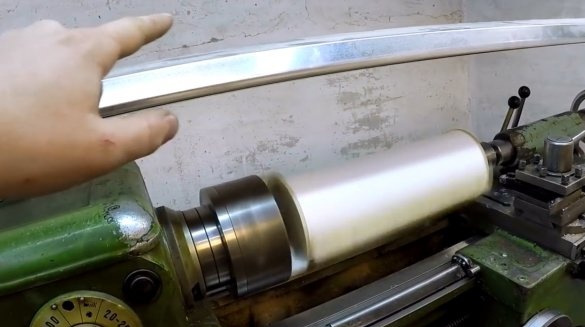
The capacity is installed on a lathe, and it turns on at 800 rpm. Thus, all the resin spreads over the walls, and solidifies in the form of a cylinder. The author also notes that there is no particular need for a lathe. You can build a small device based on a drill.
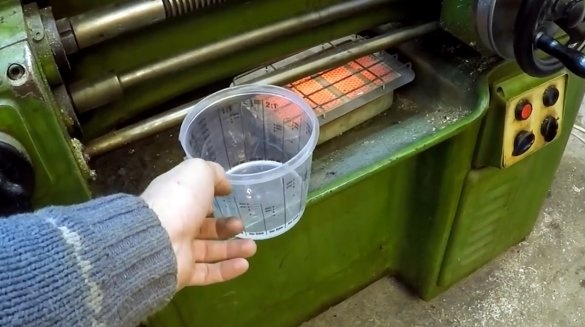
To speed up the process of resin polymerization, Oleg installed two infrared heaters around the tank. This is also necessary for the reason that it is very cold in his workshop. And each increase of 10 degrees accelerates the process by about two times. In addition, a measuring cup with residual resin is installed near the heater, it will play the role of a control sample.
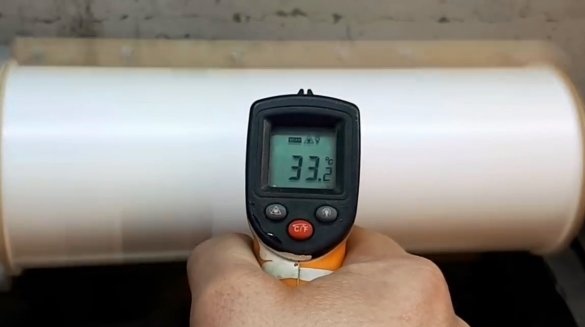
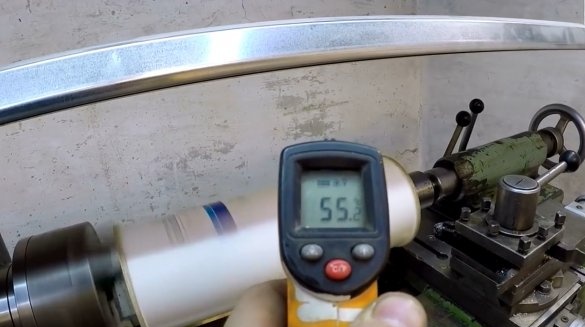
As a result, after some time, the temperature reached 55 degrees, and stopped rising above. All the same, the tank cools very well during rotation. It is maximum permissible to heat the resin to 60 degrees.
So, 6 hours of continuous rotation have passed, and the form can be disassembled.
The bottom cover is also removed.
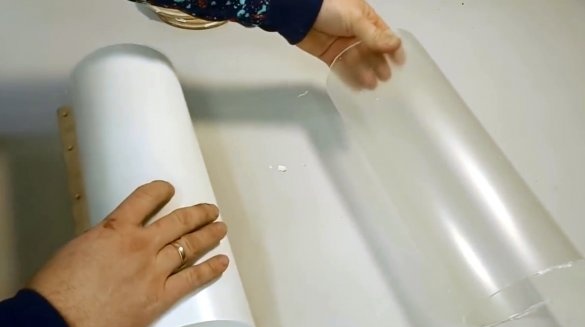
Using the chisel, the two slats are neatly disconnected, and the finished product can be removed.
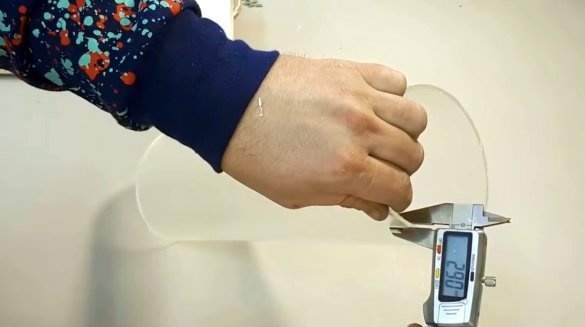
Oleg almost perfectly guessed the required amount of resin, and got walls 2.9 mm thick.
The polymerization process has not yet been completed, and the workpiece is sufficiently plastic. If you squeeze it, and release it, then it will restore shape. Perhaps at this stage a slight change in shape by fixing the workpiece, for example, with clamps. After 48 hours, the epoxy will gain its final strength and become very hard.
It is desirable to immediately clean the form of silicone and resin, and it can be reused.
Here is such a great pipe turned out by the master. After complete hardening, it will be possible to additionally grind the outer surface with sandpaper, and then polish it. Inside, it is already glossy. By the way, there are no bubbles or irregularities in the epoxy layer. There is only a small trace left at the junction of the mold, which can be easily removed by grinding.
I thank Oleg for the simple technique of making epoxy pipes! Experiment, add dyes, various fillers in the form of sparkles to the resin, and you will succeed! And there are no ideas where to use such a product - a carriage and a small cart.
If you have interesting homemade products, share them on this site. Here you will get a real reward, not a “bunch of green stuff" at the entertainment forum.
All good mood, good luck, and interesting ideas!
Author video can be found here.

