Greetings to all readers. Today I move away from the topic Arduino and electricians in general. Today we are going to make a tree house. Who did not dream in childhood about a treehouse ?! A place where we could play together with friends. Decorate it yourself and finish it. A place where you could hide from the rain, hide when playing hide-and-seek, or a "house" when playing in the game. But here we are, and we don’t play such games anymore. And even if we didn’t have this, we can please the house of our children or nephews and nieces. The season of street construction has already been completed (winter in the yard), but now you can start to prepare the material (it just has time to dry in the garage), choose the installation location and make a site for the future house.
Here we need:
- Boards 150 x 50 mm thick
- Wood screws 6x90
- Screwdriver
- A circular saw
- Powerless or electric saw (you can do it manually)
- Paving slabs 6 pcs.
- Roofing material (e.g., ondulin)
Step 1 Choosing a Location.
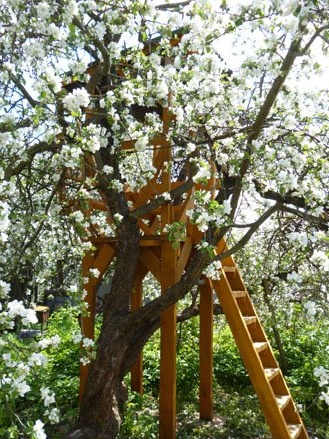
It is difficult to write instructions when all the trees are individual. Someone will make a house on a strong oak, and someone like me on an old apple tree. Also, when choosing a place, you should consider the convenience of location so that the house is not very far from the house. If you live in a private house, I think there will be no problems. Choose your favorite tree on the site and make a house there. For residents of apartments, it is worth considering options for building a house in the country or in the courtyard of the house. Also do not forget that children will use the house. In this regard, remember about security. The house must be closed completely or it must have a railing with a height of at least 1 meter. The height of the house itself also matters, do not make the house above 3 meters from the ground. For my house, I chose an old apple tree. Many will not agree with my choice, but when the apple tree blossoms, the house looks amazing.
Step 2 Materials.
The choice of materials should also be taken seriously. Of course, the best option is a tree. But you should not choose glued-on bars, such on the street to quickly fall apart. Thickness is also of great importance. Thin boards will not withstand the load. Children, of course, do not weigh as adults, but we must understand that a lot of them can cram into the house. Also, children jump and jump all the time, which creates an additional load on the structure. I recommend taking an unplanered board 150 x 50 mm. They are sold on 6 meter boards.It turns out profitable, although a circular saw is needed to cut the board into bars. For the platform, legs, stairs, benches and backs we use whole boards. For everything else, we cut the boards along, thus obtaining bars. Roofing material is better to use ondulin. He is not so basking in the sun as a metal tile. Not as heavy as slate. And he does not need a solid foundation, as for flexible tiles. You can collect everything on nails, but from personal experience I know it’s better to twist it with a screwdriver, it's longer, but more reliable.
Step 3 Let's get started.
You should start by measuring the space available for the house. I decided that a platform of 1.5 x 1.2 meters is enough for the house. In my case, the apple tree is old and will not support the weight of the house, not to mention the children. So I decided to put the house on legs. If the tree is strong enough, you can place the house directly on the tree without legs. In this case, the mount should be customized for a specific tree. Well, of course, it’s better not to screw or drive anything into a living tree. It is better to use ropes or belts.
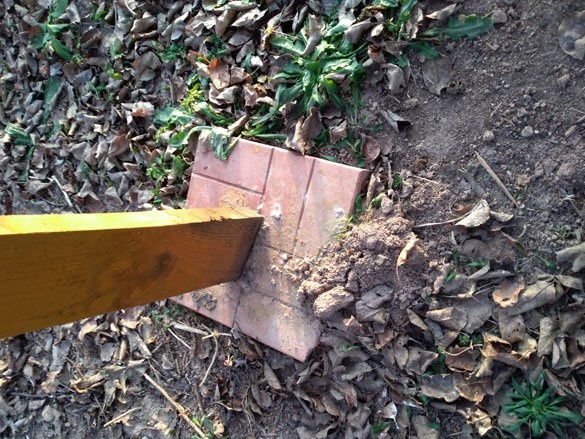
Having made the site, we place it in place using temporary legs (just a pair of sticks fixed with nails and pressed into the ground). Now, using the construction level, we expose our site in level. On the ground where the legs will stand, paving slabs must be laid. Instead of tiles, you can use reinforced concrete slabs, a small size, or just pour a small area with cement. So we will increase the area of the legs support and protect the tree from contact with the ground:
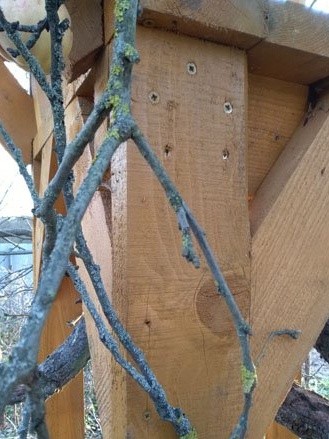
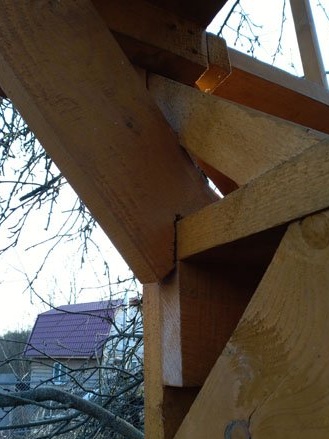
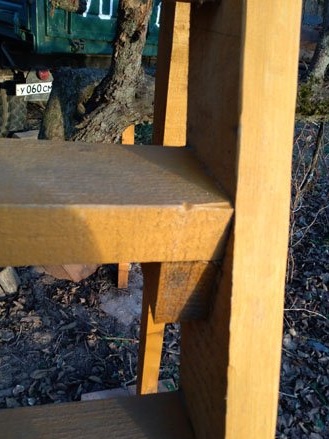
The height of the house is 2.2 meters, if measured from the ground to the site. You need to put four legs so that our house is stable and easily survives a hurricane and heavy snowfall. We fix the legs to the platform with three self-tapping screws, and we strengthen them with “jibs” in two planes, thereby preventing them from walking:

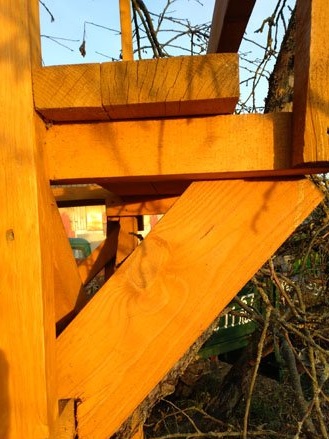
Next, "raises" the house up. On the left side we put the bars. Front 2.2 m high, rear 2.1 m, with this design we create a roof slope. Here, too, do not forget about the "jib." And we fix the railing:
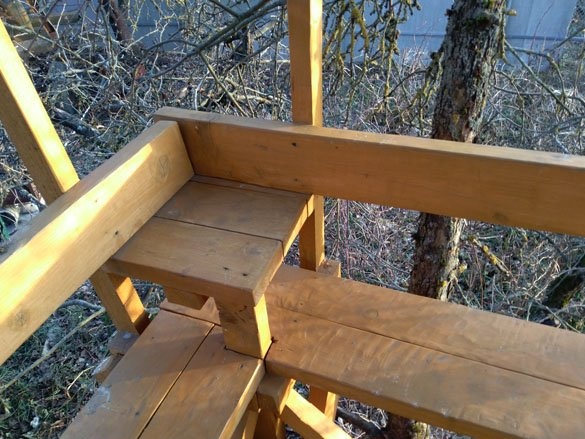
On the right side we make symmetrical bars, but we don’t put “jibs”. There will be benches in the space between the bars. We make them on the right side and behind. So that the benches do not occupy the extra space of the site, we take the benches out slightly:
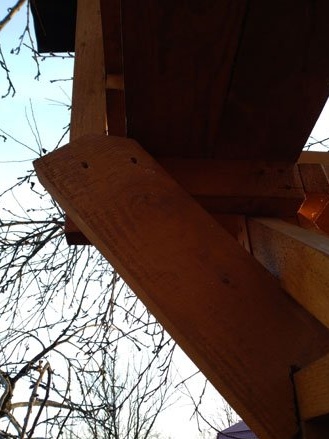
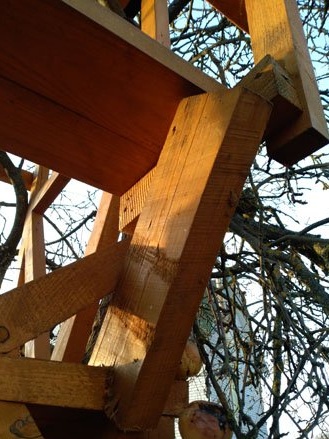
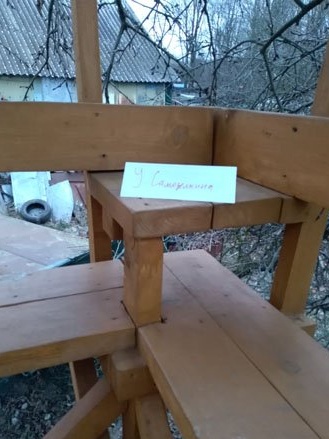
For convenience and safety we fasten the backs of benches. A table placed in the corner will definitely not be in excess:
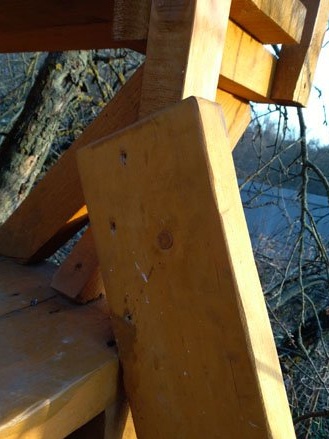
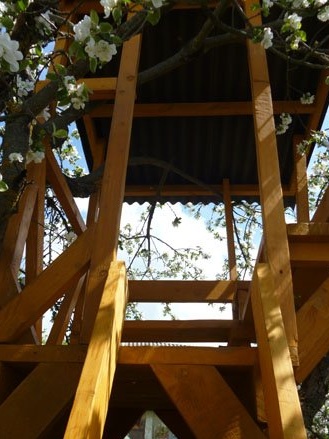
For the roof, we make the crate with a step of 60 cm. Roofing material, in my opinion, the best option is ondulin. Follow the rule "20 nails in one sheet" in this case, it is not necessary to follow. Cellular polycarbonate is better not to use, so that the roof protects not only from rain and from the scorching sun. But you can use any roofing material, the main thing is that it protects from rain and sun. Initially, I planned to make a rope ladder, but found it not safe enough for children. Therefore, the stairs are made of the same boards. We fasten the bowstring to the vertical bars:
We rest the stairs on the paving slabs, just like the legs:

We fix the steps with end screws and bars for reliability. The height of the steps is 18-20 cm:
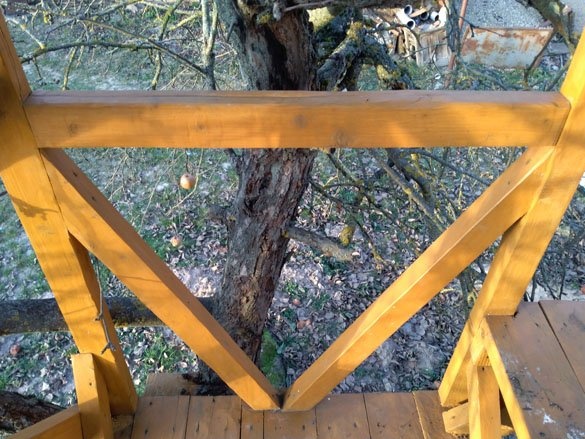
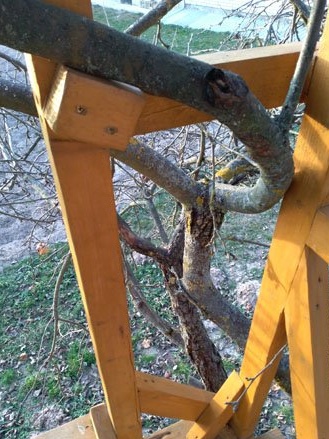
Some branches may interfere with the construction of the house, but do not rush to cut them. They can be passed through the house. The more foliage around, the better the house will look:
The staircase turned out quite steep, so it is better to lower it overturned. Staircase top view:

The entrance to the house can be decorated:
After all that has been done, the house must be covered with protective impregnation, for example, Pinatex. Or just a stain. It is better not to use oil for wood impregnation, as the tree becomes very fire hazard. You can give the tree any shade to your taste. In the future, the house can be sheathed with a grooved board, leaving the window.And you can use cellular polycarbonate, then the house will be well protected from atmospheric precipitation. The main thing is not to do it everywhere in a circle, otherwise the house will turn into a greenhouse.
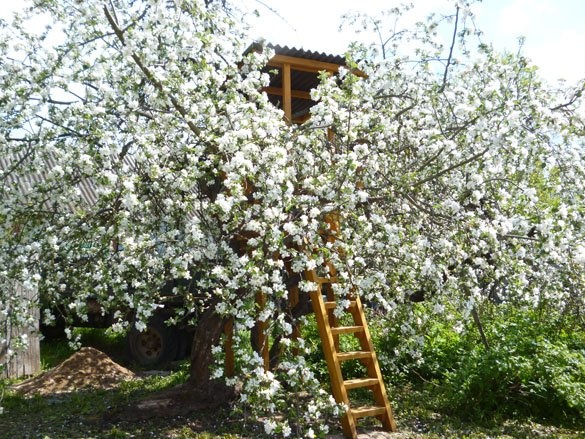
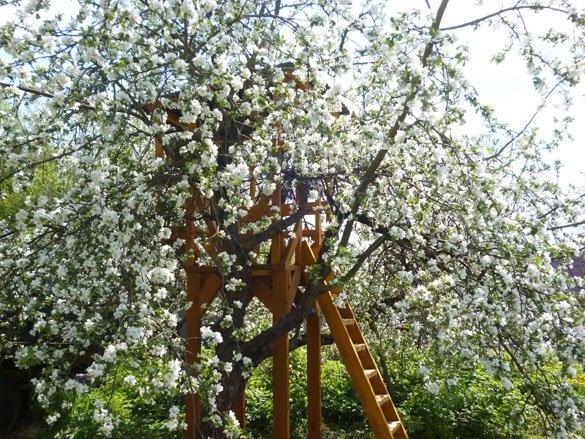
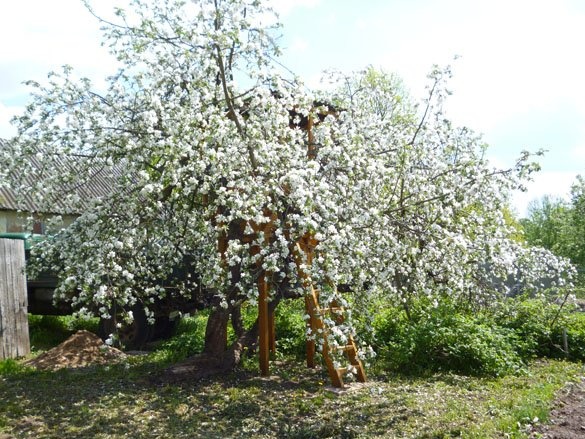
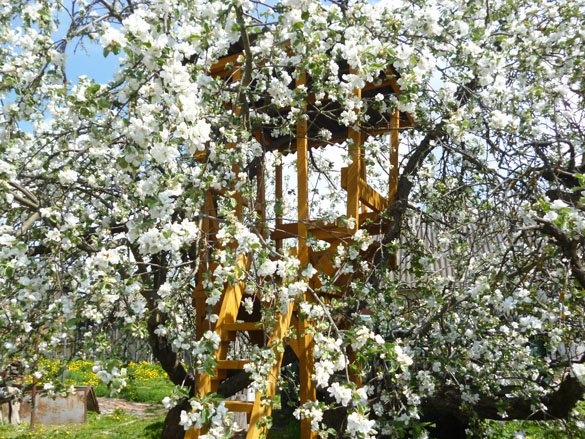
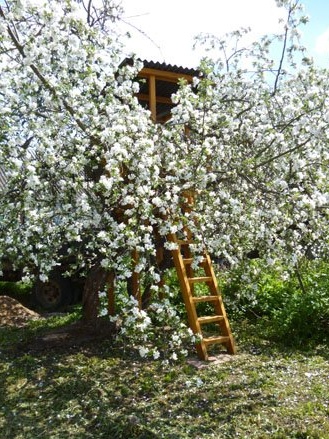
In spring, when the apple tree blossoms, the house looks wonderful:

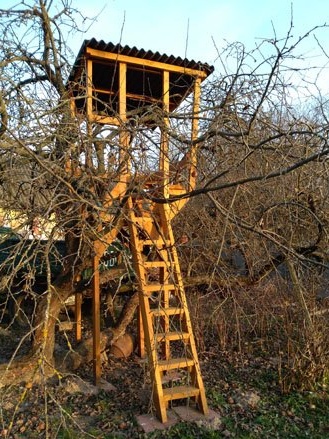
Autumn, of course, everything is not so beautiful, but the house itself is better visible: