
Each of you has a cutting board in the kitchen. There are a great many of their varieties.
In this article, Oleg, the author of the YouTube channel "VORON-M", will tell you about the technique of inlaid an oak board with mahogany, and will make a cutting board into which the fish profile will be embedded.
This homemade product is not very easy to manufacture, however, many craftsmen will be interested in the applied inlay method.
Materials
- Oak and mahogany boards
- Pine boards
- sheet plywood
- Sandpaper
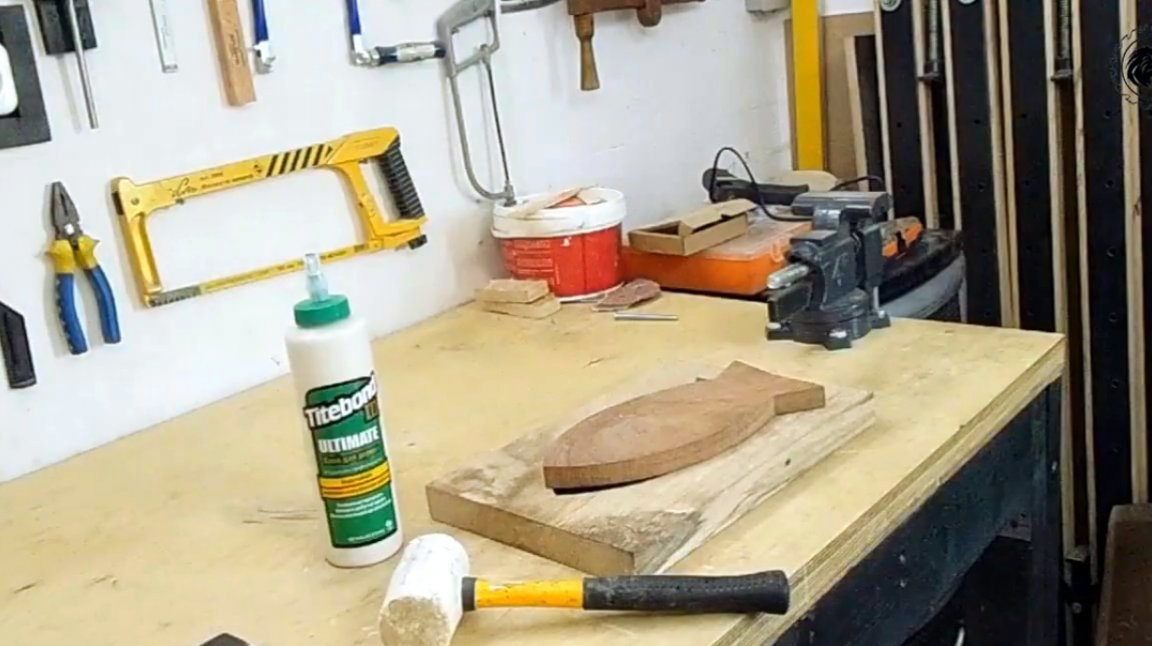
- Titebond III Ultimate Adhesive
- Mineral oil, wax.
Instruments, used by the author.
— Band-saw, thicknesser
— Manual frezer
— Clamps
— Electronic caliper
— Japanese saw
— Orbital sander
- Drilling machine
— Forstner Drills
— Milling machinelamella cutters
- Ruler, square, chisel, mallet, pencil.
Manufacturing process.
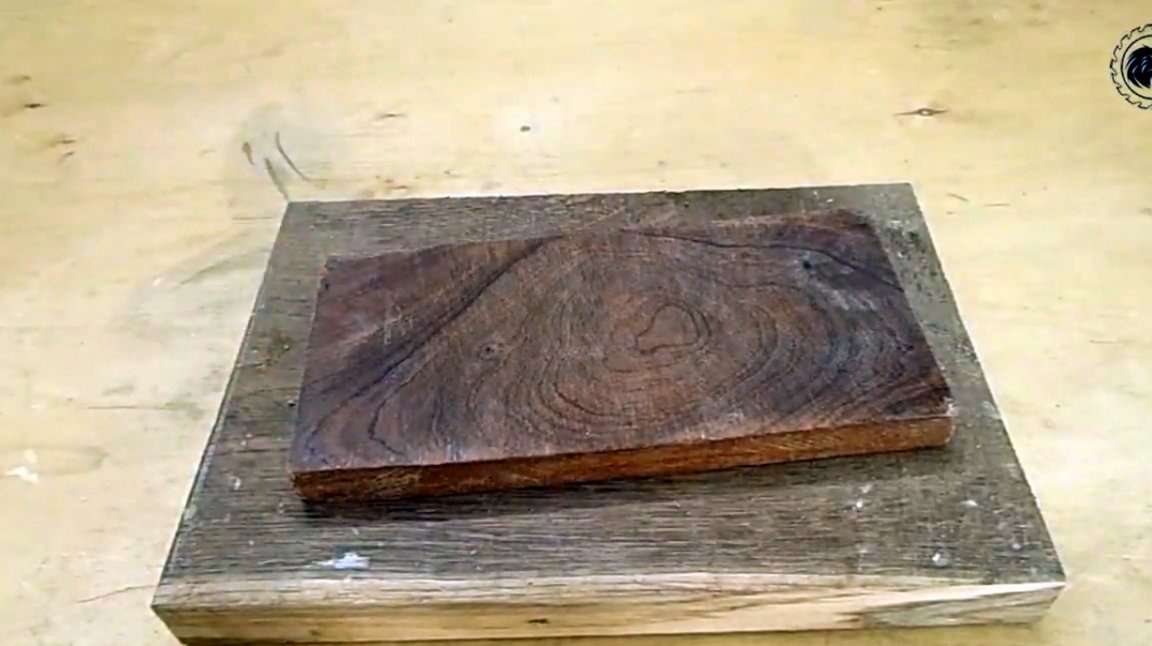
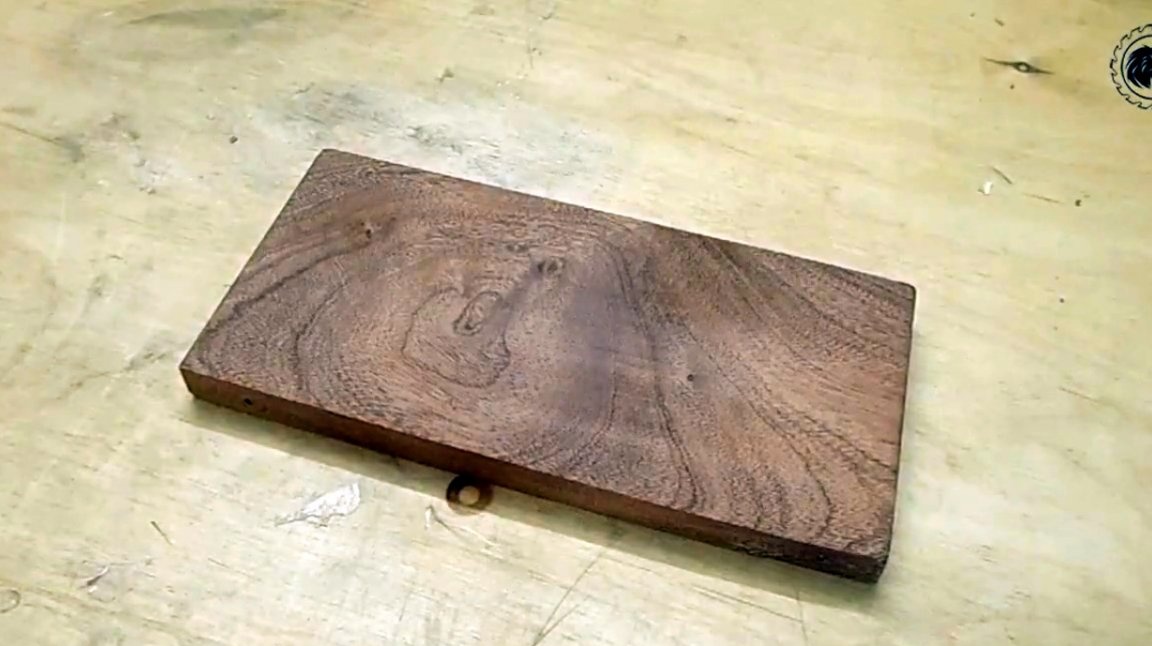
So, Oleg takes two old oak and mahogany boards as the main material. The second has an end cut.
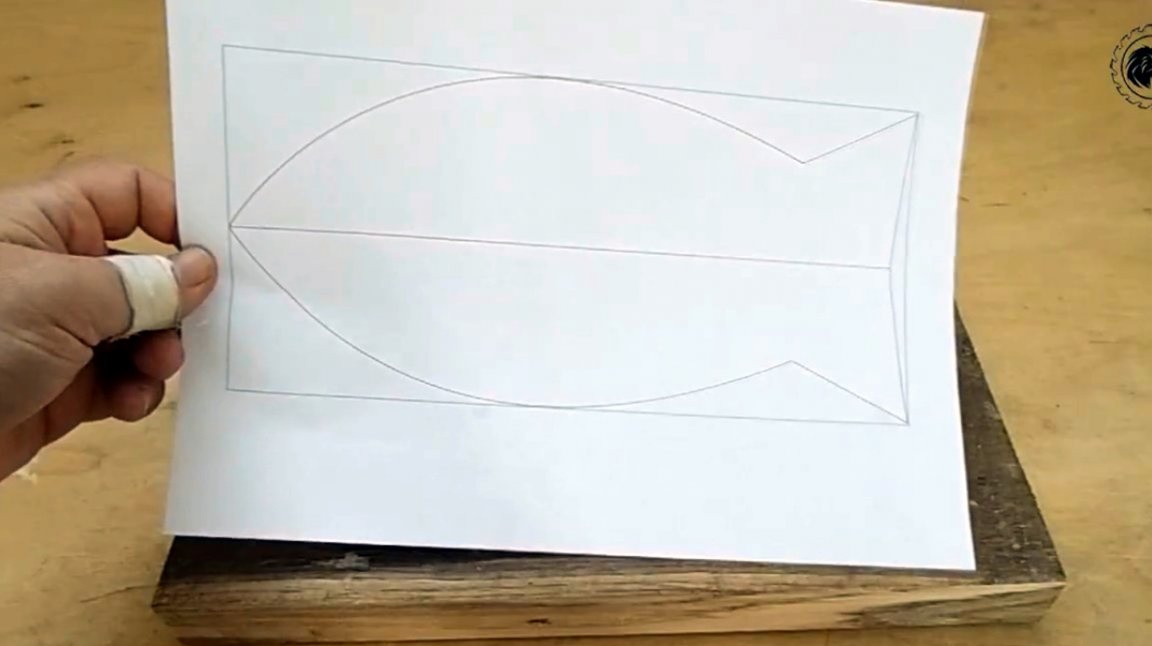
In the simplest graphics editor, he sketched a template for the future frame of the frame.
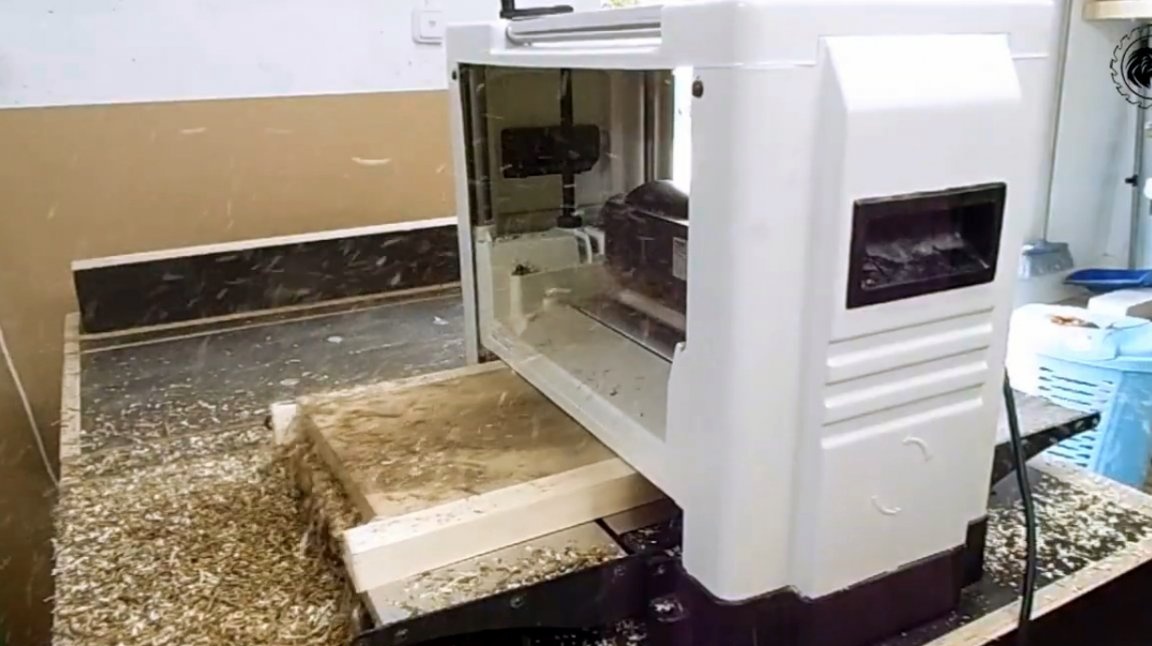
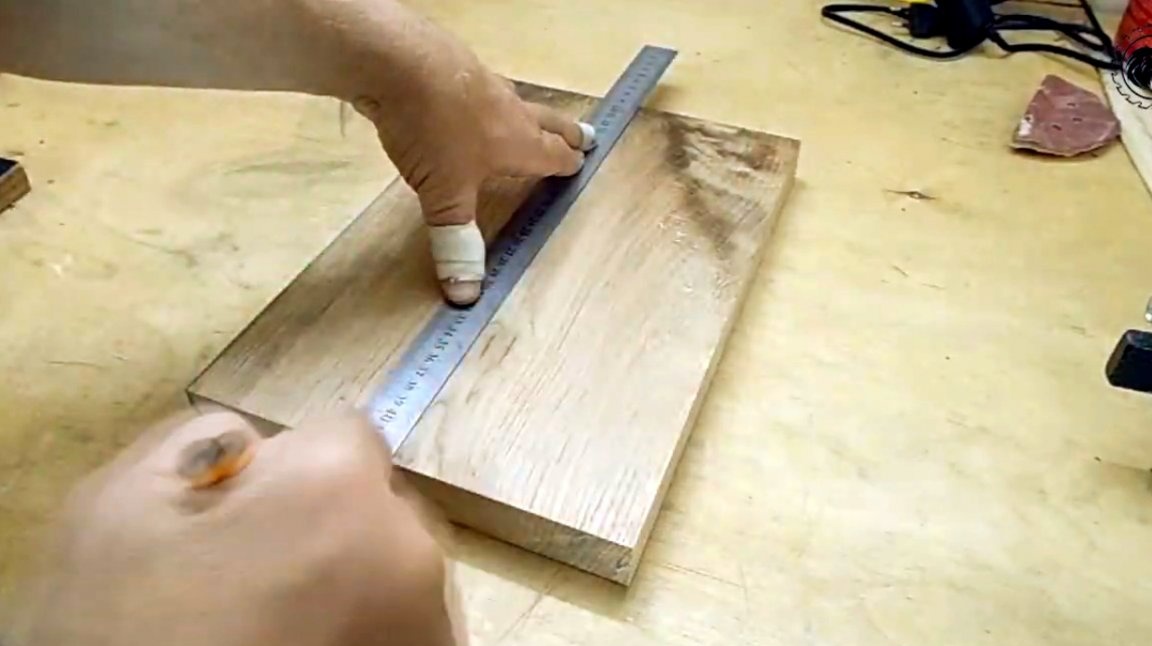
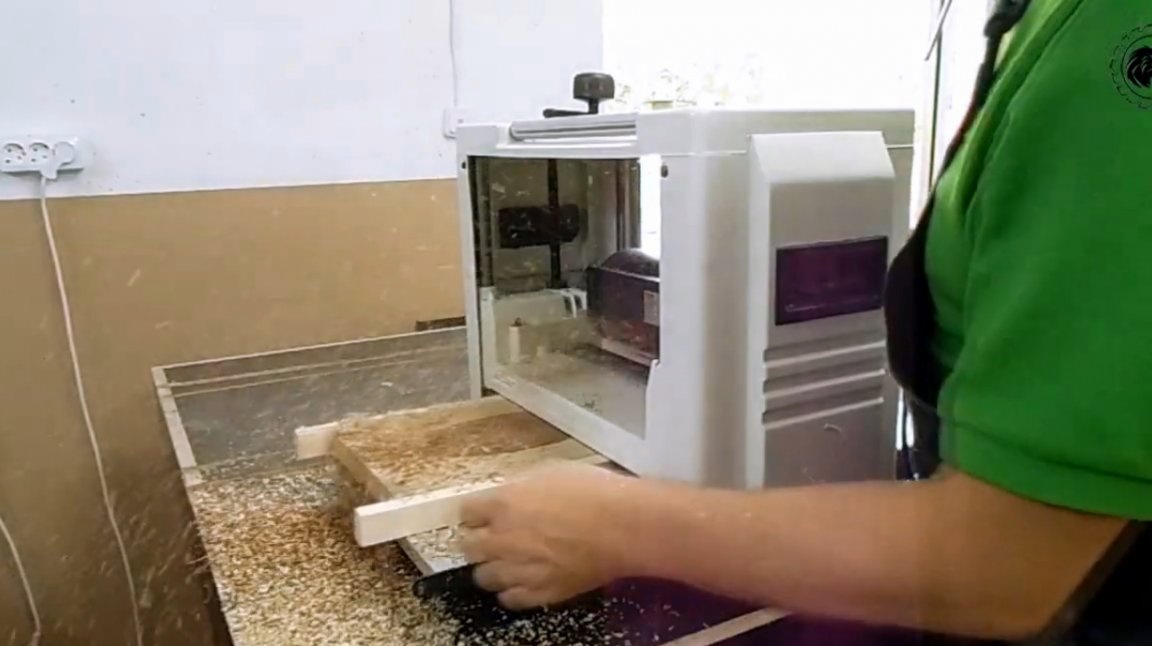
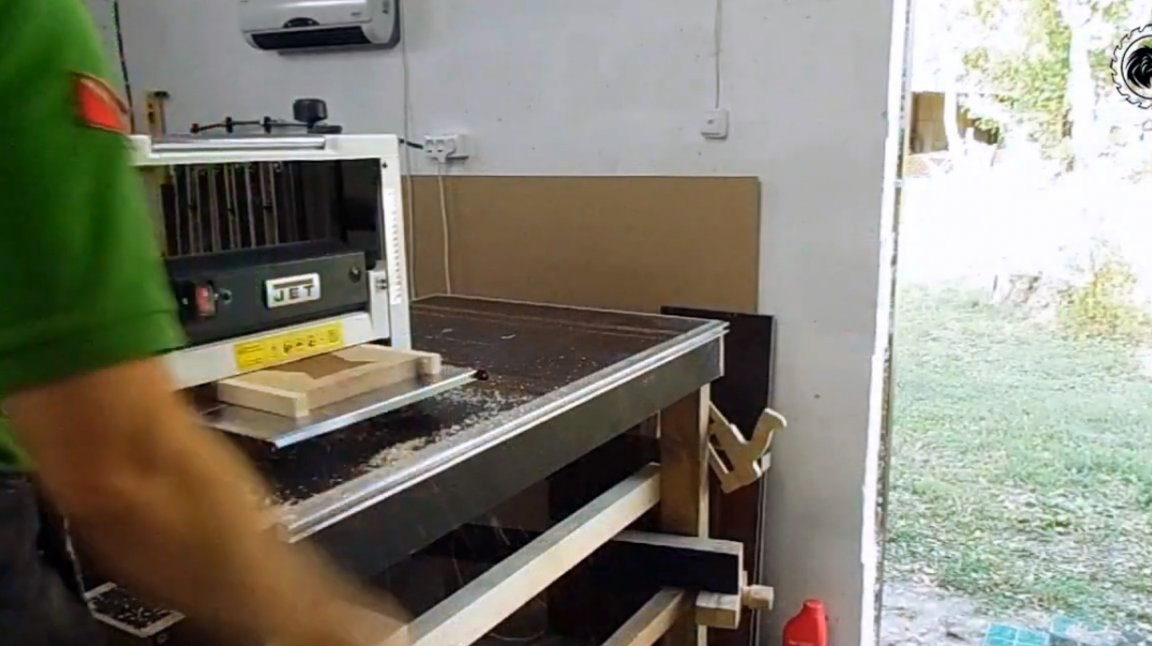
Both surfaces of boards need to be processed on a surface gage. In order to avoid chipping off the edges, the craftsman secured two pine blocks with the same thickness but longer than the workpiece at the edges of the workpieces.

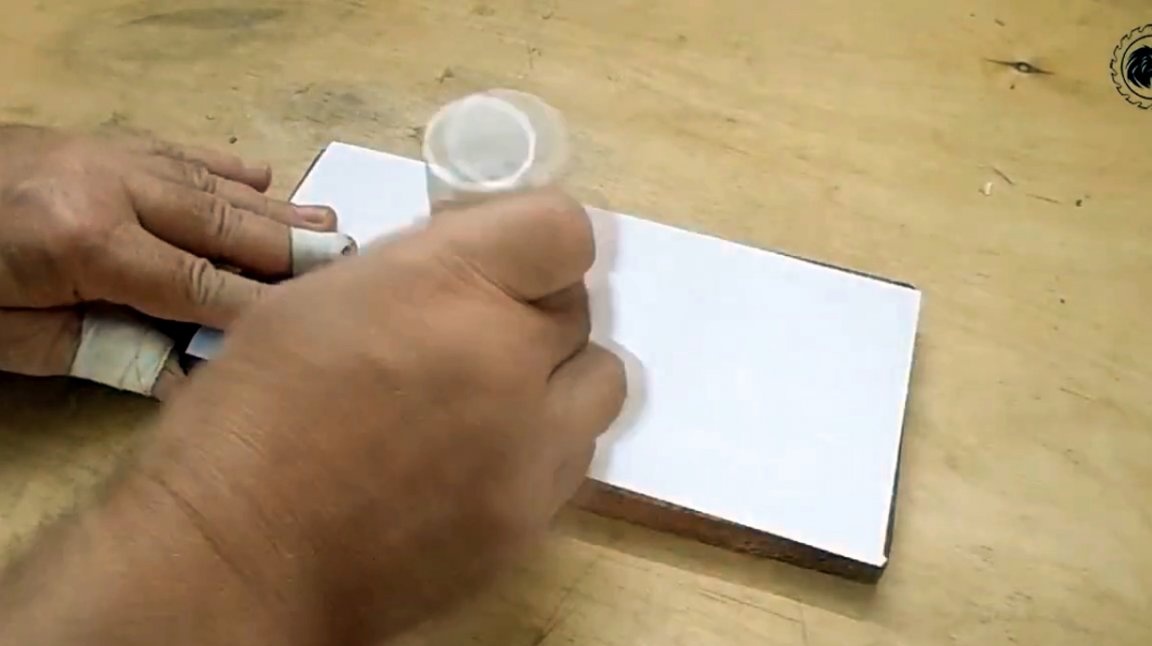
Now, a template is glued to the mahogany piece with a glue stick.
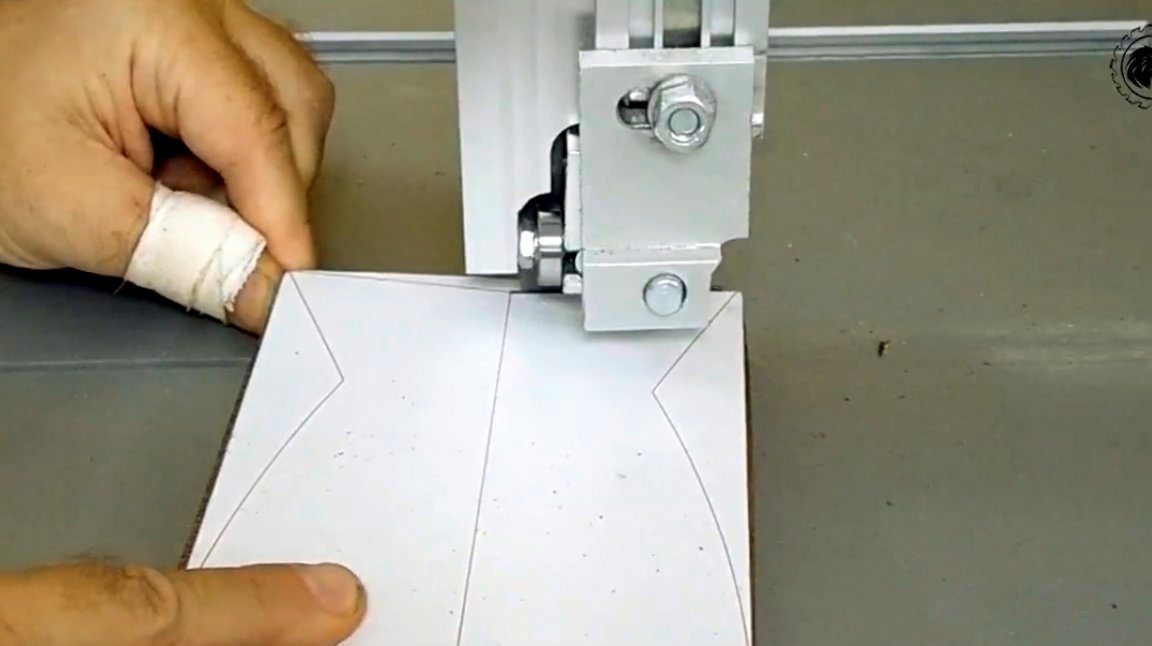
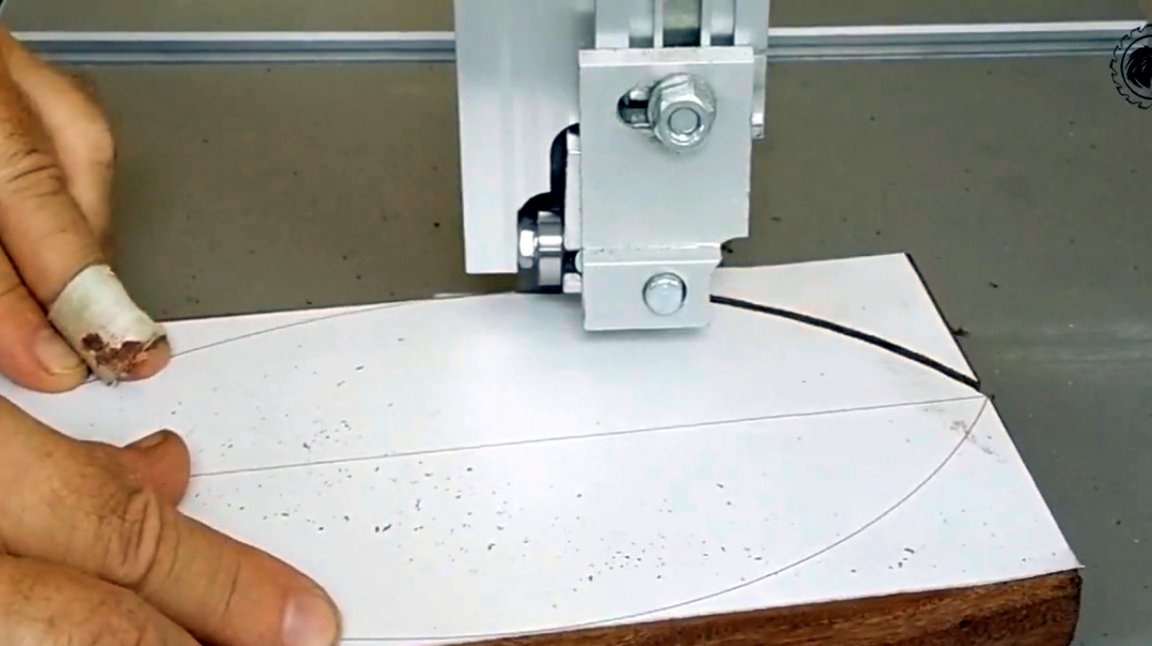
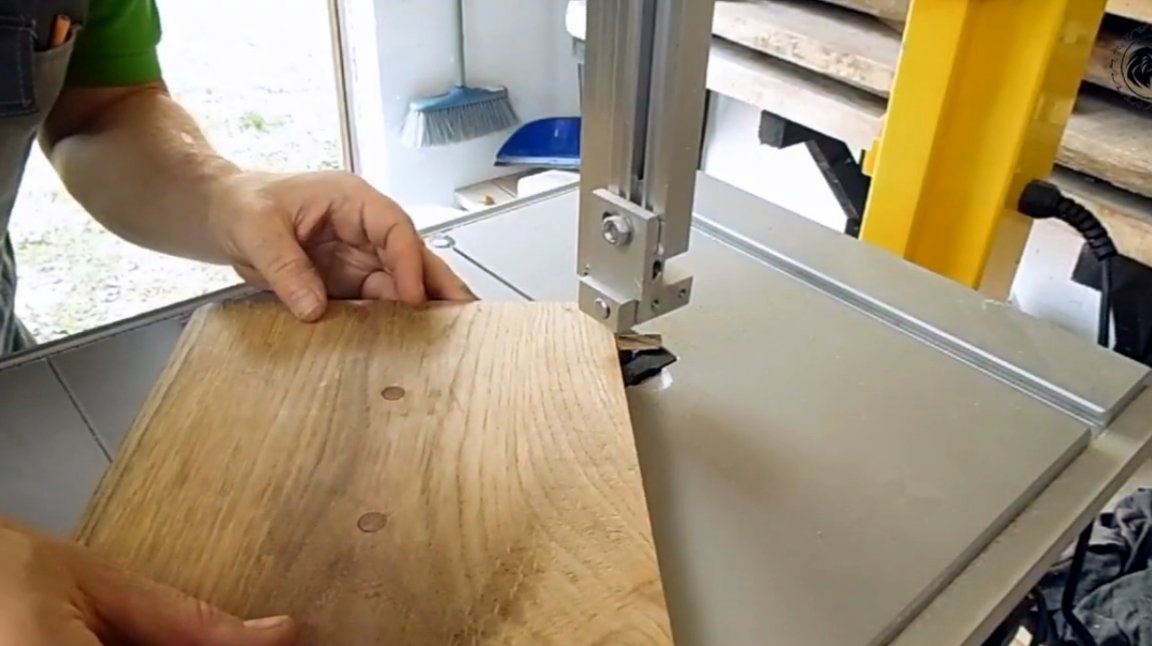
Next, the master proceeds to the processing of the workpiece on a band saw, and cuts the part according to the markup.
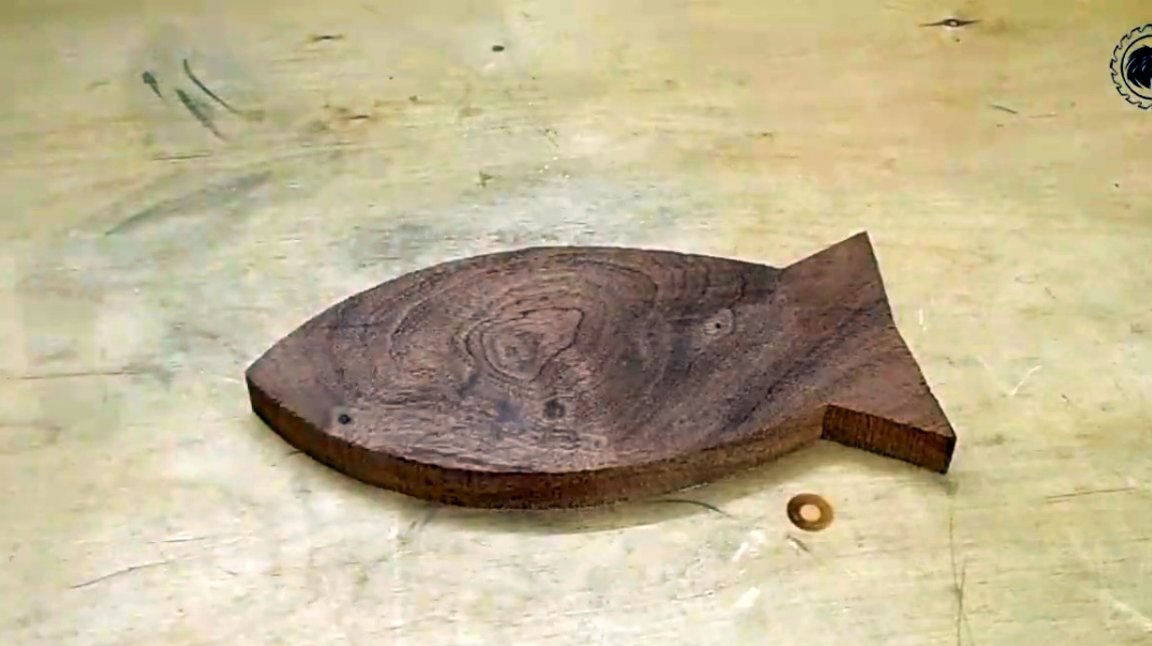
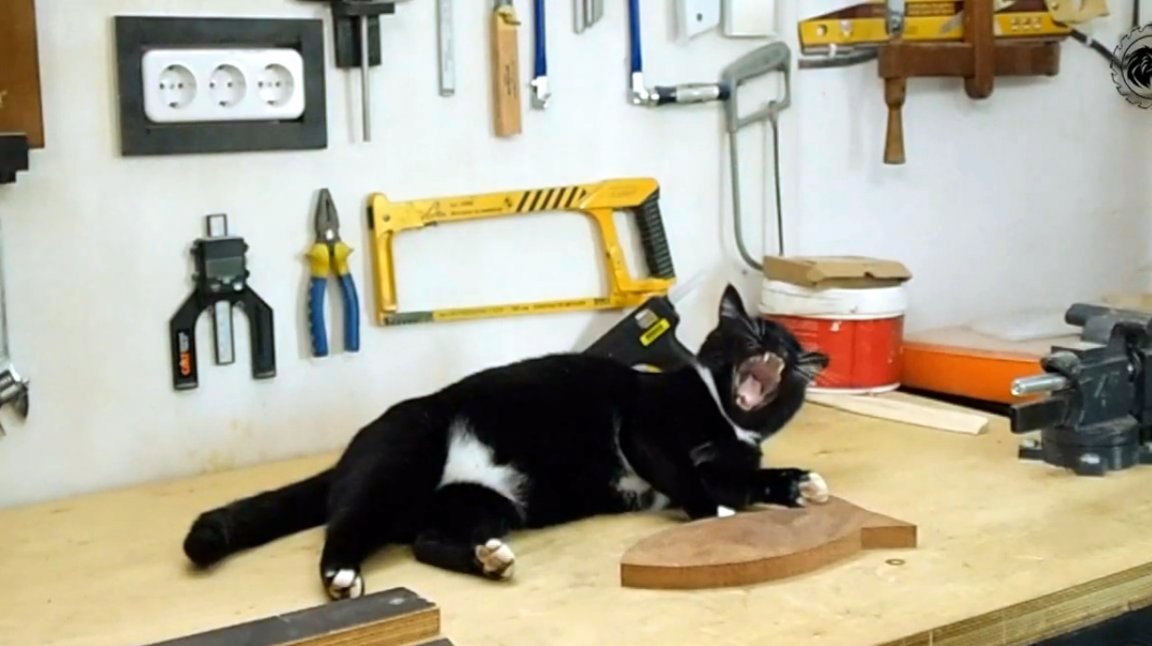
After making the fish, Oleg decided to visit the OTC (Excellent Technical Cat). Acceptance was successful, an order for a fresh fish is issued.
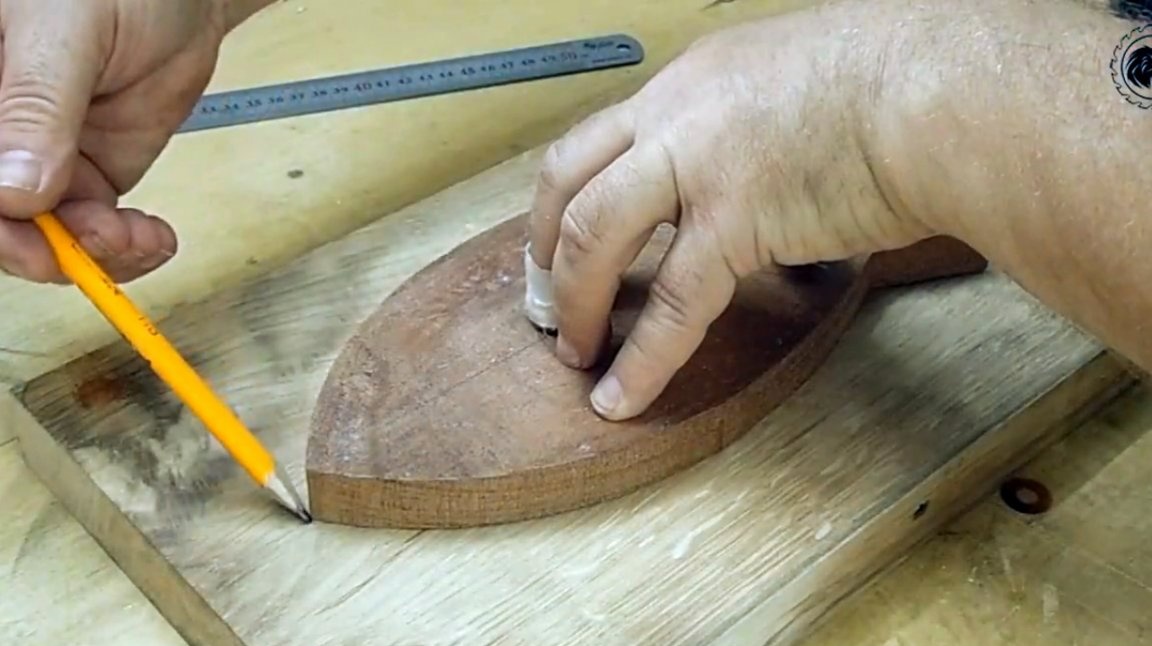
A central line is marked on both blanks.
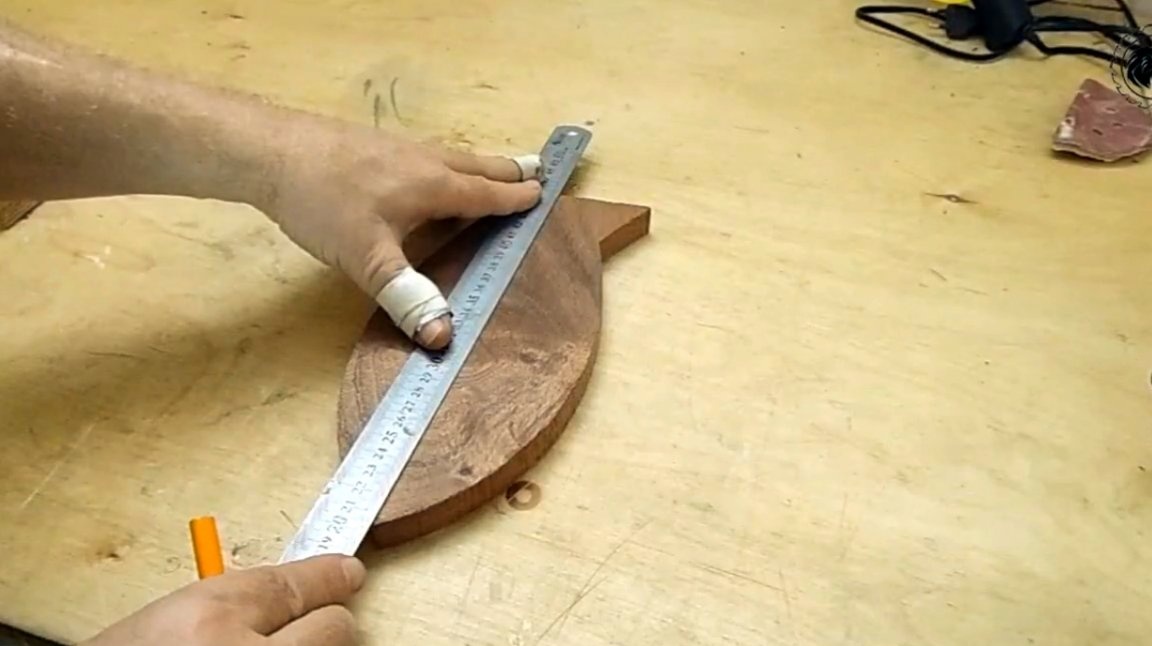
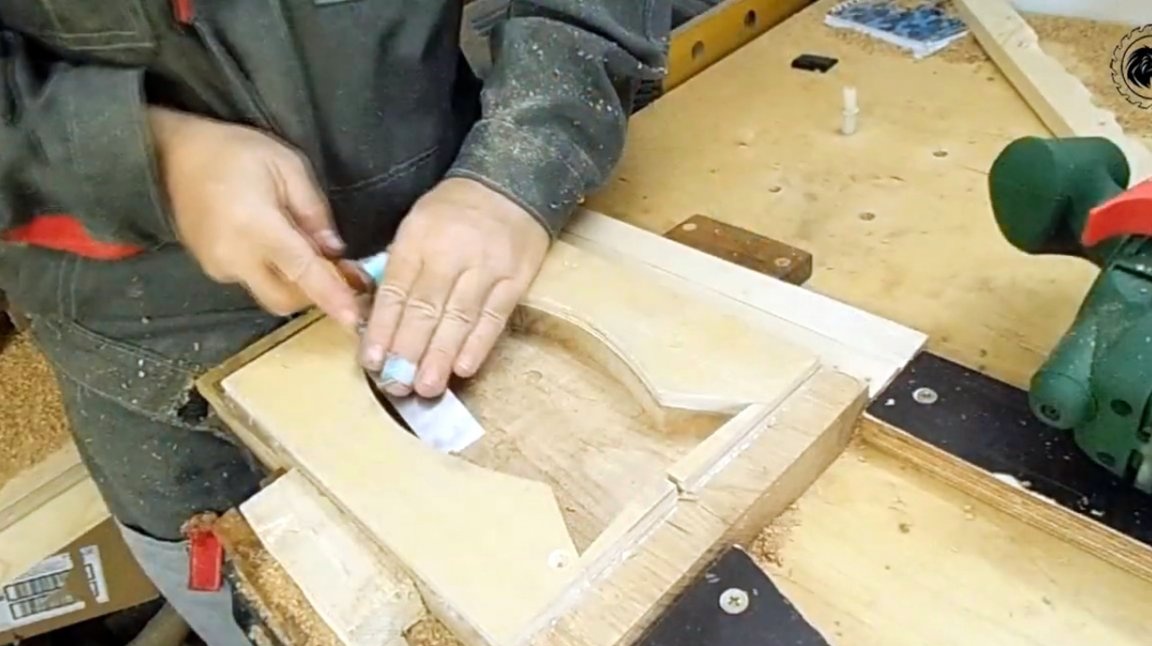
The inset contour is transferred to the oak board.
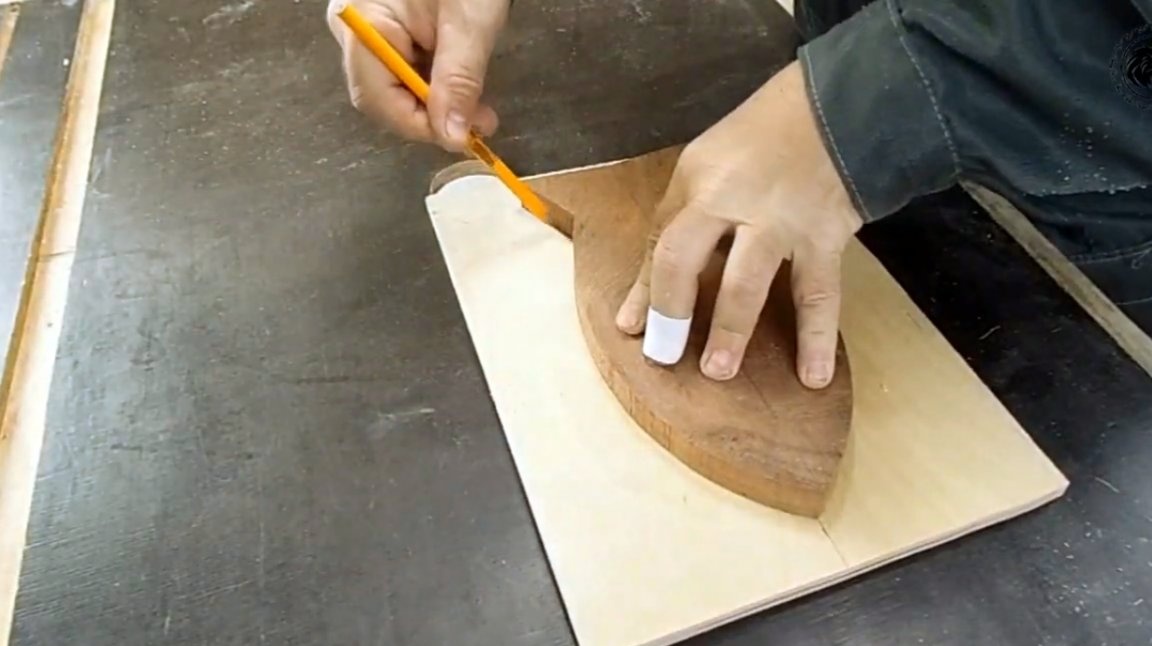
In addition, you will have to create a small plywood template. The contour of the workpiece is also copied to it.
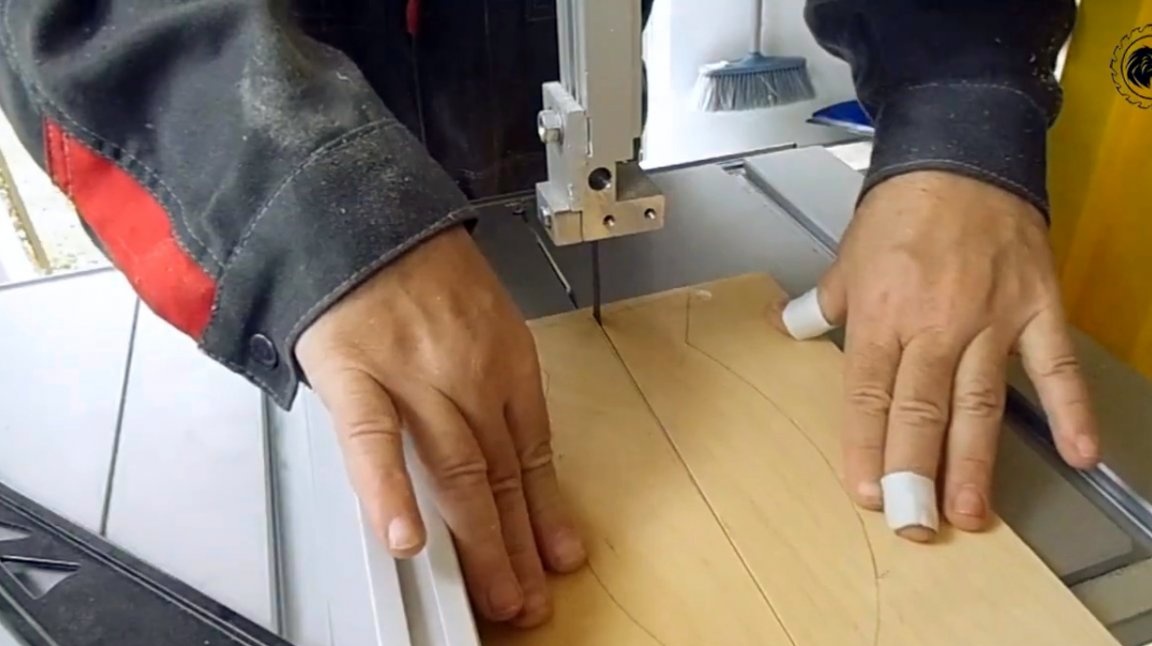
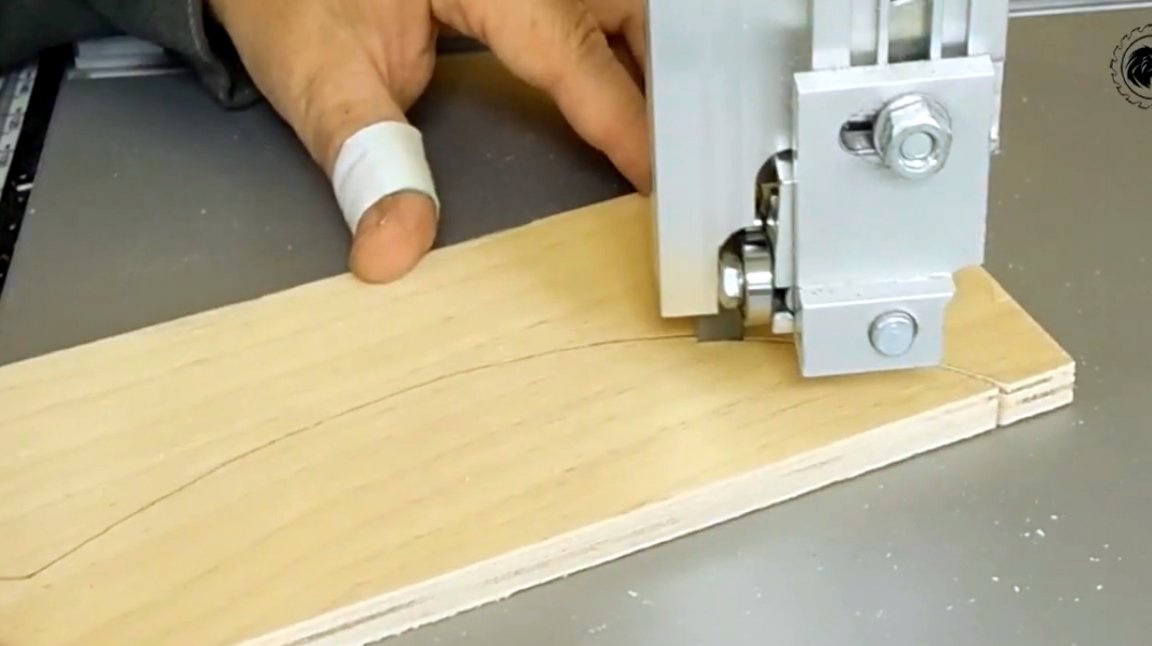
The template blank is cut along the center line and excess material is removed with a band saw. The cut is made with an allowance for the upcoming grinding.
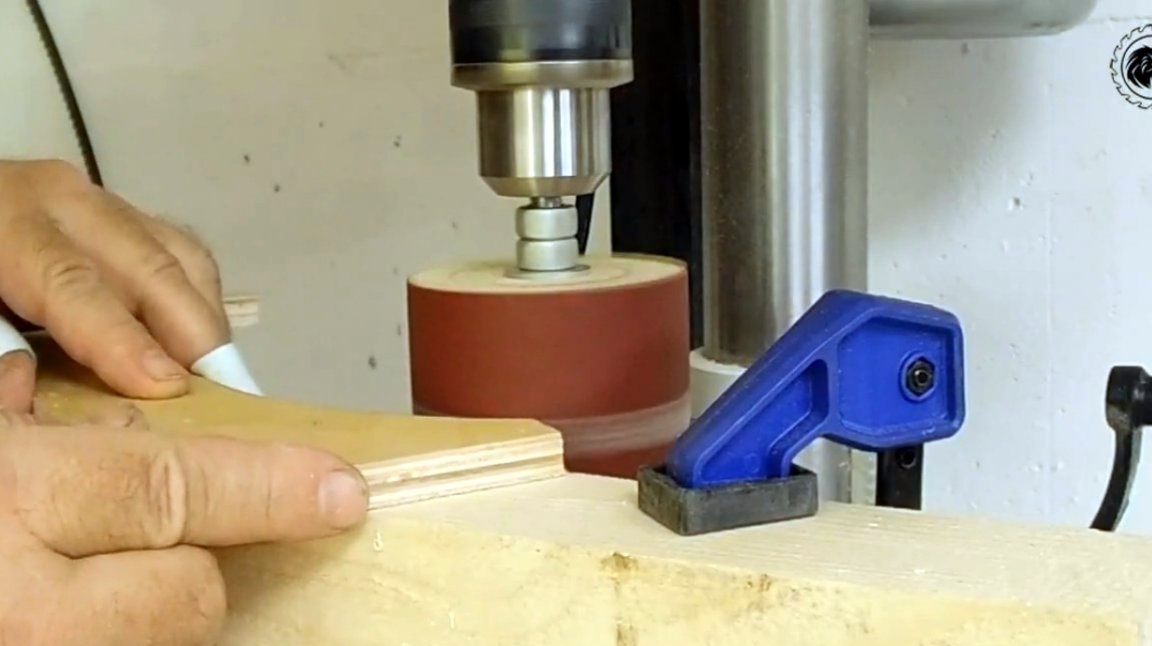
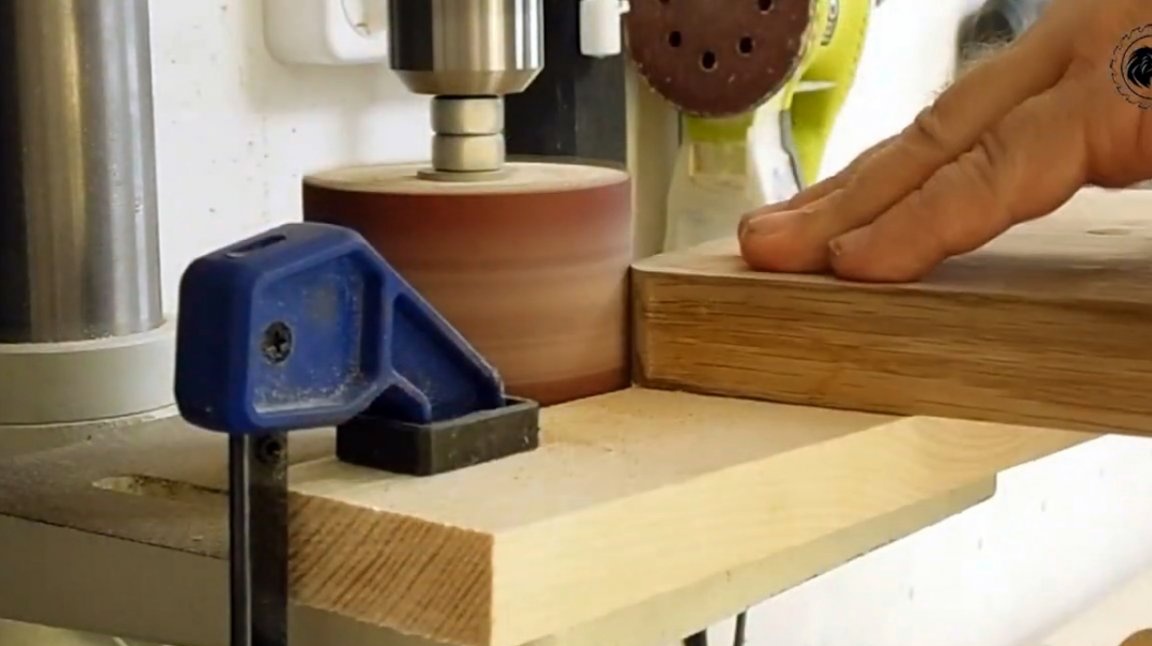
Having installed a drum grinding nozzle in the drill chuck, Oleg aligns all the edges according to the marking.
Now the master starts milling the oak board. He fixes the template on the workpiece, and makes the appropriate selection.
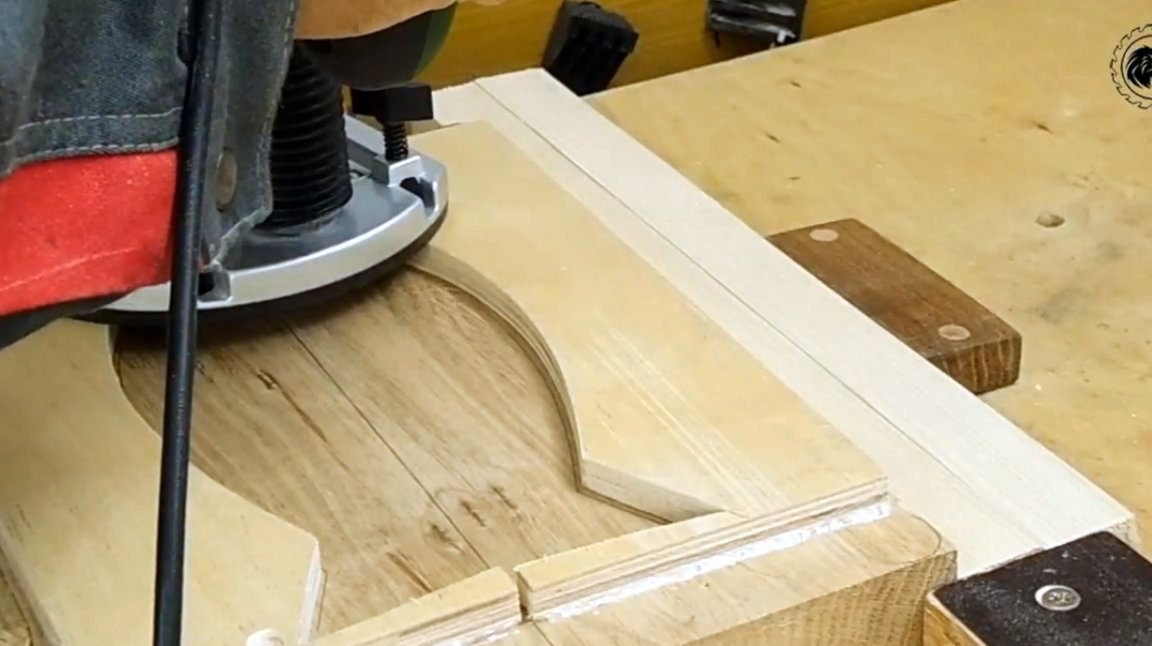
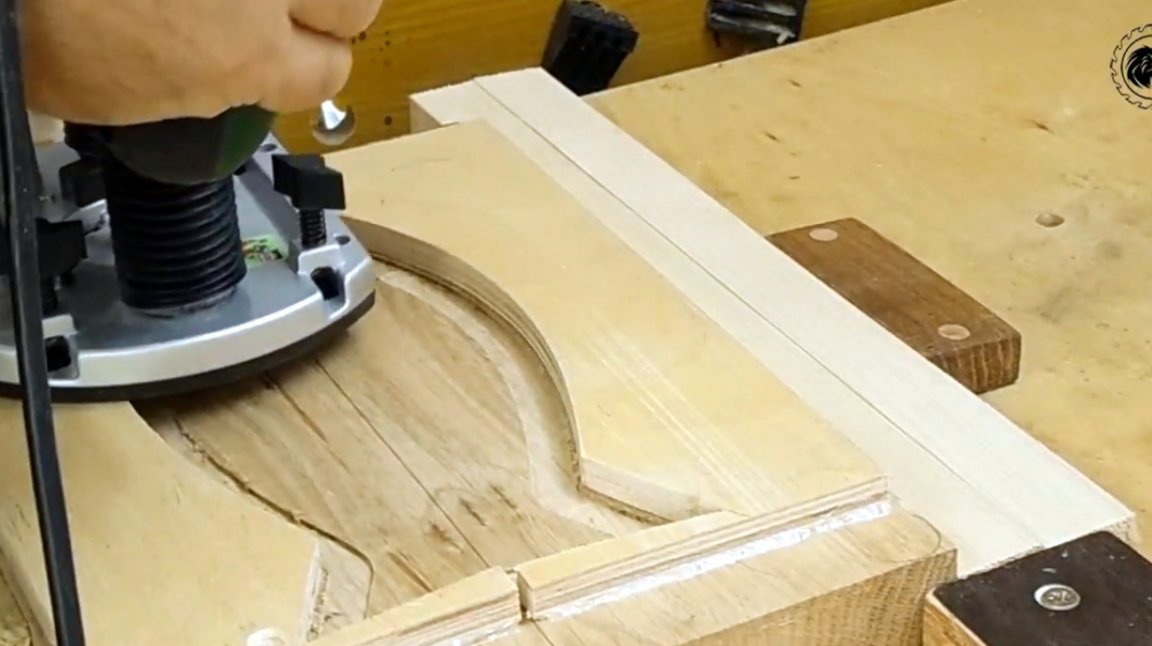
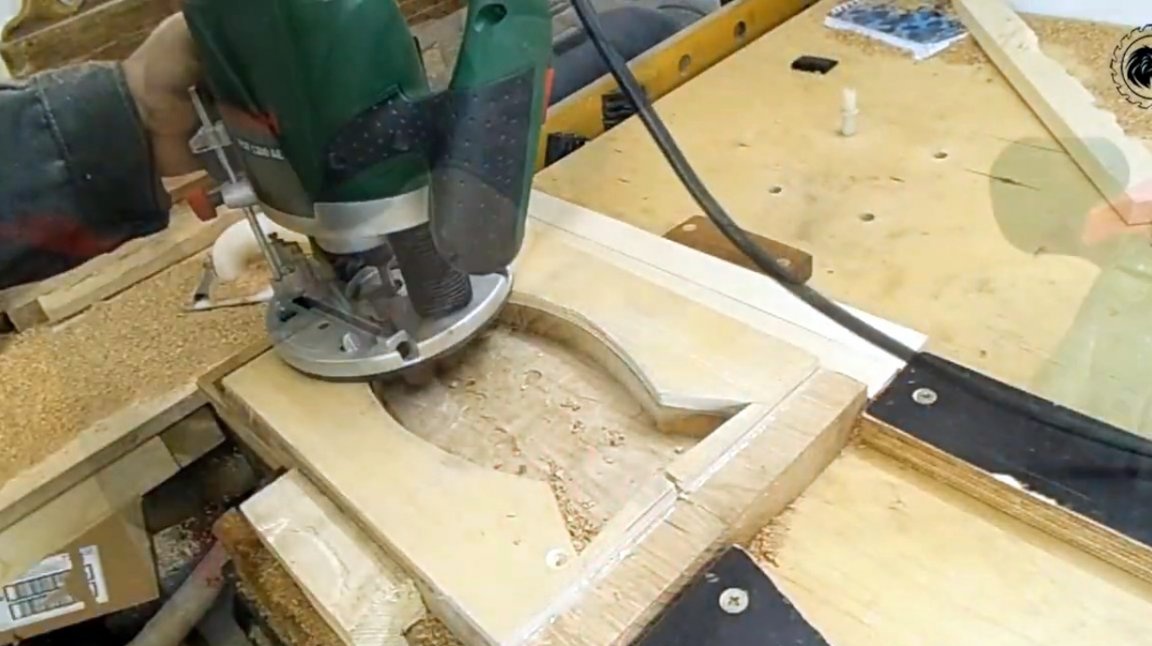
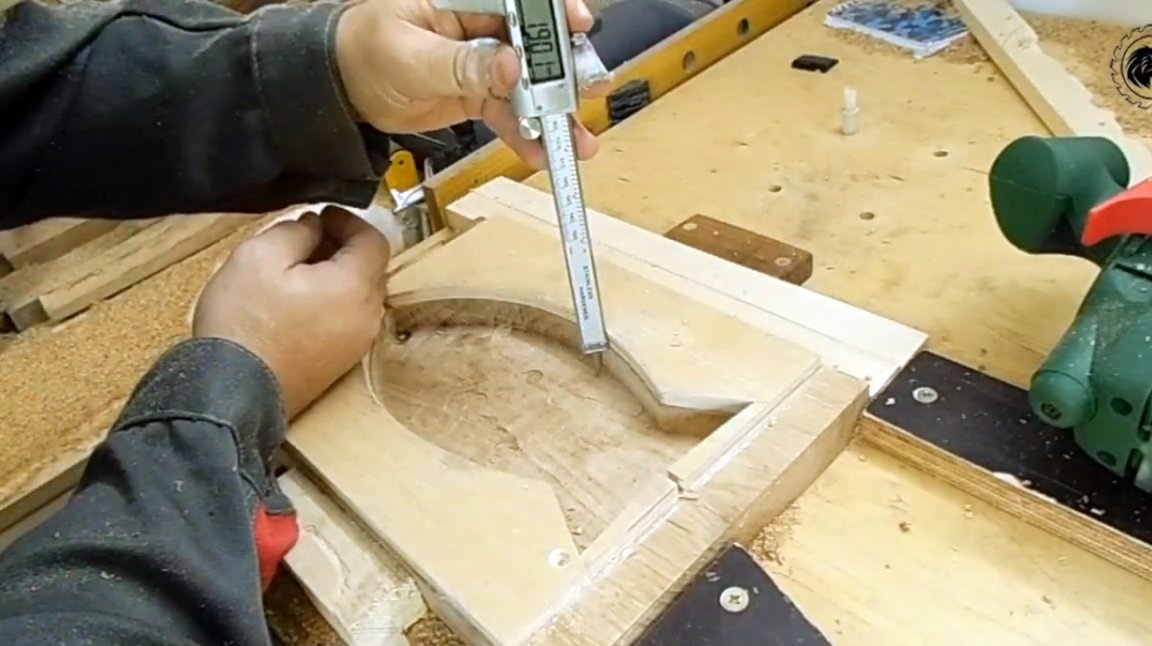
Yes, the selection is not end-to-end, and it should match the depth as accurately as possible with the thickness of the inset. Leveling the bottom is done manually.
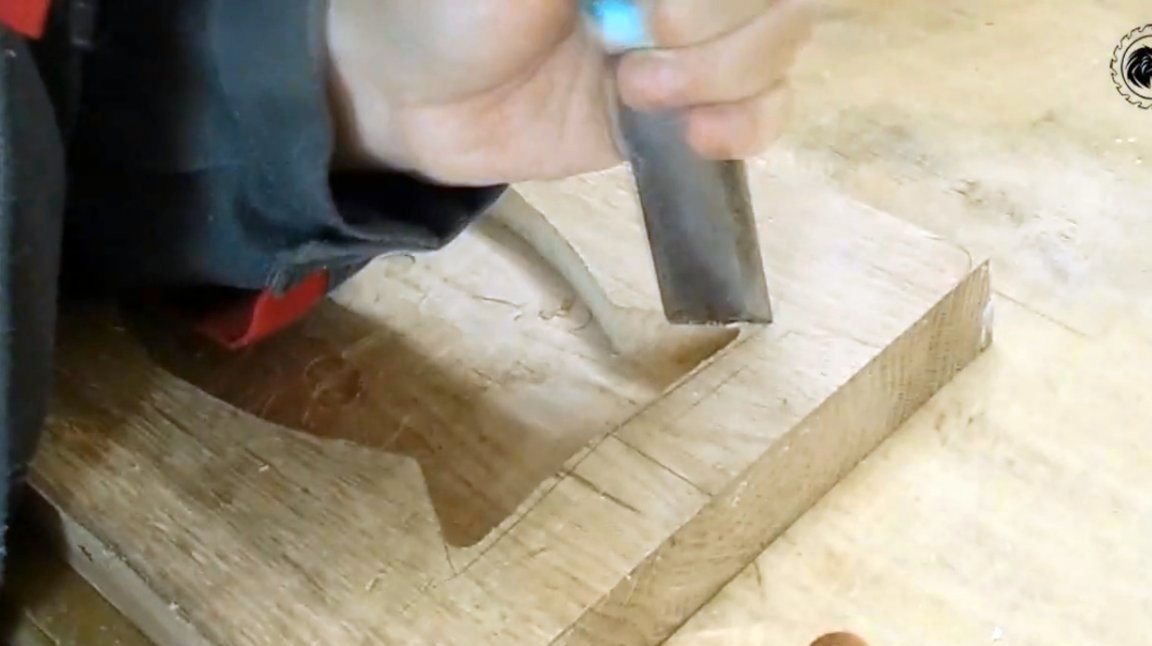
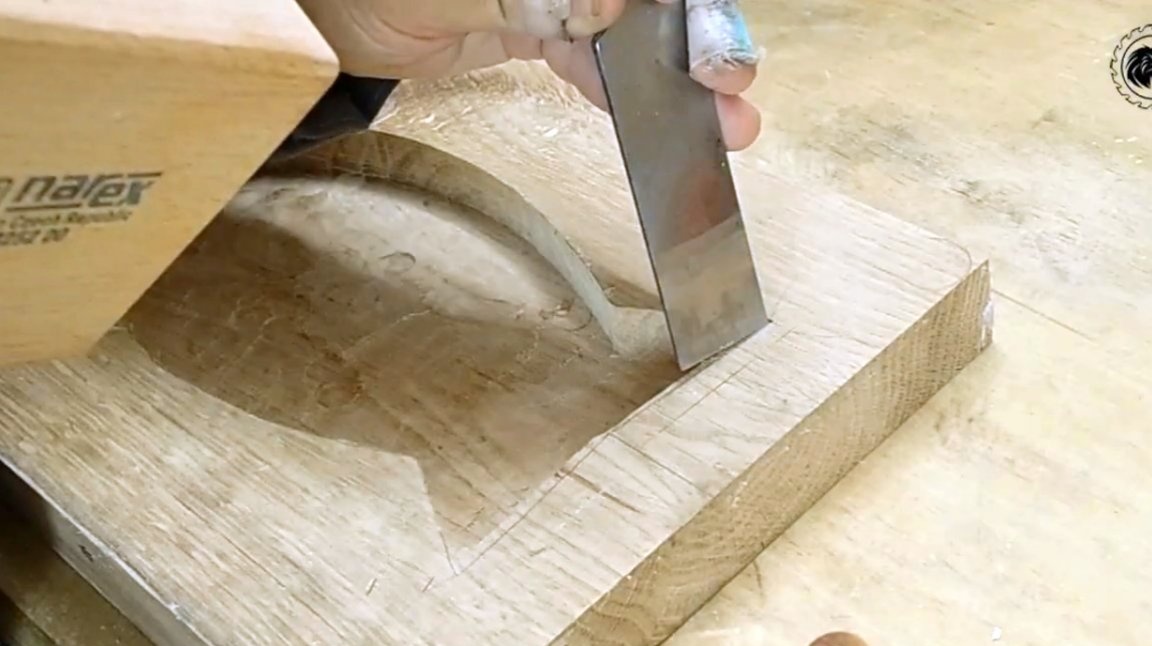
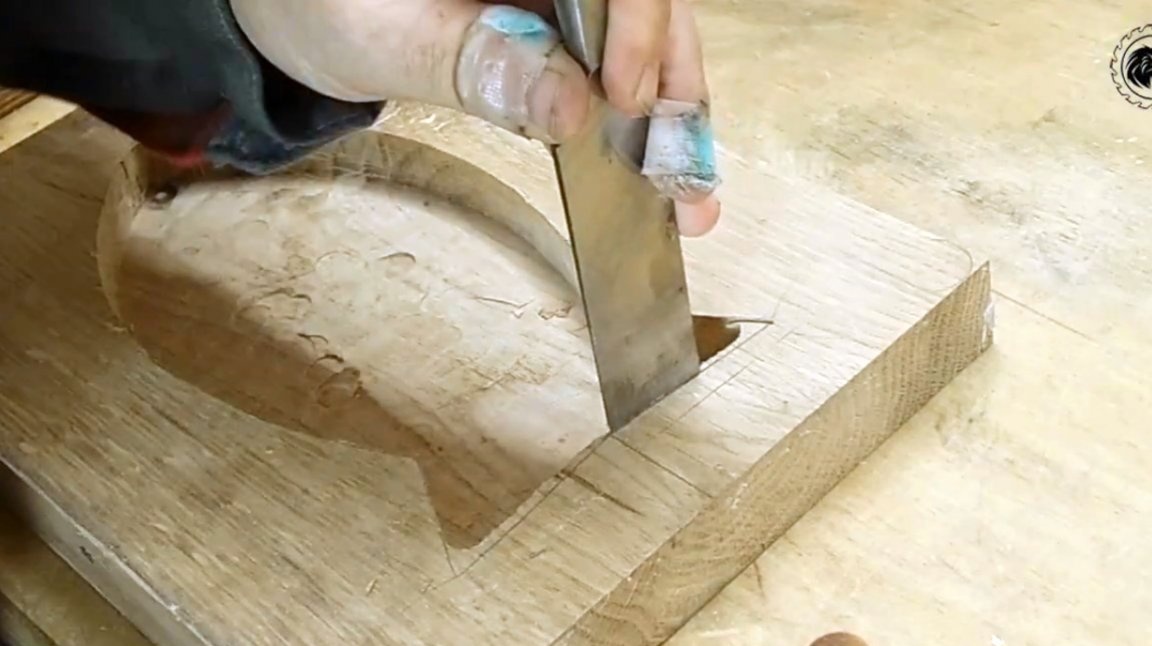
In addition, the router is unable to handle sharp corners; they will also have to be finished with a chisel.
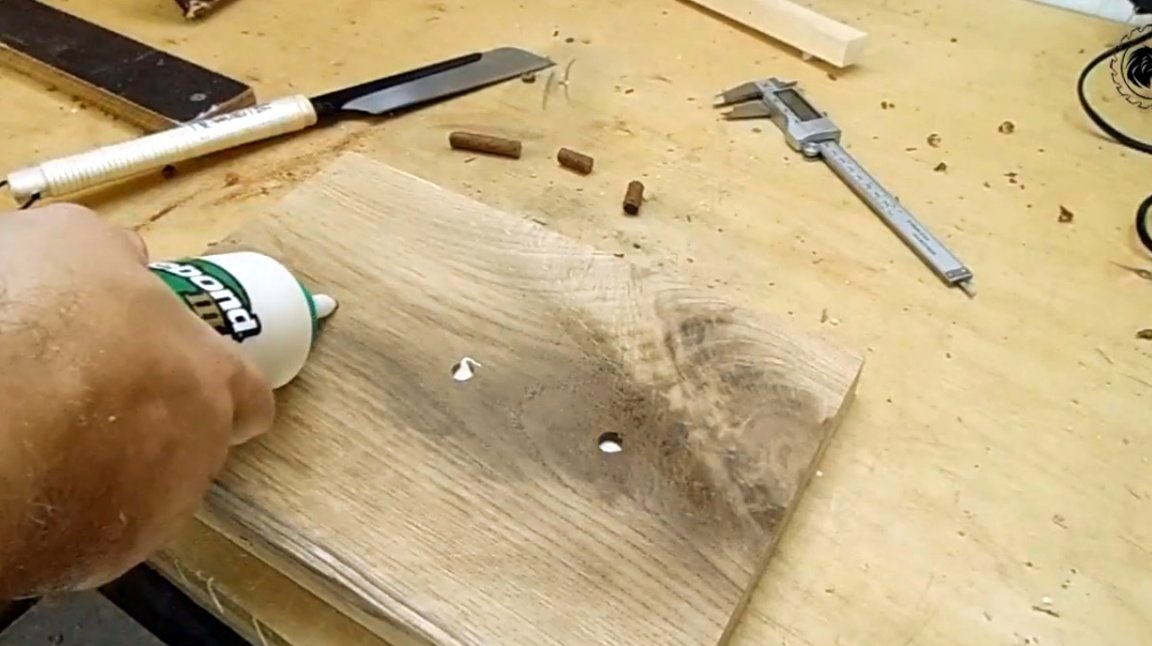
Oleg recommends and applies Titebond III Ultimate glue for gluing parts together. It is moisture resistant, has excellent strength characteristics, and can be used in products that come in contact with food.
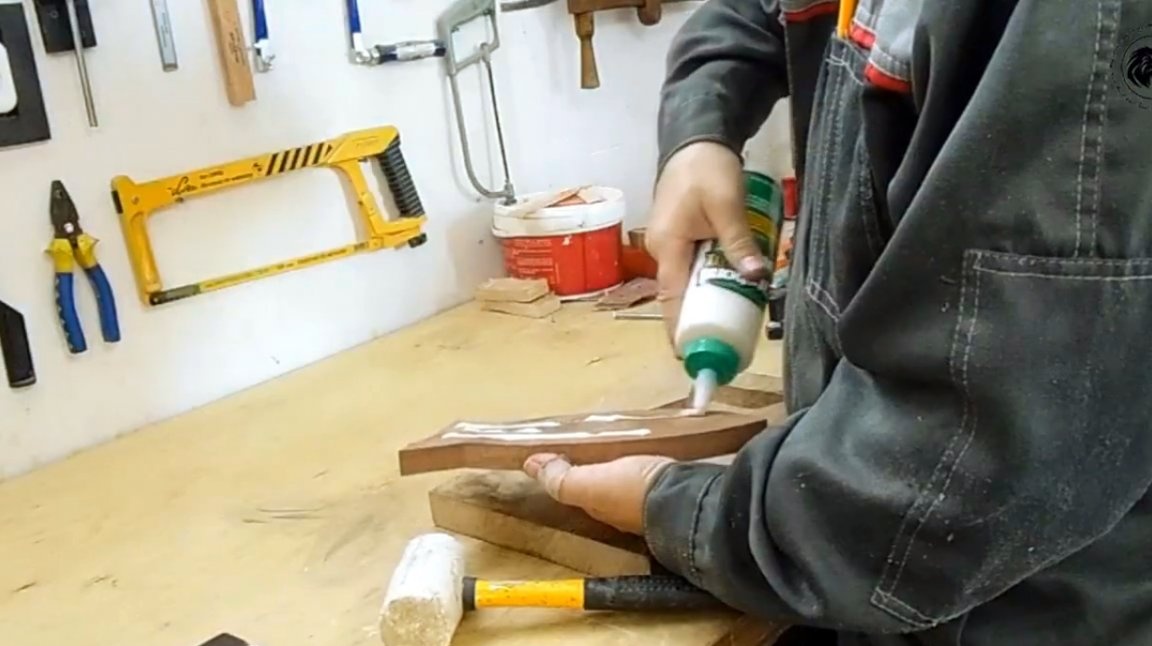
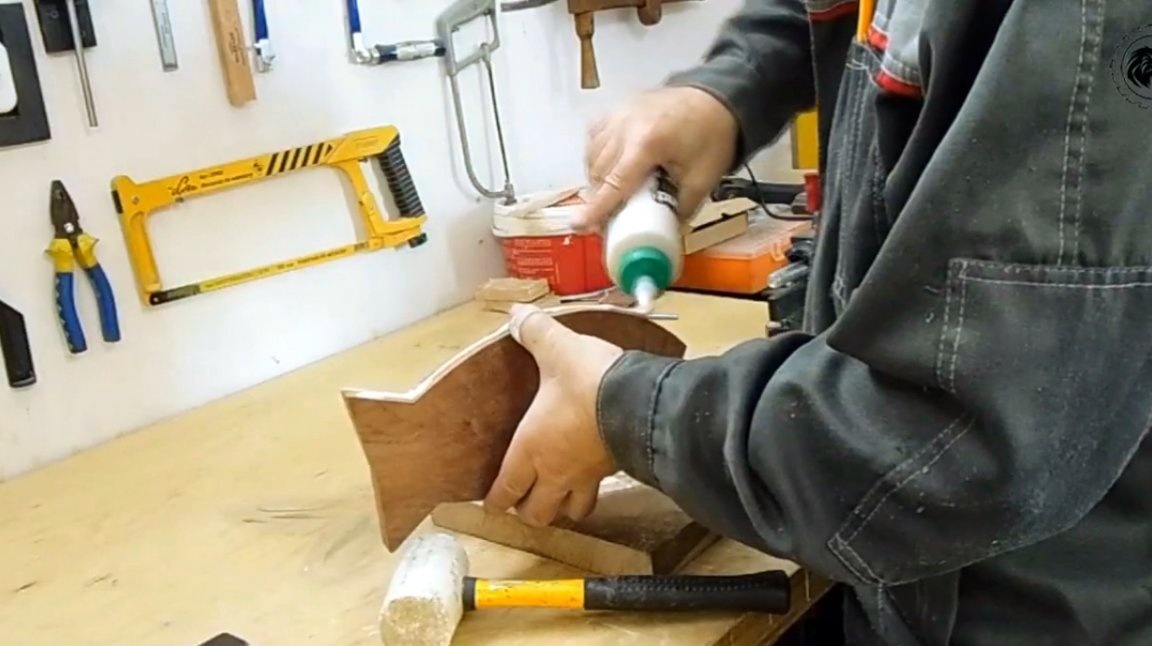
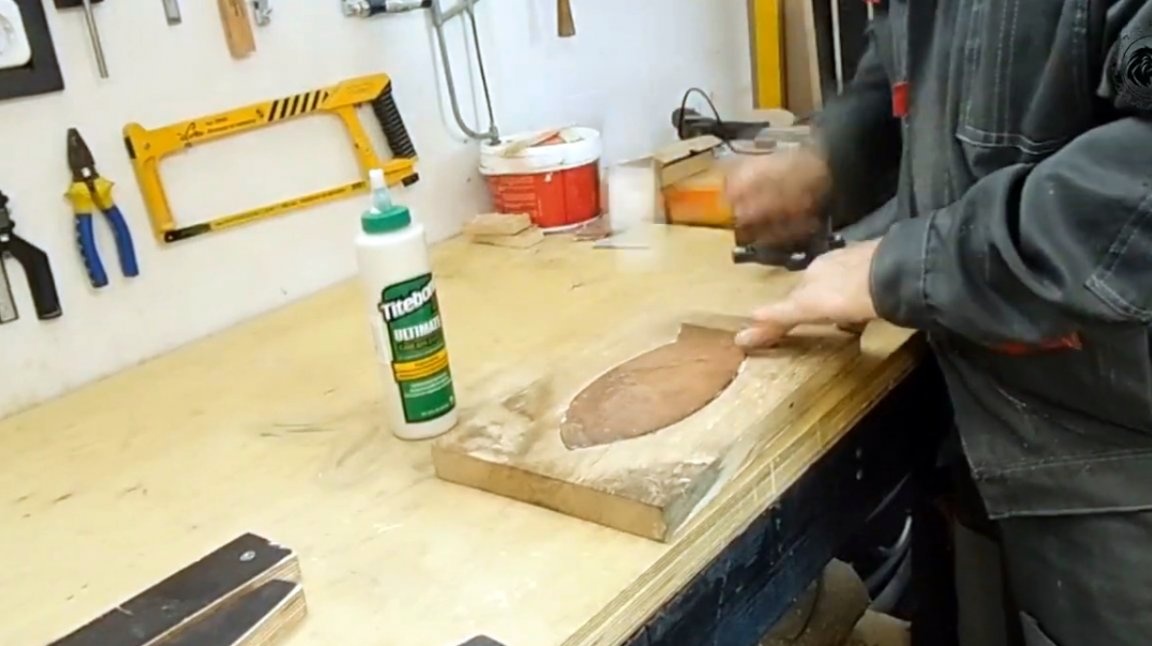
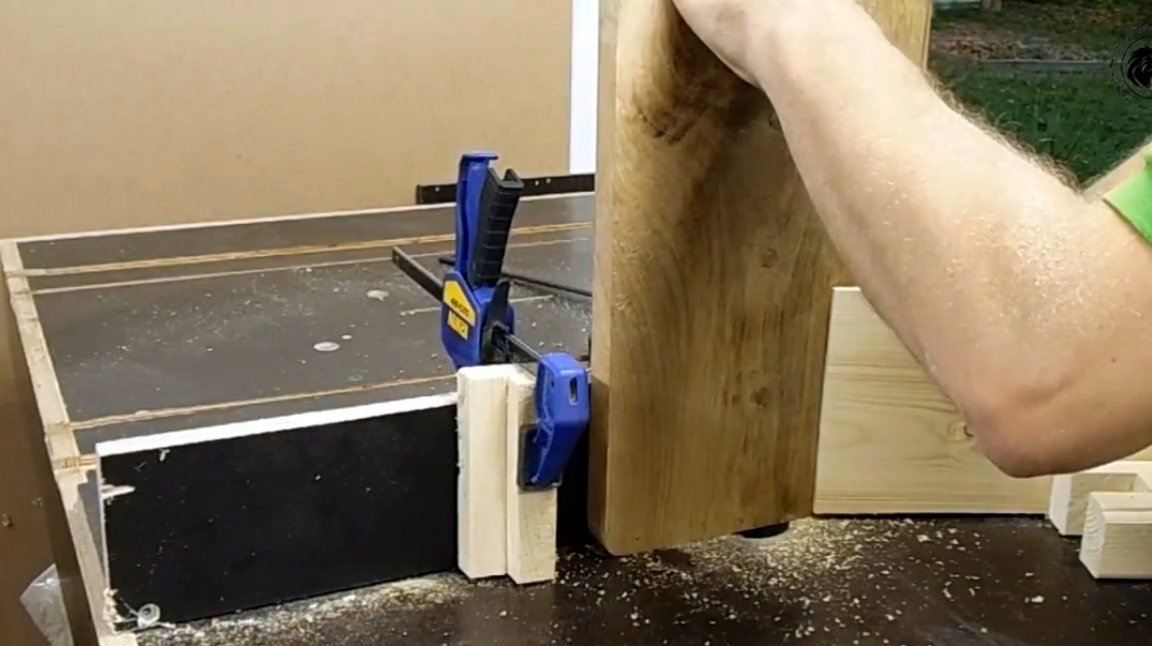
The bottom surface and ends of the fish are lubricated with glue, and the part is carefully hammered in with a mallet in its place.
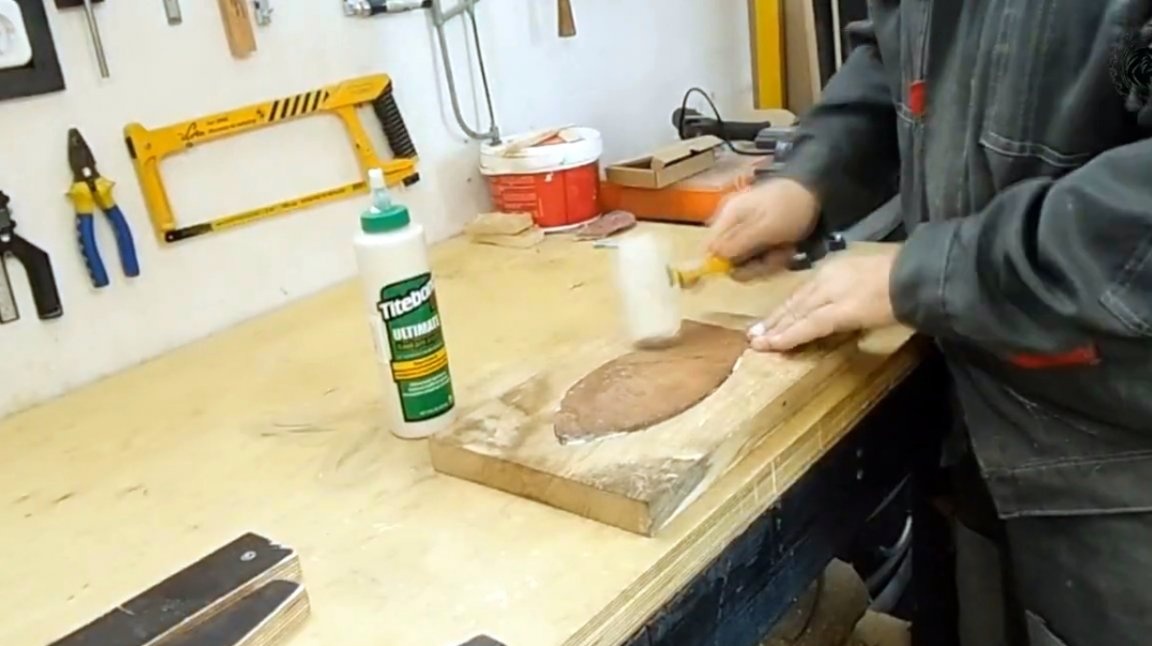
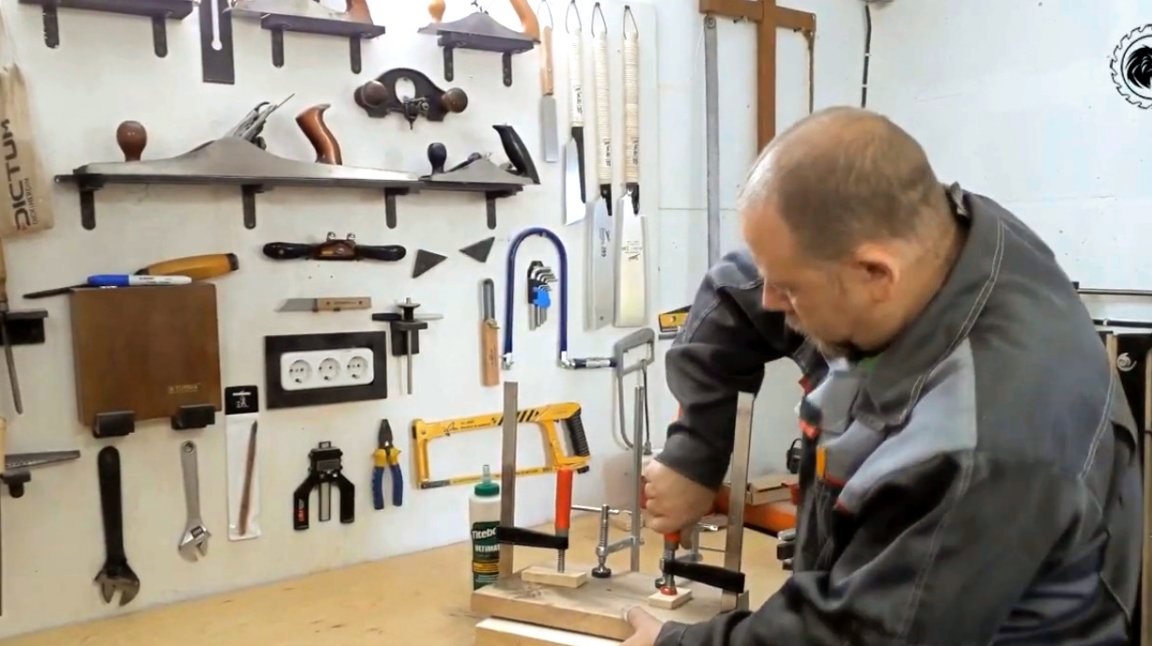
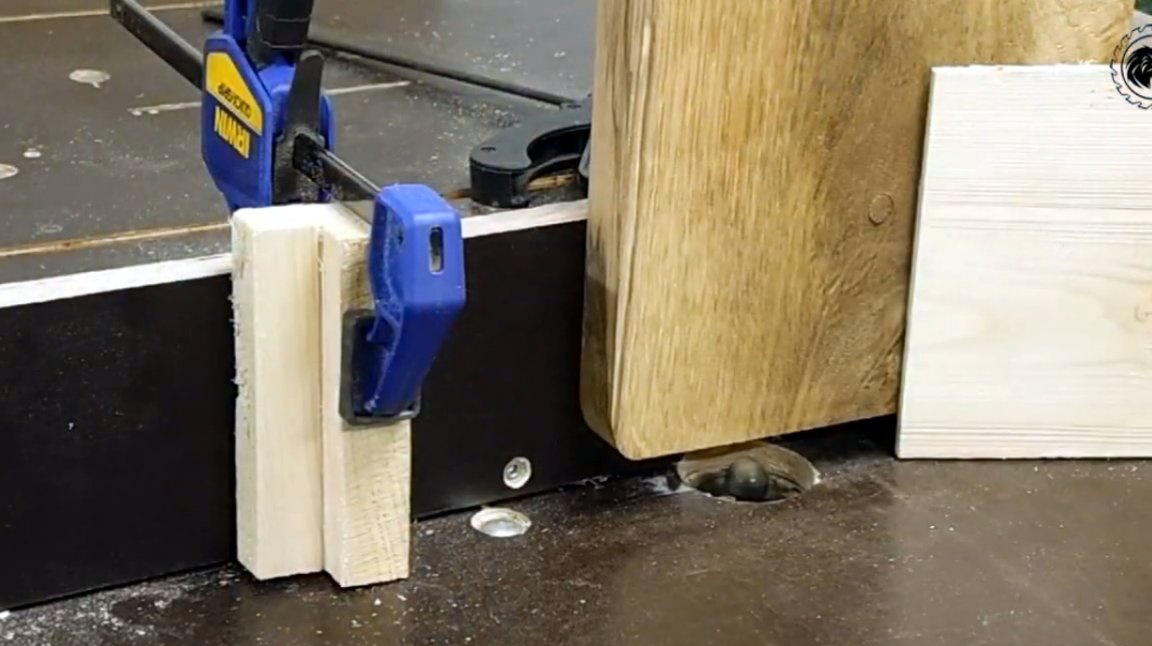
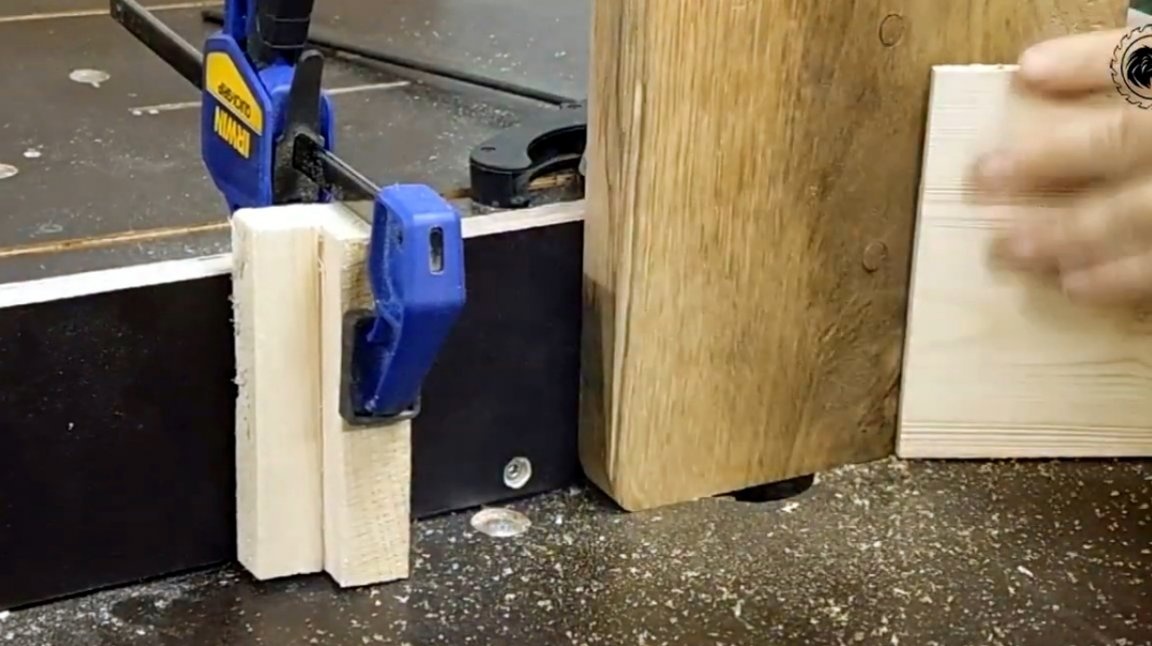
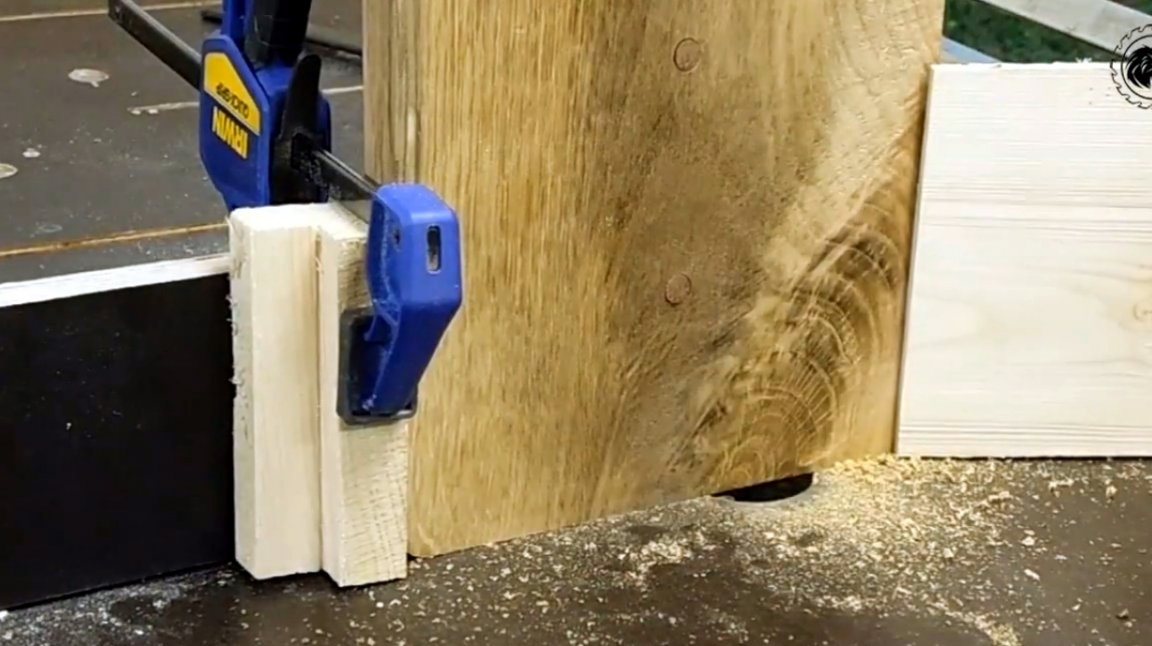
For perfect gluing, the inset is additionally pressed with clamps to the main part of the board. It is important to place under the sponges of clamps trimming boards, or plywood. Otherwise, deep dents will remain on the surface of the board.
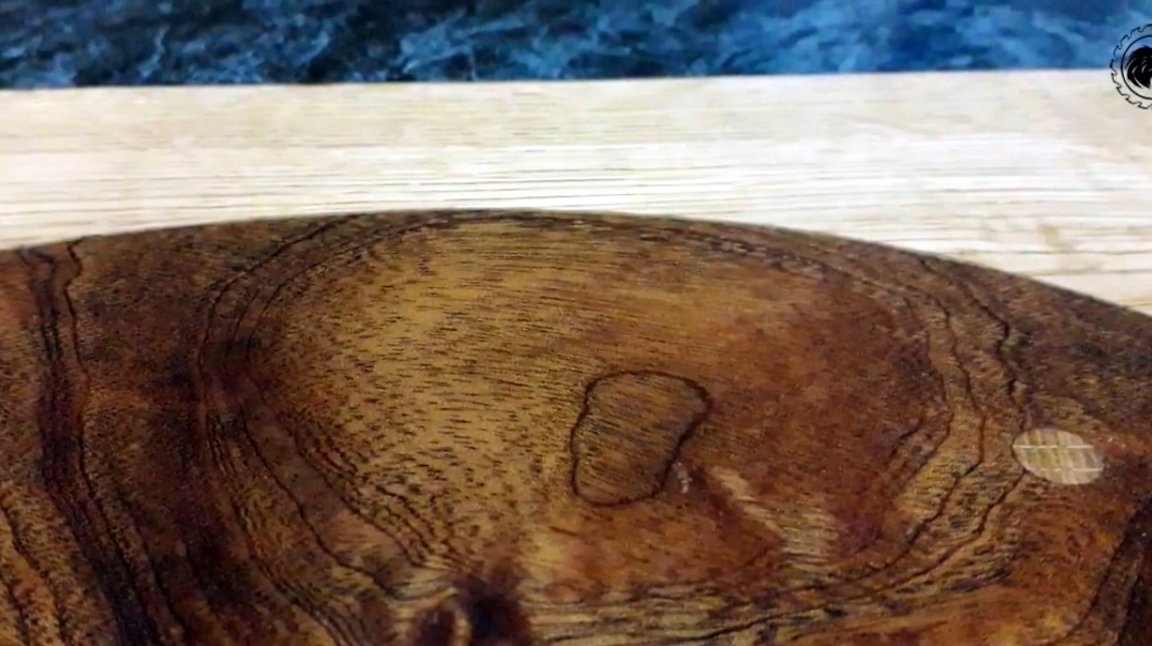
A day, after the glue hardens, the master repeats the processing of the board on the thicknesser.
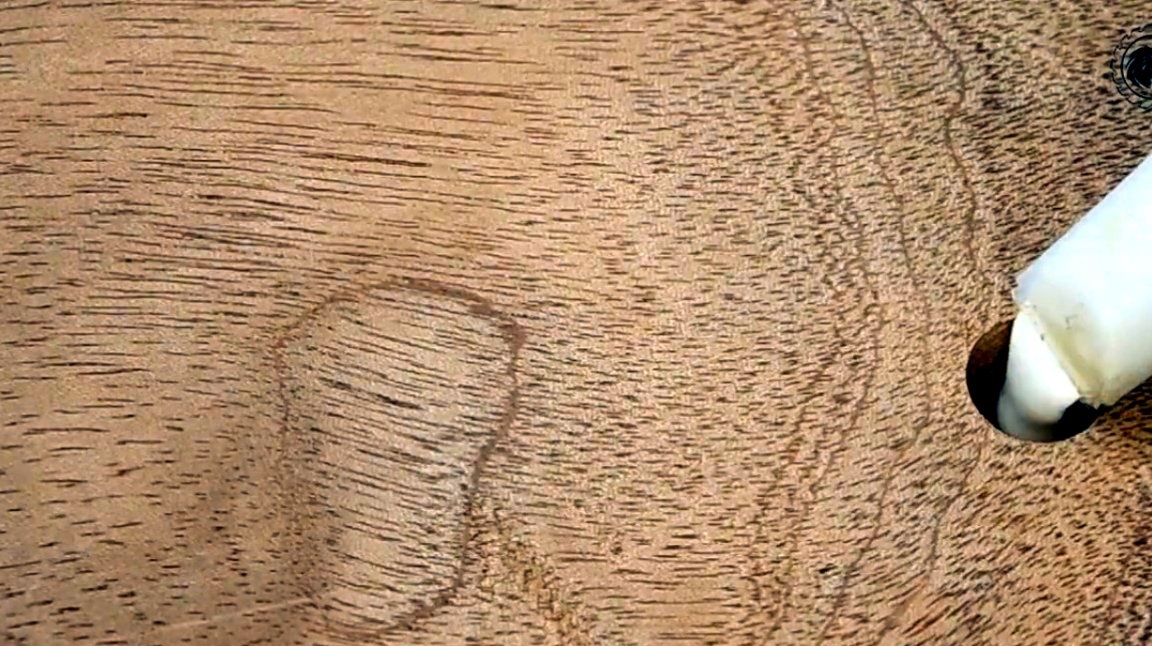
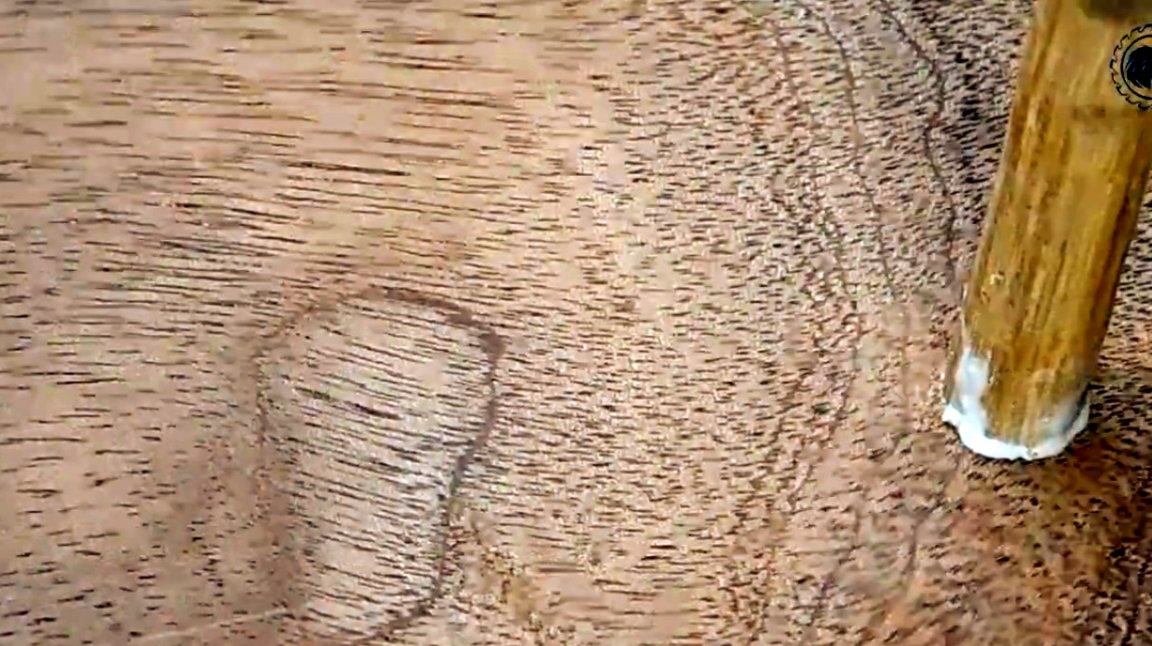
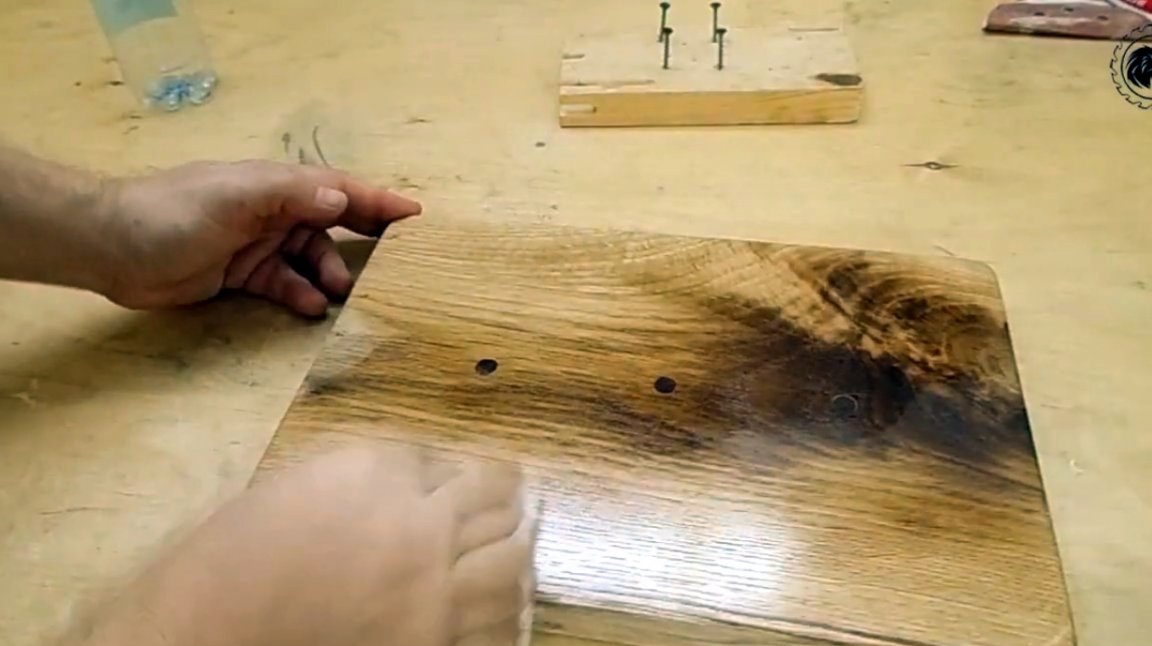
Oleg forgot to mention an extremely important detail. On the reverse side, three technological holes were drilled through which air came out, as well as excess glue.
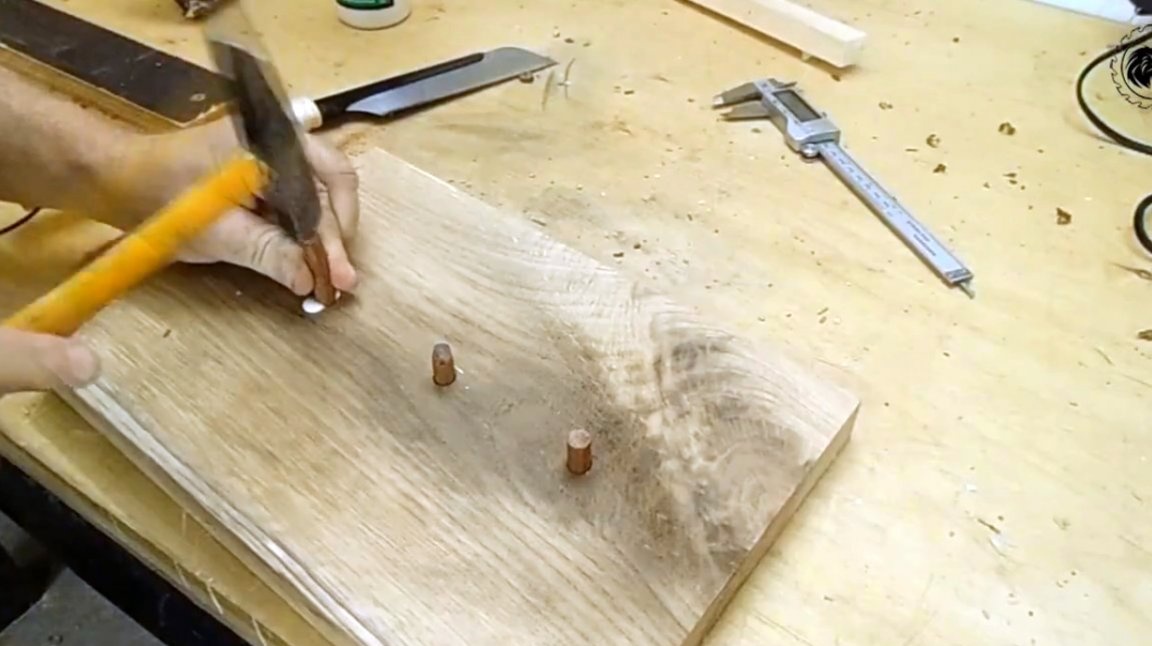
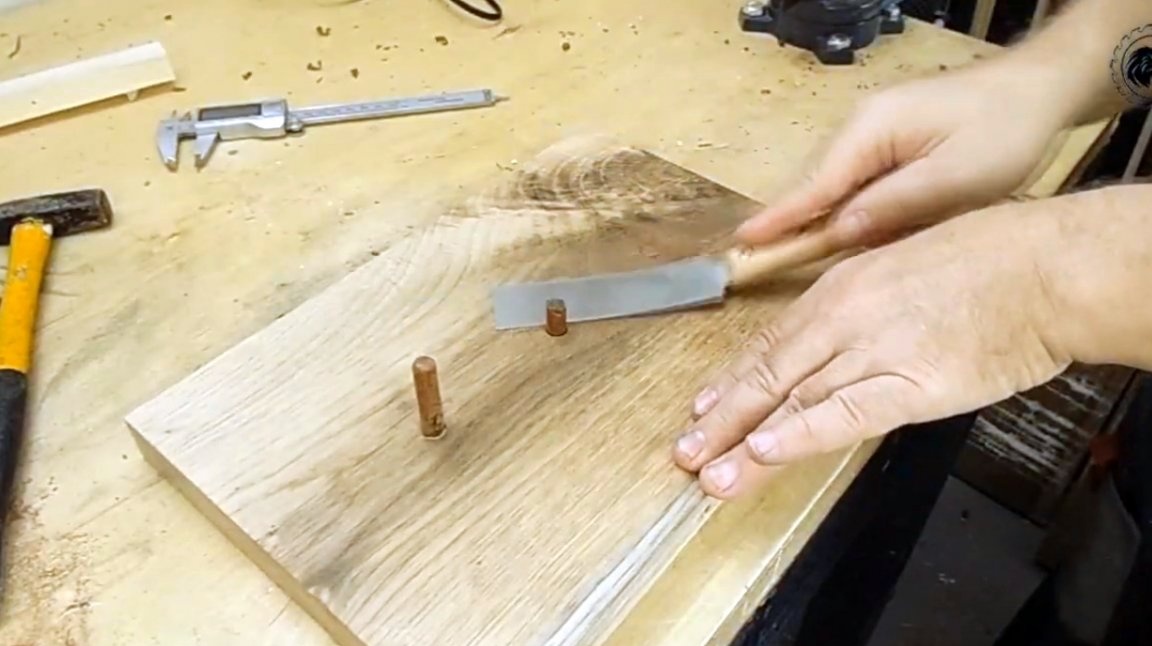
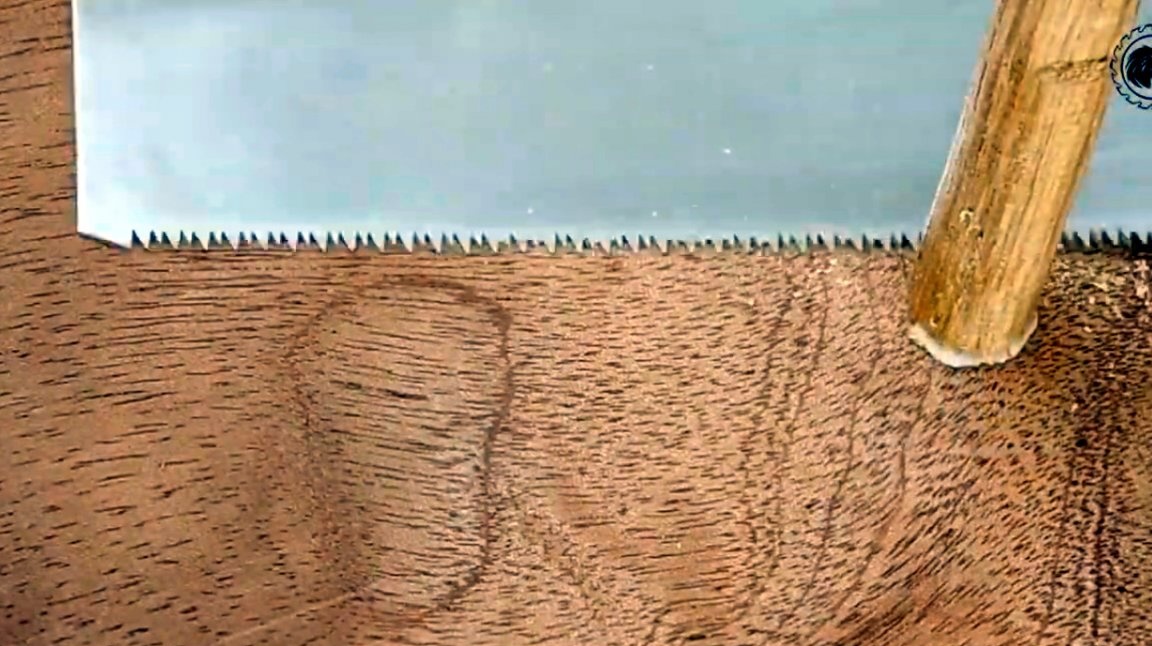
Now these openings need to be closed with plugs from dowels. The excess is cut off by a Japanese saw.
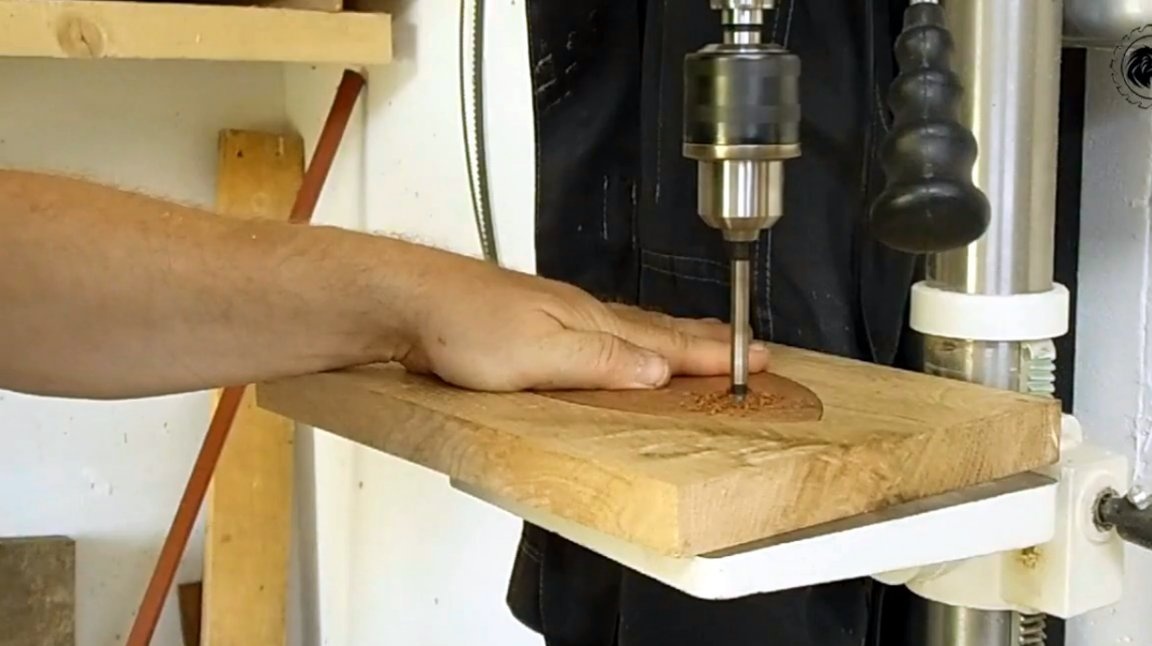
In addition, the master drills a blind hole in the head of the fish, and glues an oak dowel into it. Thus, an imitation of a fish eye is obtained.
One of the finishing stages is the need to round the corners of the cutting board. First there is a rough cut on a band saw, and then grinding with a drum nozzle.
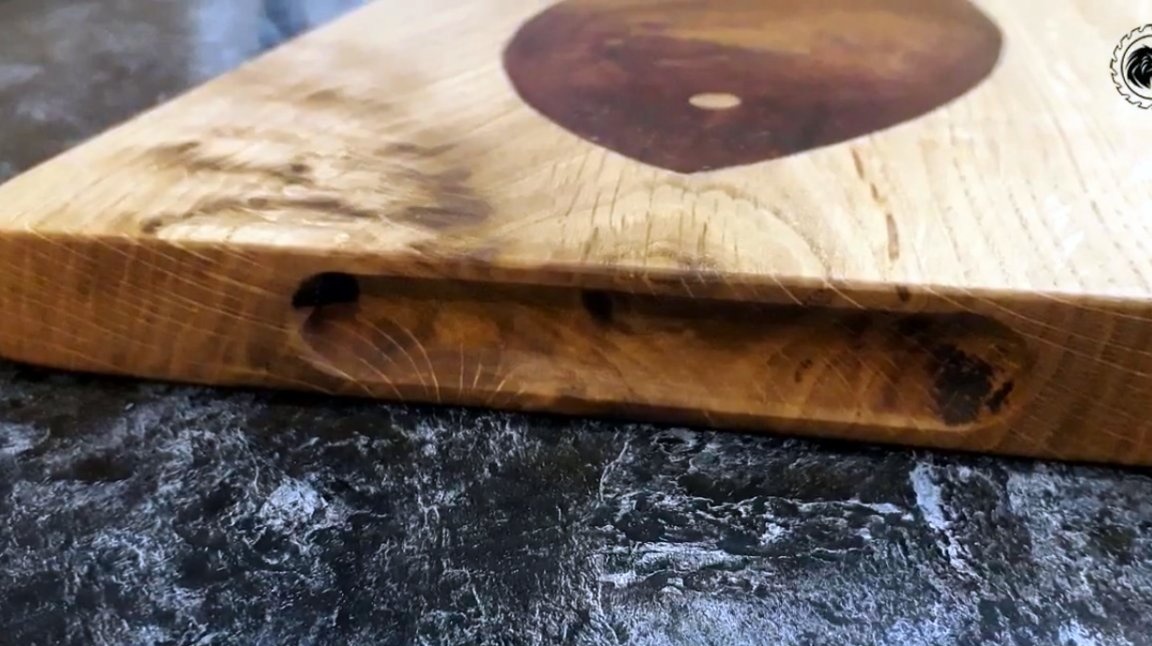
The handles at this board will be recessed at the edges of the board. The author installed a rounded lamellar mill, and performed milling.
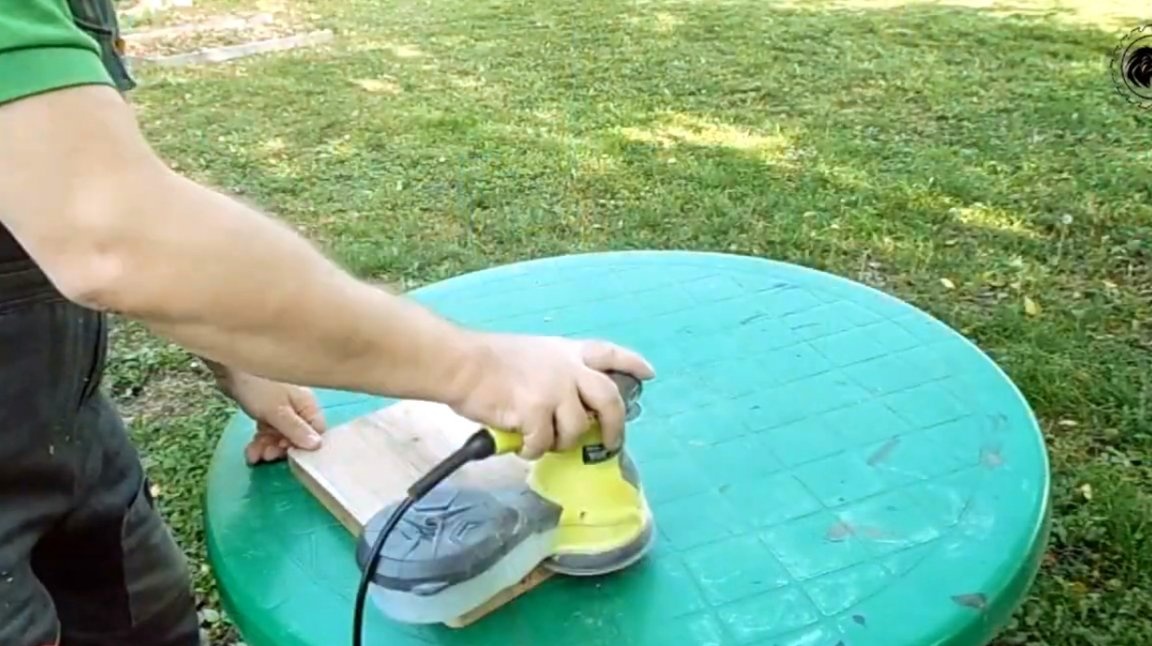
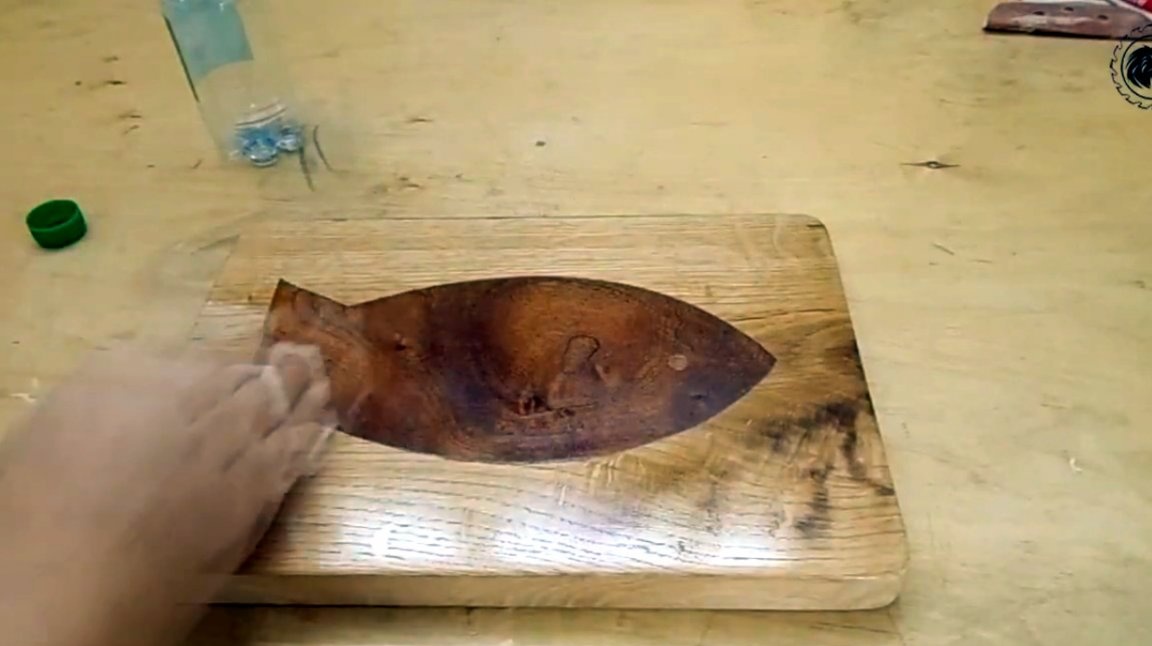
All surfaces and edges of the board are polished with a manual orbital machine. The master begins with a 120 grit, and ends with the 400th.
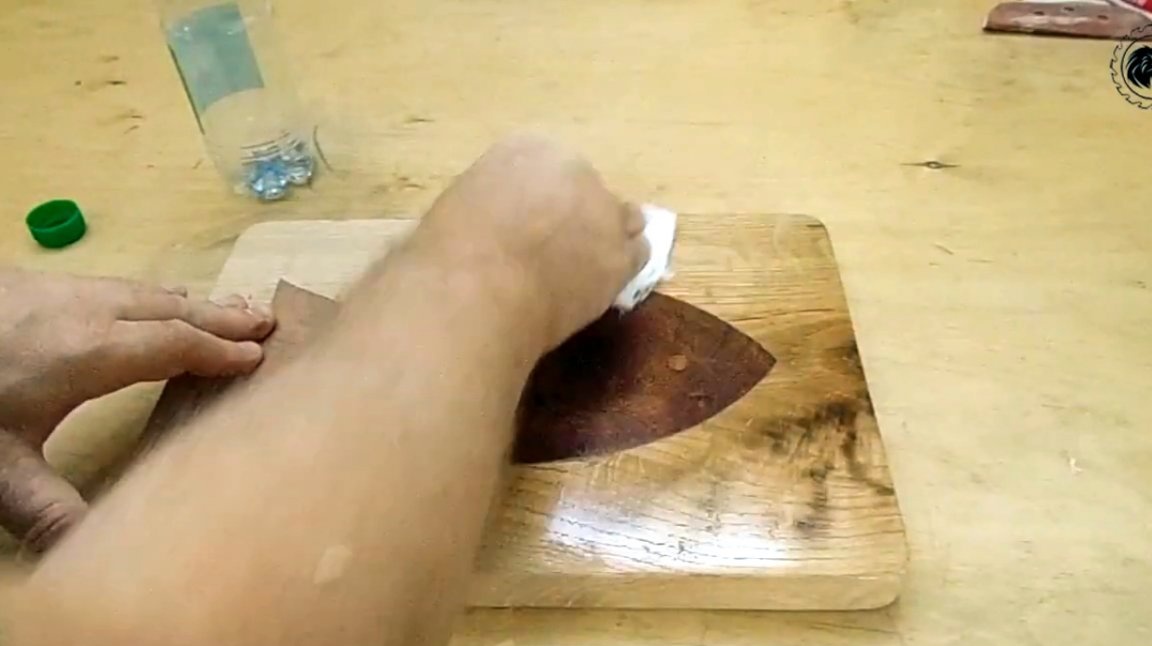
As a topcoat, mineral oil is first applied and then natural beeswax.
About a great way to make a combined oil wax I have repeatedly said, and I repeat again. This recipe was proposed by Vladimir Natynchik, he made such an impregnation from rosehip oil and natural beeswax. You can get acquainted with the technology of its preparation in this article.
This is how the mortise handles and the reverse side of the board with caps look like. They even play some decorative function.
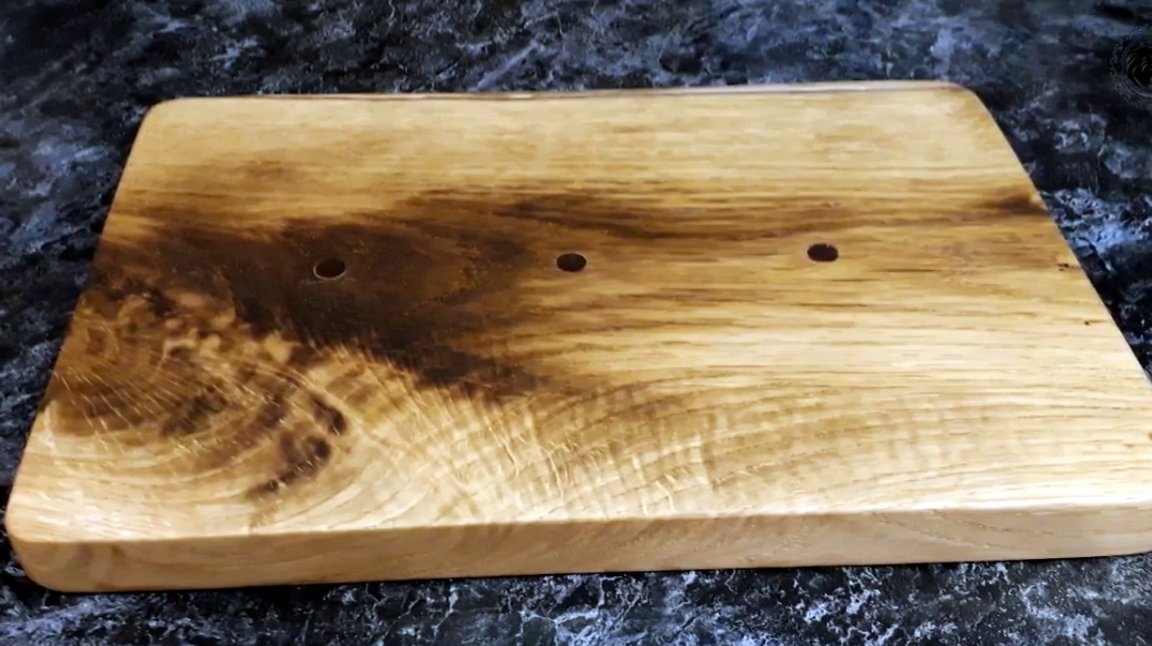
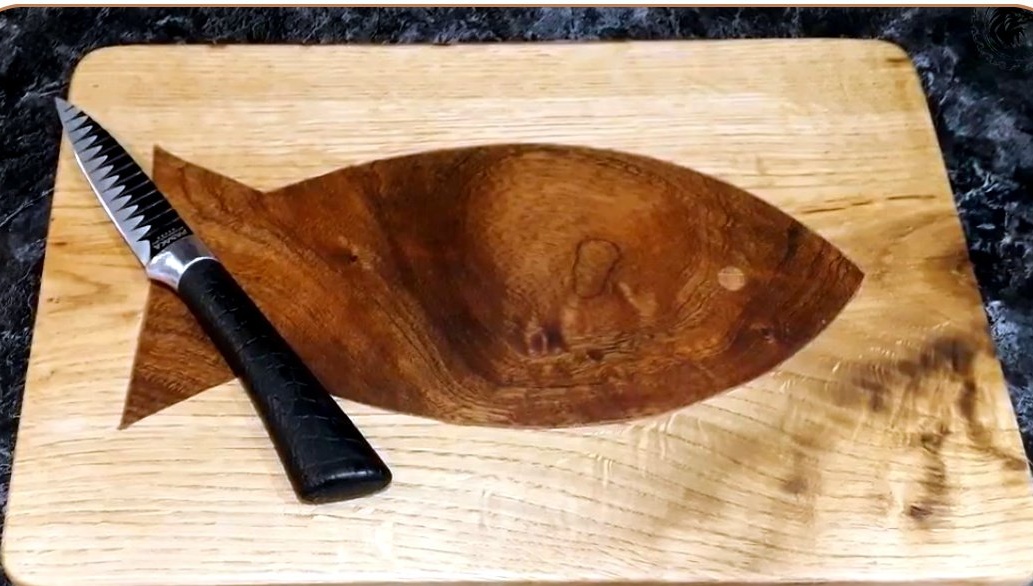
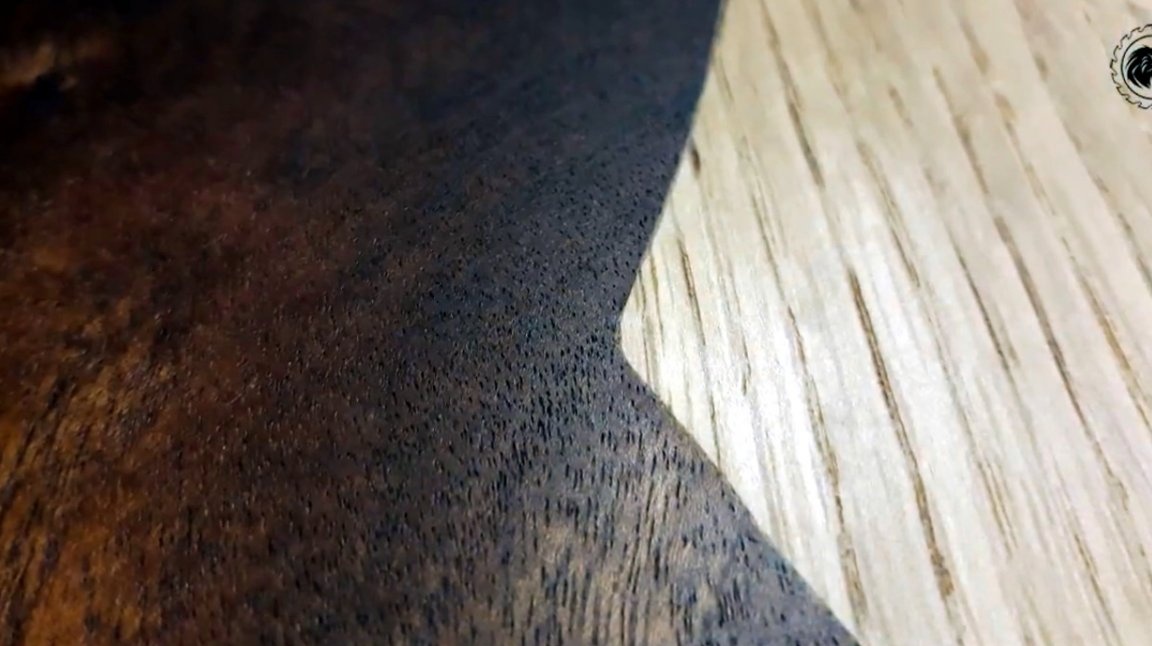
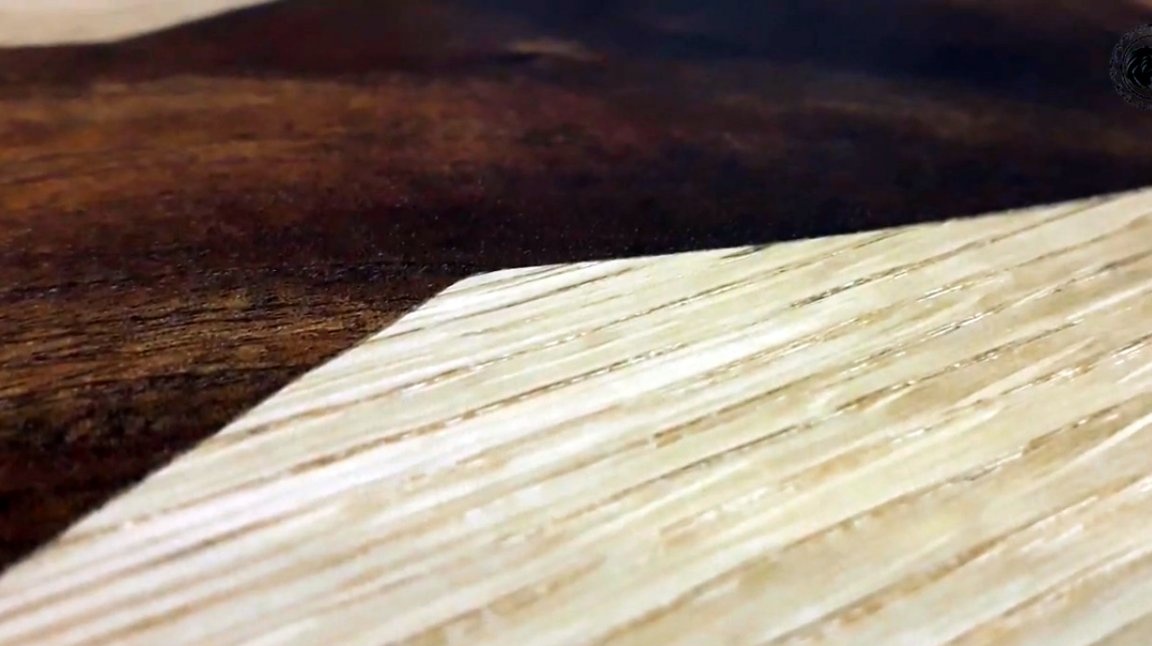
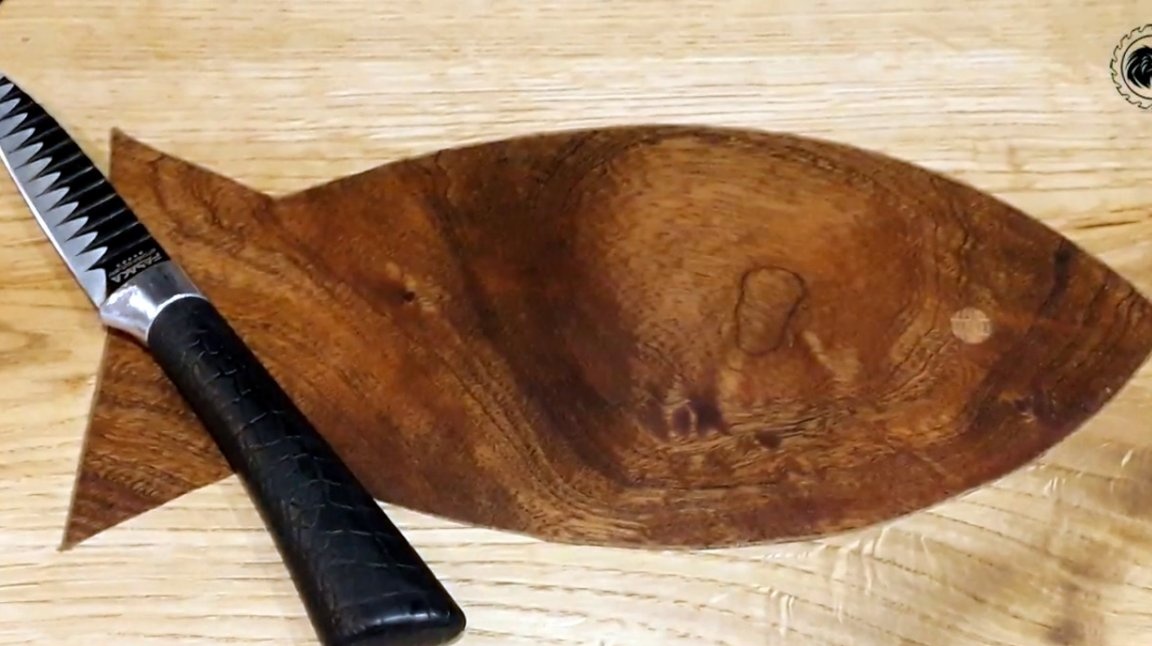
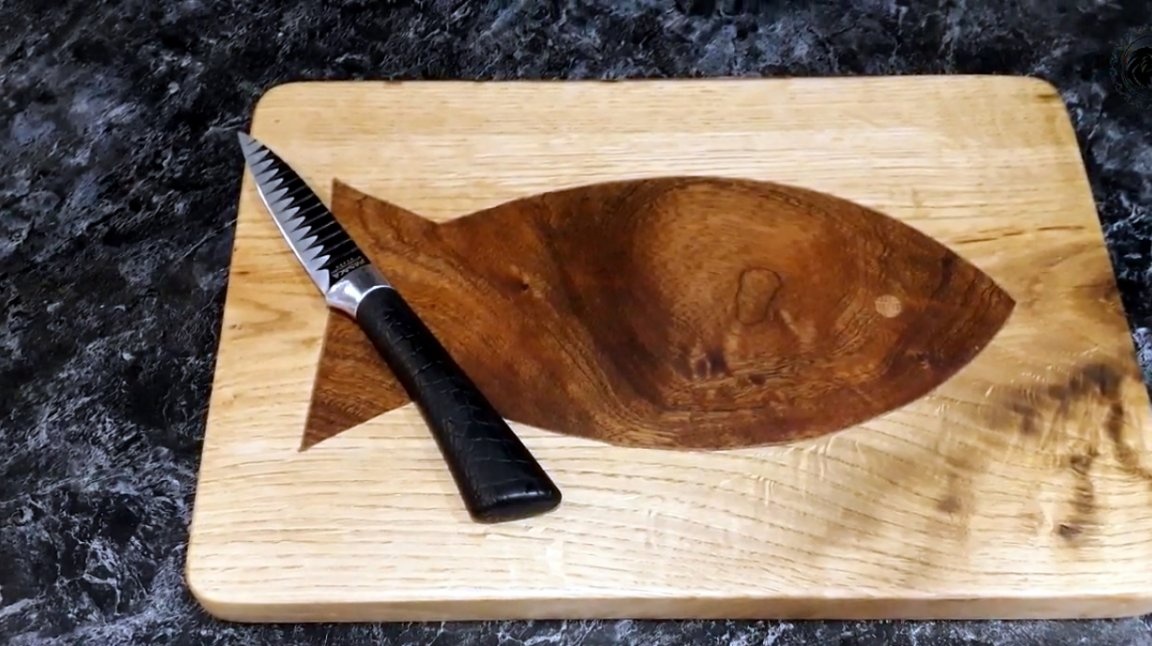
See how accurately the fit of the tie-in to the main board array has turned out!
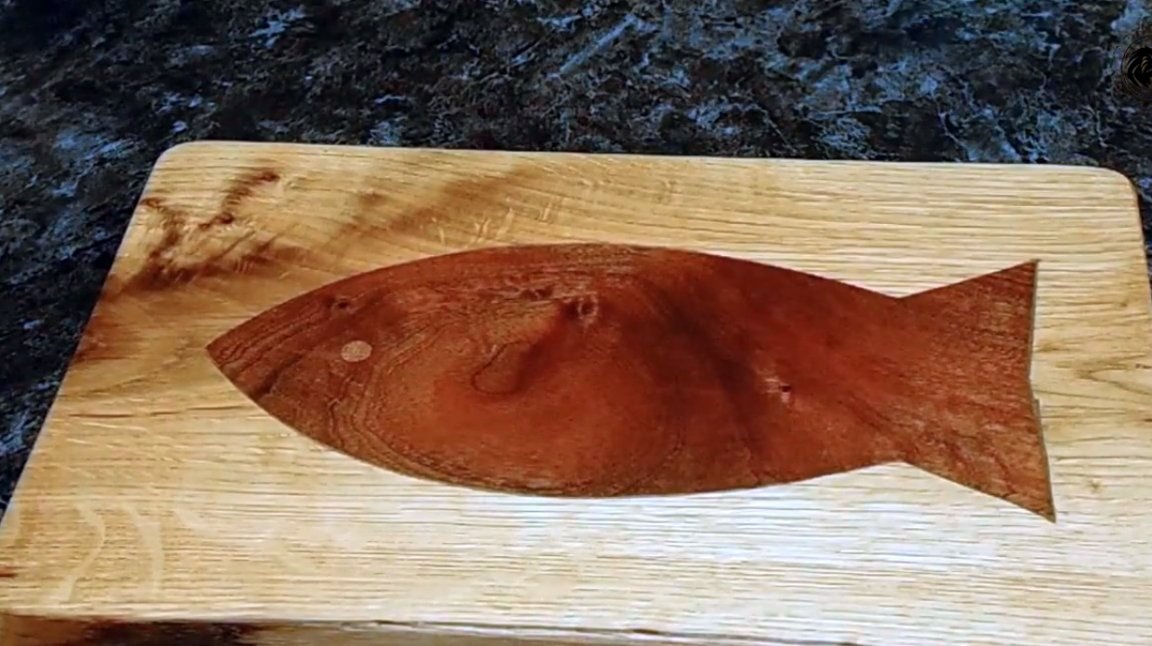
This is the beauty that Oleg got. Such a gift option for a cutting board will definitely appeal to any fisherman!

I thank the author for an interesting technique of wood inlay, and a beautiful example in the form of a cutting board!
If you have interesting homemade products, share them on this site. Here you will get a real reward, not a “bunch of parsley” at an entertainment forum.
All good mood, good luck, and interesting ideas!
Author video can be found here.