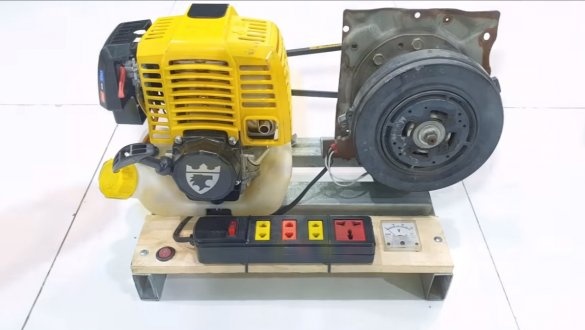
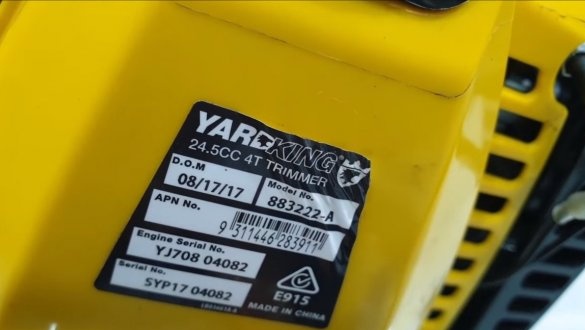
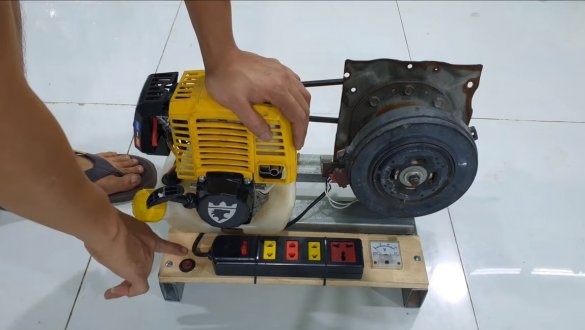
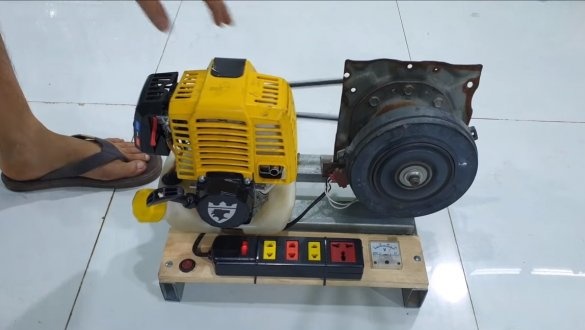
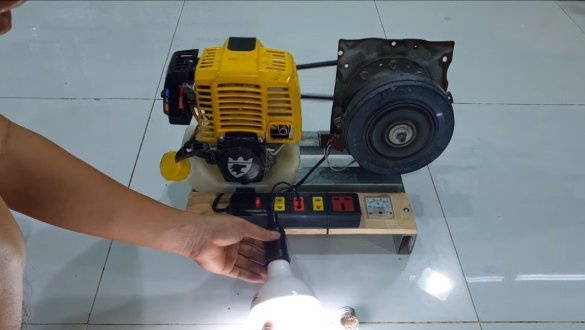
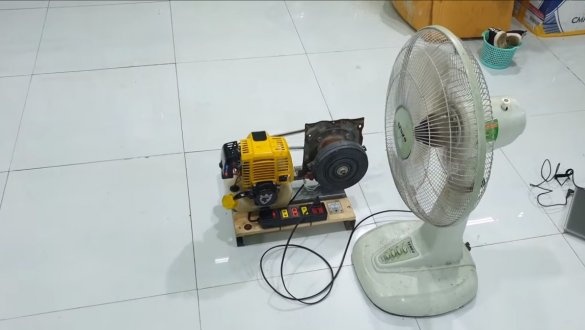
If you have a country house or you often choose to rest outside the city, you just need such a thing as a gasoline generator. With it, you can easily charge a laptop, mobile phones, light several bulbs, or even boil water. In this instruction we will look at how to make just such a generator. As a gasoline engine, the author used a unit from a gasoline trimmer. An interesting fact is that a four-stroke engine is used here, it is more environmentally friendly and more economical than a two-stroke one.
Our generator generates voltage in the region of 220V, it all depends on the engine speed. As a generator, you can use an engine from an electric trimmer or similar equipment. Note that the motor must have permanent magnets, otherwise such a generator will not work without a starting voltage. So, if the project interests you, we proceed to its study.
Materials and tools used by the author:
Material List:
-engine from a gas trimmer (the author has a 4-stroke);
- an engine from an electric lawn mower or other equipment (as a generator);
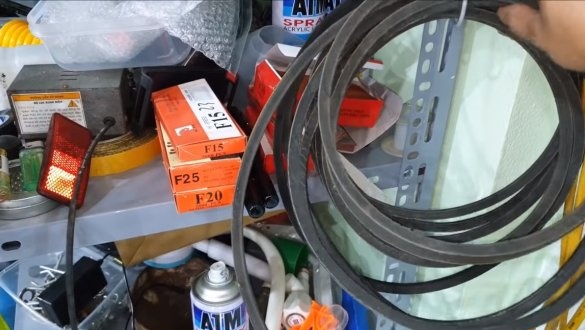
- pulleys and belt;
- profile pipes;
- board;
- voltmeter;
- sockets;
- switch;
- wires.
Tool List:
- drill;
- wrenches, screwdrivers;
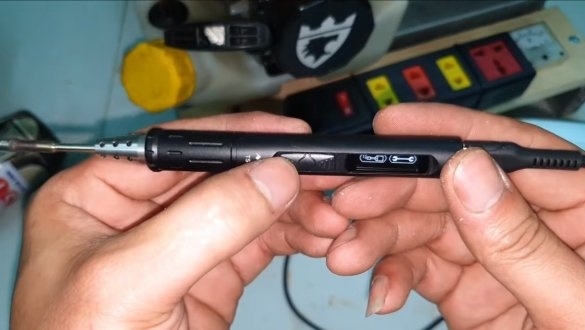
- ;
- pendulum saw (or grinder);
- welding machine.
Generator manufacturing process:
Step one. Generator
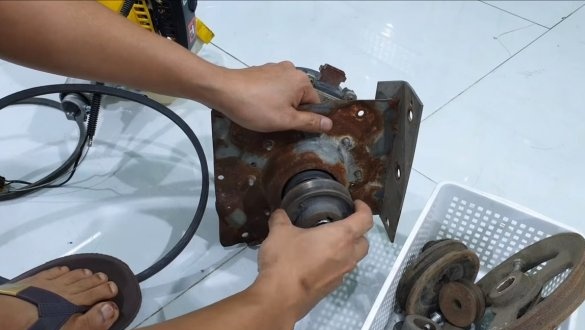
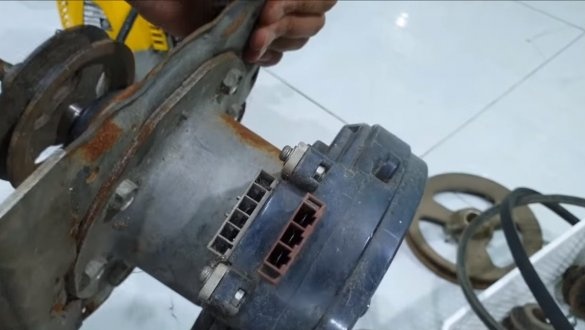
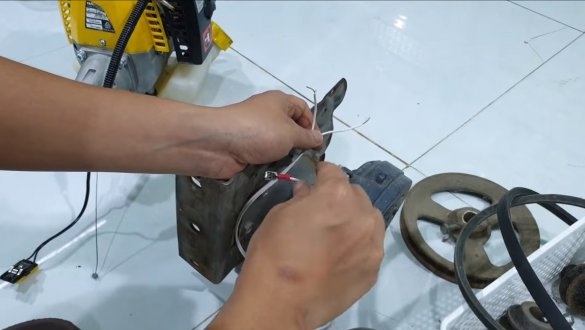
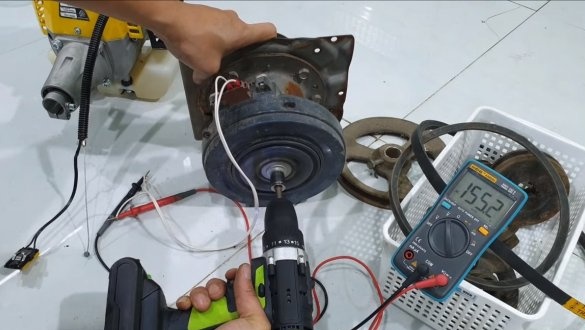
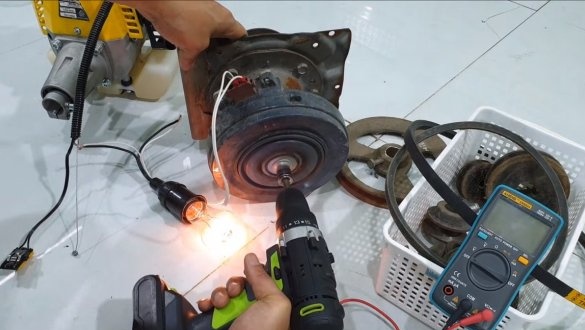
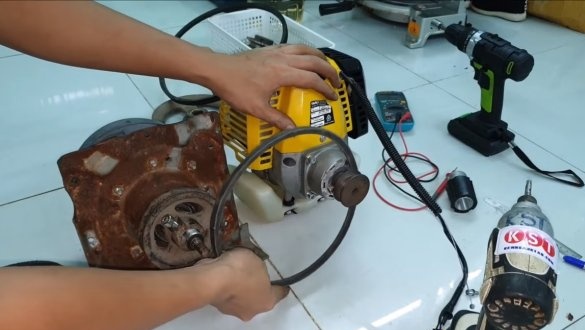
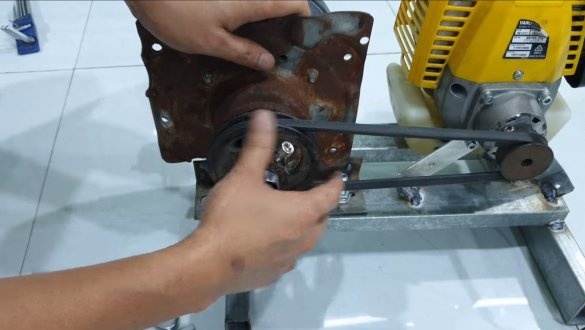
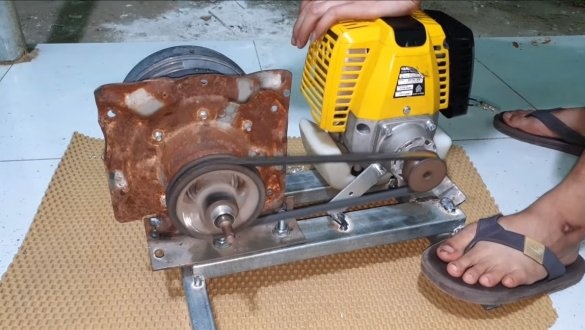
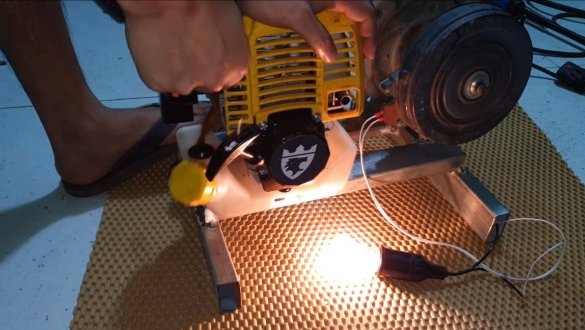
First of all, we will prepare the generator, as it the author uses the engine from an electric lawn mower. We select a suitable pulley to the generator in order to obtain a large current strength, we need to increase the torque on the axis of the generator. To do this, put a larger pulley on the generator axis, and a smaller pulley on the engine axis. We try the generator in practice, the author decided to try to unwind it with. At such speeds, the generator is capable of generating a voltage of about 150V, and as for power, then with such work a 40-watt bulb burns brightly.
The generator works fine, we proceed to the distant assembly.
Step Two Drive Pulley Installation
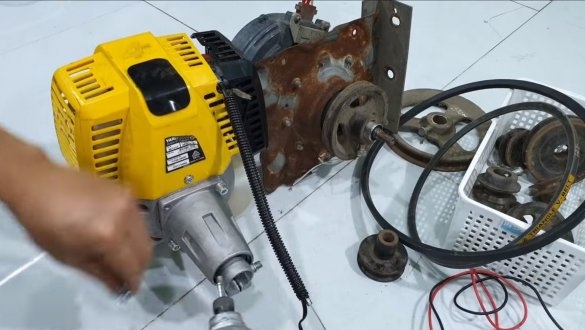
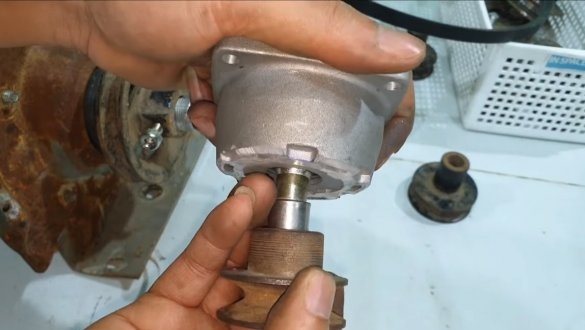
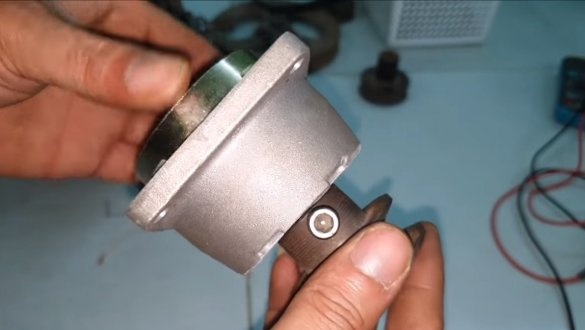
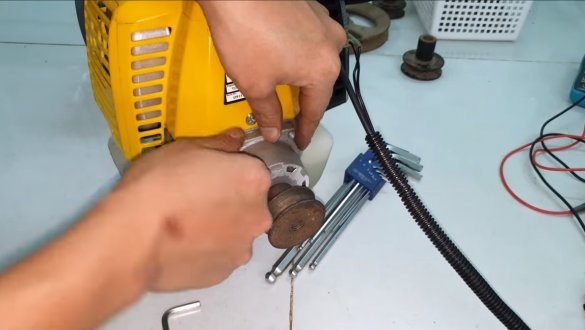
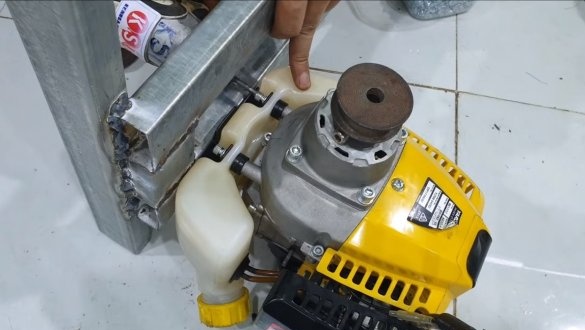
We select a small pulley for the engine shaft, we will install it on the axis after the clutch. This approach will allow the gas engine to idle, and the clutch will engage as the speed rises.
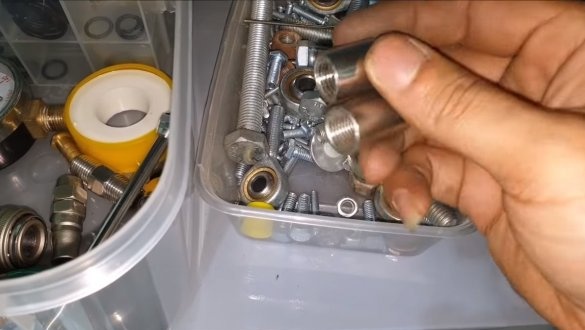
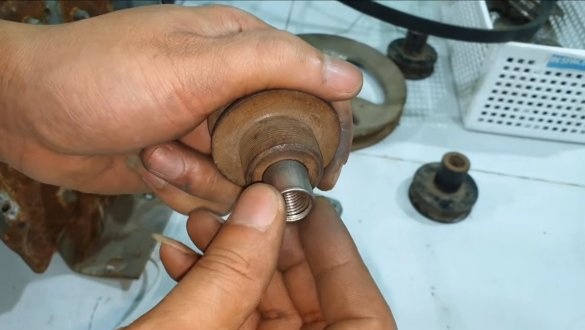
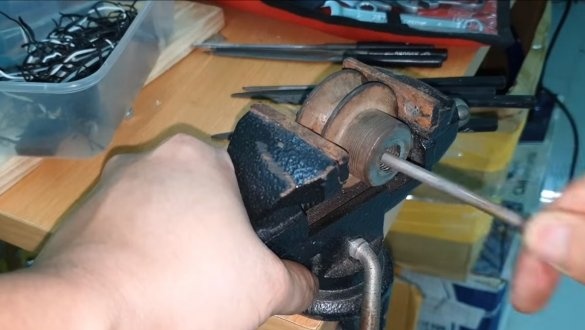
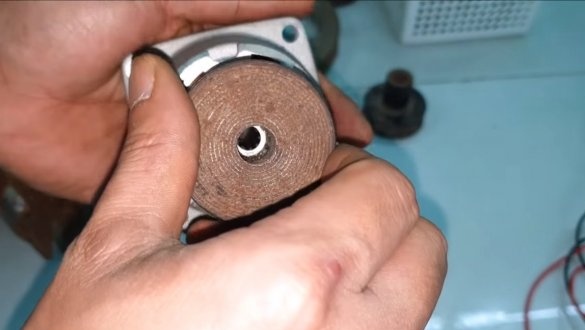
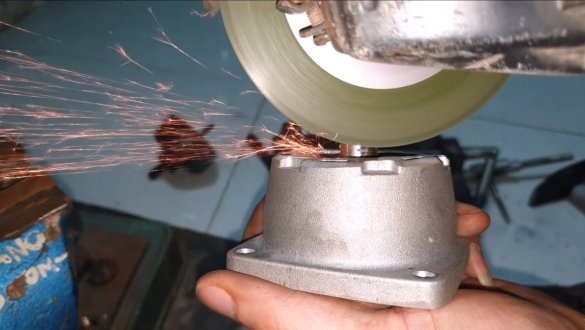
The author pressed the tube into the pulley so that the shaft fits tightly into the pulley. The pulley is fixed on the shaft with a screw, for this a hole was drilled and a thread was cut.
Step Three Frame
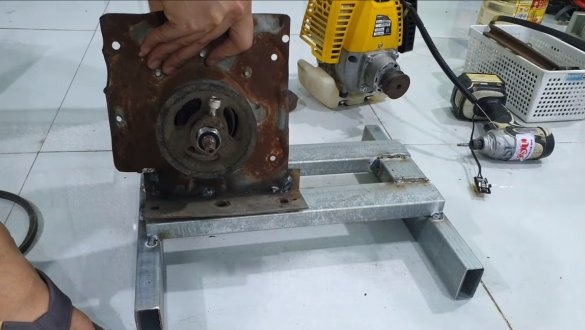
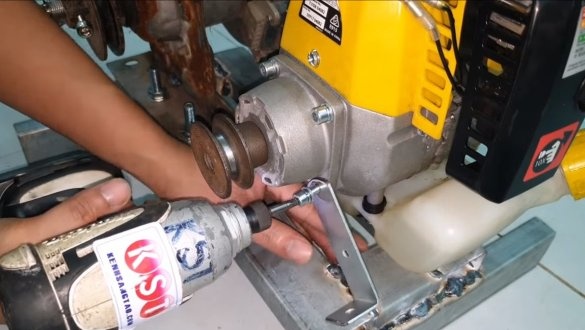
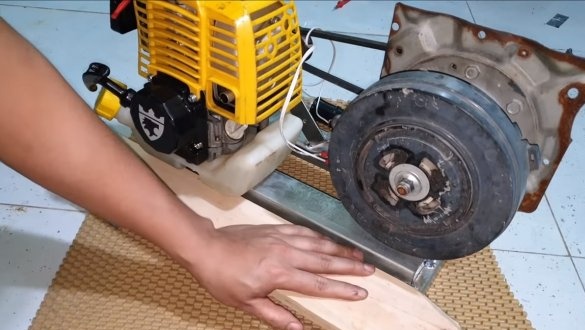
We weld the frame for the generator, here we need profile pipes. Everything is simple here, we cut them into the necessary pieces and weld. We also need a corner and plates for mounting equipment. We fasten the engine with the screws that secure the gas tank; in addition, we fix the engine with steel plates.
Well, we fix the generator with the help of corners, it is advisable here to provide for the possibility of belt tension.
Step Four Test run
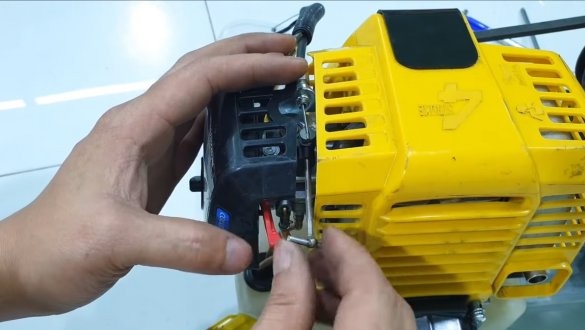
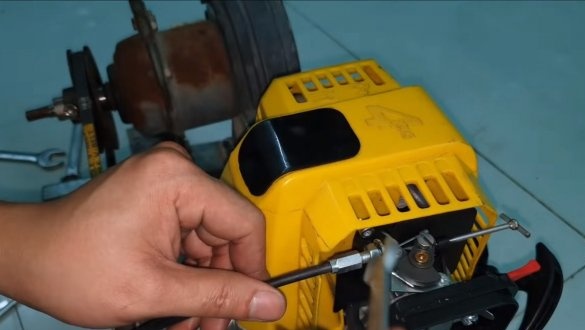
Before starting on the carburetor, you need to replace the adjusting screw, the author puts an elongated screw with a handle. With this screw we will adjust the desired speed. As for the cable with the handle, it can be completely removed.
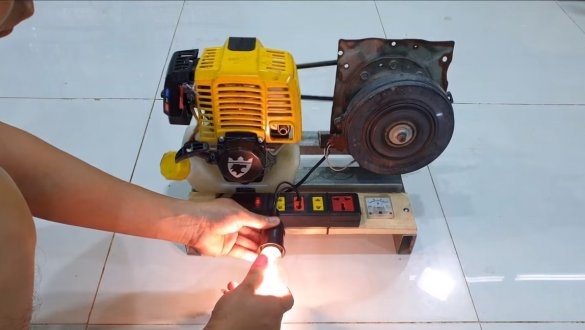
We start the engine, while being careful and remember that the generator generates voltage that is dangerous to human life! We adjust the speed and connect the bulb, it lights up brightly.
Step Five Finishing touches and finals
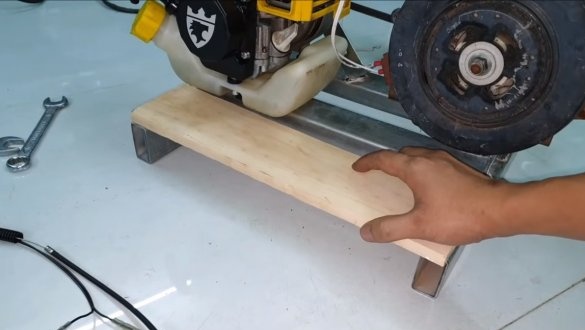
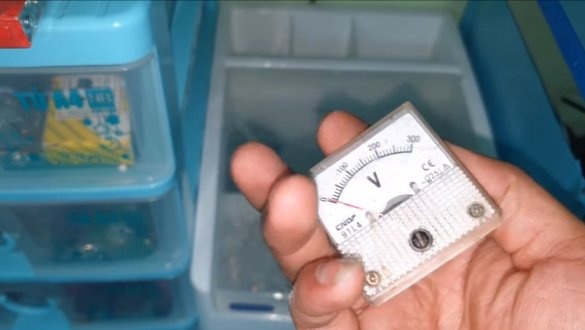
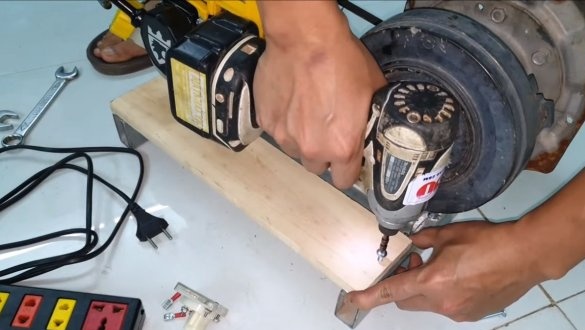
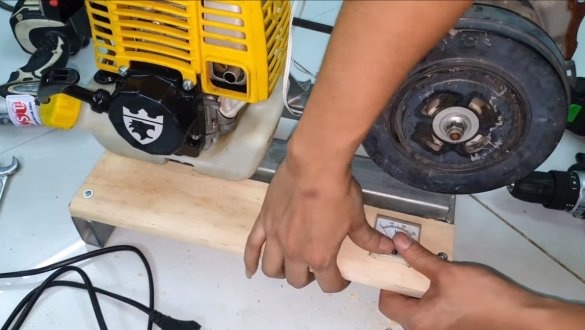
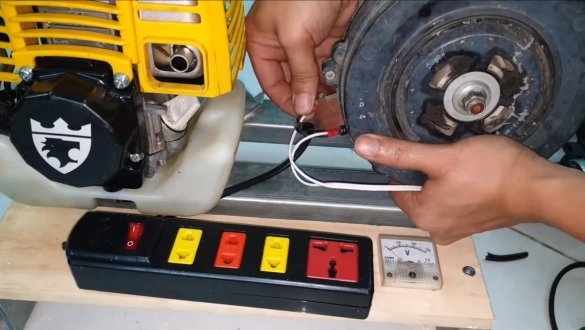
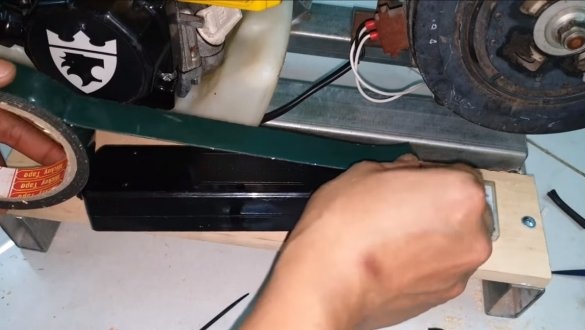
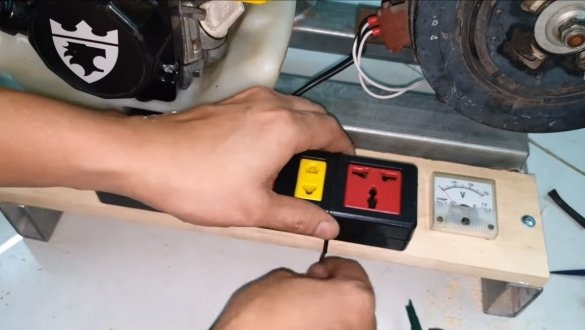
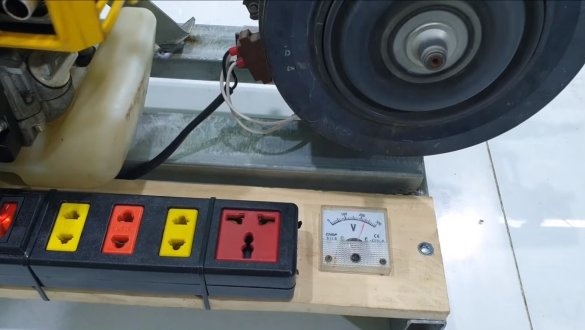
At the end, we fasten the board to the frame, here we will place the electrical equipment. Set the switch between the generator and the unit with sockets just in case. We fix the block with sockets using double-sided tape and plastic clamps. We also need a voltmeter to configure the generator, and it would be nice to have an ammeter too.
That's all, of course, of course, the design also requires the installation of a controller or stabilizer, which will reduce fluctuations in electricity. Better yet, store the generated energy in the batteries, then the connected equipment will not suffer from power surges.
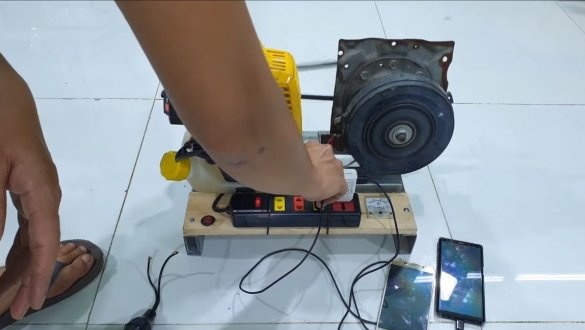
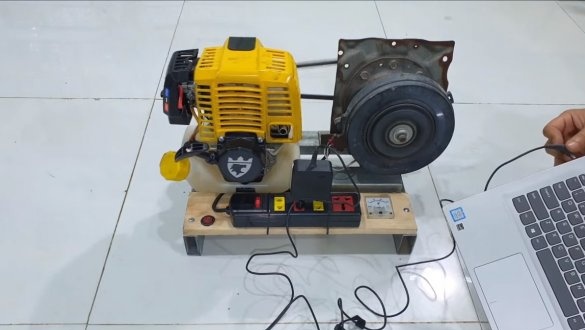
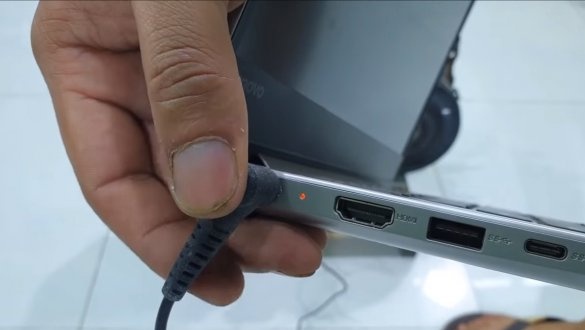
The generator is ready, start the engine and set the speed so that the voltage is about 220V. The author as an experiment connects 220V bulbs, they burn without problems. Next, charging for mobile phones and a laptop were connected, the equipment was charging without problems. The author also connected a fan to his brainchild.
The generator is ready, with certain modifications it will work quite well and economically. That's all, I hope you liked the idea, good luck and creative inspiration, if you decide to repeat this. Do not forget to share your ideas with us and homemade!

