
In this article, Alpha Mods will show how to assemble a hand-held generator that can produce very good current and voltage sufficient to charge smartphones and even tablets.

We will need the following details.
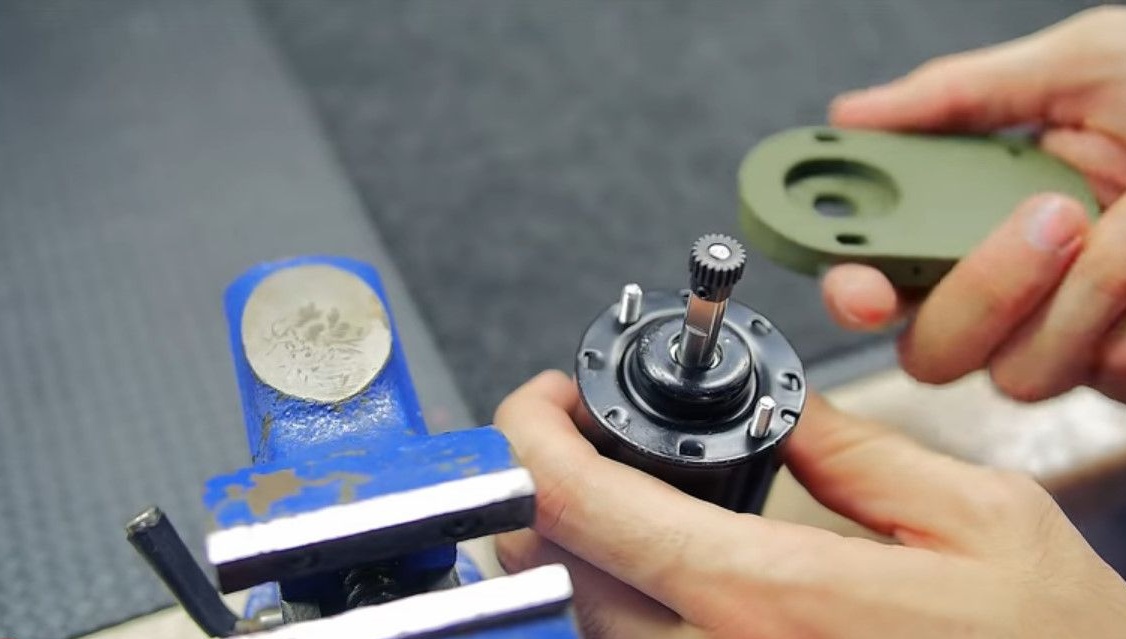
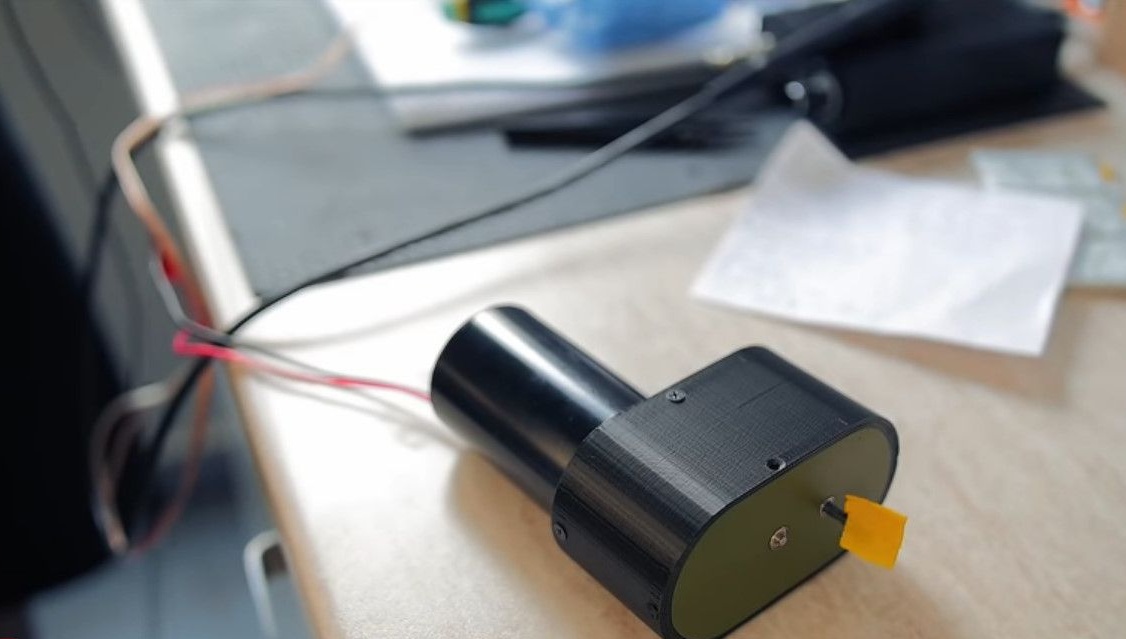
The heart of this device will be a powerful motor, dynamo generator.
According to his documentation, it becomes clear that he produces 12V at 3000 rpm and 24V at 5000 rpm.
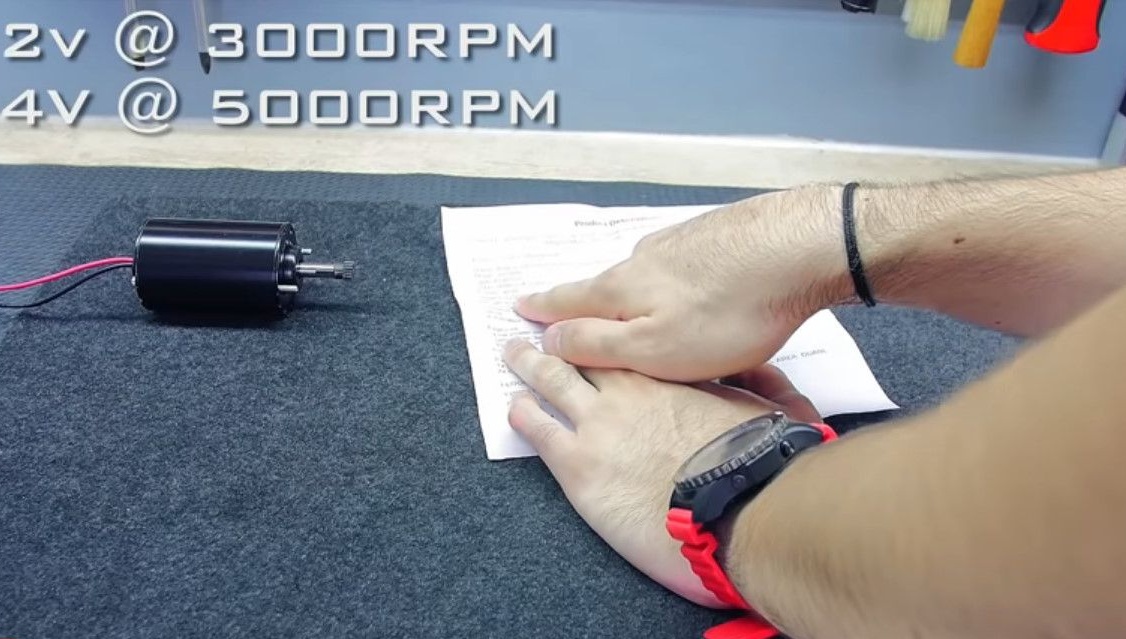
Its power reaches 40 Chinese watts. We can do the tests ourselves.
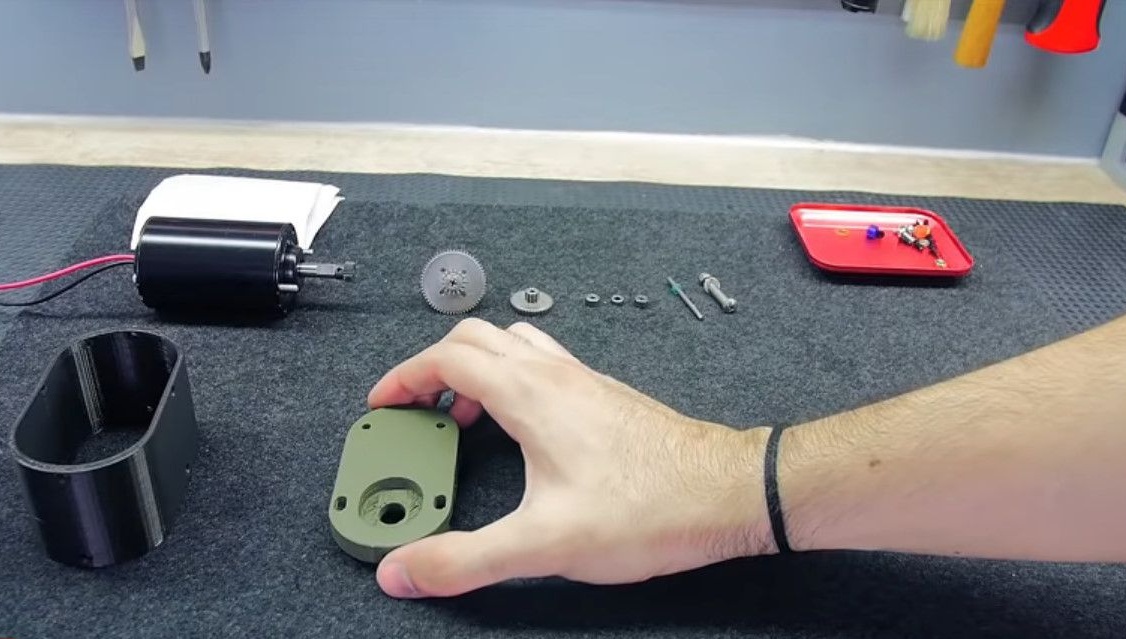
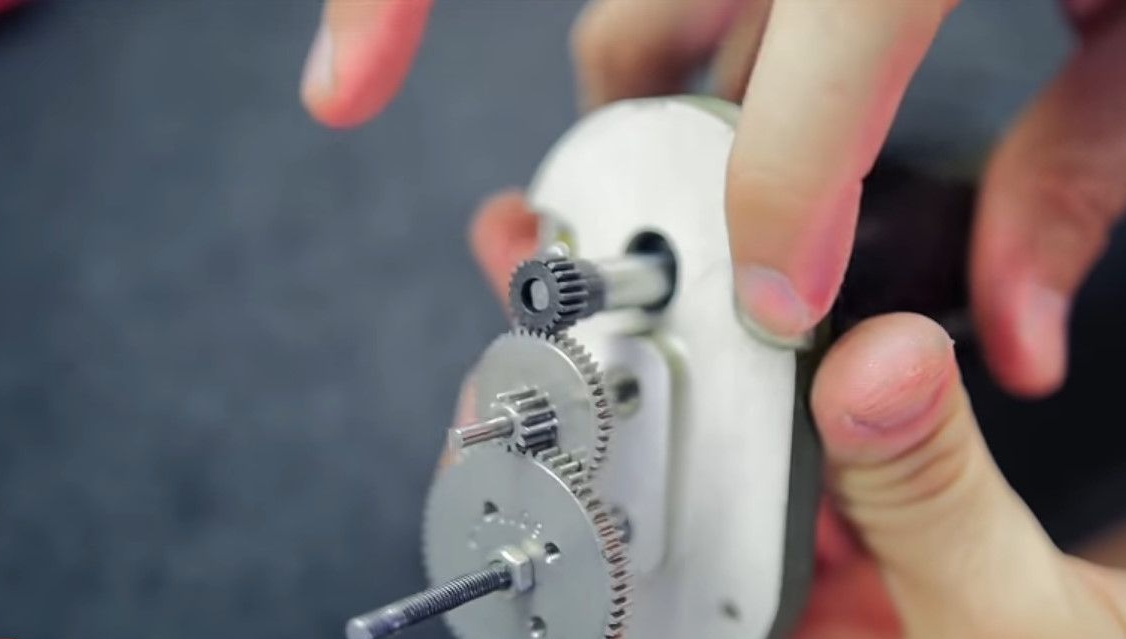
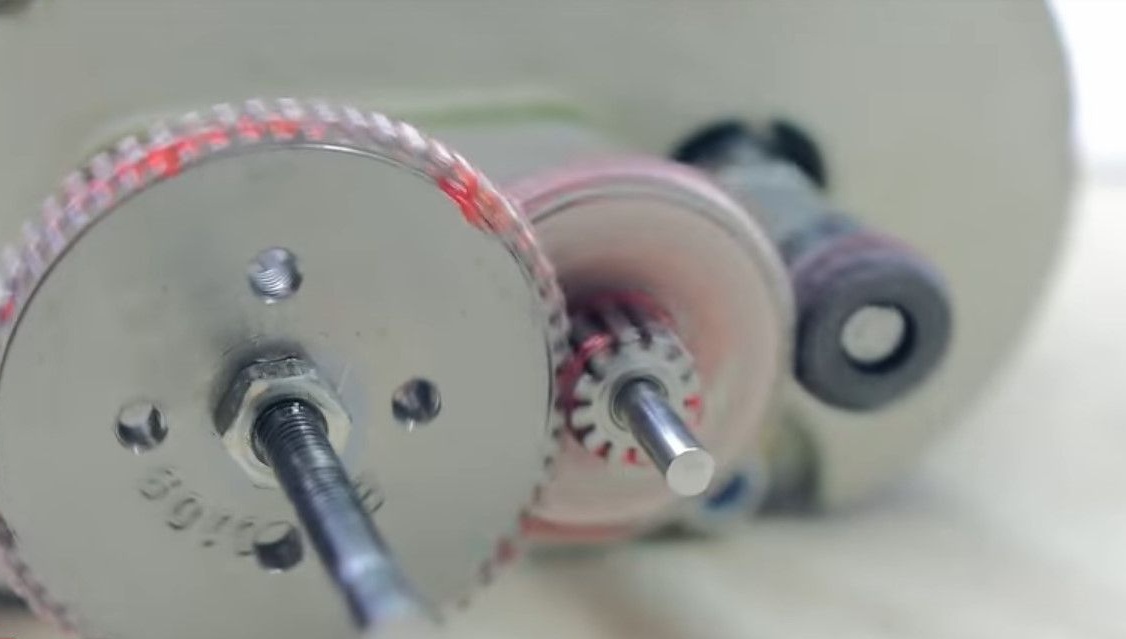
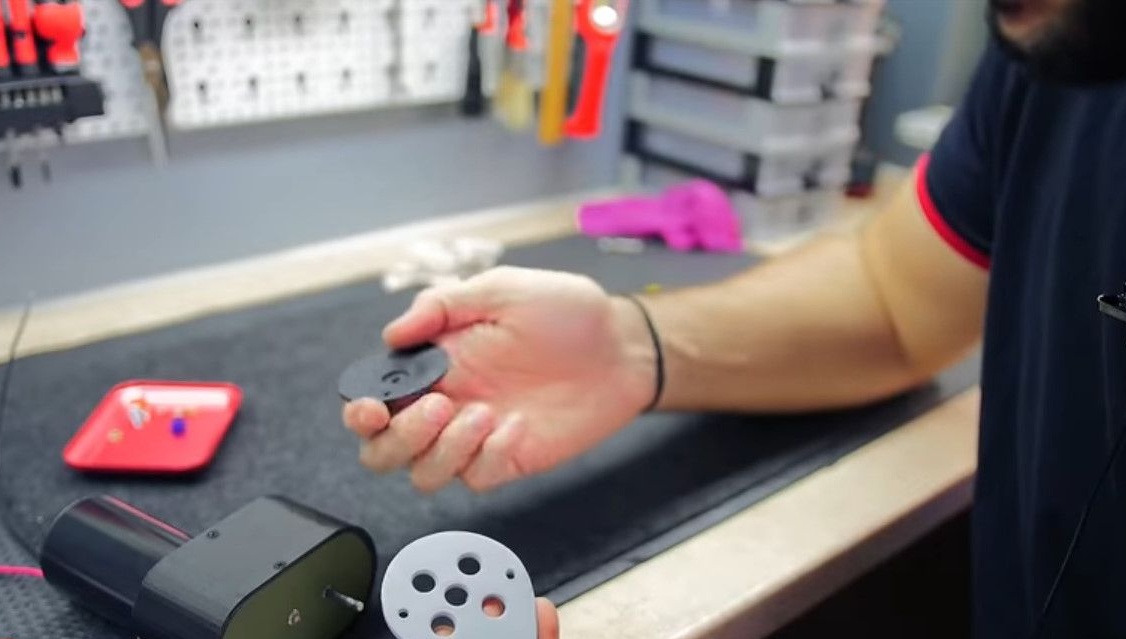
Since the revs are needed high, and we cannot turn 3000 with our hands, we will have to make a small gearbox.
For this, a set of gears was bought for this motor.
Due to the fact that there will be a rotating mechanism, we will use bearings.
There are no bushings, and why are they needed when there are bearings.
Of course, all sorts of axles, tubes, and the like.
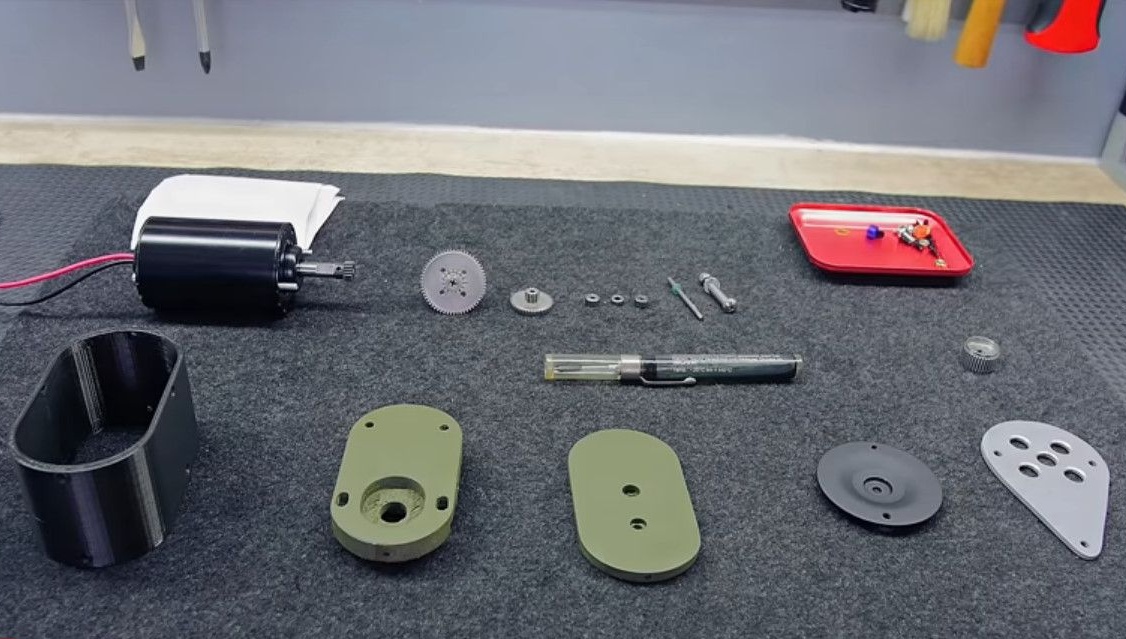
We print the case on a 3d printer.
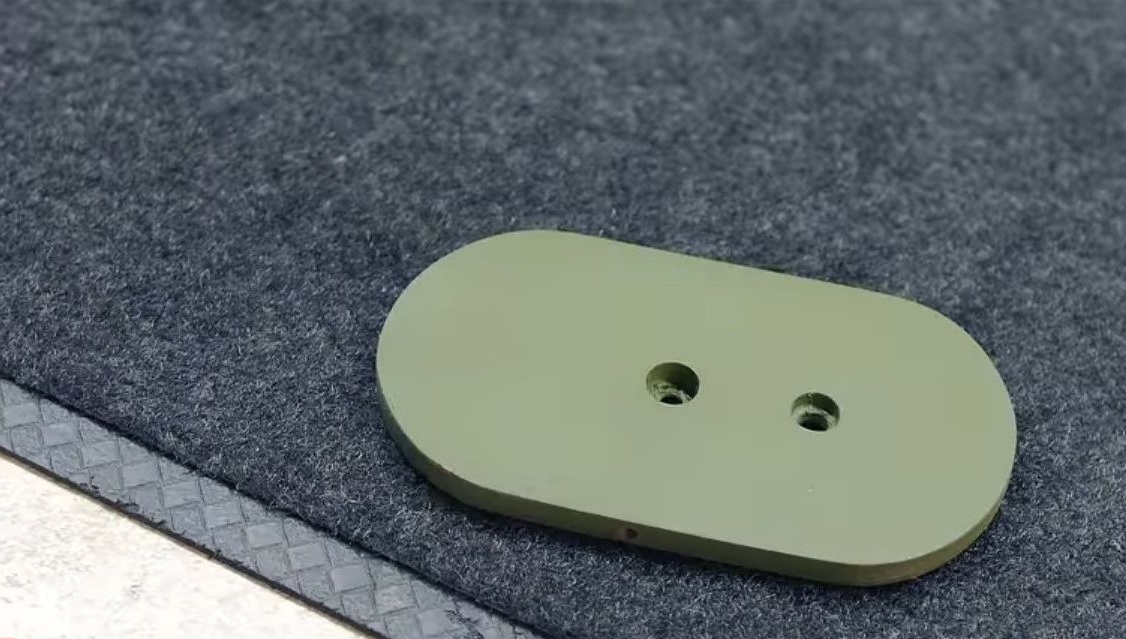
The bottom panel, which is worn on the engine itself.
Top panel.
Handle elements.
A bit of grease.
We drove to collect.
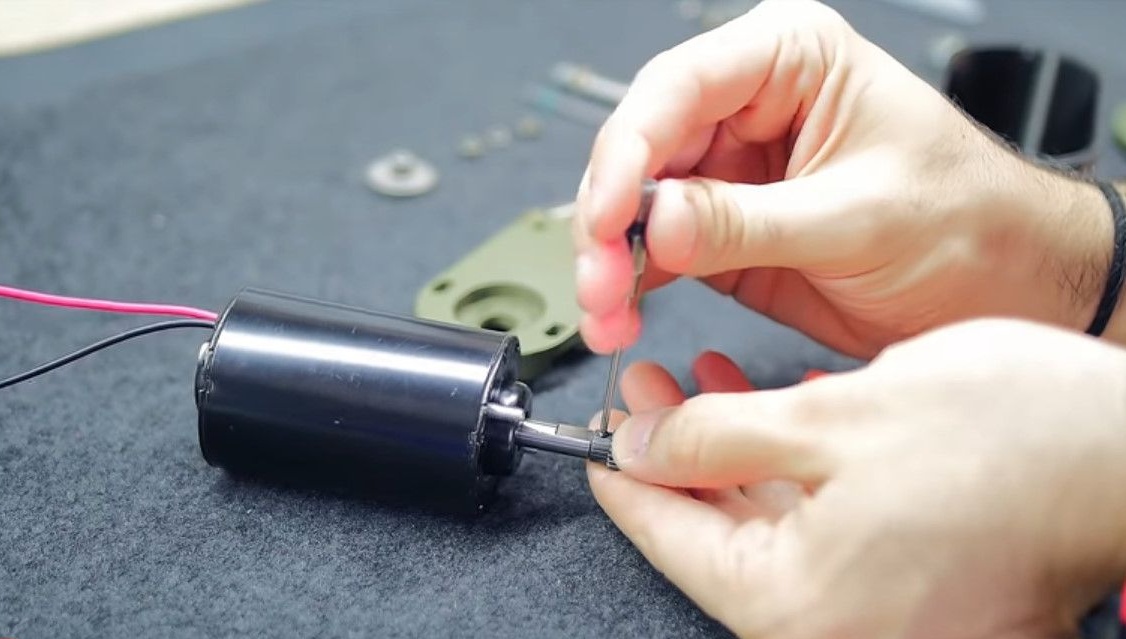
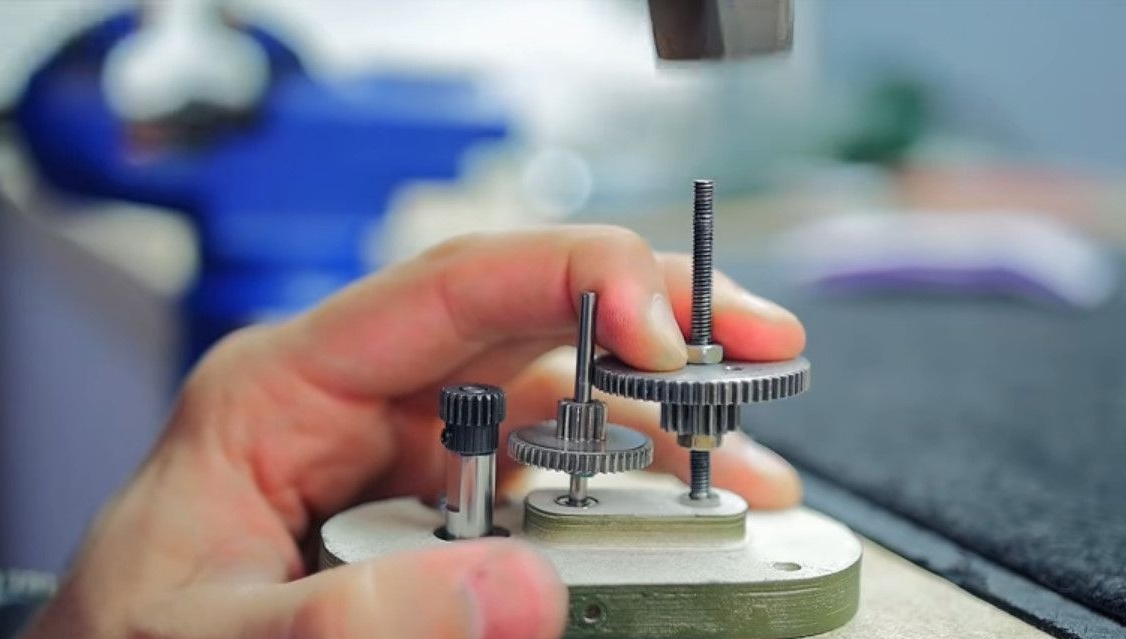
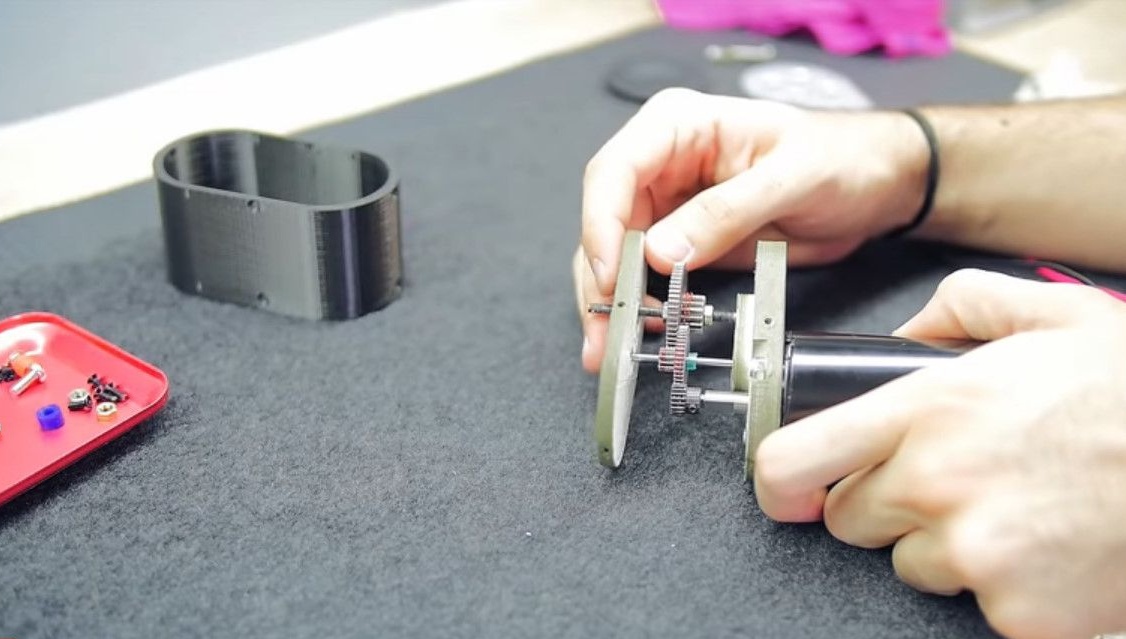
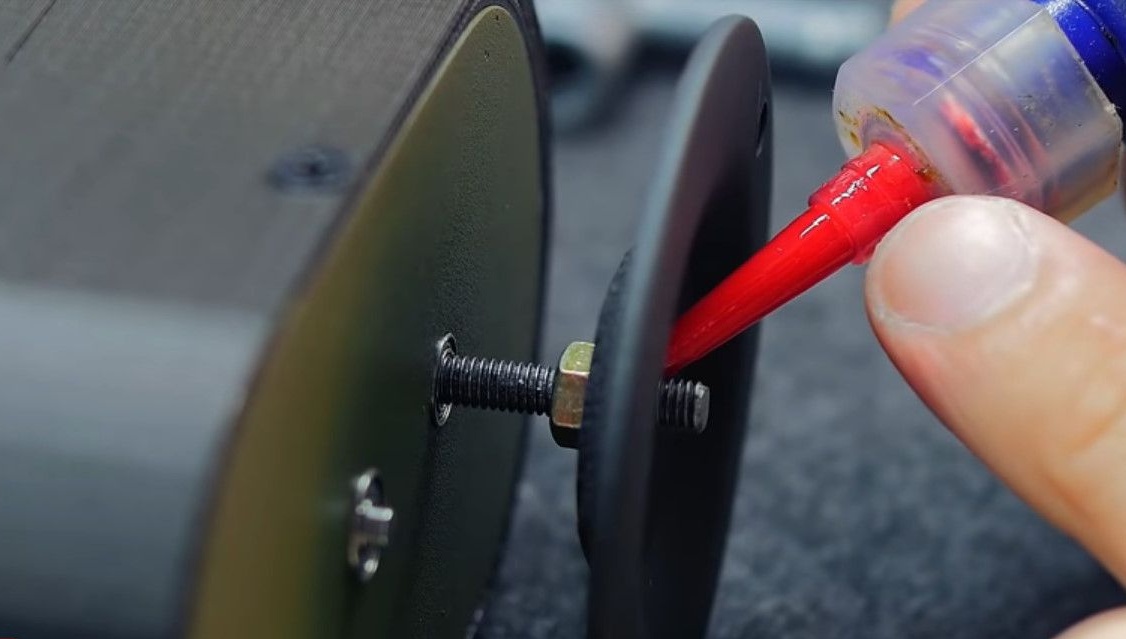
First of all, we put the gear on the motor shaft and tighten it. You can also drip Locktite, so as not to unwind.

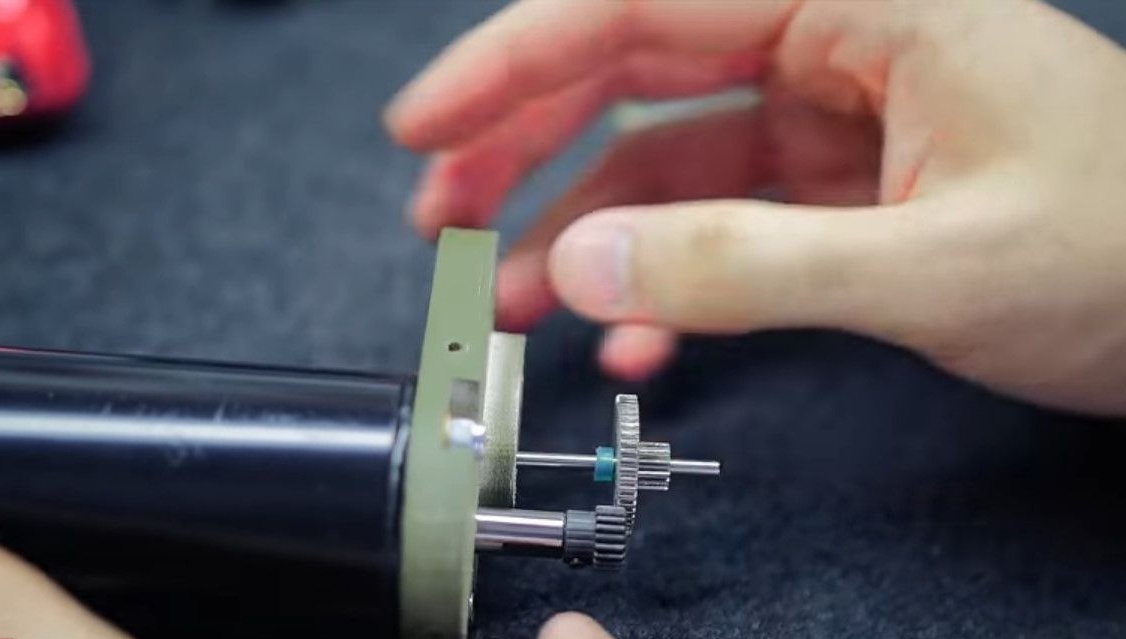
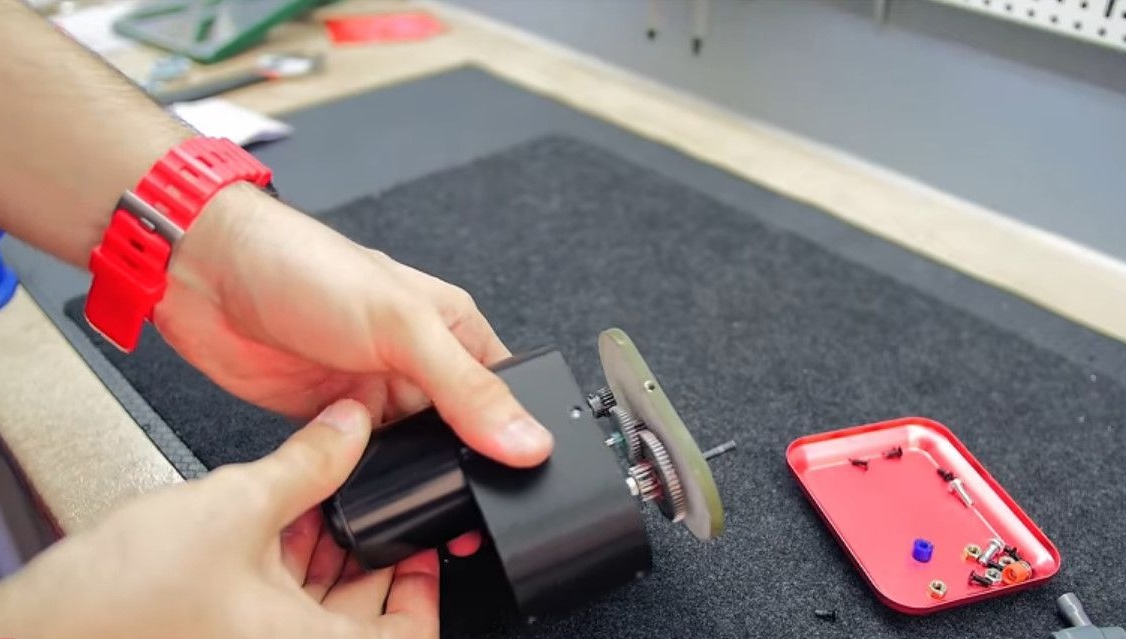
Next, put on the bottom rack, the gear barely passes into the hole.
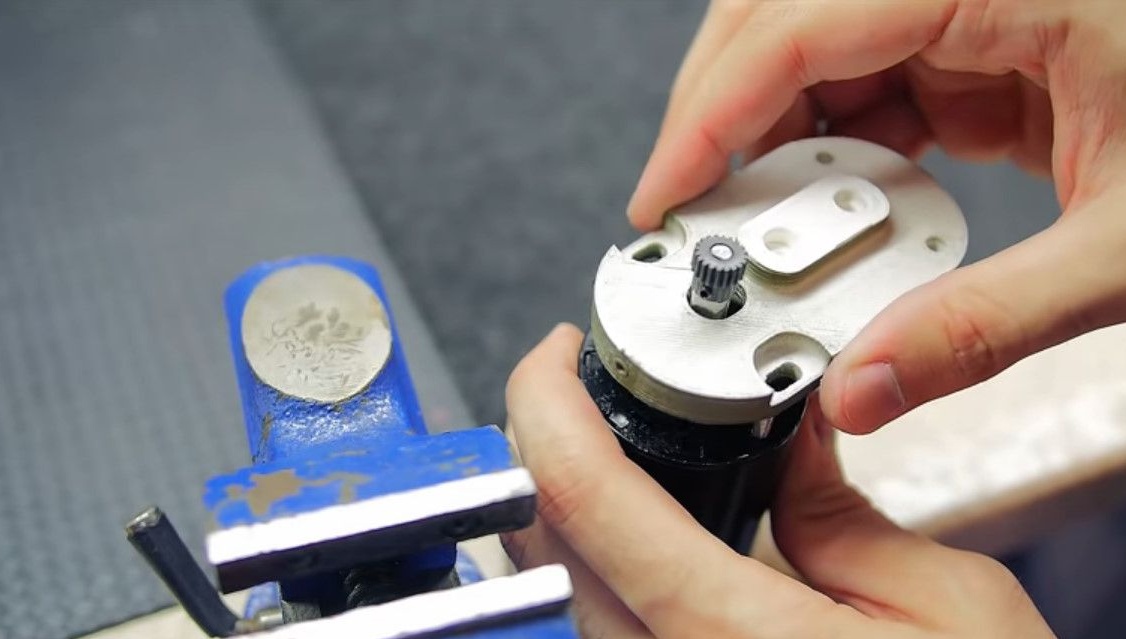
It is put on the engine and tightened by the counter nuts M4.
The mounting holes are specially made oval, so we do not tighten them so that you can adjust the position.

We install bearings, the seat is glued with super glue, they fit tightly.
You can gently help with a hammer.

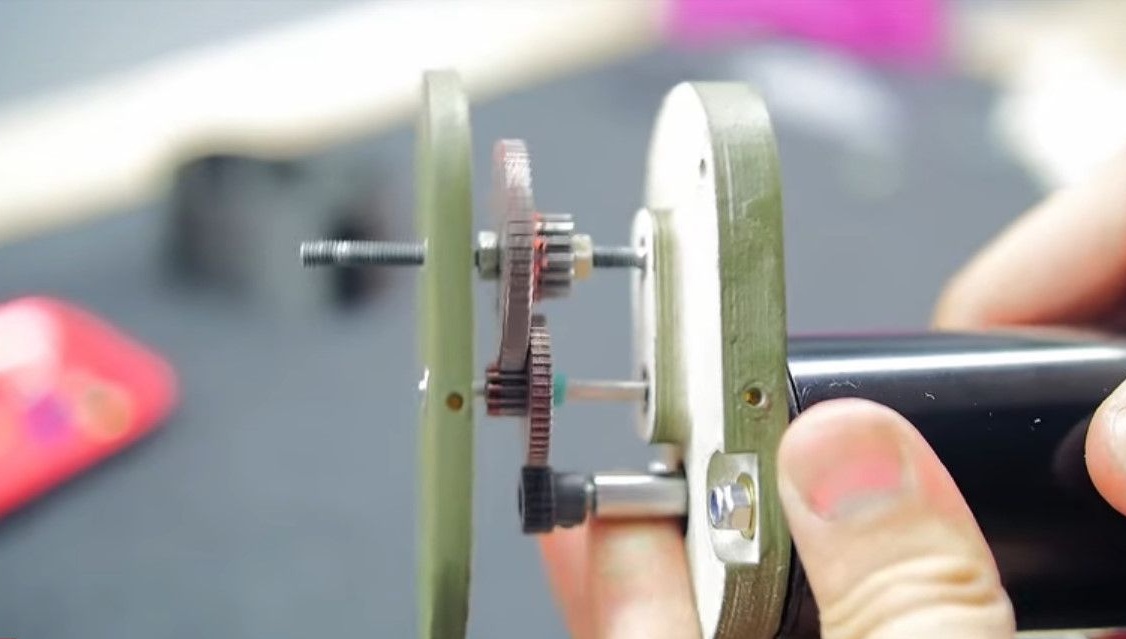
We take the axis of the C grade, we put on it the second link of our gearbox.
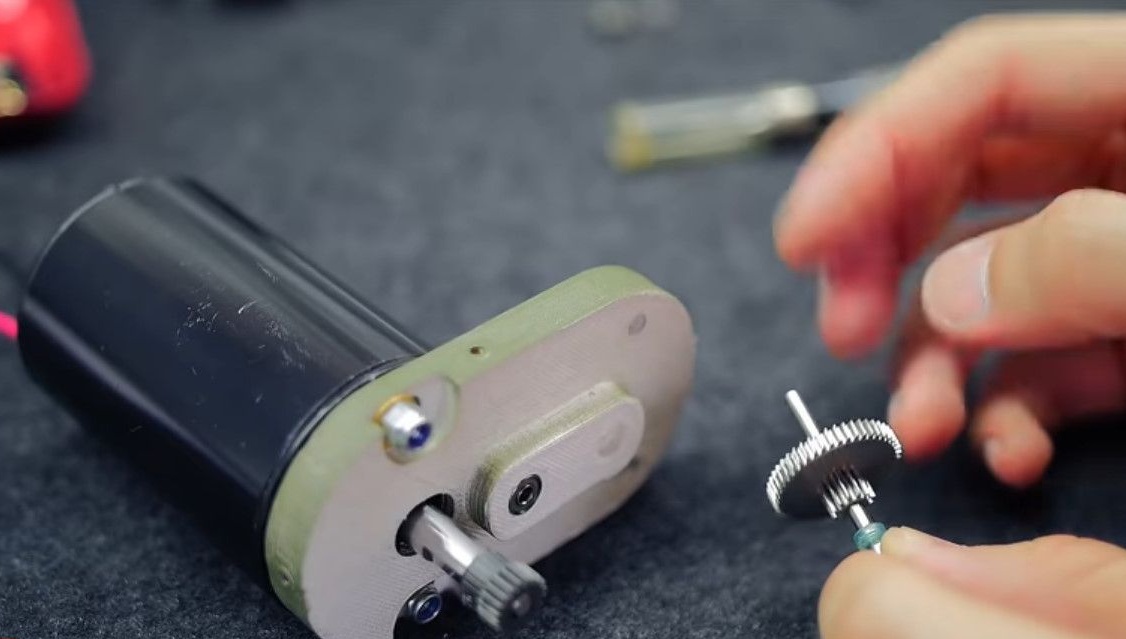
Press the axis into the bearing.
To keep the gear from falling down, put a piece of silicone tubing on the axle
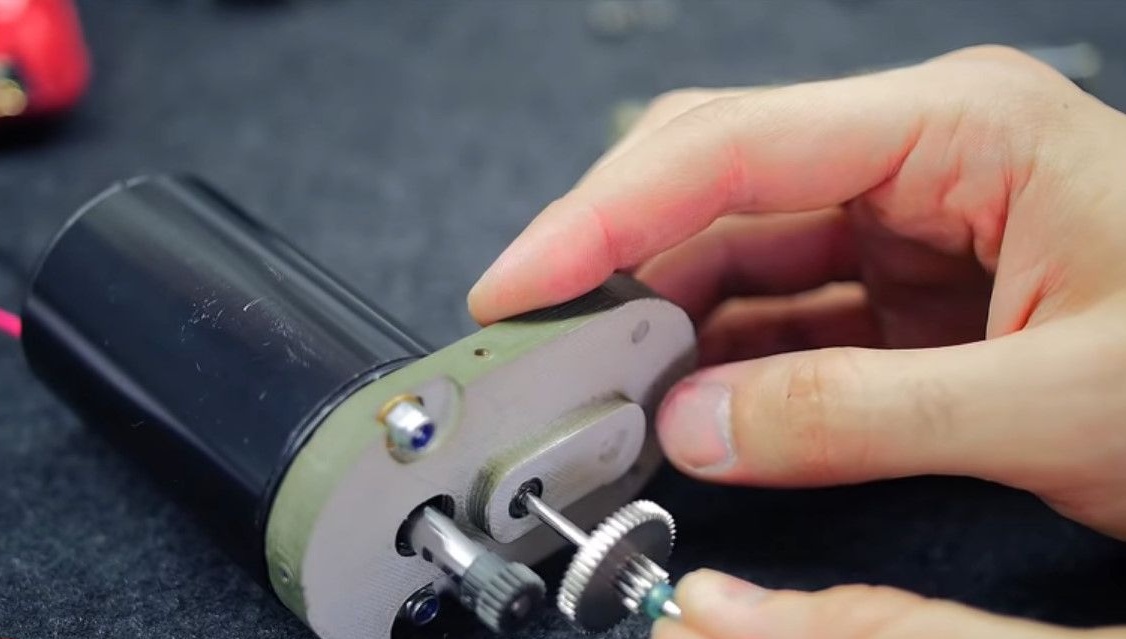
Install the last drive gear. The bearing bore is also glued with super glue.
The bearing sits very tightly, a hammer to help.
We raise this silicone tube so that it slightly presses the gears together.
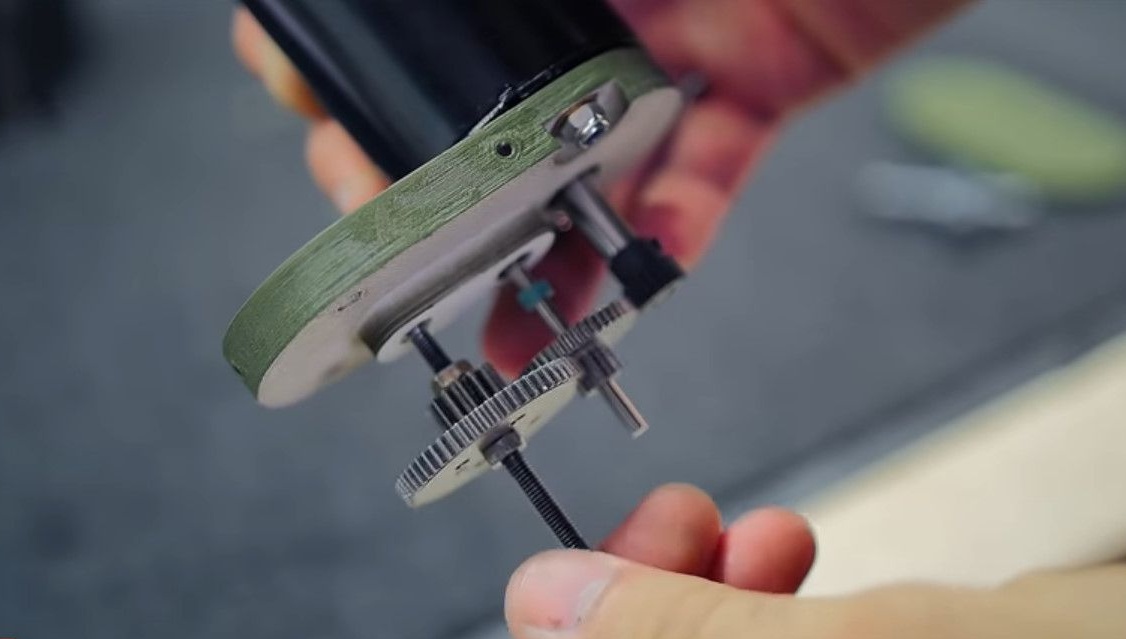
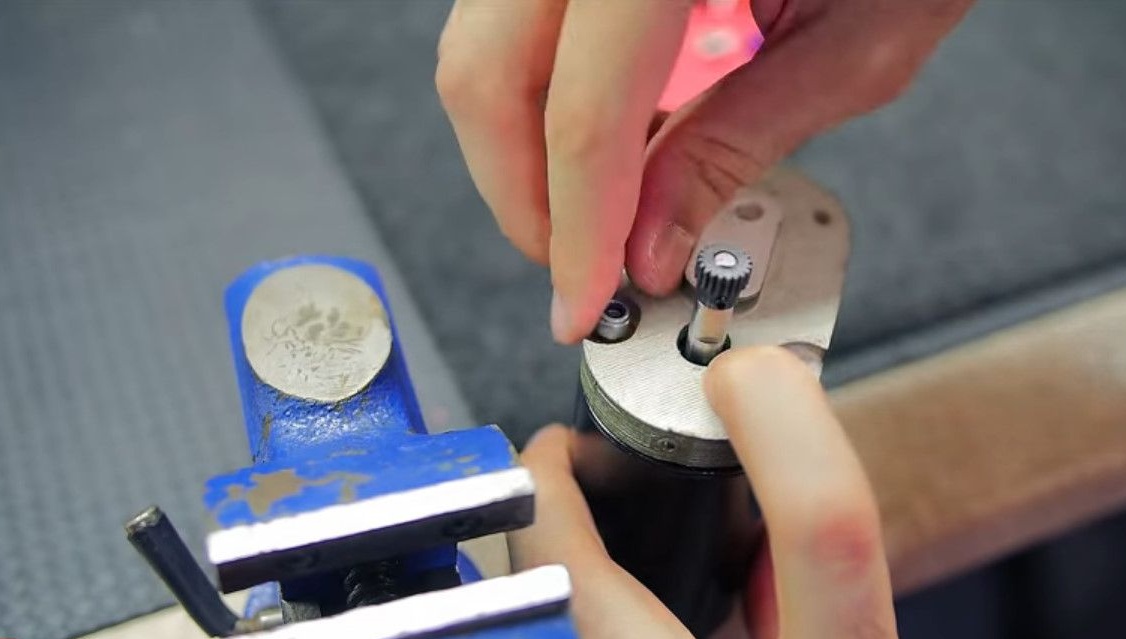
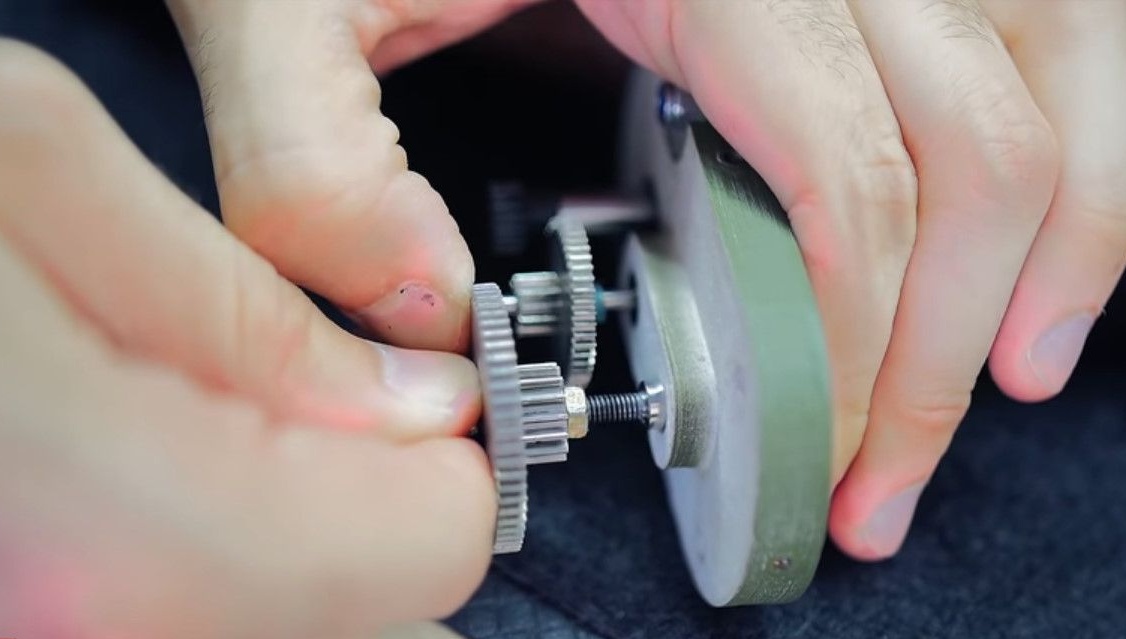
It remains only to adjust the position of the axis of the engine.That's why oval holes are needed.
If everything is tight, tighten these two nuts. If not, modify the holes slightly with a file.
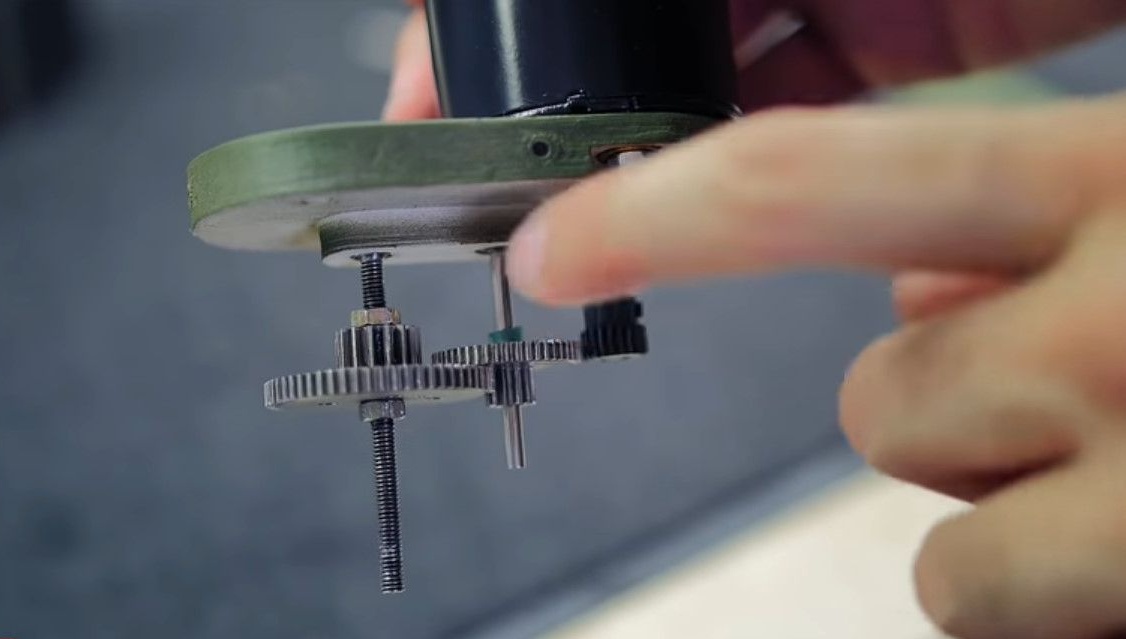
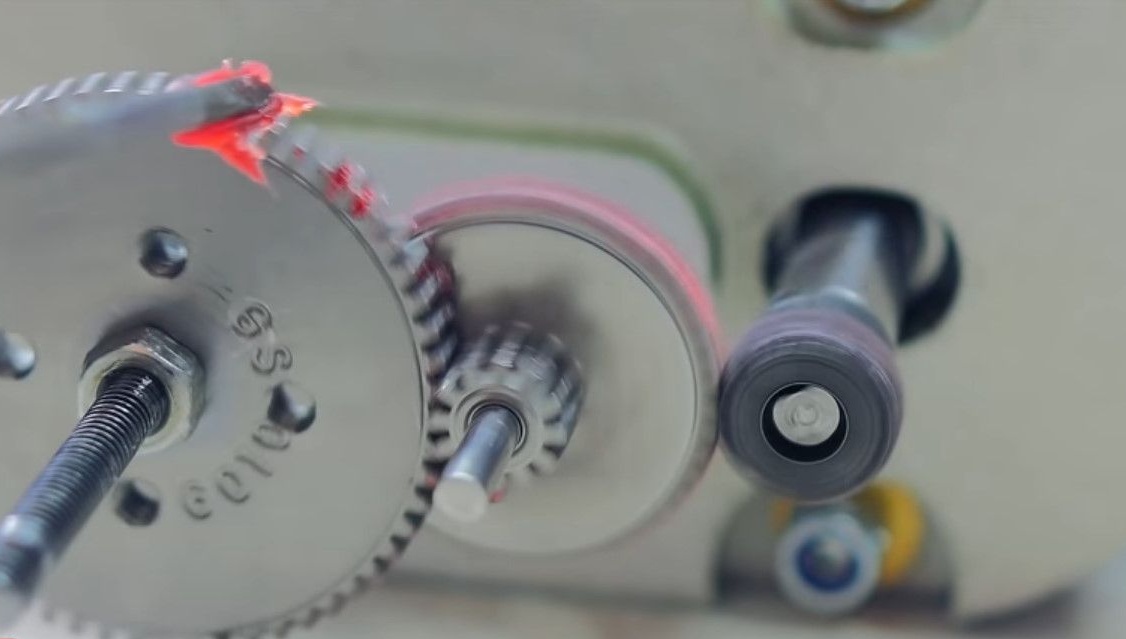
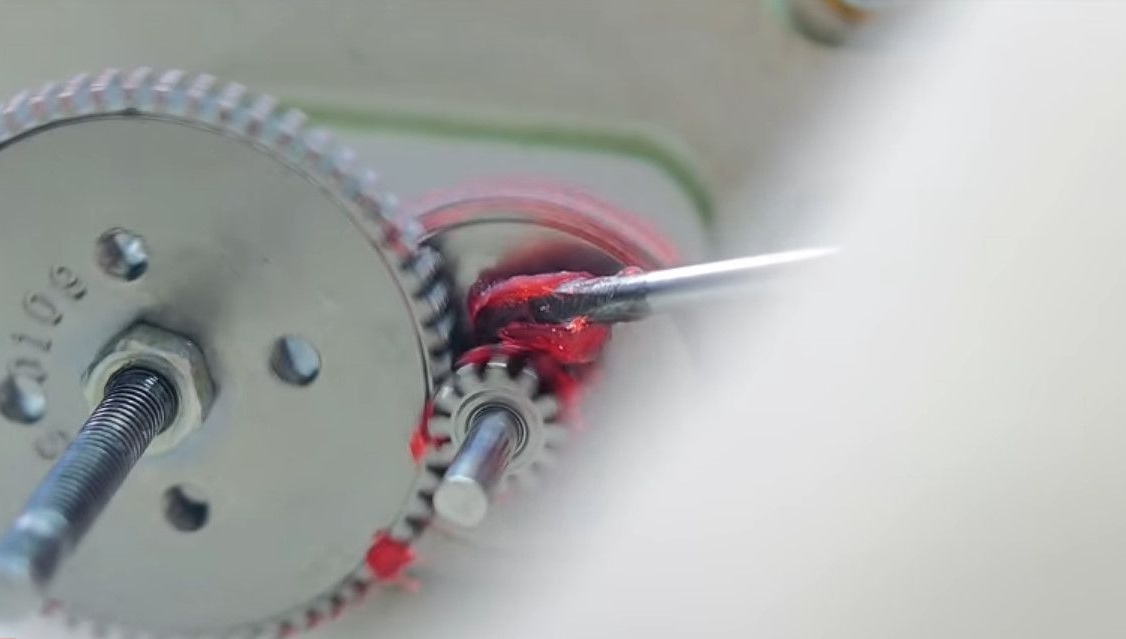
Now a little grease the gearbox. He will make less noise, and will last longer.

We supply power at one and a half volts, the engine started. We coat right on the go.
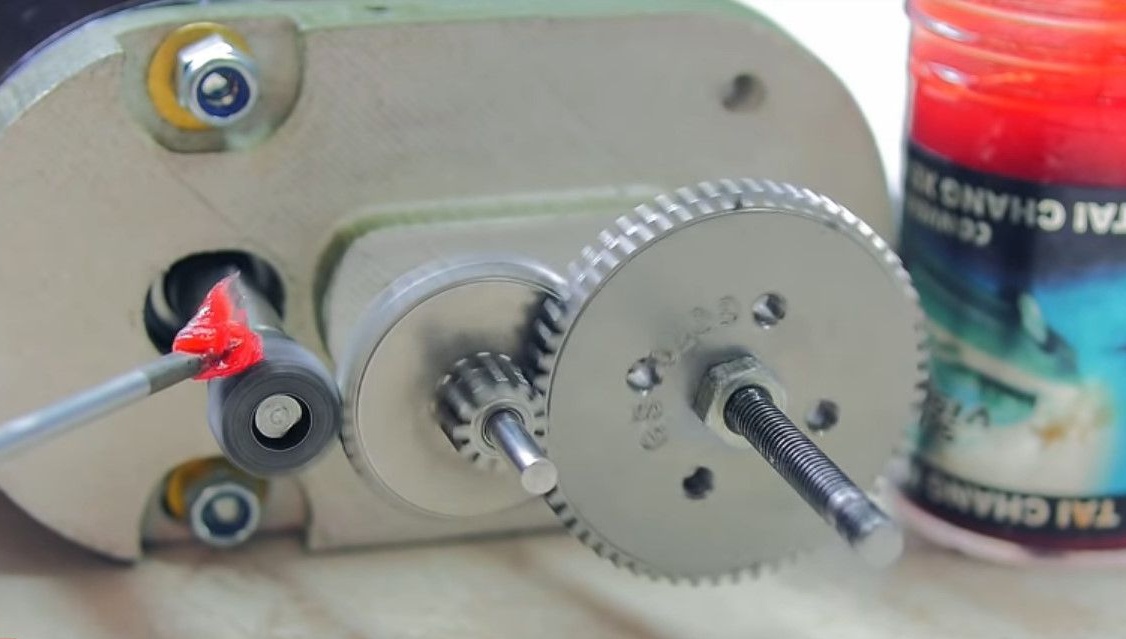
The noise goes away immediately. Repeat the same steps for the second bunch.
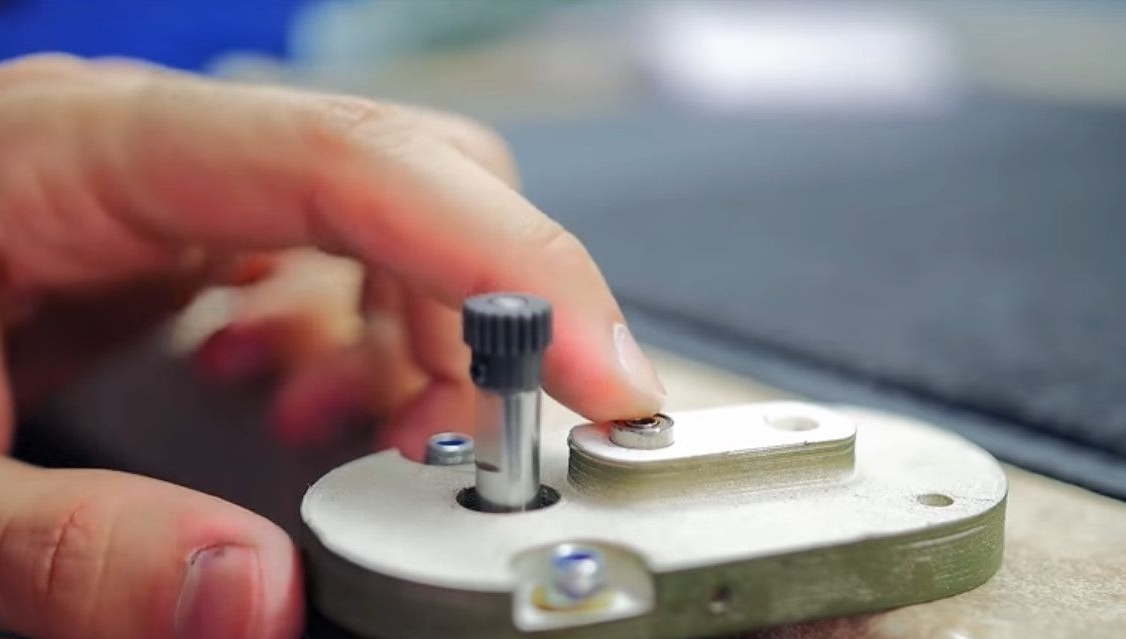
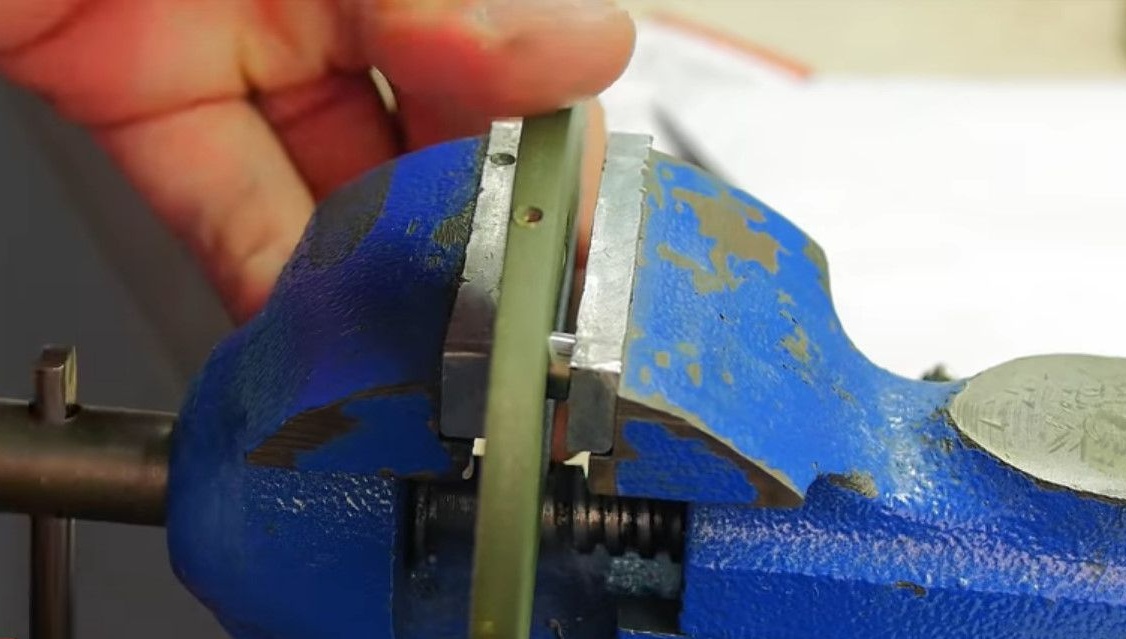
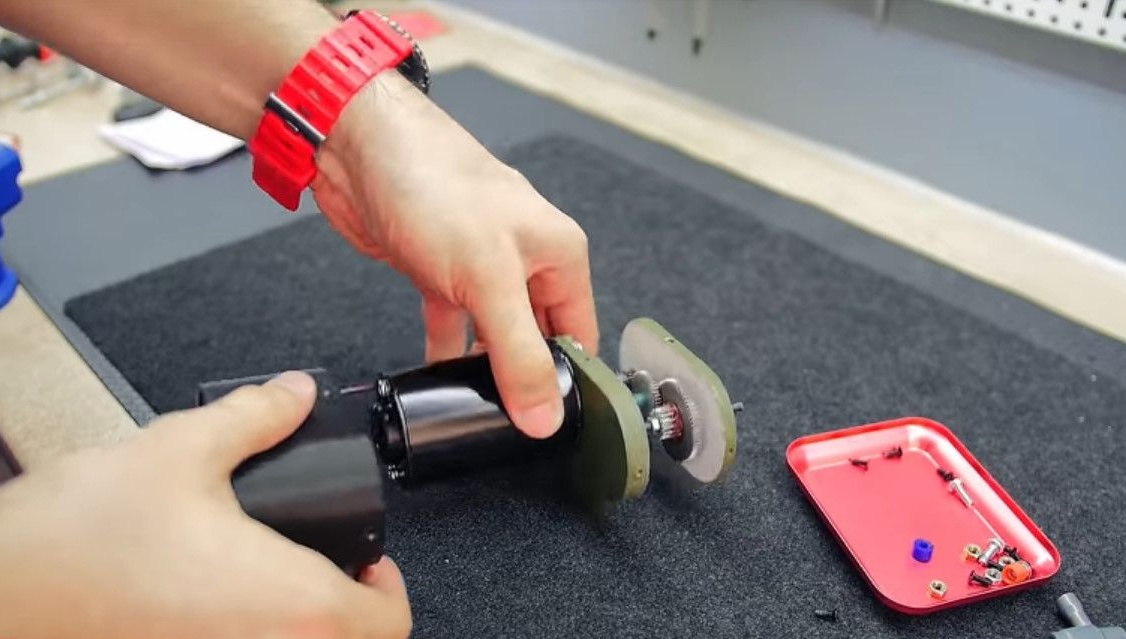
Getting to the second panel. We will press bearings into it.
We insert the bearing and press them into the socket with a vise.
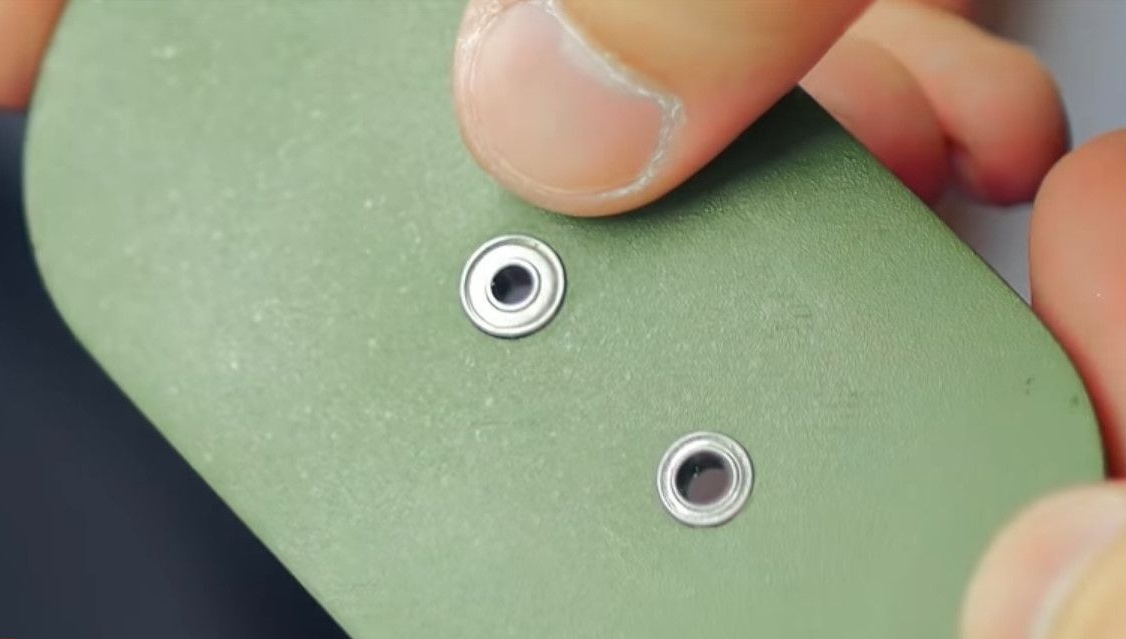
Dress the socket in its rightful place.
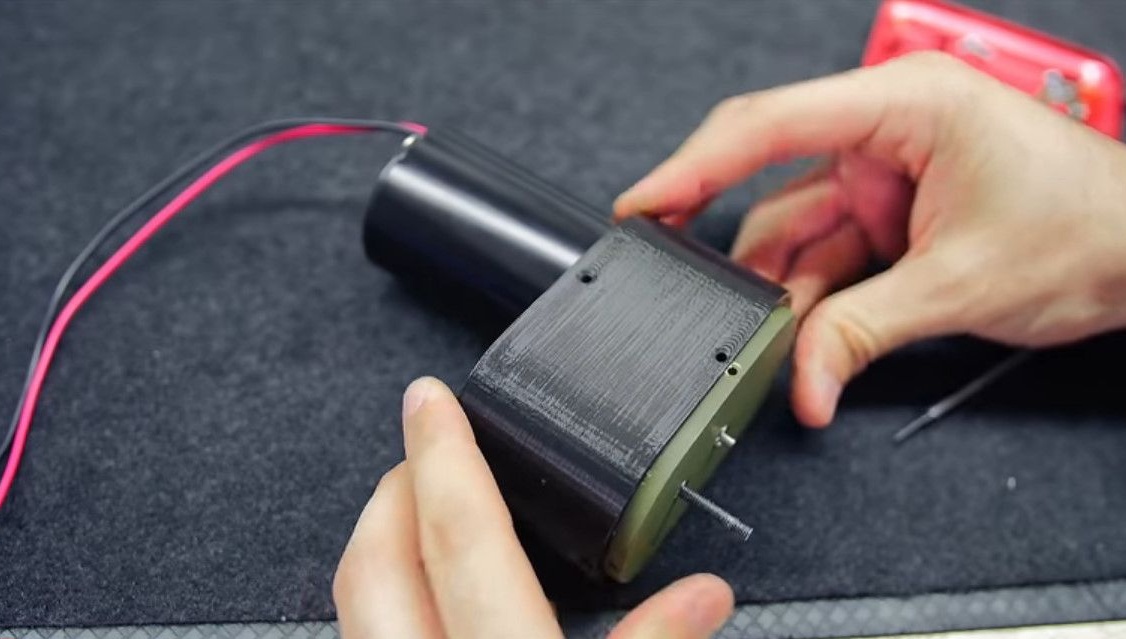
Now we put on the cover.
By the way, the holes can be screwed up, take countersunk screws. Then everything will be flush.
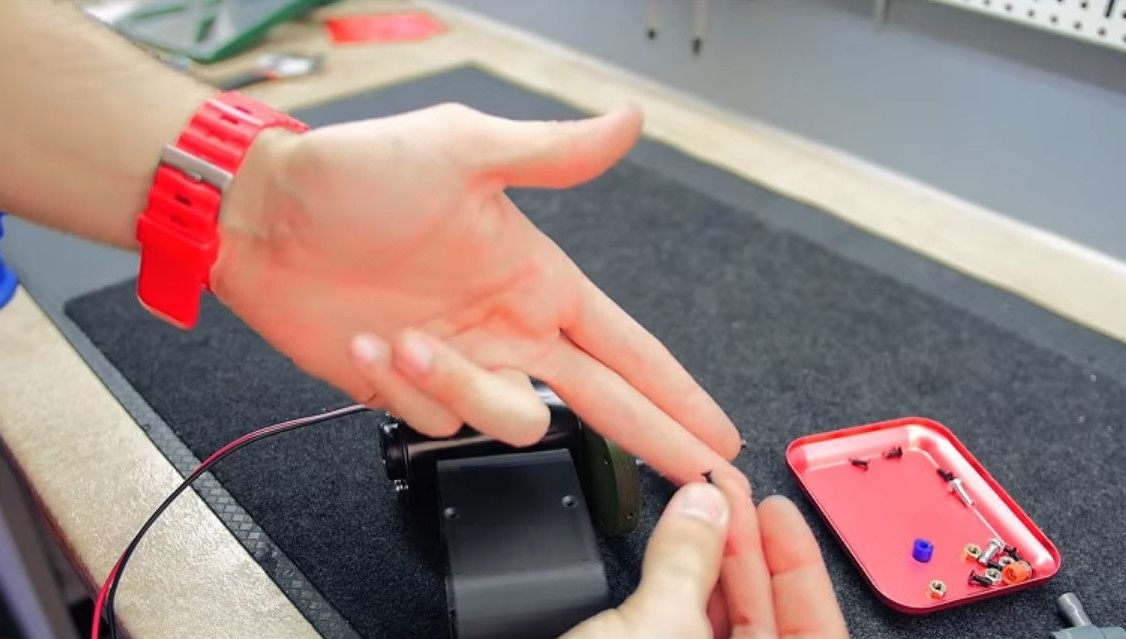
Thread through the bottom.
The bottom panel is slightly smaller so that the cover is easy to put on.
But the top one is already very, very tight.
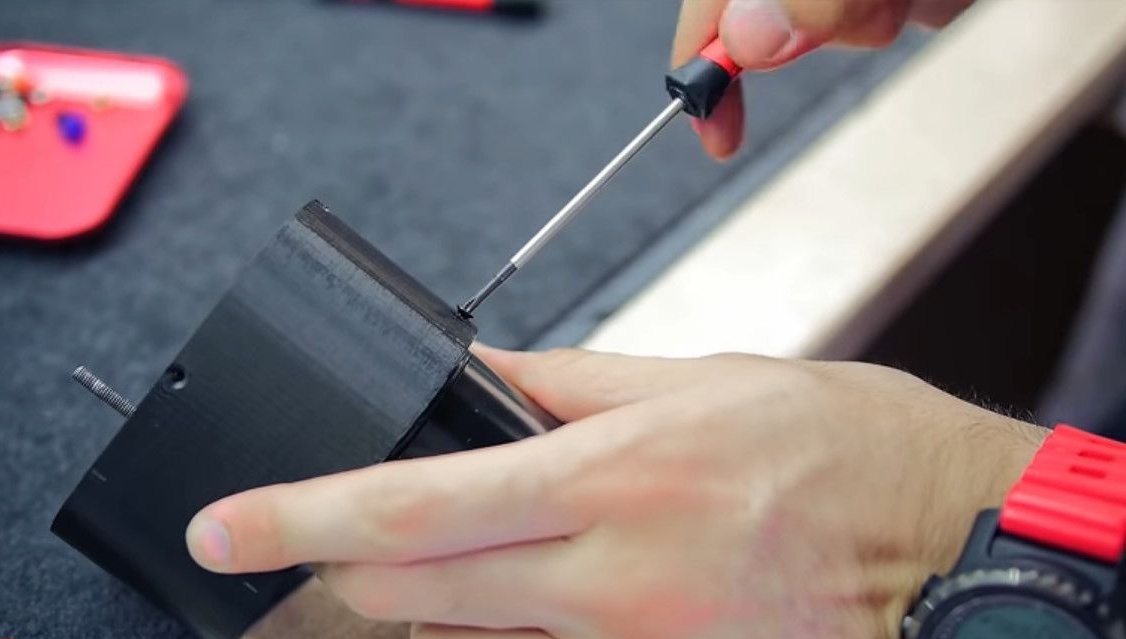
We screw in the screws and fasten the cover to the base.
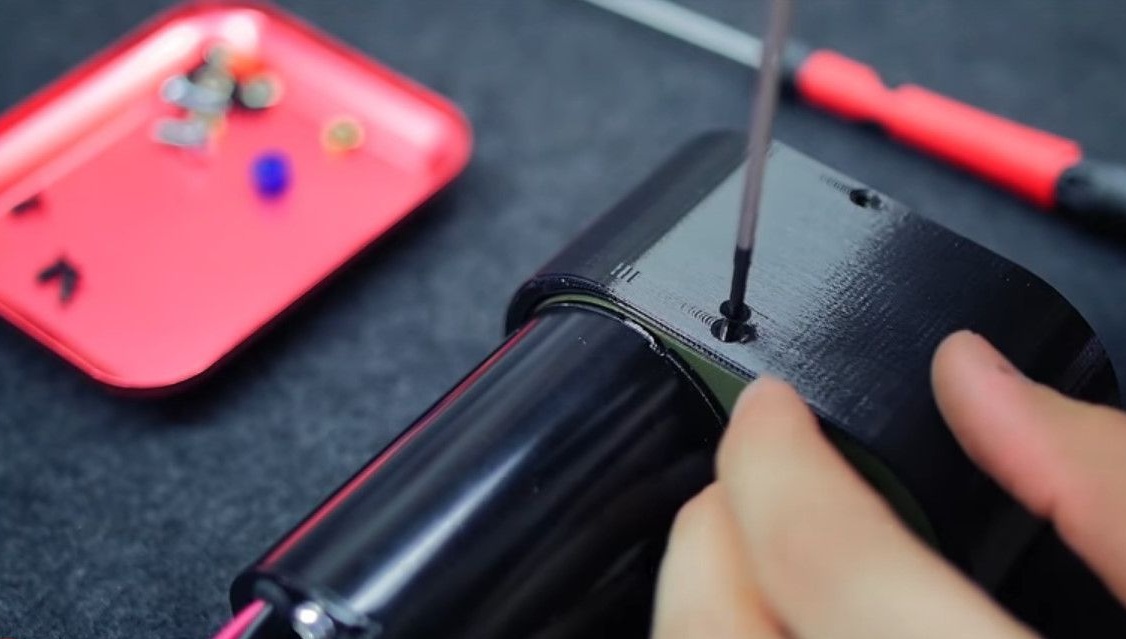
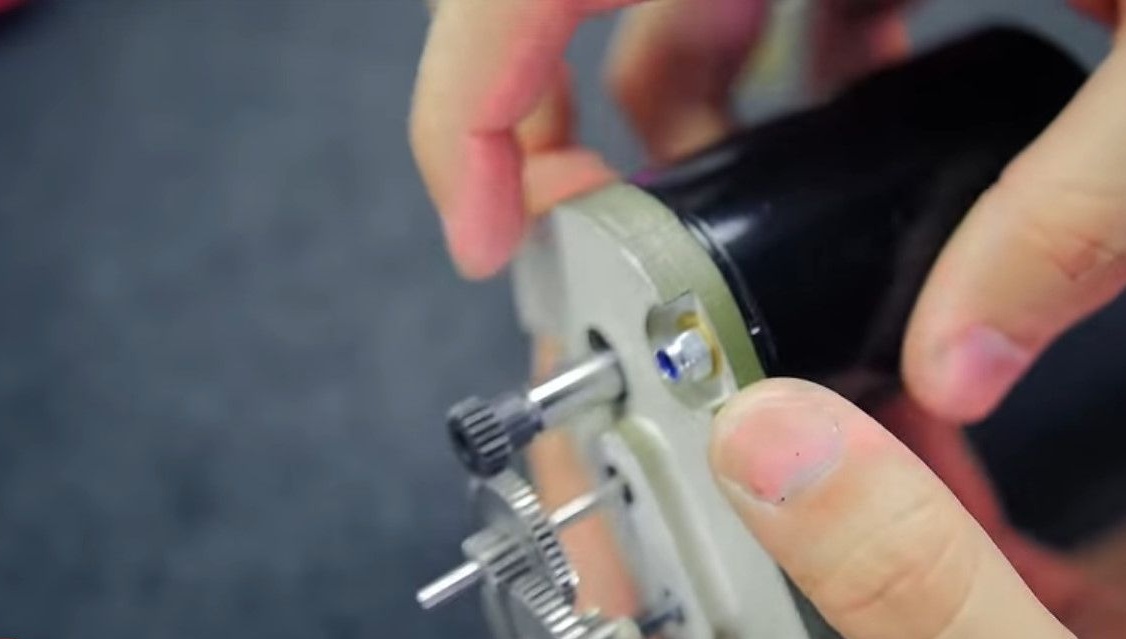
Also, the side screws on the base can move this entire plate by a millimeter.
This is necessary for more precise adjustment of gears.
We supply power for verification, everything works fine.
It remains to collect only the pen.
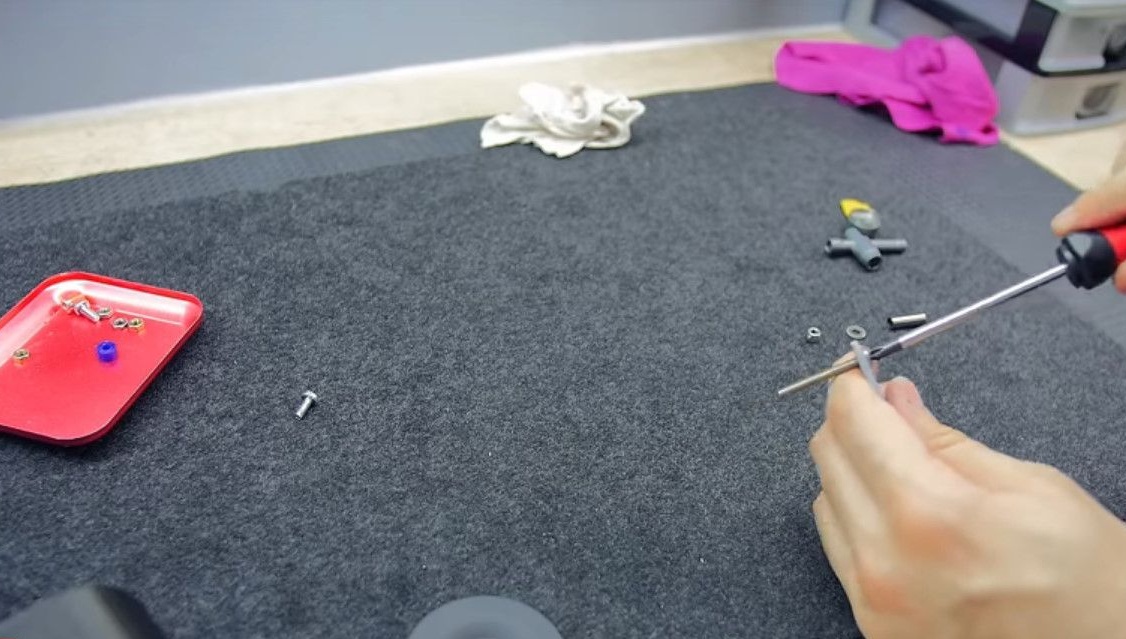
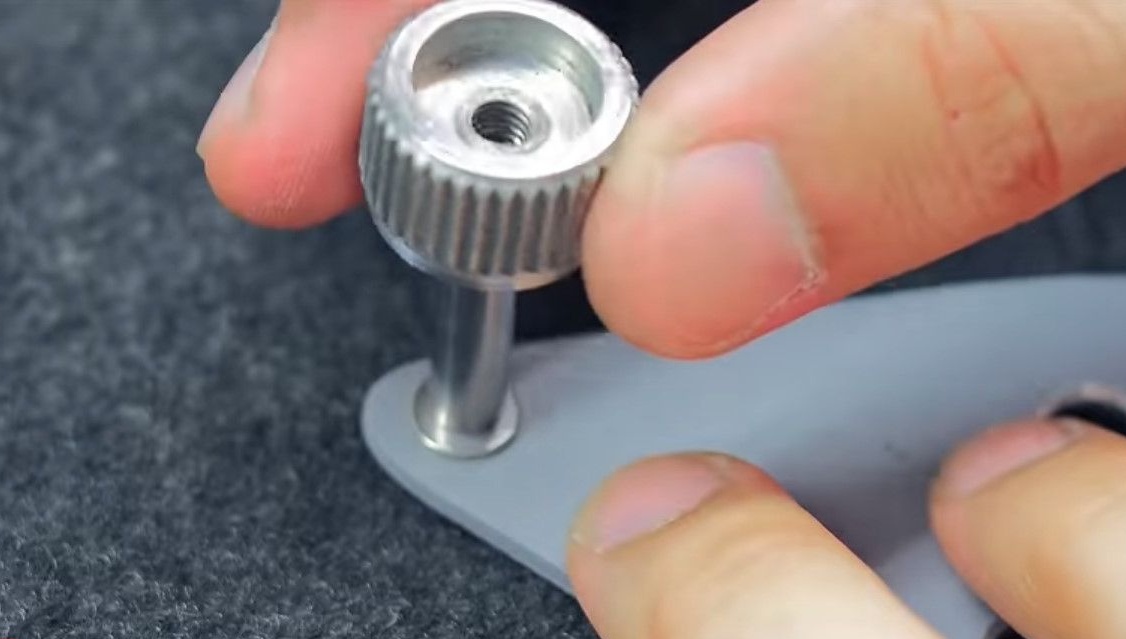
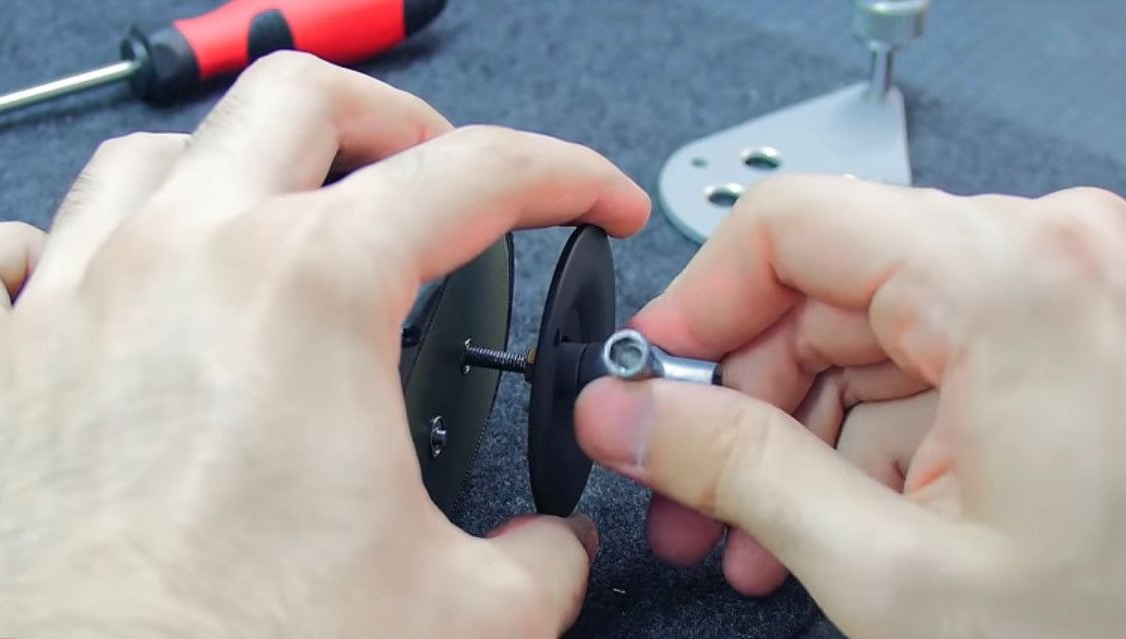
We take an aluminum plate, a large washer with a small washer.
We fasten these parts together, there are holes in the washer, and an M4 thread is cut into them.
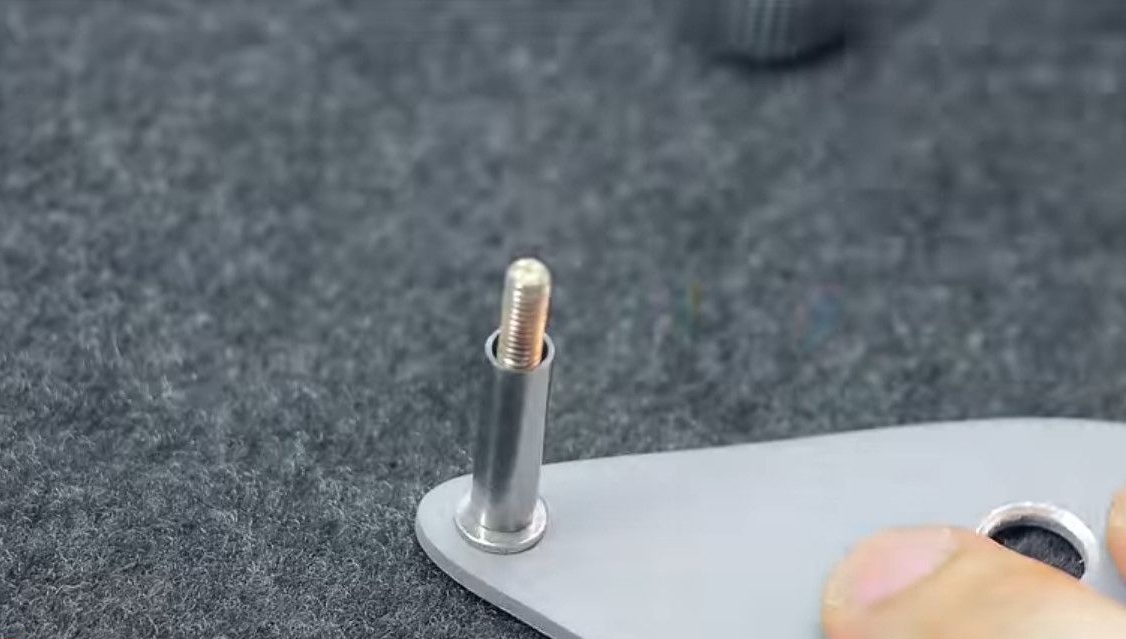
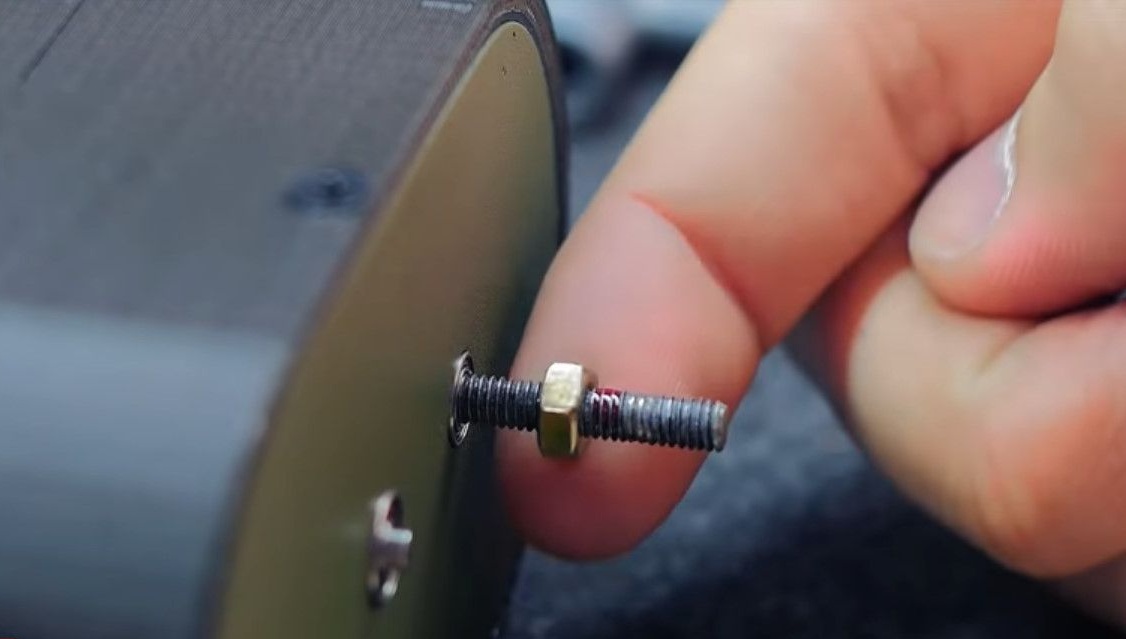
There is also an M4 thread on the edge of the eye, and a long screw is screwed into it.
Press, put on a small washer.
A piece of tubule, another washer.
The handle is clamped with a lock nut.
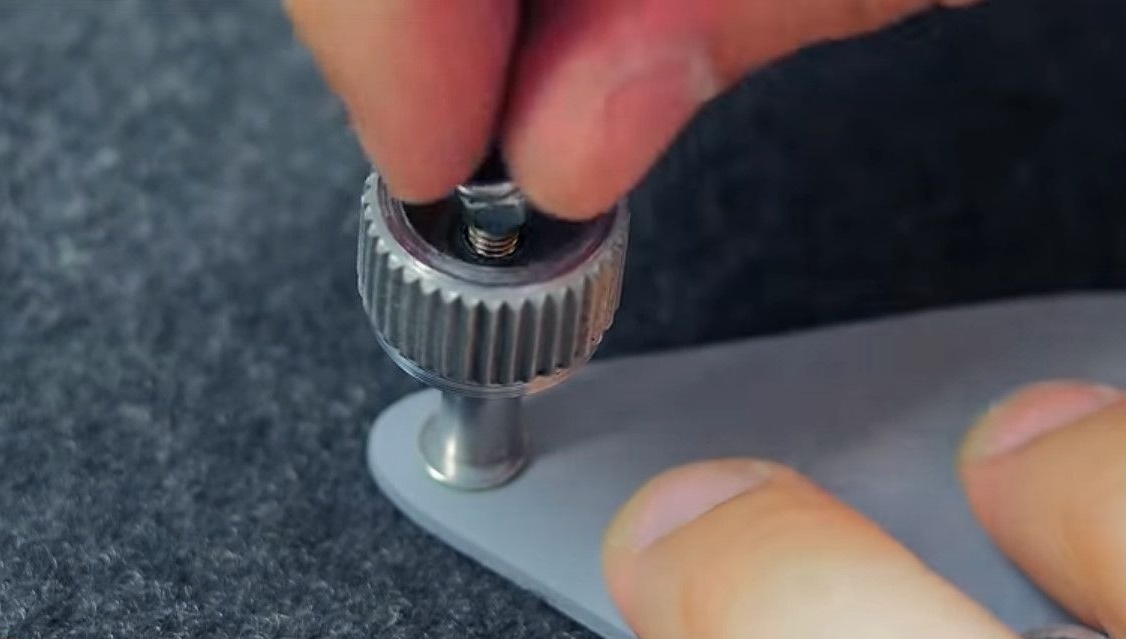
Adjust the handle preload so that it rotates freely.
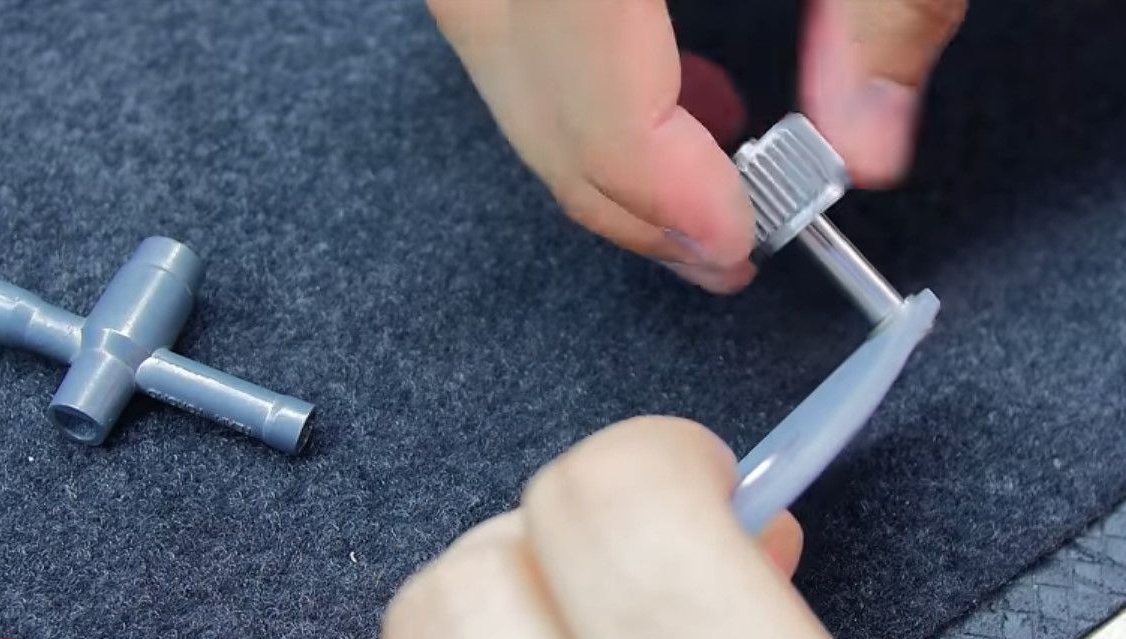
Now we put on a pad for the handle, clamp the washer with nuts.
We simply dress the handle, fasten it with two M4 screws.
All. Test time has come!
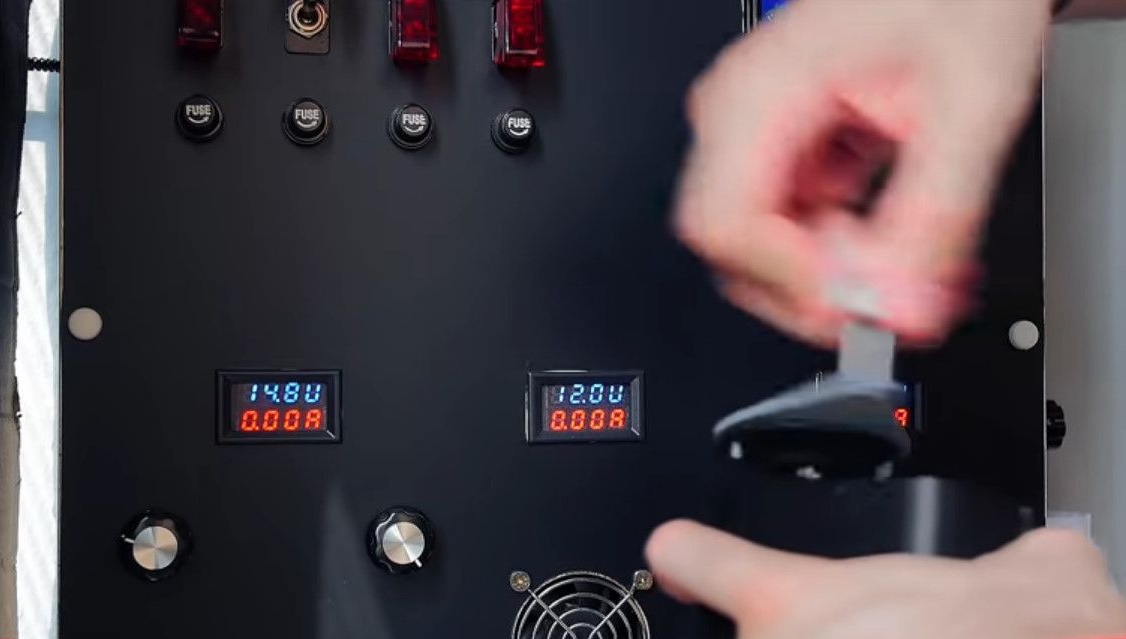
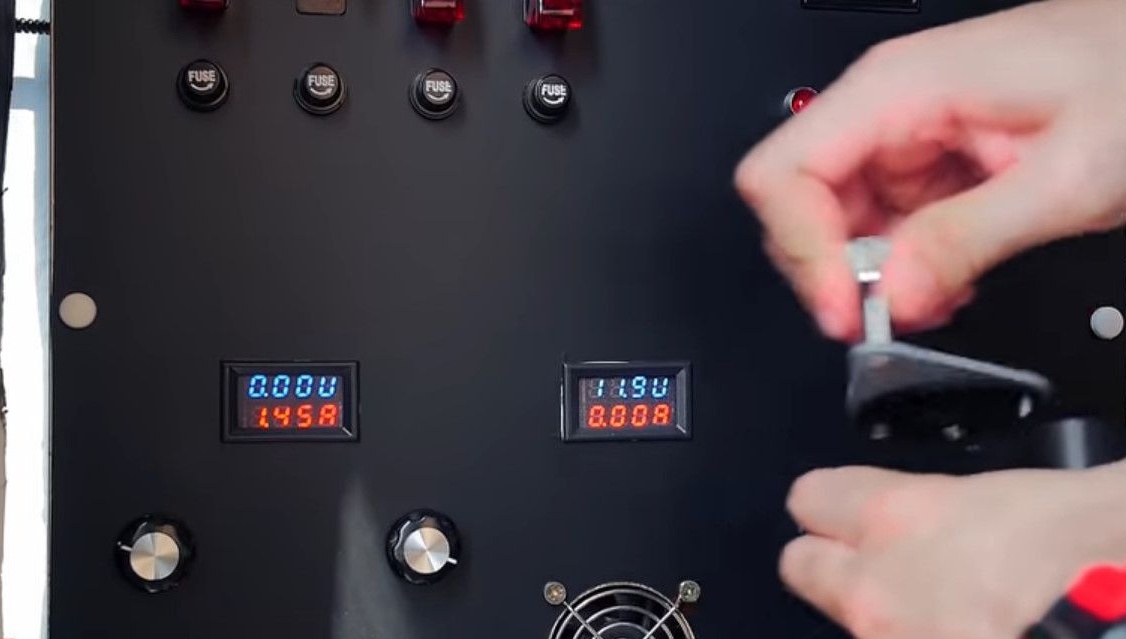
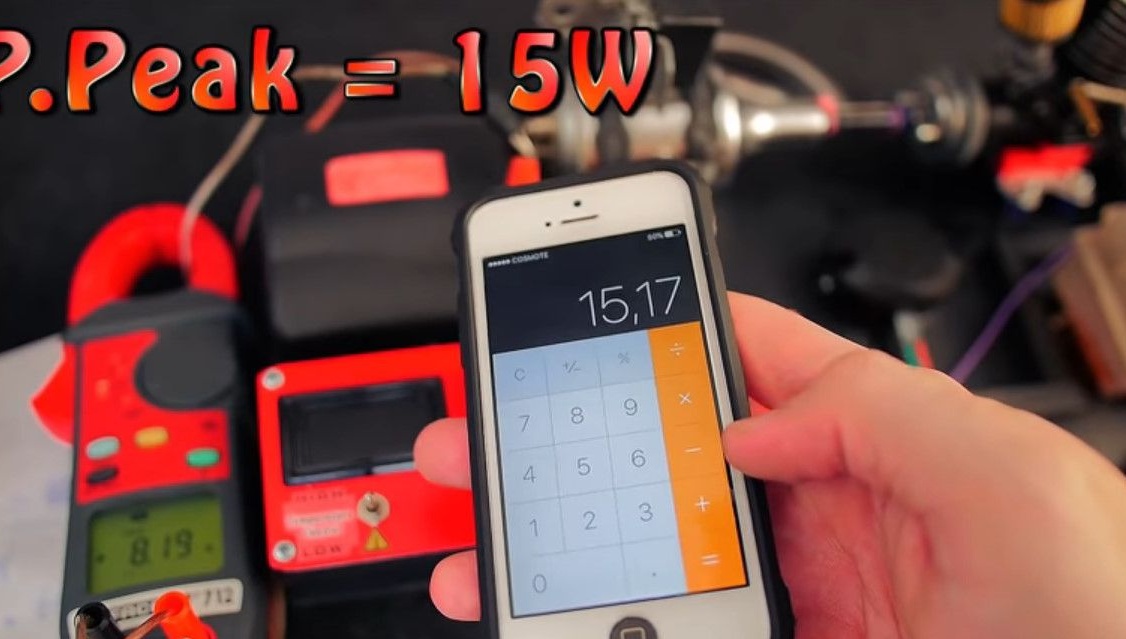
Peak current 1.85A at 8.19V

Power 15 watts.
To use as a charger, install a 5V stabilizer module.
Details from the release:
Bearings 3x8x3
Bearings 4x7x2.5
For you, the generator made and introduced Alpha Mods.
Good ideas to all!