
I welcome all fans to craft, today we will consider how to make a simple broach for a grinder. Using such homemade you can easily cut sheet metal, and when installing a disk on wood, you can cut the bars, plywood and so on. Of course, the machine does not work very precisely, but for home use the homemade product is quite suitable. If you are interested in the project, I propose to study it in more detail!
Materials and tools used by the author:
Material List:
- C-shaped profile;
- wooden block;
- two bearings;
- threaded rod;
- bolts, nuts, washers;
- MDF, plywood or similar material;
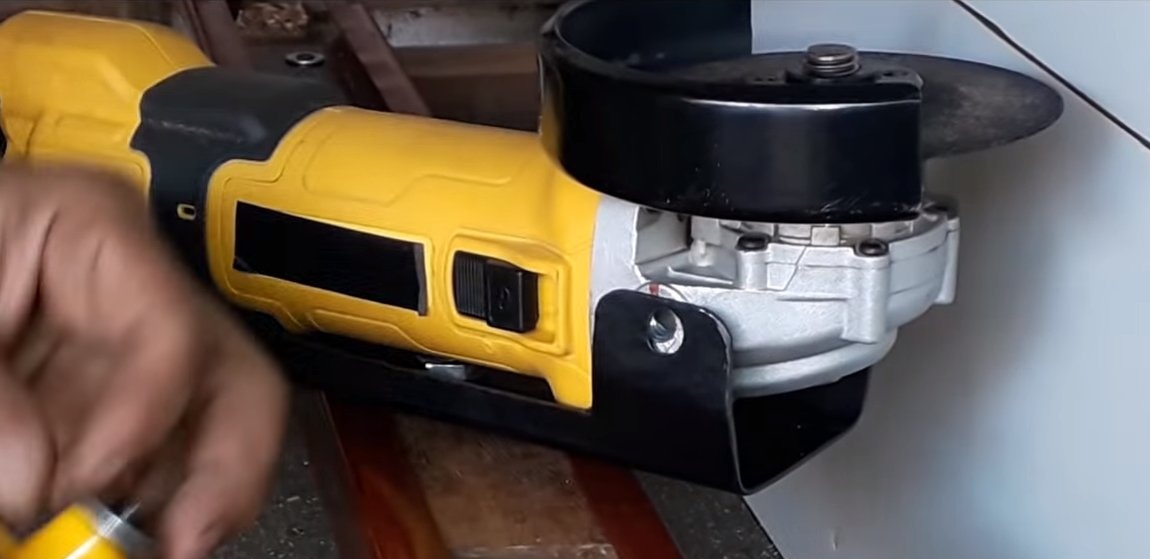
- experimental grinder;
- self-tapping screws;
- paint for metal.
Tool List:
- a hacksaw;
- jigsaw;
- drill;
- pencil, tape measure;
- manual milling cutter (preferably);
- drilling machine.
Homemade manufacturing process:
Step one. Rack preparation
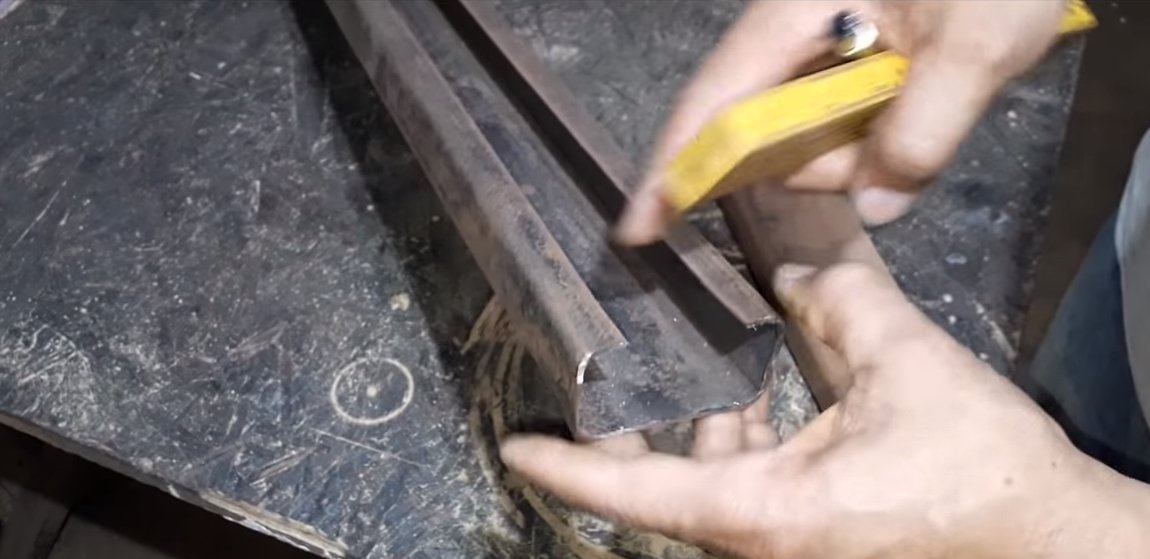
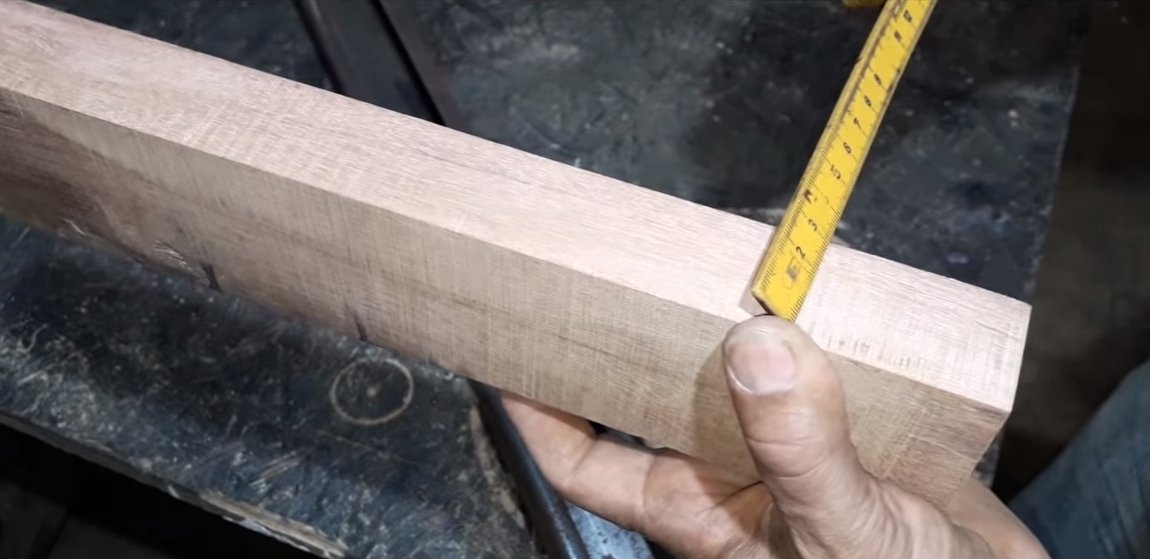
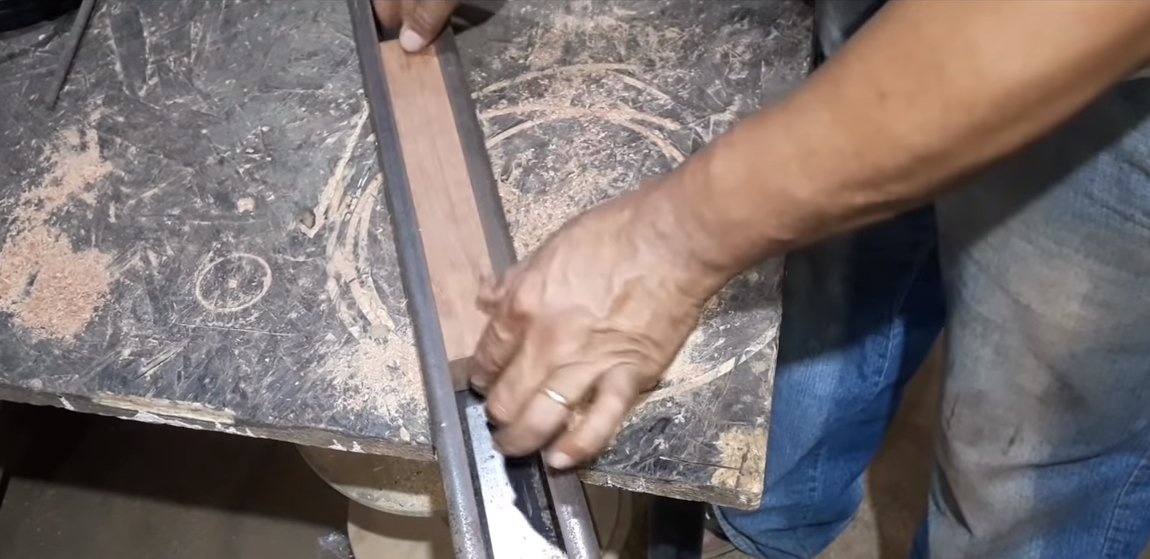
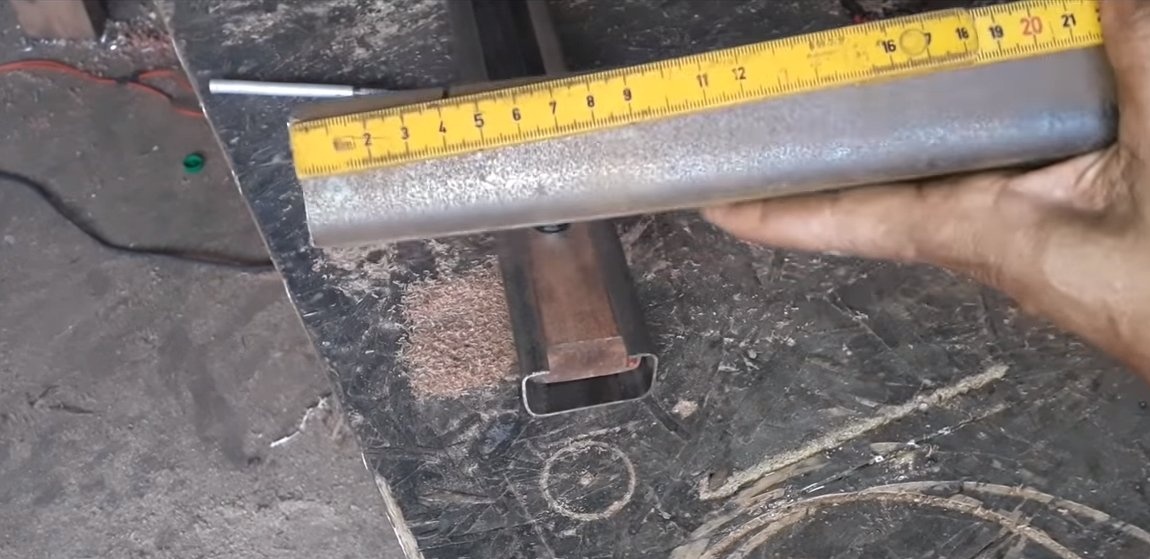
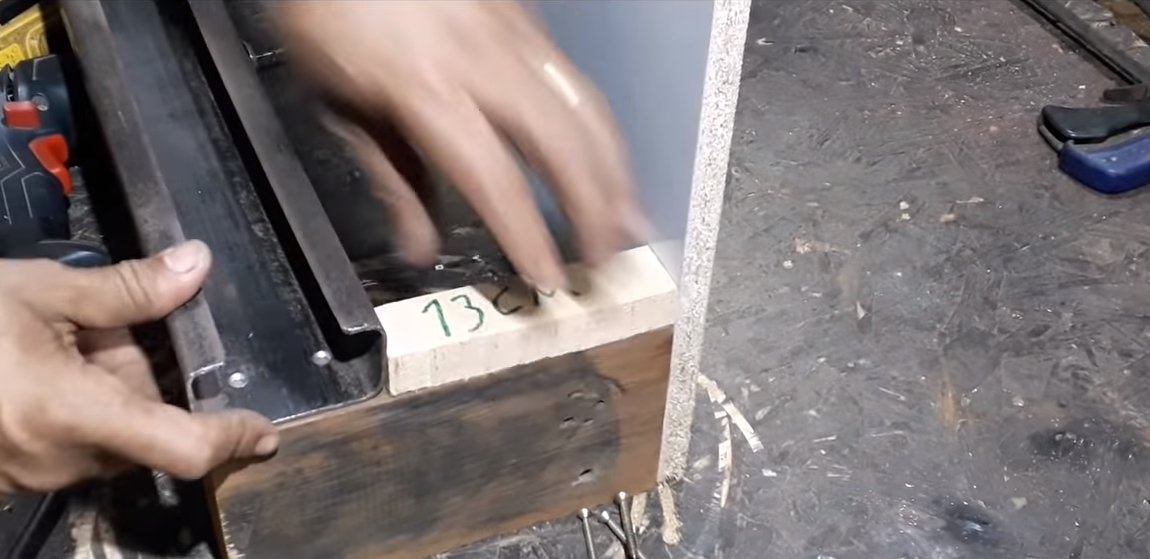
First we make a rack that will be responsible for the broach. As a "rail" the author uses a C-shaped profile, inside which a wooden block rides. Of course, it is advisable to use a block of hard wood, and to make the homemade product longer, the bar can be sheathed with sheet metal.
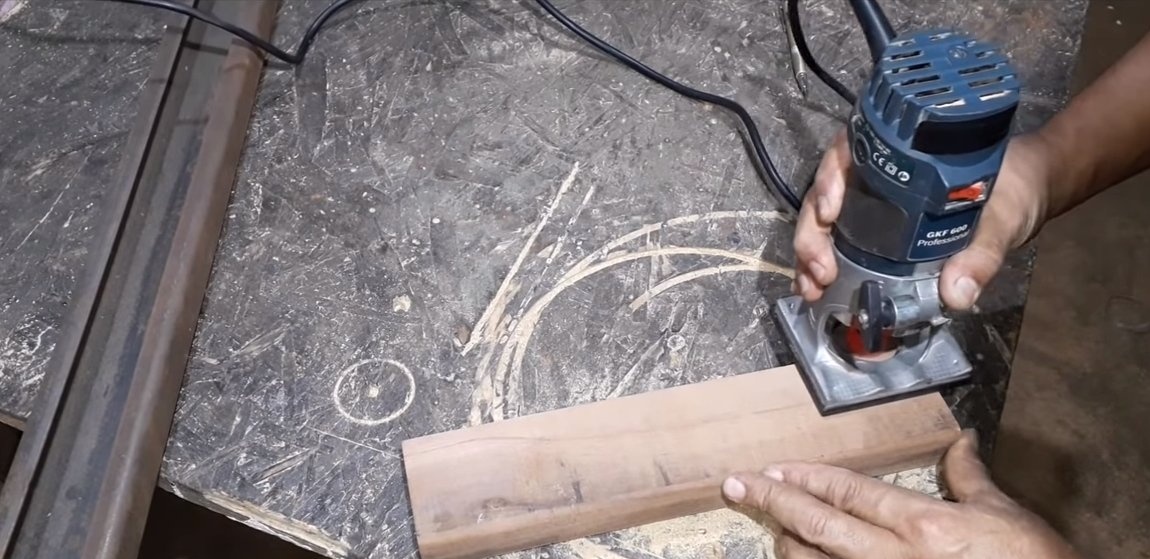
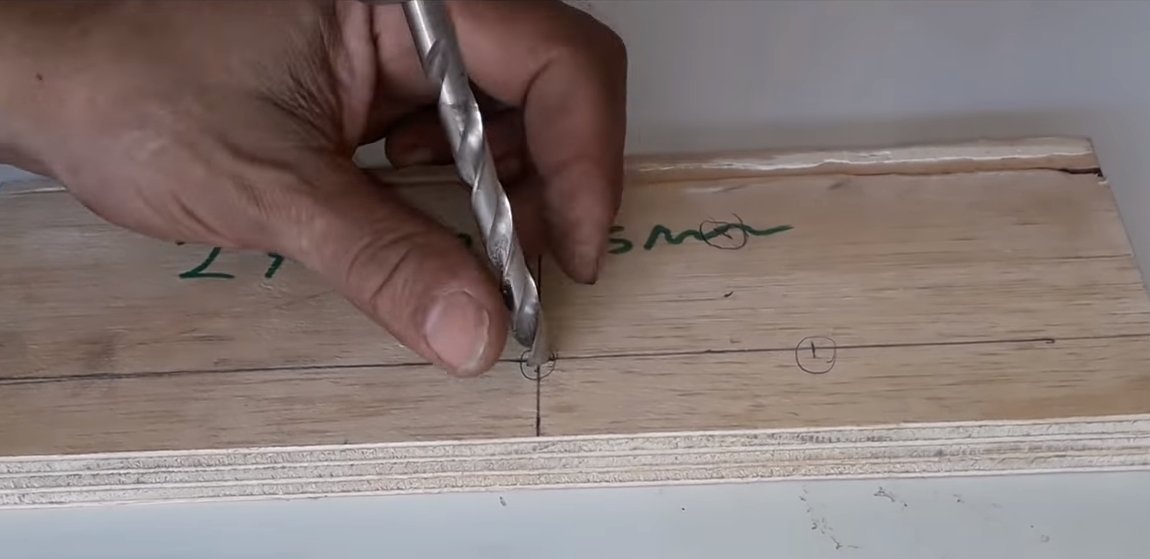
We adjust the bar clearly in size so that it fits inside the profile with a small gap. The author rounded the edges of the bar with a manual milling cutter so that he would not wedge.
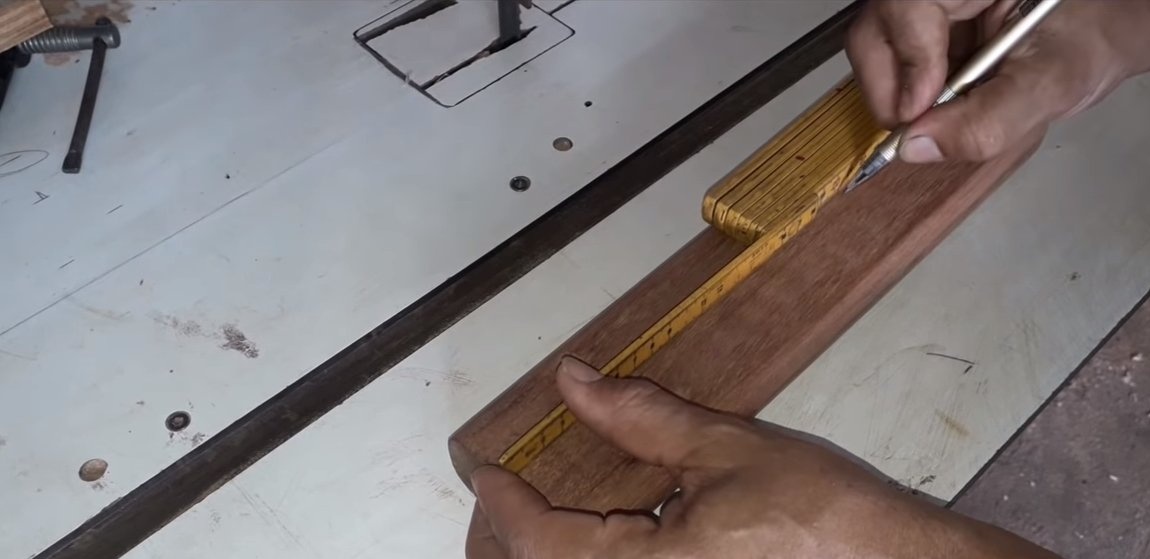
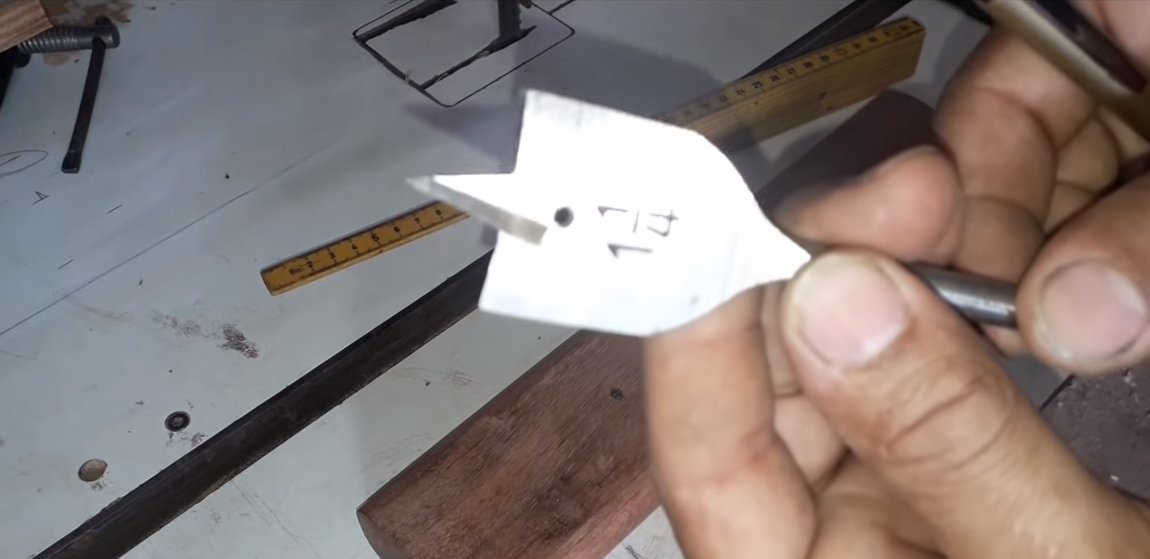
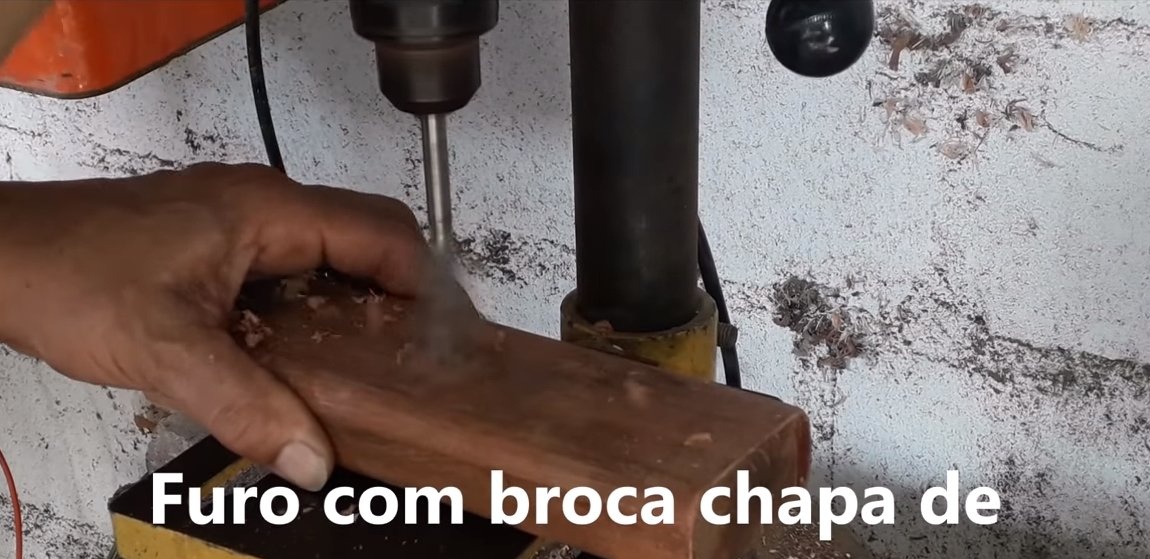
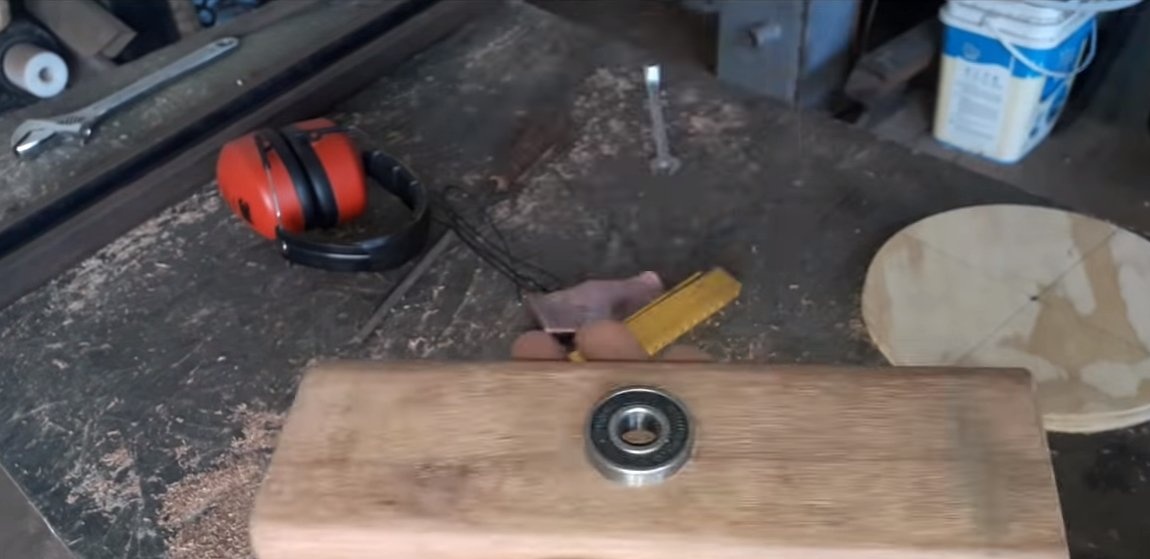
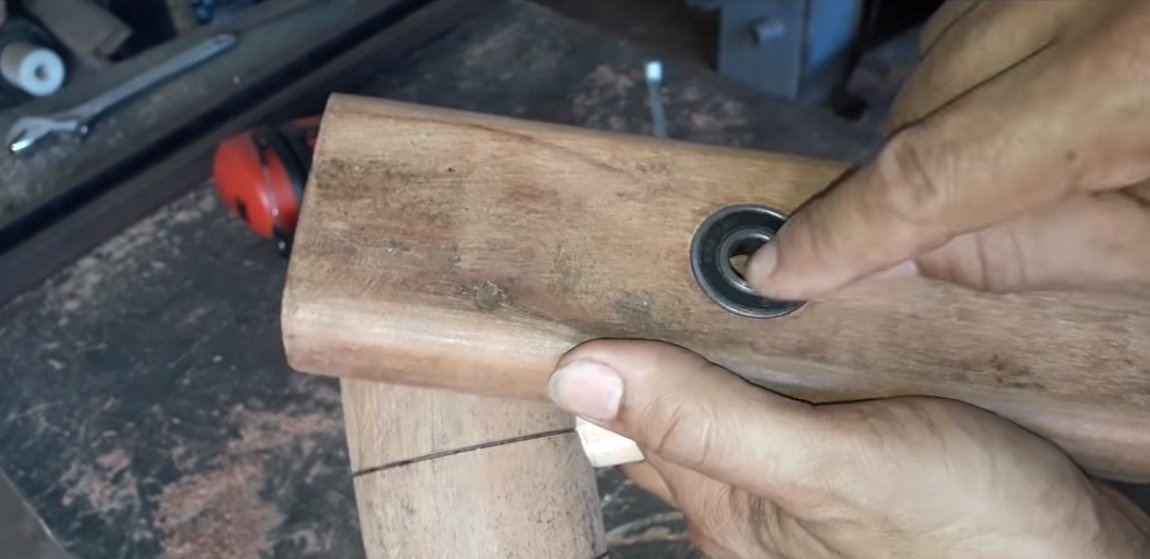
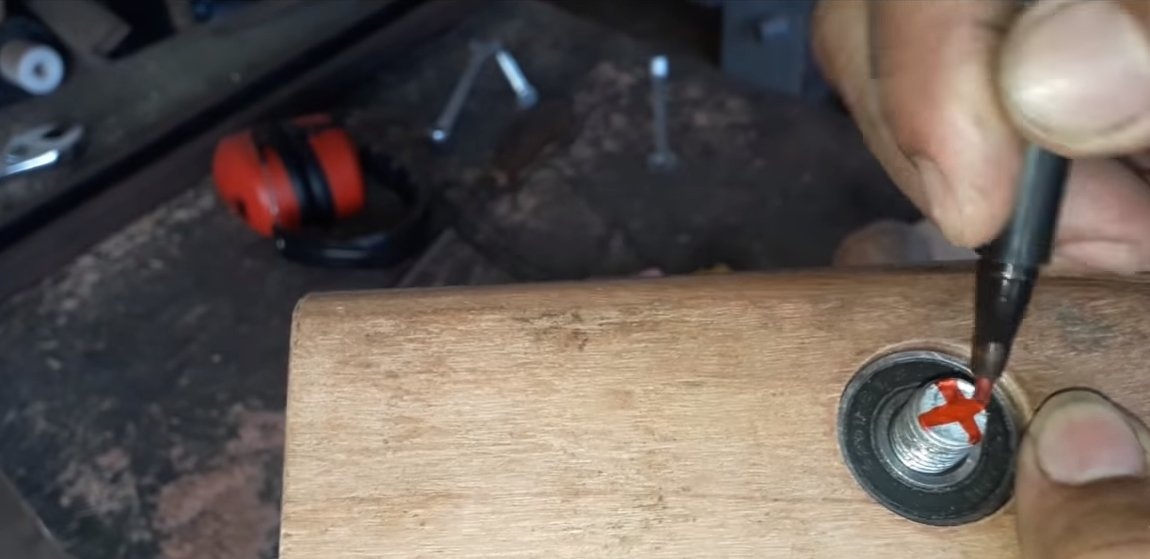
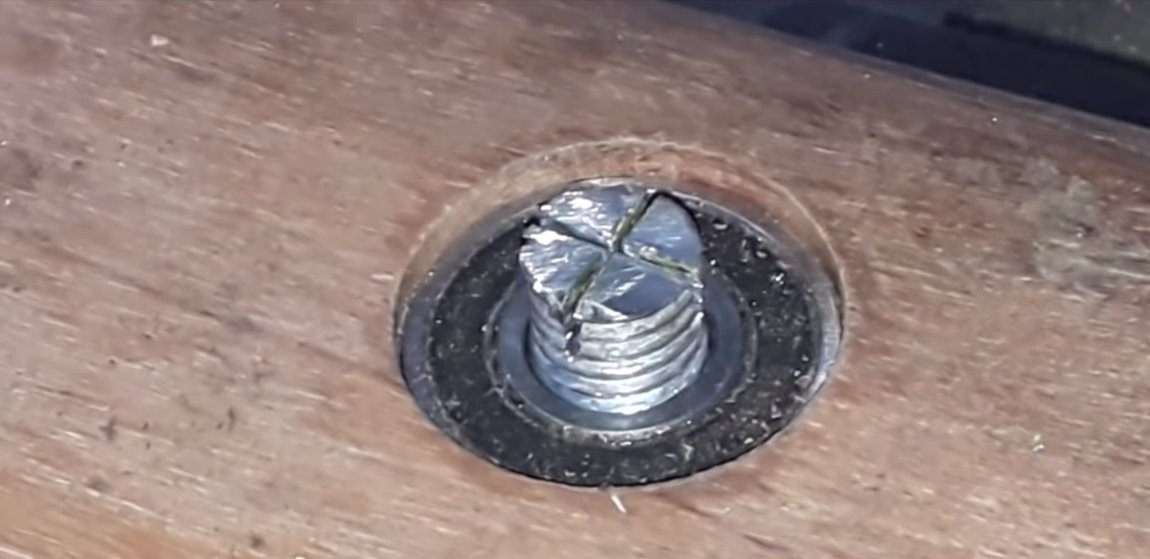
In the center of the bar, you need to drill holes under the axis and make seats for the bearings. Bearings are mounted on both sides, and a piece of a threaded rod is used as the axis. To fix the rod from the inside, make cuts in the rod and wedge the rod with a chisel. As a result, the rod will hold firmly, and nothing will interfere with the inside.
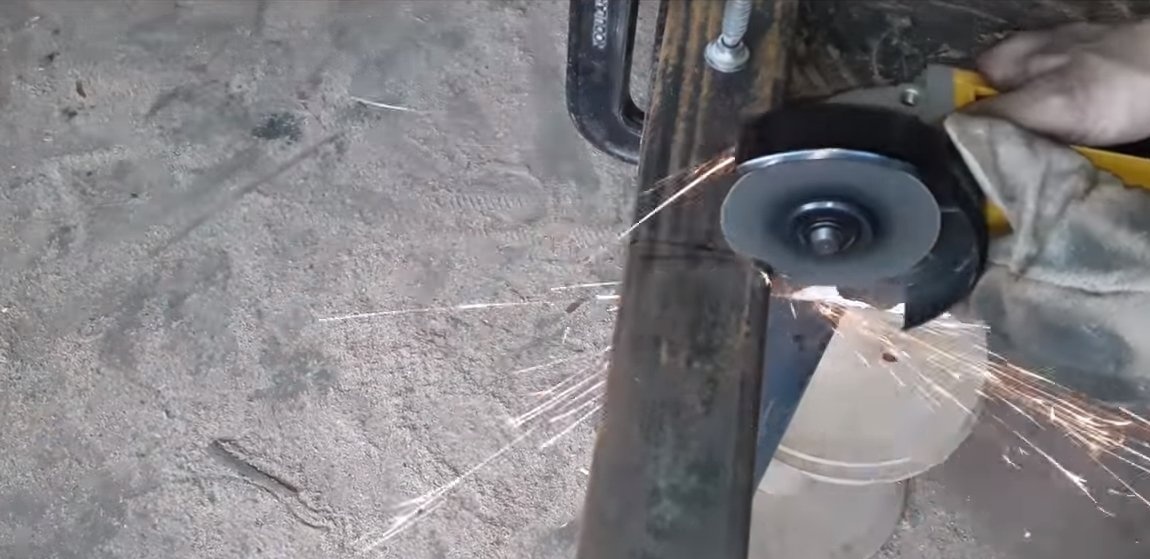
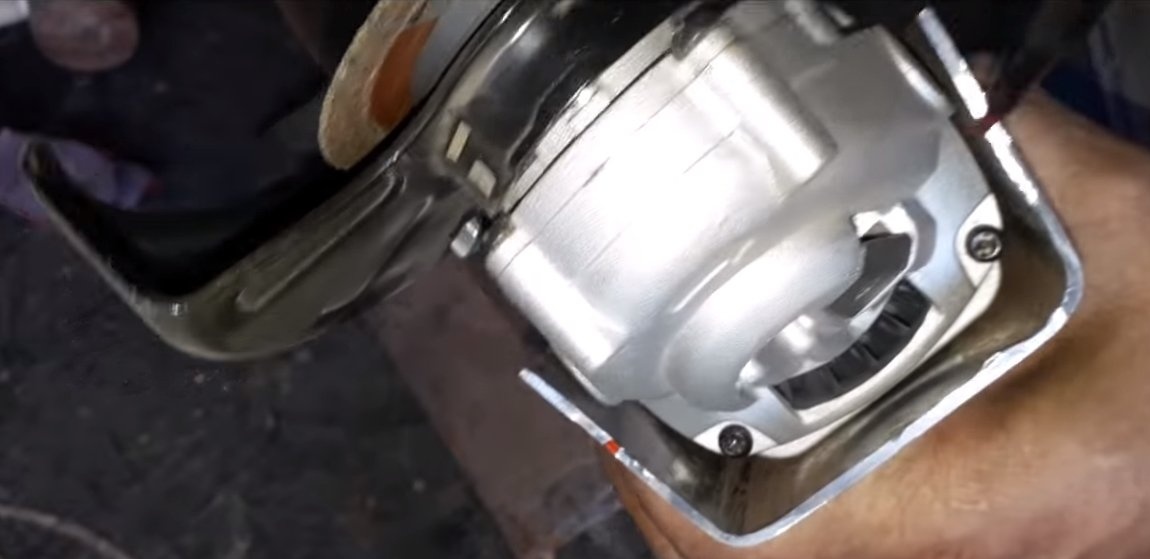
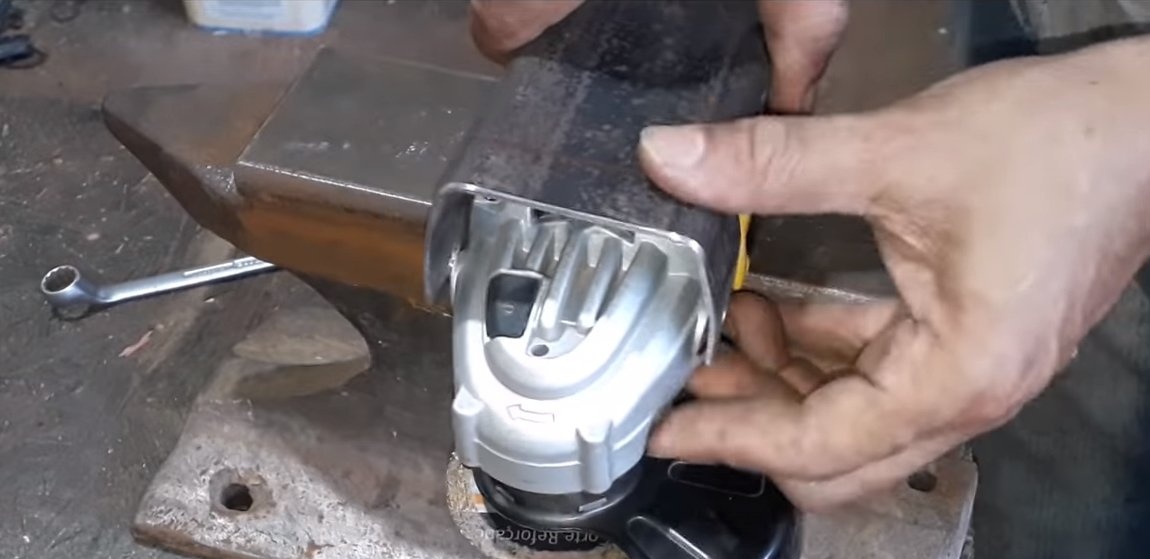
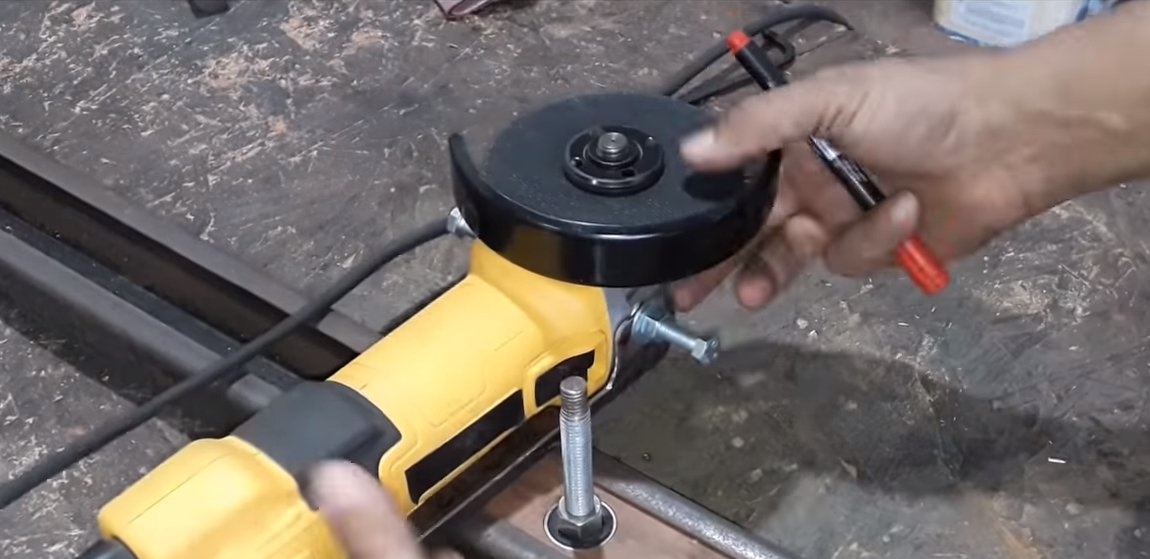
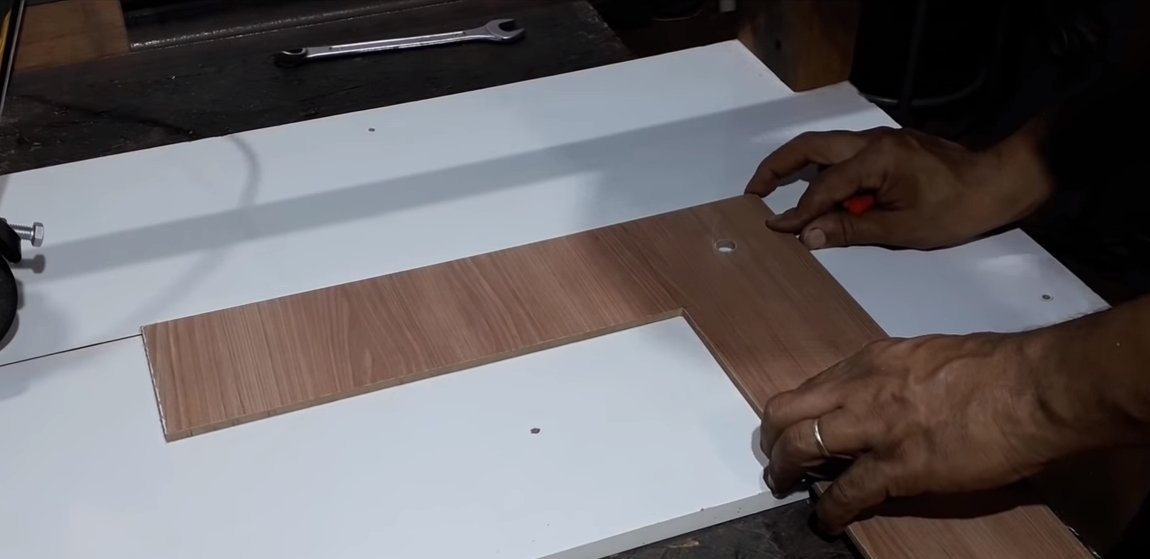
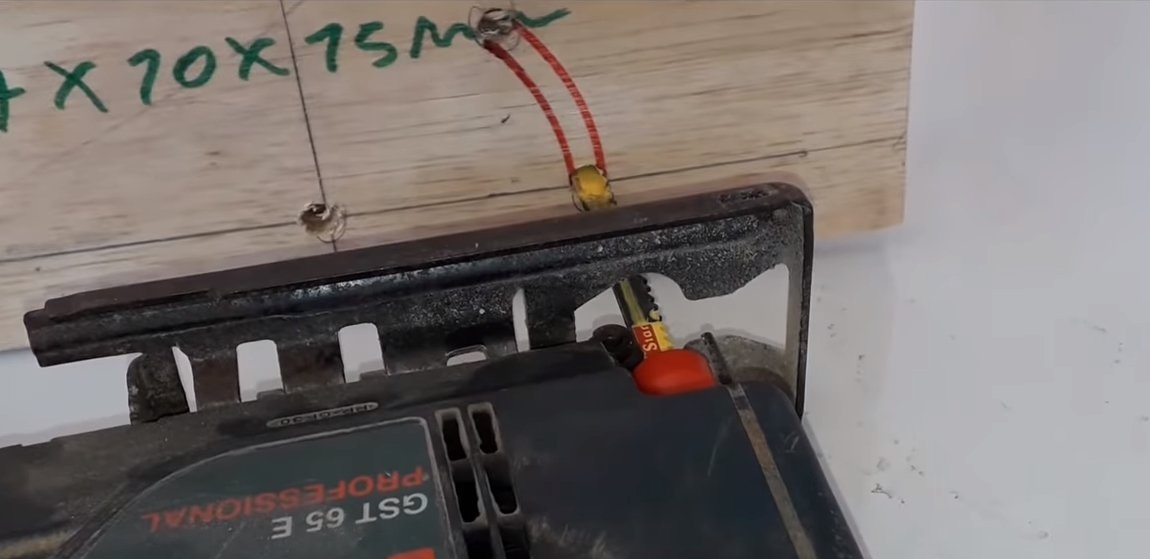
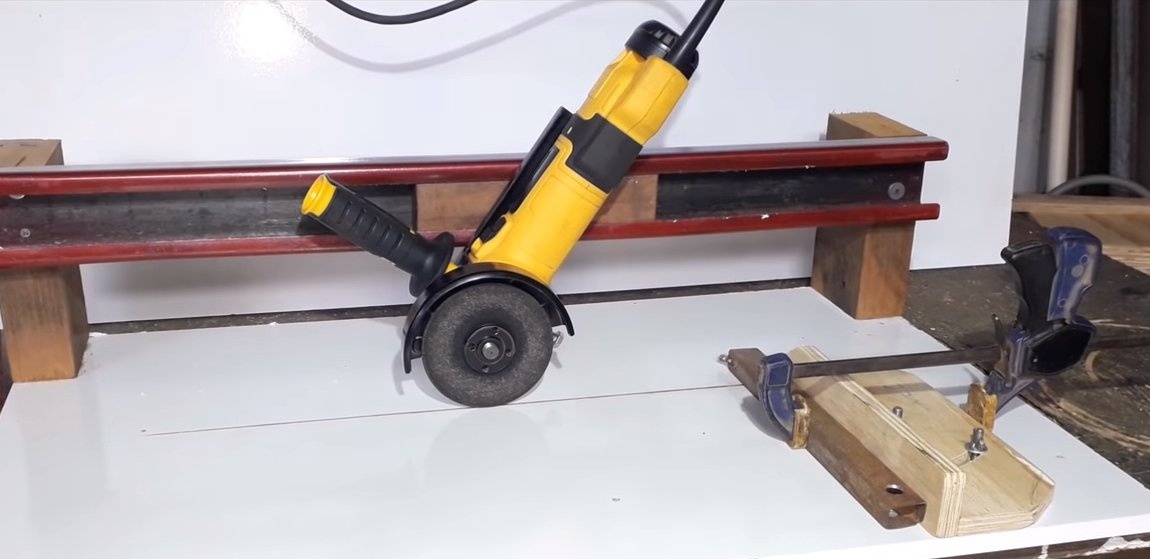
Step Two Bracket for grinder
We also need to make a bracket for the grinder, it will be fastened with the help of bolts that are wrapped in the holes for fixing the handle.
The bracket is cut out of a channel, a profile or made of corners. In the center of the bracket we drill a hole and now you can screw the bracket to the working axis. The author was prevented by nuts, as a result, he turned them to the desired size.
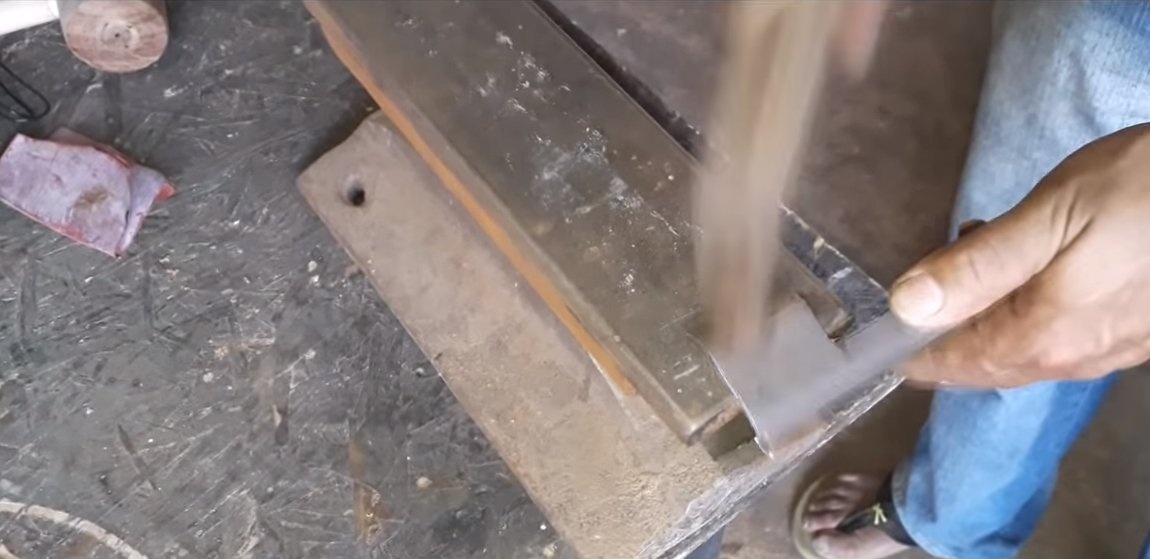
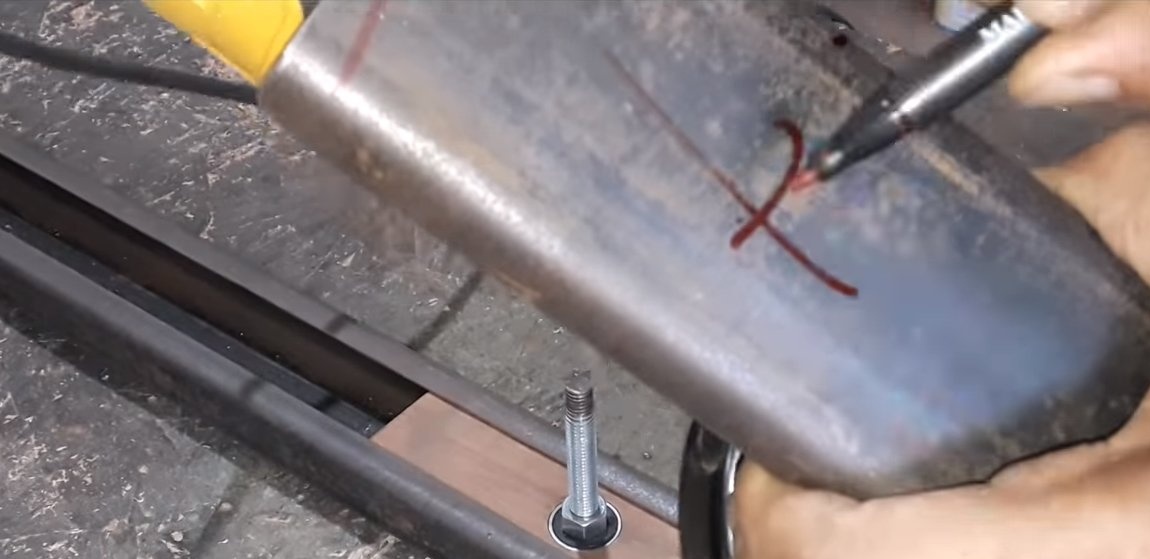
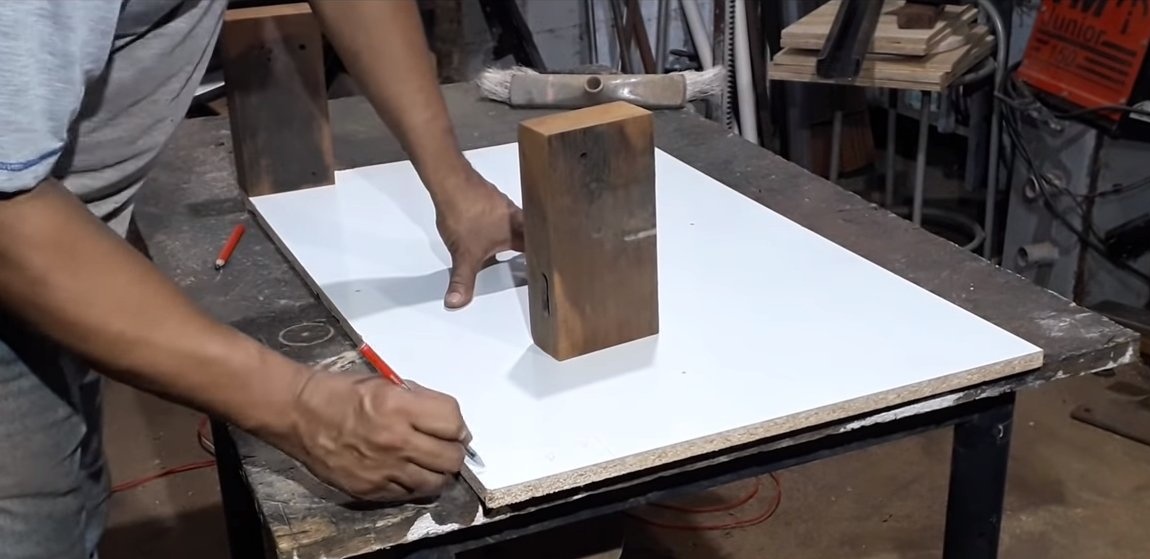
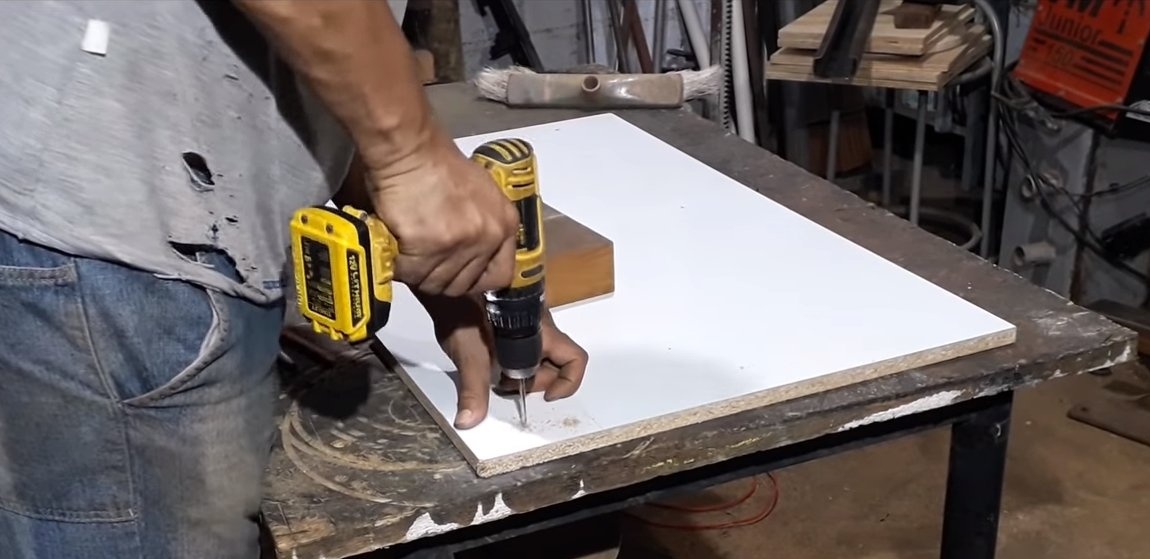
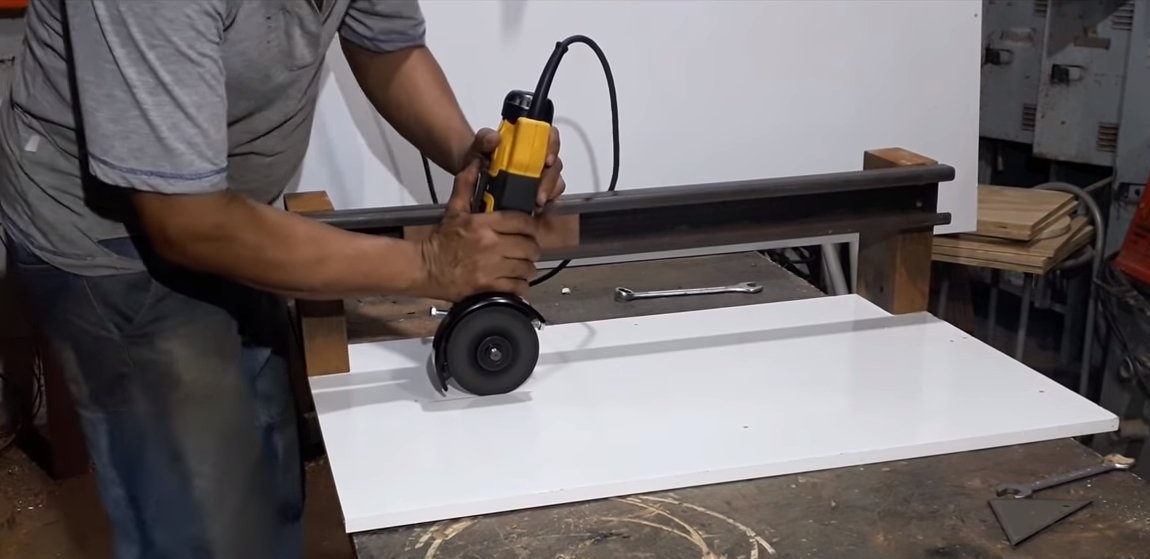
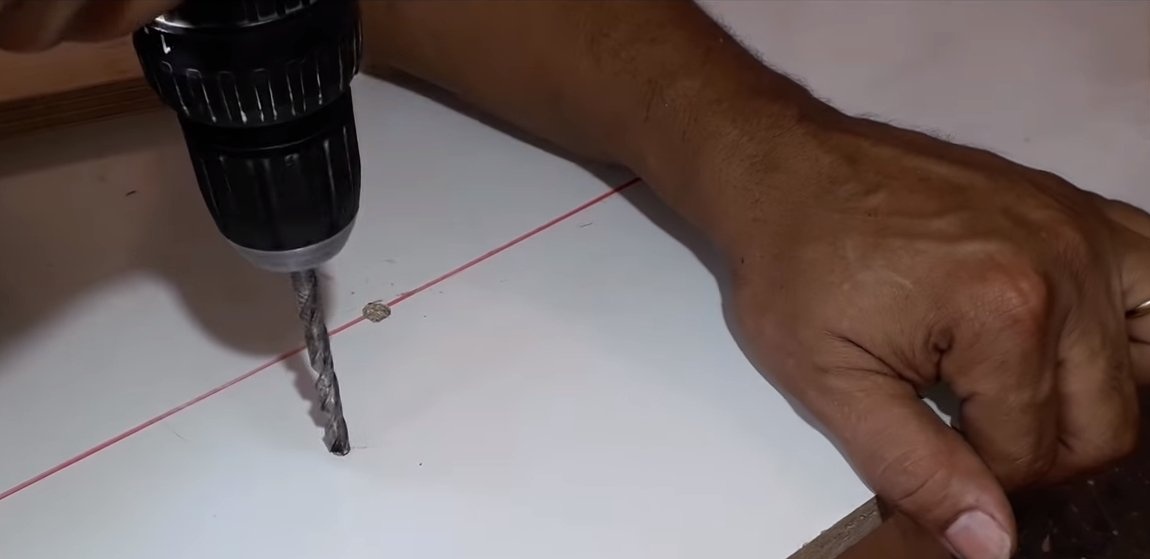
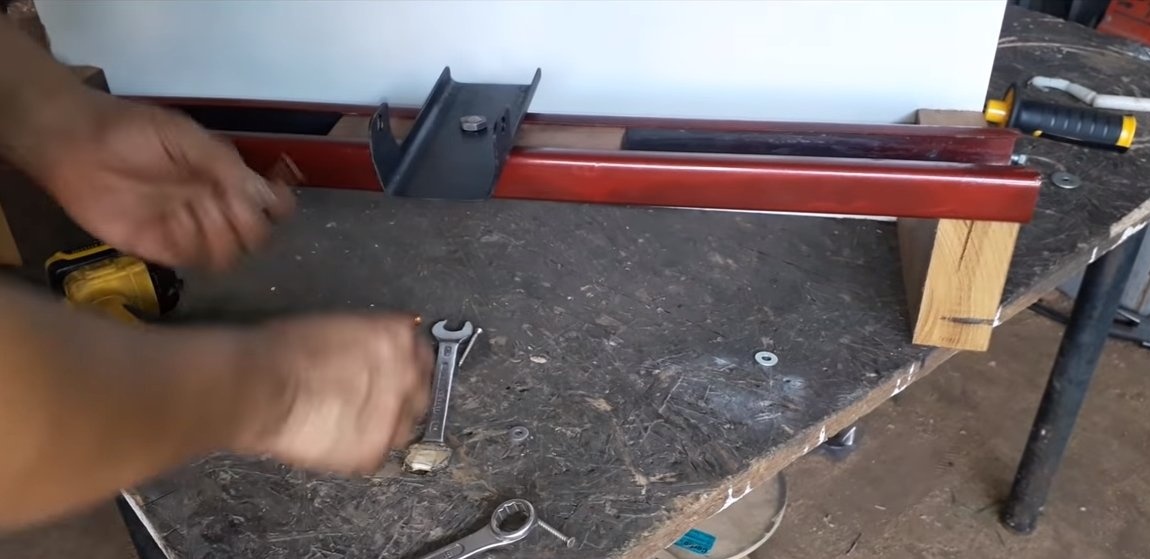
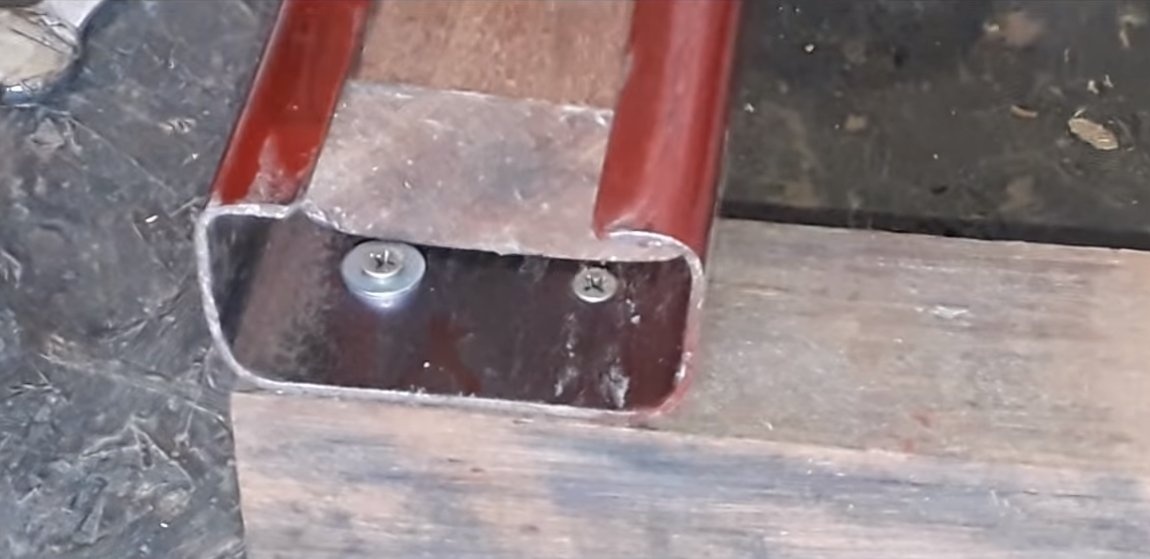
Step Three The foundation
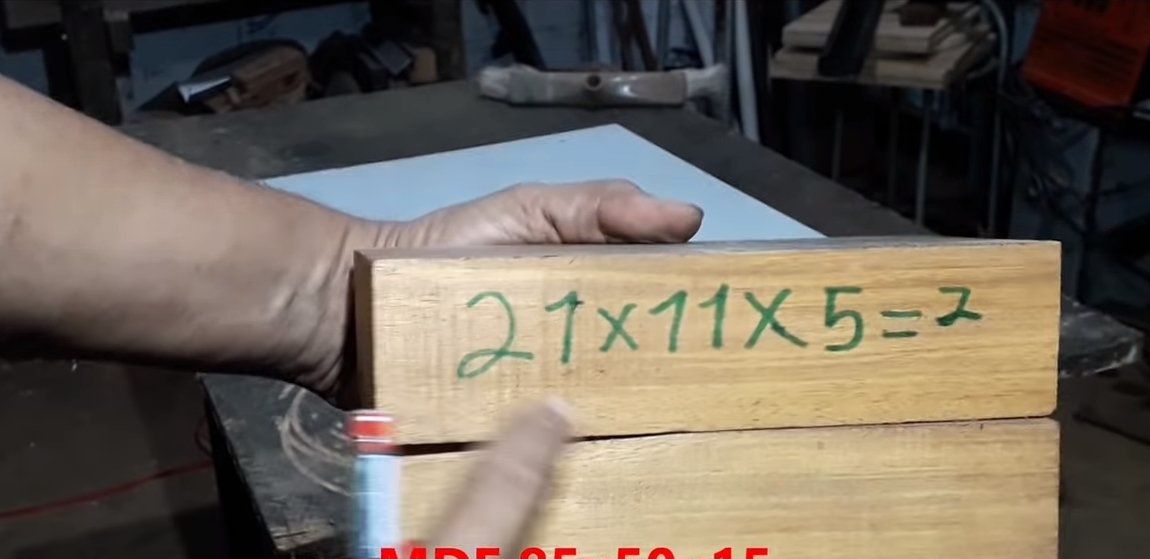
As we use a sheet of MDF or plywood, two racks need to be screwed to the base. As racks, a wooden beam is used, the details should be the same length.In the "rail" we drill holes and now it can be screwed to the posts with self-tapping screws. After that, you can fix the grinder and check the device.
Surely the bar will wedge in the iron profile, so that this is not the case, the profile from the inside should not have defects, and also grease should be used.
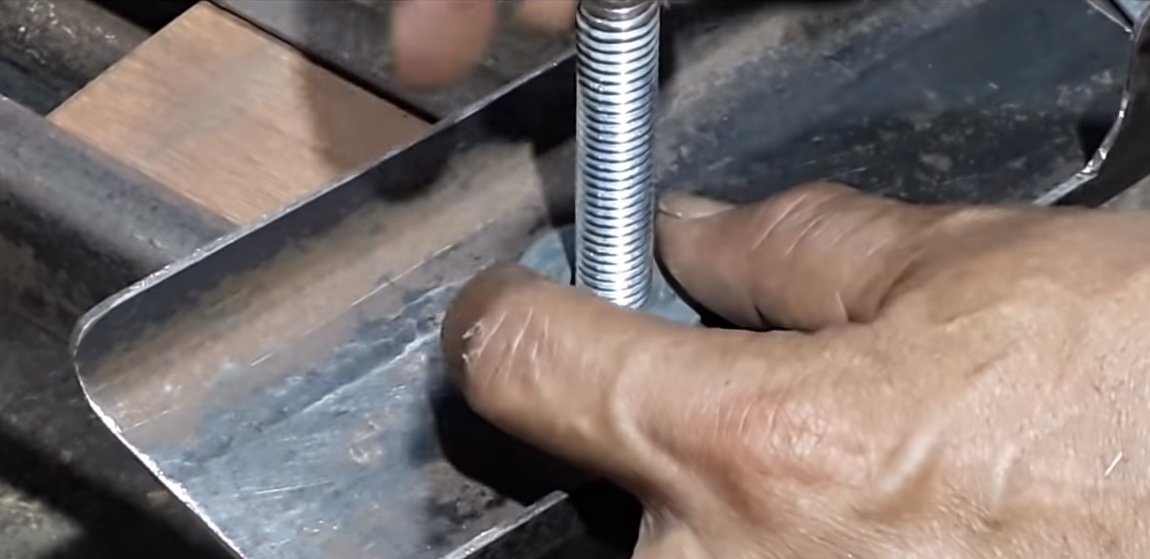
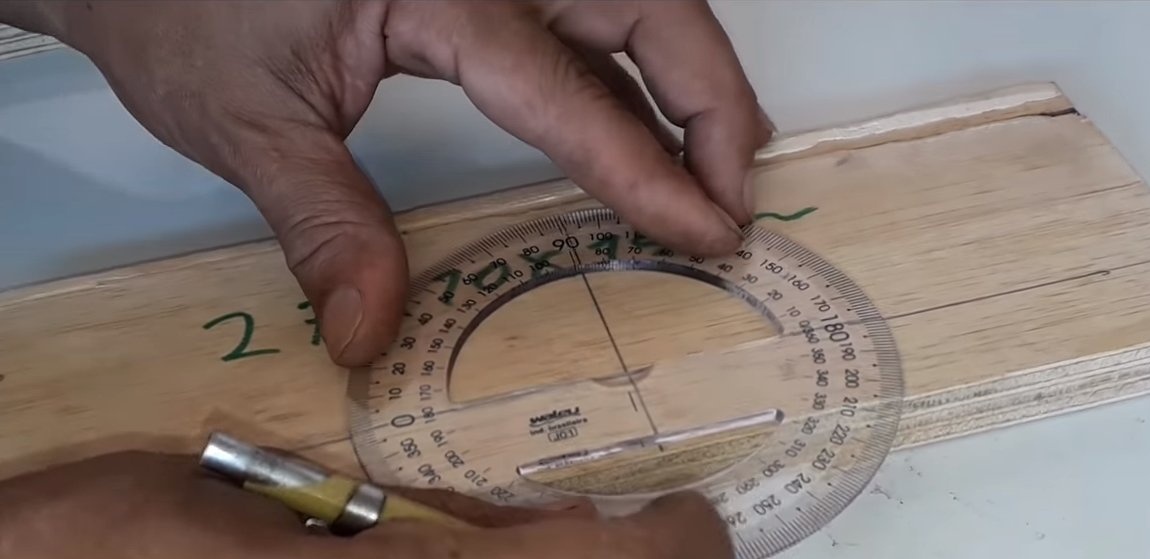
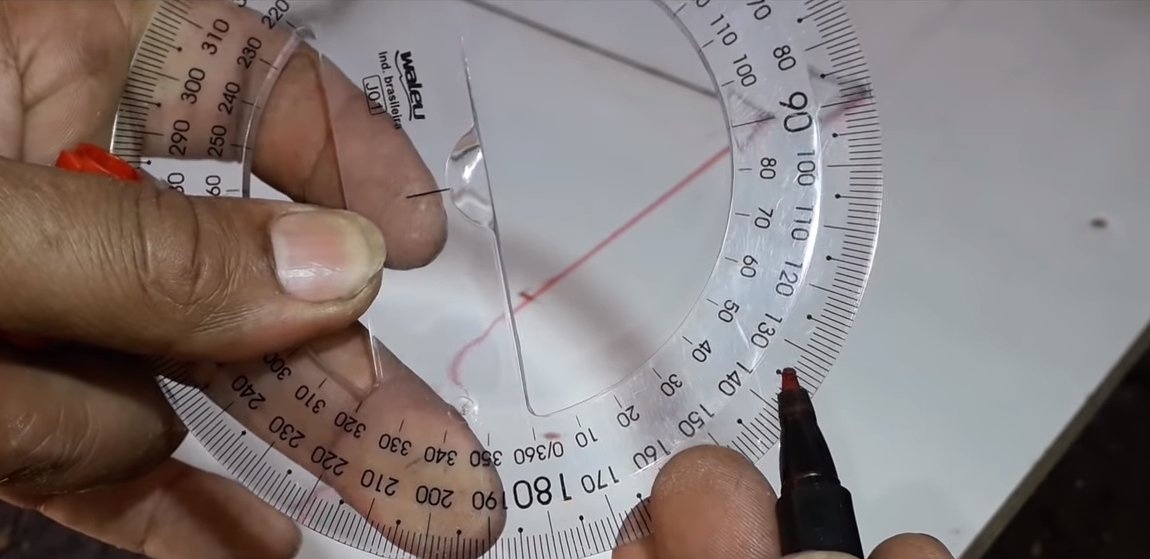
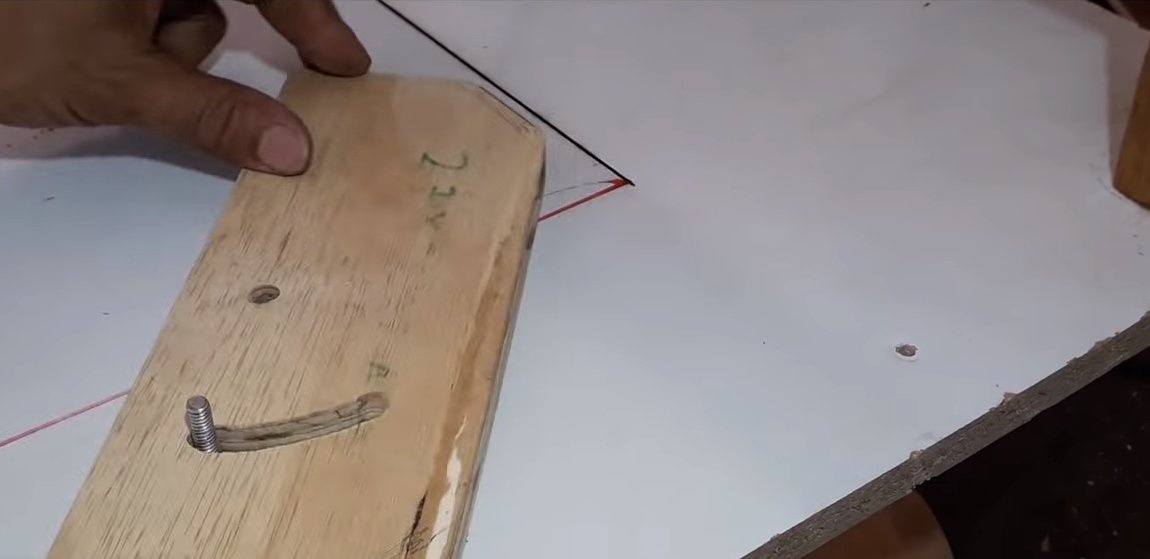
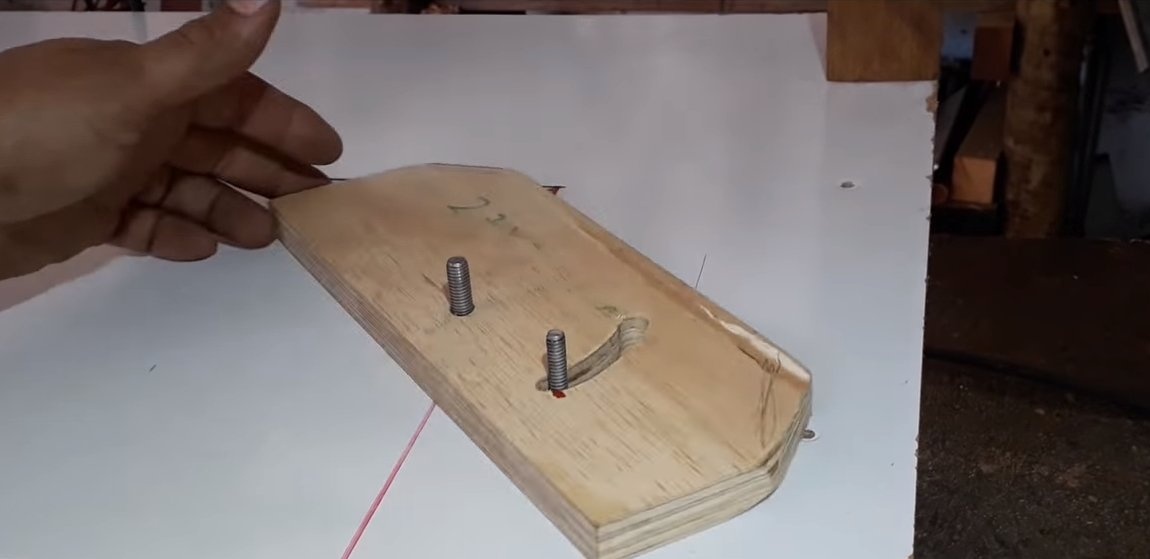
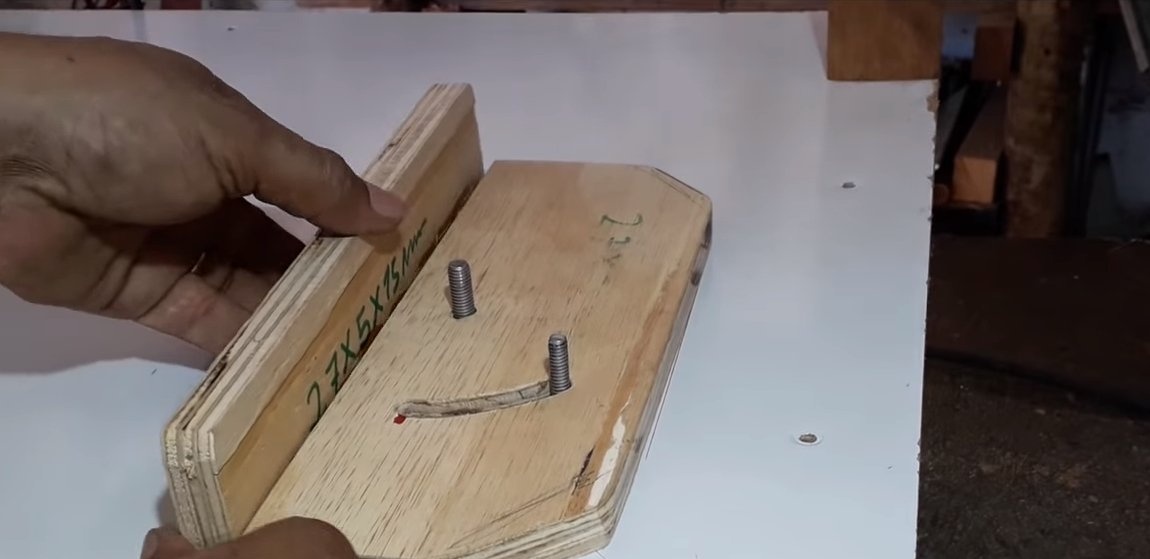
Step Four Emphasis
We make an emphasis for the machine, its author decided to make plywood. The angle of emphasis is adjustable, and the emphasis is held on two bolts. To understand how to cut the desired slotted hole, the author used a protractor.
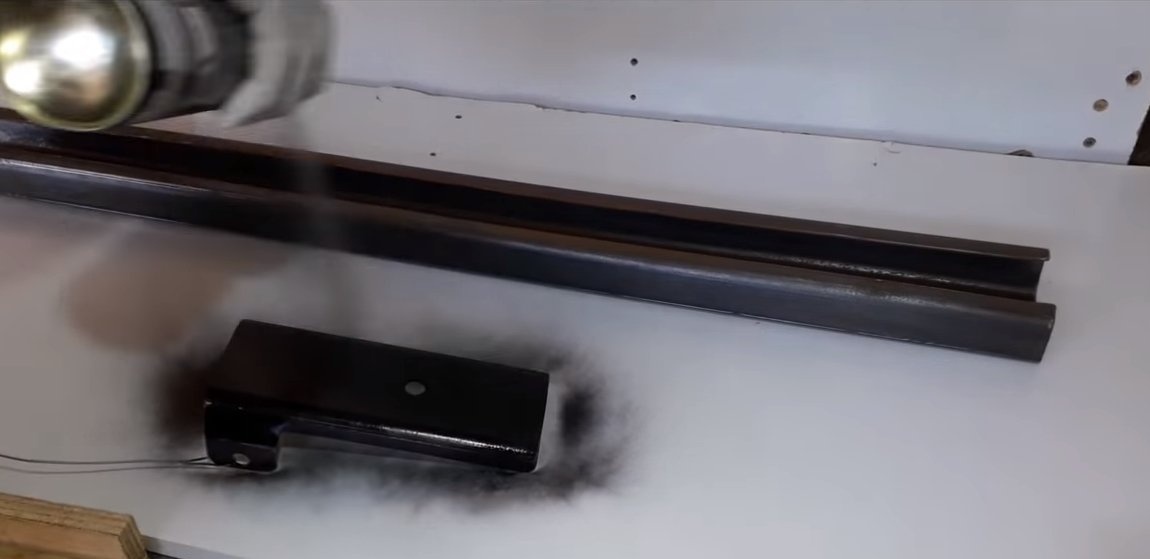
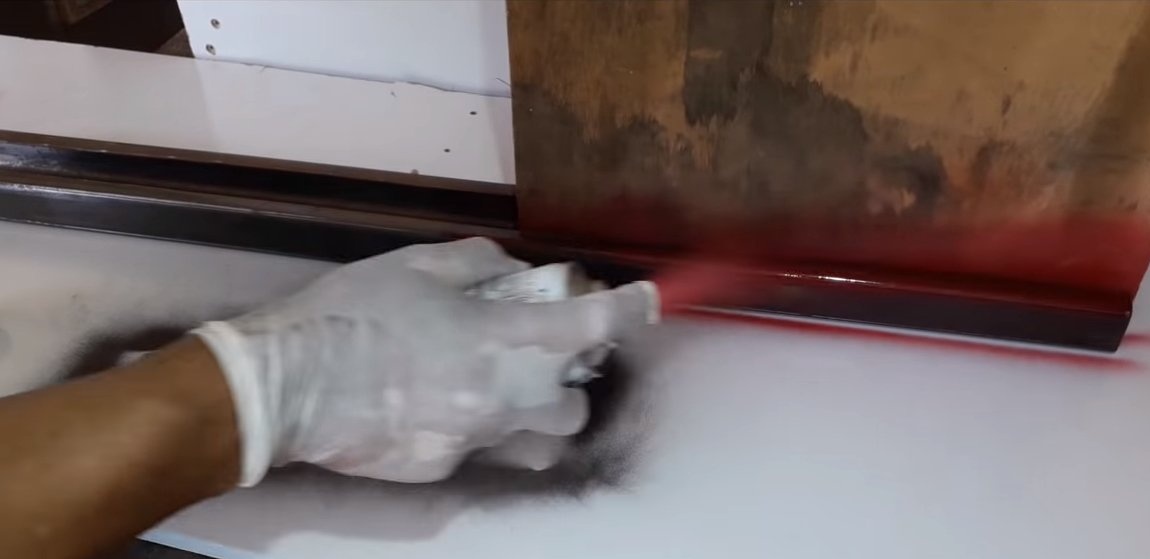
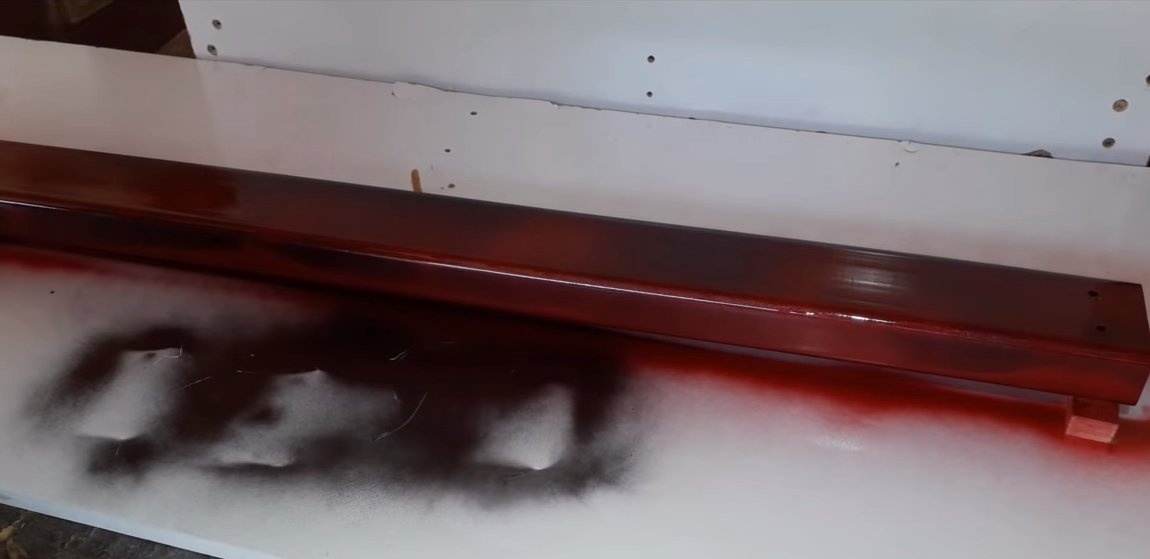
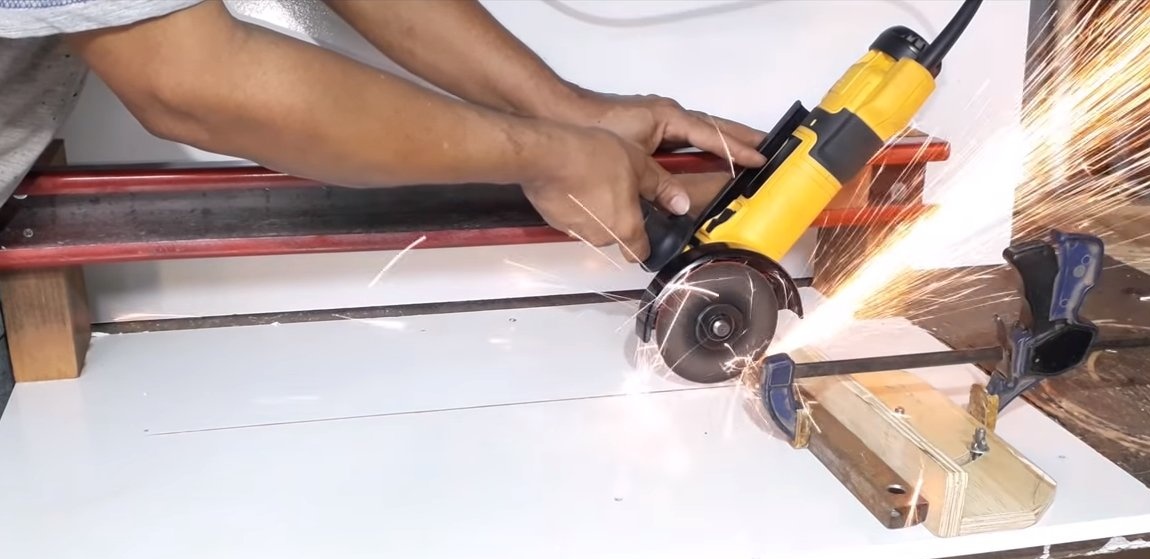
Step Five Painting and testing
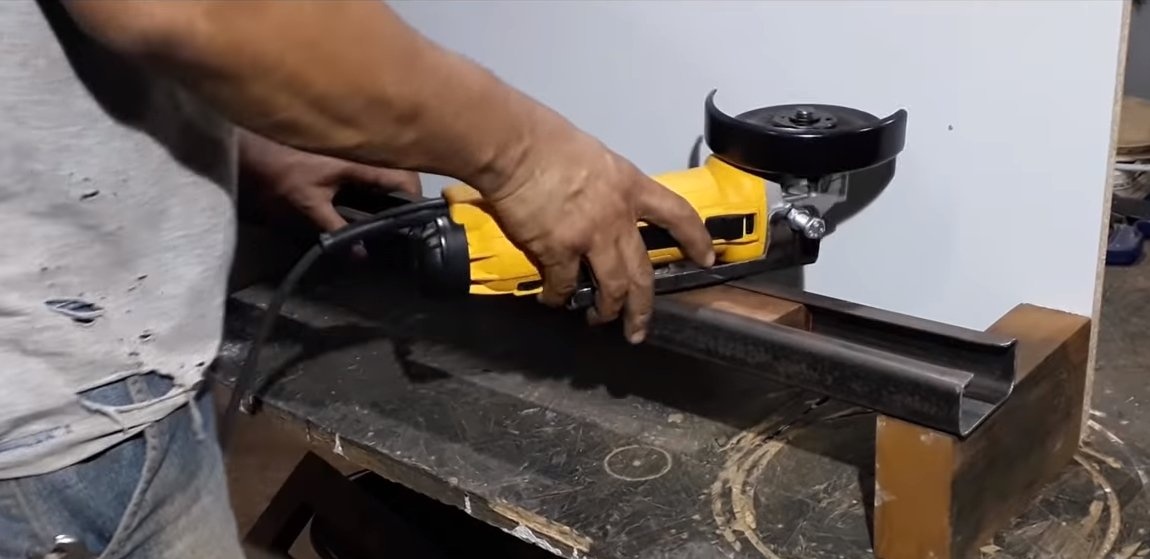
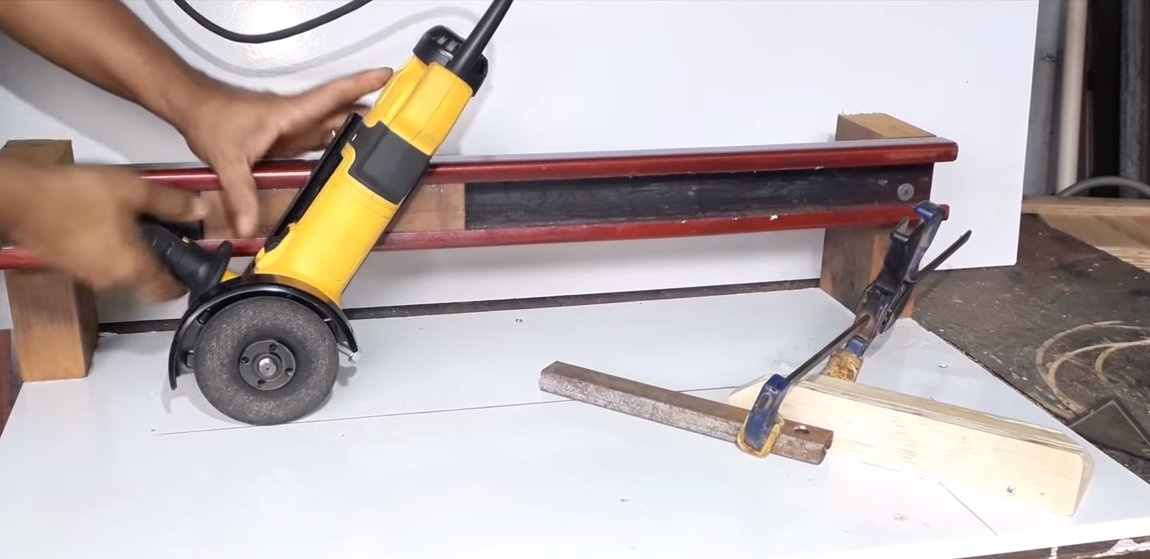
We paint metal parts so that our car does not rust and lasts for a long time. Well, then you can start the tests, as an experiment, the author tried to cut the profile pipe, the machine copes with the task. The design drawback is that you have to hold the grinder with your hands after turning it off and wait until the disk stops. But this is solved if the machine is equipped with a spring to return the grinder to its original position.
It is also useful to make a separate switch for the machine.

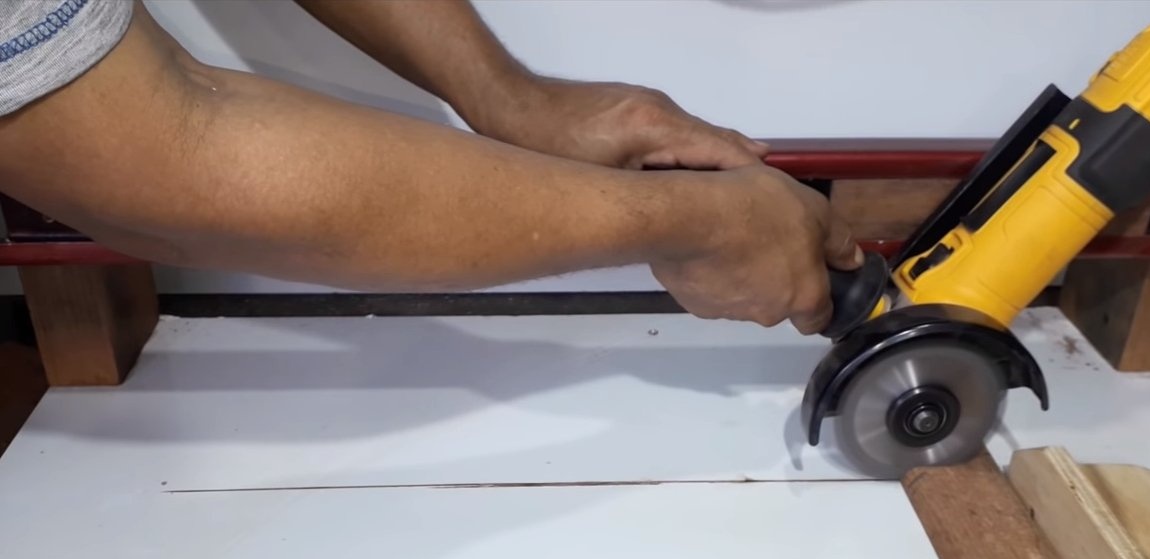
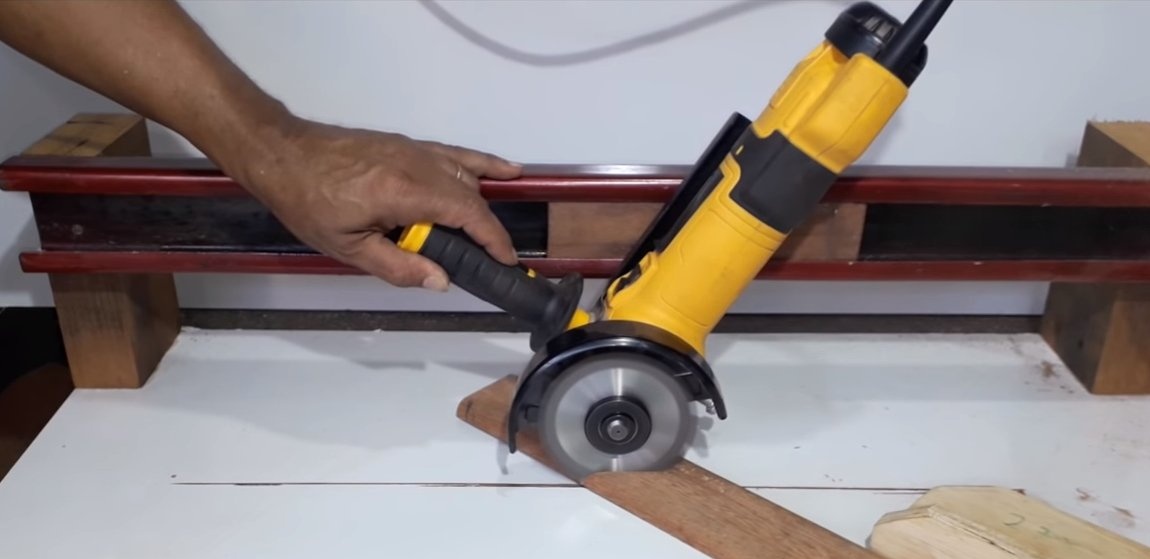
In addition, the author decided to install a circular disk on a grinder and cuts plywood. Such a disk cuts well, but it is very dangerous, as it has a large grip and immediately wedges in the case of a knot, a nail and so on.
For cutting wood, it is recommended to use a three-tooth disc, it is safer. Also, you can’t stand in front of the grinder when cutting, you need to stand when working only from the side.
As for the project, it is over, I hope that the homemade product gave birth to some useful ideas and thoughts in you. Good luck and creative inspiration, if you decide to repeat this. Do not forget to share your ideas and homemade things with us!