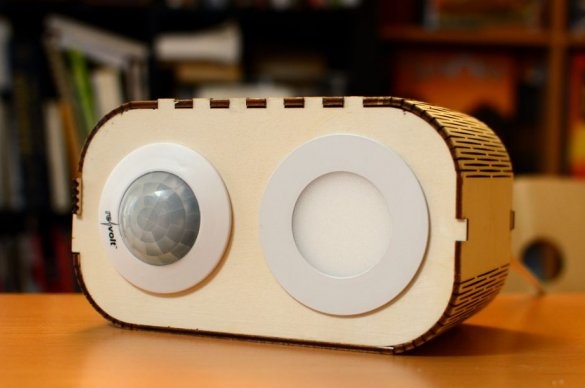
The author of Instructables under the nickname Luk --- decided to install a lamp with a PIR sensor in her mother's room so that she would not stumble in the dark. Today, there are many ready-made devices for this, but he wanted the lamp to look stylish too. And made do it yourself homemade in a plywood case, somewhat reminiscent of a cartoony winking robot.
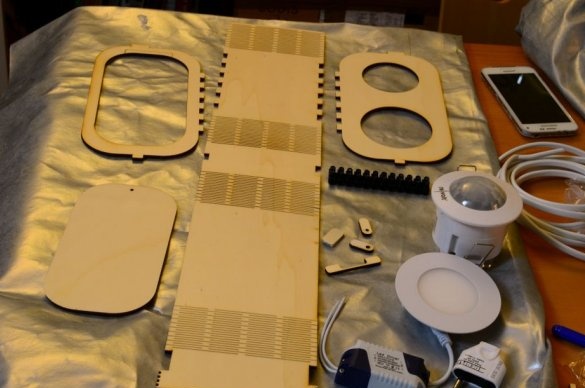
To automatically generate files for laser cutting of body parts, the master uses by this Python script. The result is laid out as an SVG file here. According to this file, he orders the production of parts from plywood with a thickness of 3 mm. Thanks to the numerous slots, the components of the lamp are well cooled, and ordinary plywood in the corresponding places bends no worse than the special flexible Ceiba plywood. The master also acquires a PIR sensor, PSU and LED spotlight. The sensor selects such that it fits the hole for the spotlight.
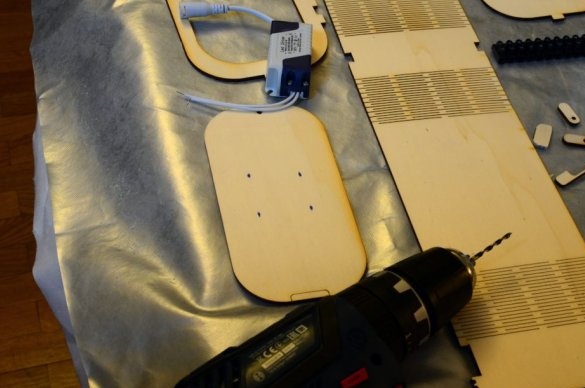
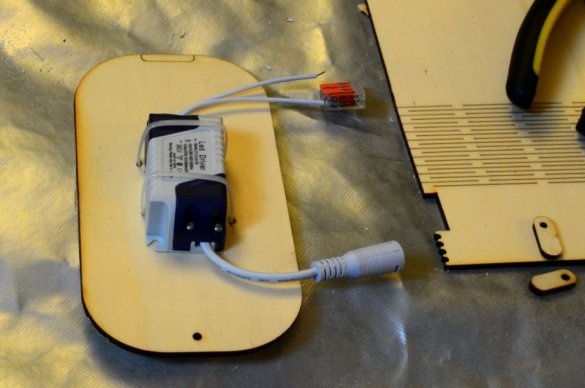
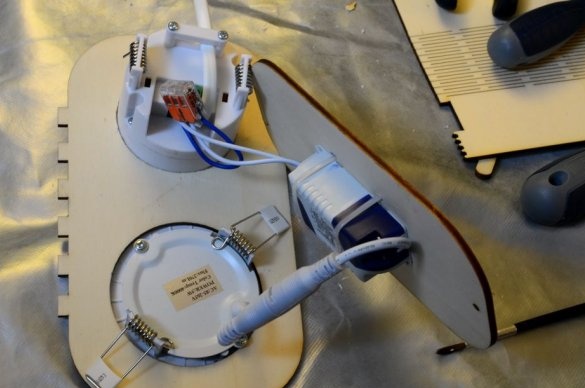
Drills four holes in the rear wall of the housing and secures the PSU with two cable ties. Places a PIR sensor and LED downlight in the holes in the front wall. It connects the sensor so that it has a built-in relay that switches the PSU input. Well, the PSU output connects to the input of a spotlight, paying attention to the polarity.
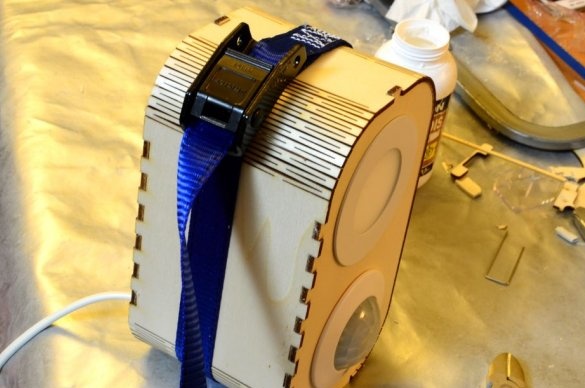
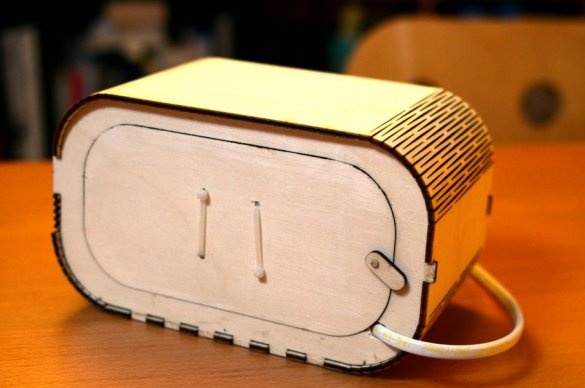
Assembles the body on PVA glue, making sure that the back wall does not stick and remains removable in case of a need to eliminate the malfunction. It provides for the simplest castle. During the hardening of the glue, it tightens the case with a belt. Hitting PVA glue on an electrician and electronics It must not be allowed: until it hardens, it contains water.
At this work on the lamp can be read complete. It remains to test the design in action and, if necessary, adjust the shutdown delay on the sensor with the controller.

