
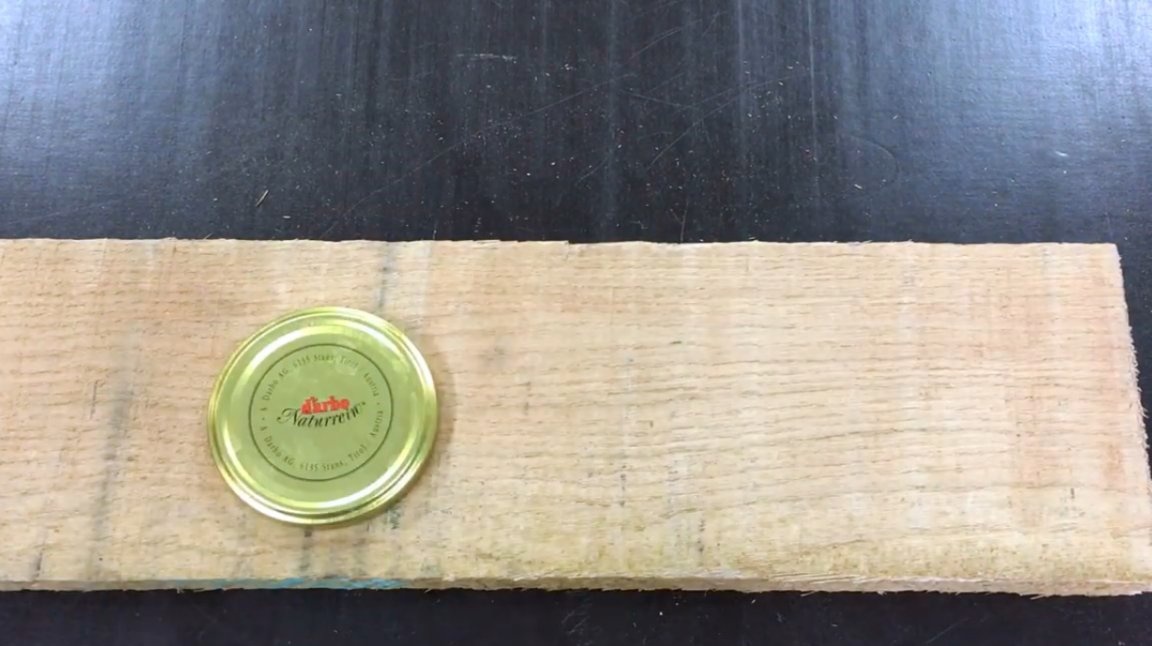
Almost every one of you has cans with screw caps at home, but their appearance is completely unattractive. Even if such lids are painted with spray paint to hide the inscriptions, this does not give much aesthetics.
In this article, the author of the garage 11 YouTube channel will tell you how he made decorative covers for such oak board covers.

This homemade product is very simple to manufacture, but it will require experience working with a milling cutter.
Materials
- Oak plank
- Jars with screw caps
- Impregnation for wood
- universal glue
- Sandpaper.
Instruments, used by the author.
— A circular saw
— Glue gun
— Electronic caliper
— Manual frezer
— Radius Mill with Thrust Bearing
— Screwdriver, wood drills, countersink
— Electric jigsaw
— Bulgarianflap disc
— Clamps
— Orbital sander
- Ruler, marker.
Manufacturing process.
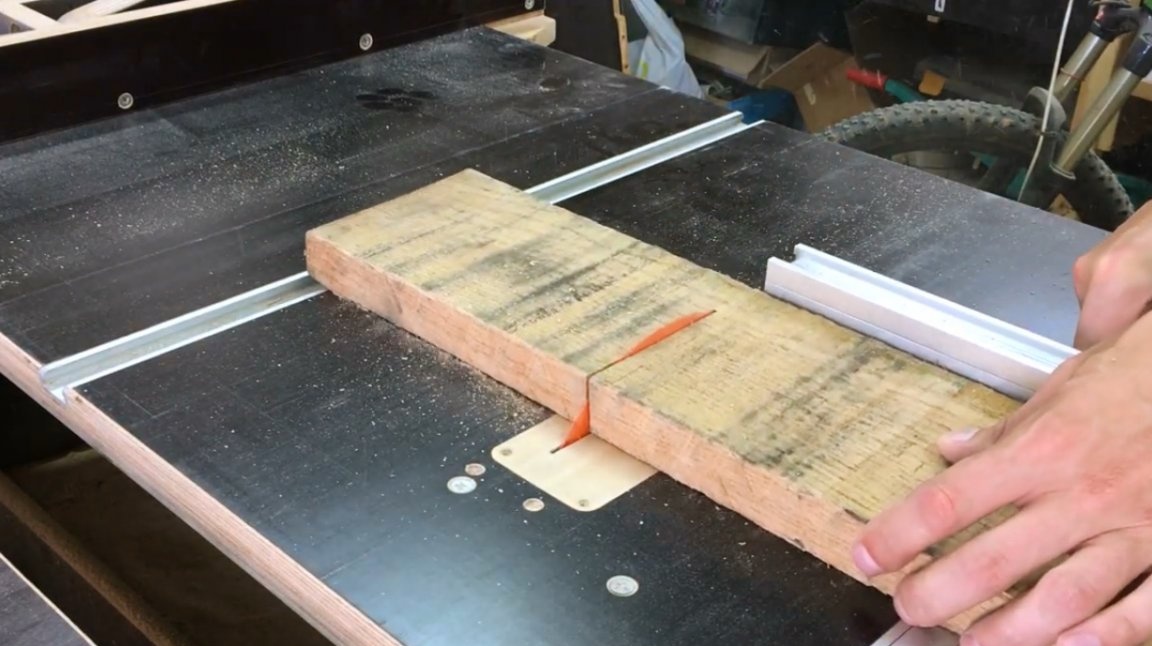
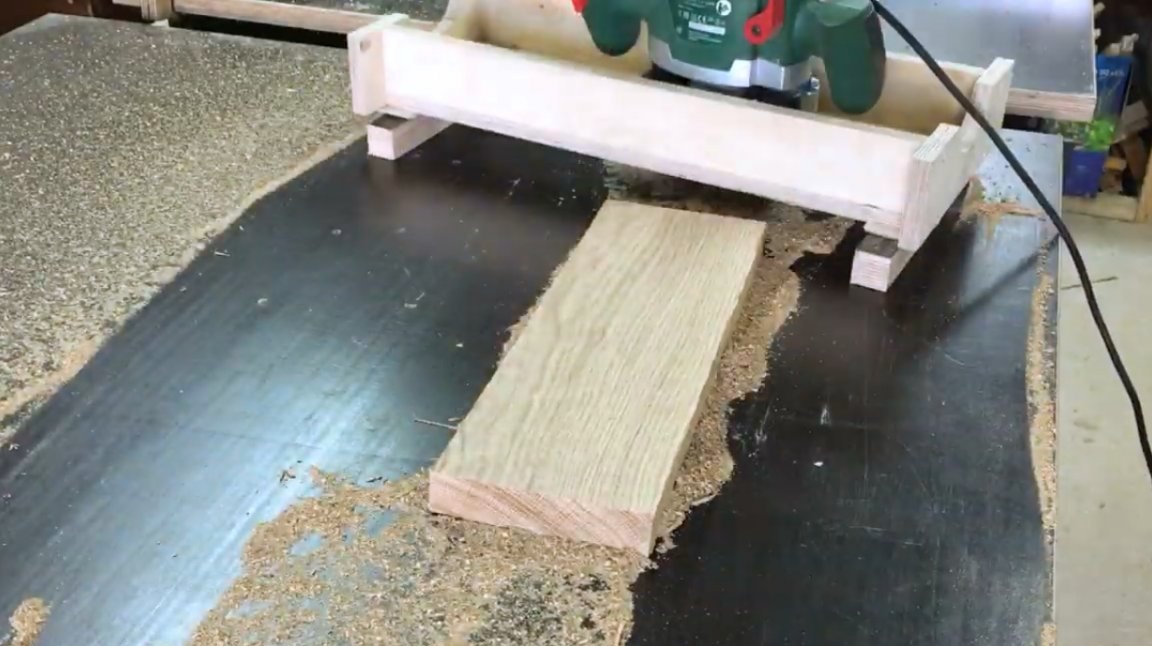
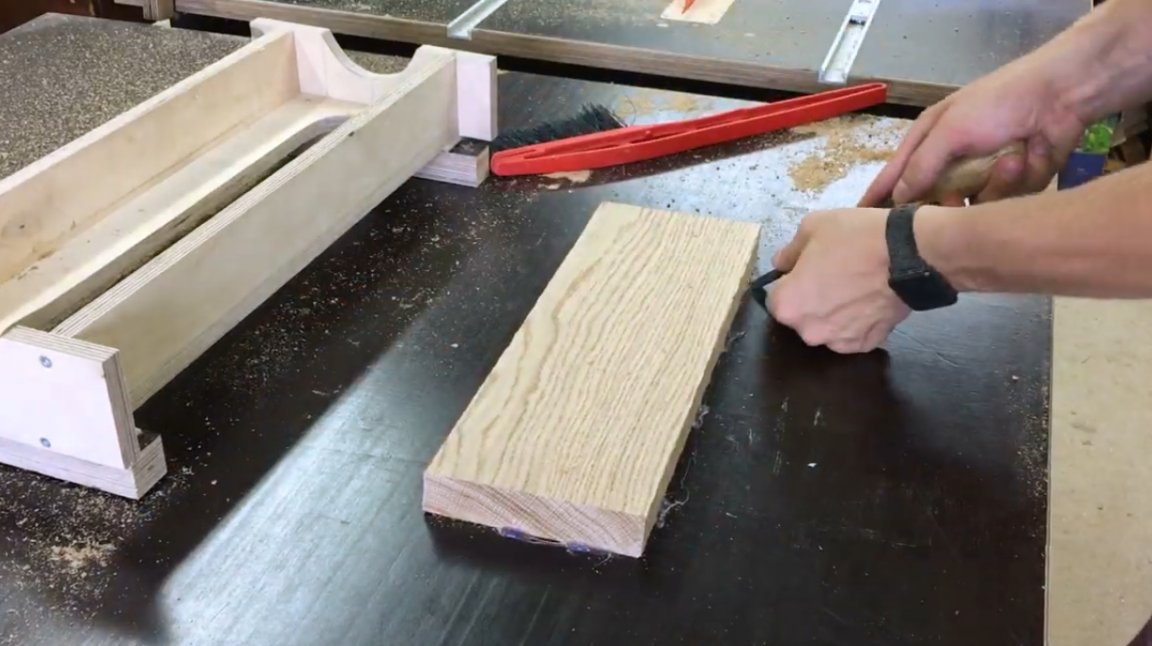
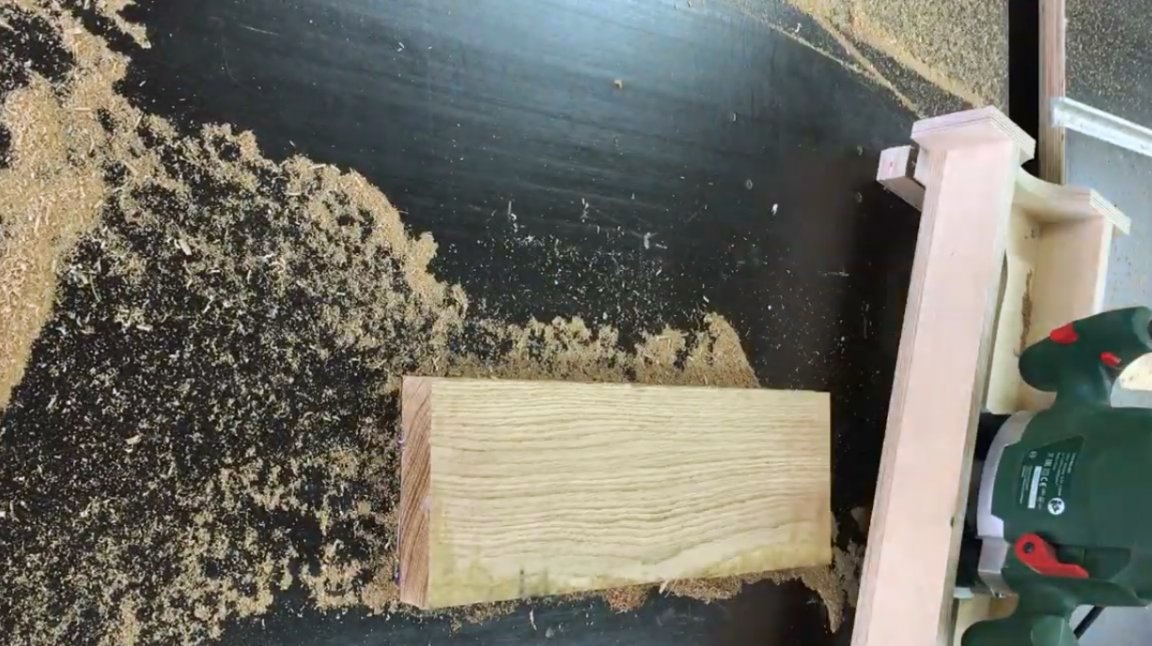
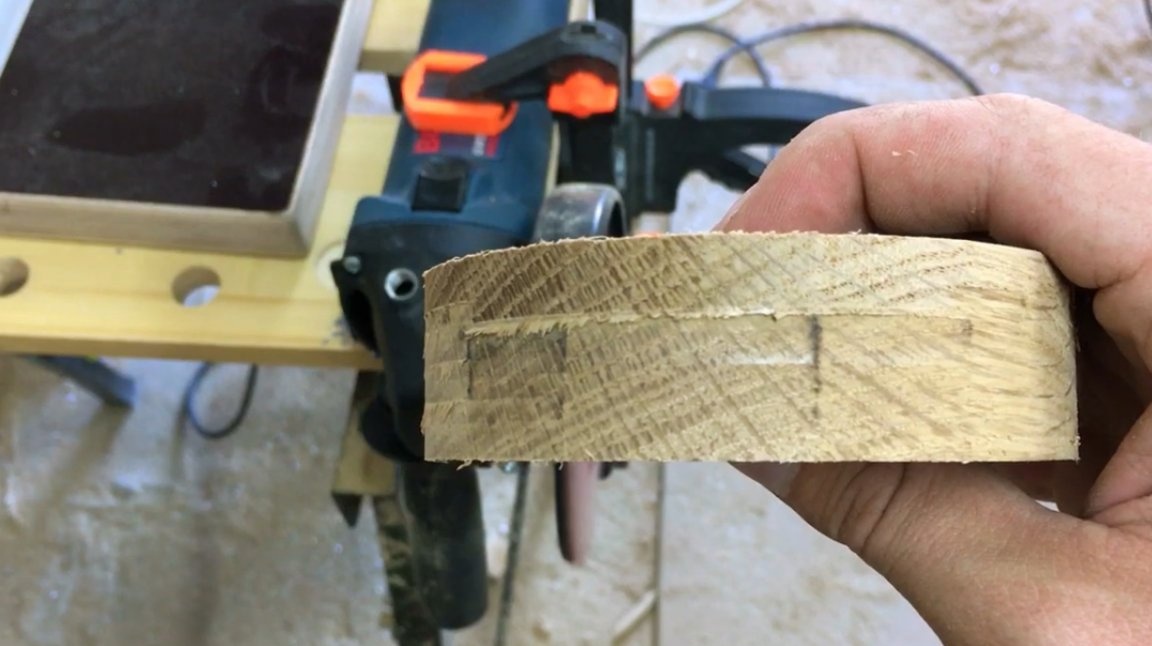
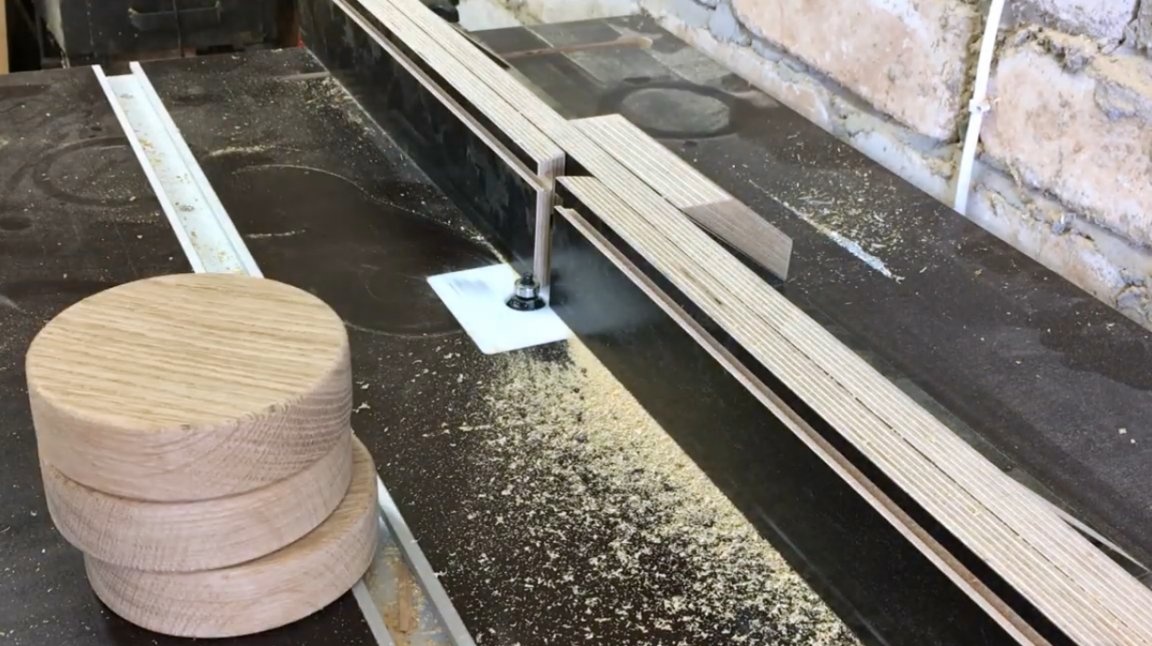
Almost any kind of hardwood is suitable for linings, it all depends on your desire. So, the author marks a place on the oak board for three blanks, and cuts off the excess part of the board on a circular saw.
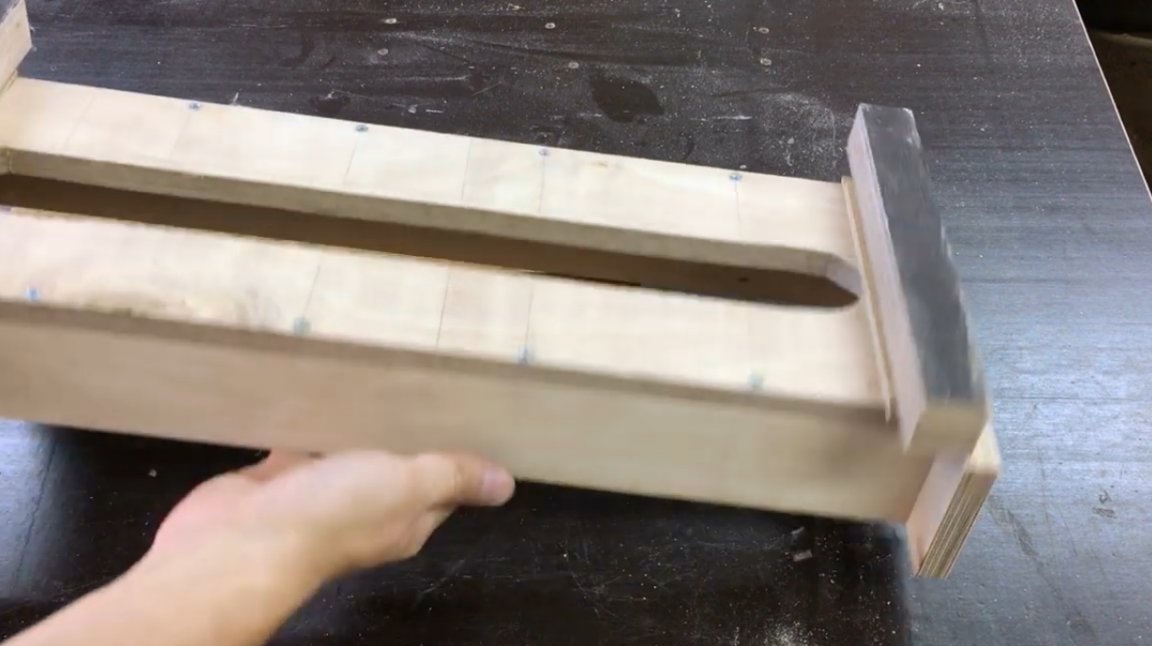
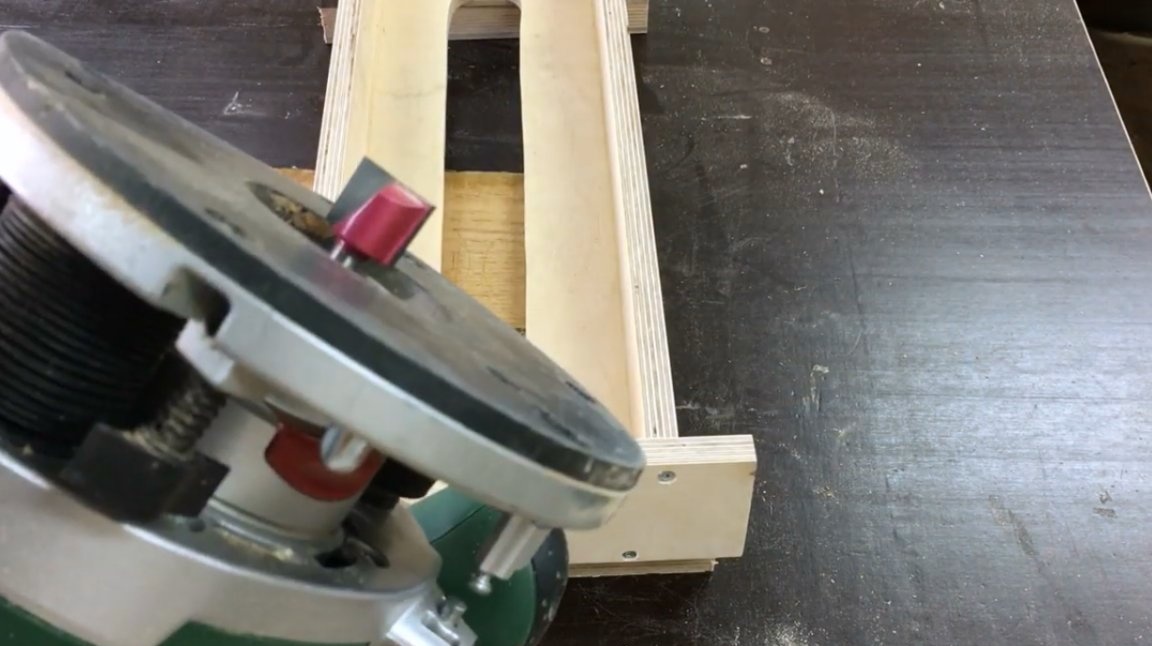
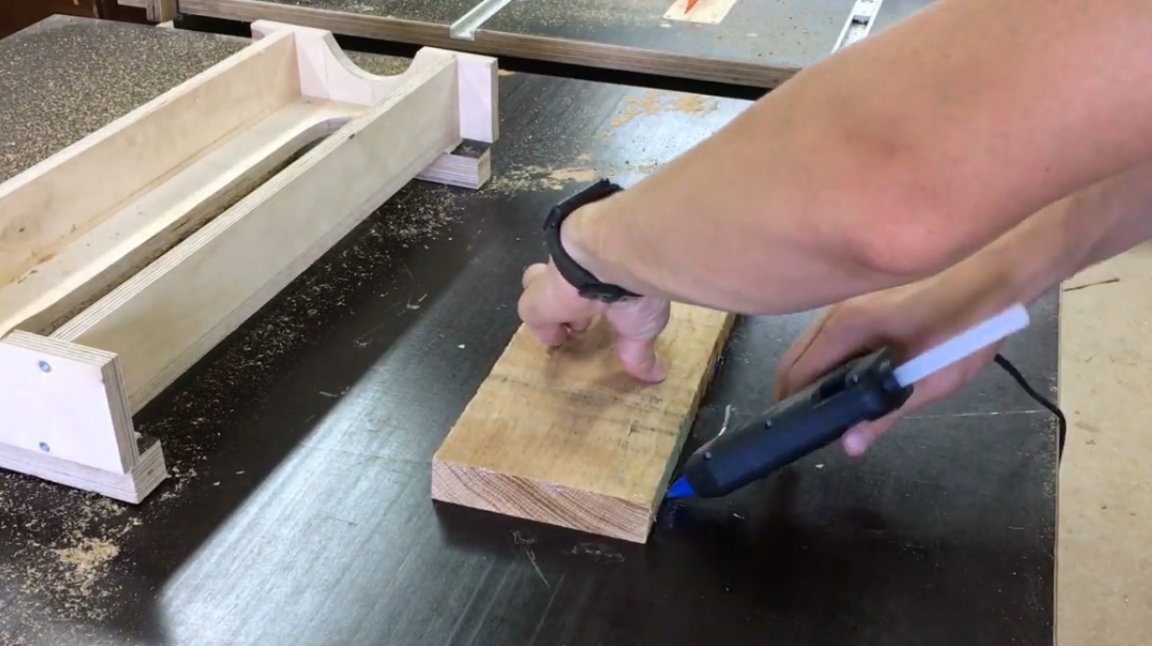
Next, the workpiece is fixed on the surface of the workbench using hot glue. The author uses a special carriage for the milling cutter, and scribbles the surface of the board to it.
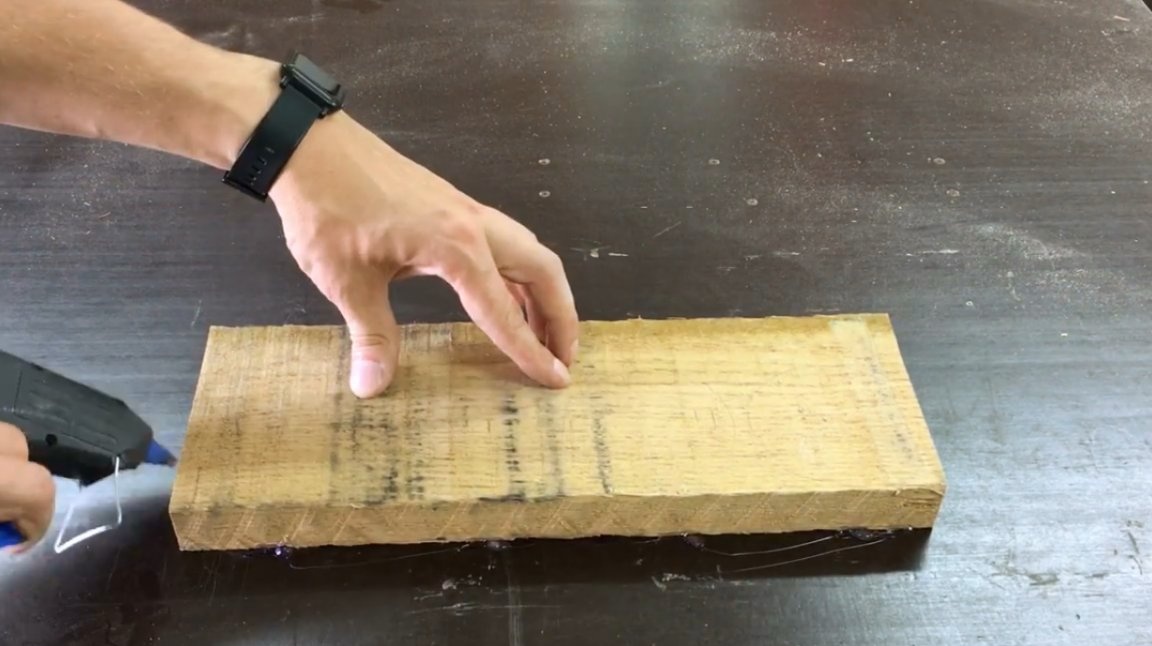
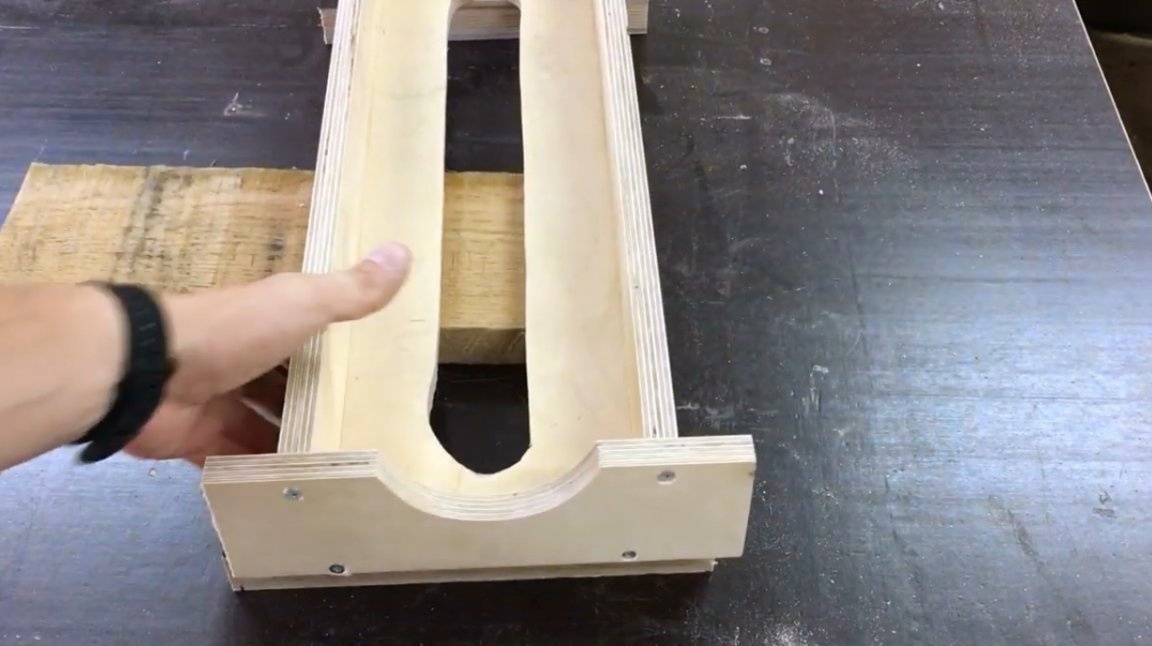

After aligning one side, the workpiece is separated from the workbench, glue residue is removed from the surface of the table, the part is fixed again, and its second side is jointed.
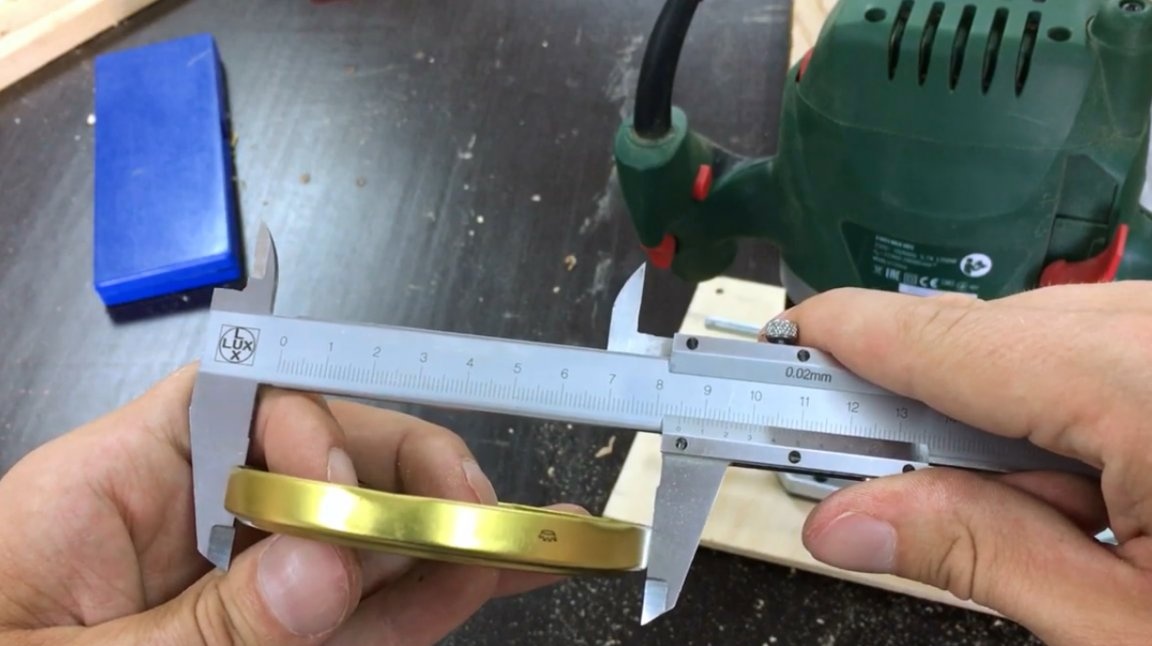
The outer diameter of a conventional screw cover is 85 mm, it is under such covers that the author will make overlays. As a matter of fact, the size of the lid is not very important, you can adjust the sizes of the pads for any covers.
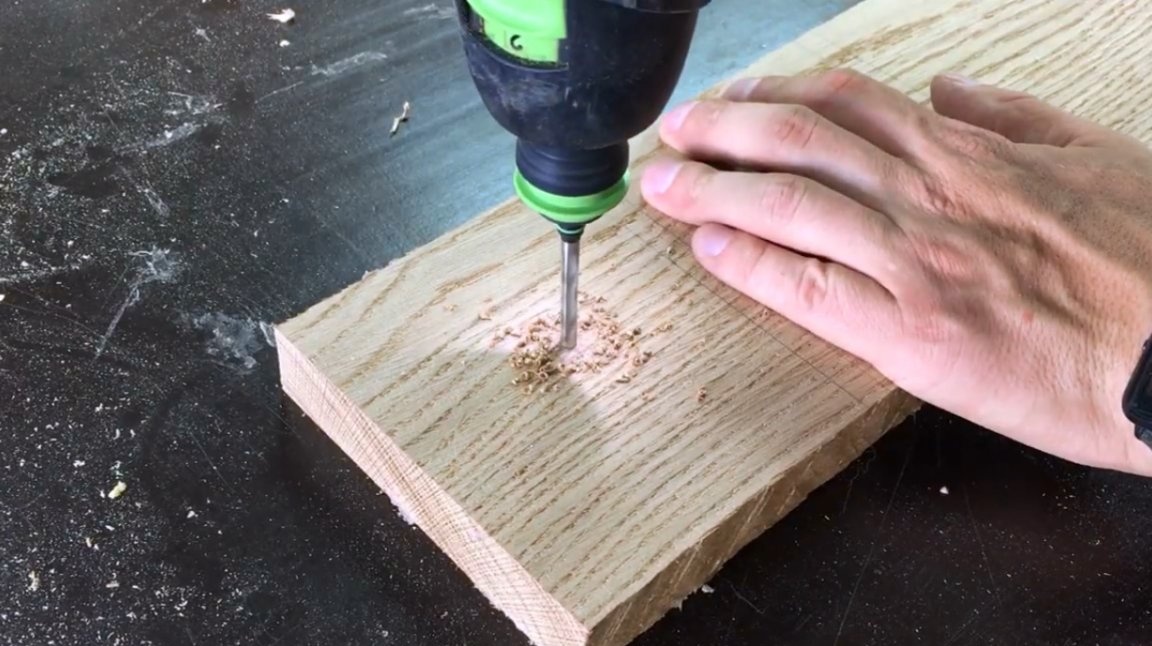
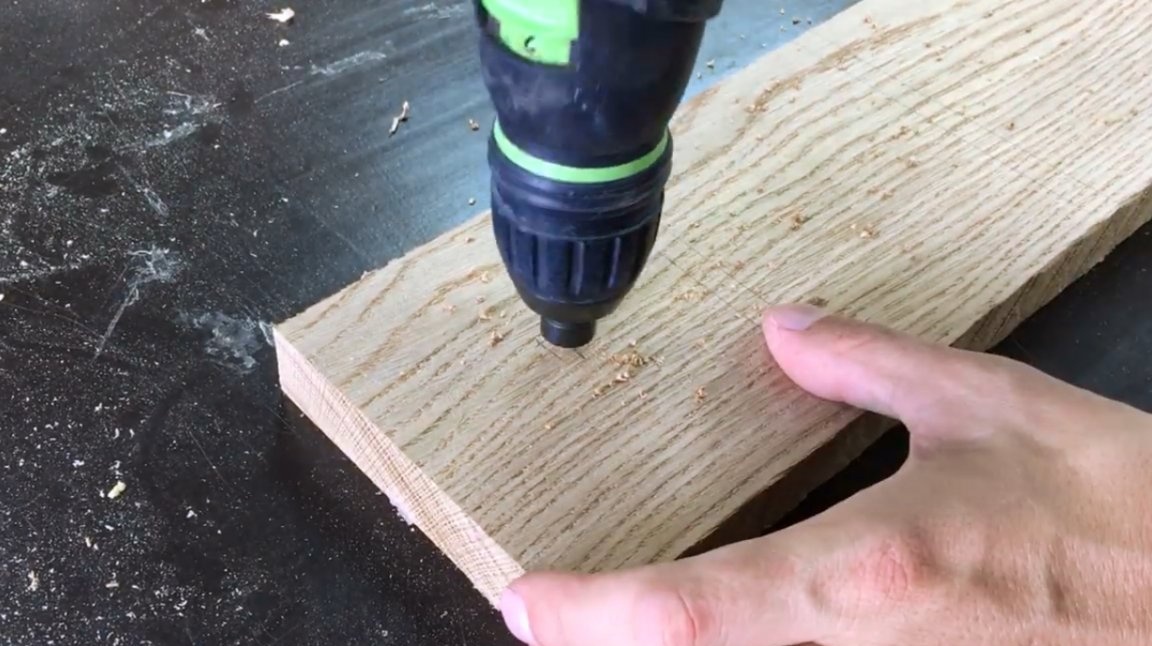
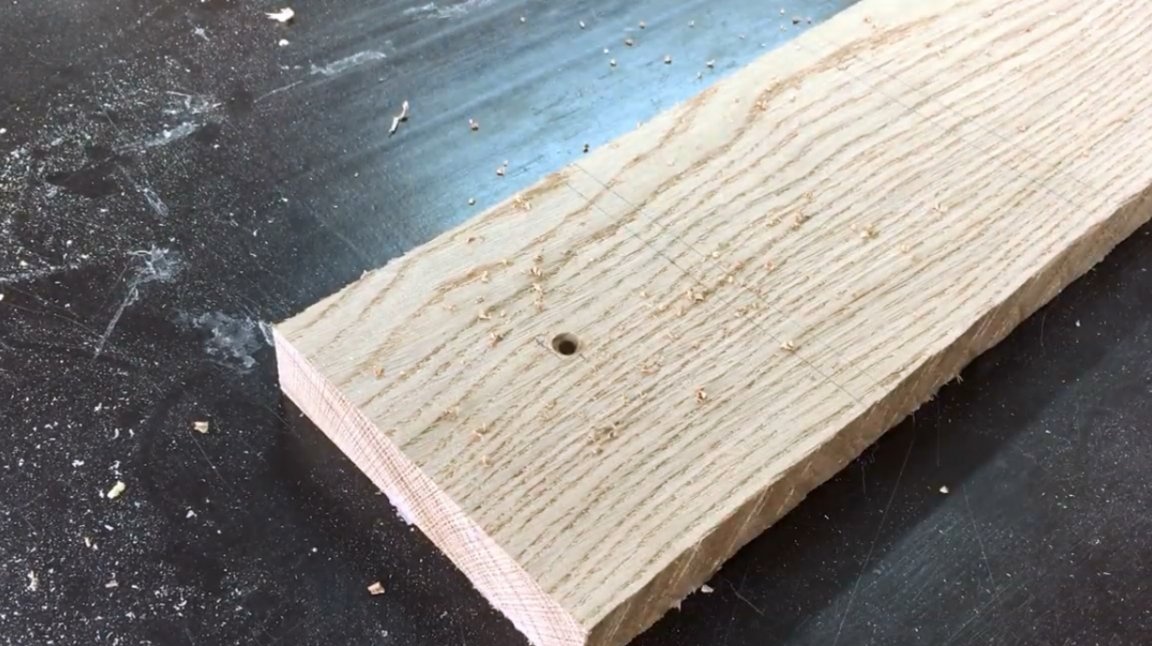
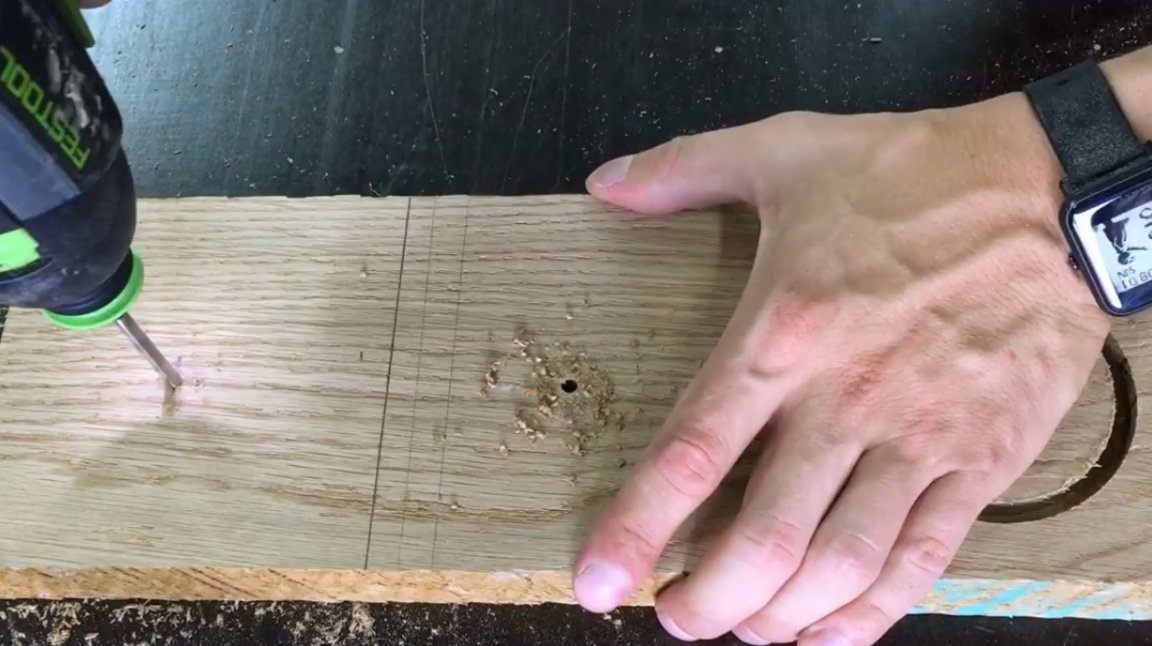
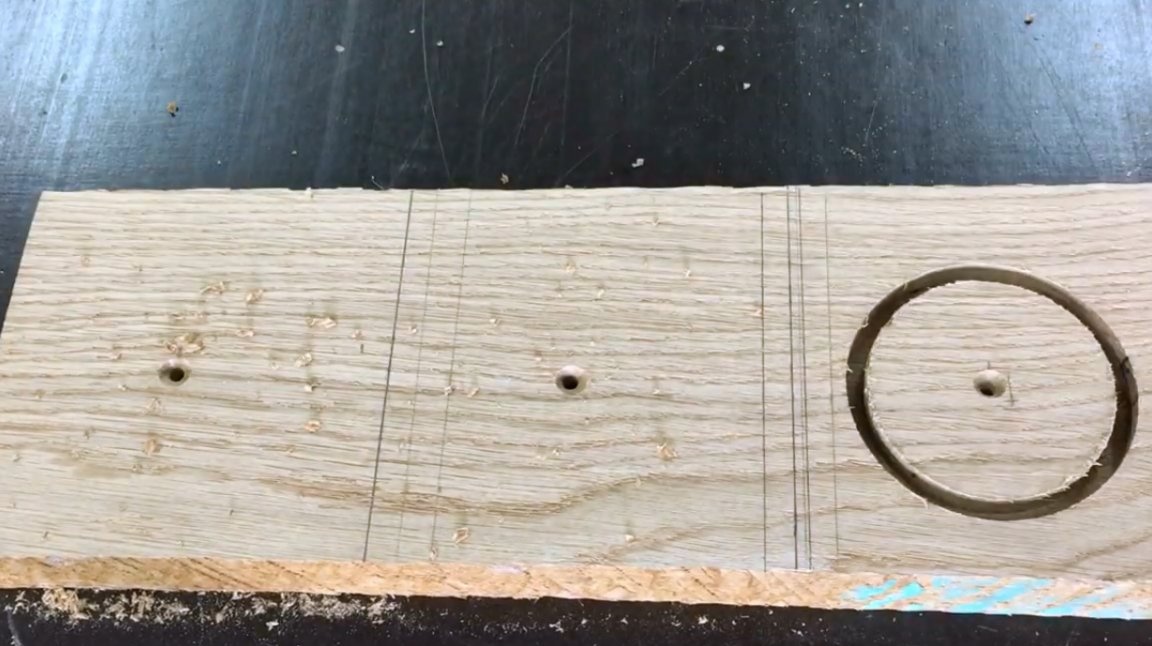
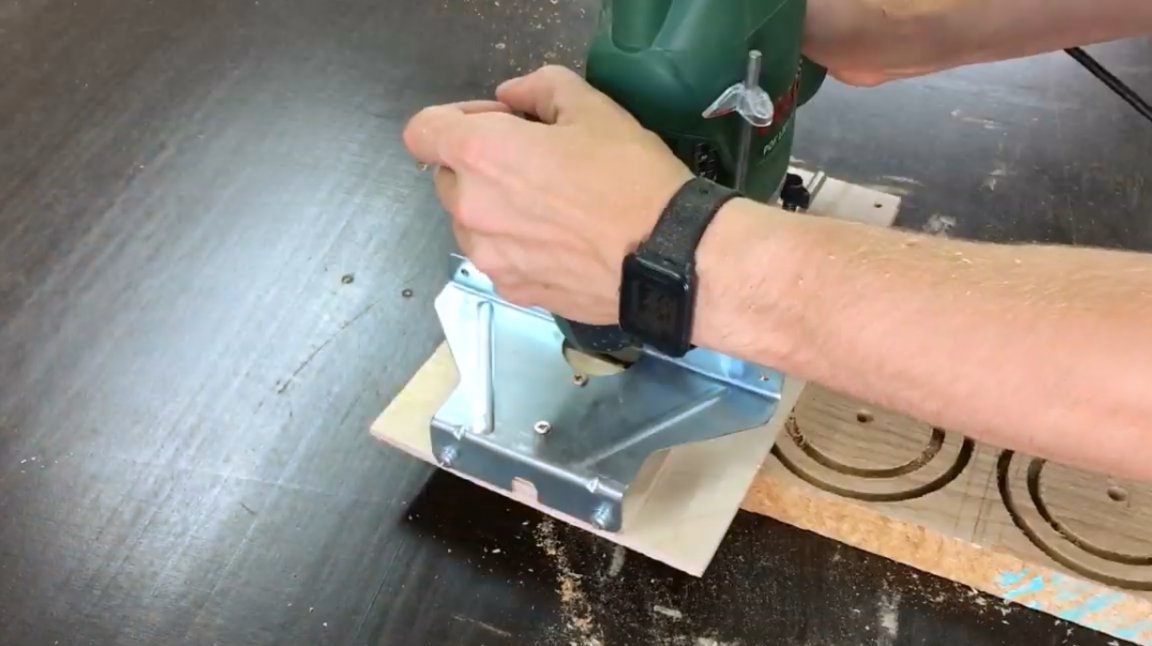
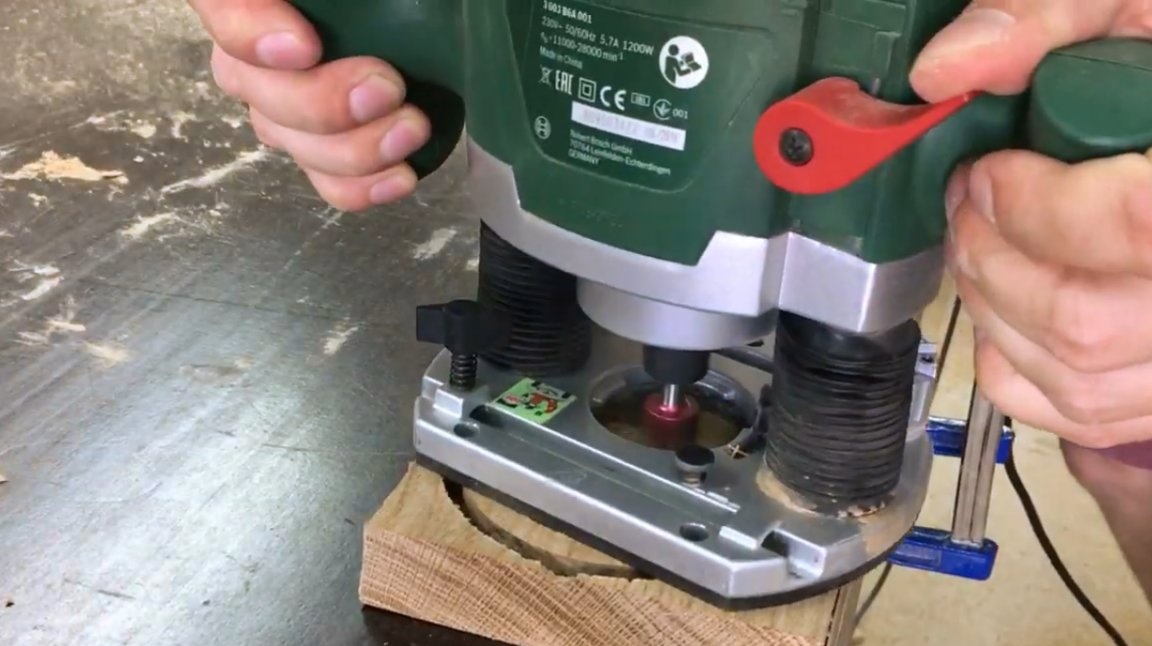
The center of the future lining is marked, a hole for the spike of the circular nozzle is drilled and countersunked in it. This will work out the dimensions of the workpieces.
The first cutout the master makes so that its outer diameter and depth match the dimensions of the lid.
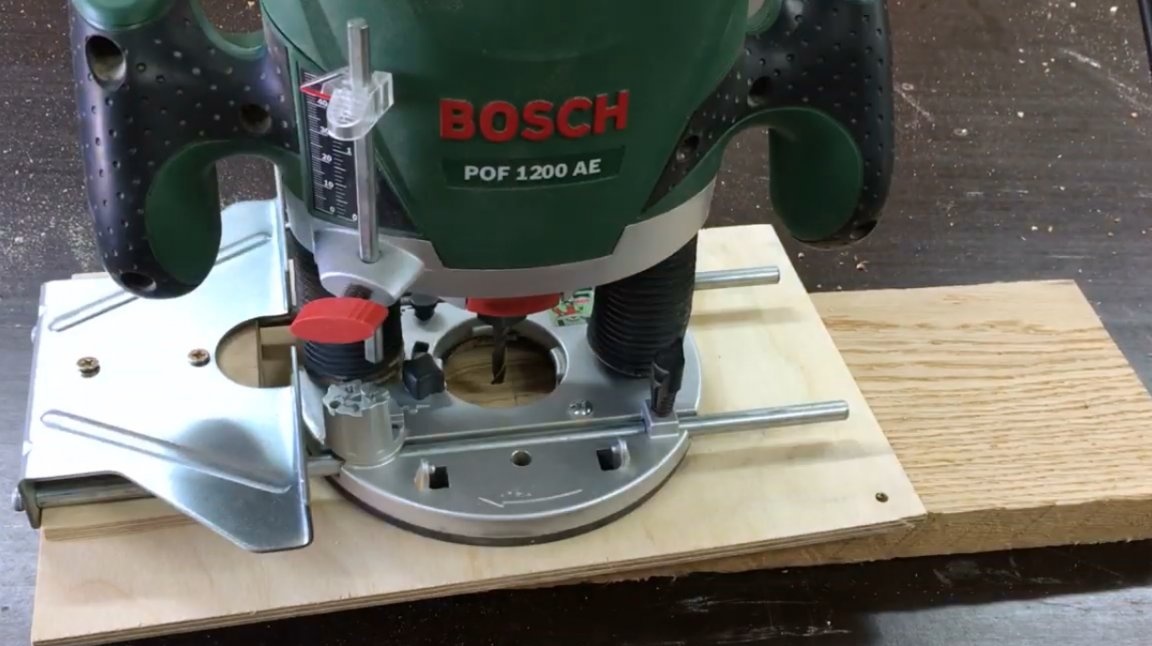
After this, the external diameters of the linings are marked with a small margin, and two more circles are cut.
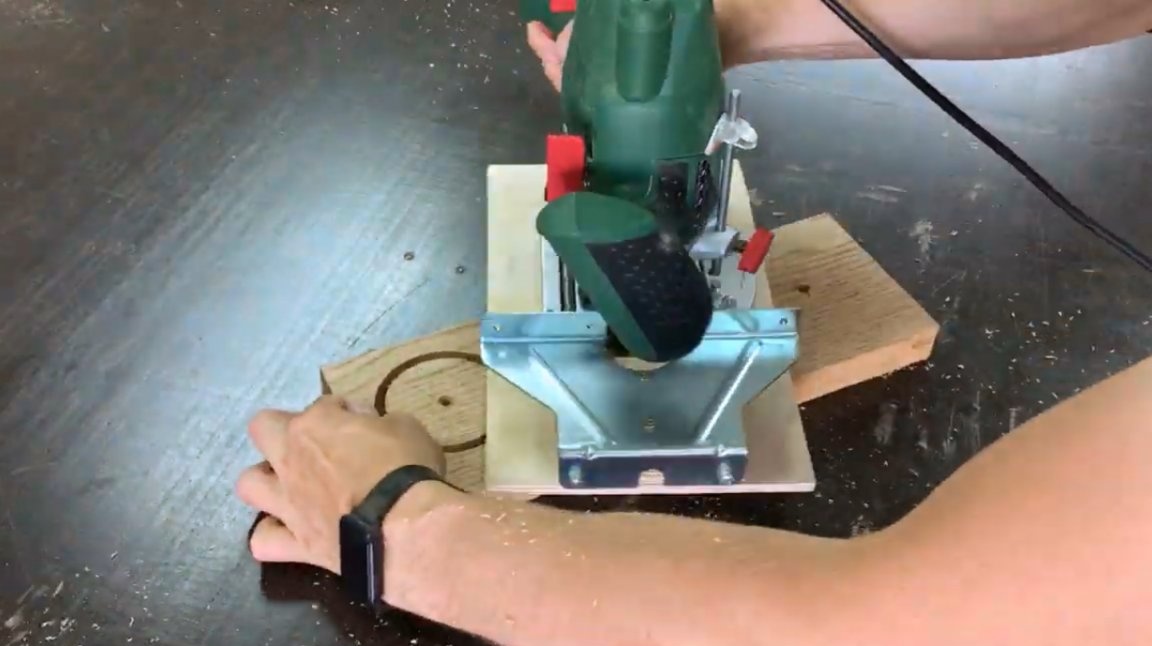
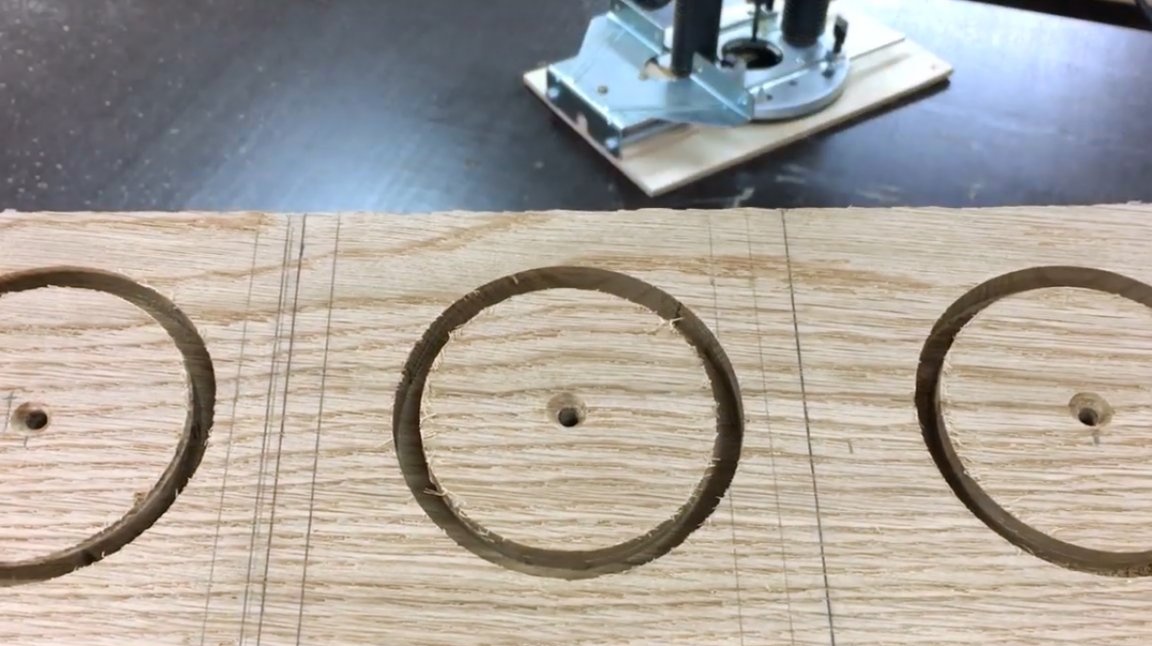
Then the distance between the cutter and the centering spike increases, and the circumferences of the outer edges of the pads are made.
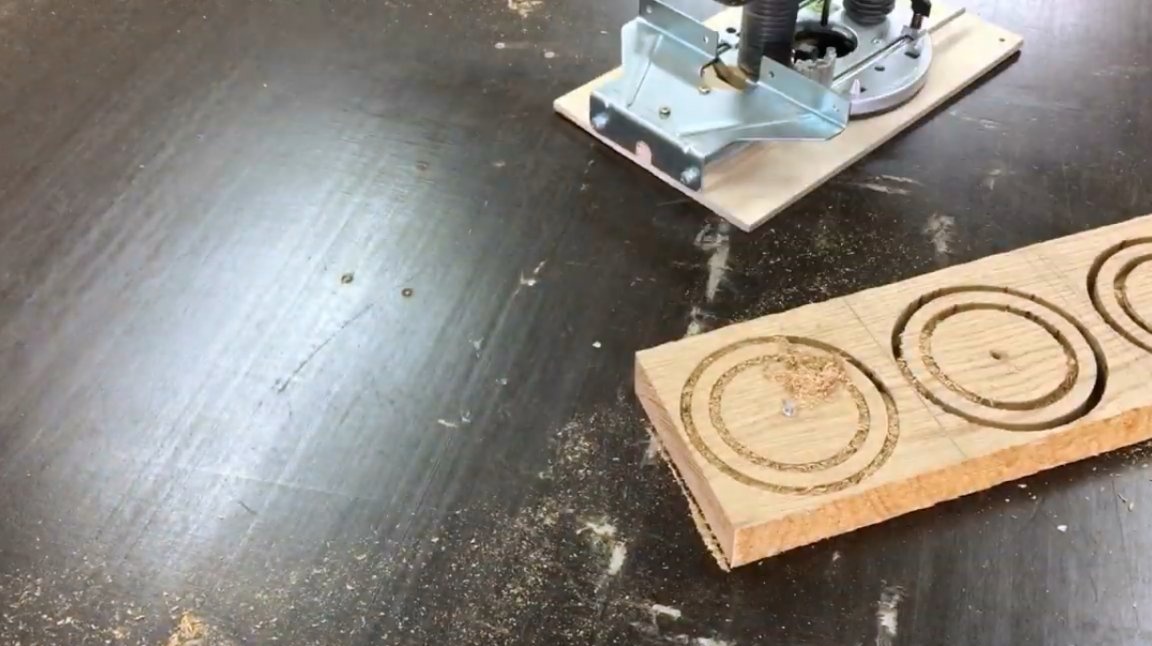
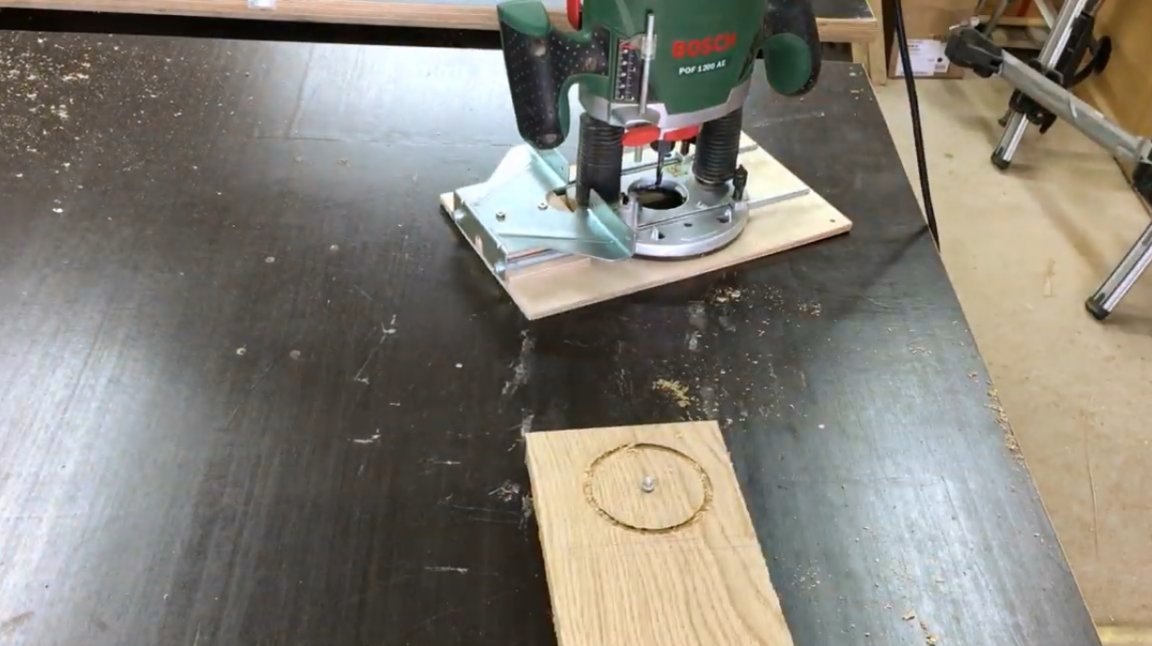
Further, the master reduces the distance from the spike to the cutter, and makes a selection inside the workpieces as much as the milling cutter allows.
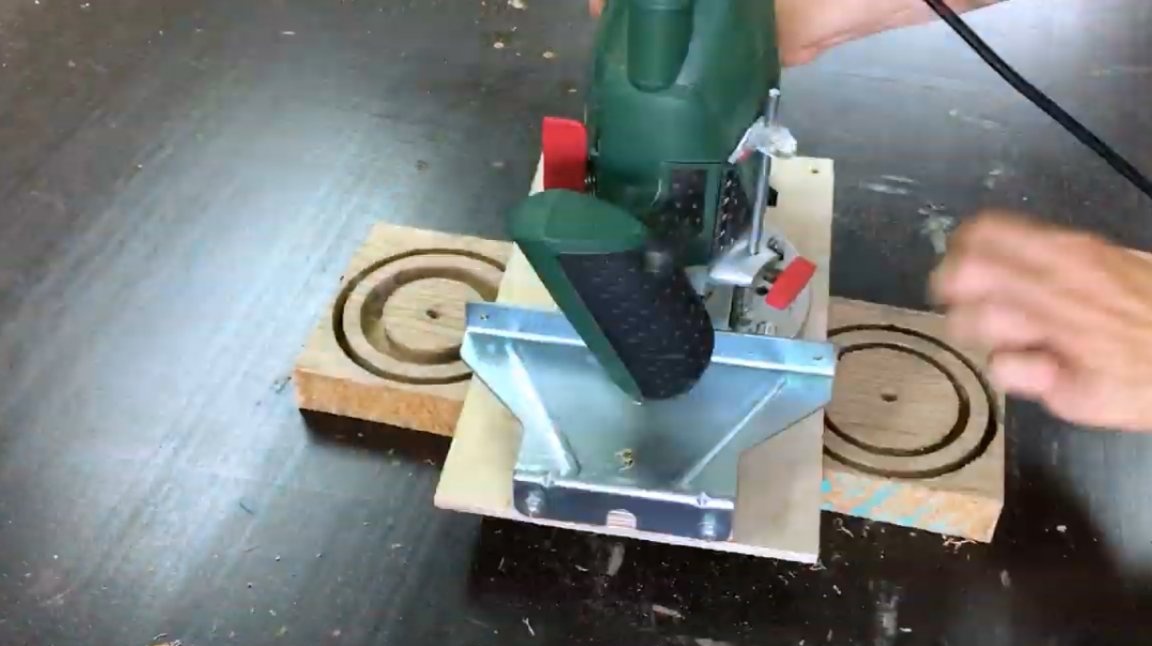
The remaining islands can be safely removed without a circular nozzle.
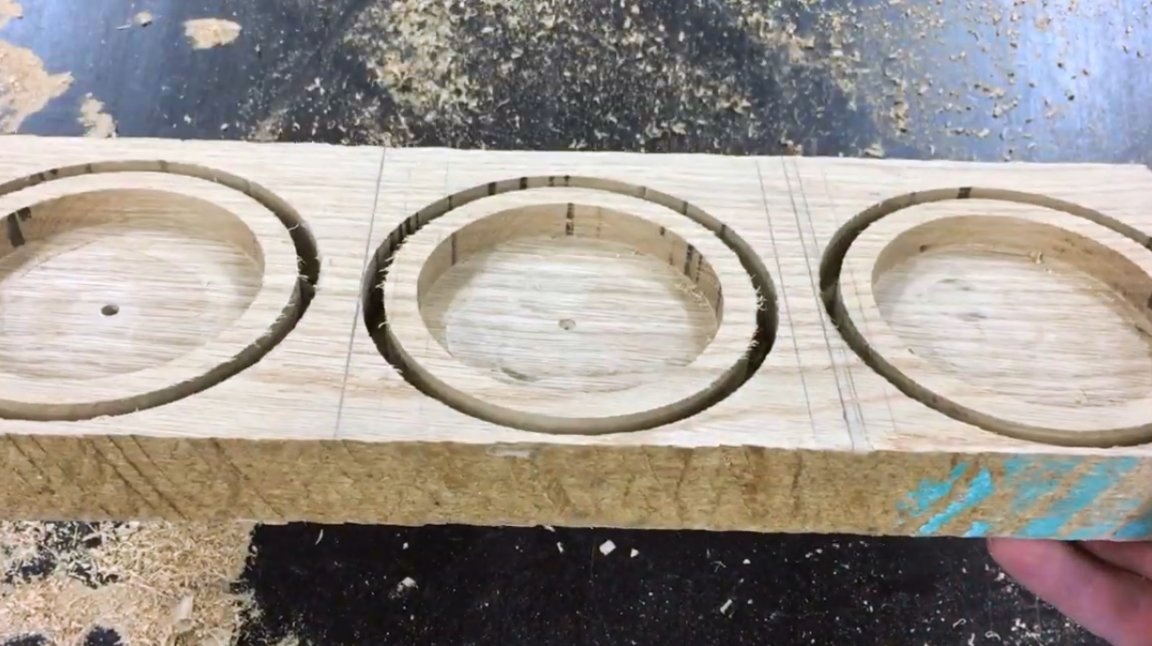
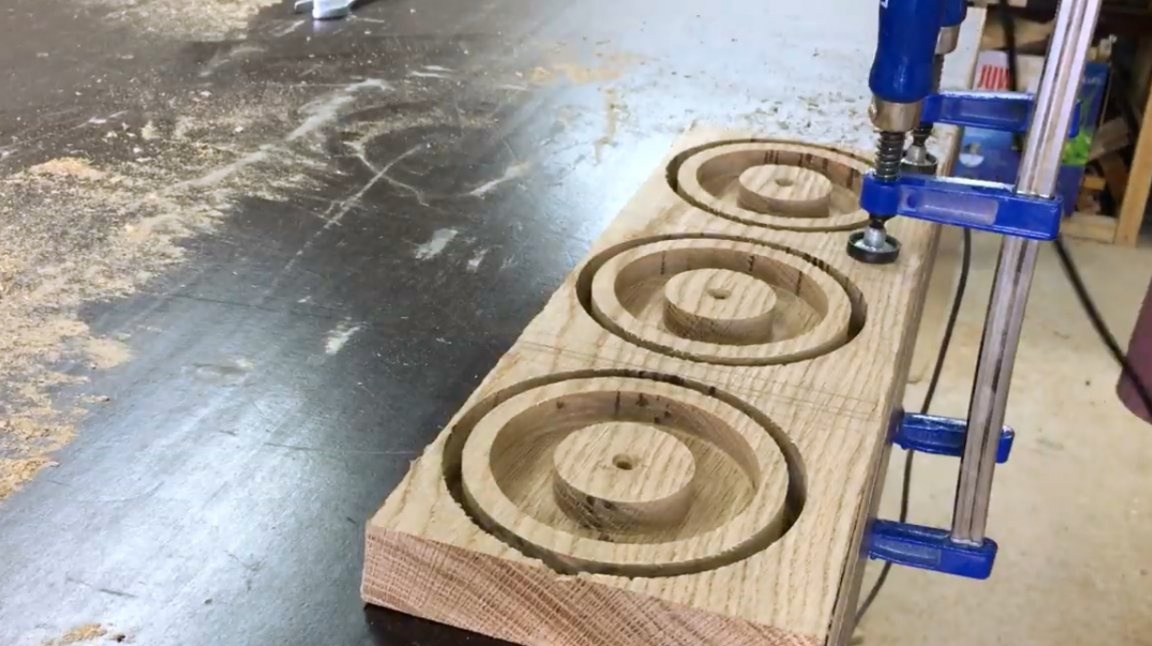
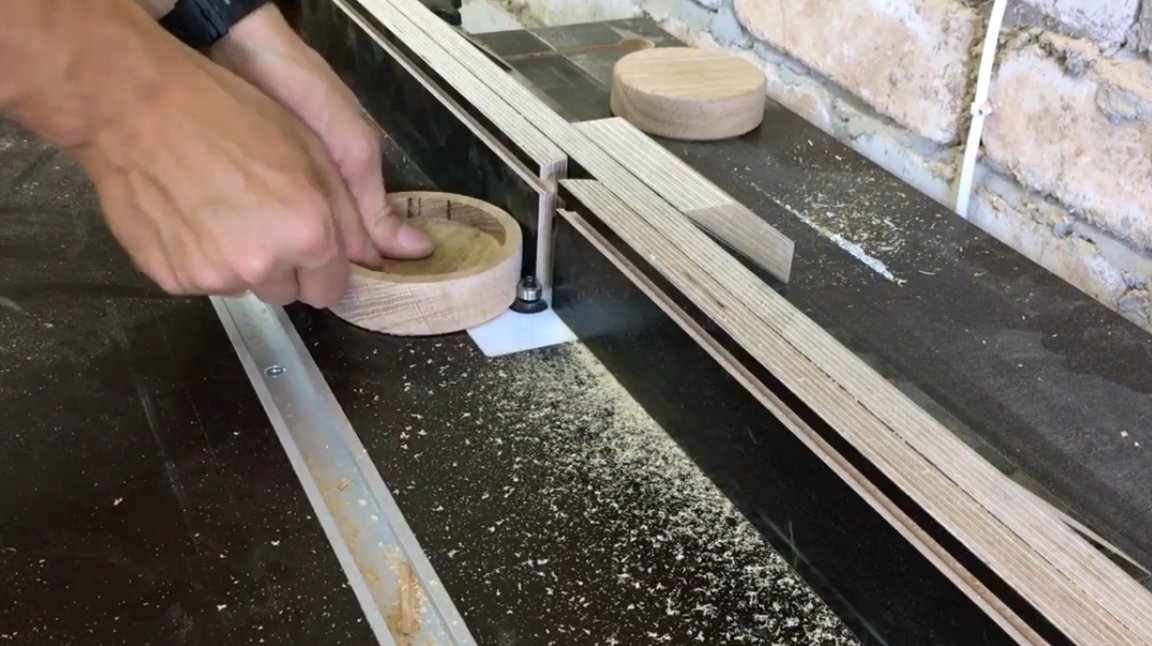
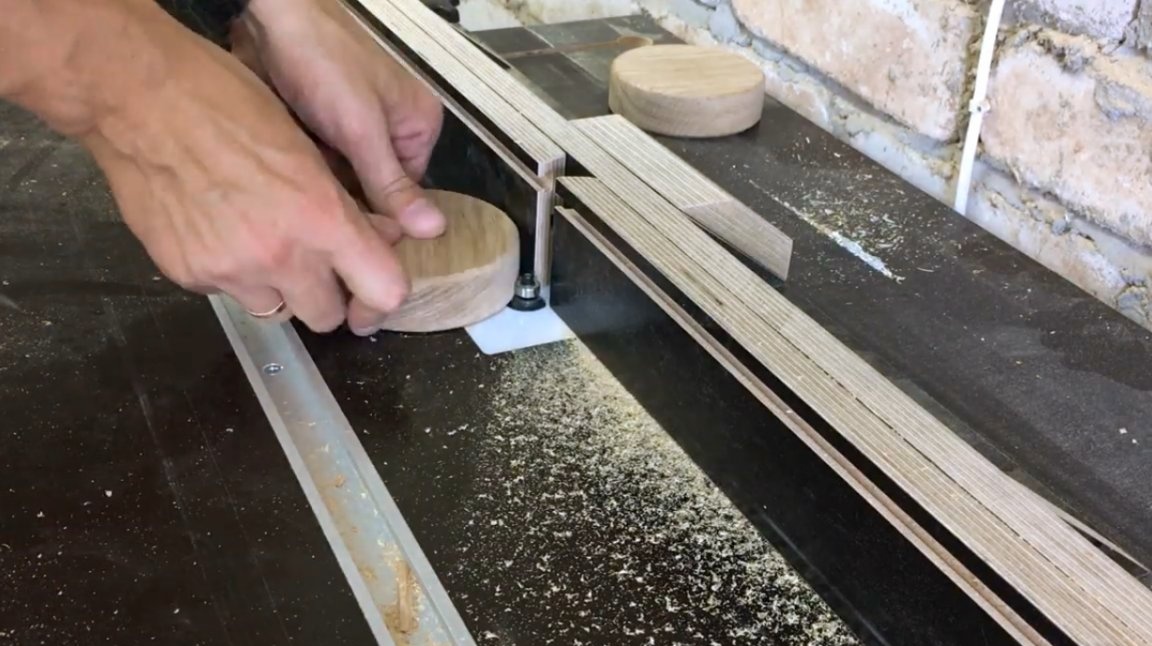
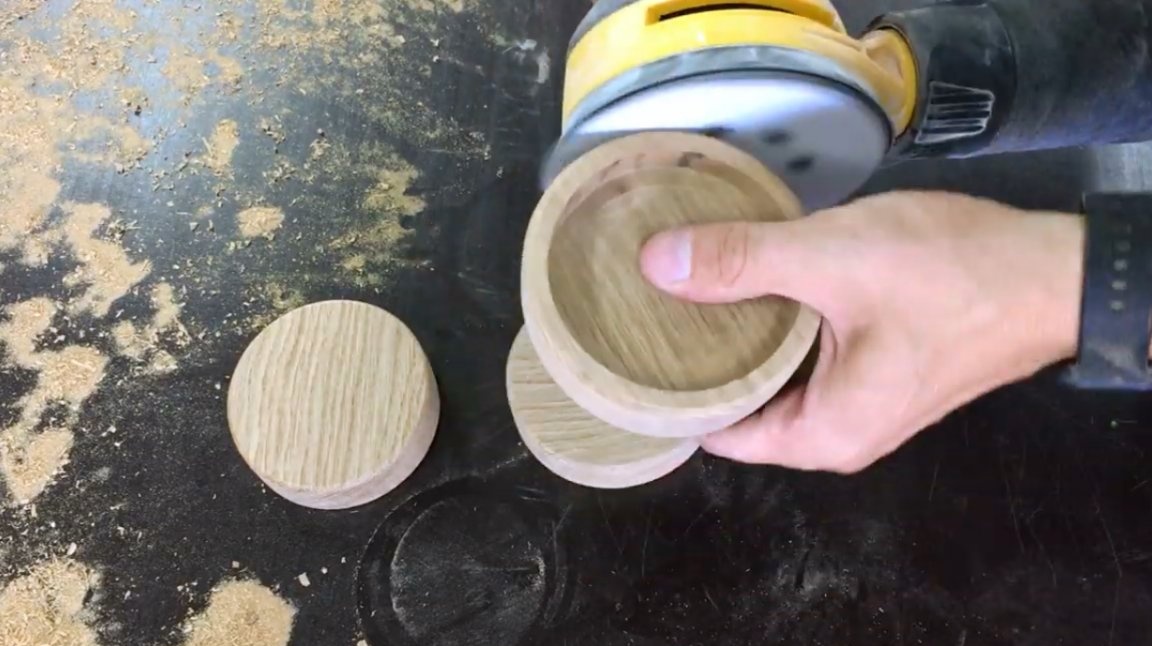
Now the workpieces are cut with an electric jigsaw around the outer circumference. This results in a small step.
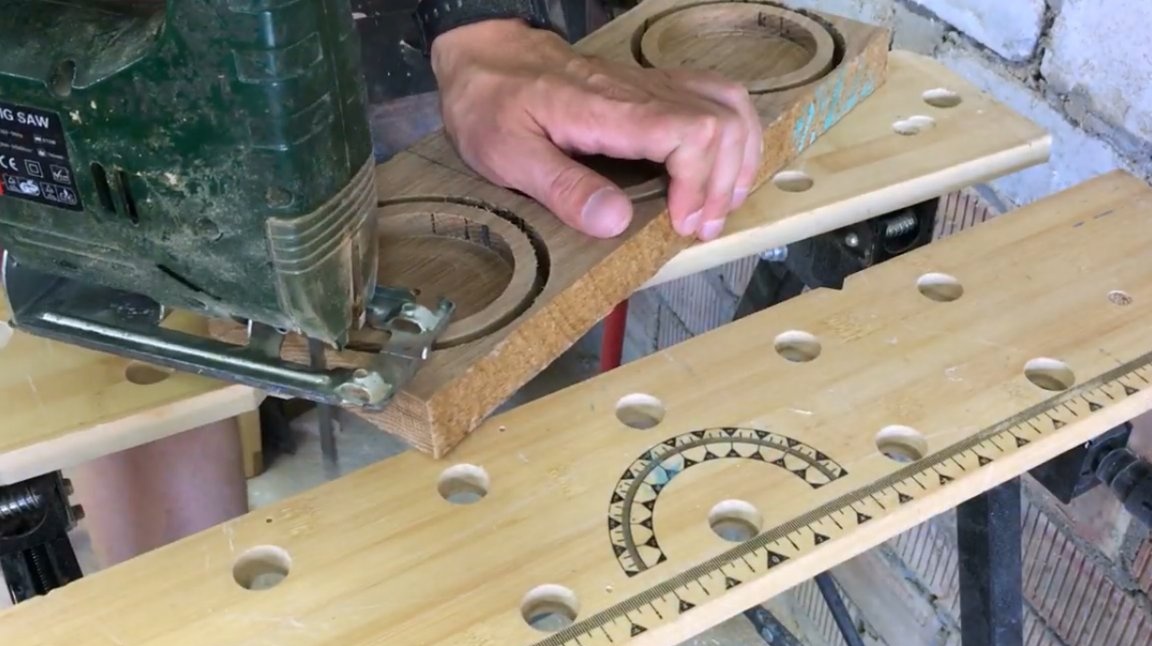
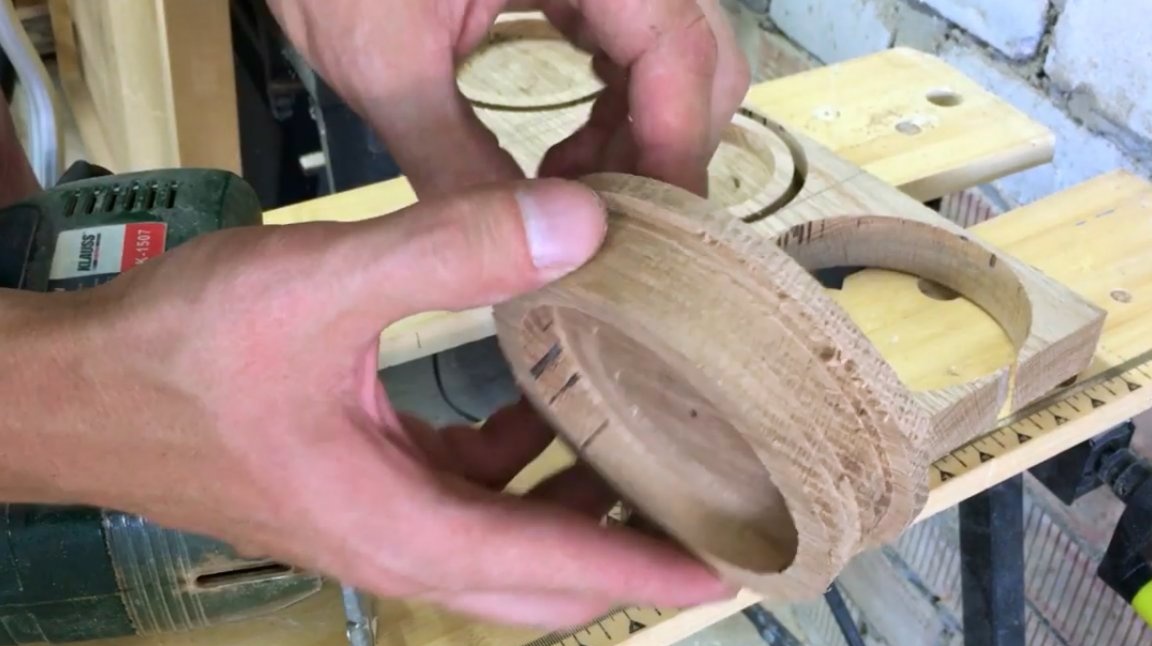
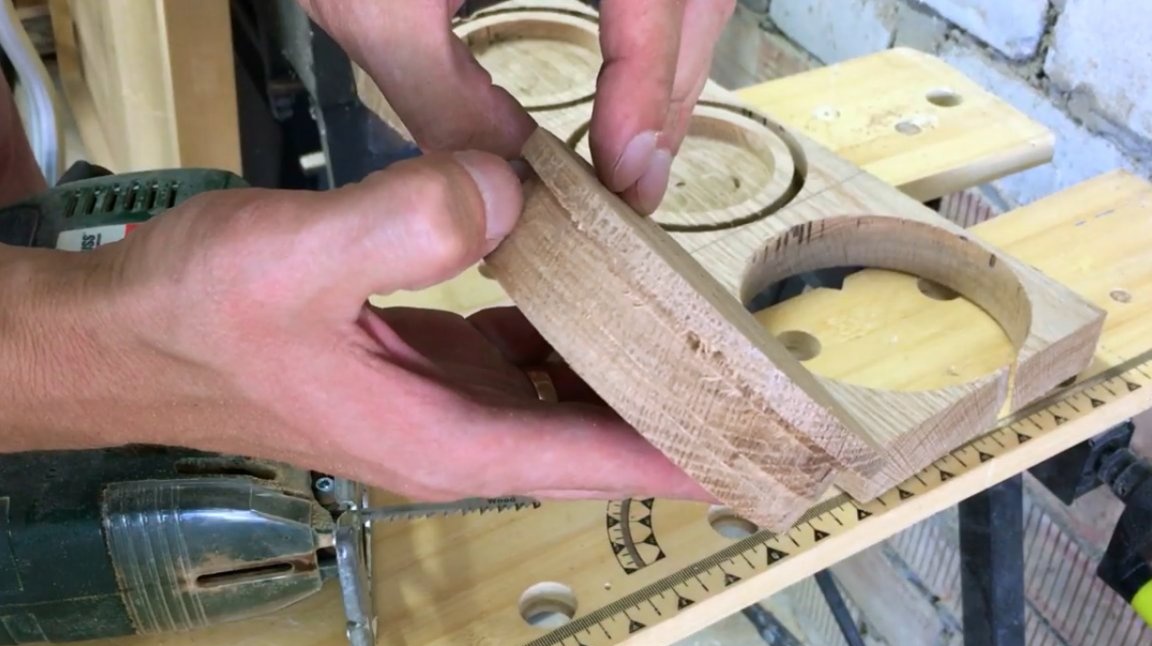
Using a flat cutter with a thrust bearing, these steps are cut on a milling machine (in fact, this is the same milling cutter installed from the bottom of the workbench).
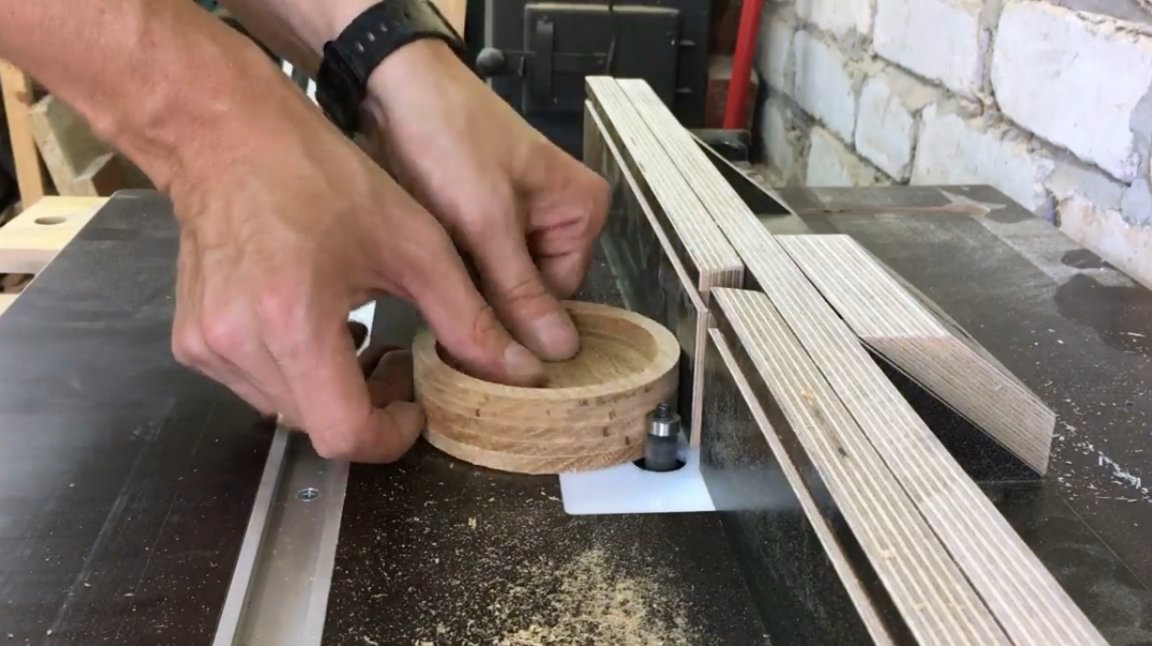
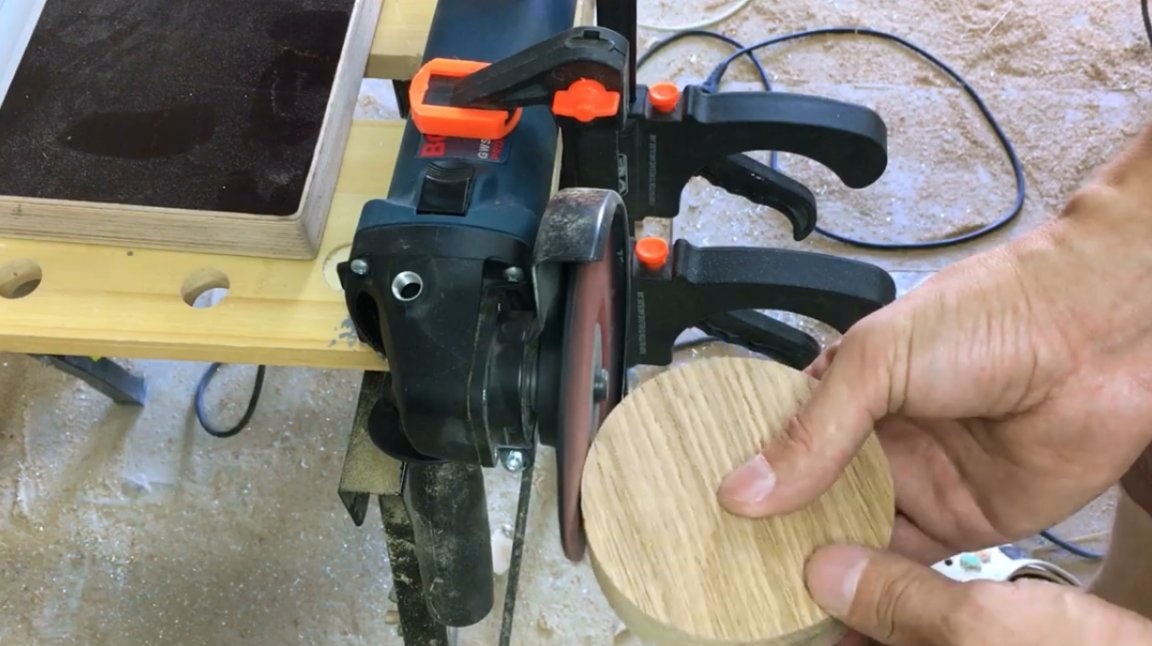
After milling, defects still remain, and their author polishes with a grinder with a petal grinding disc. To do this, he fixes the angle grinder on the workbench with clamps.

Then the master installs a radius cutter with a thrust bearing, and processes the edges of the workpieces.
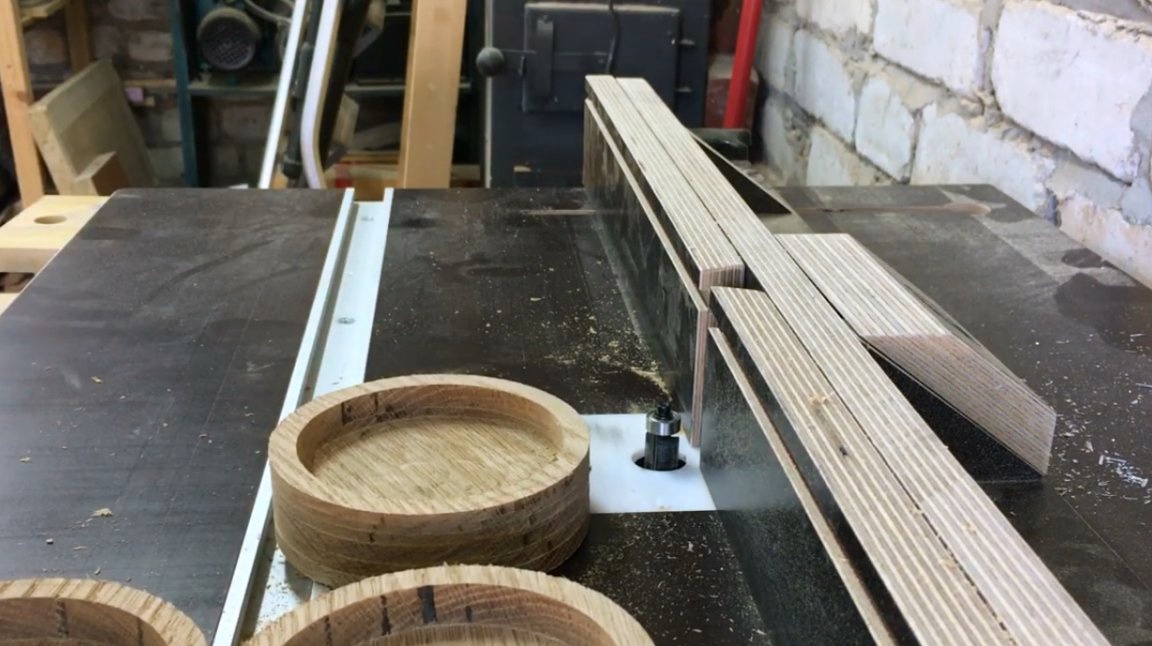
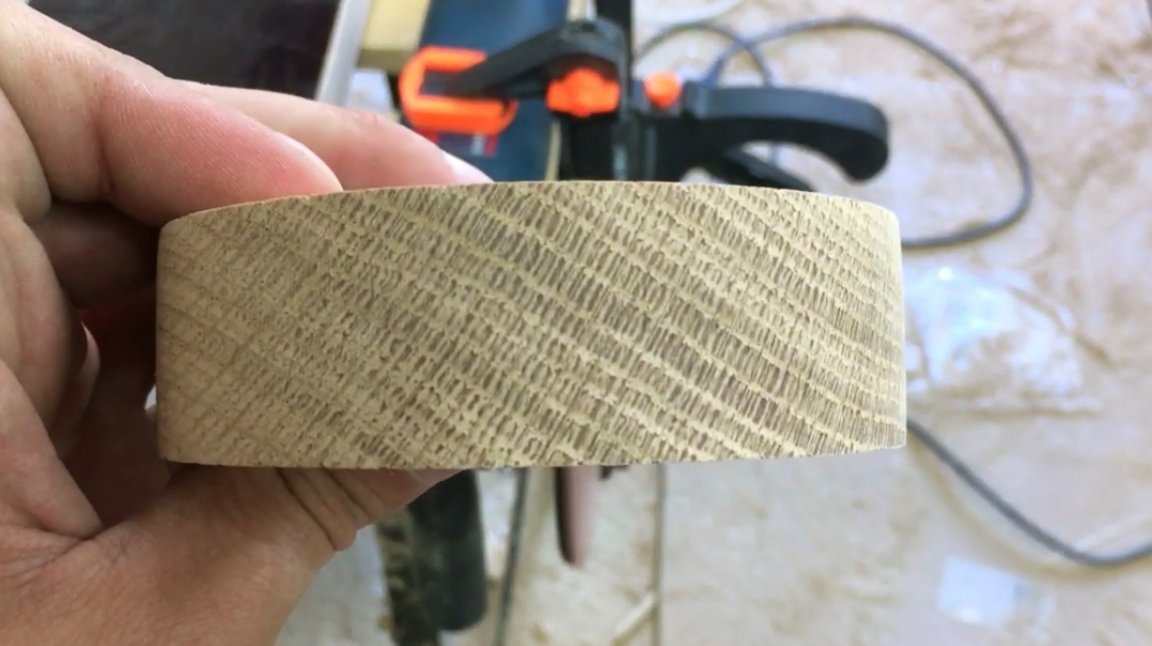
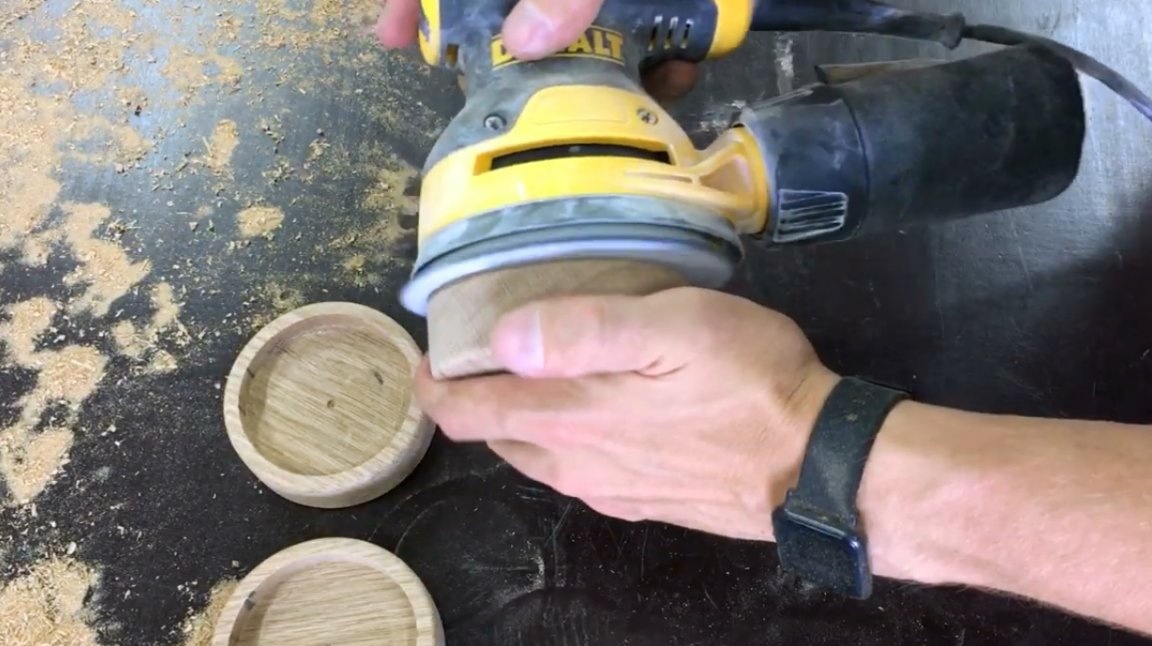
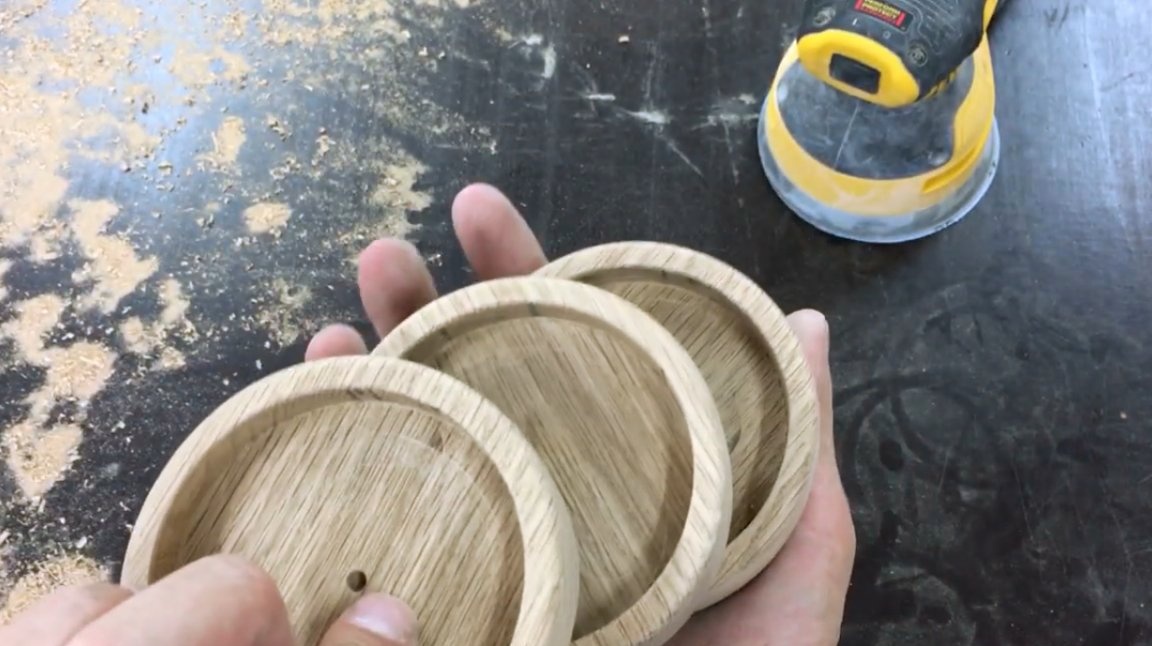
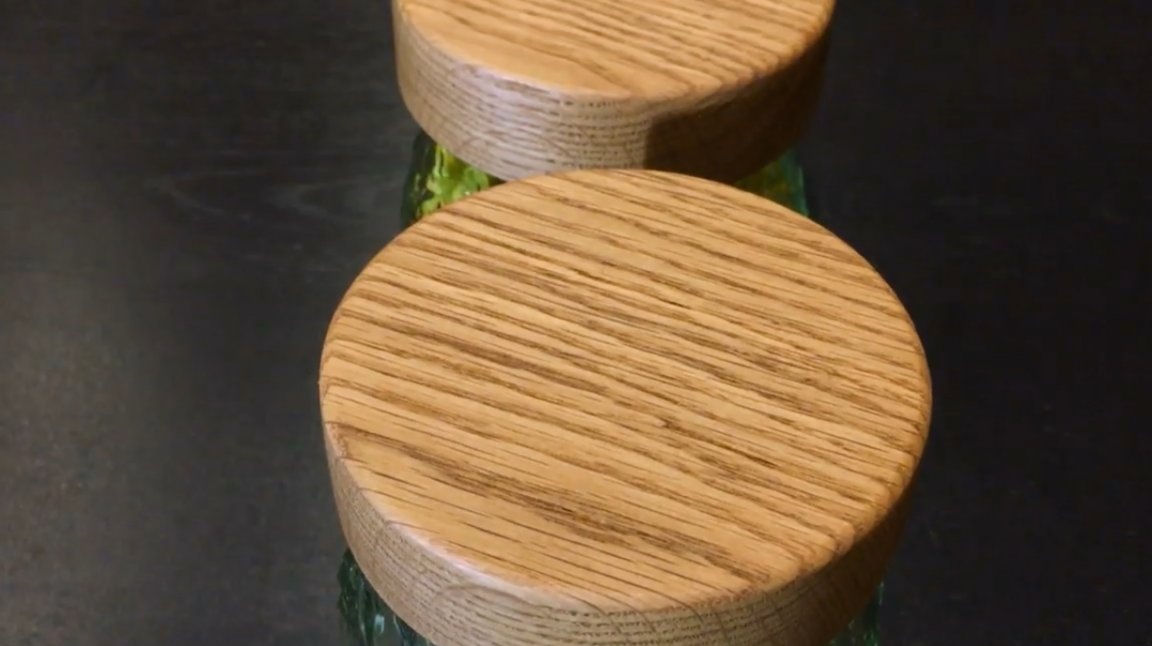
All surfaces of linings are ground by an orbital machine with fine-grained sandpaper.
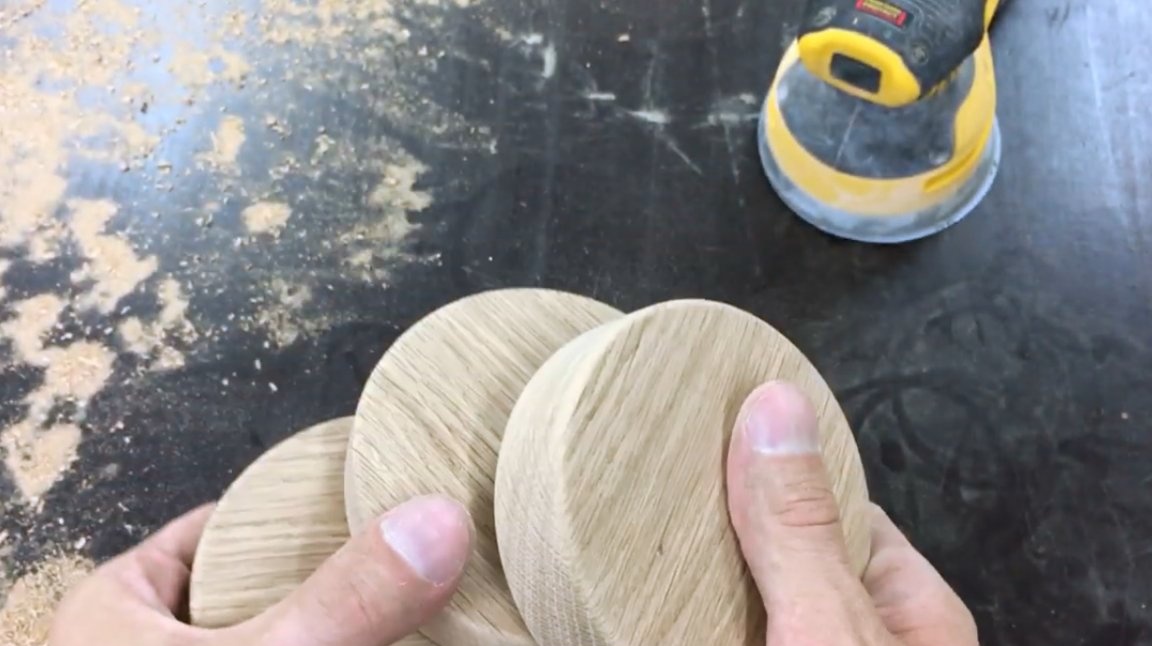
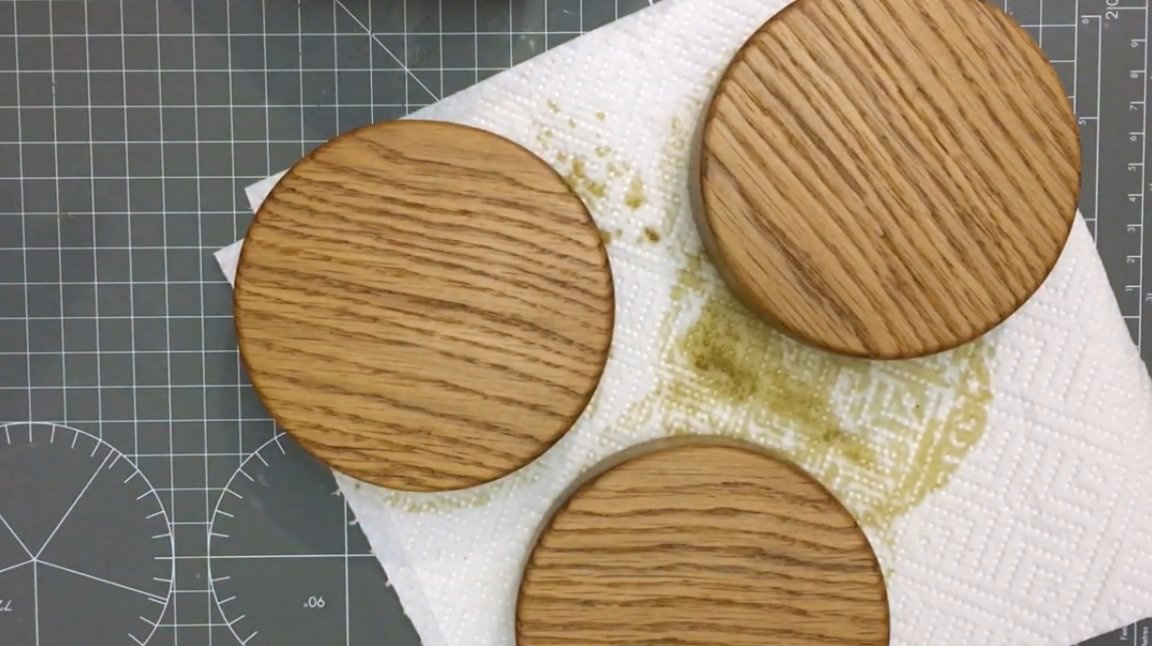
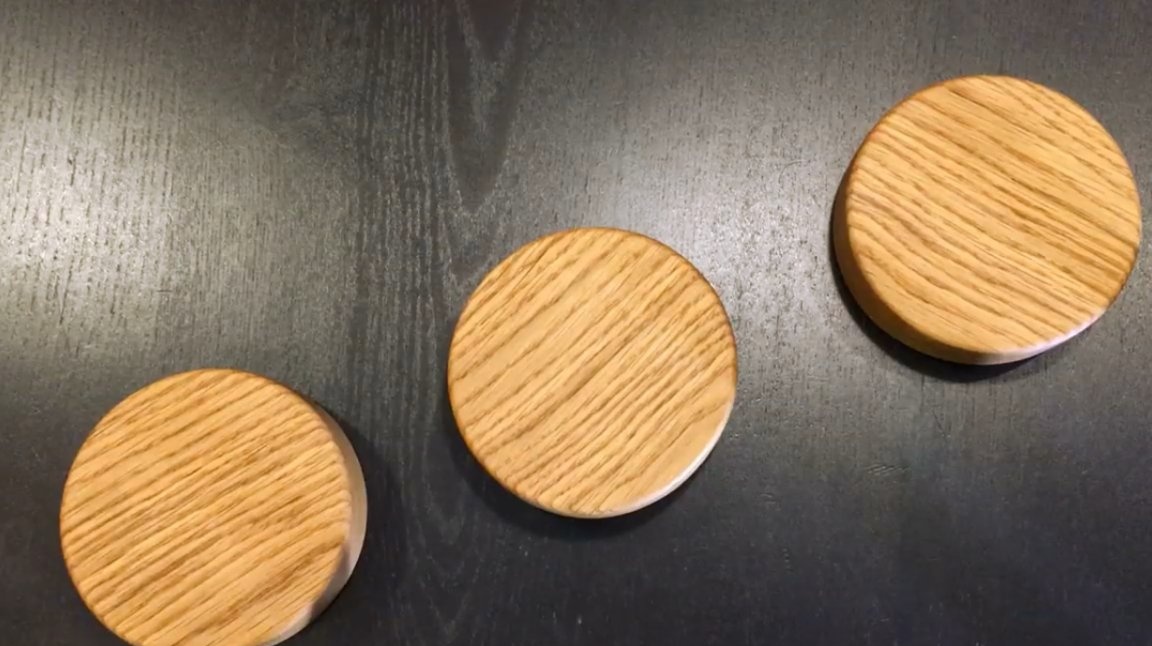
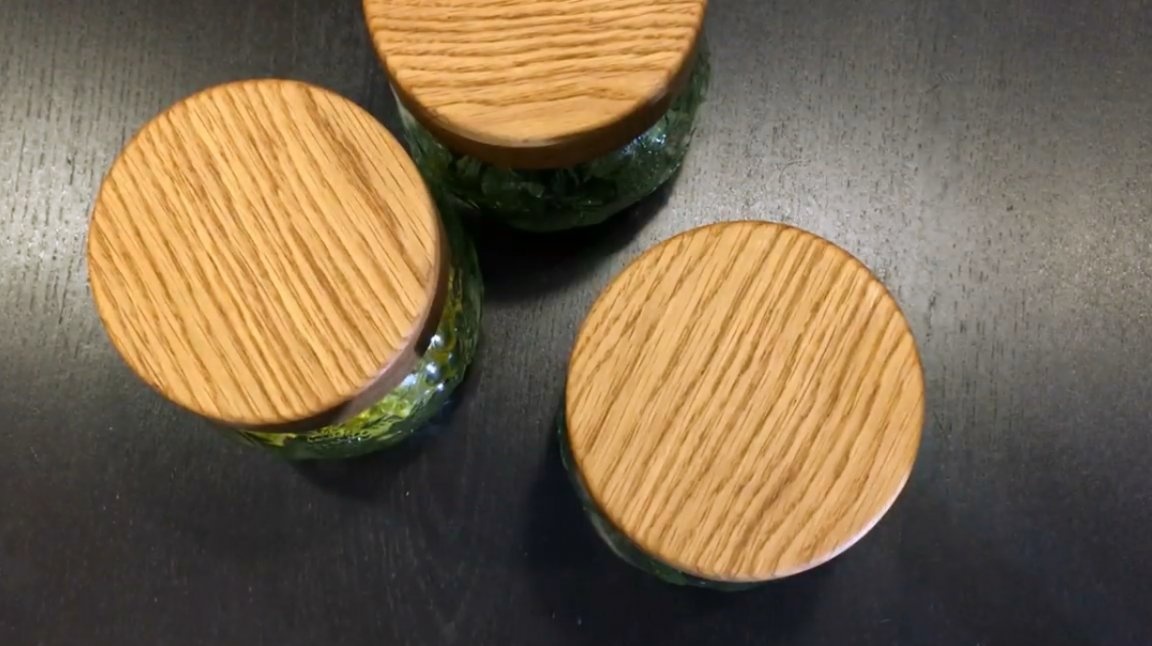
This is what almost finished products look like.

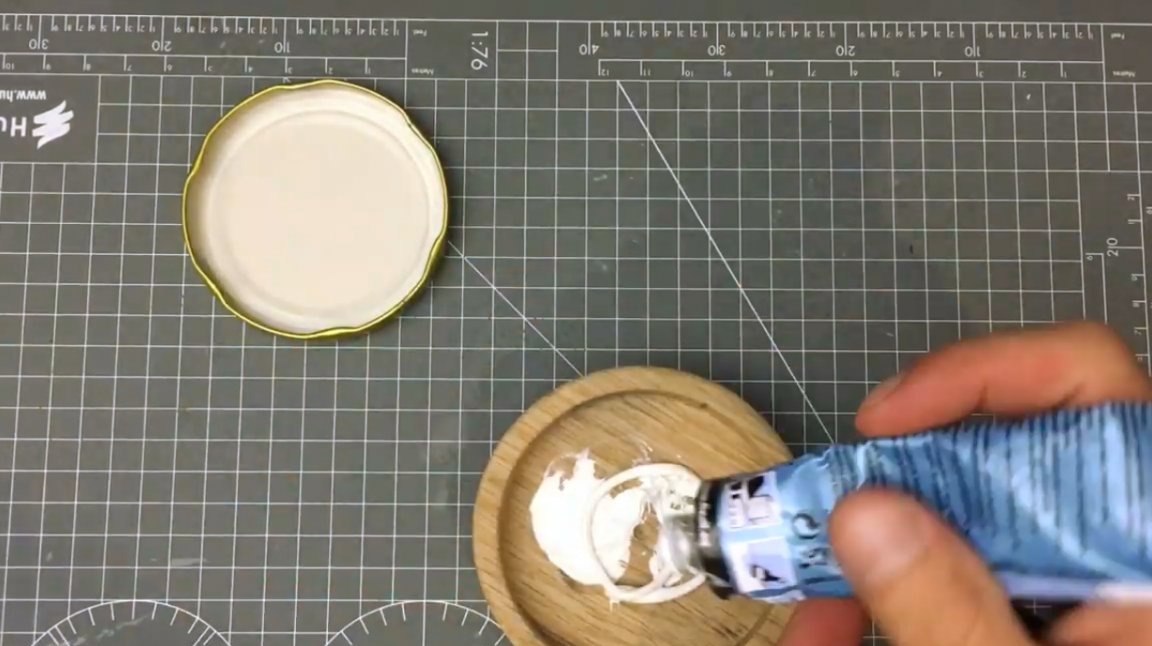
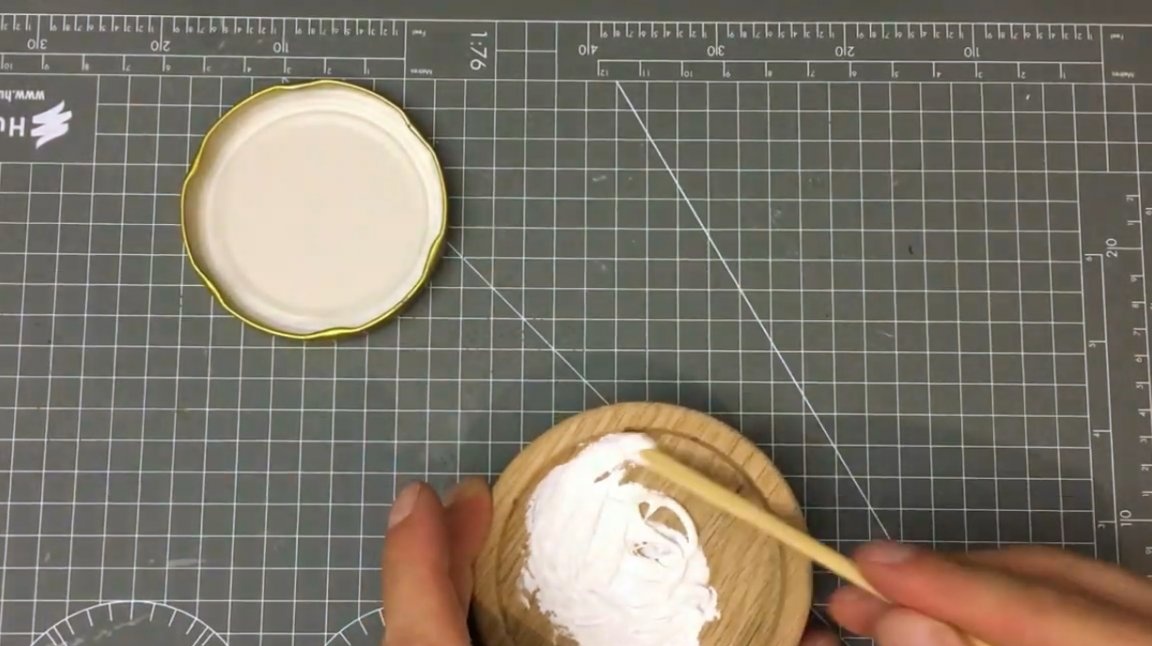
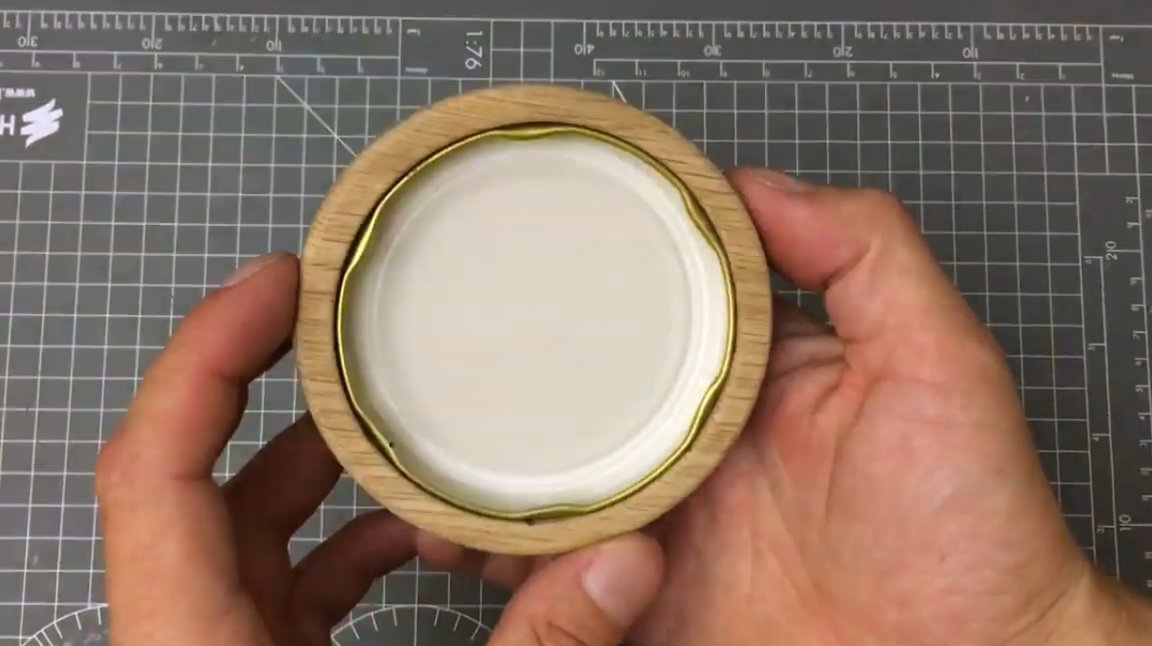
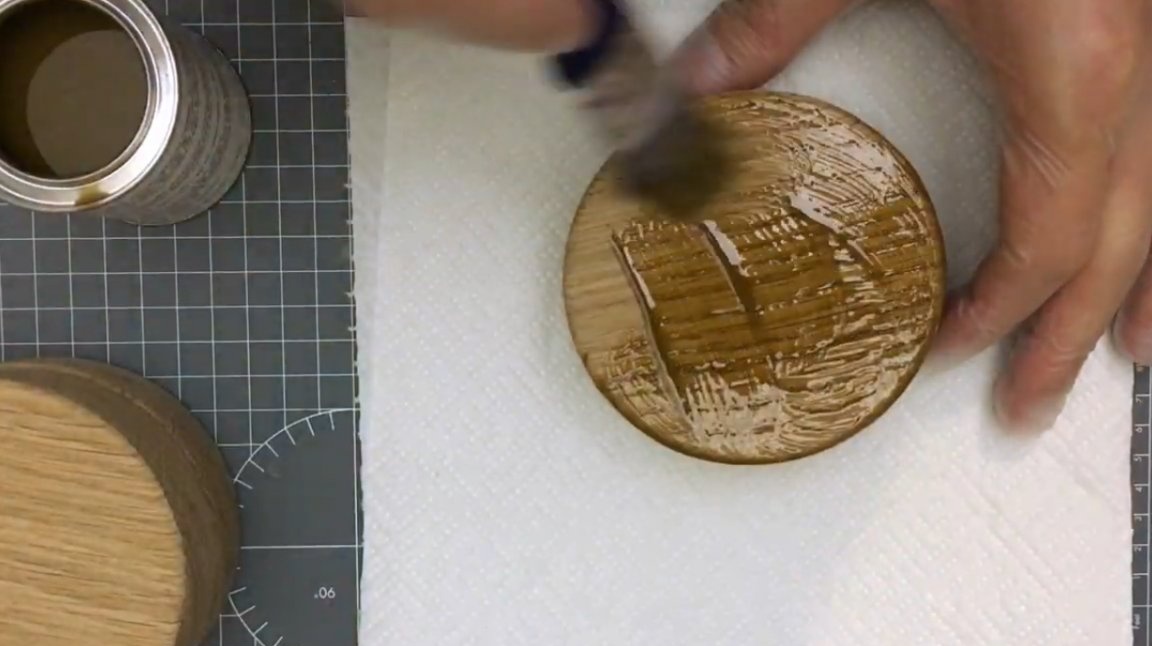
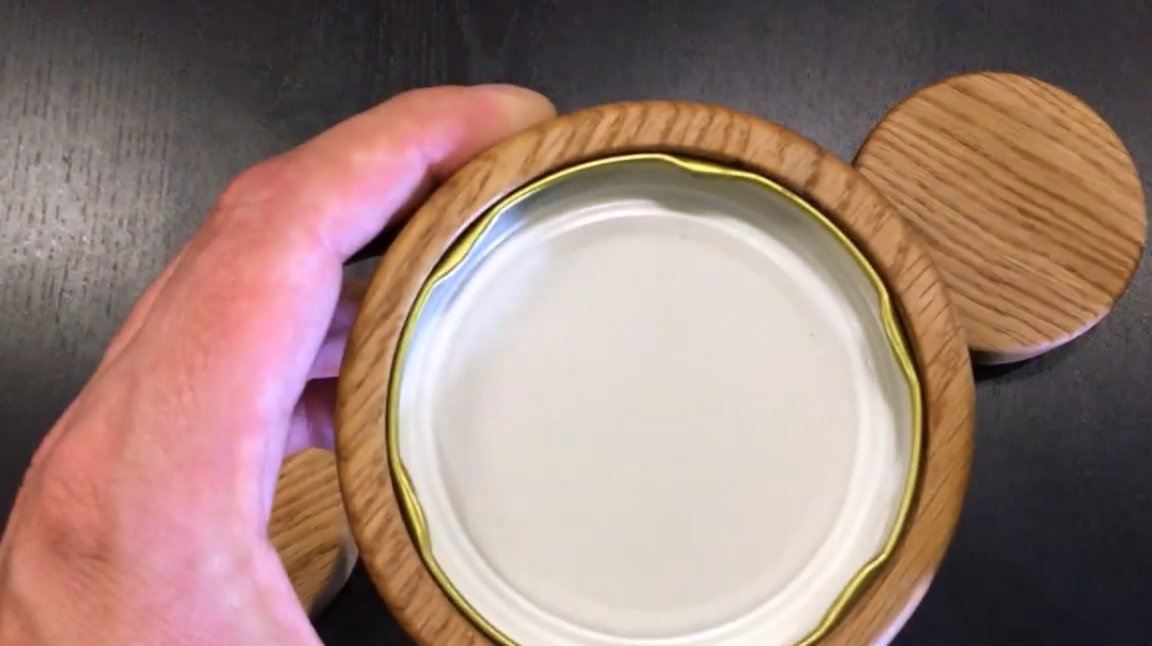
Inside the pads, screw caps themselves are glued onto universal glue.
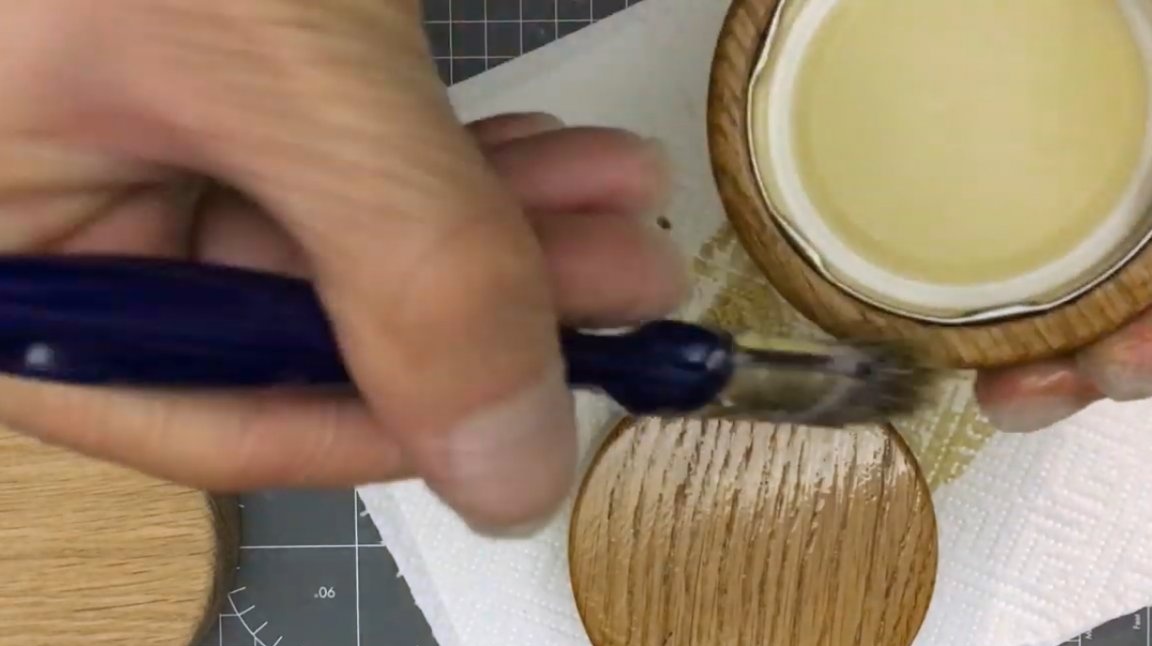
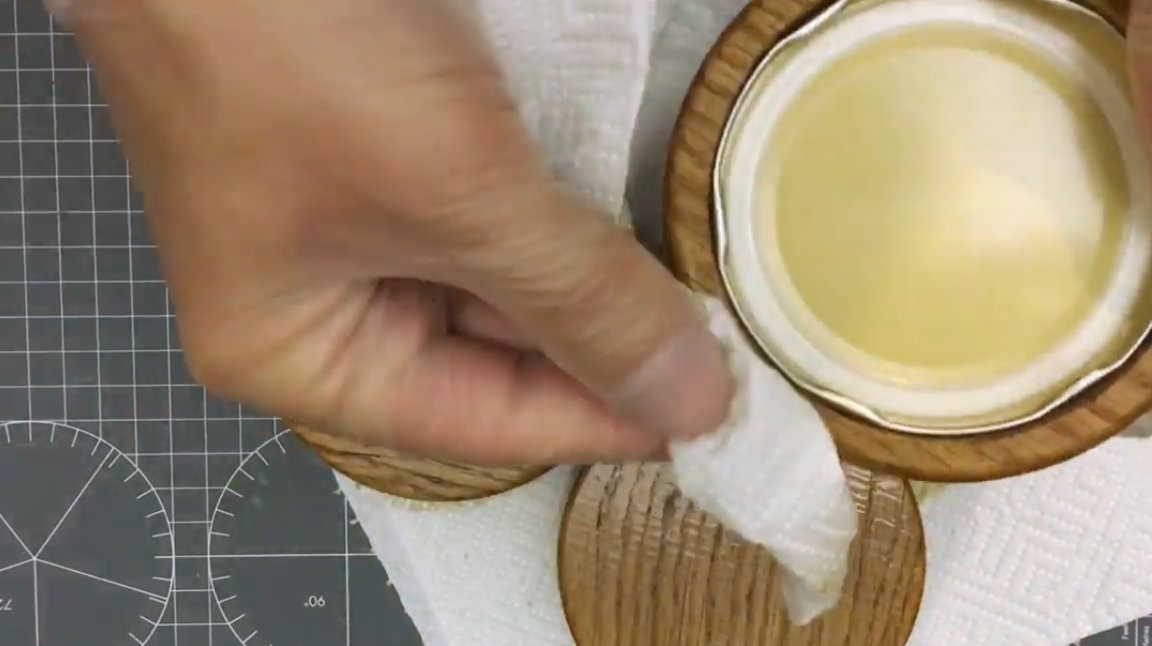
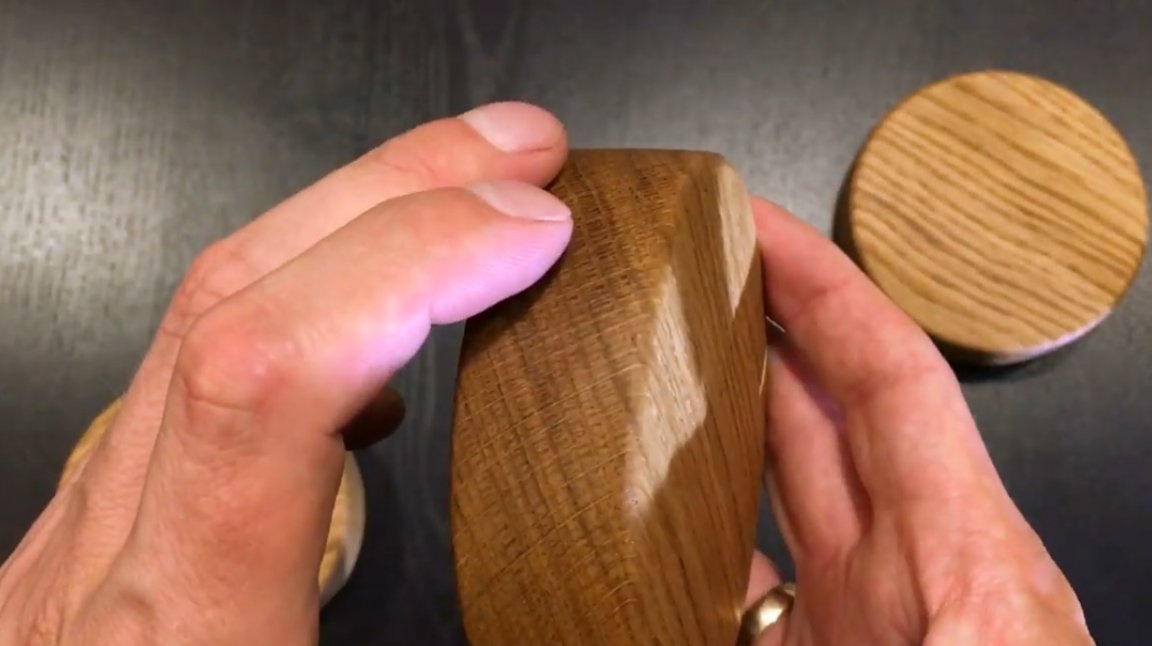
After the glue dries, all the outer surfaces of the linings are treated with a mixture of oil and wax. After a few hours, excess impregnation is removed with rags or paper towels.
The covers themselves are hidden under the skirts of the pads, they will not be visible.
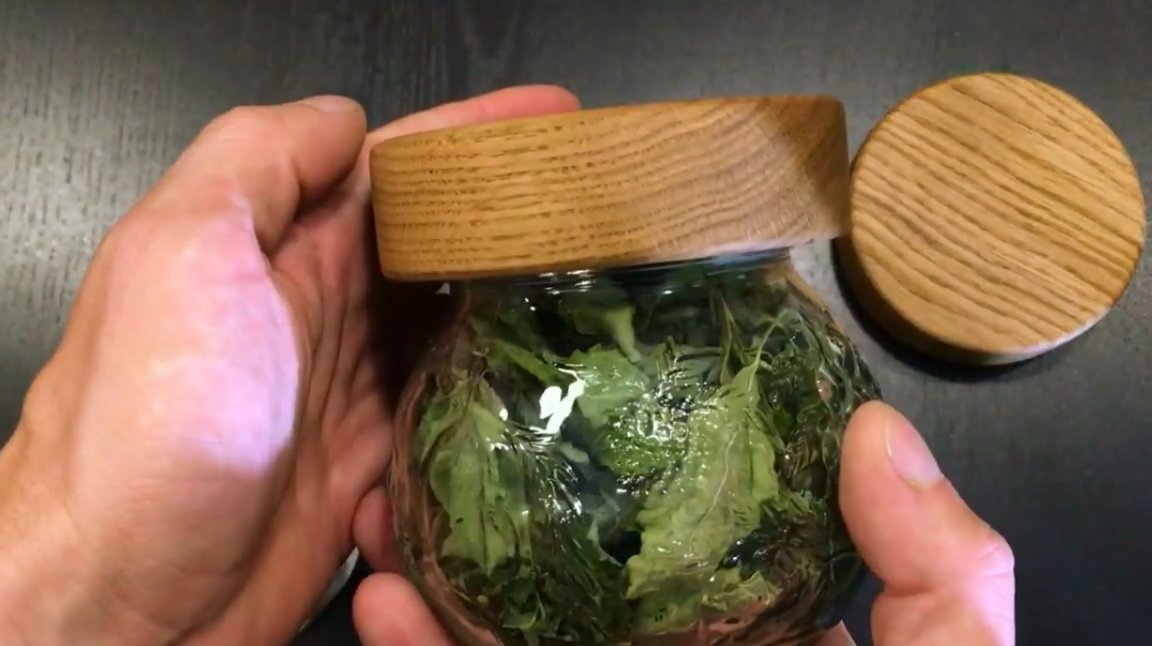
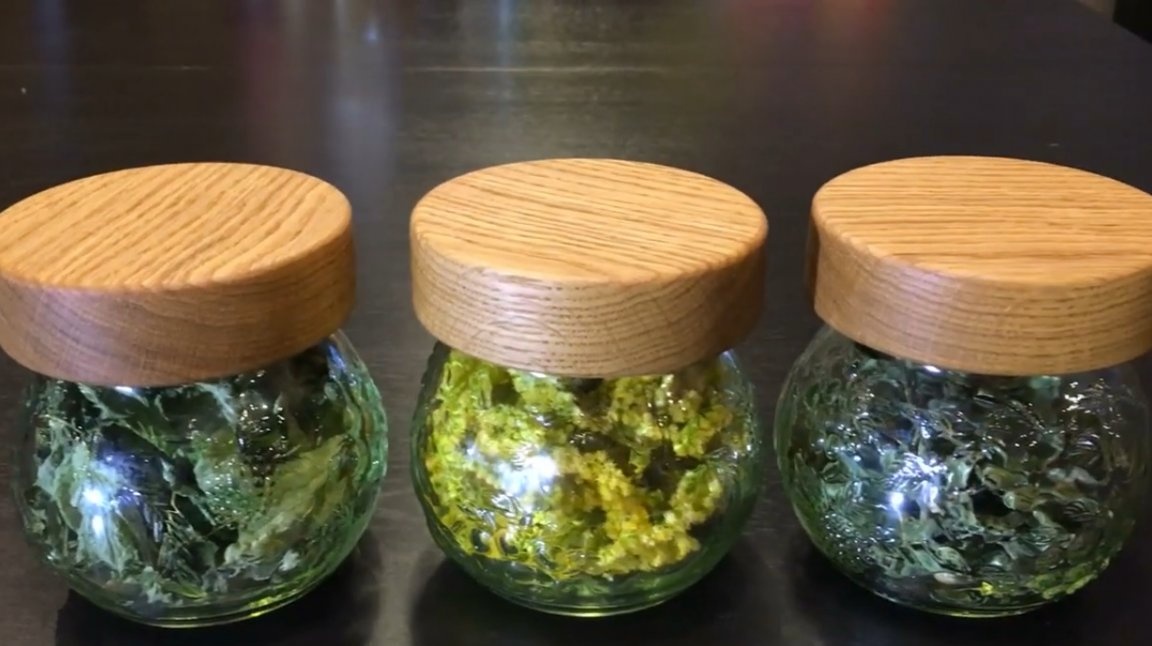
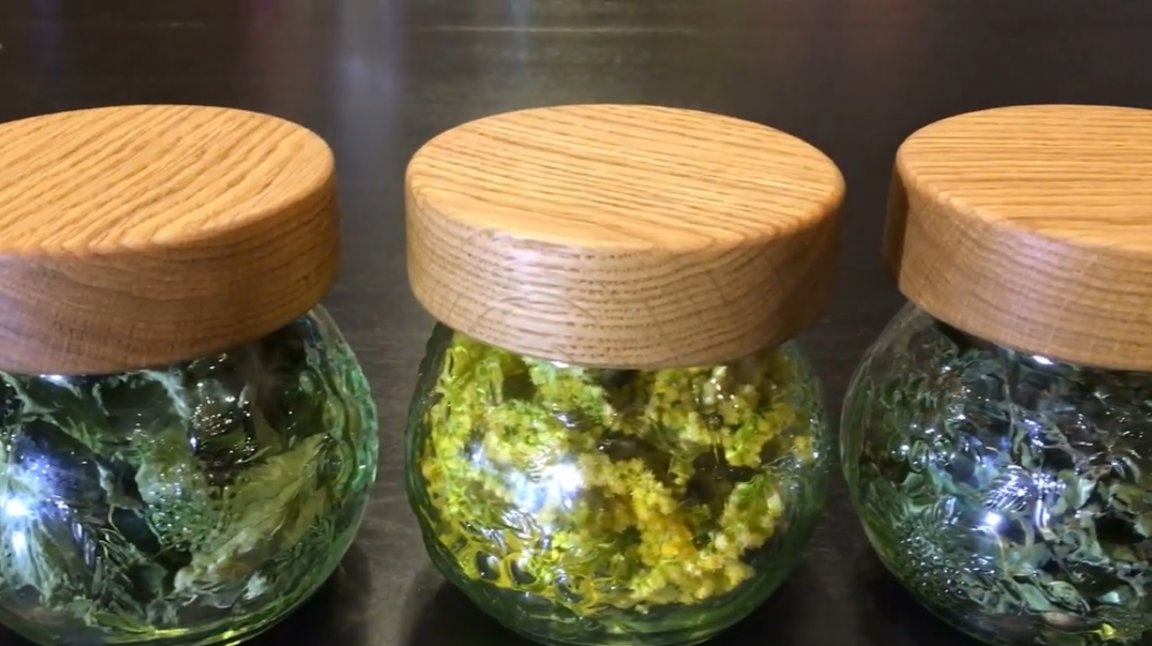
It remains only to fill the cans with contents, close the lids, and put on the shelf. Such a product will perfectly complement the kitchen interior!
By the way, the banks themselves with various textures can be purchased in stores for mere pennies. However, only tin or plastic covers go to them in the kit. Now you know how to hide tins with a beautiful wooden overlay.
I thank the author for an interesting way of transforming the appearance of ordinary tin lids!
If you have interesting homemade products, share them on this site. Here you will get a real reward, not a “bunch of green stuff" at the entertainment forum.
All good mood, good luck, and interesting ideas!
Author video can be found here.