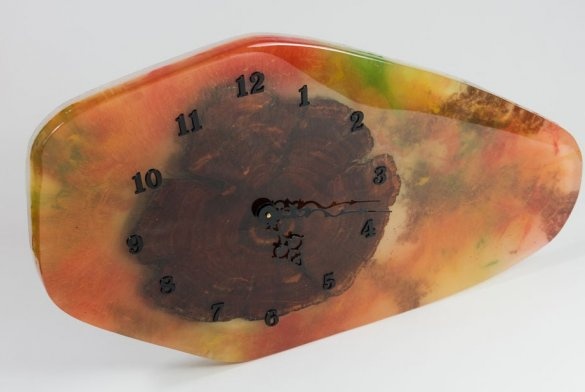
Greetings to all readers and masters. Surely many will agree with me that you can add some zest to your home interior with some original thing, especially if this thing is done do it yourself. That’s why I suggest you take note of the option of making an epoxy wall clock.
For the manufacture of the author used:
Materials
• Epoxy resin.
• Wood cut.
• Corrugated plastic.
• Masking tape.
• Clockwork with arrows and numbers.
• Kohler.
Instruments
• Thermogun.
• Drill.
• Electric fretsaw.
• Nozzle crown.
• Grinder.
• Gas-burner.
Step one.
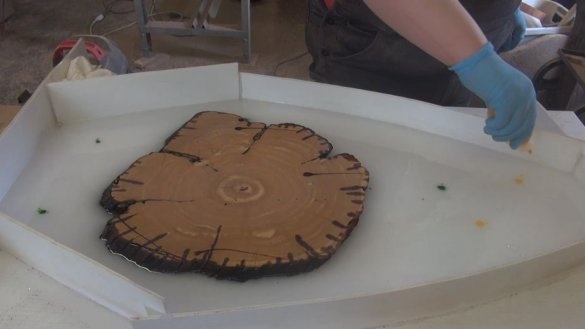
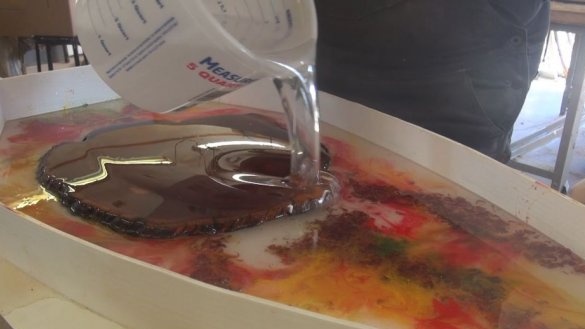
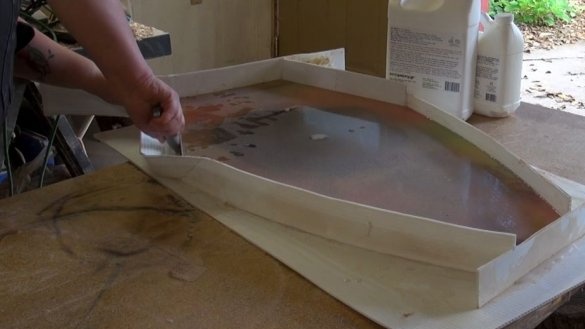
First, the author made a filling mold from corrugated plastic, and carefully glued all the seams and joints with a heat gun to avoid resin leaks. Then he placed in a mold a previously prepared and processed with an emery sandpaper saw. Then he poured the first thin layer of resin with the addition of a white tint.
Step Two
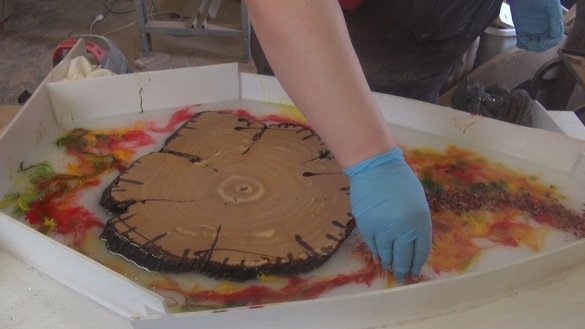
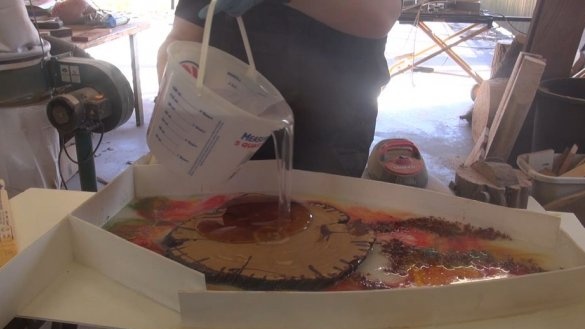
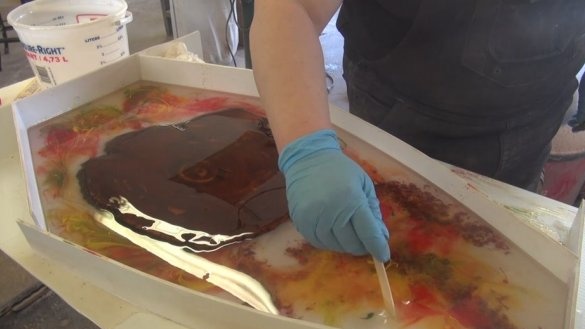
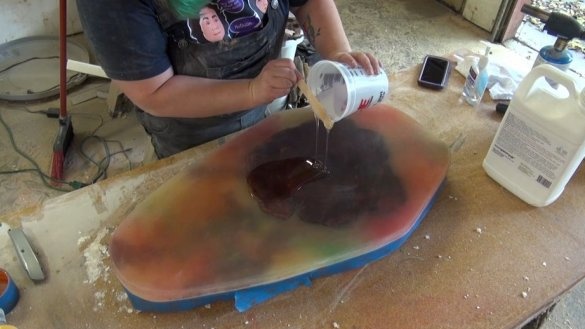
Further, the author added several colors of different colors, poured another layer of resin and performed the stains. Then another layer, in which the author added cedar chips. It turned out several layers with different “filler”.
Step Three
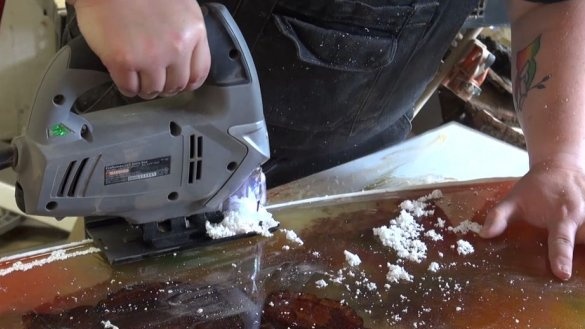
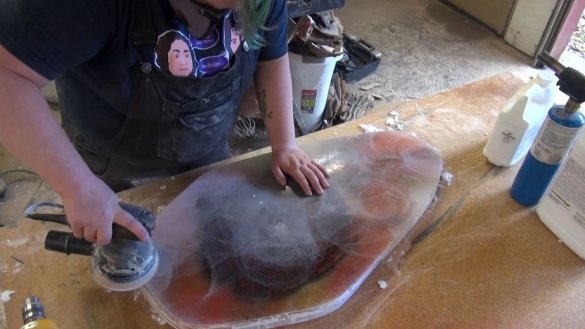
When the resin froze, the author carefully removed the canvas from the mold using a knife and a jigsaw. He grind all surfaces.
Step Four
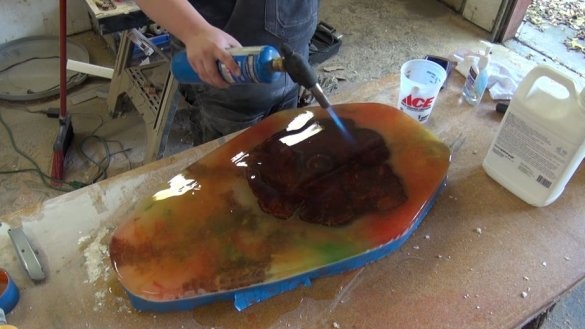
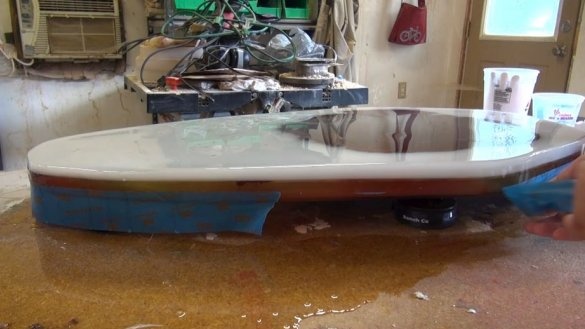
After everything was prepared, the author pasted over the edges with masking tape and applied the finish layers of epoxy on the front and back surfaces and warmed it with a burner.
Step Five
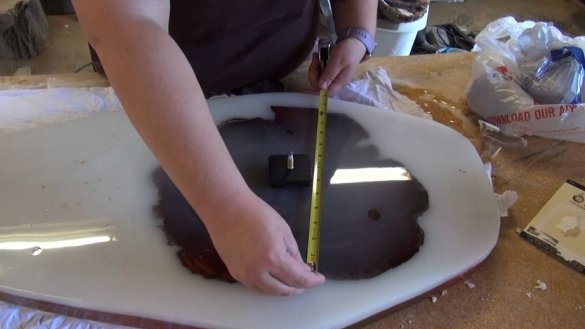
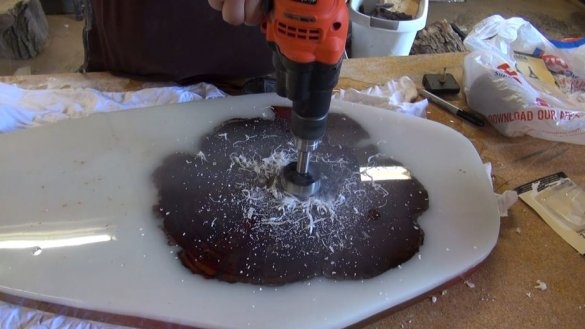
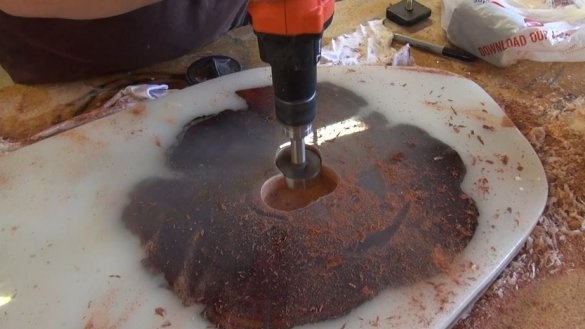
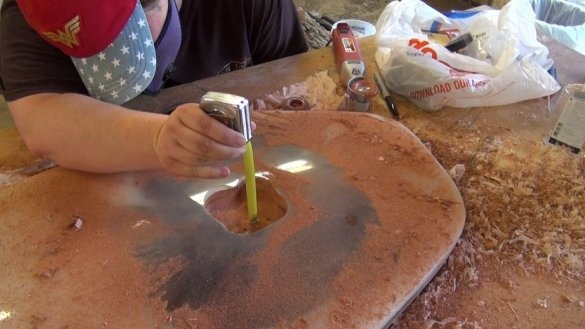
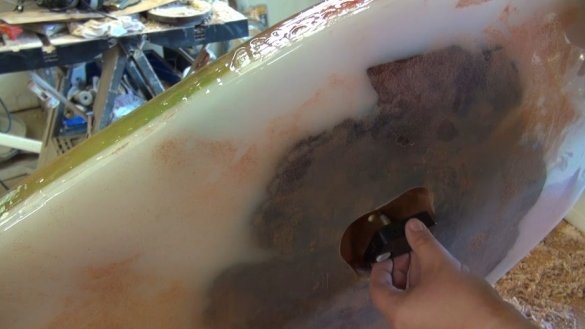
The final stage is the installation of the clockwork and the fastening of hands and numbers. To do this, the author on the back side marked a place under the mechanism and with a drill with a nozzle, the crown drilled a groove of the desired size and depth. I drilled a hole in the center for the axis of the mechanism, on which I fixed the arrows on the front side. The author used the numbers on a glue basis, so he simply glued them around.
That's all, you can hang a watch on the wall and admire your creation, and for one and keep track of time.
To get a deeper understanding of the manufacturing process, I recommend watching the video.
Thank you all for your attention and see you soon!

