

Hello dear the inhabitants of our site and guests of this site!
After a long, creative break, so to speak, I present to you my next homemade product. On the first birthday of the child I was asked to make the number one. The "customer" did not want to buy what is in the public domain, namely the figure from the balloons, which are now provided in large numbers in many stores in the city. The only condition that was voiced was that the finished product should be sufficiently stable.
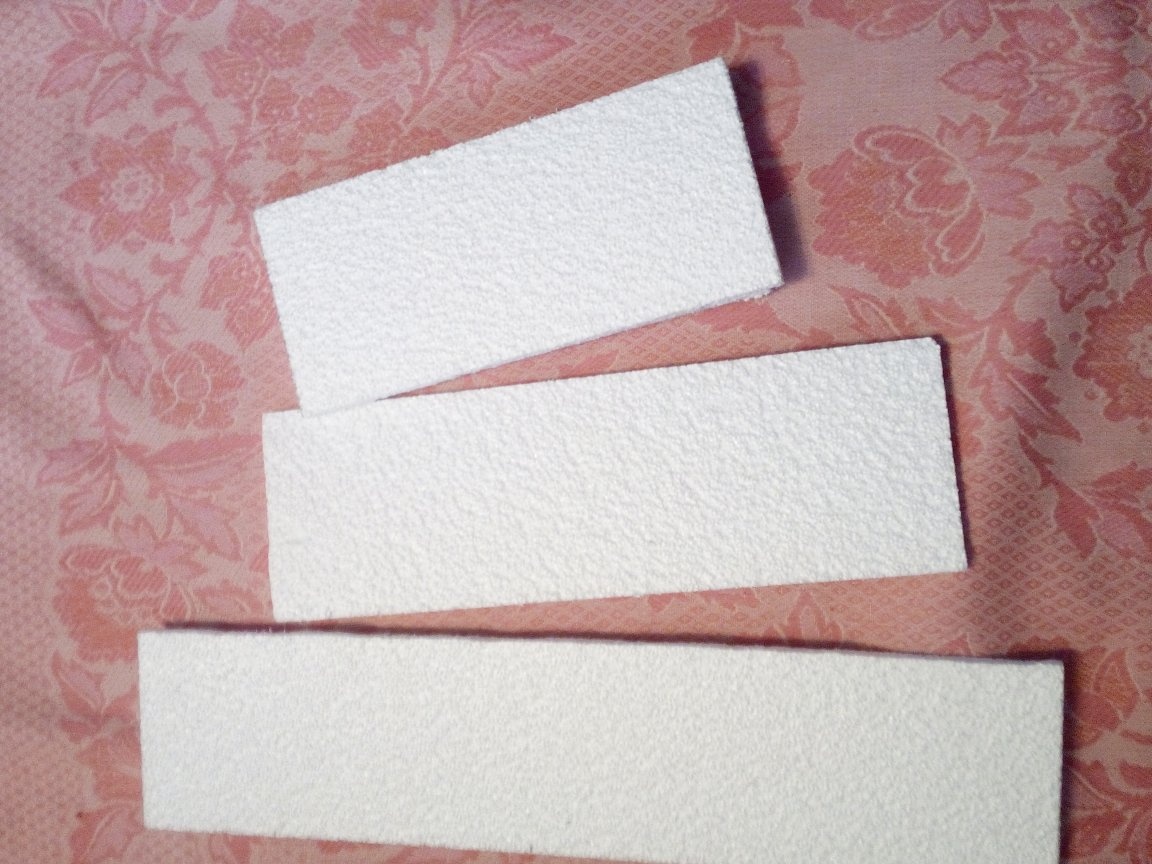
I decided to make a figure out of polystyrene foam. Fairly common material, affordable and very budget. Of the tools and accessories, a sharp clerical knife, a gun with sealant, a ruler, a pencil, 30 mm nails, a glue gun and rods to it, and, accordingly, the foam itself were used. Sheet size 1 by 2 m, thickness 10 or slightly more than mm.
To begin with, I drew the figure itself on the blank.
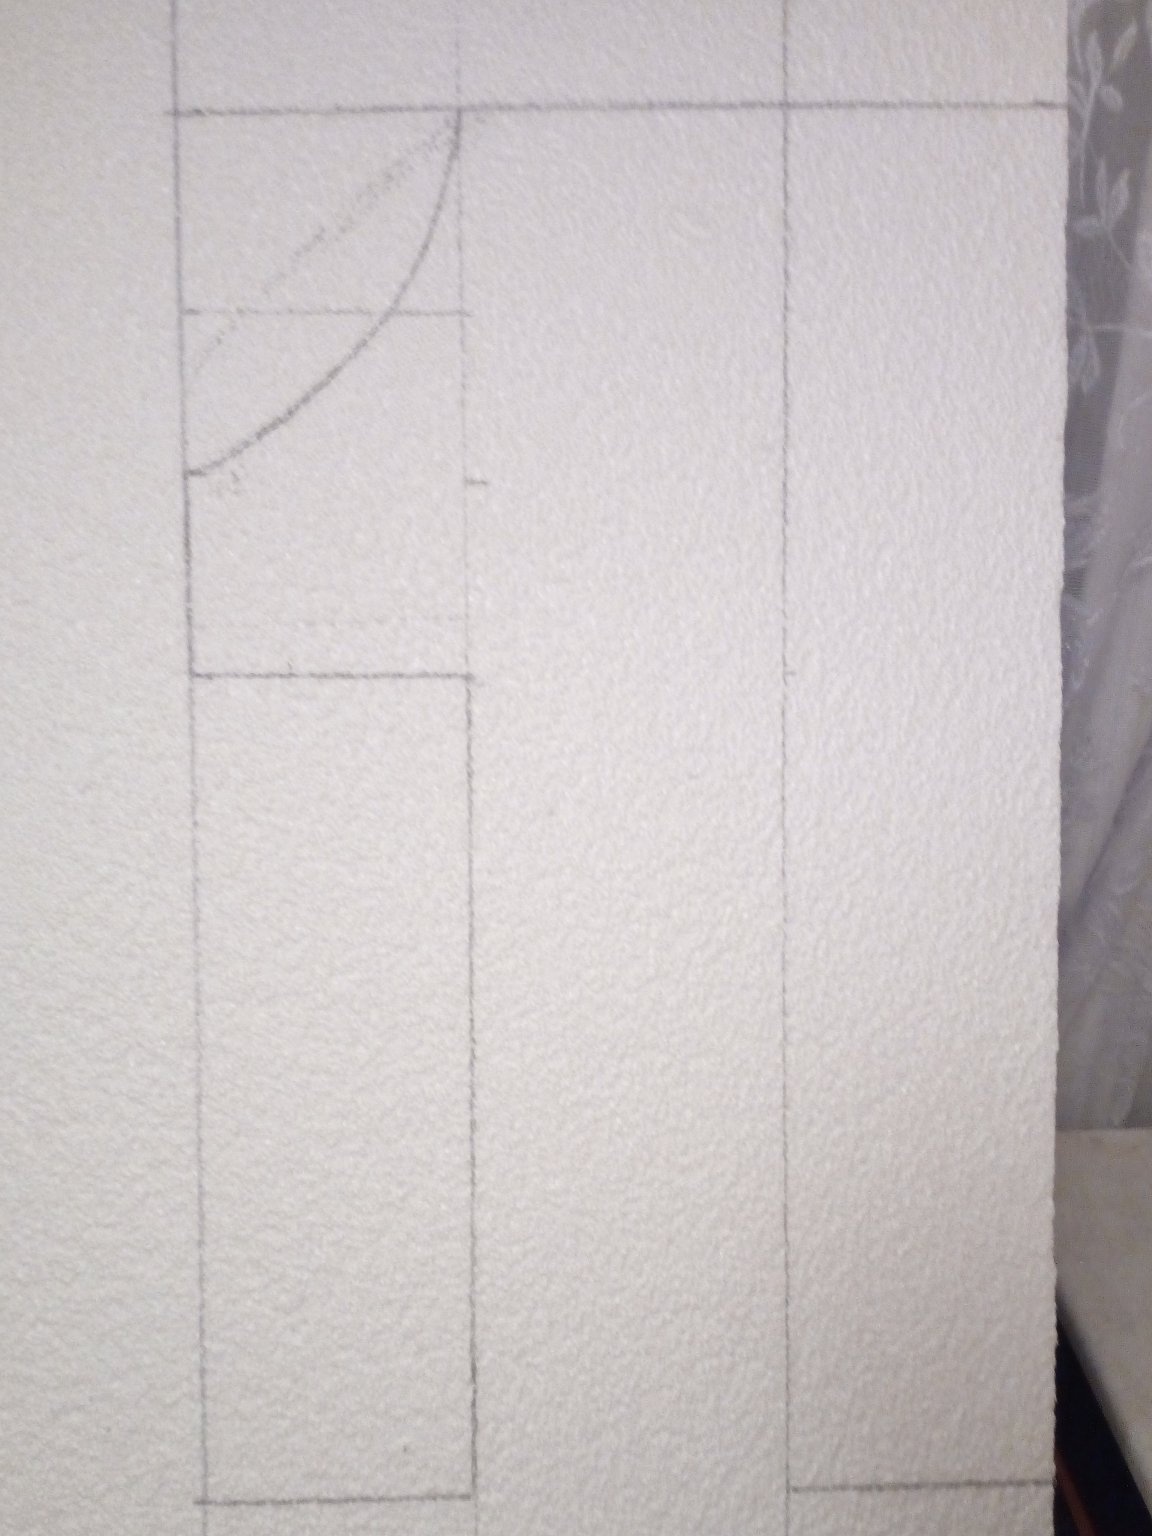
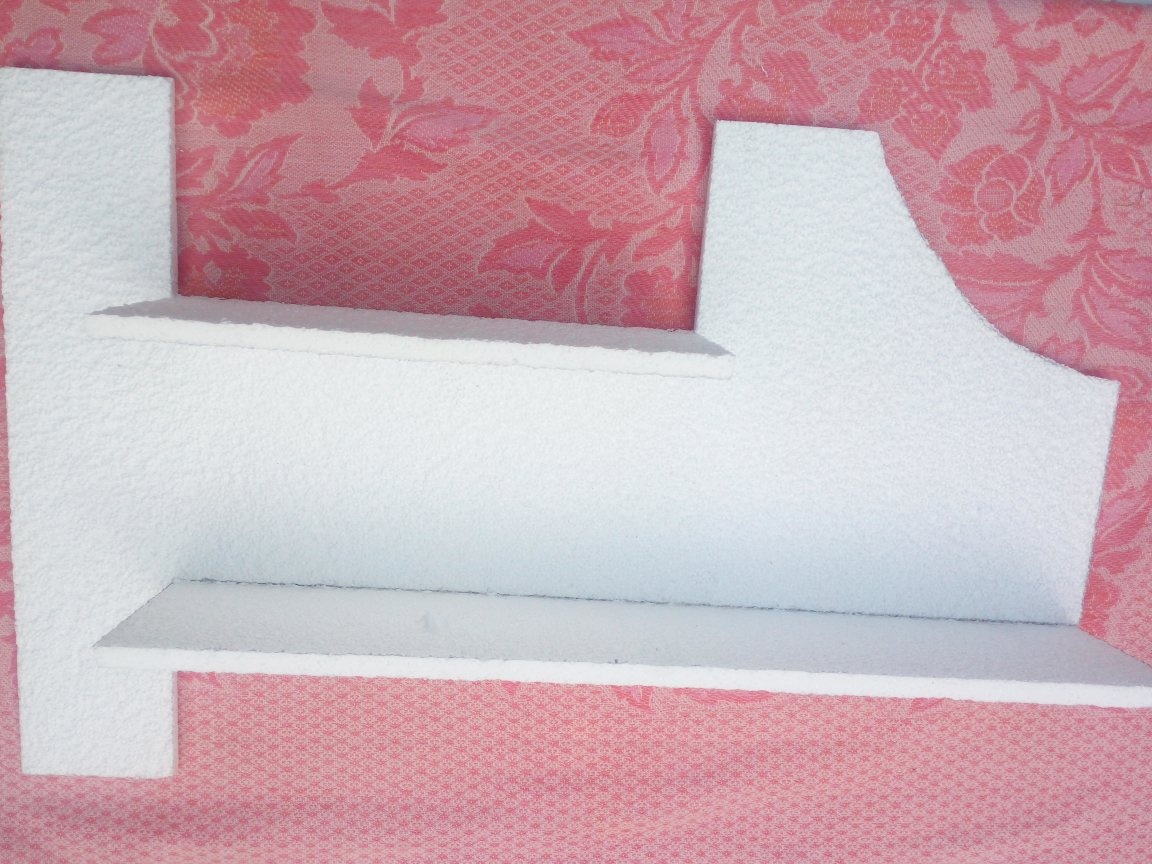
After I was pleased with the result, I cut through all the straight sections of the workpiece with a clerical knife using a metal ruler. I cut a rounded hollow on the nose with a burner, after building up a sting of nichrome wire from the spiral of an old electric stove. It is possible from another material, but this one is good because it is elastic enough and heats up quickly, and is also thin. Such items need 2 pieces. These are the front parts of the homemade product.
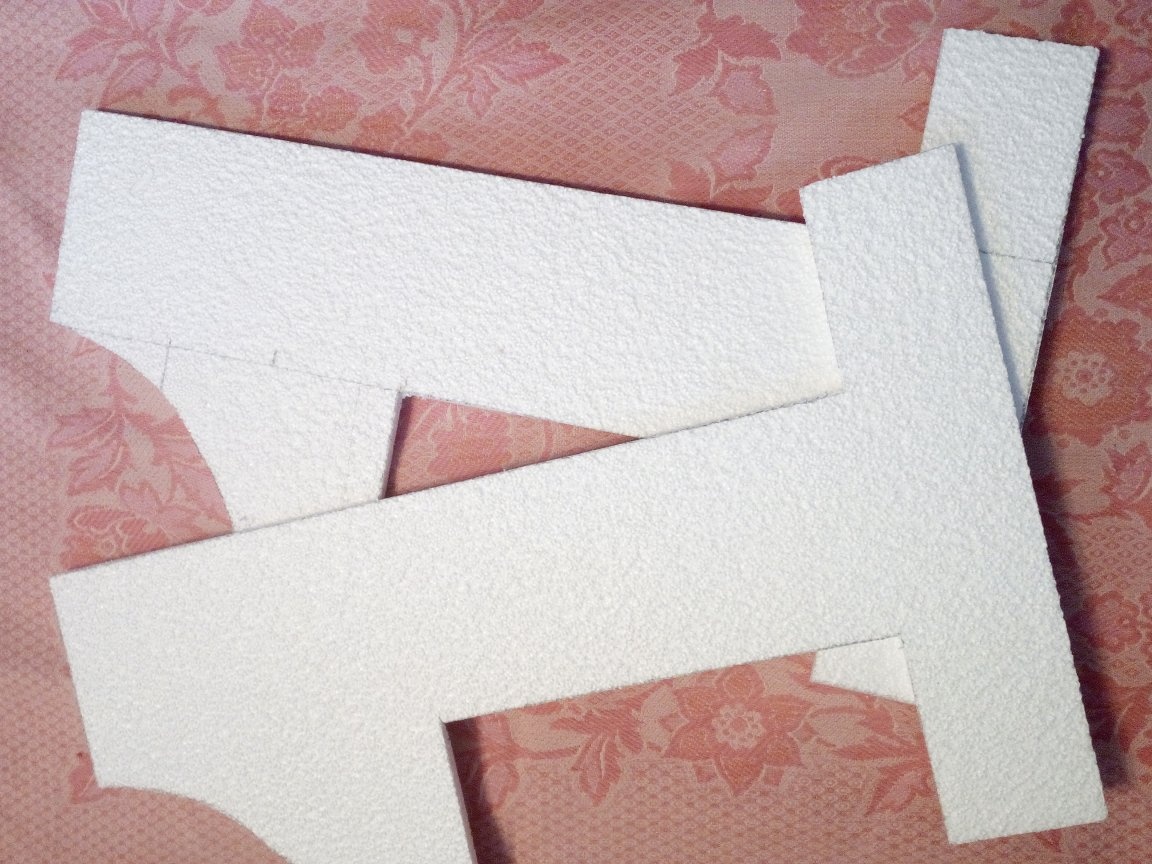
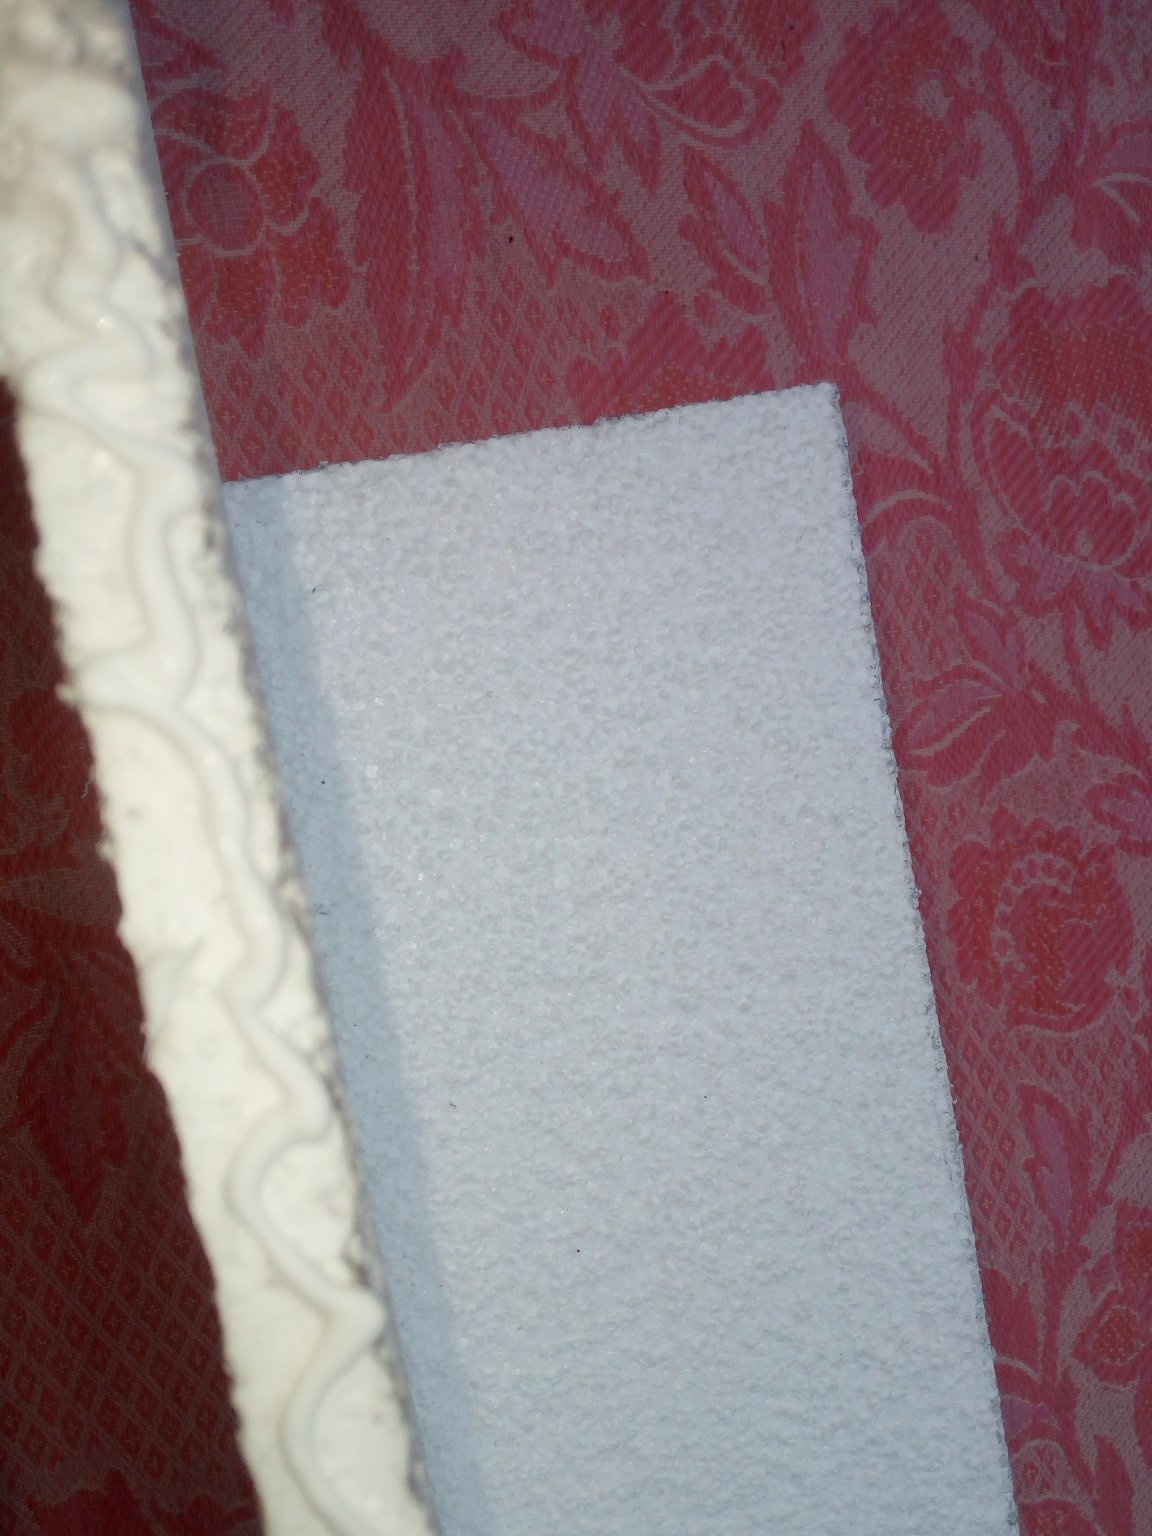
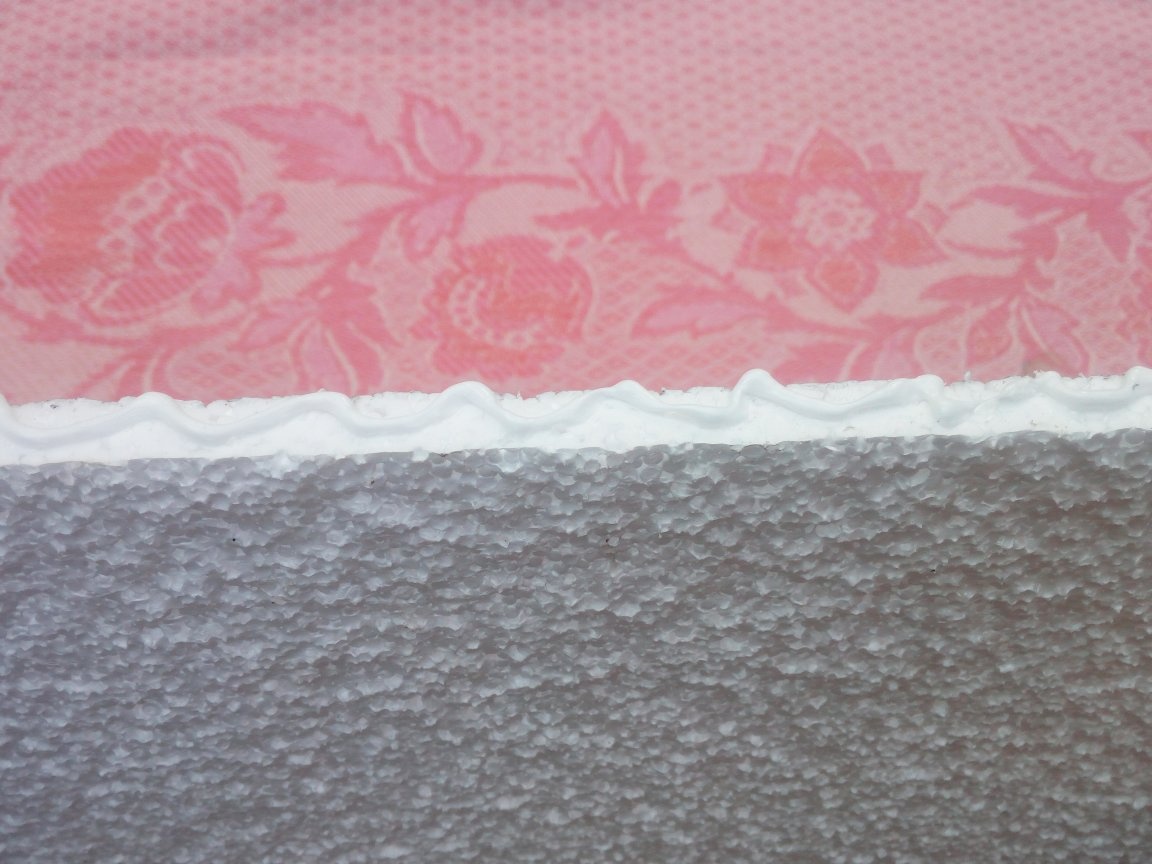
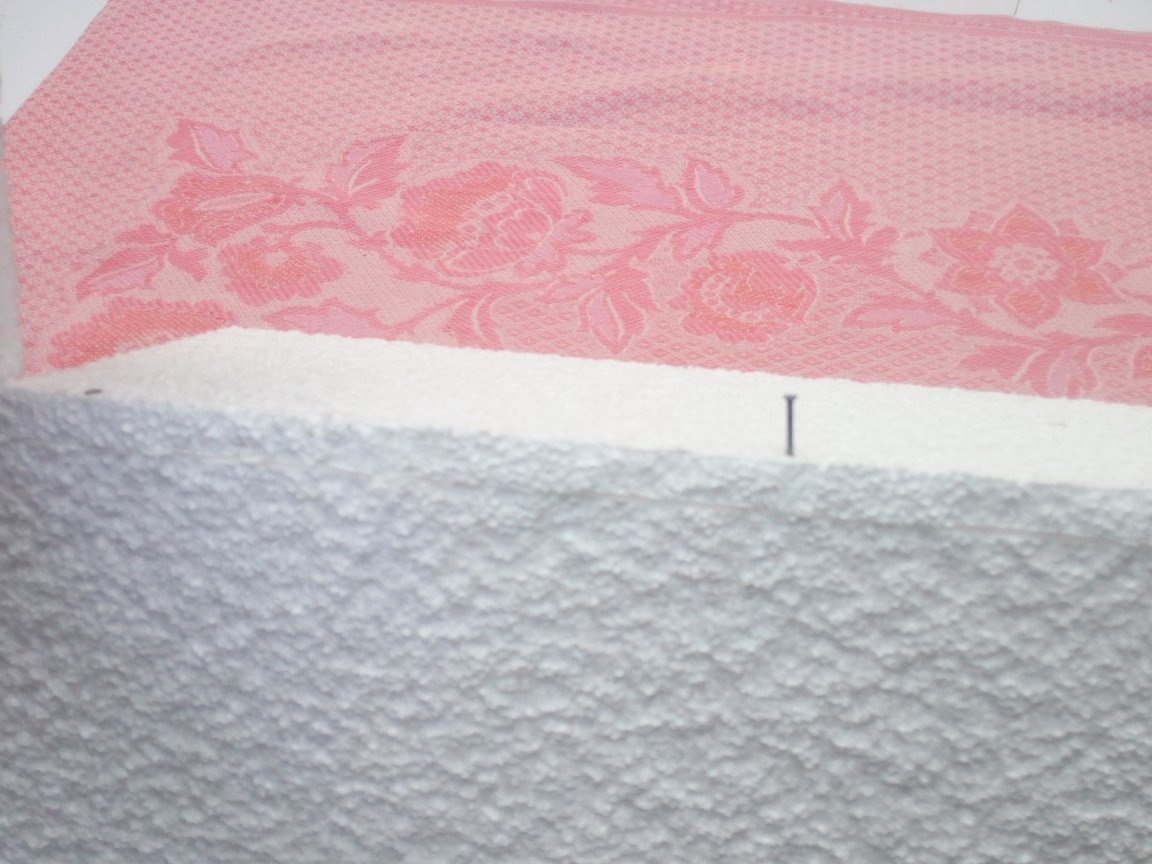
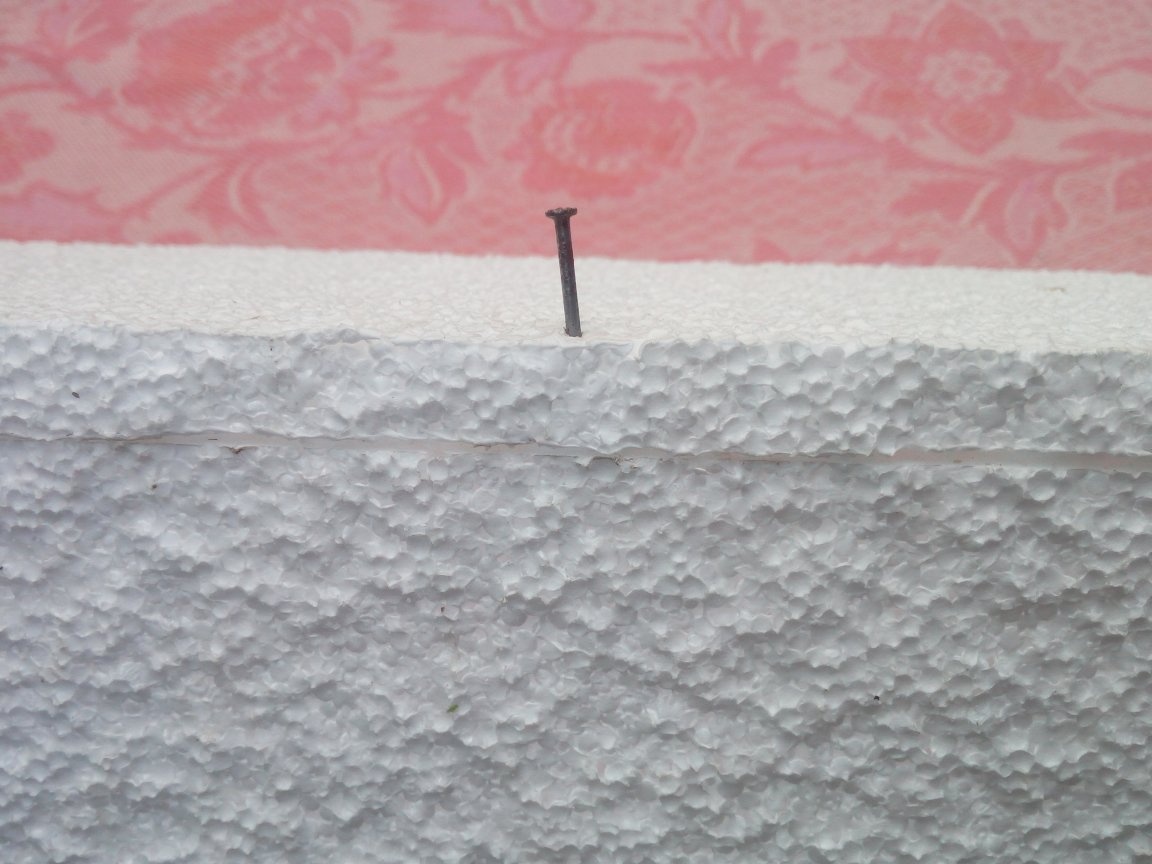
After that, I cut out the rectangles. They are attached to the sides of the main part of the product, being the main stiffeners of the entire structure. I fastened with sealant. applied it to the ends of the parts in a wavy motion, so that it fits more on the parts and there is a more durable gluing of the parts. I applied the parts to each other and with the help of small carnations pressed the glued parts together. Otherwise, the details would fall apart, not having time to grab, because my sealant did not set as fast as I wanted. After completely drying and fixing parts of the figure, I decided not to pull out the cloves.They sat deep and tight enough, and the hats that looked on the details did not prevent further decorating the holiday attribute.

The next step was the manufacture of a platform, which was supposed to cover the curved edge of the spout. Cutting off a piece of material equal in width to the other lateral parts, I made deep cuts along its entire length, almost cutting the part into parts, leaving only a couple of mm. This is necessary so that the part can take a rounded shape and fit snugly to the nose of the unit.
But before finally fixing the last detail of my figure, covering the nose, I, remembering my friend’s wish for stability of the whole structure, cut off a strip of thick metal 15 cm long, cleaned it from rust and applied a layer of sealant to one of its sides, placed it inside figures, tightly pressed to the bottom with a small weight and left to dry for a couple of hours. After the metal strip stuck to the base of the unit and you couldn’t be afraid that it would shift, I glued the last part. I cut off all the excess that protruded beyond the edges of the product.
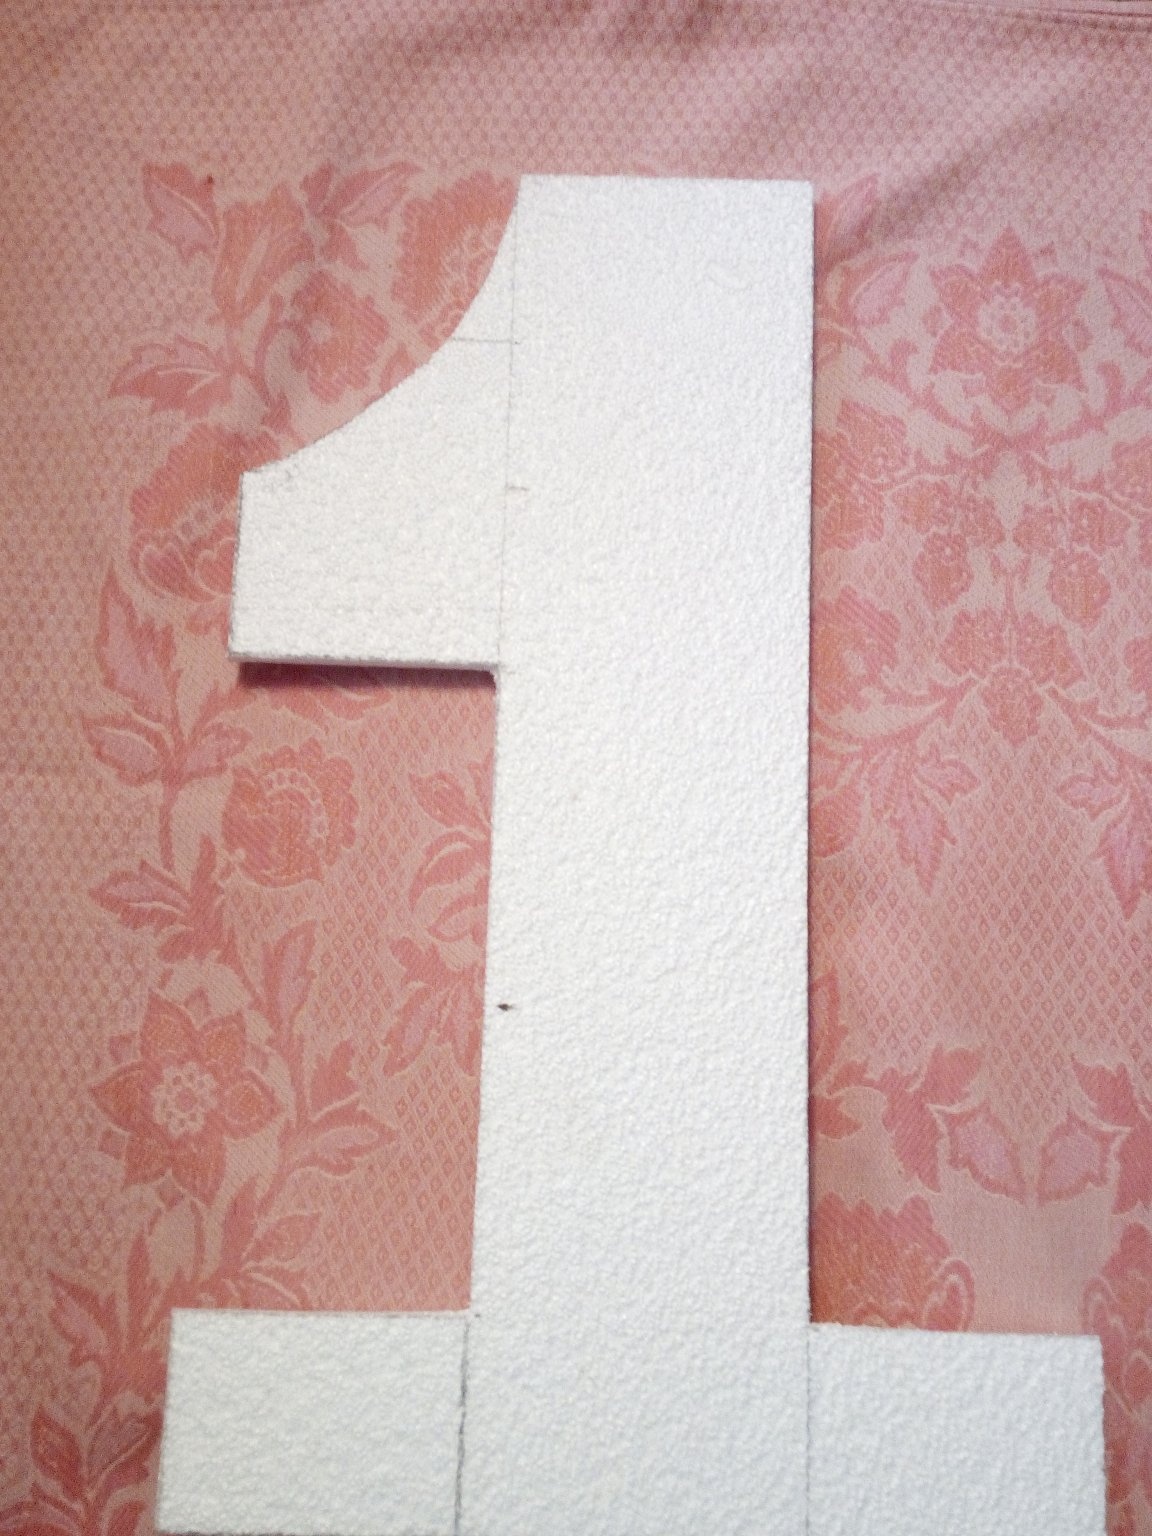
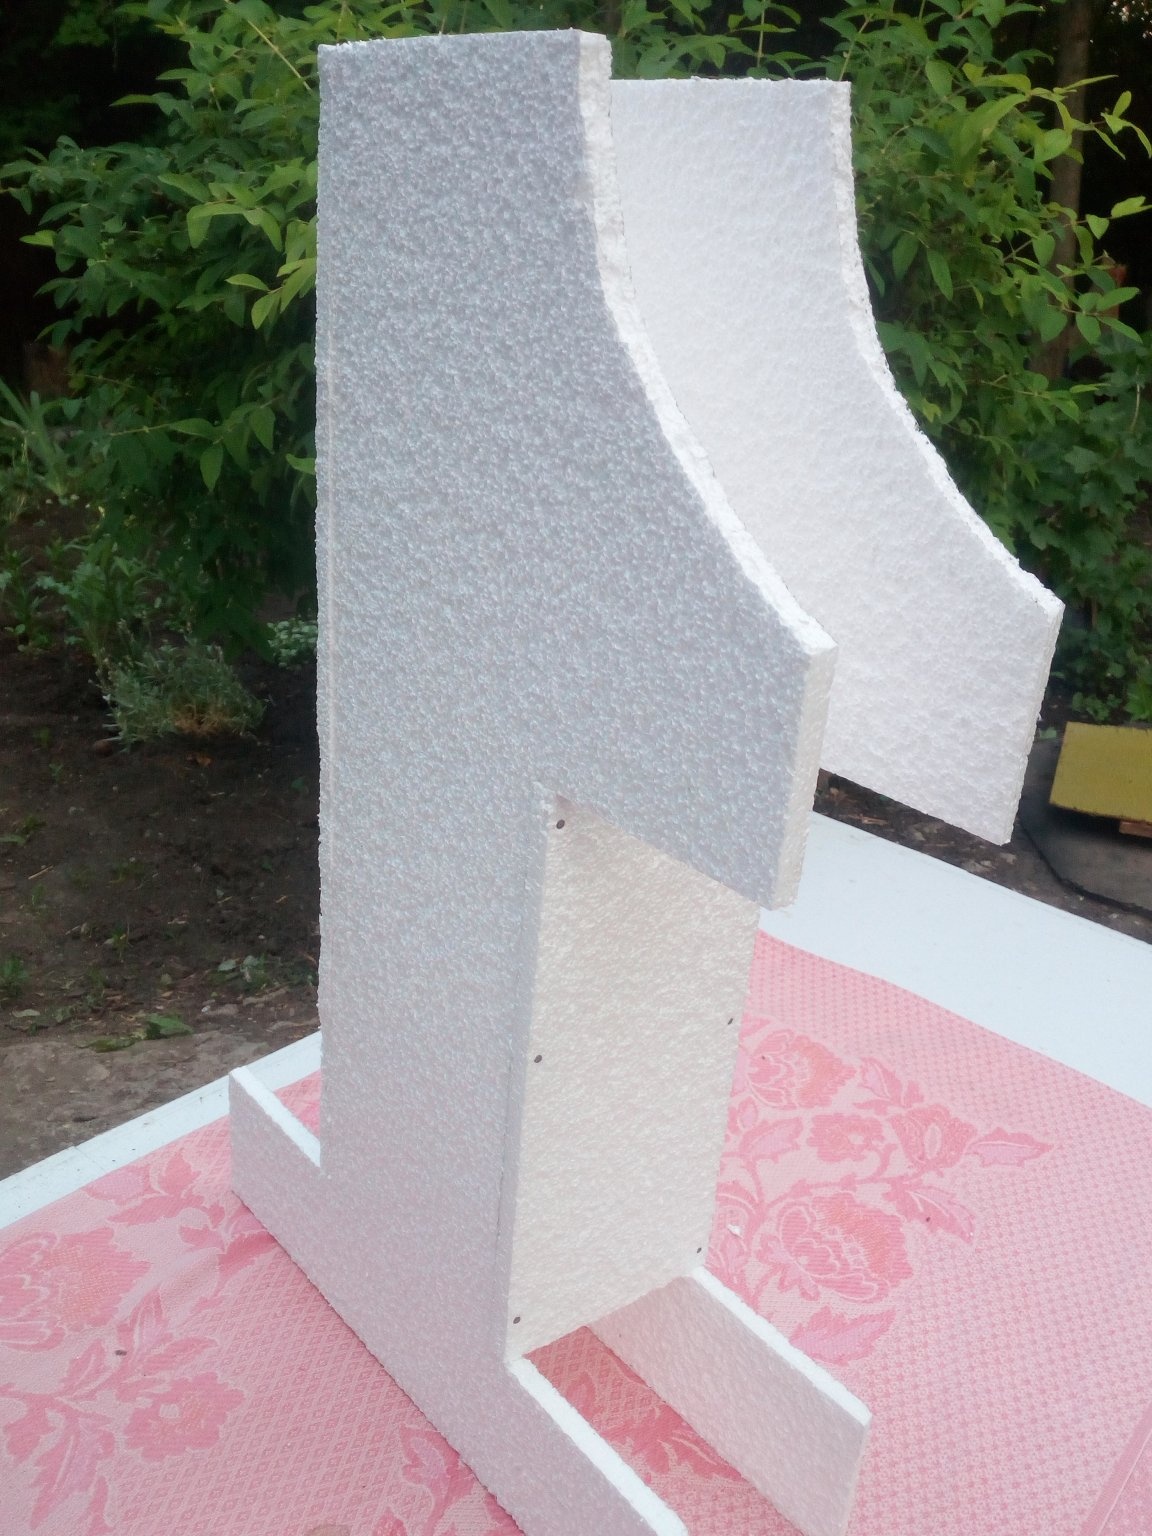
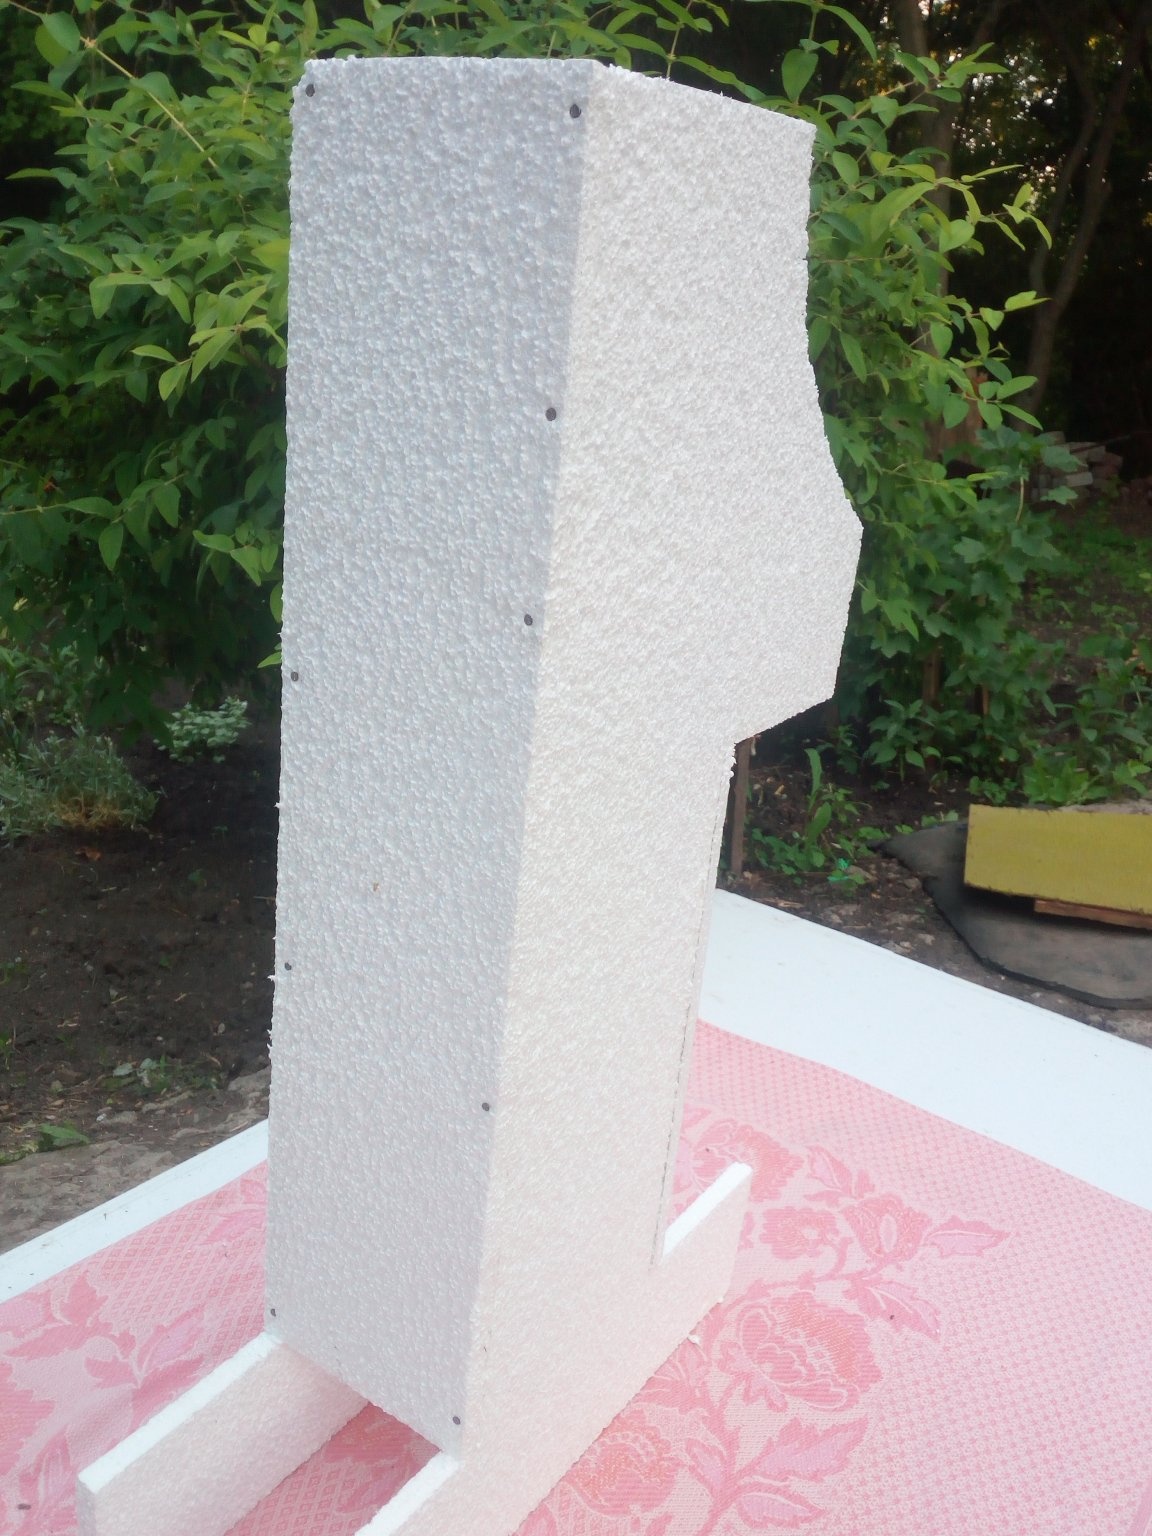
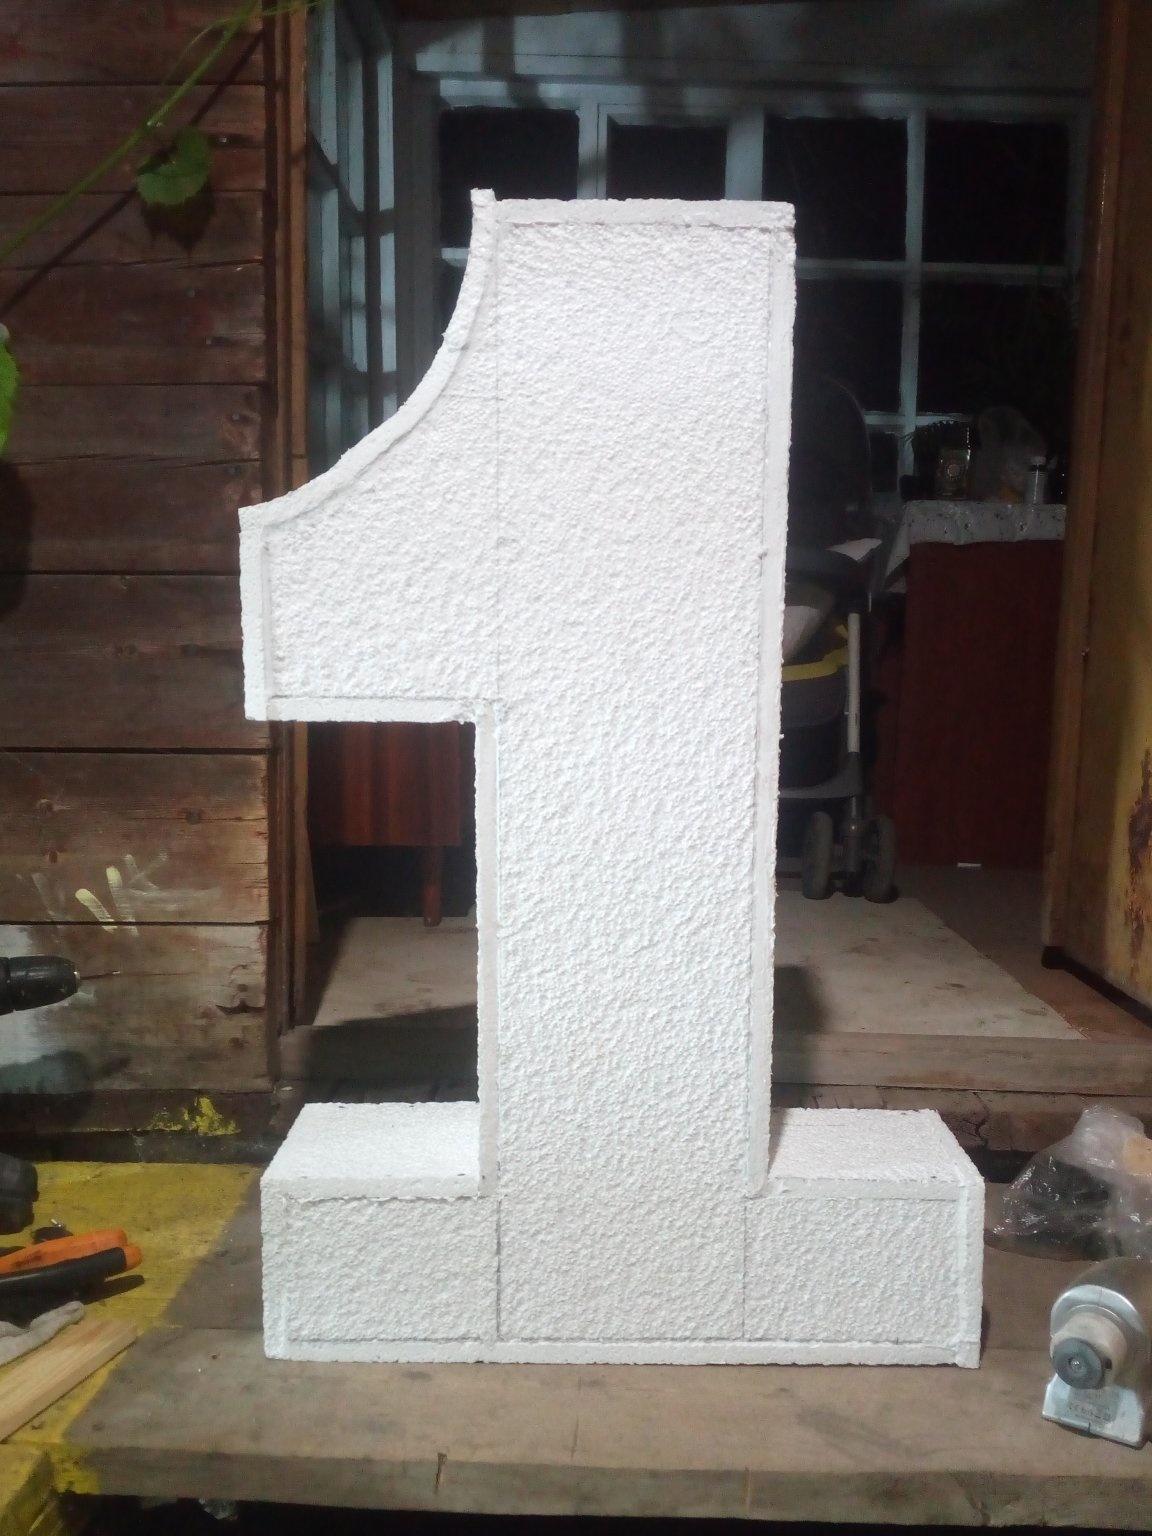
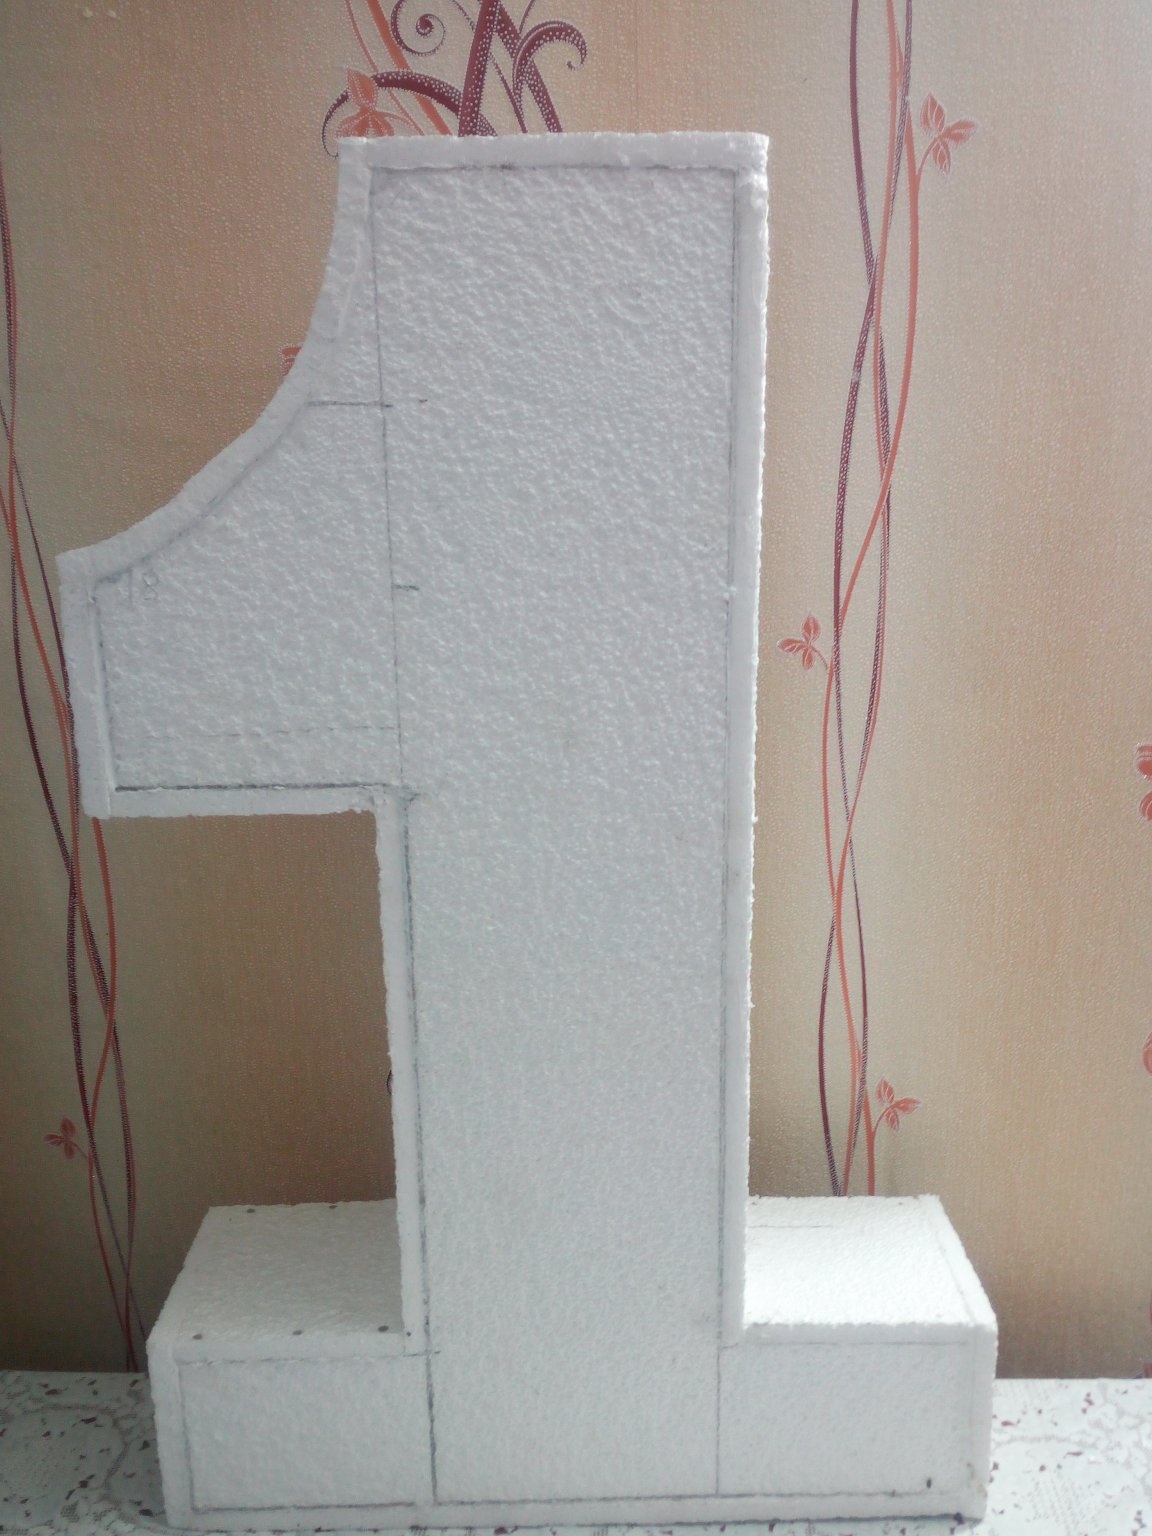
This is how the figure looked after rough assembly, without decorations.
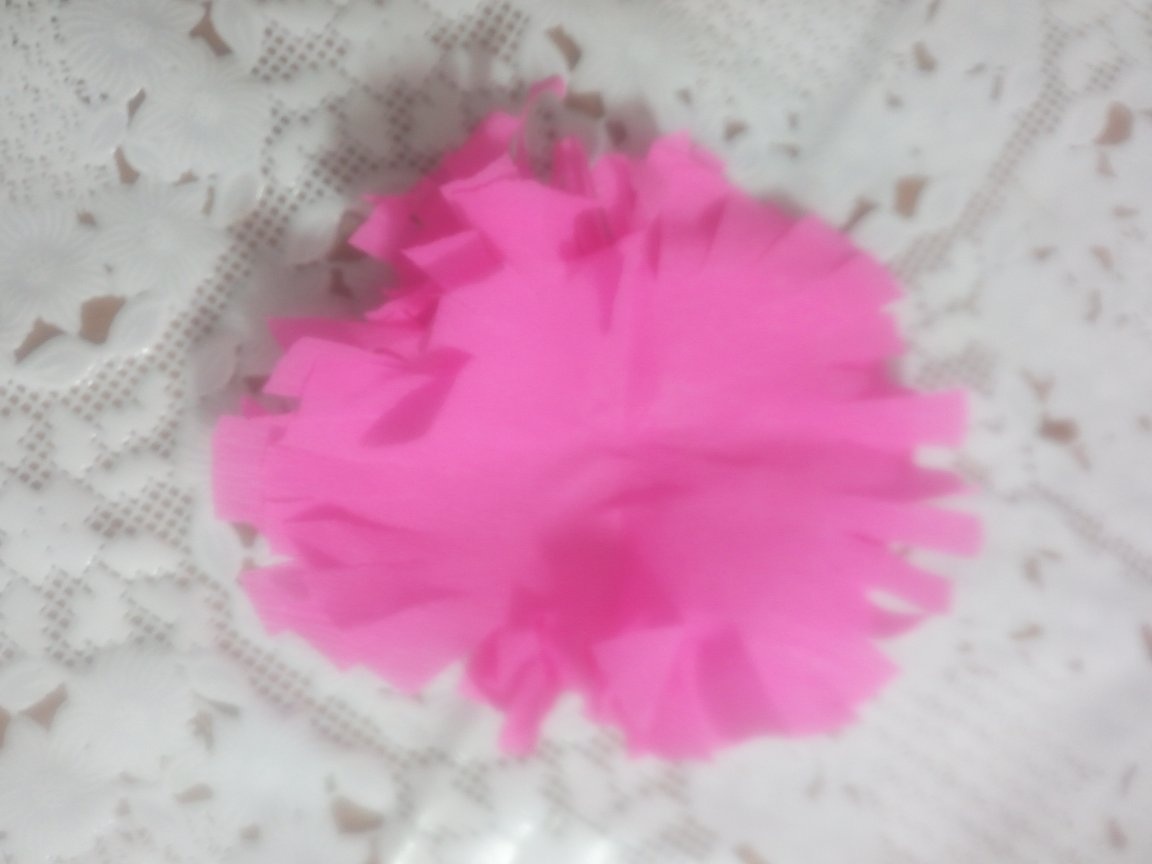
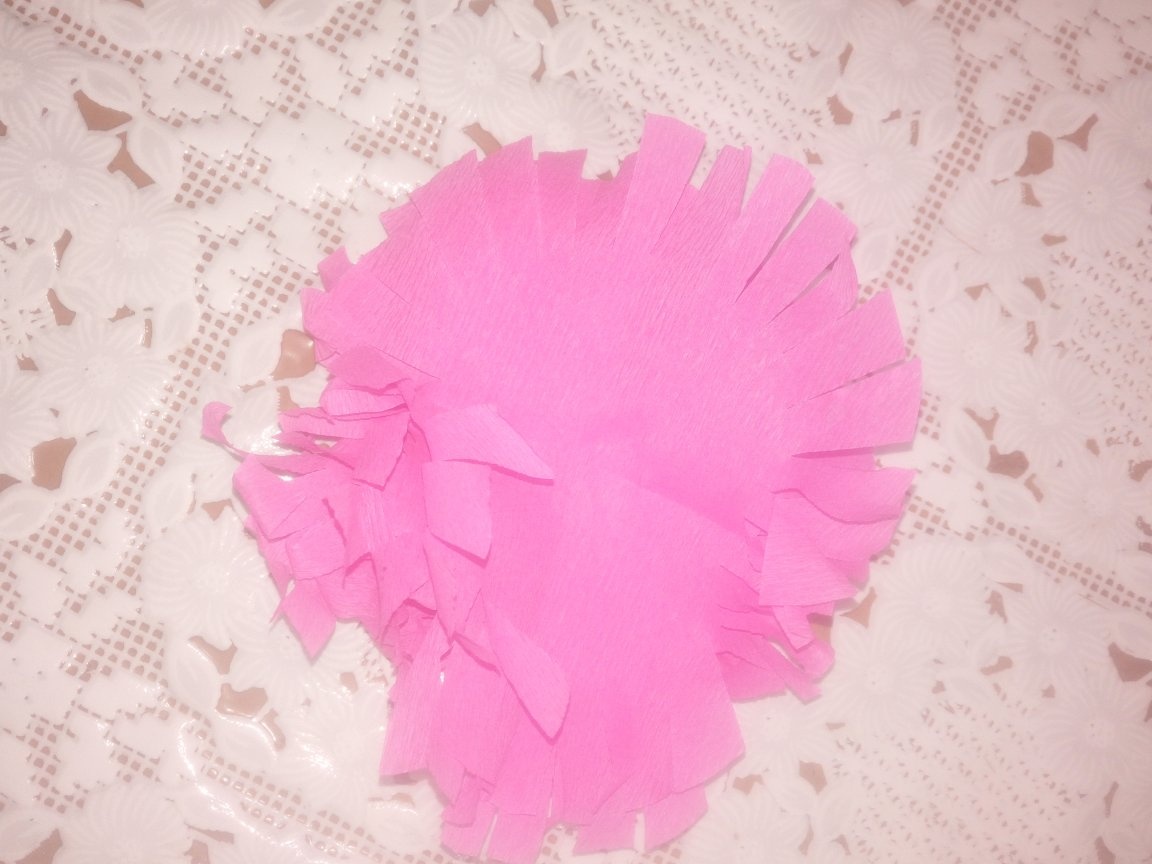
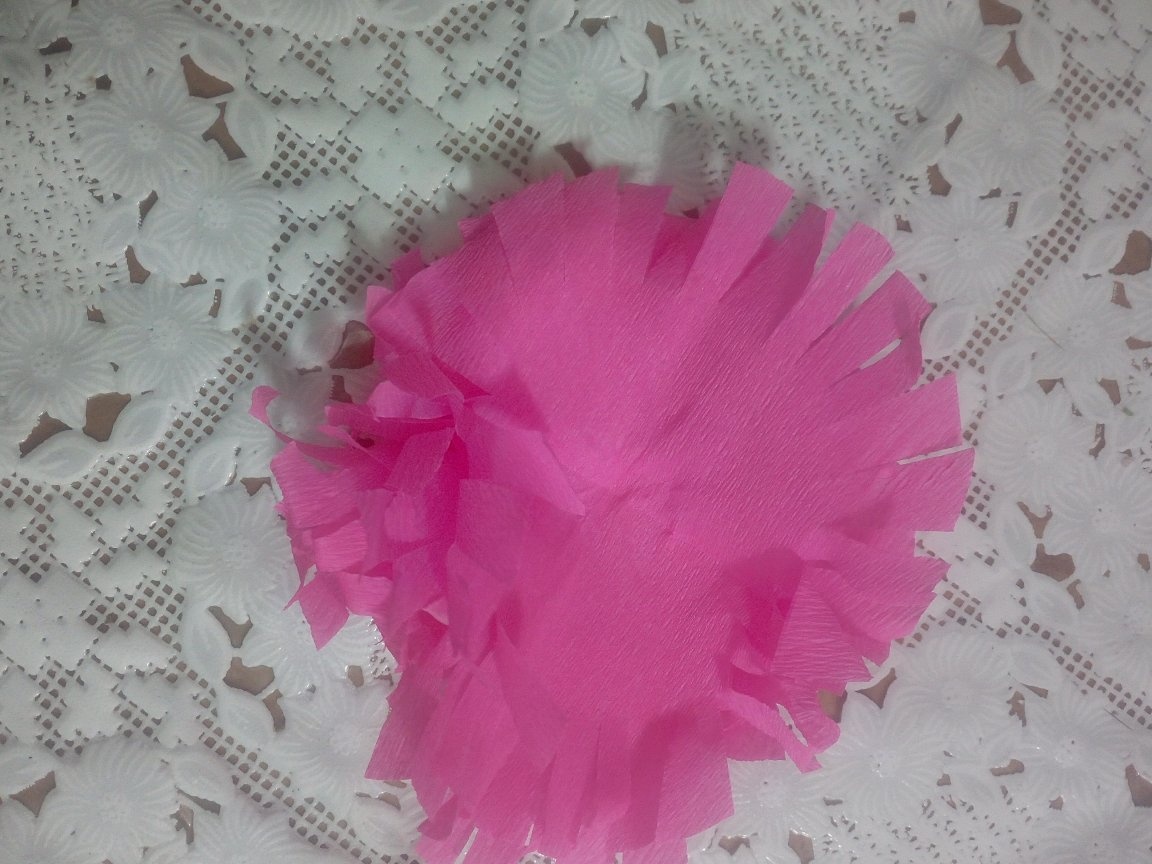
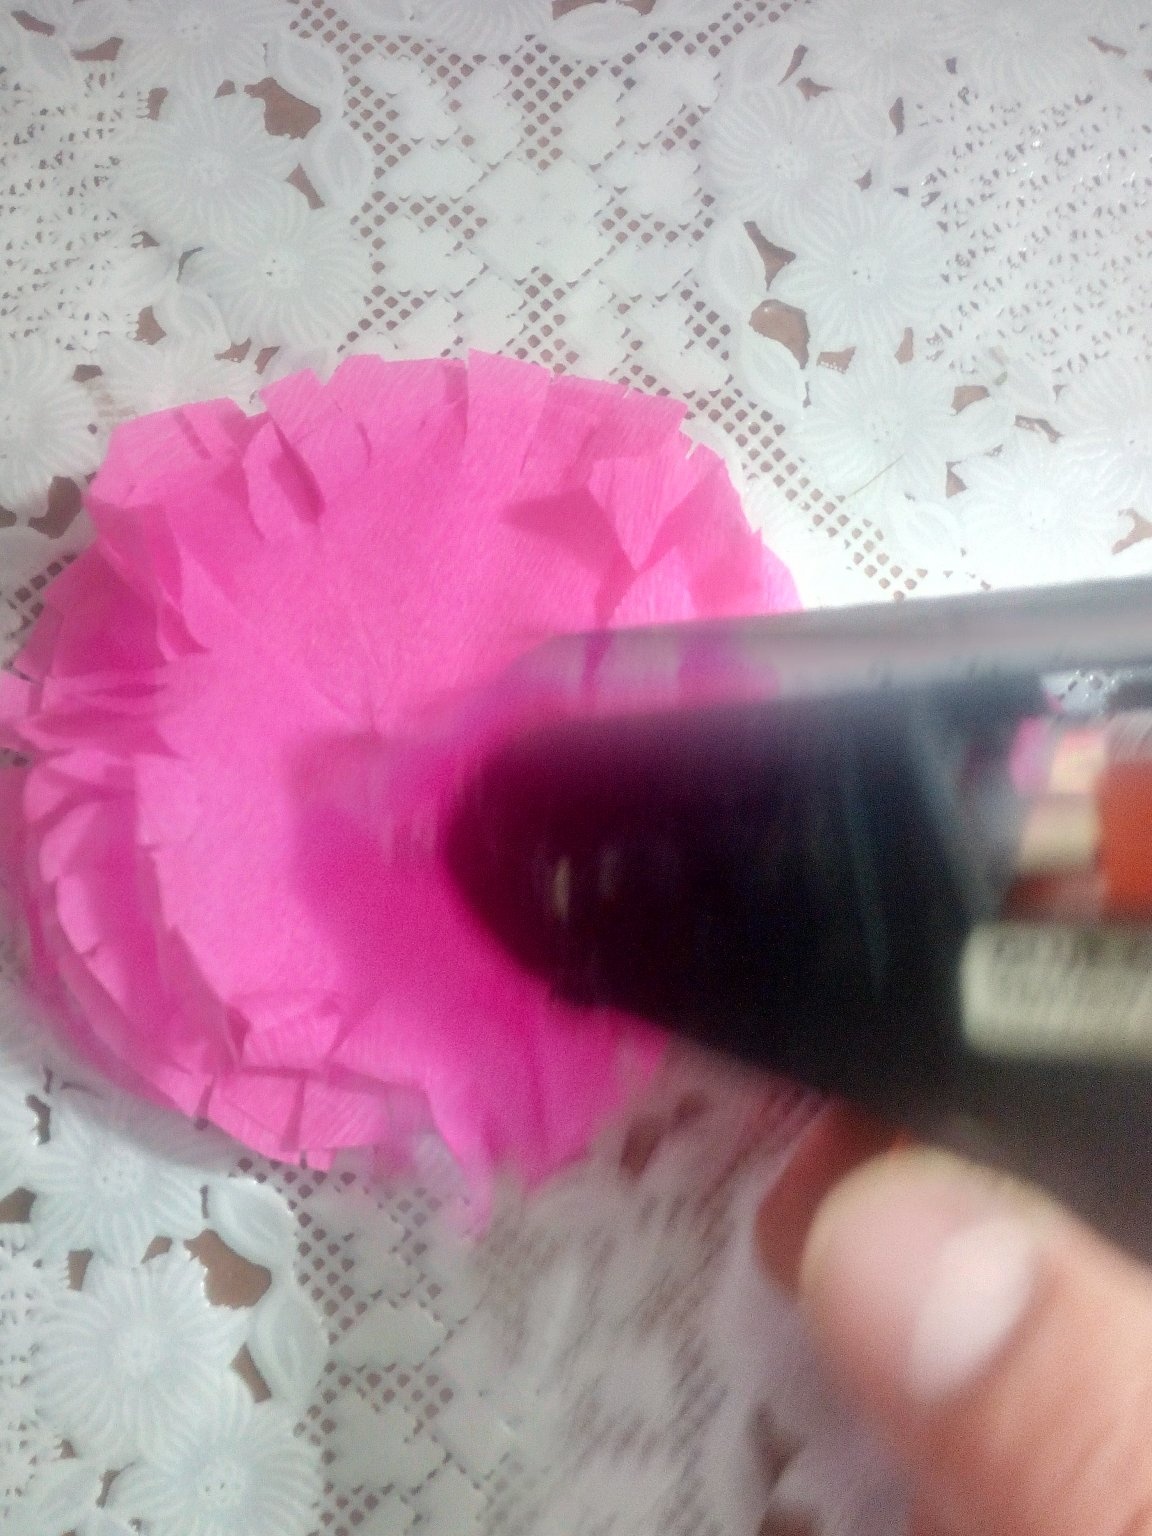
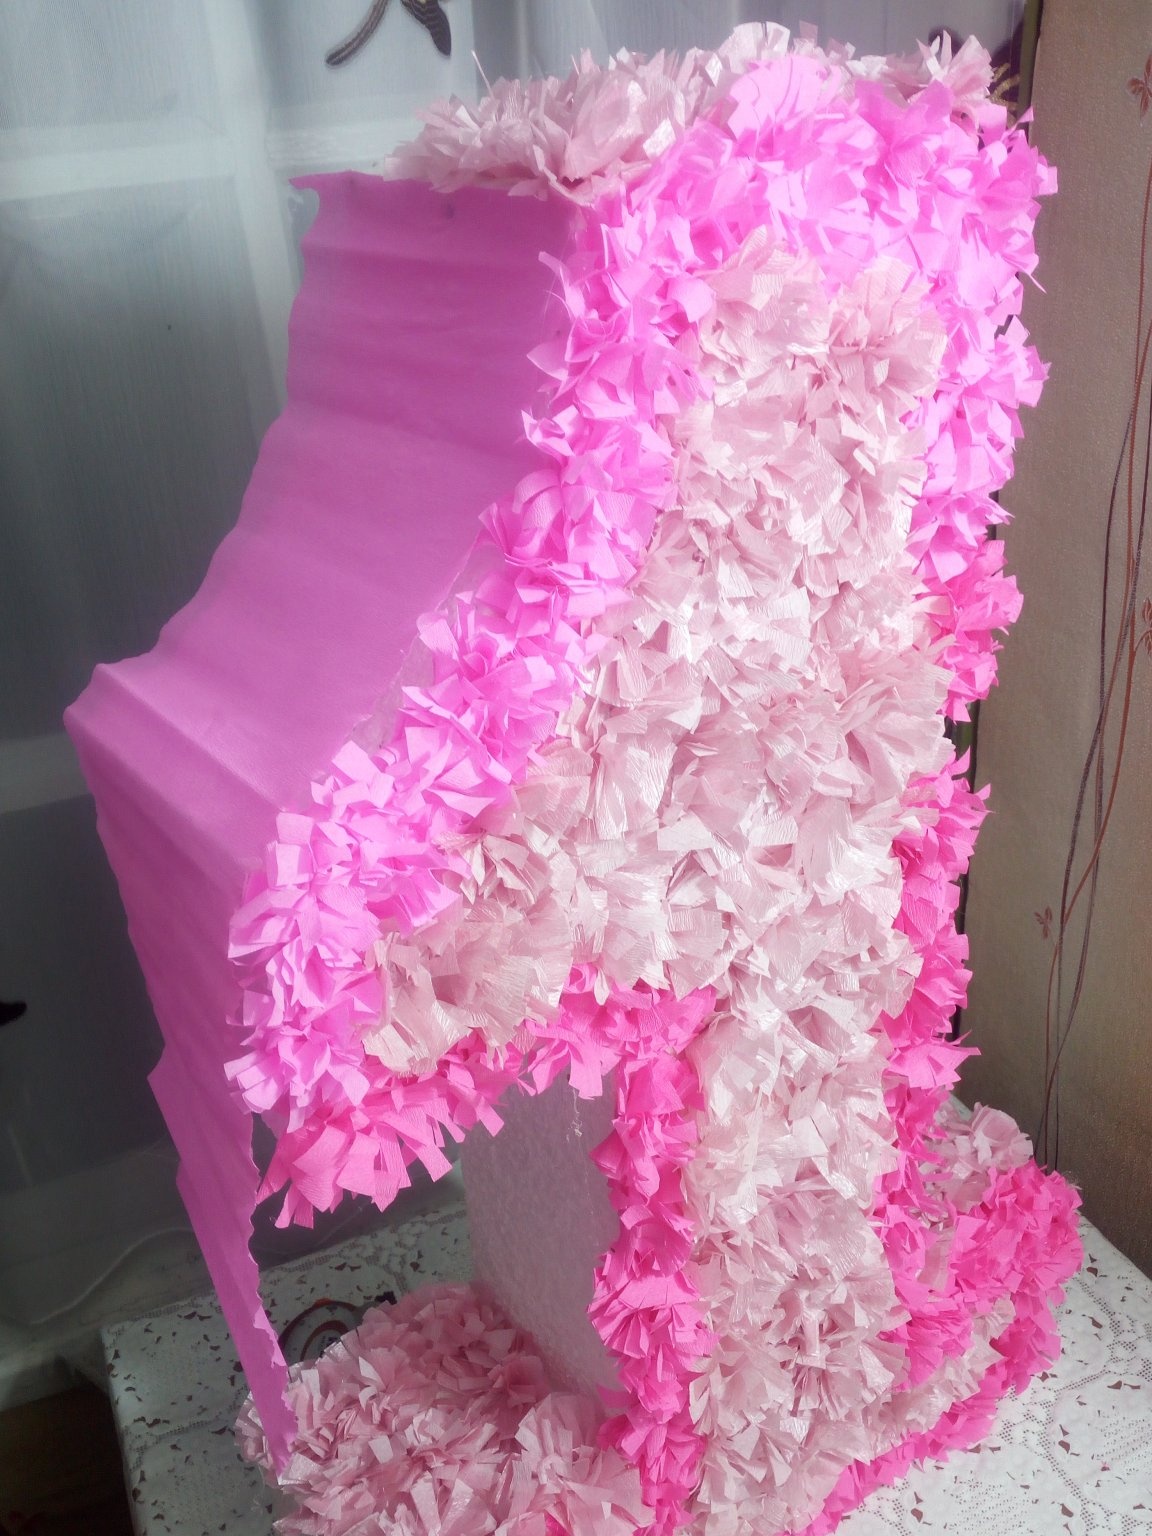
In the form of the main decor, it was decided to use crepe paper. Flowers were cut from it and glued to a number with a glue gun. Flowers of one shade of red were glued along the rim, and the remaining space was filled in a different color scheme.
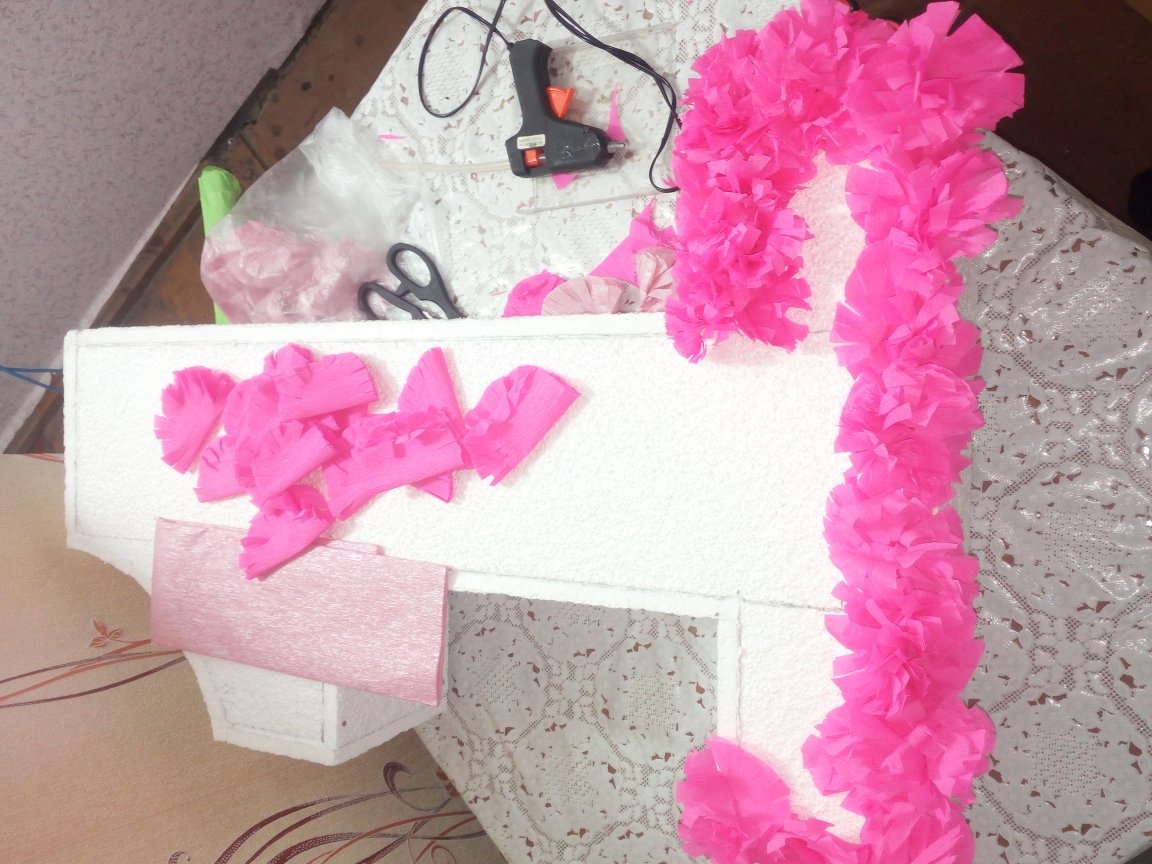
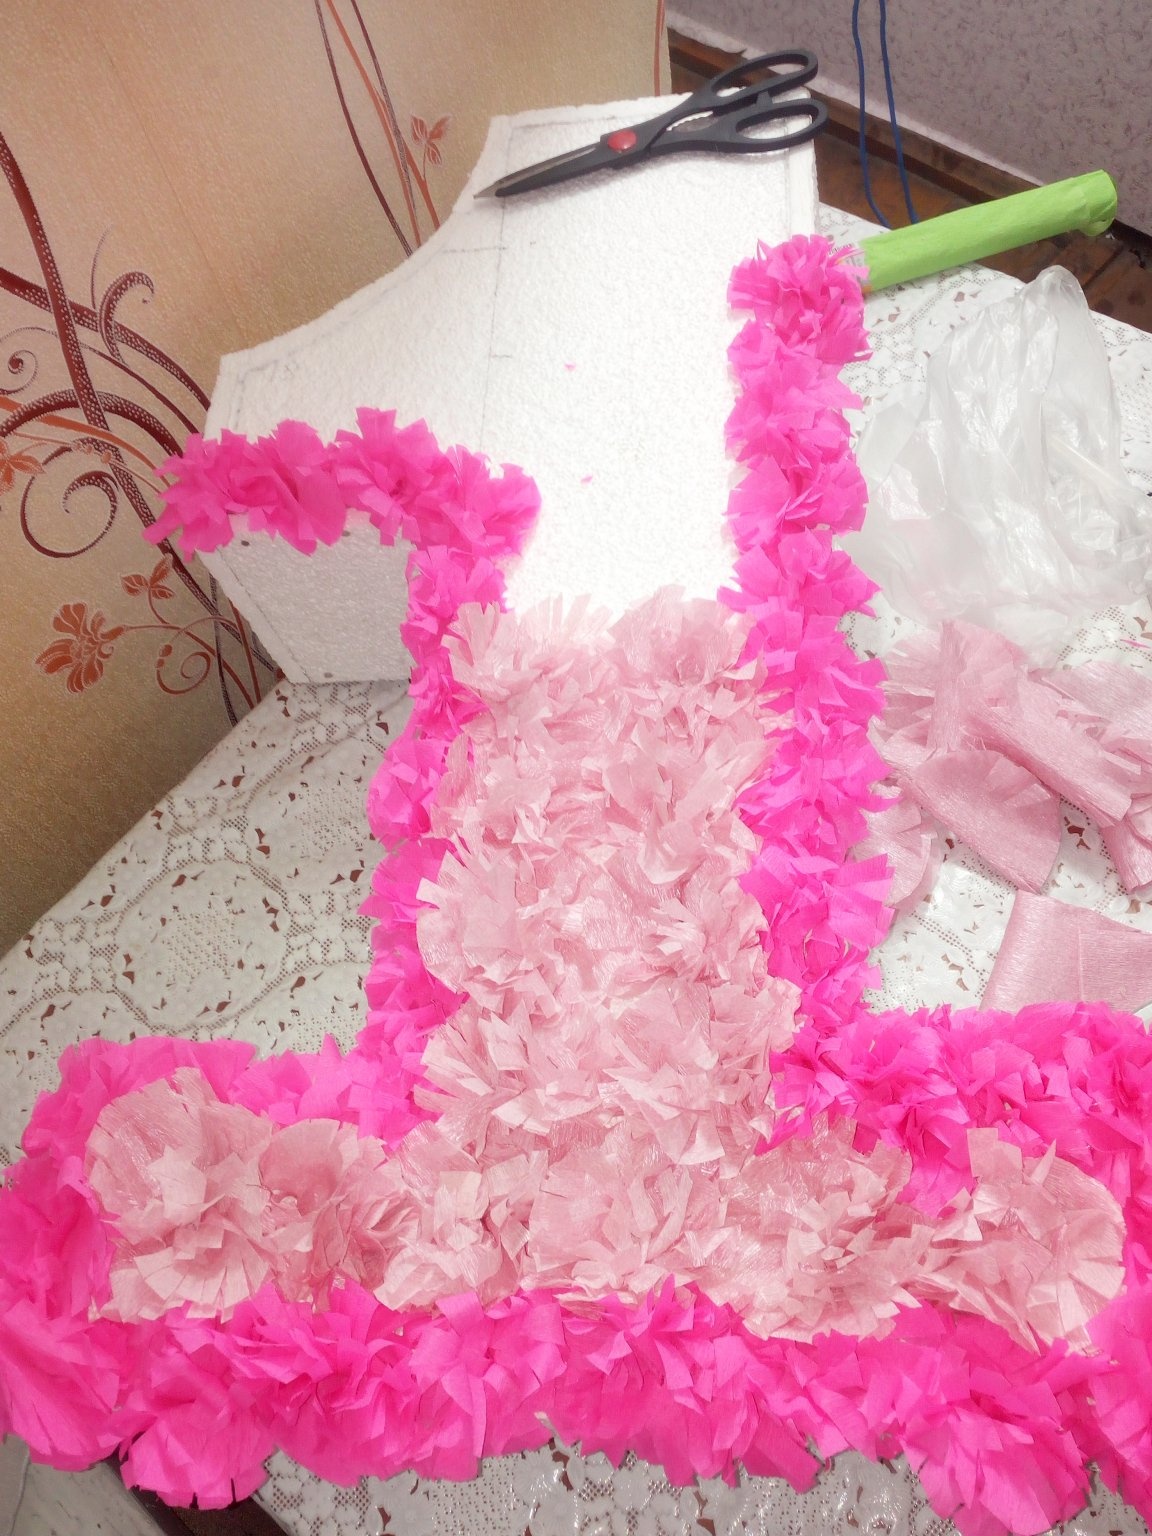
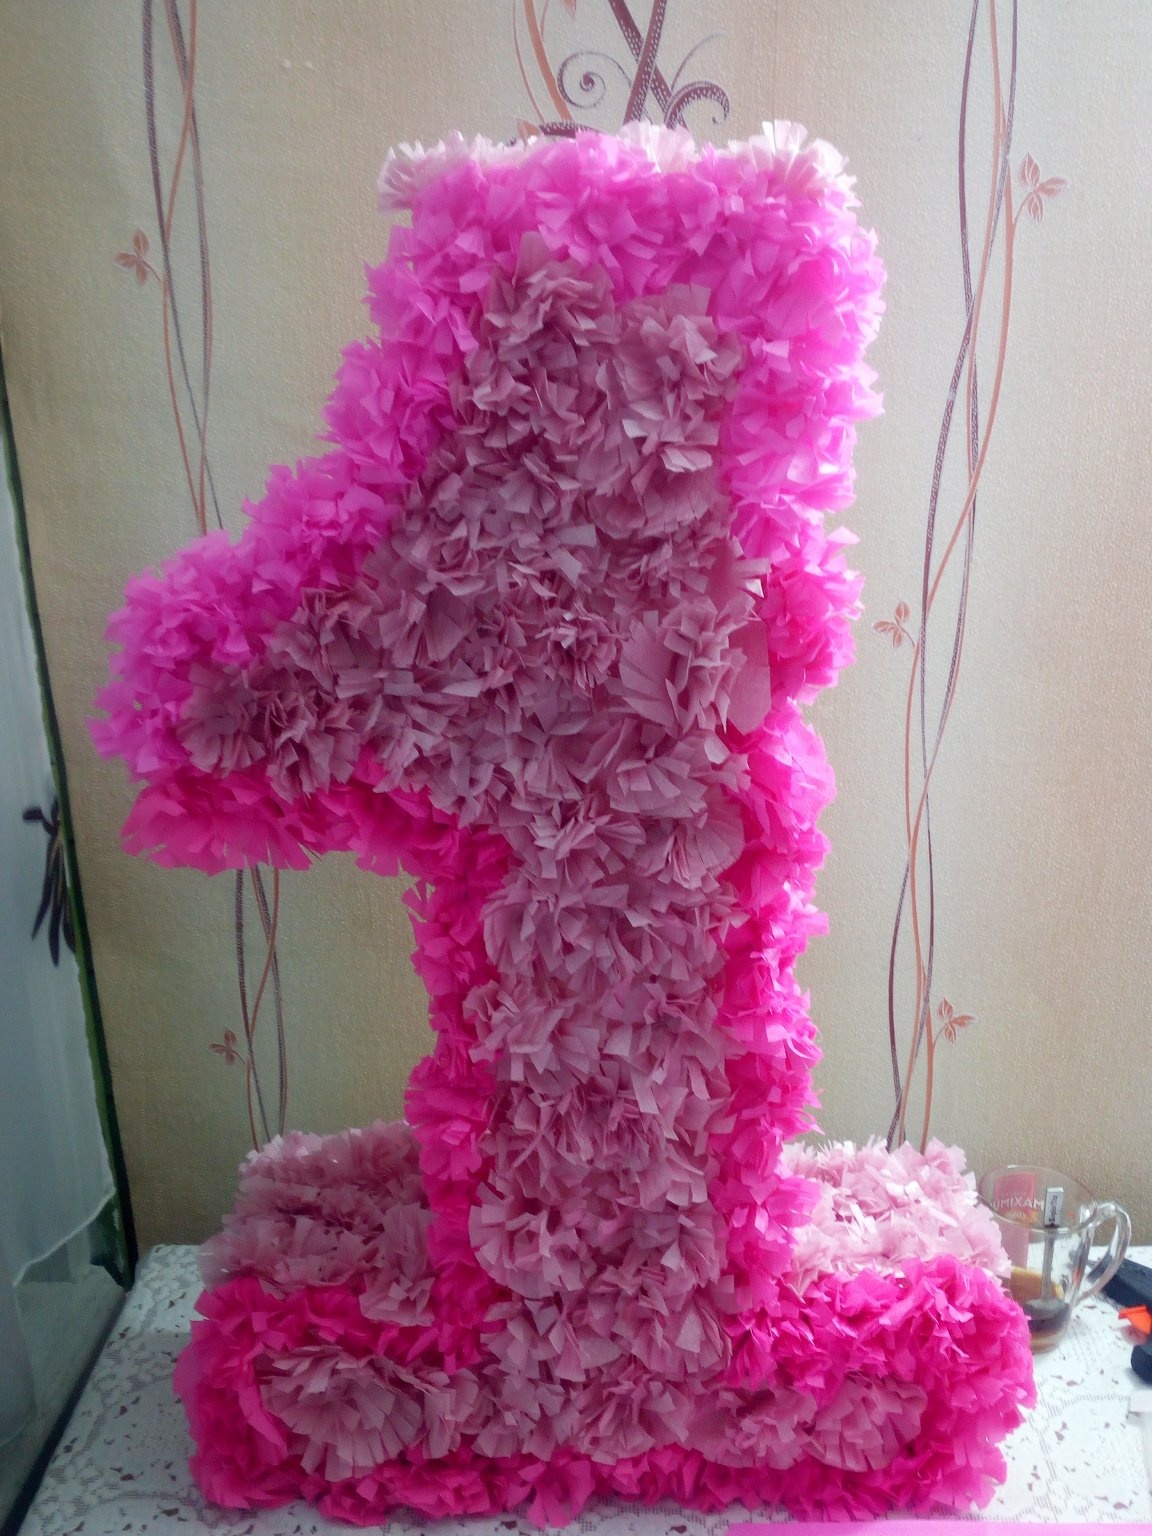
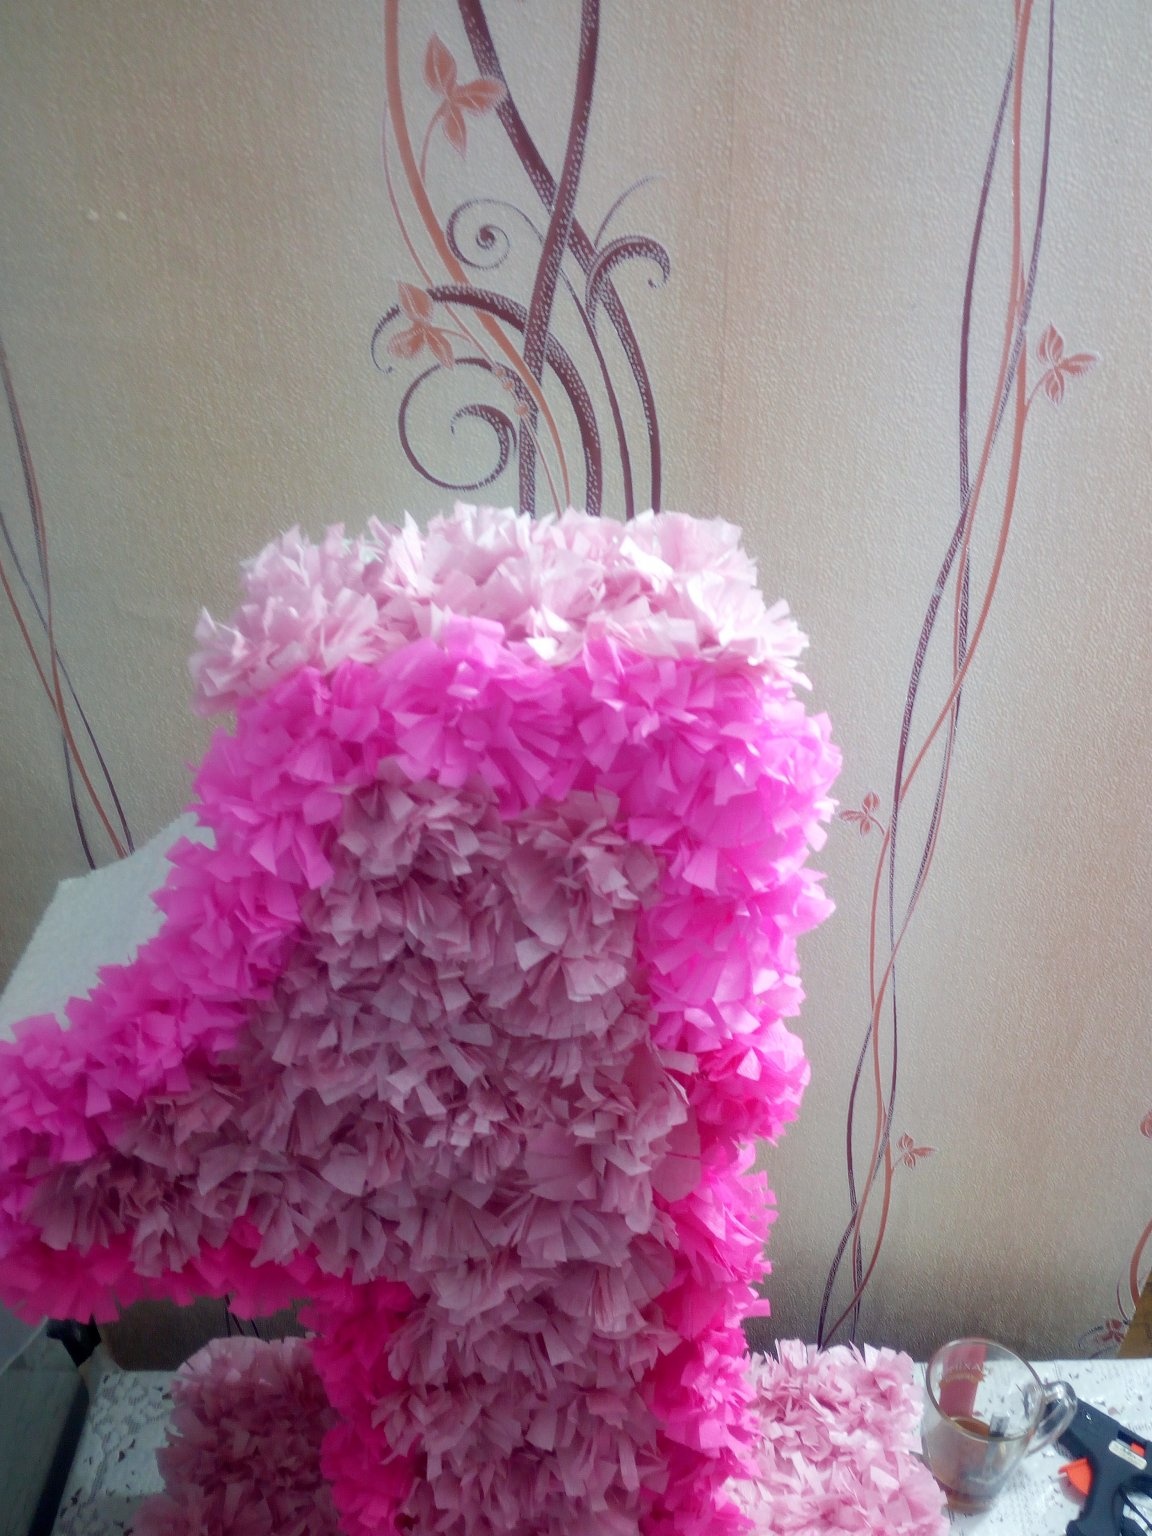
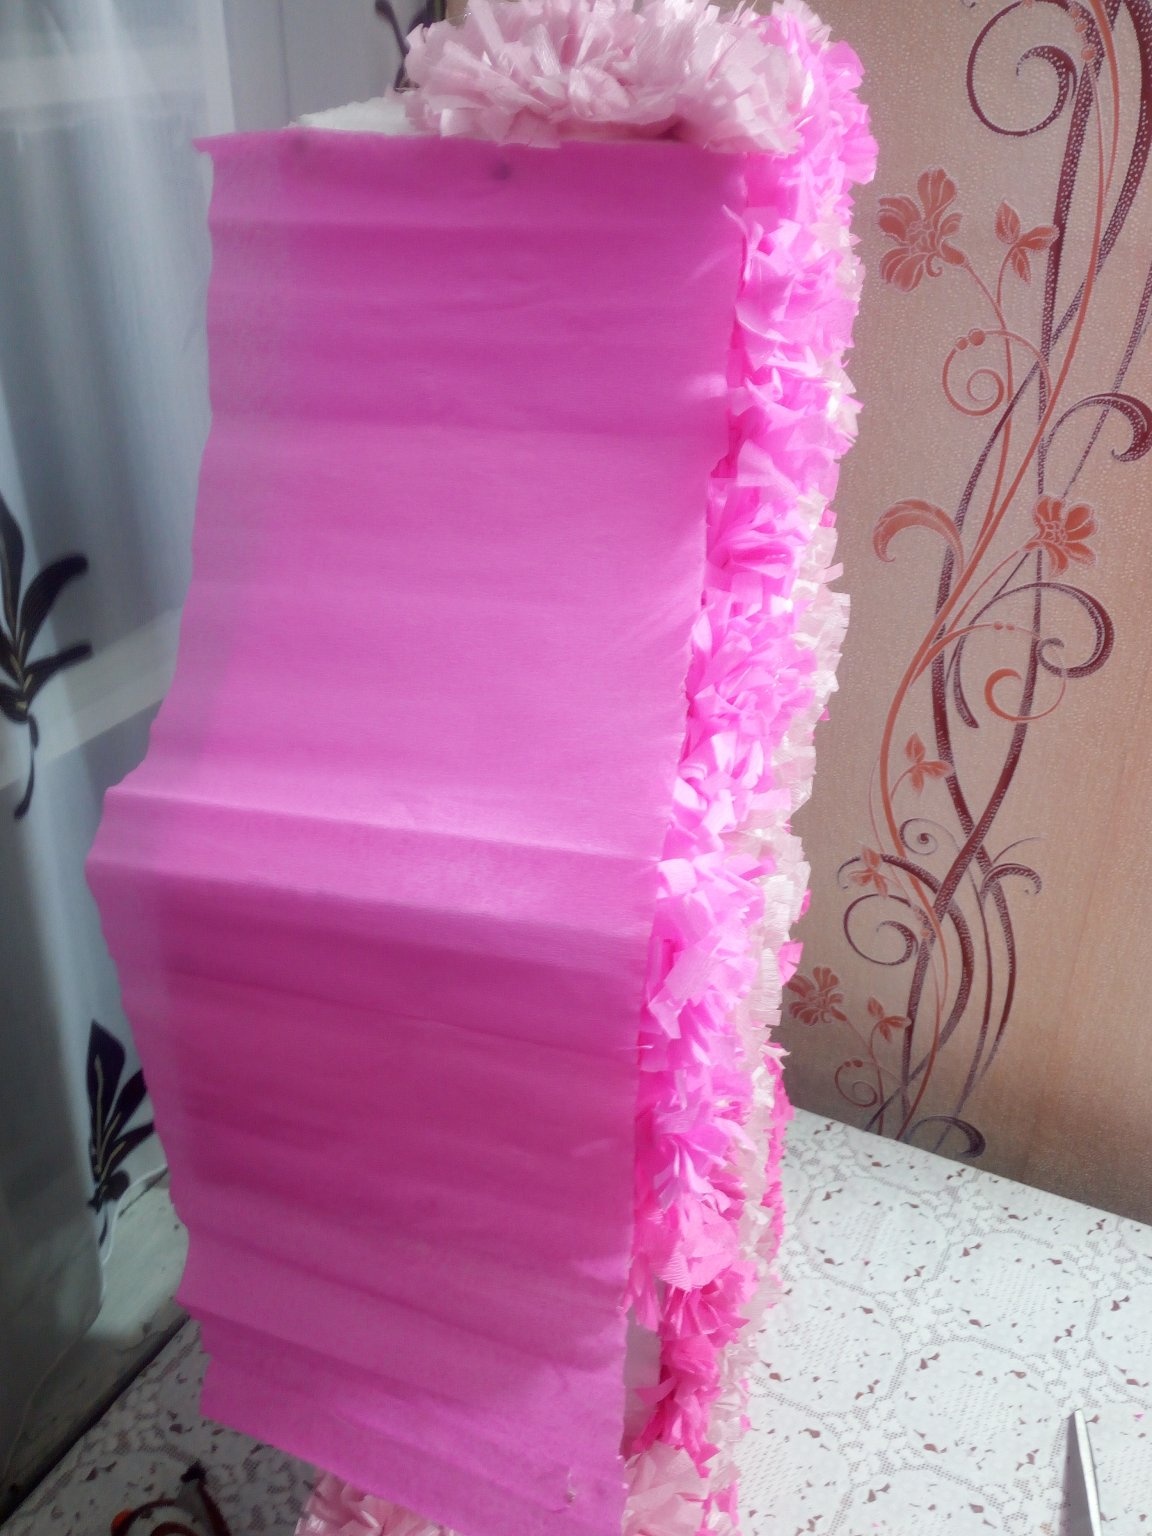
The ends of the numbers were pasted over with paper of the same color as the flowers.
In the end, a little messed up with paper. As the roll became smaller, the bends on the paper were all the more noticeable. It was necessary to smooth it. But nevertheless she straightened a little after gluing and how she stood a little.
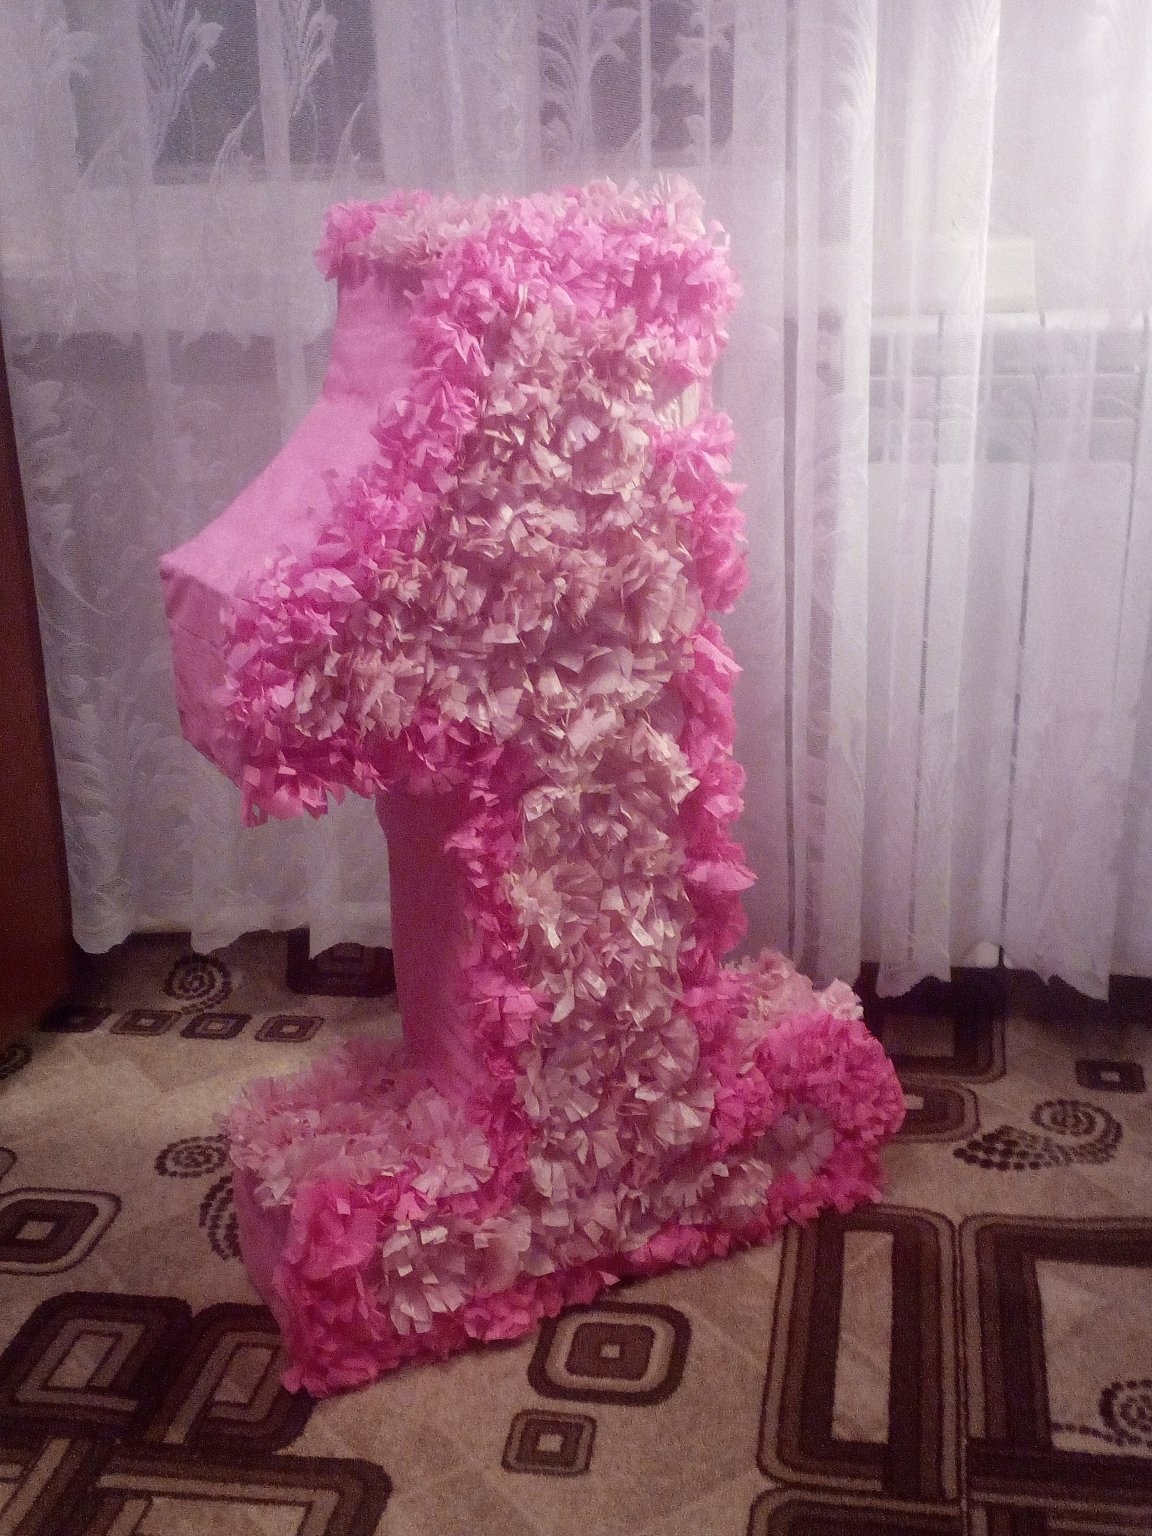
As a result, we got such a festive attribute, decoration of the baby’s first birthday.
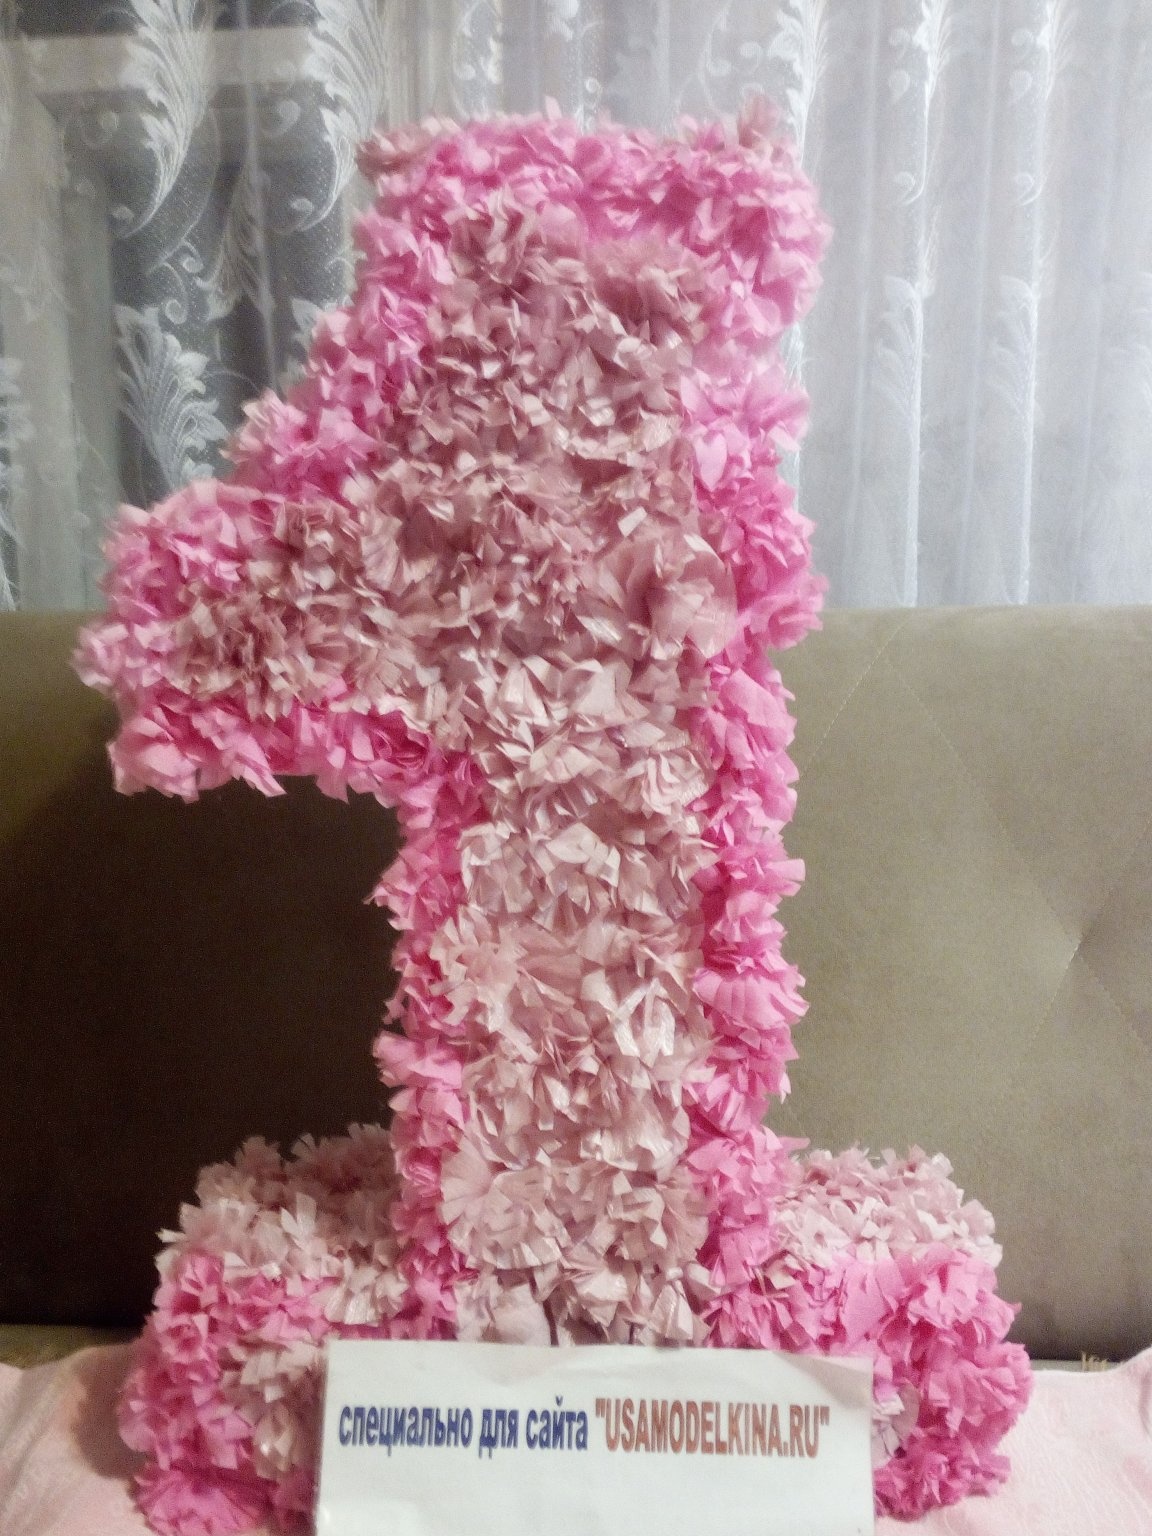
The product turned out stable, i.e. if she hurt her, she didn’t try to tip over, and she endured the child’s little arms. Perhaps in the future, it will serve someone else. To remove the old decor and replace it with a new one is not a problem. Sizes of the finished product: height 78 cm, width 46 cm.
I wish you every success!