
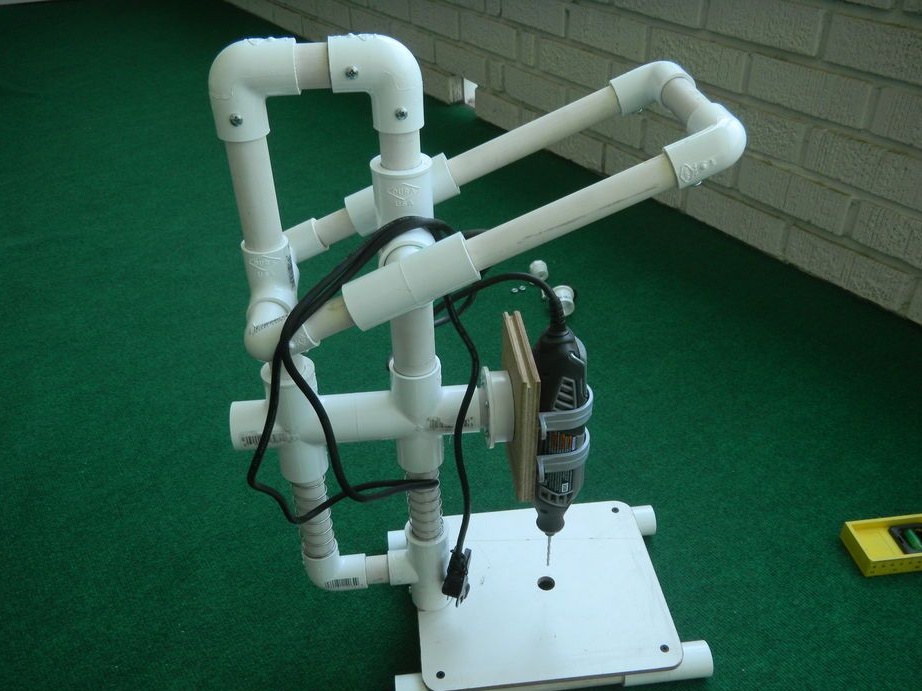
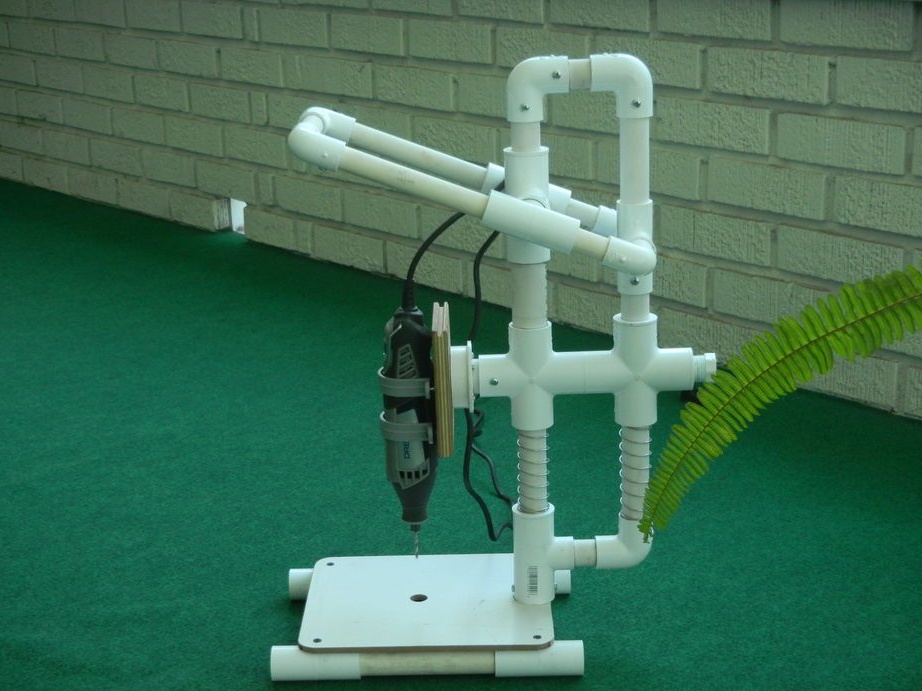
Greetings the inhabitants of our sites! In this manual, we will look at how to make a simple drilling machine using PVC accessories for plumbing. This approach is good in that you do not need to make any additional nodes, almost the entire device is created from ready-made components. These are pipes, corners, tees and so on. We just buy the necessary parts and glue them, and in the right places we use rivets or screws for a more reliable connection.
Another plus of the design is that it is lightweight, unlike wooden ones, and is not yet afraid of rust, moisture and so on.
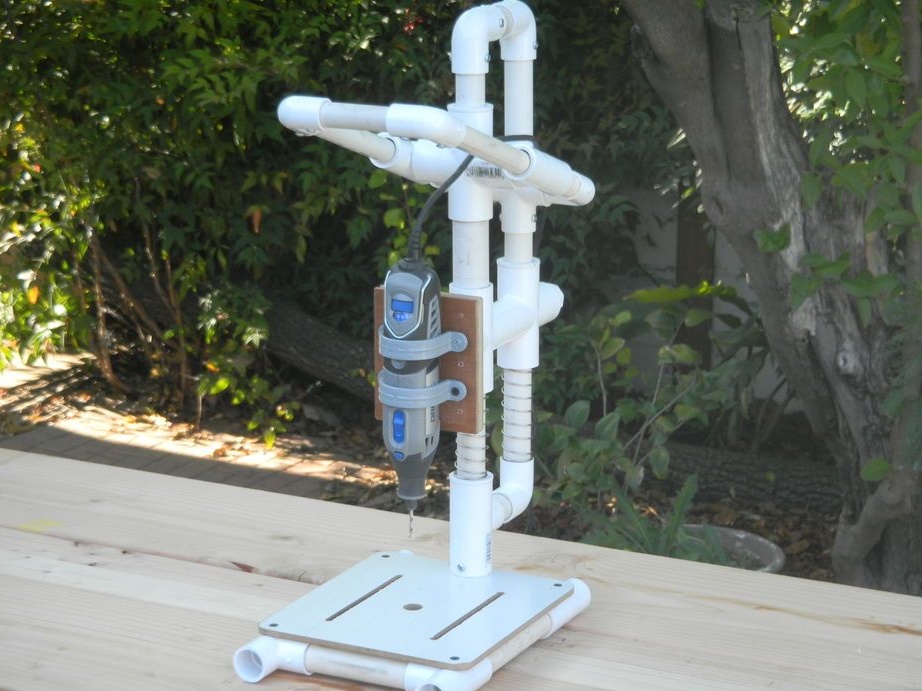
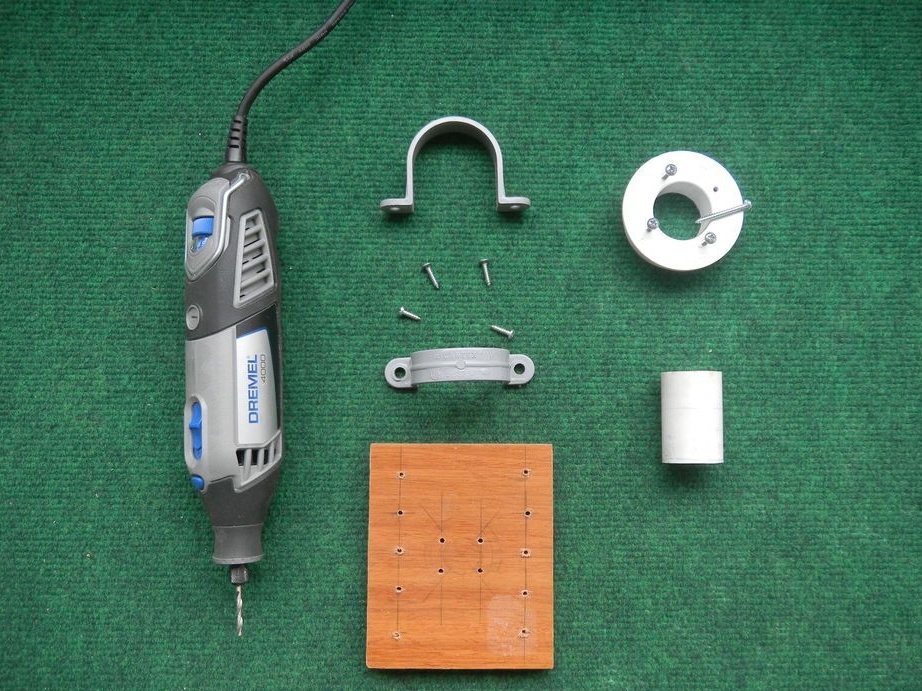
Instead of a drill, the author decided to use. Due to this, the functionality of the machine is significantly expanded. In addition to the fact that the working tool can be lowered in the vertical direction, there is still the opportunity to fix the drill at the right height! This will allow you to conveniently customize the machine to your needs. It will be possible to grind, cut various grooves as a milling cutter and much more, depending on the needs. So, we start production!
Materials and tools used by the author:
Material List:
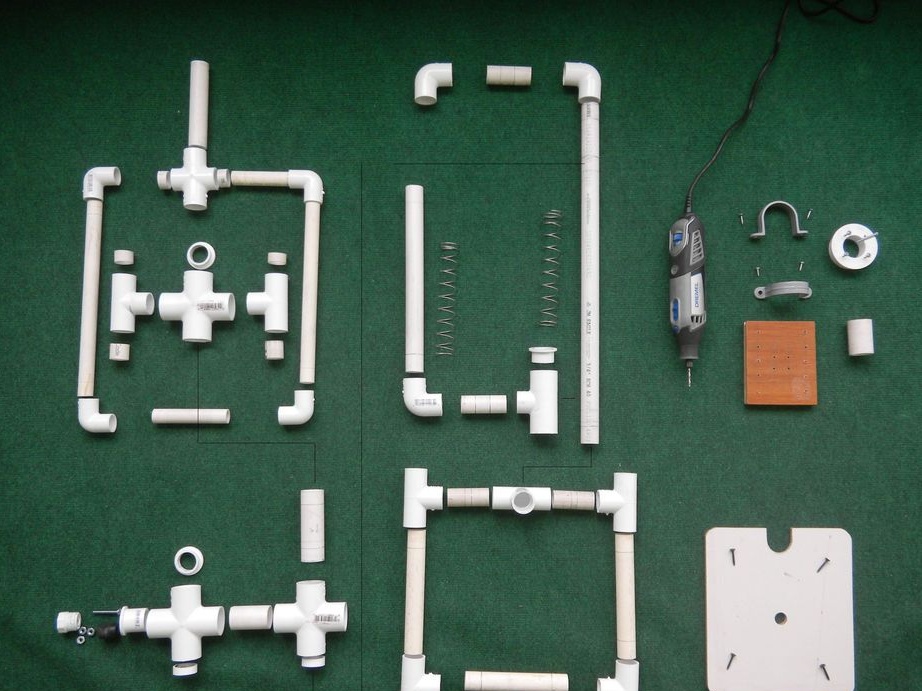
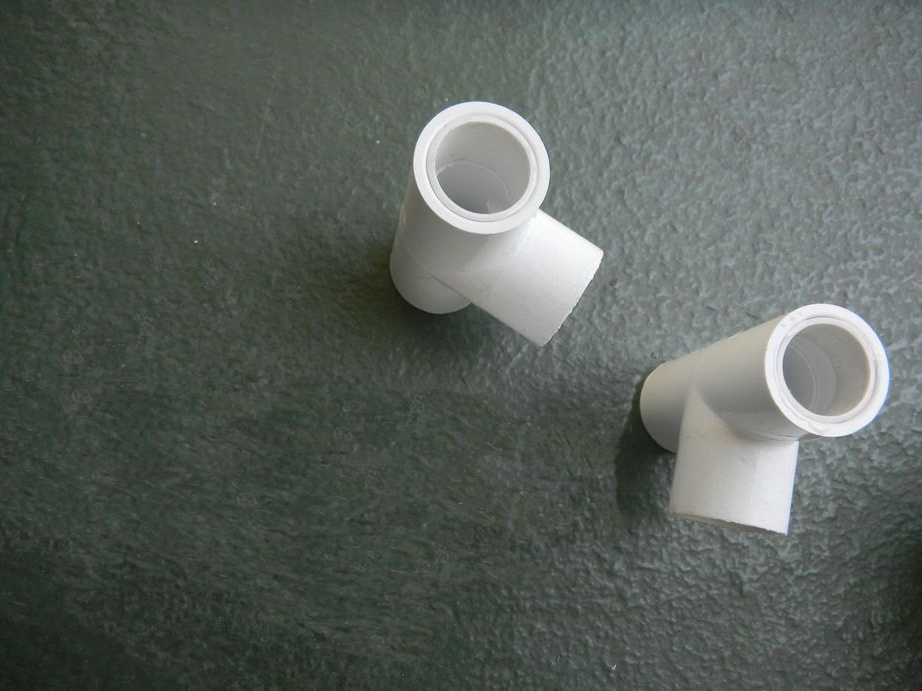
- crosses, corners, pipes, tees and other PVC parts;
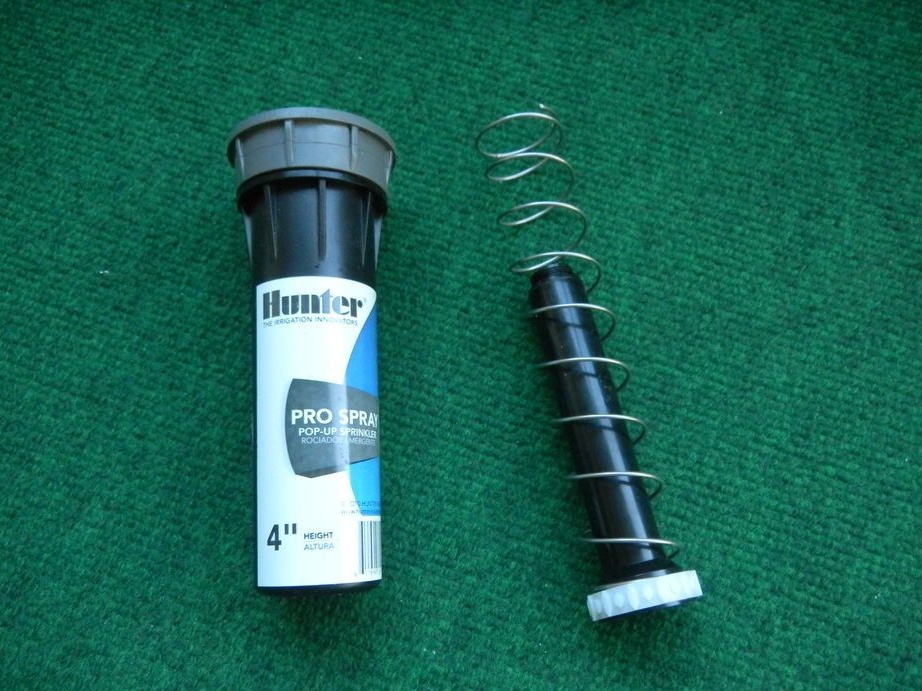
- springs (put on pipes);
- plywood;
- ;
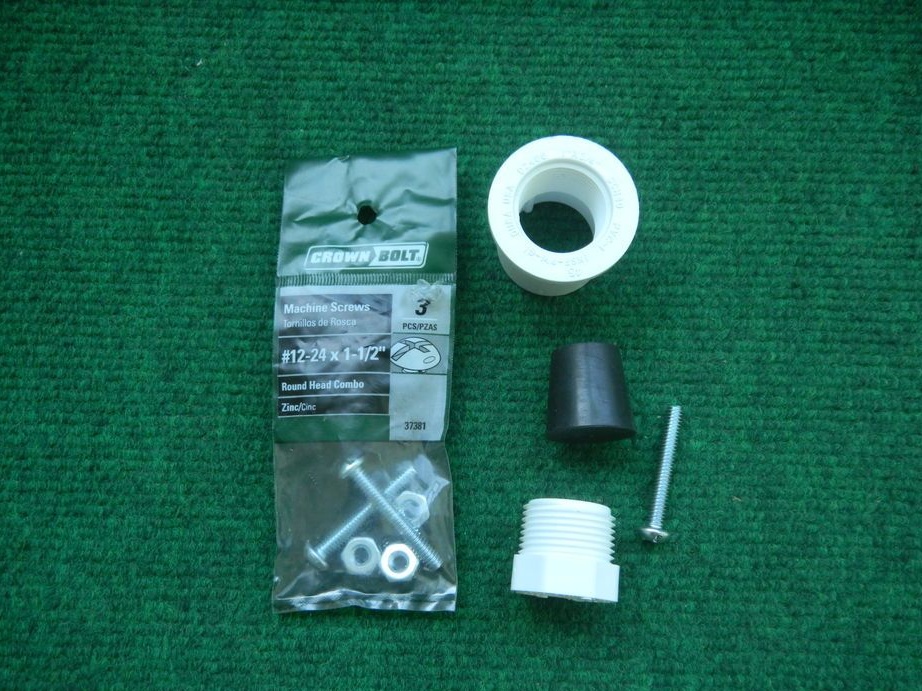
- screws;
- plastic clamps (for attaching the drill).

Tool List:
- drill;
- screwdrivers and other tools;
- level;
- roulette;
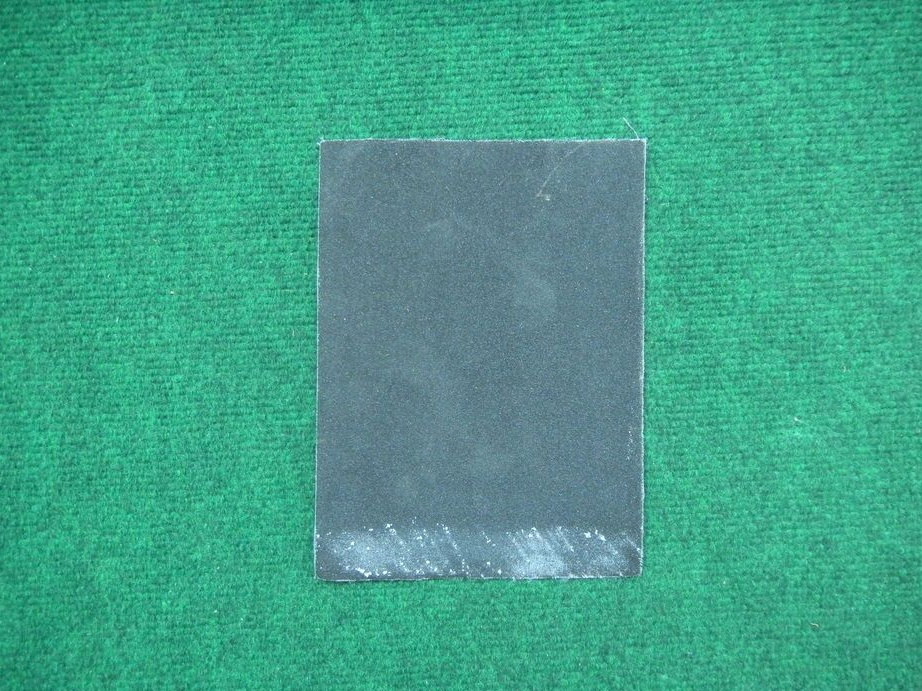
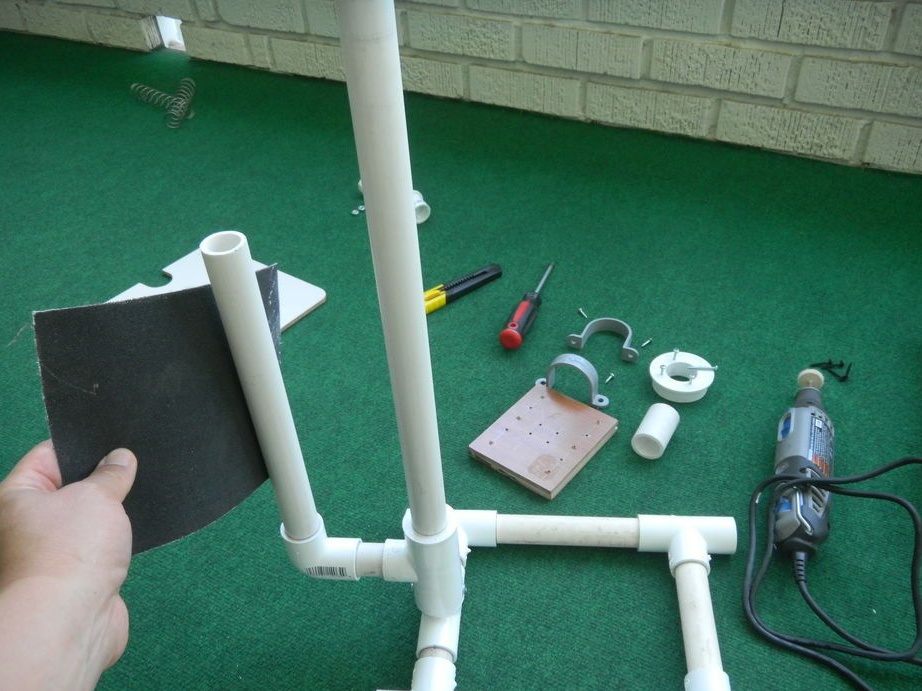
- sandpaper;
- marker.
Machine manufacturing process:
Step one. Drill installation
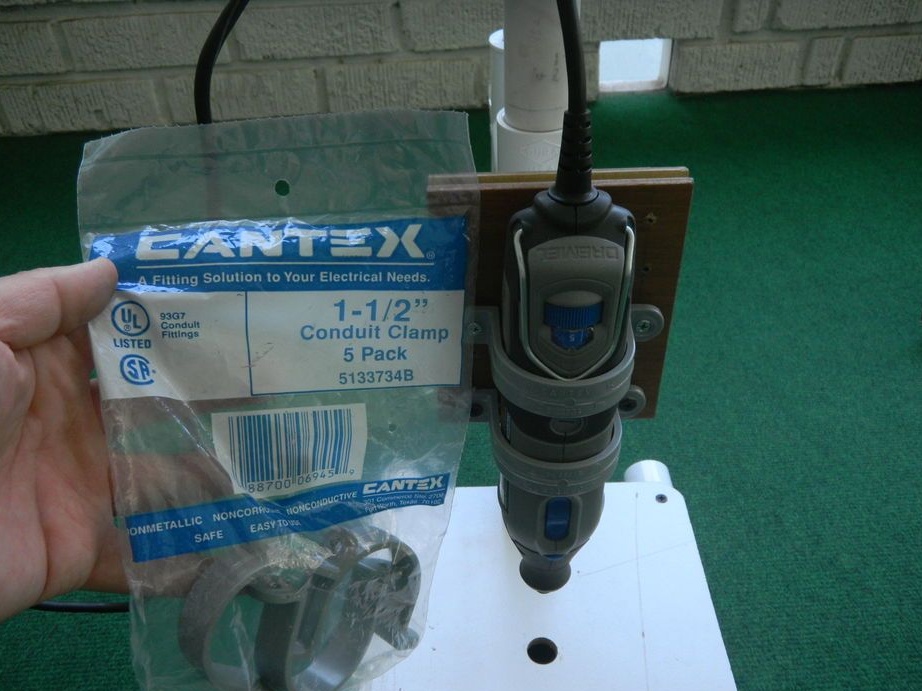
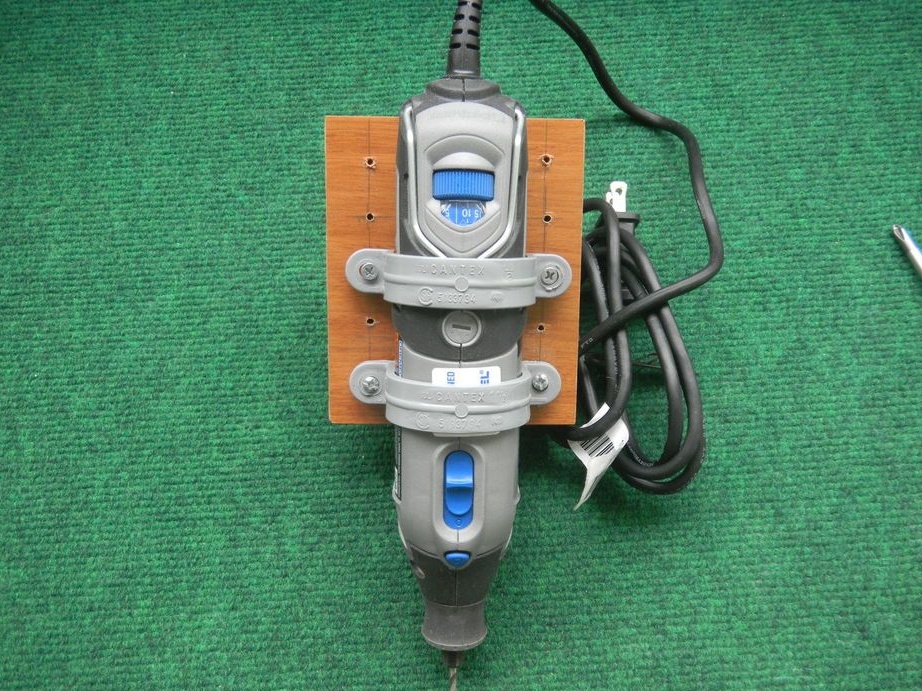
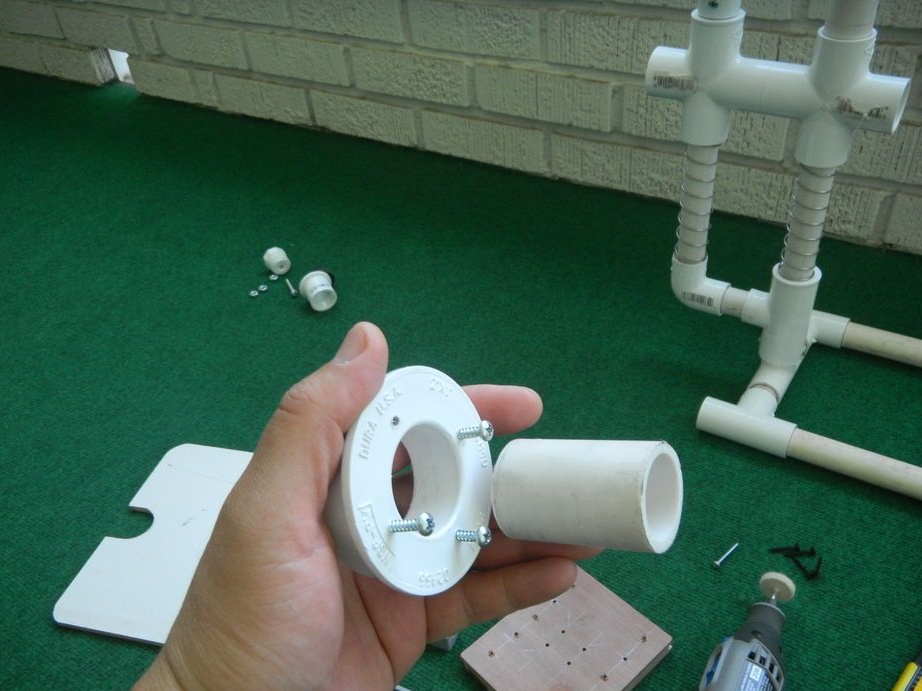
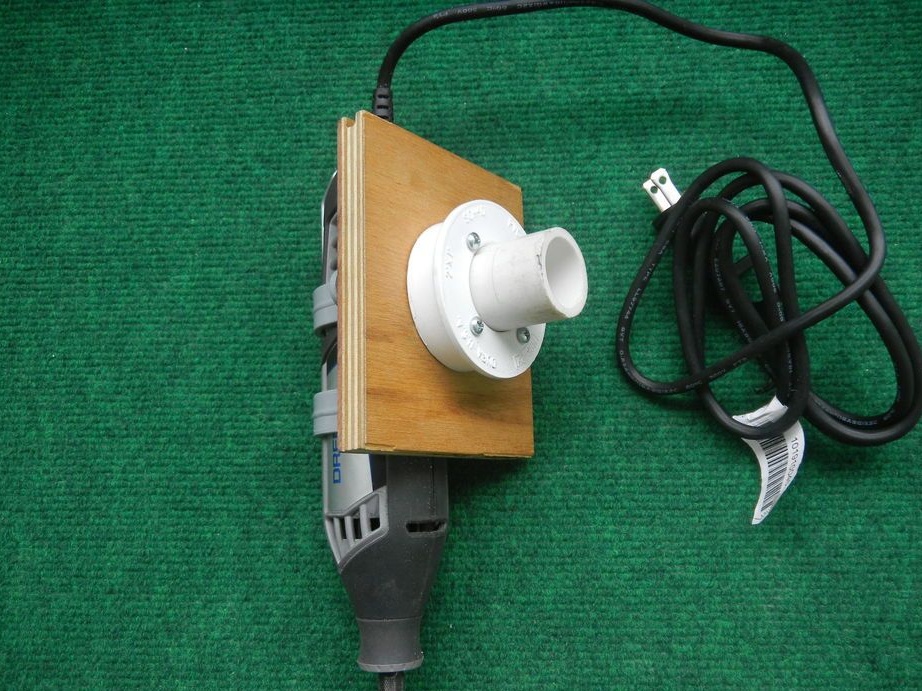
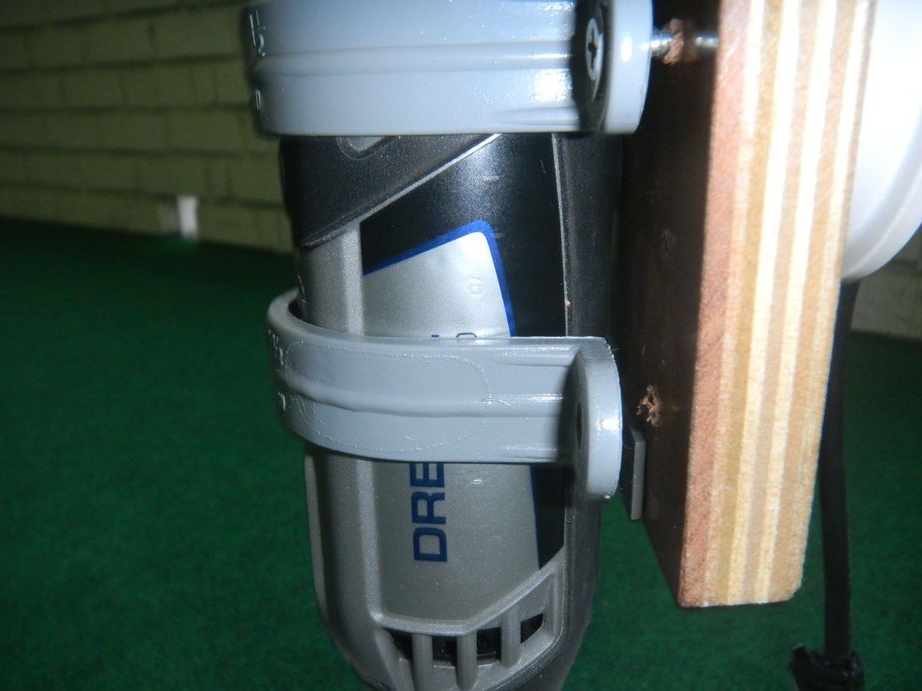
First, fix the drill. To do this, you need a piece of plywood or other similar material. We fix the drill using plastic clamps and screws.
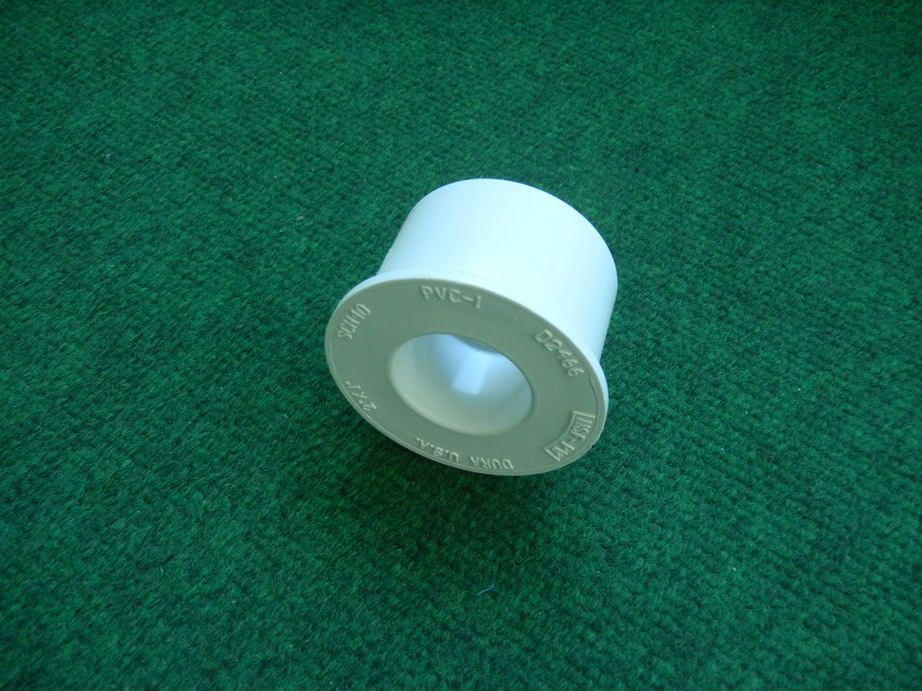
You will also need the “PVC-1” part, cut off the excess from it and fasten it on the back of the platform with the help of wood screws. We insert a piece of pipe into this spare part, the resulting design will be used for fastening to the frame.
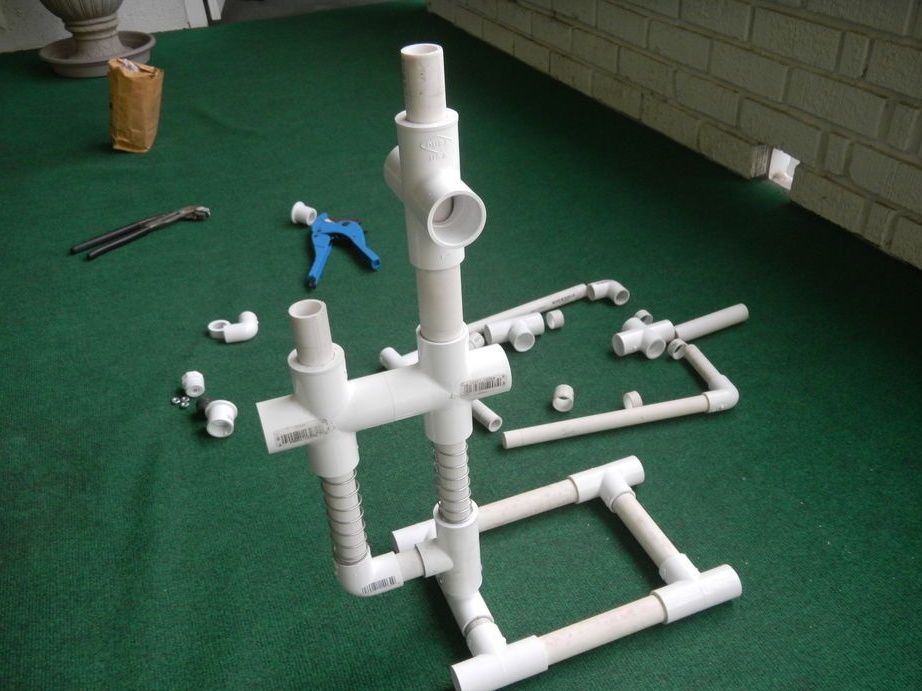
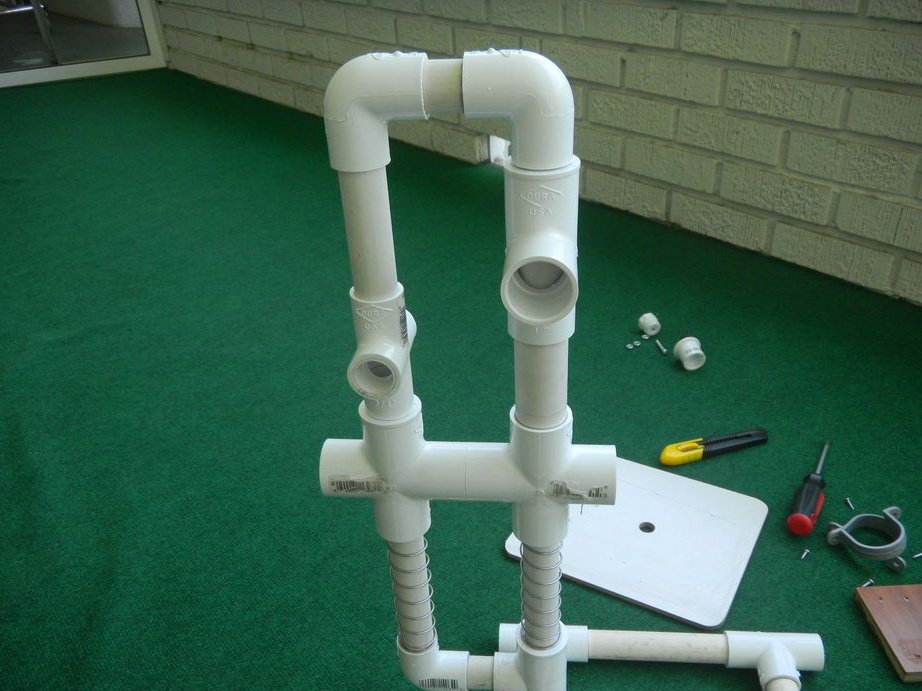
Step Two Assemble the frame
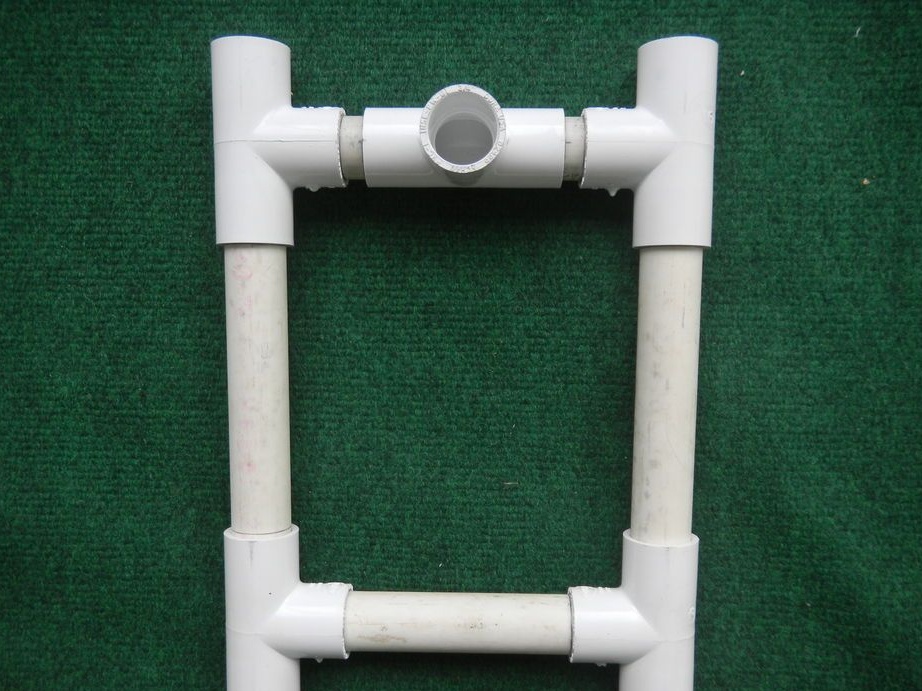
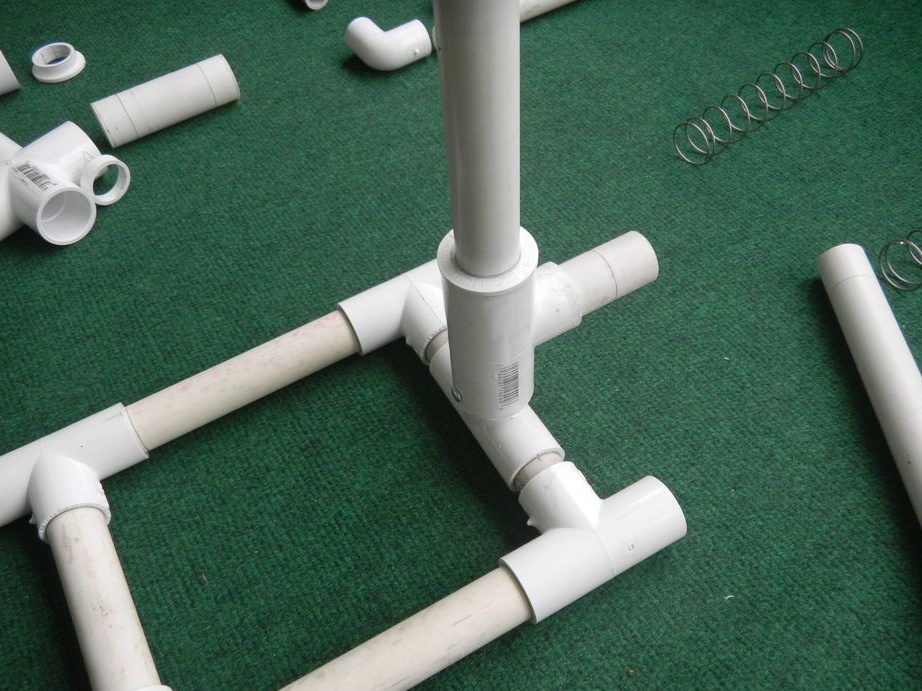
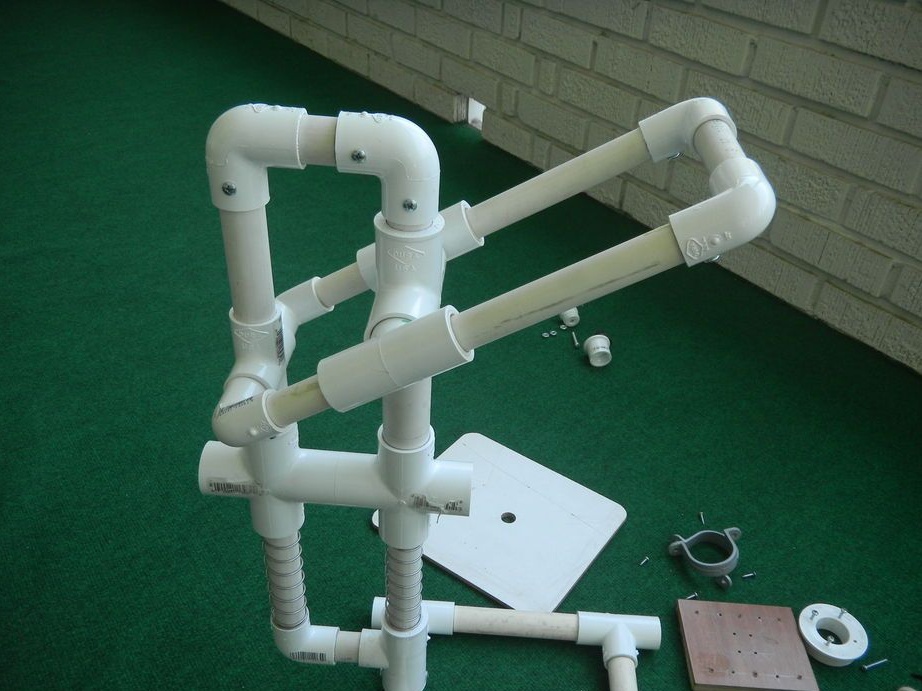
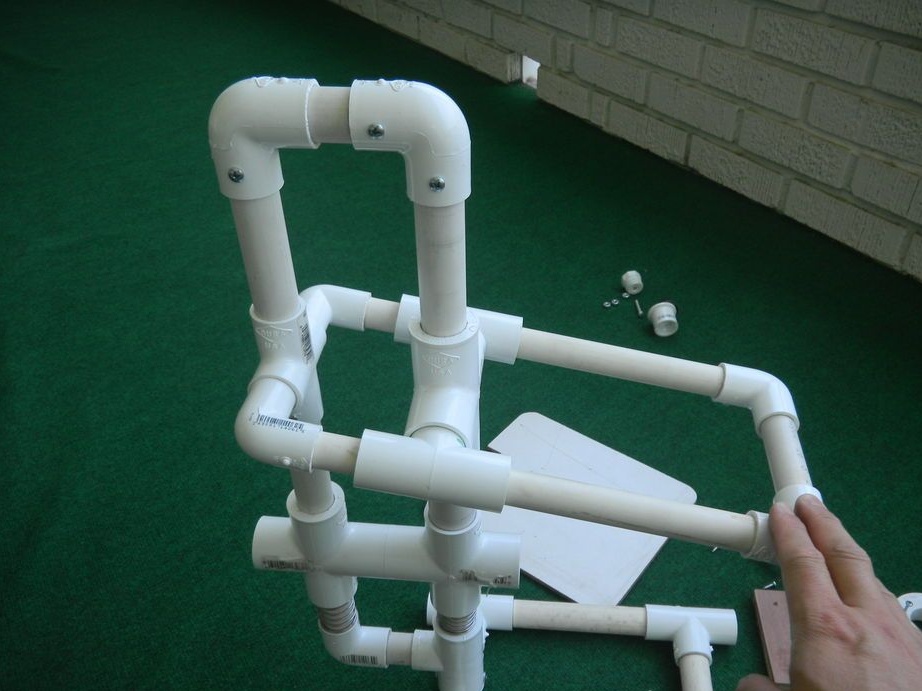
First of all, we collect the base, here the author used 5 tees and PVC pipes. It is recommended that all nodes be assembled on screws, it is reliable and also fast, since you do not need to wait until the glue dries. Plus, the design is collapsible.
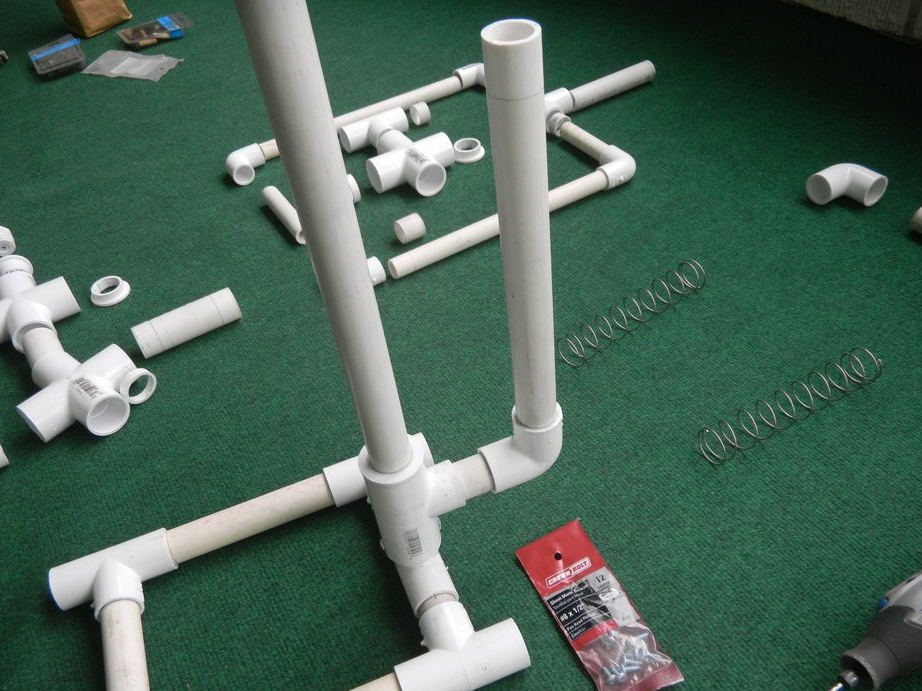
After that, we install a vertical rack in the base. A piece of pipe is used as it. We install the rack through the tee, since another smaller rack will be installed at the back using the corner.
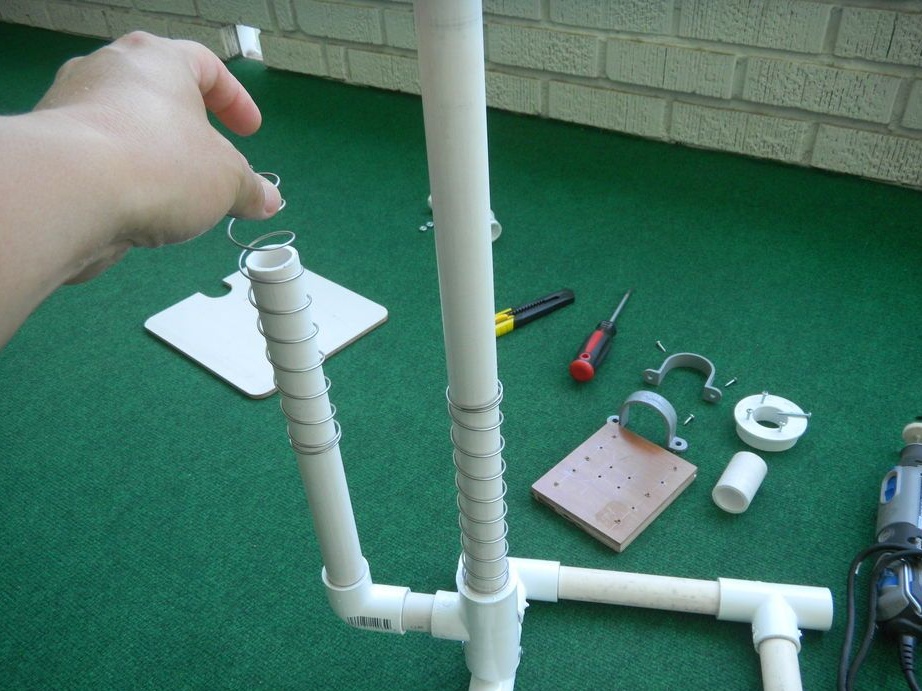
At the end, the author installs springs on the racks, which will return the working tool to its original position.We carefully clean the pipes with sandpaper at the place of installation of the springs so that the moving nodes do not wedge.

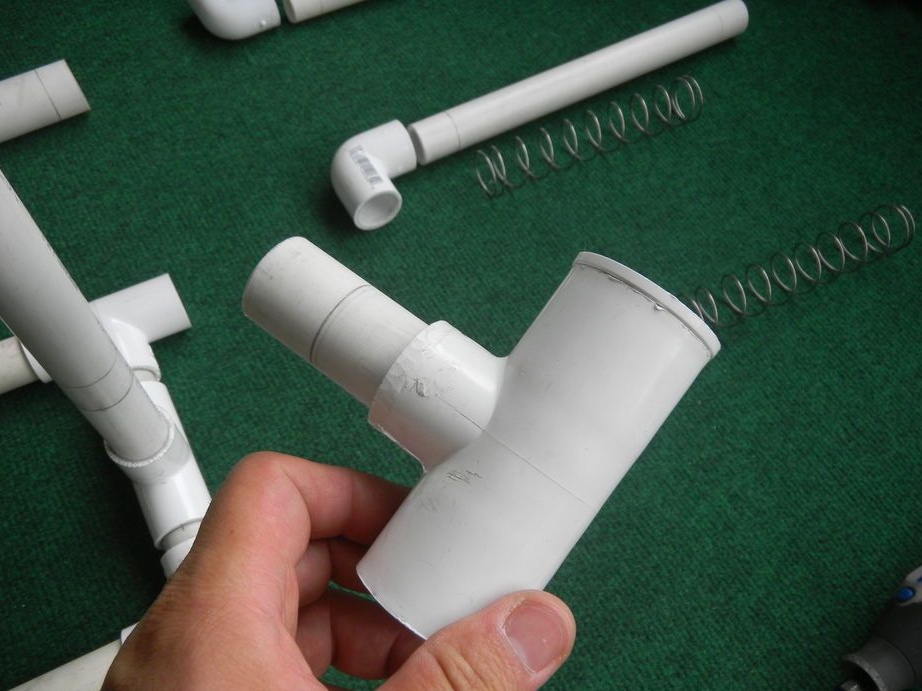
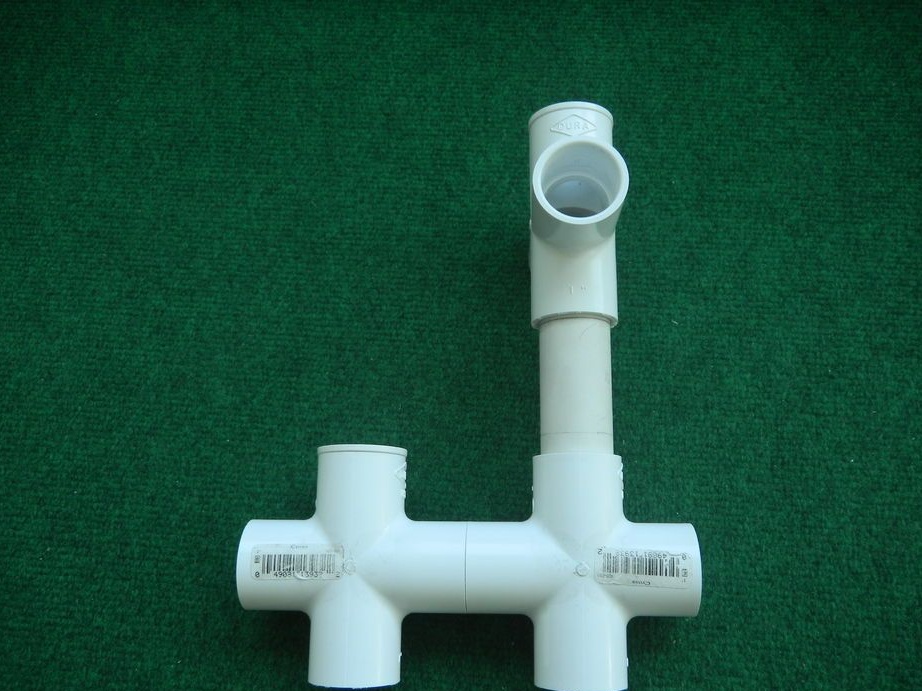
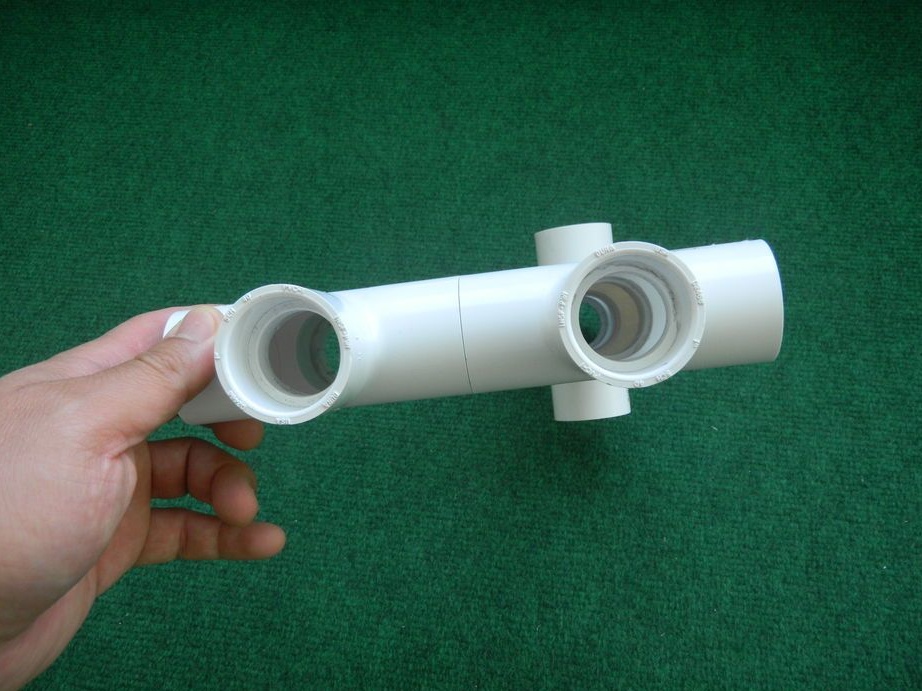
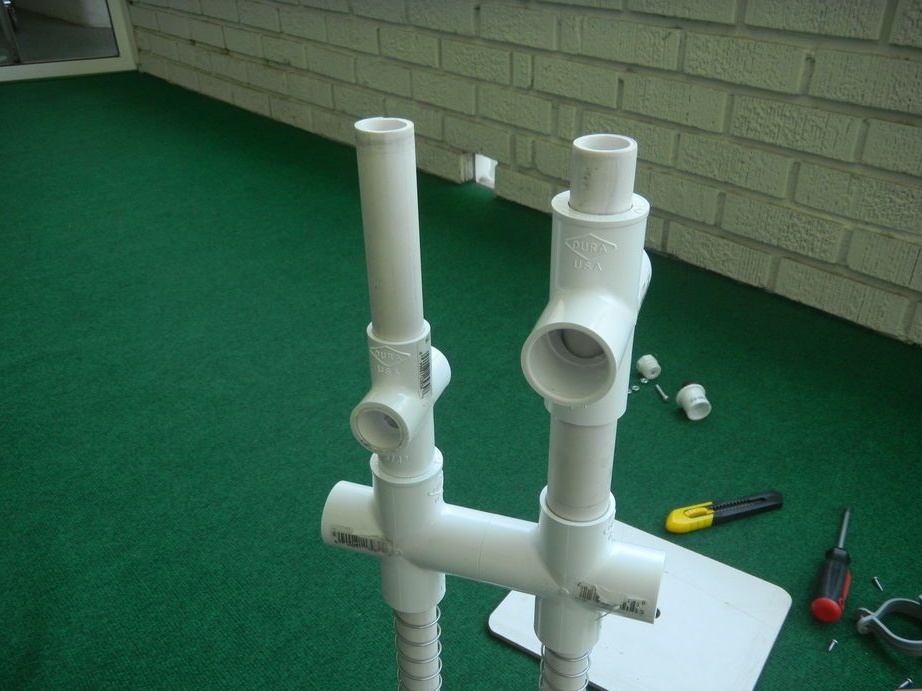
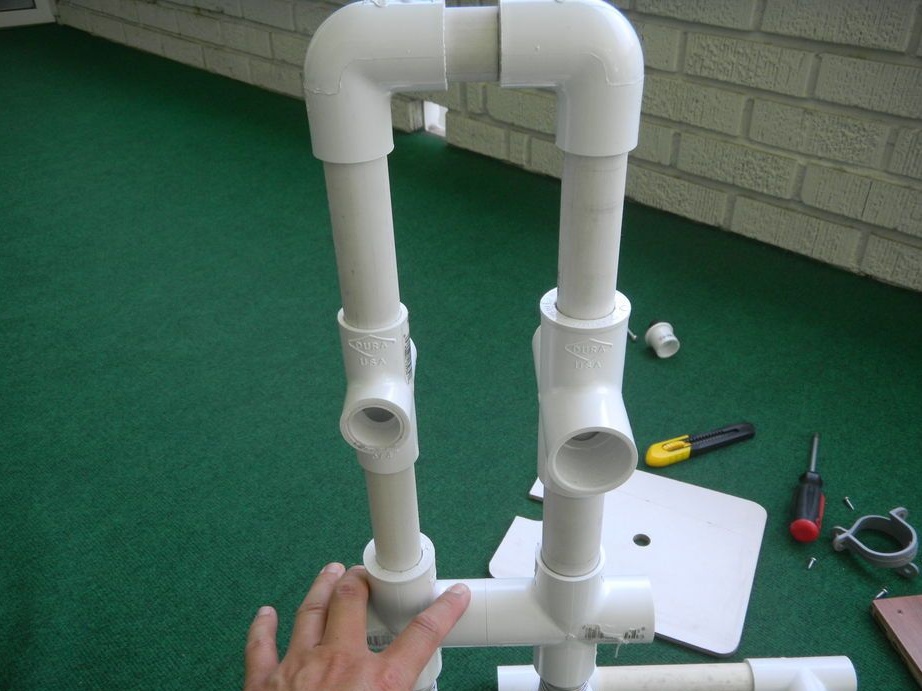
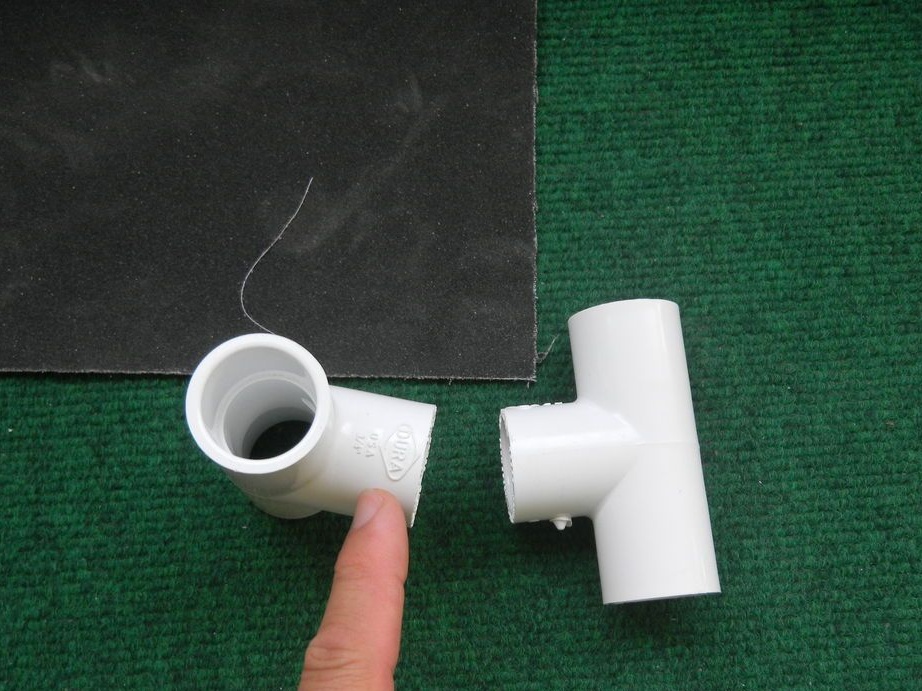
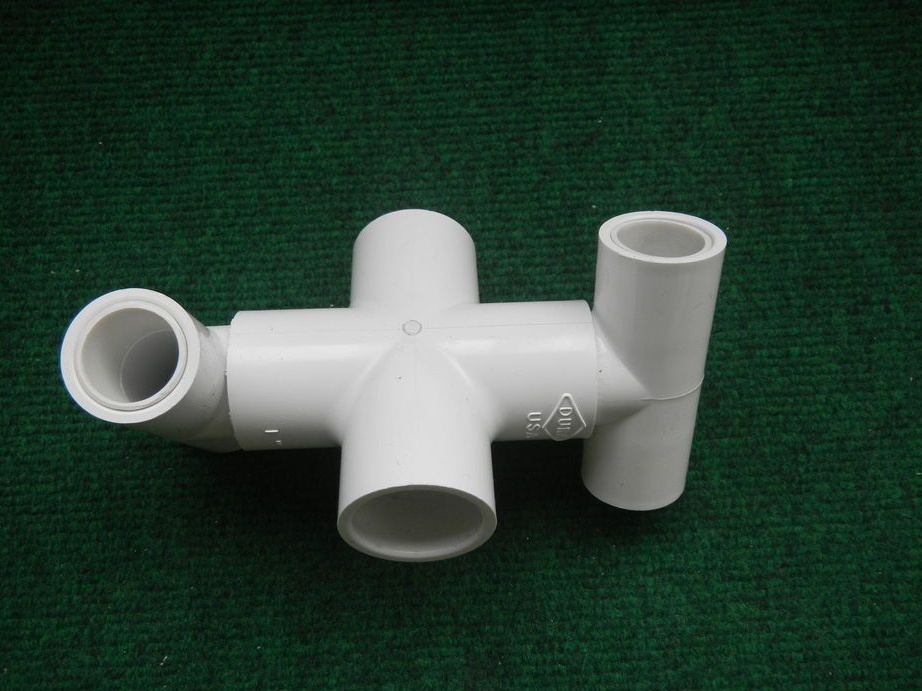
Step Three Sliders
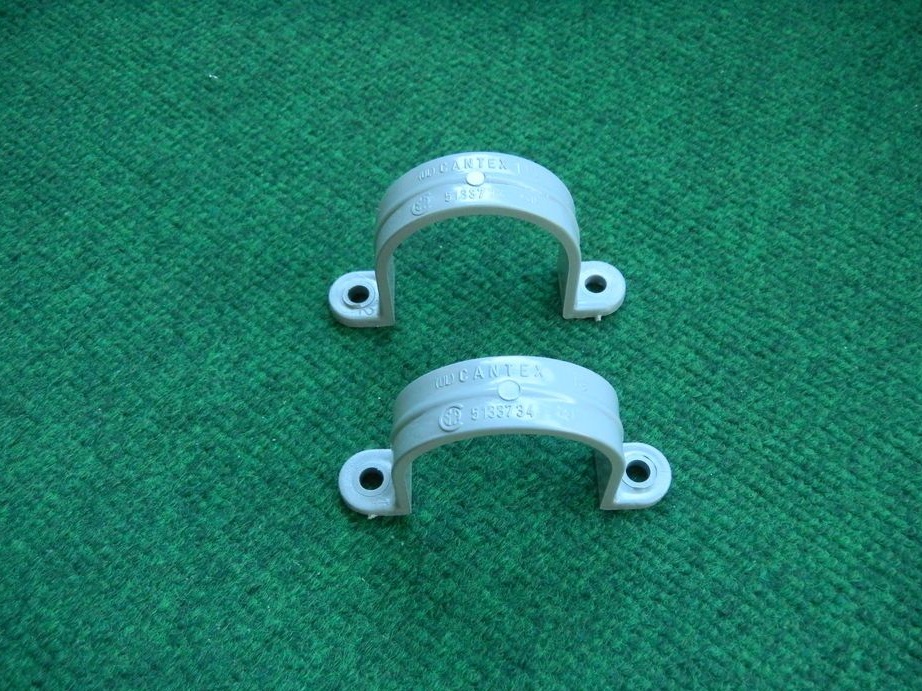
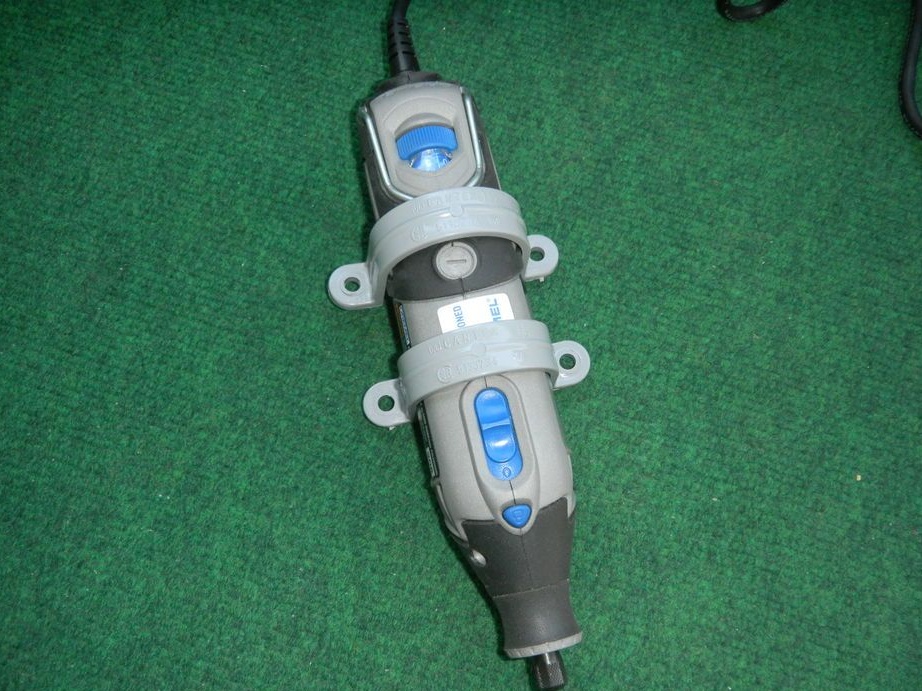
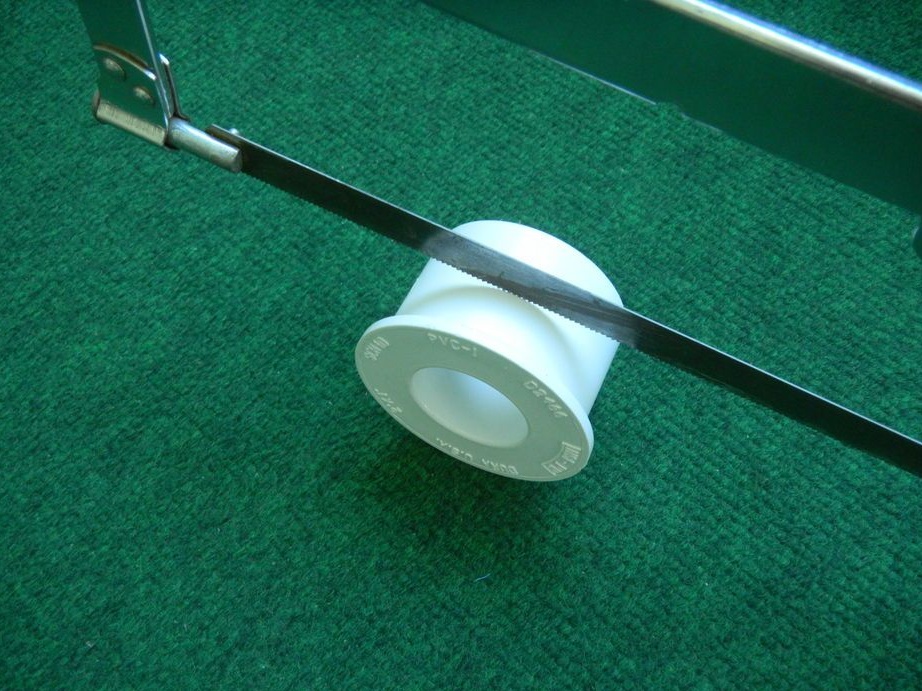
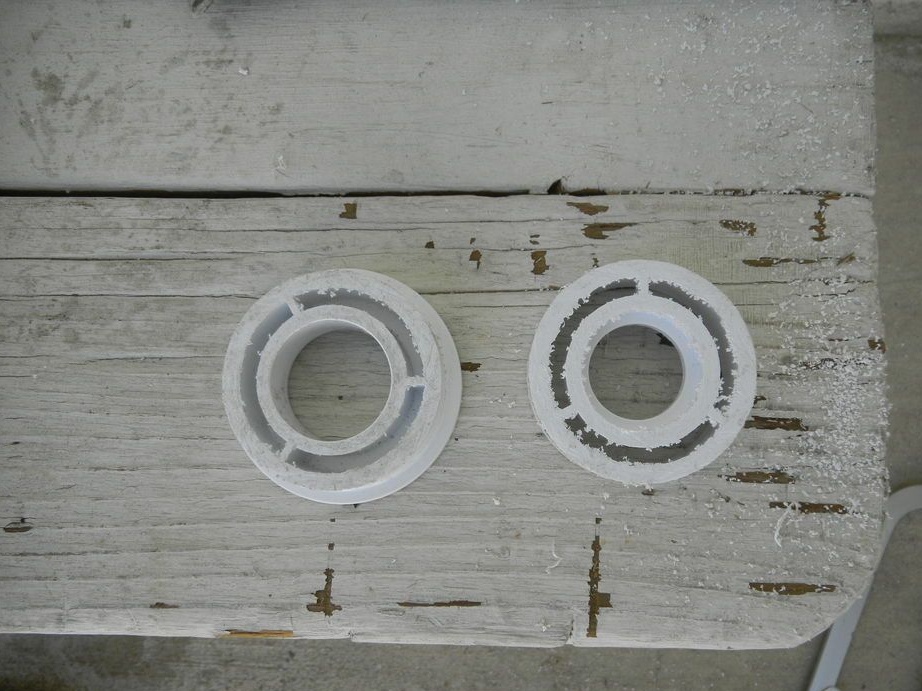
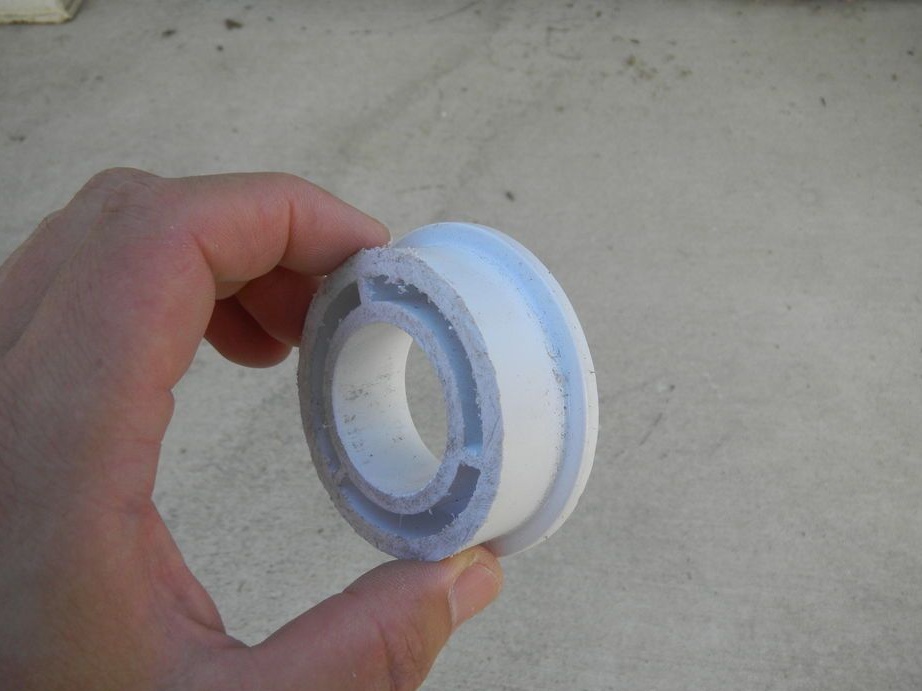
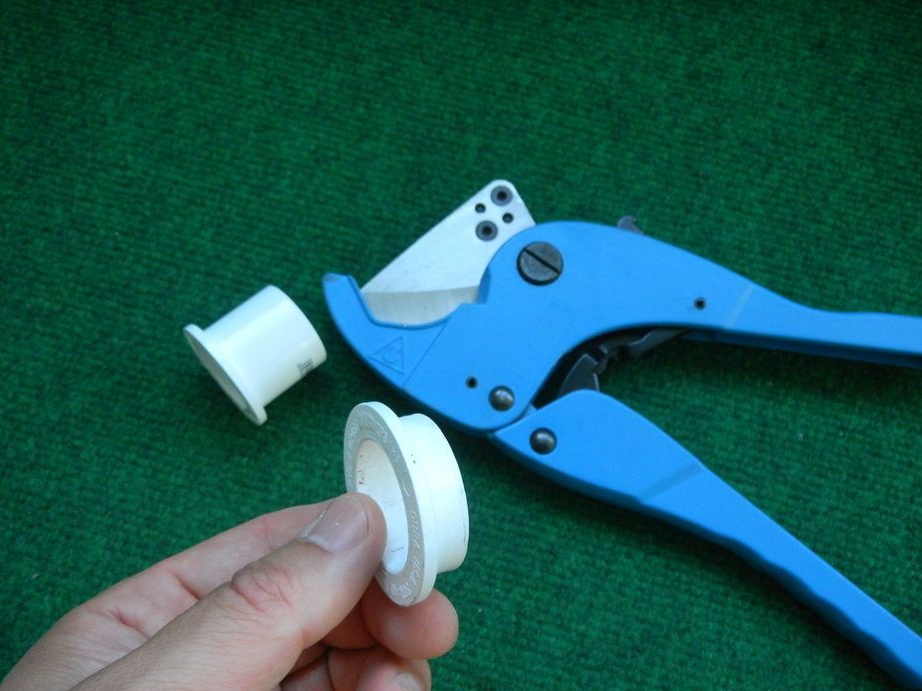
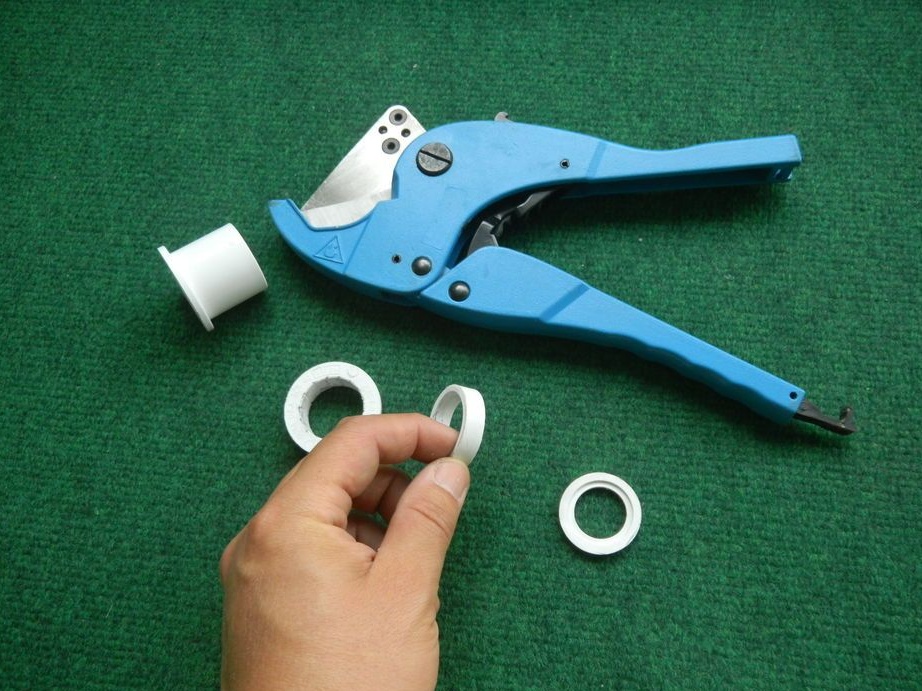
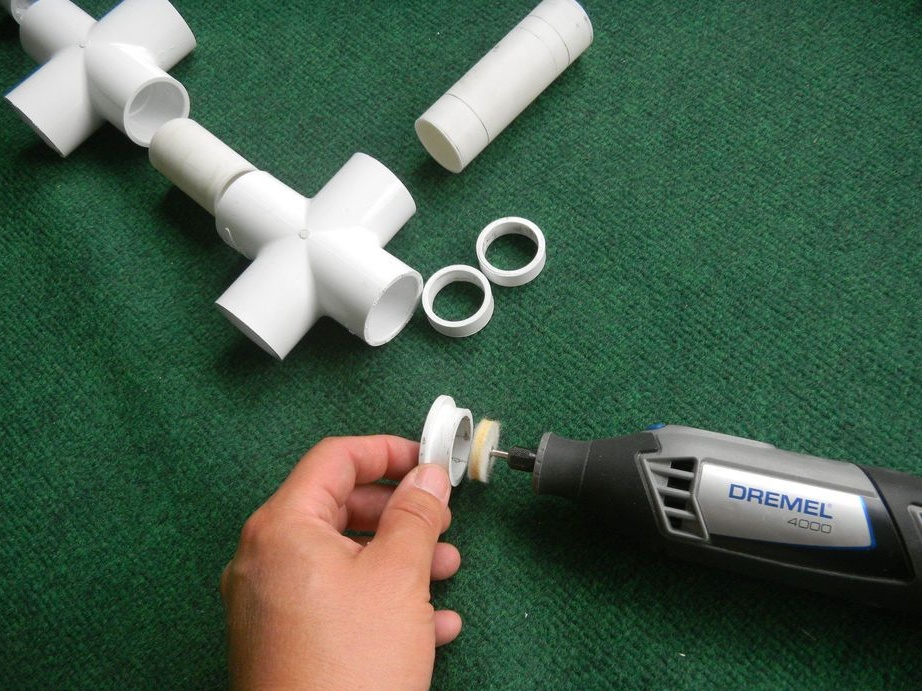
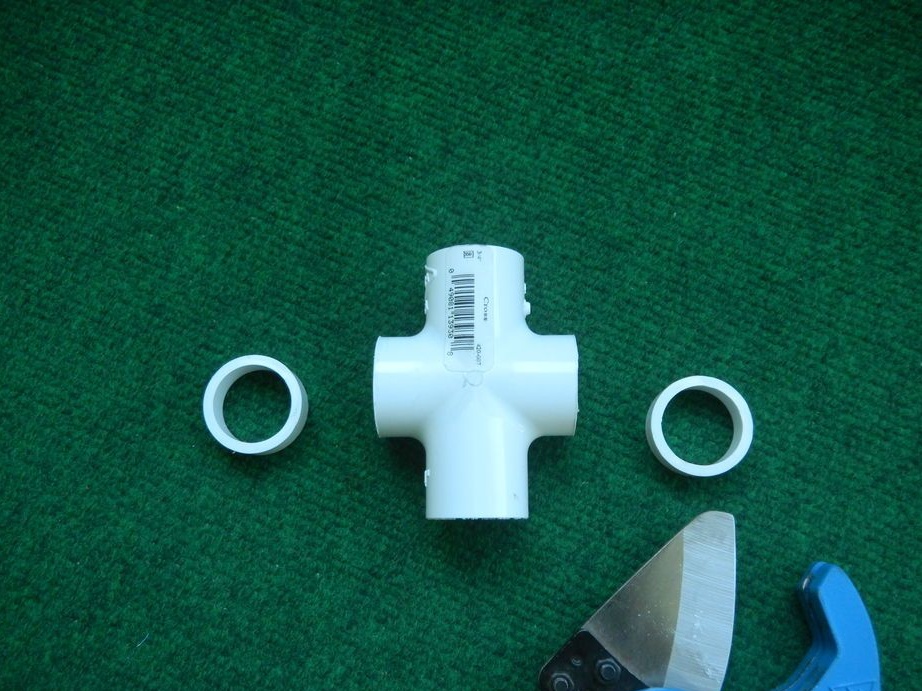
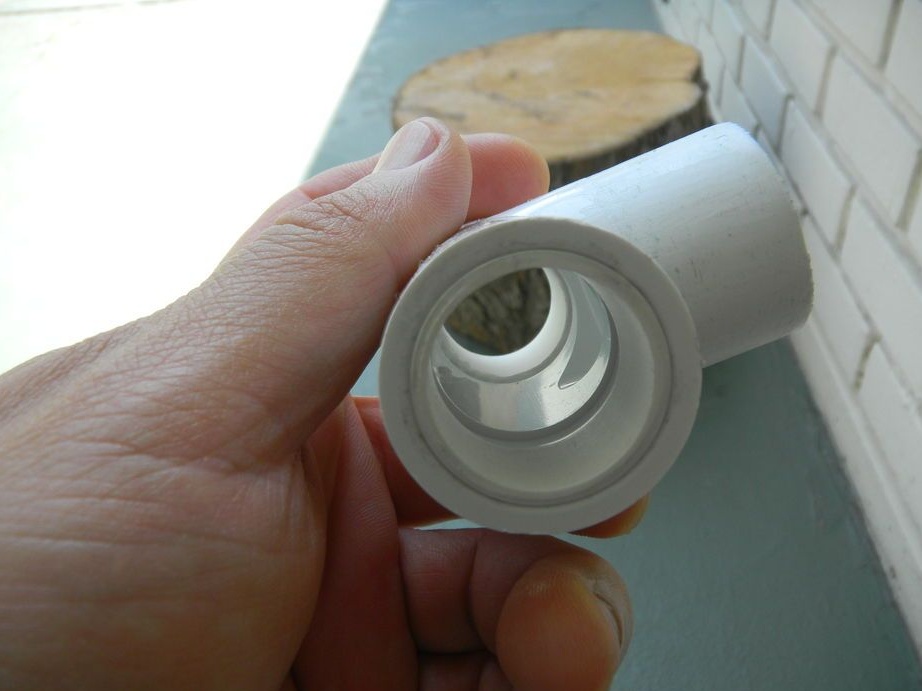
In total, the design provides for two movable nodes. One knot consists of two tees that are combined together. A platform with a drill is installed on this block. As for the second moving unit, a handle is attached to it, with the help of this unit we will lower the working tool down. Each tee has special “bushings” for connecting pipes, they need to be bored so that they easily slide through the pipes, but do not hang out. It is convenient to bore them with a drill with the appropriate nozzle.
Step Four Installing the lever mount
On the second rack, which is shorter in length, we install a tee. It will need to be drilled so that a piece of pipe can be inserted inside, and it would rotate freely in it. This piece of pipe will be part of the future handle.
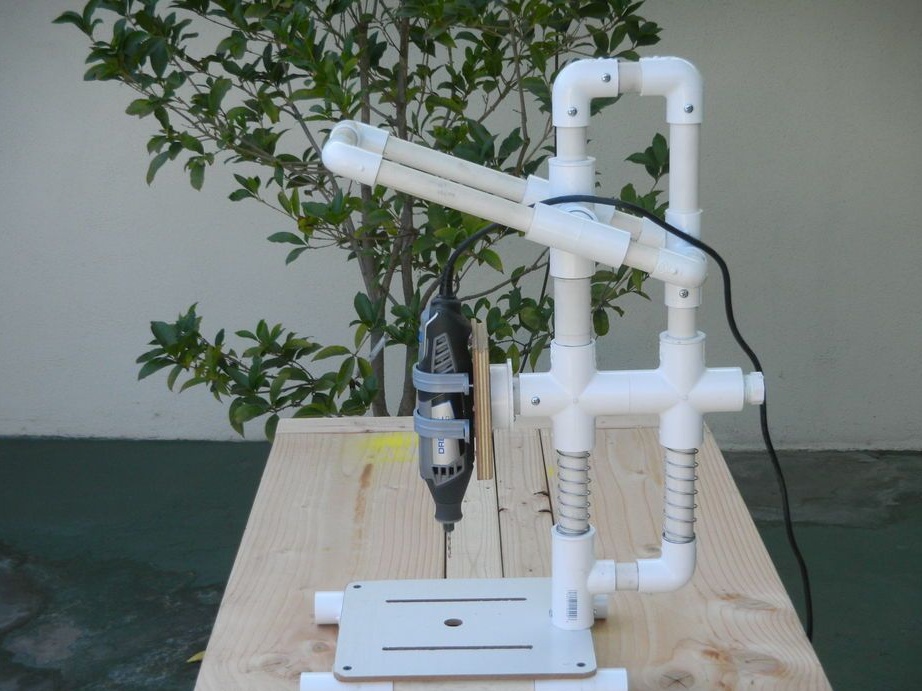
Step Five Assembly and installation of the handle (lever)
For the manufacture of pens, we take pipes, as well as 4 corners. To connect the handle to the push rod, you will need to install two tees on it. Well, then we collect everything as in the photo, there is nothing complicated in this.
Now you can fix the platform with the drill on the main moving unit of two crosses.

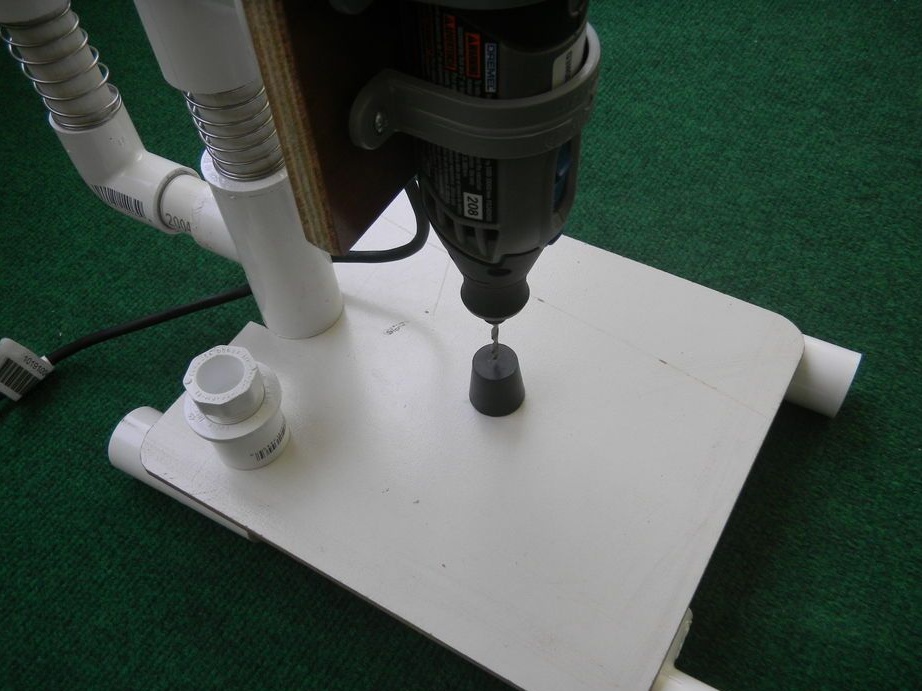
Step Six Production and installation of the desktop
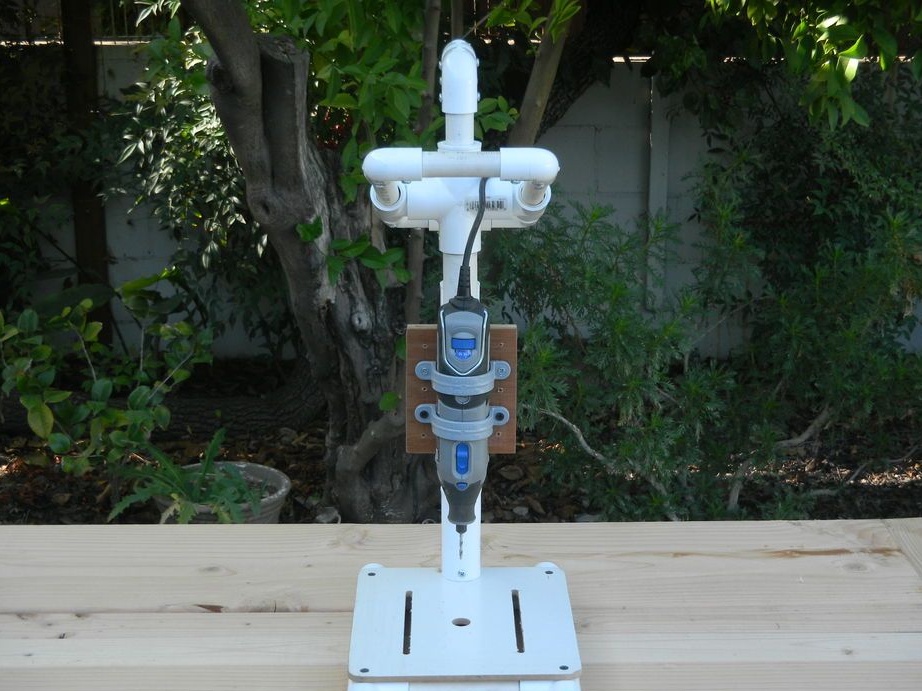
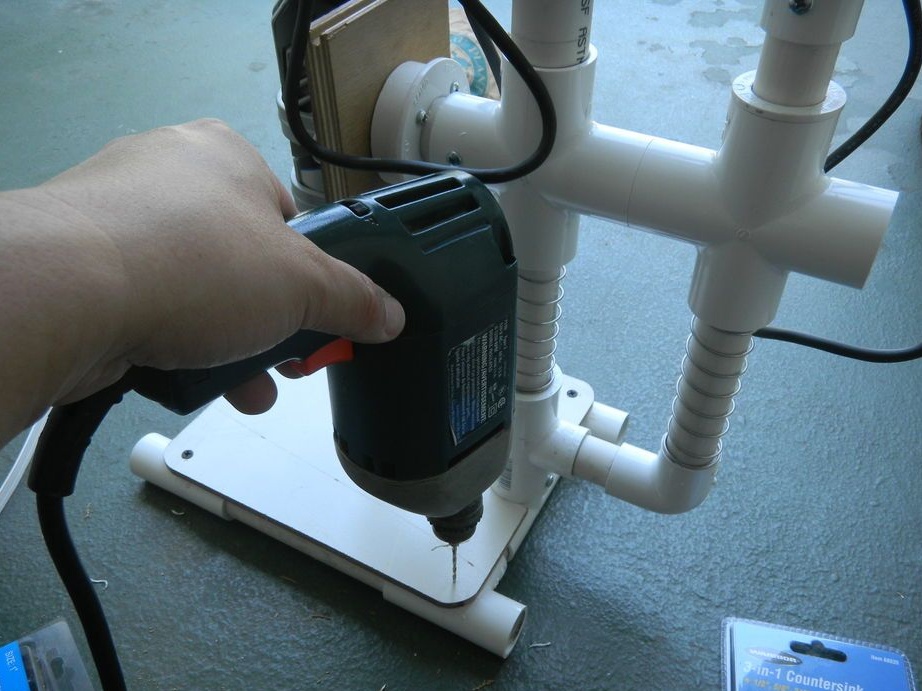
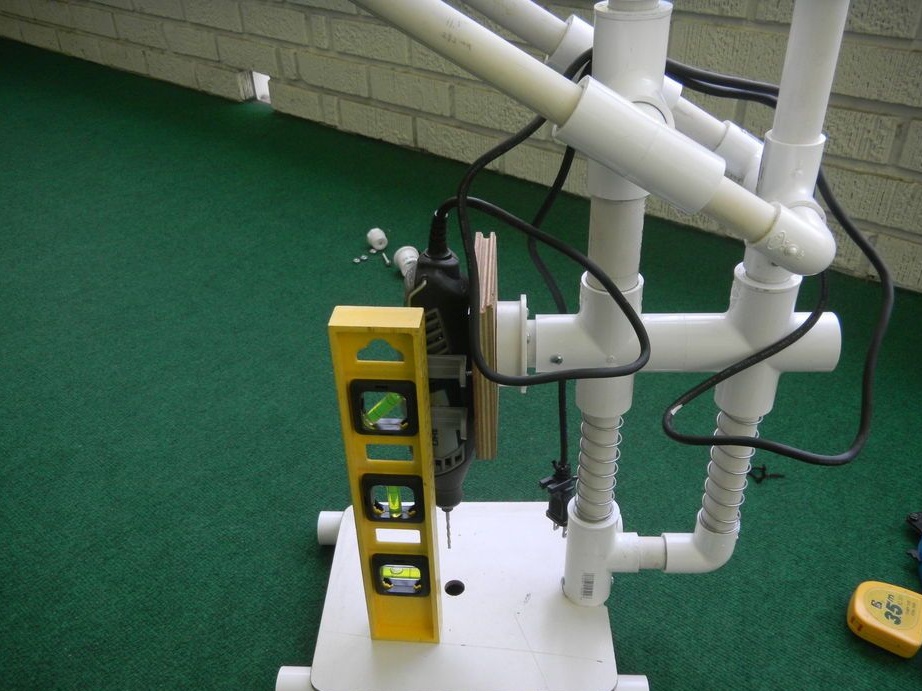
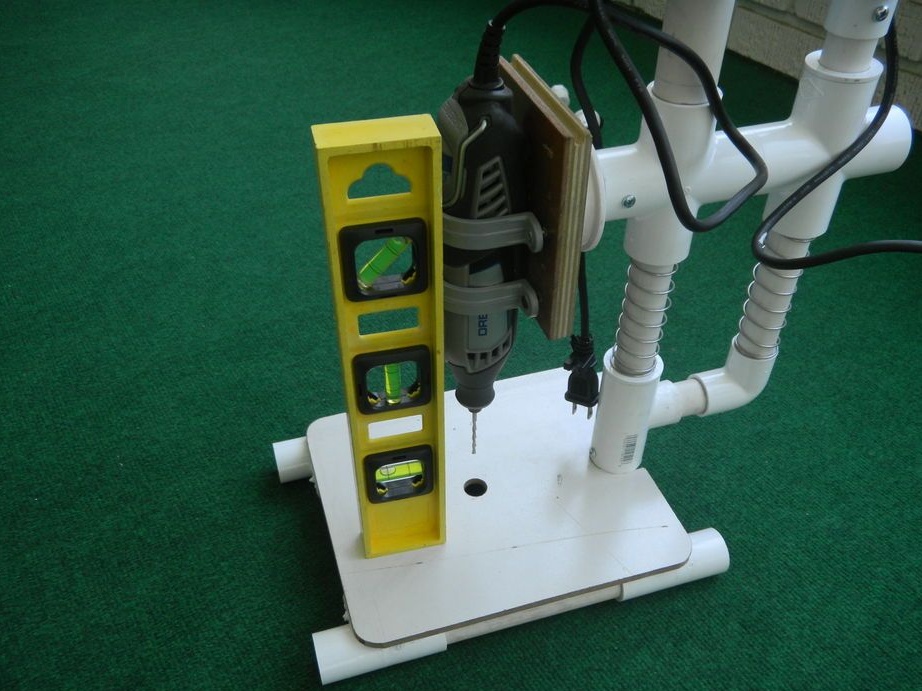
For this step, you will need plywood, sheet plastic, or other similar material. Cut it to the desired shape and fasten it to the base using self-tapping screws. We drill a hole opposite the drill chuck. At the end, we take the level, determine whether the working tool is installed exactly, and then finally fix the drill.
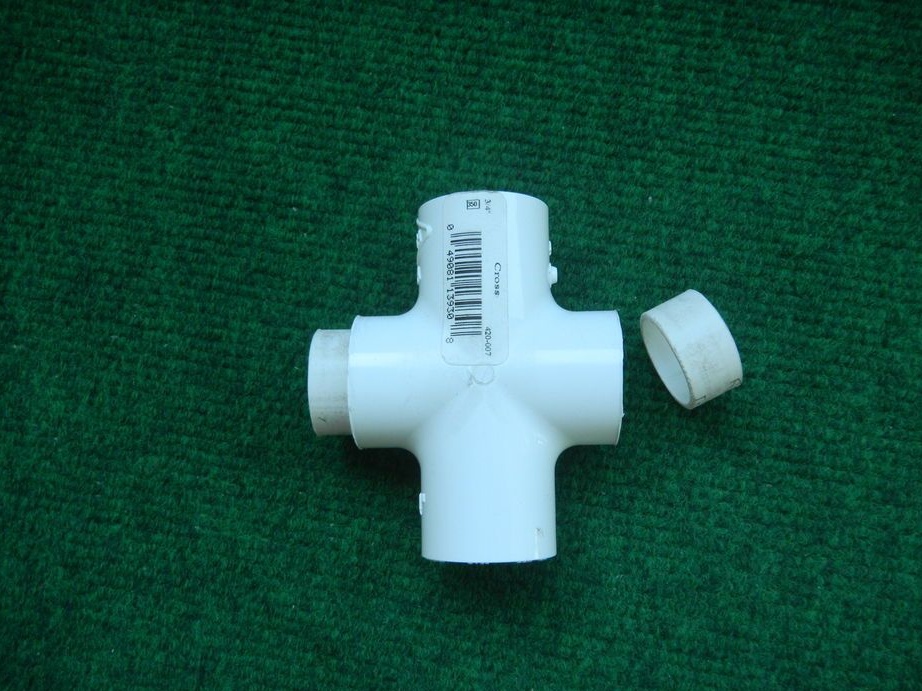
Seventh step. Clamp
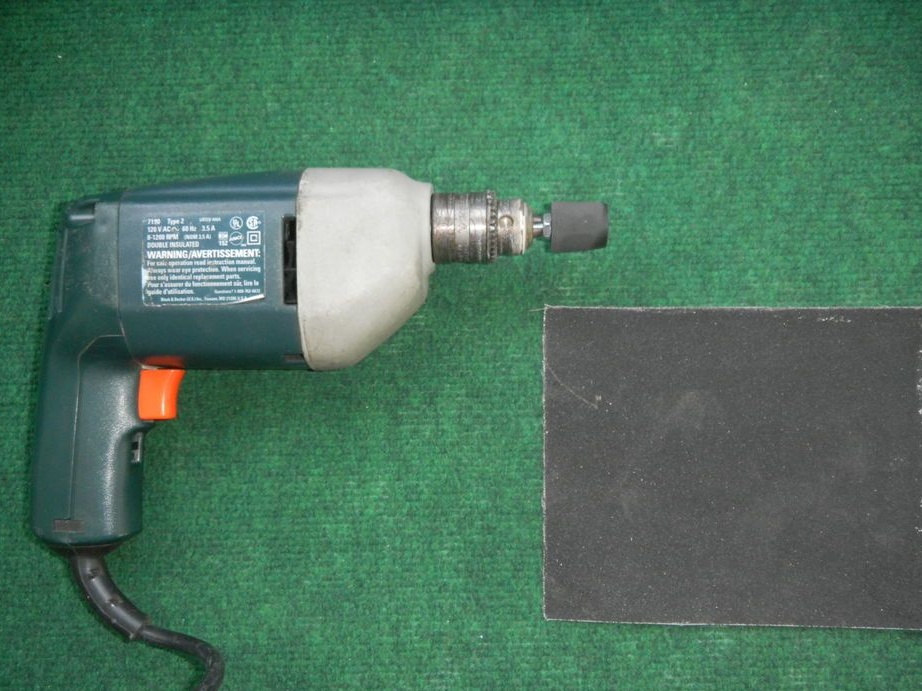
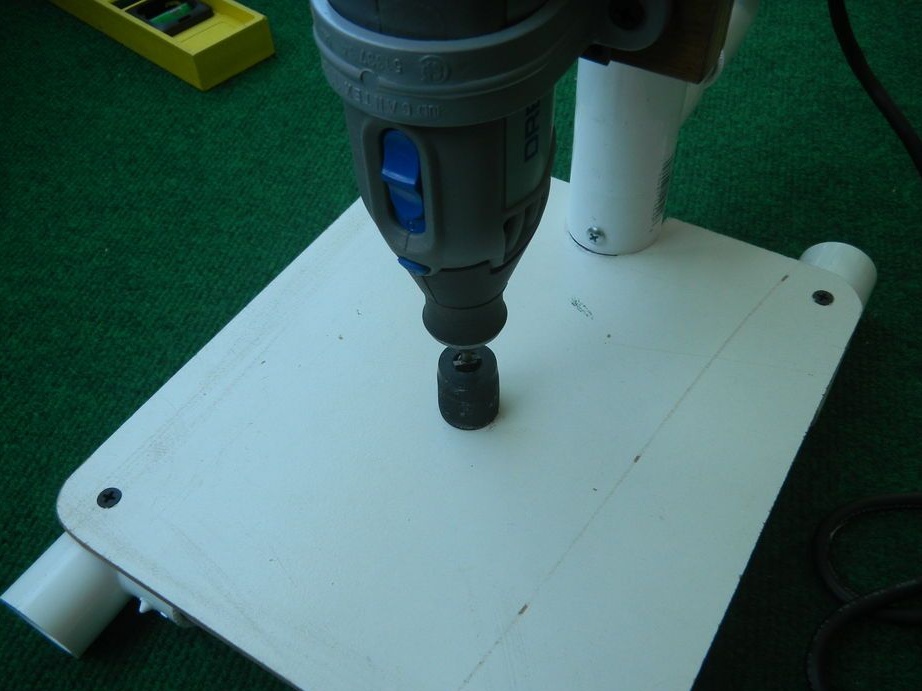
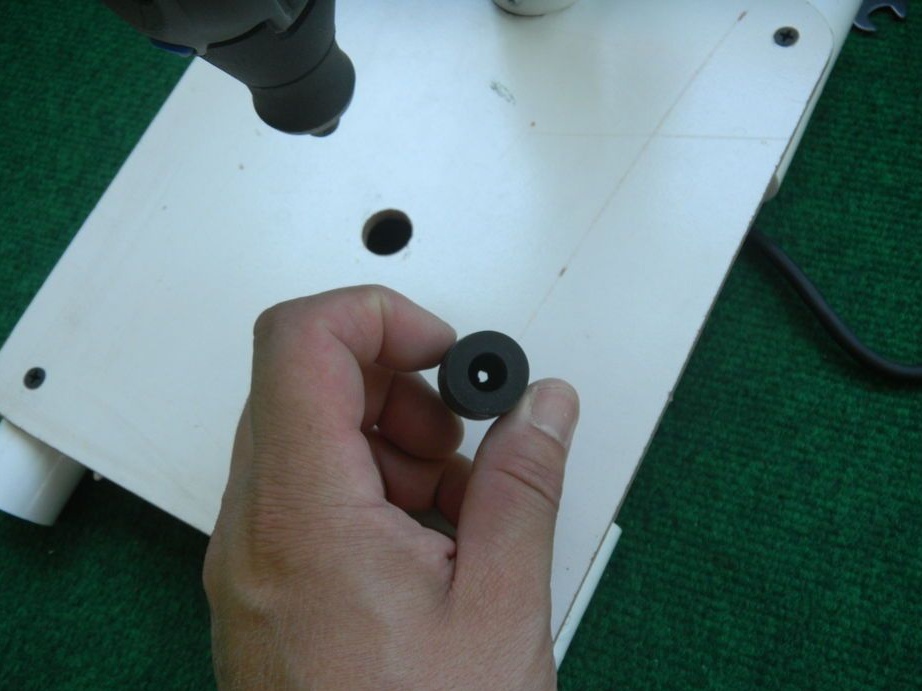
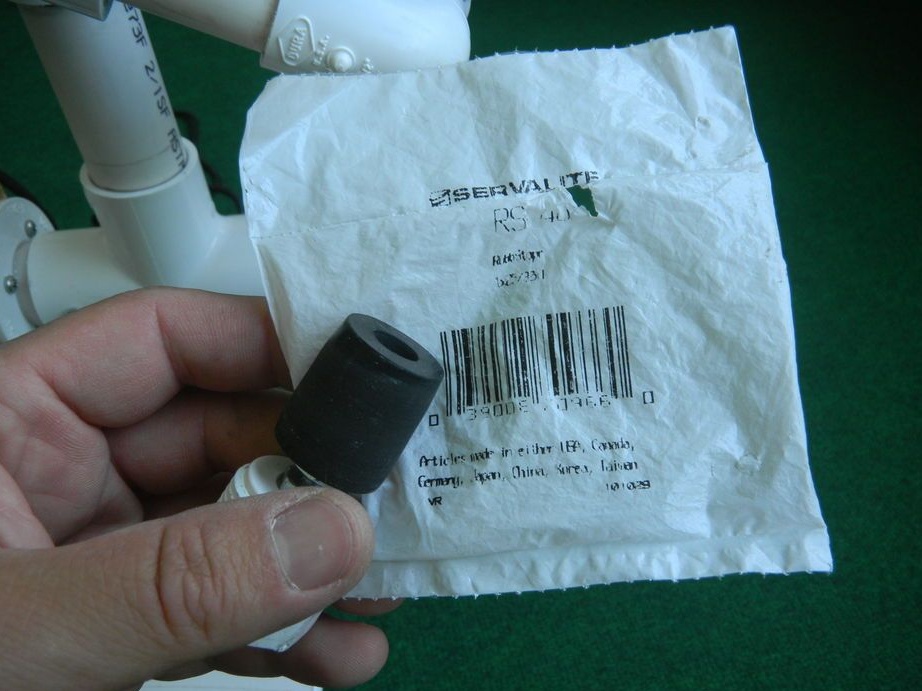
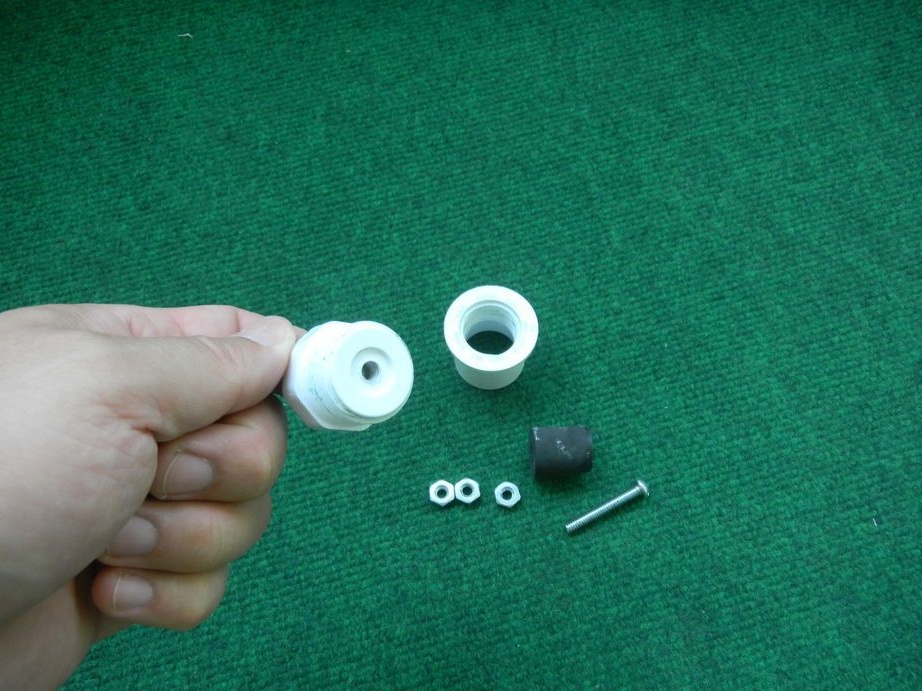
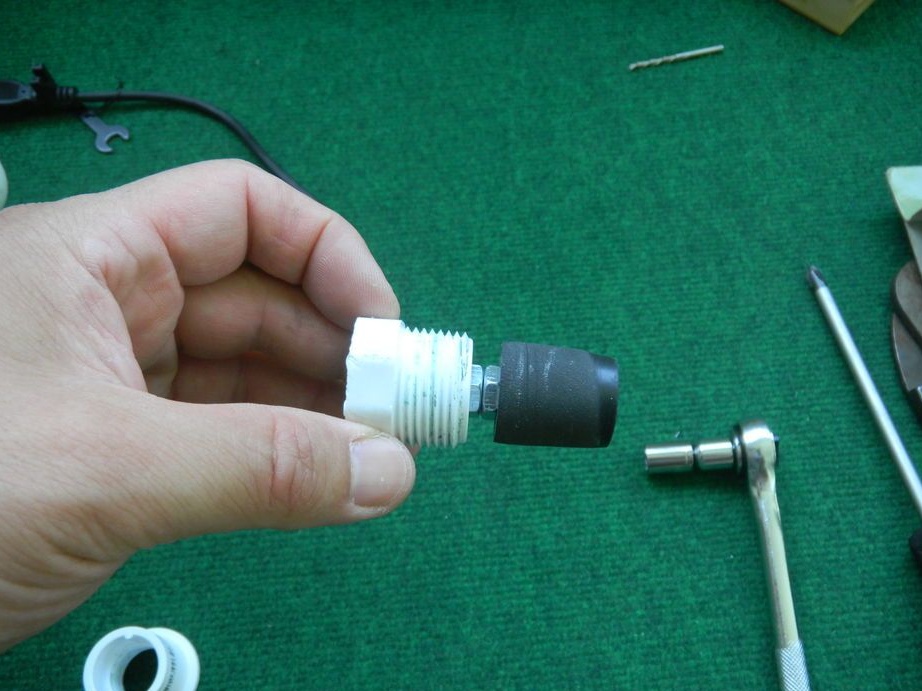
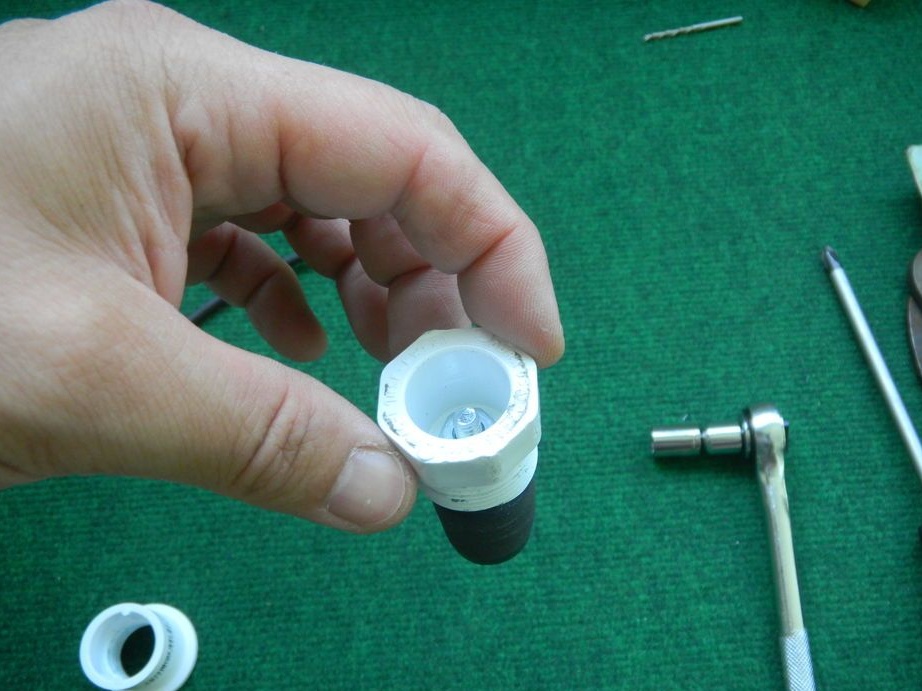
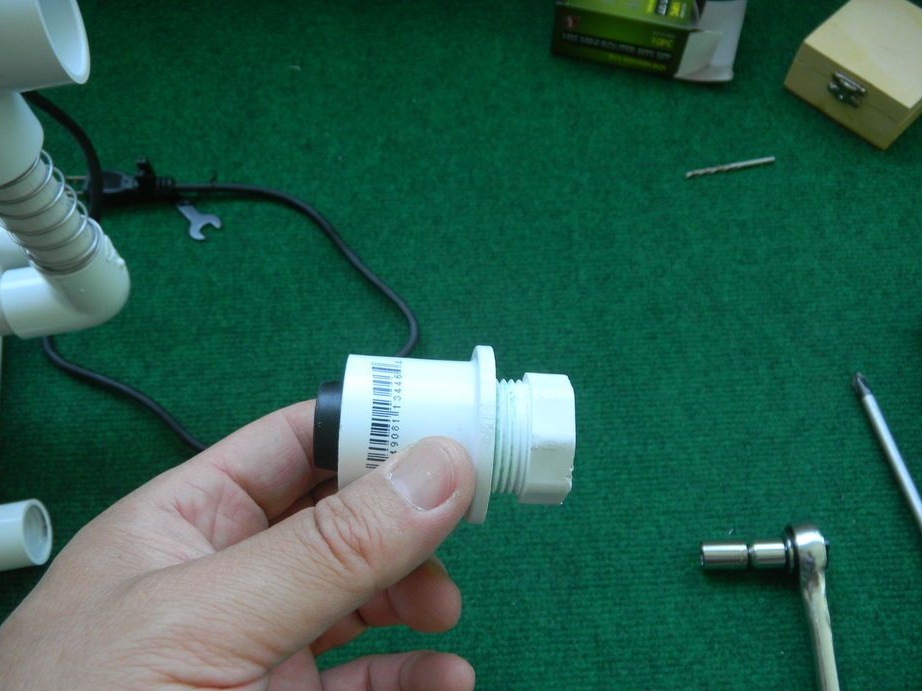
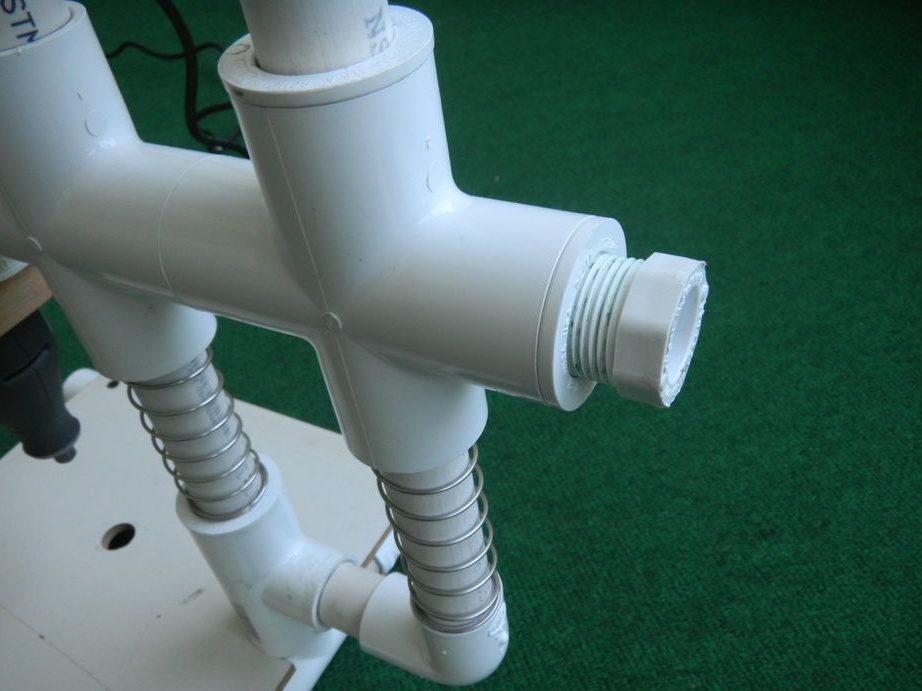
In order for you to be able to fix the drill in the desired position, install the latch on the main movable assembly. To make it, you will need a rubber stopper or something similar. We customize the part to the desired size, holding it in the drill chuck and using sandpaper. How is this whole assembly going then, look at the photo.

That's all, now our machine is fully assembled, you can experience it! The device is compact, durable and easy to assemble. And all the materials you can buy in a store specializing in plumbing. I hope you enjoyed the project. That's all, good luck with manufacturing and creative inspiration!