
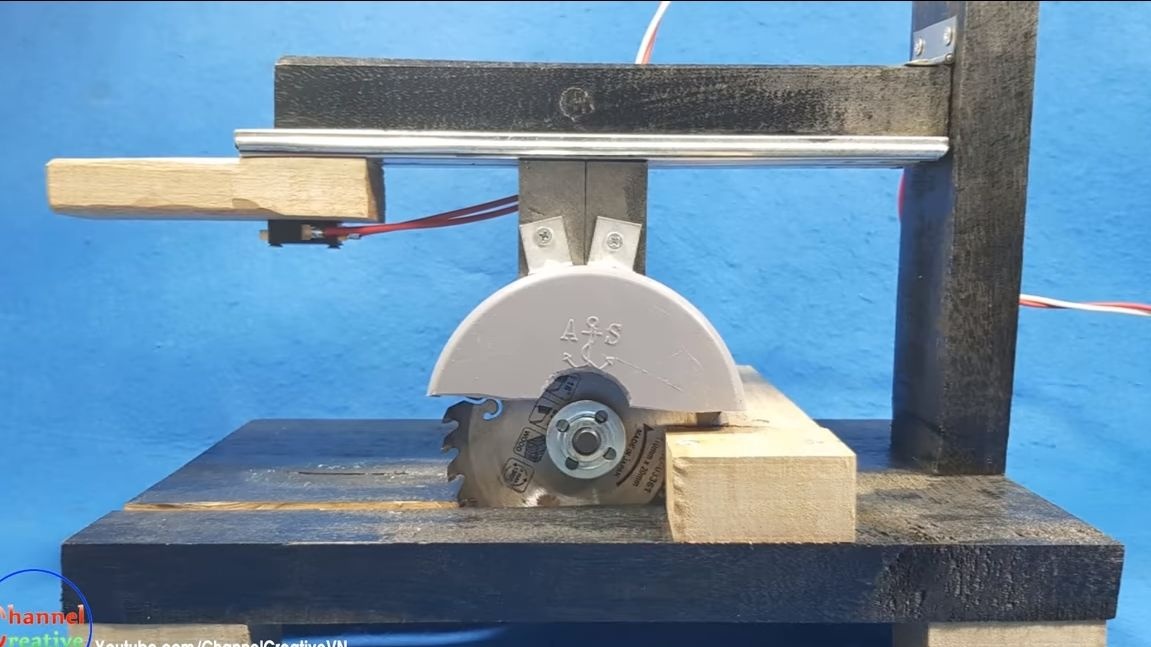
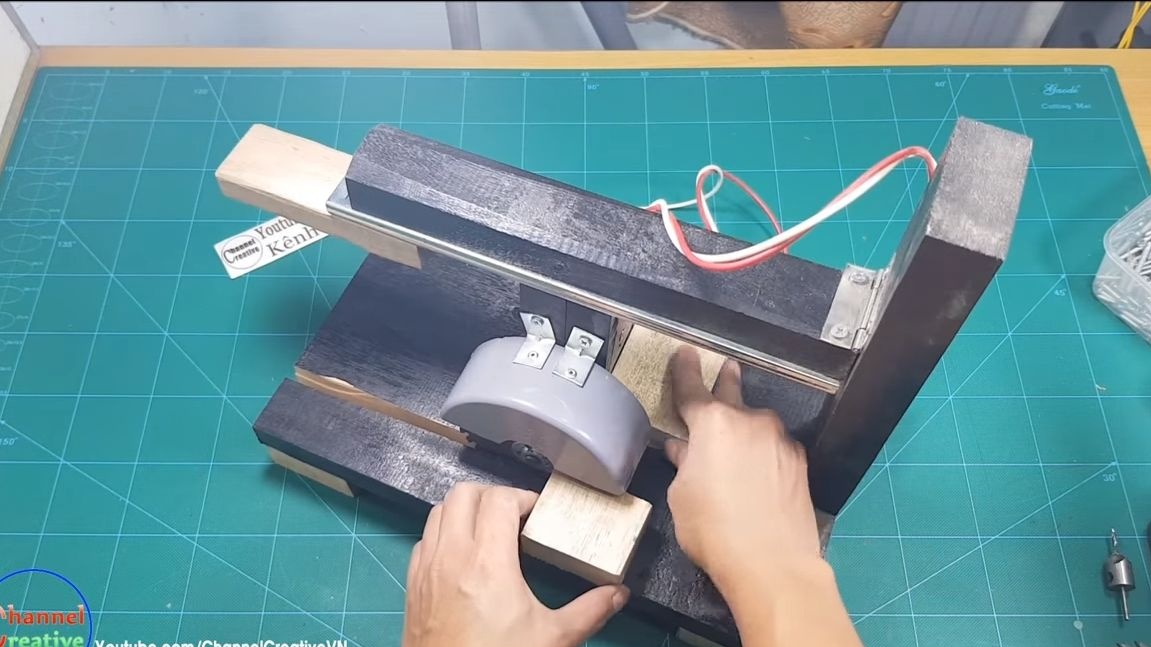
Hello everyone, in this instruction we will look at how do it yourself make a mitral saw. But in addition to the fact that the cutting knife will lower in the vertical direction, it can also be controlled in the horizontal direction due to the fact that the motor is mounted on the slider. Thanks to this solution, the functionality of the tool is greatly expanded. The design is quite simple, the frame is made of wood. Assembly homemade also does not require any special skills and tools.
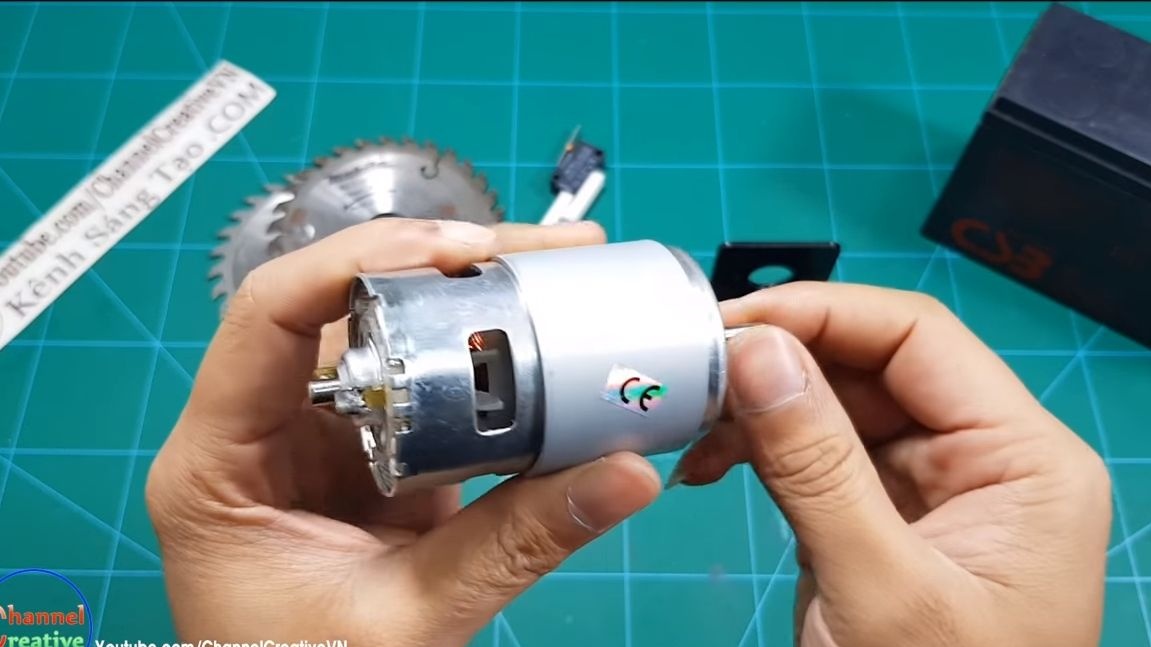
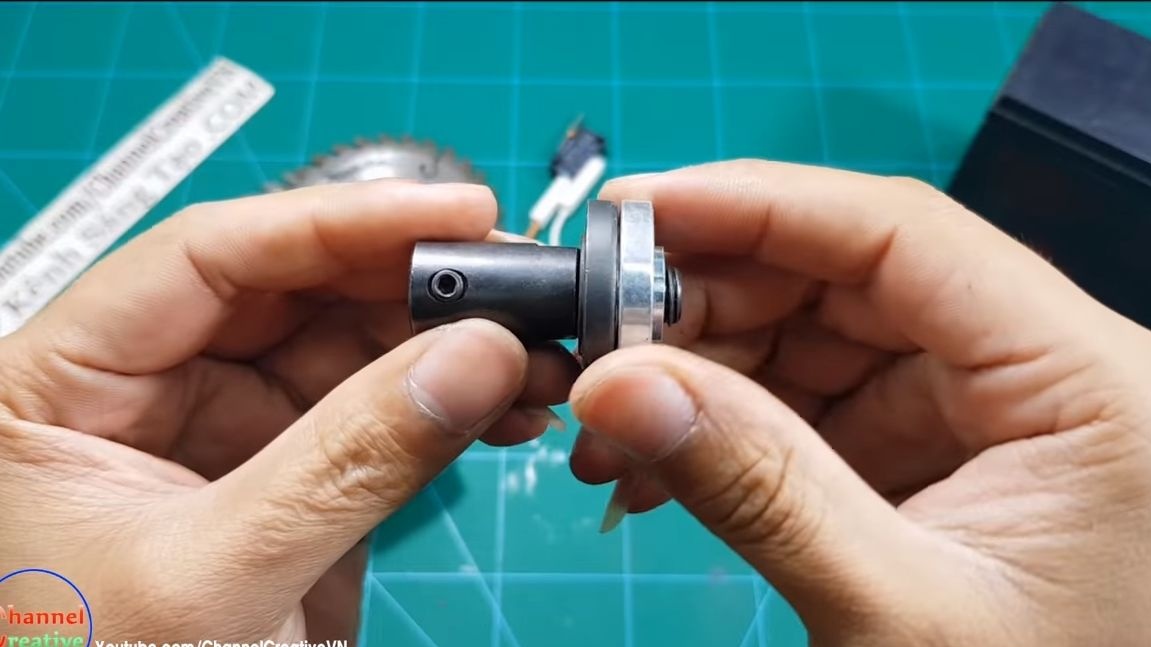
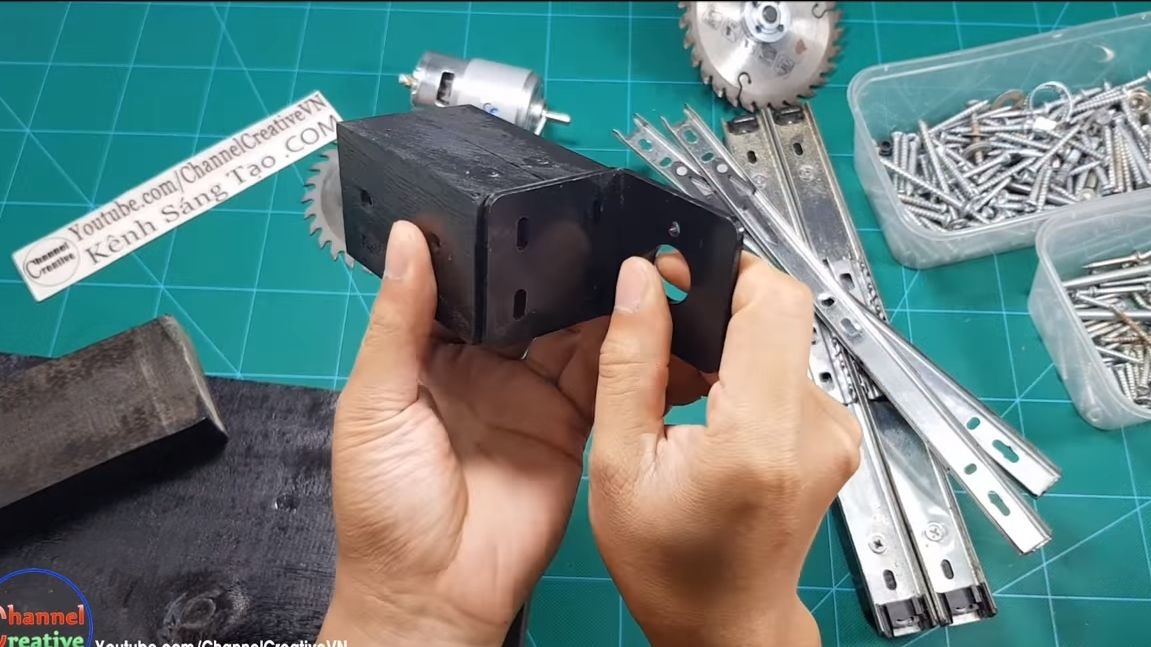
As a power device, we will use the 775 12V engine. These motors are quite powerful, but are relatively inexpensive, their power is within 150 watts. Such engines are commonly used in the manufacture of home-made machines. To install the desired nozzle on the motor, in our case it is a cutting disc, you will need a special adapter, after installing which you will get a mini-grinder. Since the engine power is low compared to a circular saw, it is quite safe to use such a homemade product at home, if you follow safety precautions, of course. So, we begin to manufacture.
Materials and tools used by the author:
Material List:
- ;
-
- ;
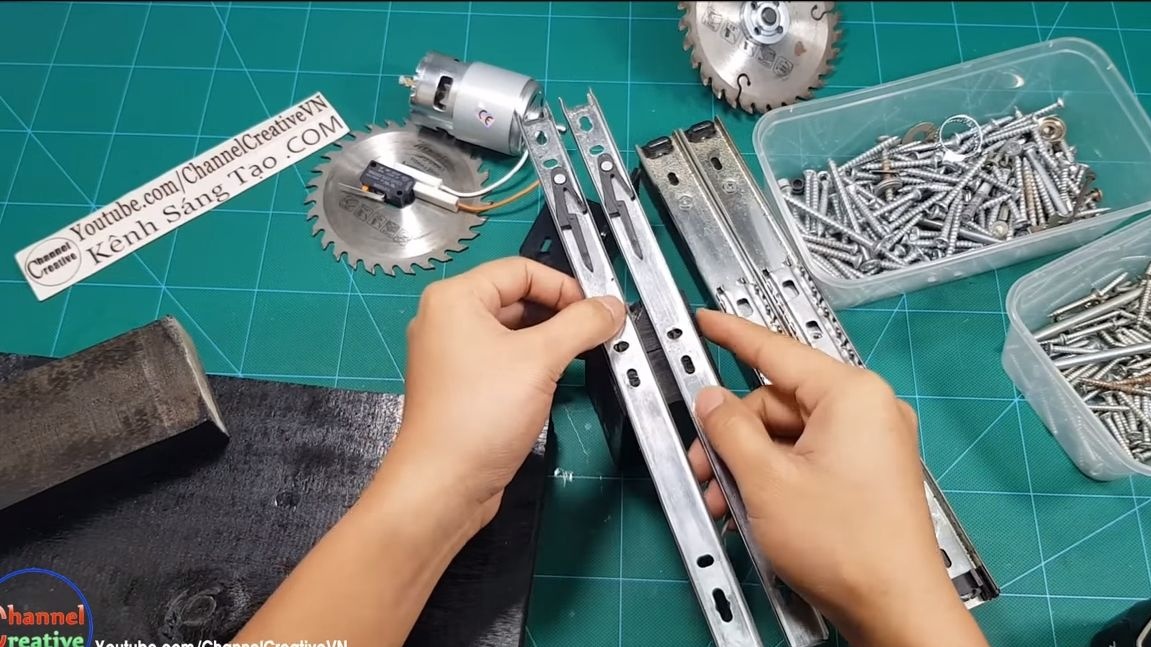
- two furniture sliders;
- fixing corners;
- self-tapping screws;
- a cap for a PVC pipe of a suitable size (under the shield);
- bars and boards;
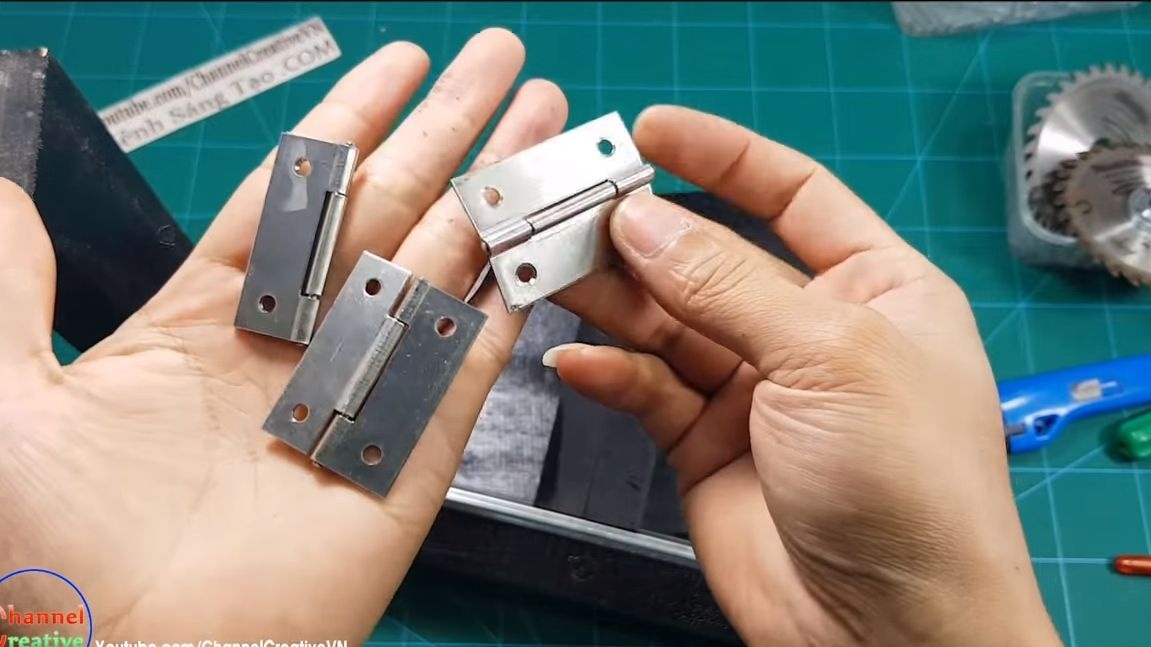
- door hinge;
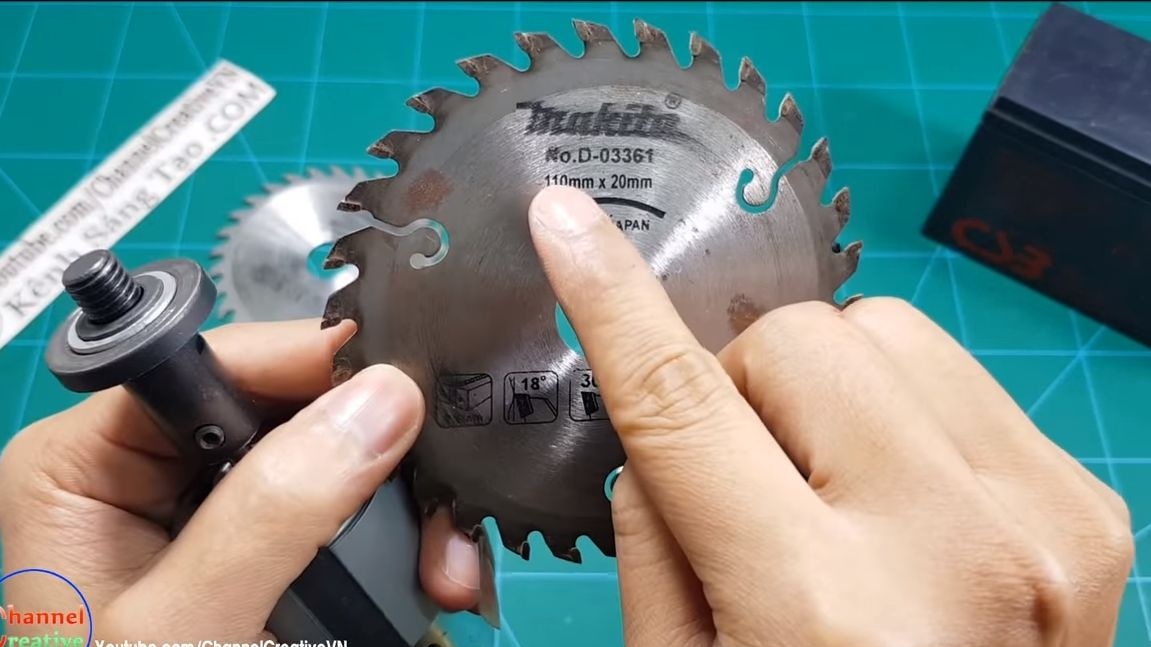
- disc 110/20 mm;
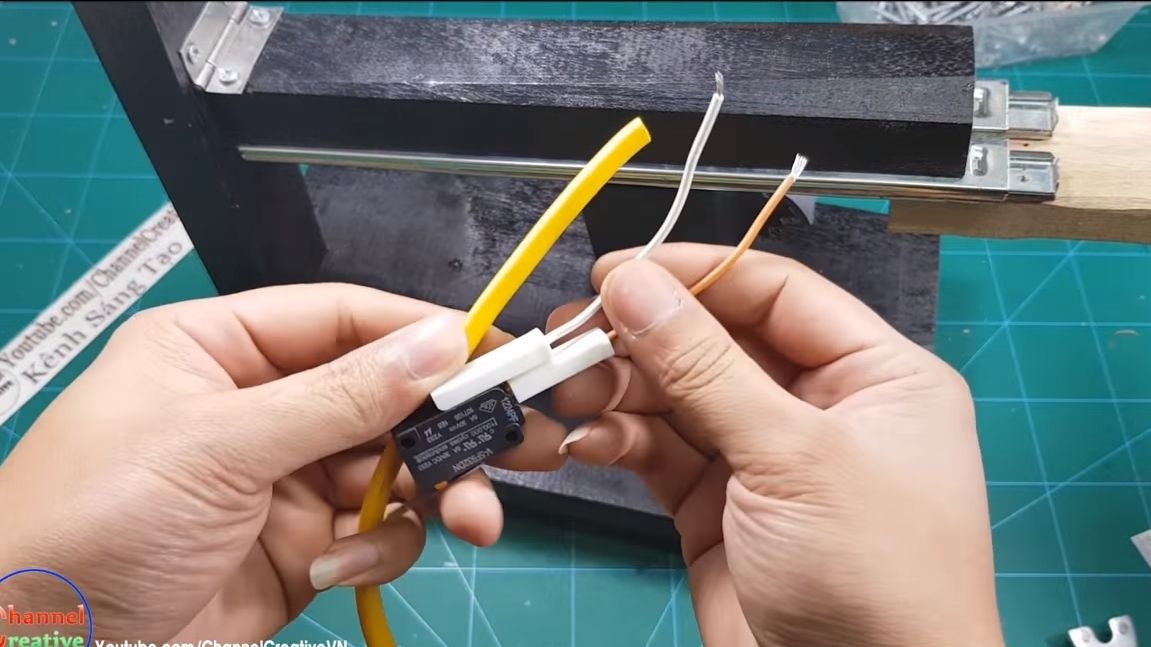
- keyboard switch;
- wires;
- 12V power supply.

Tool List:
- a hacksaw;
- drill;
- screwdriver;
- a hacksaw for metal;
- rivet gun (optional);
- soldering iron.
Getting to the manufacture of saws:
Step one. Component preparation
First you need to find two furniture slider if you have not bought them. They can be found for free in the old of furniture.
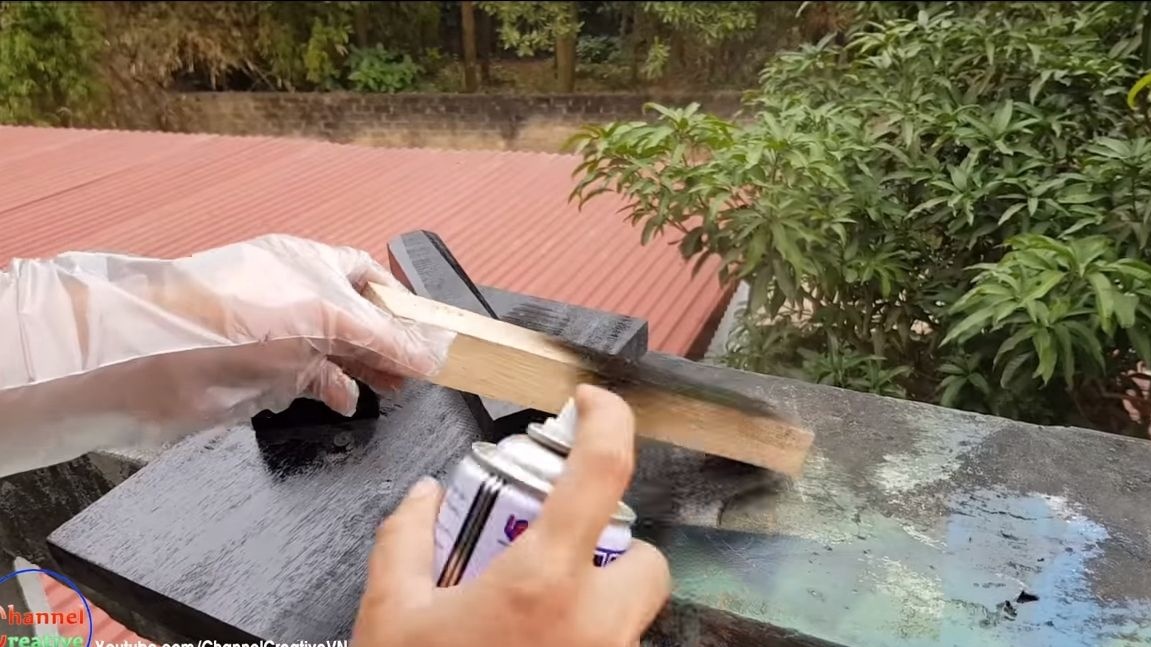
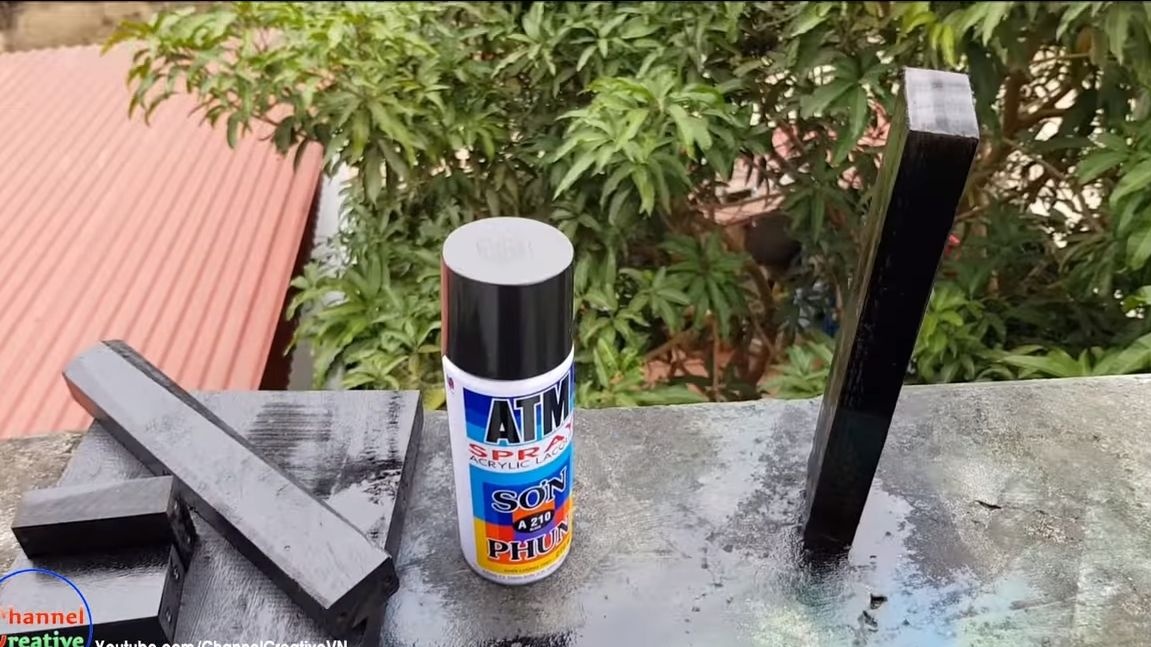
You also need to prepare parts for the manufacture of the frame, here you will need a piece of board as a basis, as well as wooden bars. The author paints the blanks in black using a spray can.
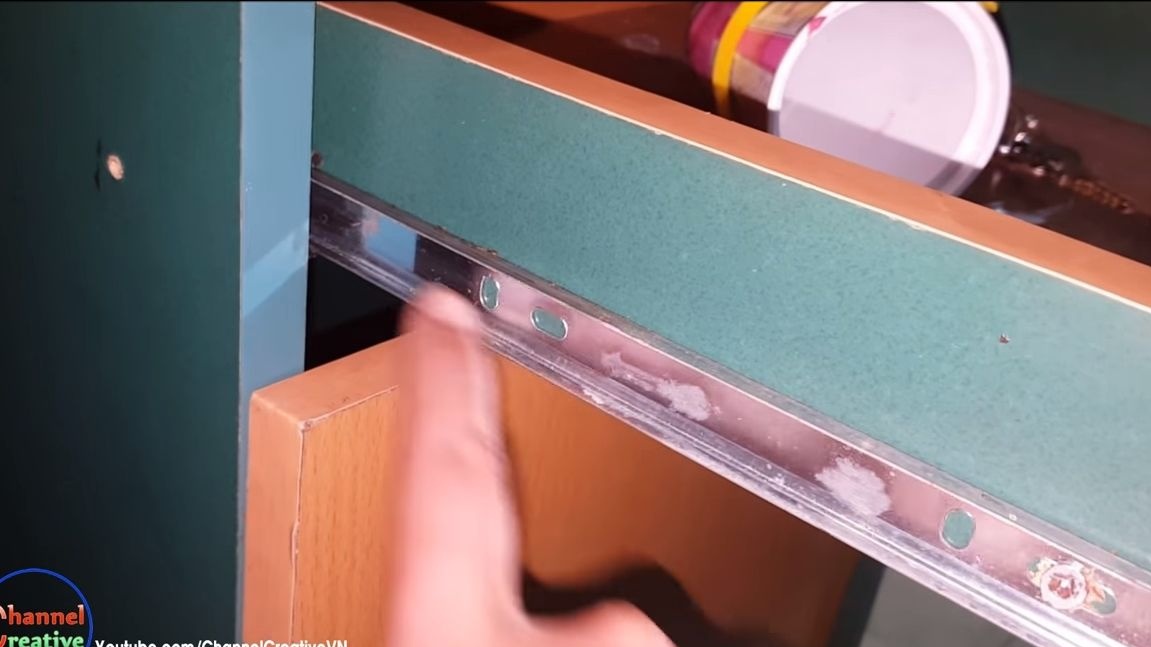

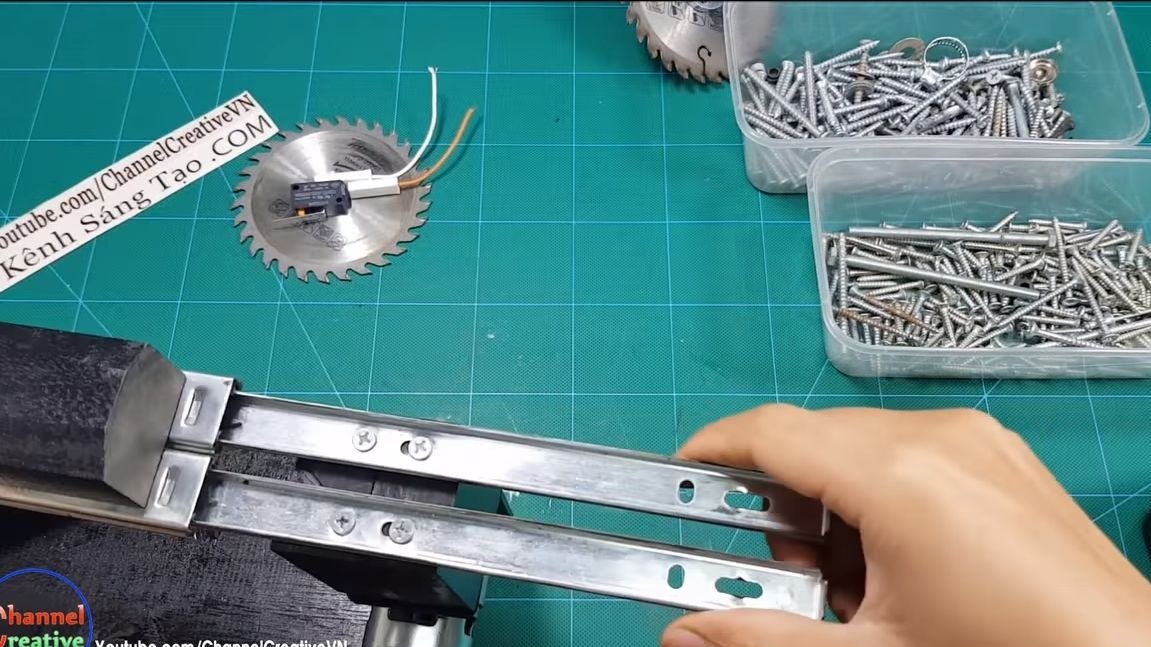
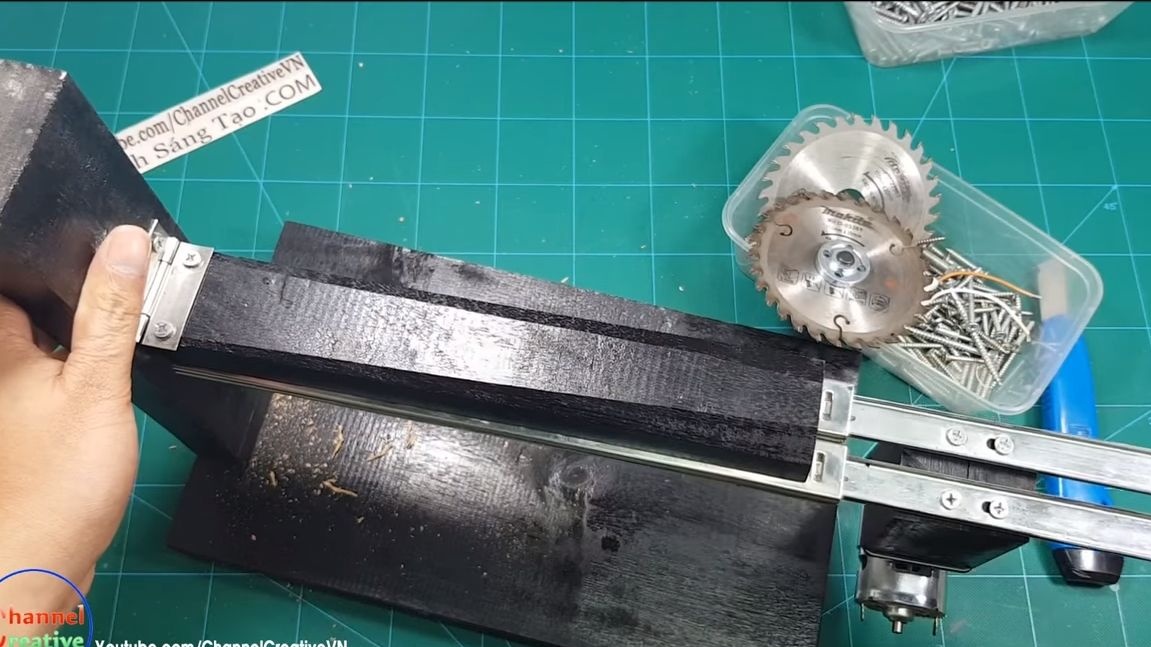
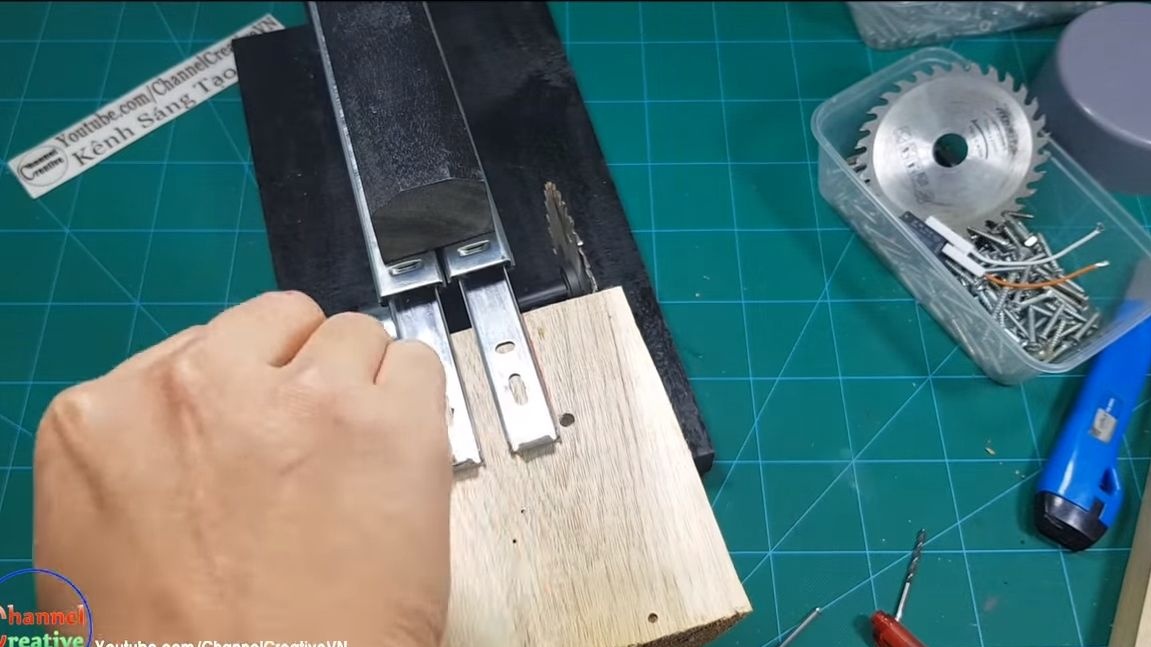
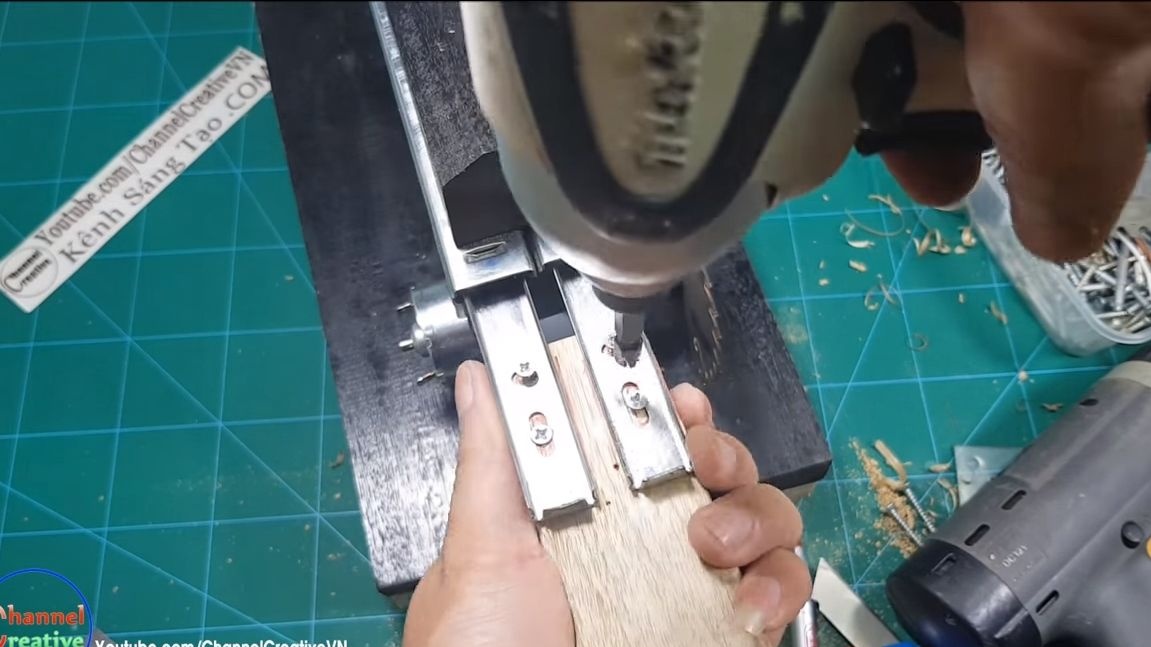
Step Two Install Sliders
Take the sliders and screw them with the screws to the horizontal guide, in our case it is a wooden block.
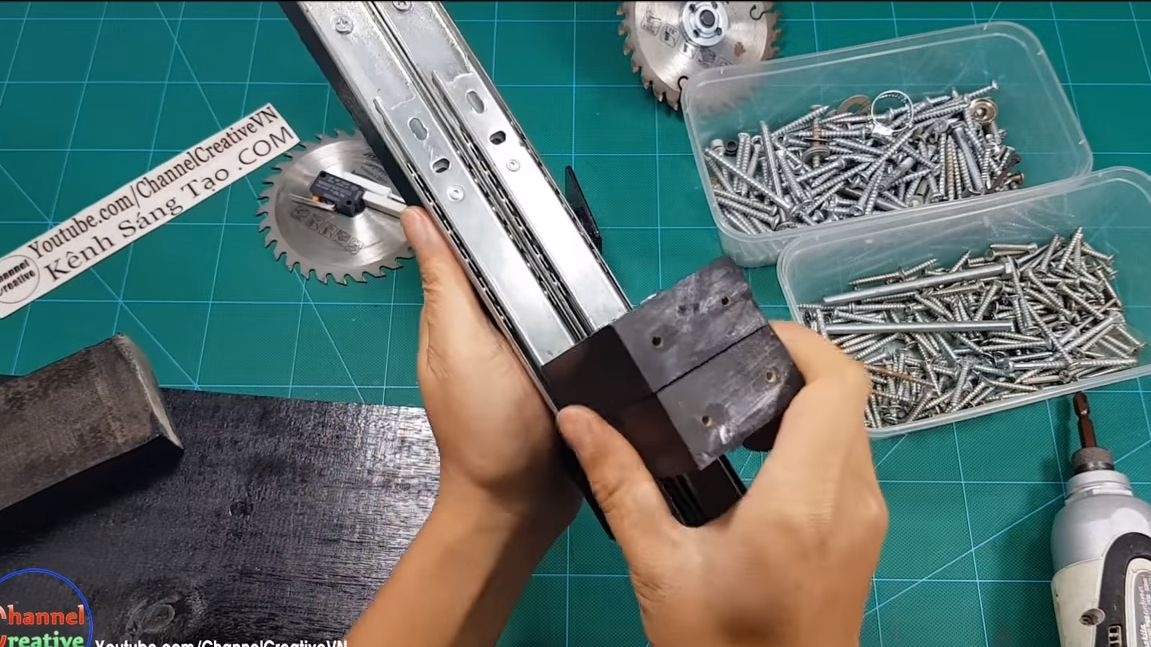
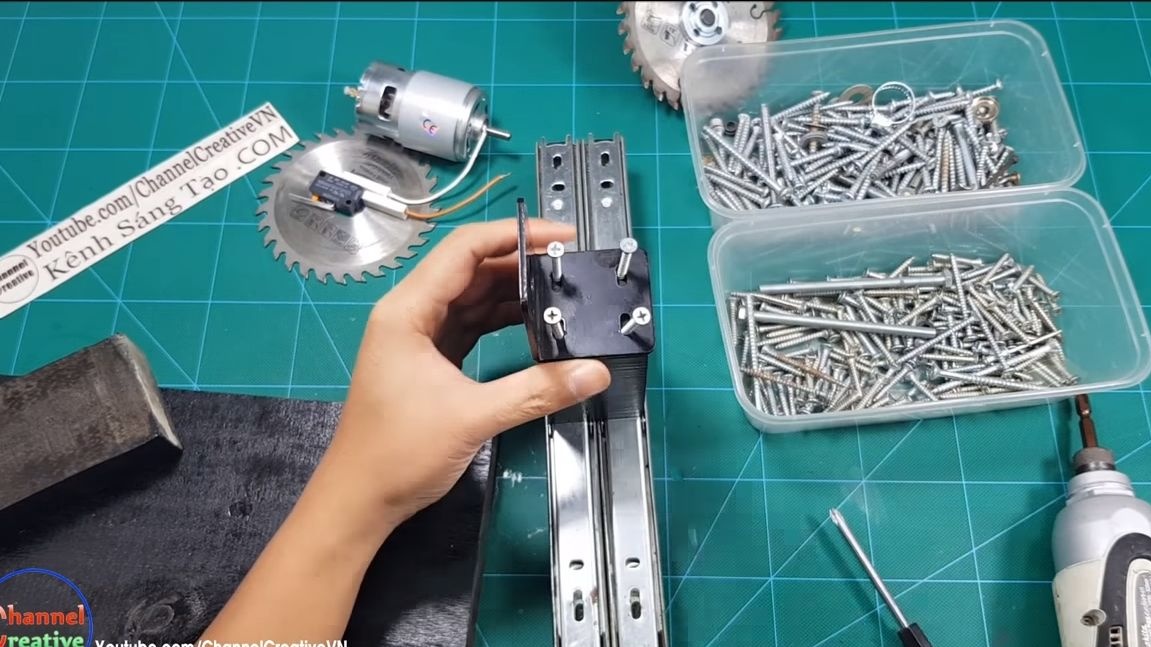
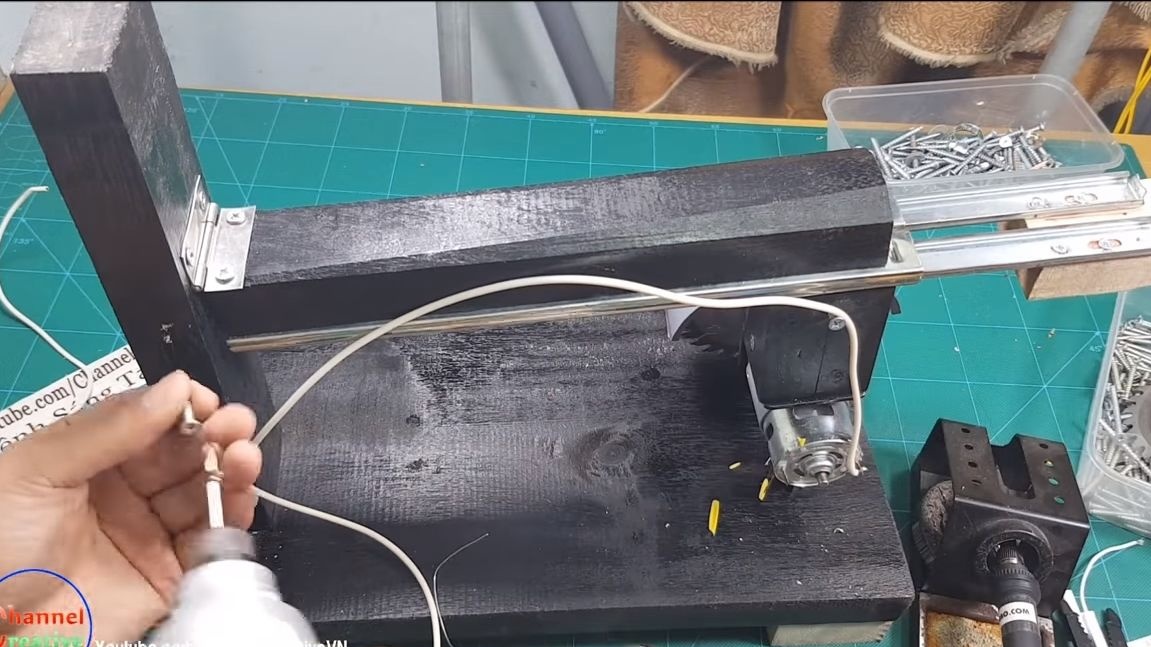
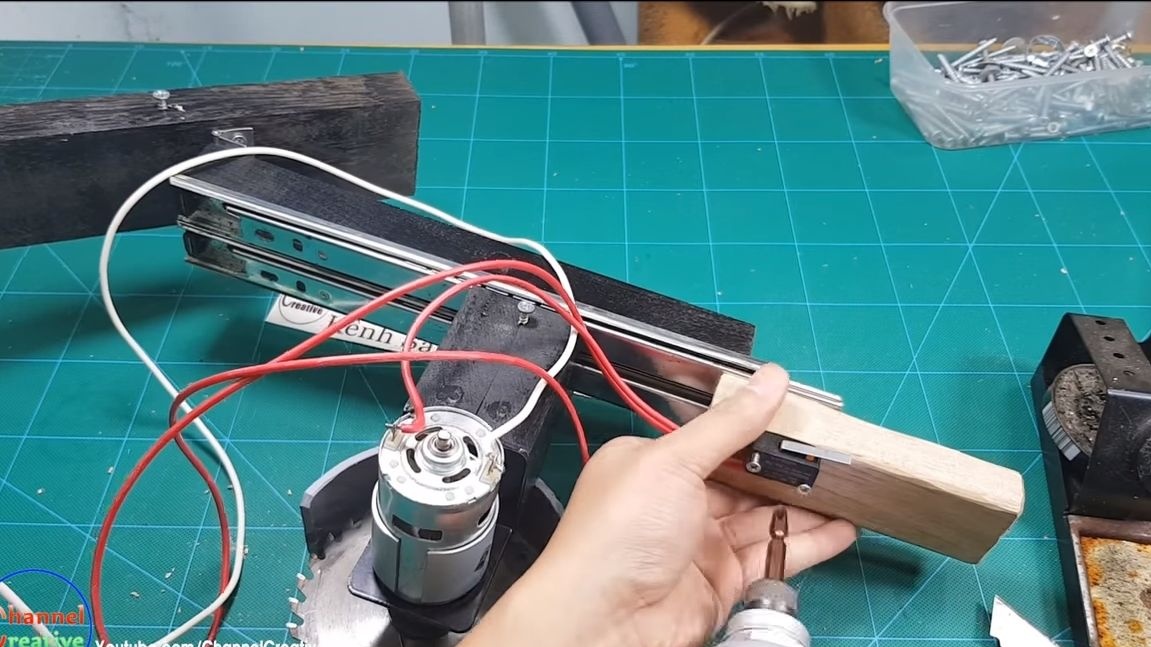
We also fasten a block to the other half of the sliders, and in our case there are two of them, connected together, to which the engine is then attached. To mount the engine, the author used a special bracket under it. That's all, with such simple manipulations we already got a horizontal guide with an engine mounted on the sliders.

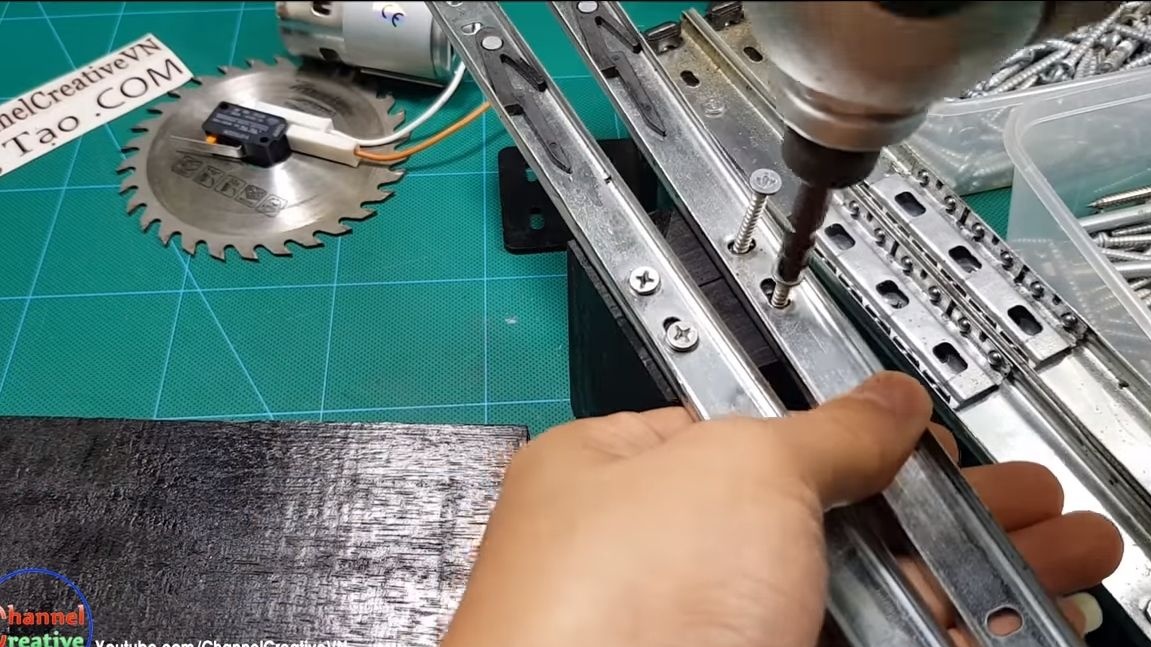
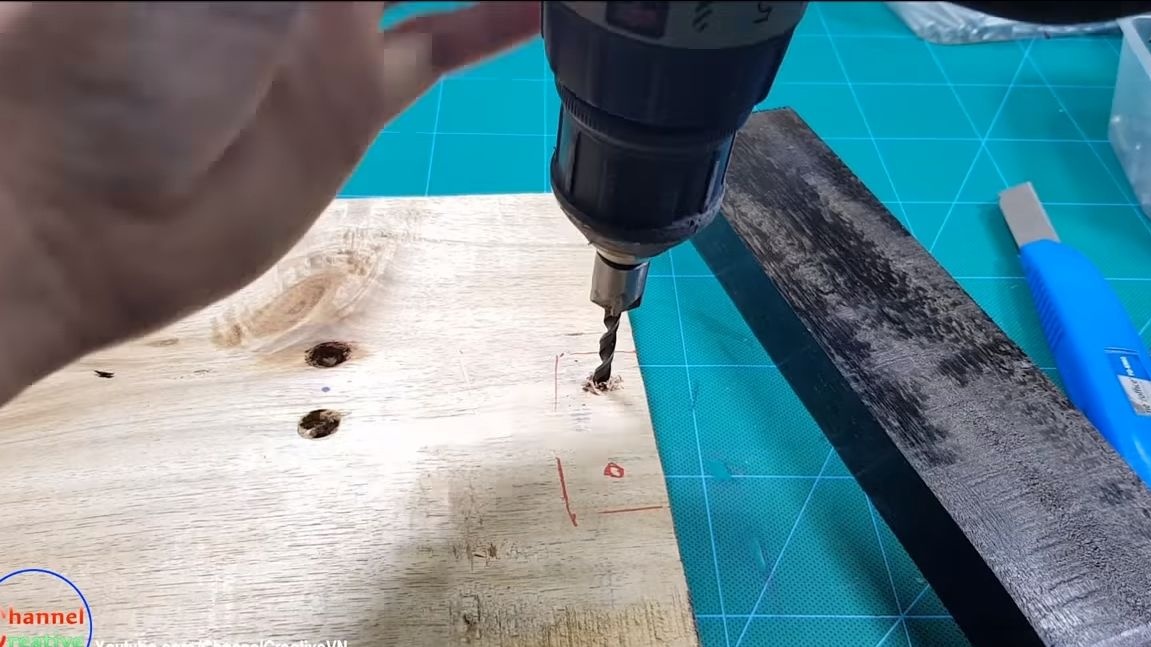
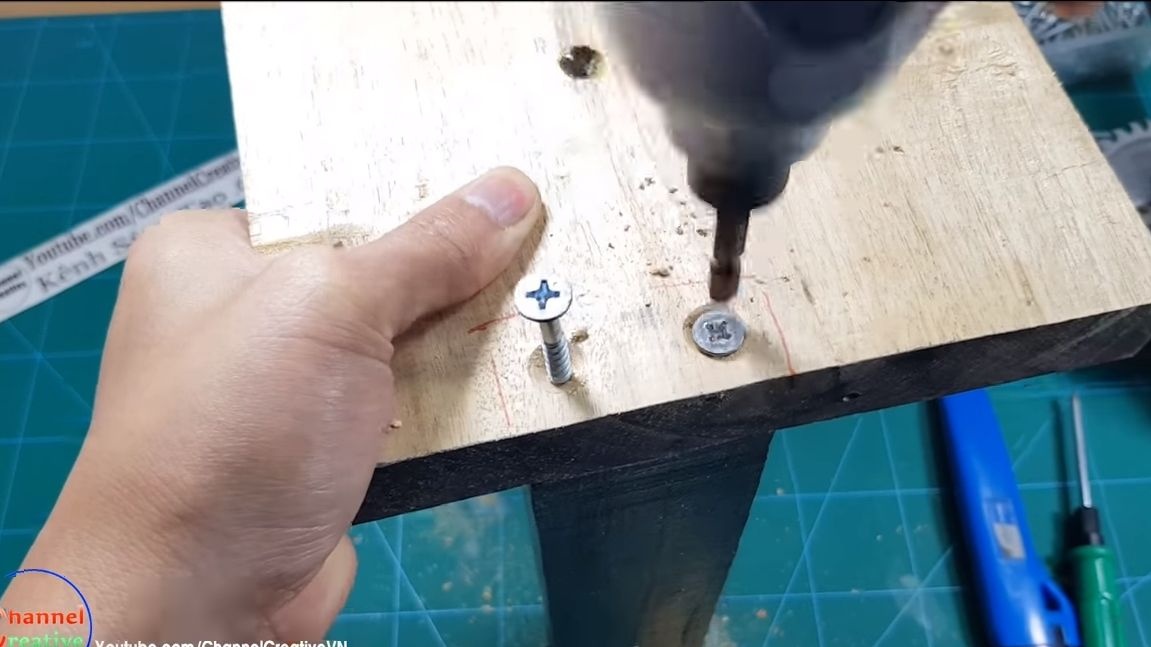
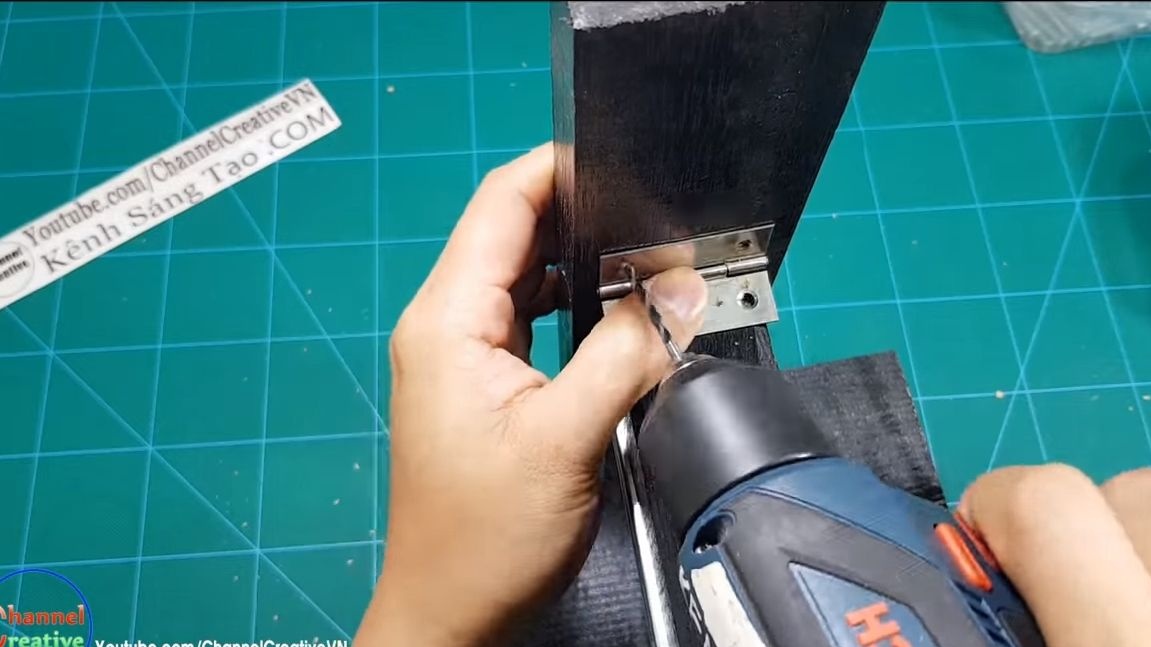
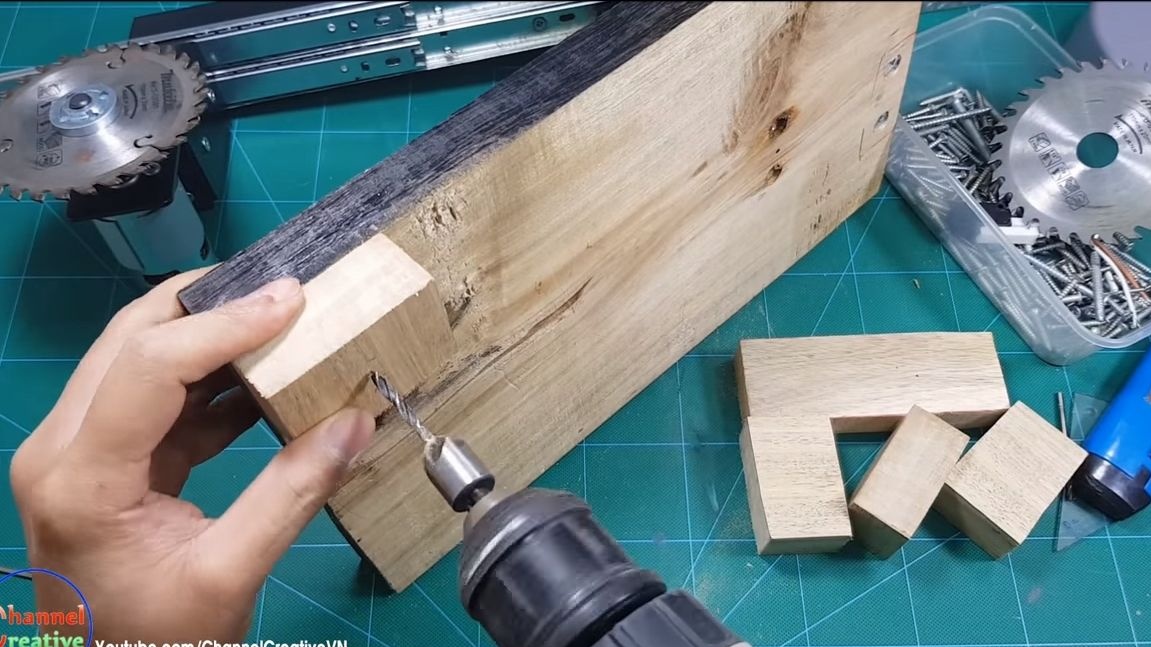
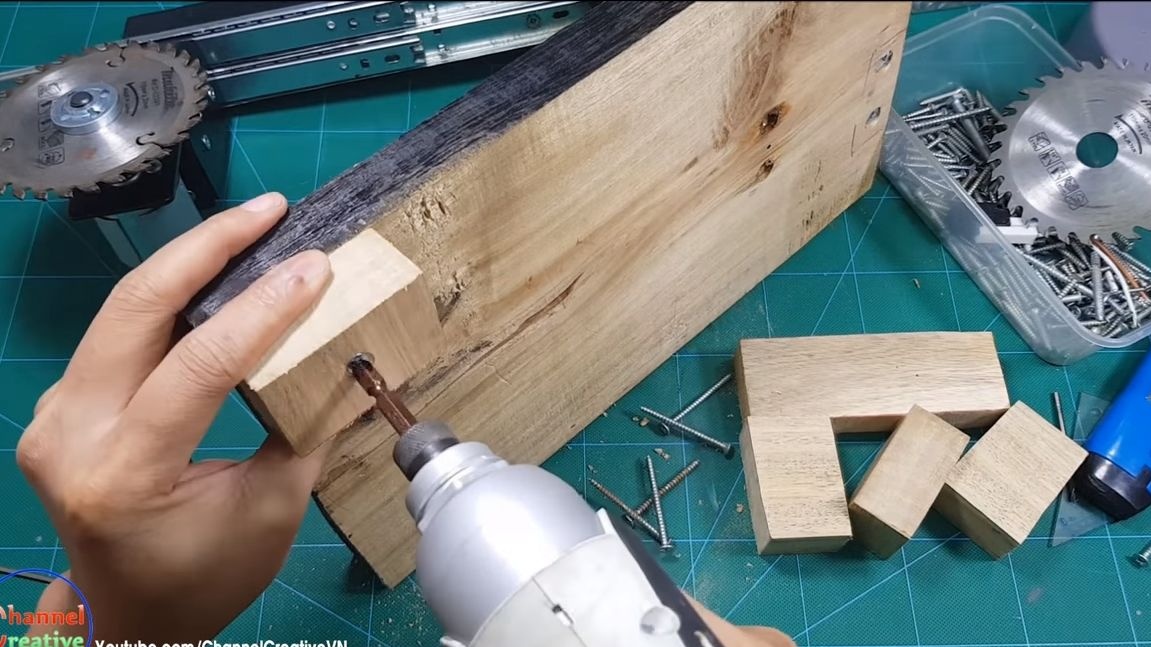
Step Three We fasten a vertical rack
To fix the vertical stand, we take a drill and drill holes. For fastening, we use genuine wood screws to keep everything tight. You can also apply glue to the joined parts.
Step Four We fix the horizontal guide
We fasten the horizontal guide so that it can rise and fall. Here you need a door hinge. We use screws for fastening.
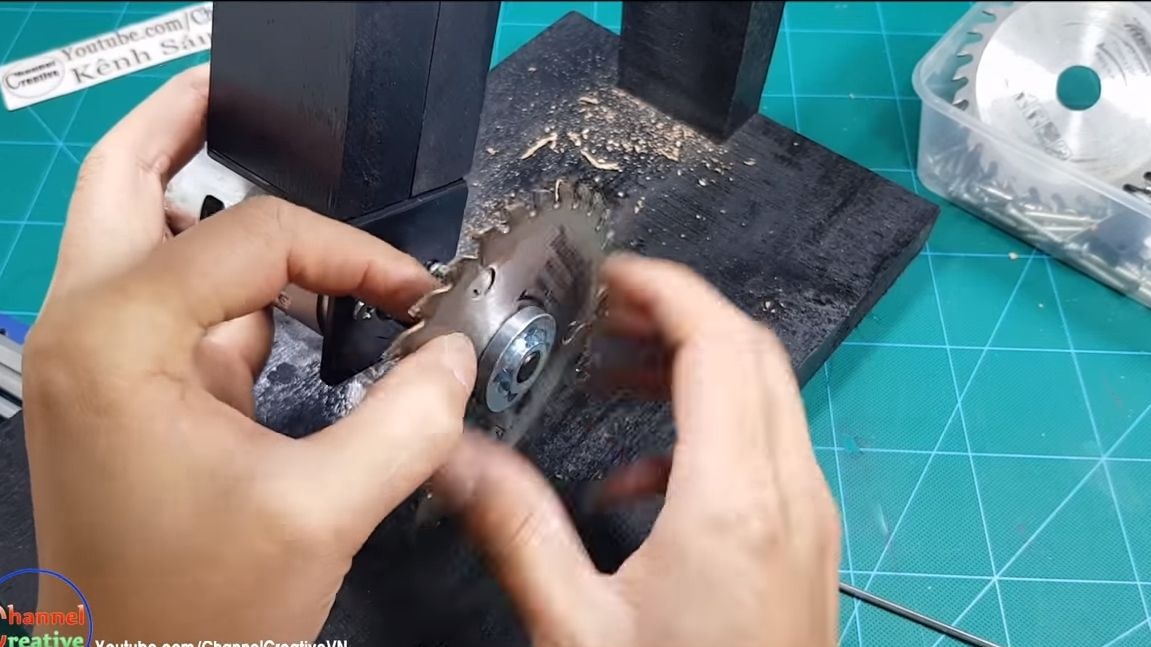
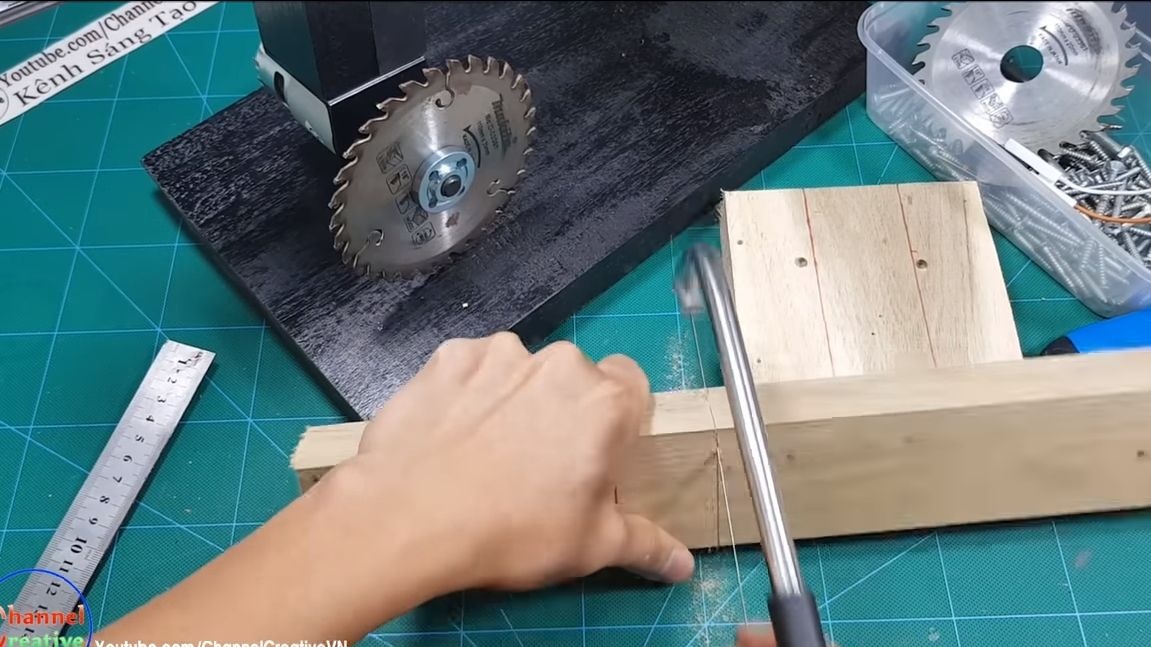
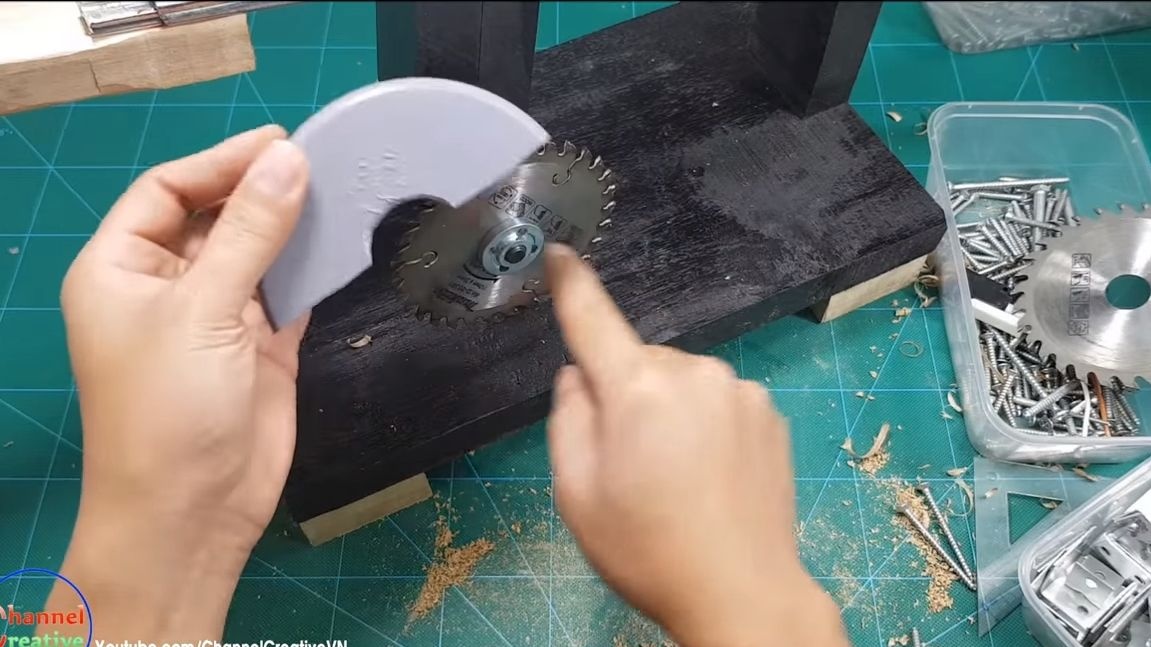
Step Five Installing a cutting disc
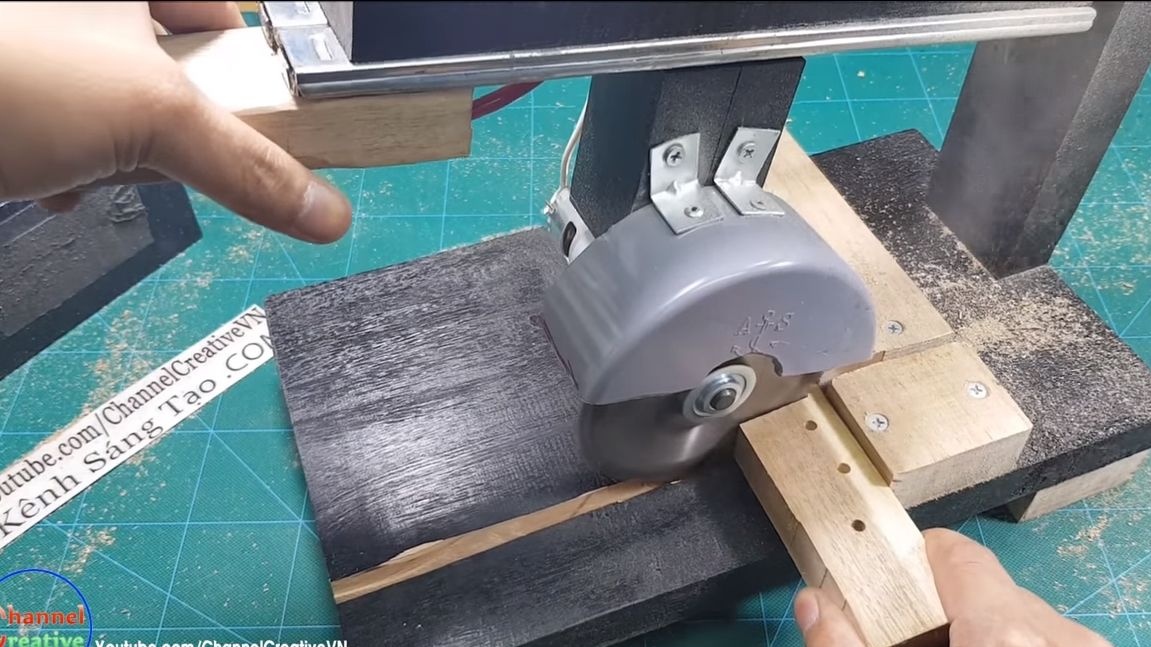
The cutting disc is attached simply, the adapter is installed first, it is screwed to the motor shaft with a few screws. Well, then on the adapter we set the cutting wheel, as on an ordinary grinder.
Step Six Fixing legs and handles
Screw the legs to the base so that the machine stands confidently. Suits are suitable as legs, we fasten them with screws.
Screw the handle to the sliders in the same way for convenient handling of the machine.

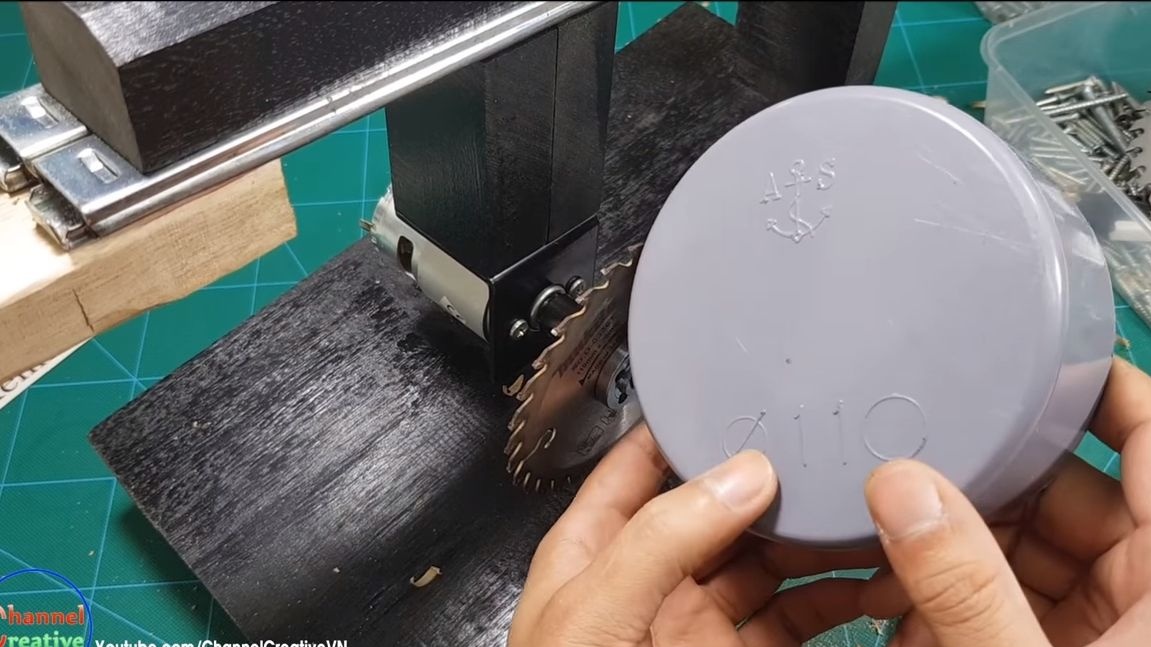
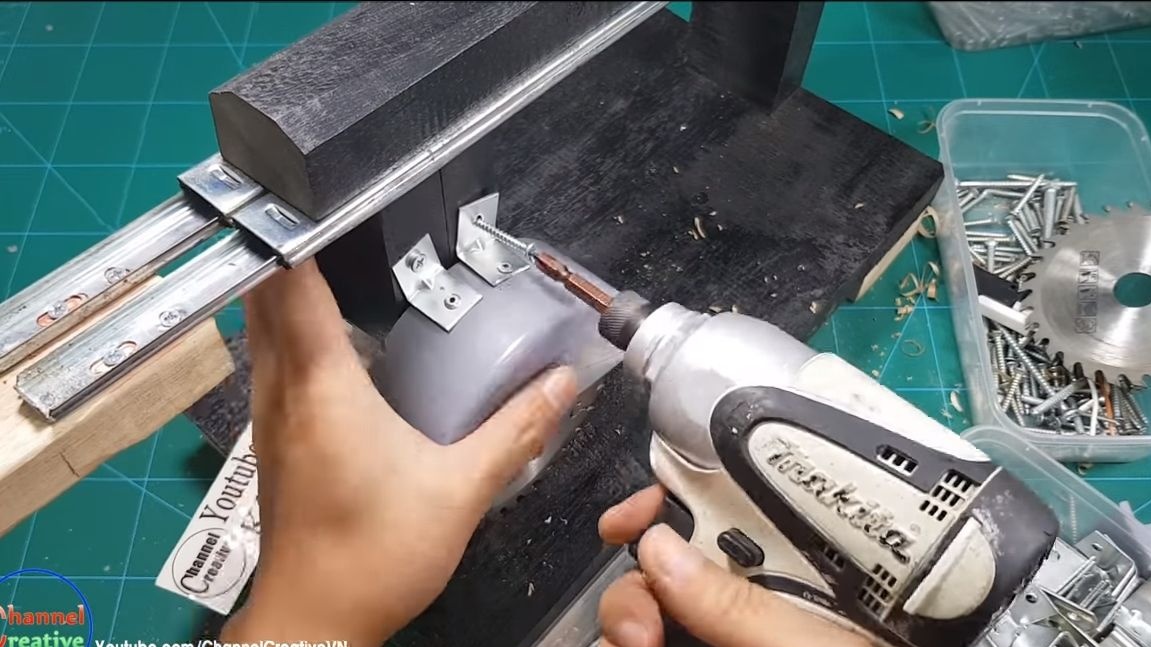
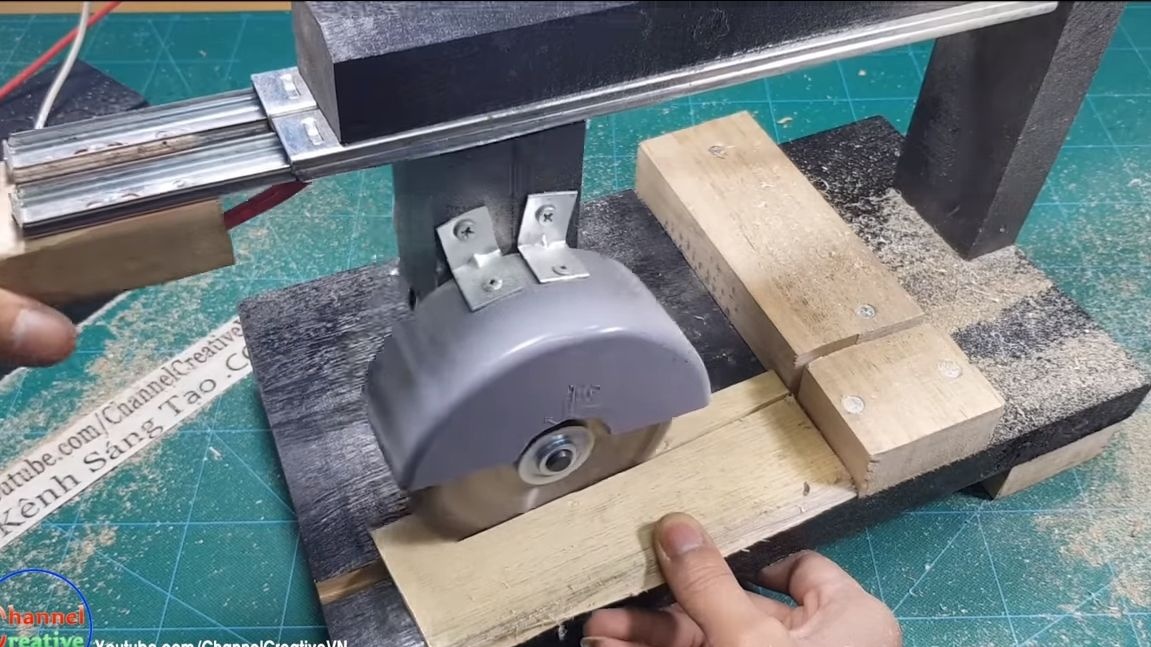
Seventh step. We make and fasten a guard
The protective shield is a very important element of the machine, as it protects the worker from sawdust that will fly into the eyes. A plug for PVC pipes of size 110 is best suited for the manufacture of the flap. From it, cut the flap with a hacksaw and fasten the corners for fastening with rivets or screws.
As a result, we fasten the shield to the machine, using screws for wood.
Step Eight. Wiring
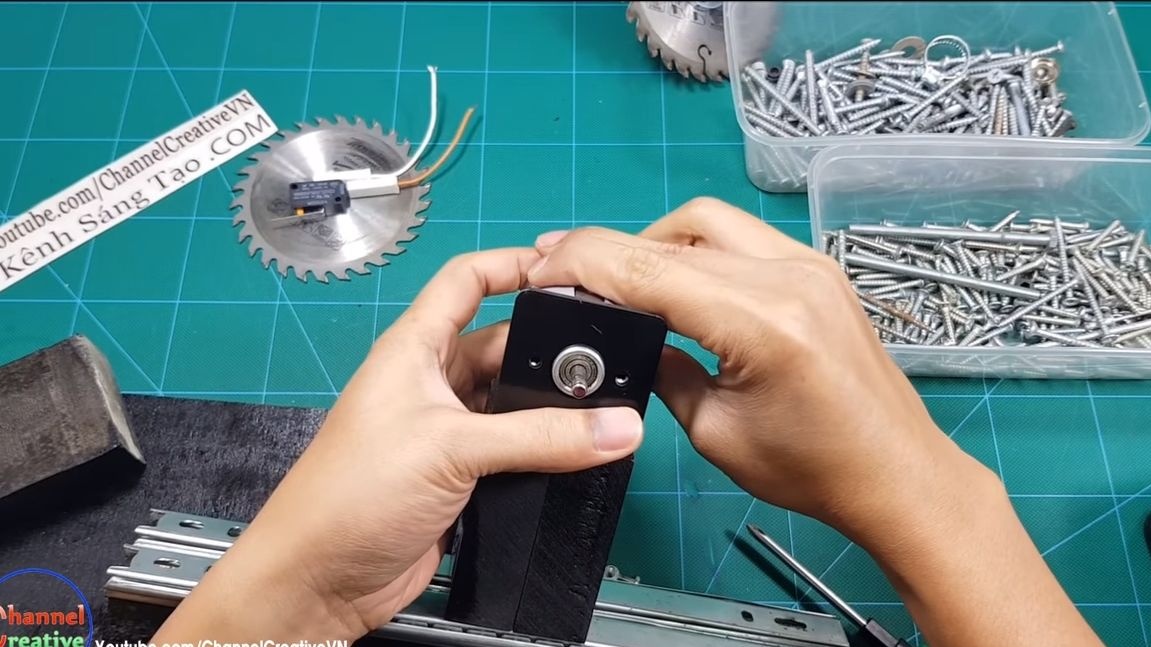
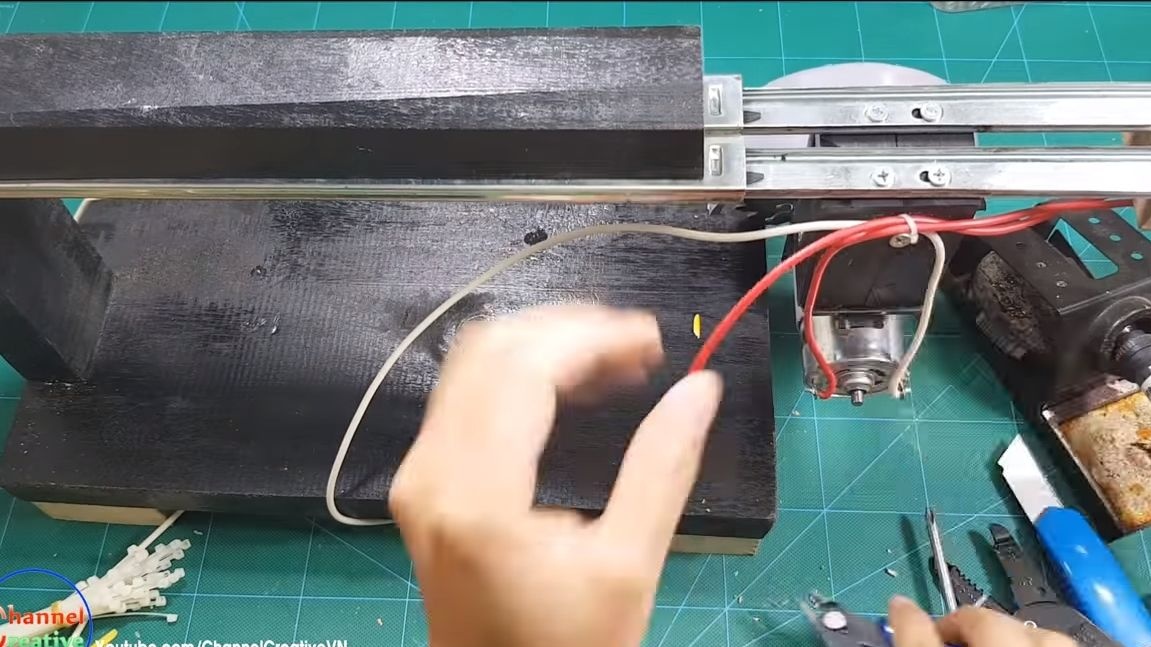
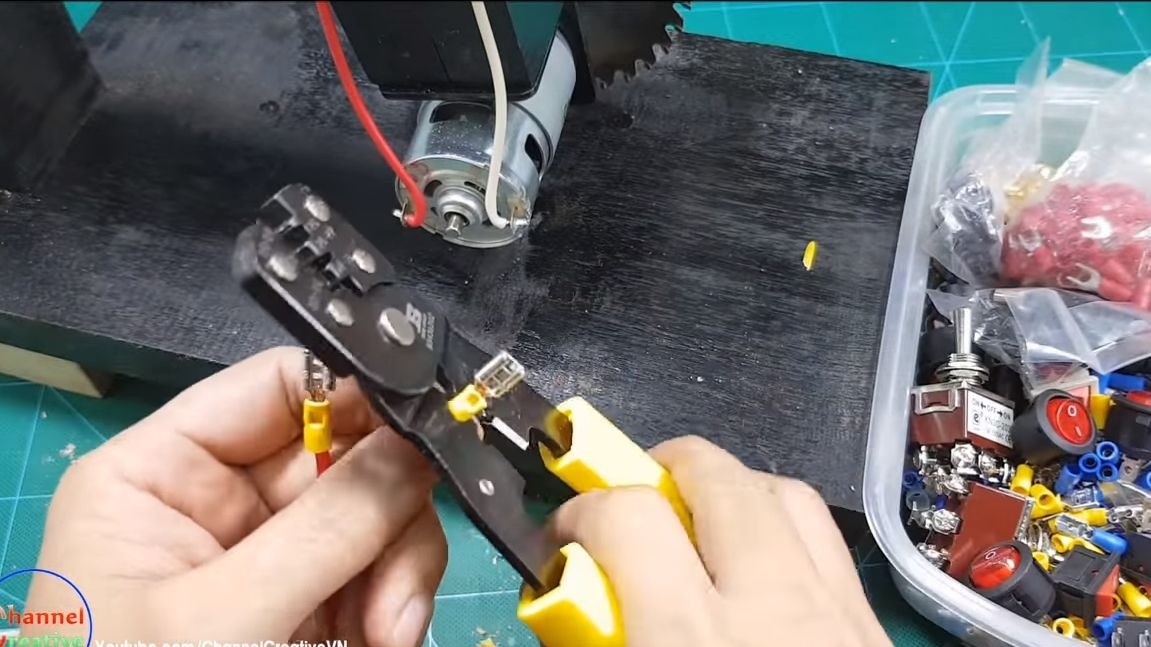
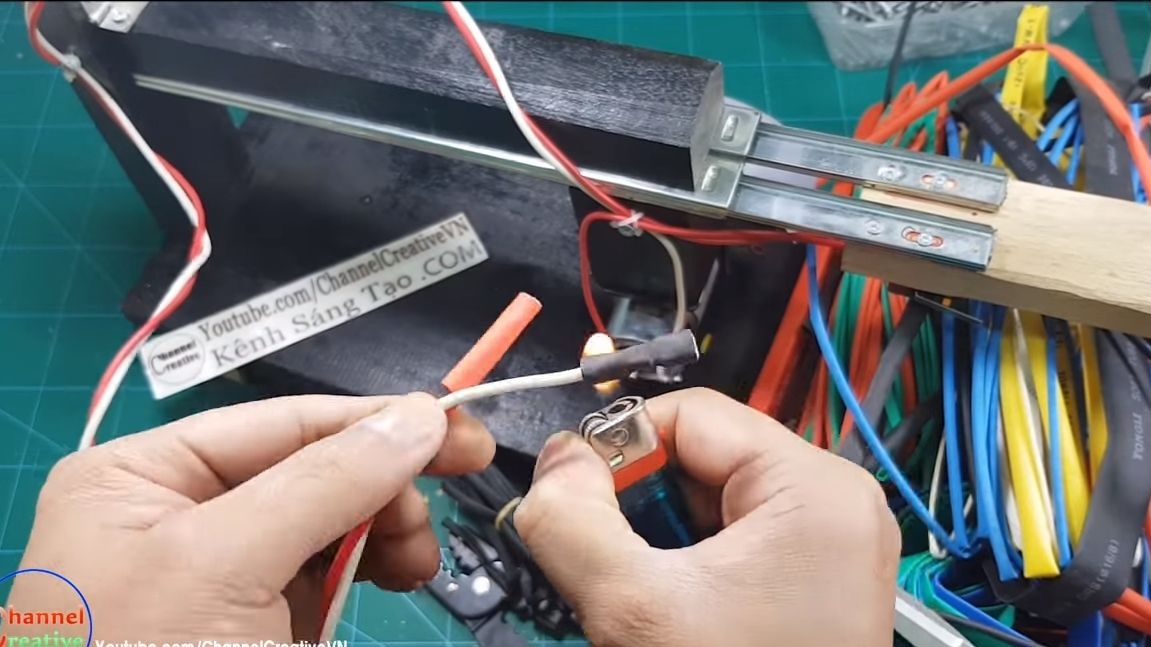
Solder the wires to the engine, and install the key switch on the handle. To fix the wires, the author screwed the screws into the frame, and then attached the wires to them with plastic ties. We install terminals on the ends of the wires for convenient connection of a power supply or battery.


Step Nine. Finishing touches
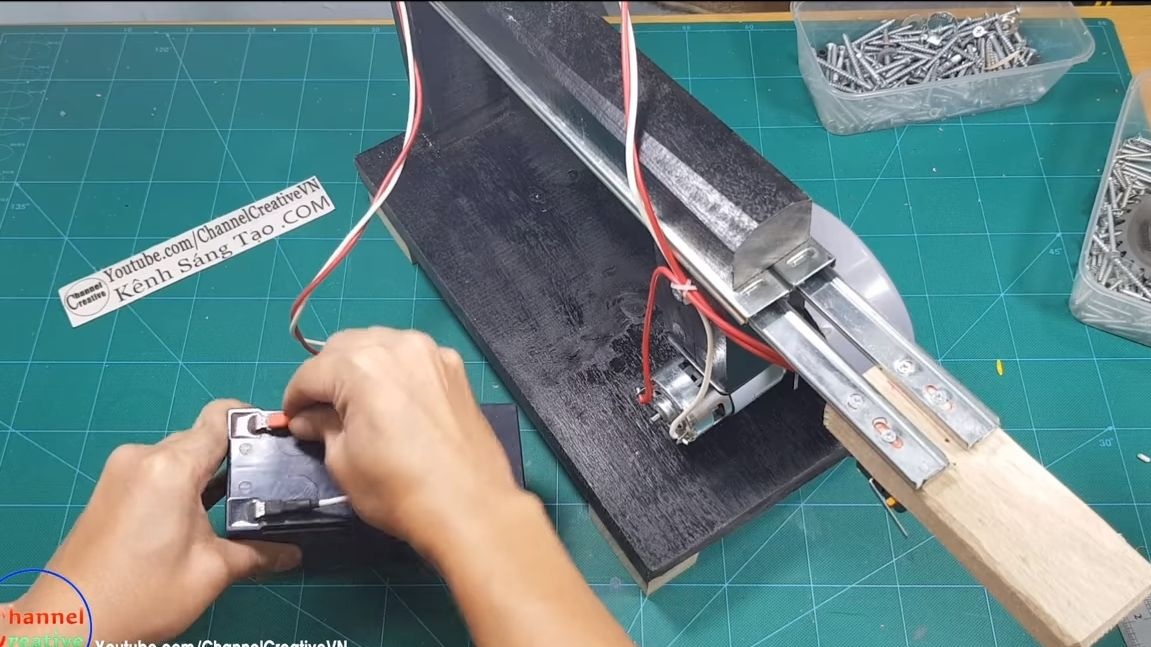
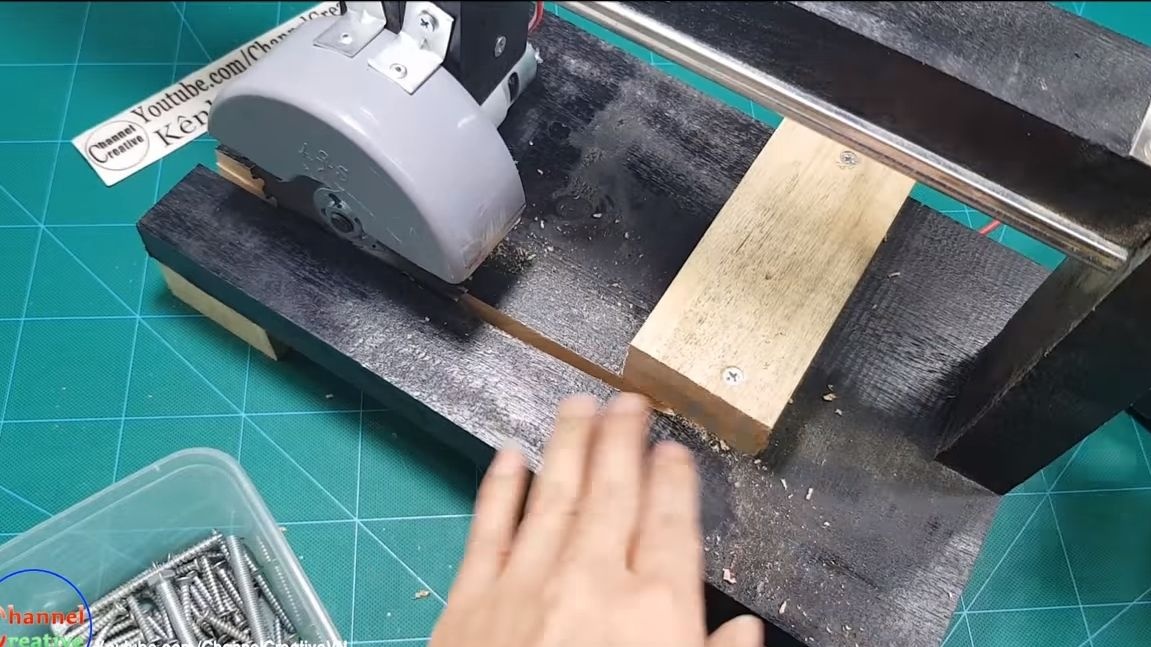
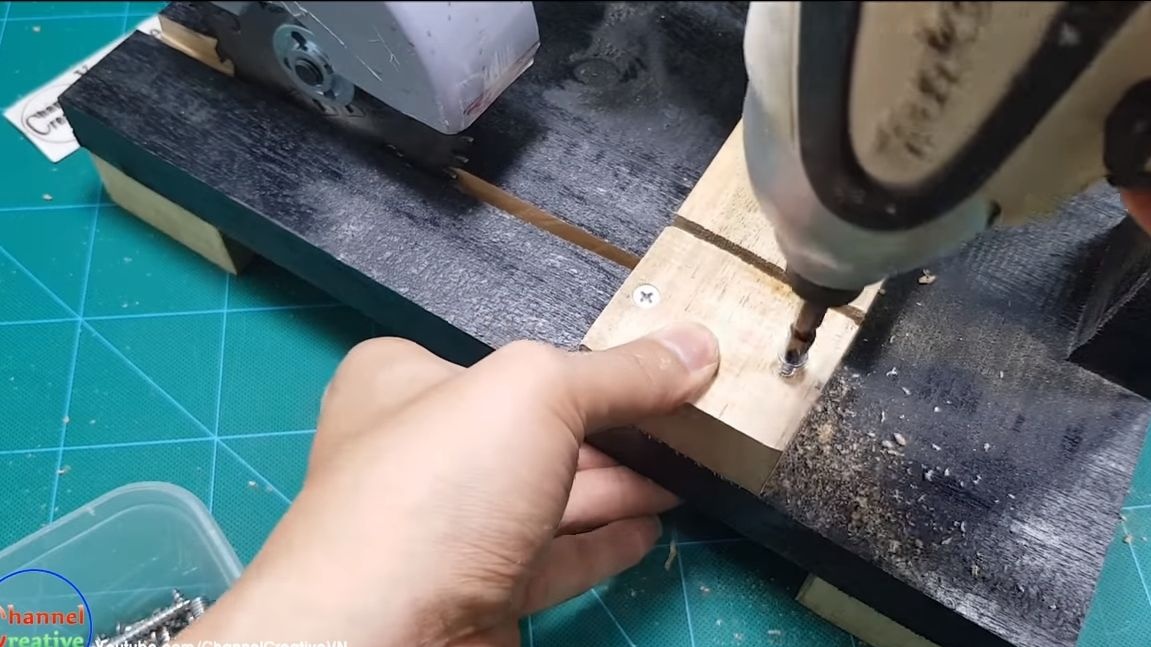
We connect the machine to the battery, we correctly determine the polarity, when cutting sawdust should fly forward from you. Cut the groove in the base into which the knife will go when cutting. In the end, you will only have to set the stops on the base. We take whetstones, cut and fasten with screws.

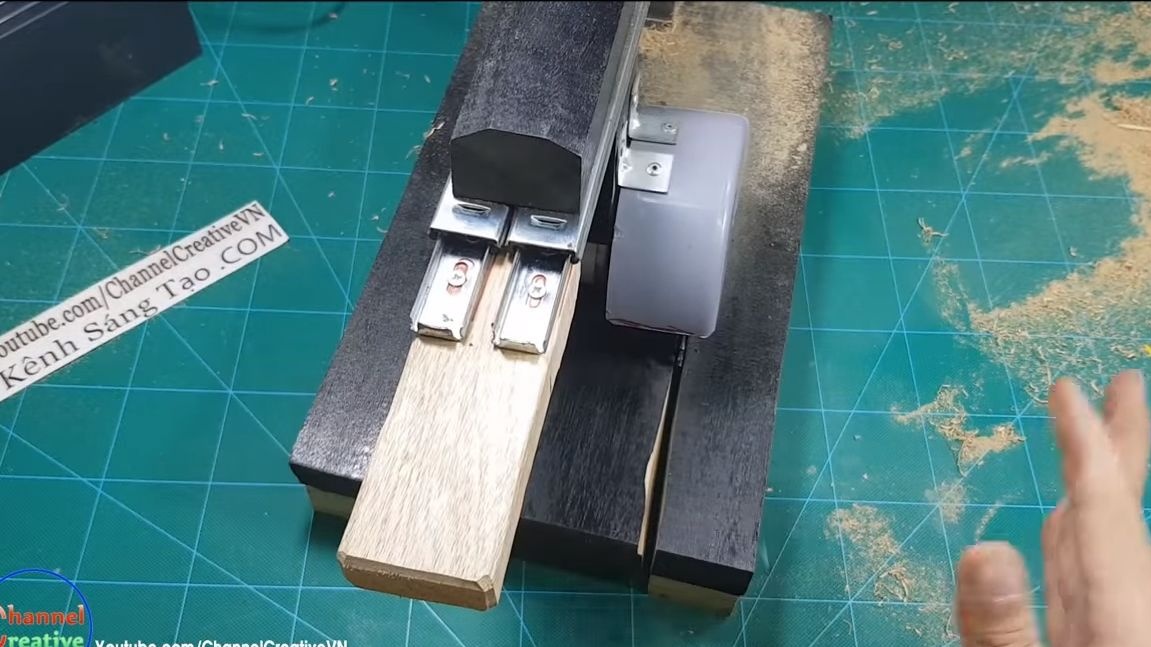

That's all, the machine is ready! As an experiment, the author perfectly cuts boards, boards, PVC pipes and more. Engine power is enough for continuous cutting of such things, the disk does not stop. Of course, the cutting disc should be sharp. I hope you enjoyed the project. Good luck and inspiration in the manufacture of their homemade products!