

Most of the time I live in a city apartment. In the basement under the nine-story building I have a workshop where I do my hobby - homemade. There I can do everything except welding work - firstly, there is a 10-amp automatic machine installed in the electrical panel, which can knock out when the electrode sticks (the electrician has the key to the shield). Secondly - fire safety! And thirdly (and most importantly) the ventilation there does not allow welding.
Therefore, in order to perform welding work, I go to the country, or to a private house. And since I always have little time, then most often, after work, I drop into the basement, grab everything I need, and go ...
I use this welding inverter "Gerard-MMA200".

He has been serving me faithfully for many years. It was stored in my “native” box. But the trouble with all factory packaging, as you know, is that once you get its contents, it is almost impossible to put everything back! )))). Fortunately, the welder’s “souvenir” shield was supplied with the device! Without it, the device fit easily .... But only he!
And so, I came to the country. I lay out the tool in anticipation of an interesting work ....
...... And then it turns out that I forgot the mask !!! ...
Another time I took both a mask and welding .... but forgot the electrodes ...
Next time - I took everything except for cutting wheels ...))))).
These events gave me the idea to make a box where the whole set would fit - a welding machine, mask, wires, electrodes, clamps, a hammer .... In short, to grab one box, throw it into the car - and forget nothing! )))))
And I began to think, what would I do such a thing! My choice fell on such a 30-liter canister, of which I have a lot:
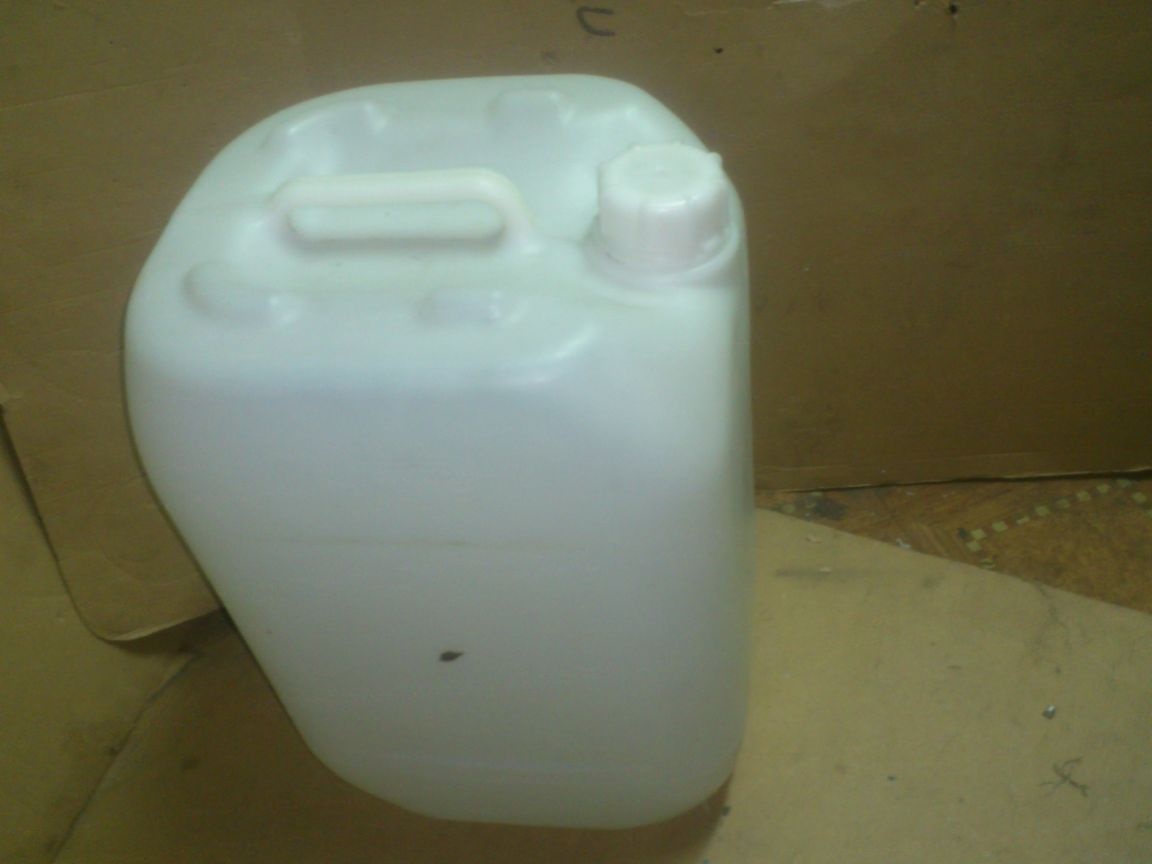
Having estimated, I came to the conclusion that I just needed such a volume. (To be honest, it’s not the canister that went under the knife. I just forgot to take the one I cut.))))
As a result, I got a box that you can see in this video (it was shot "crookedly, but excuse me):
[media = https: //www.youtube.com/watch? v = y-dP-ZVniWc]
And now I will tell you in detail how I did it.
I needed:
1. Plastic canister 30 l.
2. Extraction rivets with a diameter of 4.8 mm of different lengths.
3. Loops 2 pcs.
4. Truncheon latches 2 pcs.
5. Strips of tin.
6. Trimming PVC pipes.
7. Trimming linoleum.
6. Washers M5 increased.
So, let's begin...
At first I wanted to make a horizontal layout. But, having thought, I came to the conclusion that, firstly, I will significantly lose the stiffness of the structure, and secondly, I’ll still be going to wear it by the handle (i.e., vertically), and therefore, it will be better if the instrument is laid will be produced in the same position.
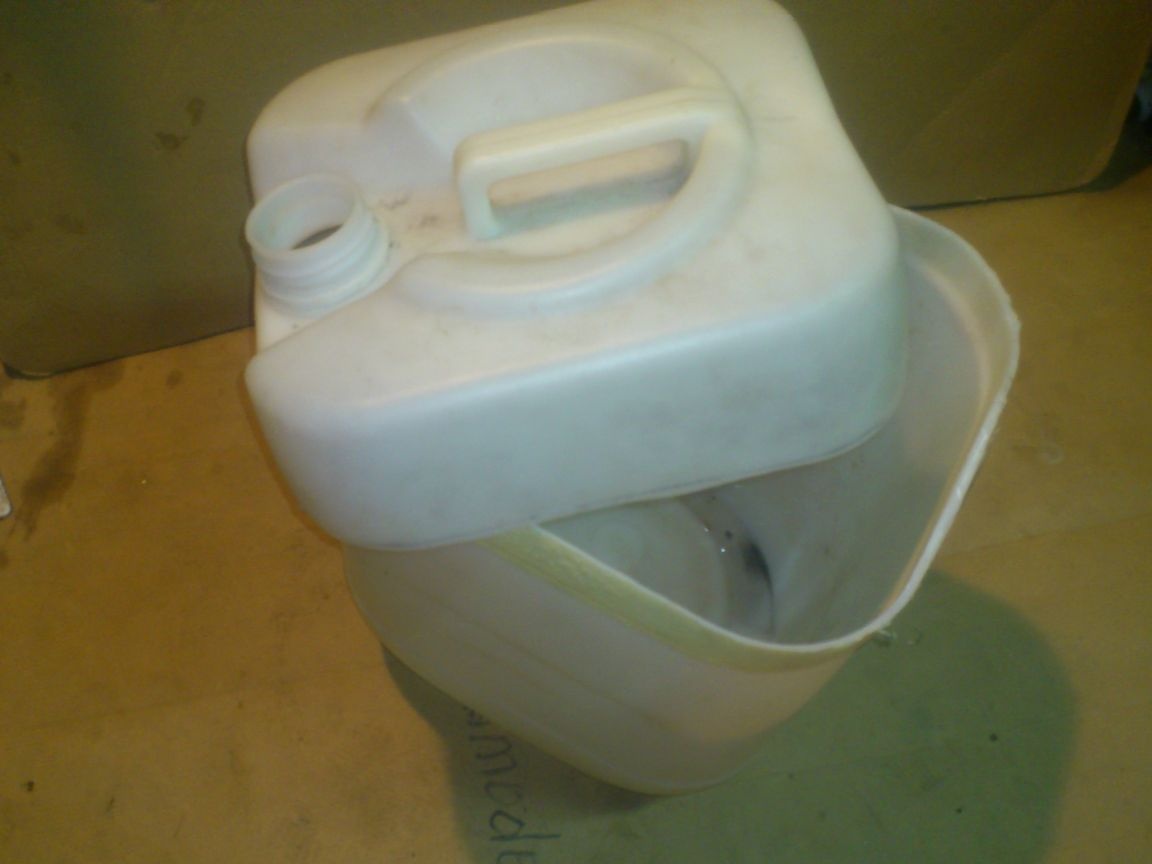
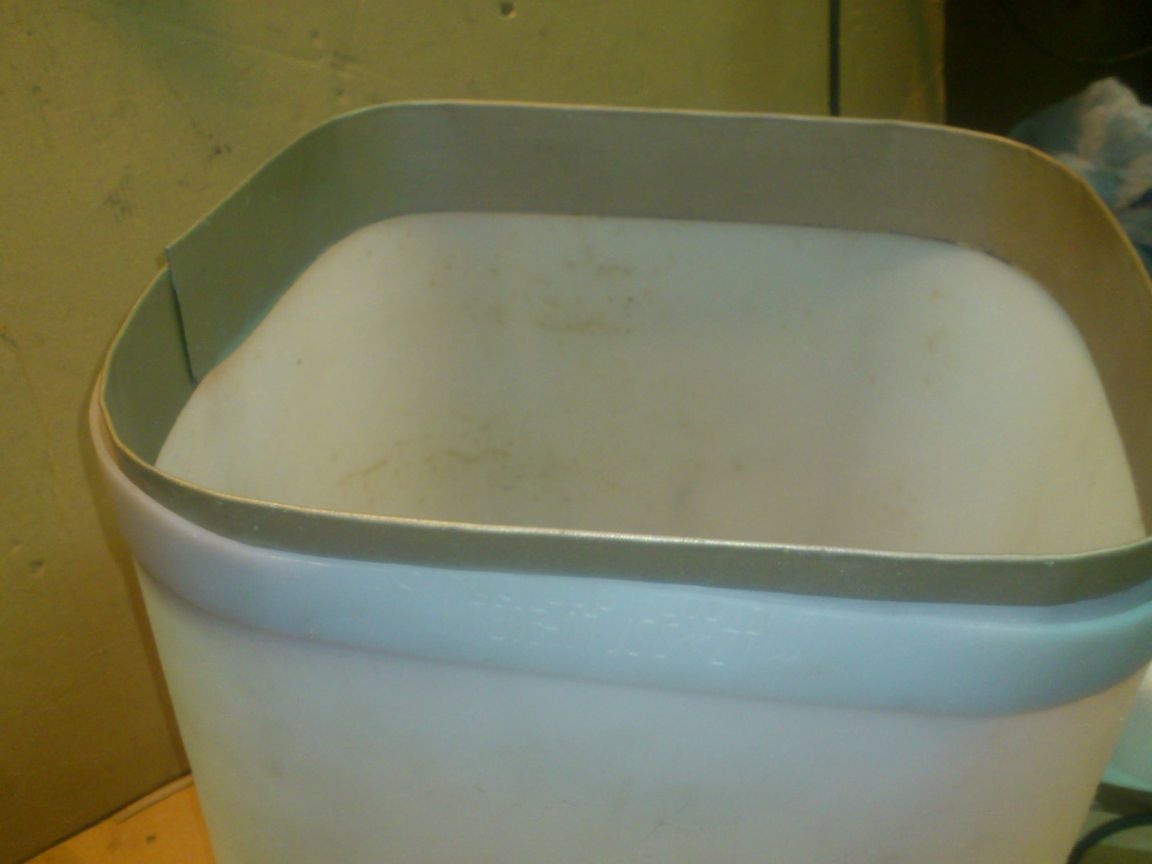
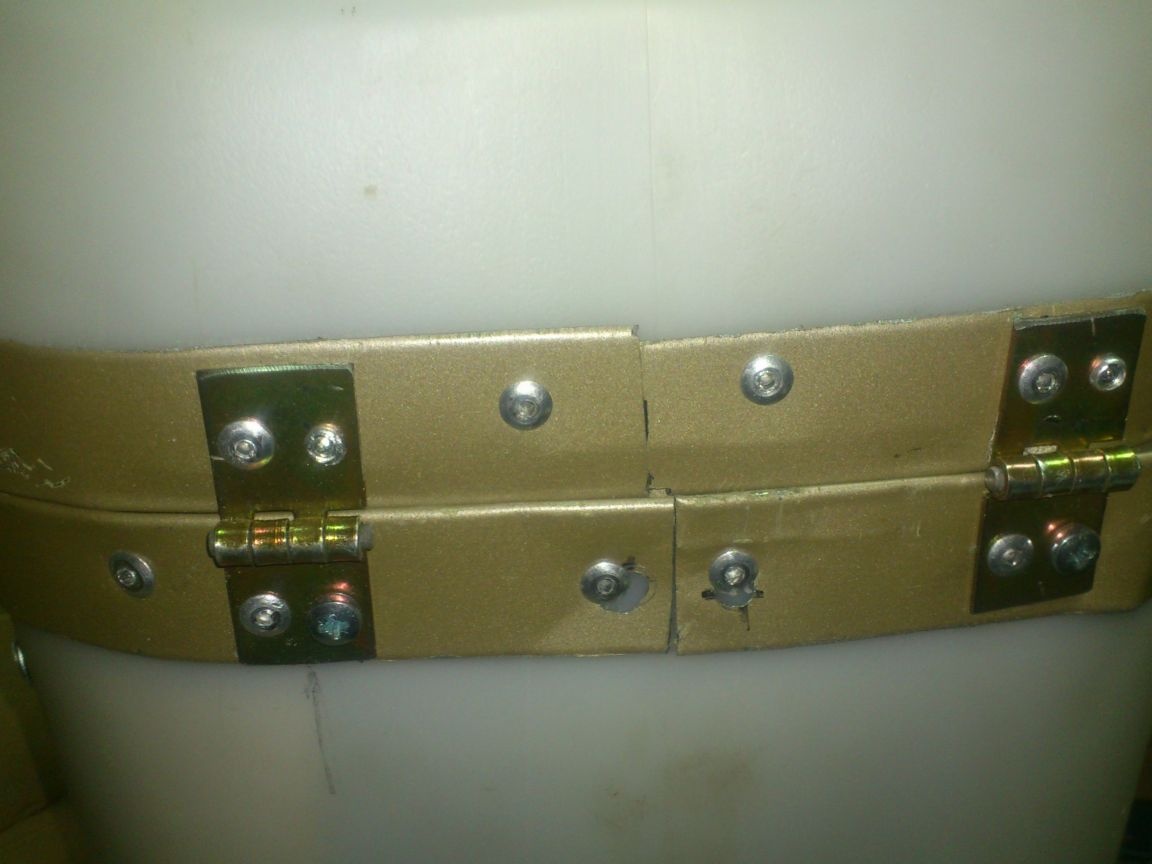
So I took the canister and cut off its upper part:
I had such scraps of tin.
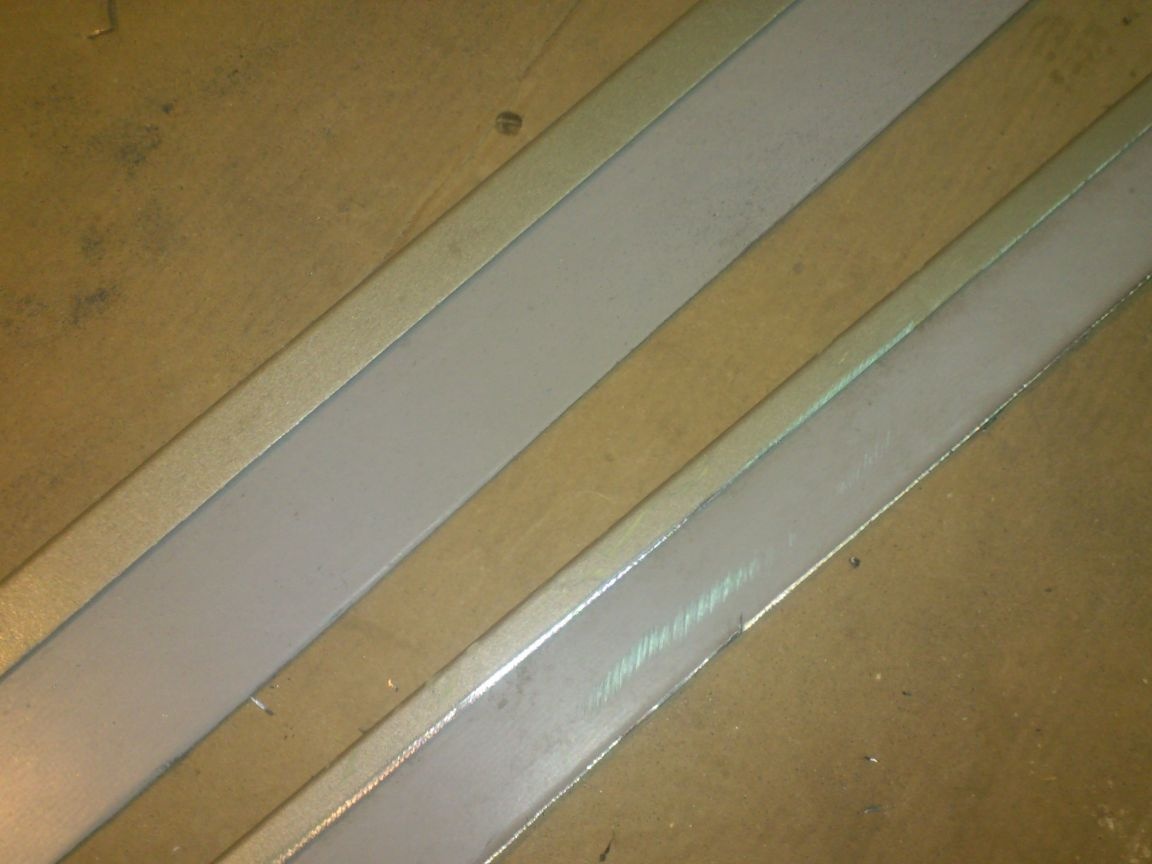
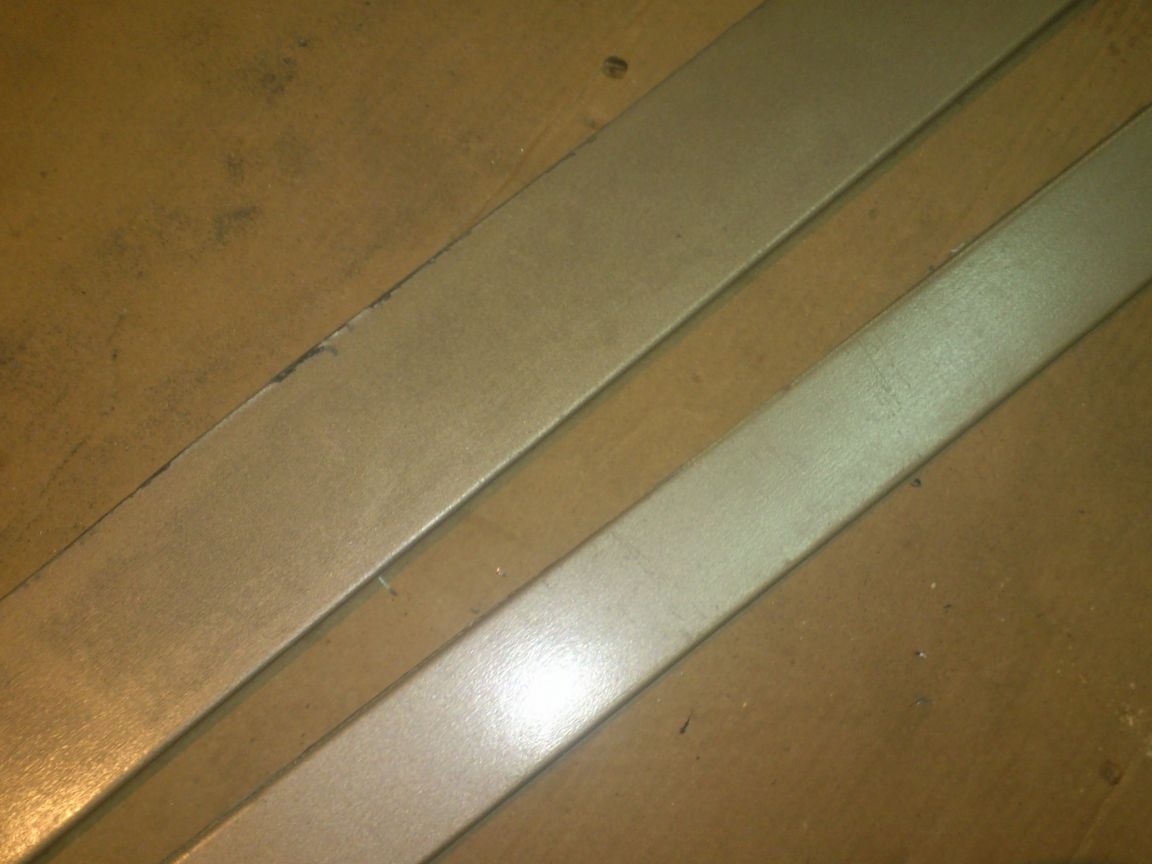
These are just curved stripes. Remained from something, I don’t remember. If necessary, they could be easily cut and bent.
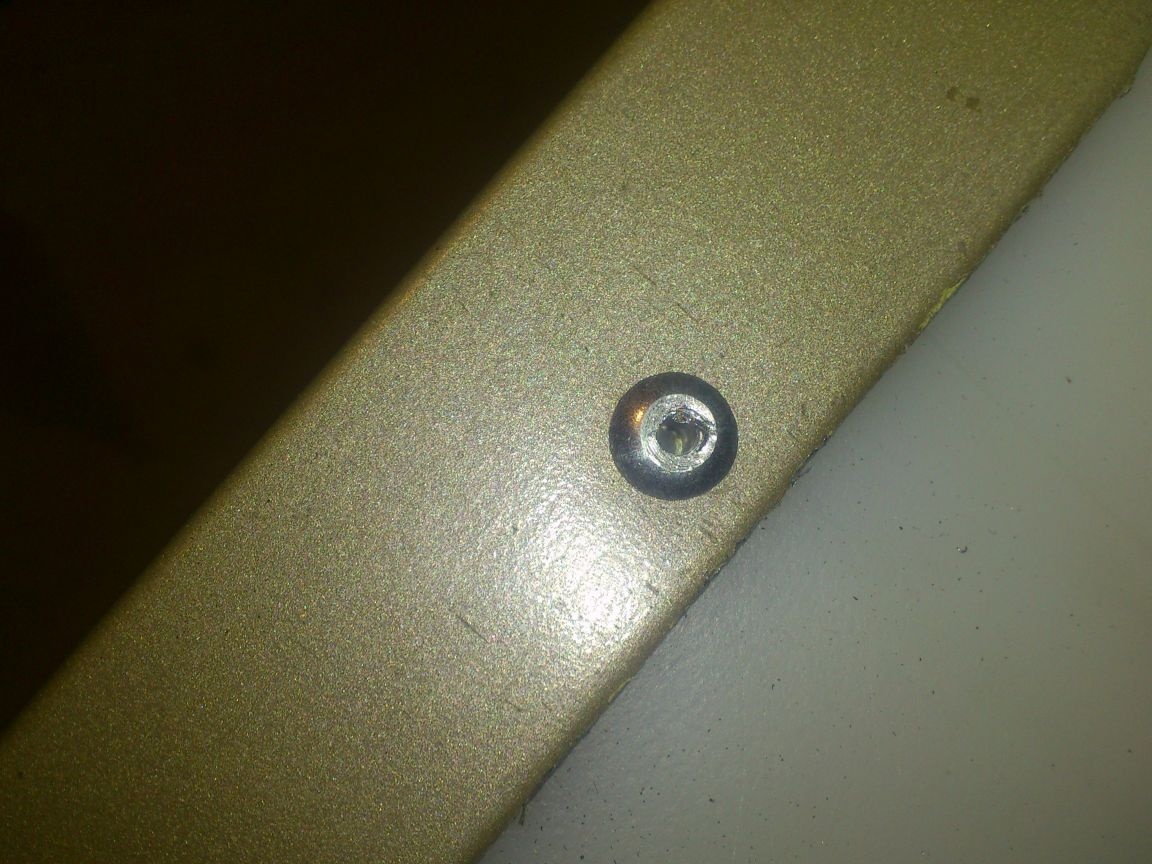
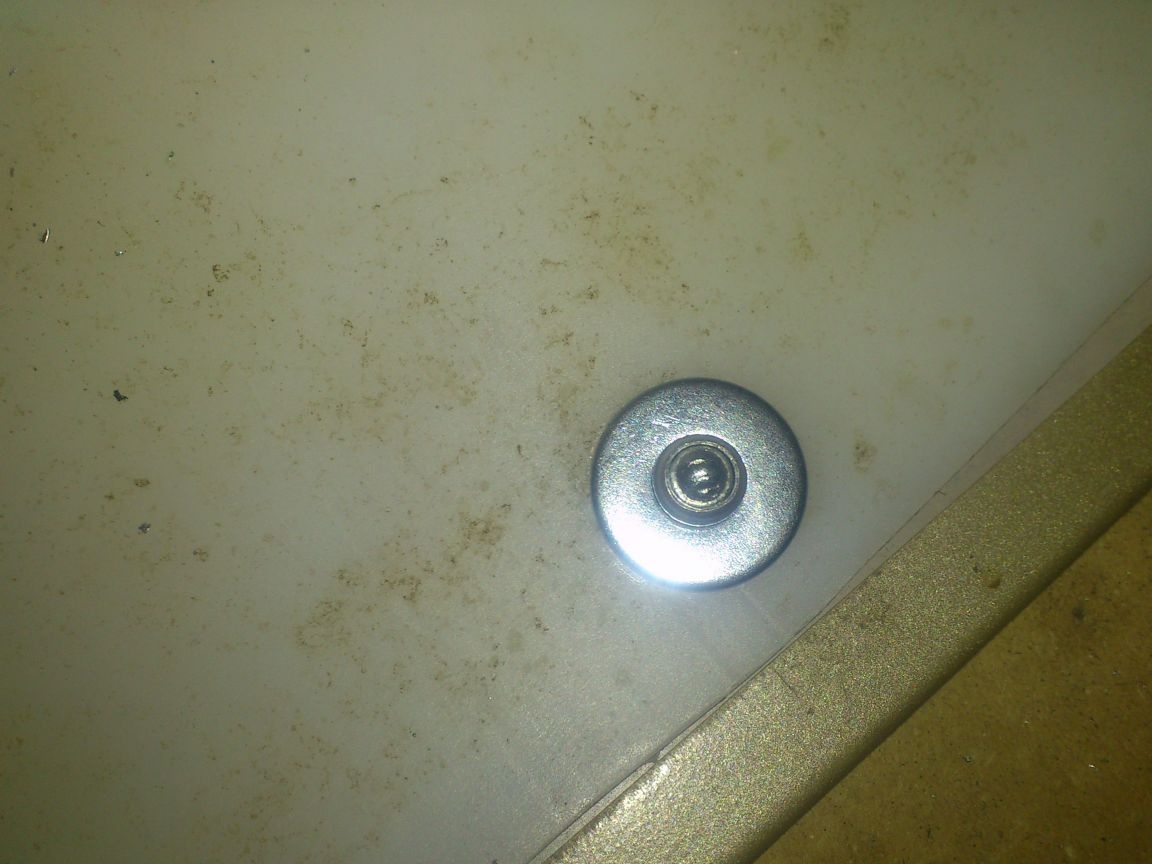
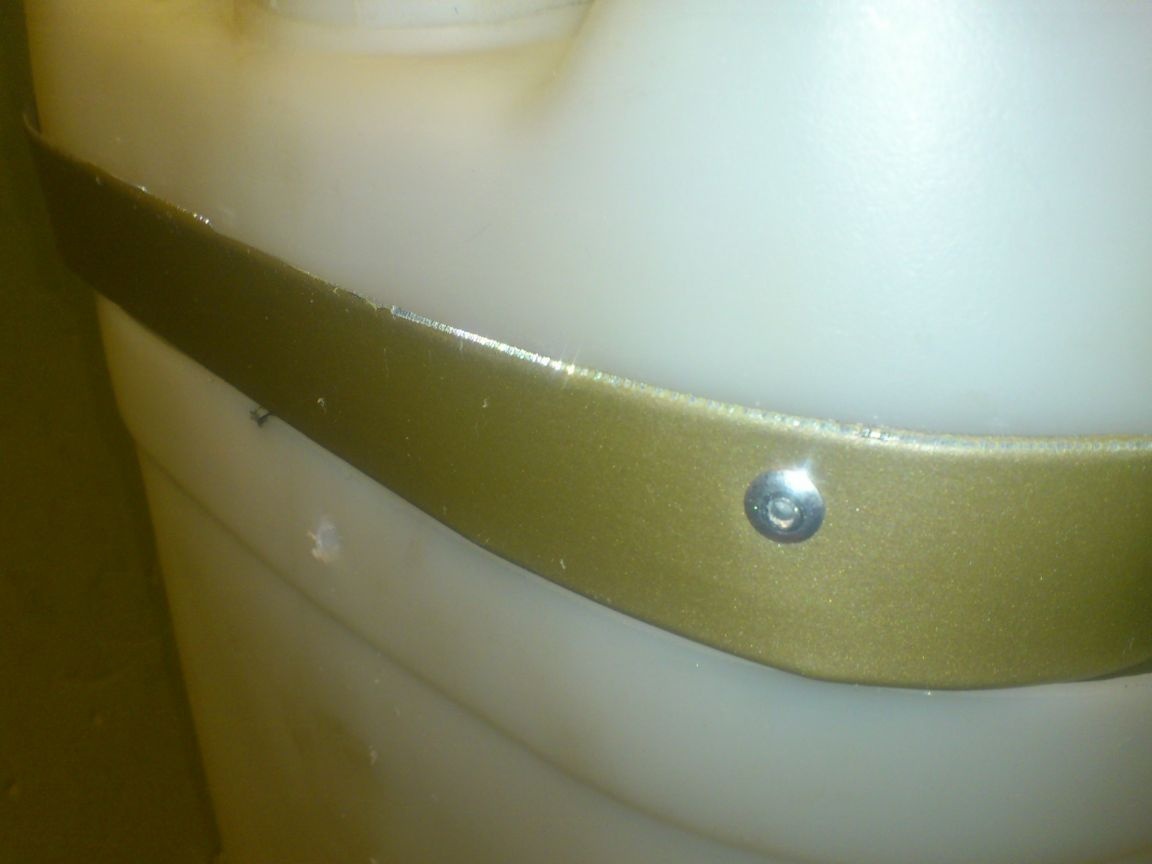
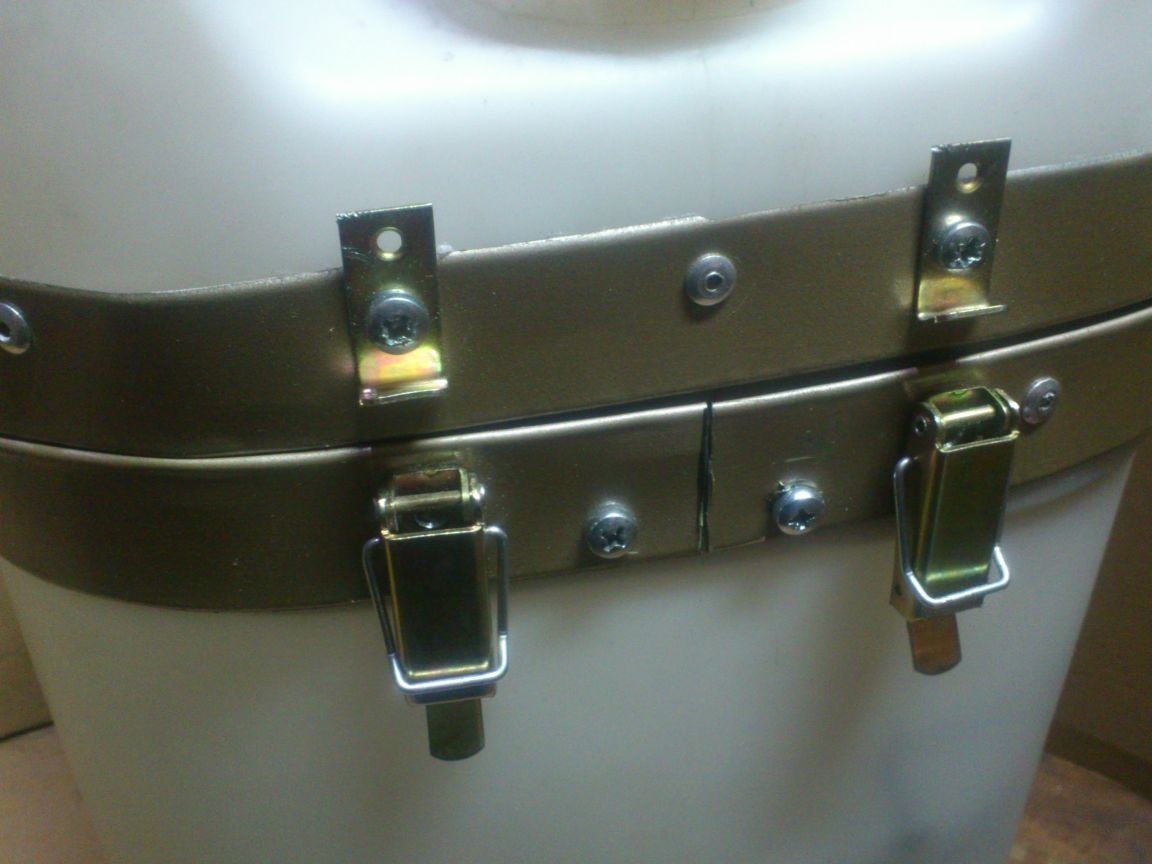
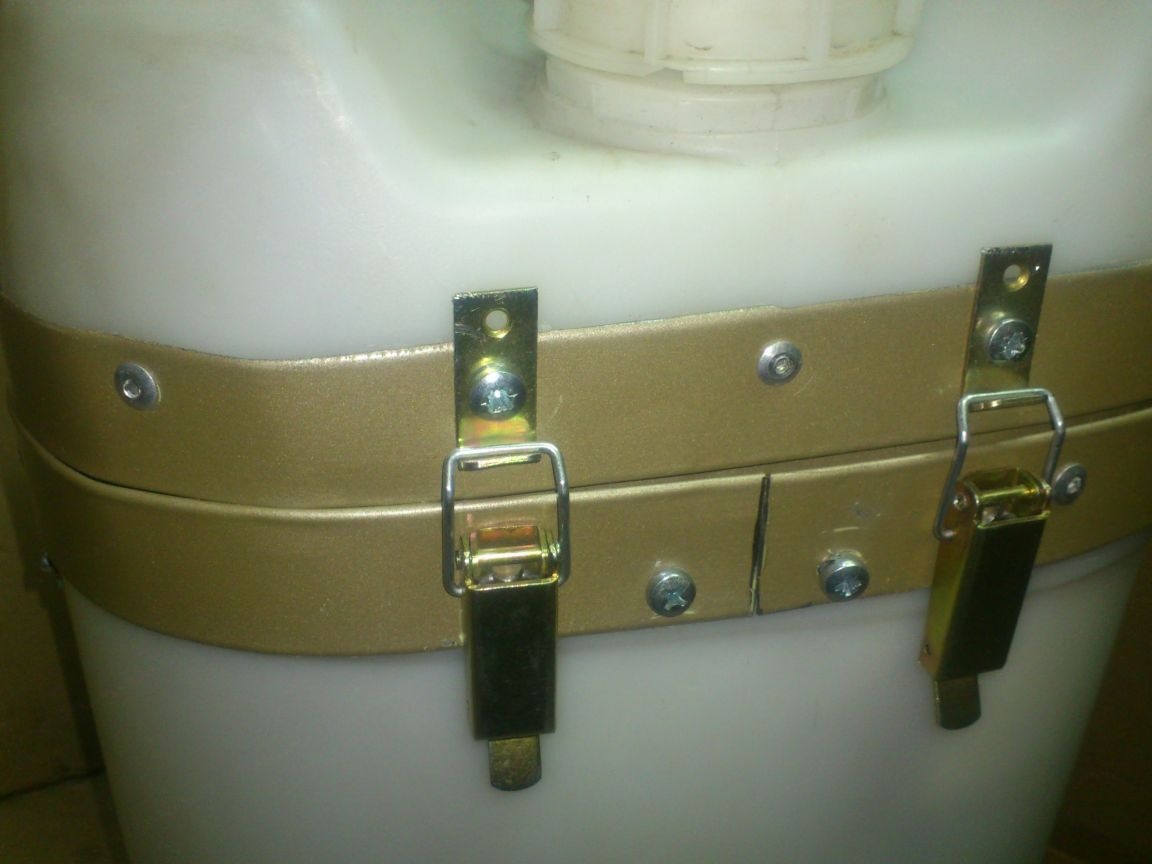
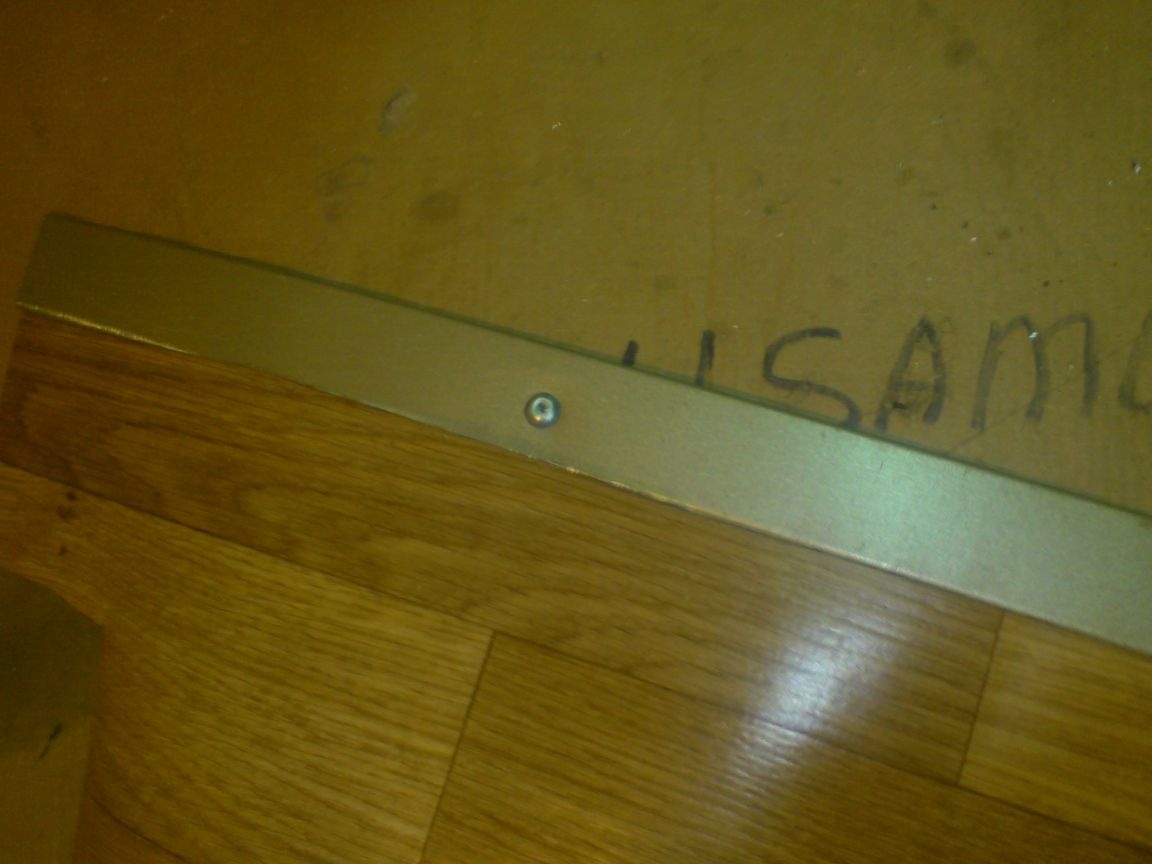
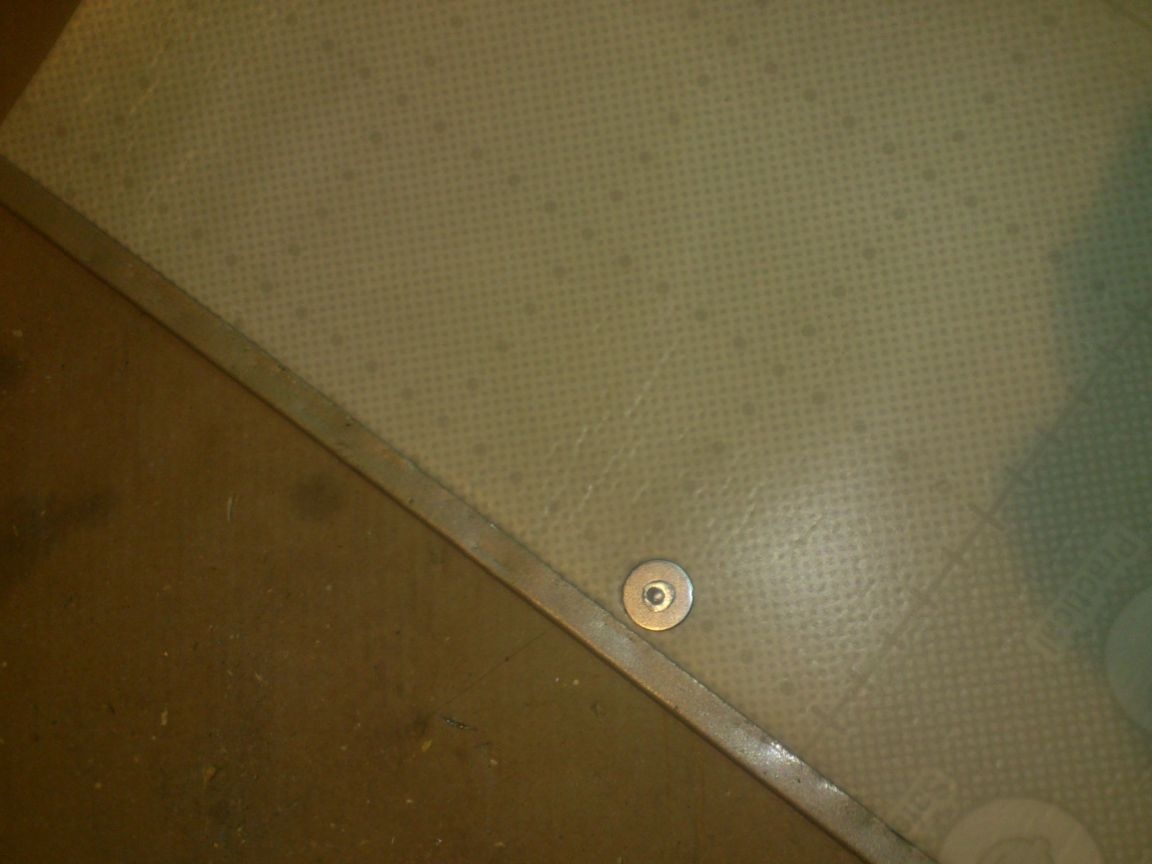
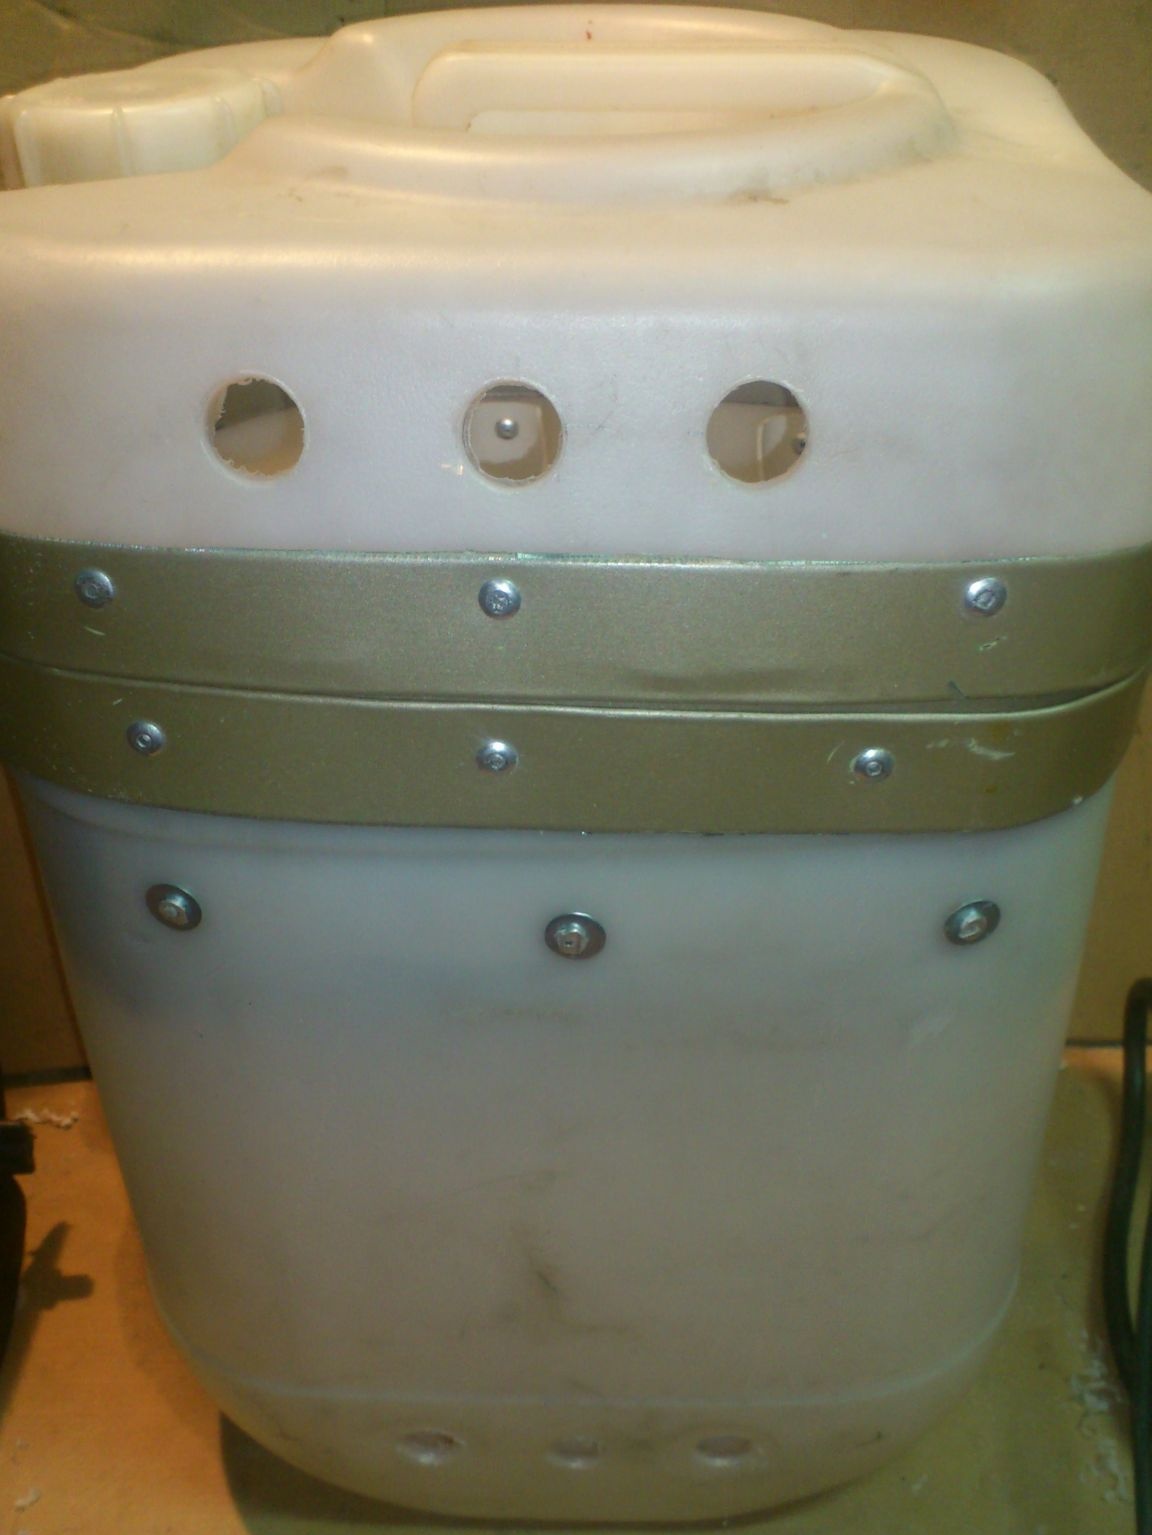
I took the strip narrower and riveted the edge of the cut off top with it, using an ordinary riveter and exhaust rivets. At the same time, I slightly pushed the edge of the tin twice bent by a slice:
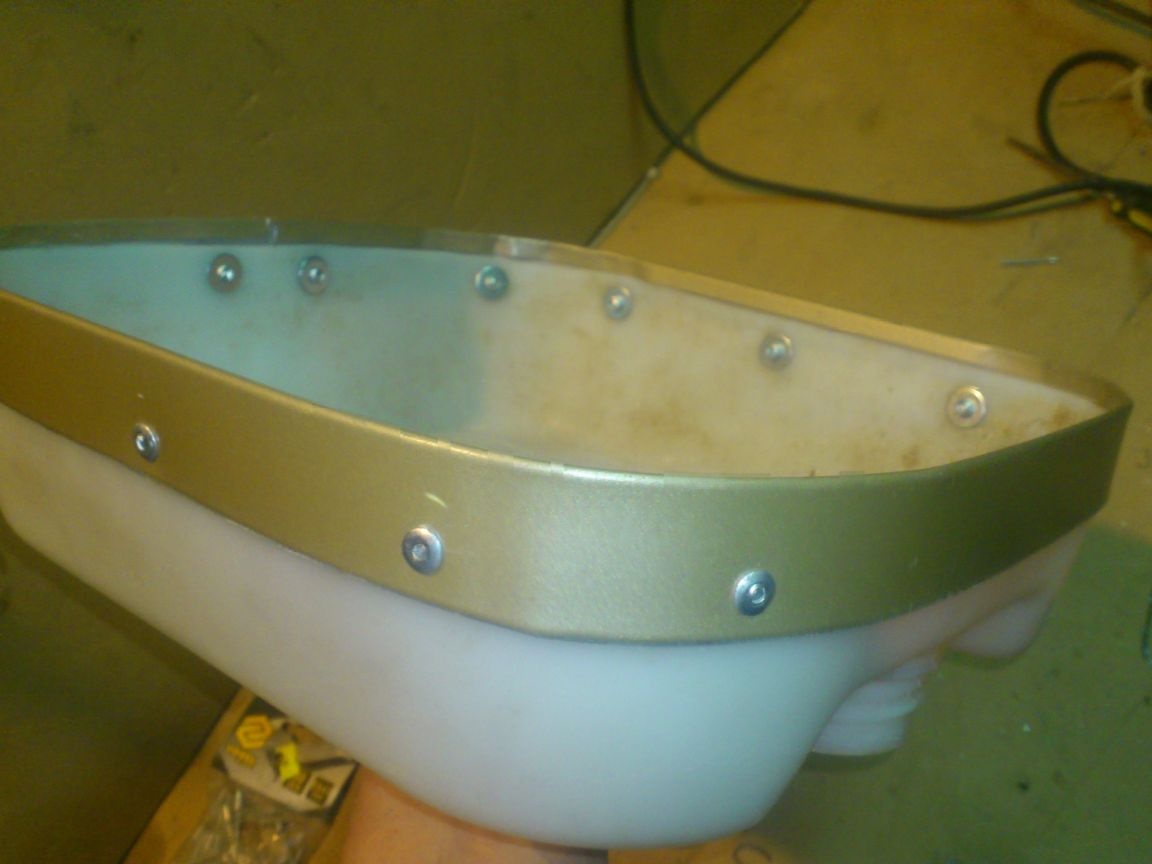
In this case, I inserted rivets on the outside, and from the inside, since there was no metal surface, I put M5 washers on them:
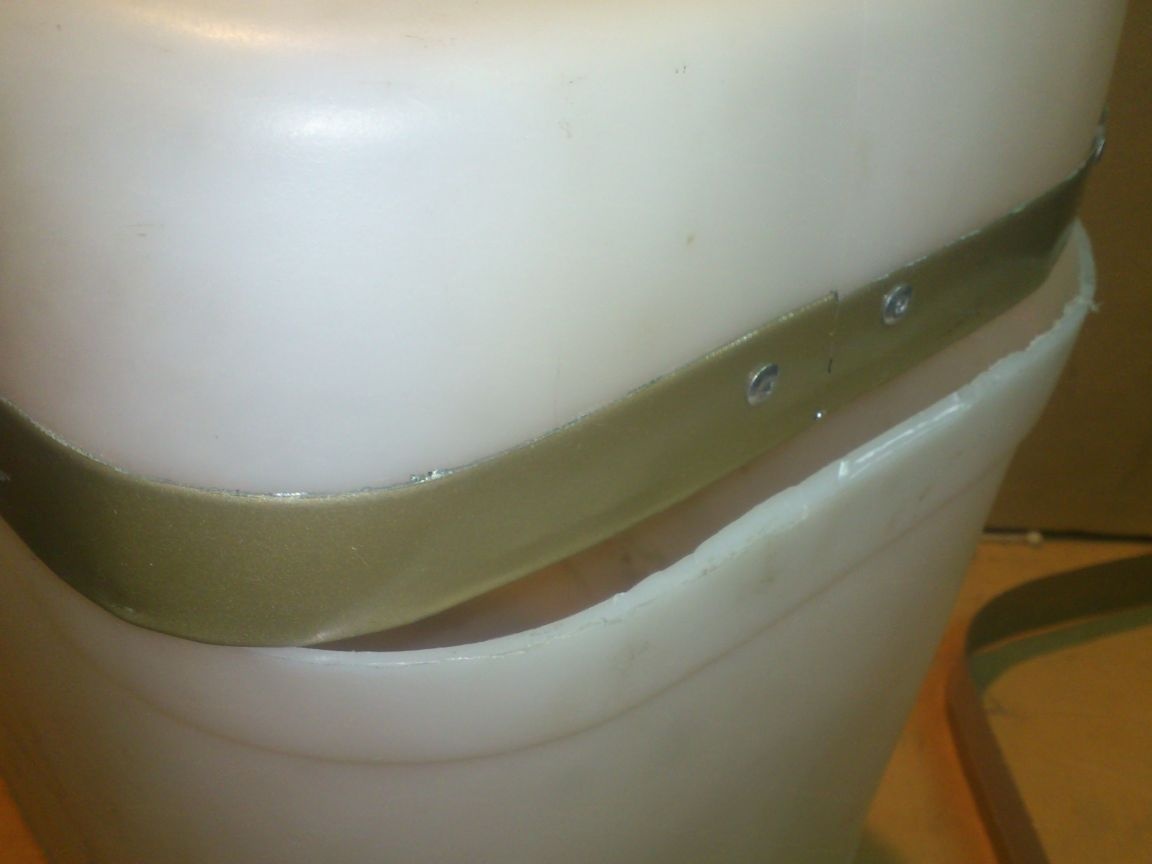
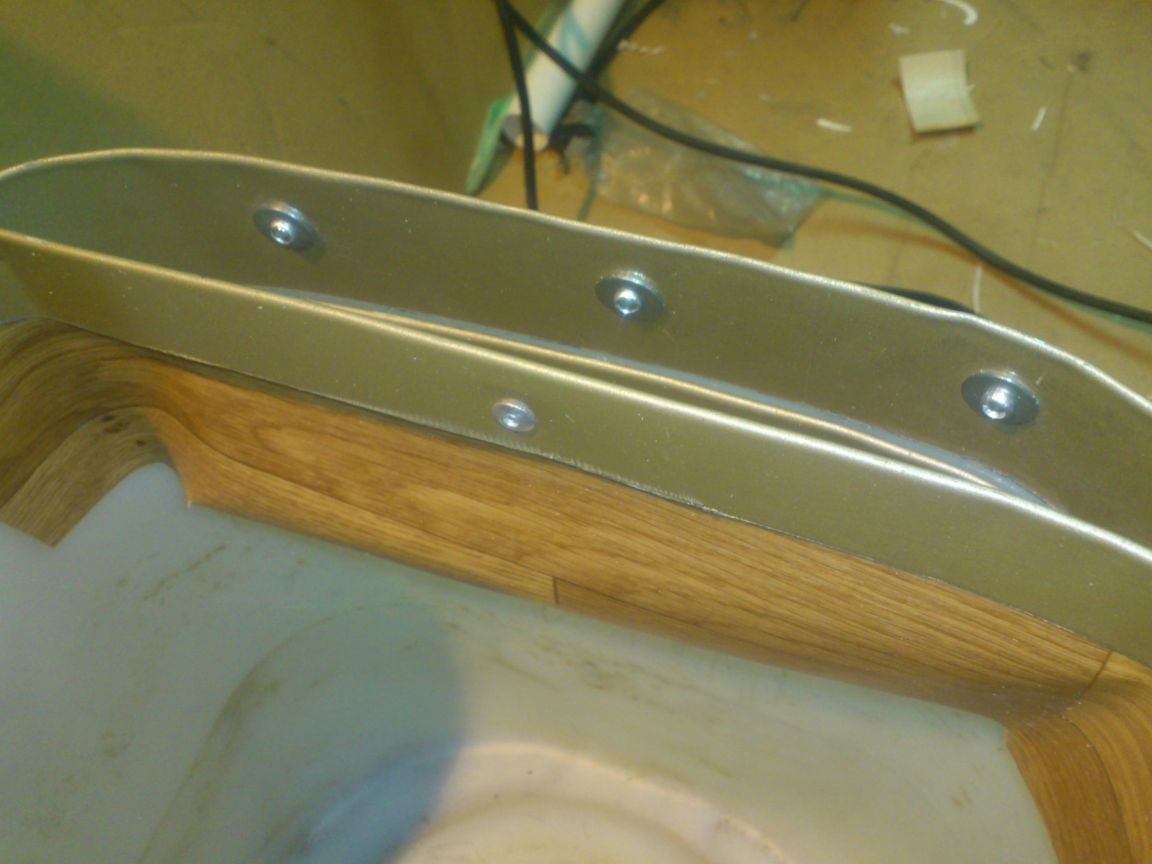
Next, I wanted to do the same with the bottom of the canister, but ran into an unexpected problem. The stress of the material of the walls was released during cutting, and changed the geometry of the lower, less rigid part. And when I applied exactly the front, everything was far from converging at the back:
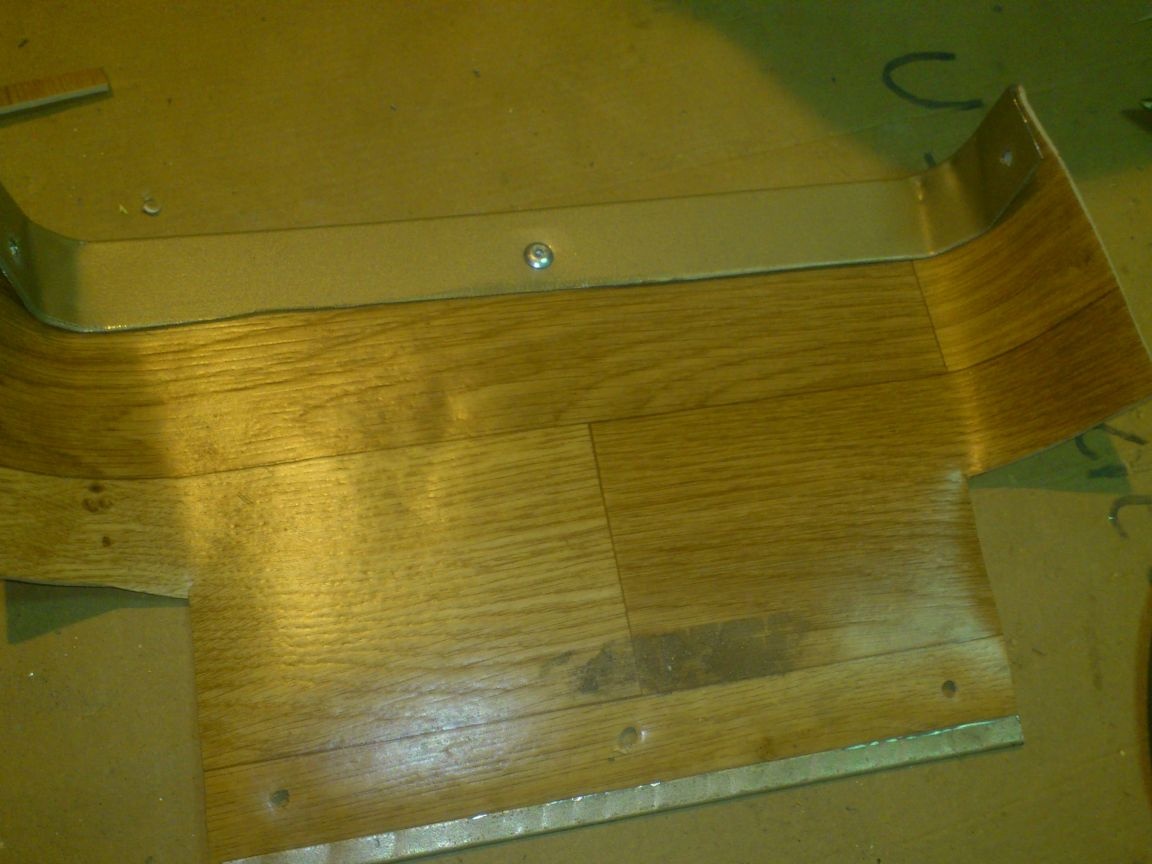
Therefore, I first made a blank “forging”, using the top cover as a template, and bending the desired perimeter of the lower part along it:
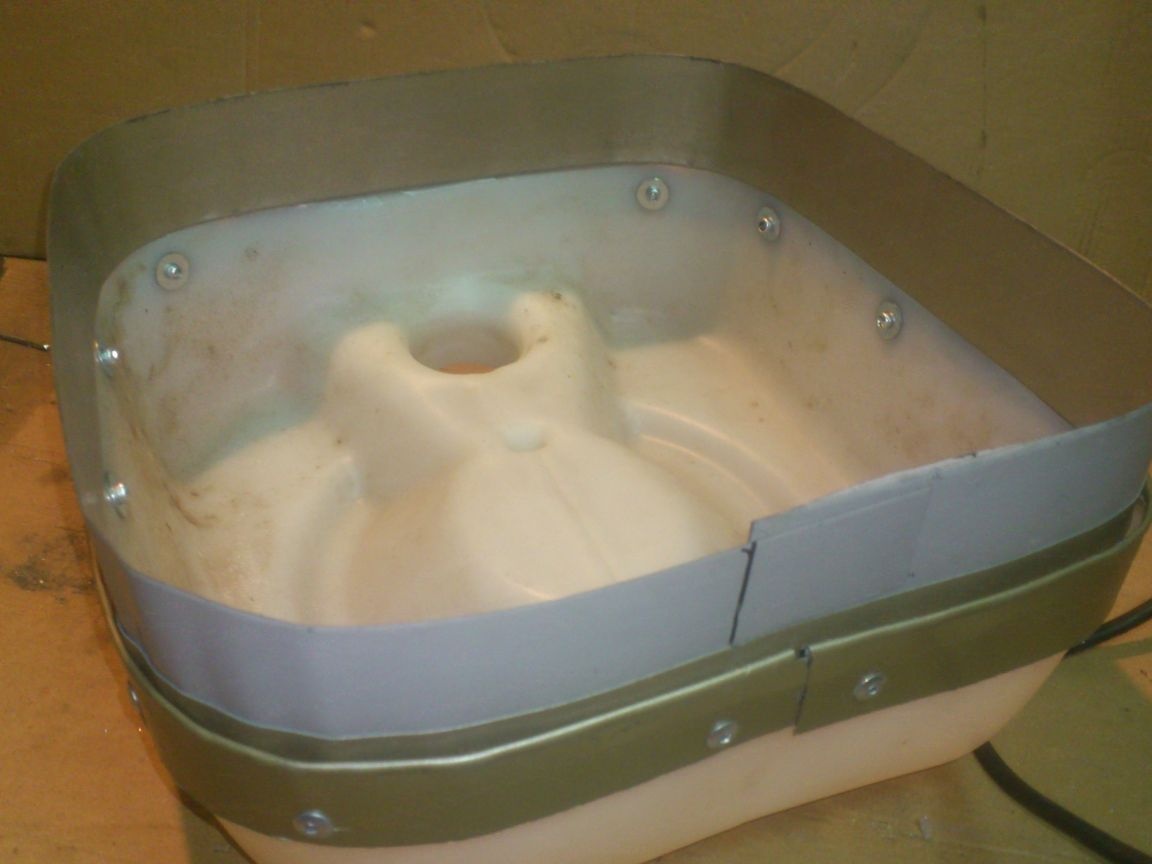
Then he put it inside, forming the geometry of the perimeter:
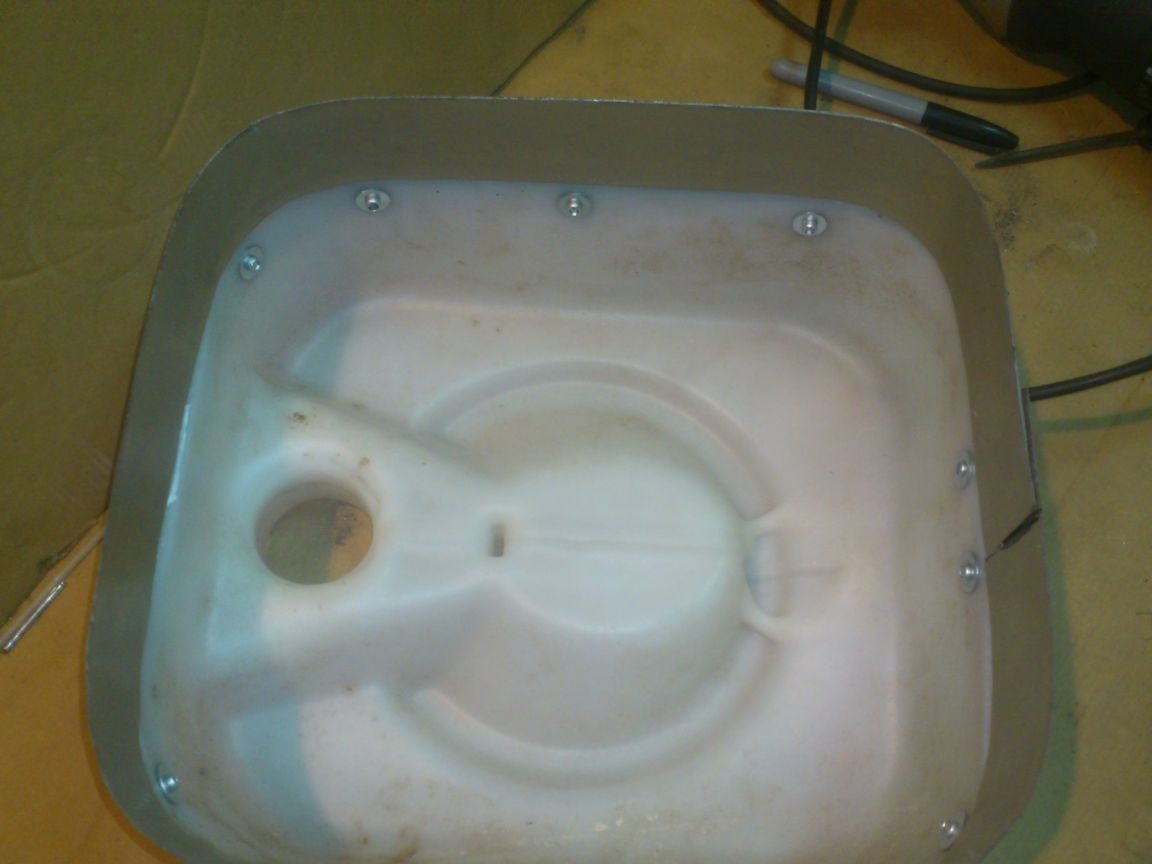
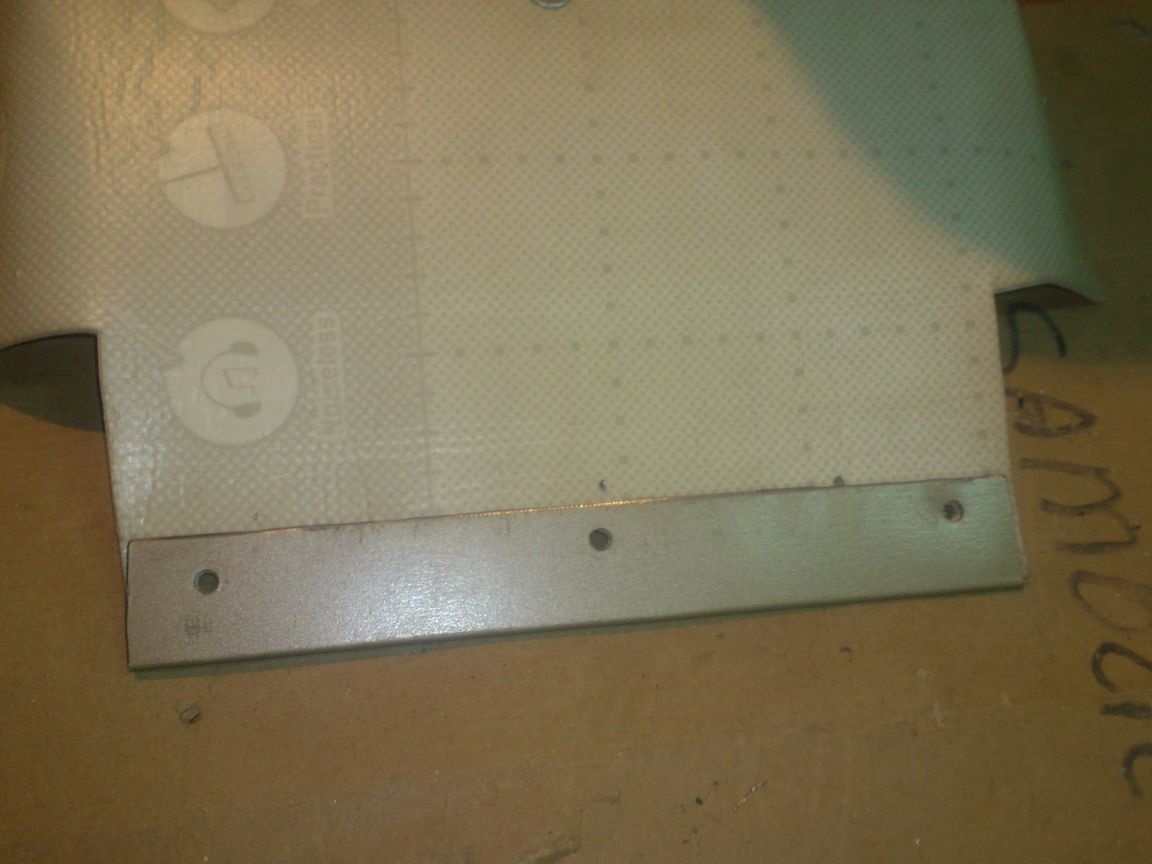
And then he launched a narrower strip outside (such as used on the lid) and riveted them together with rivets:

Next, you need to connect the lid to the canister. Having rummaged in my vaults, I found these loops:
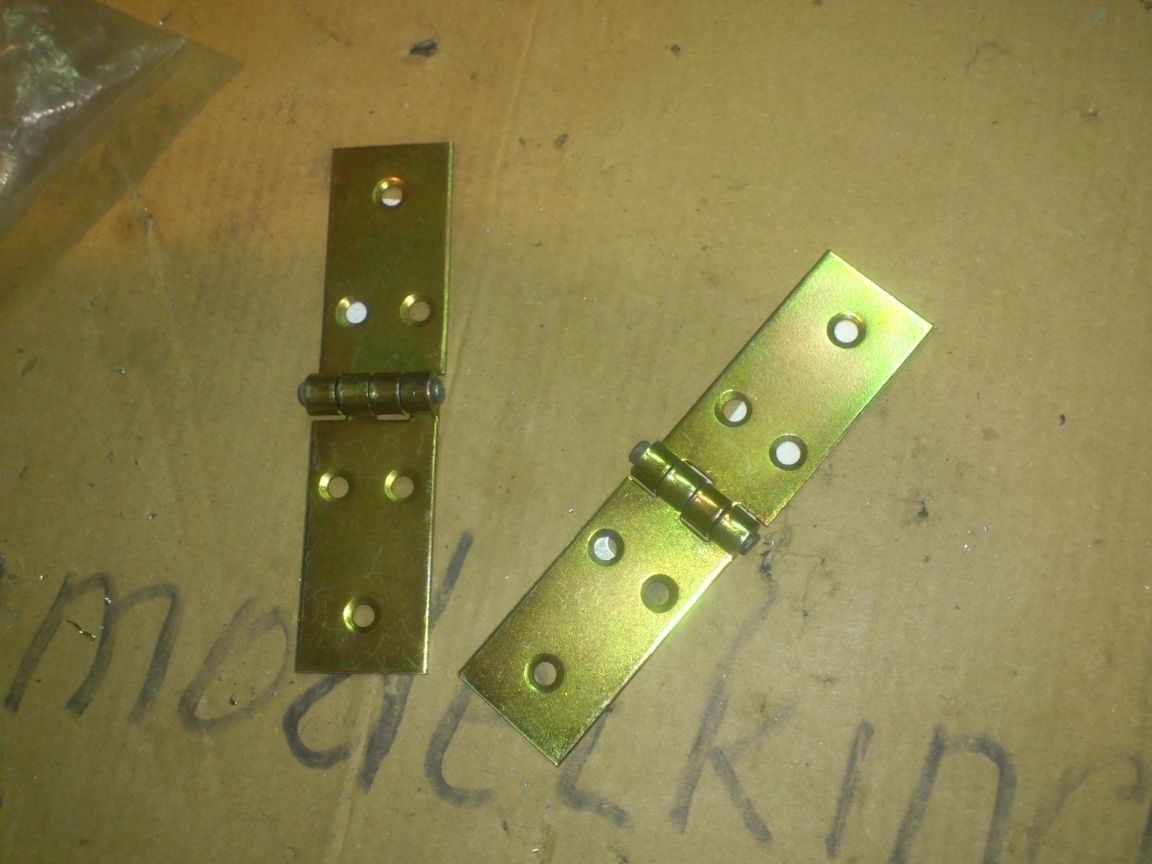
Then he shortened them with a grinder:
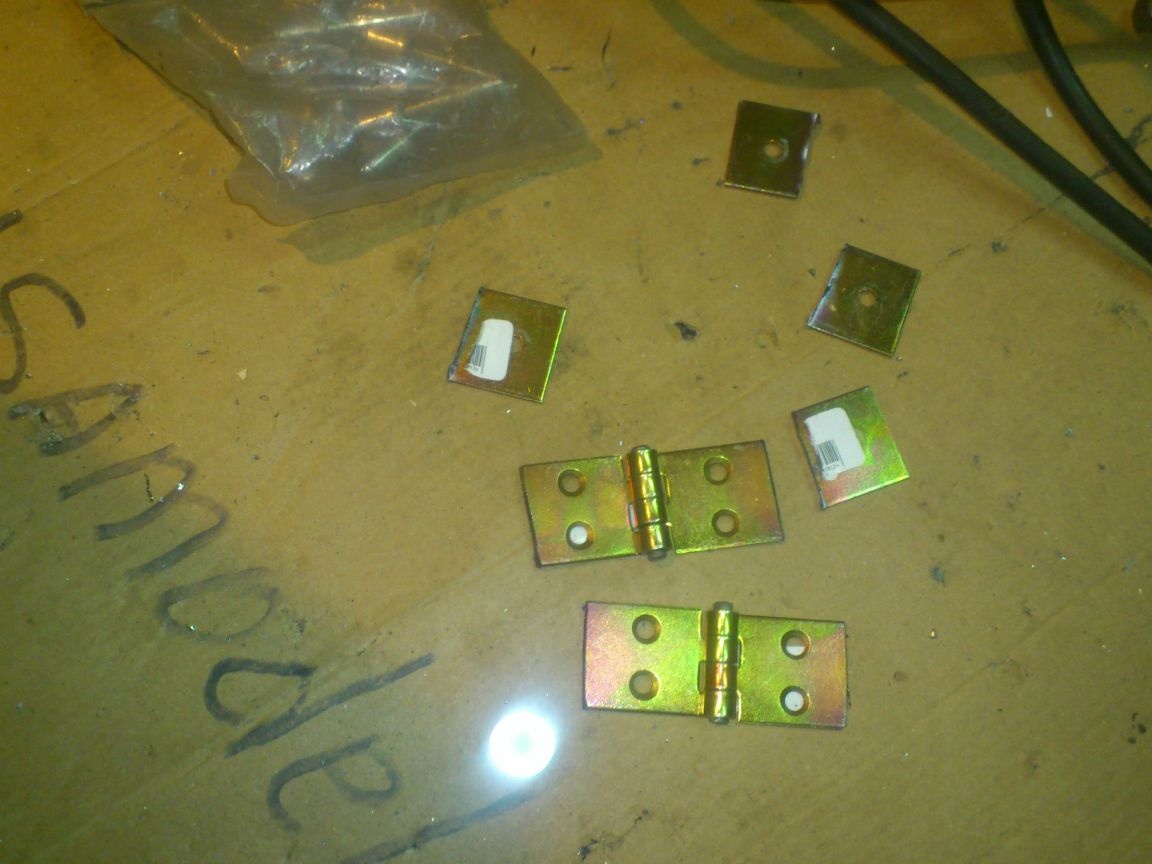
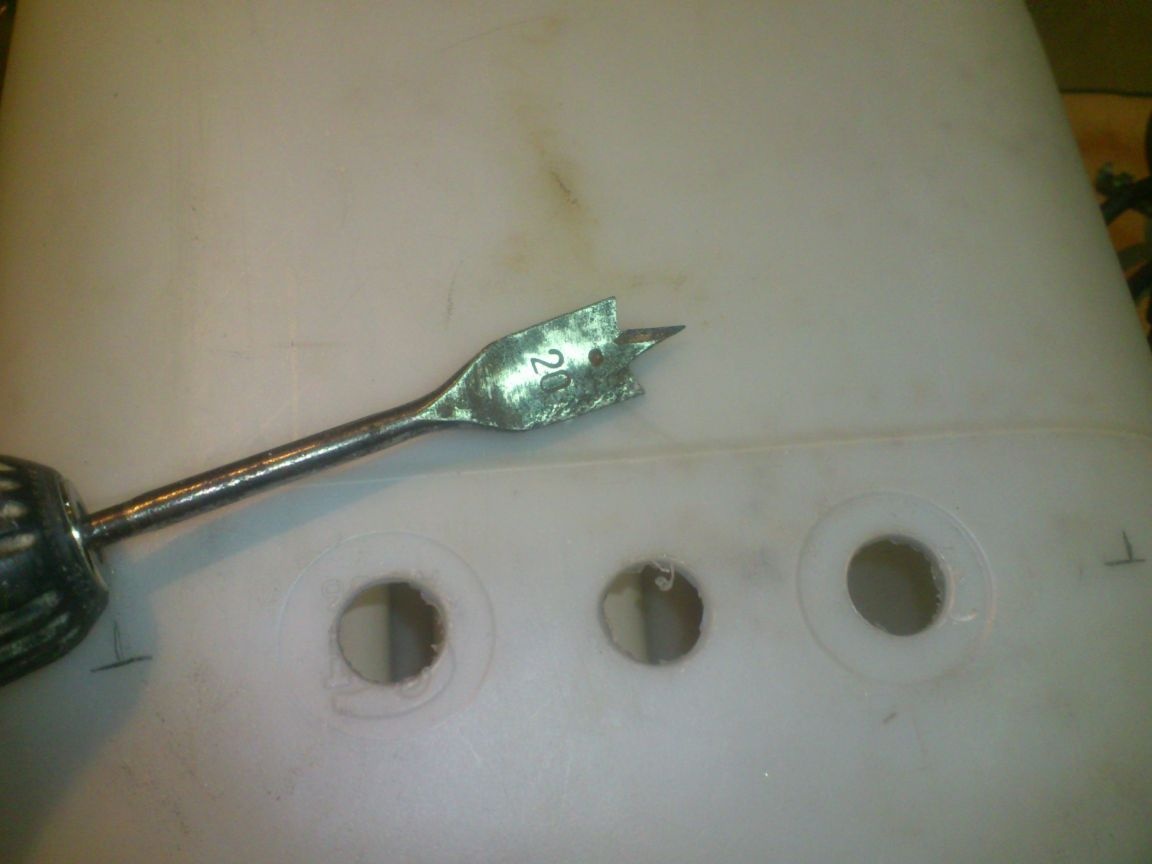
With a drill, he increased the diameter of the holes to 5 mm.
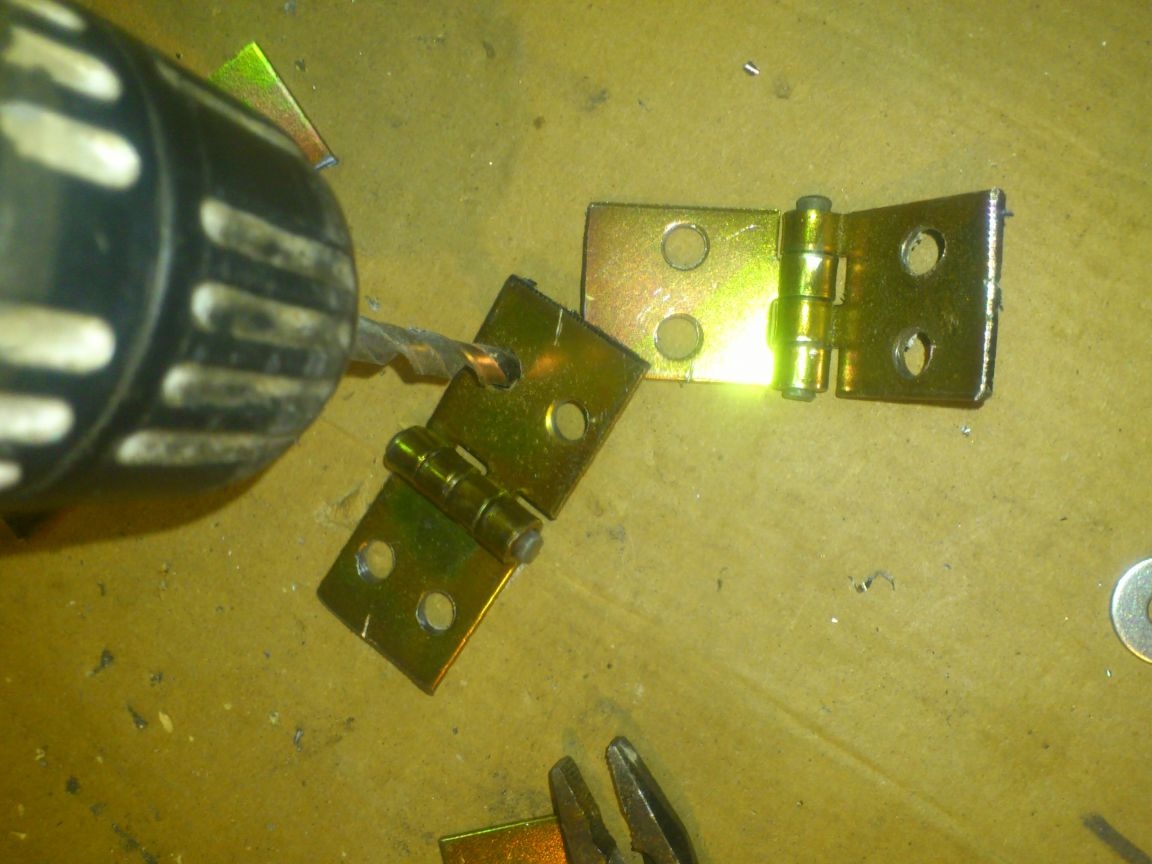
And screwed, riveted into place:
As locks, I decided to use the so-called chest latches.
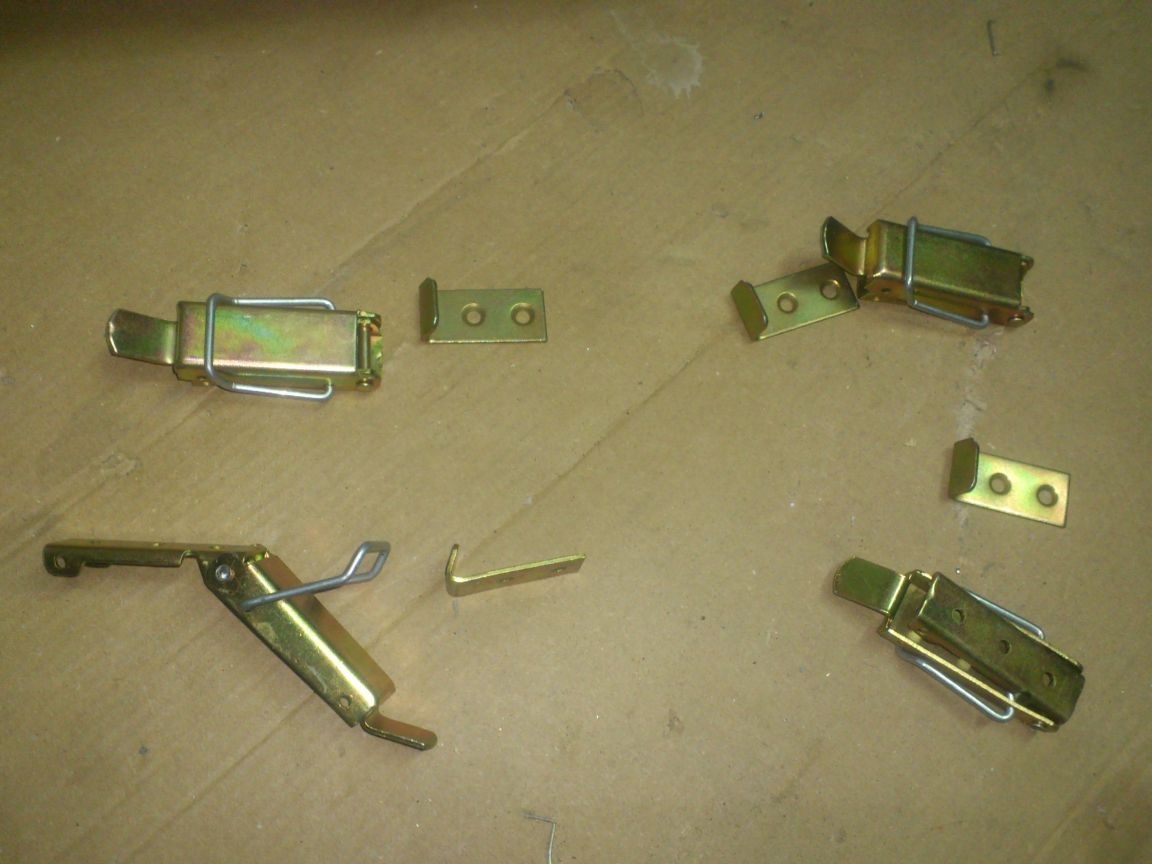
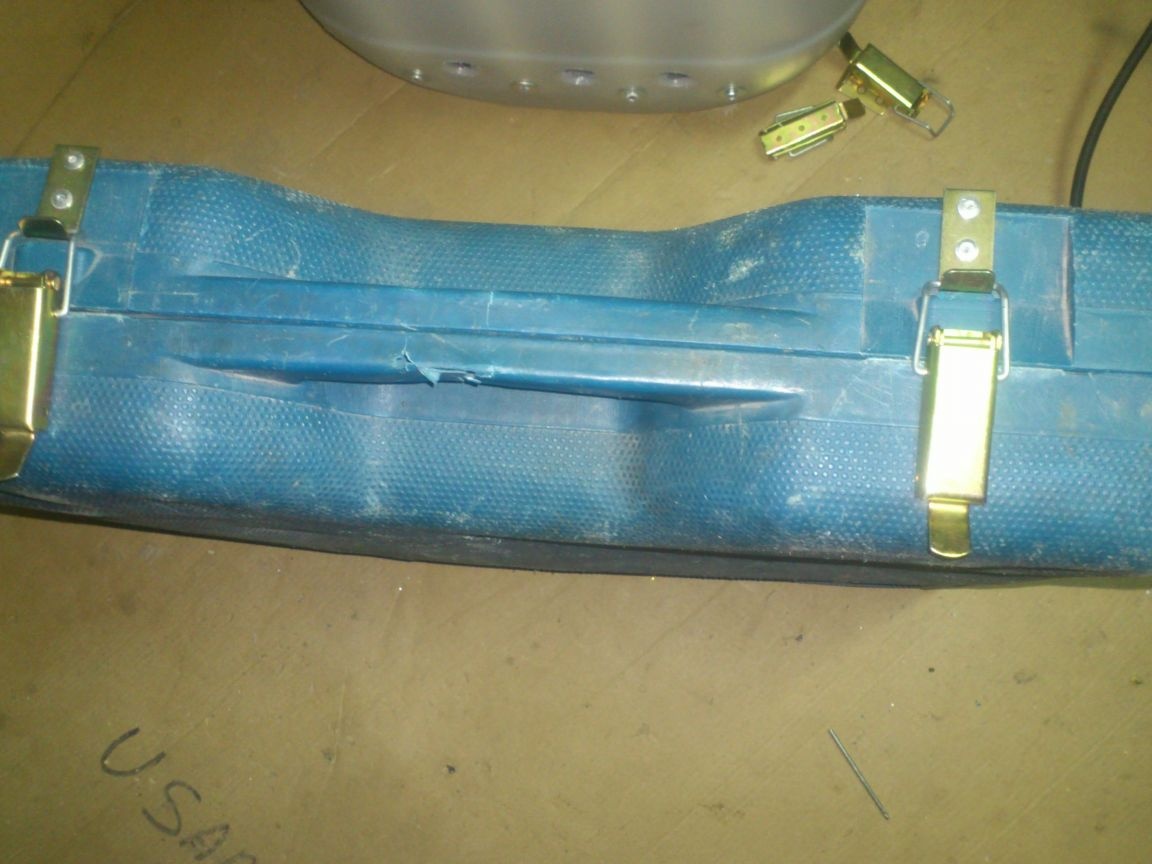
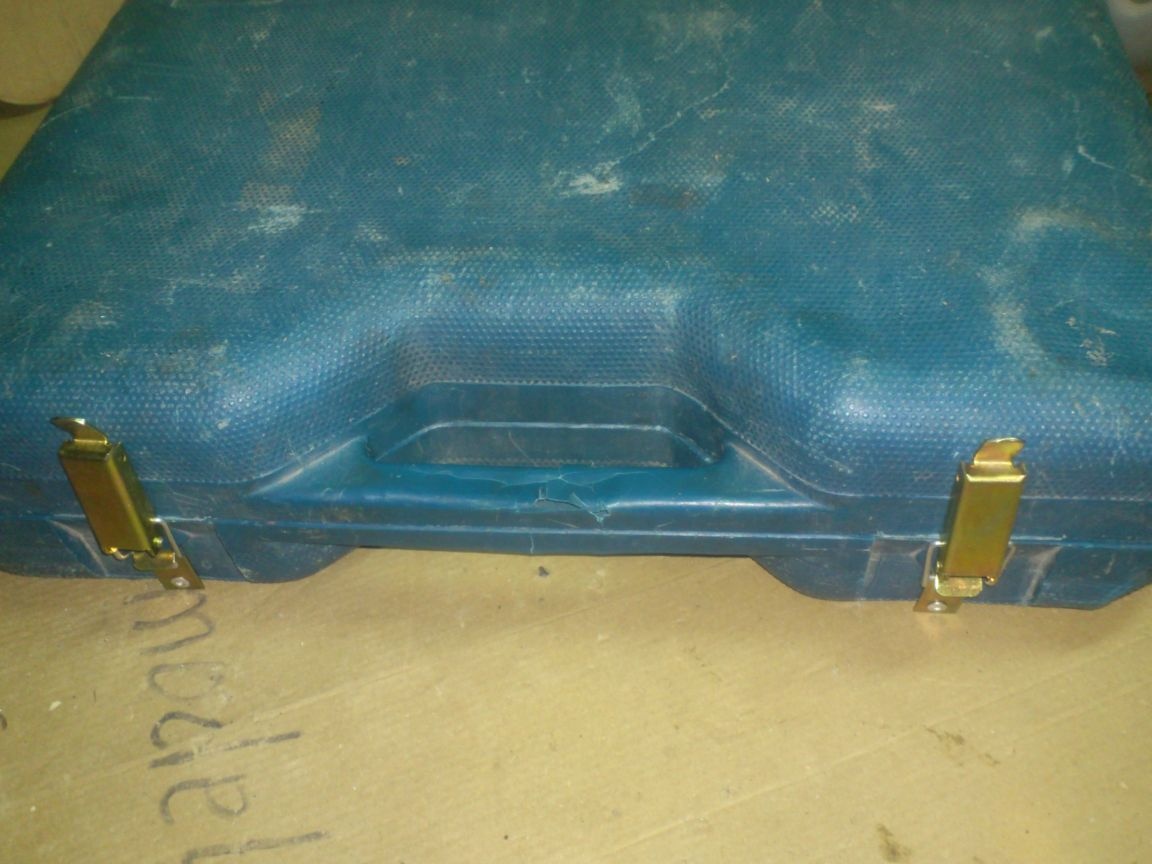
I always have them in stock, because they cost a penny, and many where they can come in handy. Here is one example of their use to repair an old case from a rotary hammer:
So in my homemade product they came in handy:
Well ... Let's start creating the "insides" ....
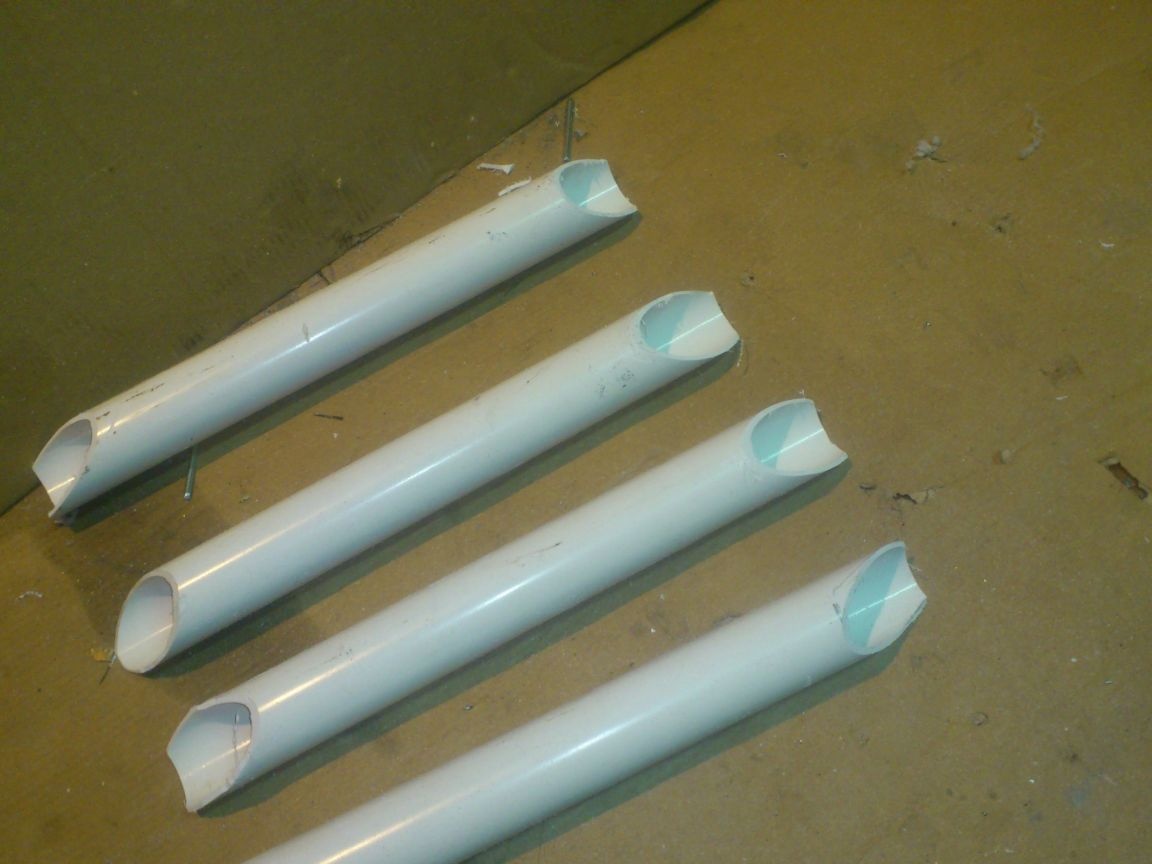
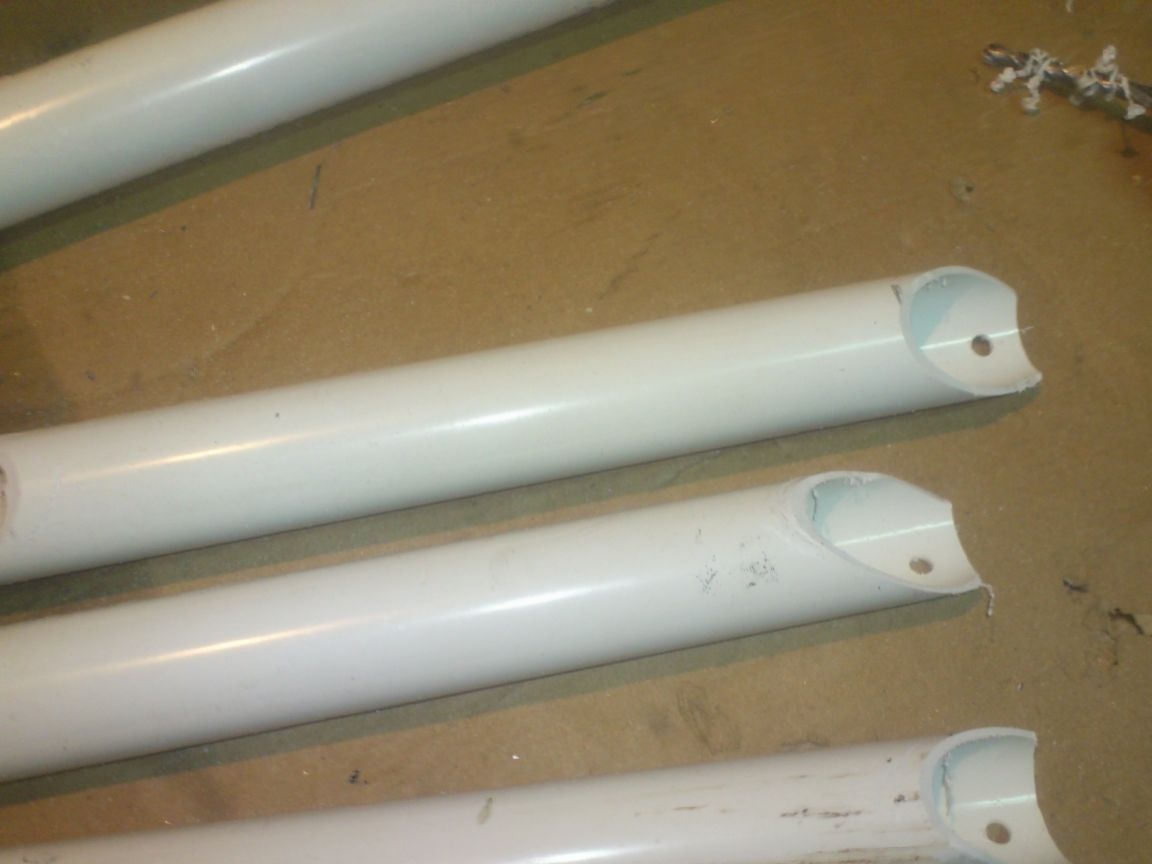
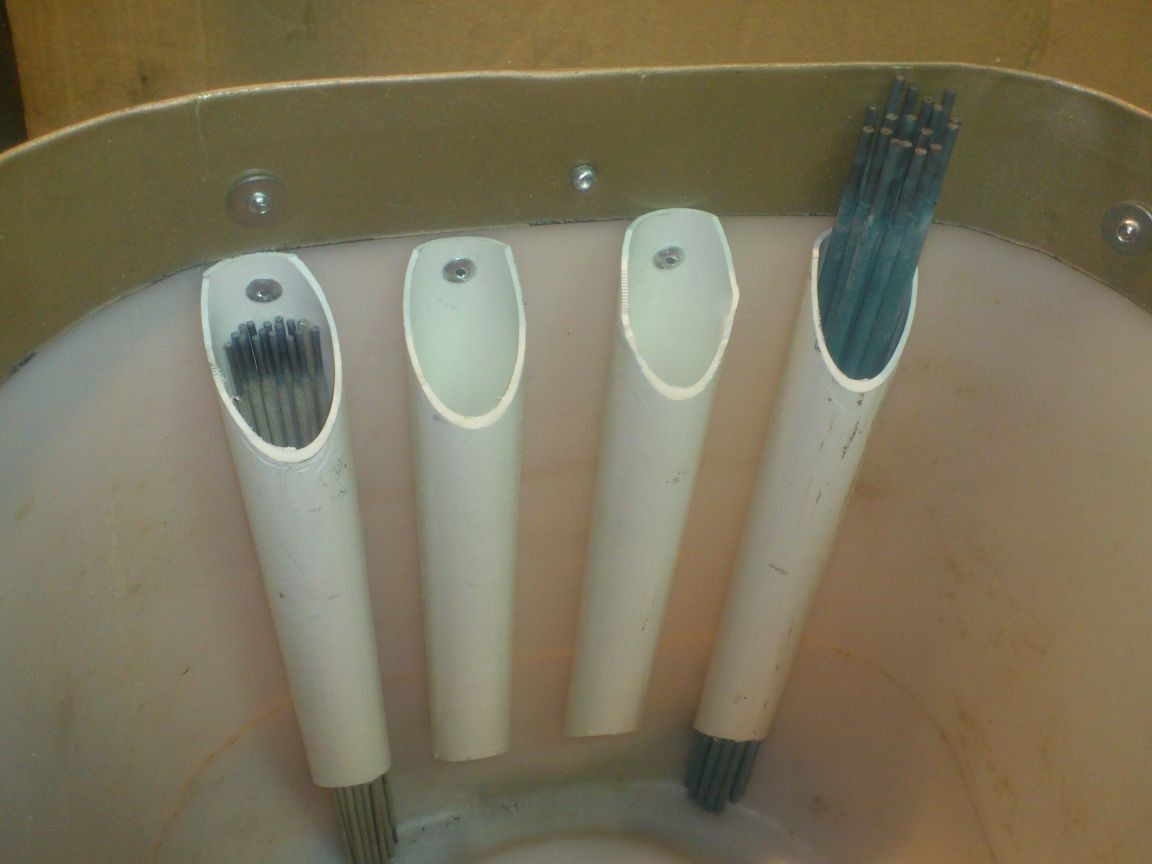
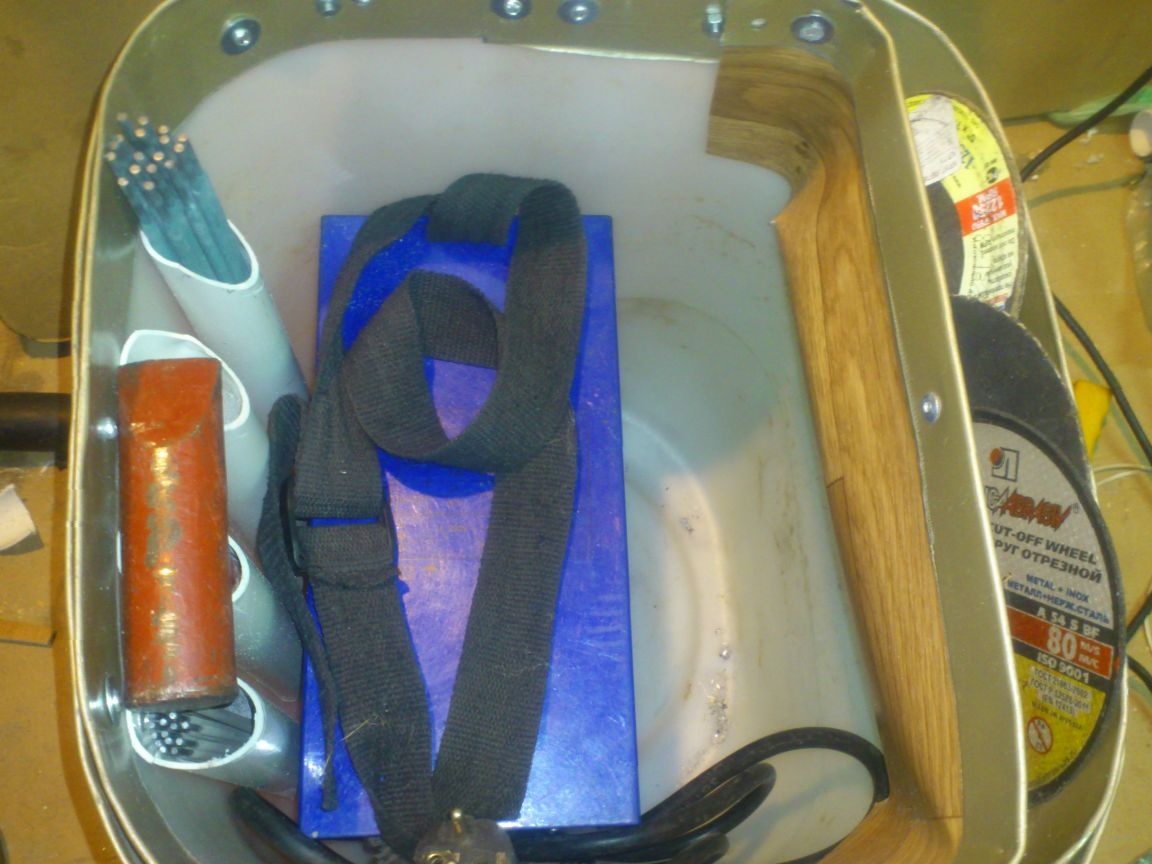
I took a piece of PVC pipe with a diameter of 32 mm:
I cut four pieces, slanted obliquely the edges and drilled holes for rivets:
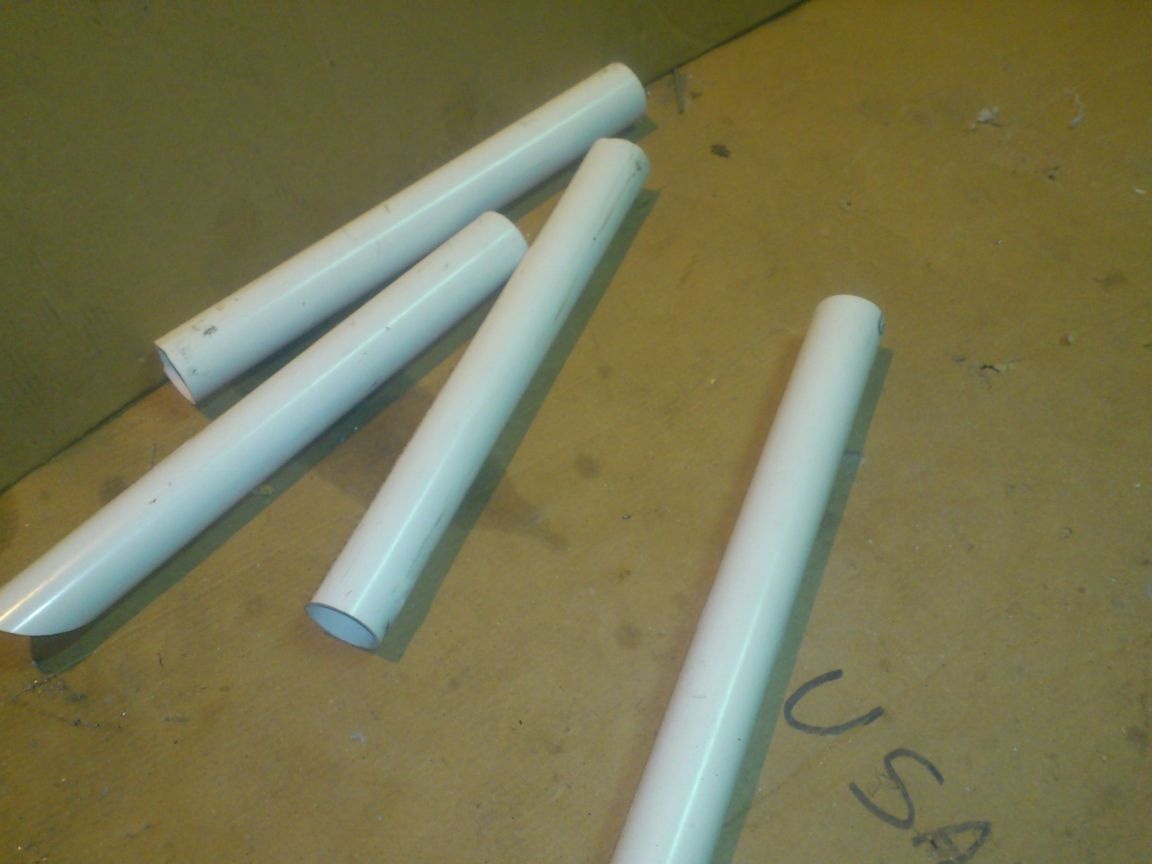
Then he riveted them to the side wall inside the canister. He put rivets inside, put the washers on them outside again:
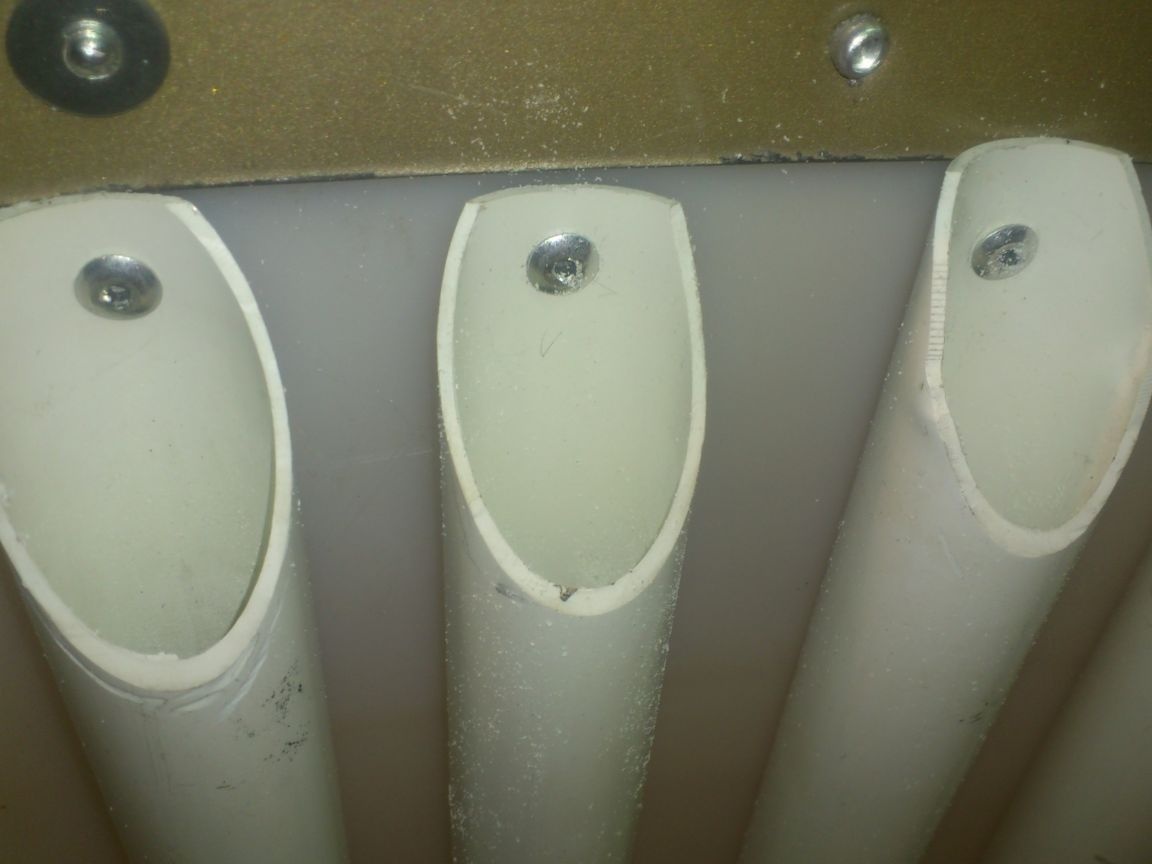

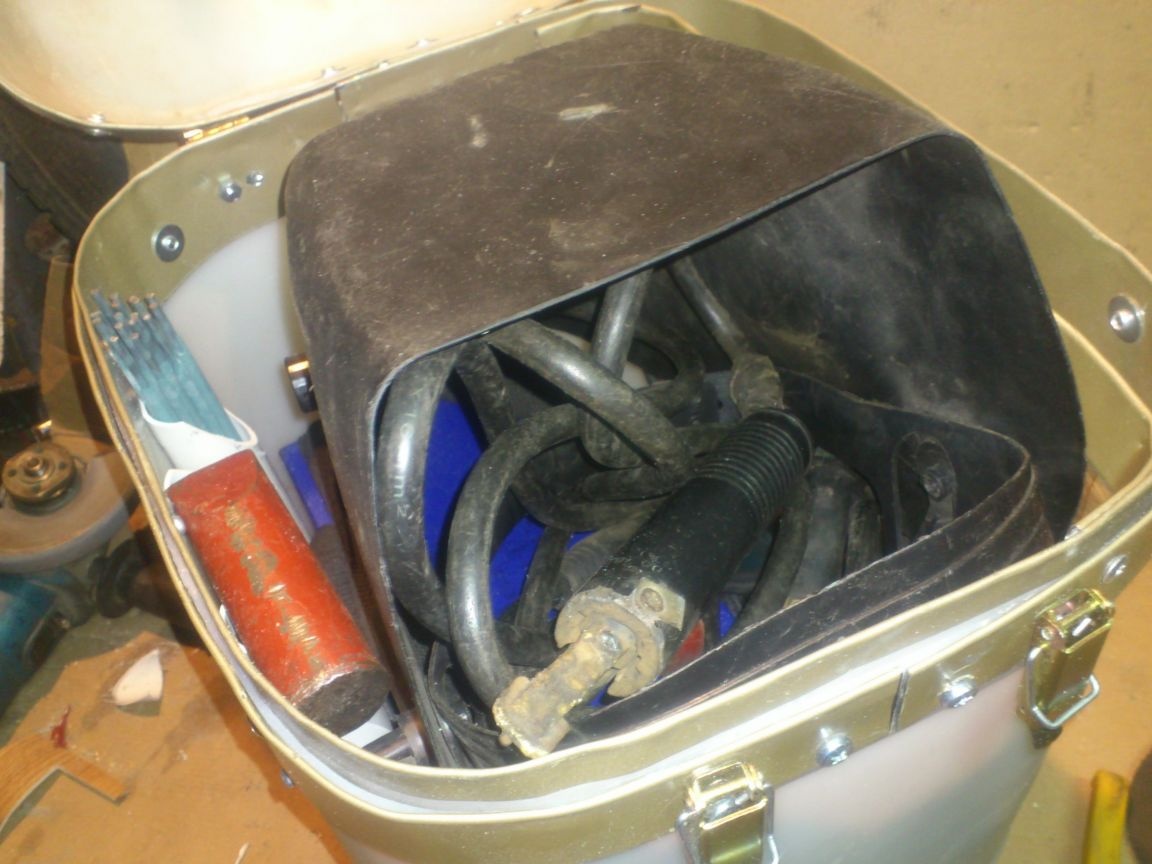
Now it’s convenient to store a supply of electrodes of different diameters in them (at the time of shooting it turned out that the “two and a half” had ended! Only the “two” and “three” were available ... Now I have already bought them)))))):
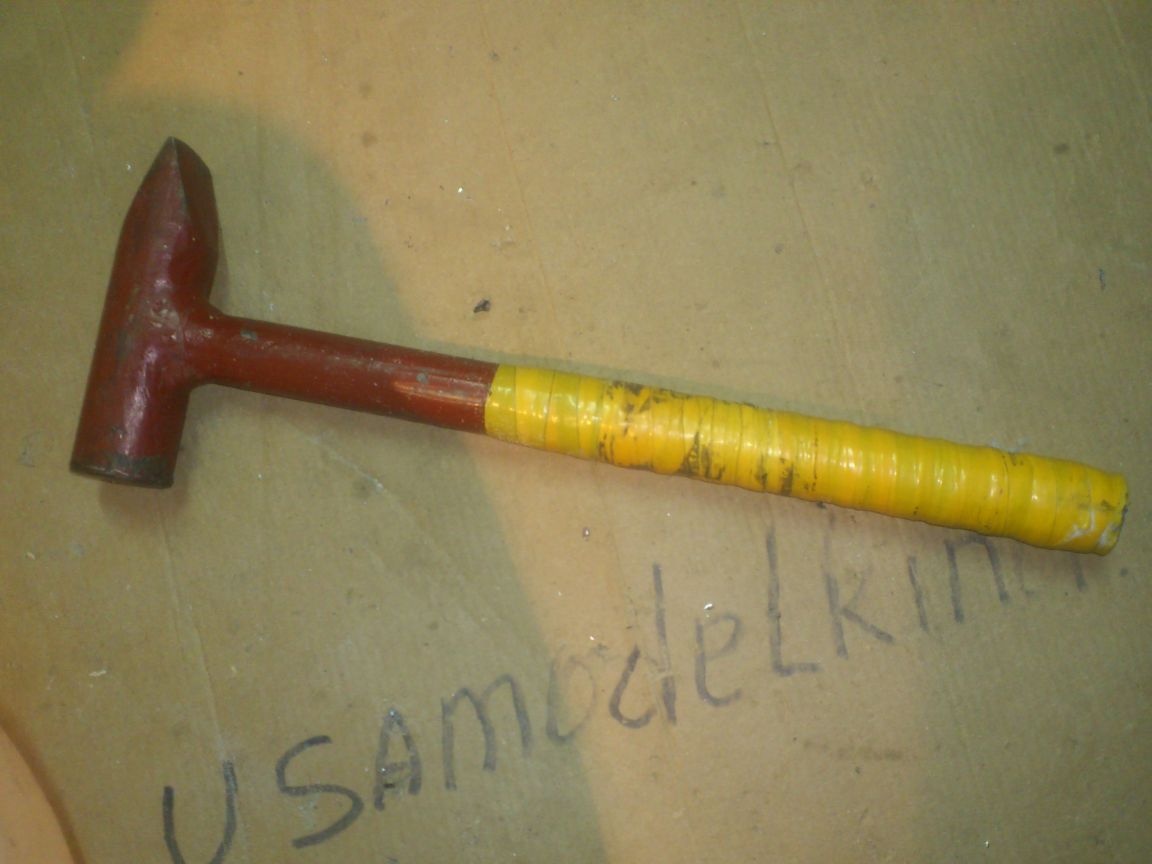
There, the hammer also fit:
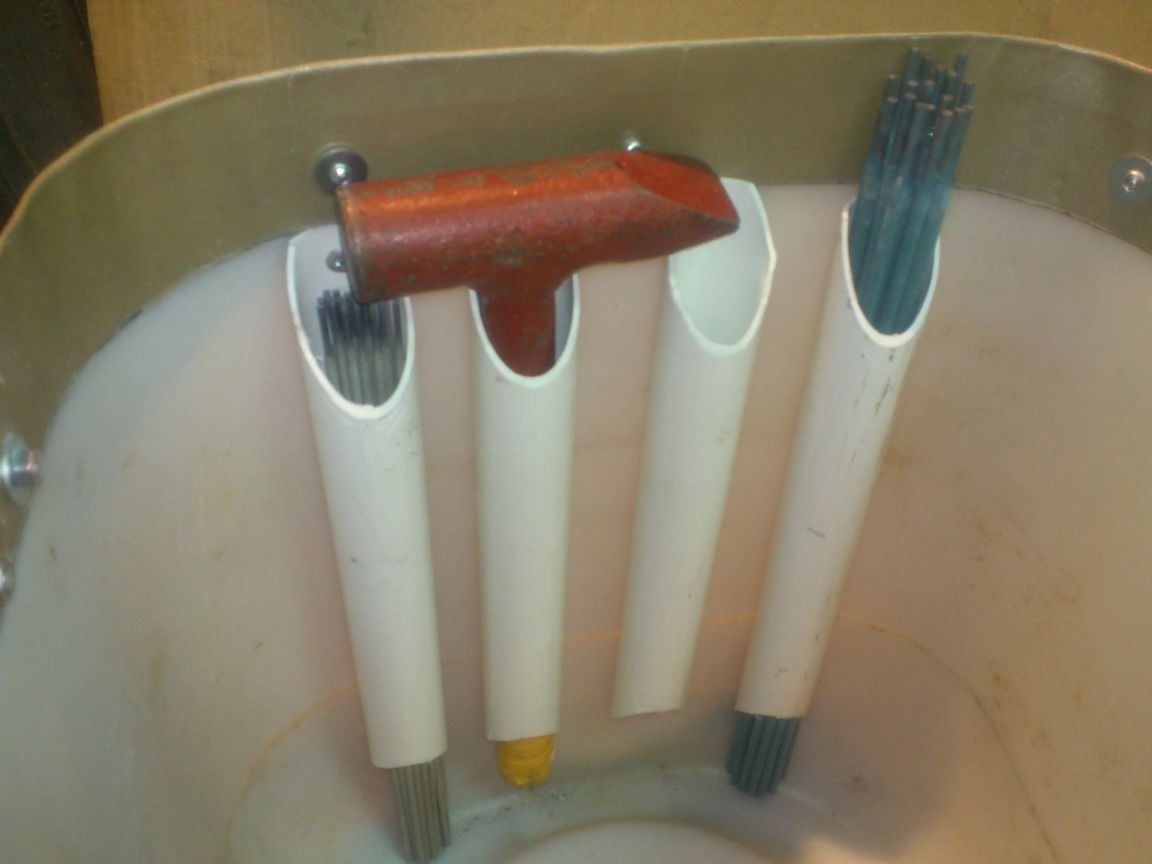
By the way, the hammer is also homemade. Especially for welding, he built it from a piece of round timber and a piece of water pipe. And heavy enough, and the pen won't light up ....
Next, I proceeded to the device of a pocket for Bulgarian circles. I cut a piece of linoleum like this:
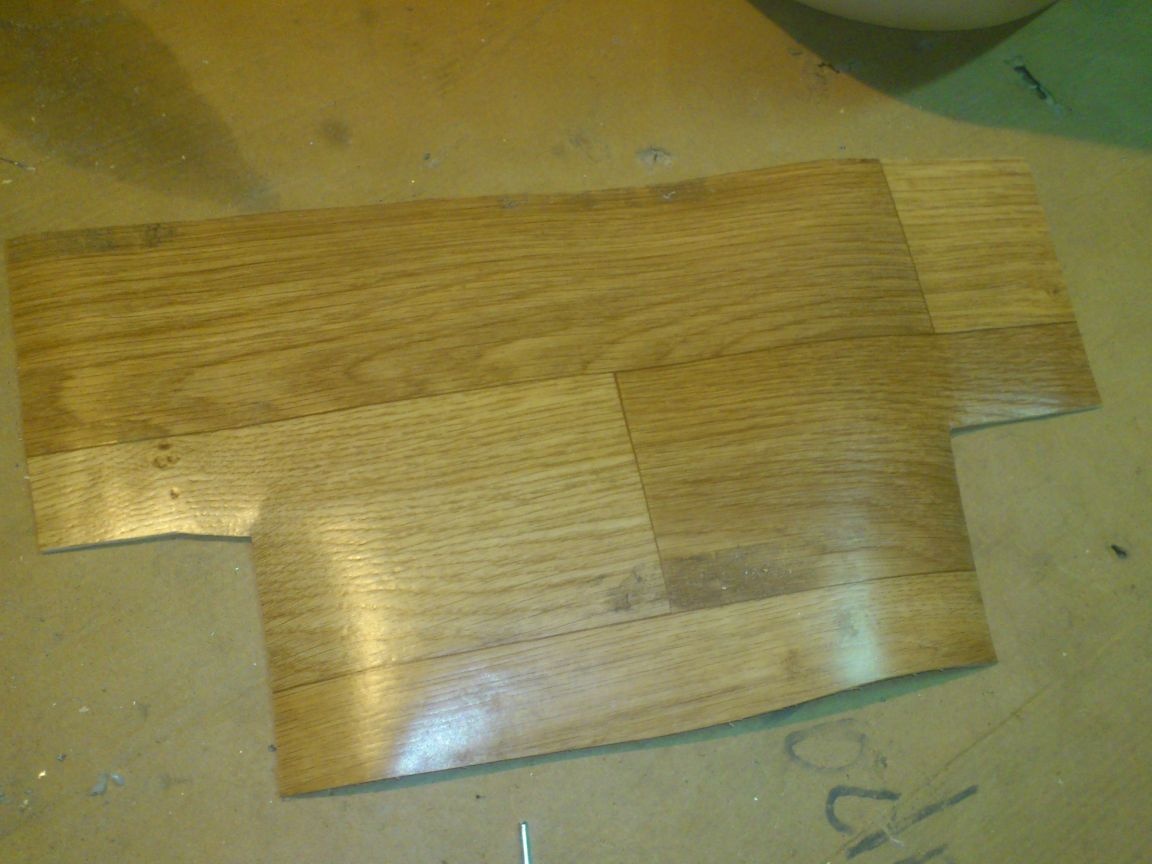
The edges are “framed” with a gesture:
Then he riveted the bottom edge first:
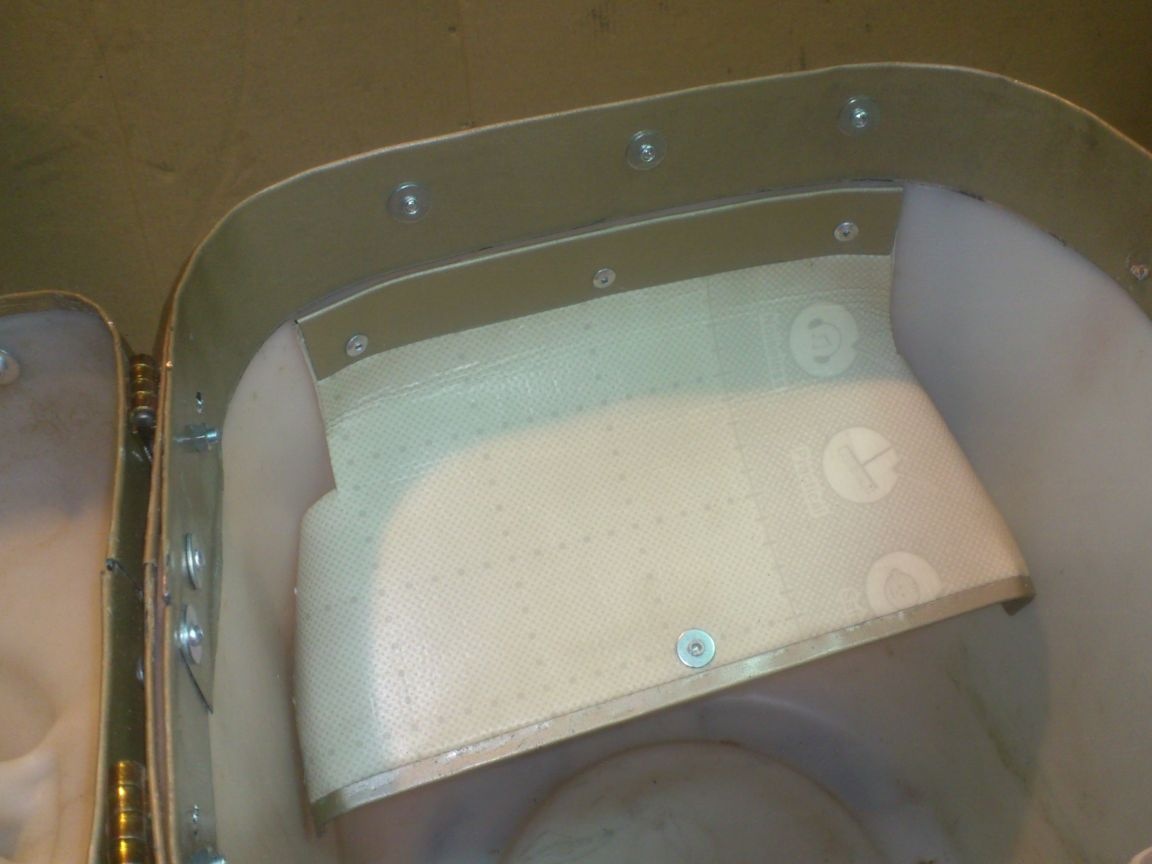
He turned and riveted the top over the edges:
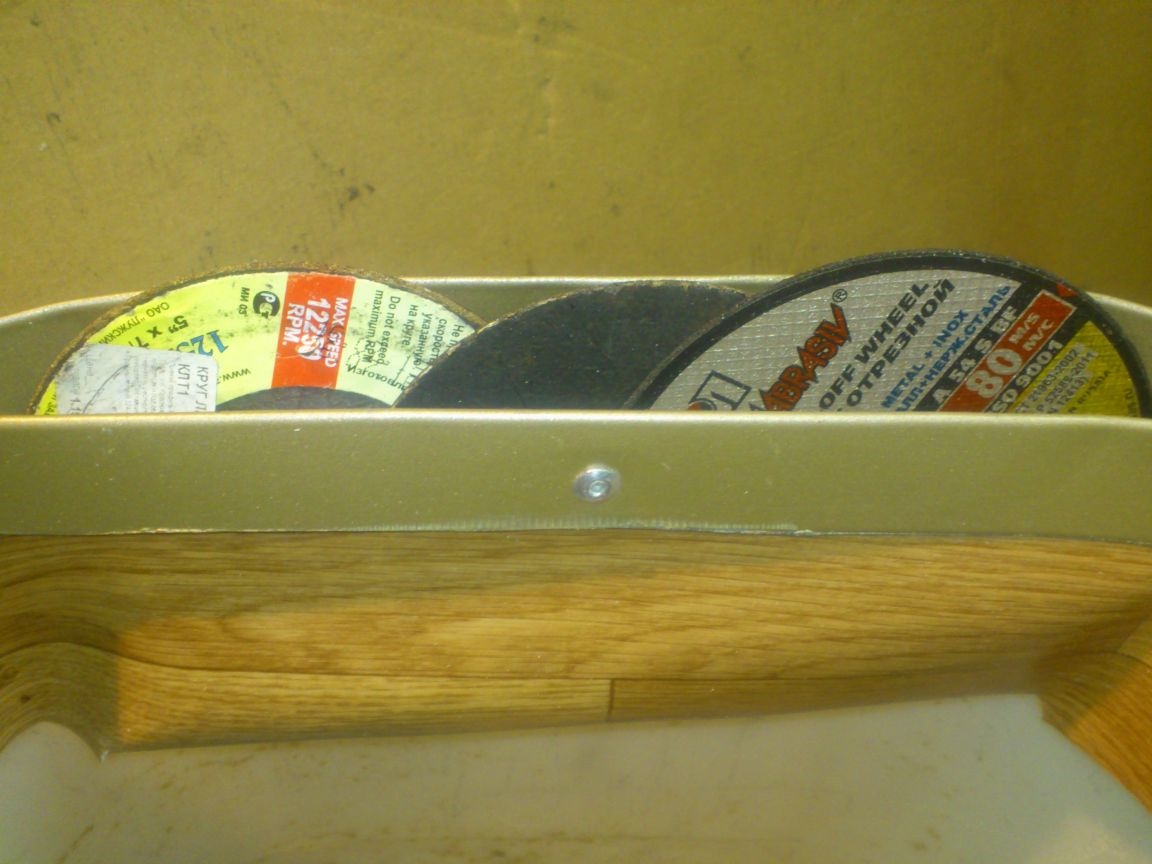
The result is a pocket in which it is convenient to store the stock of circles:
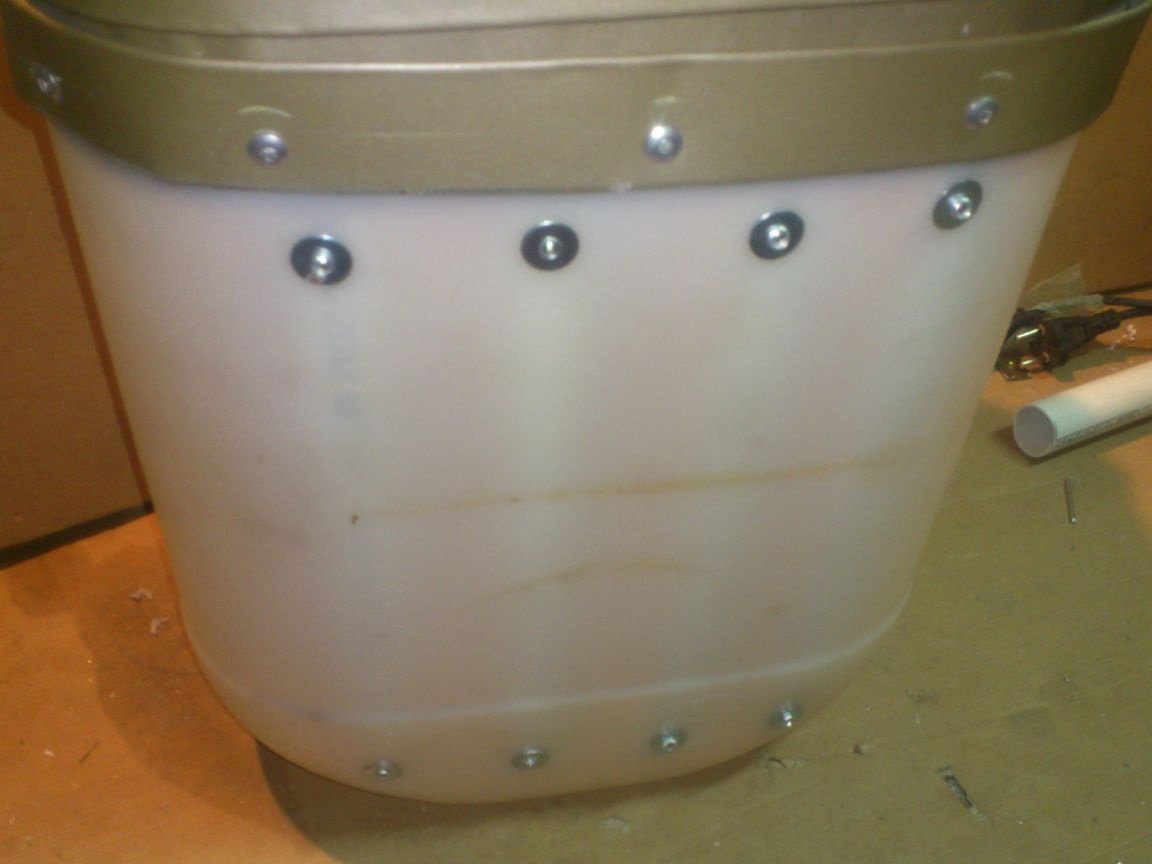
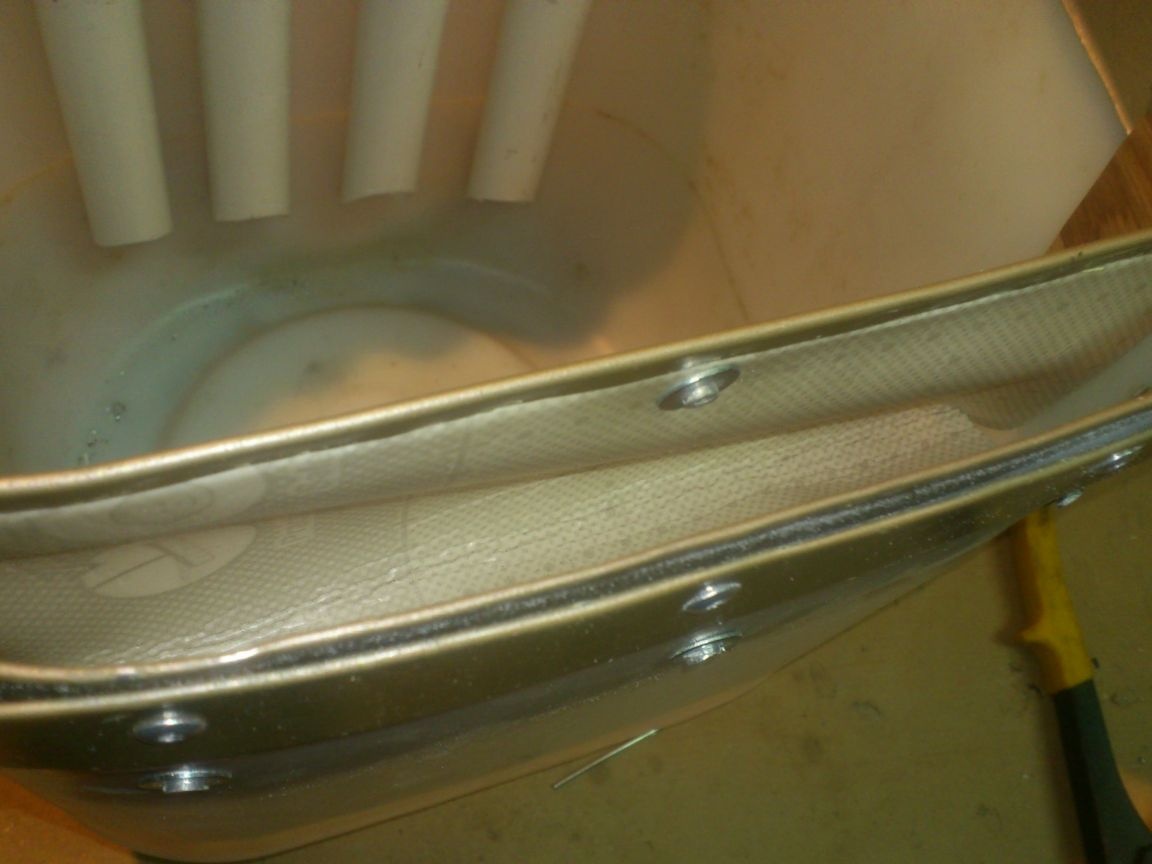
Now we need to think about ventilation, because condensation will form in a dense plastic box during temperature changes ... I drilled six holes from each side of the canister with a pen drill. Three on top and bottom:
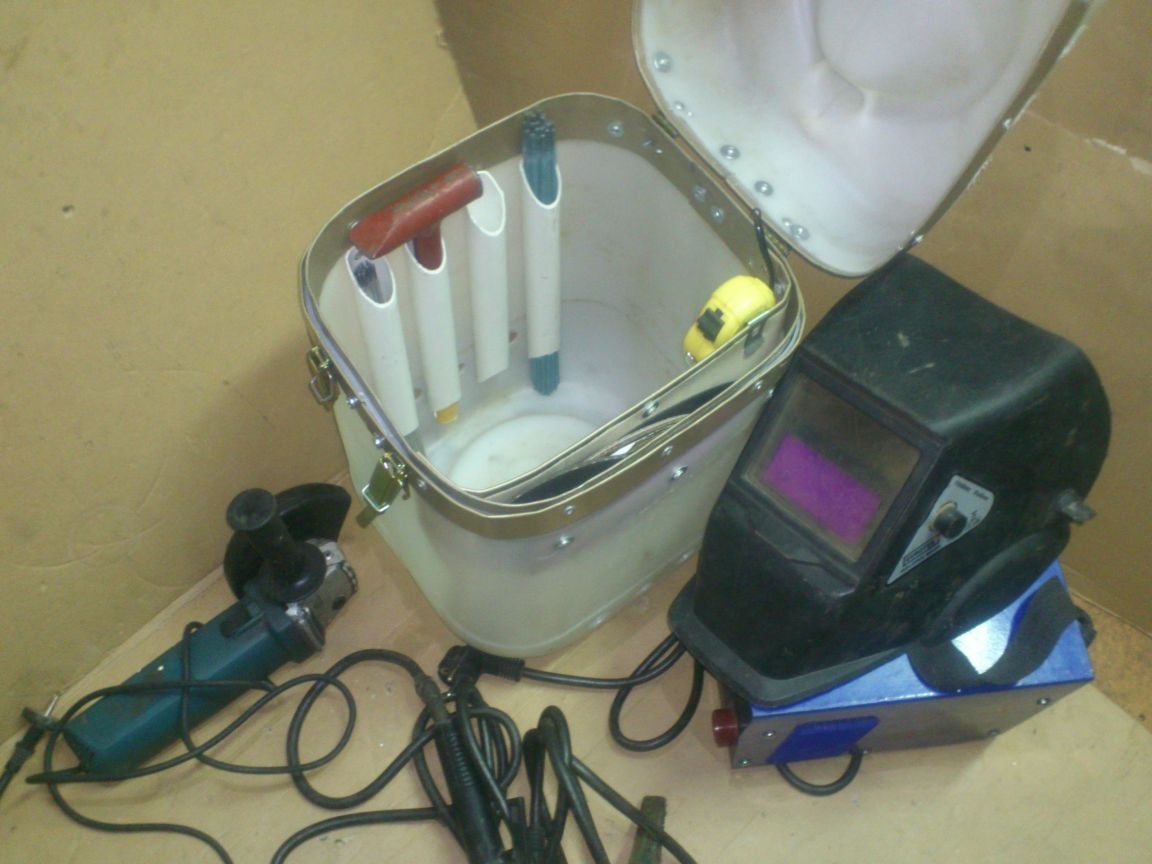
Well ... That's it! Let's start the bookmark. First of all, I placed the welding machine itself:
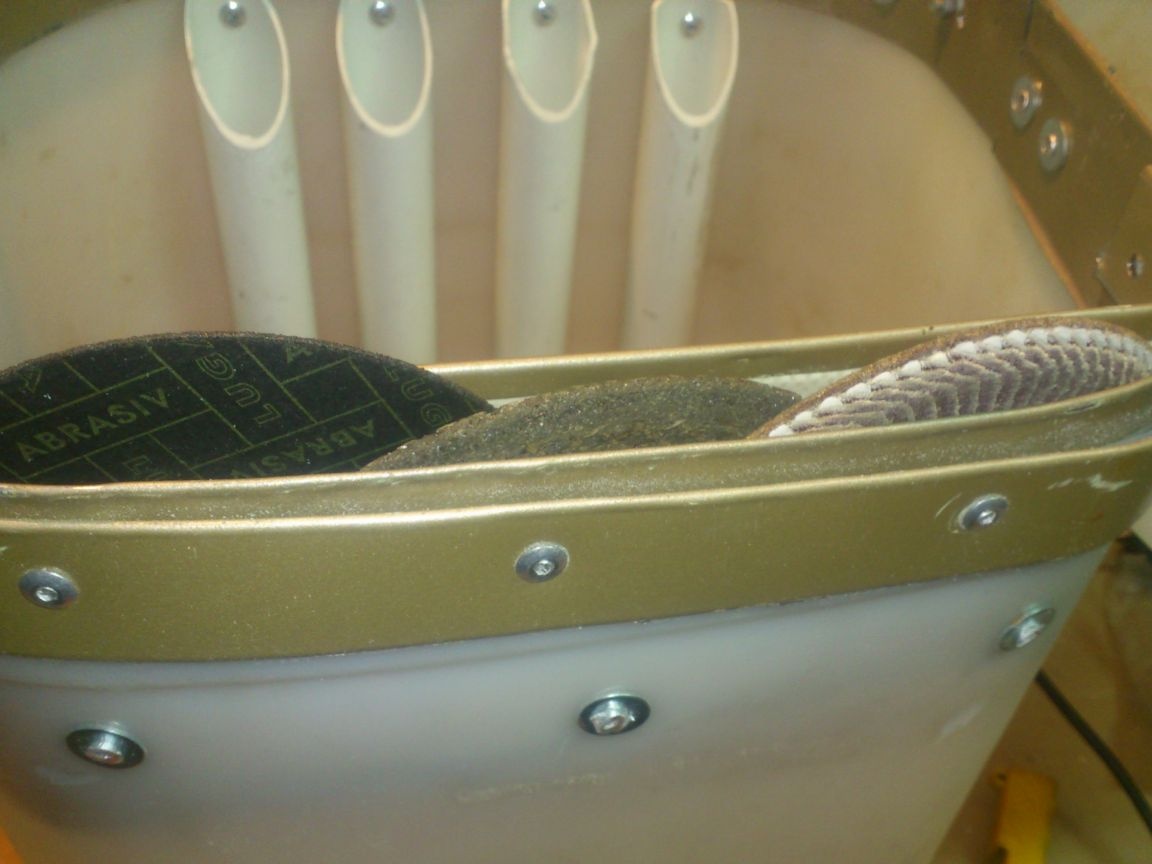
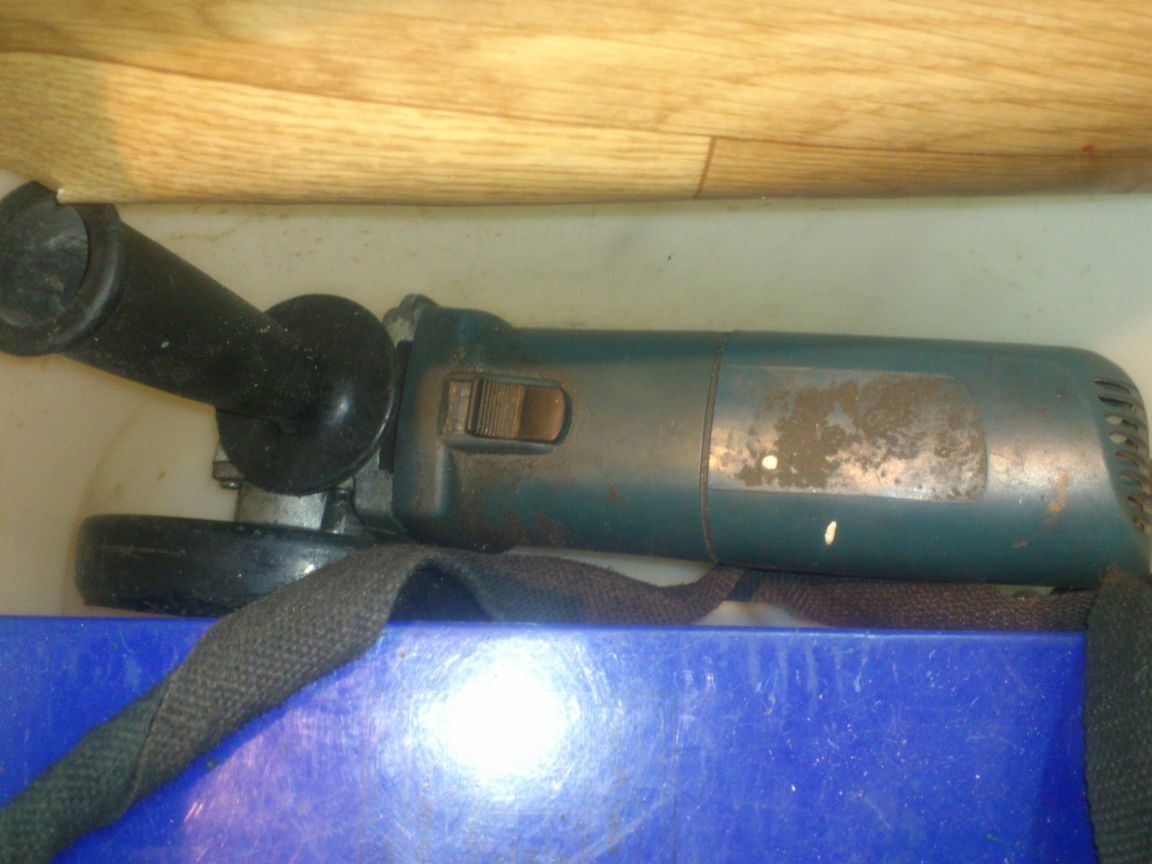
Nearby fit the "Bulgarian". (Since I have many 125 “grinders”, I decided to “settle” here forever):
A welding mask is placed on top, wires are placed inside it:
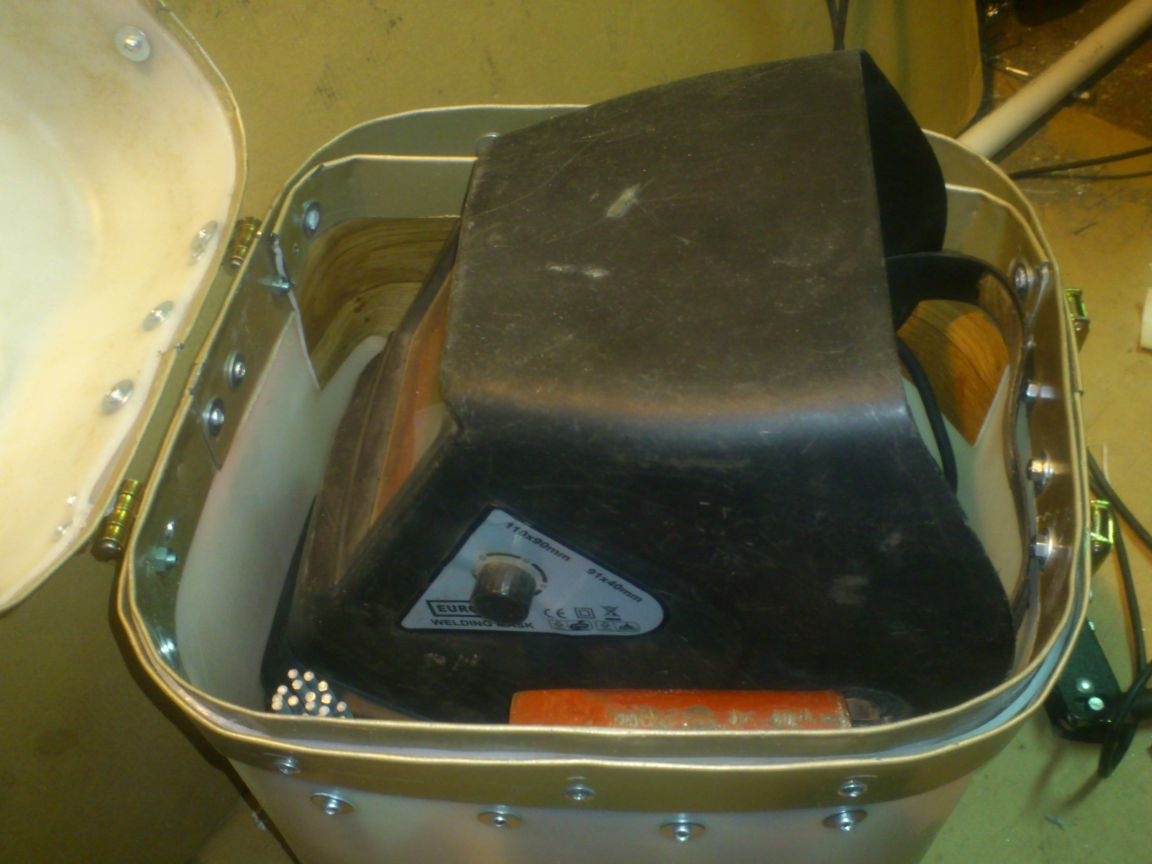
Not in the photo: I also completed my box with tape measure and clamps.
All! Close the box:
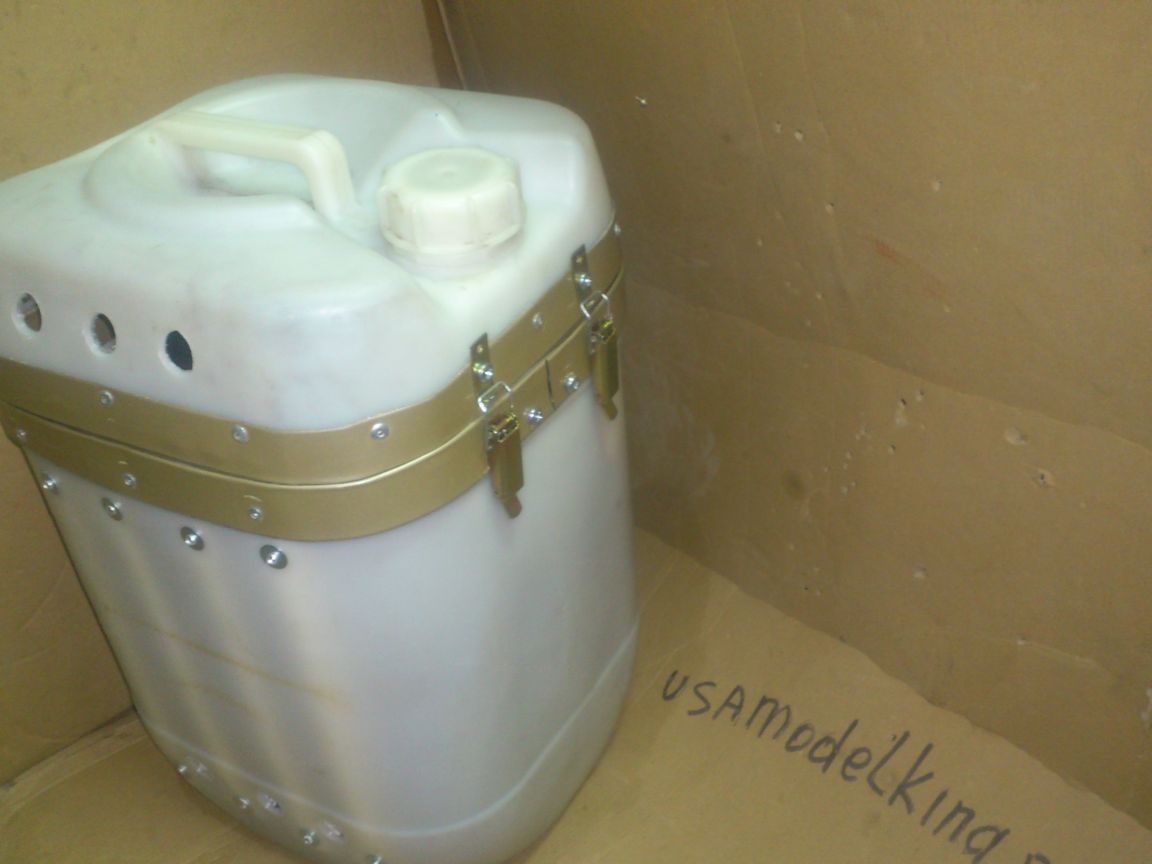
Here's a box I got in the style of "collective farm steampunk".)))))).
Of course, if someone is engaged in welding work permanently in the workshop, such a box is not needed. For work "away" it is very convenient ...