

Greetings to all readers and the master. It's no secret that playing sports is not only a physically developed body, but also good health. But, unfortunately, not everyone can afford to visit the gym regularly, someone does not have time, but someone has the means. That is why, for those who decided to take the health path, I propose to make a fairly common sports equipment - the Swedish wall. For example, the author of this homemade collected it for his daughters gymnasts.
Tools and materials
• Board
• Laminated plywood
• Wooden cuttings
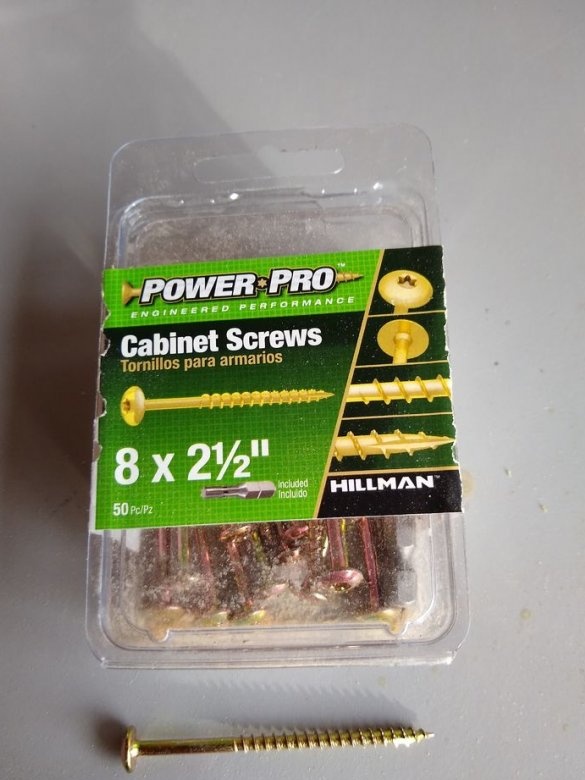
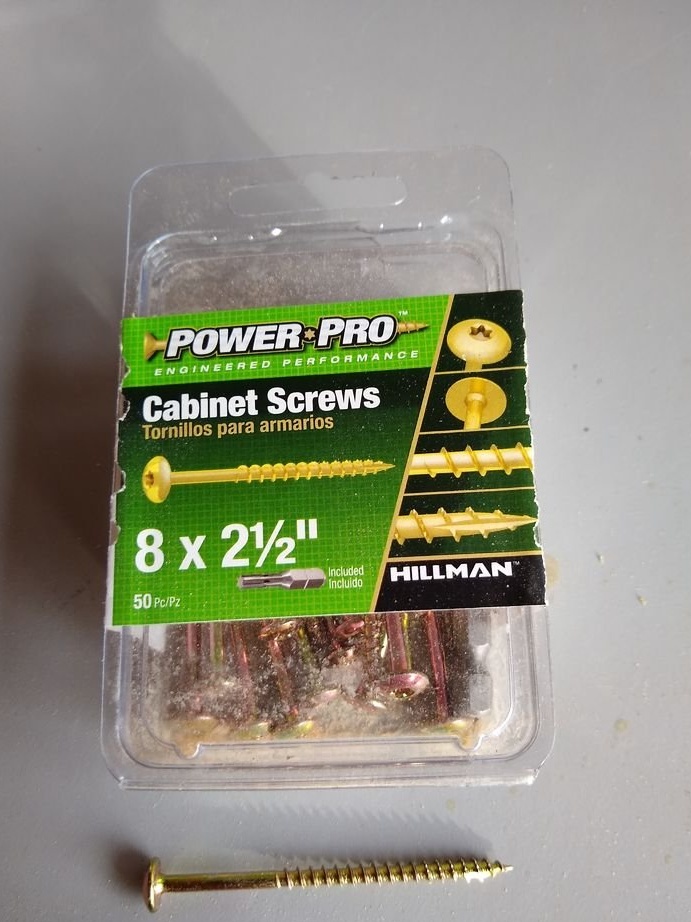
• Self-tapping screws
• Drill
• Feather drill
• Grinder
• Joiner's clamp.
Step 1
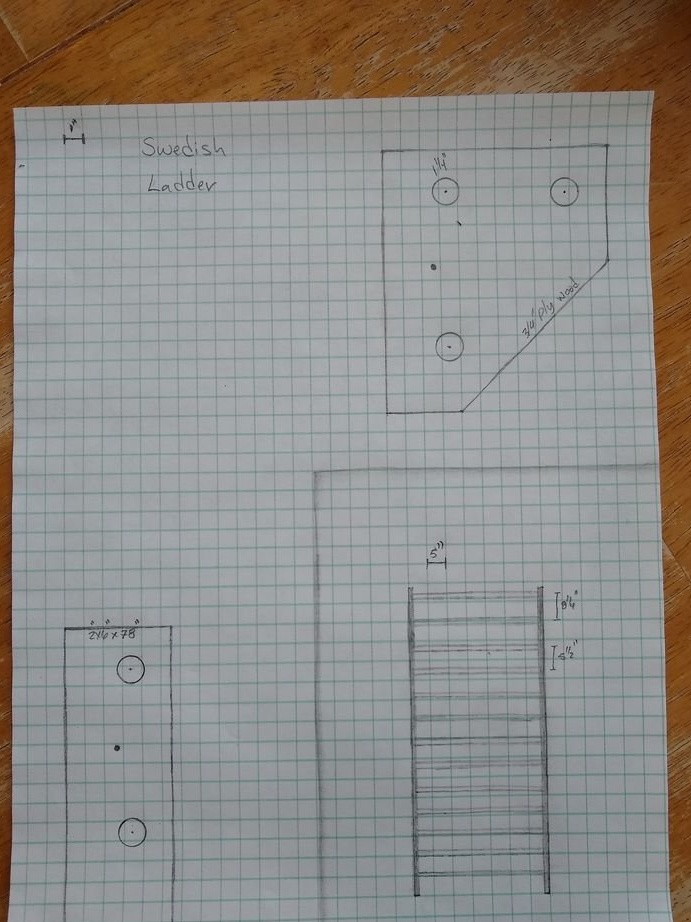
First of all, the author prepared a drawing of the future design and calculated its dimensions, taking into account the dimensions of the room. After that, he prepared the materials and tools necessary for work.
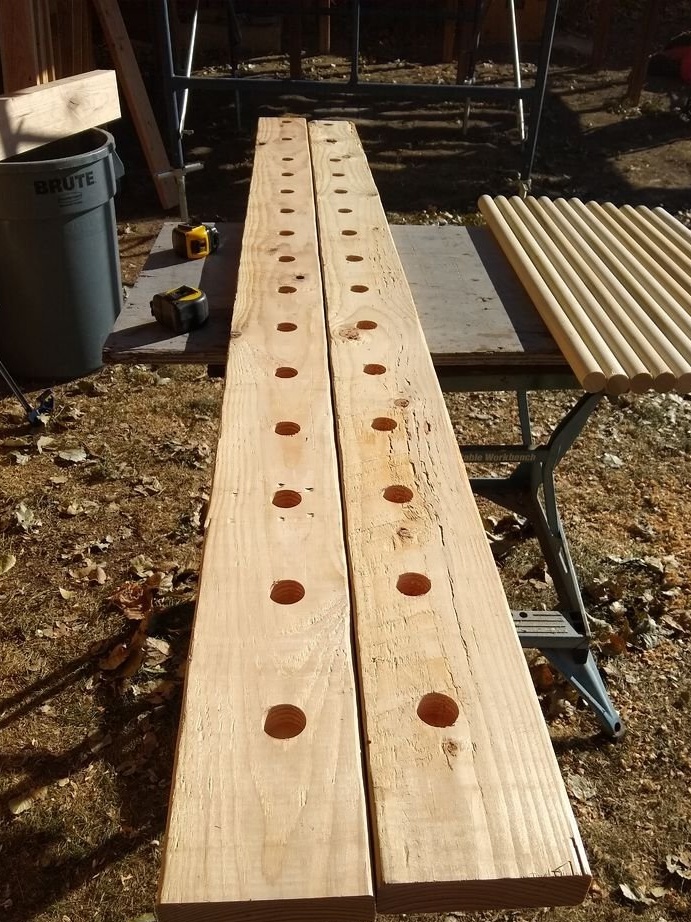
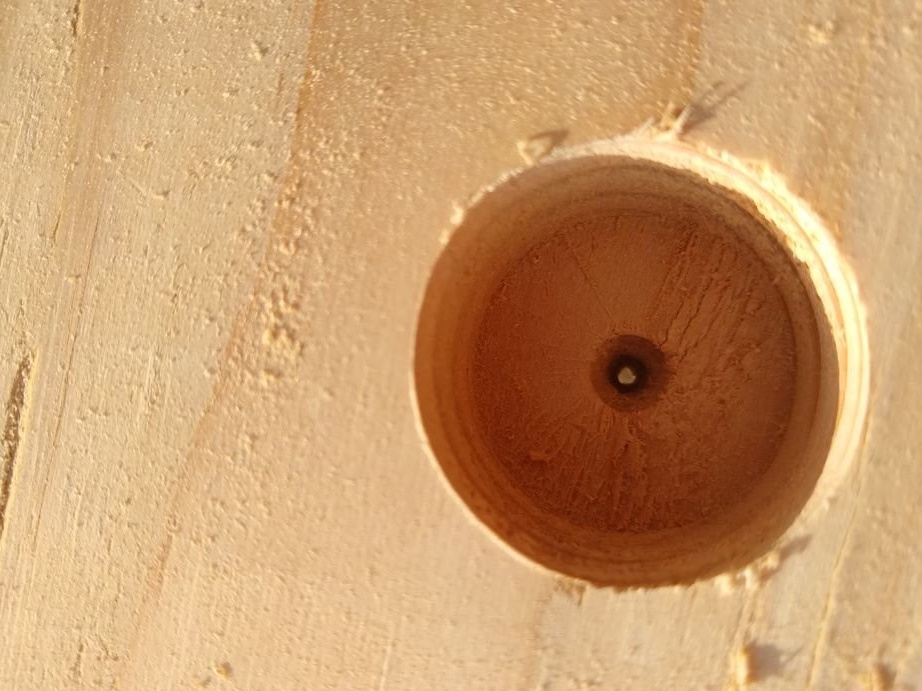
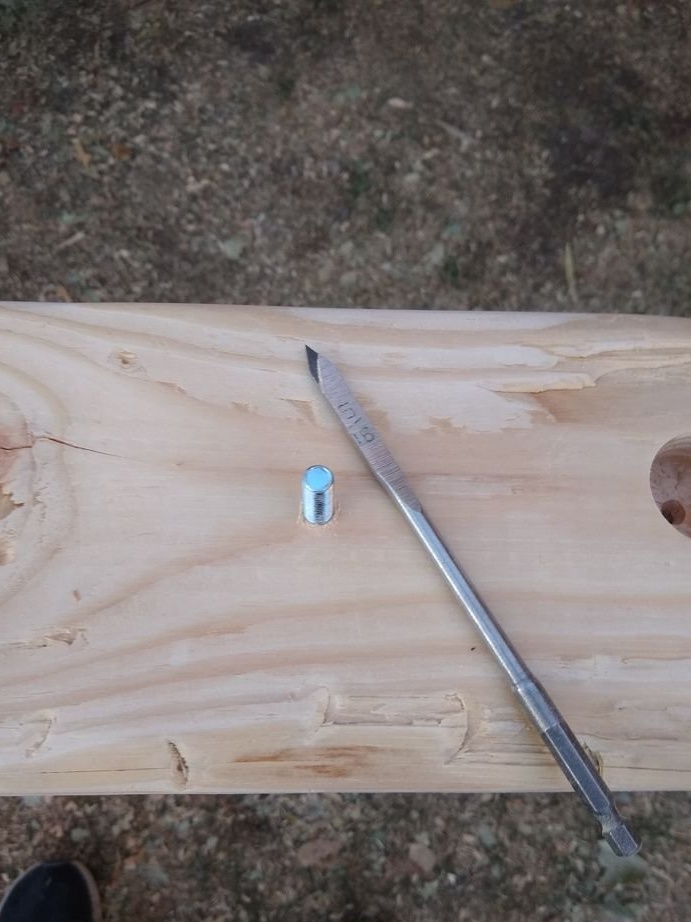
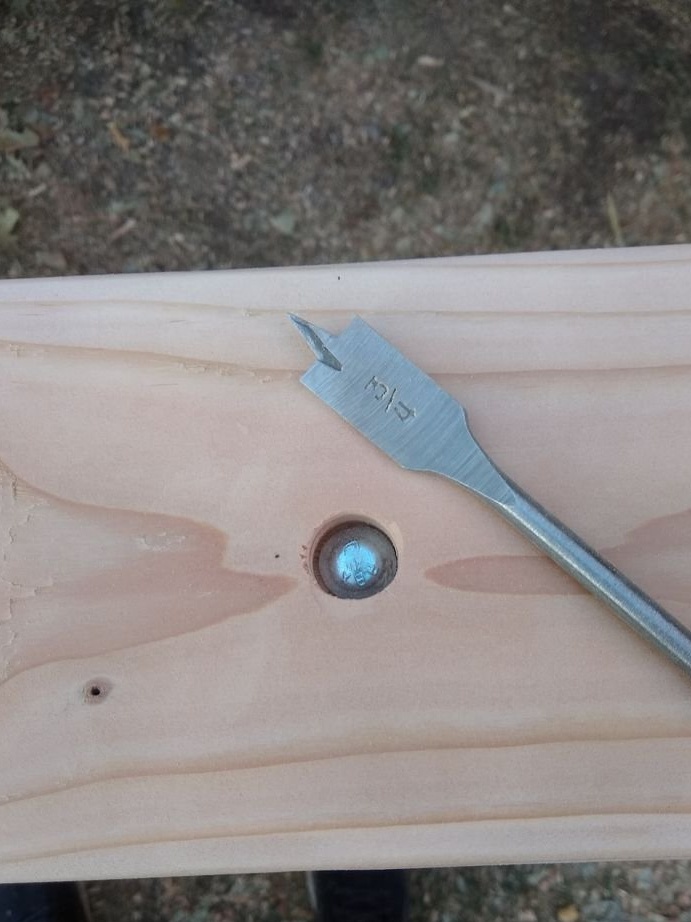
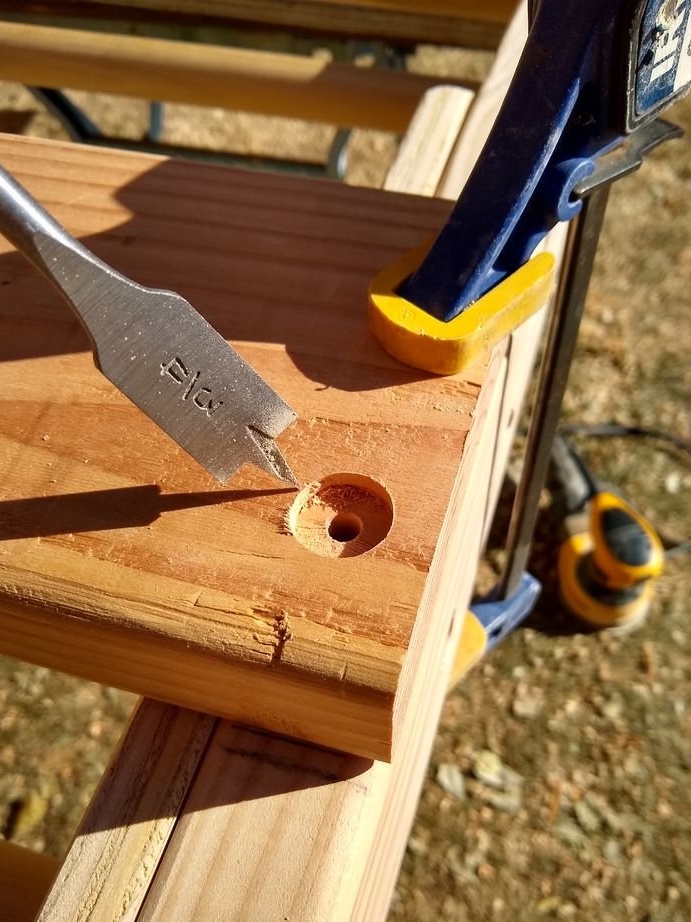
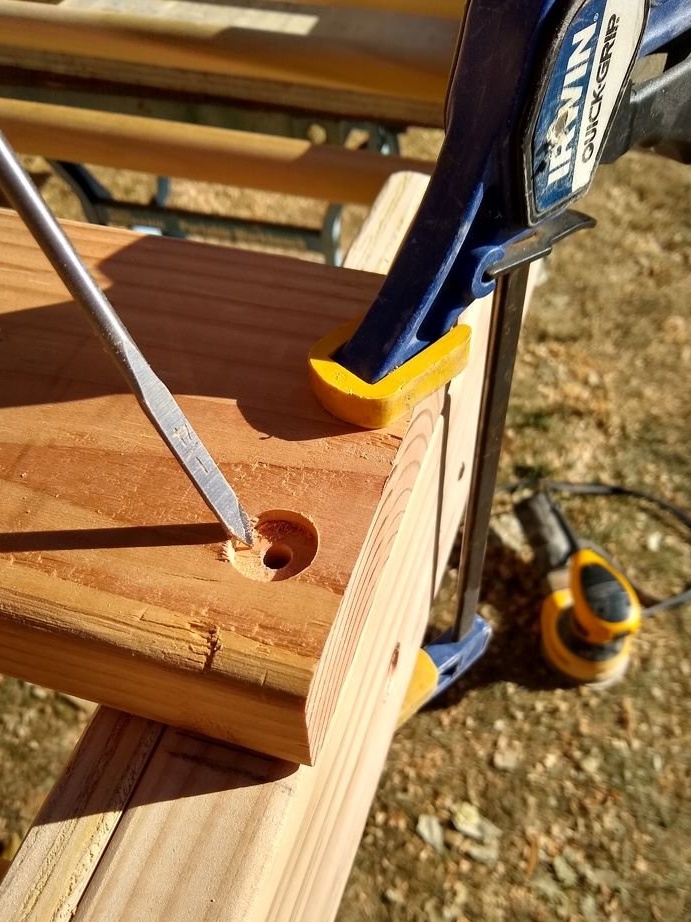
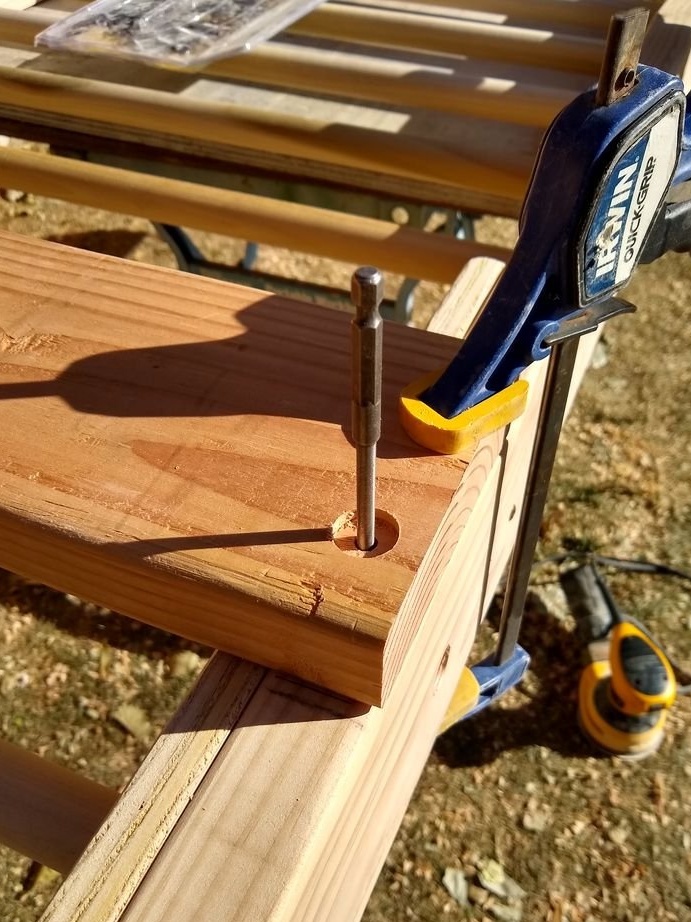
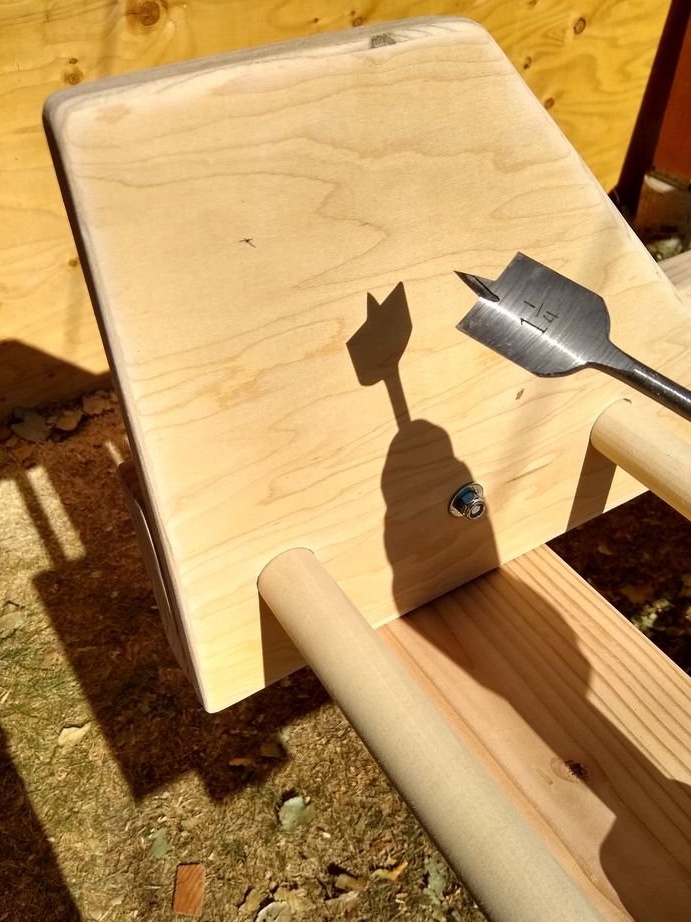
Then the author marked the planks and drilled blind holes in them with a pen drill for installing the crossbars.
Step 2
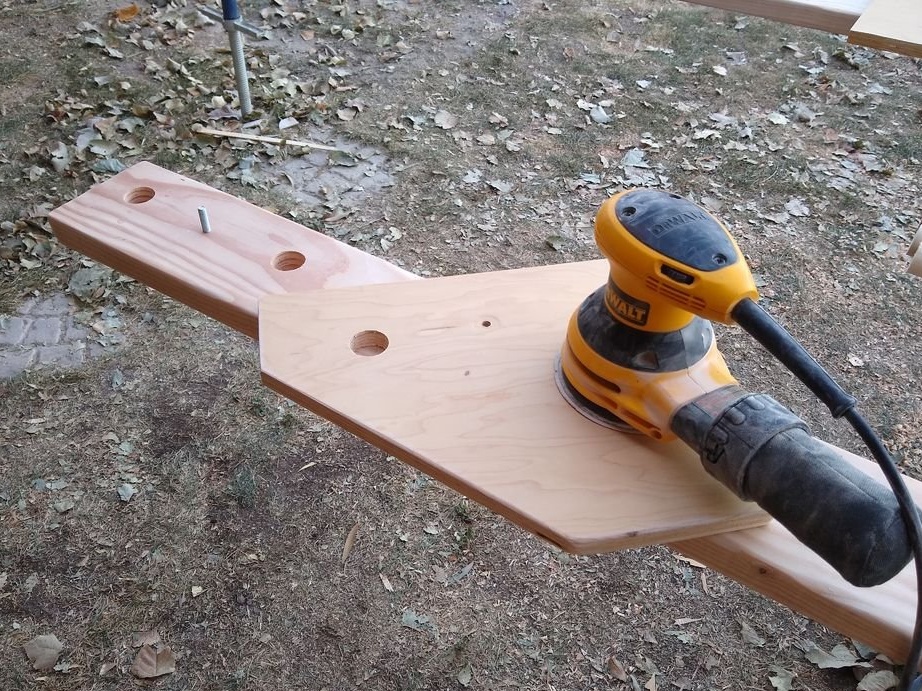
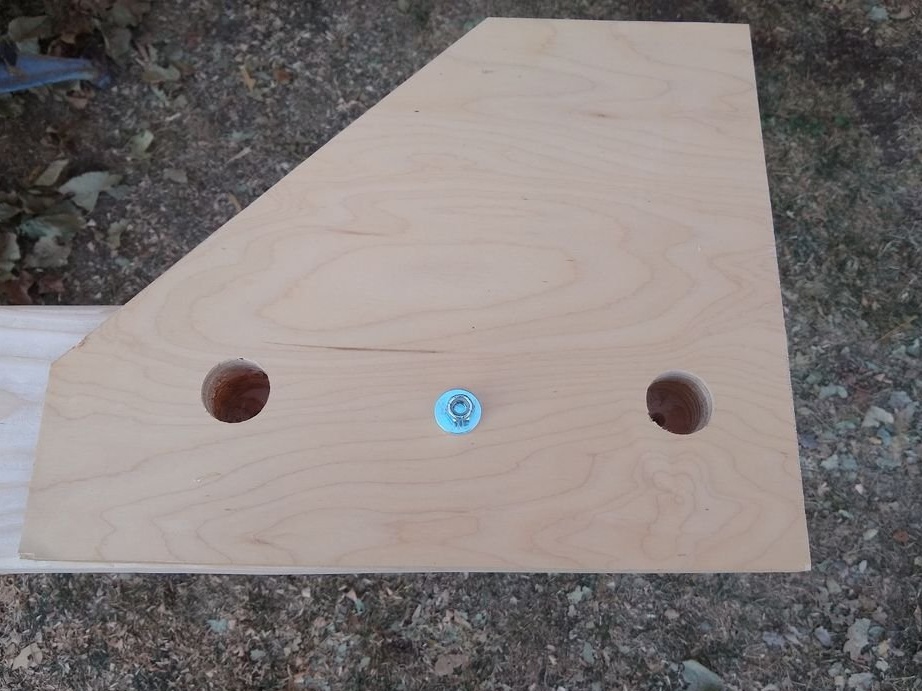
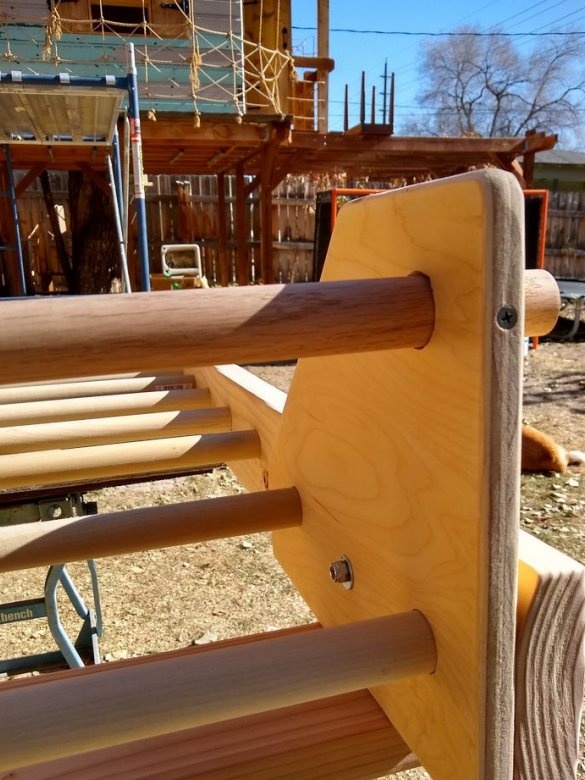
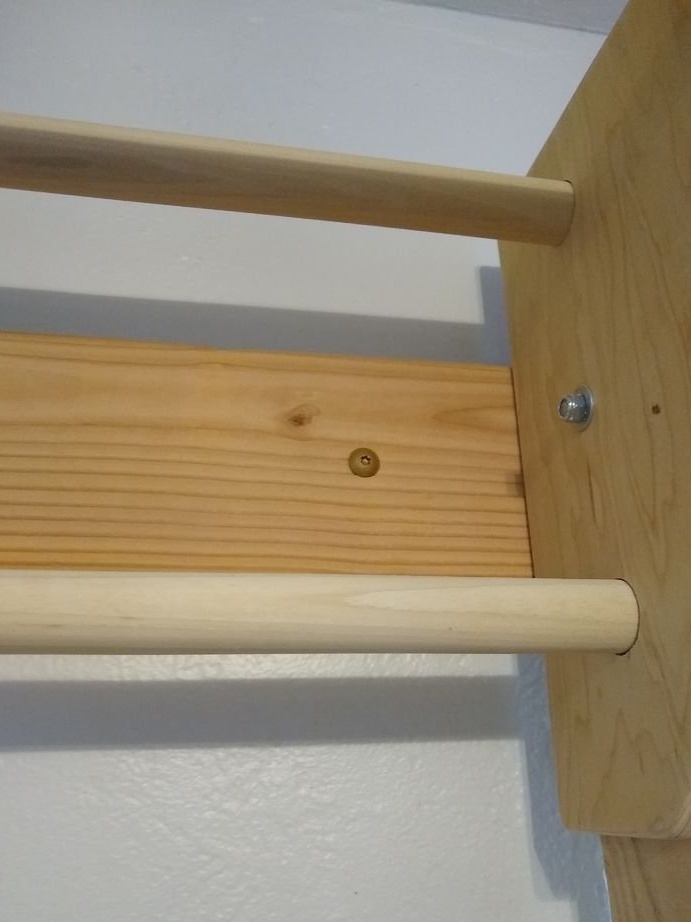
The next step is the preparation of the piles for the horizontal bar. First, the author cut out of plywood two planks of the desired shape and size. Each detail was processed by a grinder. In the racks, in the right place, I drilled holes for mounting bolts. I drilled the same holes in the slats; in addition, I drilled holes for the crossbars in these parts.
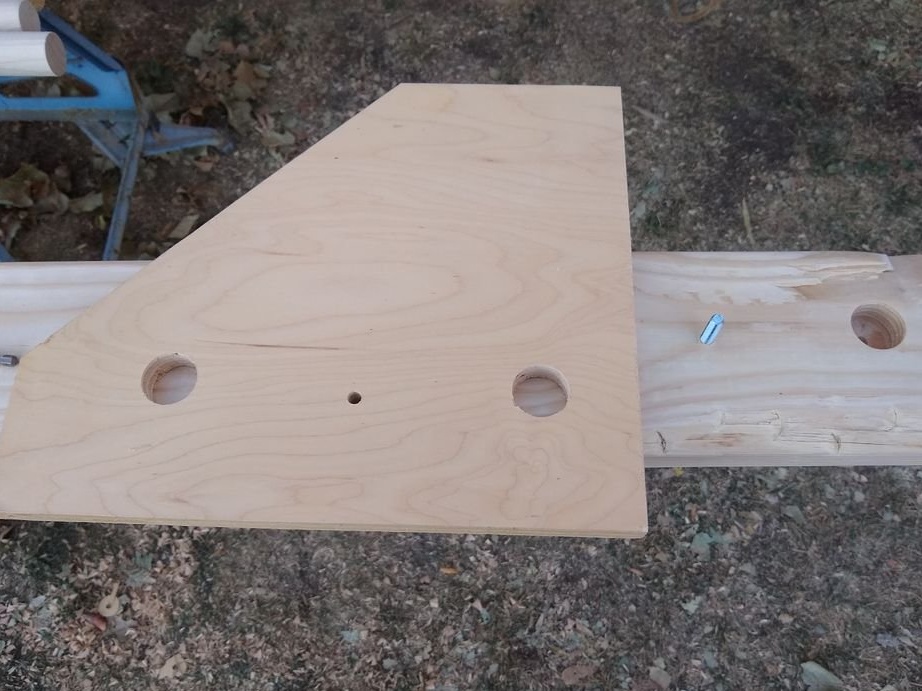
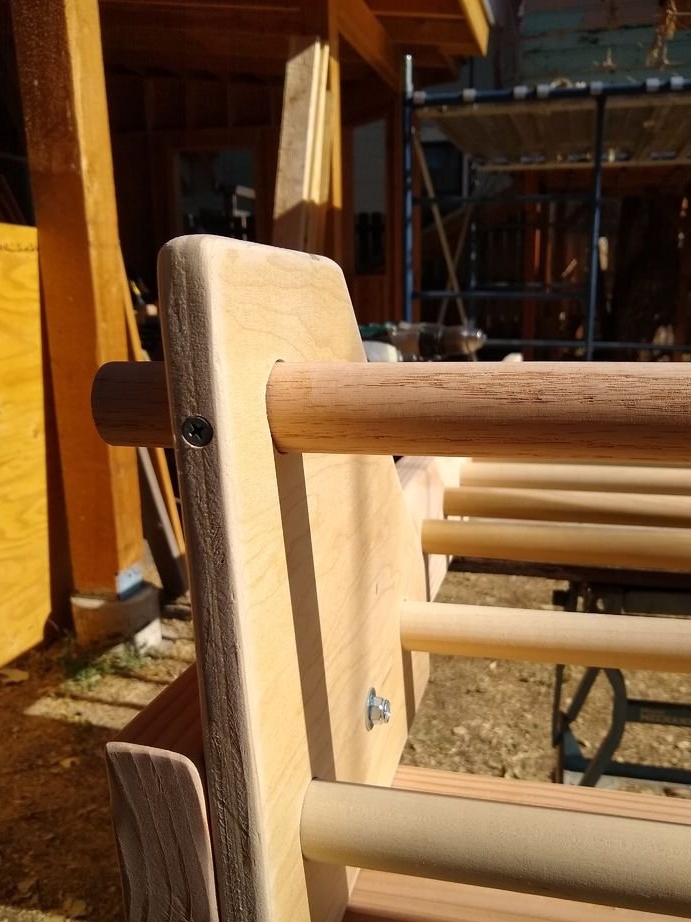
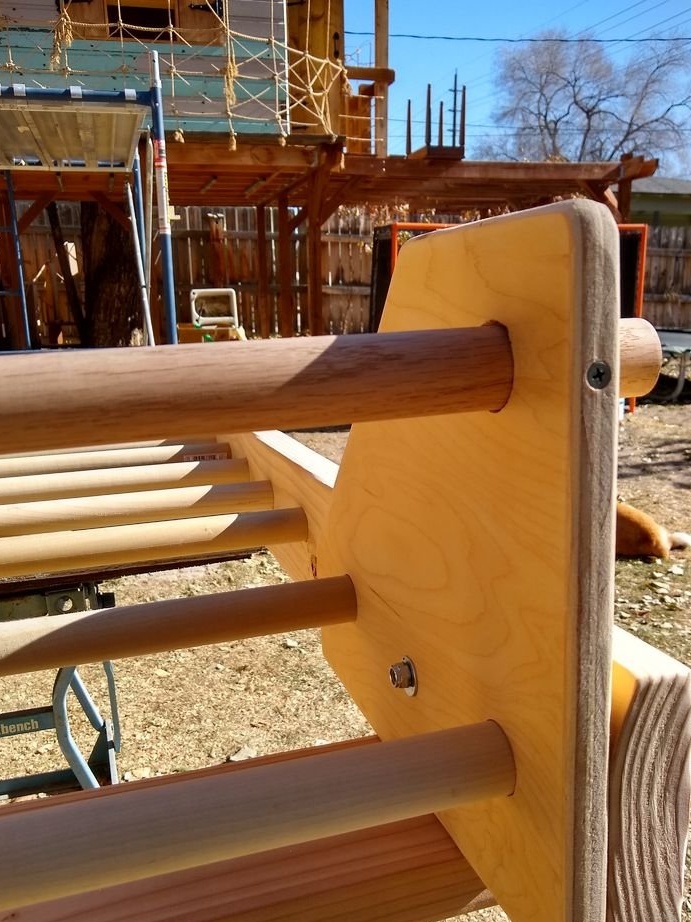
I fastened the bars to the racks with a screw.
Step 3
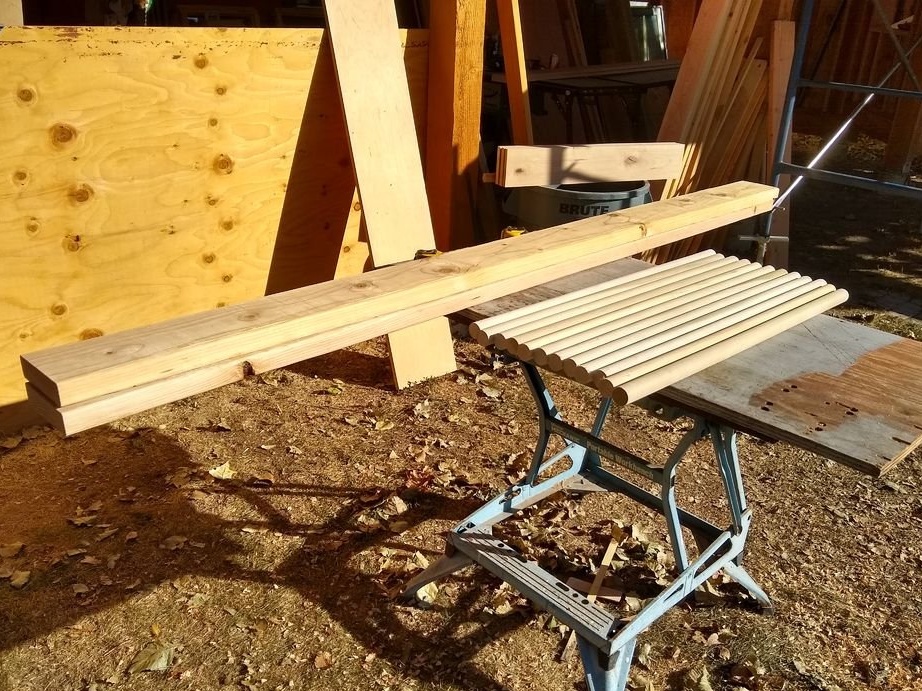
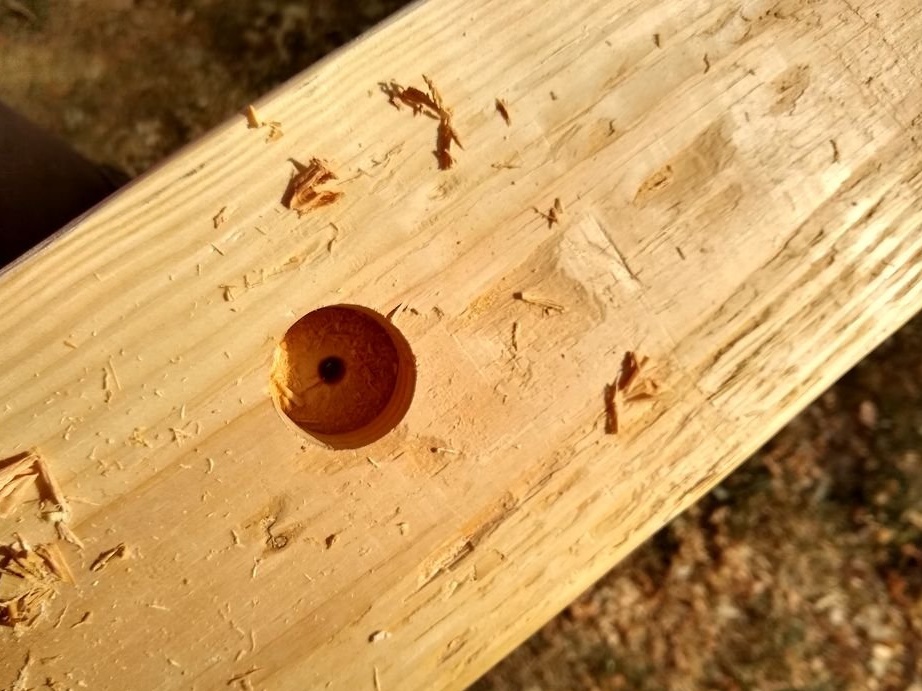
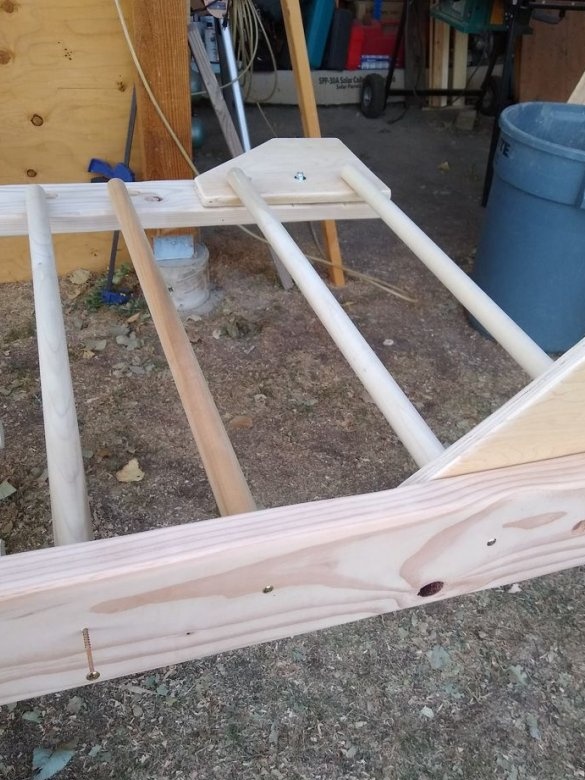
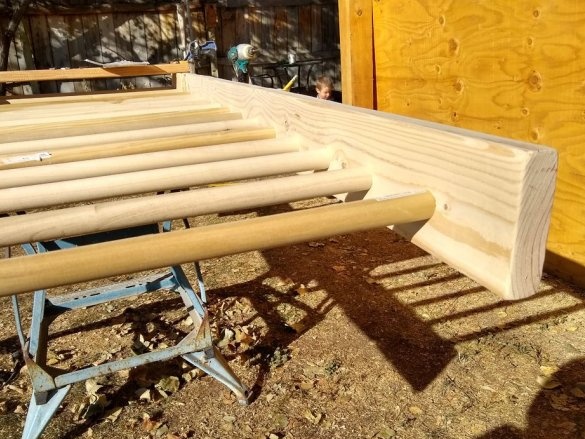
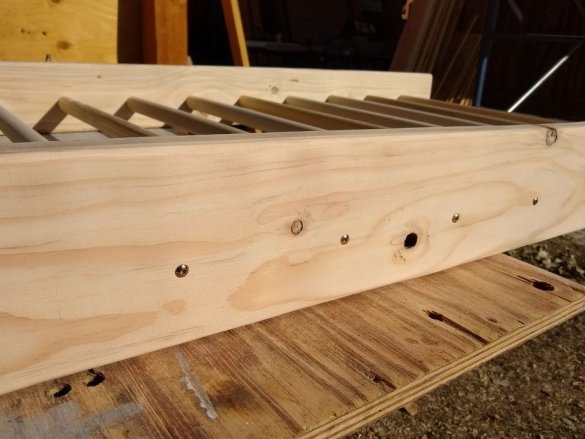
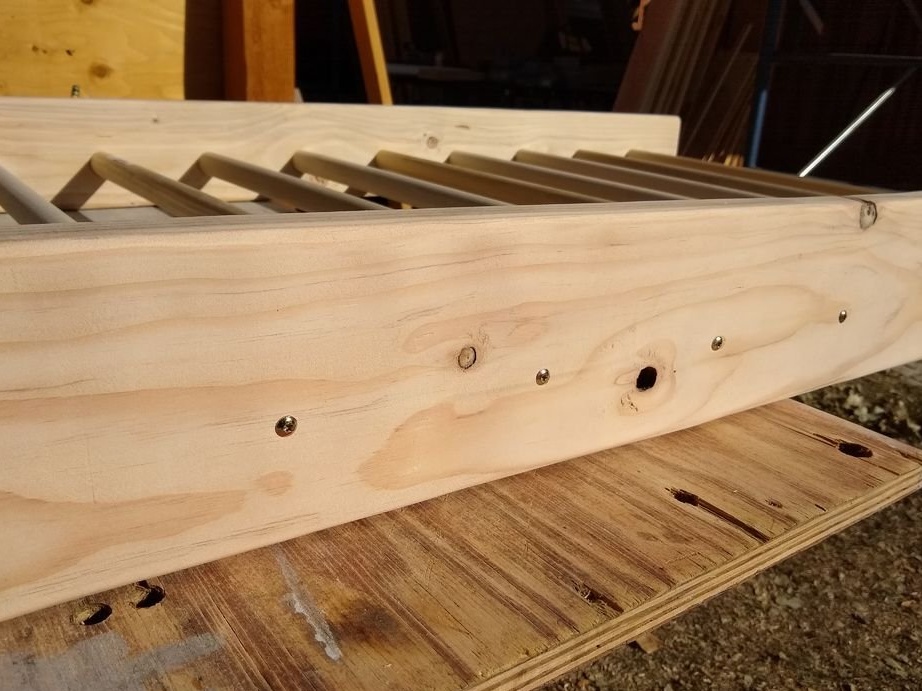
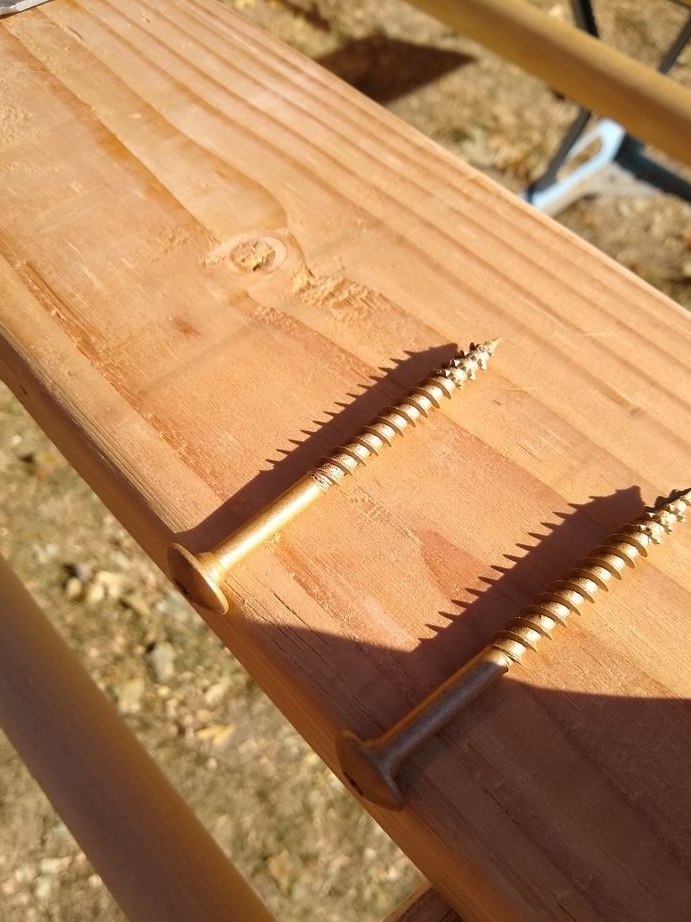
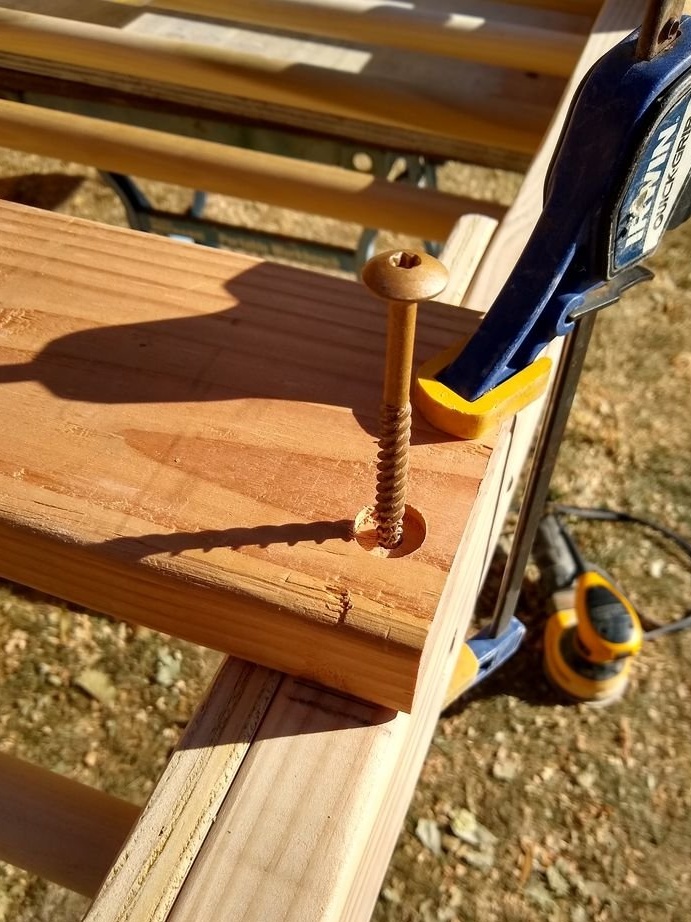
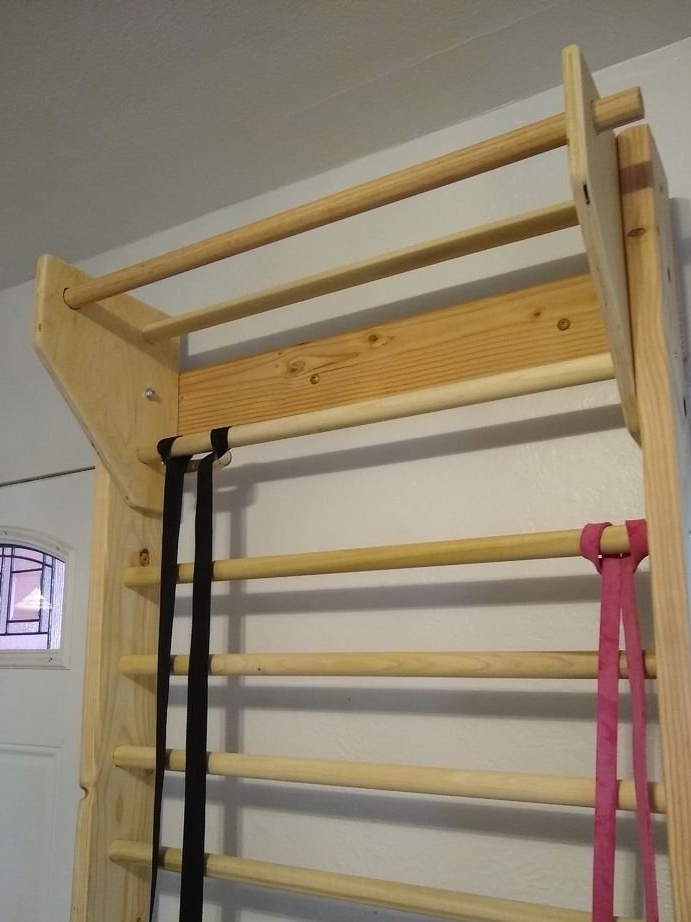
After everything was ready, the author began assembling the stairs. I installed cuttings in the holes and fixed them with long screws on the outside of the board.


Step 4
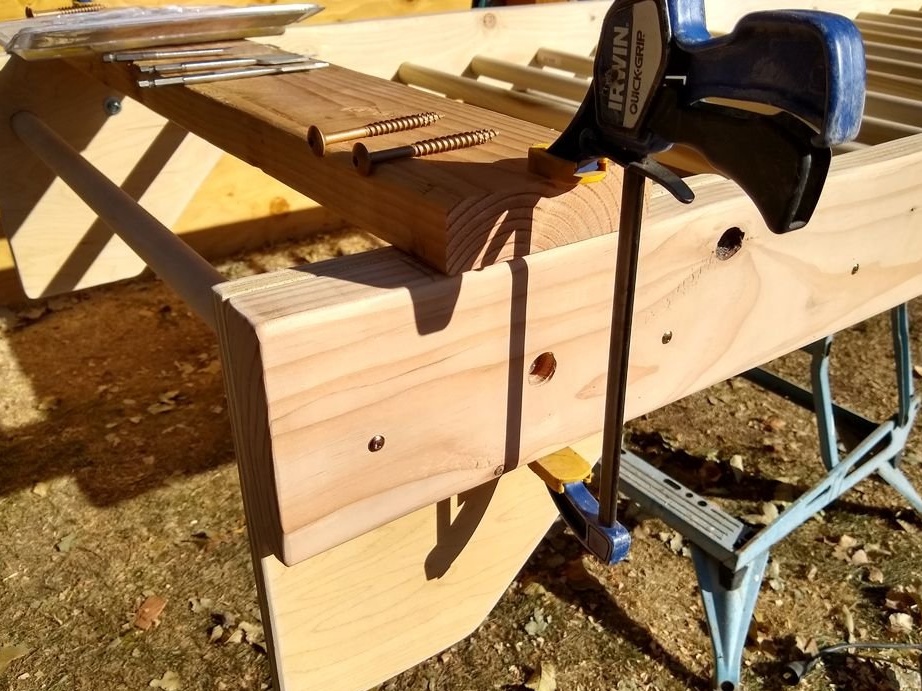
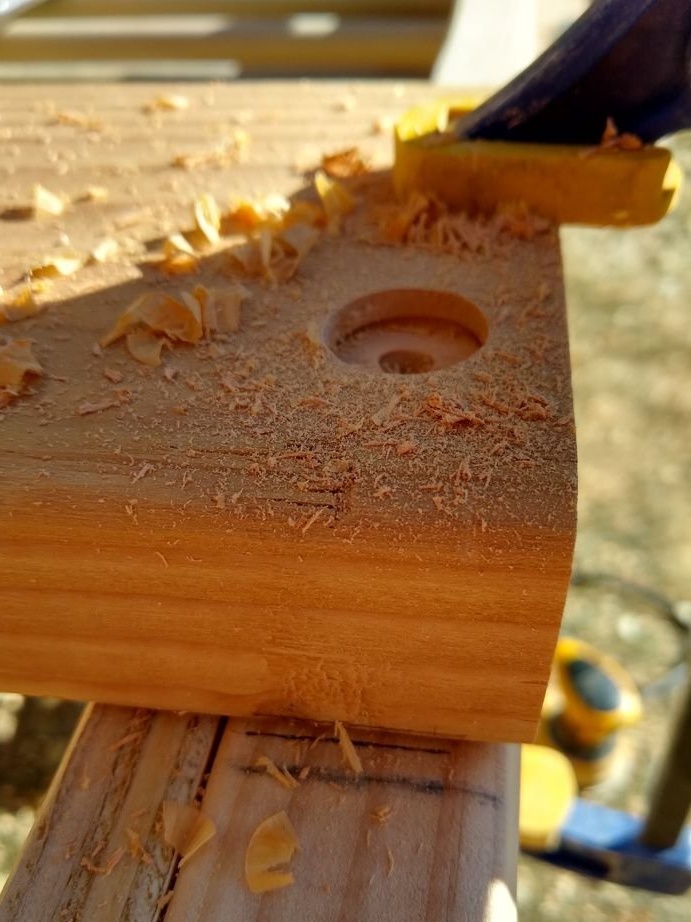
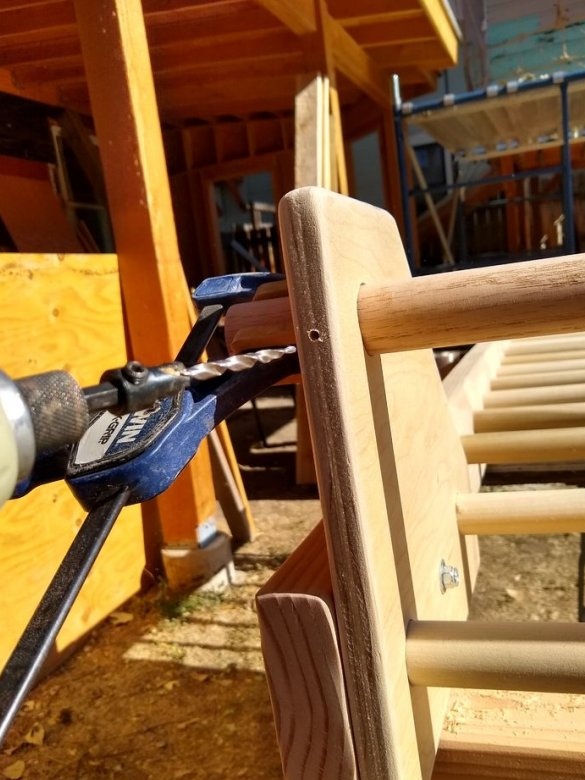
So that the structure can be firmly attached to the wall, the author on the reverse side screwed the crossbar - a piece of board with a length equal to the width of the stairs. The component was pressed with clamps and fixed with the same long self-tapping screws to the ribs of the uprights.

Step 5
After the design was assembled, the author installed the horizontal bar. I drilled holes in the plywood slats with a pen drill and installed a handle in them.


Step 6
The author fastened the finished Swedish wall to the wall with screws, but in my opinion it is better to use anchor bolts, it will be more reliable.
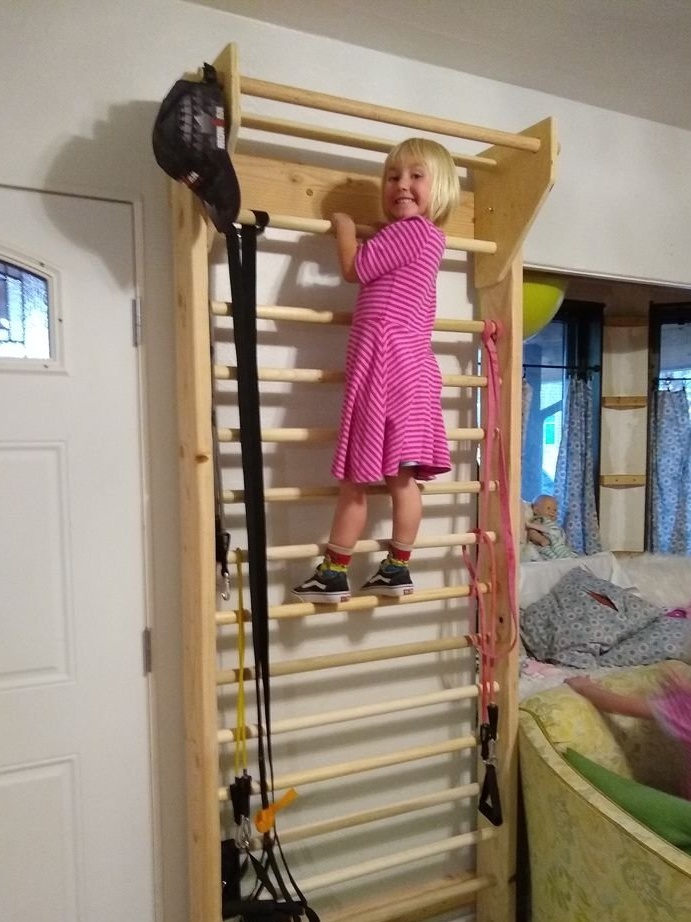
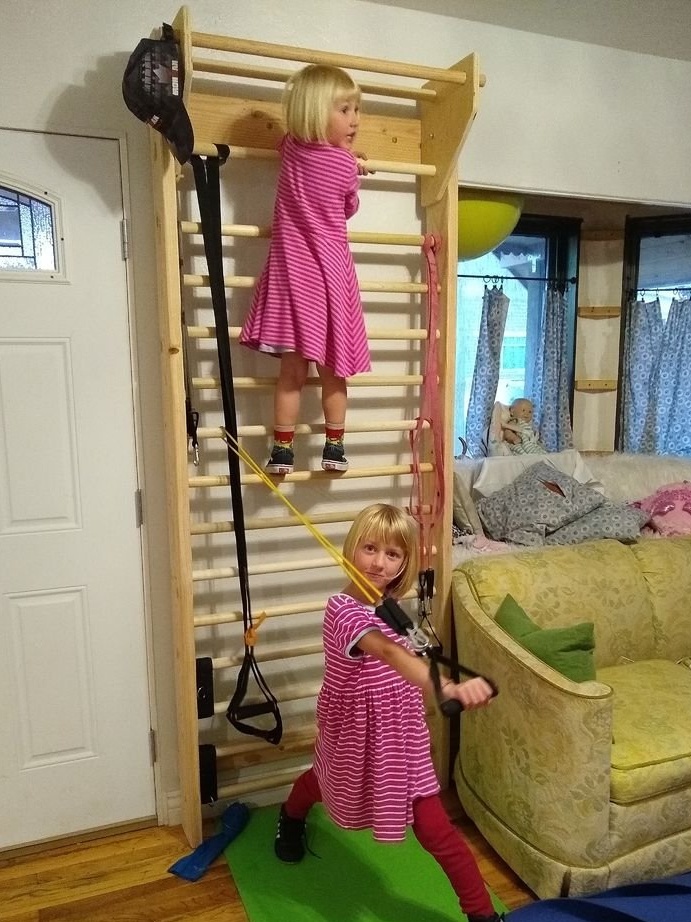
As soon as the shell was installed, the daughters immediately began to test it.
I’ll probably end here. Thank you all for your attention and see you soon!