

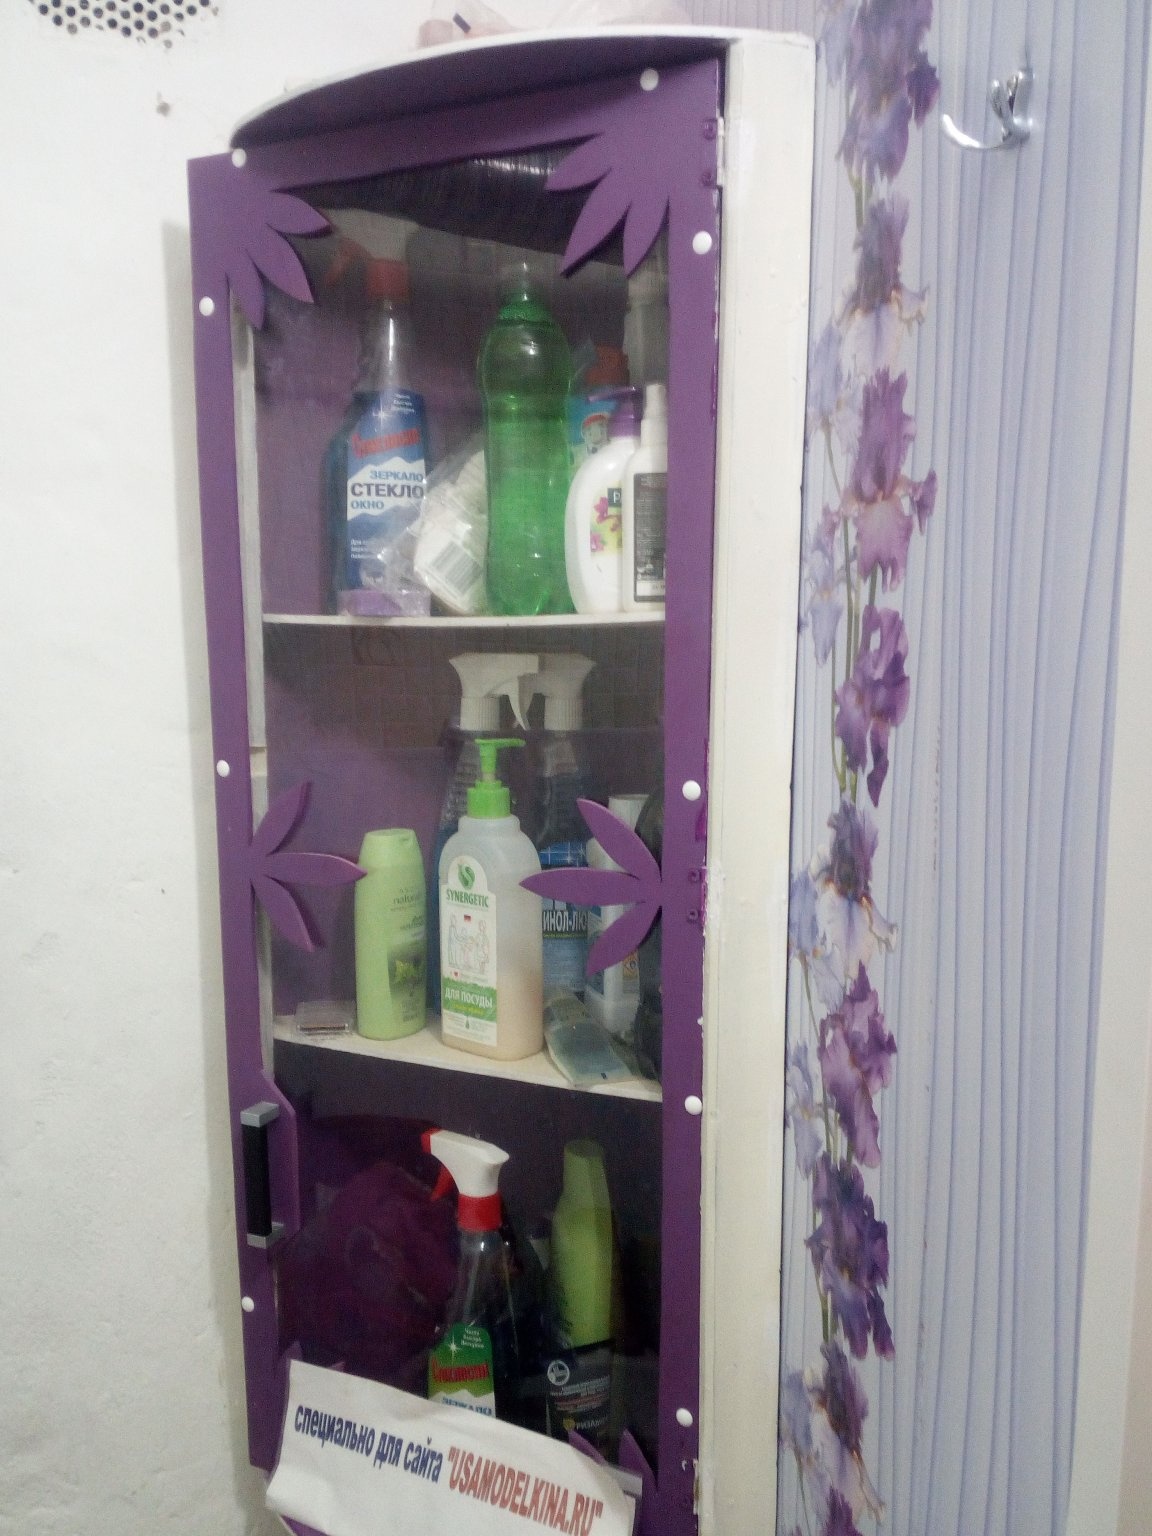
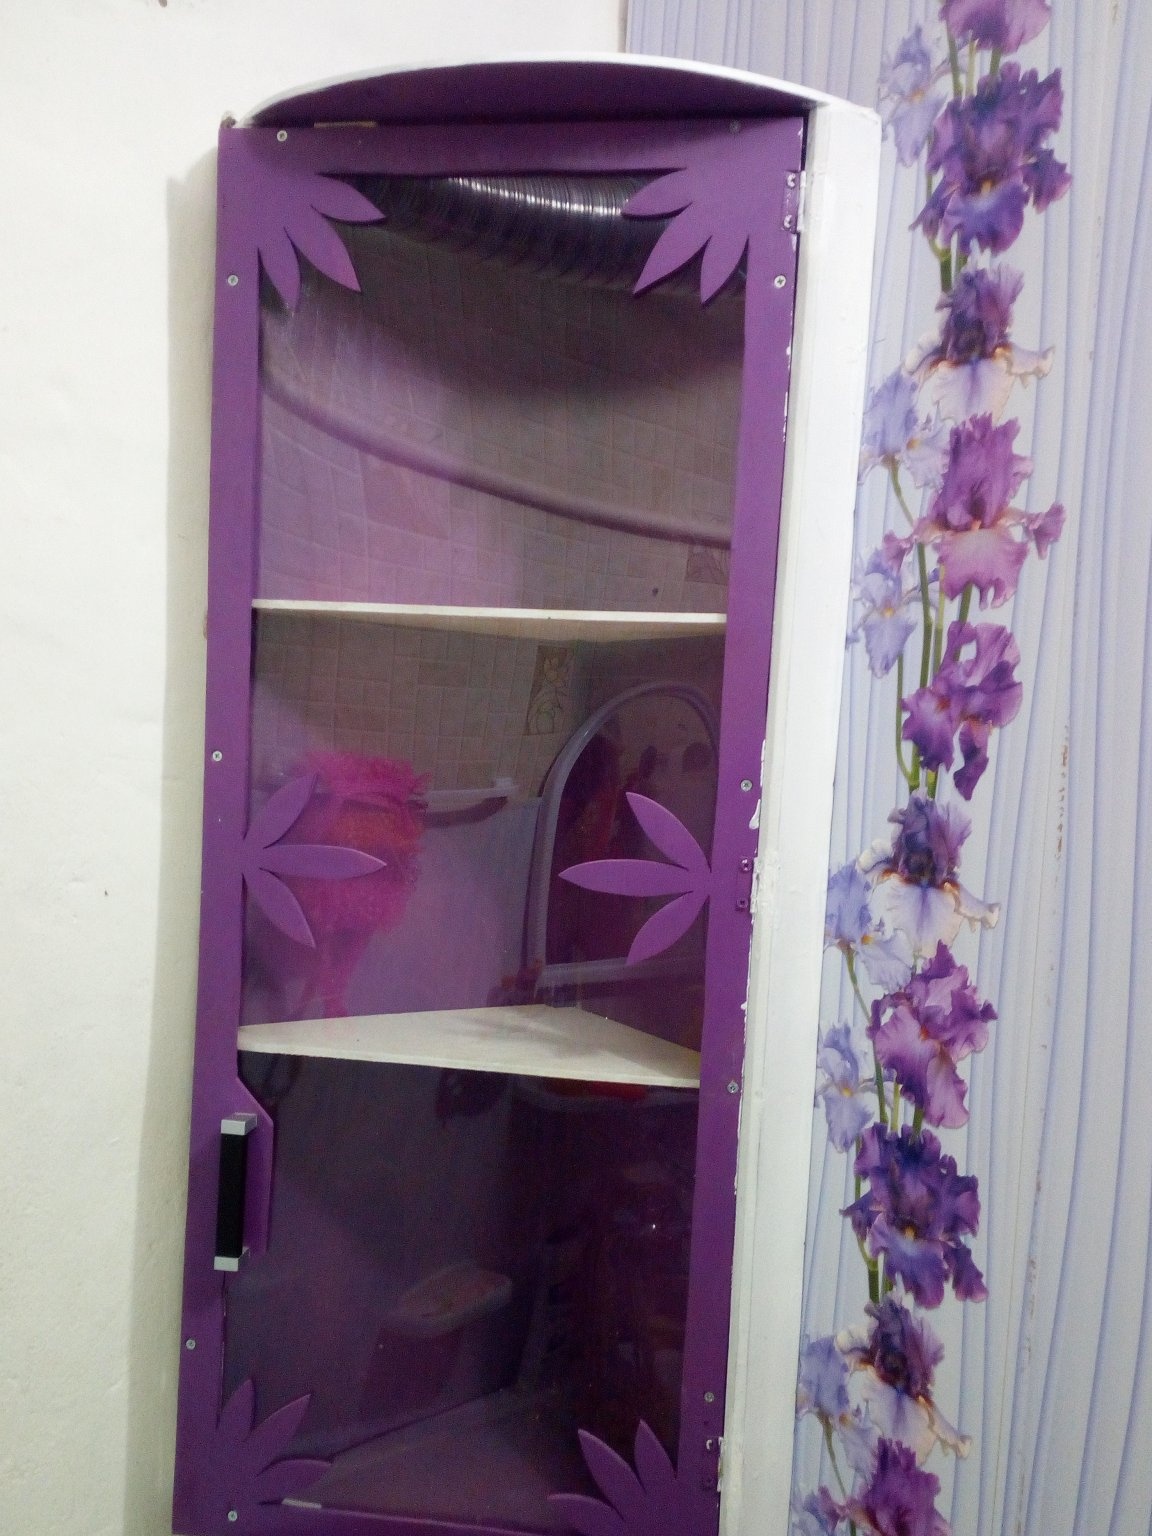
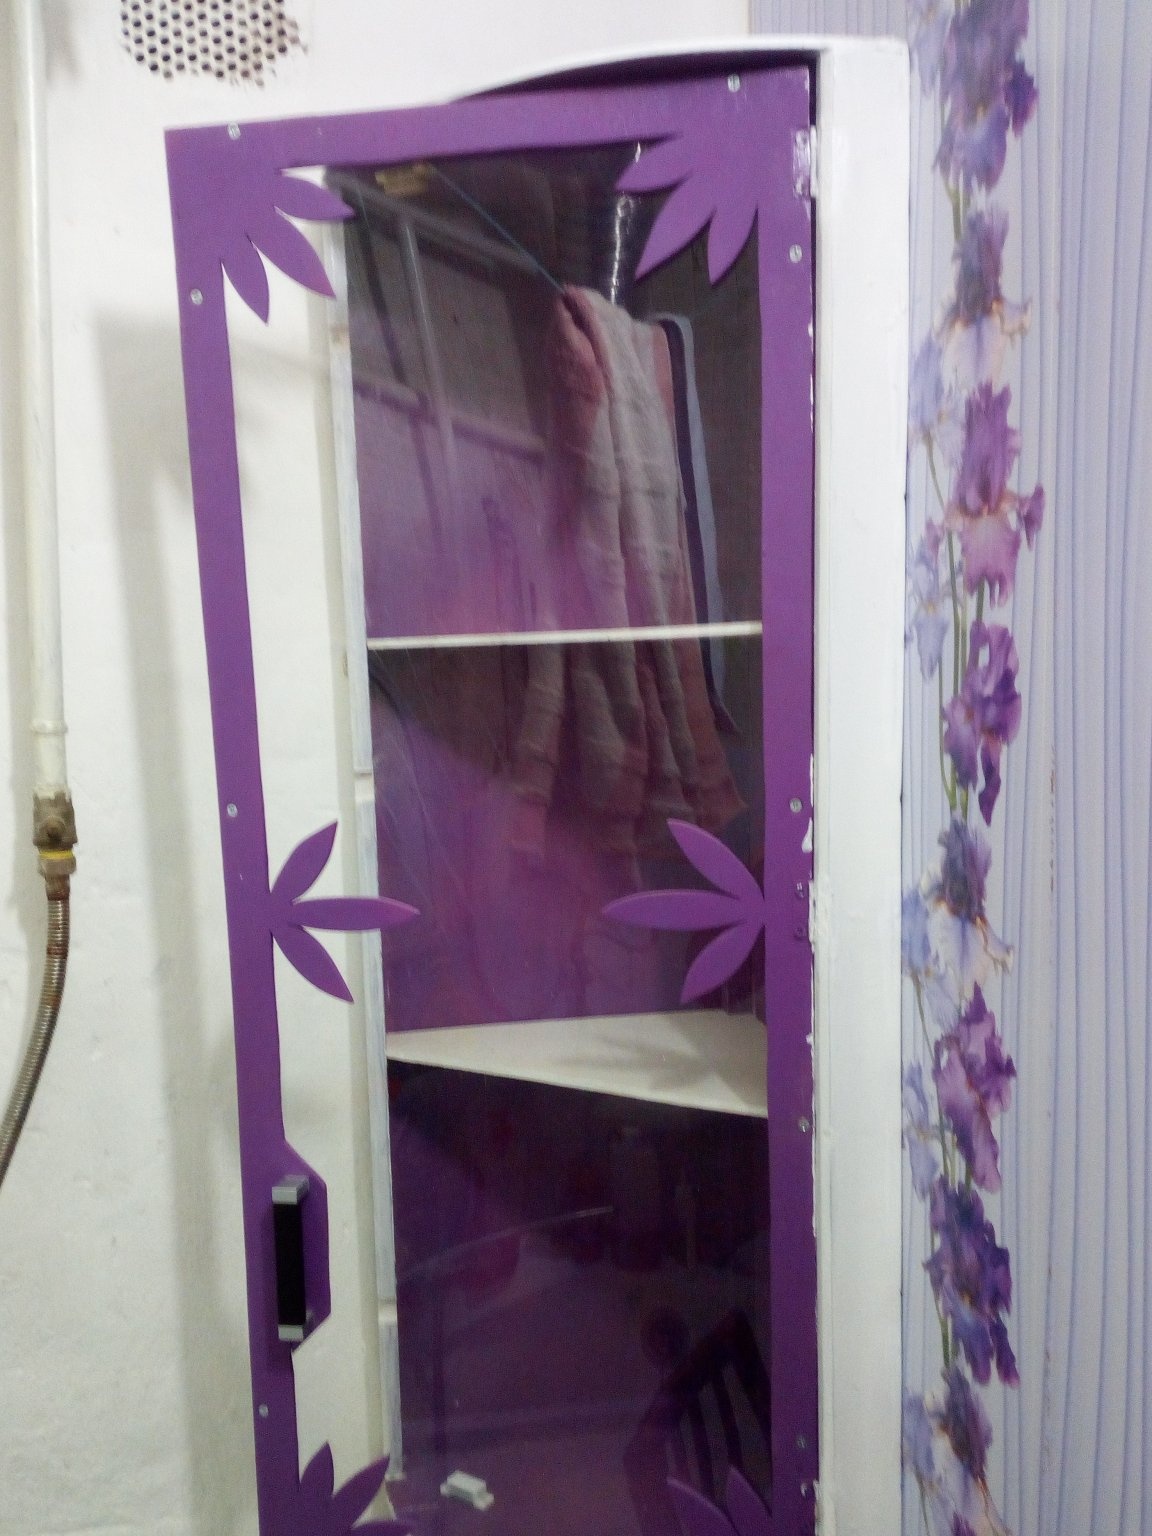
I present to you a compact corner shelf for the bathroom. The peculiarity of this product is that with a minimum bath area it does not take up much space, just one of the corners, which in most cases is difficult or not convenient to fill with something useful.
The complexity of this item of furniture average, so that almost everyone will be able to cope with it. And not only just to make something similar, but also to make their own adjustments and needs in this design.
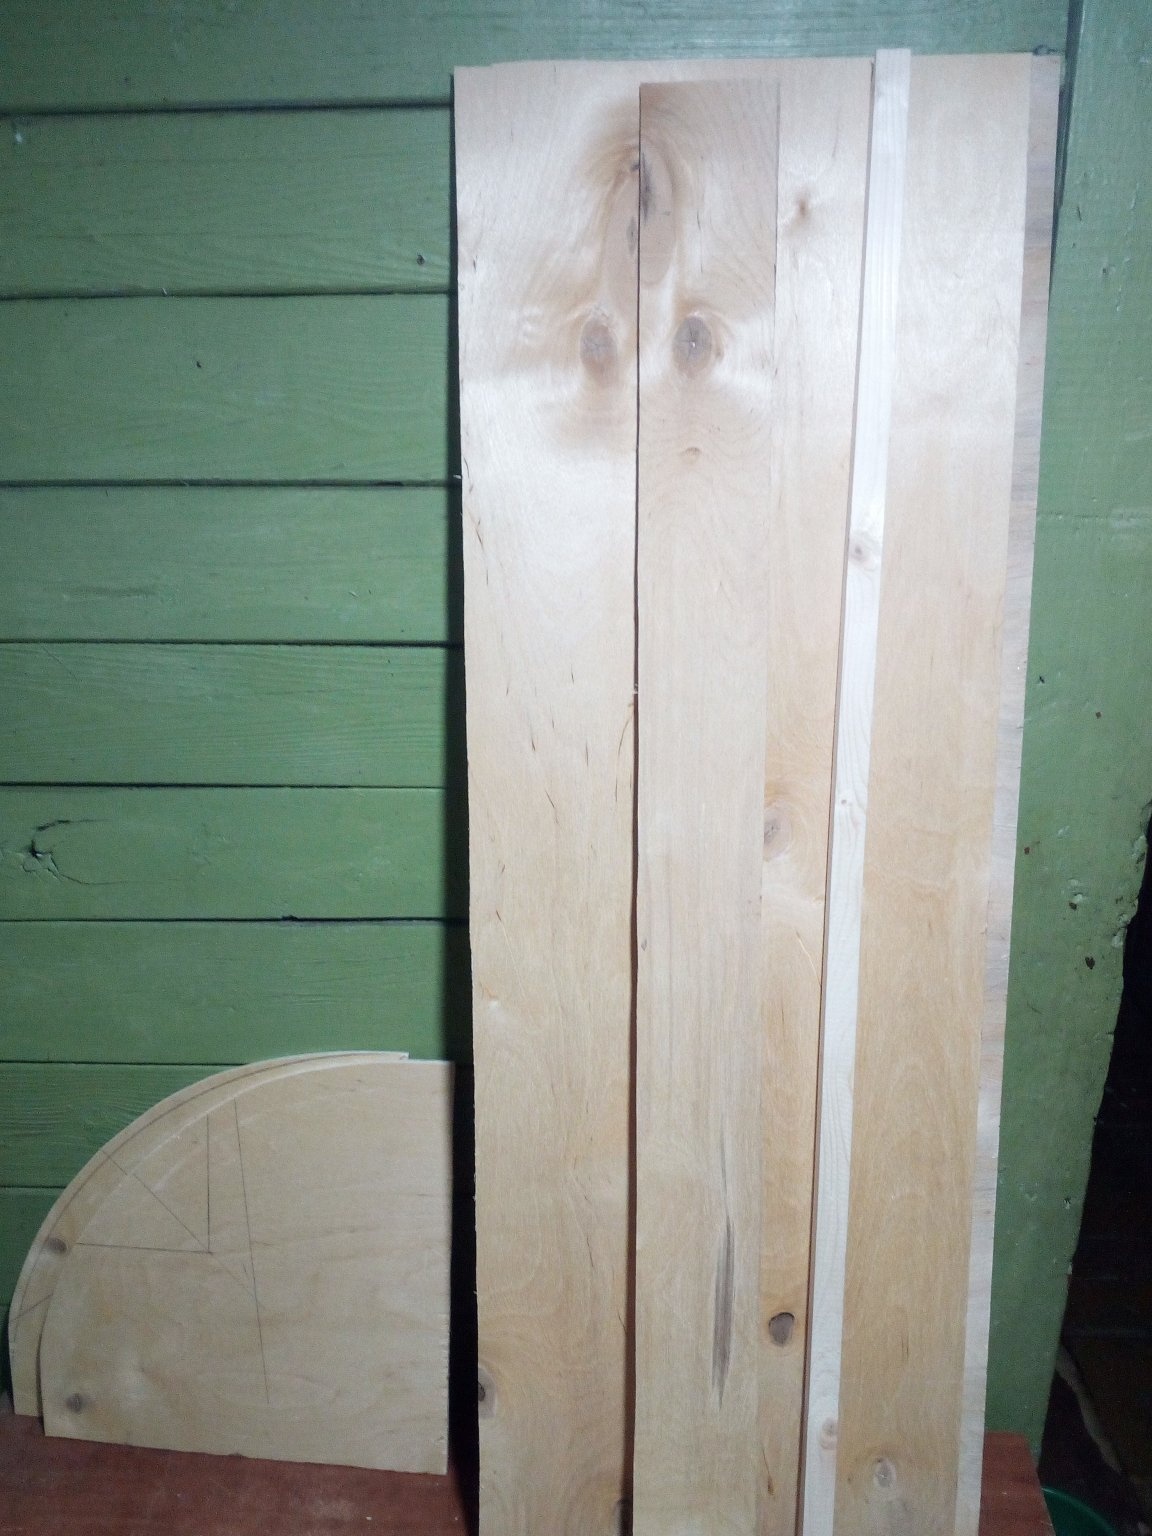
I needed to make plywood in 4 mm, whetstones measuring 15x15 mm, and rail 20x40 mm, plexiglass
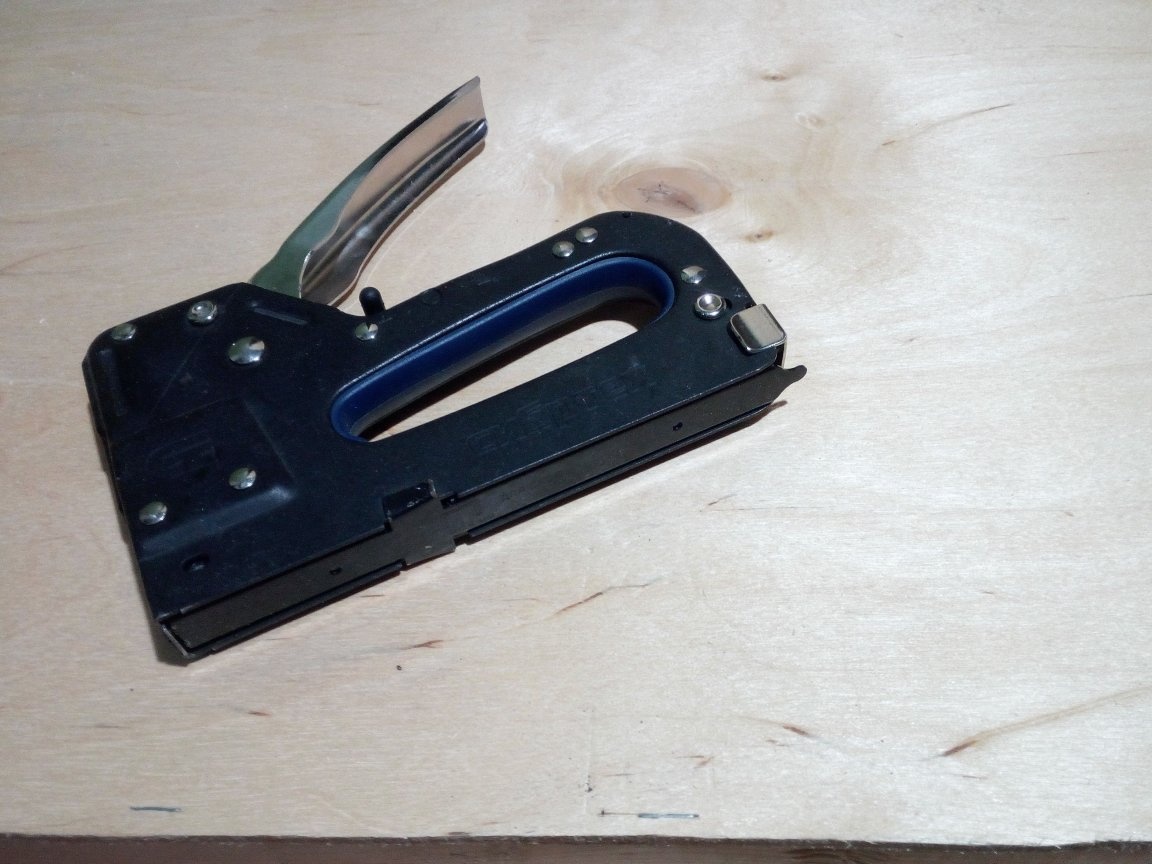
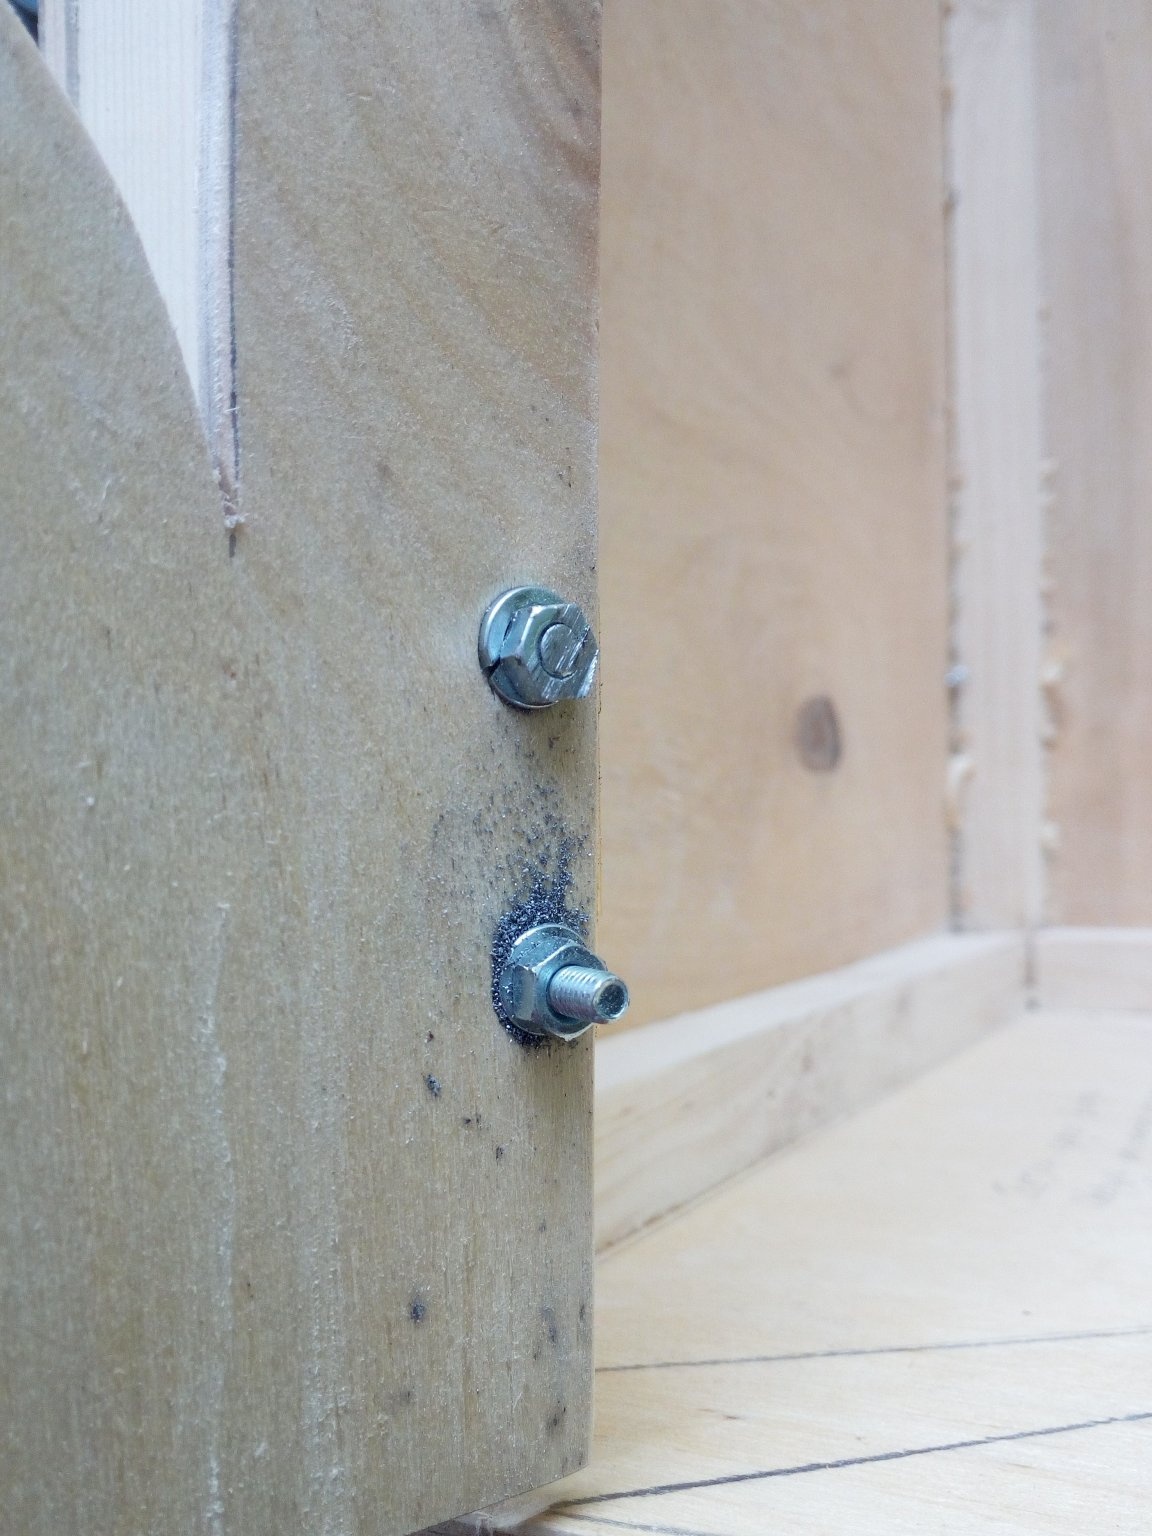
From tools I needed an electric jigsaw with a file for plywood, a screwdriver, drills of different diameters, a grinder with a cutting disc, a ruler, clamps and a screwdriver. As well as shelf holders, glass pressing parts to the surface (in my case it is plexiglass), hinges, bolts, washers and nuts.
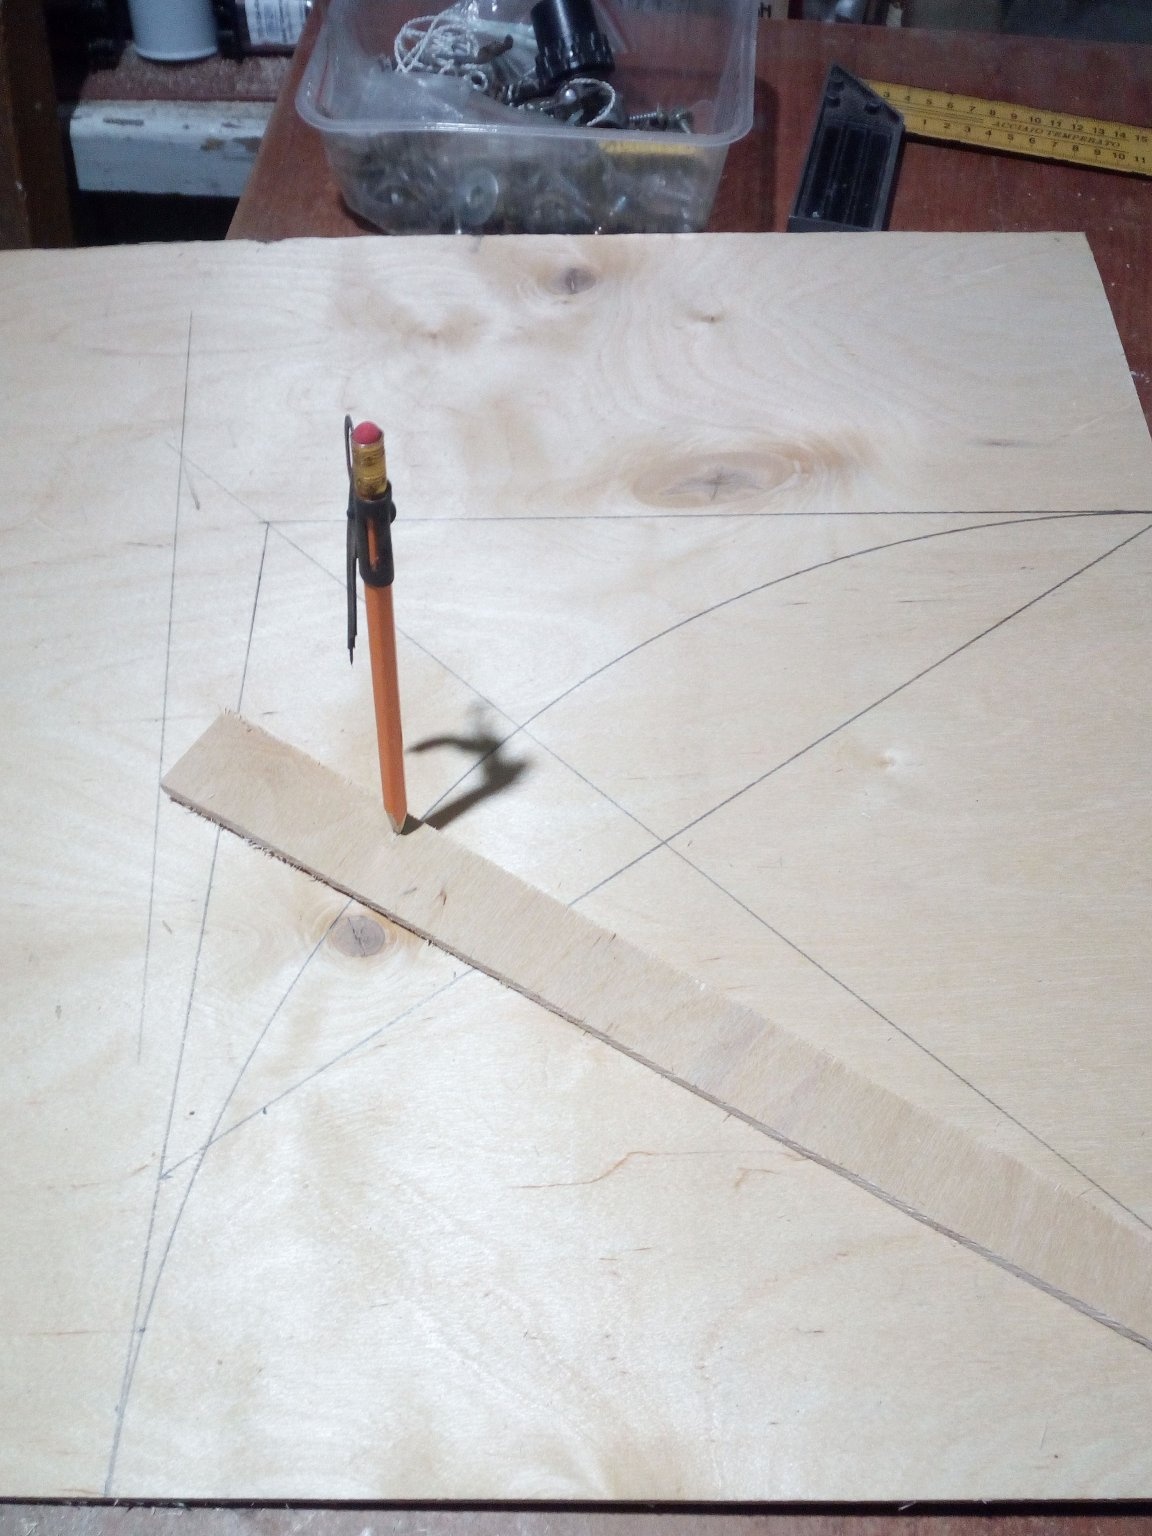
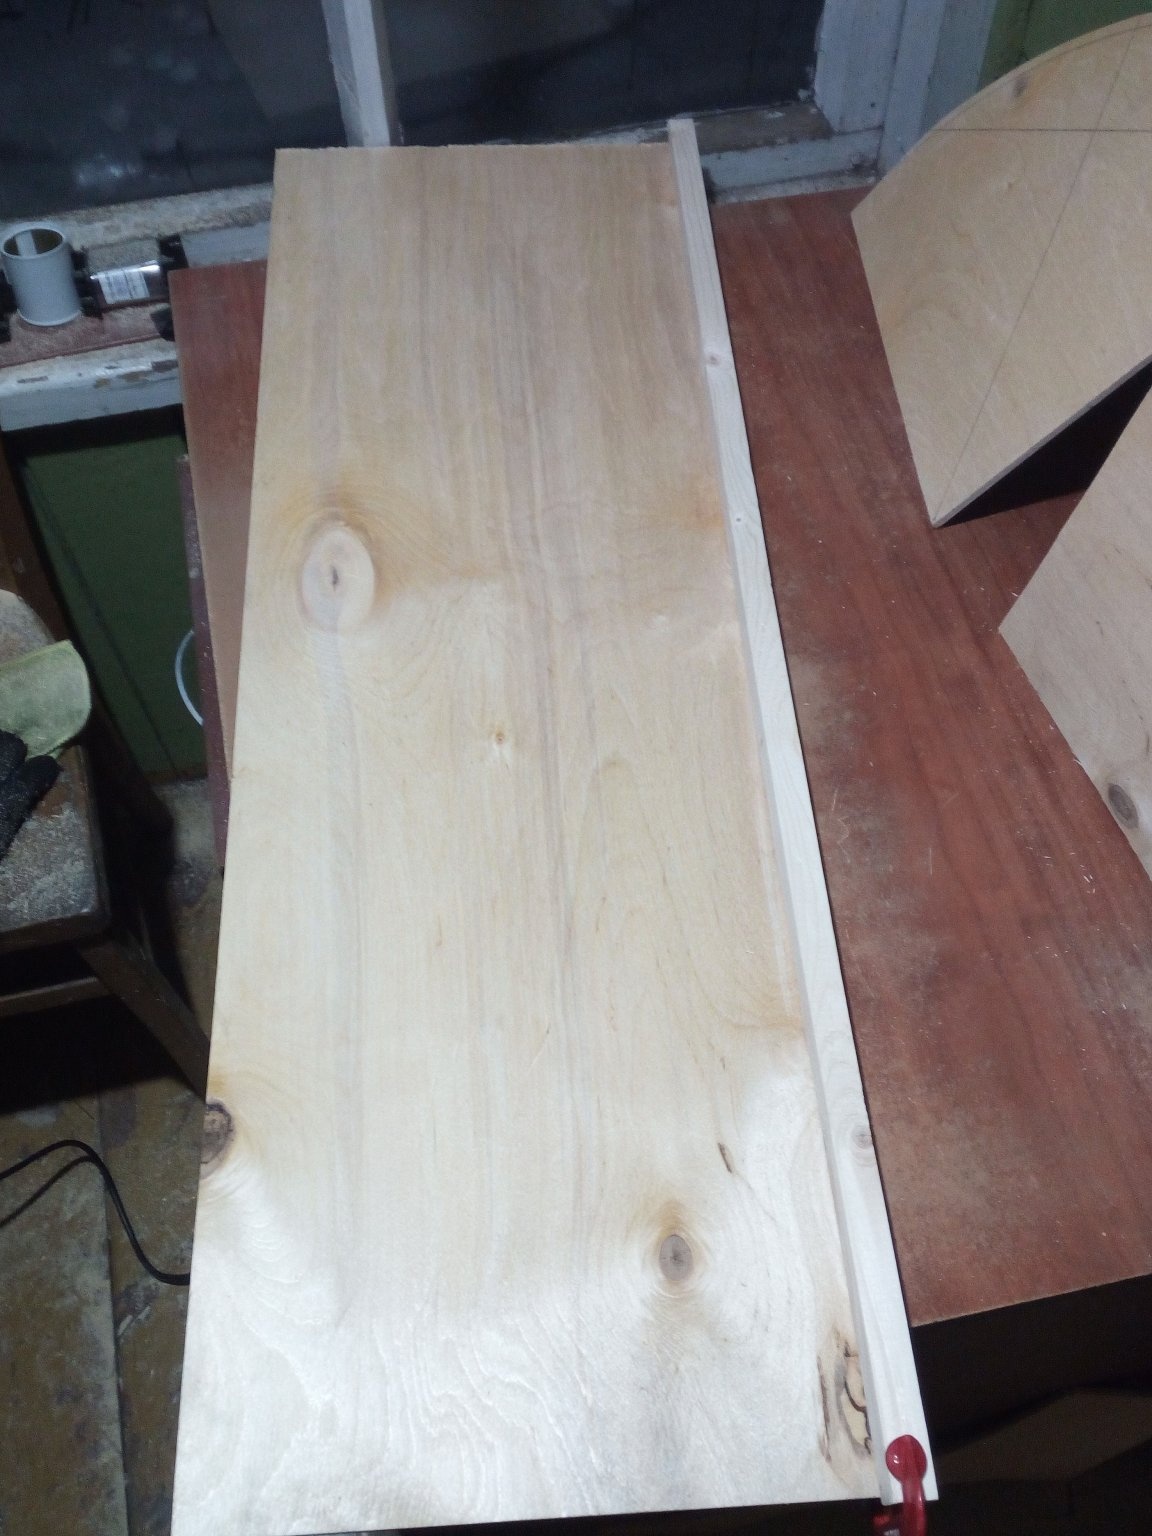
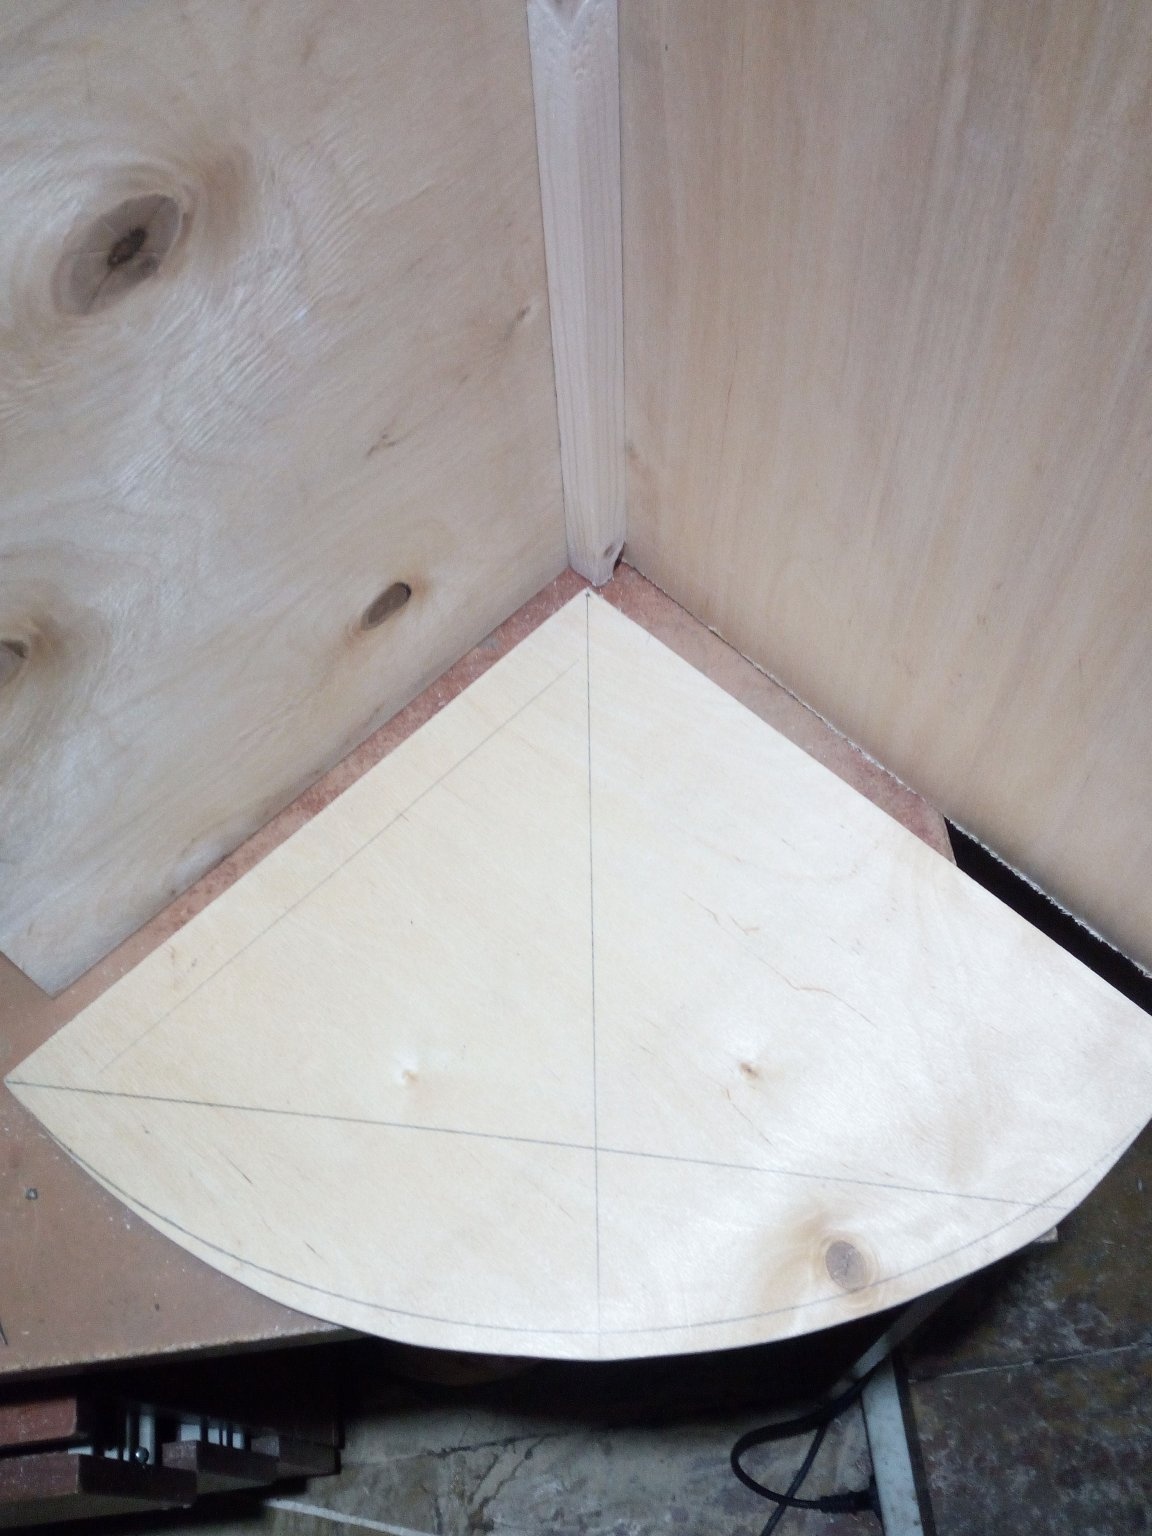
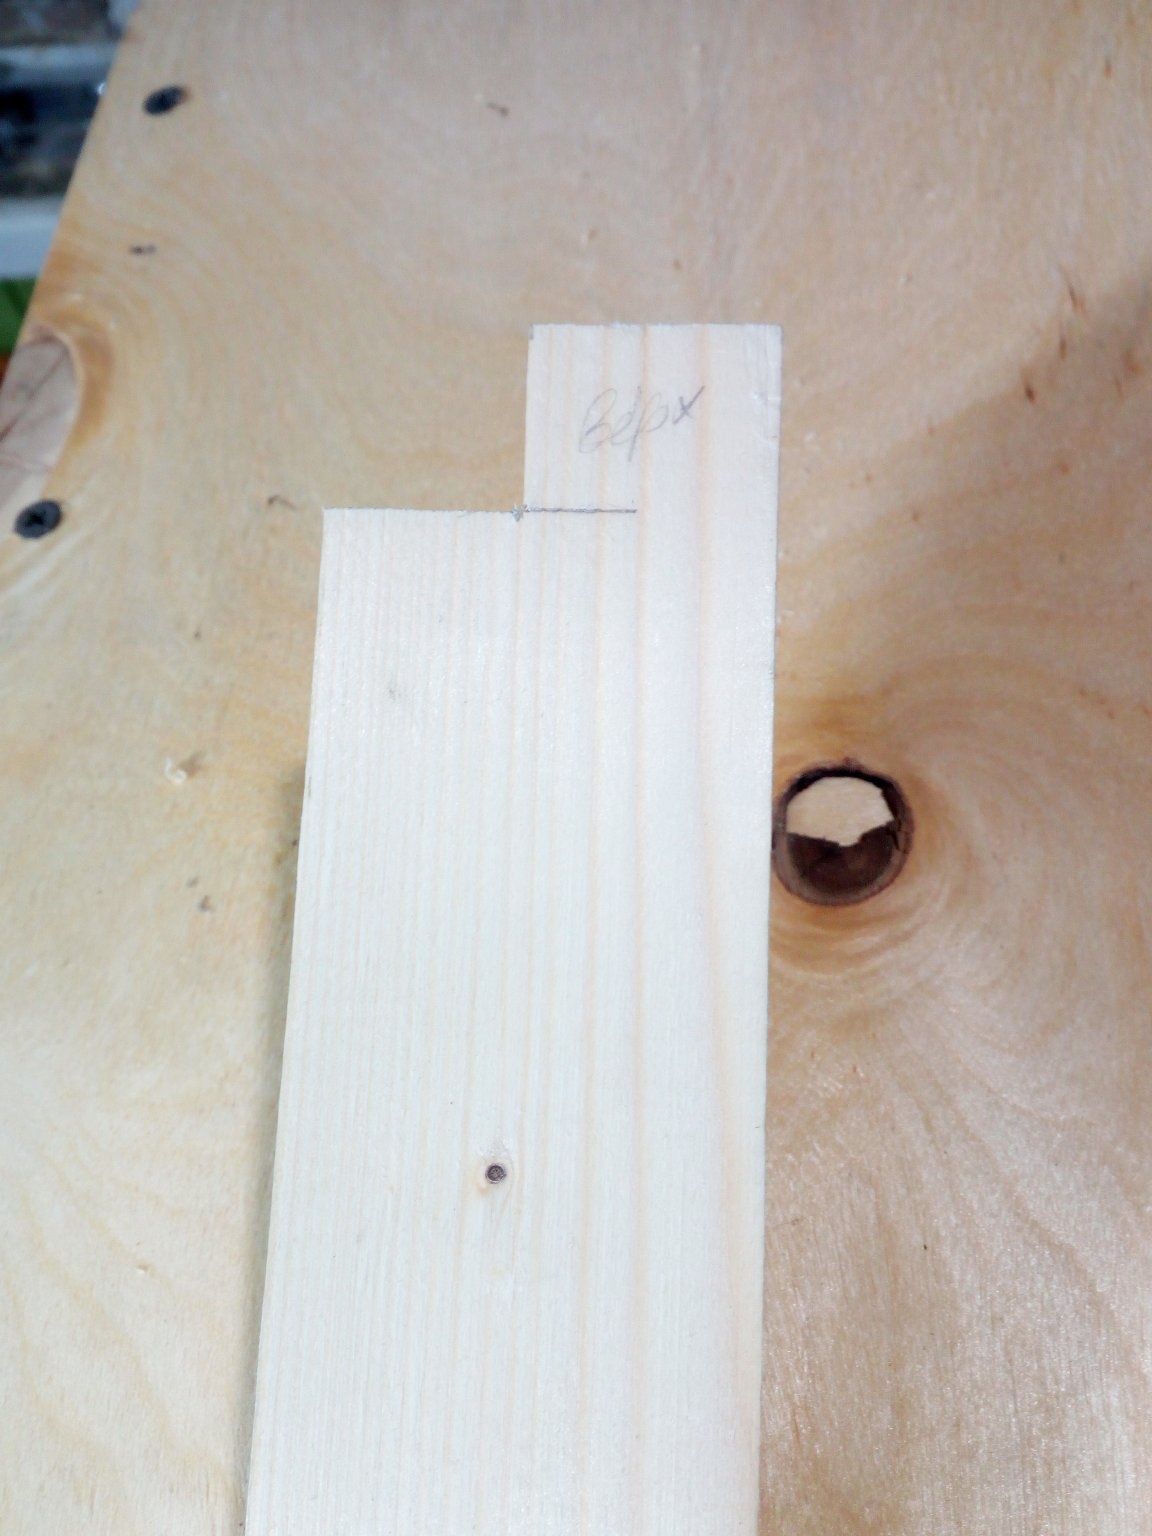
So, we will begin the preparatory stage, namely the procurement of parts. First of all, I cut two identical pieces of the size I needed from a plywood sheet. In this case, I will not indicate the size, because it does not matter. Everyone who decides to make such a shelf will independently determine the sizes to fit their needs. This will be my side walls. Next, a block is cut, equal in size to the height of the side walls. Such a detail is needed in a single copy. Already 2 such parts are cut off from the rail, on each side of the sidewalls. After that, two covers are prepared - the top and bottom. I decided to make them rounded. To do this, I screwed a screw on one side of the plywood, and drilled a hole for a pencil in the other. With the help of such a simple fixtures marked the cut border.
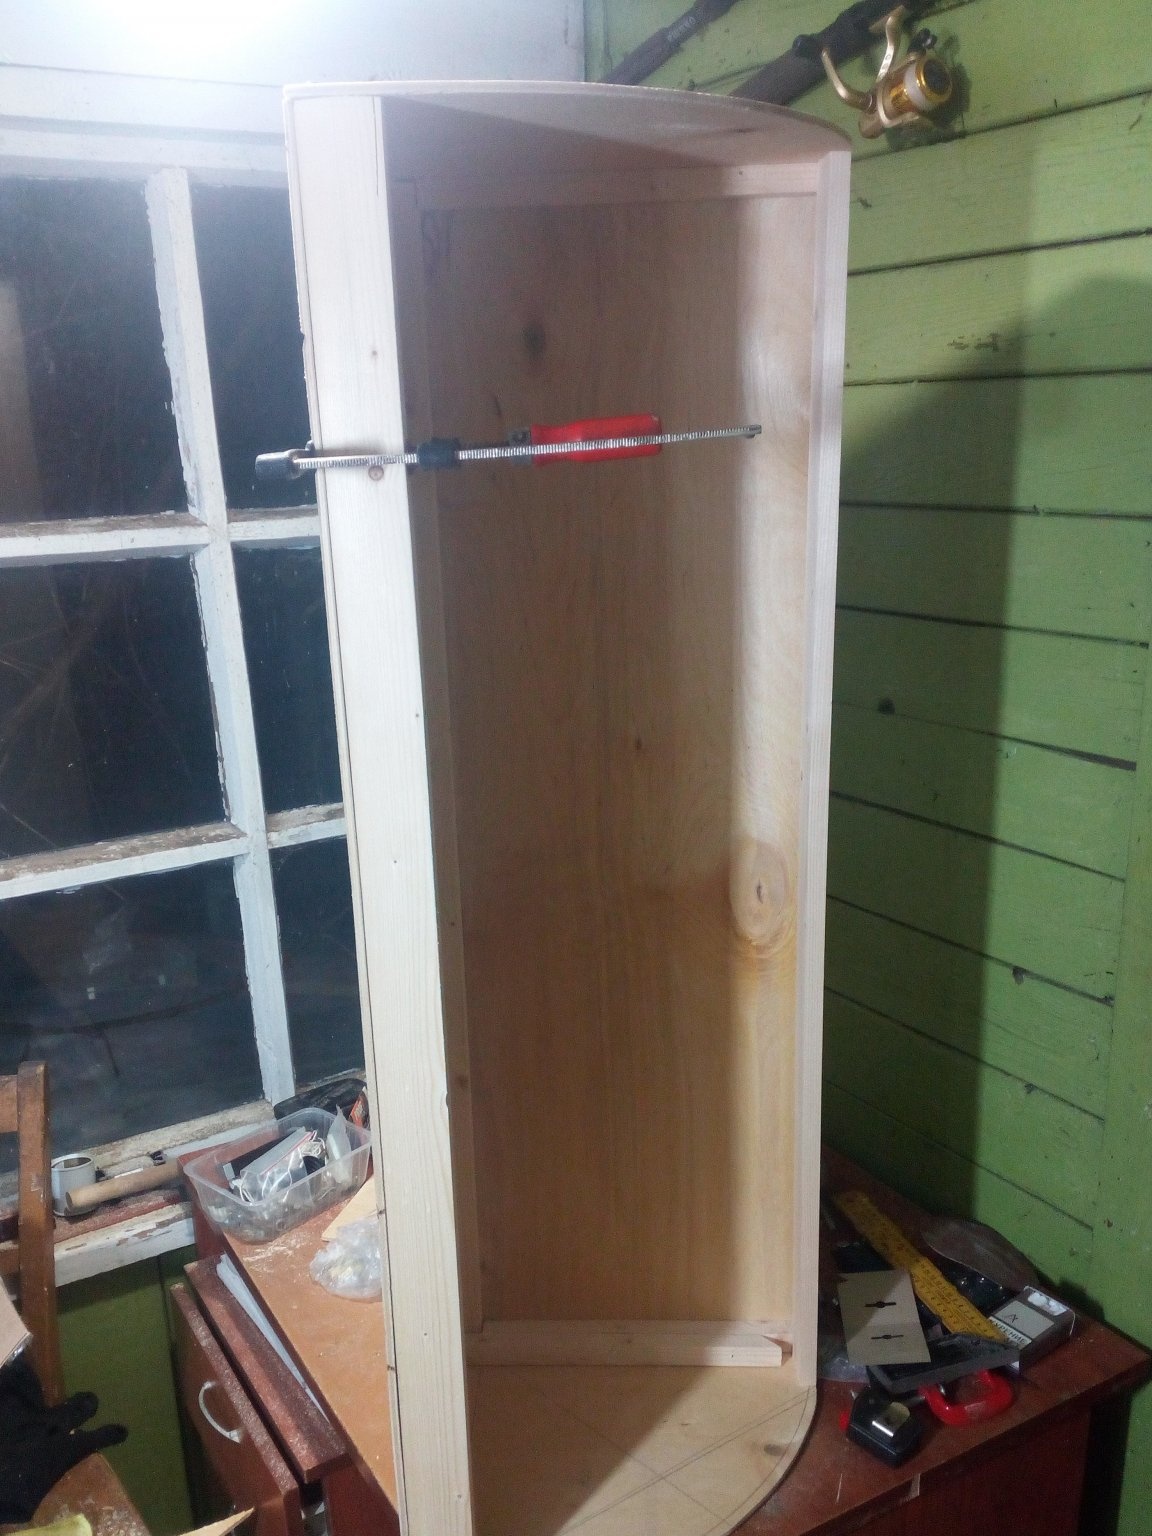
Now that the main parts of the shelf are prepared, I proceed directly to the assembly of the product. I put a block on one of the sides of the side wall and fix it tightly with clamps. For fastening plywood to a bar, which plays the role of a stiffener here and to which both parts of the walls will be fastened (because plywood is thin, which is why it is needed), I initially used a construction stapler, but as it turned out in practice, the brackets do not press the work pieces very well to a friend, and therefore the design is very flimsy. Therefore, all further connections will be made with self-tapping screws
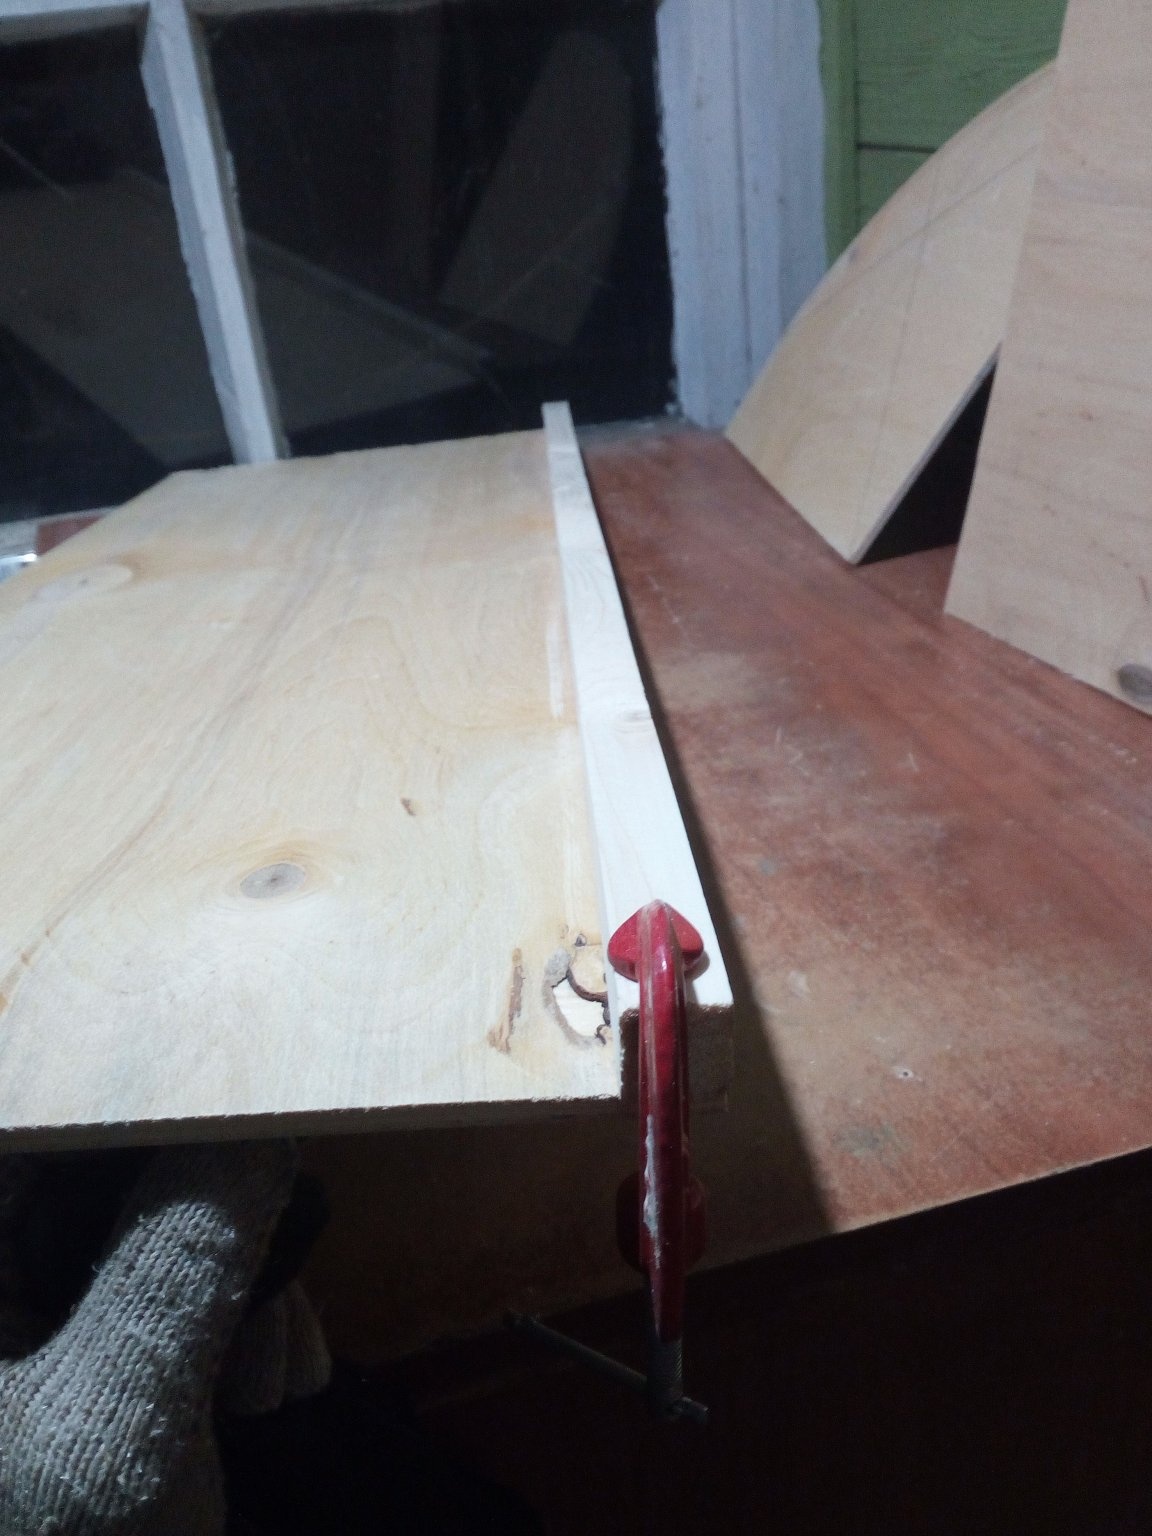
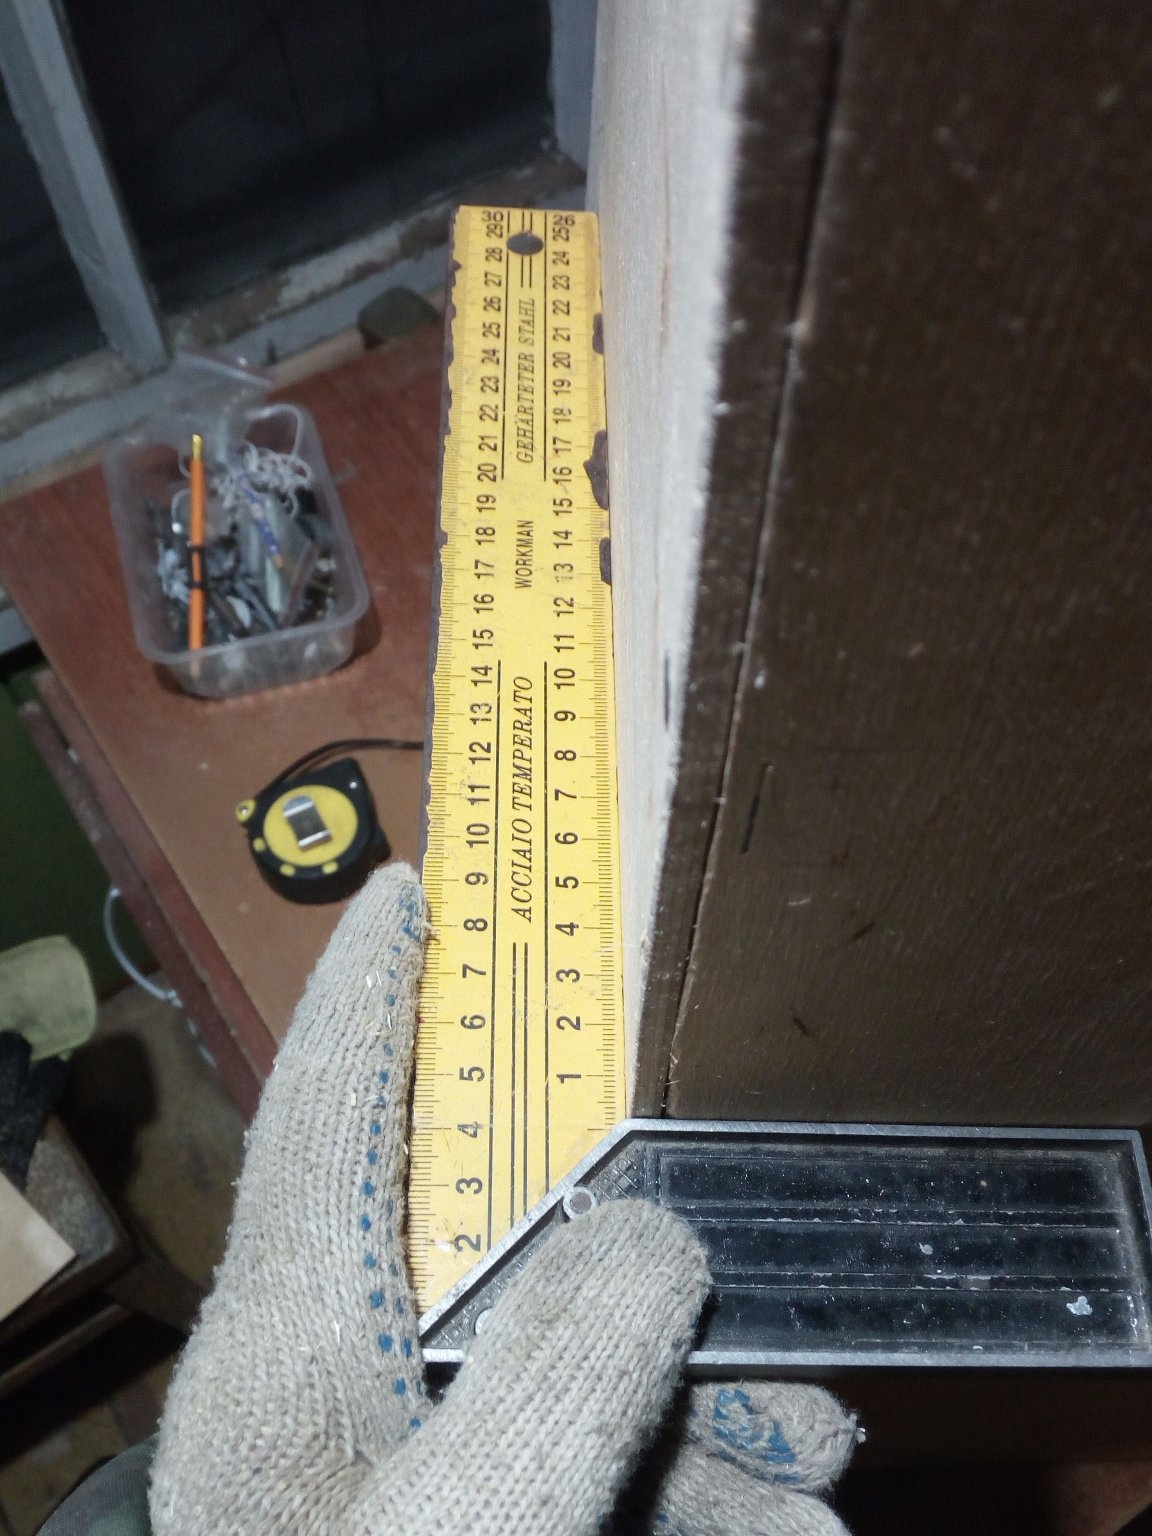
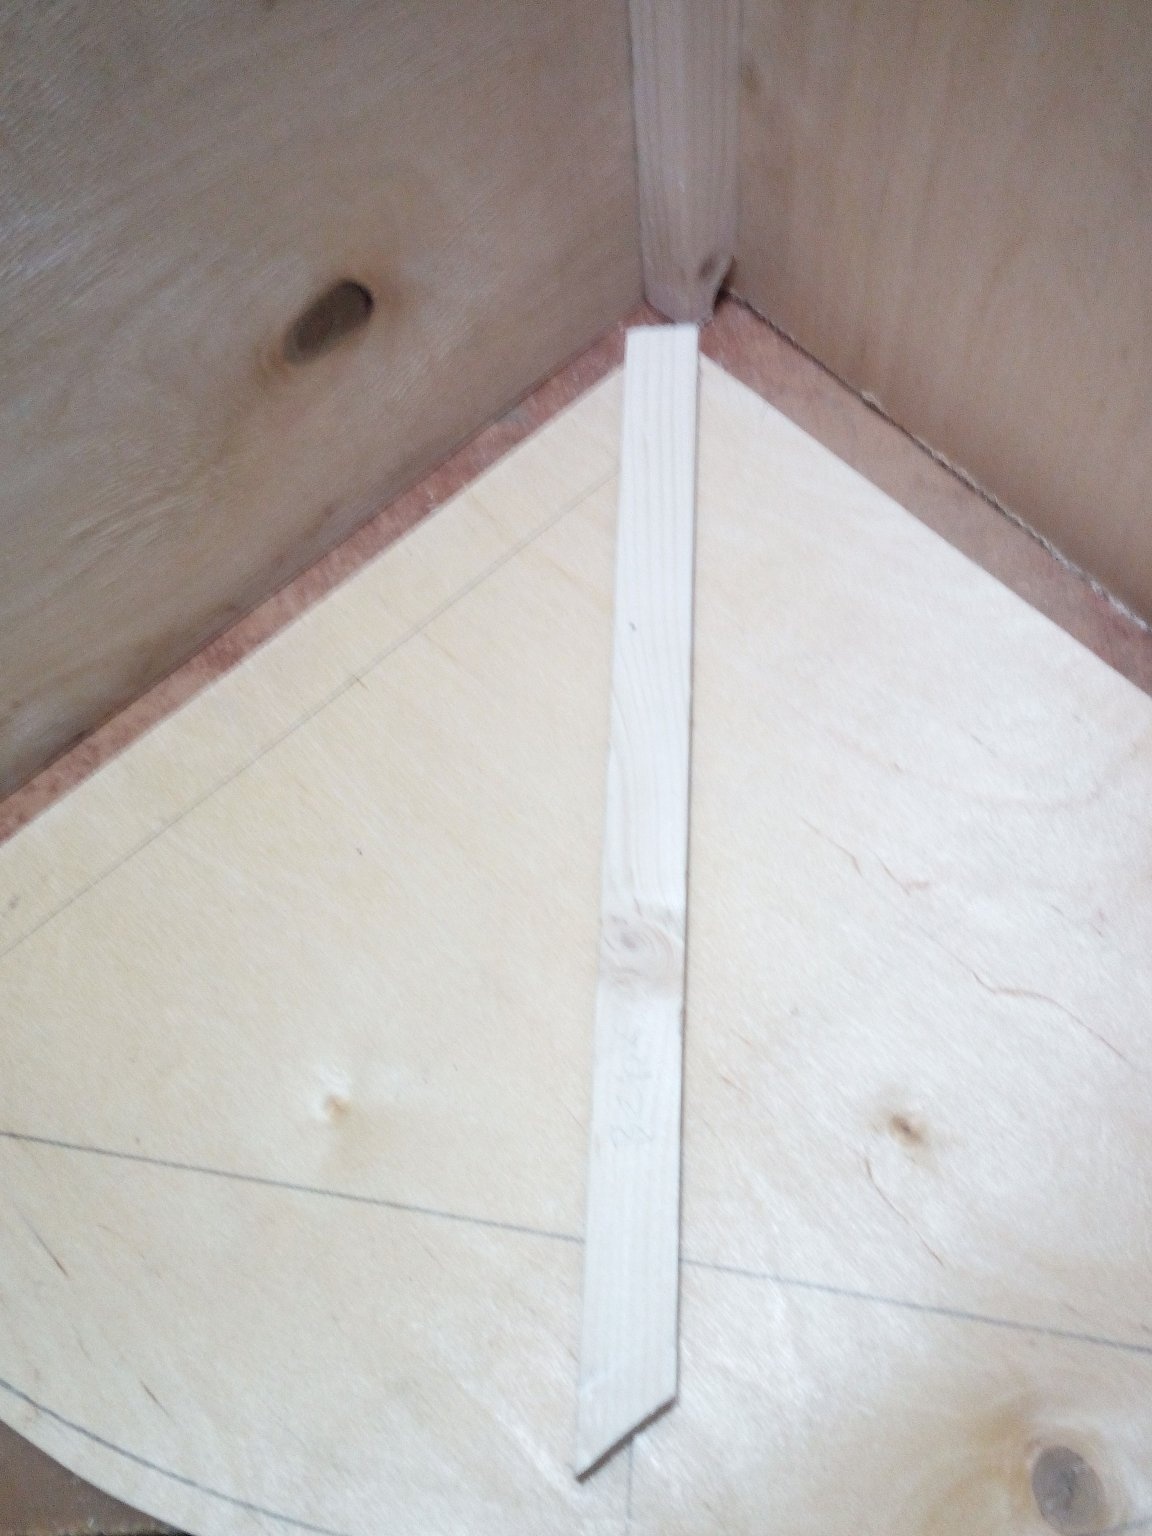
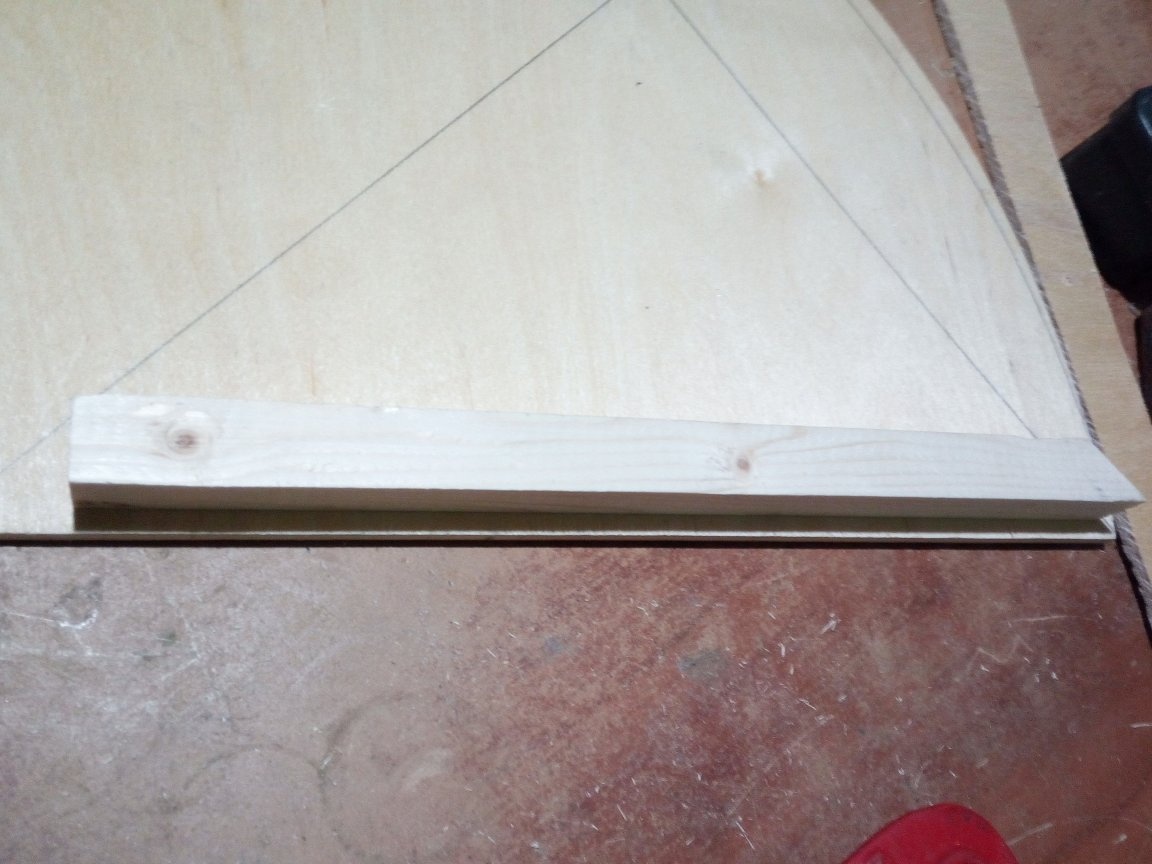
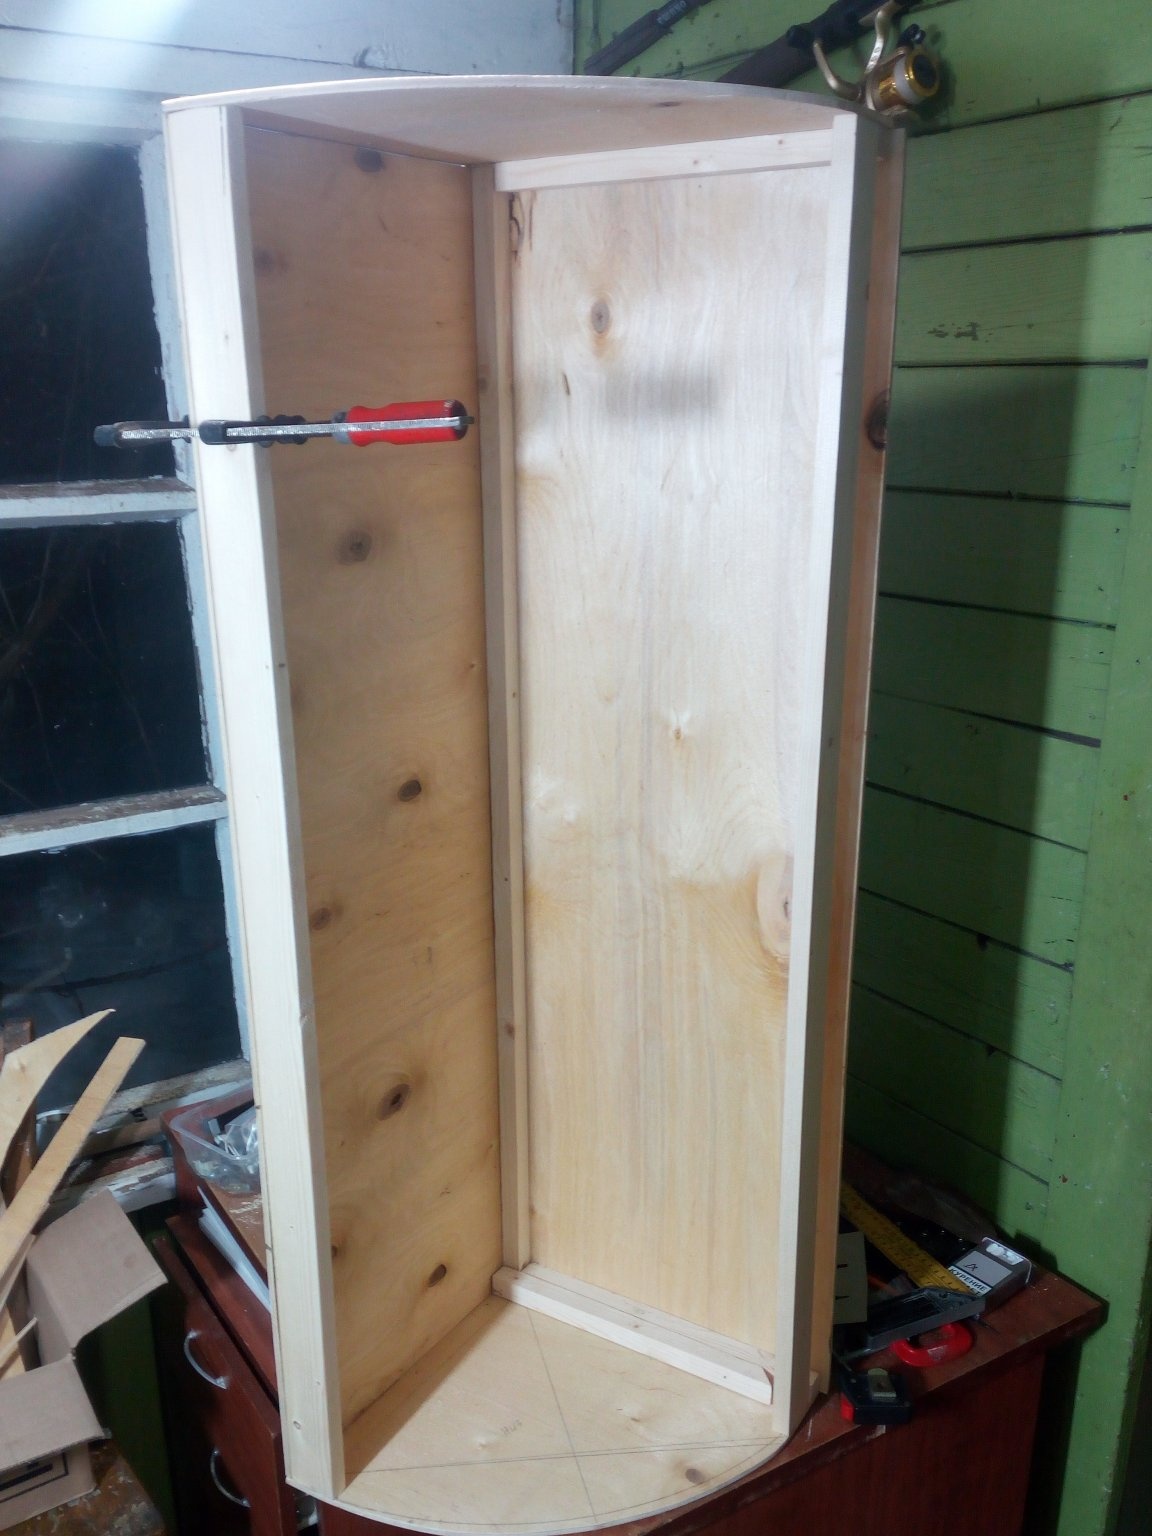
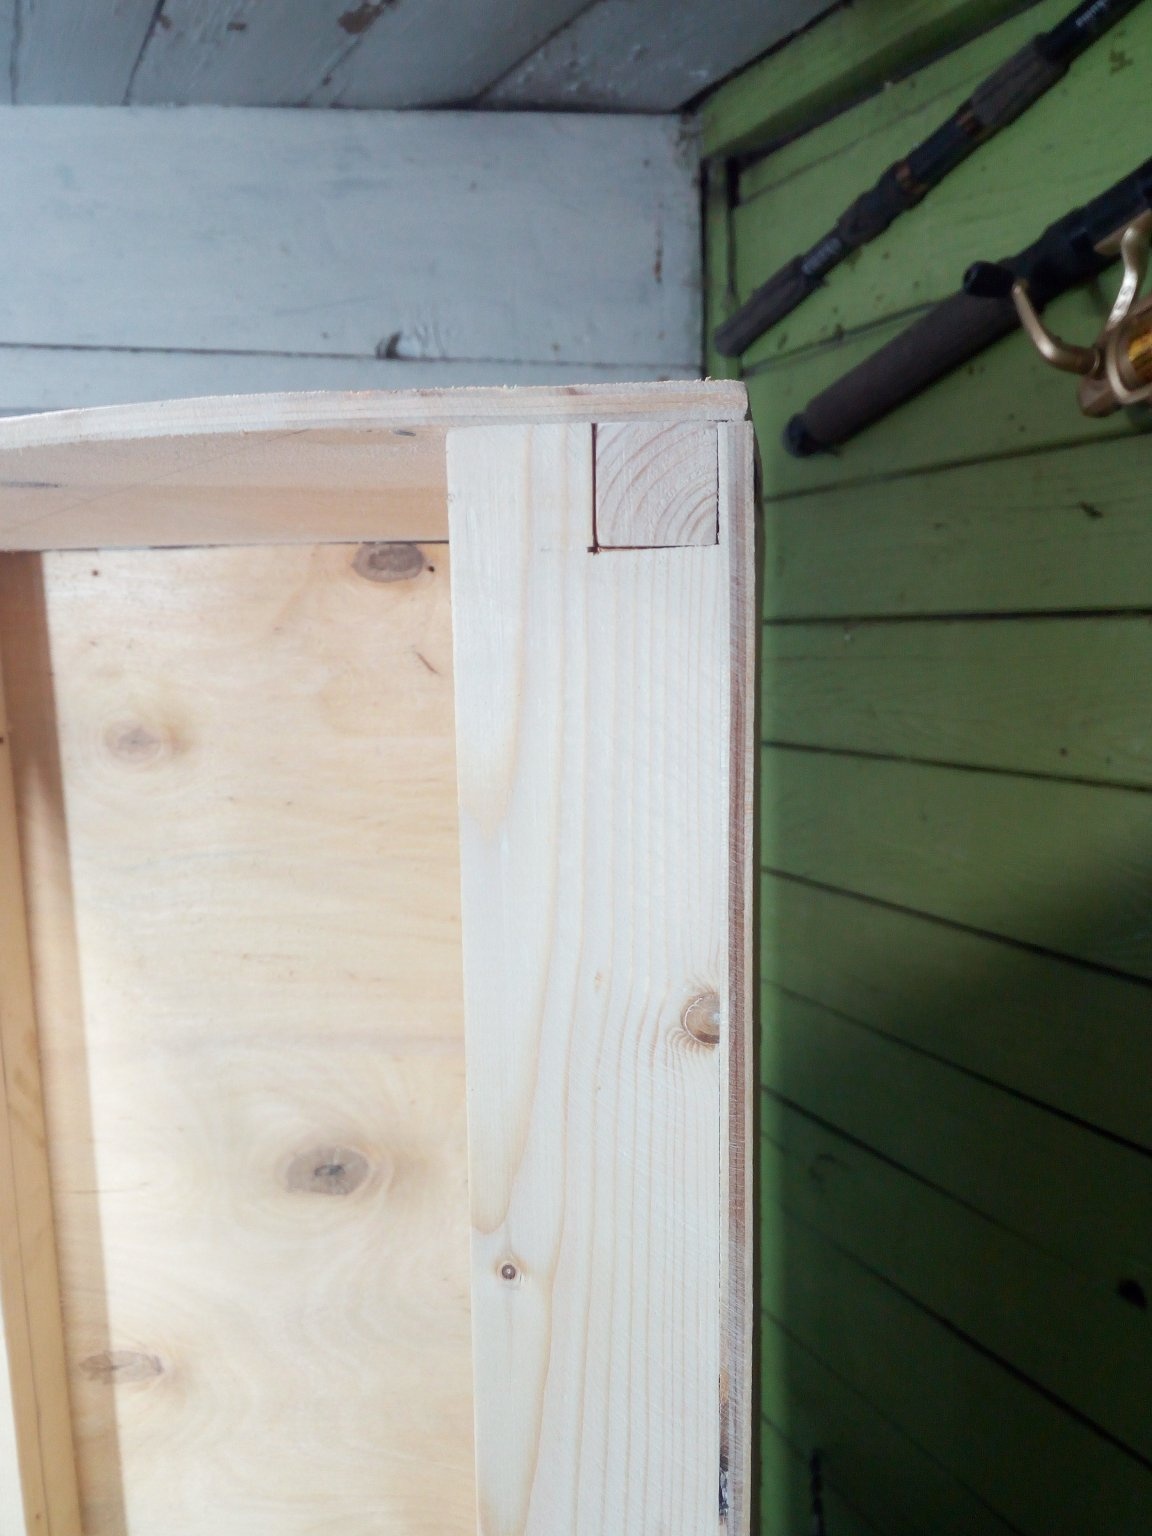
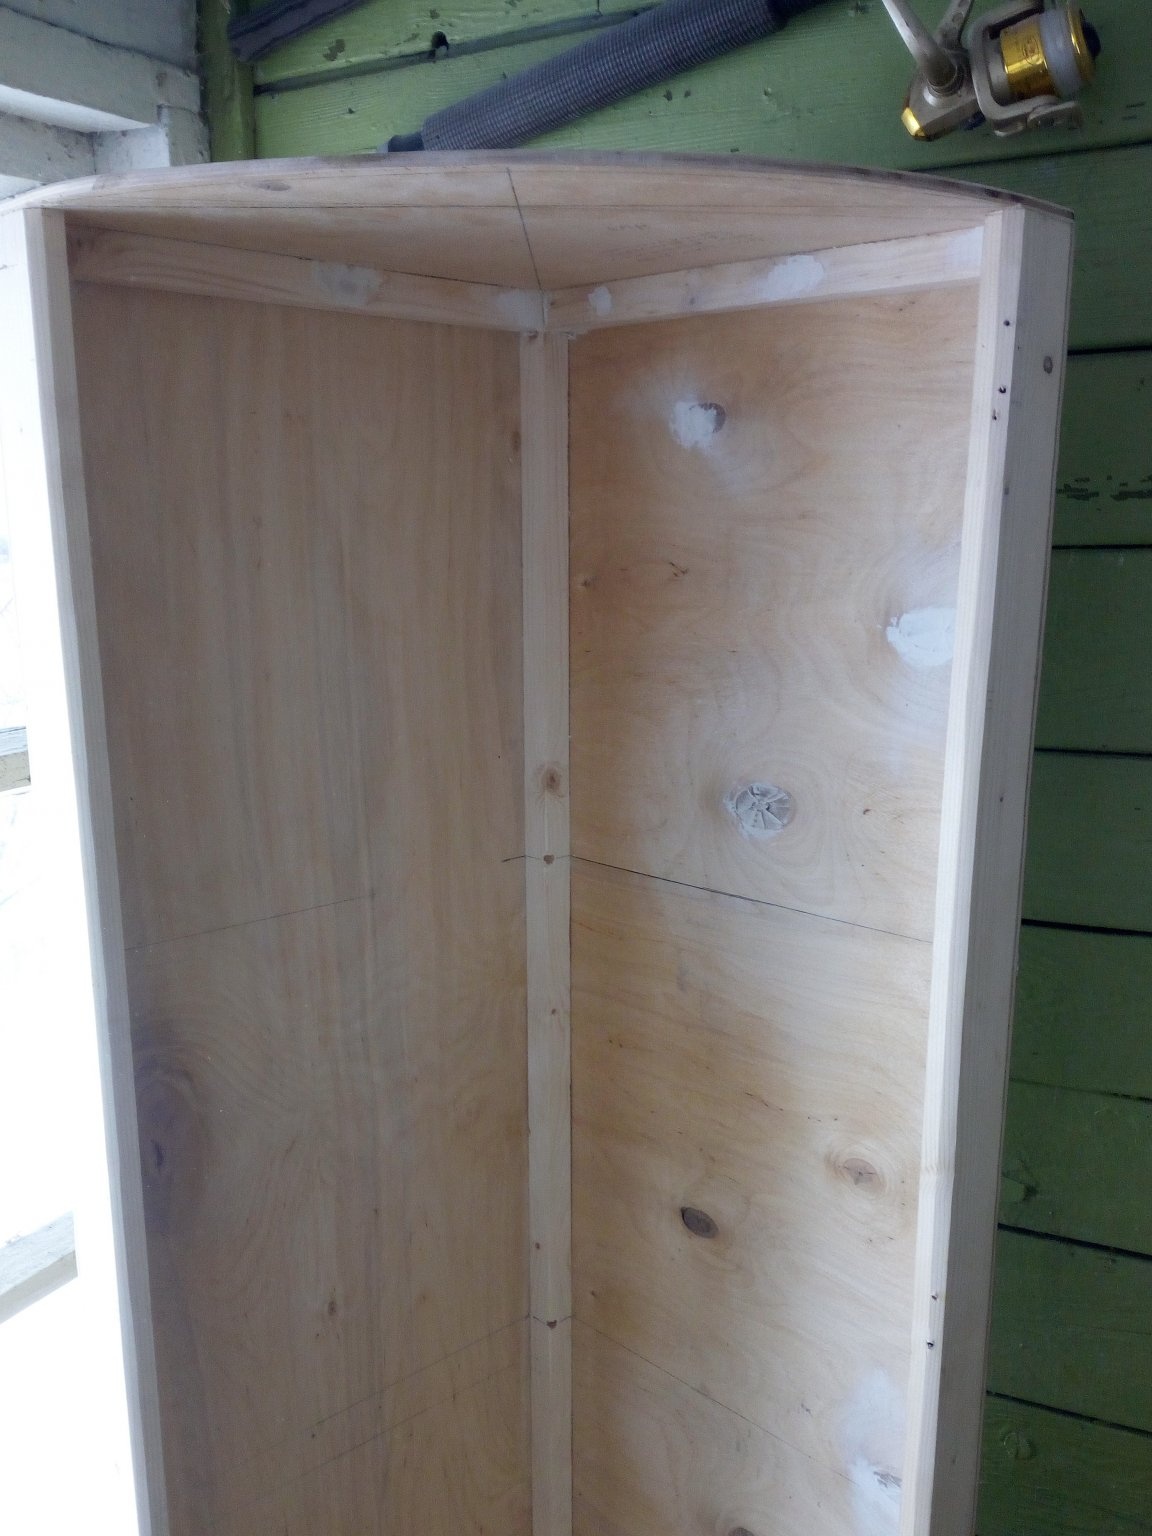
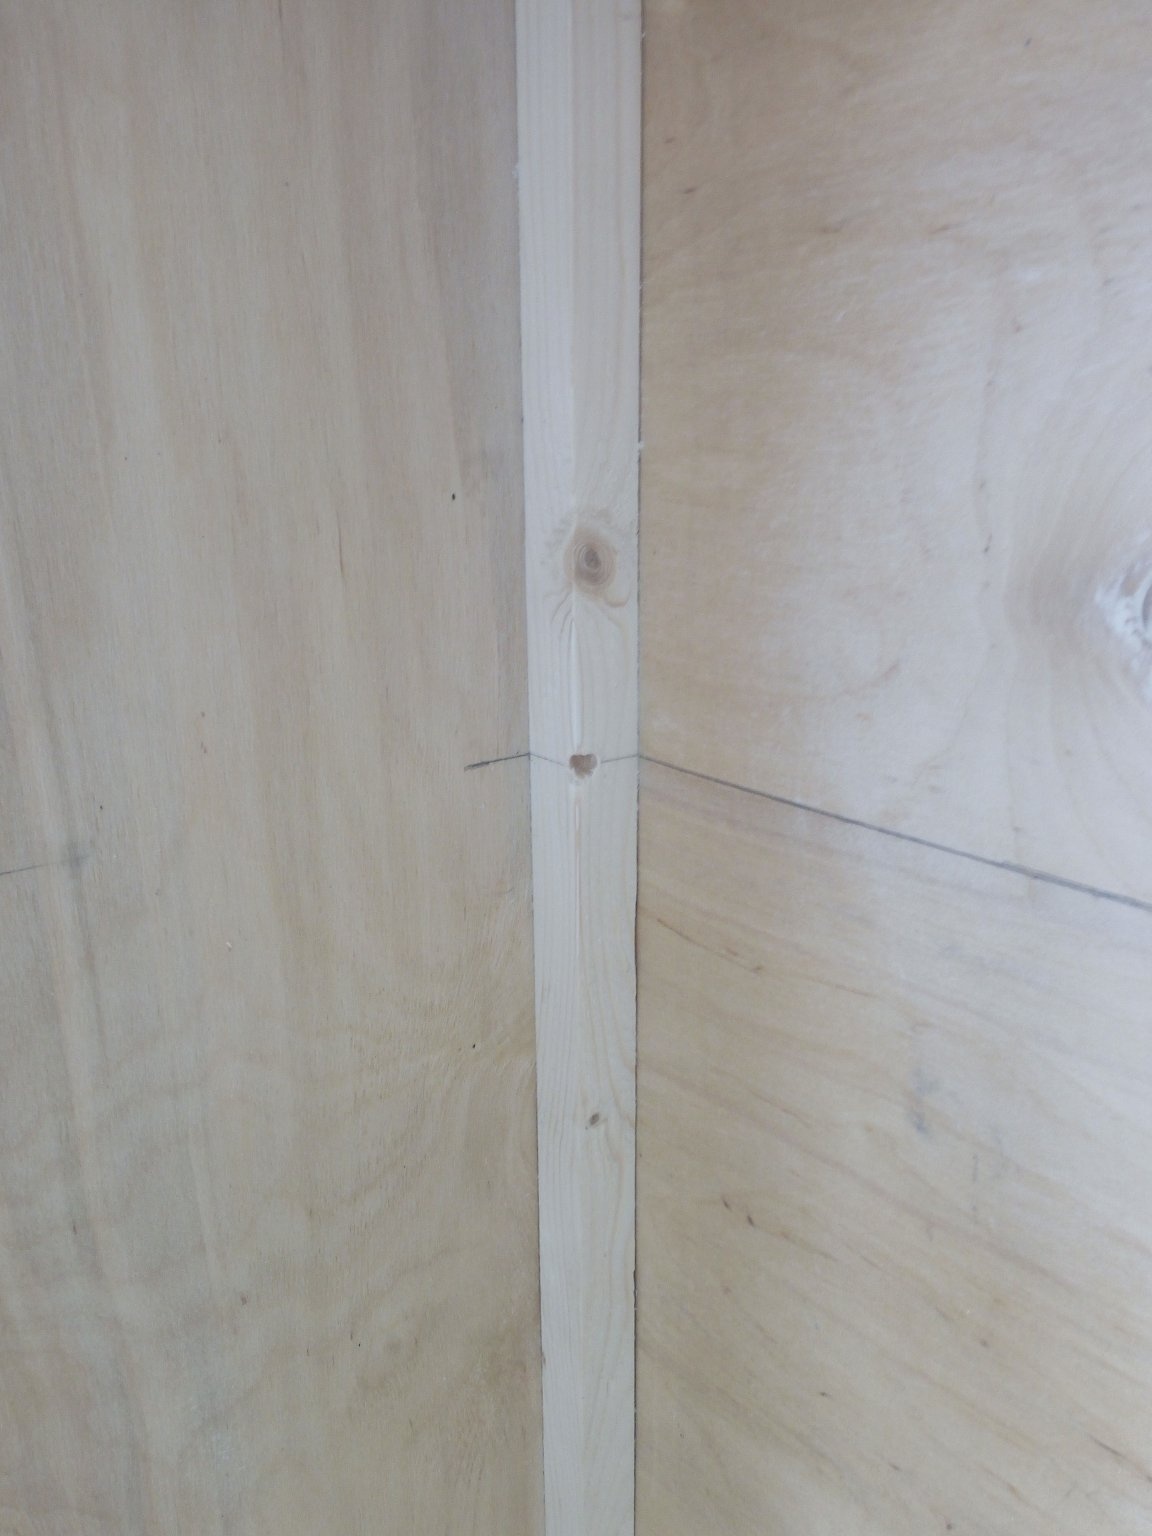
The next step is fixing the top and bottom covers to the walls of the shelf.Here, a block is also used, on which the covers will be attached. The bars themselves are attached to the lids in such a way that all plywood parts do not protrude, i.e. were flush. To do this, step back from the edge of 4 mm and fasten the support bars.

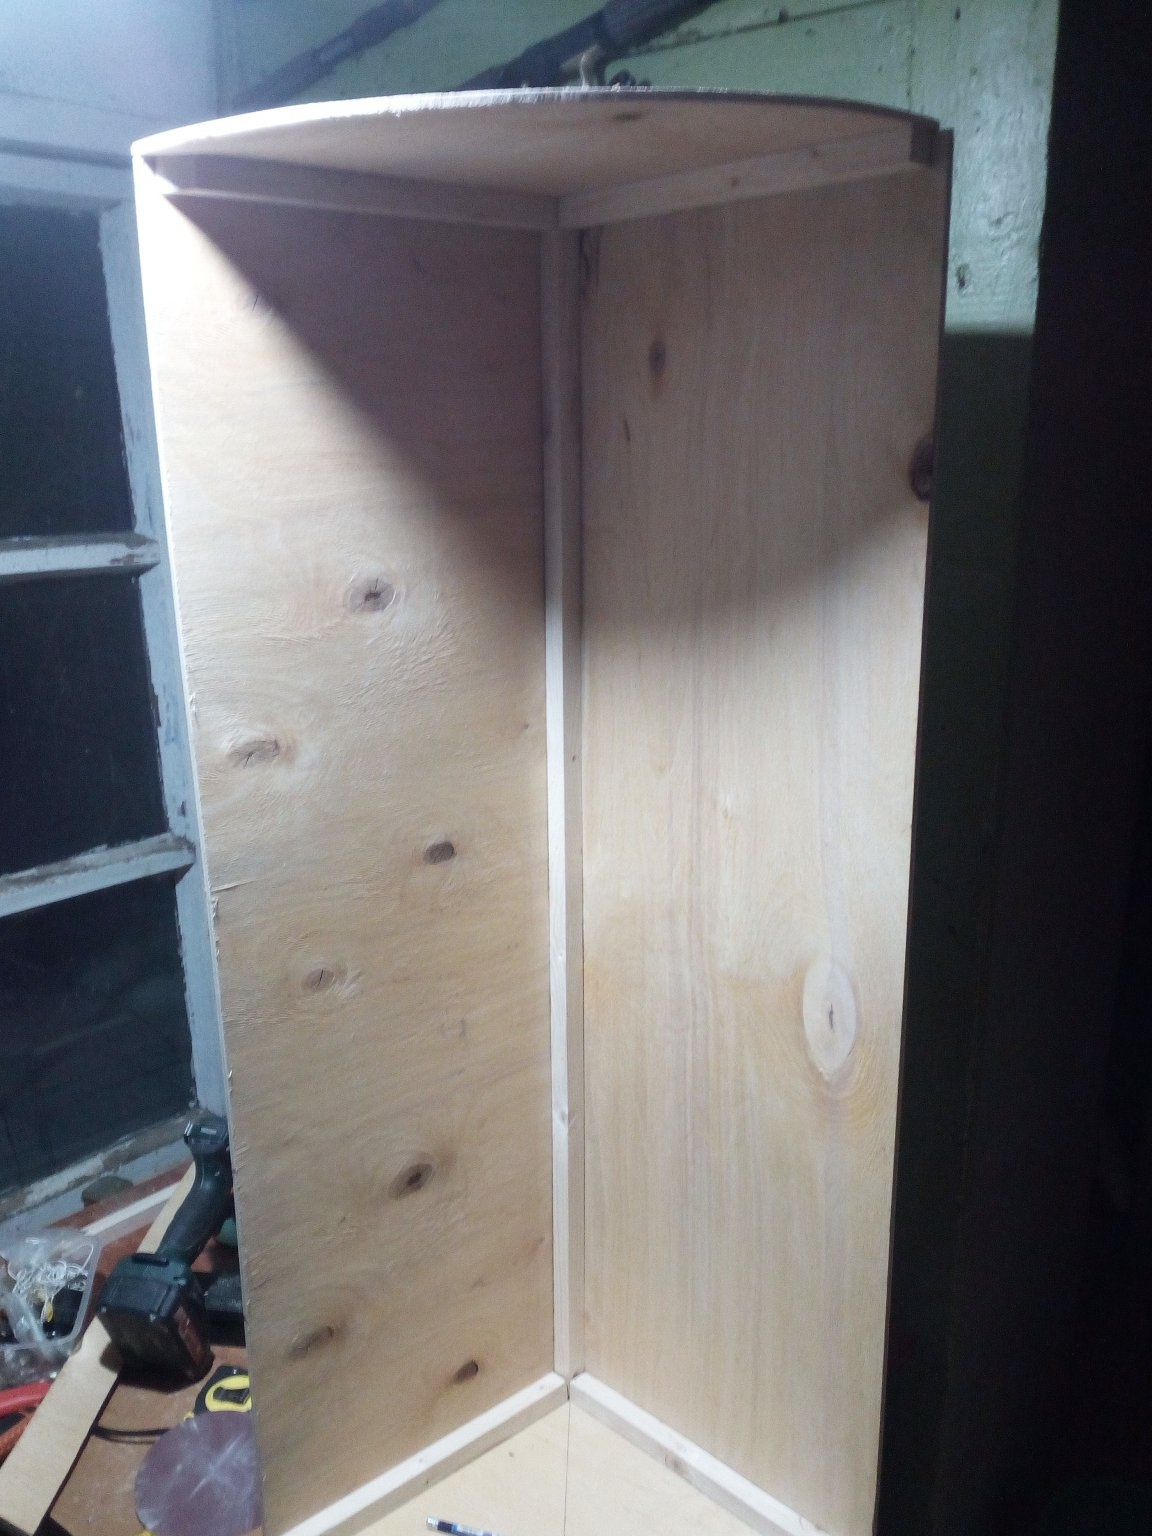
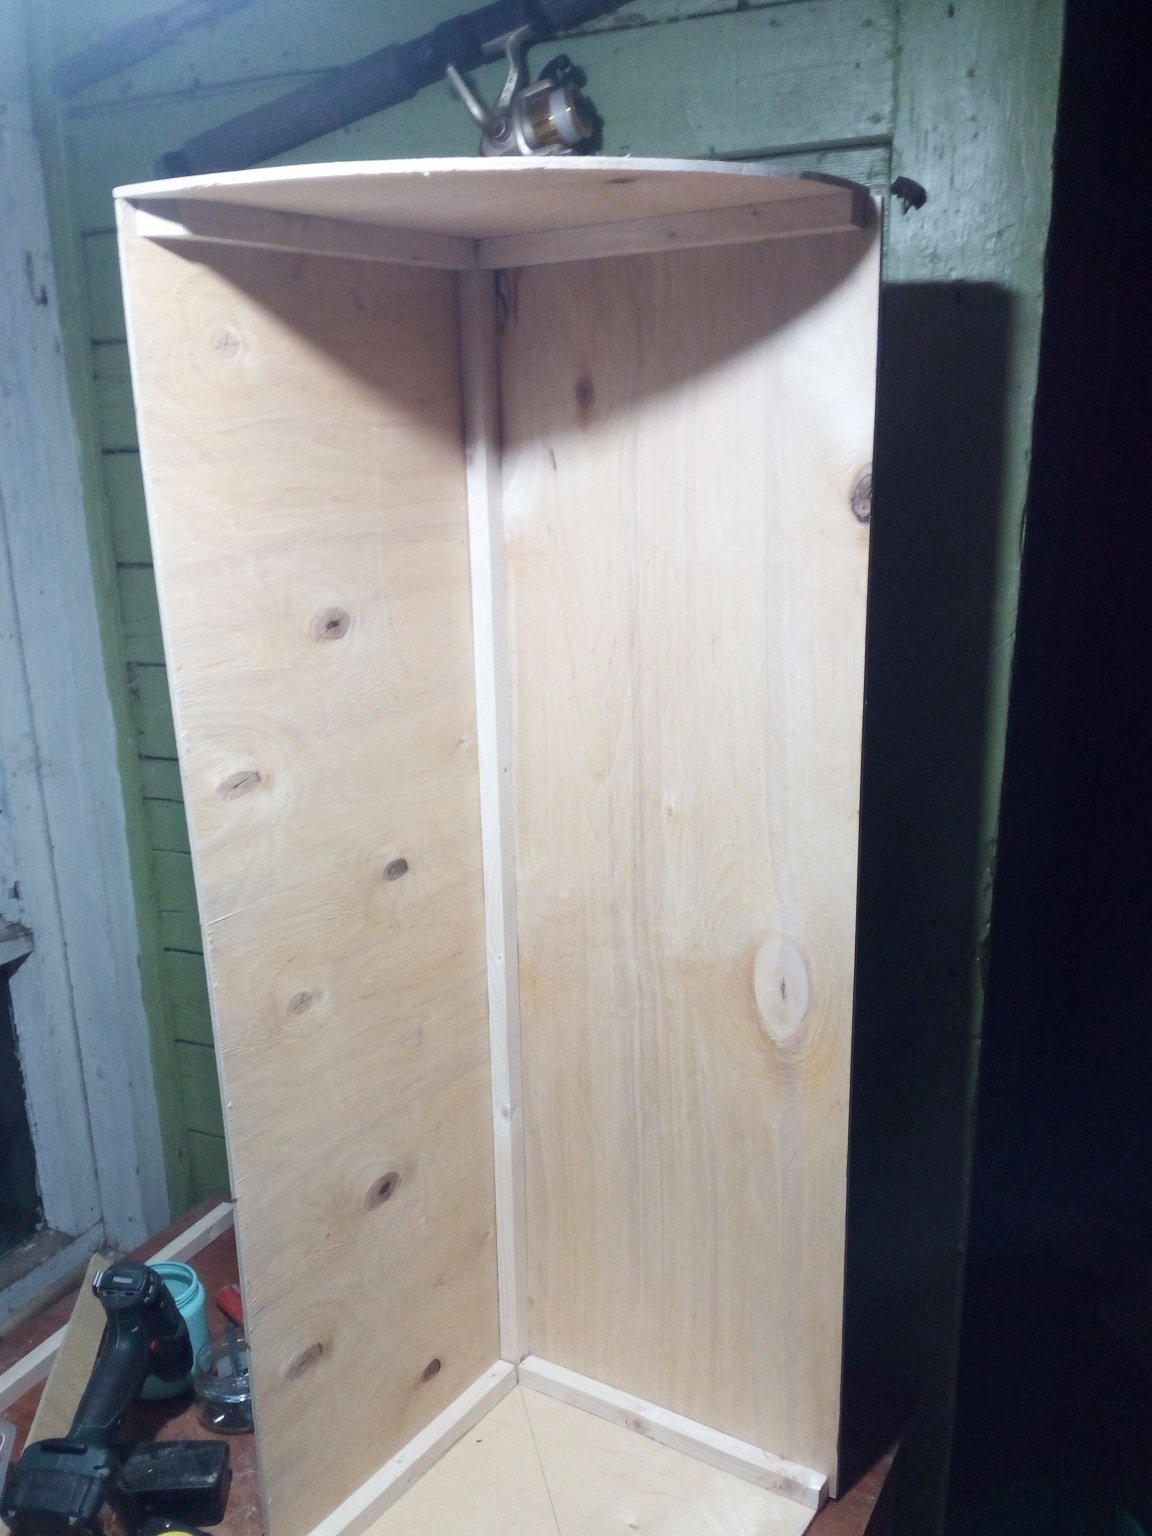
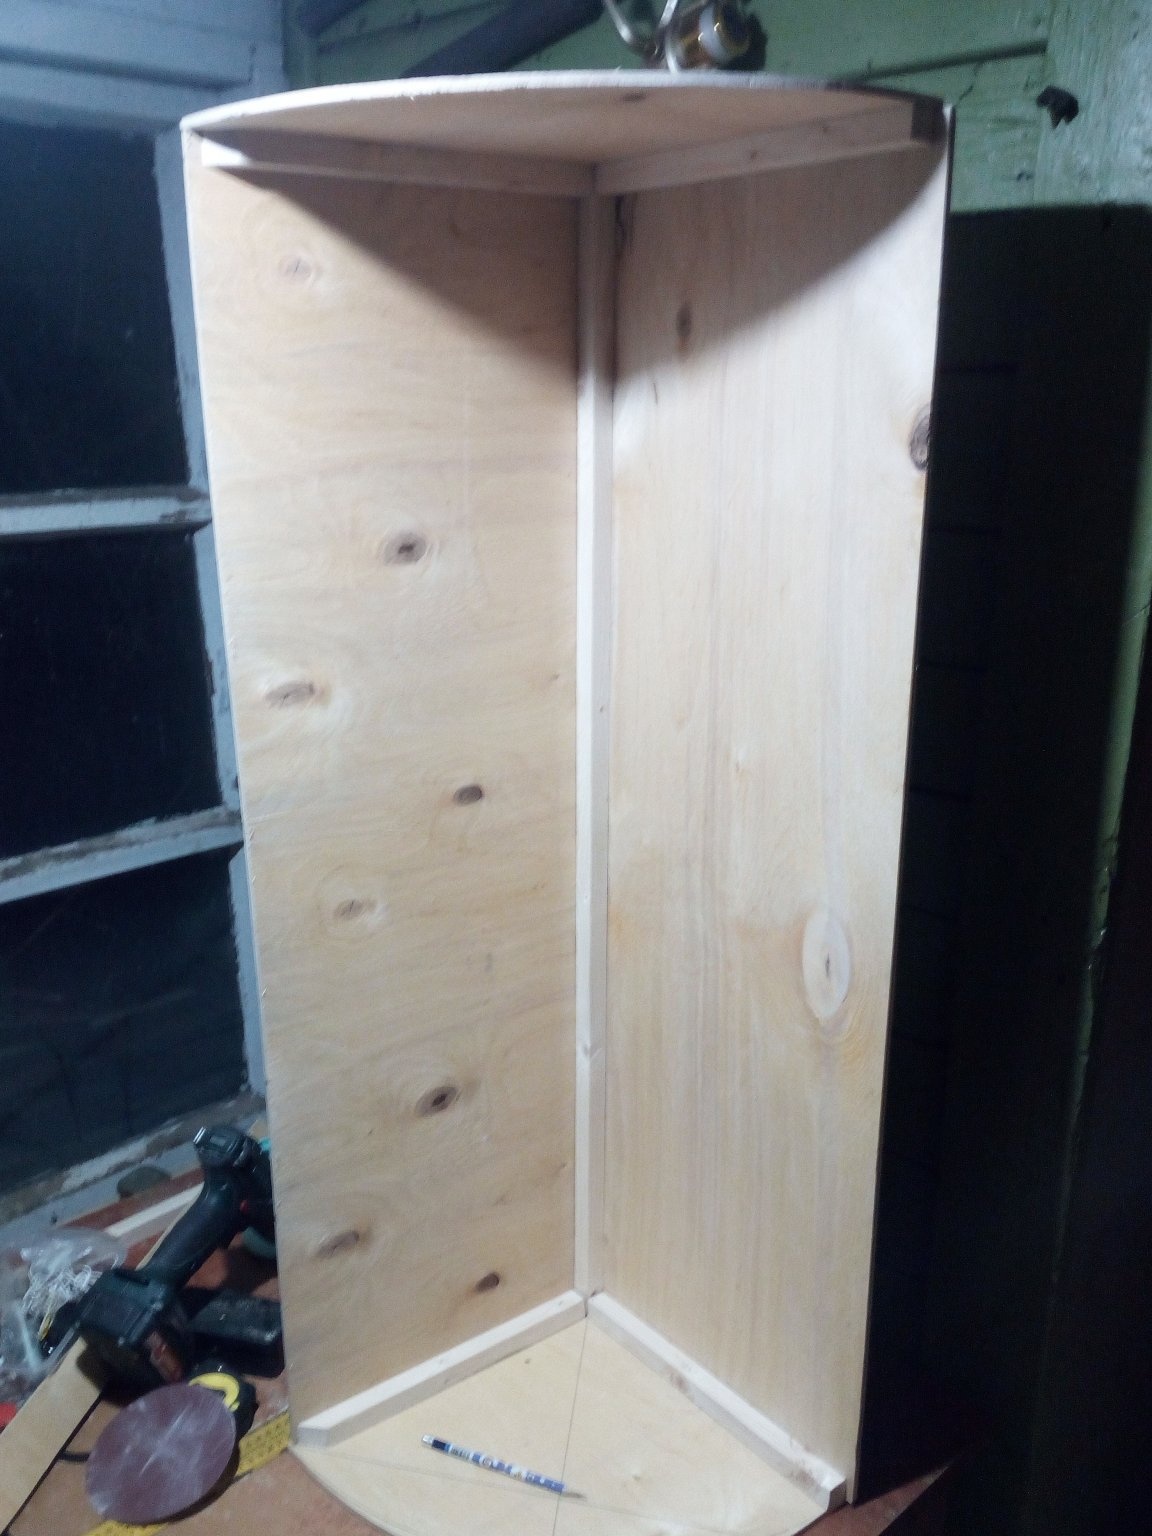
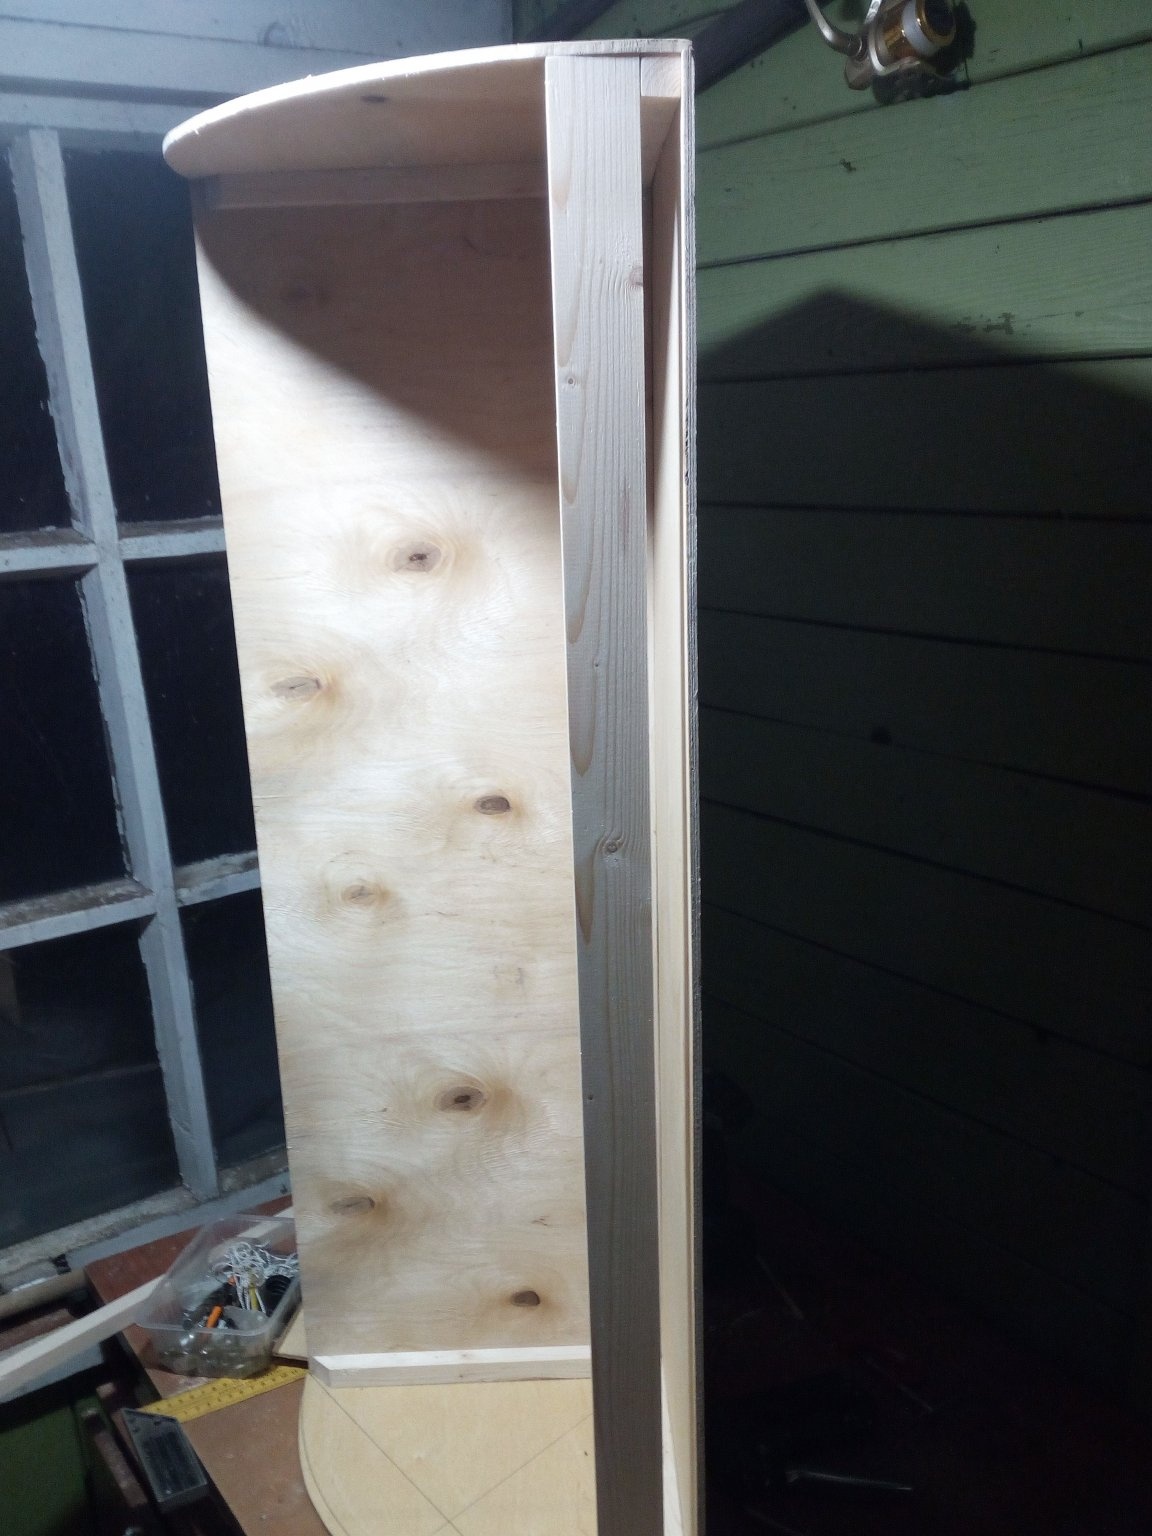
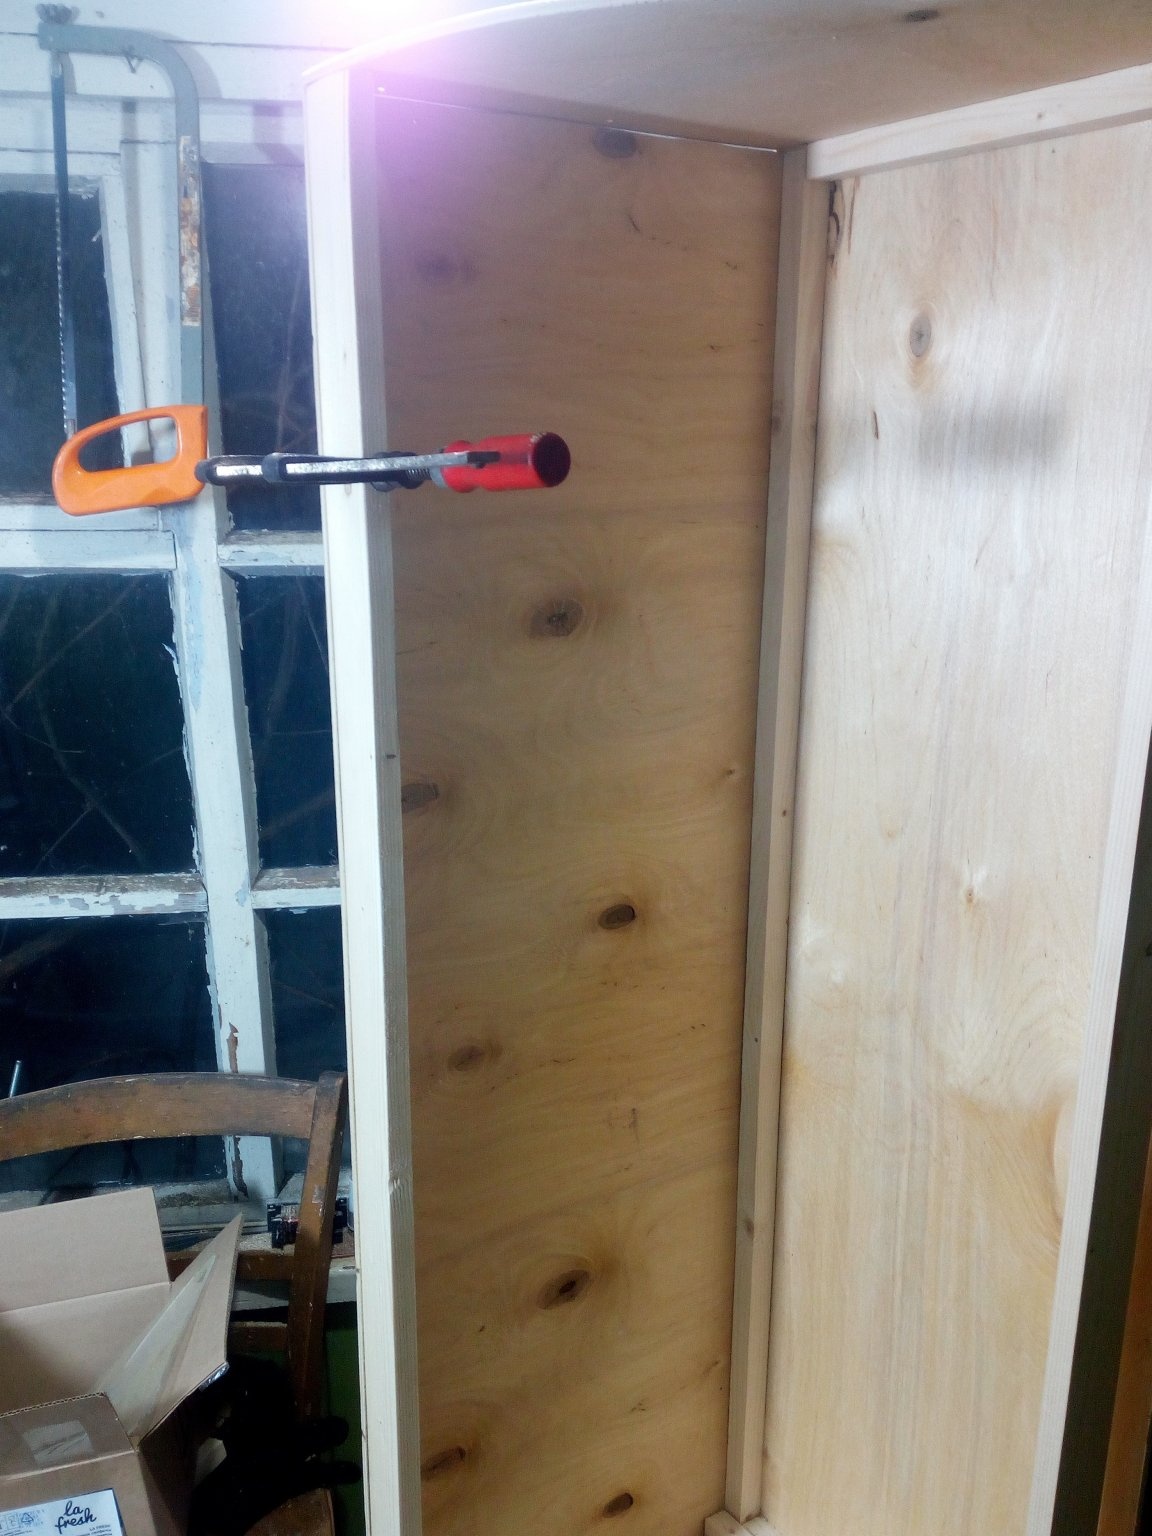
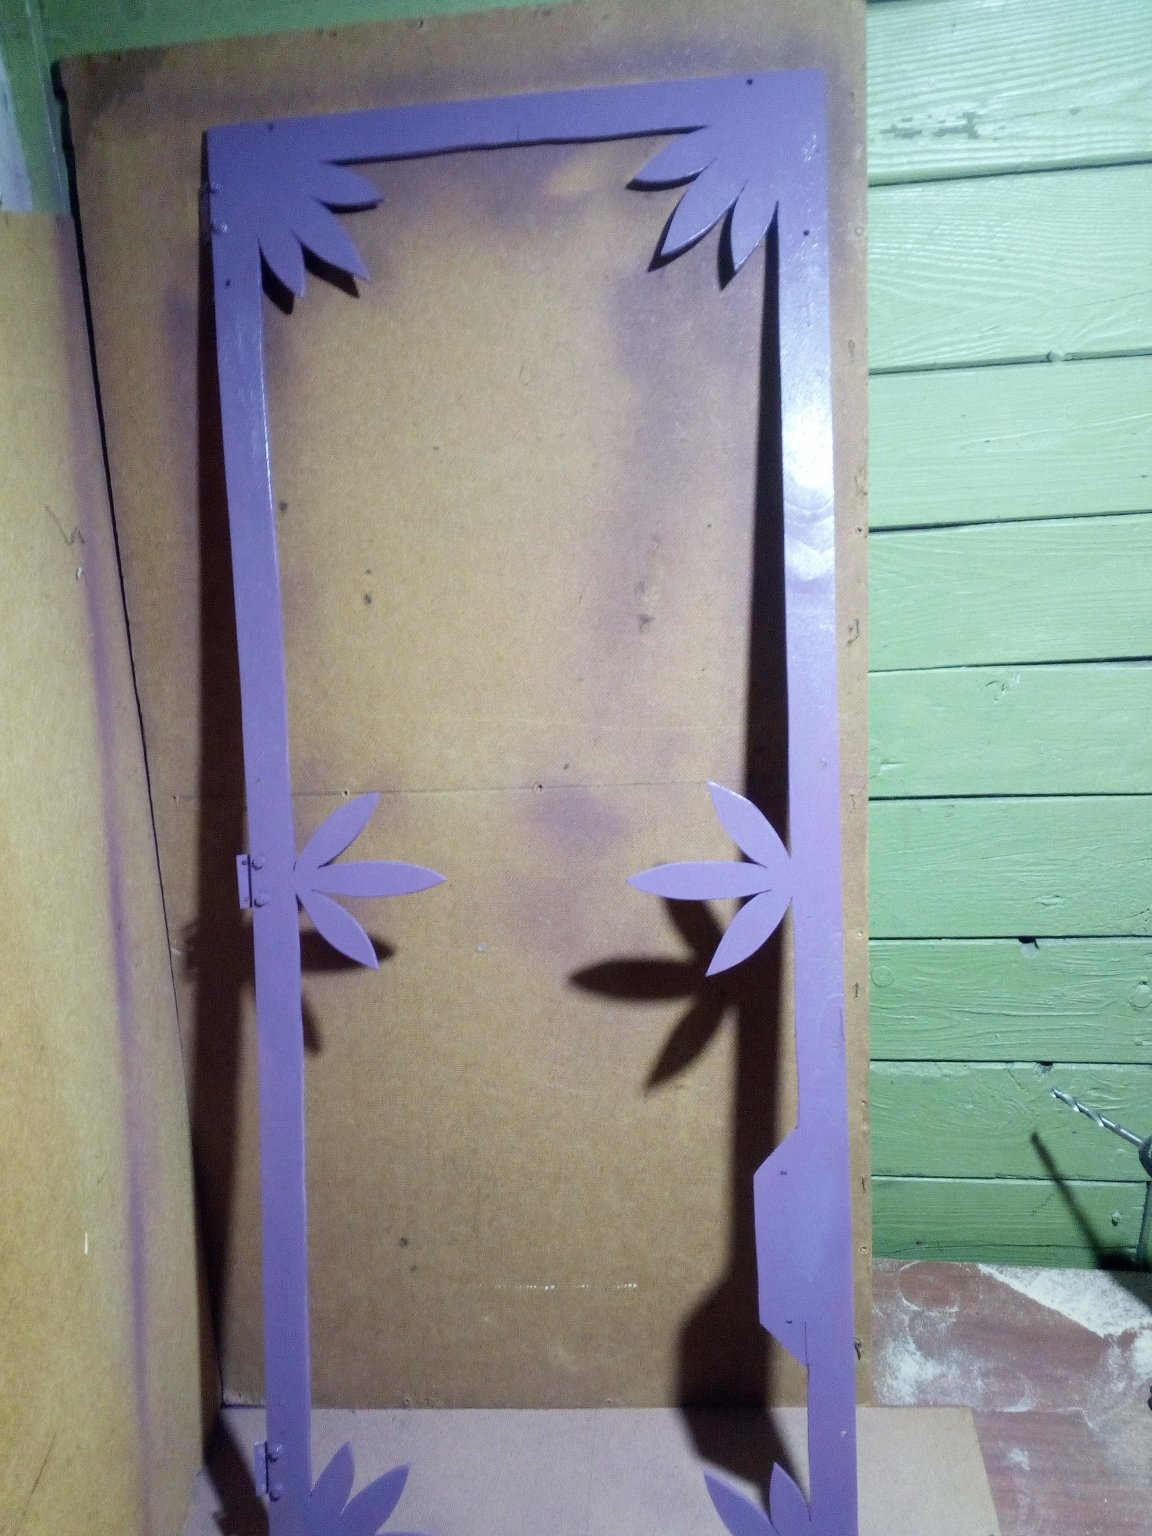
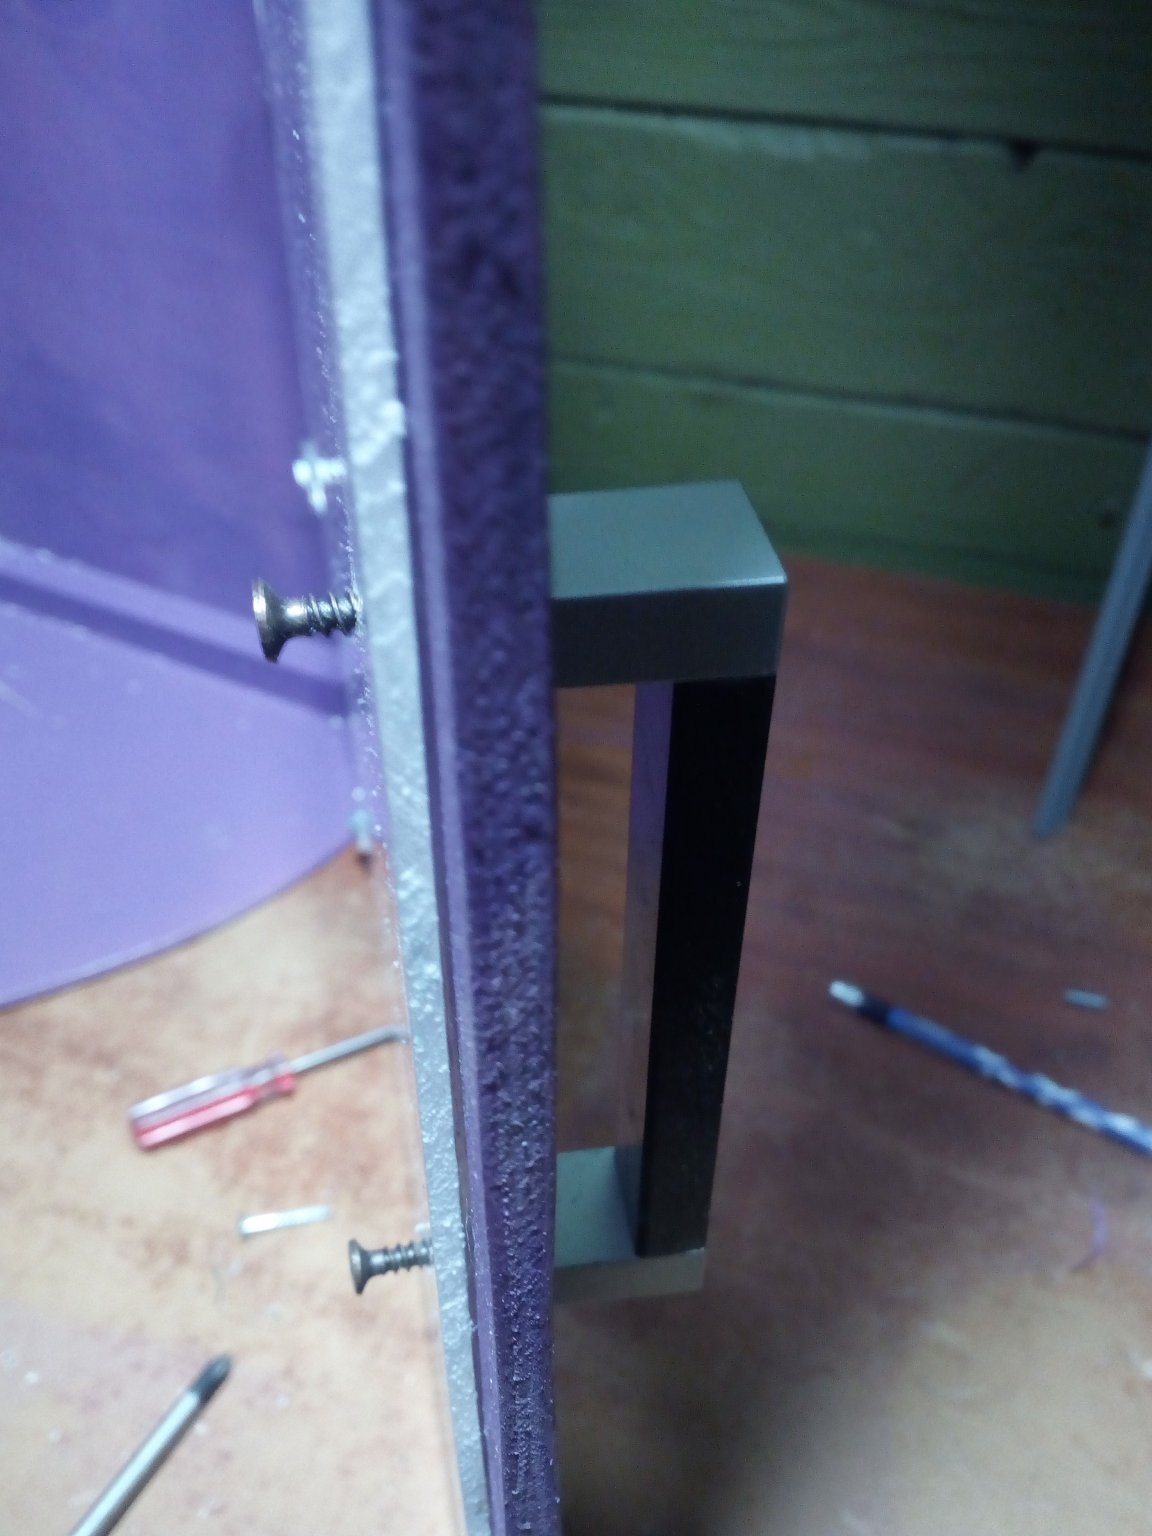
Next, a rail is attached to each side of the shelf, on one of which the door hinges will be screwed, and on the second this door will abut.
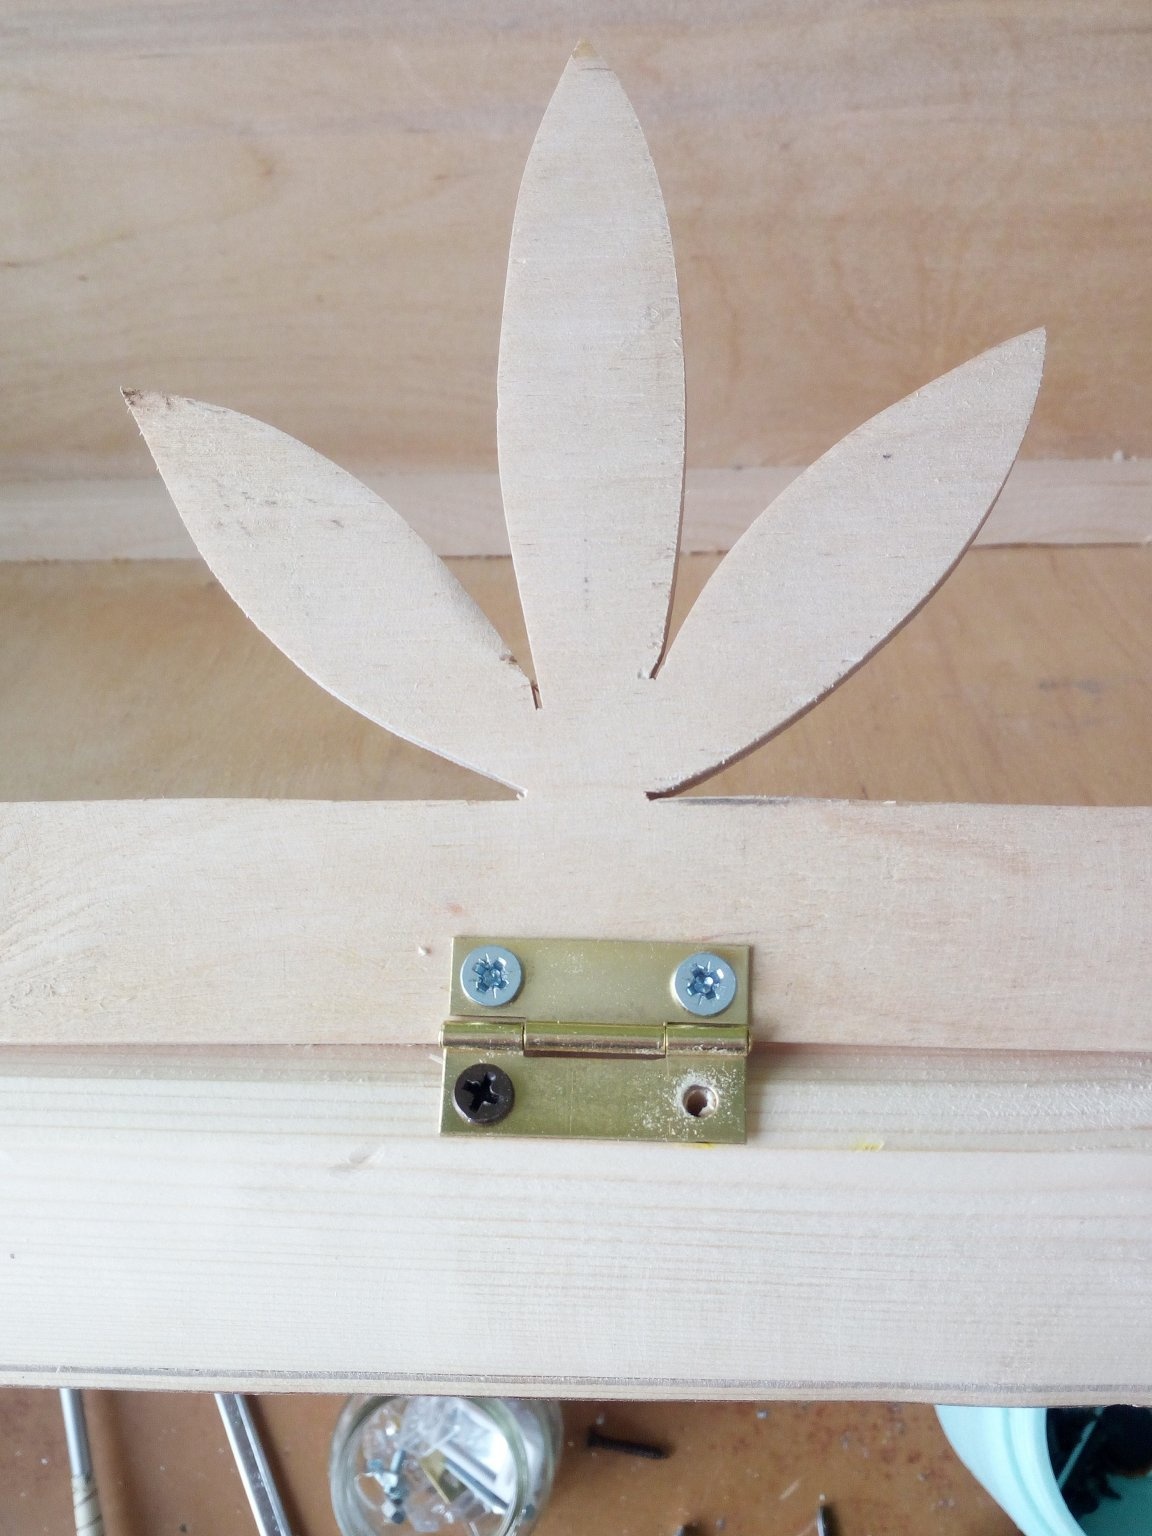
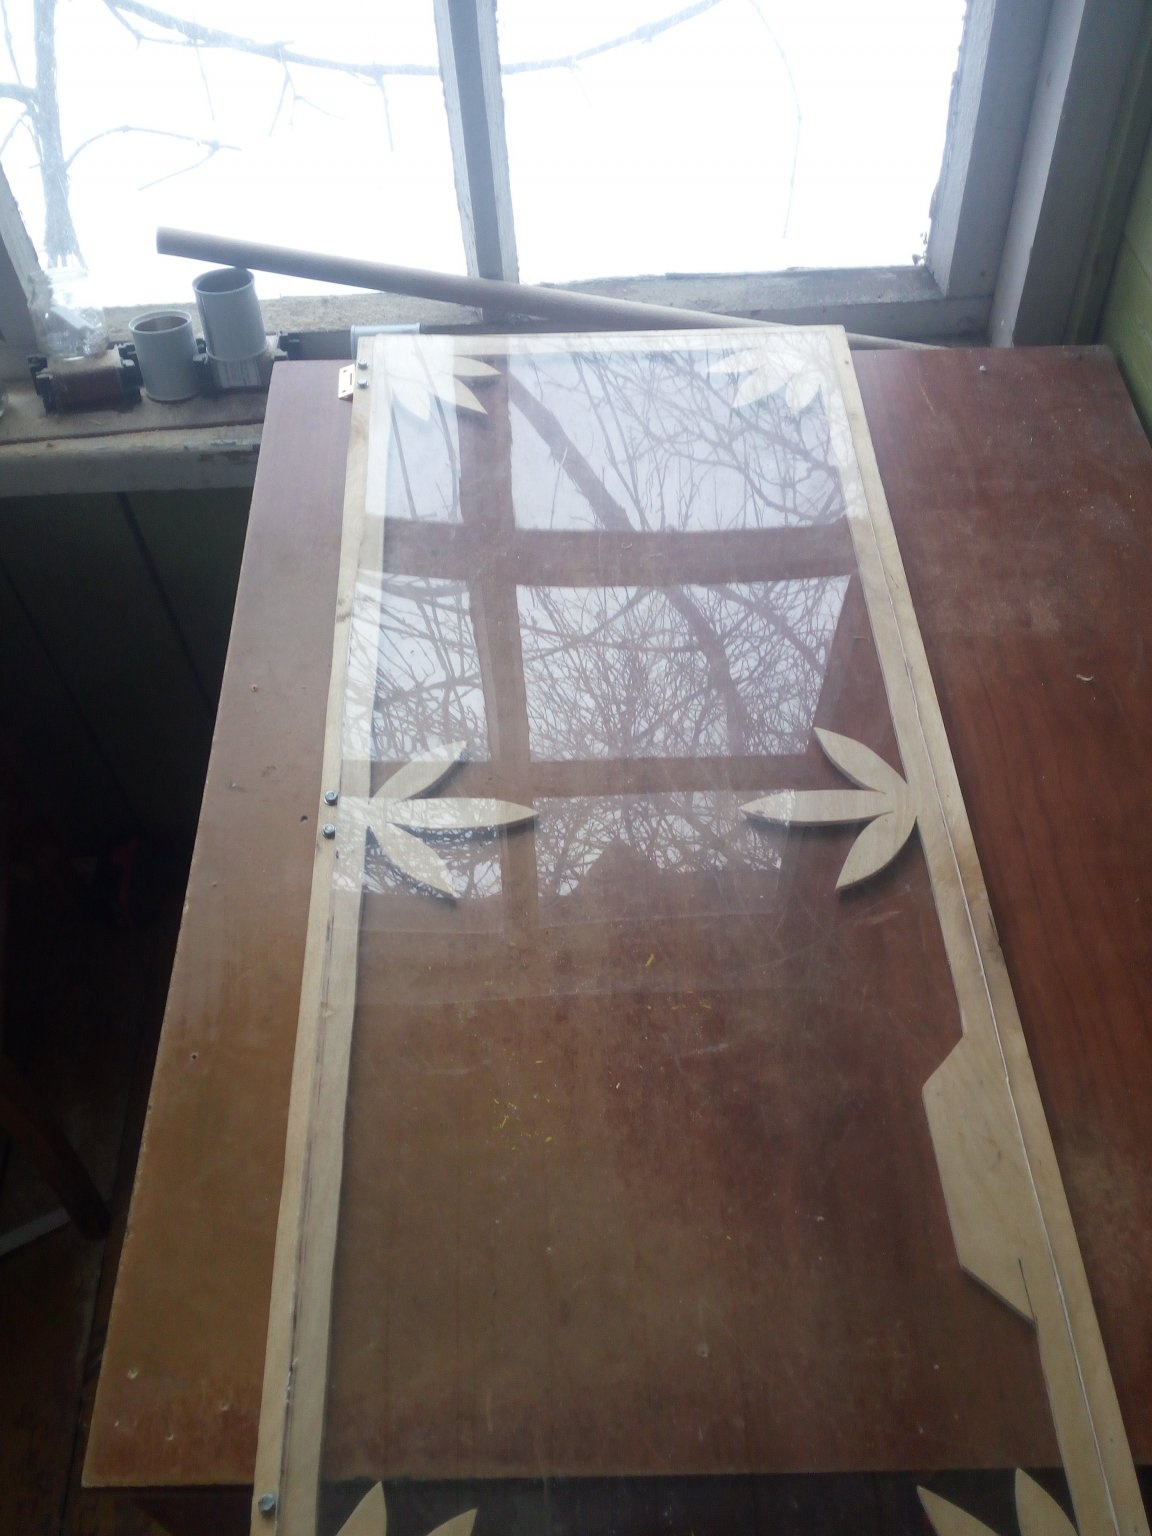
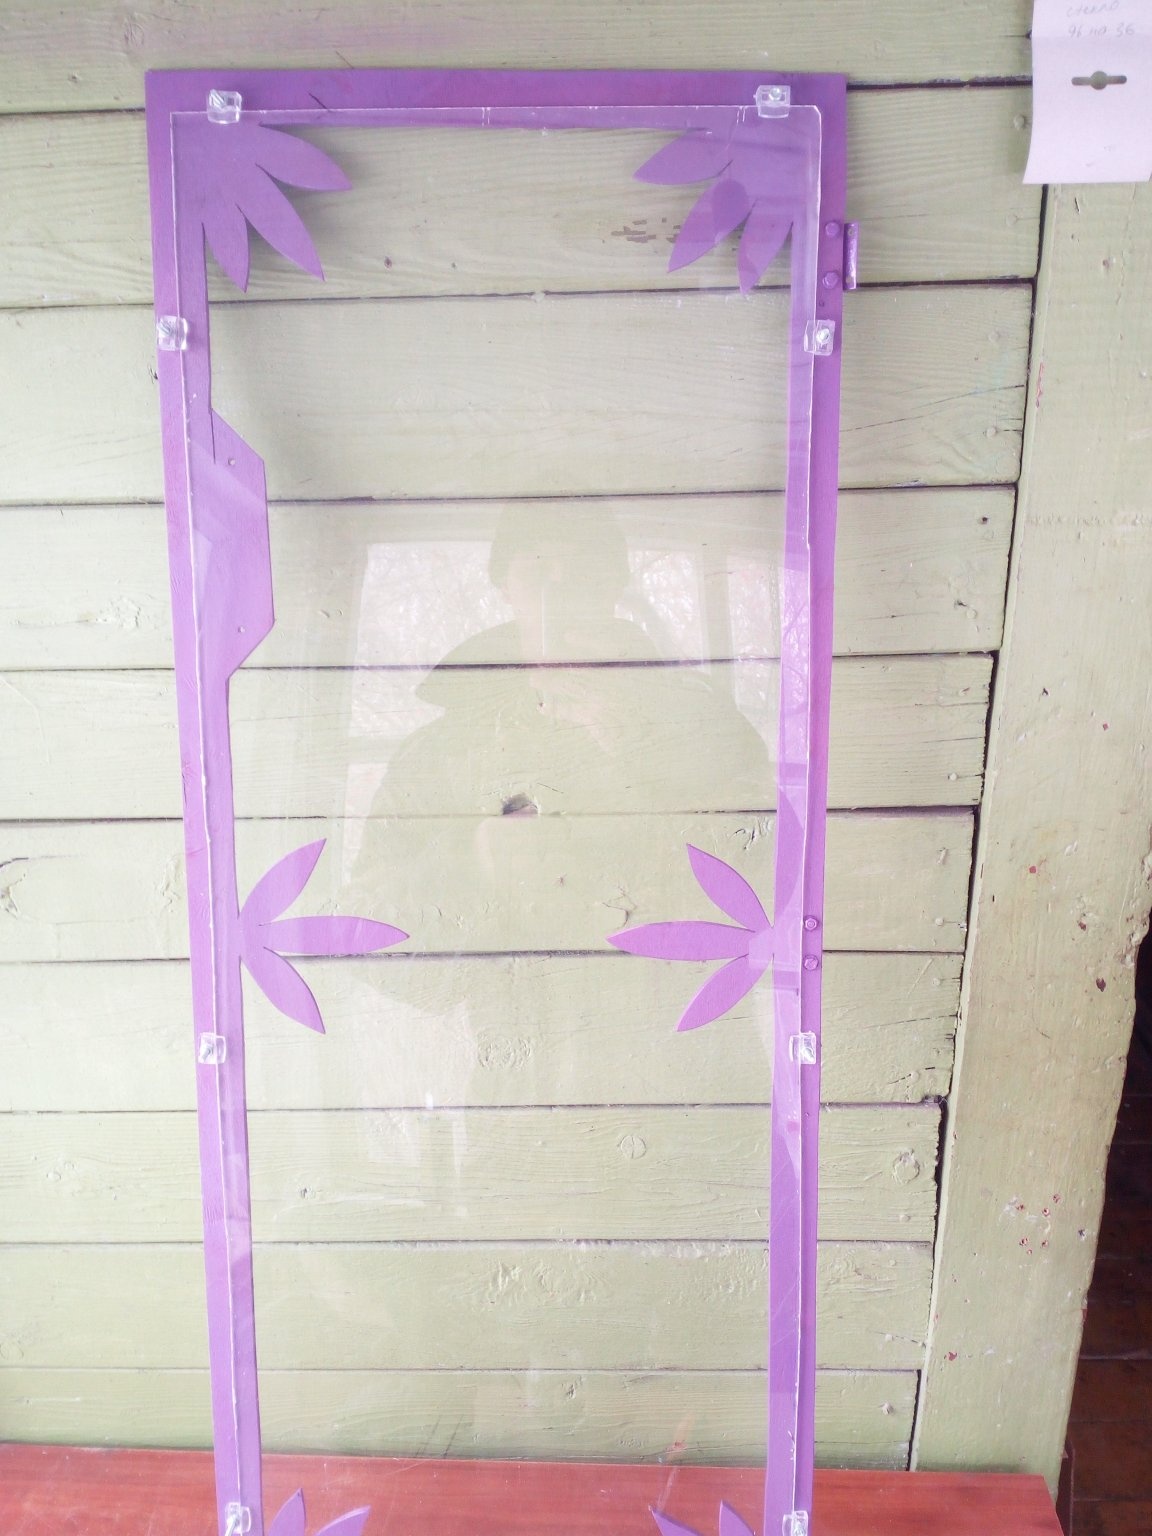
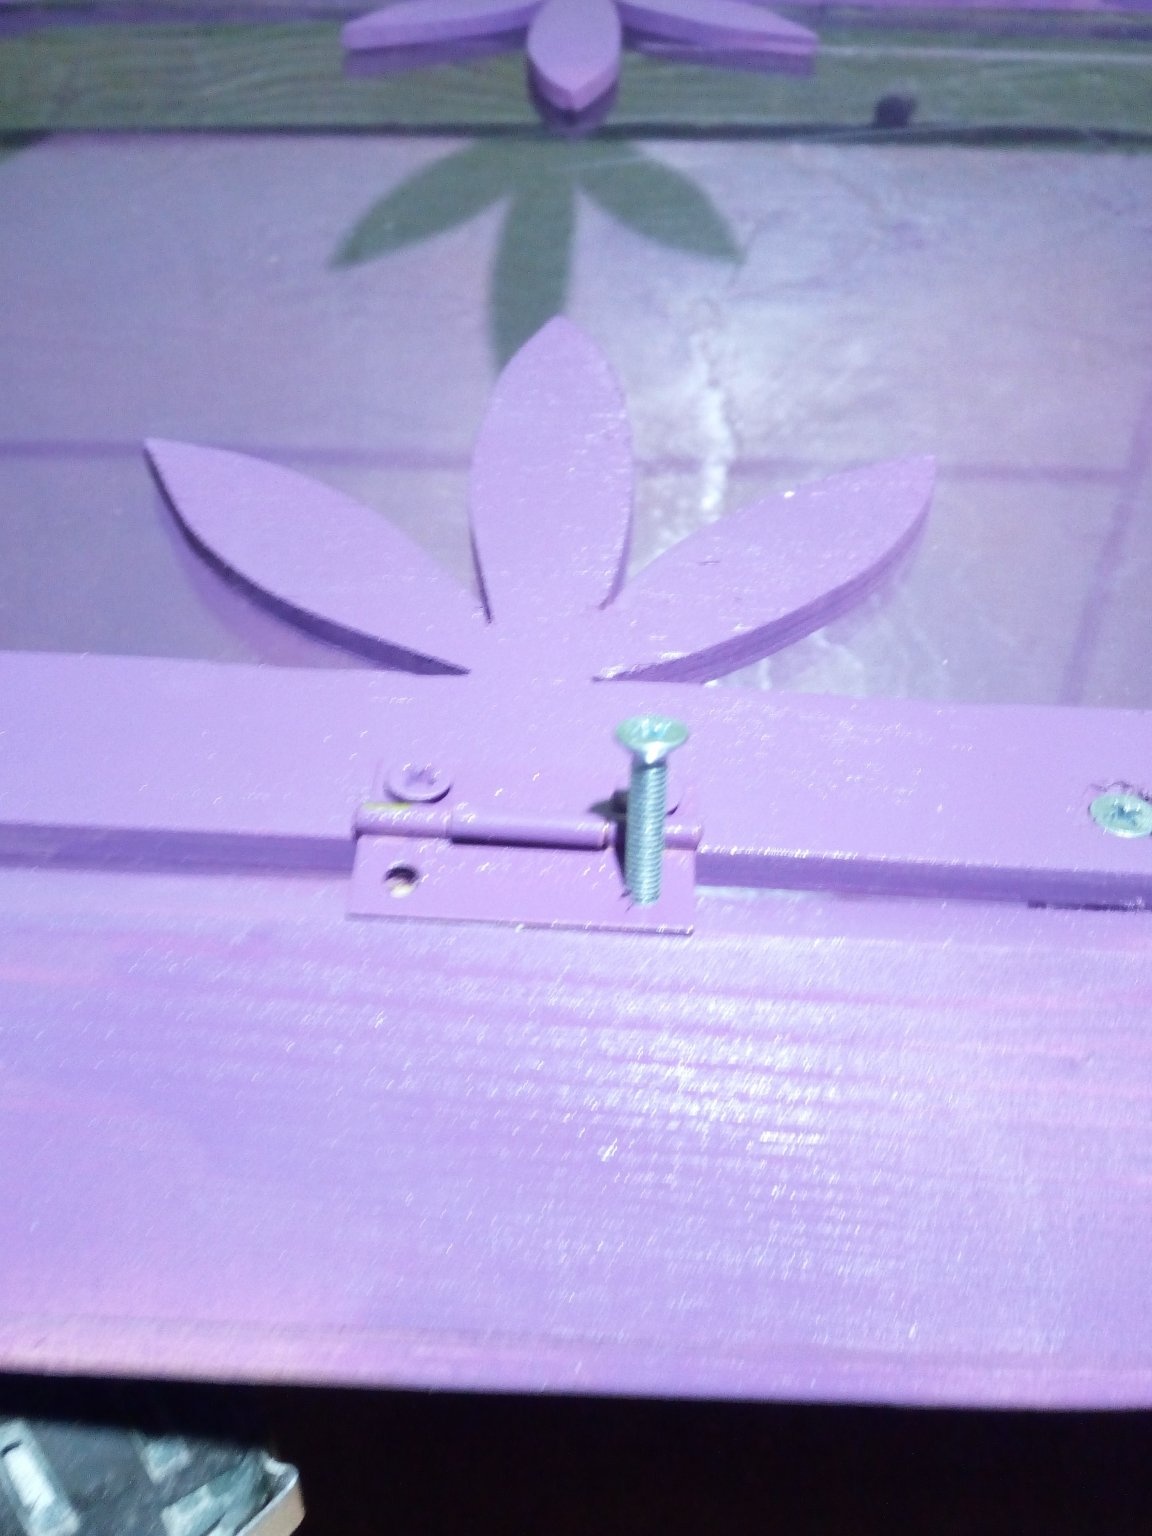
The next step is the door. A piece of plywood is taken that is equal in width to the opening between the two slats. I put a drawing on it and use a jigsaw to cut out everything that is unnecessary. I do not forget about the place under the door handle. After that, I begin to push the door to the shelf. I fixed the hinges to the door with a bolt connection, since the plywood is thin and at that time I simply could not find anything more suitable in my arsenal. Although it was possible to make fasteners with the help of exhaust rivets, it would have been more accurate. I protrude the protruding parts of the bolts and polish them with sandpaper. For one I try on a piece of plexiglass that will be on the door.

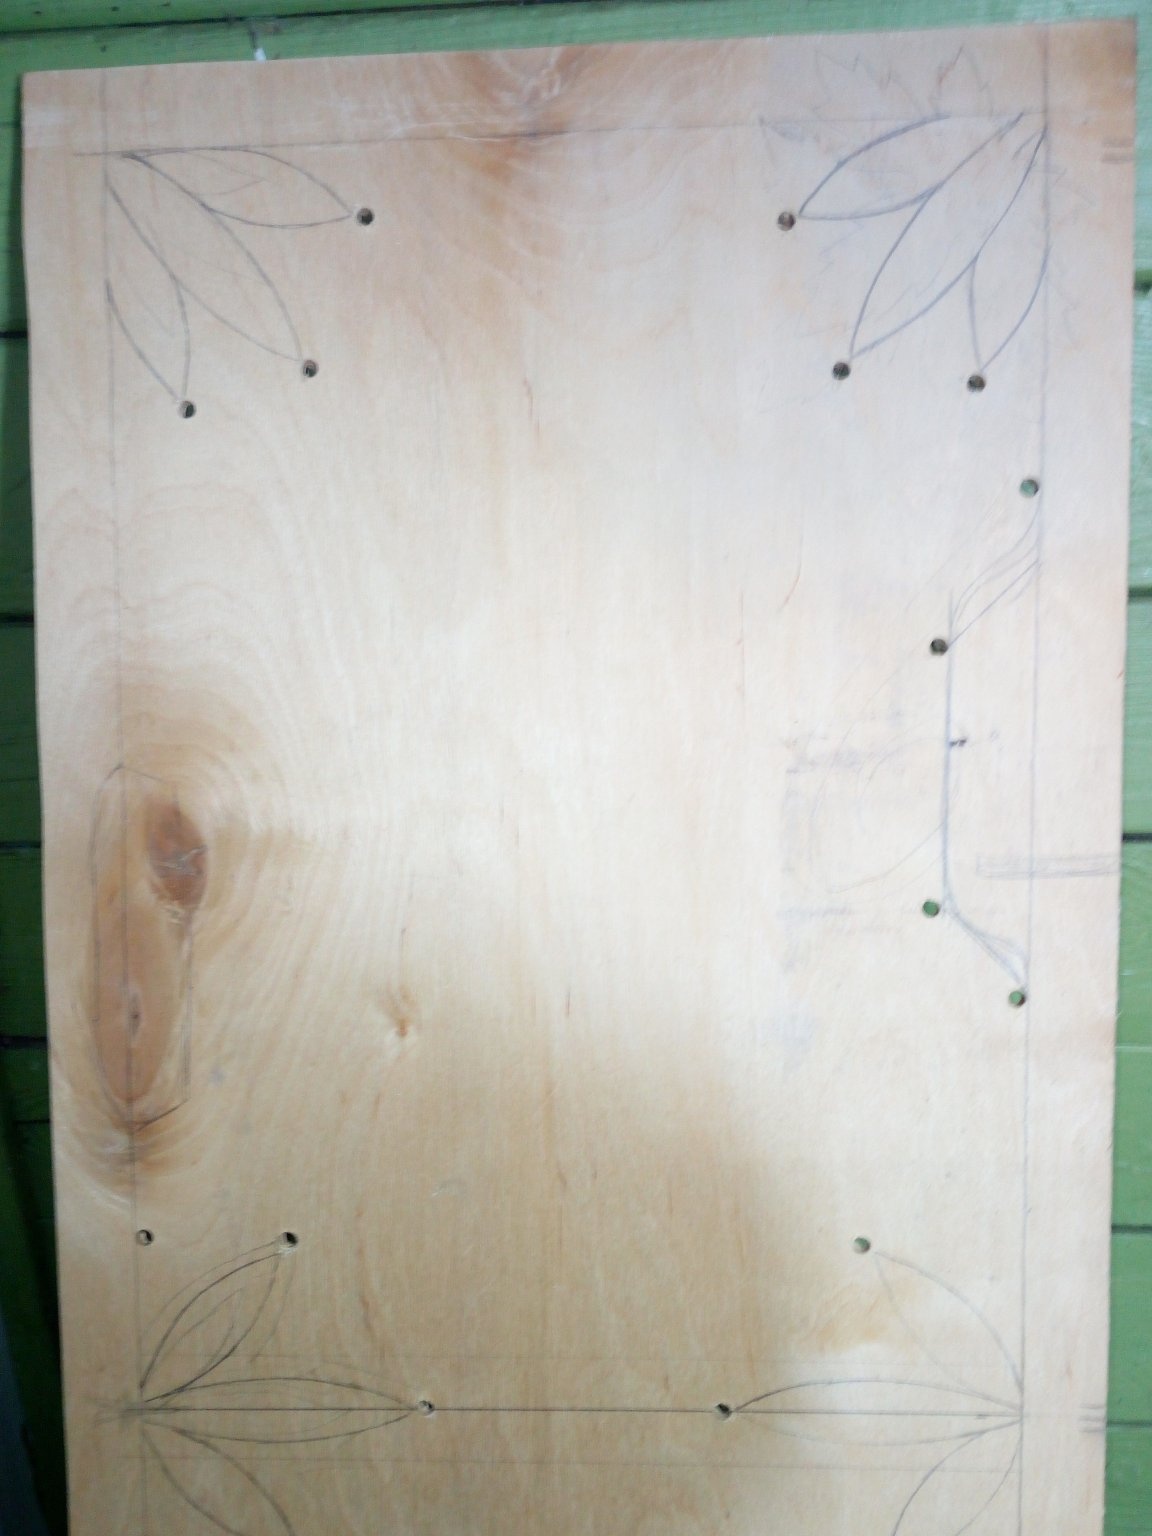

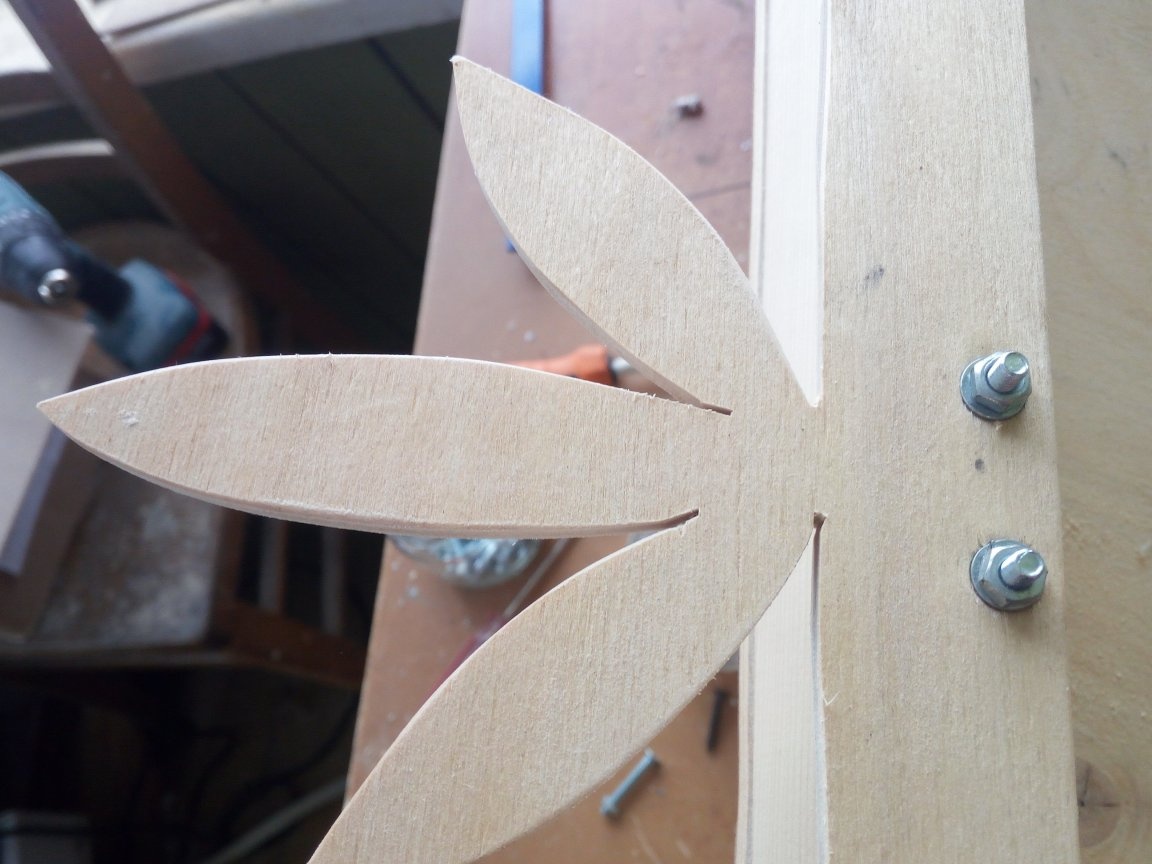
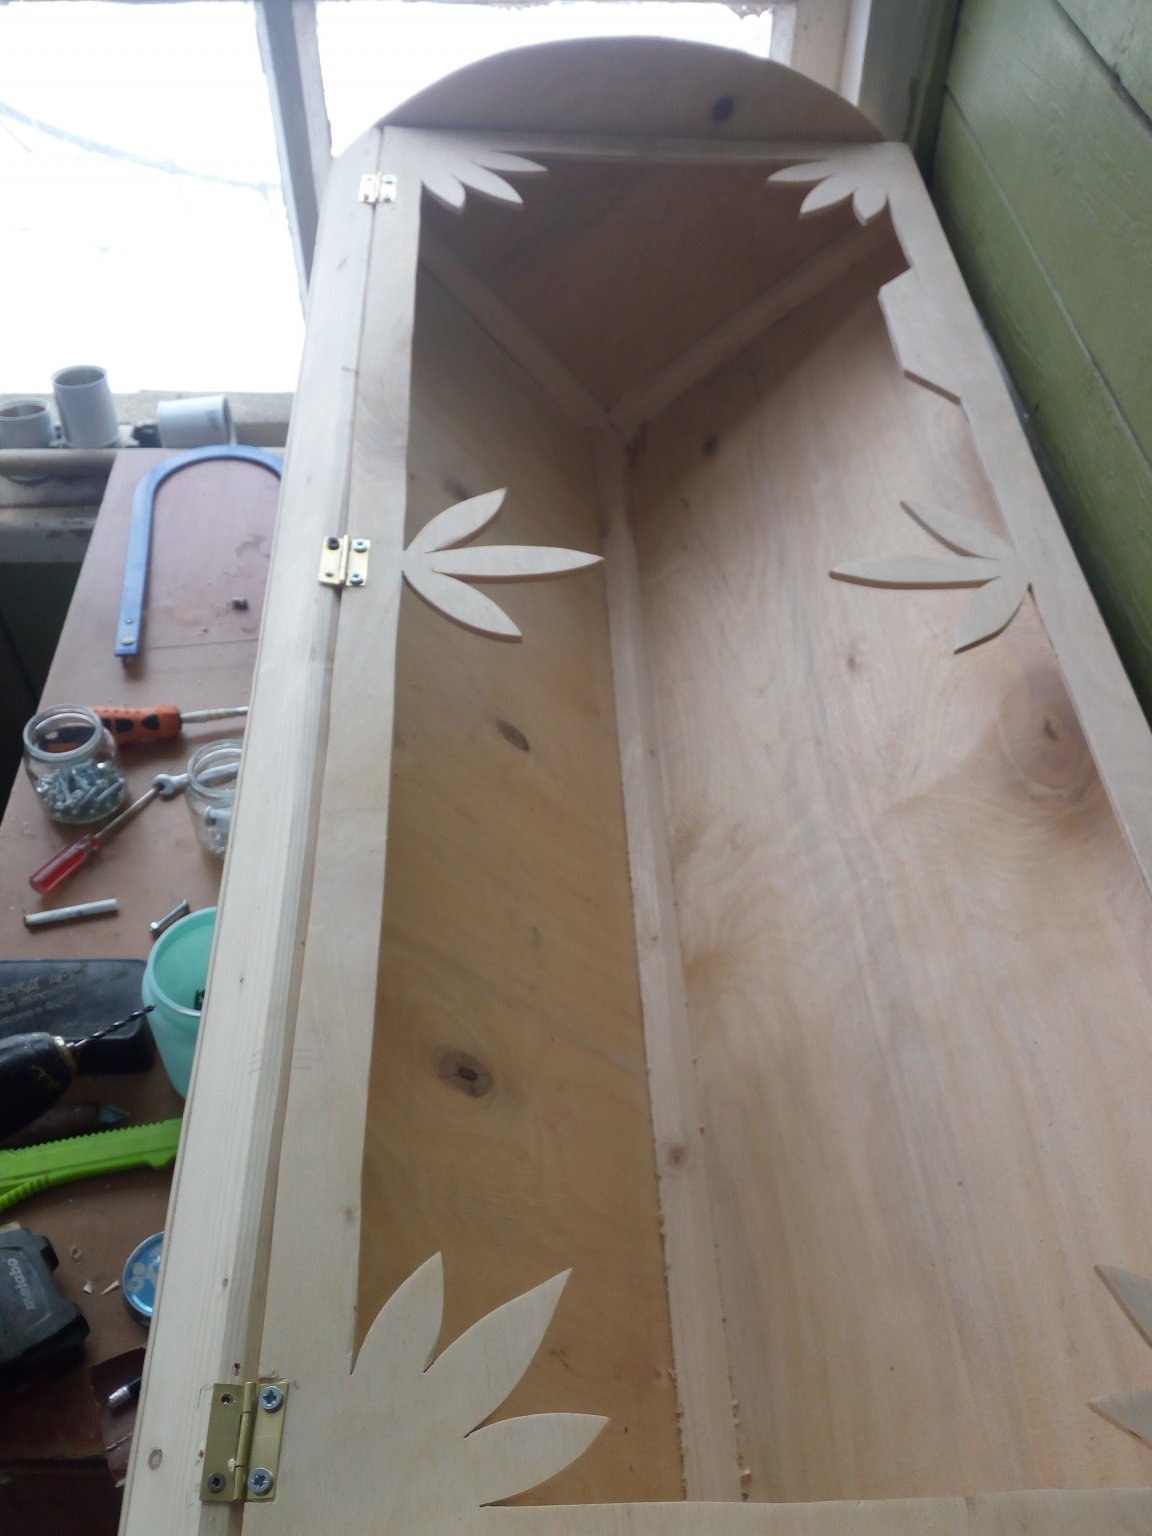
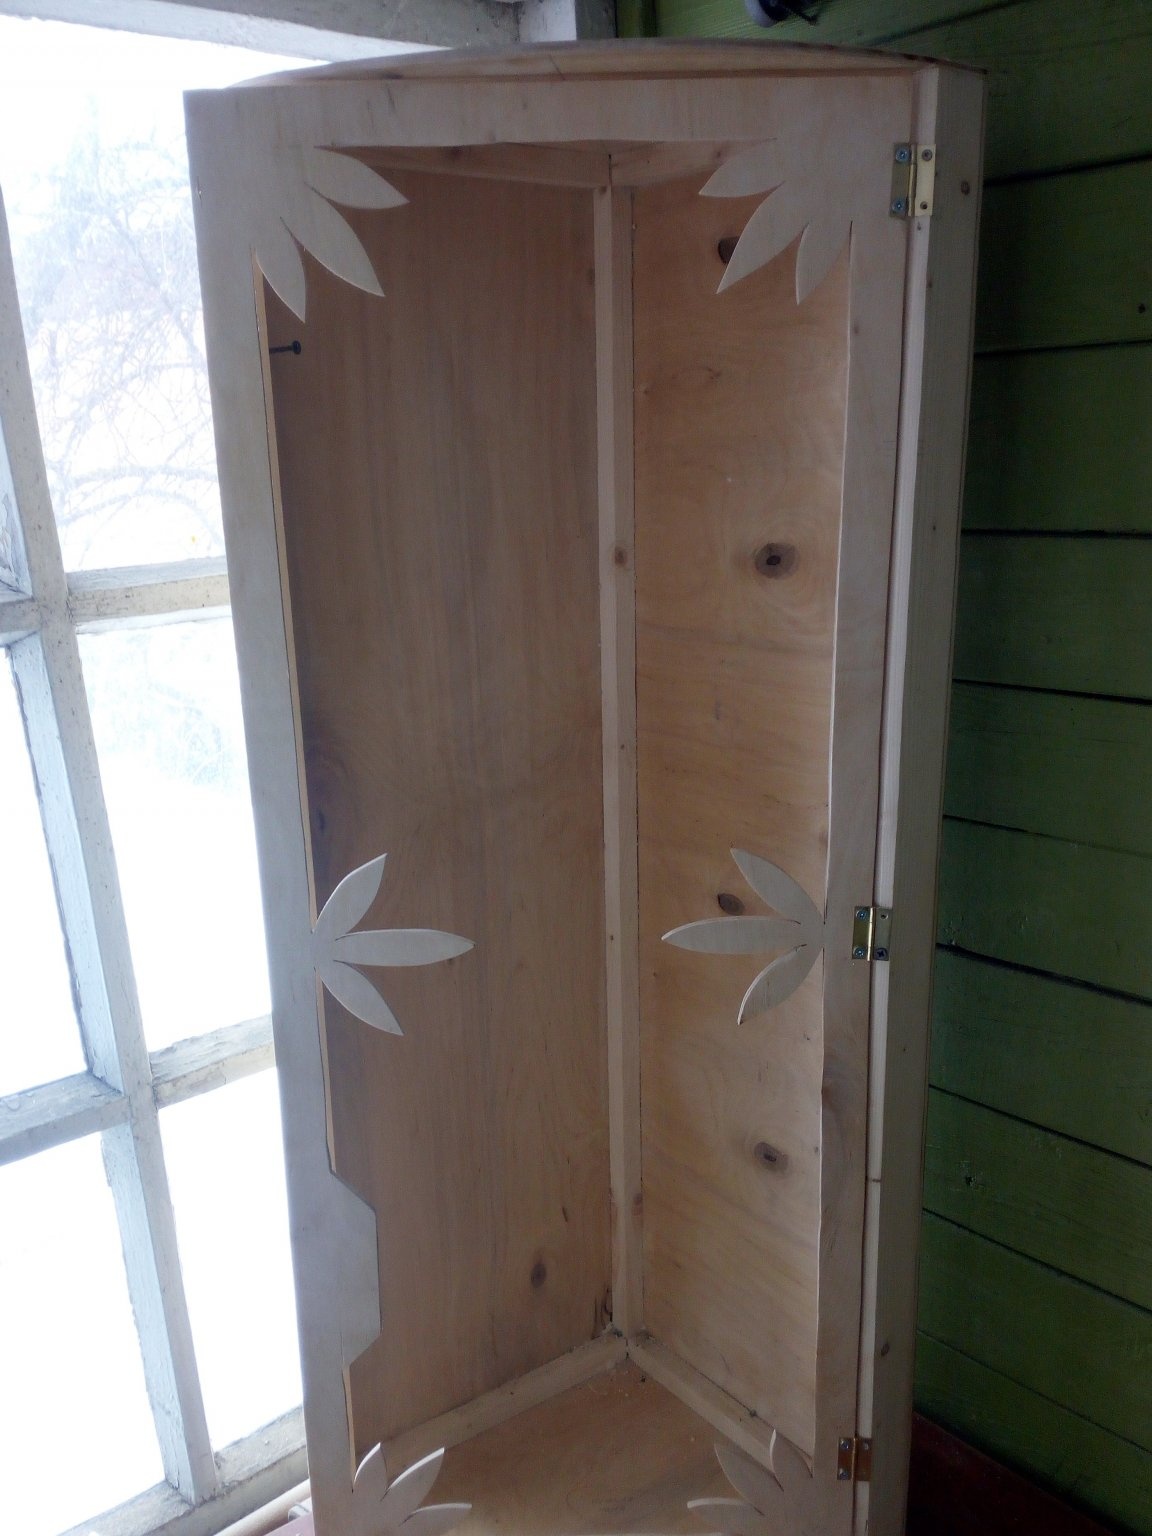
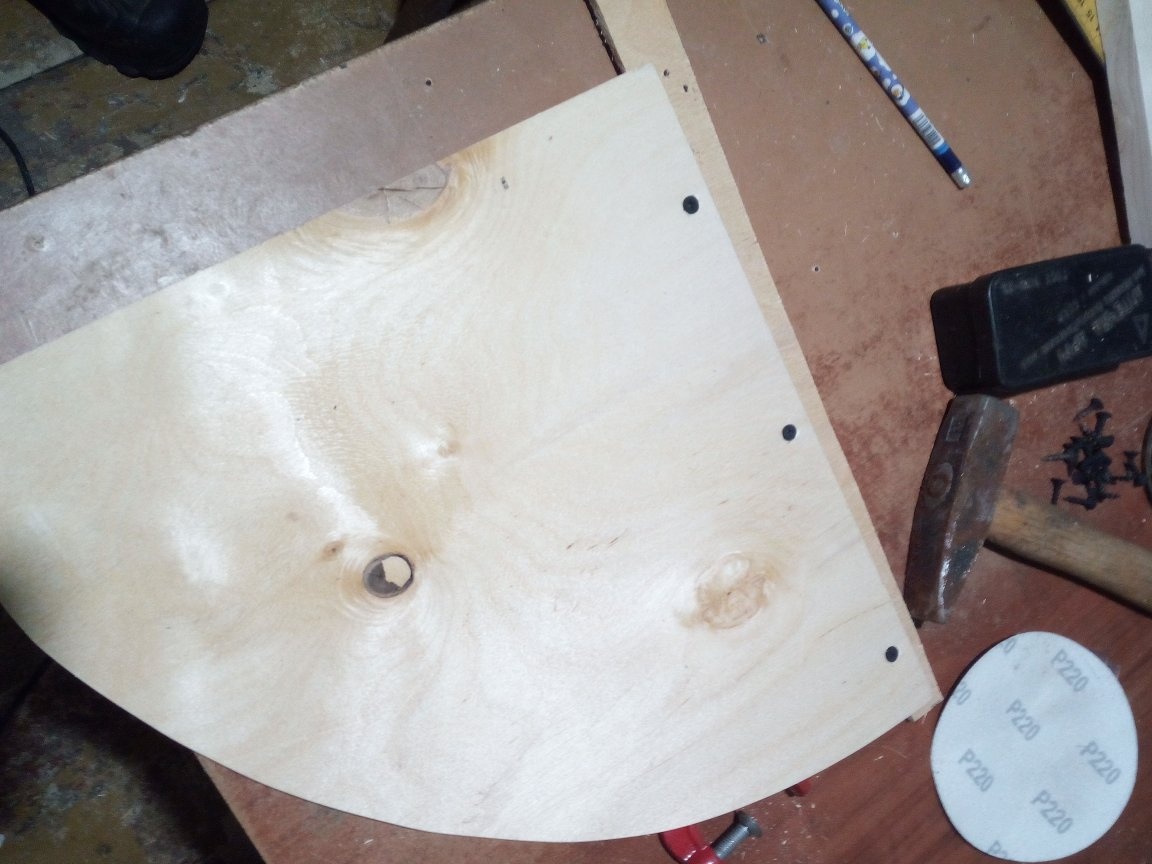
From the plywood that was left of the door when the ornament was cut, shelves are obtained. In the internal space of the product I make markup for shelf holders.

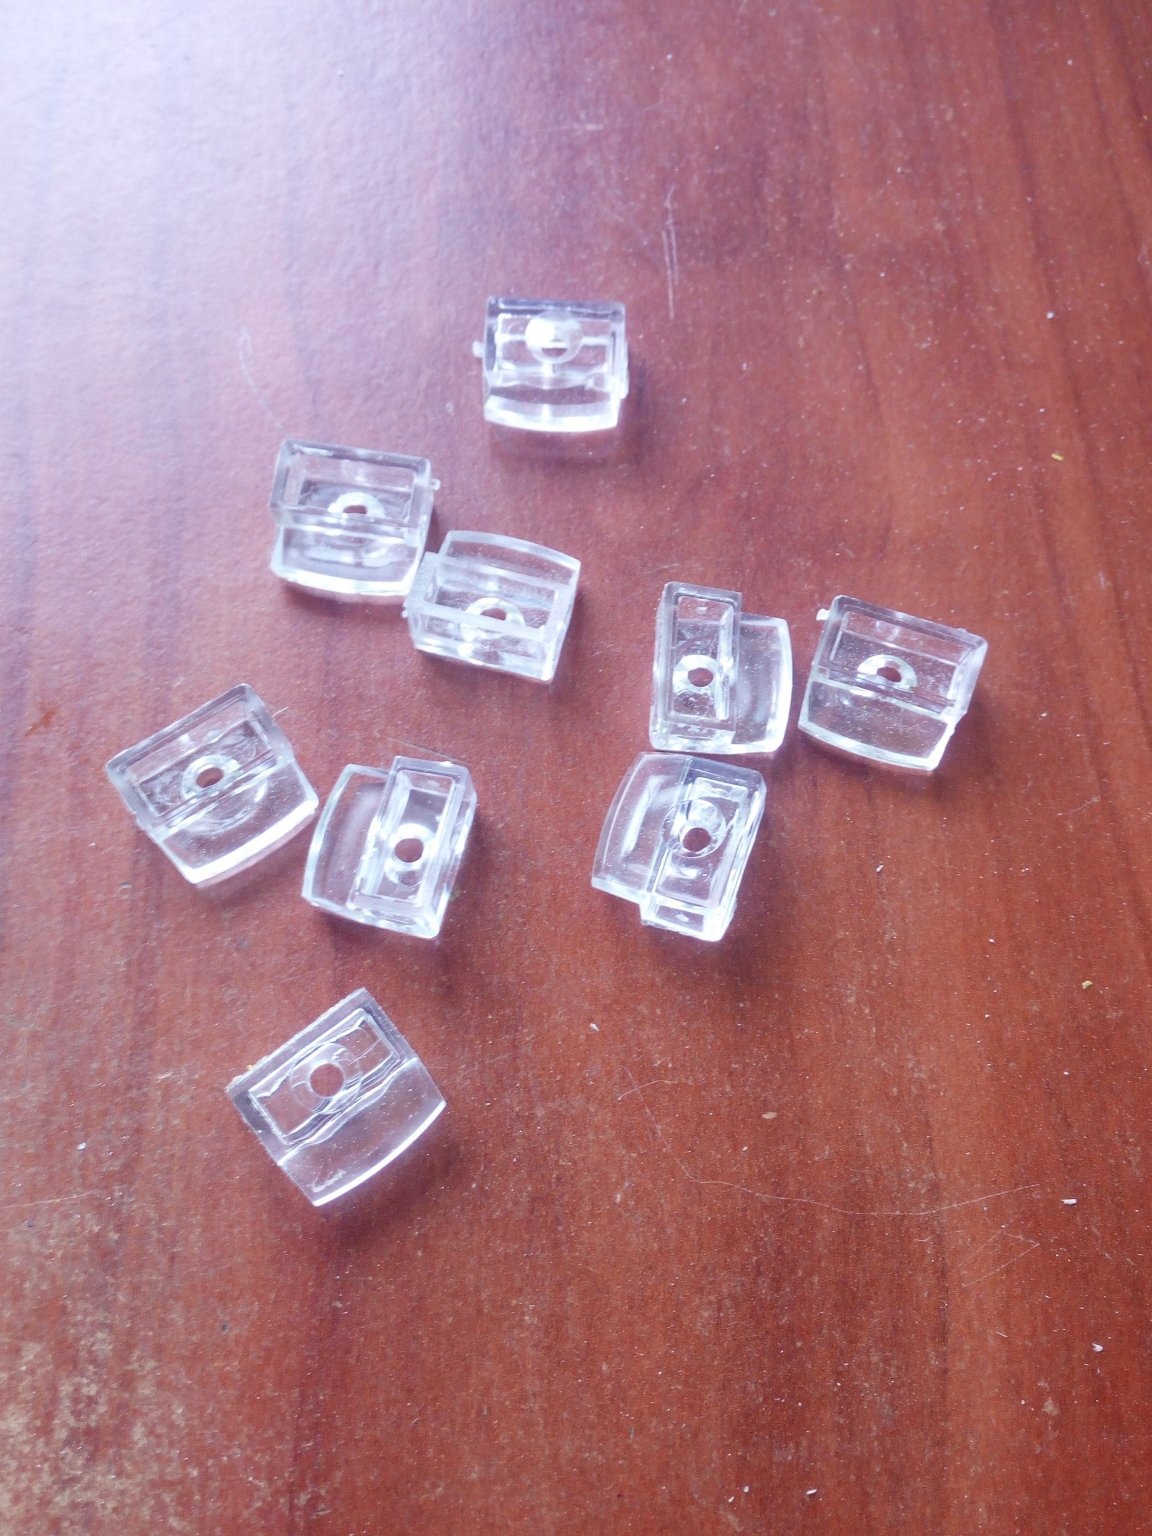
But I used such details to press the glass to the plywood and to install the shelves.

All wooden surfaces are sanded and prepared for painting. Since I painted without first priming the wooden parts, it took me a lot of paint. She just simply absorbed into the wood like water into a sponge! After staining and drying completely, I collect everything together: I fix the door, plexiglass and put the handle.
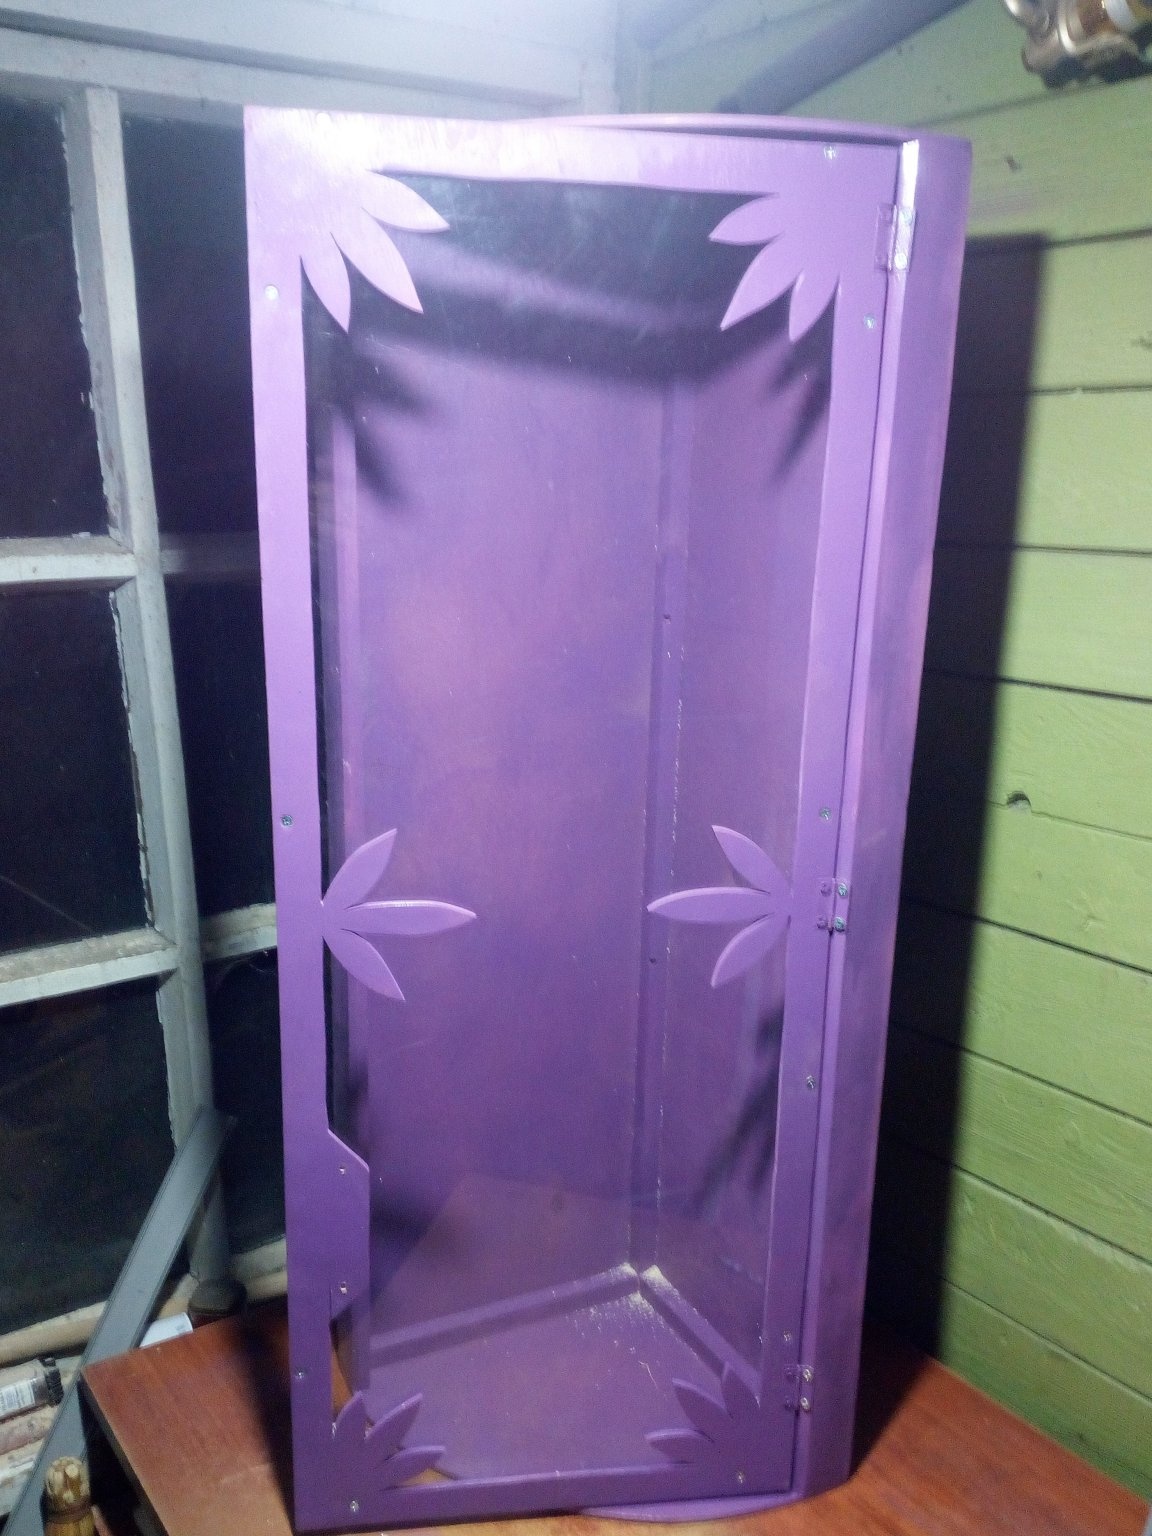
It took 5 days to make this homemade product. And then the lion's share of which went to the complete drying of the paint. It was still cold enough on the street, but I didn’t want to bring home so that it would not smell. Therefore, I had to wait. In the end, here's what happened:
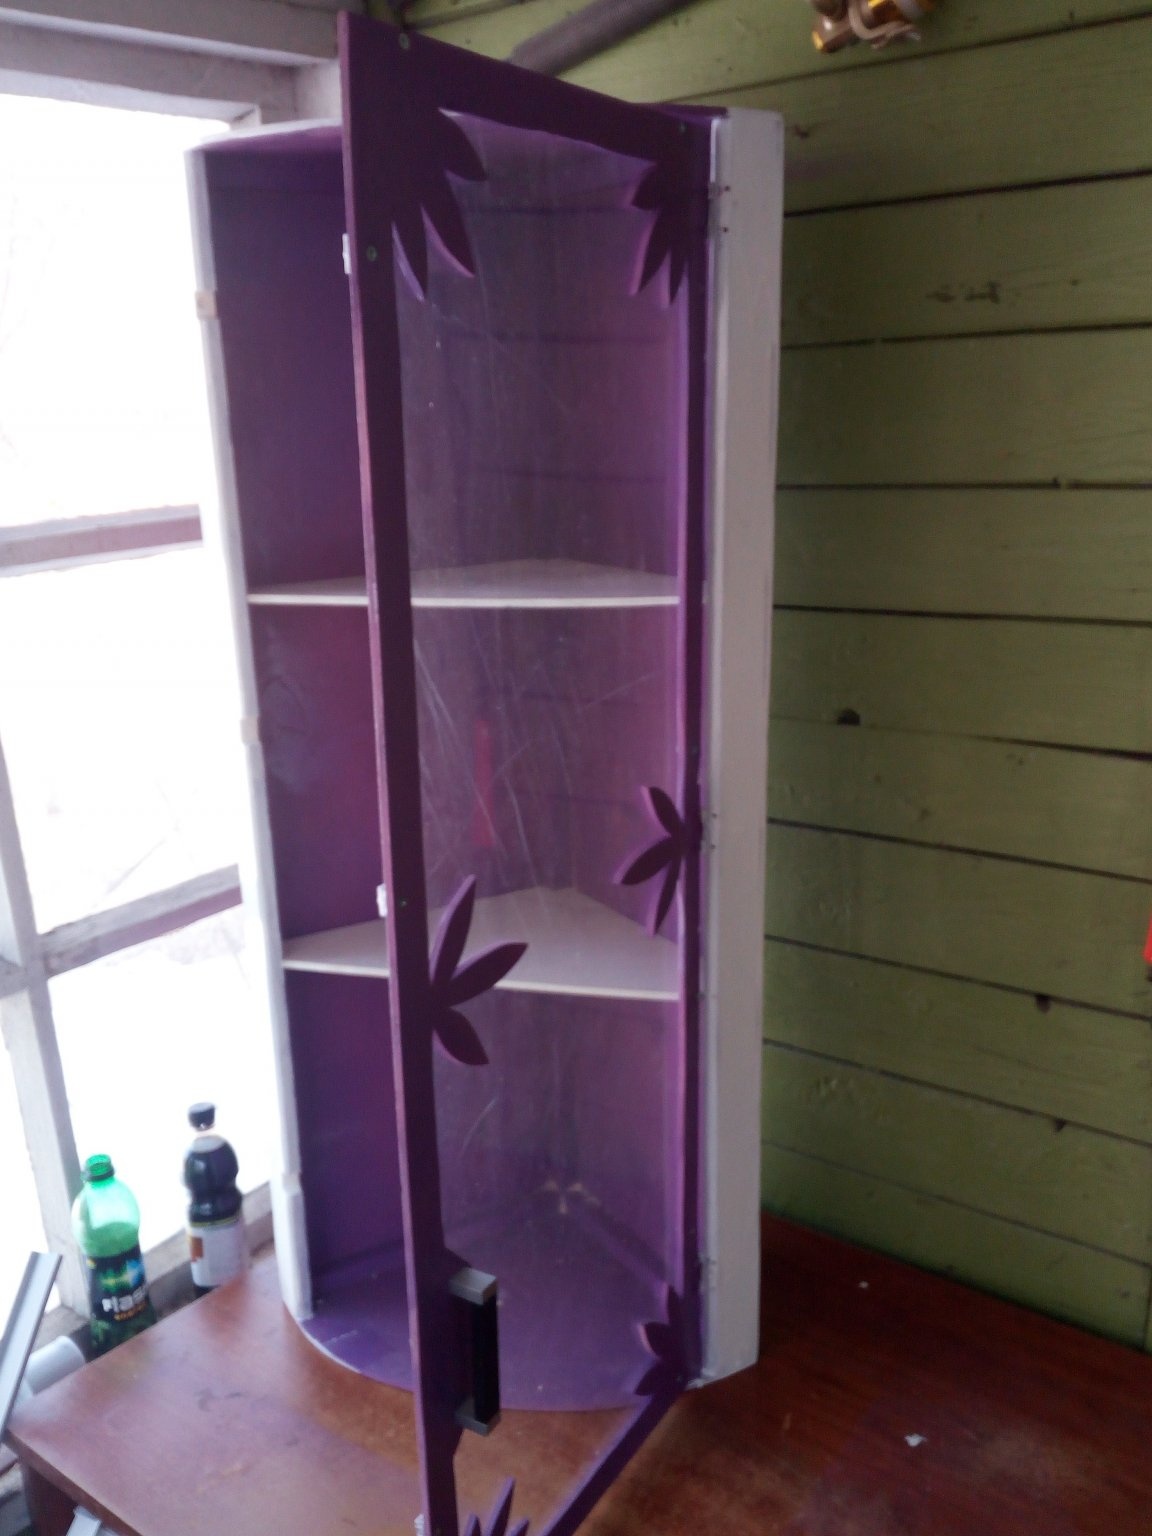
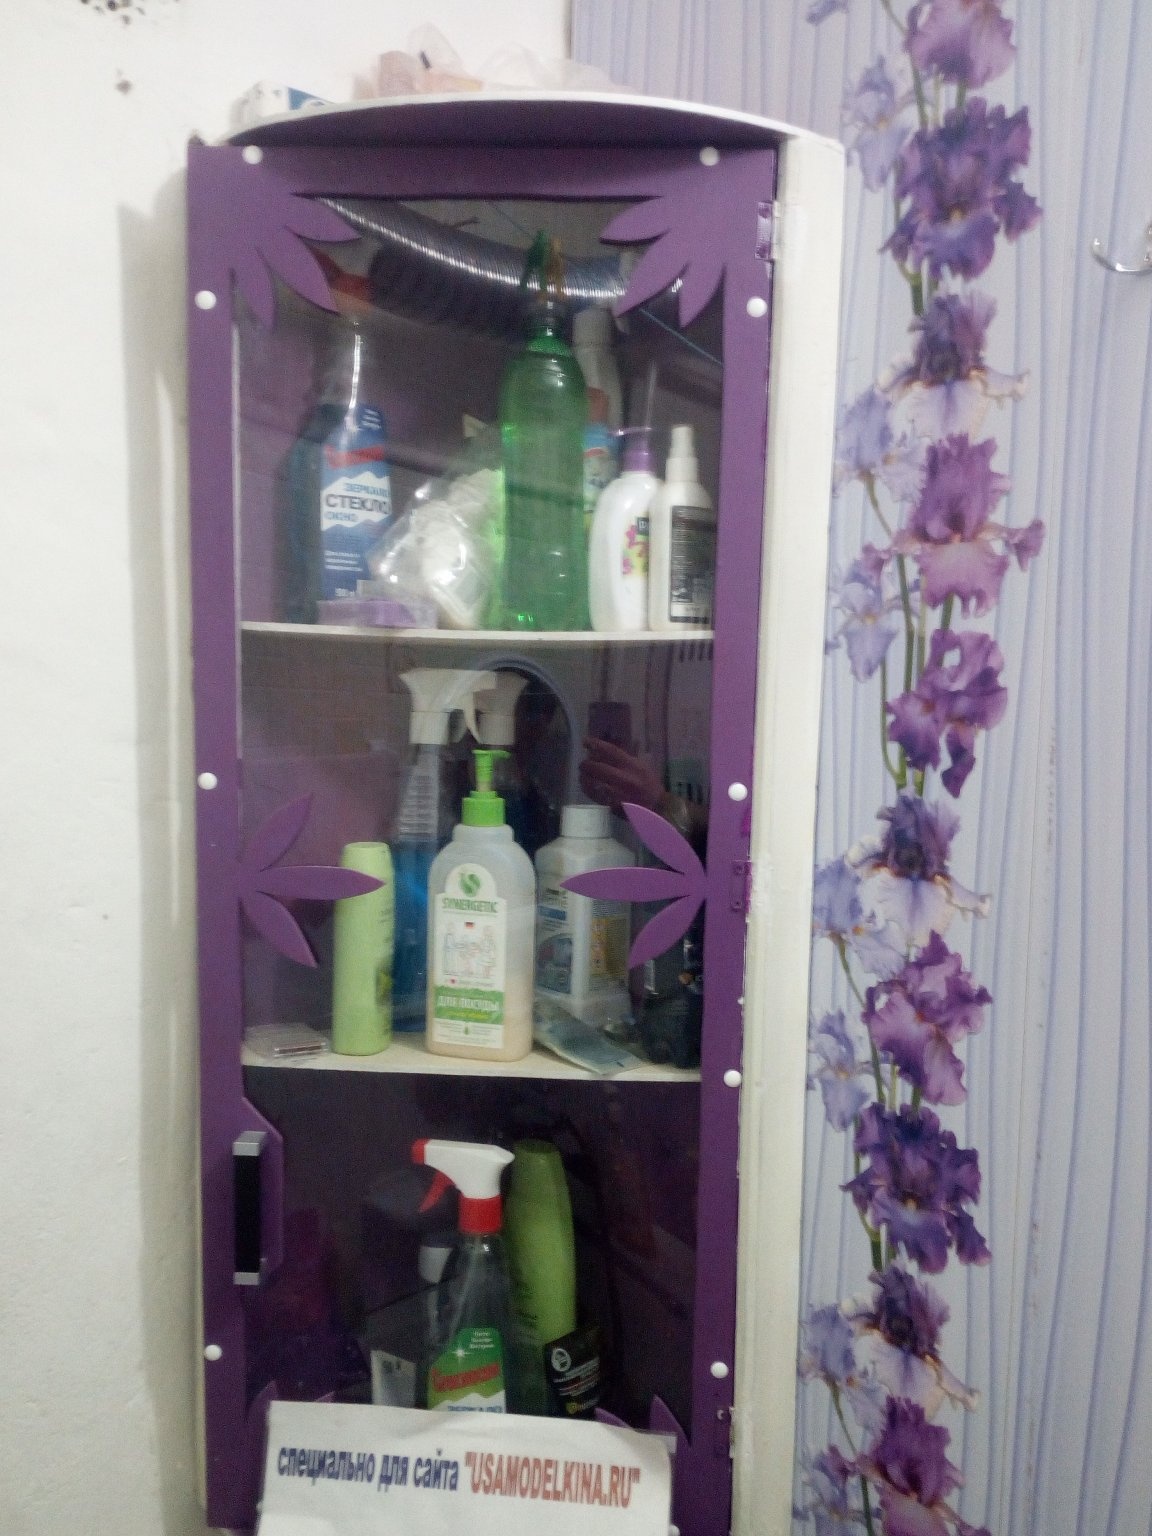
Inside the shelf, above and below, I installed magnets so that the door fits snugly against the wall and does not open.
All the best to everyone!